Hi all
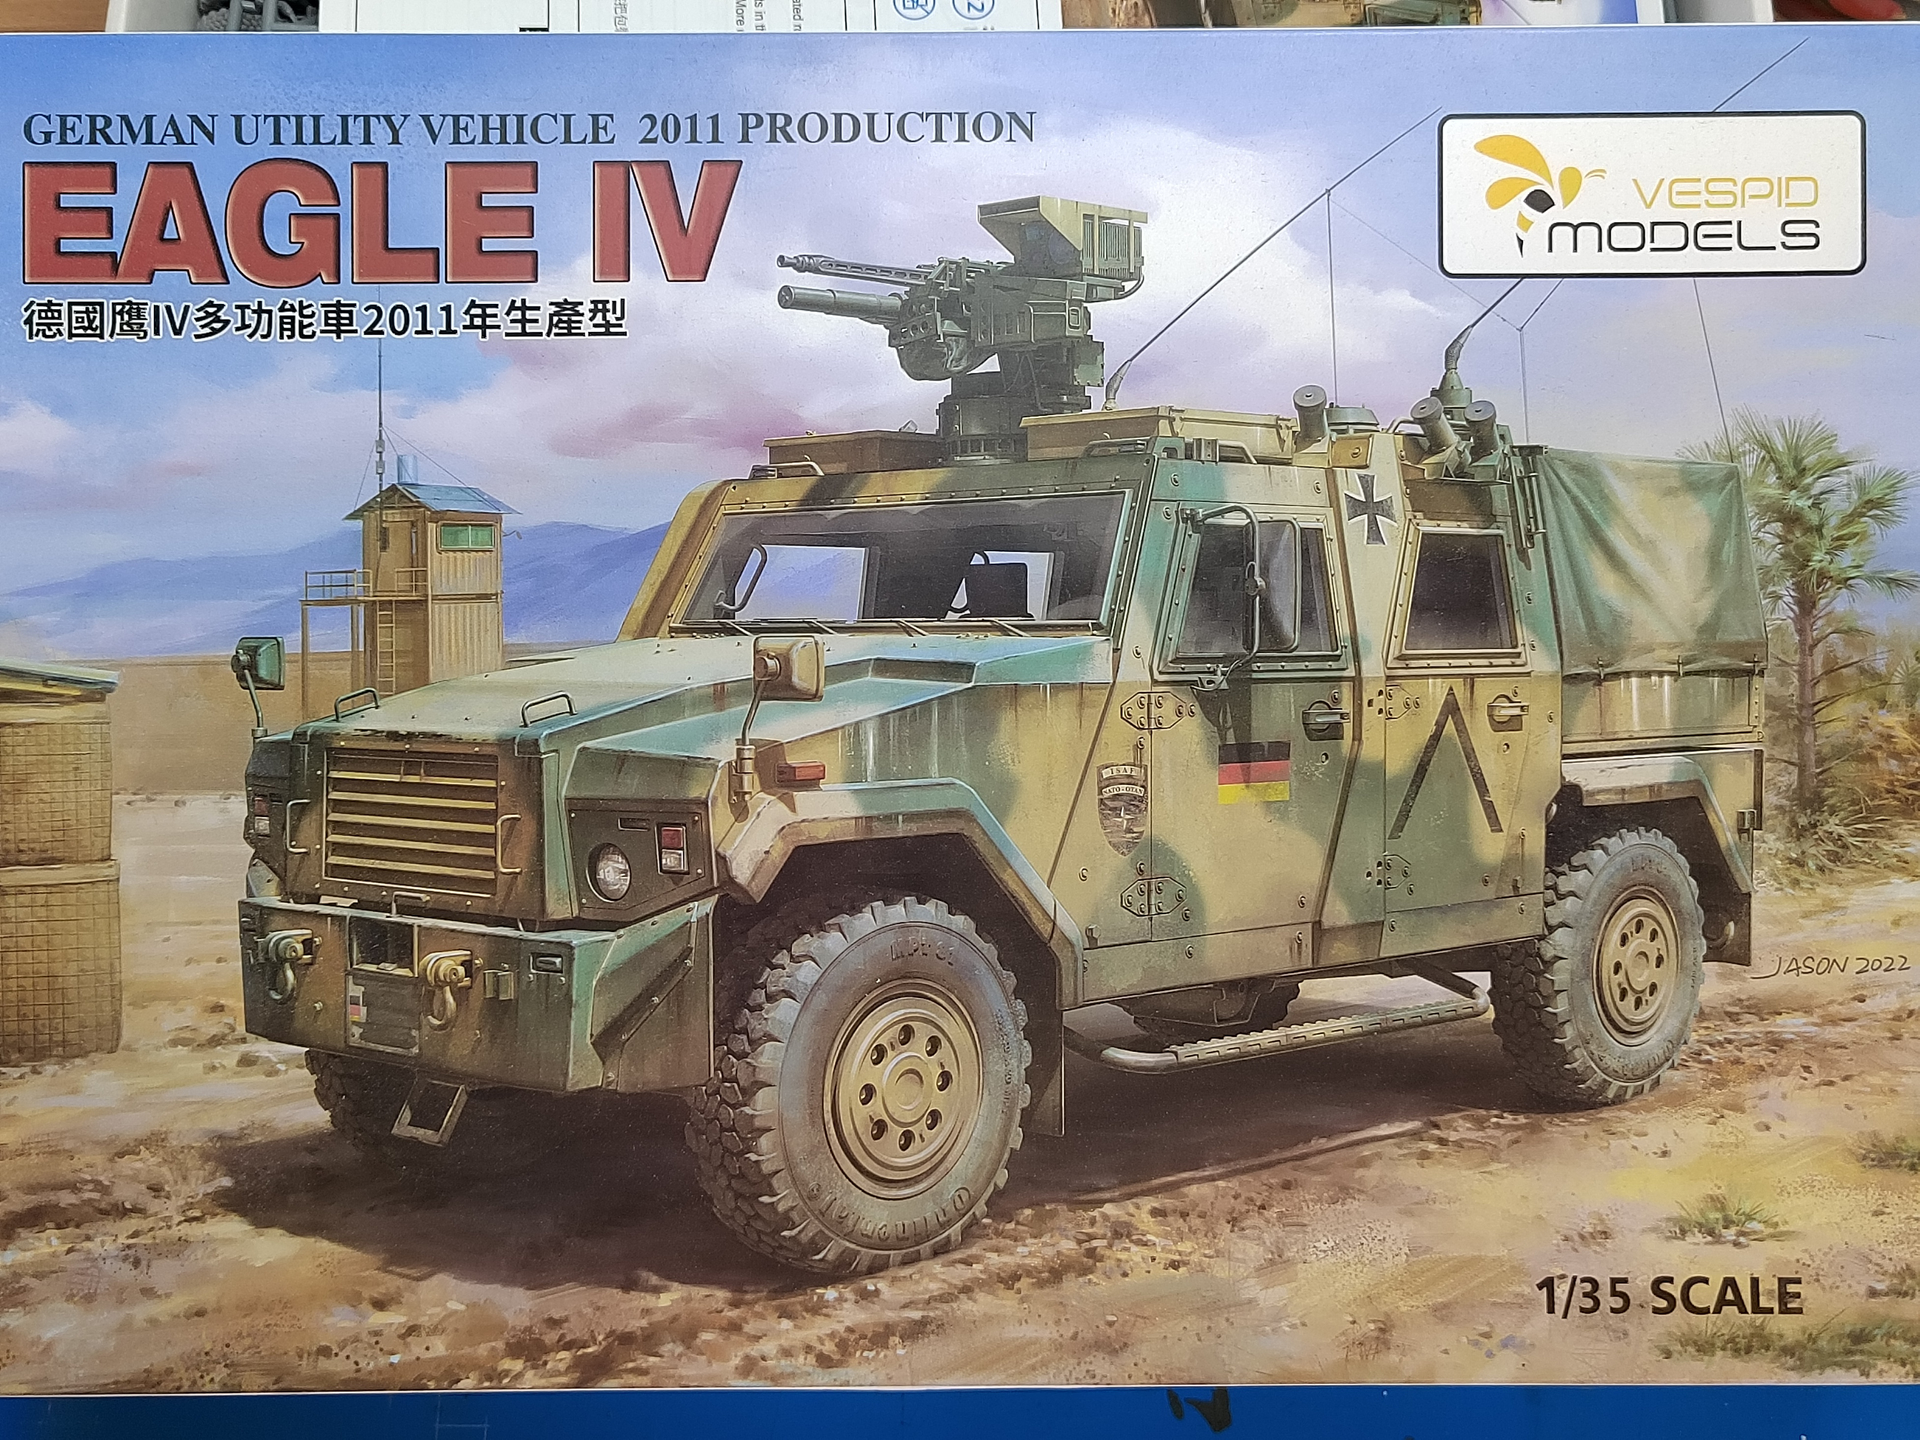
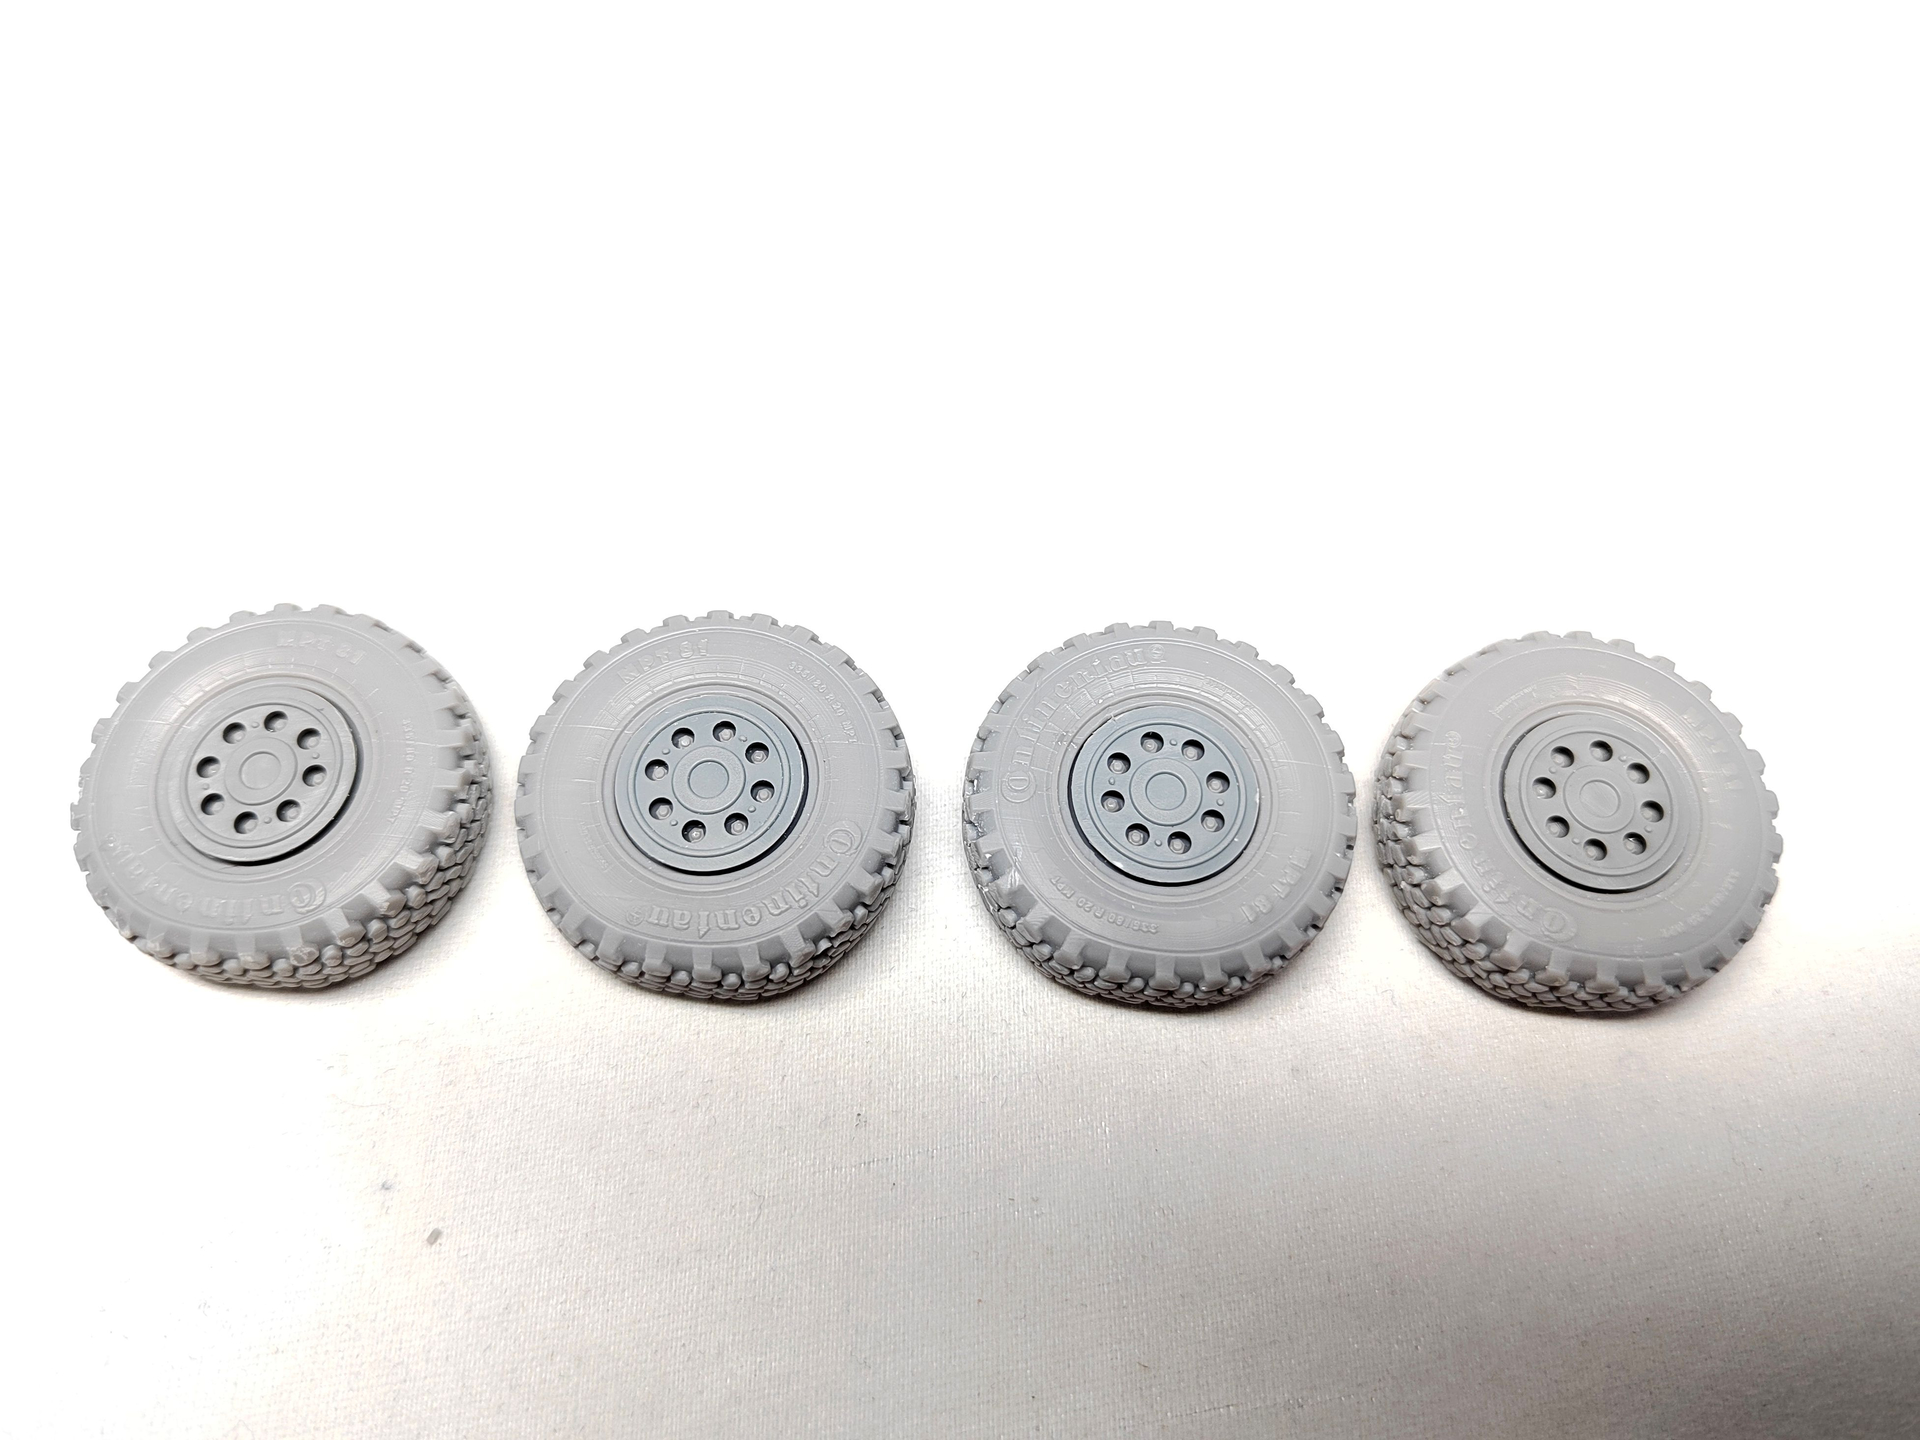
2 years ago at the Saumur model show I bought this kit of the German utility vehicle. The version I got came with 3D resin wheels.
The cast is neat and the level of detail is fine.
The kit comes with clear parts, a photo etched parts plate, a decals sheet and pre-cut masks for the windows.
The instructions remind me of Bronco ones. The numerous tiny parts are another hint that Vespid could be a Bronco subsidiary.
There are 4 decoration options: 3 for the German contingent in Afghanistan and 1 in the NATO color scheme.
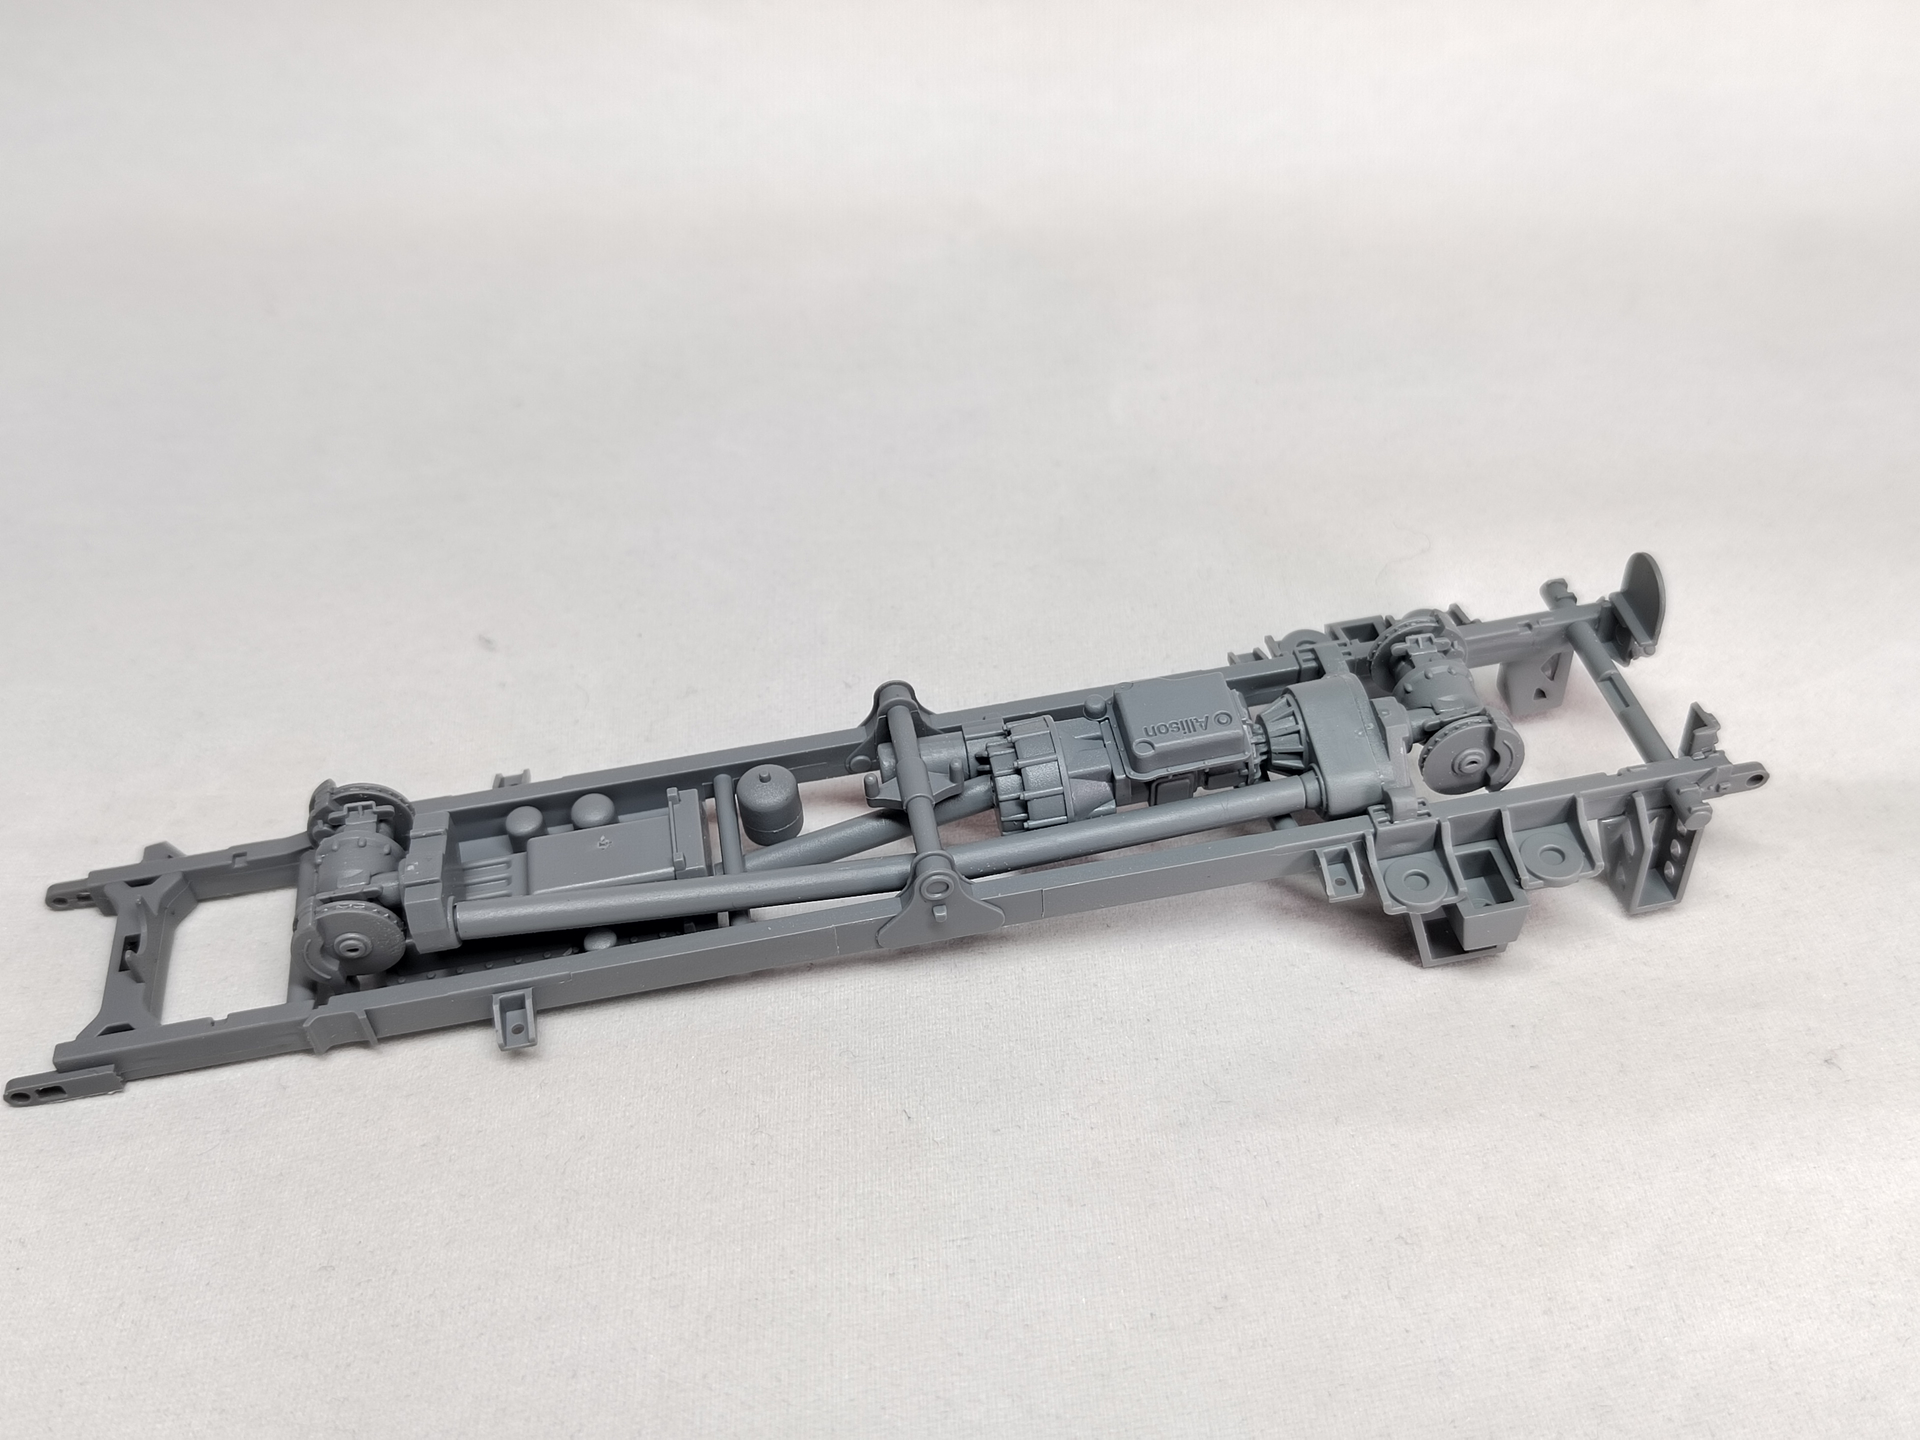
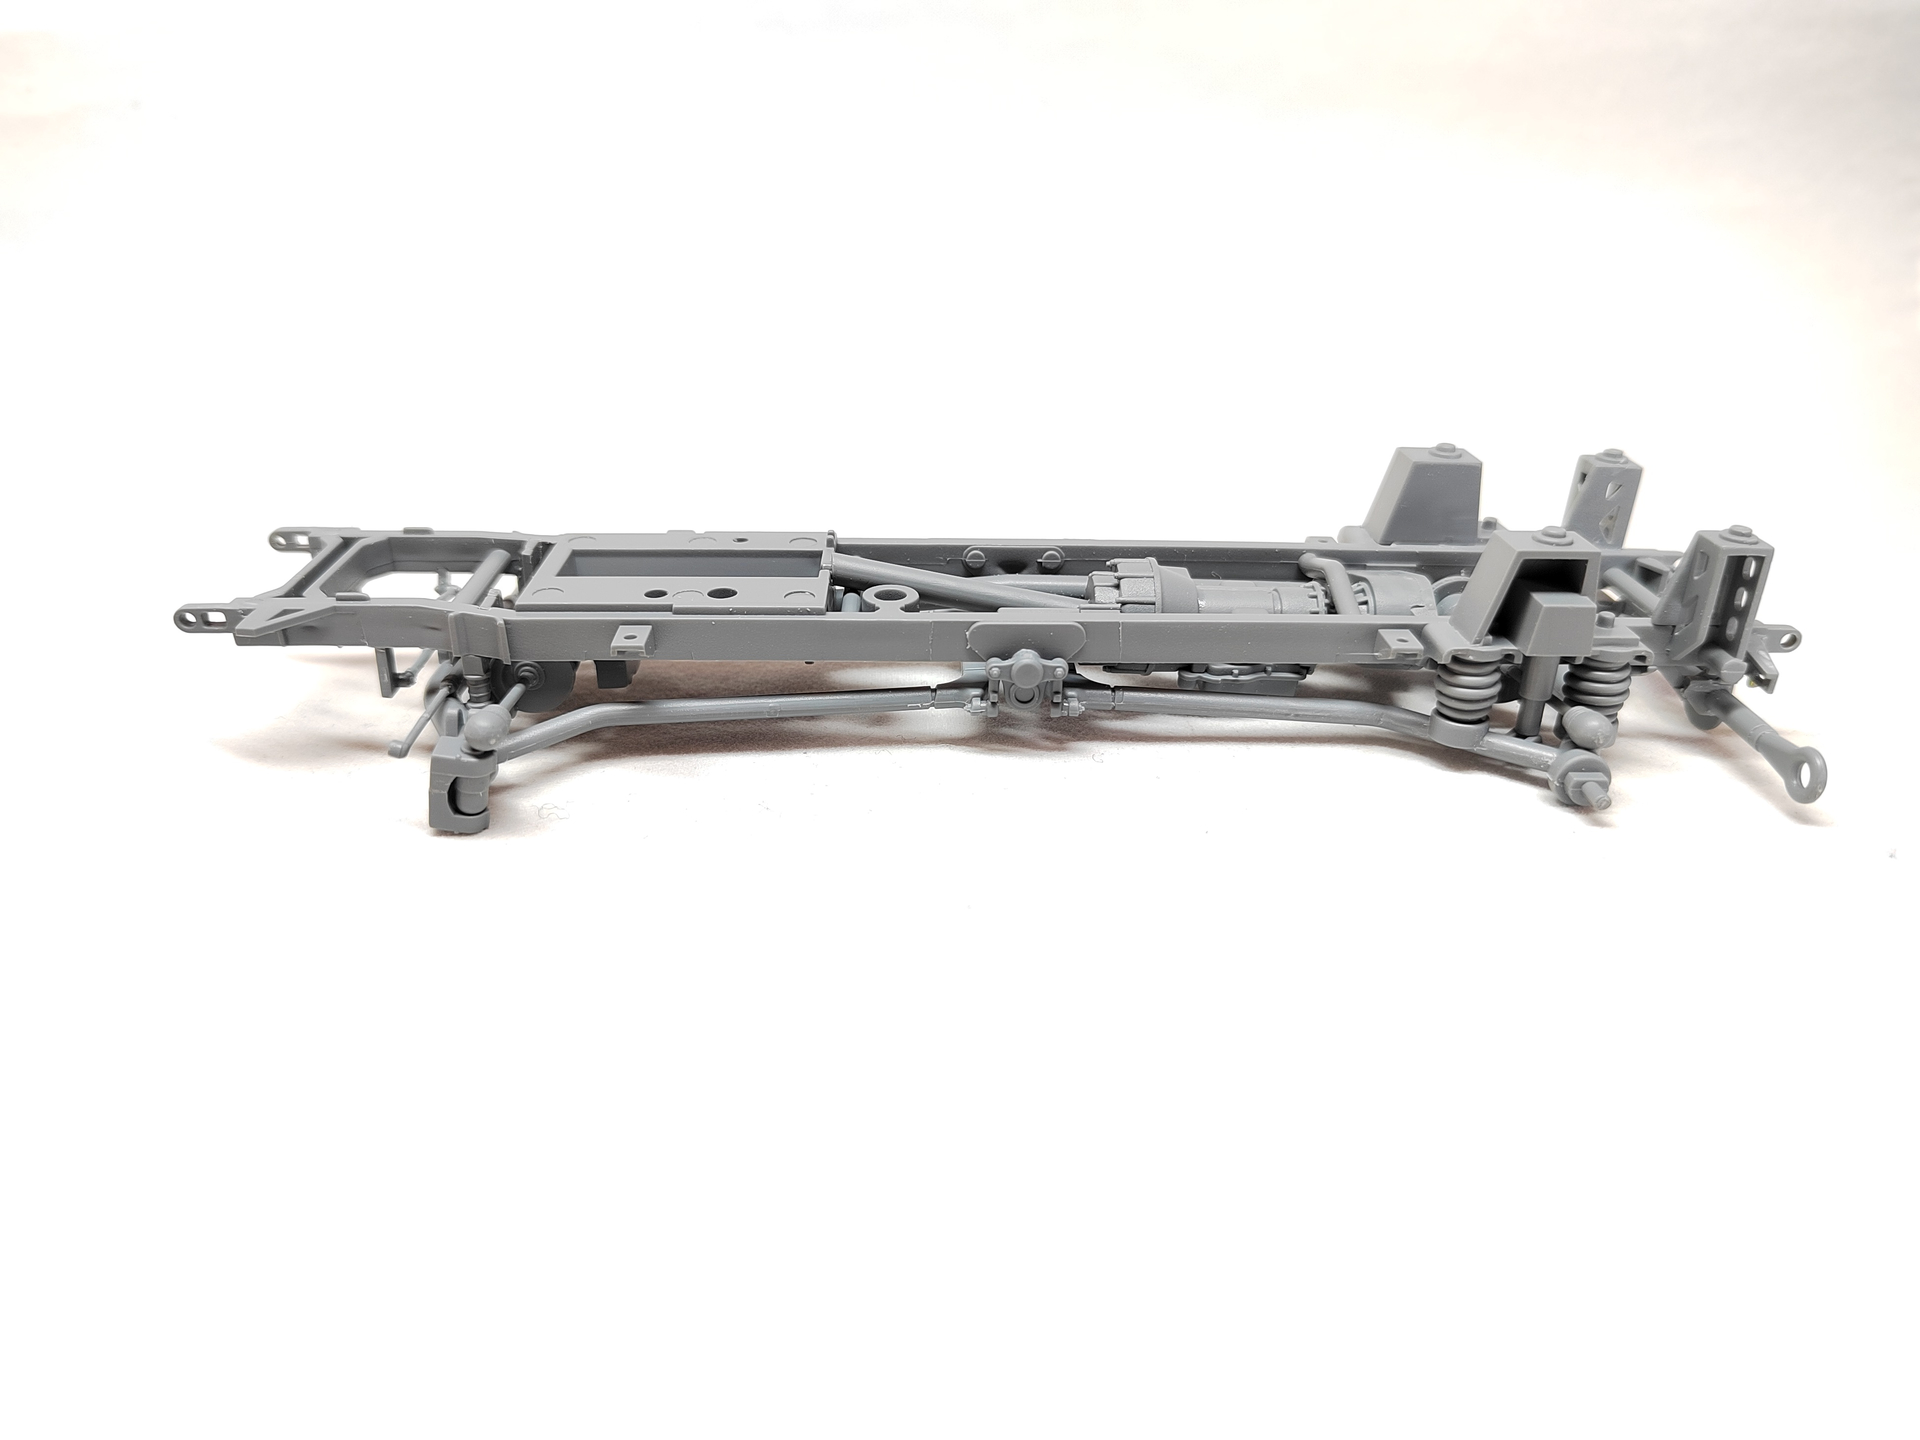
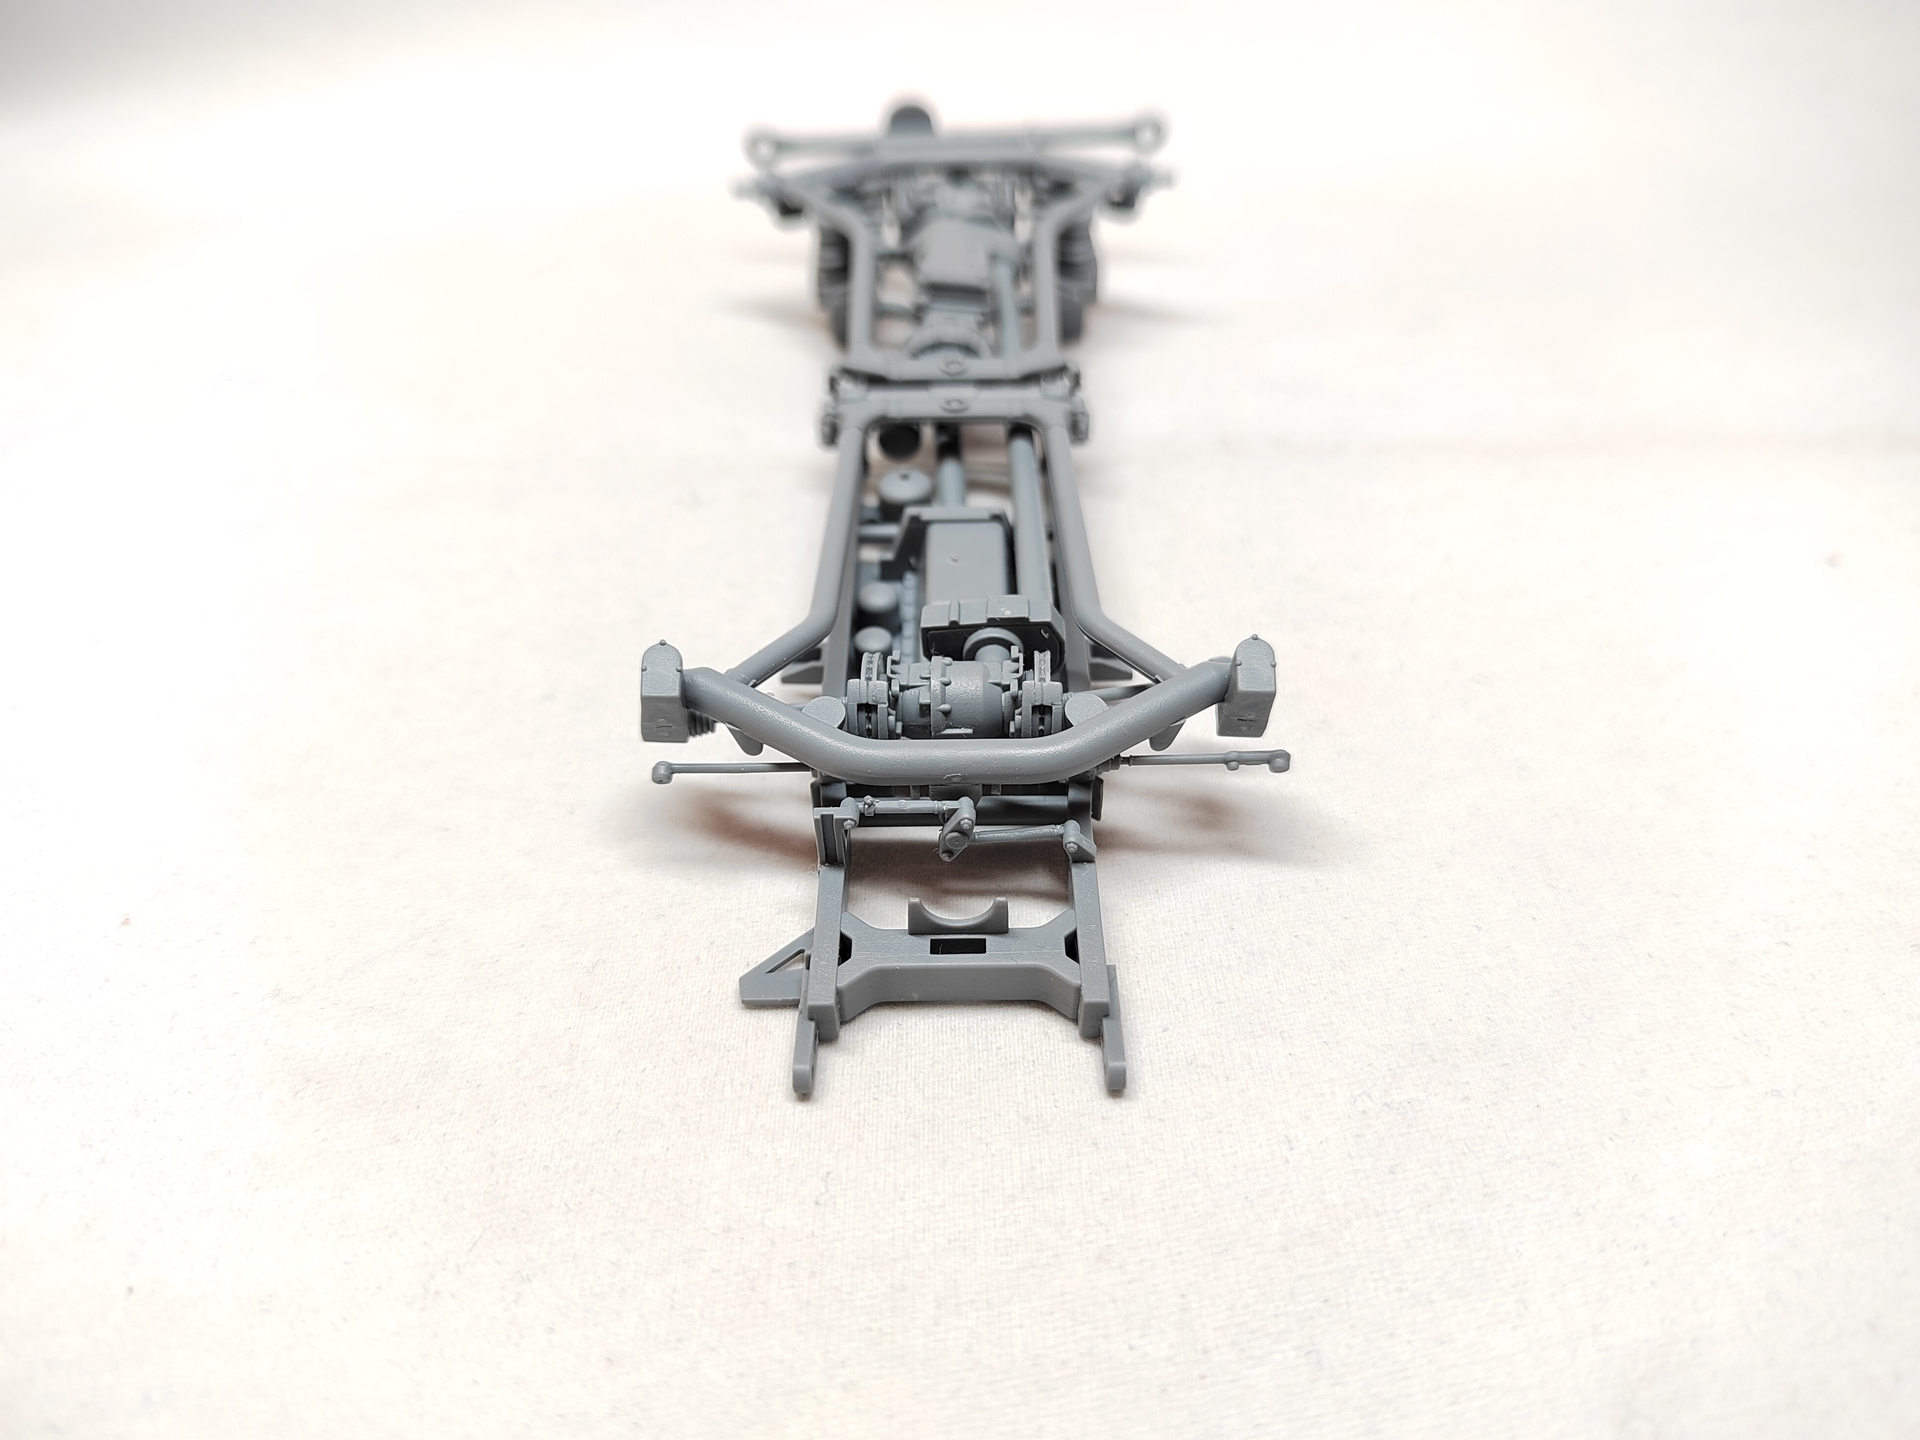
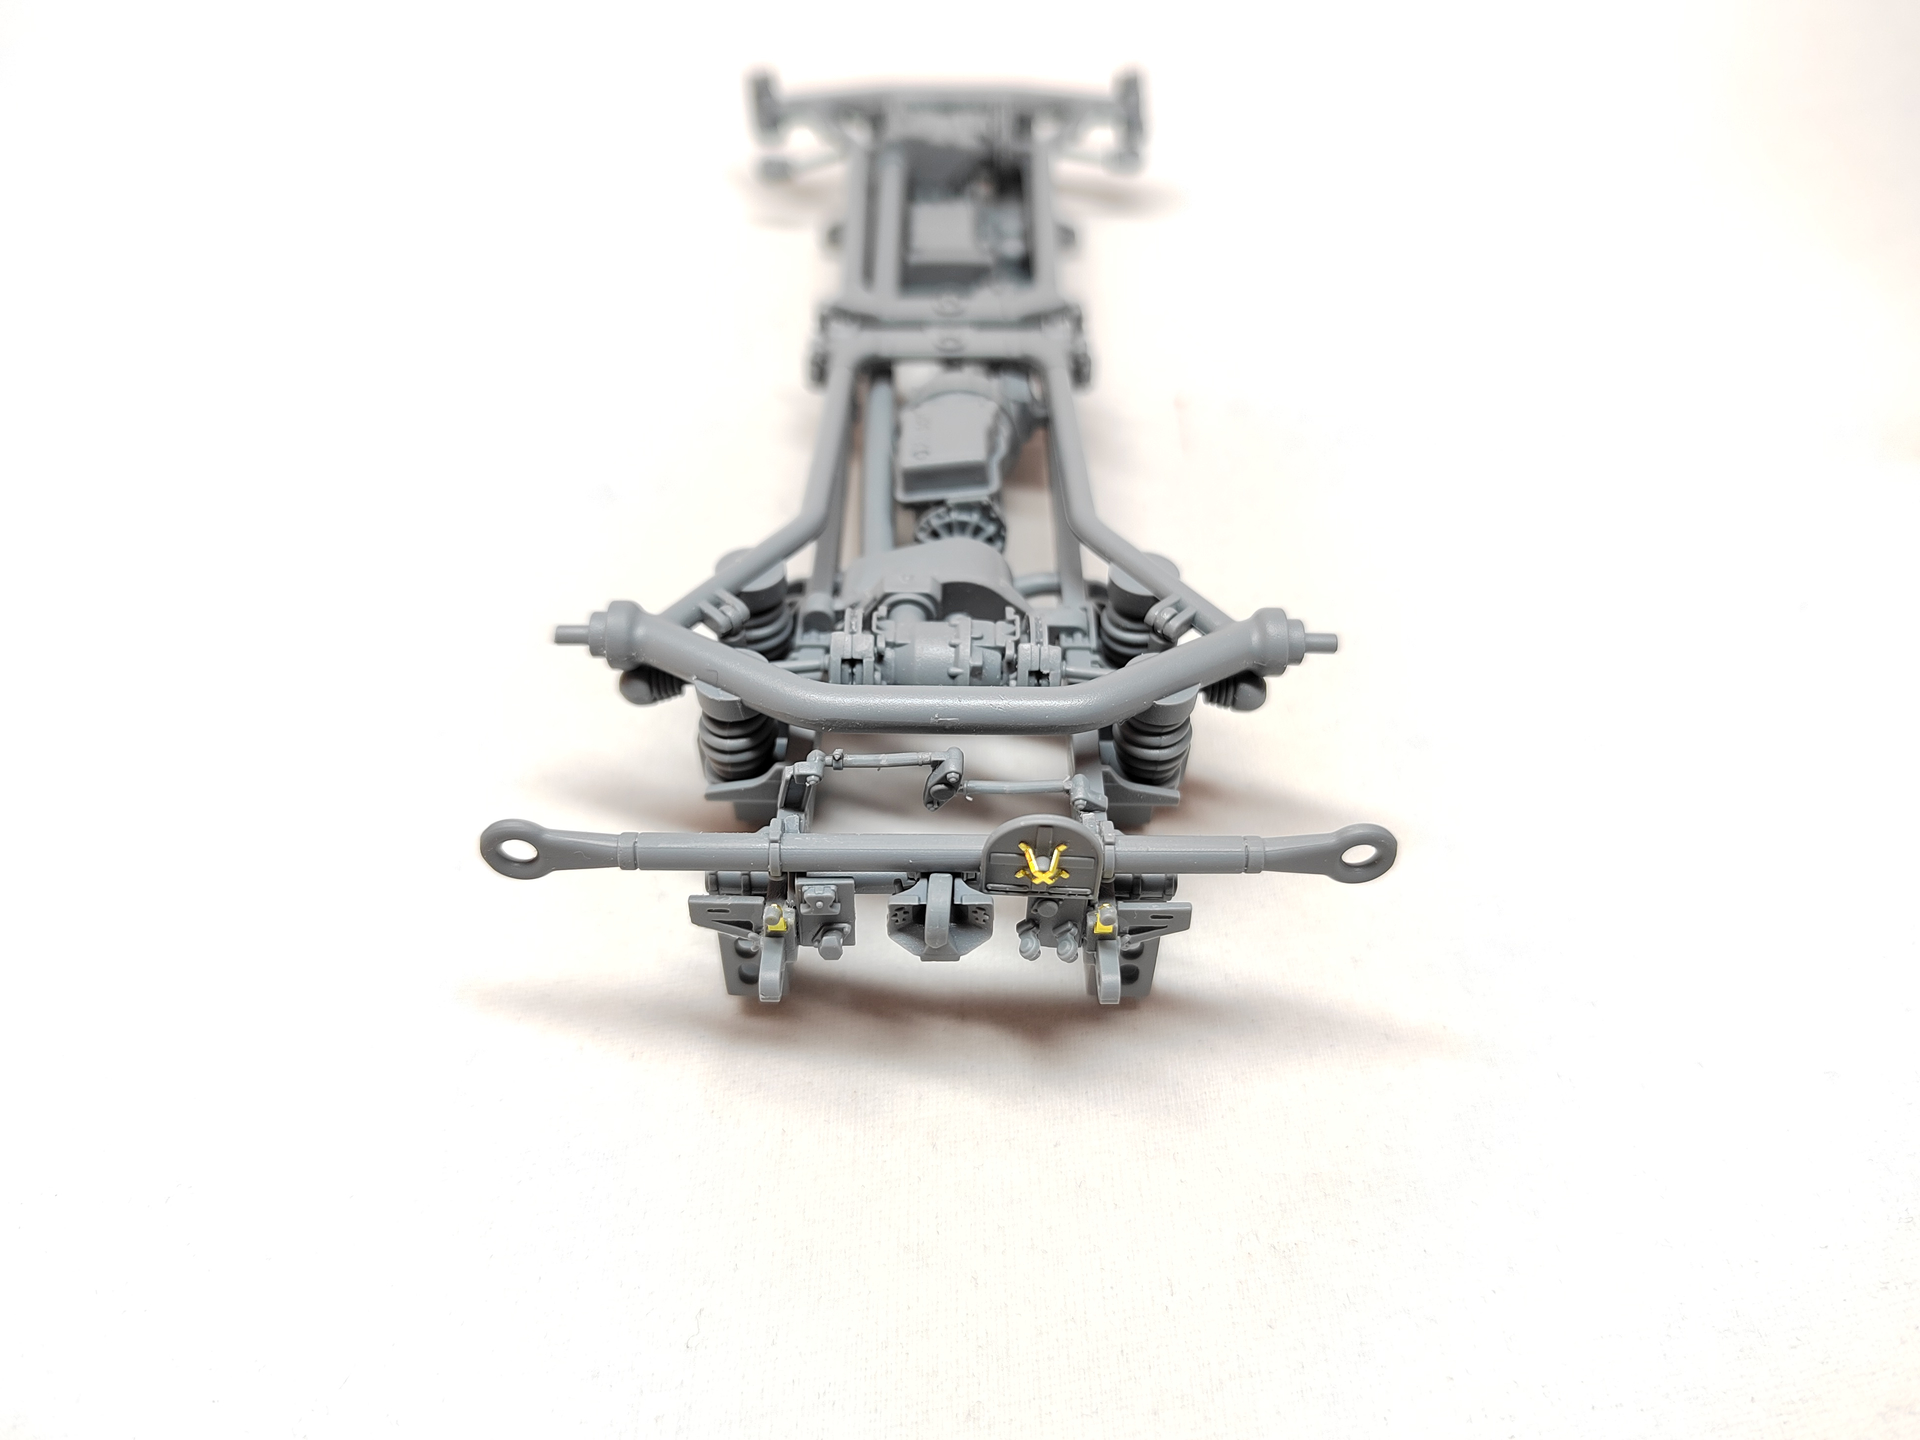
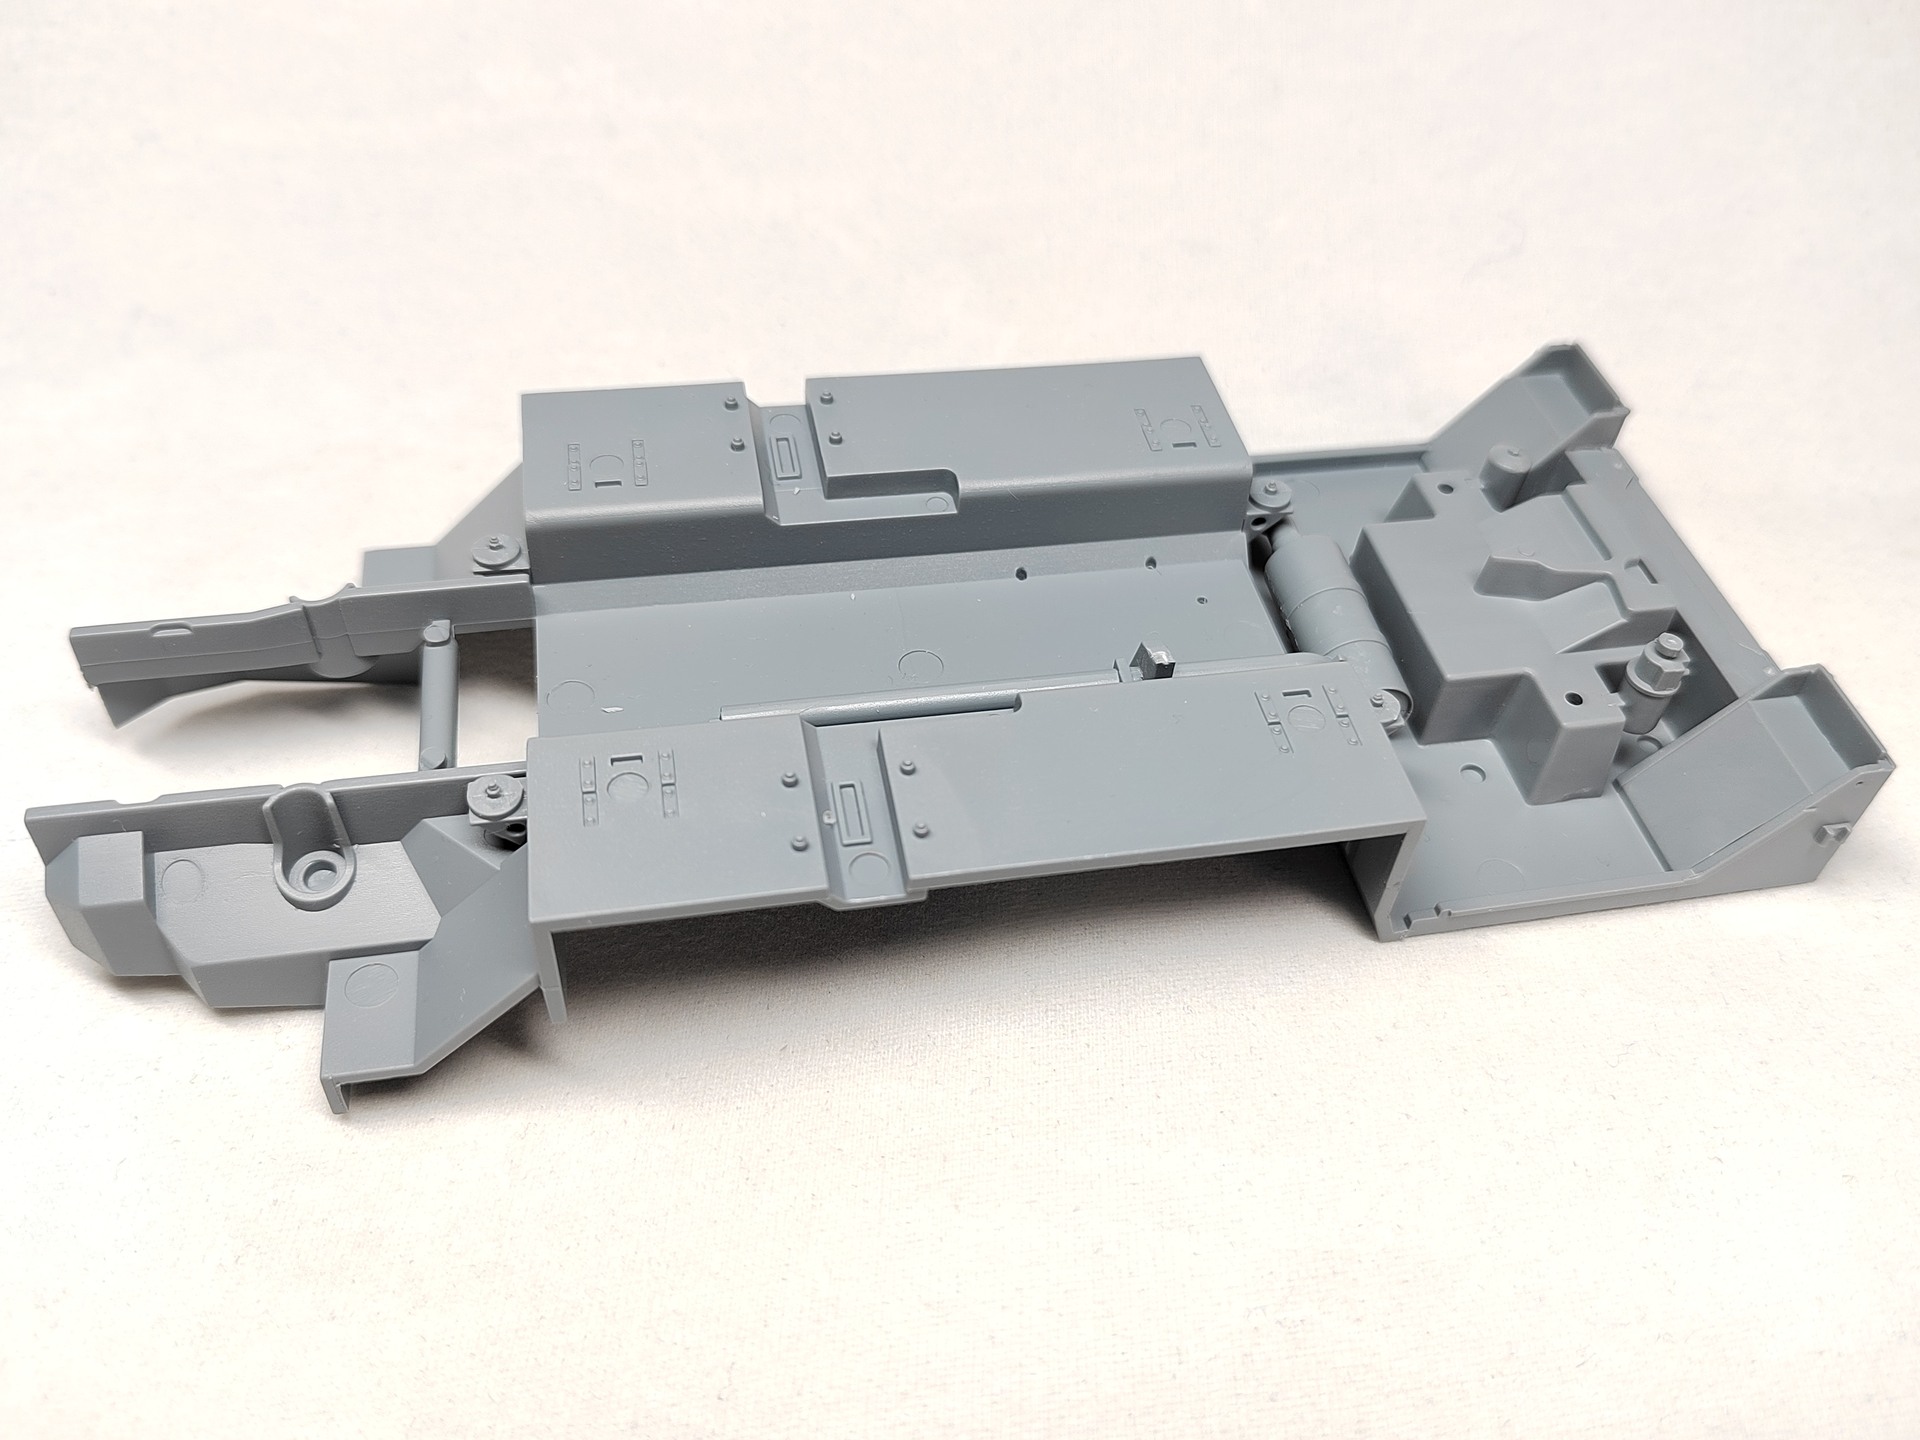
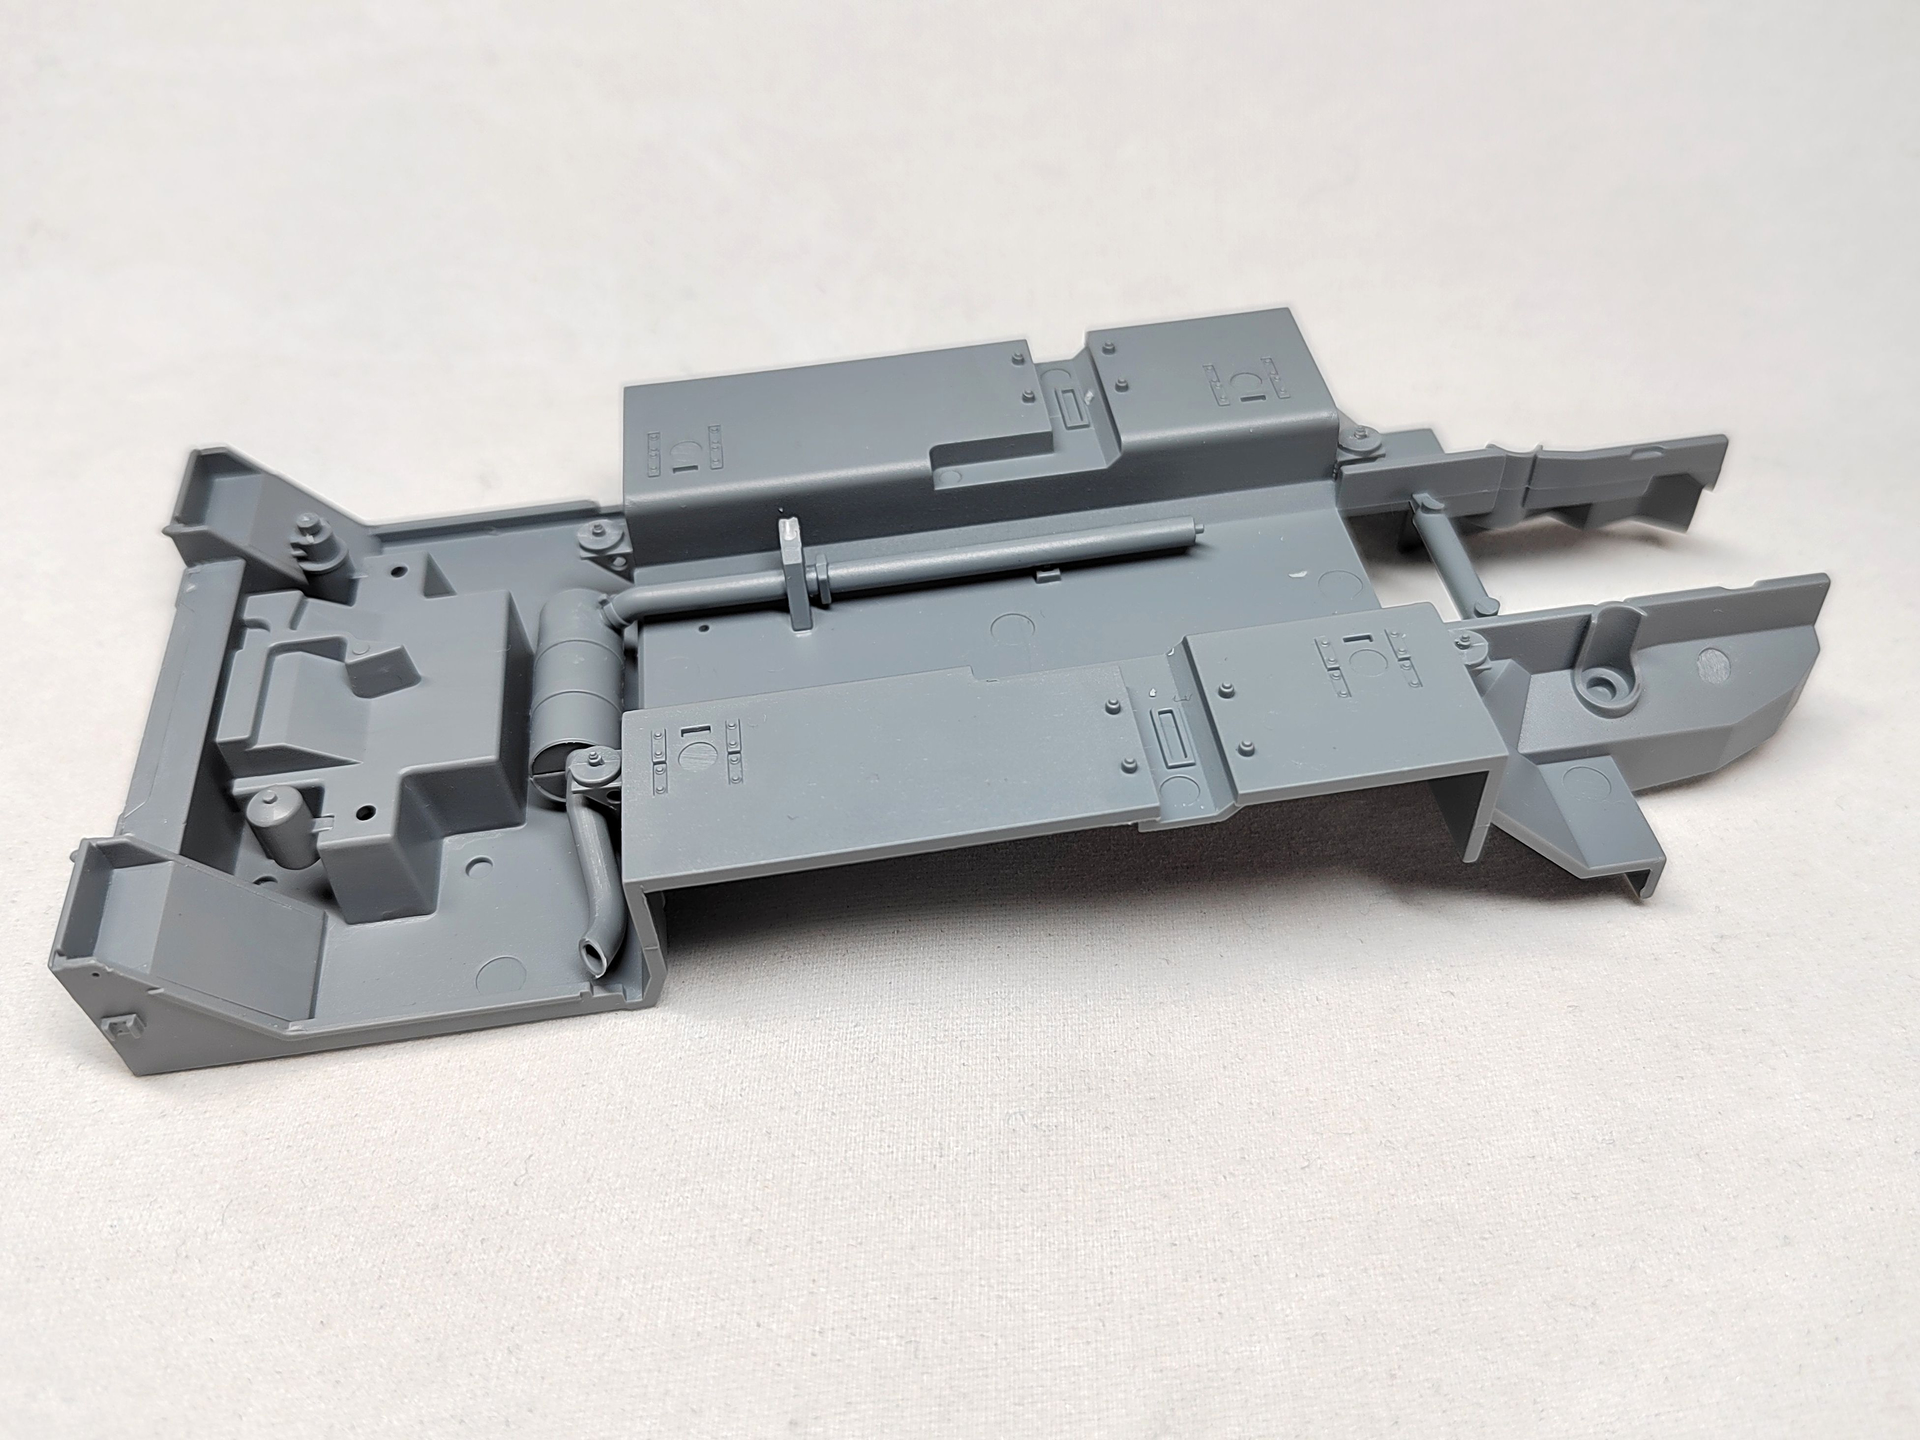
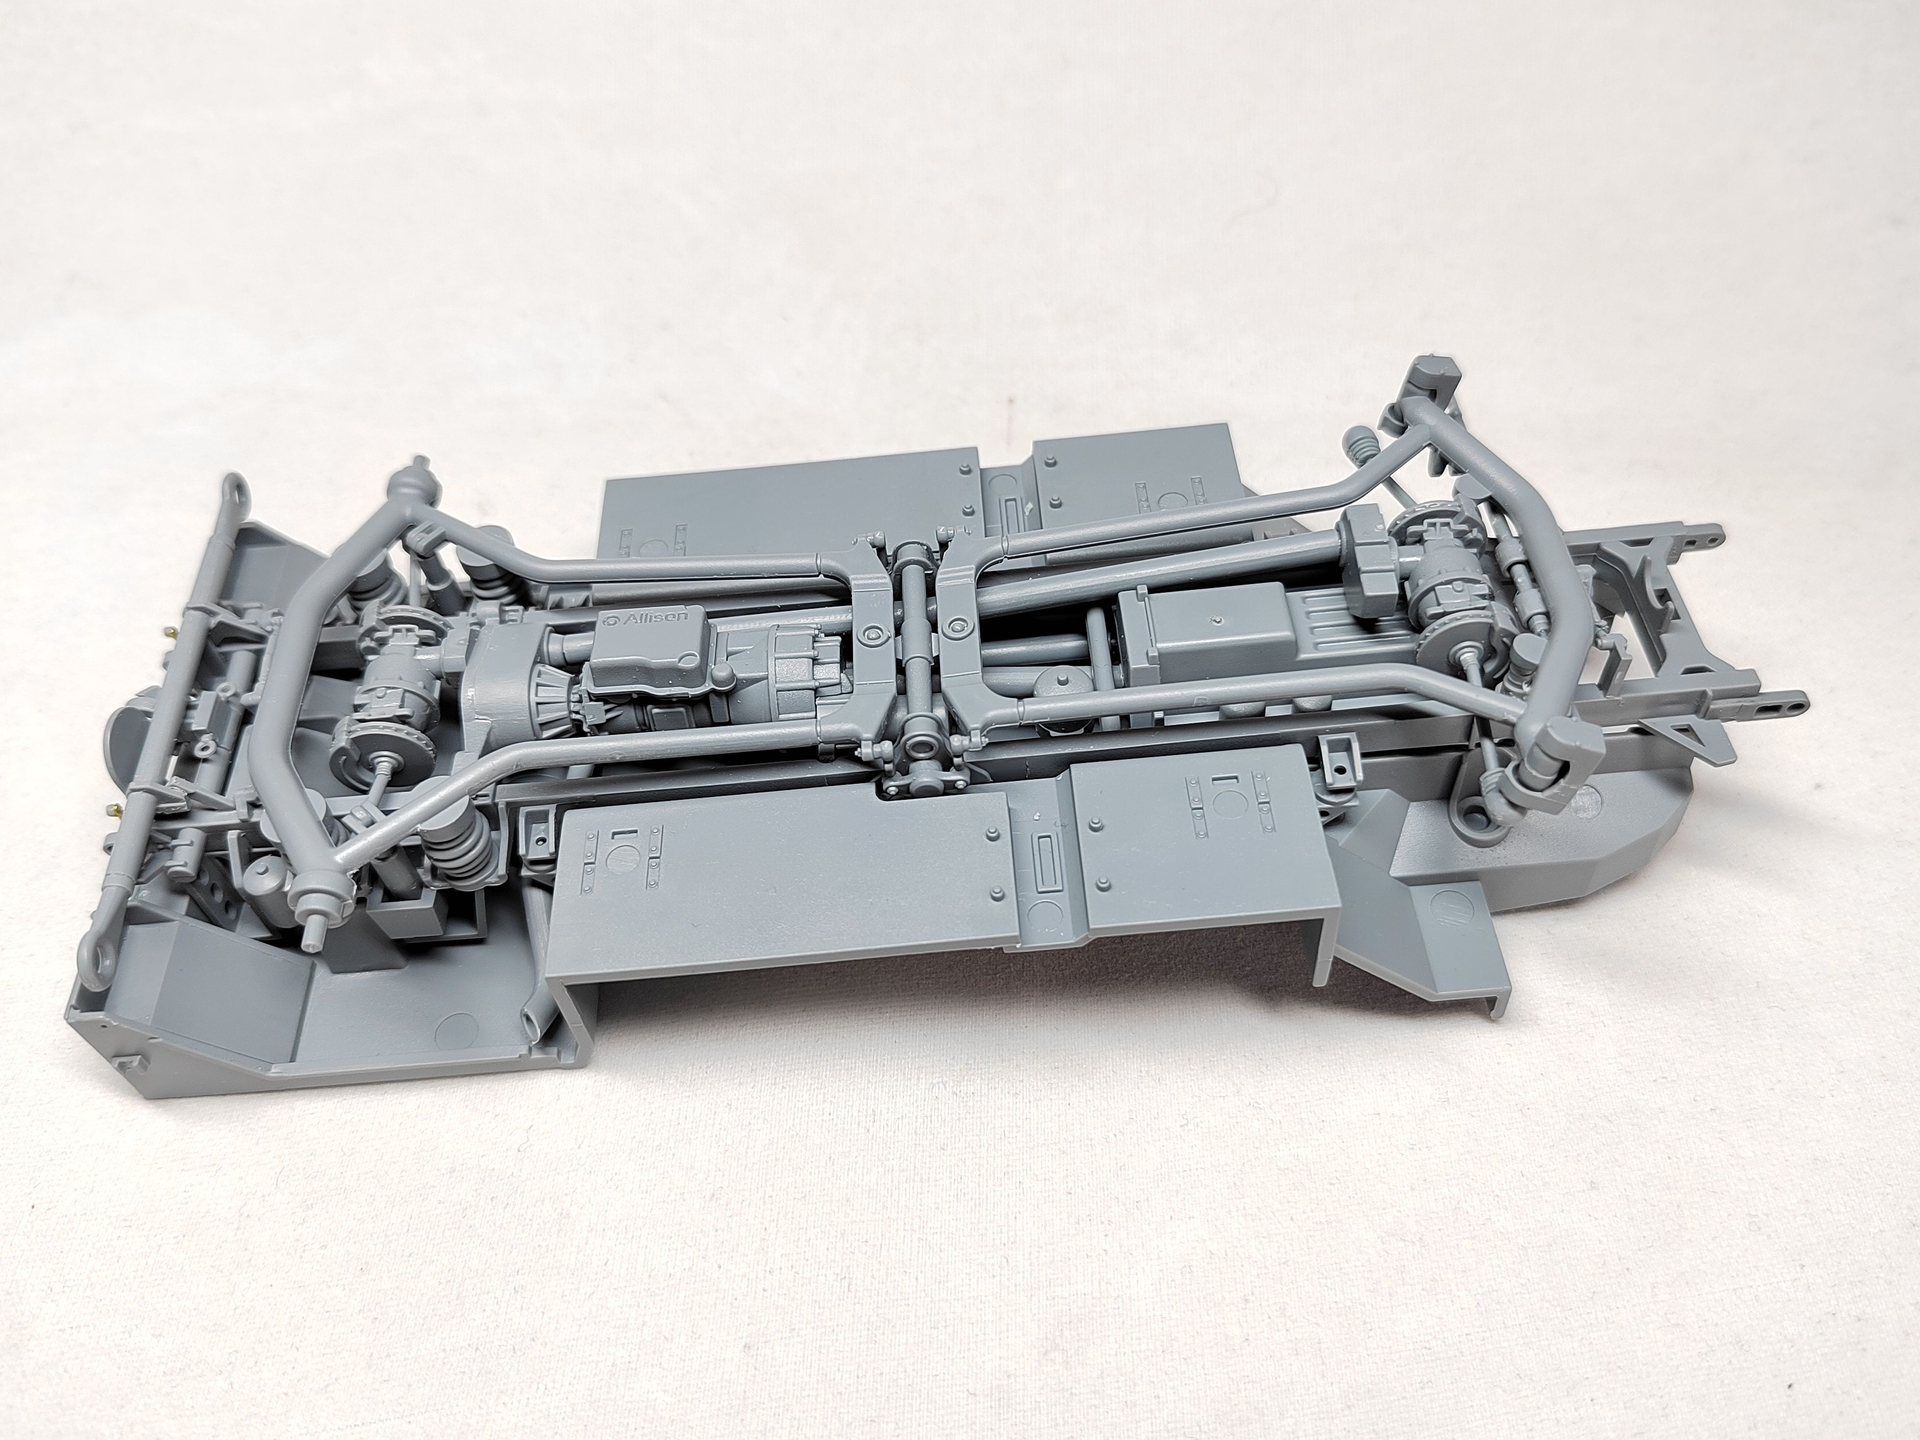
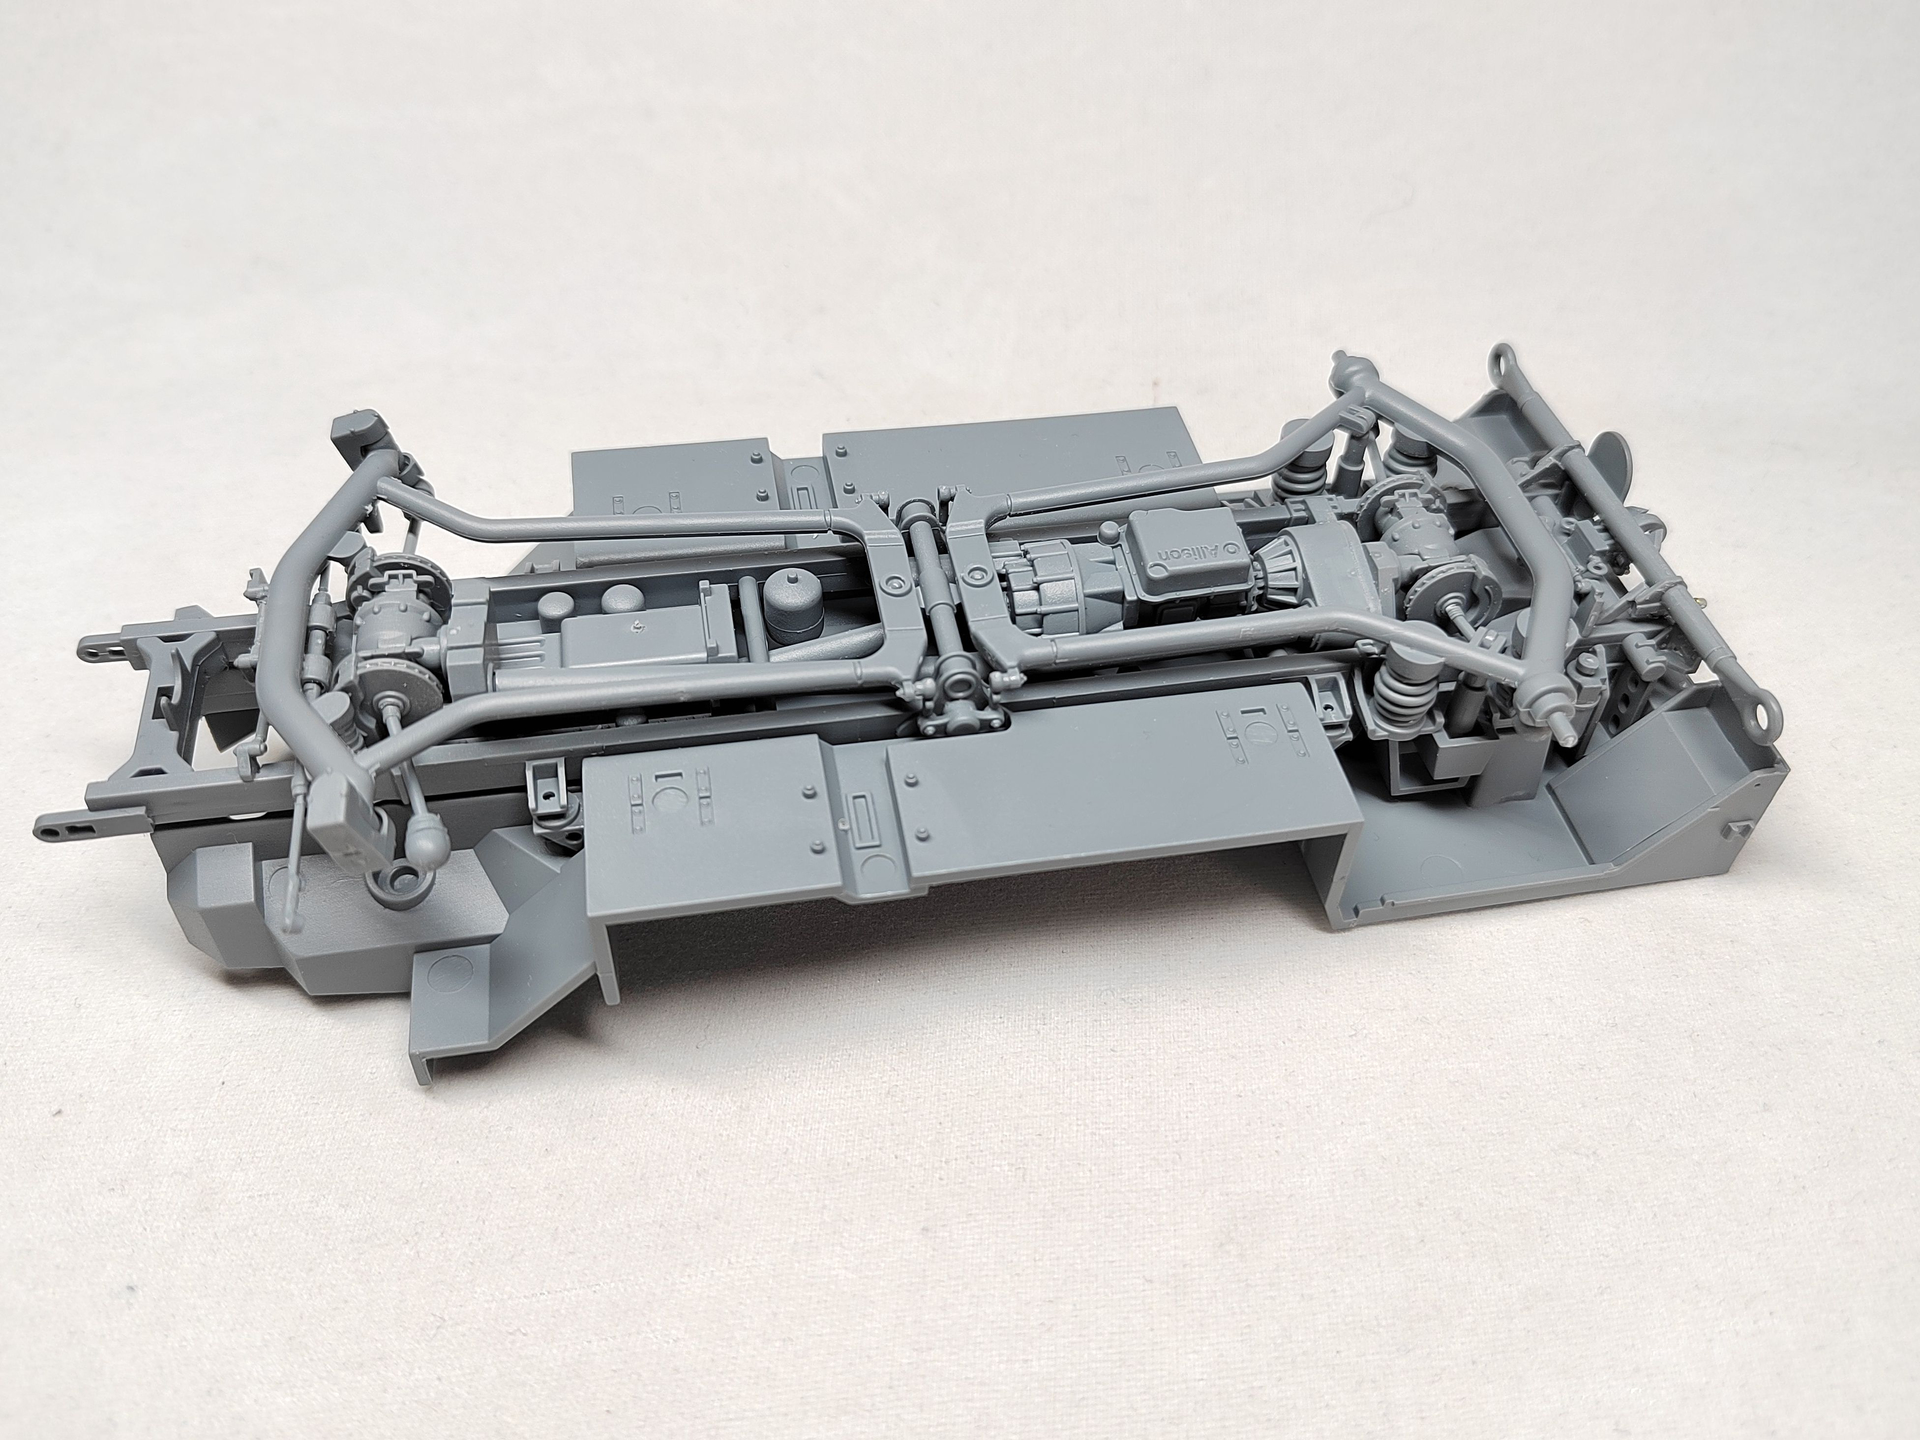
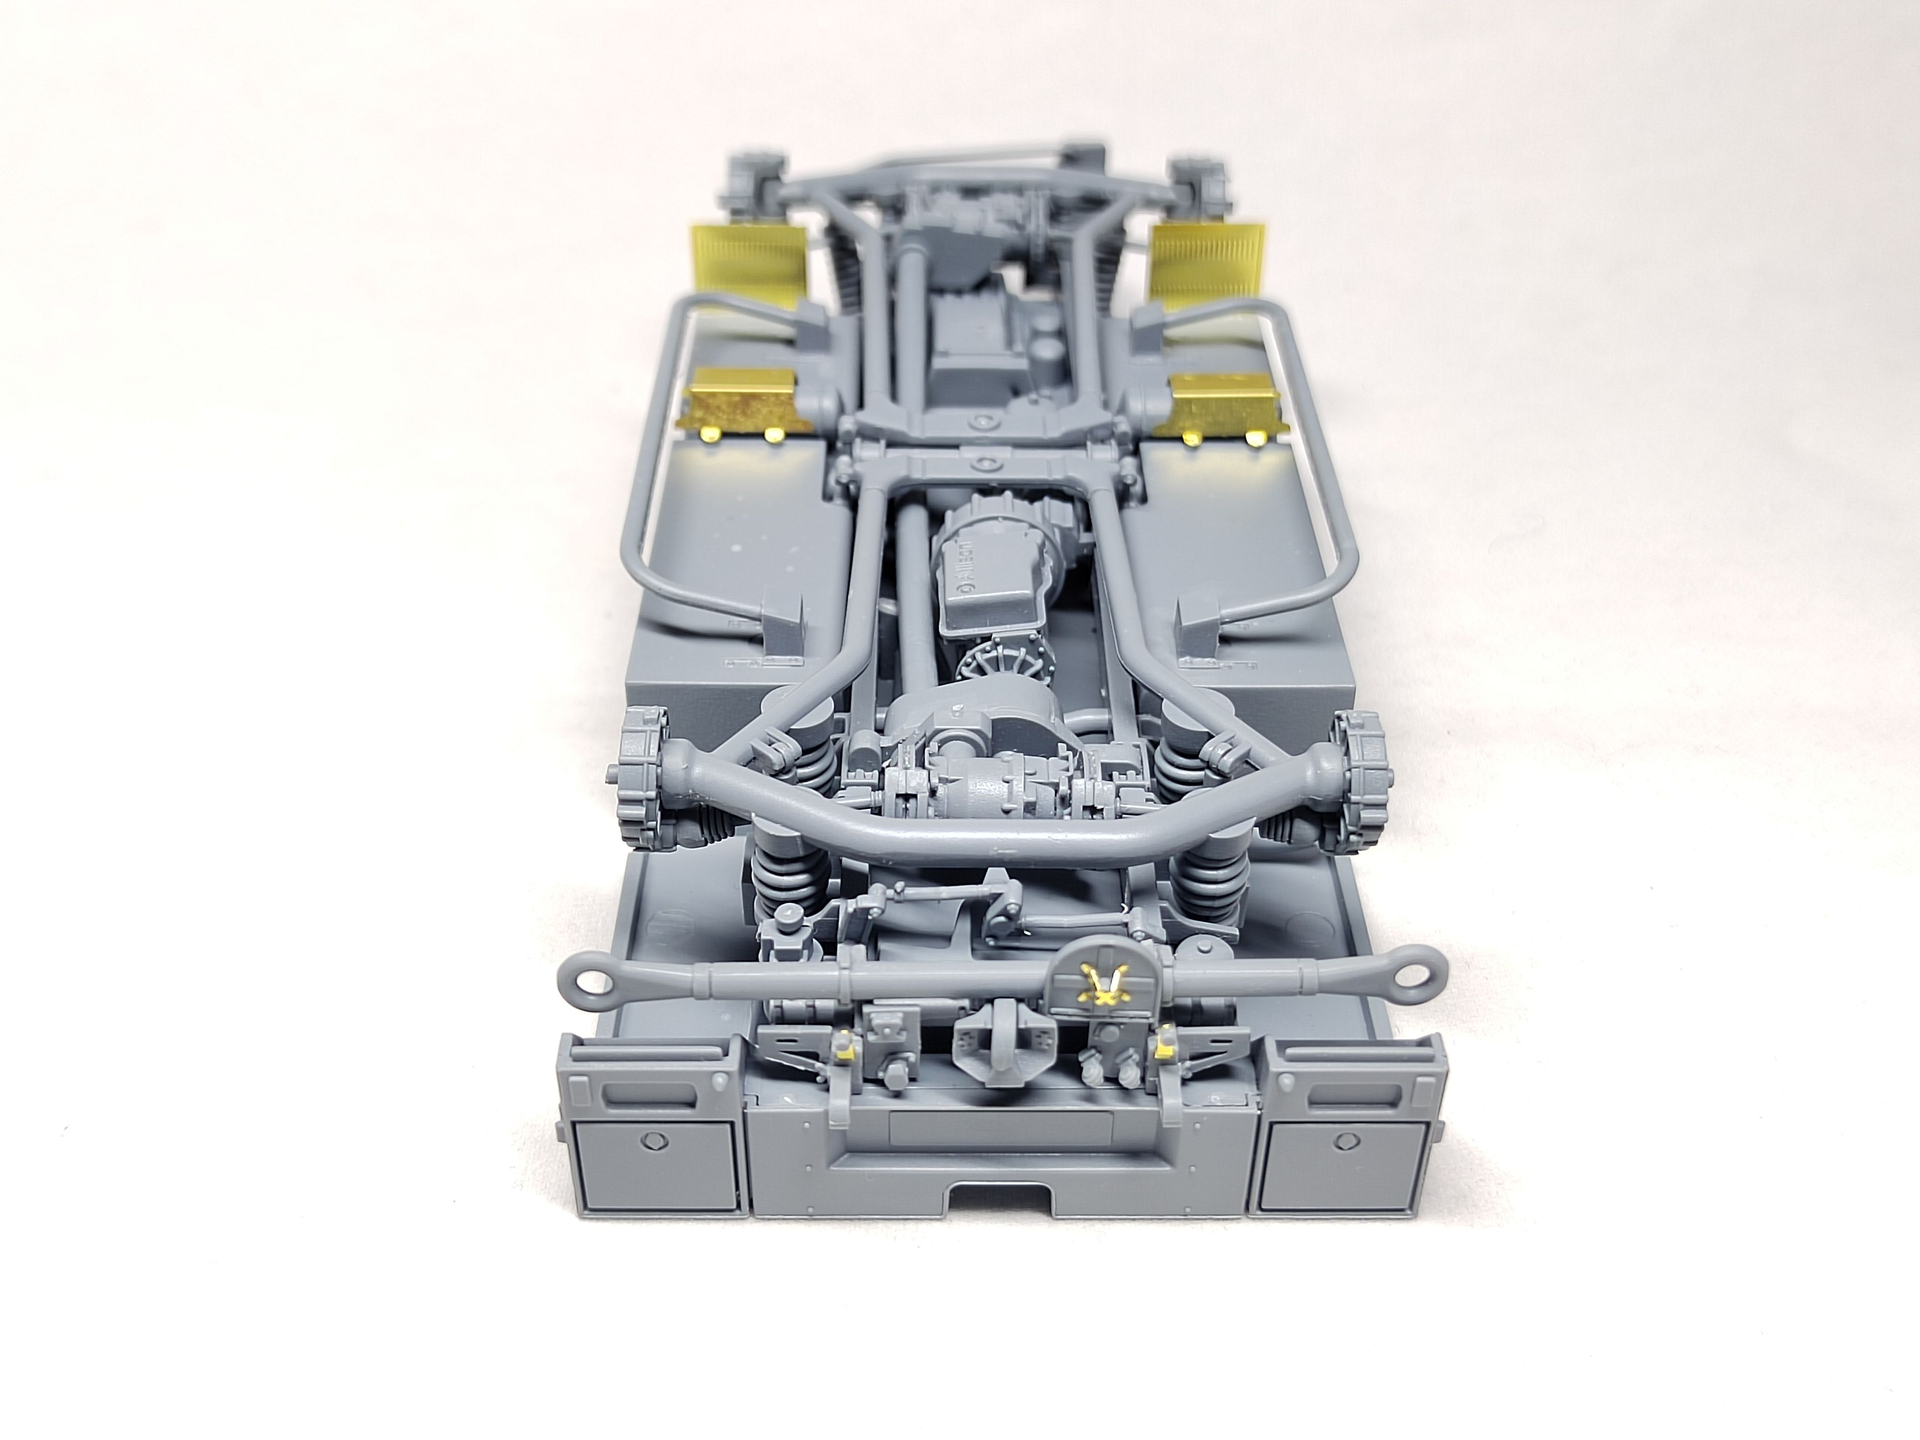
Here is the result of step 1.
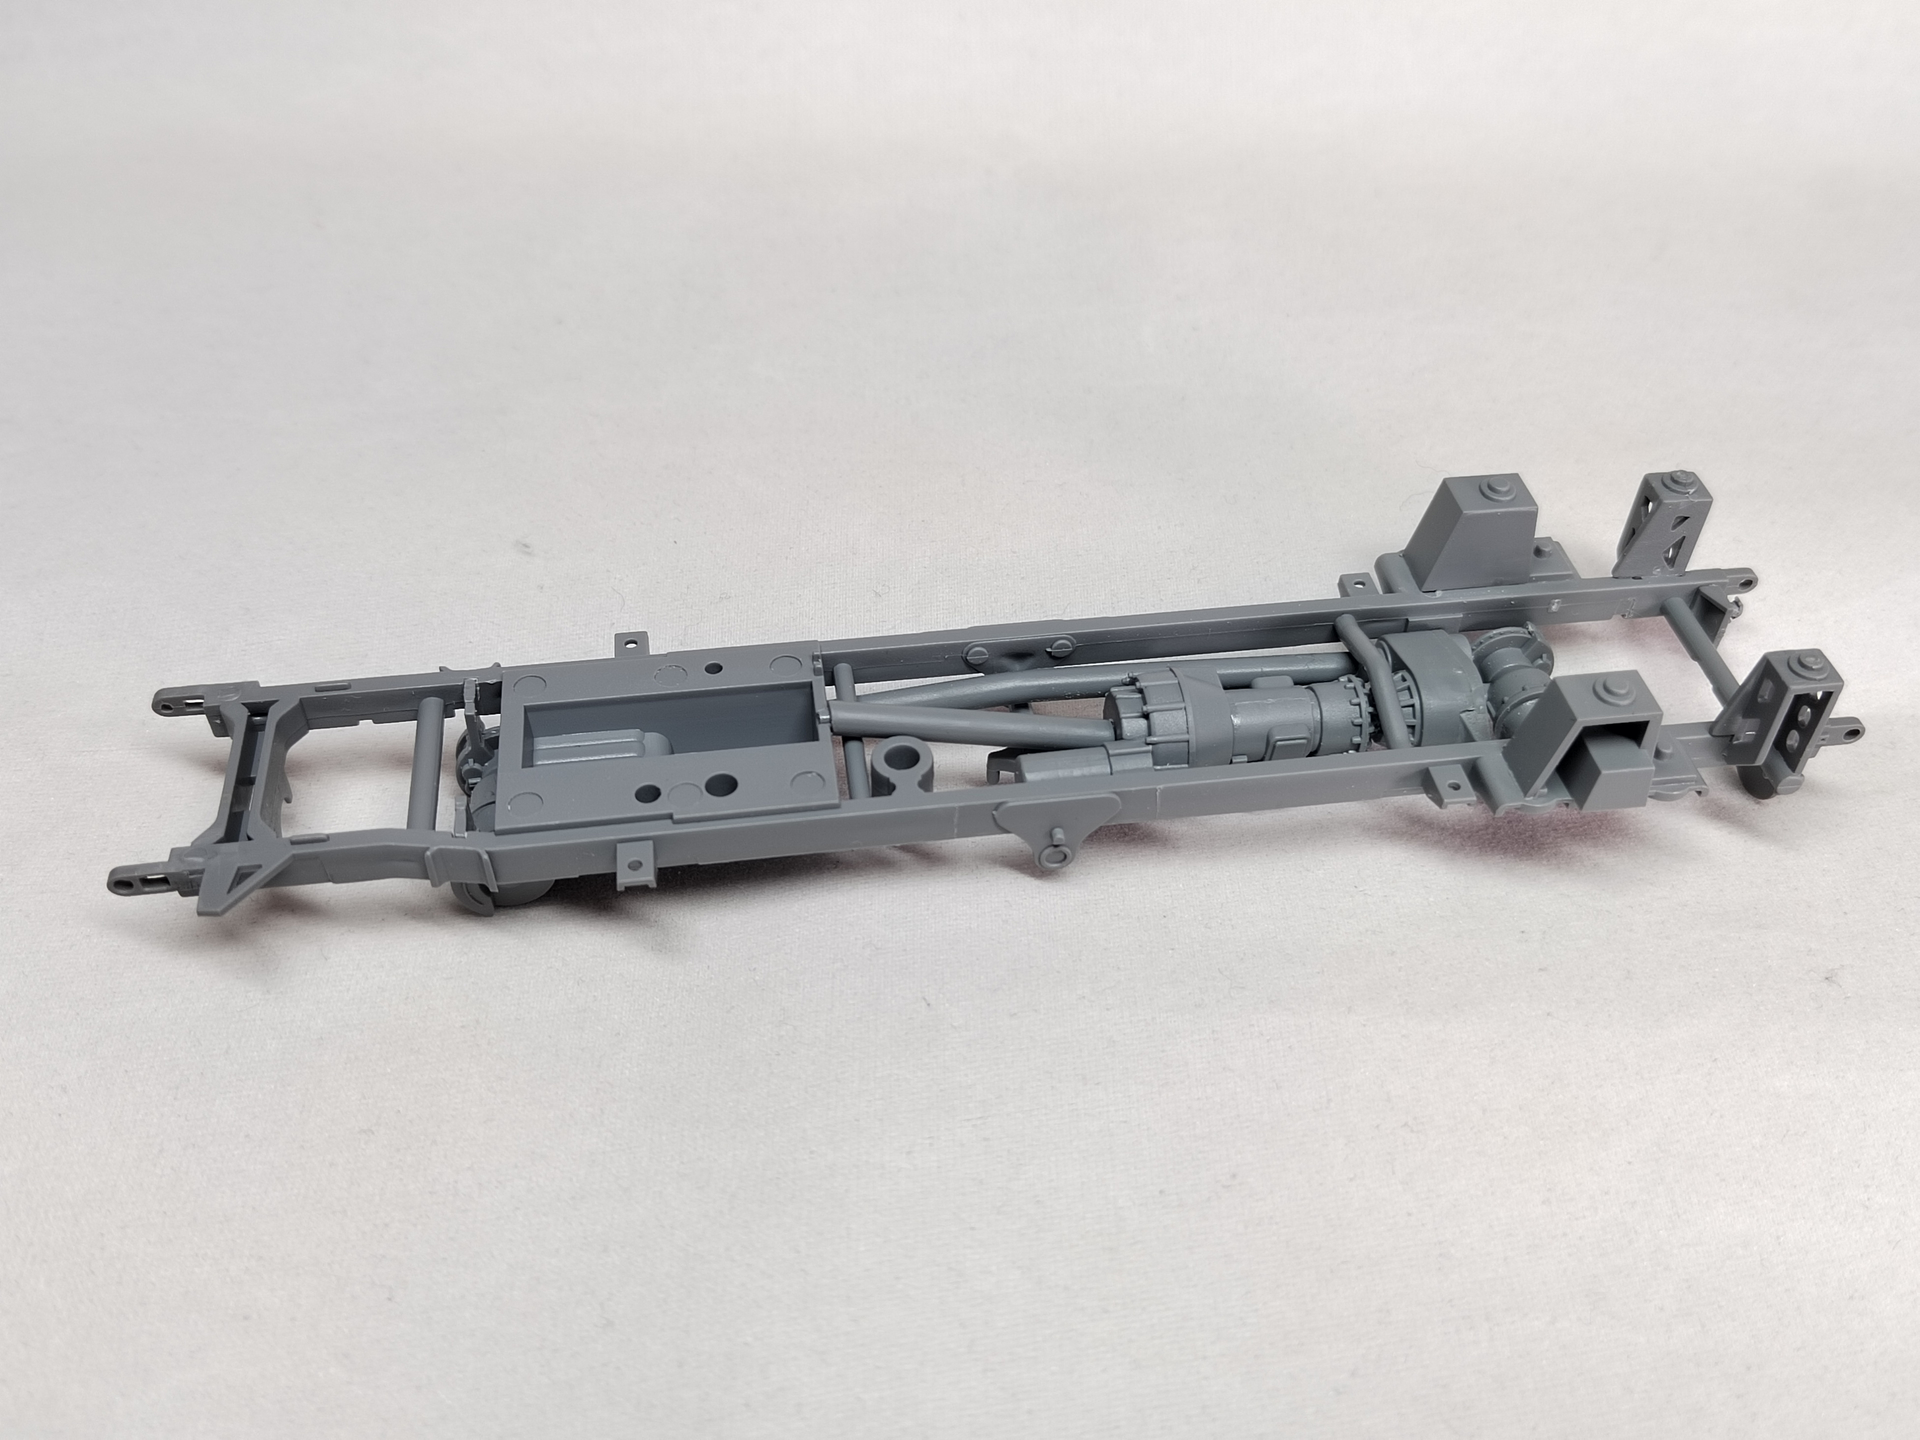
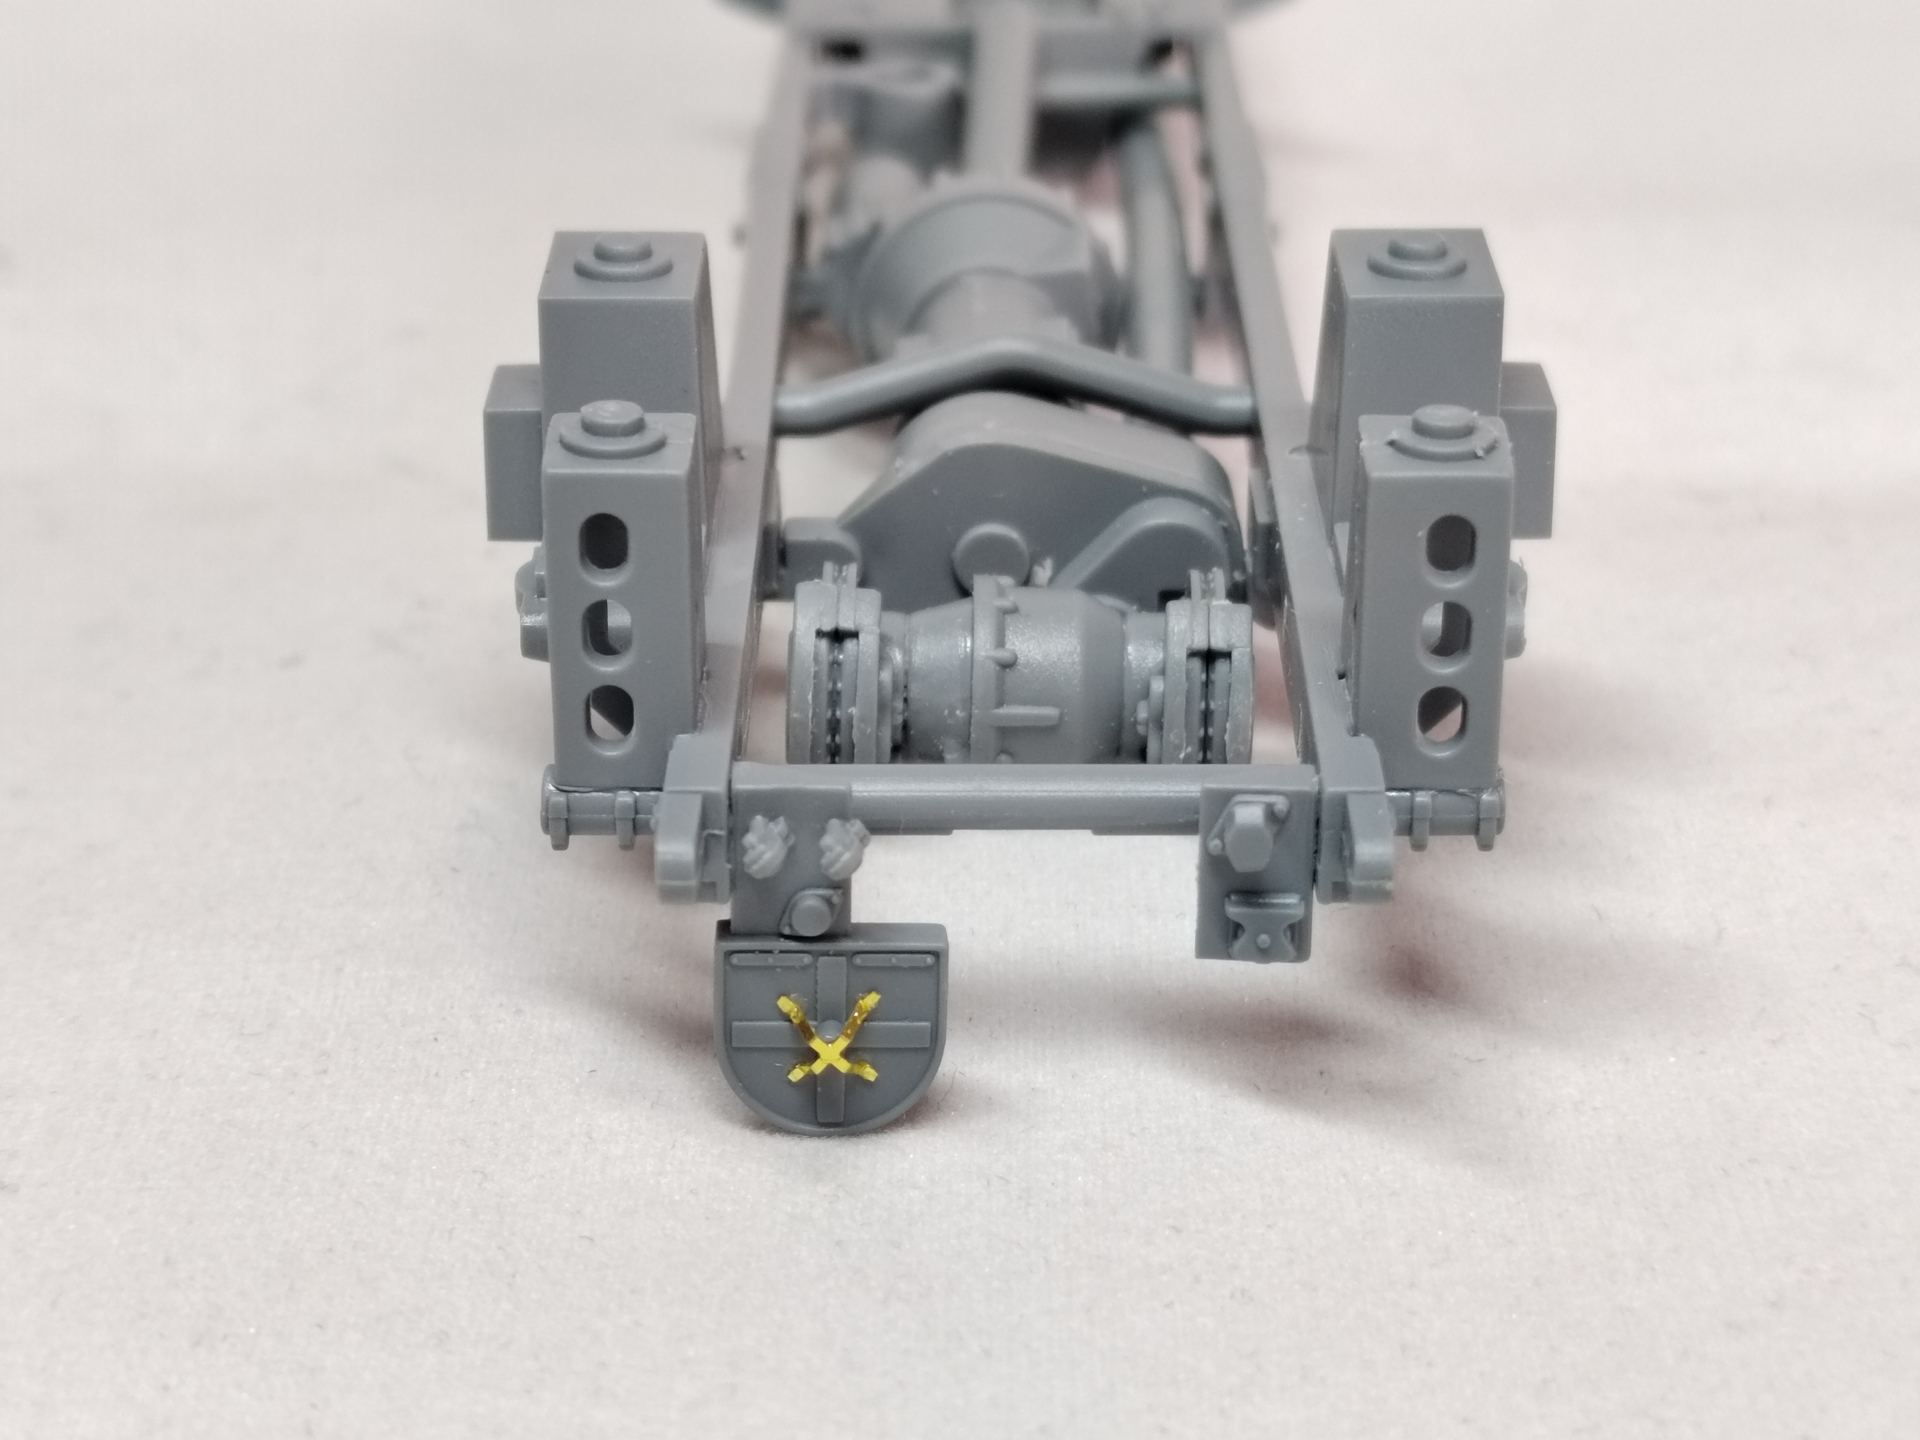
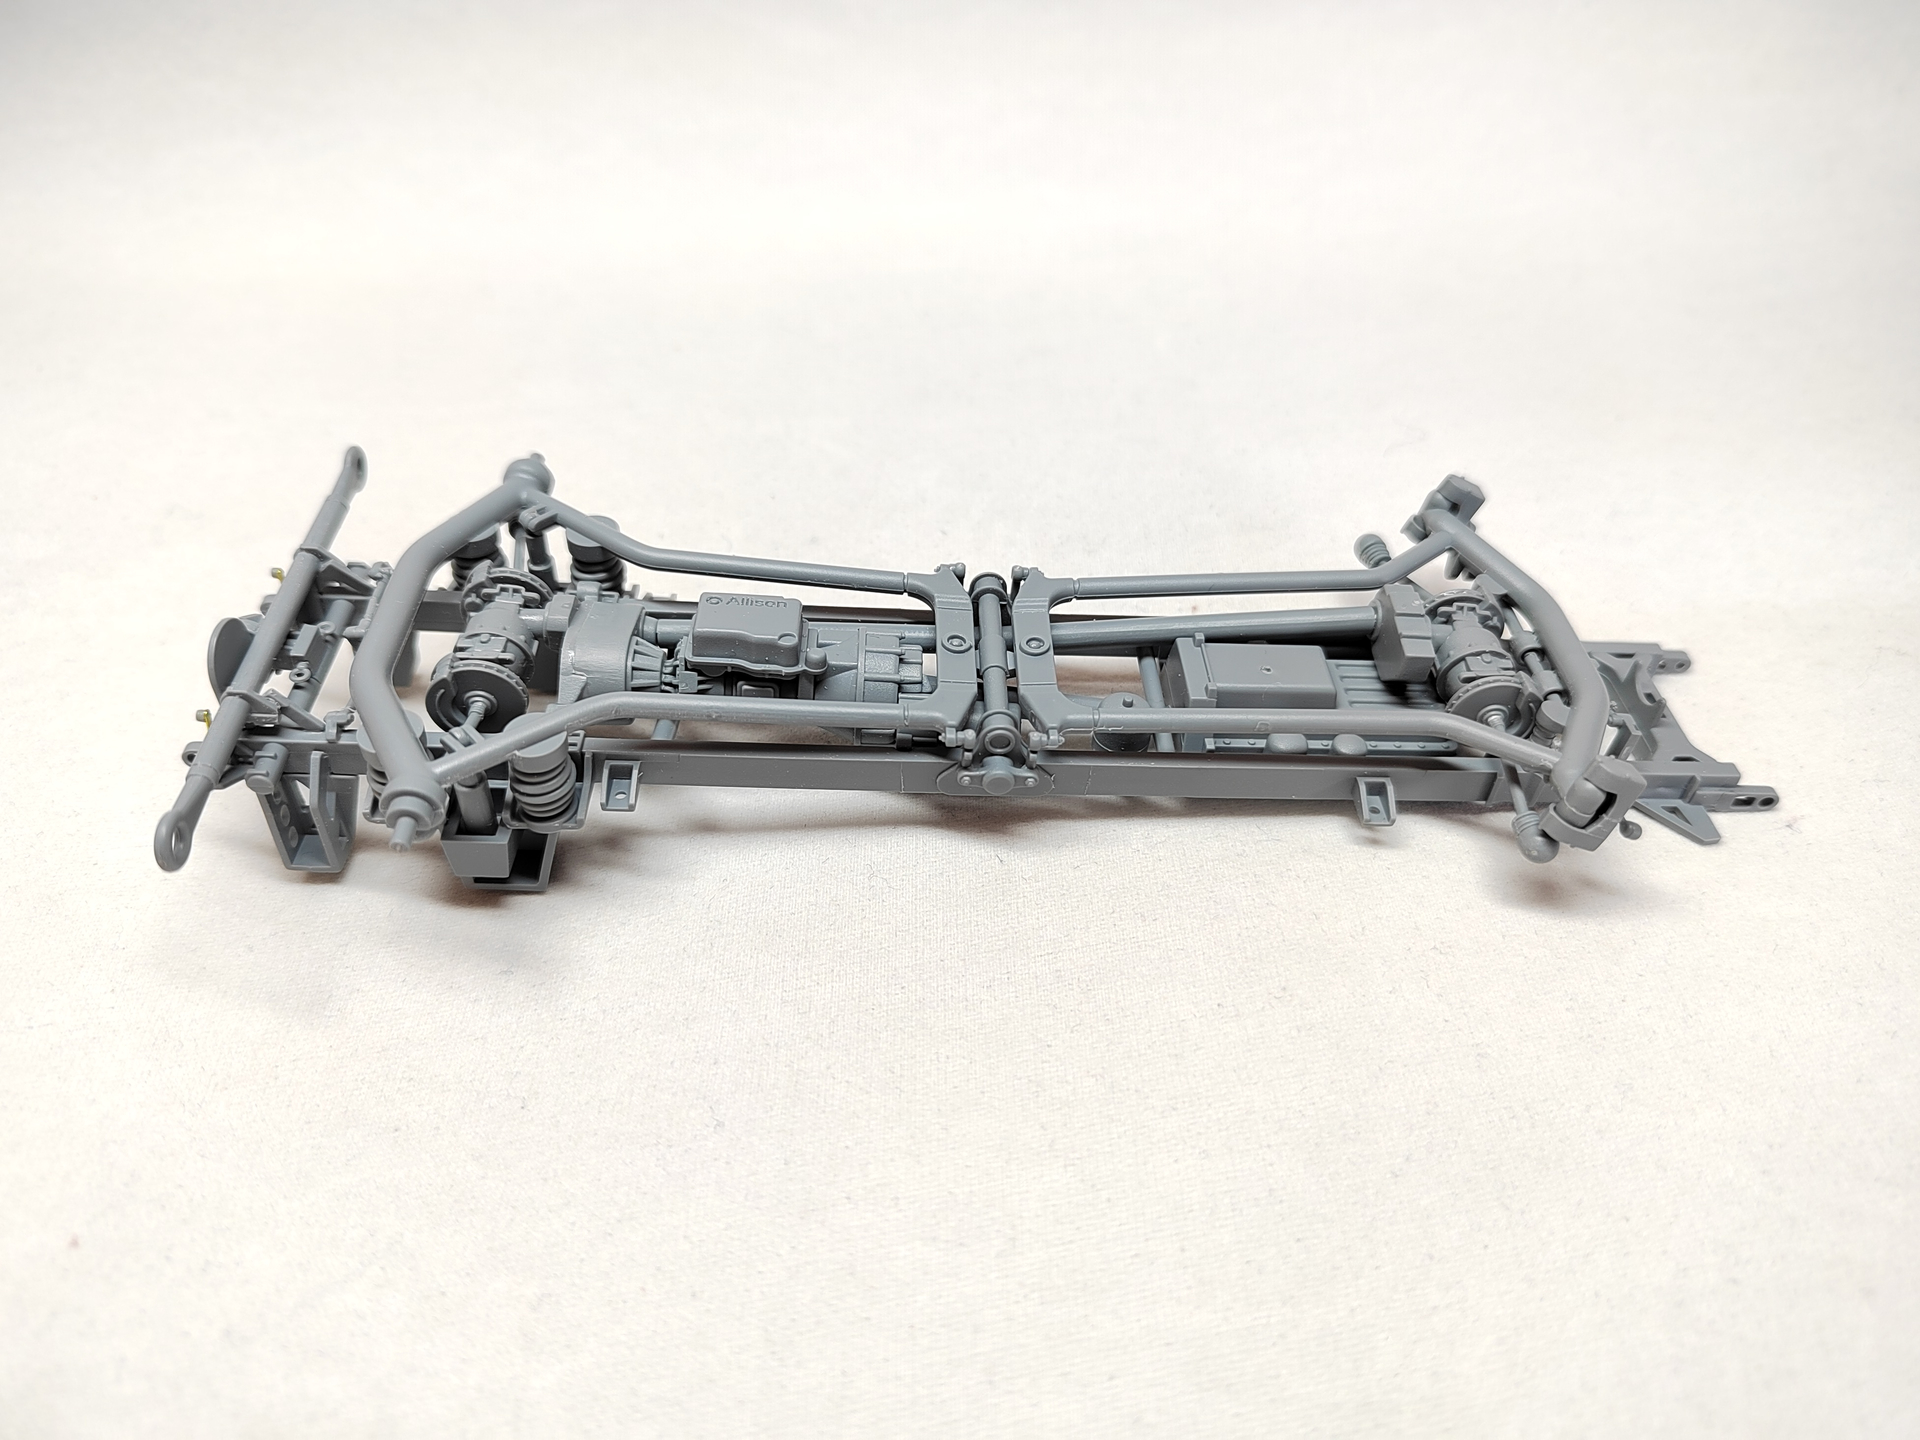
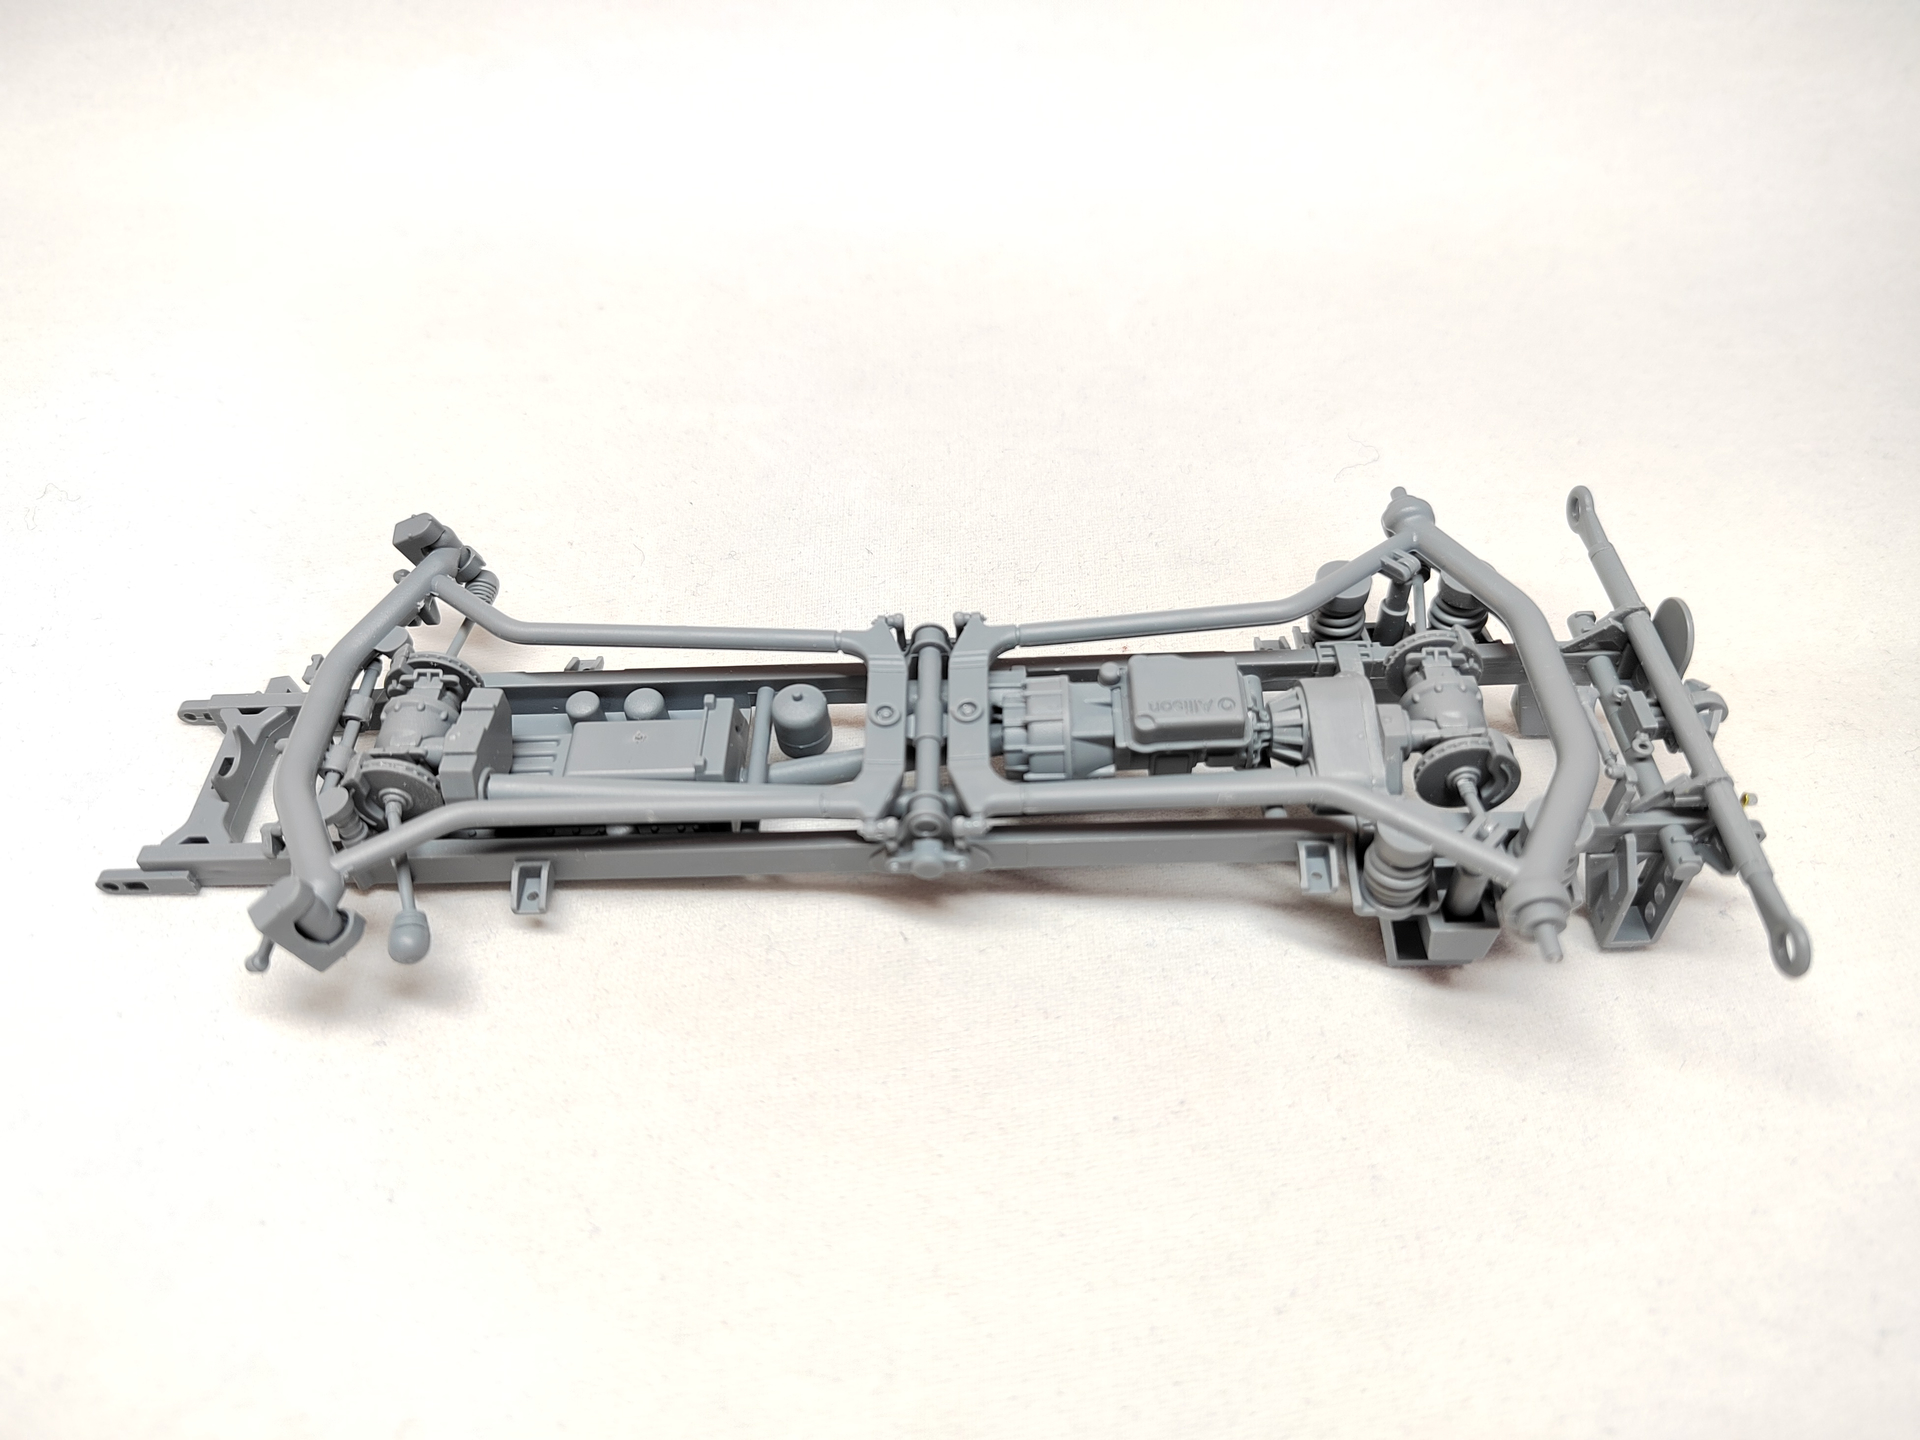
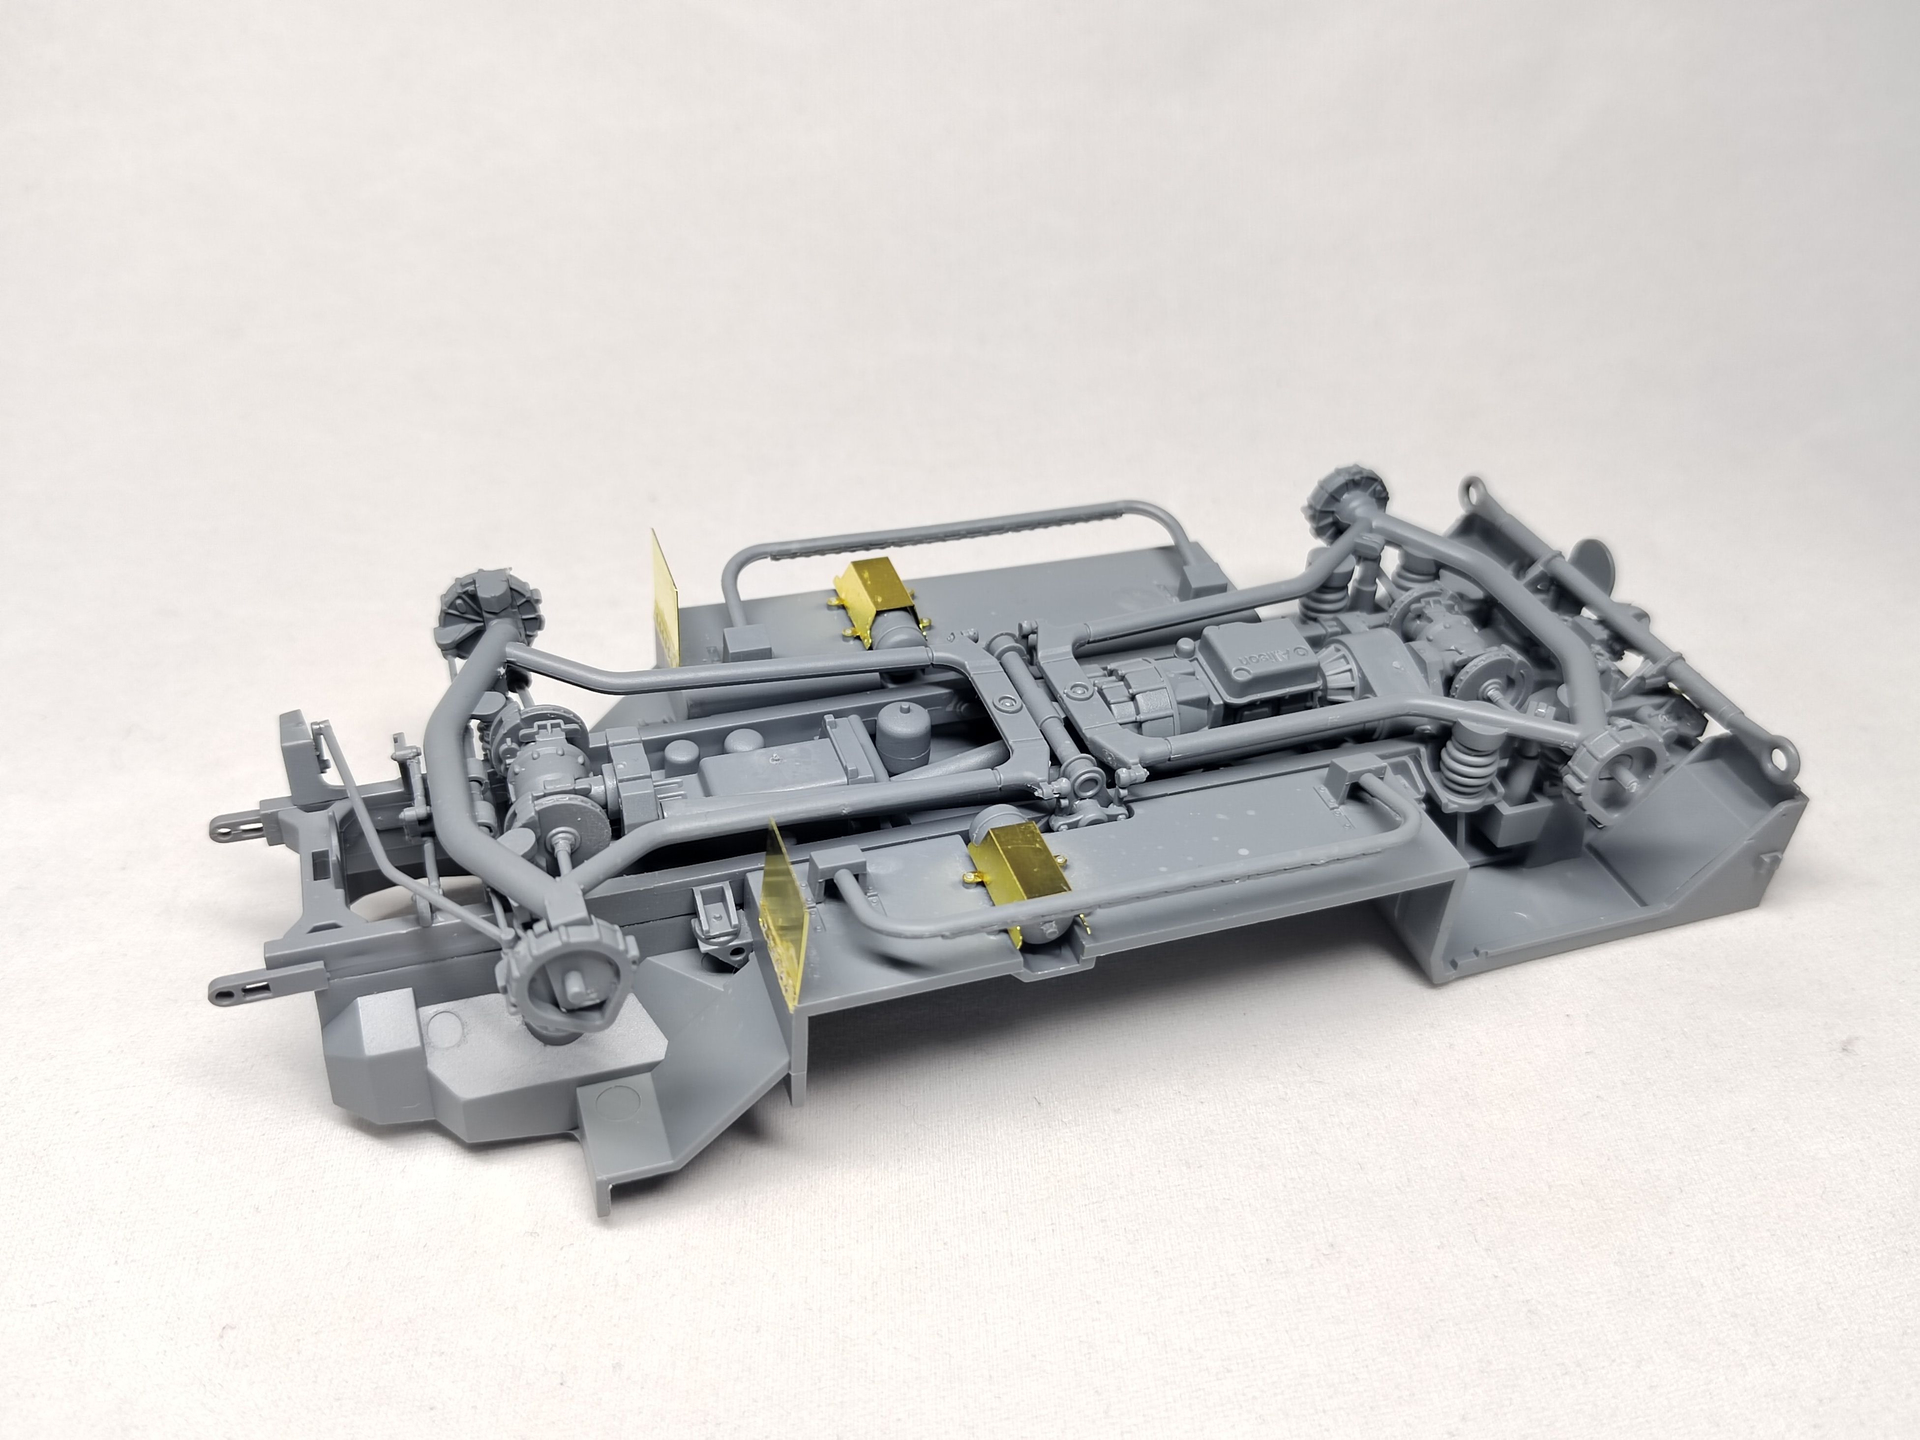
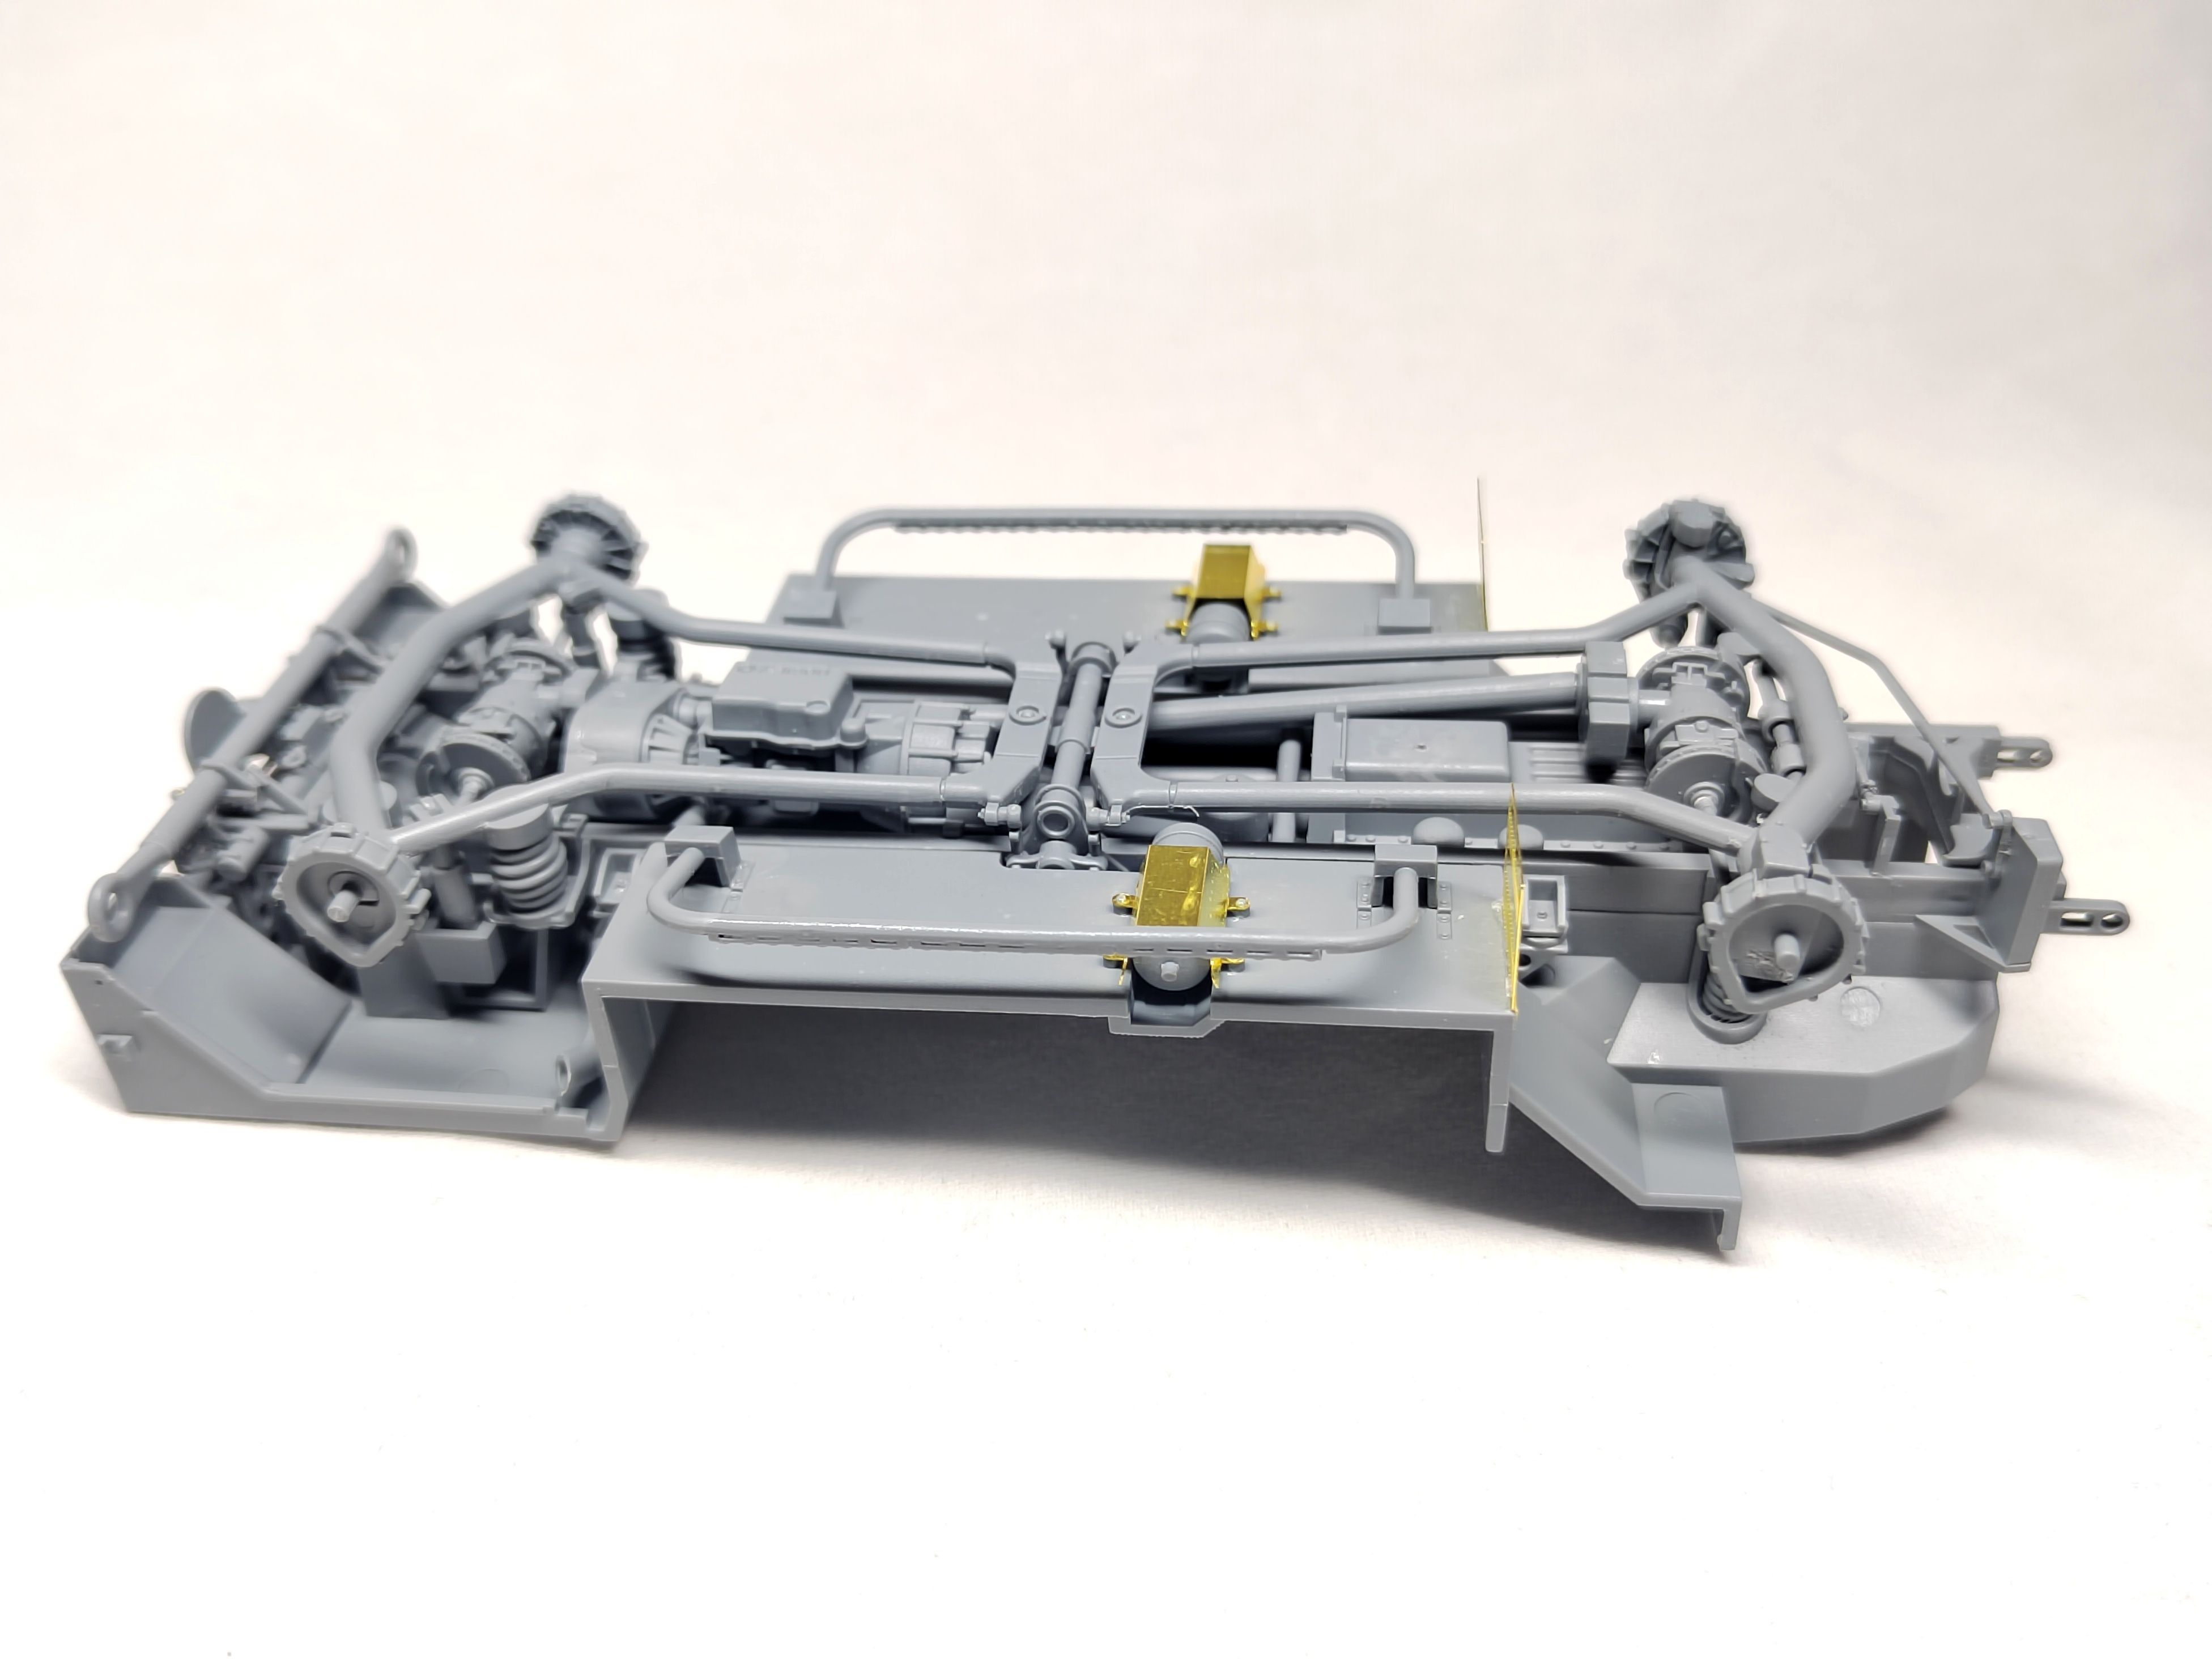
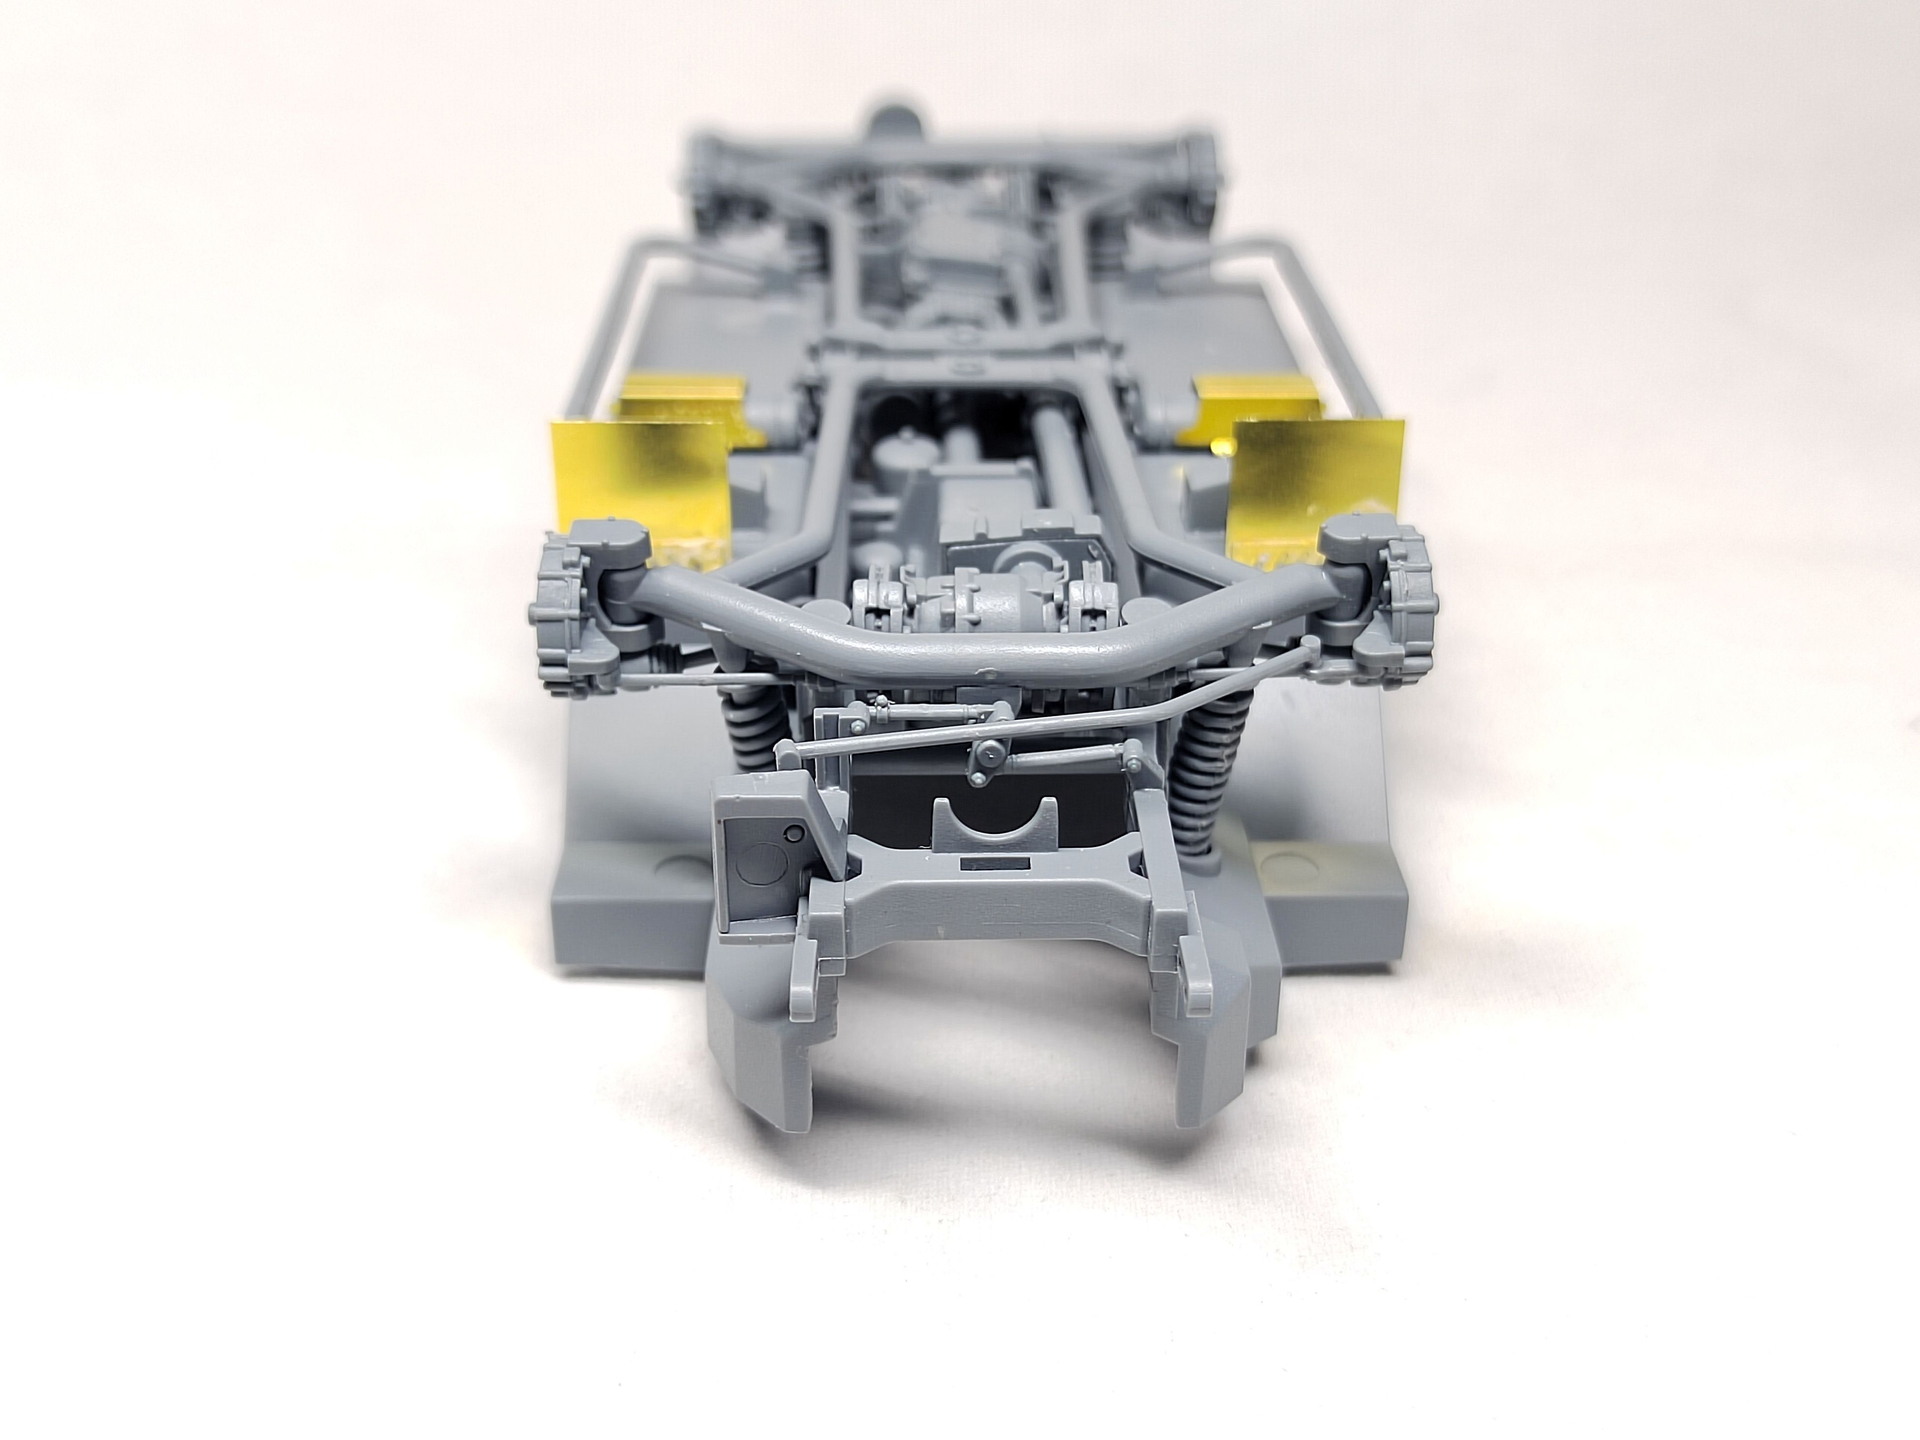
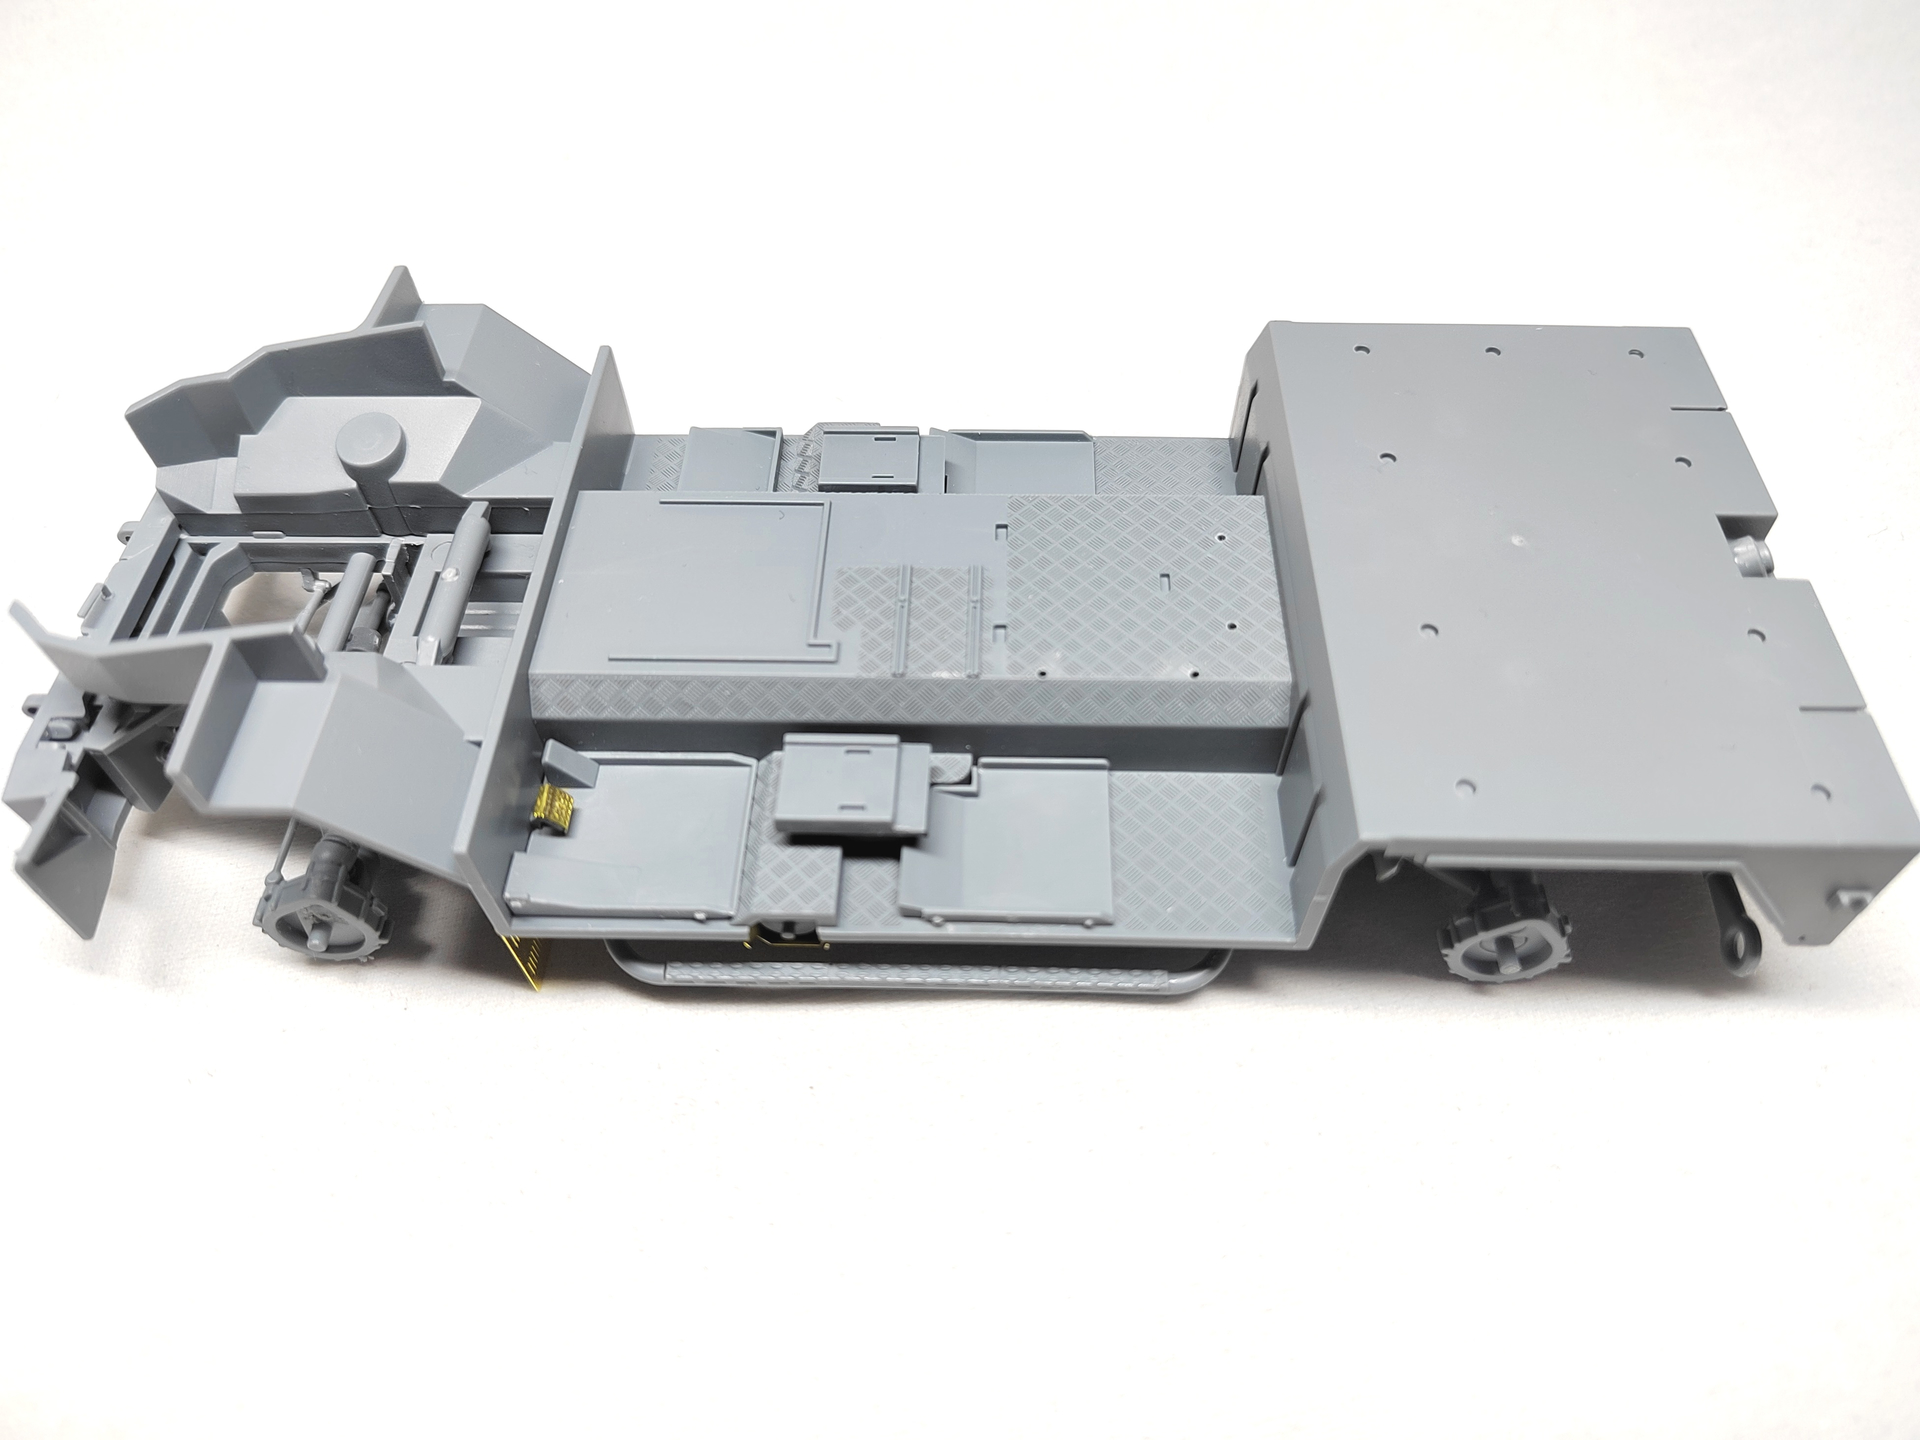
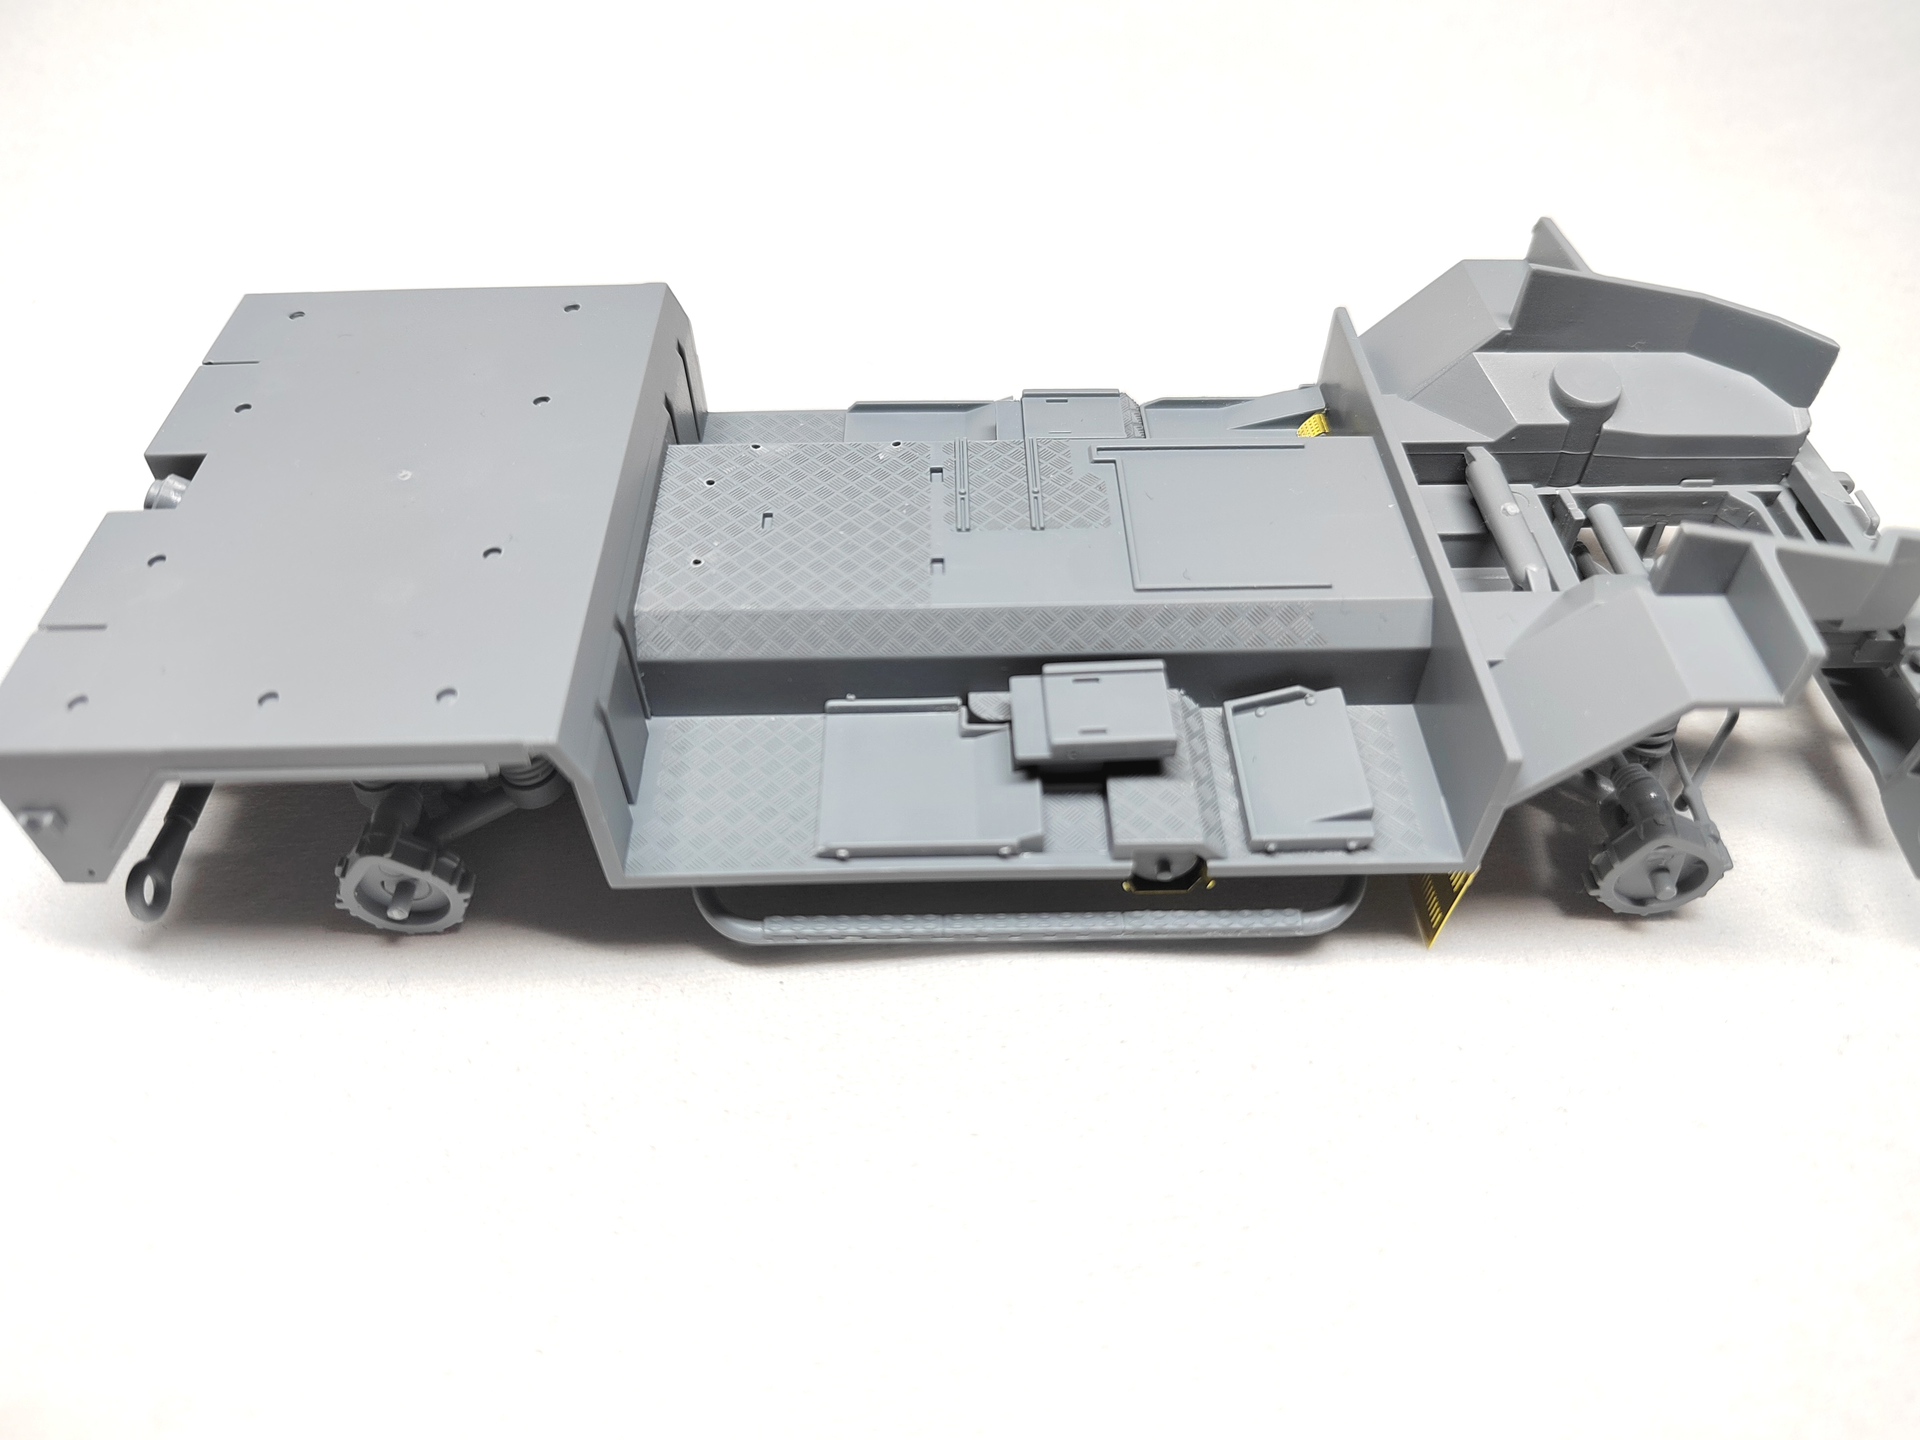
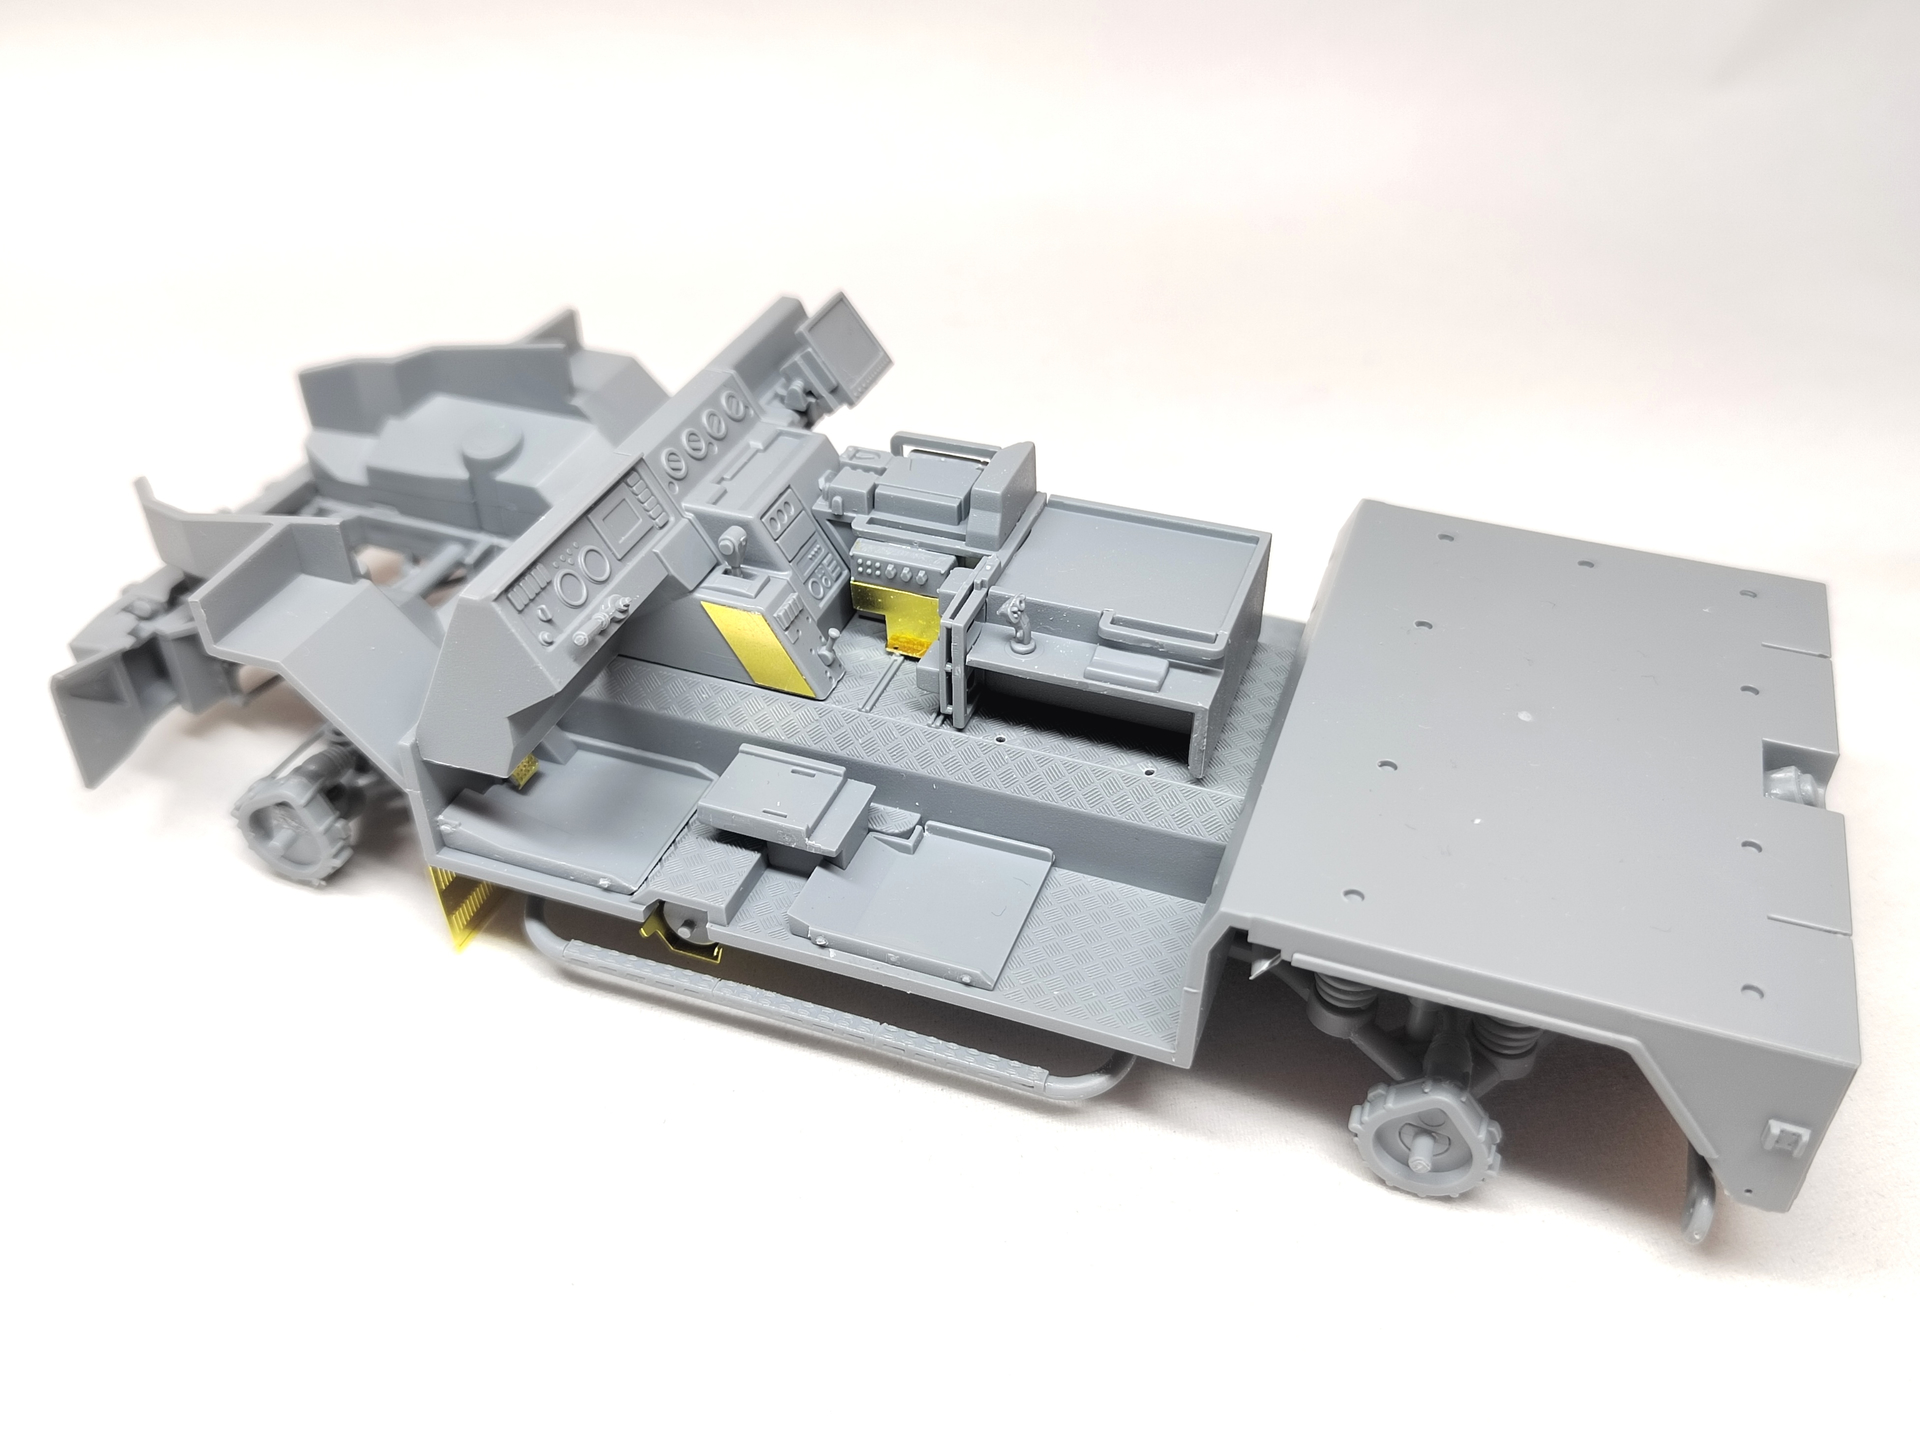
Here is the result of steps 2 and 3. Gluing the tubular suspension frames was quite tricky.
Olivier
23 Likes
Nice start. I´ll be watching since the Eagle IV is on my list.
2 Likes
I have the kit in my room , with 300 other ones, i’ll follow your build Olivier!
Thanks for sharring
3 Likes
Chair is pulled up and tagging along.
2 Likes
Nice to have you all following this build.
I have all the grandchildren at home currently. So the workbench time is very limited. 
I’ll post pictures of the slow progress later.
Olivier
3 Likes
I like to see how they did the FLW100.
1 Like
Got some time to make progress.
The lower hull is over. It was tricky maybe because I didn’t properly align some parts. I advise you not to glue the drive shafts which run to the wheels as they are very fragile and break pretty easily. You still can glue them just before adding the parts on which the wheels are glued. Gluing the front mudflaps is a guess game as there is no mark either on the hull or on the PE parts themselves (2 per mudflap).
Not gluing the parts of the steering proved a good idea as you have to glue a rod at the end of the step which makes the front axle no steerable any longer.
Olivier
10 Likes
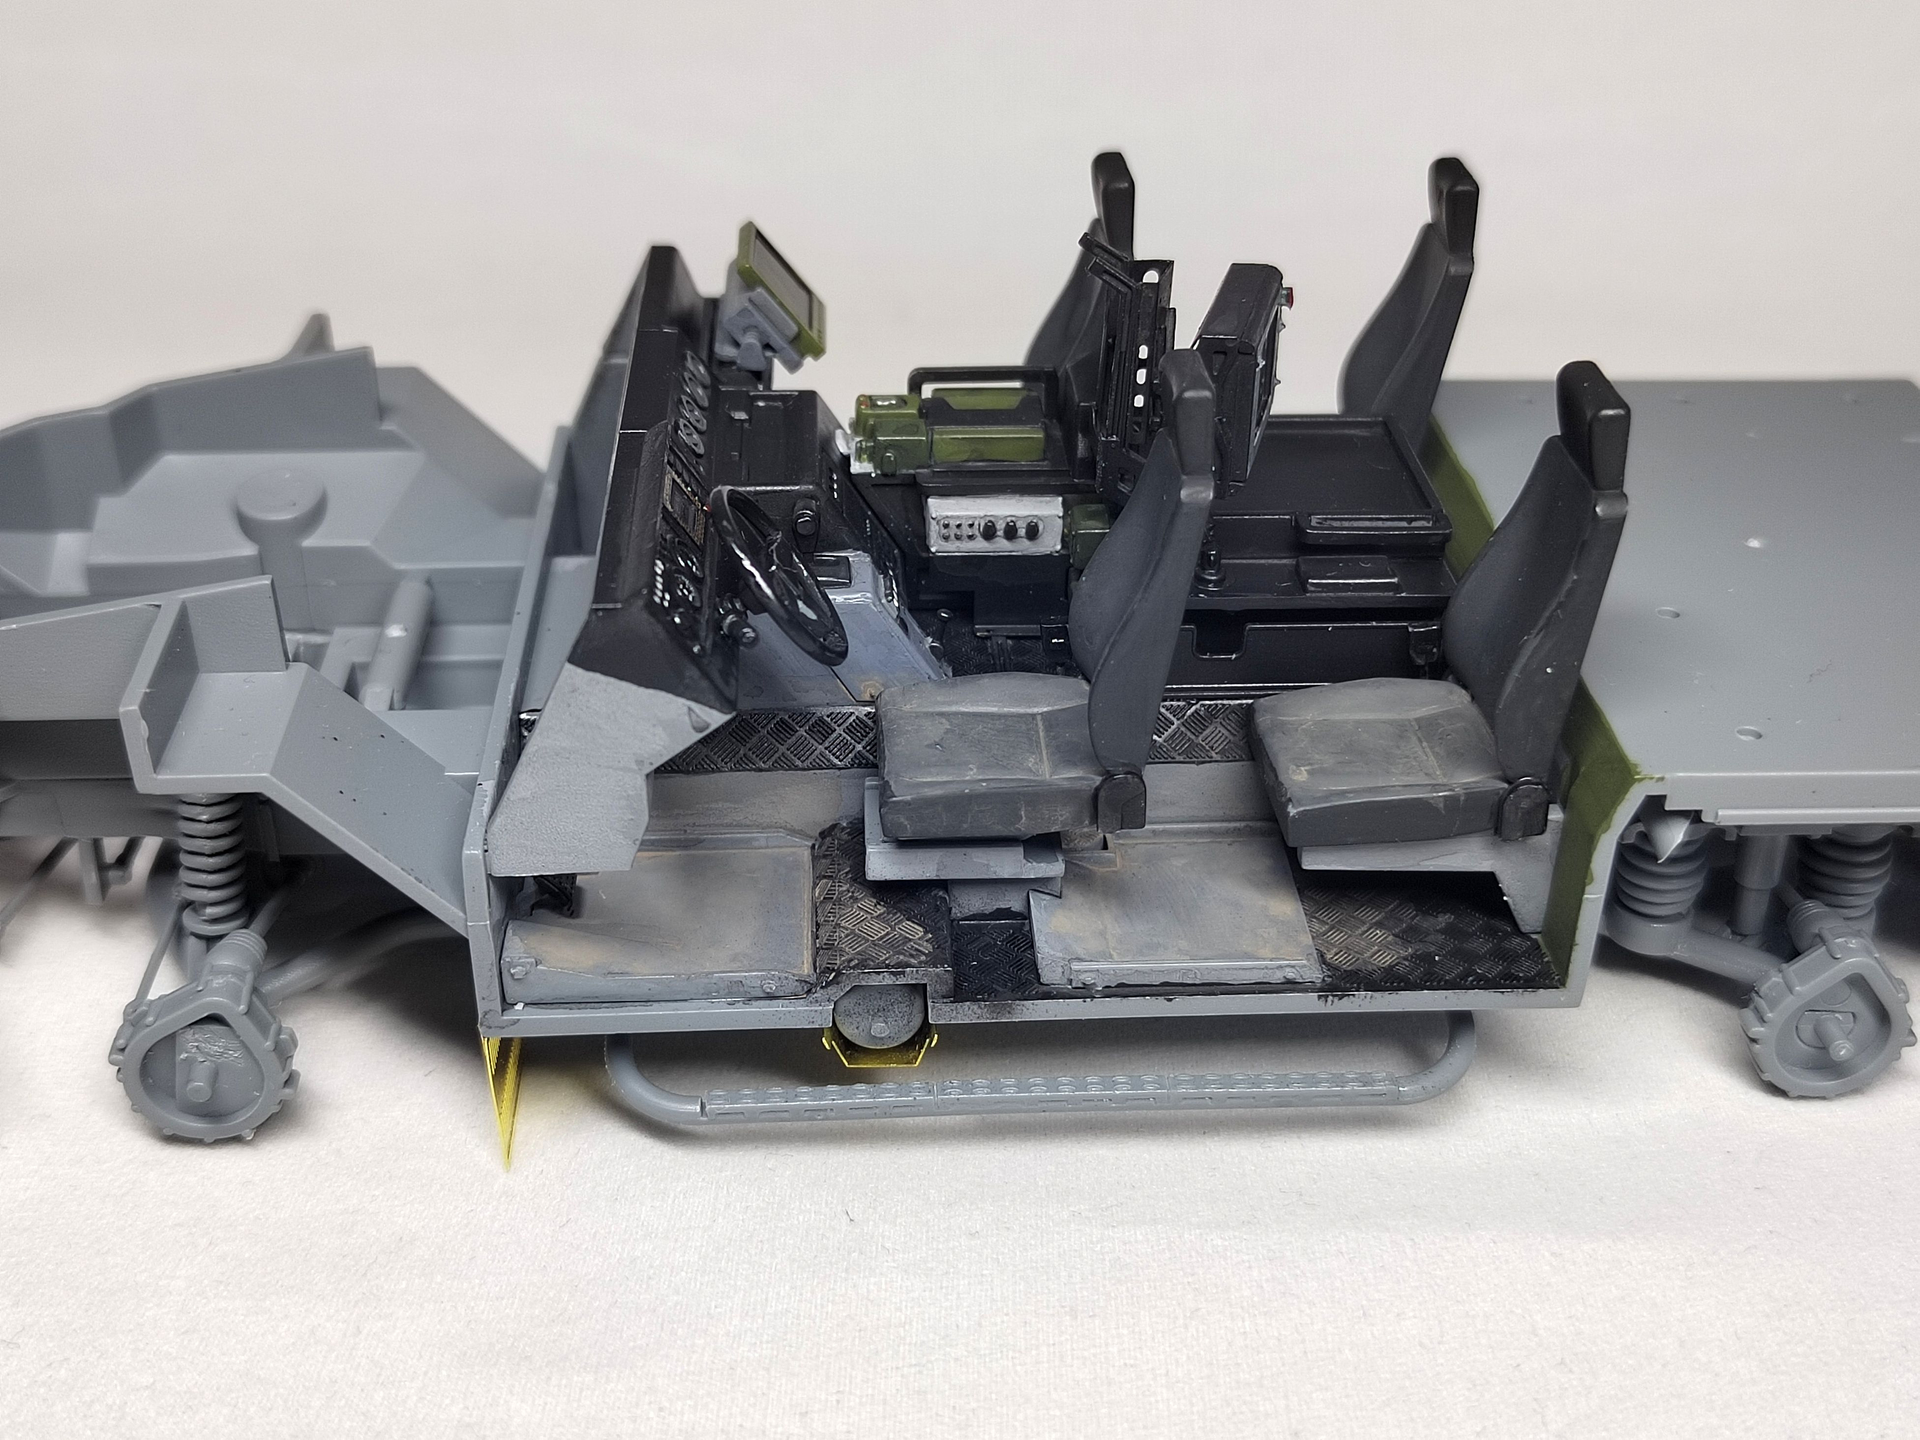
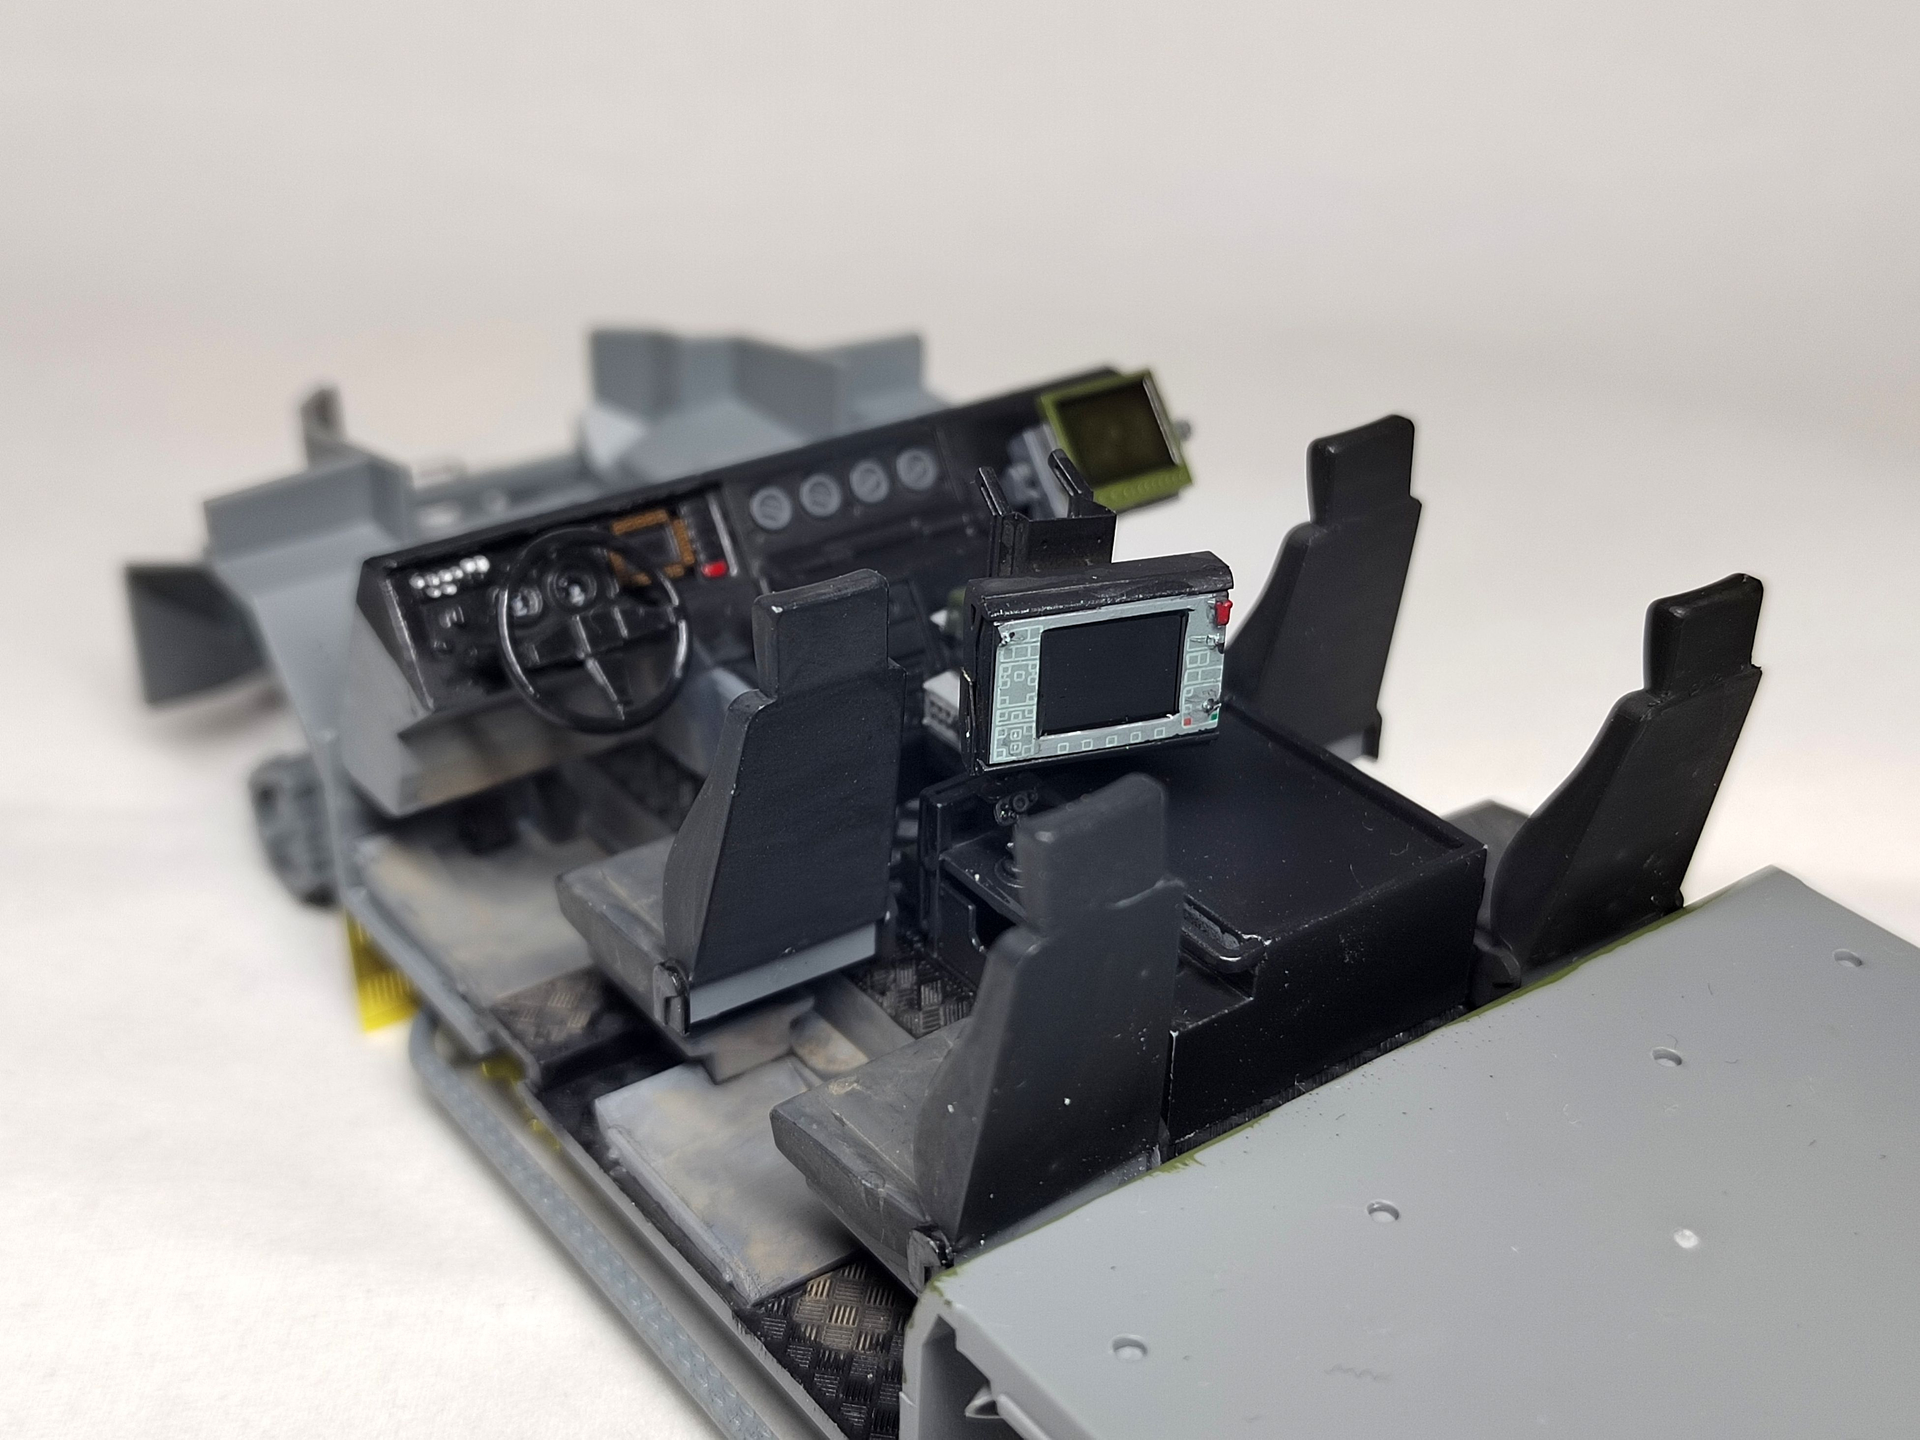
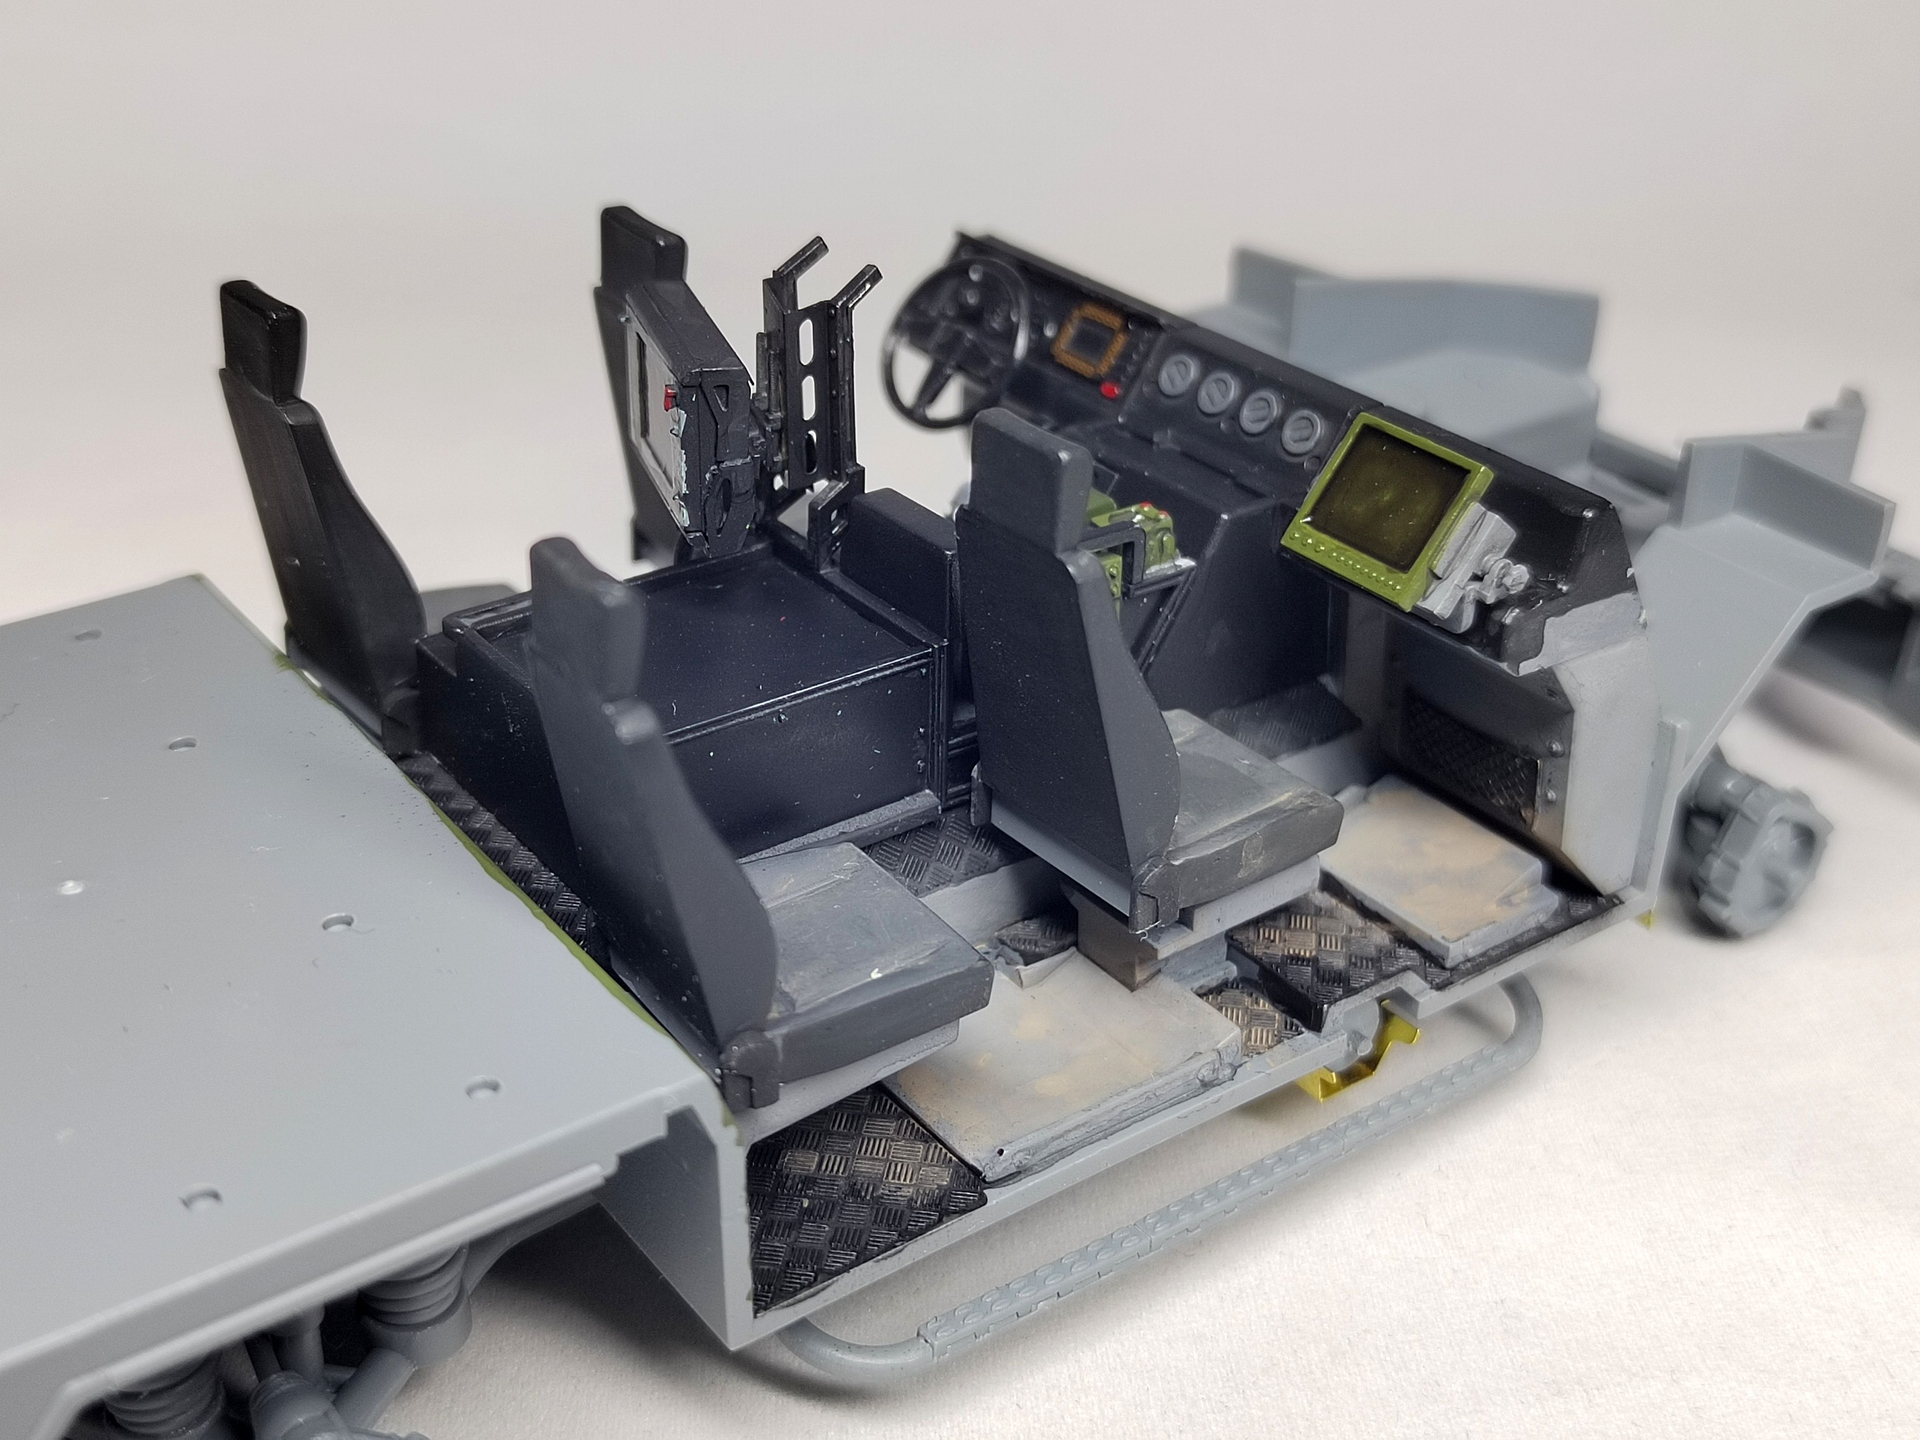
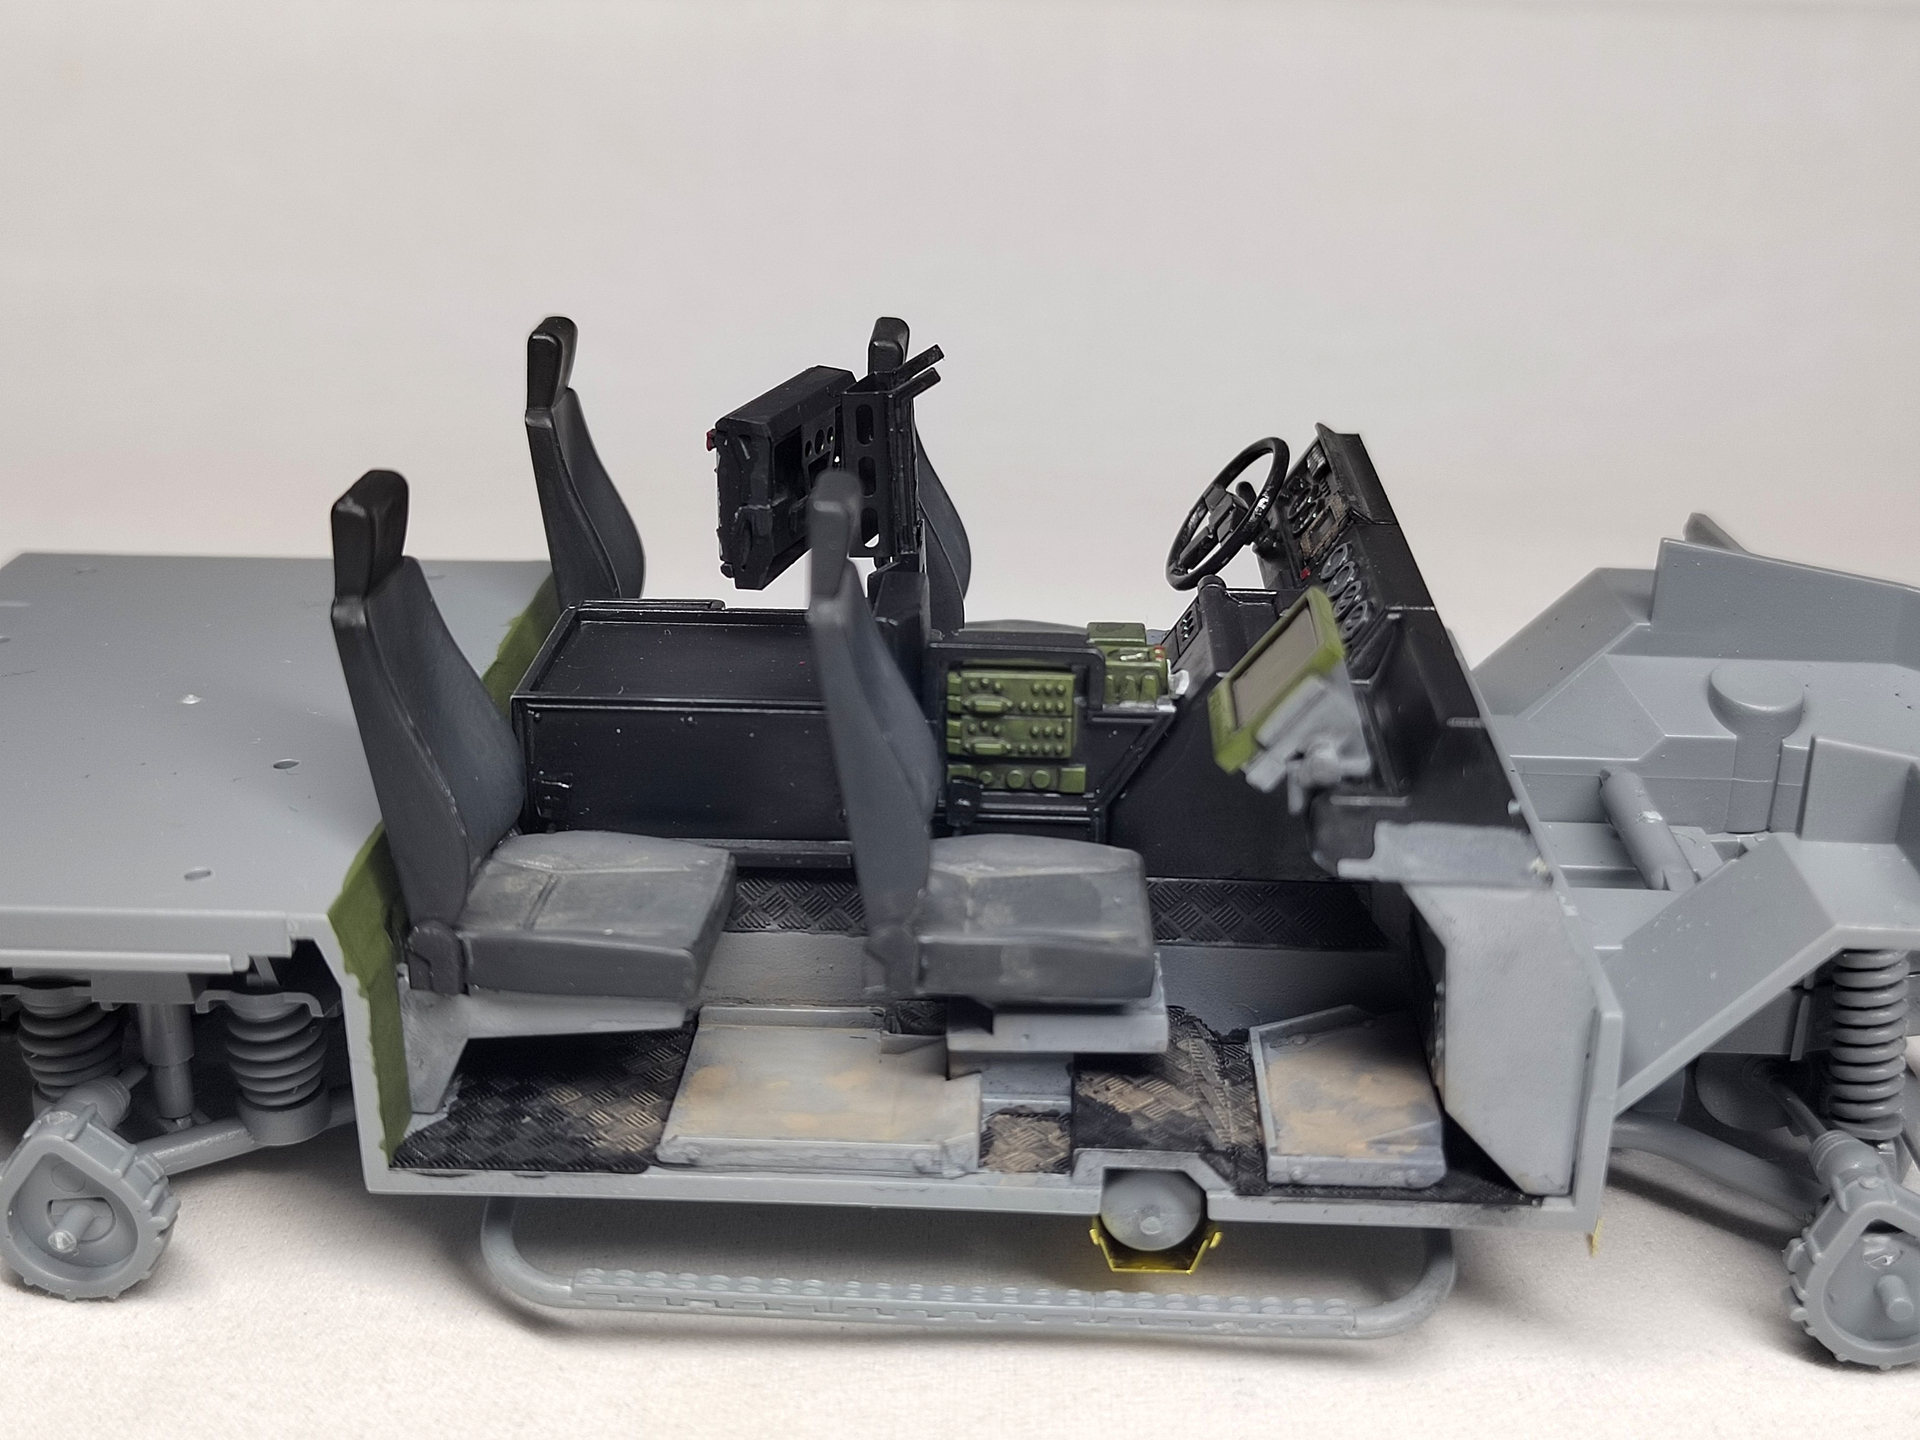
I have completed steps 5 and 6 related to the beginning of interior assembly. You need to be careful about the location of some PE parts as the instructions are quite vague.
The main sub-assemblies are not glued yet.
Olivier
8 Likes
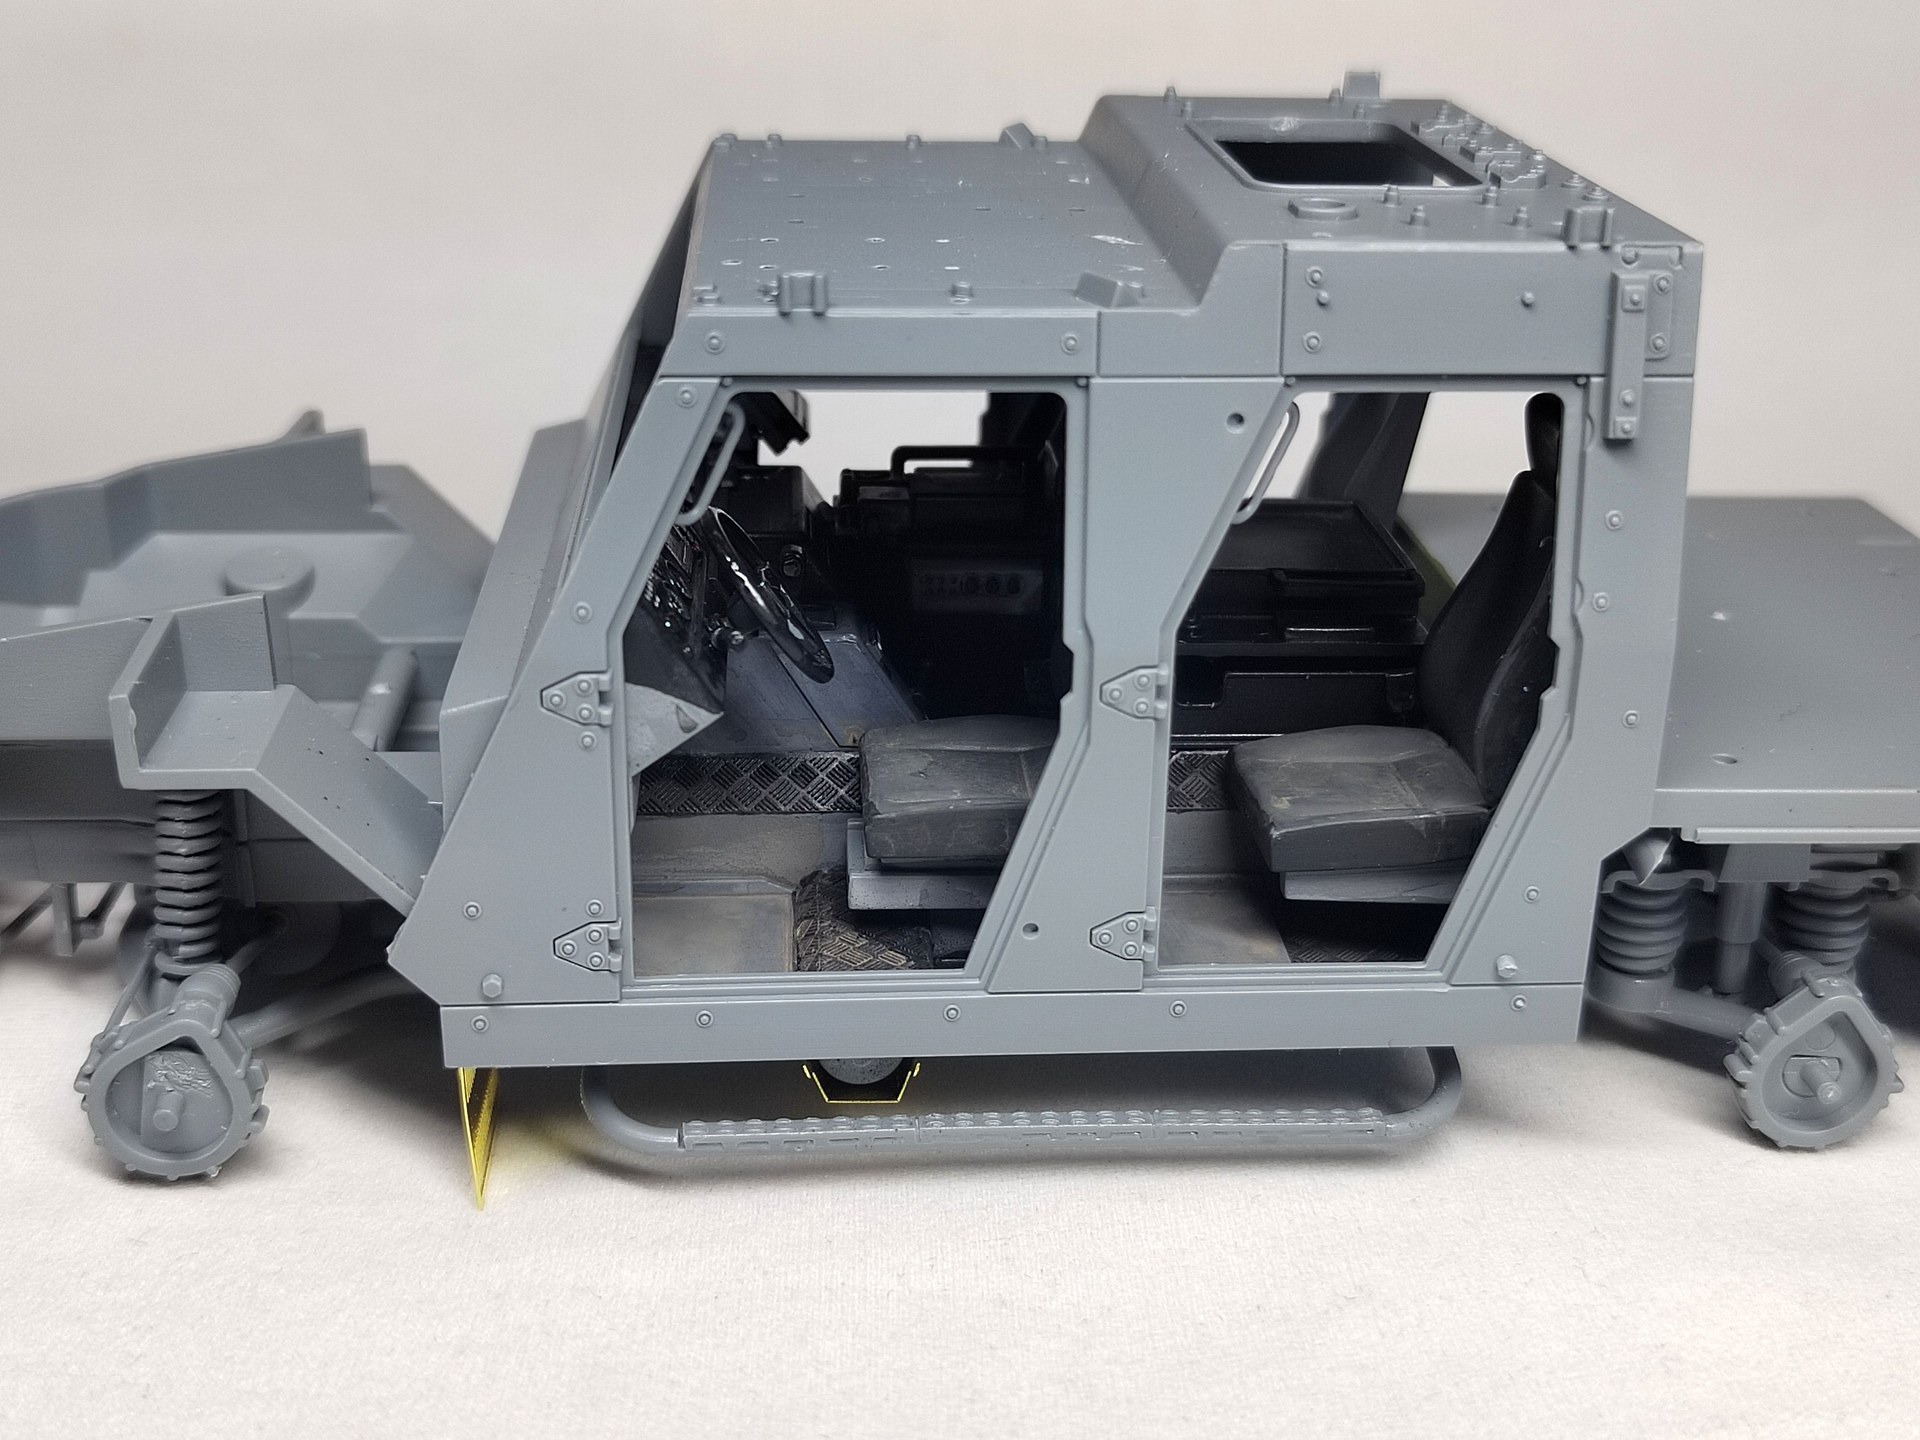
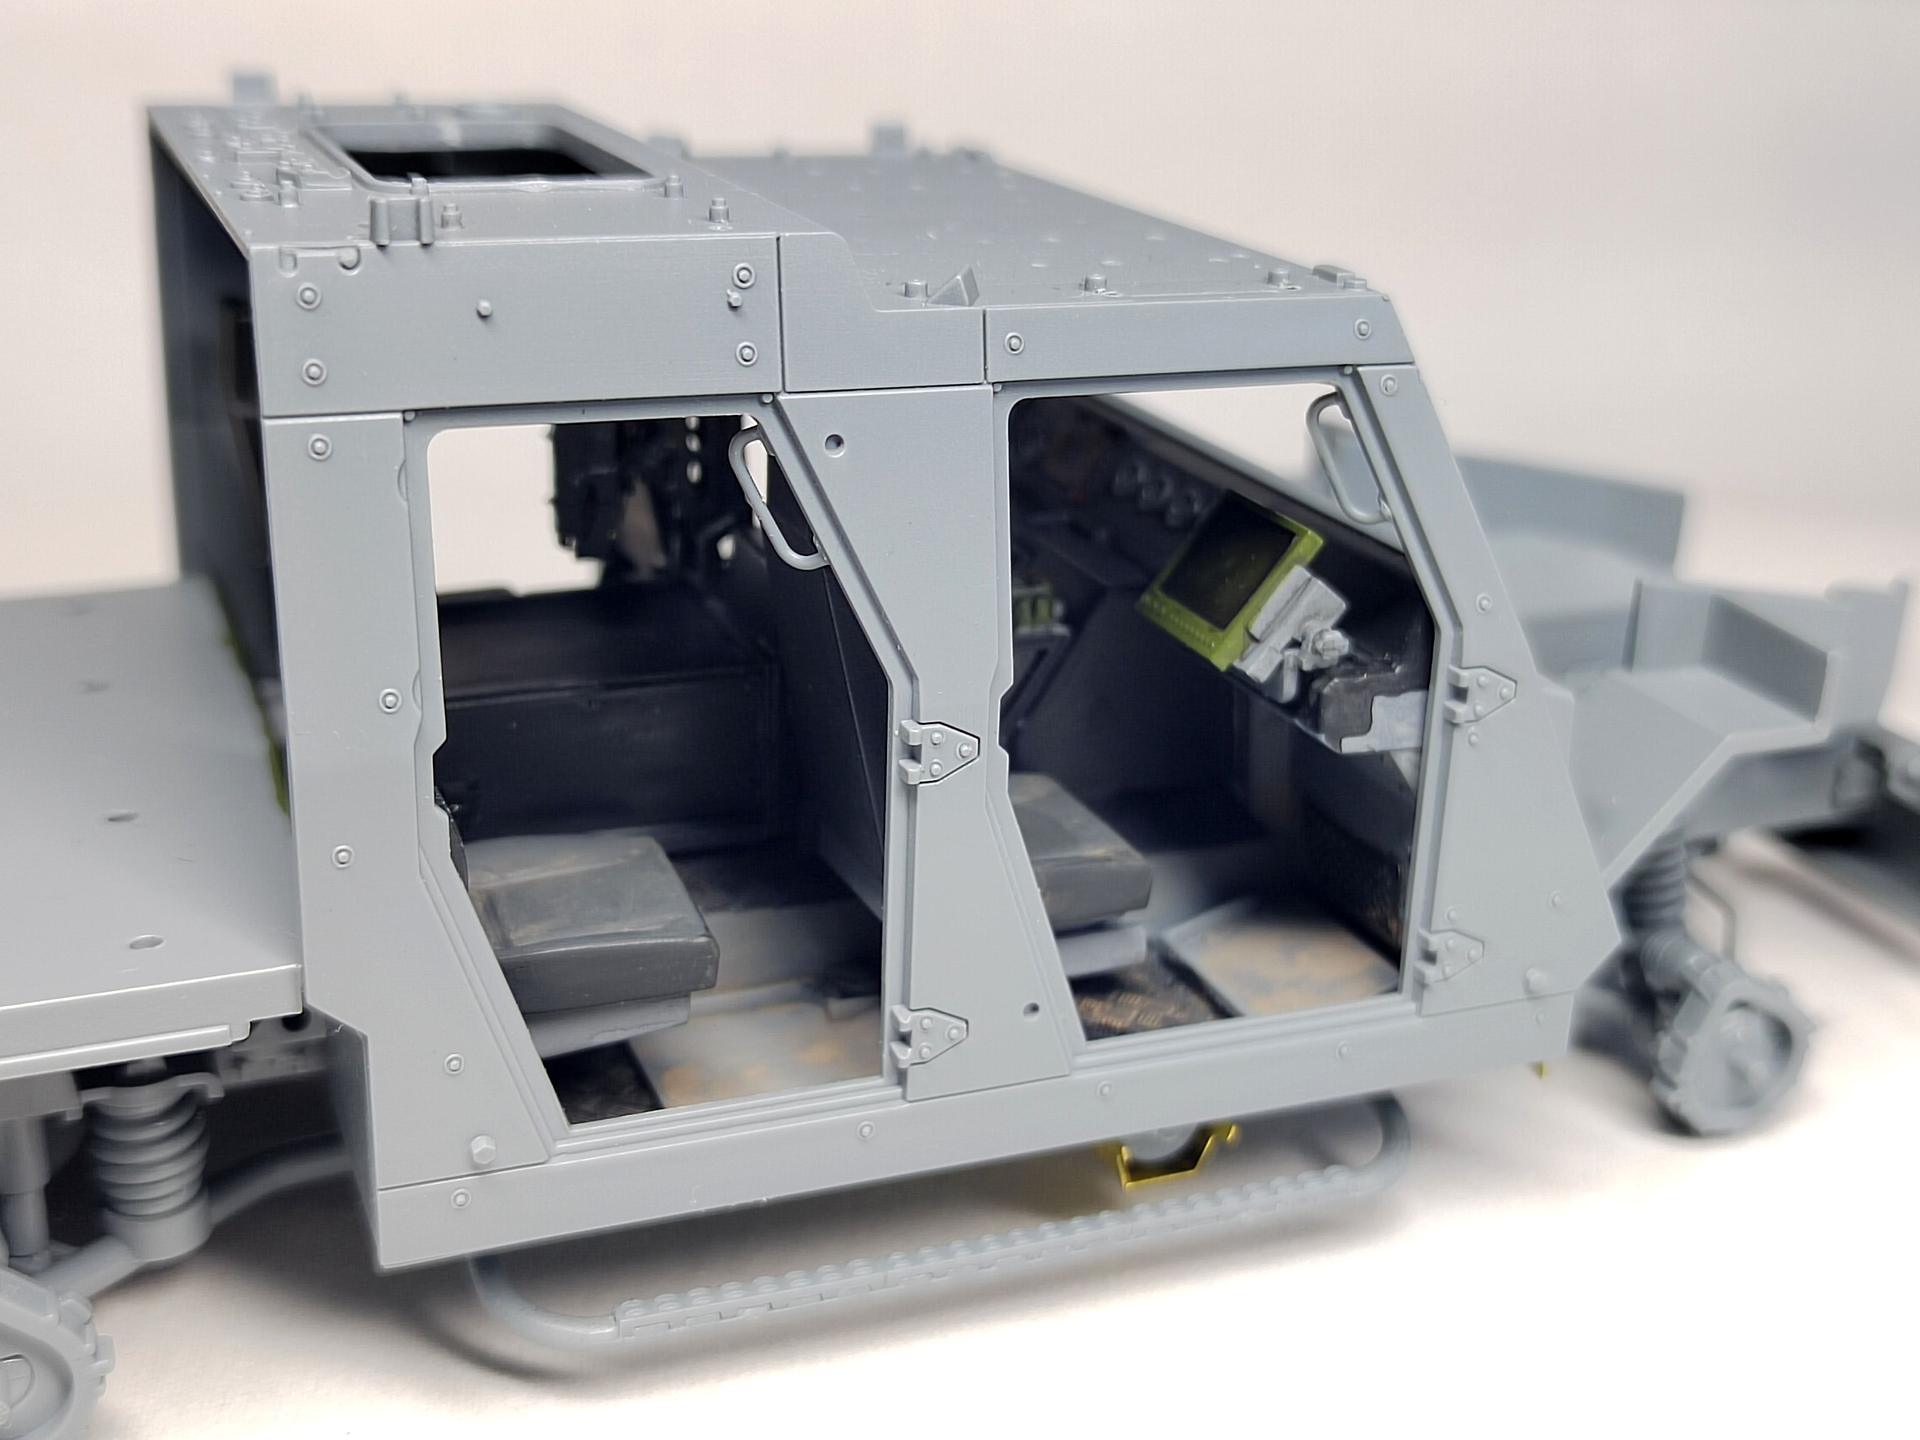
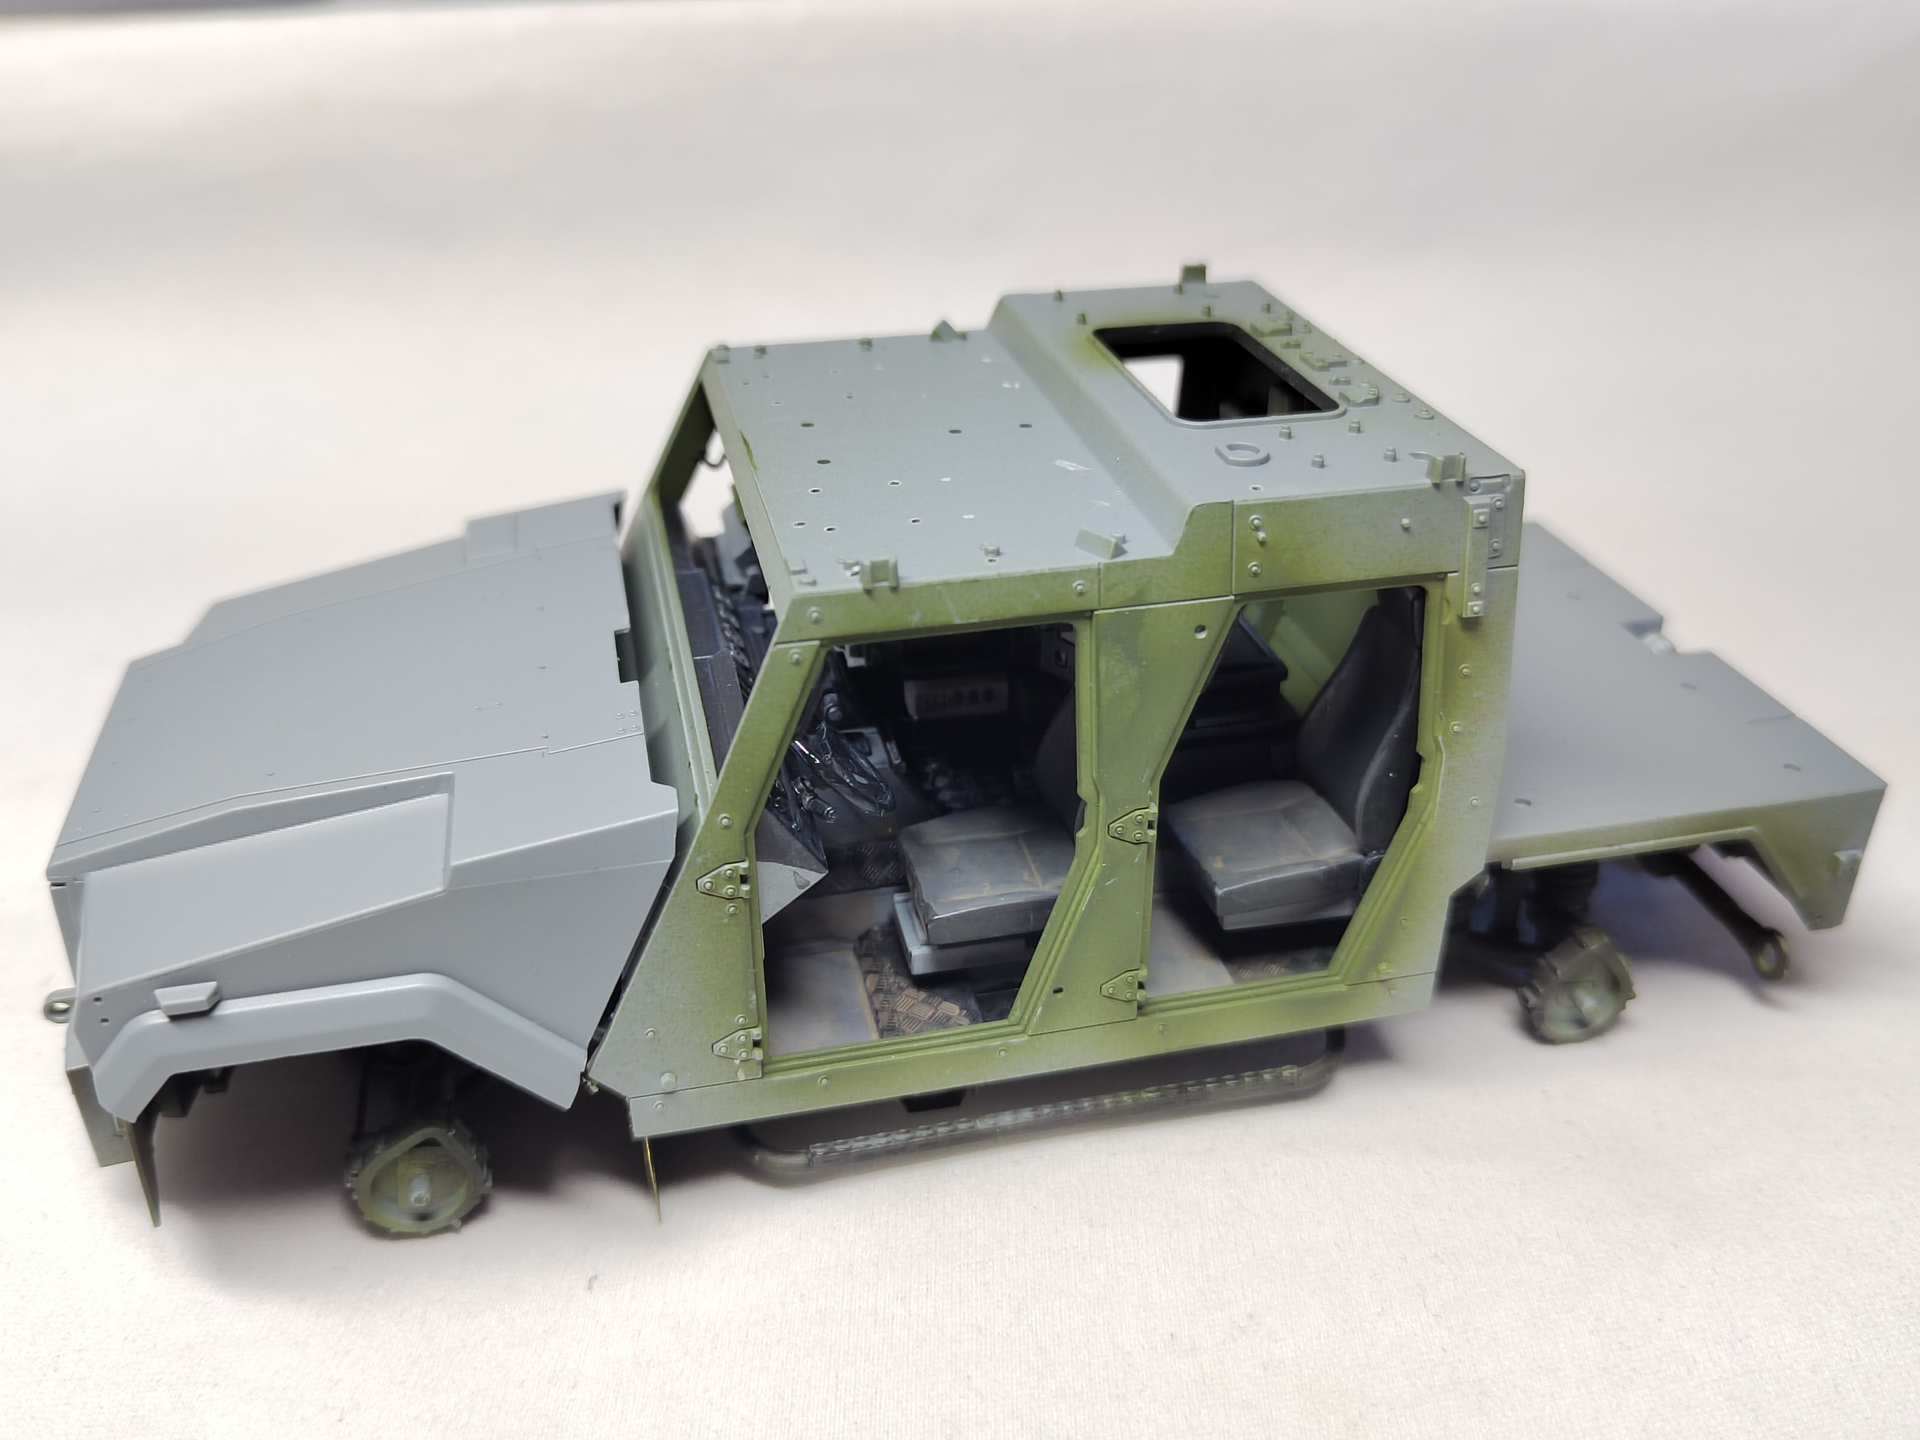
The interior has been painted with the help of a walkaround at Prime Portal. The sub-assemblies have been painted separately then glued in place. I weathered the interior a little bit however I guess a drybrush over the dark parts would be useful.
The last pictures show the cabin dry-fitted.
Olivier
12 Likes
Great progress Olivier, and the interior looks super and well detailed
2 Likes
Thank you all for the support.
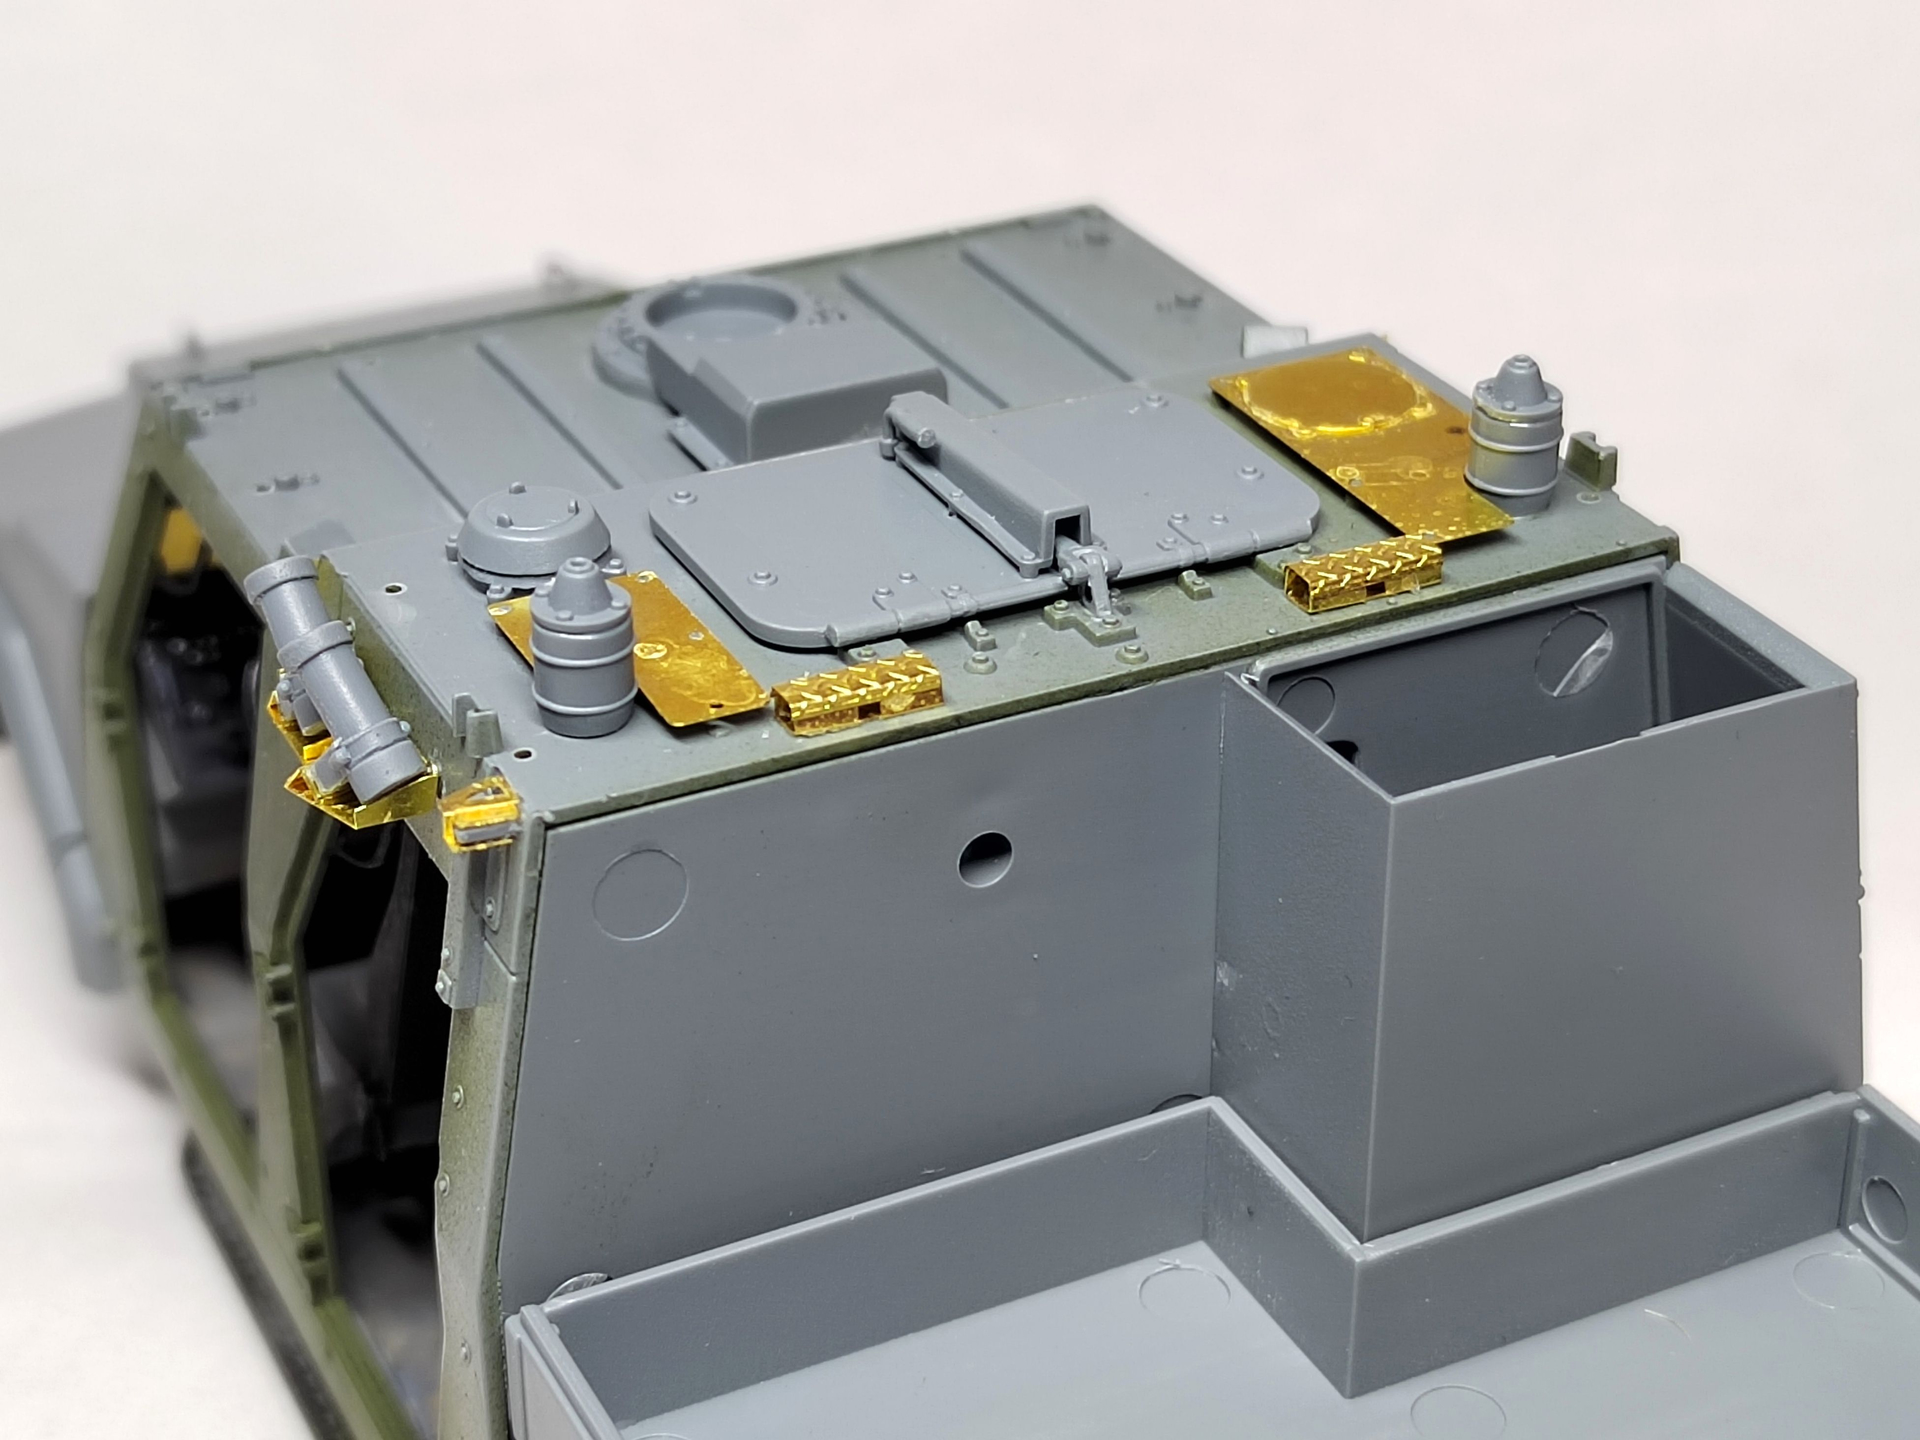
The PE pain keeps on! At step 10, you have to assemble tiny parts after having bent them of course. Even though they are pretty well designed some are too small for my tweezers.
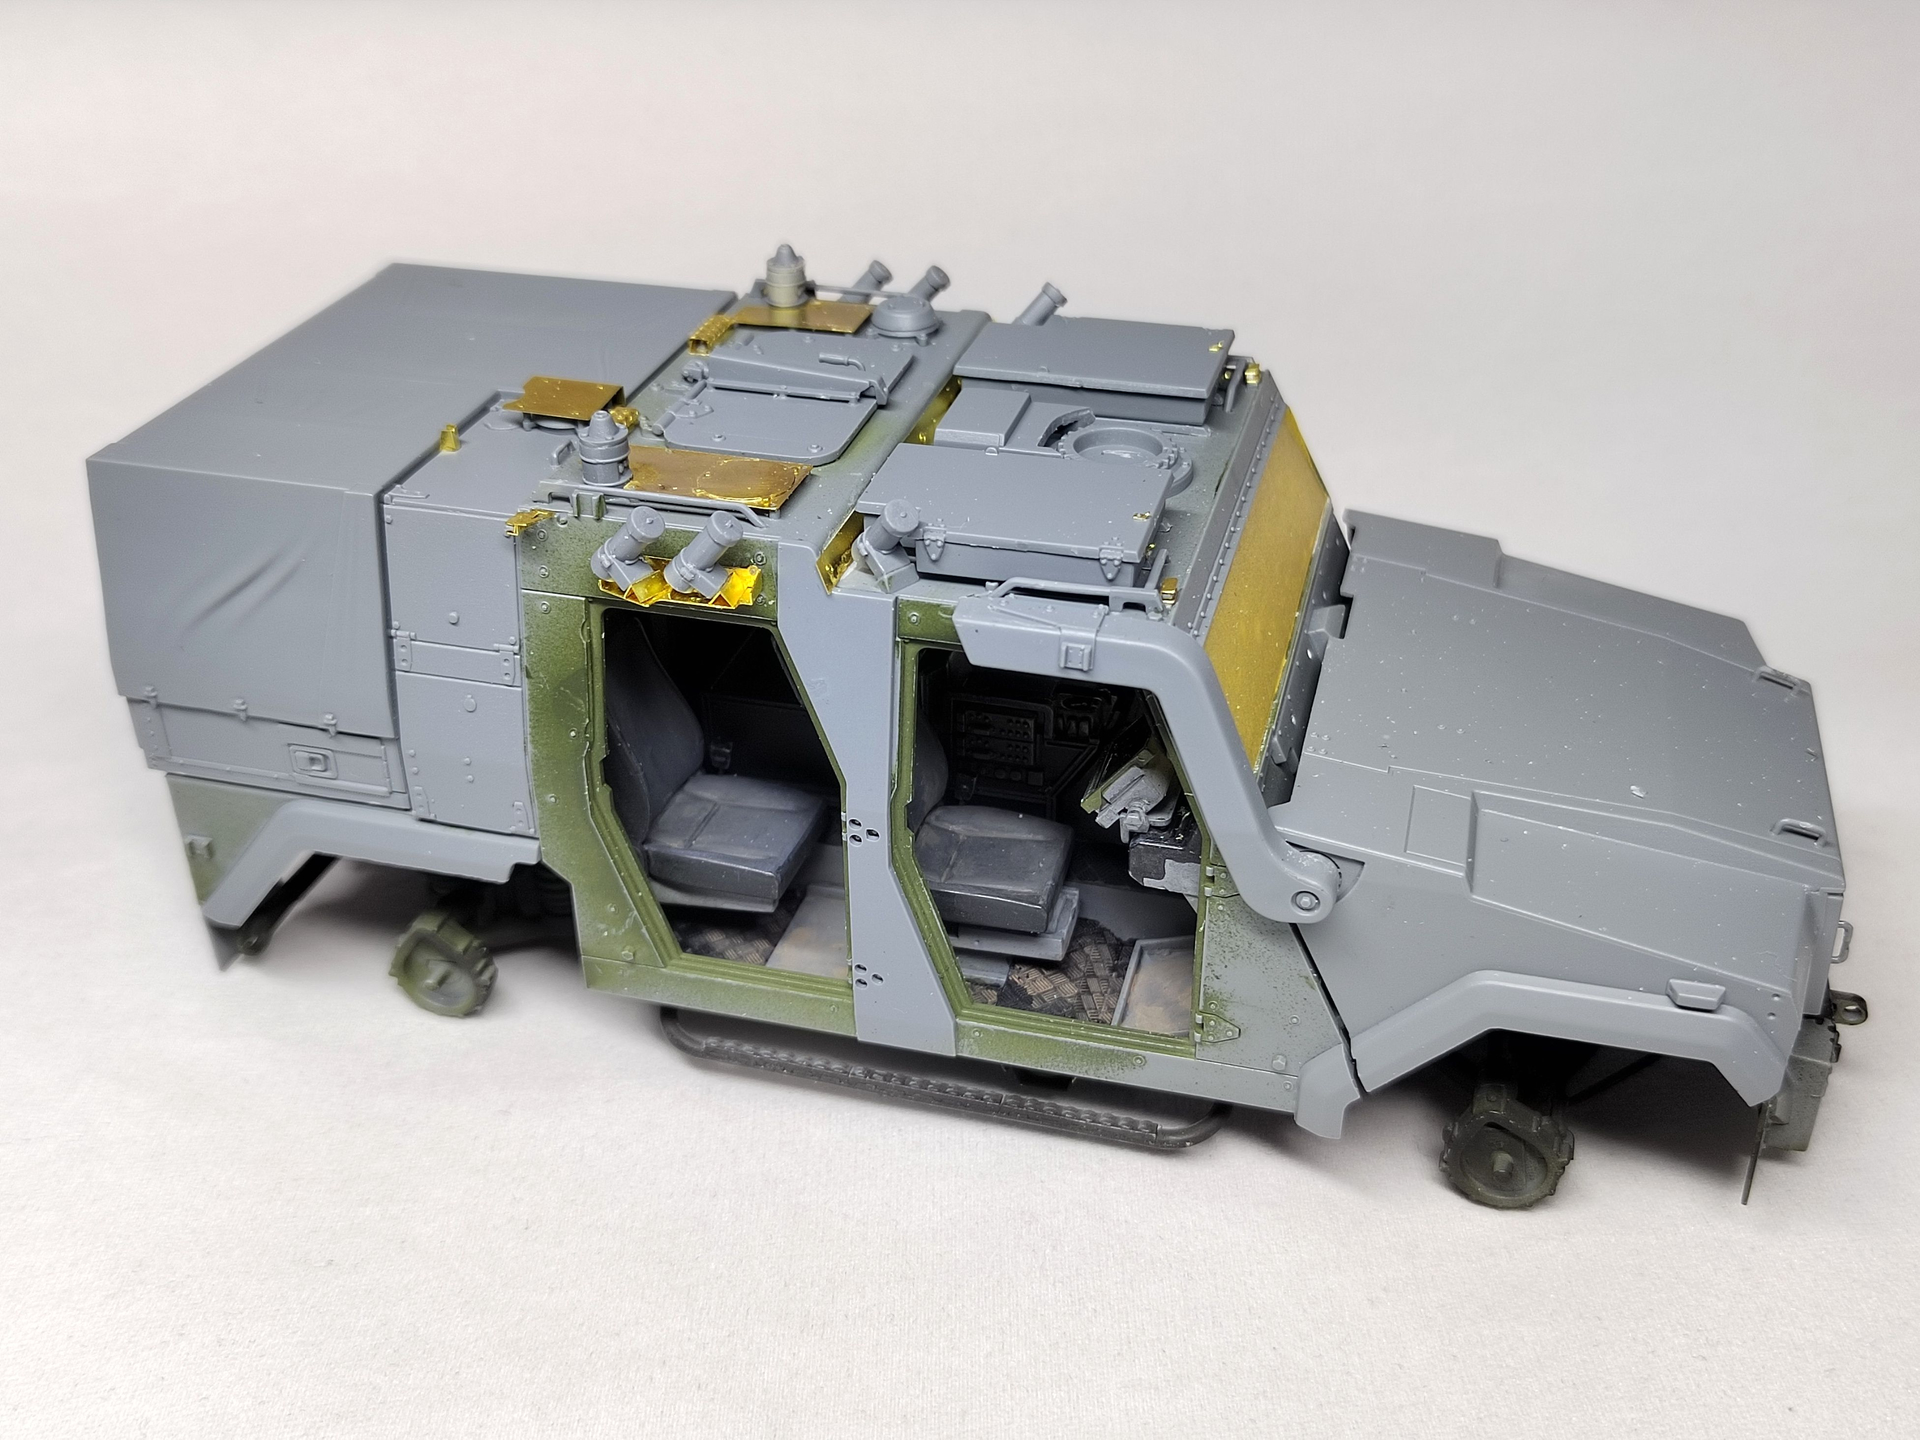
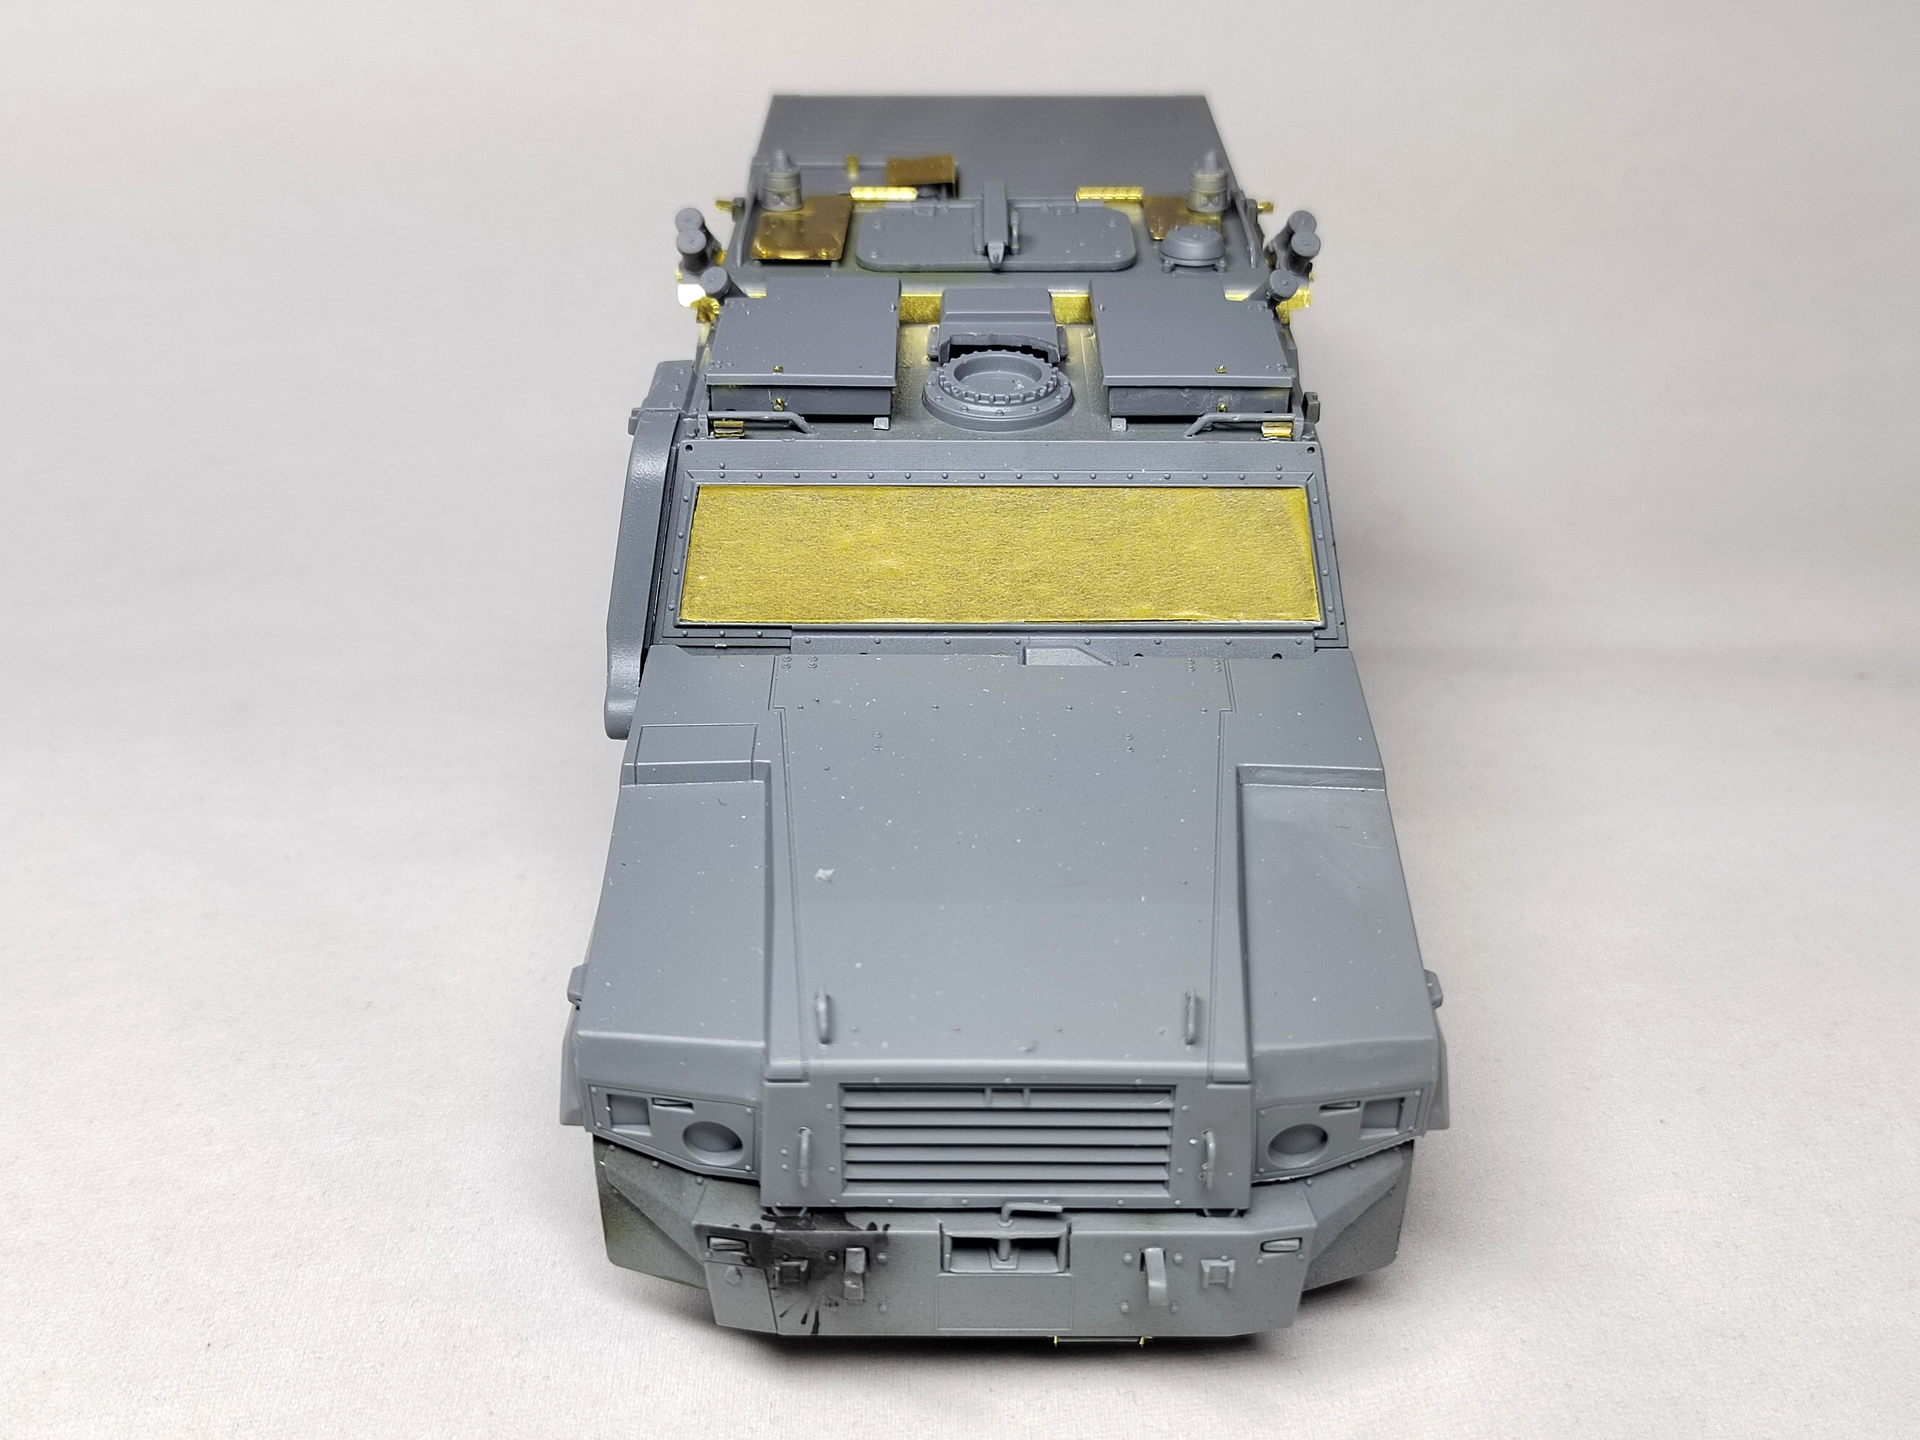
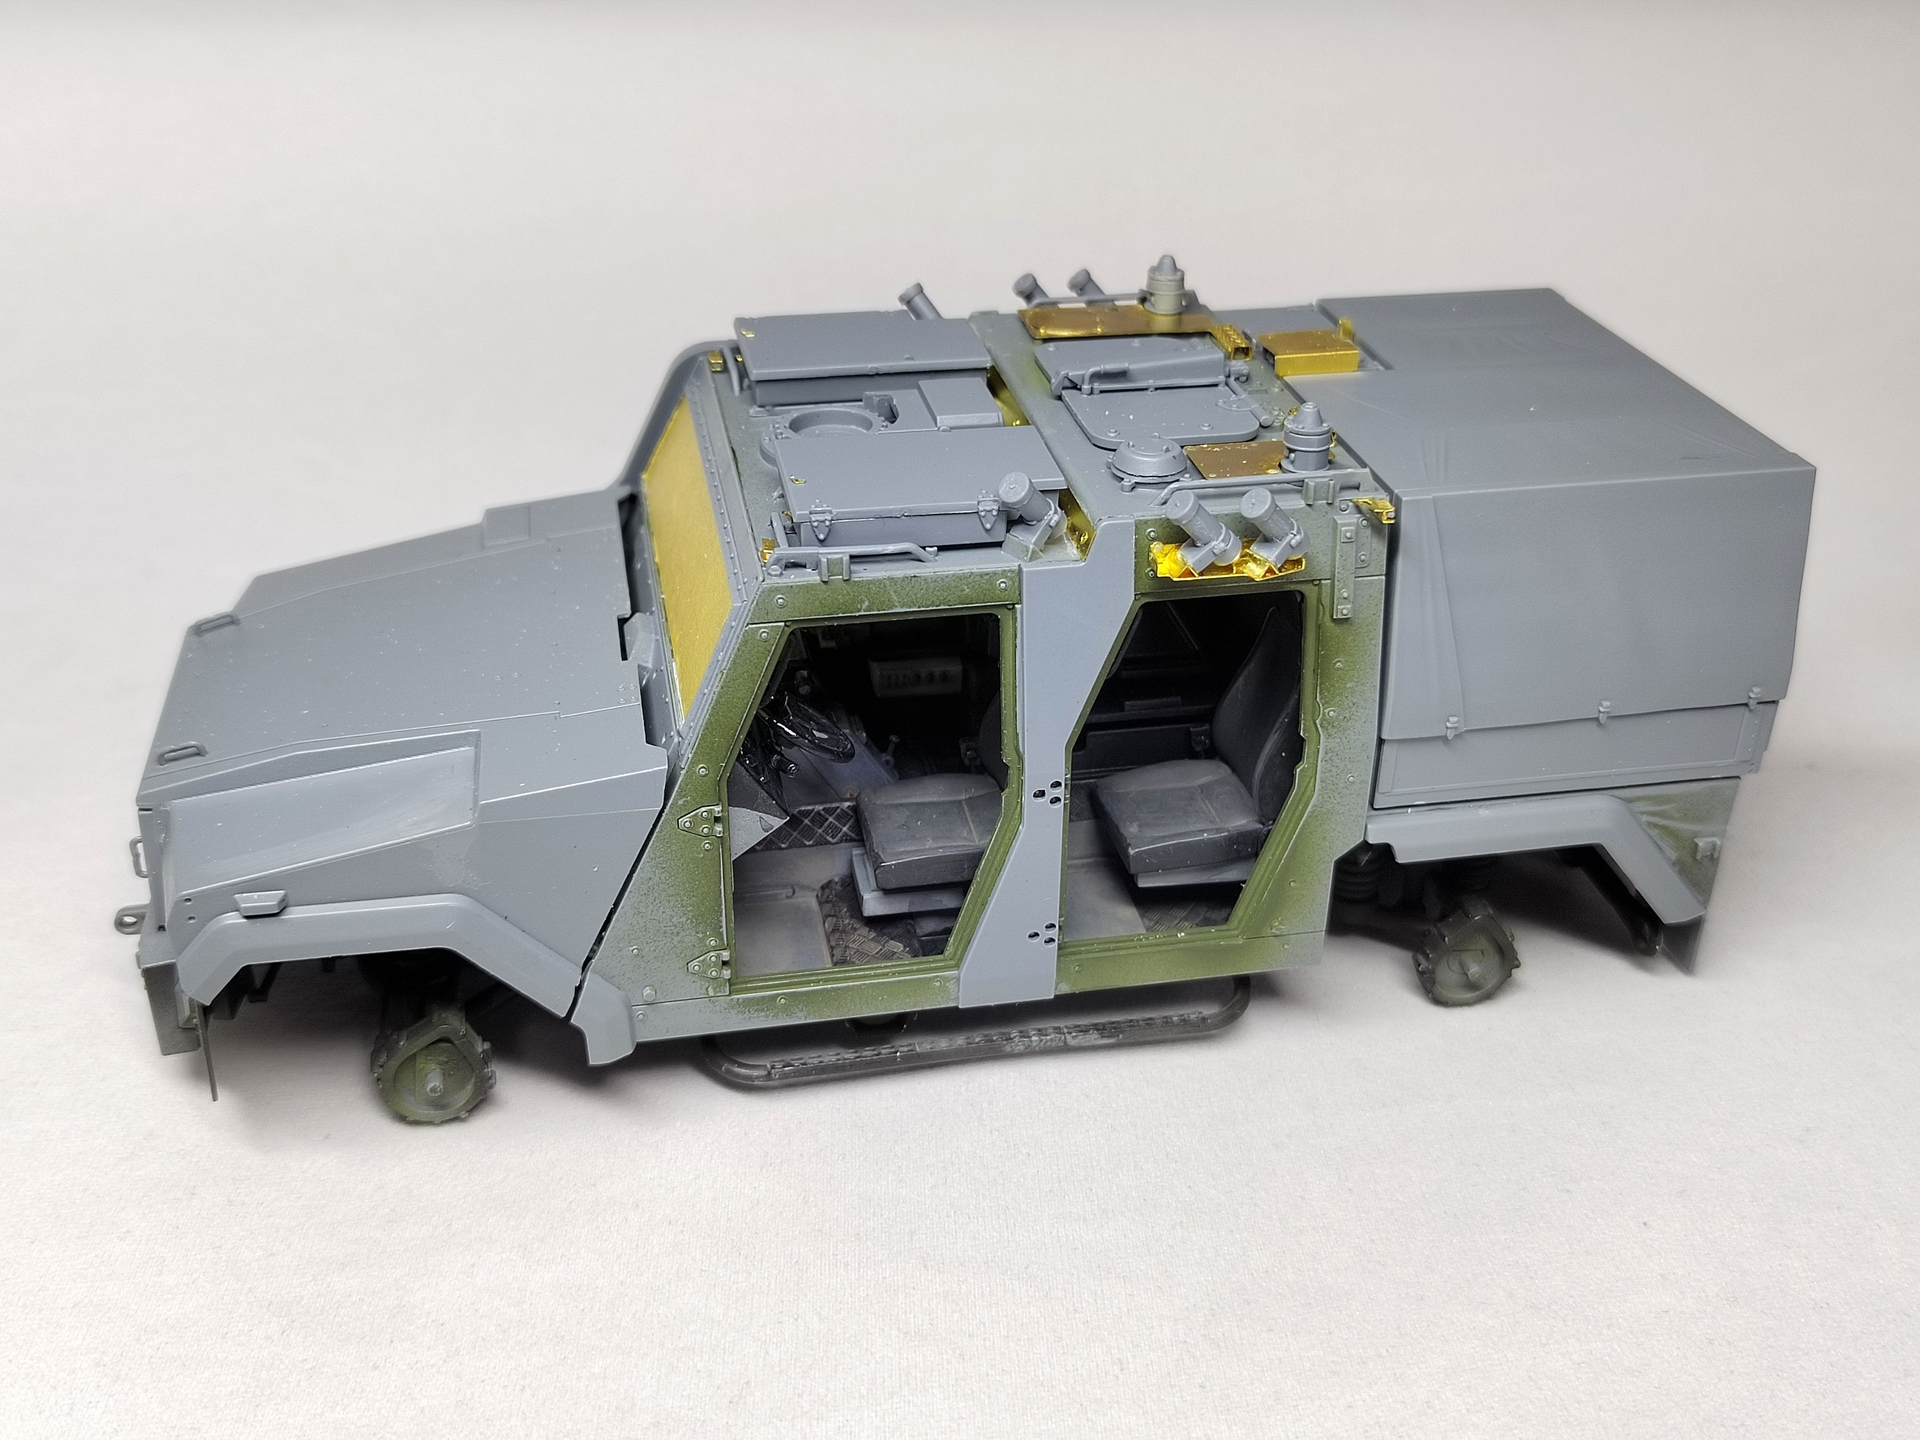
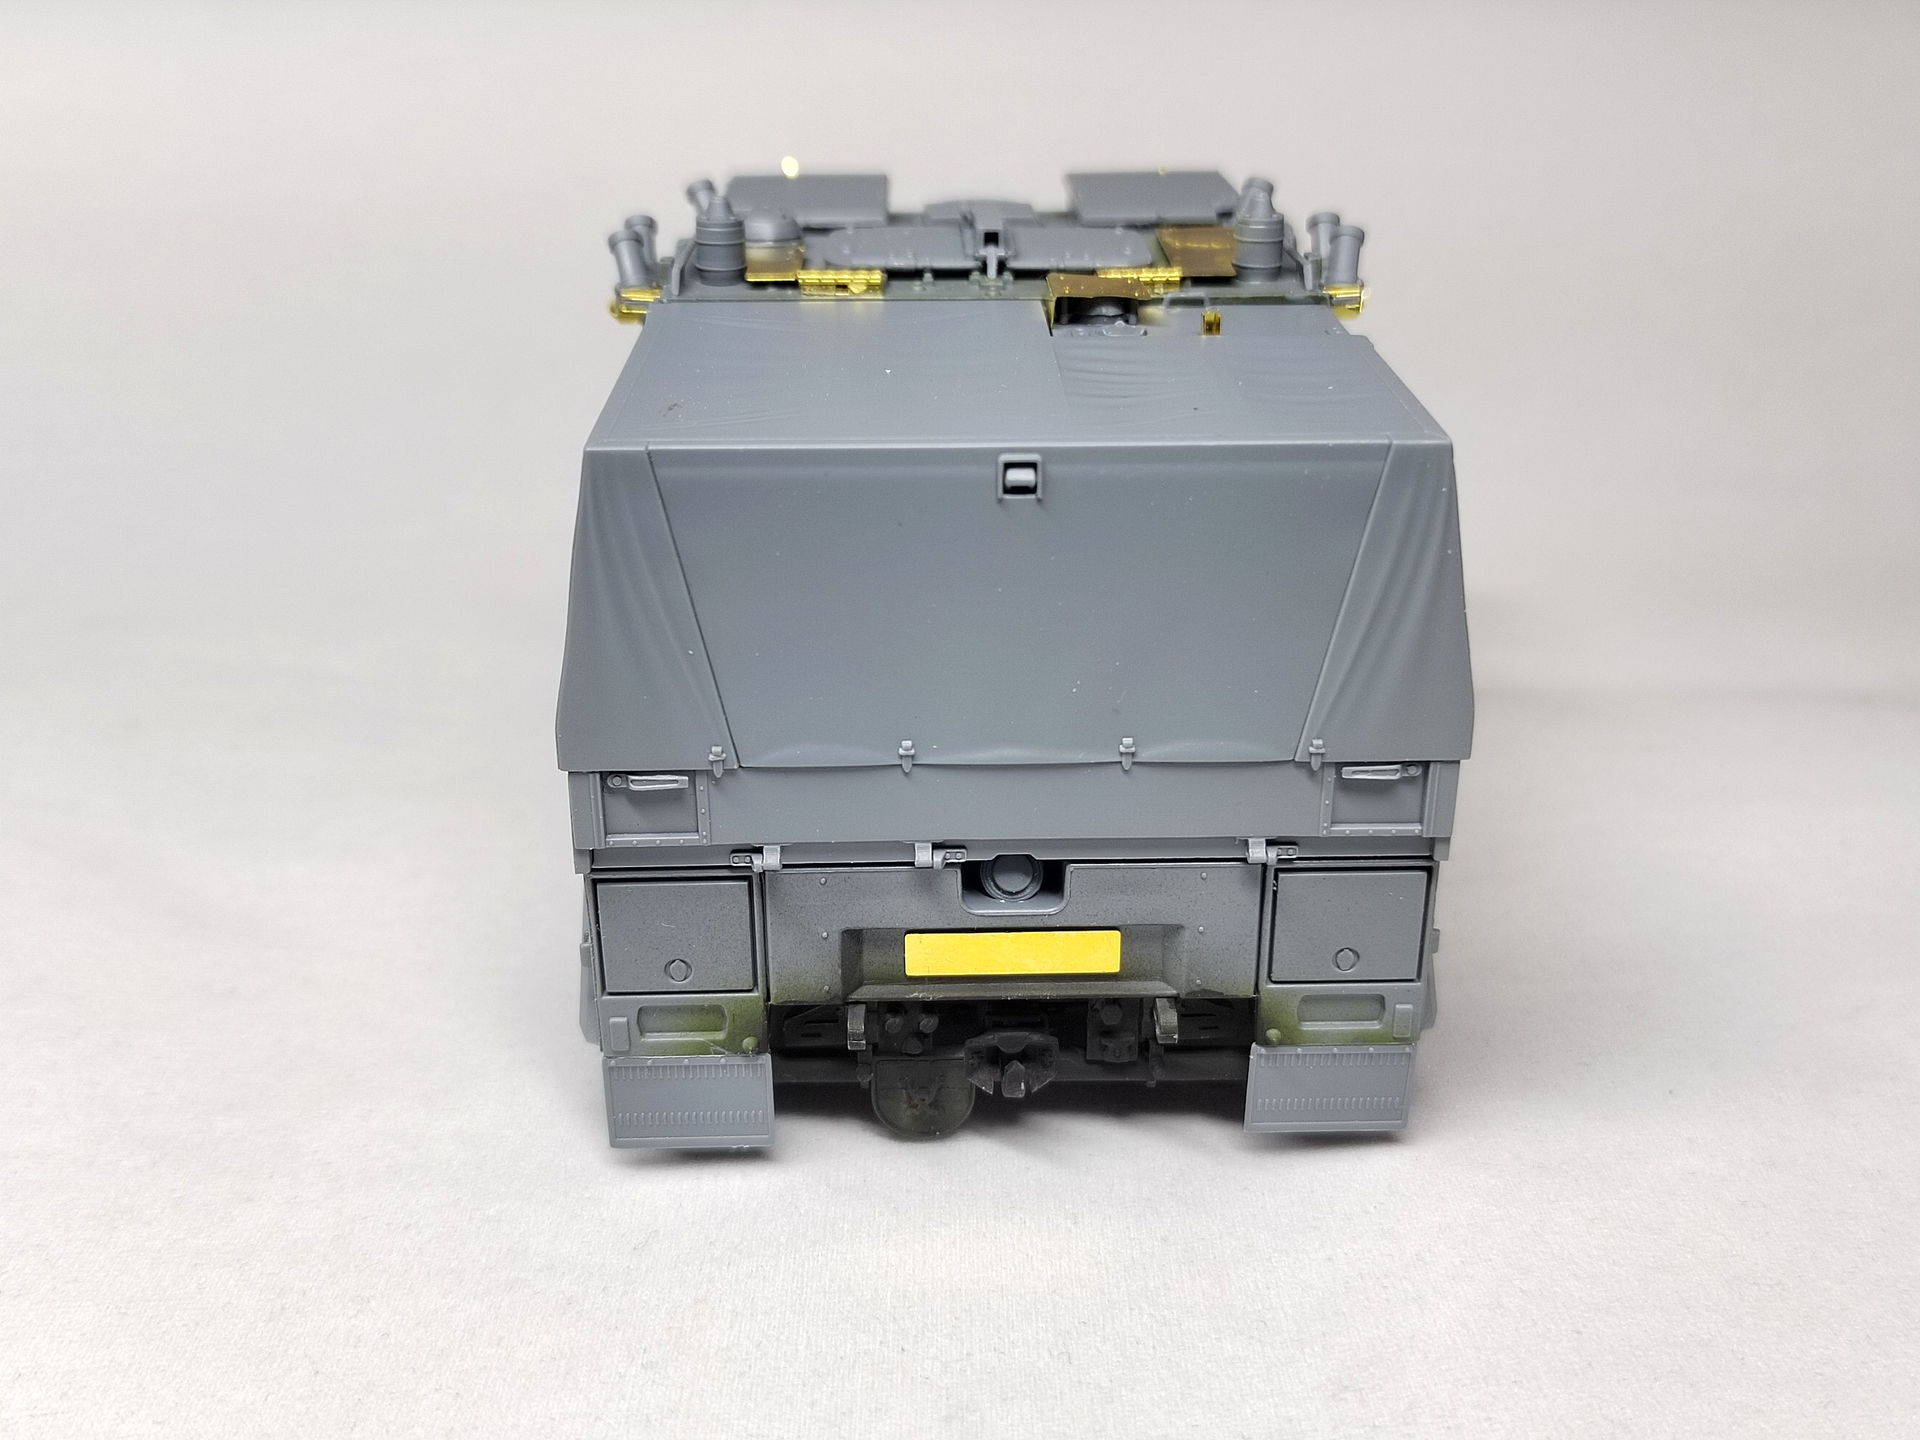
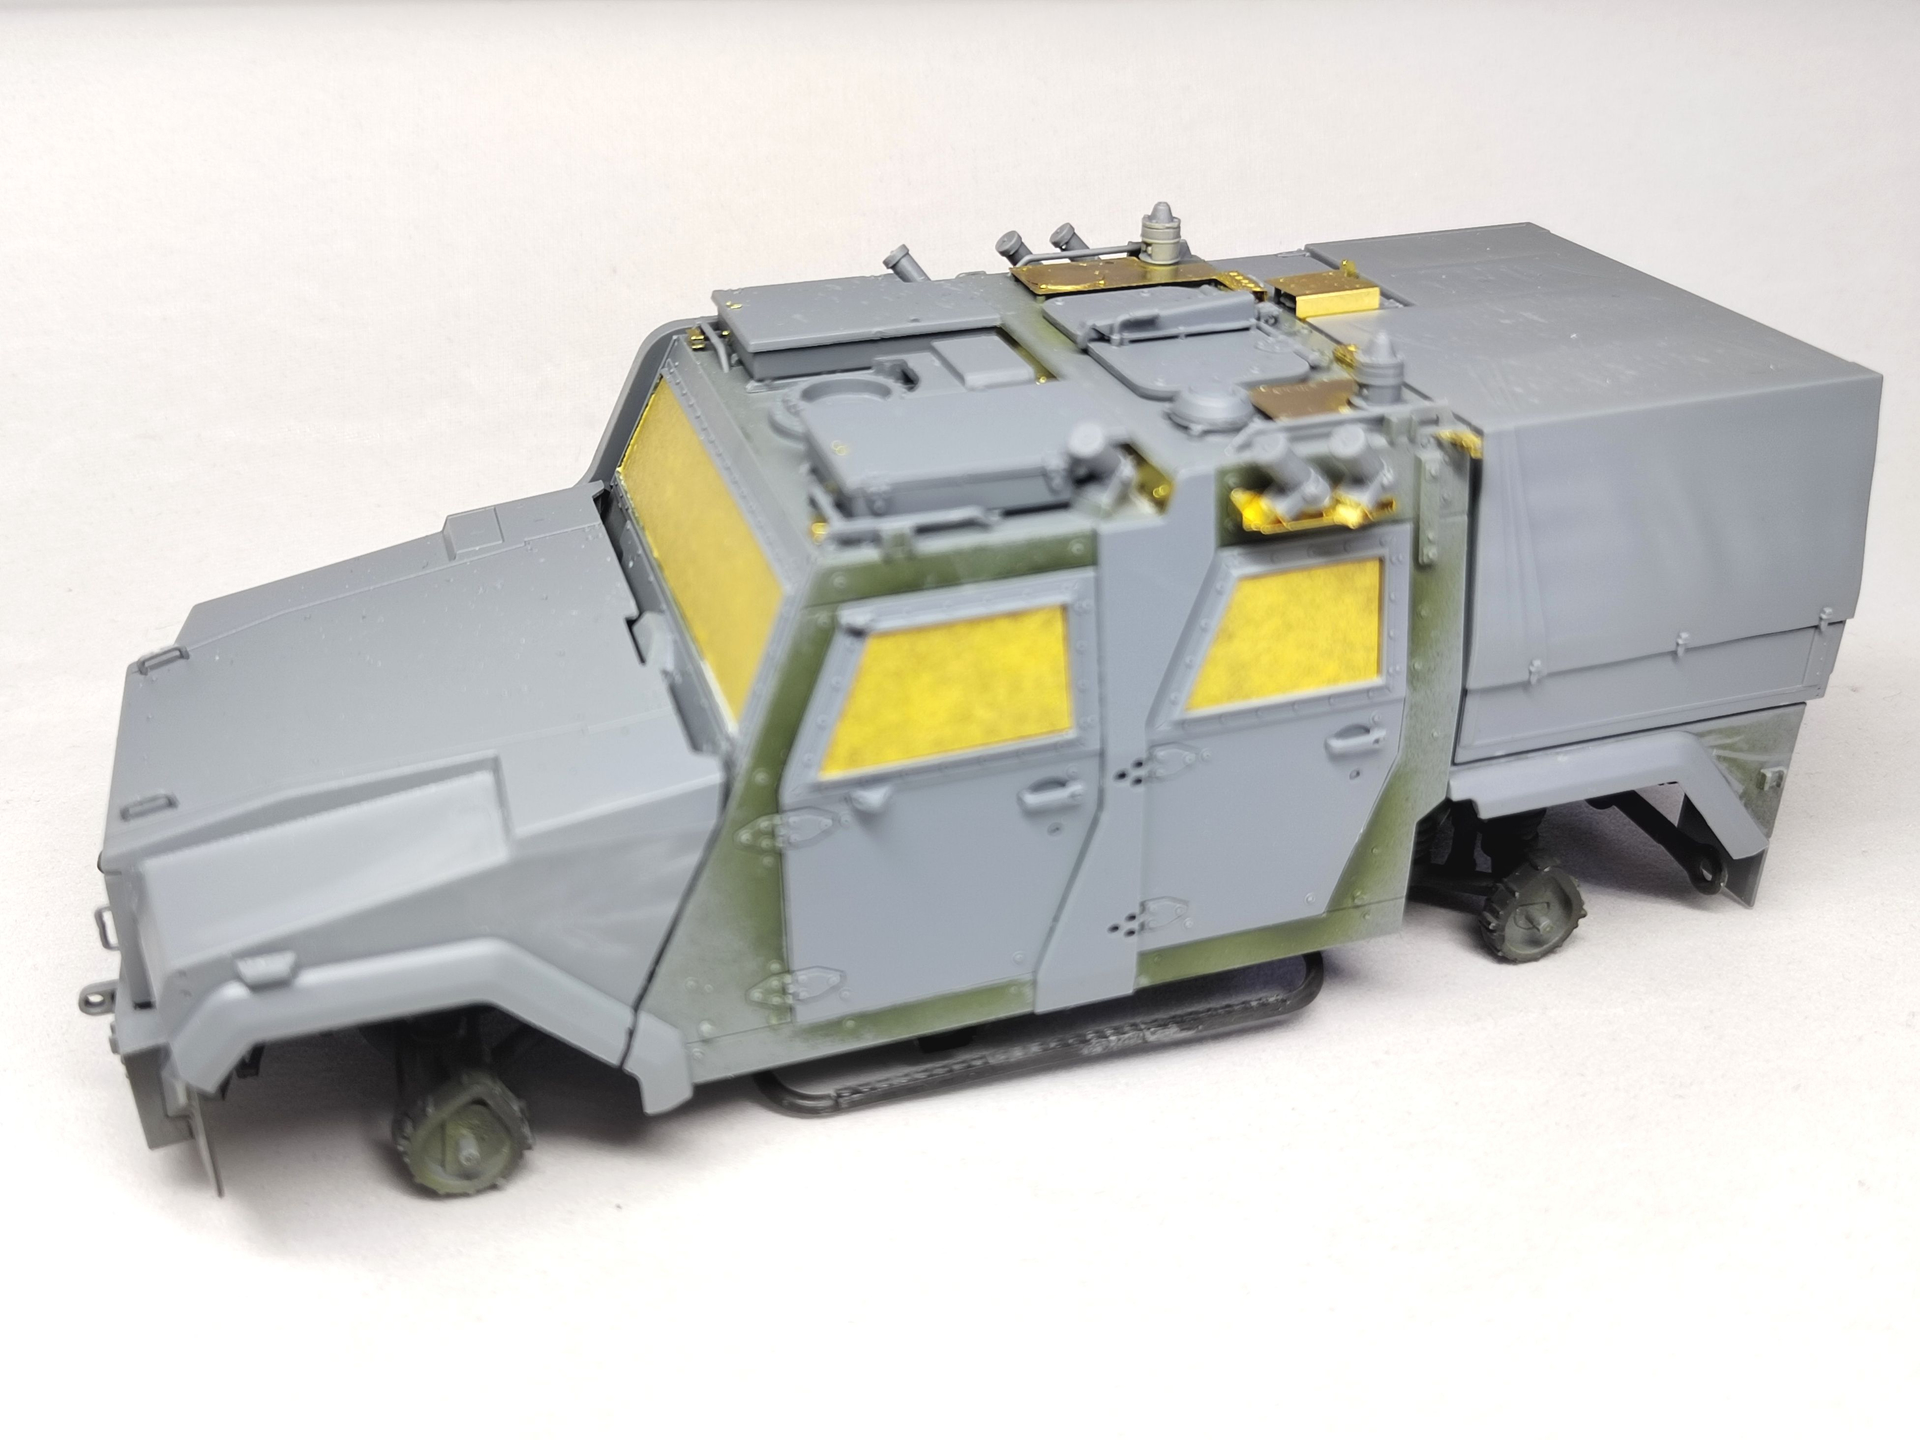
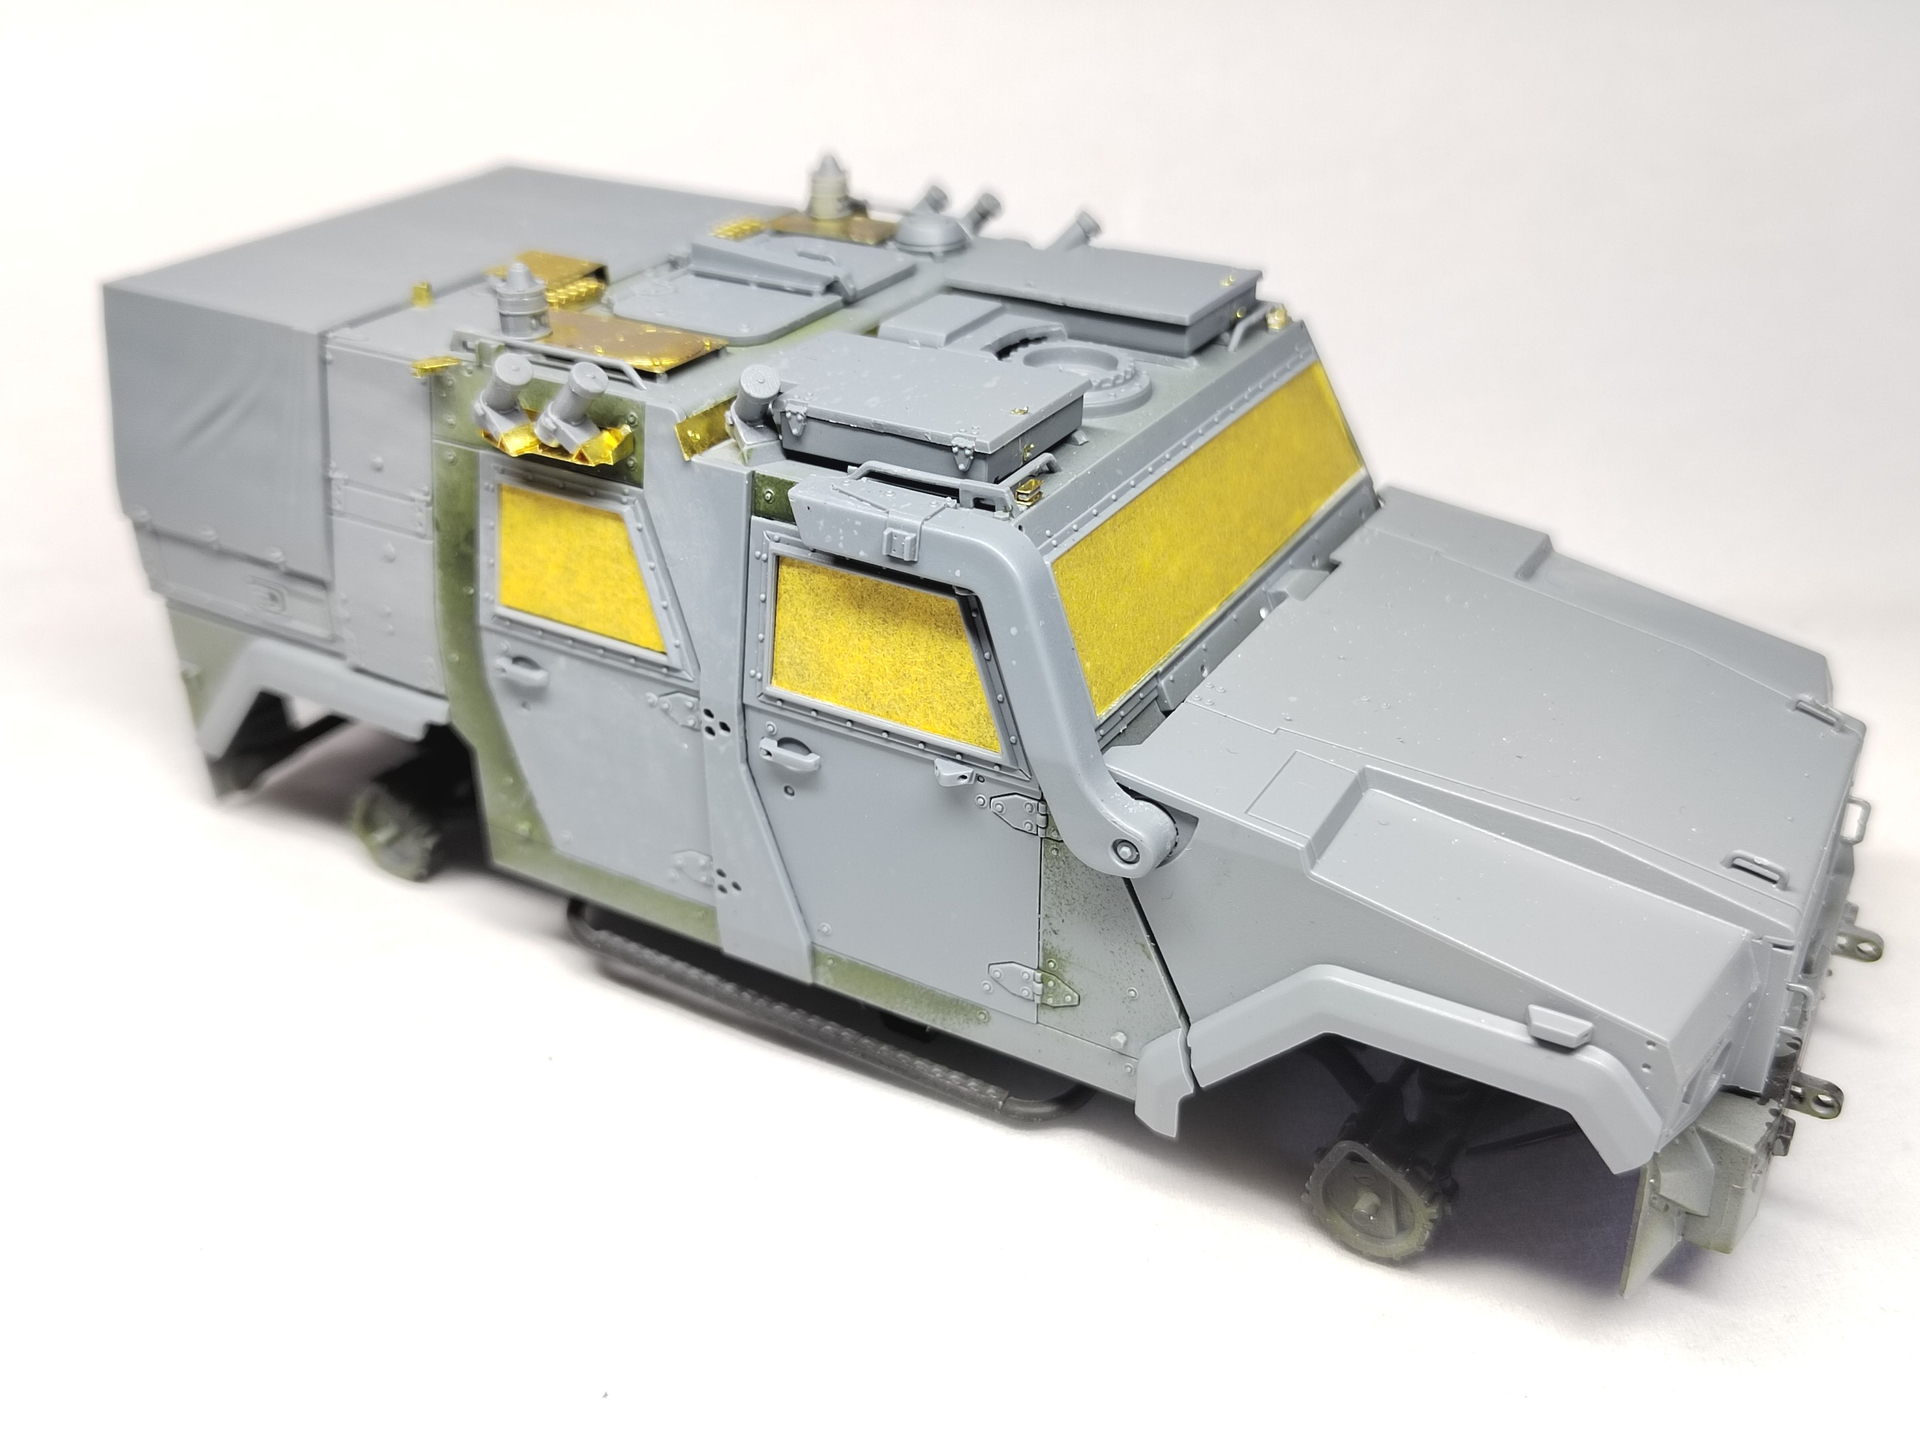
Here is the cabin assembled less the doors.
Most of the details have been added to the left hand side of the cabin. The PE parts only needed a full morning. So instead of starting the RWS assembly as per the instructions I decided to add the cargo bed at the rear as it was plastic only.
Next step will deal with the right side of the cabin, the doors and I’ll finish with the RWS and its myriad of PE parts.
Olivier
6 Likes
I managed to have some hobby time today and made some progress taking benefit of the experience of the left side.
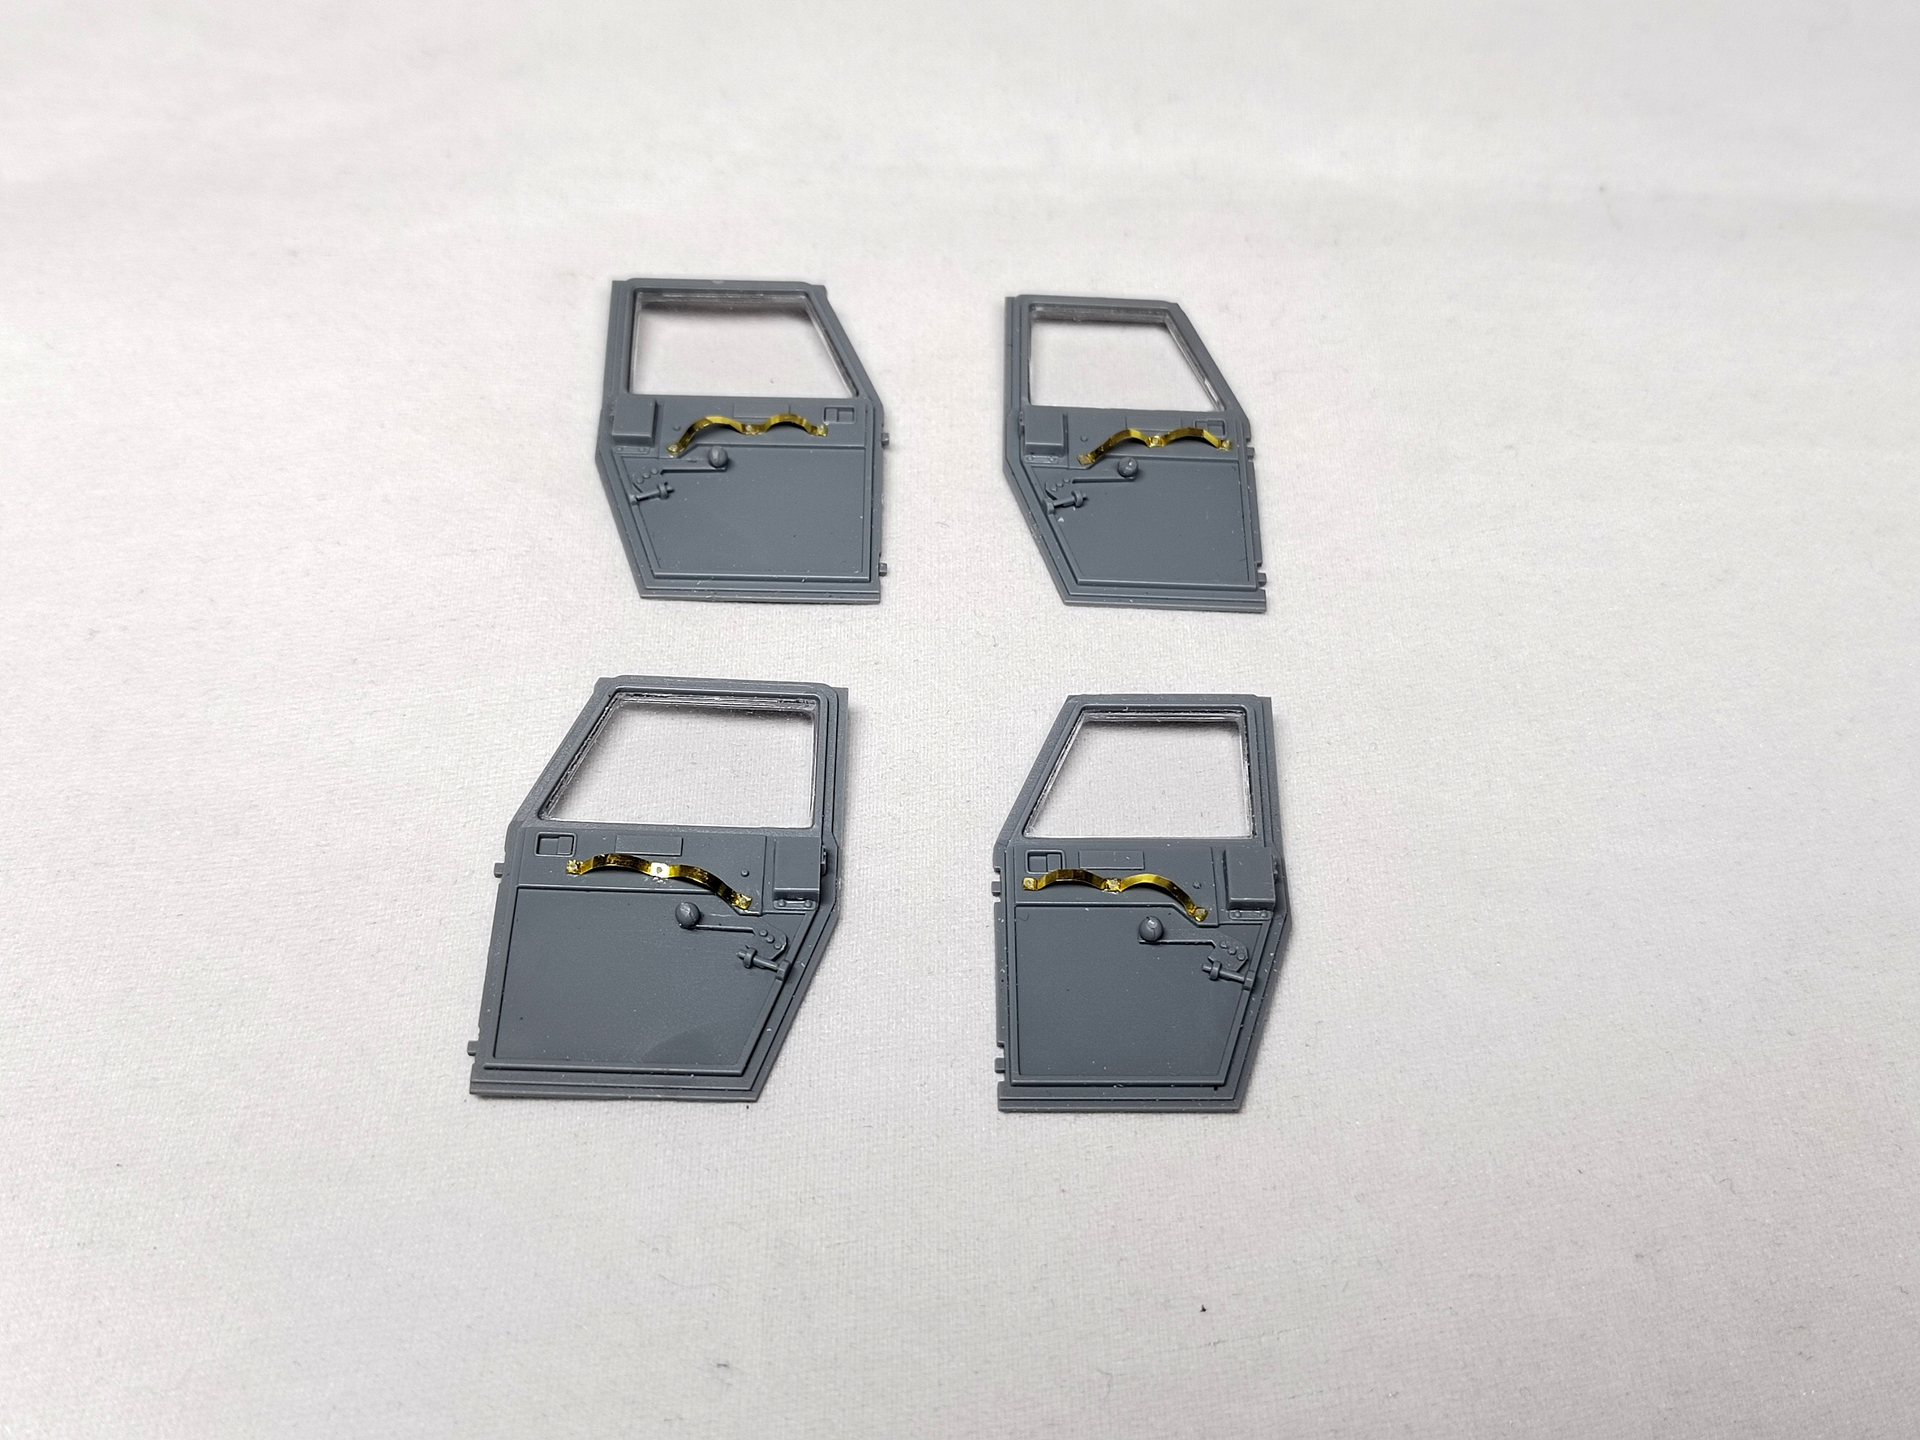
The doors have been assembled too. I need to paint the interior prior to installing them.
Next step will be the RWS assembly.
The side mirrors, the antennas and the clear parts for the lights will be added after the paint.
Olivier
13 Likes
Some great work on this build. Looks really nice 
2 Likes
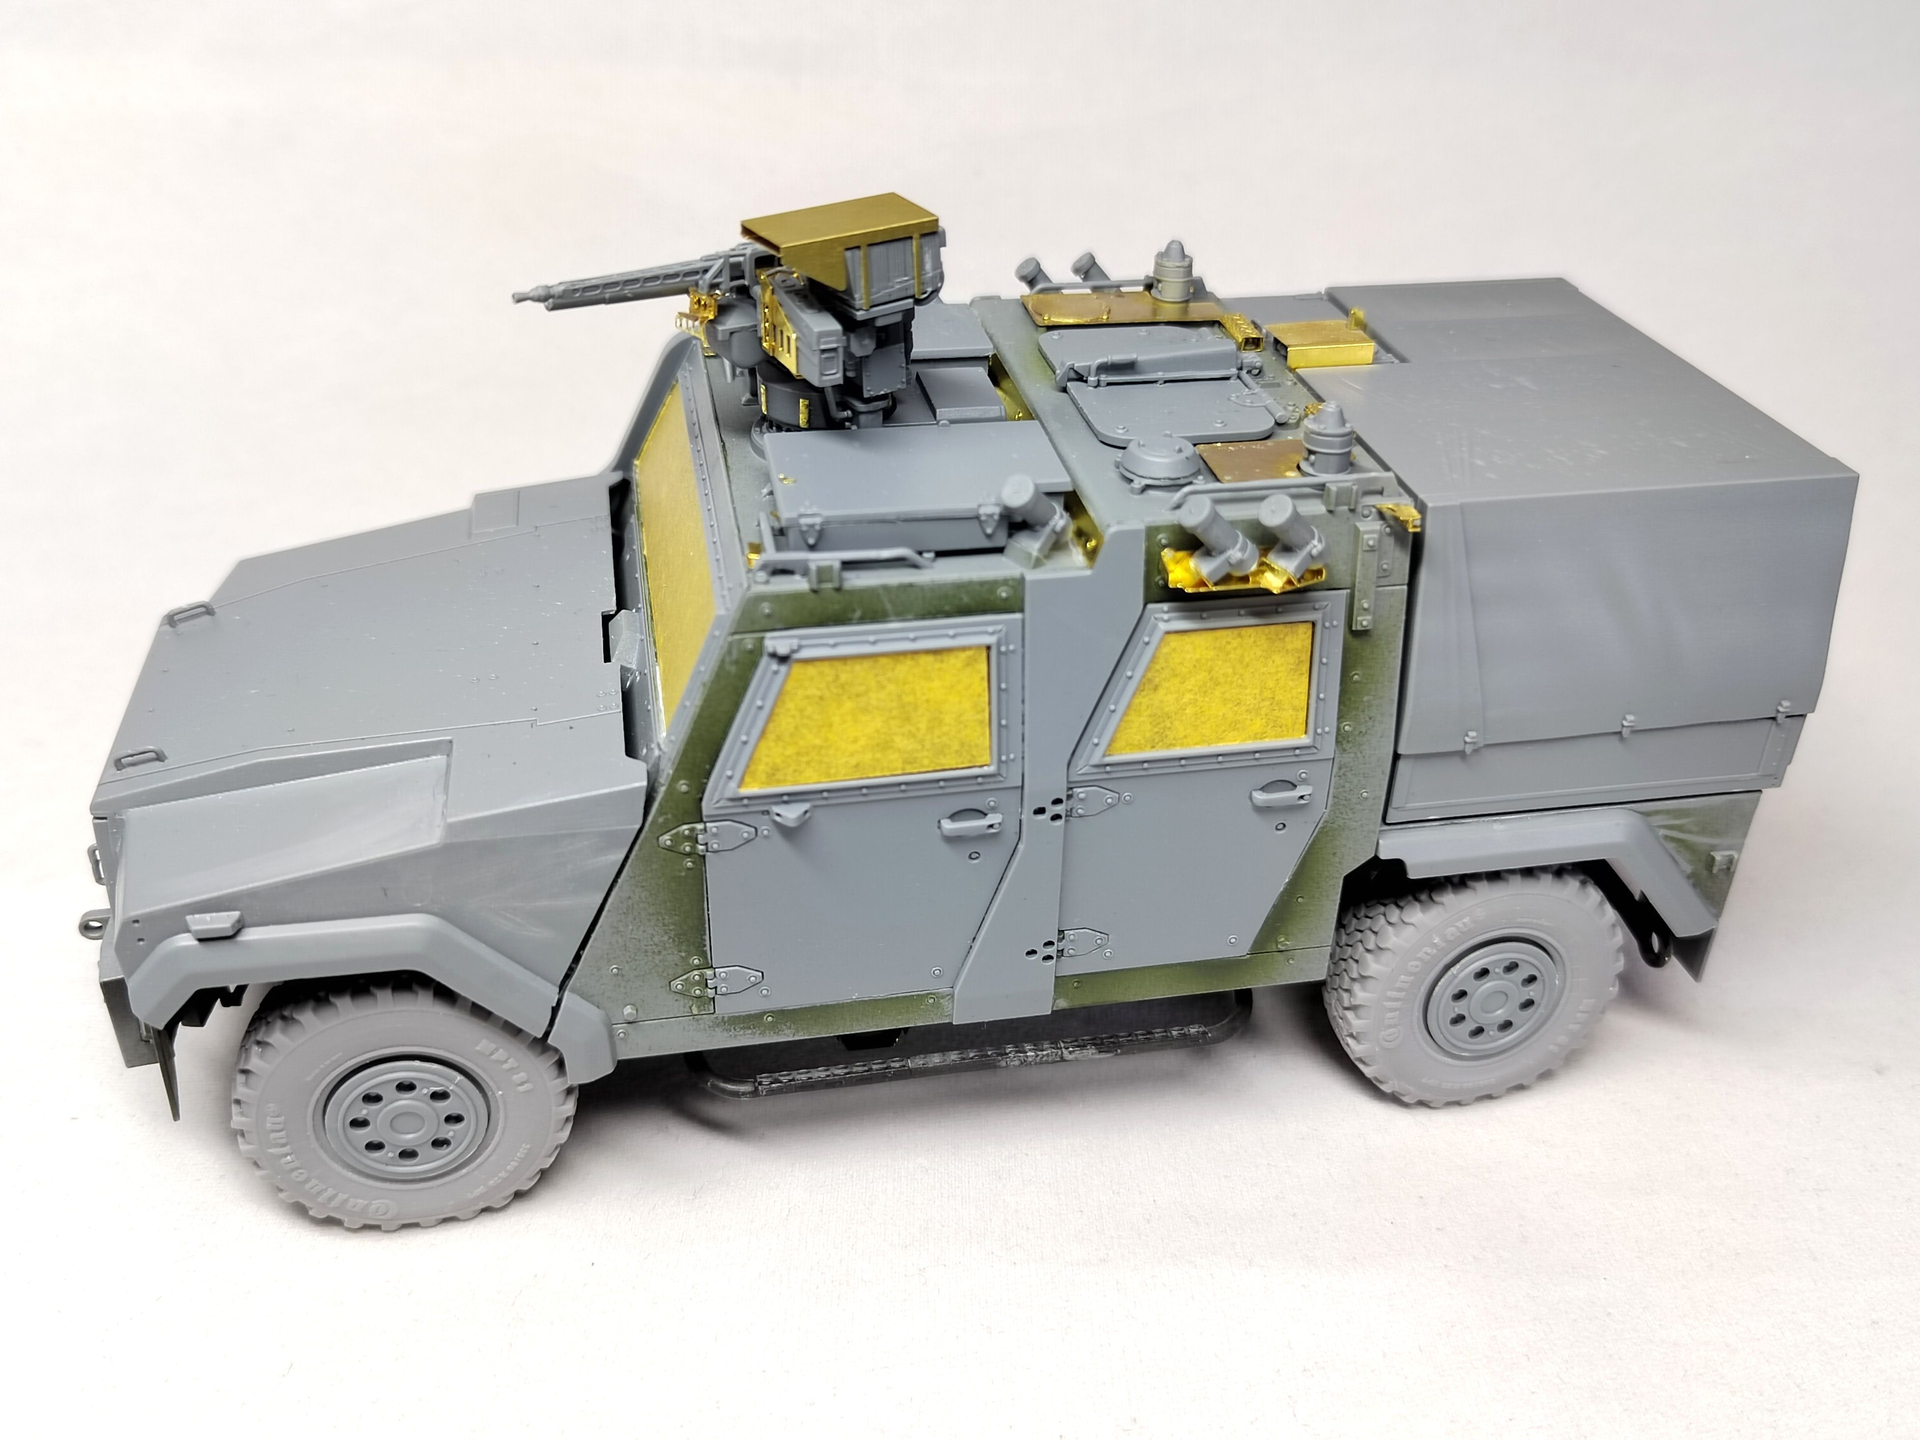
The build phase is over.
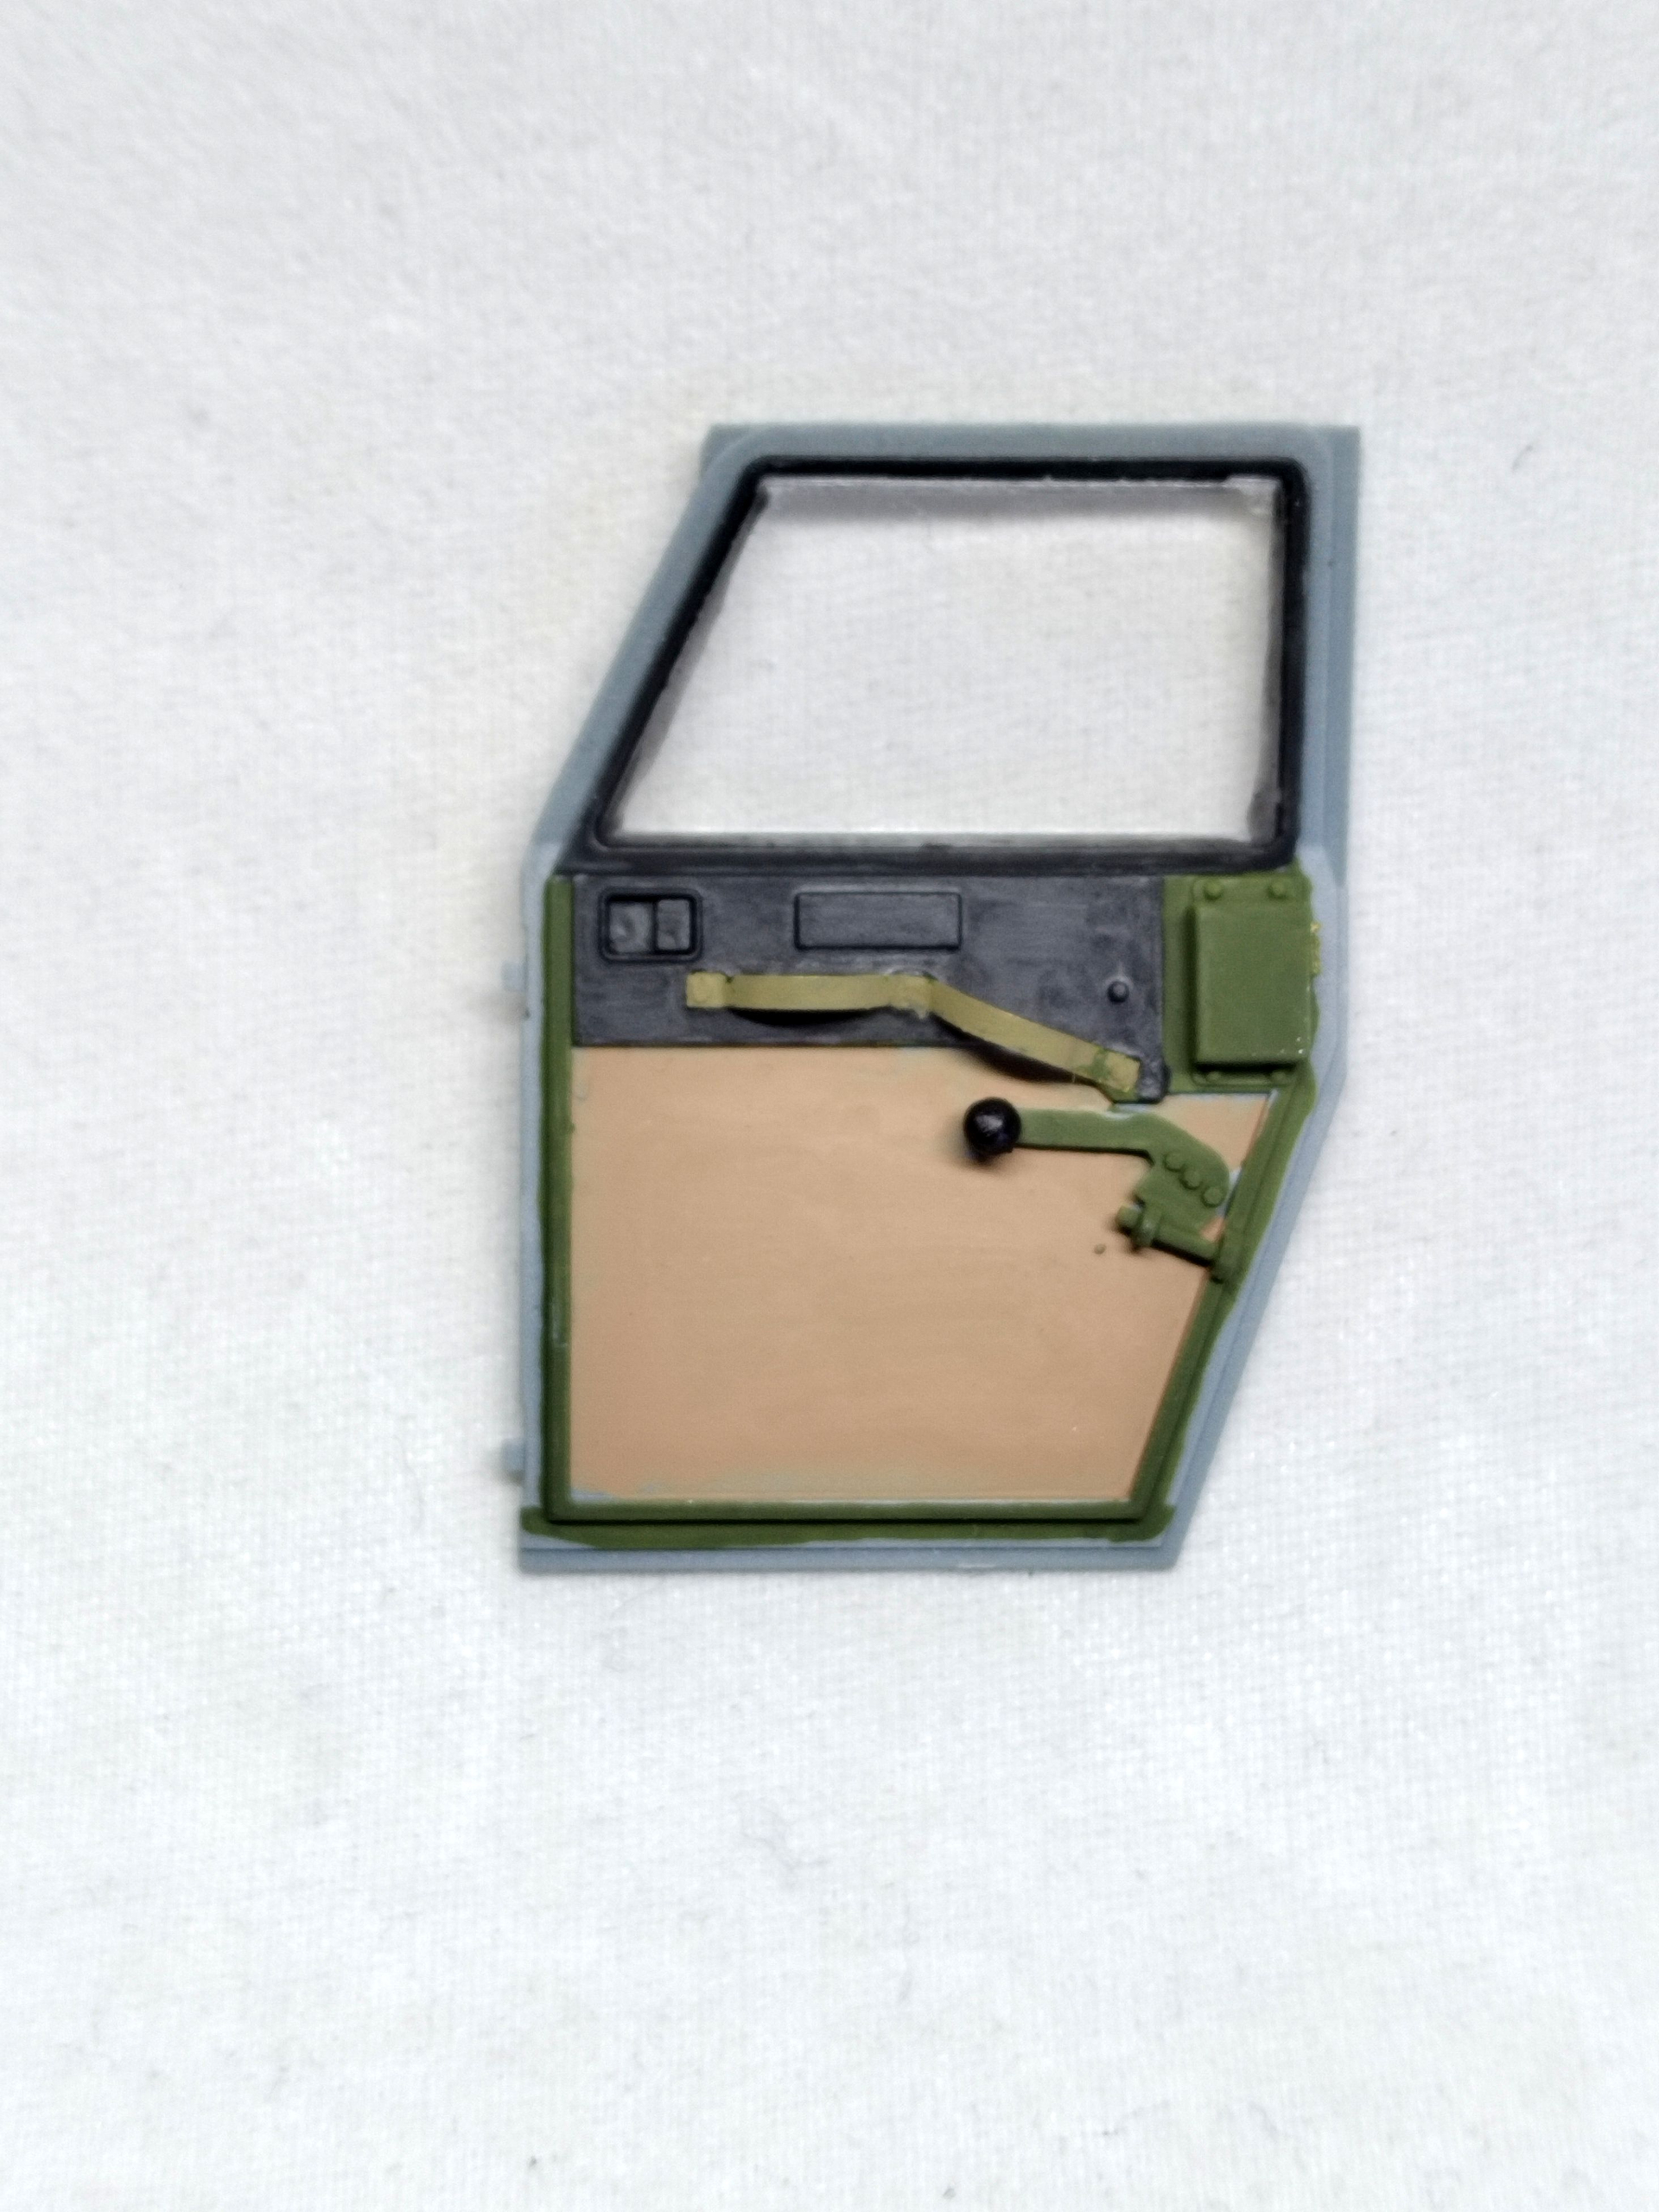
The inner face of the doors have been painted. The doors are now glued as I didn’t intend to show one open.
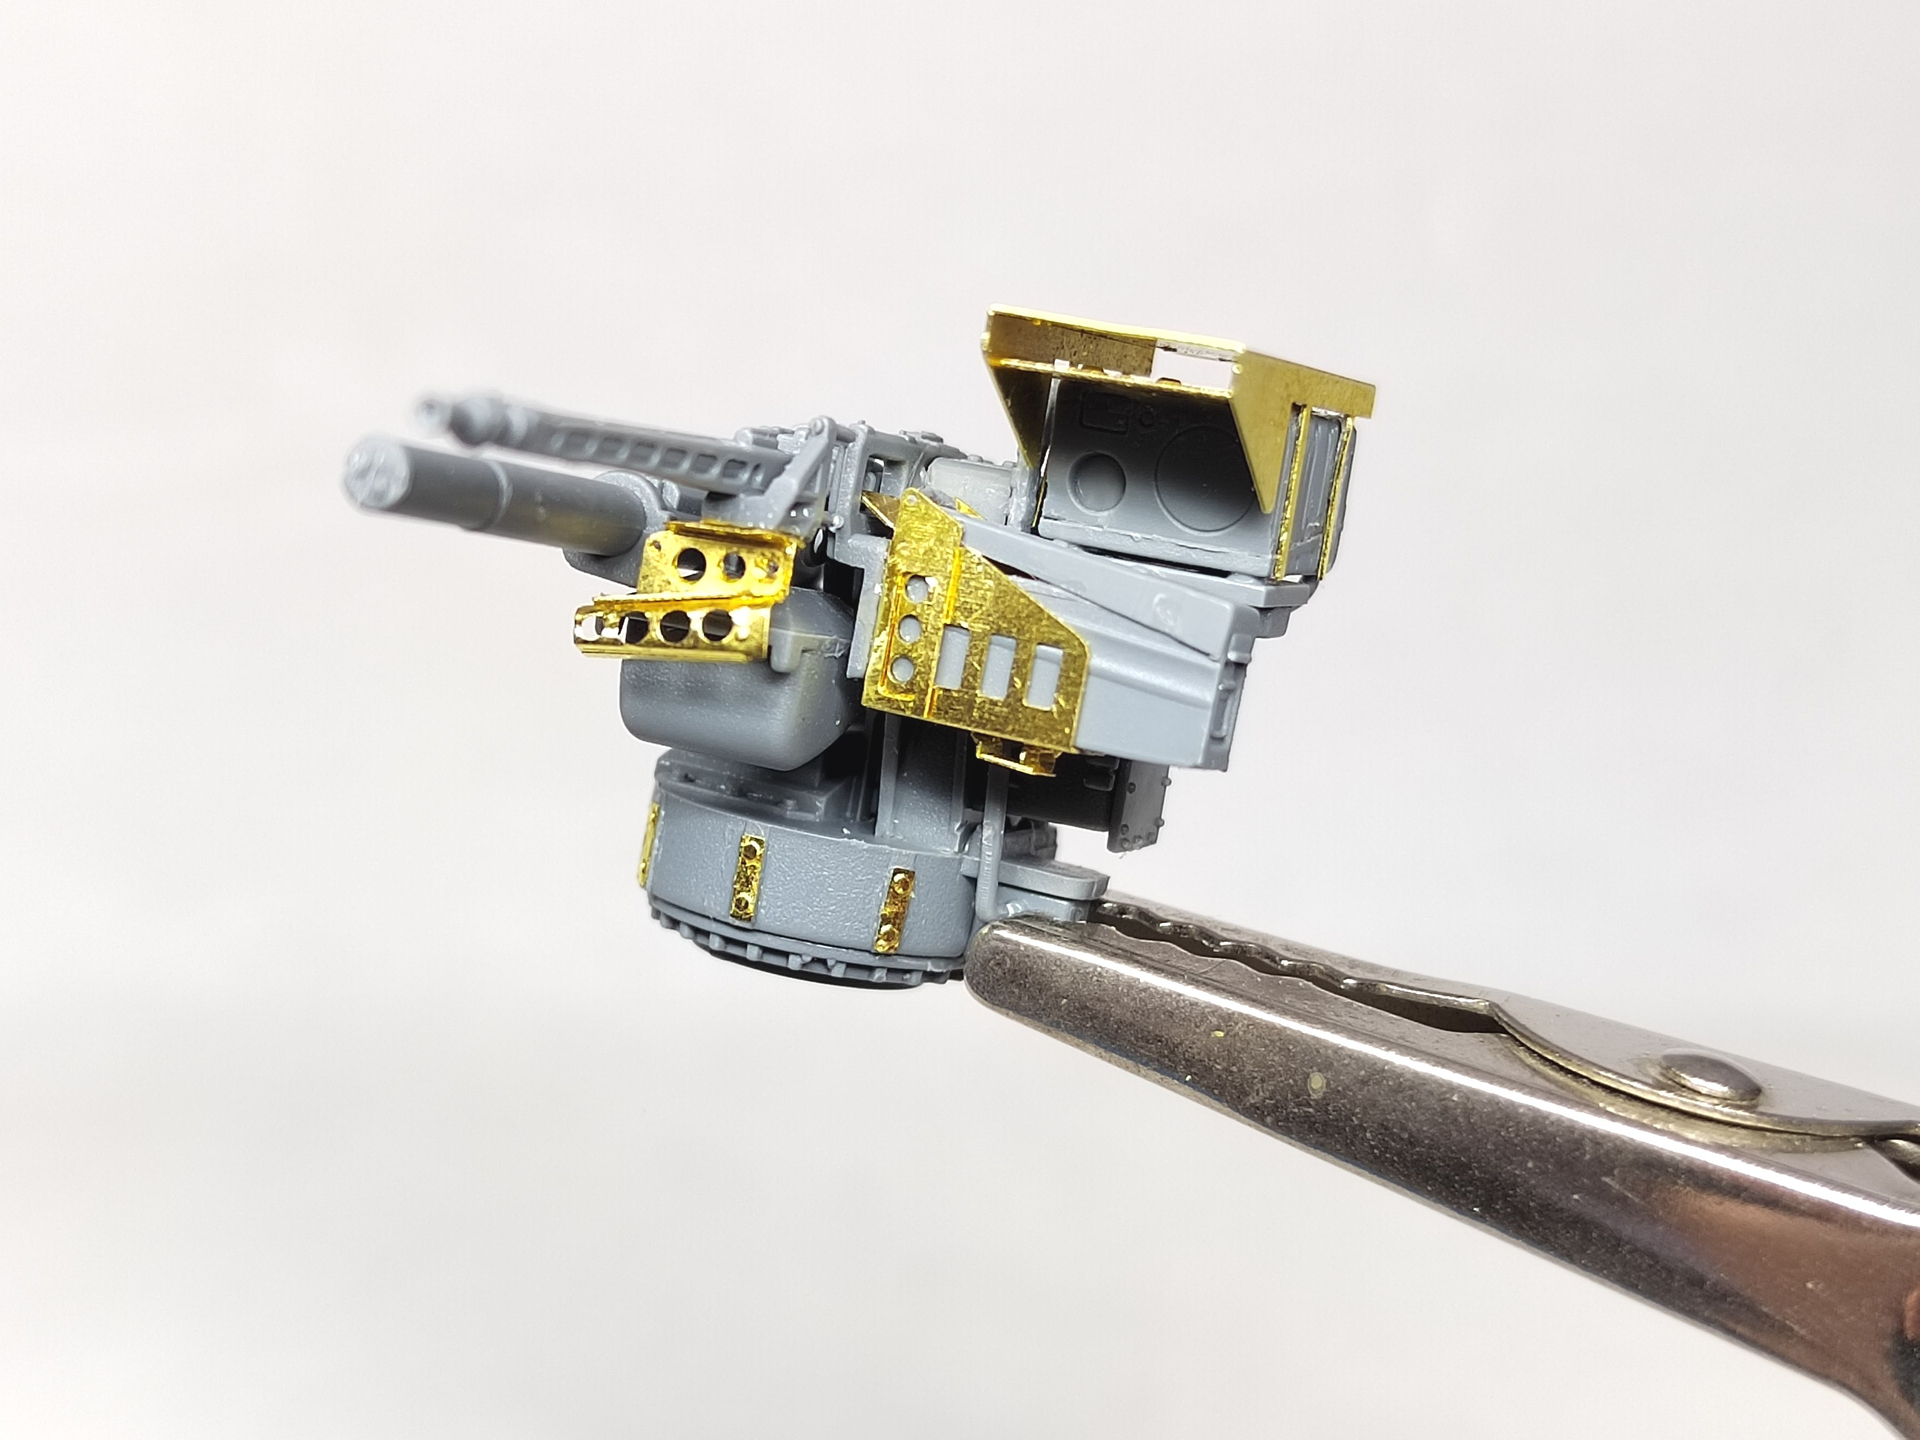
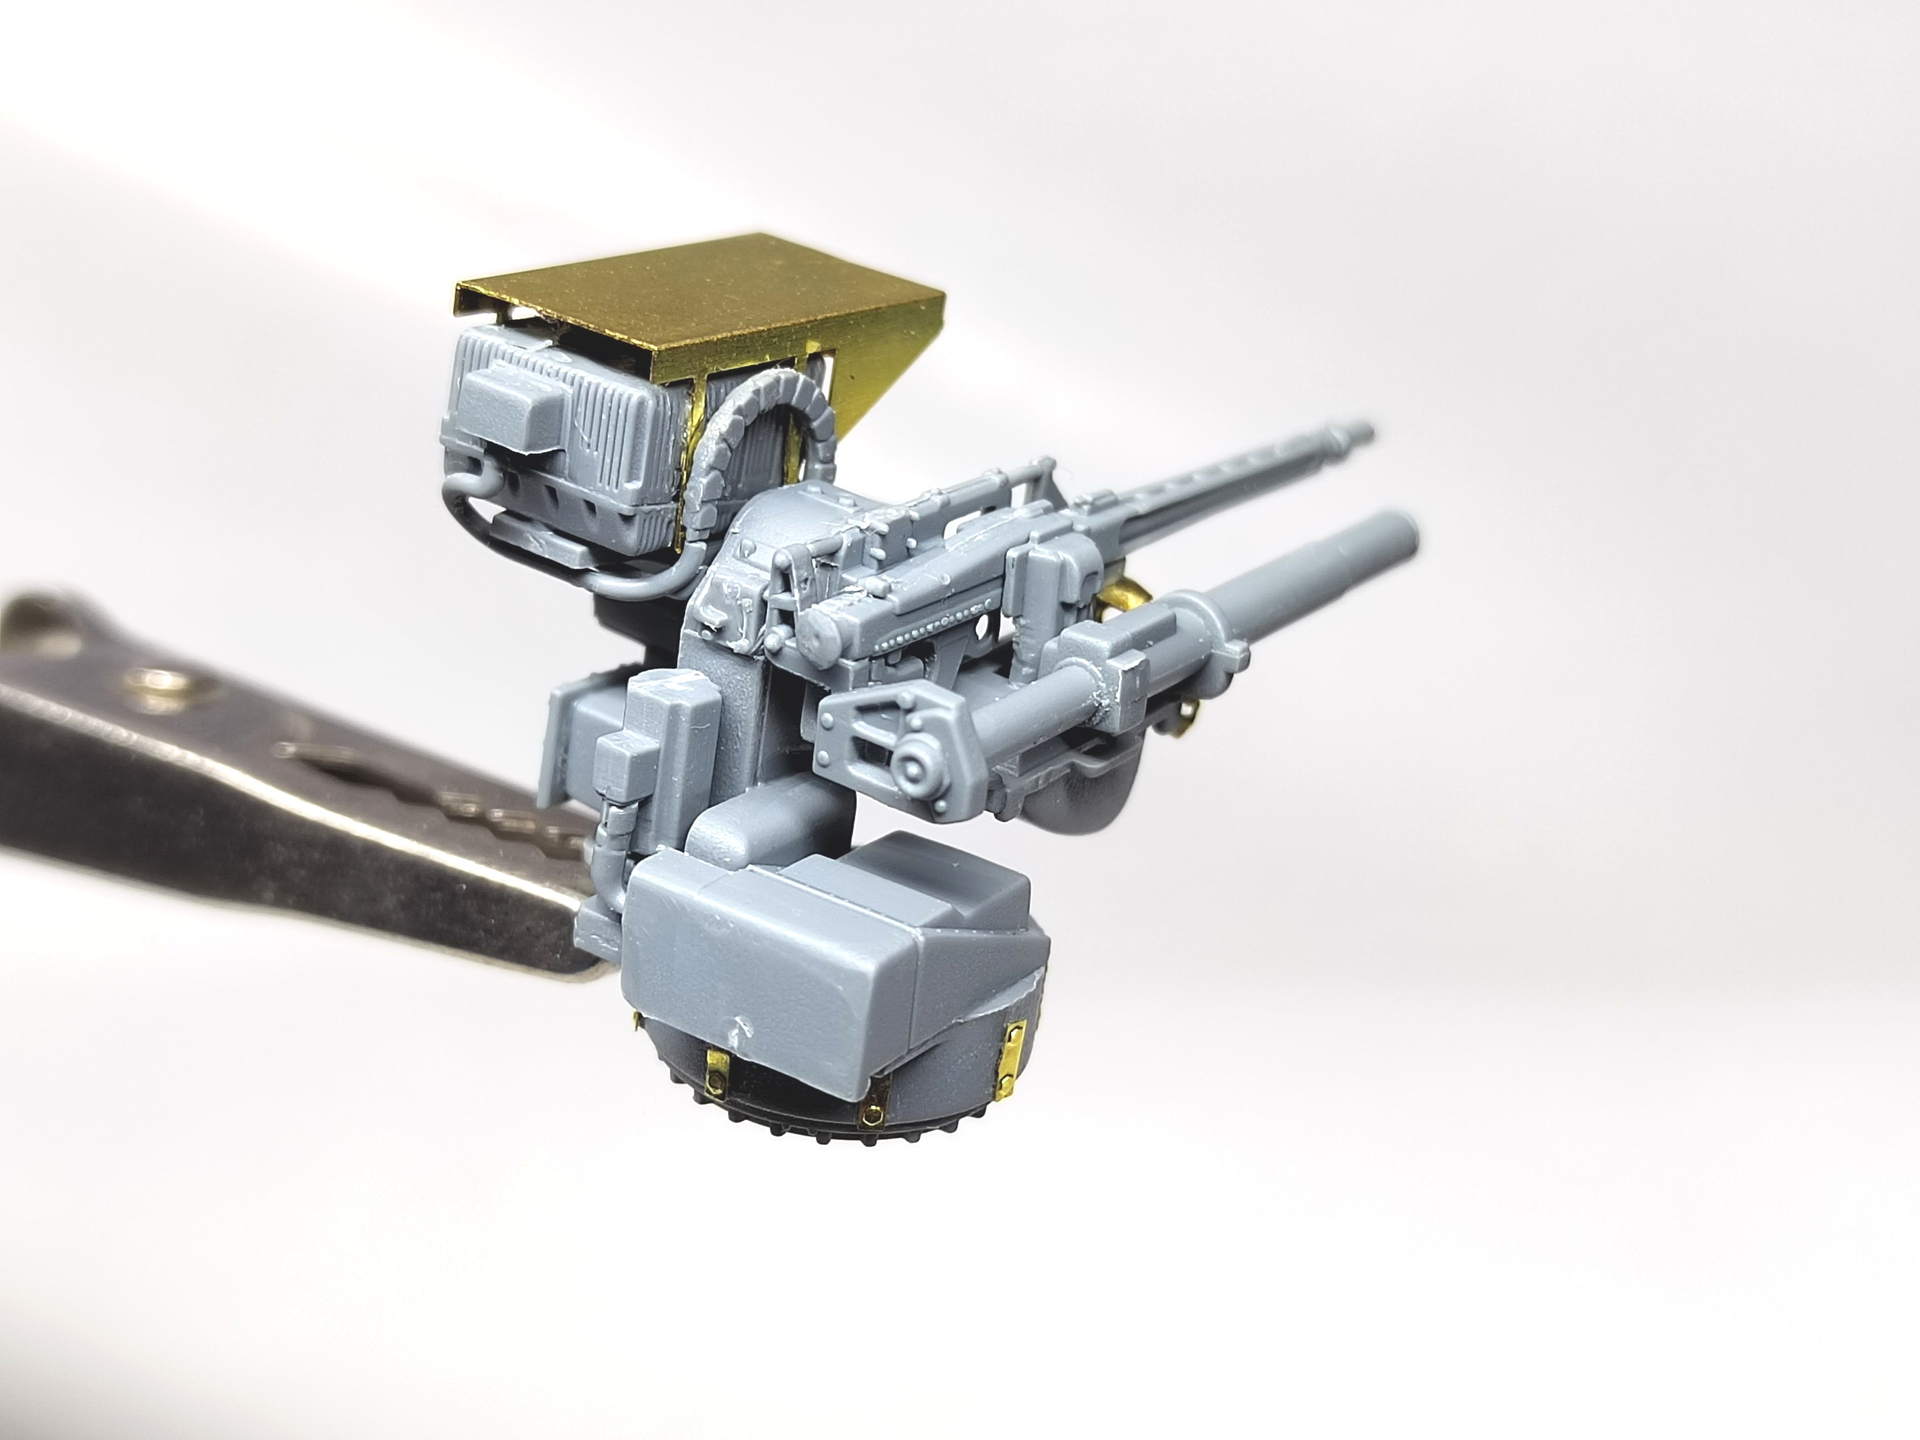
The 45 or so parts of the RWS are assembled. The instructions are not really clear so take car to look at the following steps before gluing some parts. The overhead protection has no marks to glue it in the right position. So it’s guess game. The only hint you have is a notch which is used later to glue the curved part.
The ammo box holder should have a rectangular opening to align it with the cradle. It is visible in the instructions but absent from the PE part. So you need to delete the rectangle molded on the cradle. Better do it before all is glued.
Some PE parts are more than tricky to shape especially the one at the front with holes in it.
The tires have nice markings at different location for each tire. The wheels are not glued yet.
Next update will show the base paint. I think I’ll apply the light brown over sand camo.
Olivier
10 Likes
The painting step has begun.
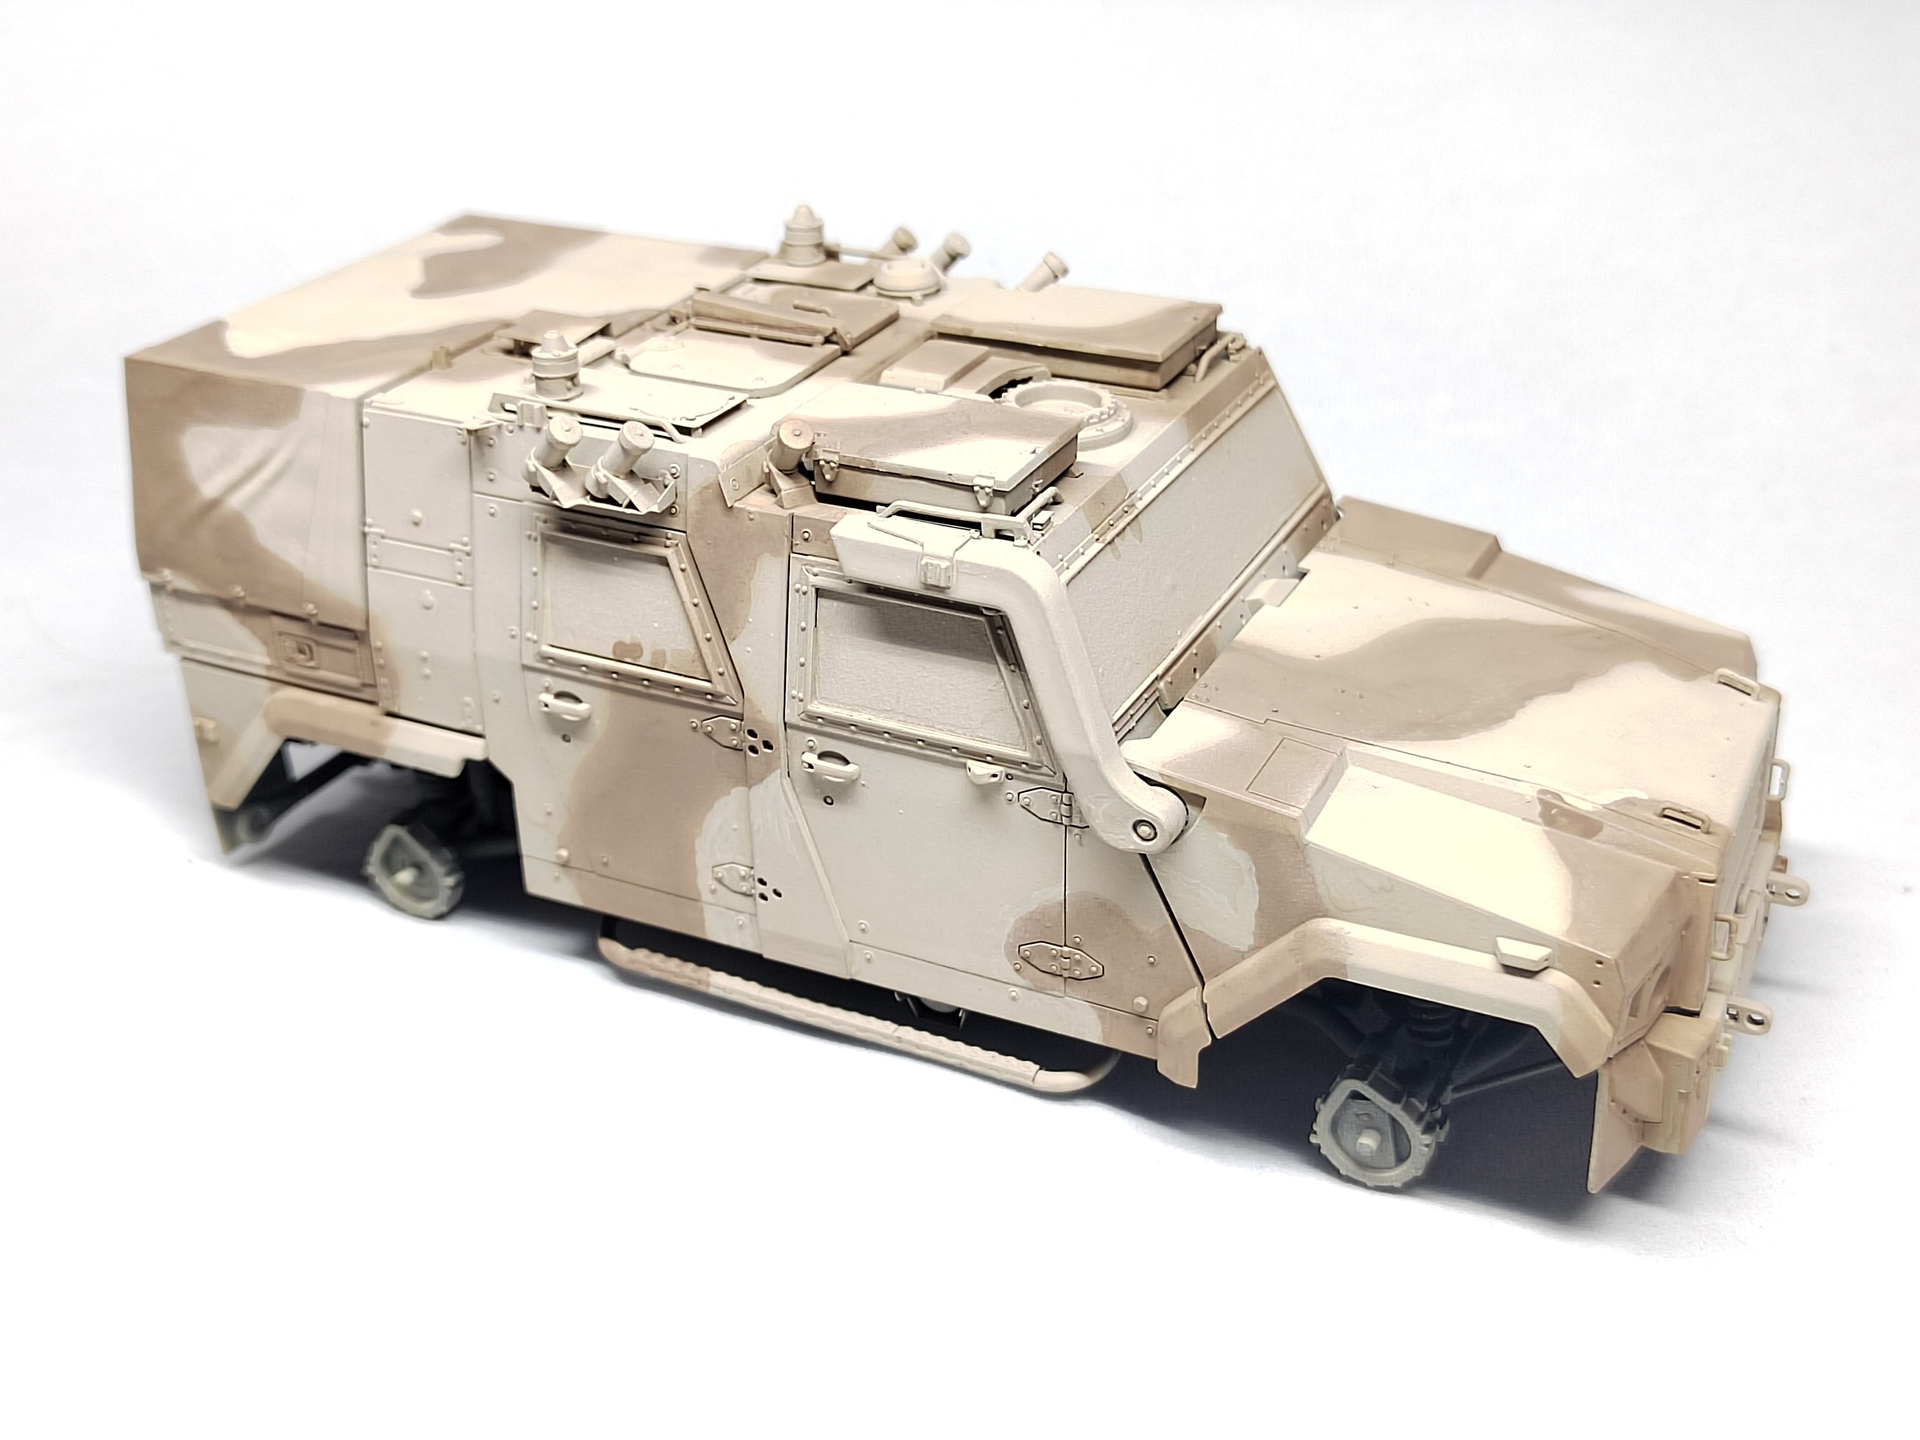
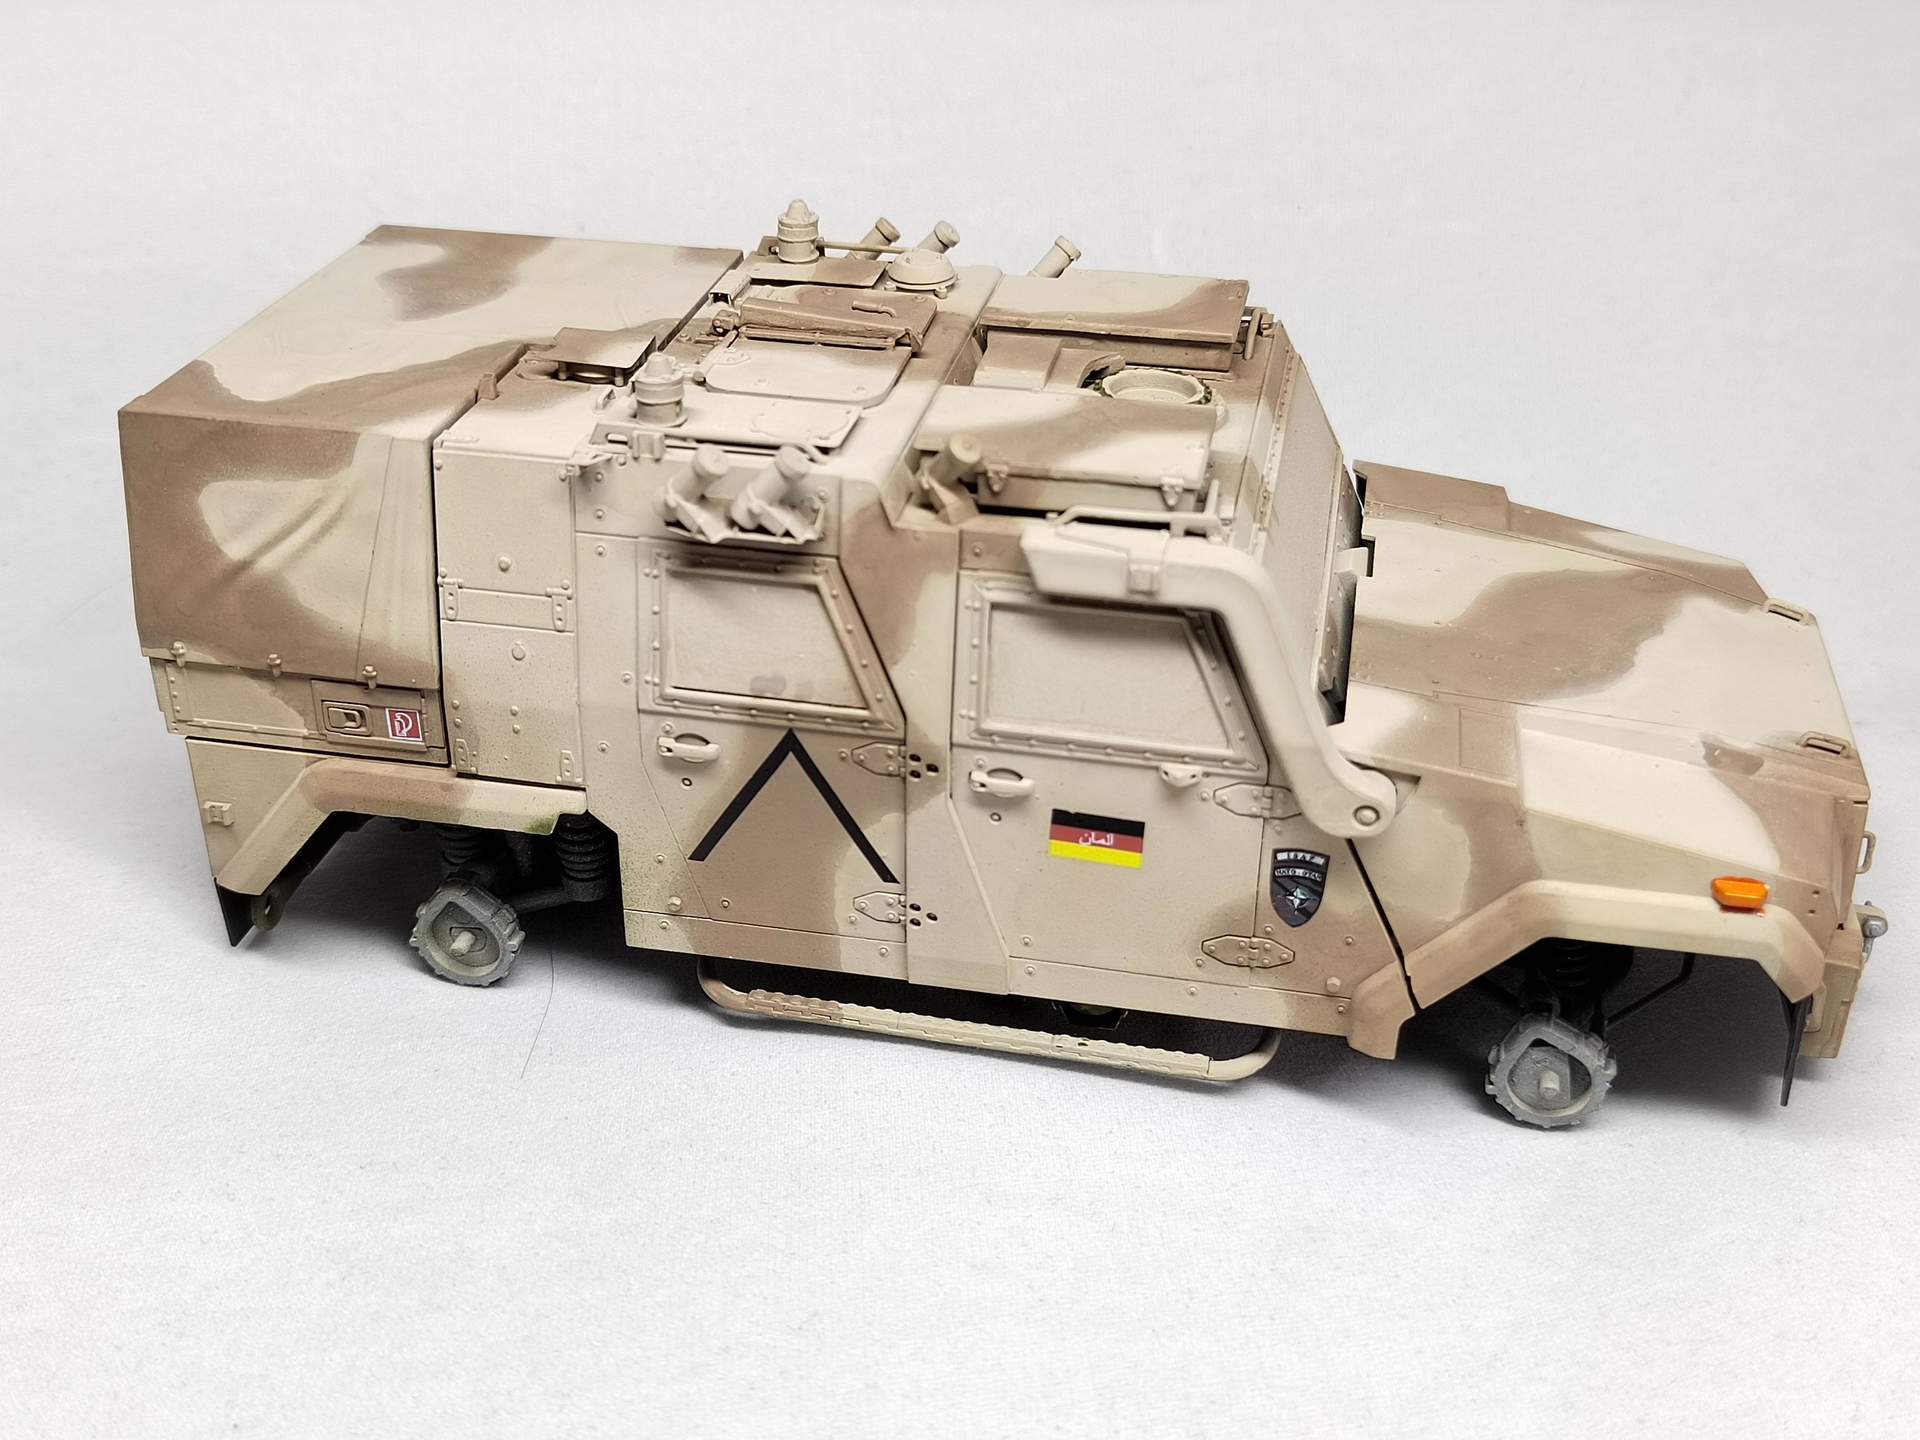
First I applied a coat of XF-57 then I sprayed the Vallejo Sandbeige RAL 1039. After having hand painted the brown areas outlines, I tried to spray the inside with Vallejo Sandbraun RAL 8031 with no success. The paint would dry just at the nozzle exit. I used more thinner and finally reached a passable result.
Then I applied the decals, glued the clear parts and painted the various details.
Olivier
16 Likes
Thank you Johnny.
Now comes the hardest part for me, weathering the model without ruining it all.
Olivier
4 Likes