Once again I am sure half the folks here will say, "I’ve been doing that for years!"
However I also suspect just as many will say, “Oh, I never thought of that!”
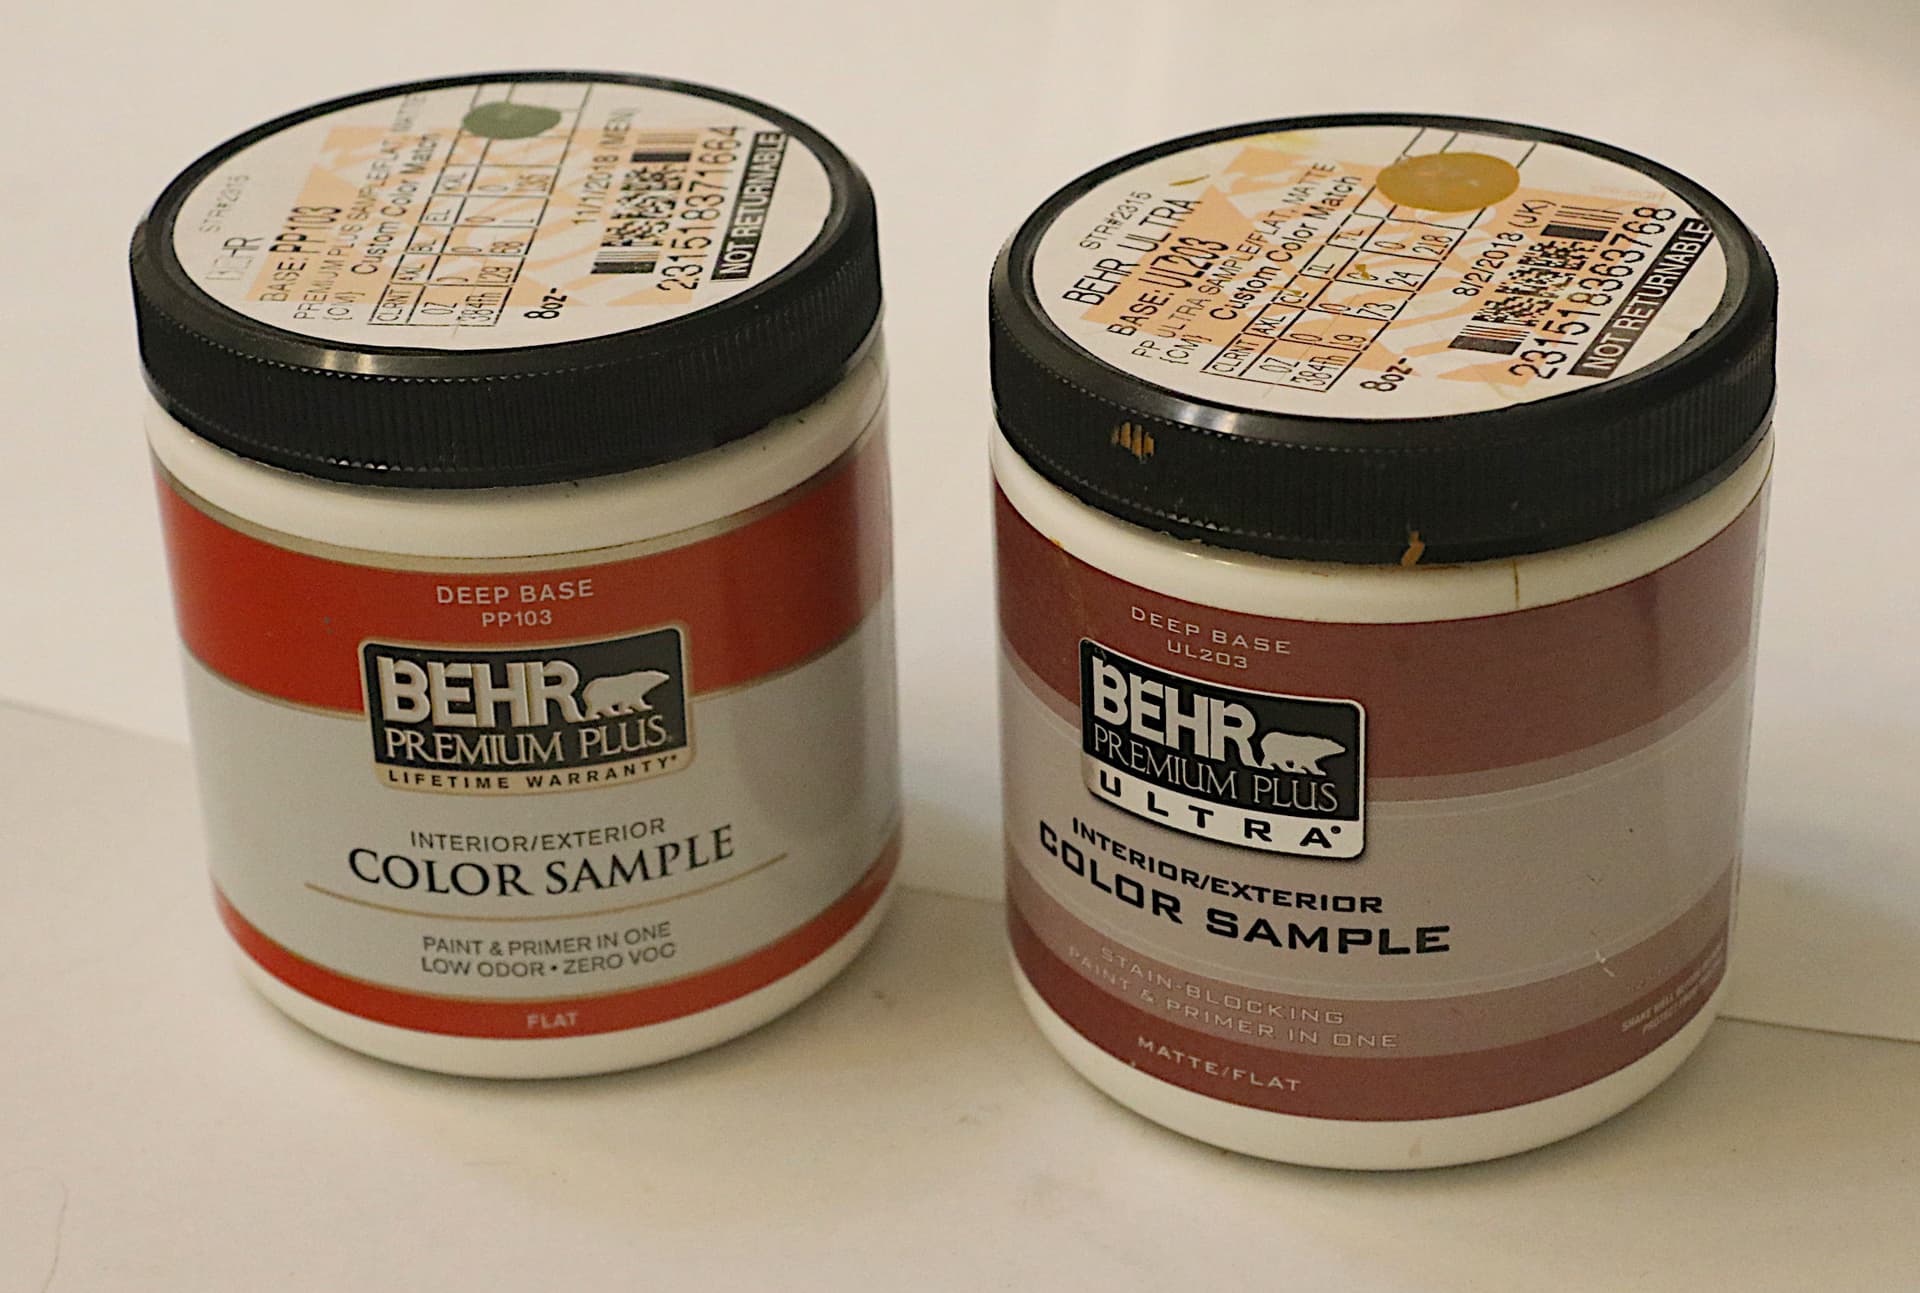
We probably all know that we can take a paint chip or a flat sample to a “Home Depot” or a “Lowes” and get a computer color matched paint mix.
But . . . did you know you can also bring a small three dimensional sample
(such as a model railcar, tank, ship, airplane) and have this scanned as well?
For around $5 USD you can get a pint of near/exact match acrylic color in your choice of Matte, Semi-Gloss or Gloss.
(I prefer the matte finish as it offers you less paint surface tension which makes for fewer visible brush strokes than the Gloss or Semi-Gloss. The final clear sealer overspray you use is what will determine the level of finished gloss you prefer anyway.)
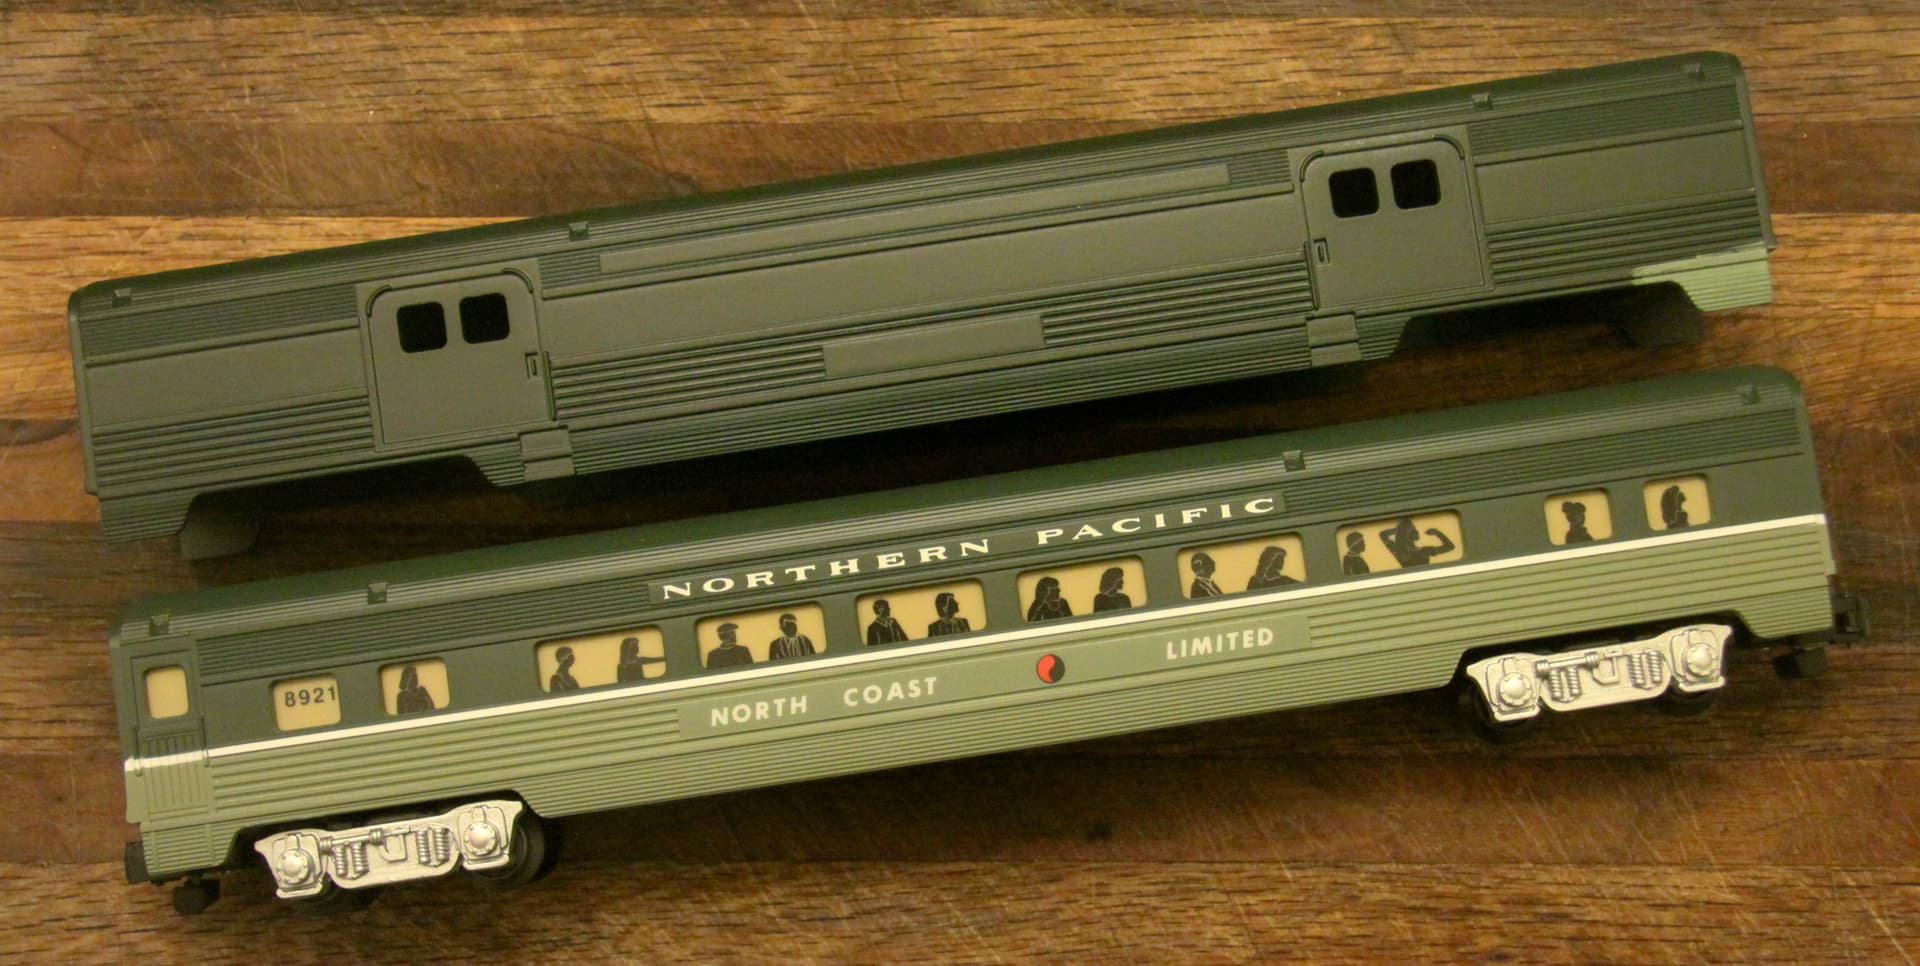
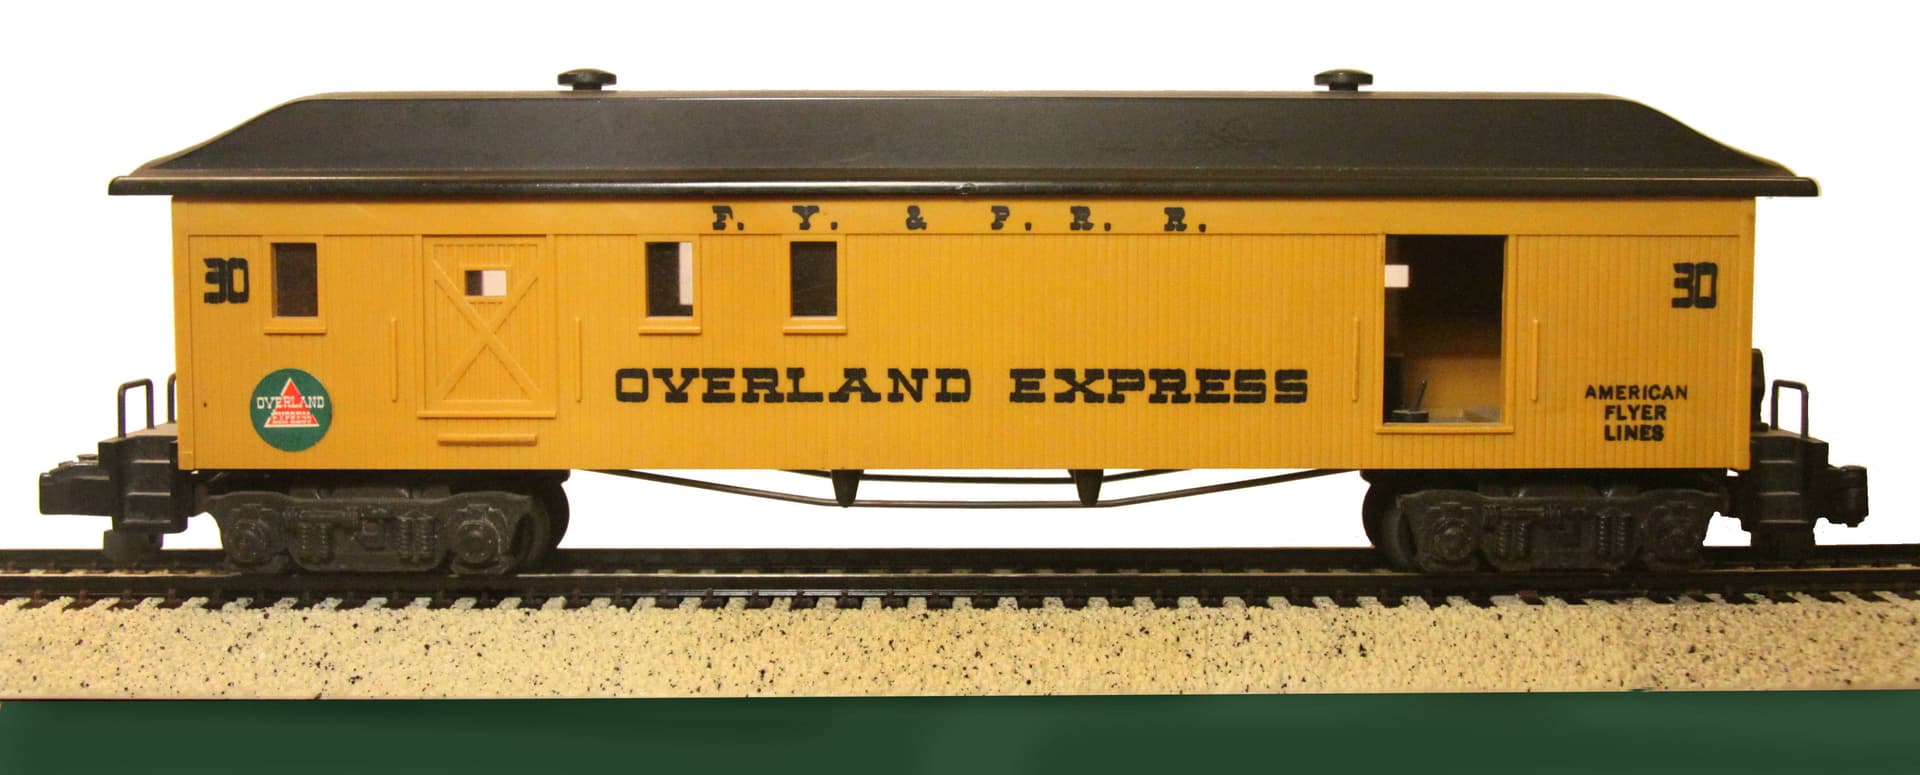
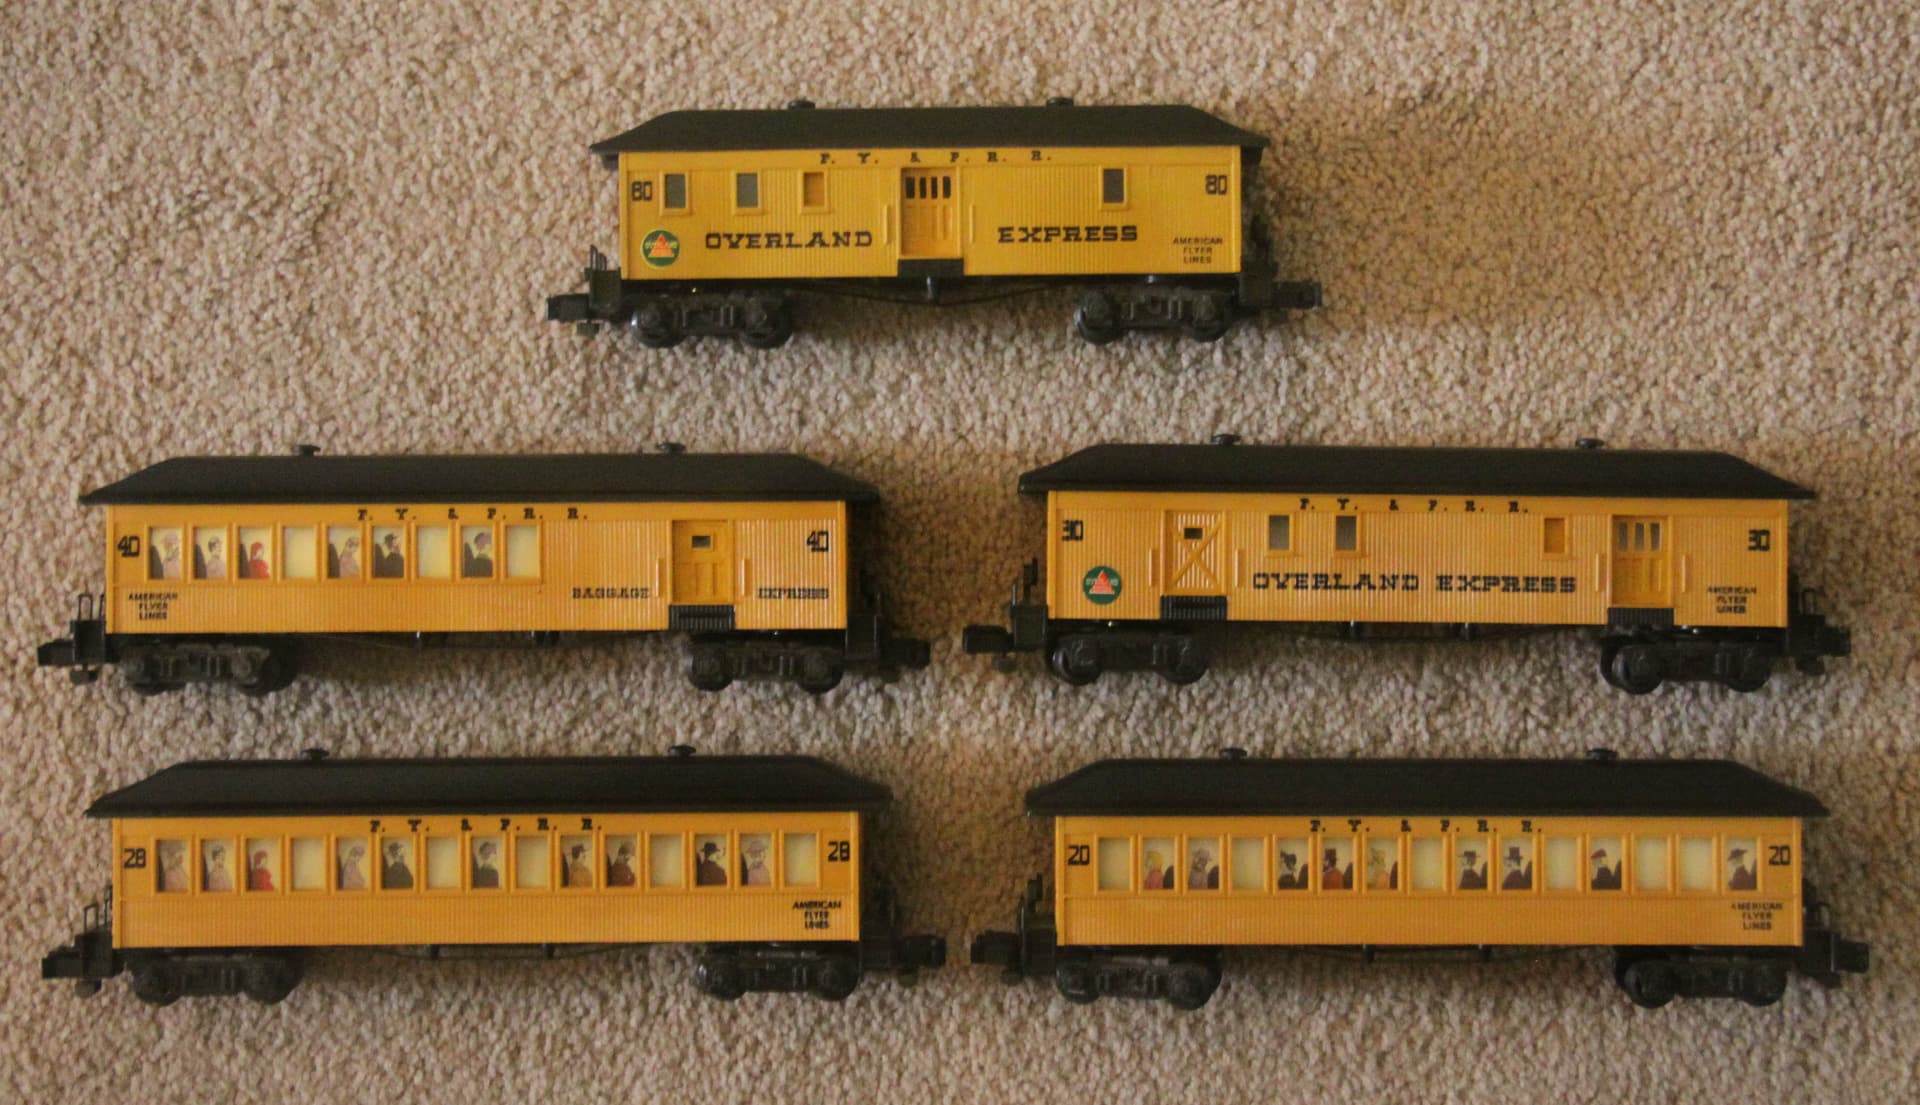
Always wanted a double door baggage car to go with my American Flyer “Northern Pacific” passenger set. A RARE few were actually made but good luck ever finding one.
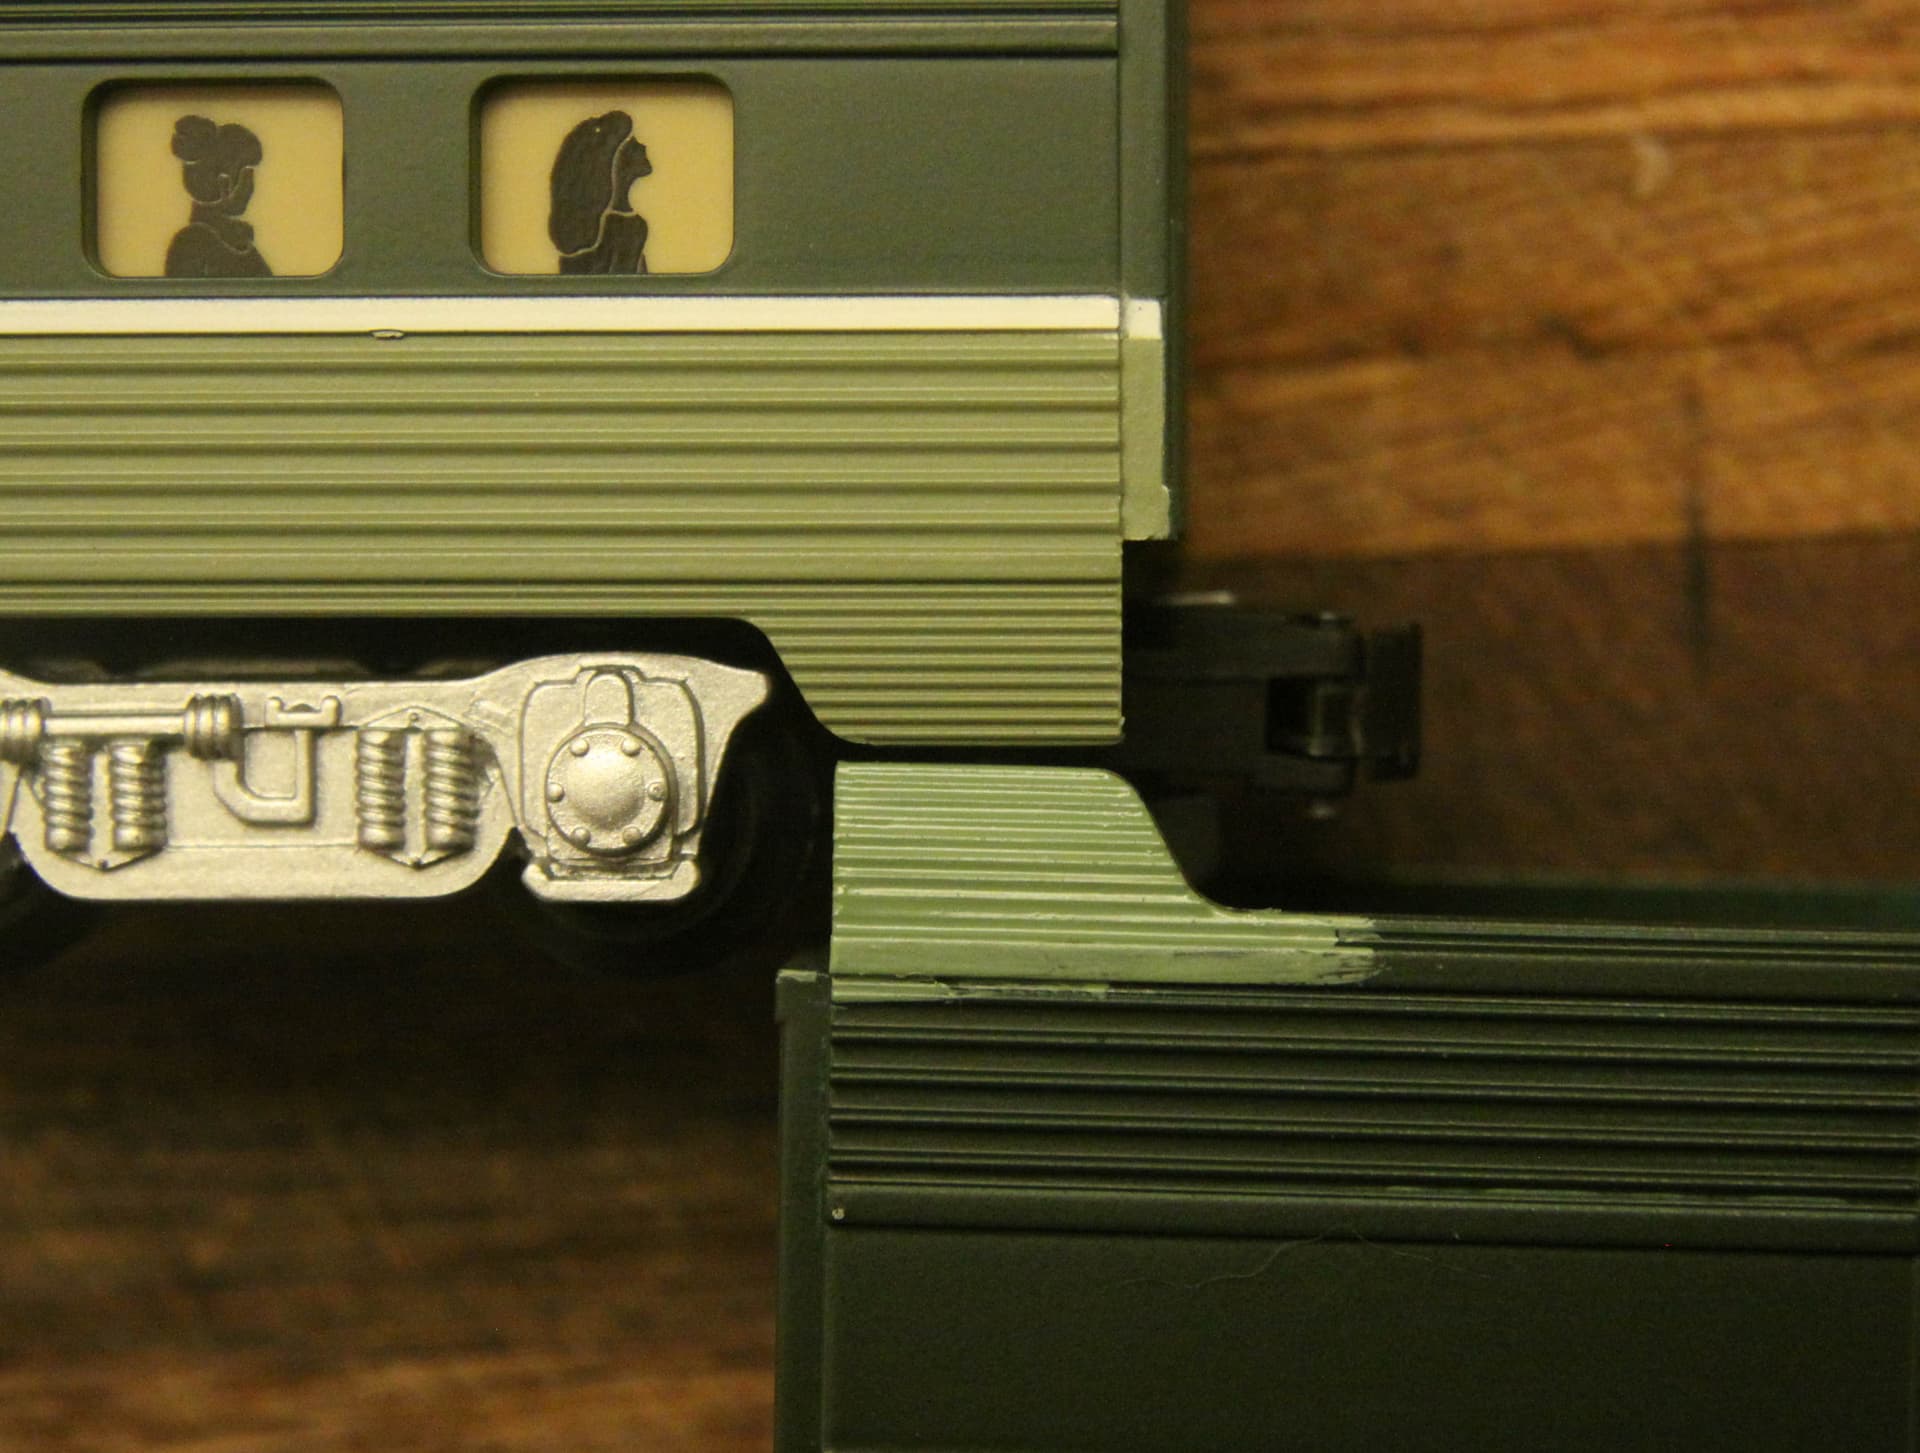
Sample car used for the scan:
(Pick a smooth area such as the skirting below the ribber siding for the scan.)
ALMOST a perfect match but close enough for me.
Comparison of original color vs. mixed color.
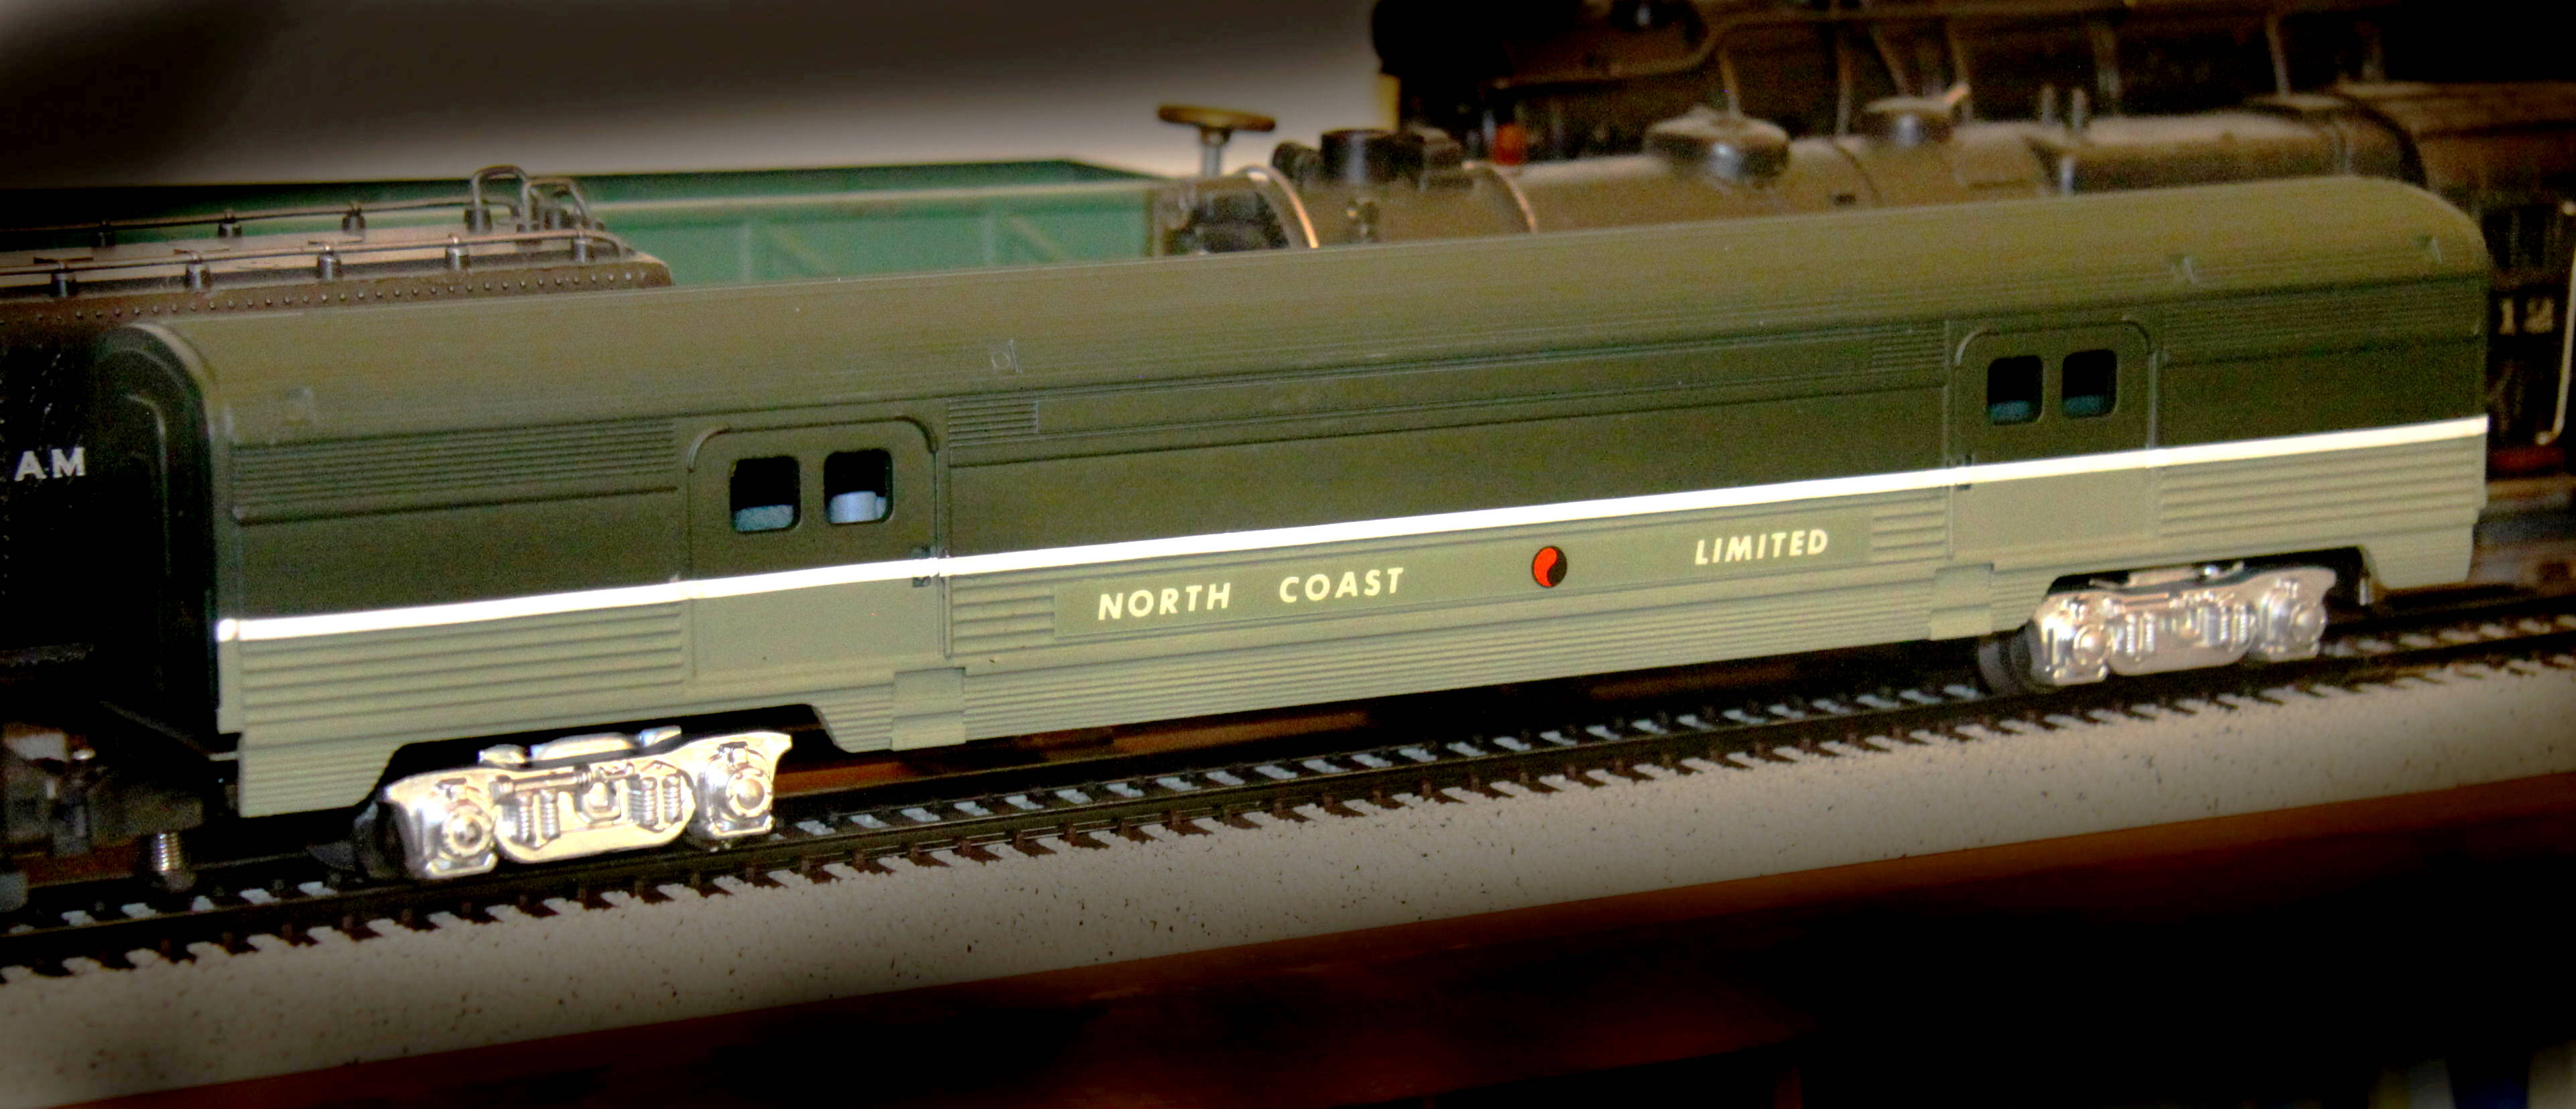
Finished Baggage Car: (Still looking for the perfect “Northern Pacific” banner board decals.)
I masked the car in the area of the bold white stripe and with a wide (3/8" to 1/2") flat tipped brush I brushed on the light green matte color using long smooth very even strokes.
The white stripe is “ruling tape” of the proper dimension. Finally the car was given a medium/heavy overspray on Matte Clear to seal everything in.
(Tamiya TS-80 Rattle Can) If you spray on the Matte Clear moderately heavy, it flows out and actually will give you a very nice semi-gloss that matches the other factory cars quite well.
Found some original factory replacement “North Coast Limited” stickers on eBay.
Note the color match on the finished car.
As close as I will probably ever get to the actual Factory car is in a photo:
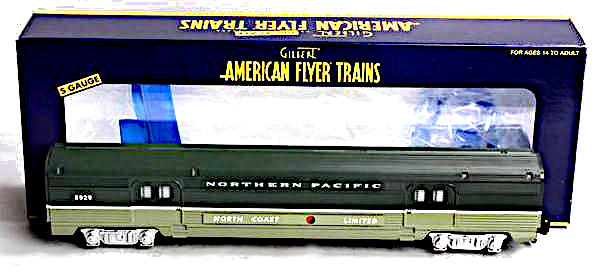
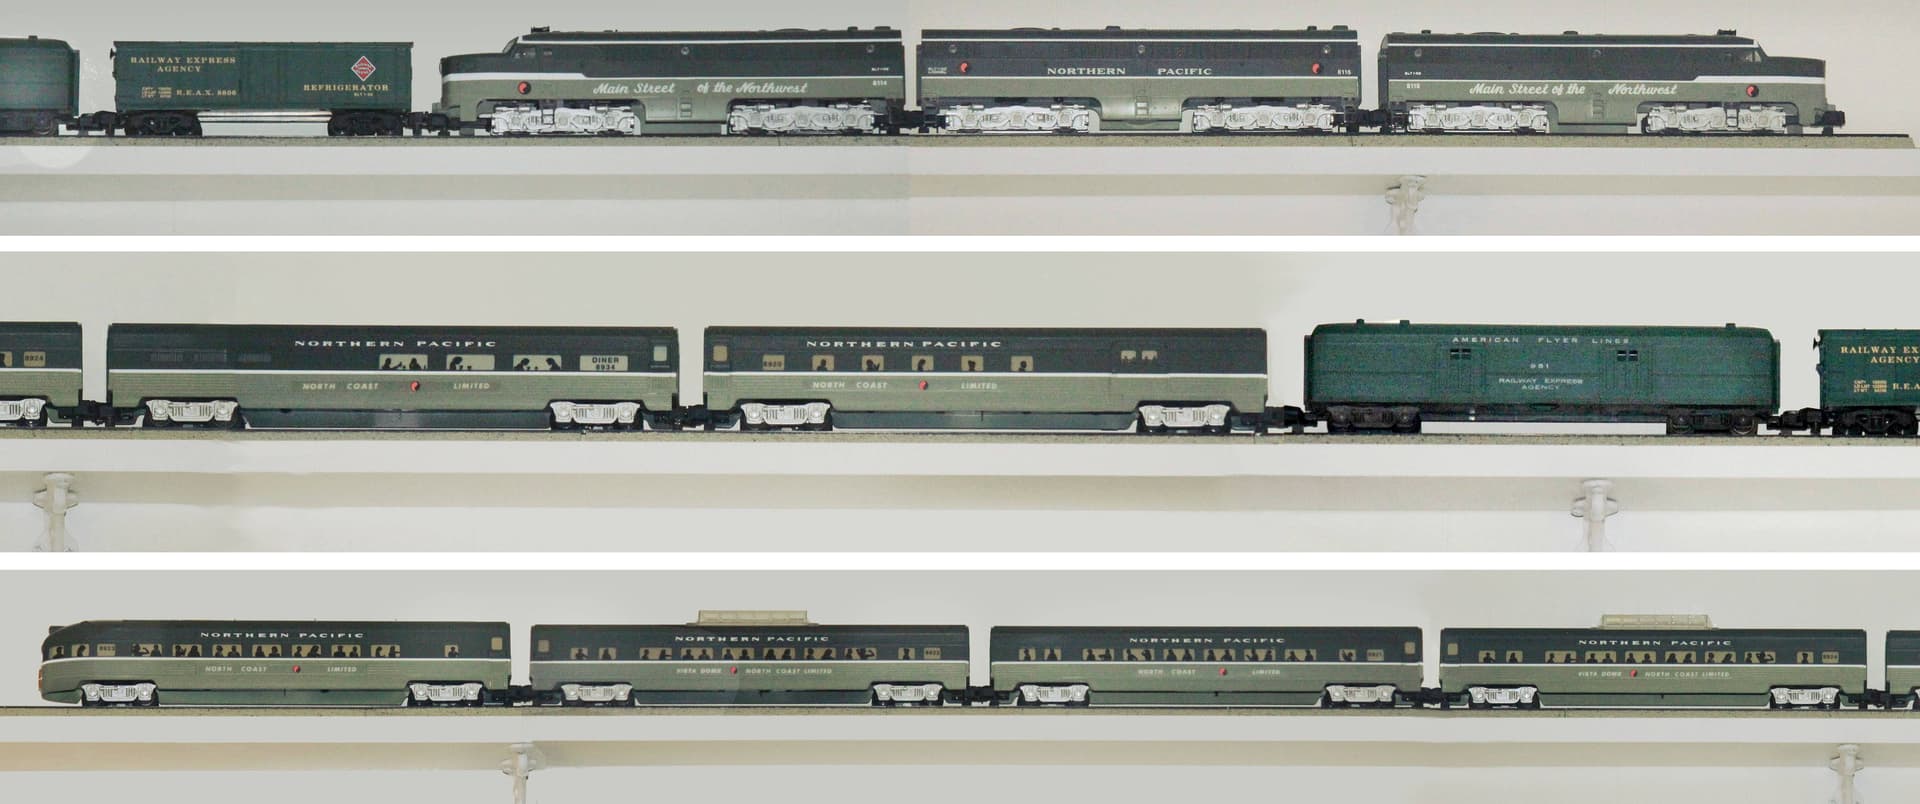
My full North Coast consist on display BEFORE the addition of the painted double door baggage car: *(If I ever tried to actually operate this train I might just have to get a second motorized chassis for that second A unit.
I have future plans to splice two of the REA Express Reefers together to make a TRUE express reefer. And perhaps to paint that RPO car to match the rest of the consist just as the NP did.
Photo Credit: RailPictures.net ~ Copyright Steve Patterson
Used here for discussion purposes only.
I also had a hankering for a “shorty” single door baggage/bullion car for my American Flyer Franklin/Frontiersman" passenger set. (Sadly Flyer never made such an item.)
I would have a LOT of cutting and sectioning to do to the longer baggage car to get what I wanted so repainting the finish car would definitely be required.
Again “Home Depot” to the Rescue!
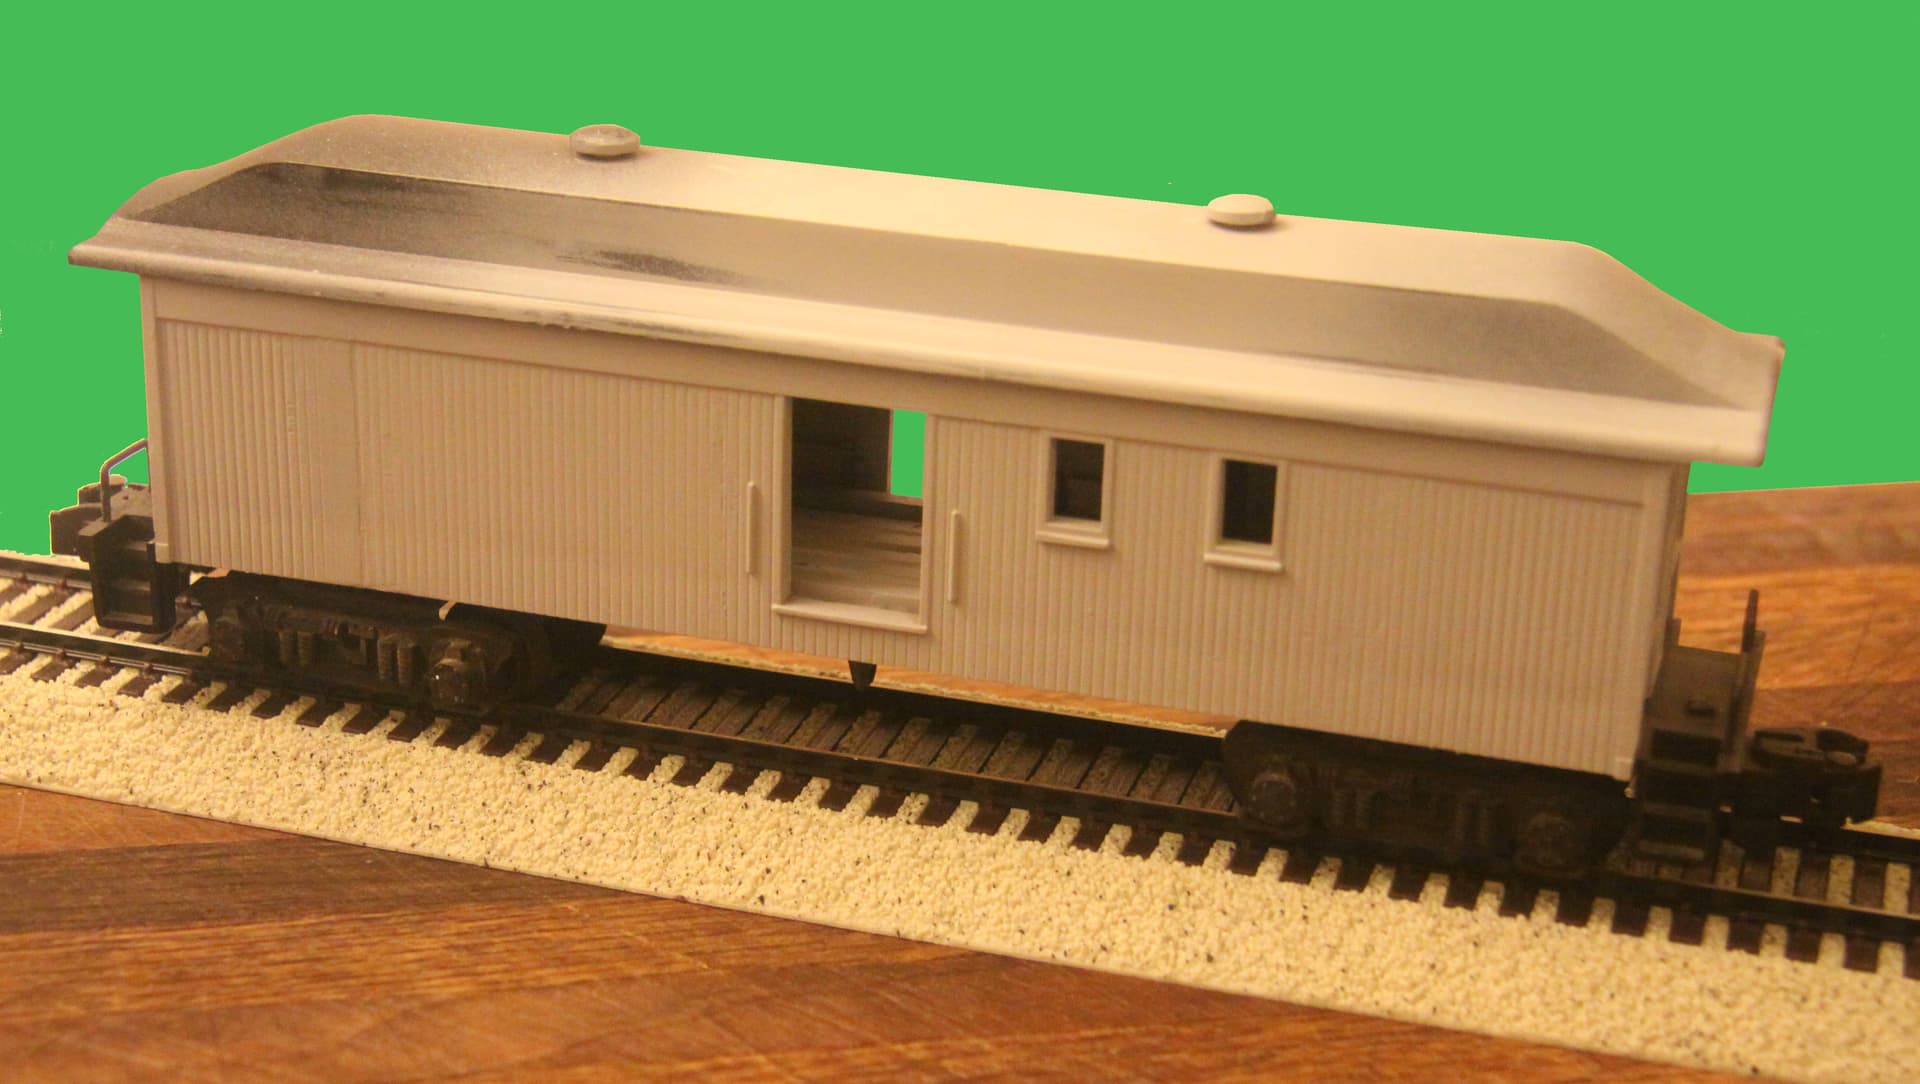
Original “Donor” Baggage Car:
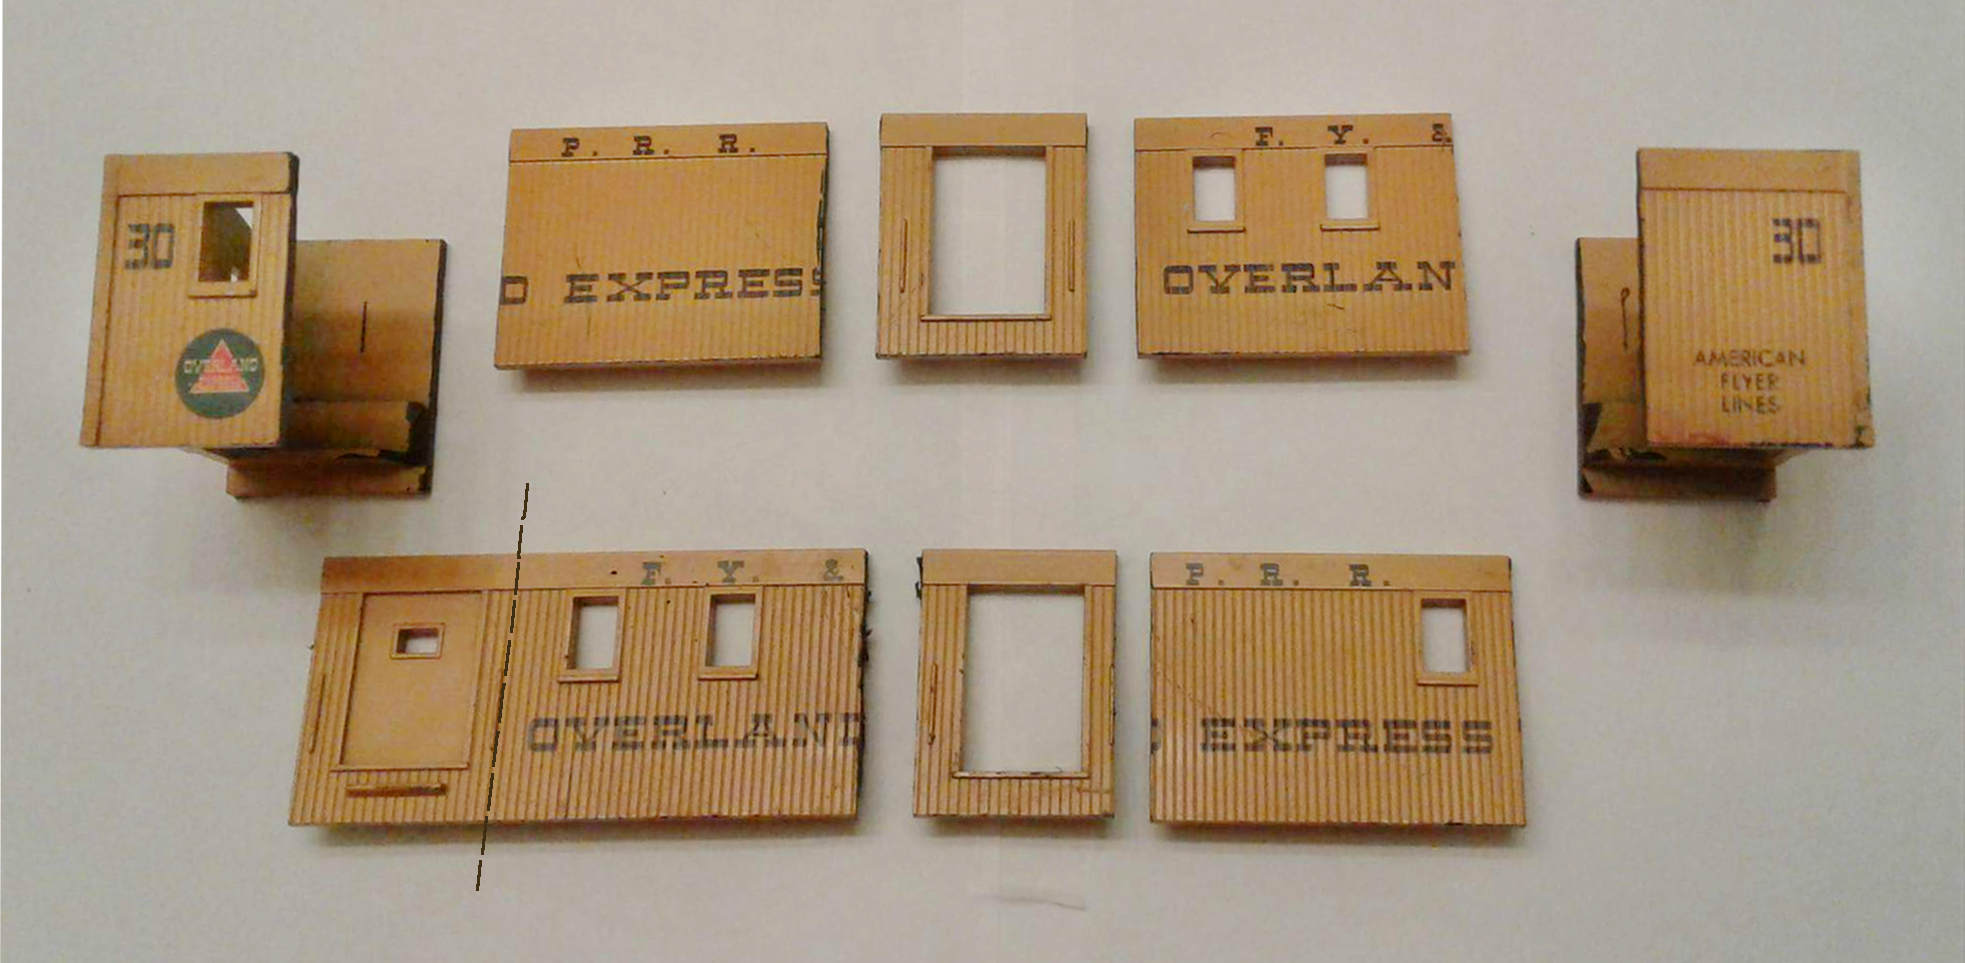
As stated; a lot of chopping and sectioning would be necessary:
Priming the assembled car:
Again this Matte Yellow was brushed on:
The Finished Car with decals:
My now completed Franklin/Fronteersman Passenger Set:
I also added baggage doors to all the openings in the other baggage cars.
(Never cared for the large gapping openings that Flyer left in these cars.)
So with scratch built doors that paint was going to
HAVE to match!
Also added passenger silhouettes to all the cars as well.
(Another very nice purchase found on eBay.)
Before applying Behr or other house paint to model train car, what’s your prep procedure for the train car?
Anything beyond wash in warm soapy water and air dry?
1 Like
Prime with Tamiya Fine Surface Gray Primer. (Rattle Can) Have had problems with their White Primer in the past.
The matte color Behr paint was then brushed on. (Gentle vertical strokes with a wide brush to avoid brush marks.) Then sprayed with a final sealer coat of Tamiya Matte Clear (TS-80 rattle can) to hide any brush strokes even more.
(Same treatment used on the NP baggage car except long horizontal strokes to run with the horizontal fluted side car.)
On a distantly related color matching note:
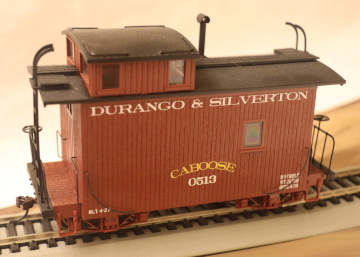
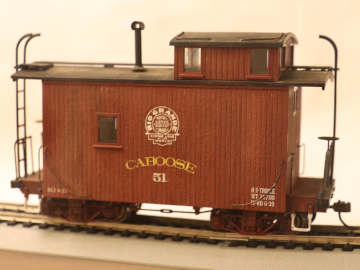
The fairly new Tamiya Red Oxide Primer (Rattle Can) is a perfect match for the Caboose Red Bachmann is using on their On30 offerings.
. . . Before - Factory Fresh . . . . . . . . . . and After, brushing out just the D&S lettering
 .
. 
I just sprayed a puddle of the Red Oxide color onto a piece of white typing paper and then used a small brush to touch out the “Durango & Silverton” and parts of the car number.