This is my latest diorama. I photographed the construction steps, so I will try to show them, ending with the diorama ready. It is a scene of German soldiers feeding in the field with the famous Tamiya Field Kitchen (35247). I had already used one of these kits to make a kitchen truck, but it is one of my favorite’s kits, I decided to build another one, now in a diorama. As I like to incorporate the base into the work, I thought of making the dio using some reference of wartime kitchen accessories. Initially I thought of making it inside the cook pot that they used, and that we found basically in all the figures, but …
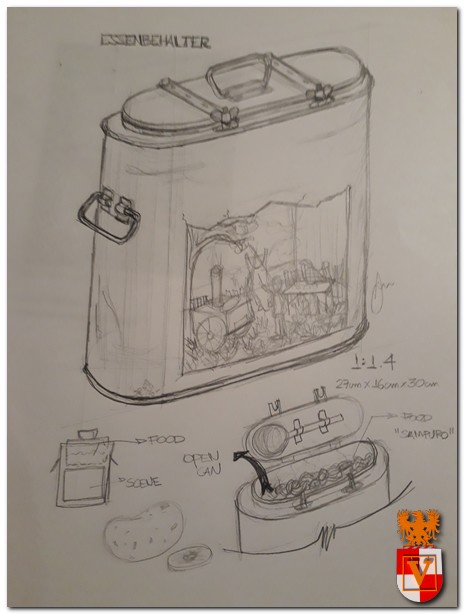
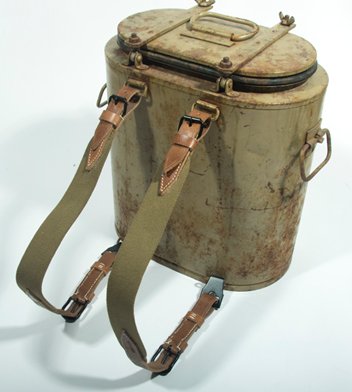
Looking for references about german field kitchens, I found the images below. It is possible to see the so-called “essenbehalter” or food-container, used to transport food for troops that were not close to a field kitchen. They were used as backpacks for transporting food in a thermal environment. So, why not?
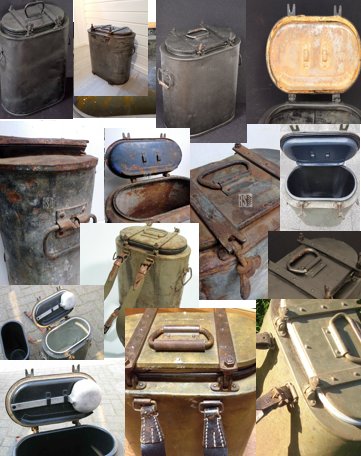
- all images are from the internet, used for reference only.
4 Likes
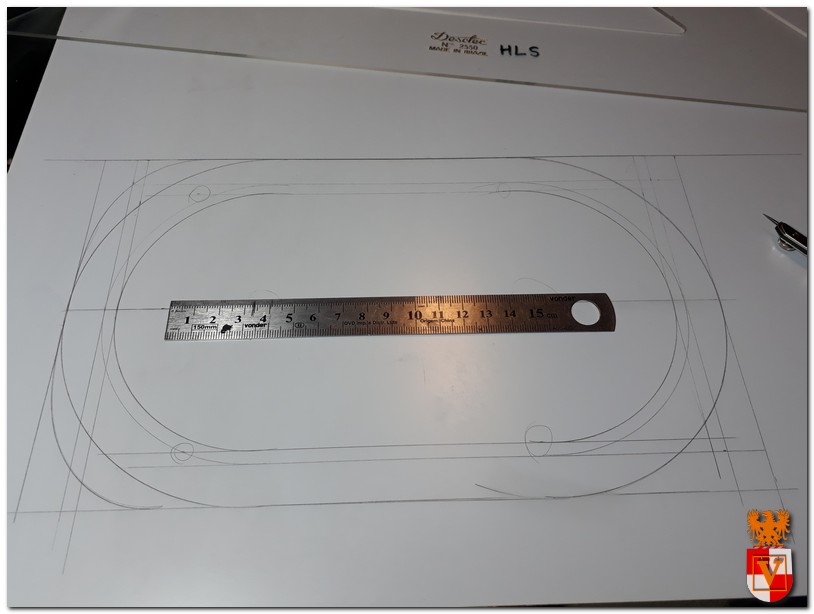
So I looked for more reference images and tried to find the container dimensions. I found several measures, such as 37x22x42cm, 38 × 23 × 43 cm, most of which are indicated on sites like ebay. As the dimensions are very close, I used an approximation of these values;
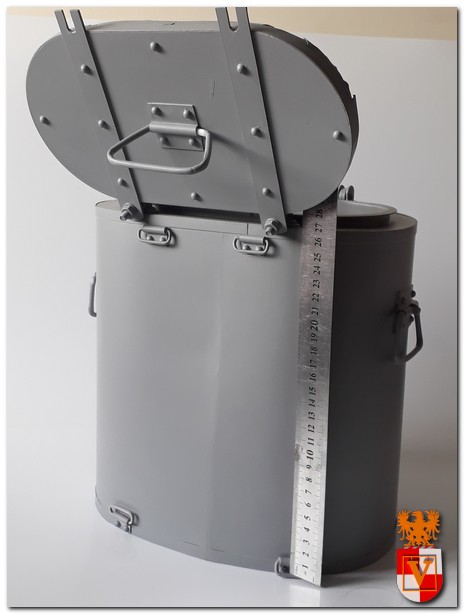
I made a mock-up of what I wanted to do for the scene and then an outline of what the food can would be like. It ended up getting an approximate scale of 1: 1.4, that is, every 1cm in the model is equivalent to 1.4cm in the real scale. Besides the diorama I decided to make it so that the cover (lid) could be opened and with food inside the food container. Something like the Japanese call “sampuru” or fake food.
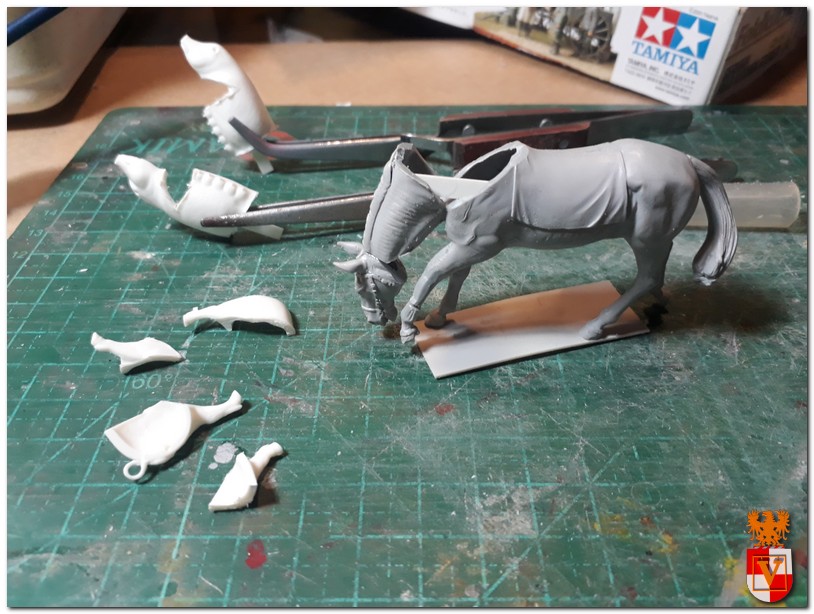
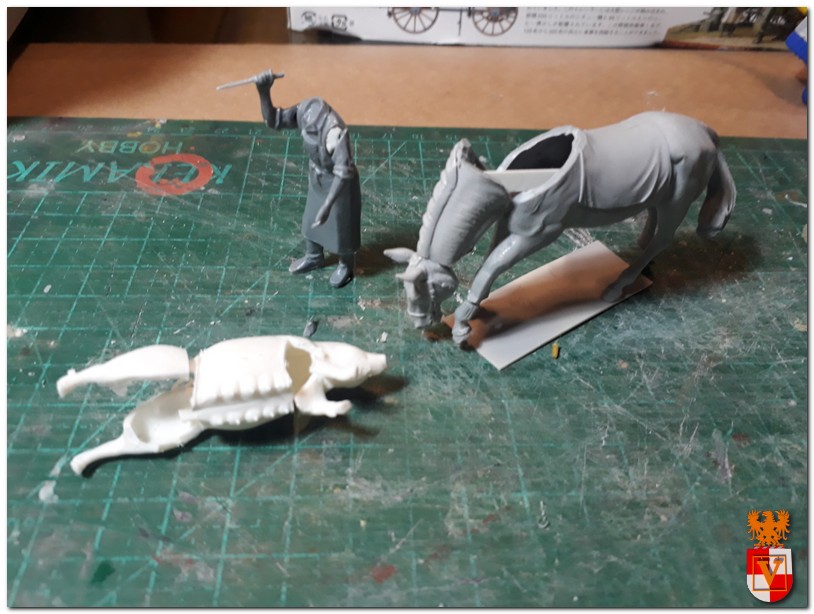
I started the work with the two animals that I put on the scene. A horse, which does not come with the kit and a pig, which will be cut by one of the cooks. The pig is from Tamiya’s kit, but as I thought of making it hanging, so I had to cut it and then I used water putty (durepoxi) to re-mold the figure. The horse I wanted his head down grazing, then I also repositioned horse head.
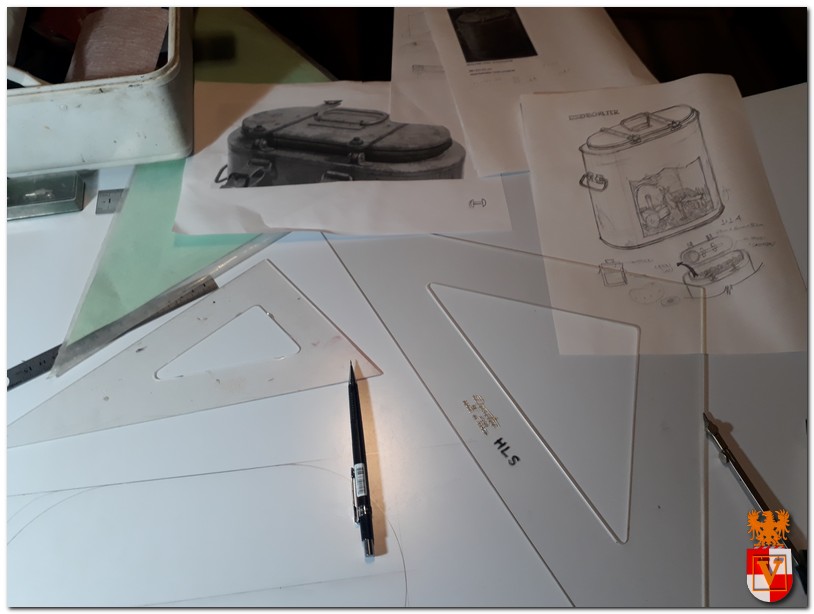
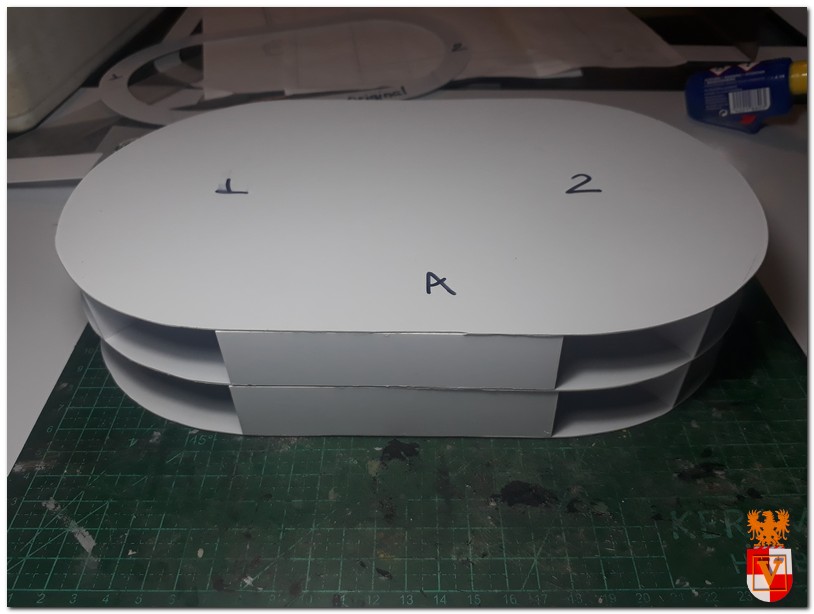
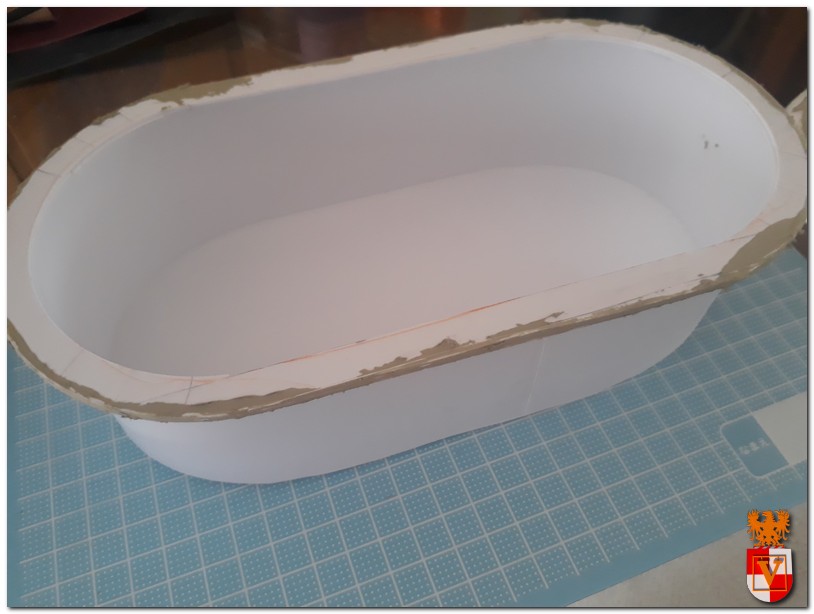
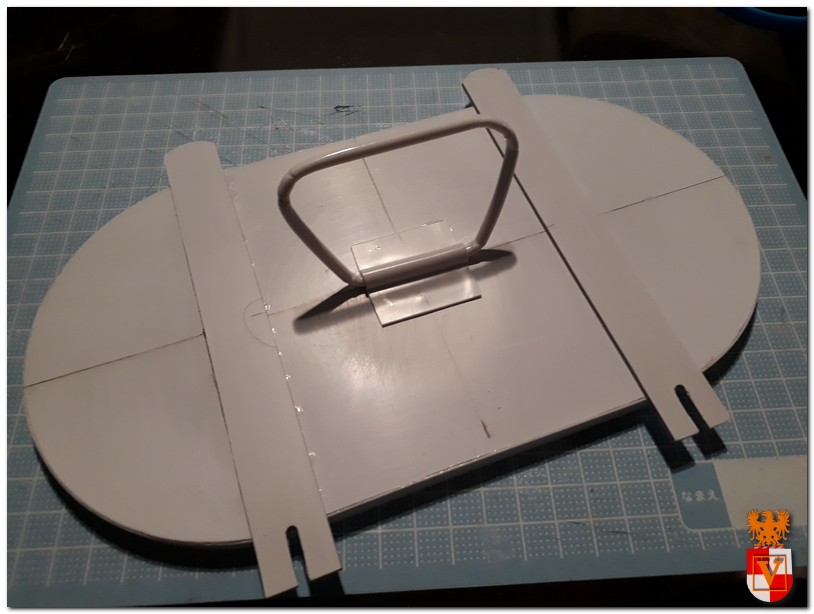
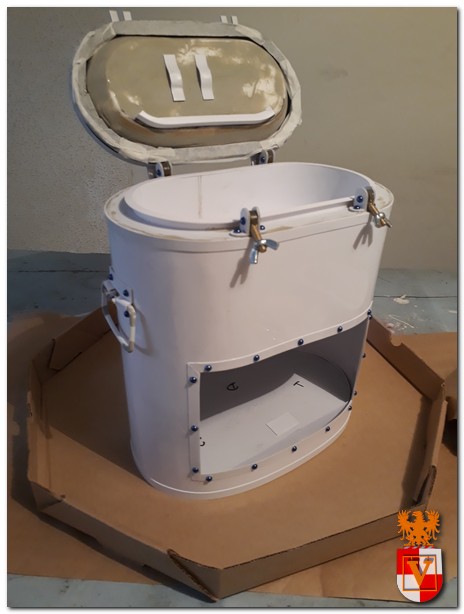
Time to build the food container. This was planned to have basically two parts: the first where the diorama would be in and the second where I put the fake food. As I was going to use resin in the food, I had to reinforce the structure of the upper part due to the weight of the food. I made the drawings in scale and I cut styrene sheets, those of the structure with 2mm and the outer ones, as they would have to be folded, I made with 1mm, but in two layers. Cutting the curved parts, even with a cutting compass, was very difficult…
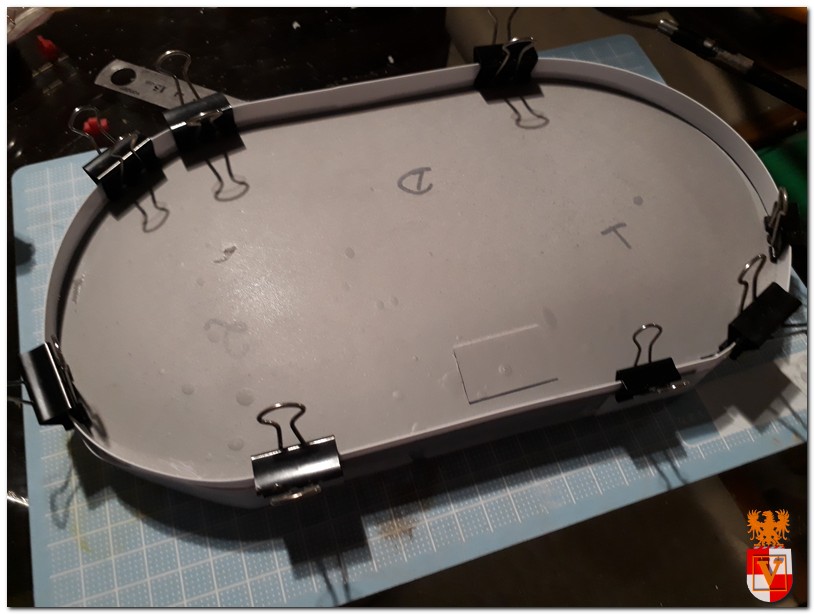
For the assembly, I made it in slices, which were superimposed until reaching the final shape of the structure.
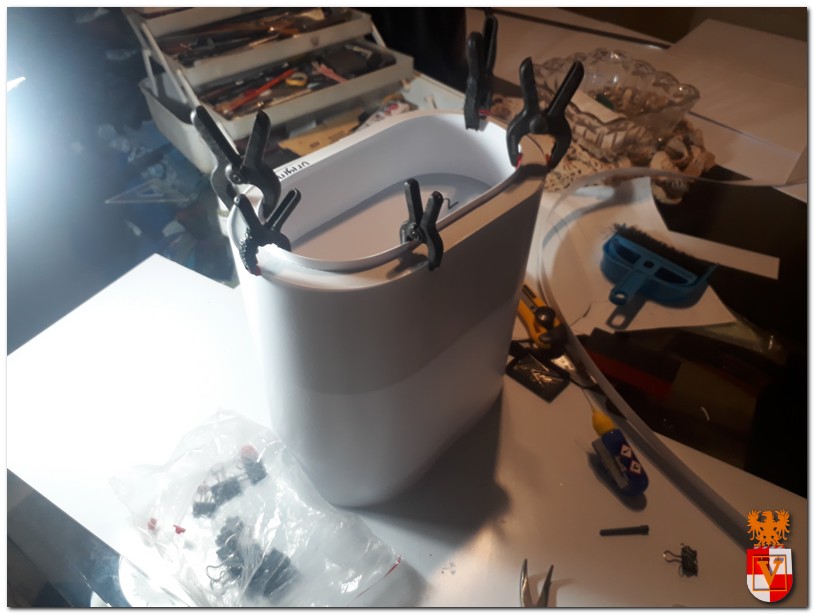
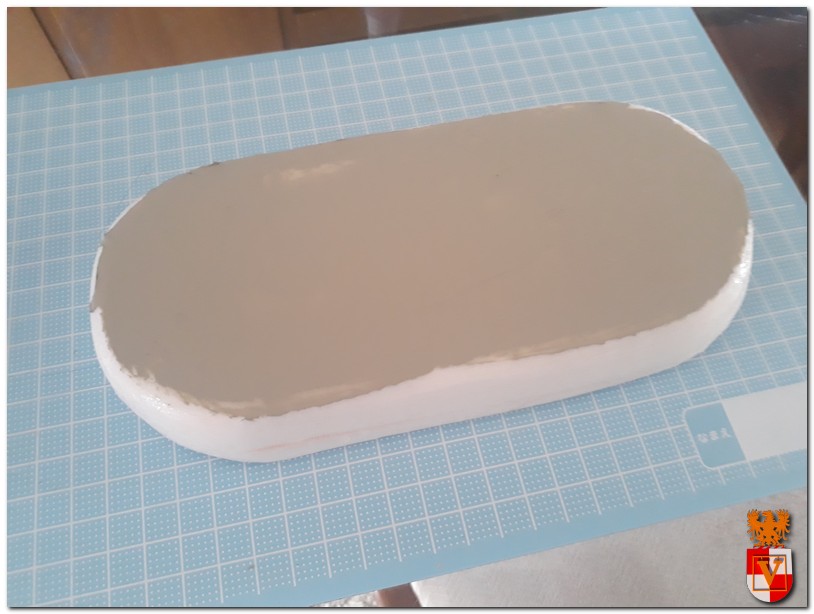
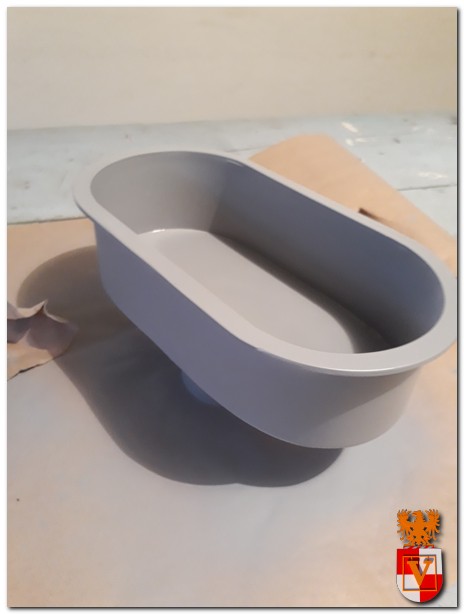
At the lid bottom there is also a part with different roundness, which I ended up making in foam, covering it with water-based resin and then putty for correction. Another detail is that the interior of the food container is removable, so I made a removable piece where the food that could fit inside the container.
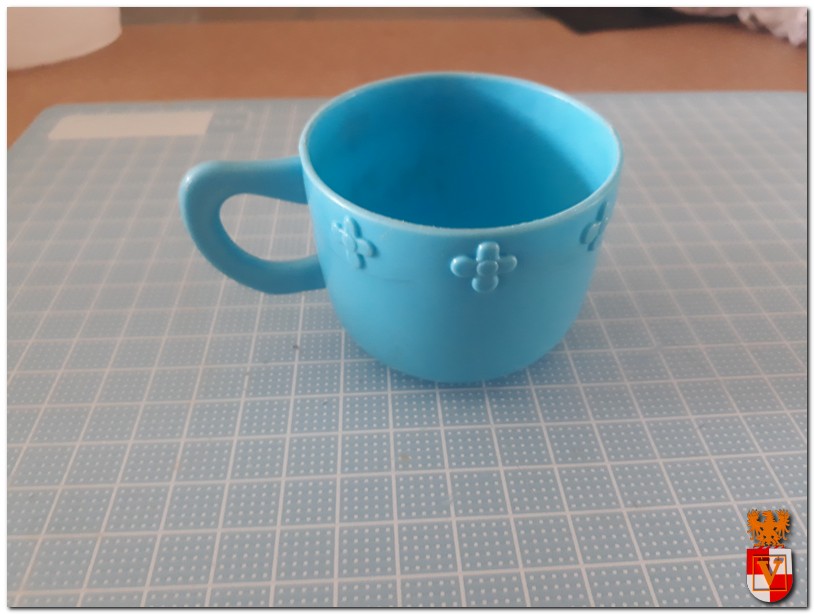
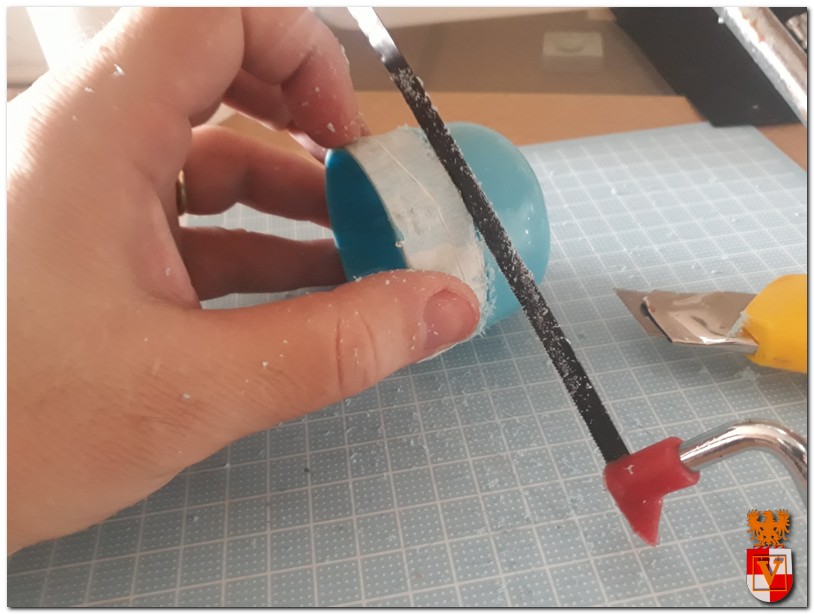
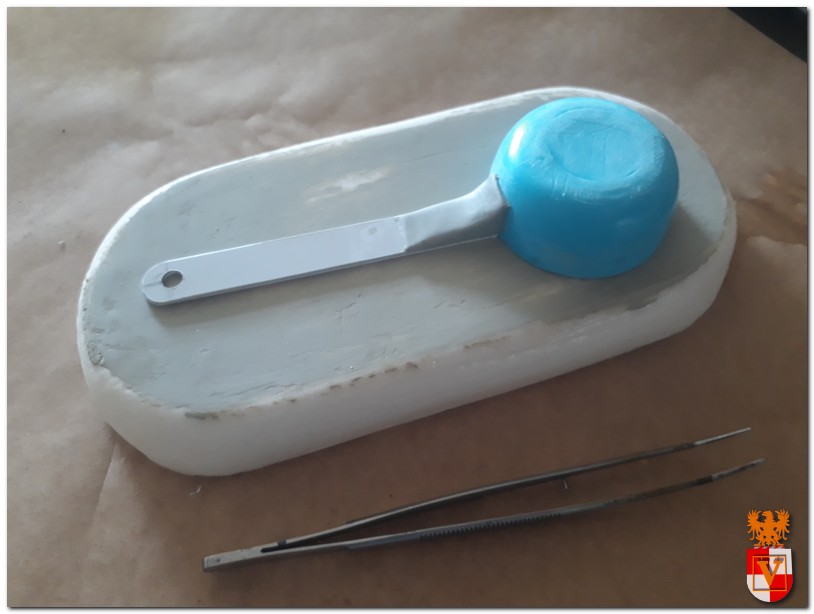
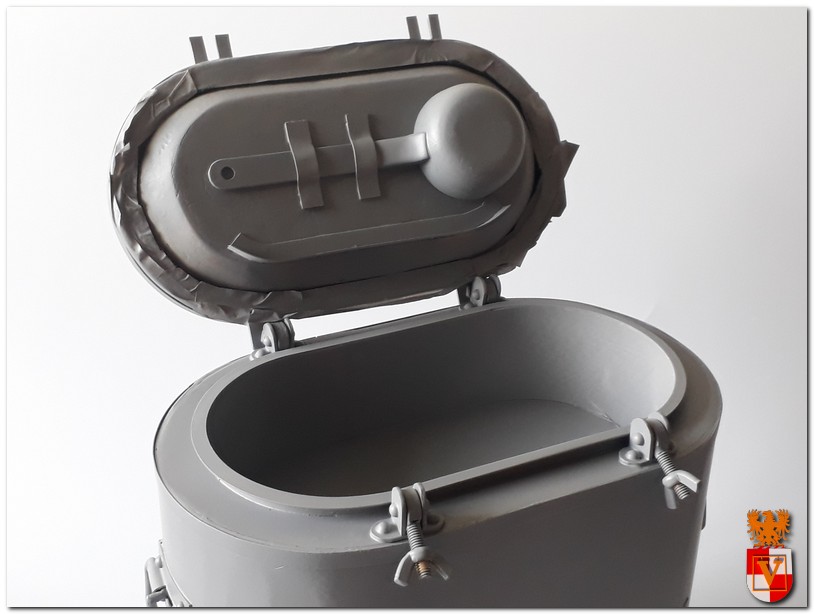
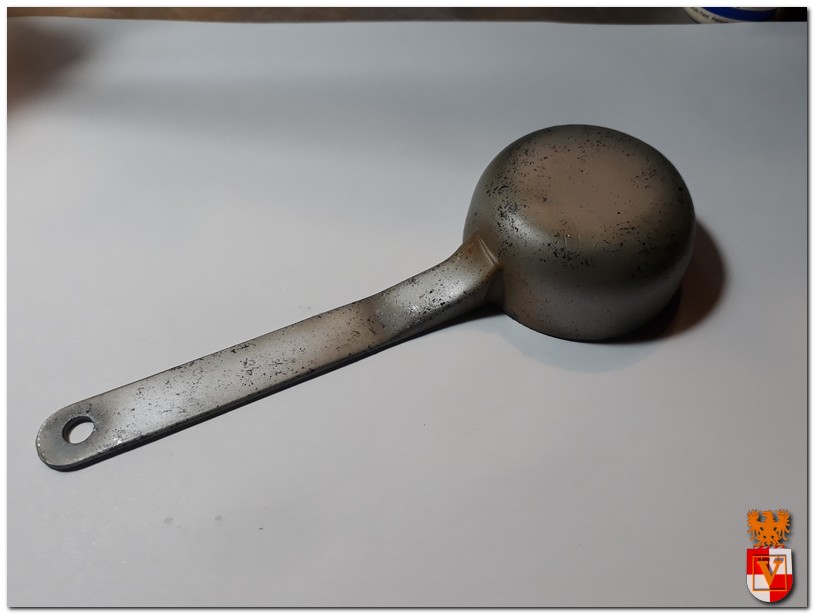
If you look at the cover, there is a ladle naturally used to pick up the food. I took a cup of my daughter’s toys and cut it and made the cable with
styrene.
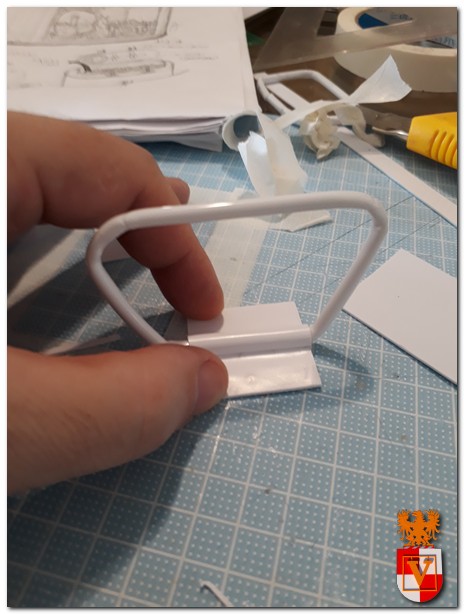
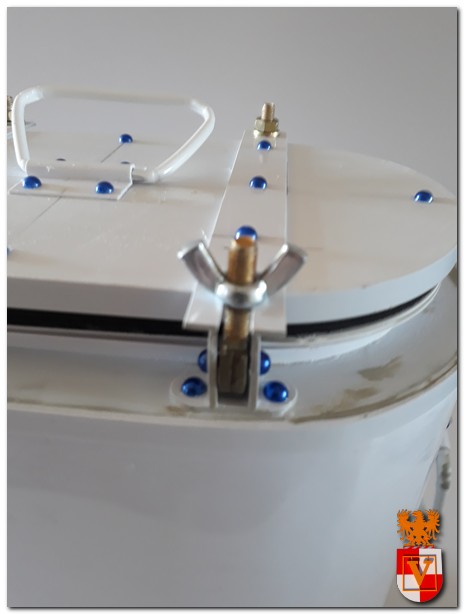
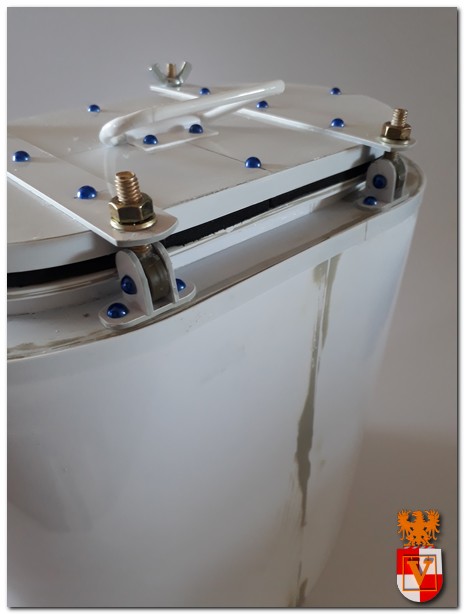
Time to work on the lid. For the handles, as I didn’t have round styrene rods in the desired diameter, I made one, say, adaptation: I used thick wire and placed it in hollow plastic tubes that come with balloon holders used in children’s parties, so it was a hard job to bend it in the desired shape. In the folds the plastic was a little wrinkled (smached), but it was what we had for the moment.
The can has a series of rivets, which I simulated using some handicrafts, which already comes with a week glue, but they look nice at last. It has several diameters and are very cheap. It is worth having a stock at home.
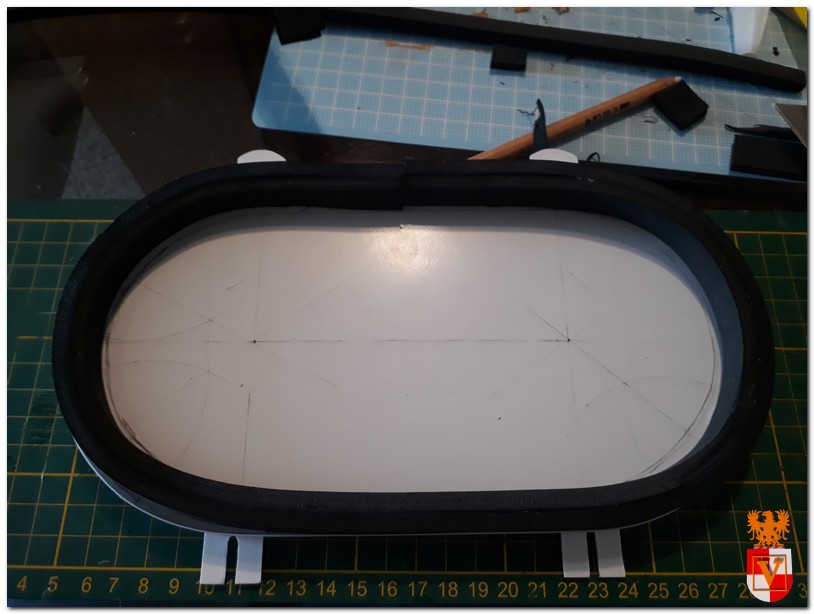
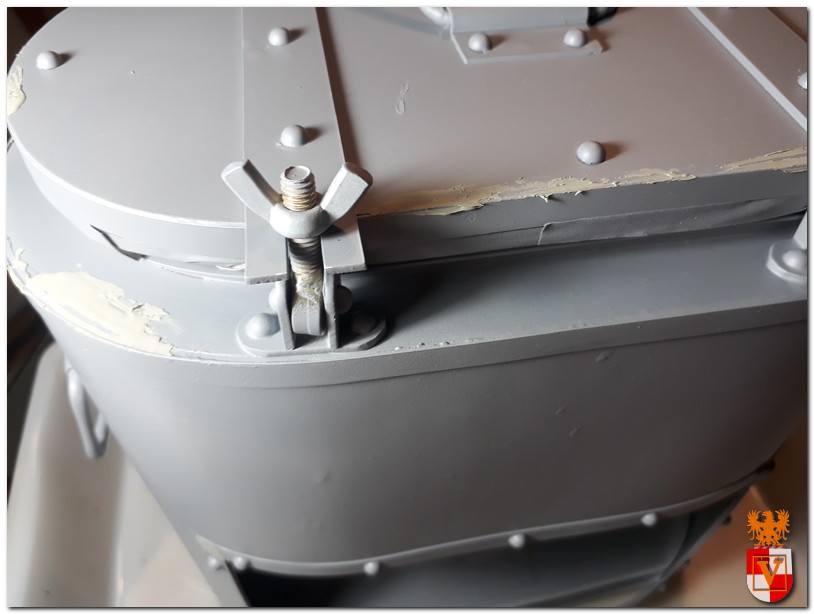
On the lid, there is also a rubber part for the seal, made here with thick EVA.
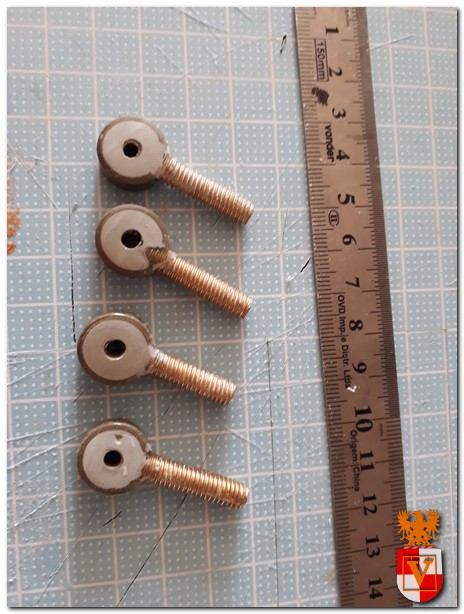
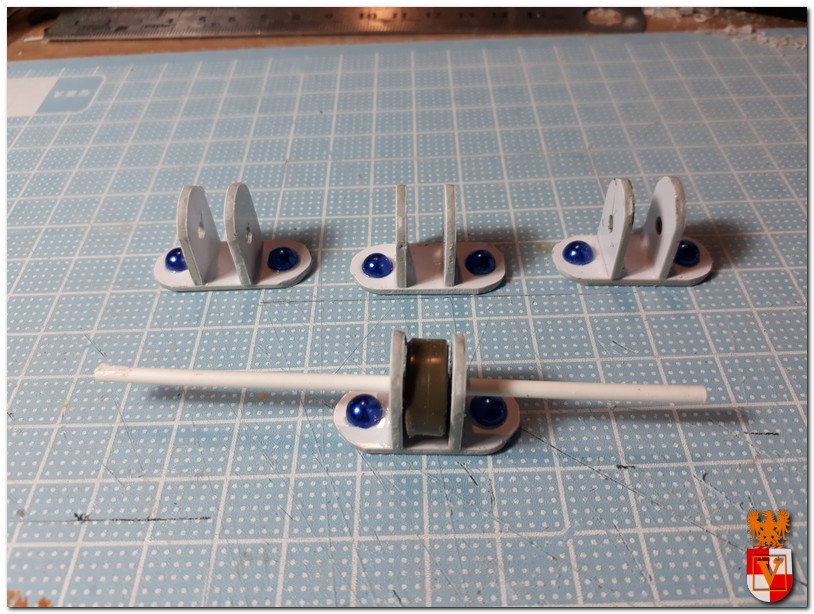
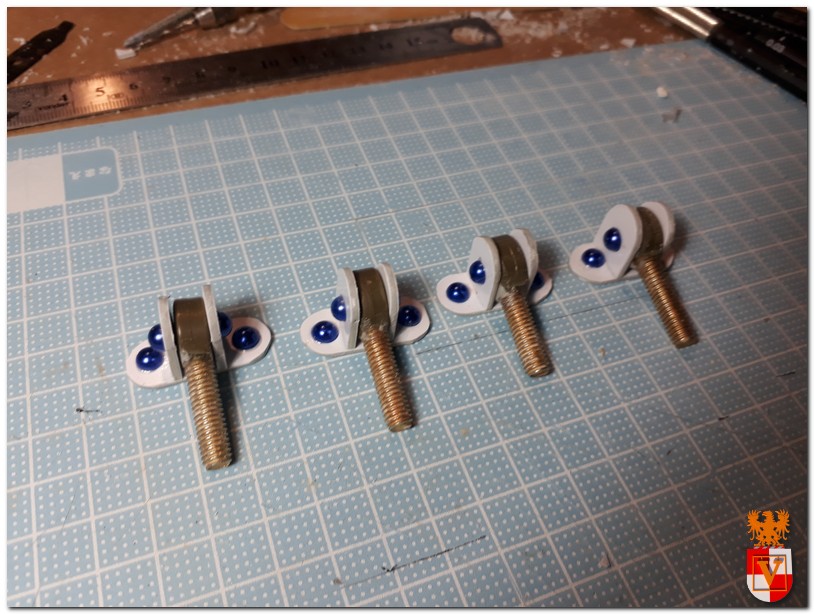
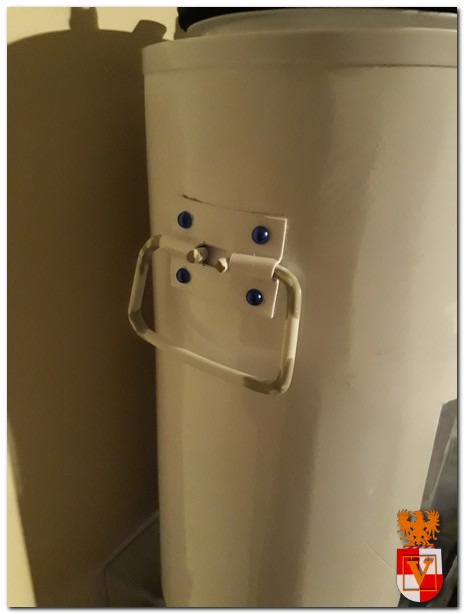
The screws and hinge system. For the screws I used butterflies screws and cut the head part. The rear hinge took a little more work. I had to cut the screw and I used sherman wheels that I took out the the inner parts and positioned the screw, filling with epoxy.
1 Like
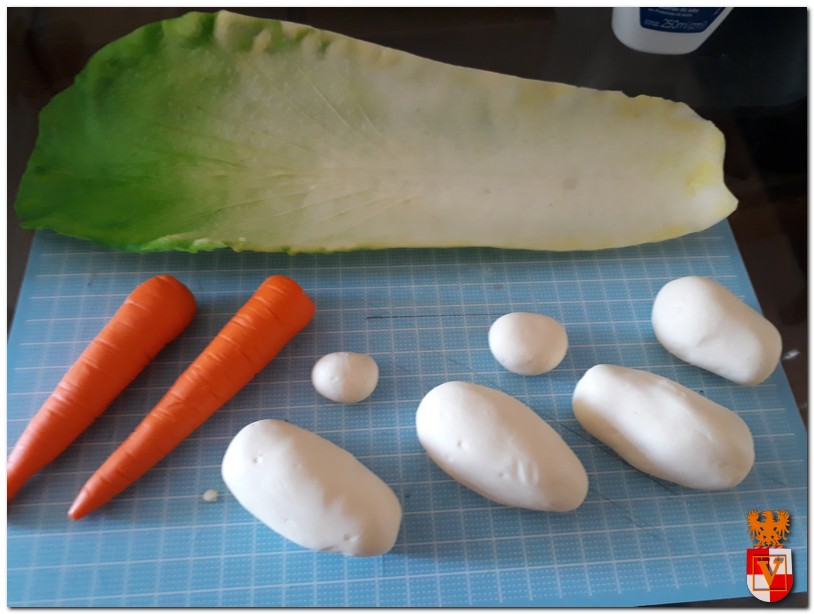
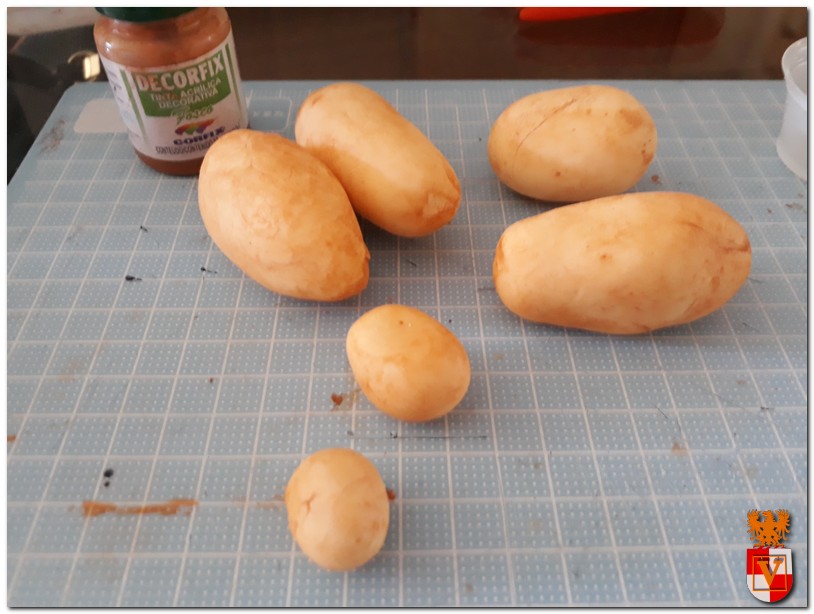
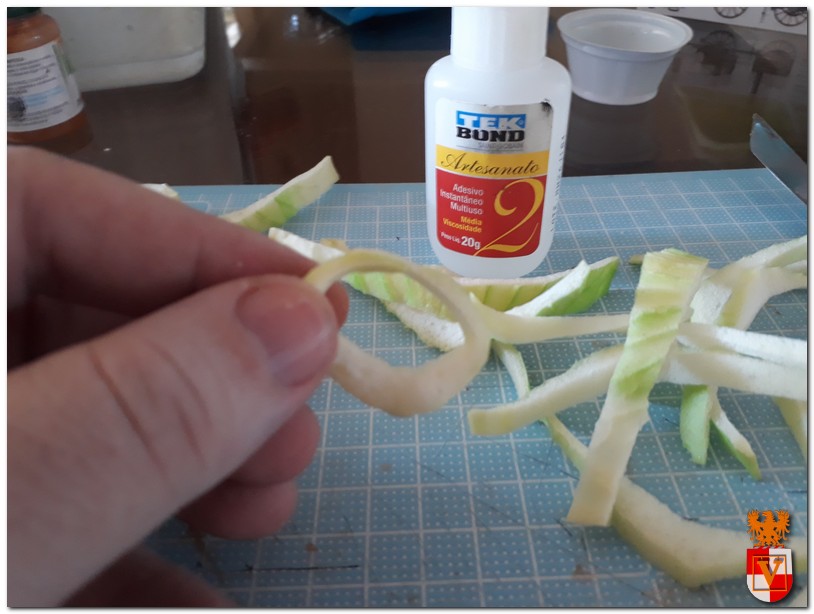
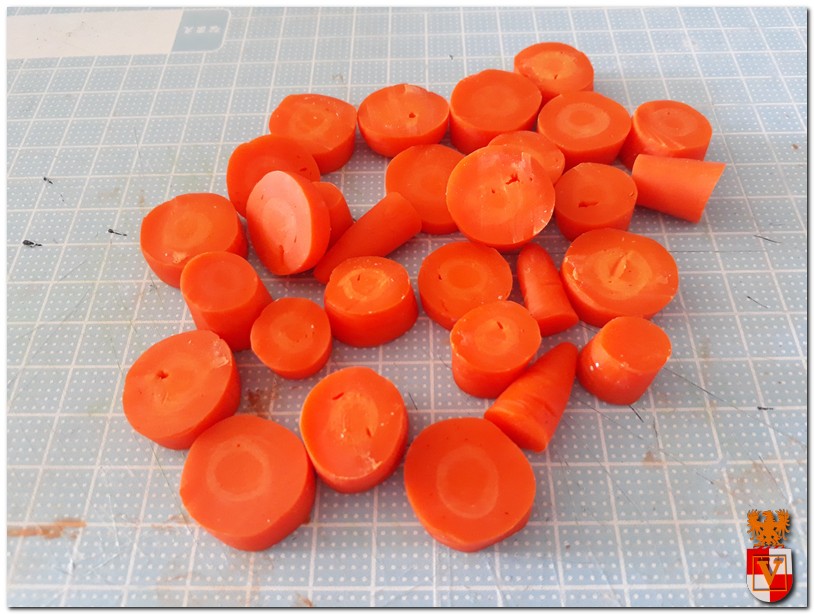
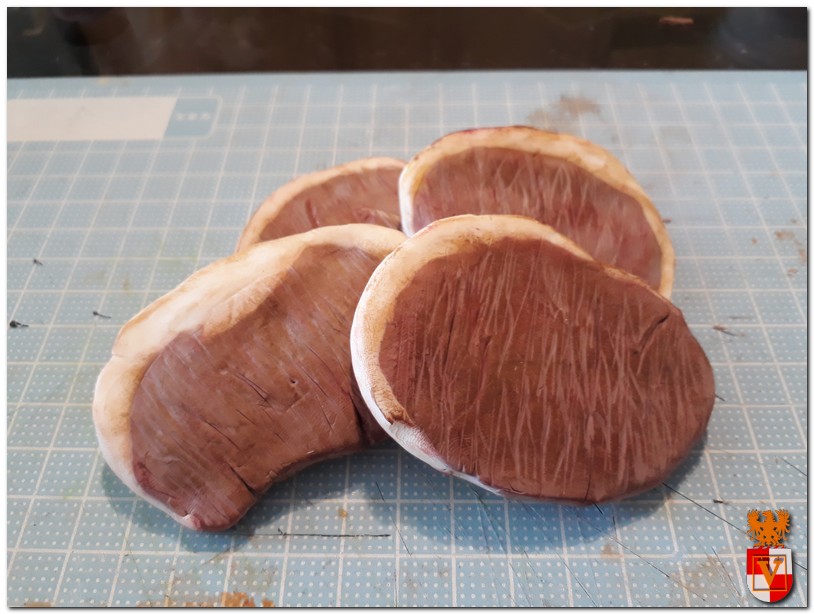
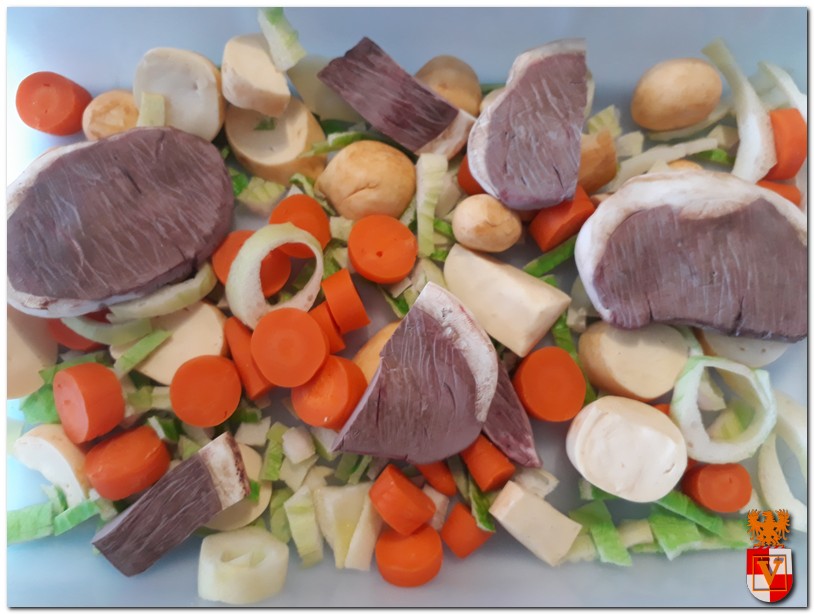
Food time. I went after a recipe that had been used in the war to make the sampuru. I found one: Carrot with Potato and Pork!
Whoever wants to take a risk, follow the recipe
30 grams of pork
600 grams of carrot
400 grams of potato
5 grams of fresh onion
Season with salt and chopped parsley
Cut the pork, cook in the fat, add the chopped onions, but do not brown, add a little water (about 1/8 liter) and boil for about 30 minutes. Clean and slice the carrots, peel and chop the potatoes and add both to the pan. When everything is cooked, season with plenty of chopped parsley.
If the recipe is strange, it is the fault of the google translator, as it was in German.
Having the recipe, let us go to
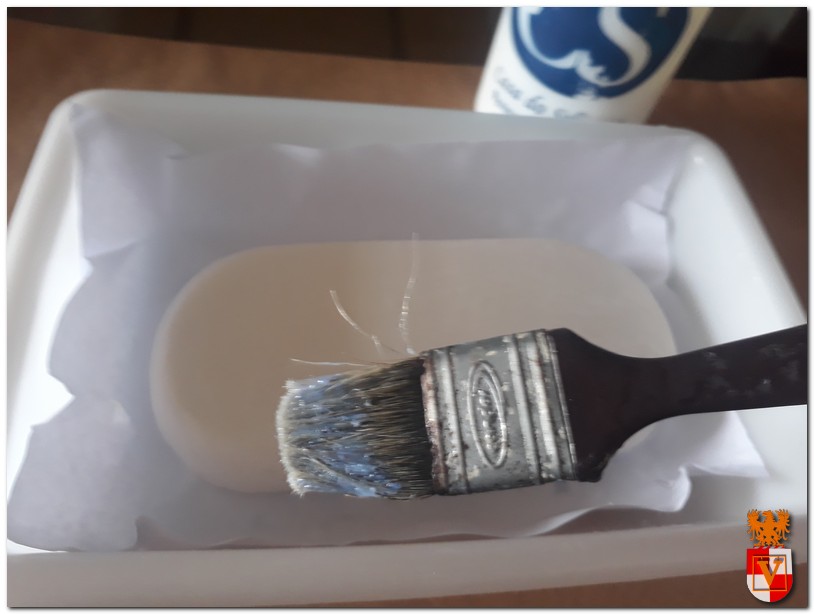
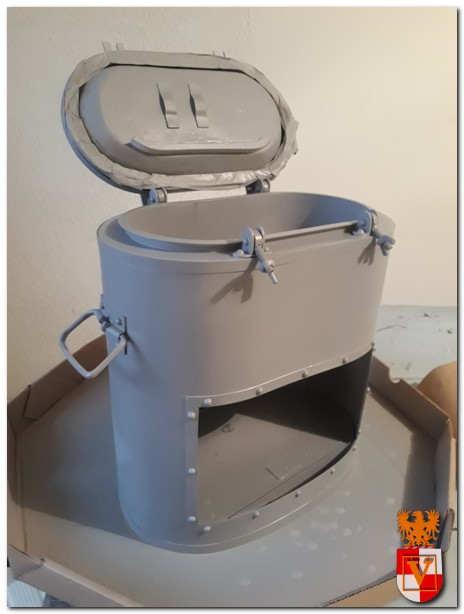
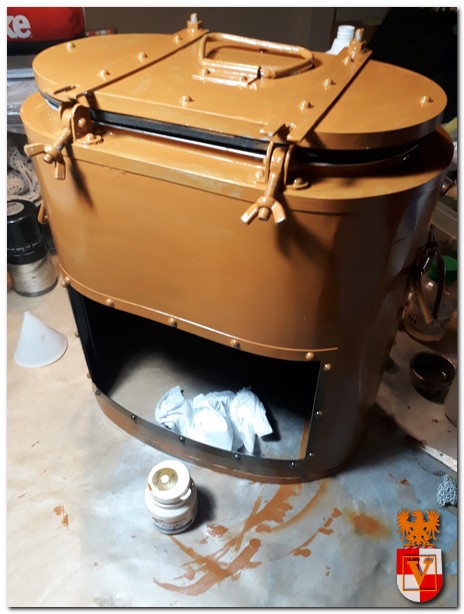
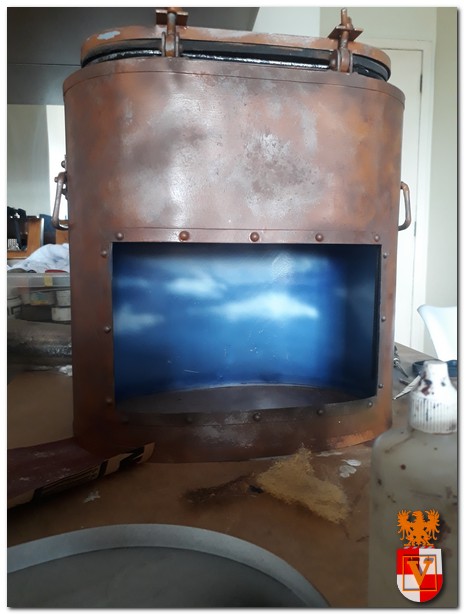
Primer the can
Then I added little of texture with putty and painting of the inner moving part
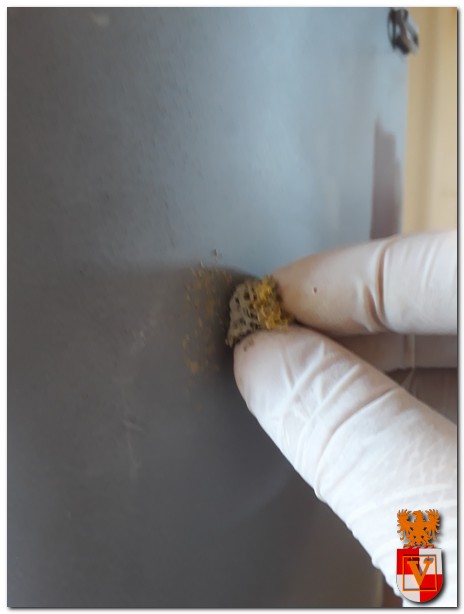
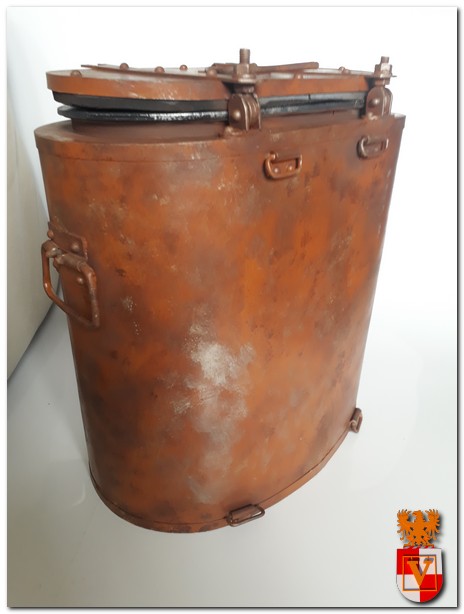
A layer of rust brown. To give an old aspect to the can, I used a mix of colors as base that were later covered with the “original” color and using the hairspray technique.
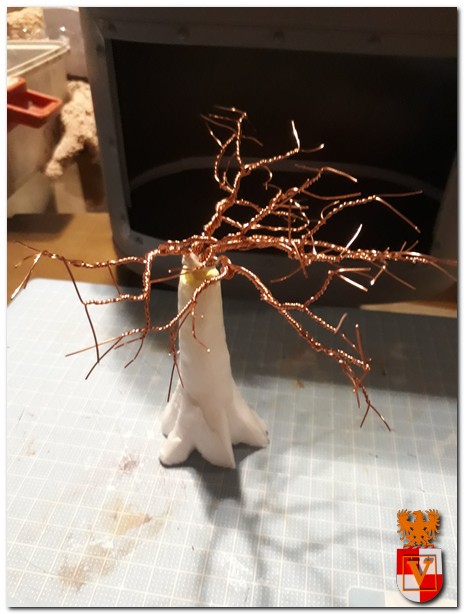
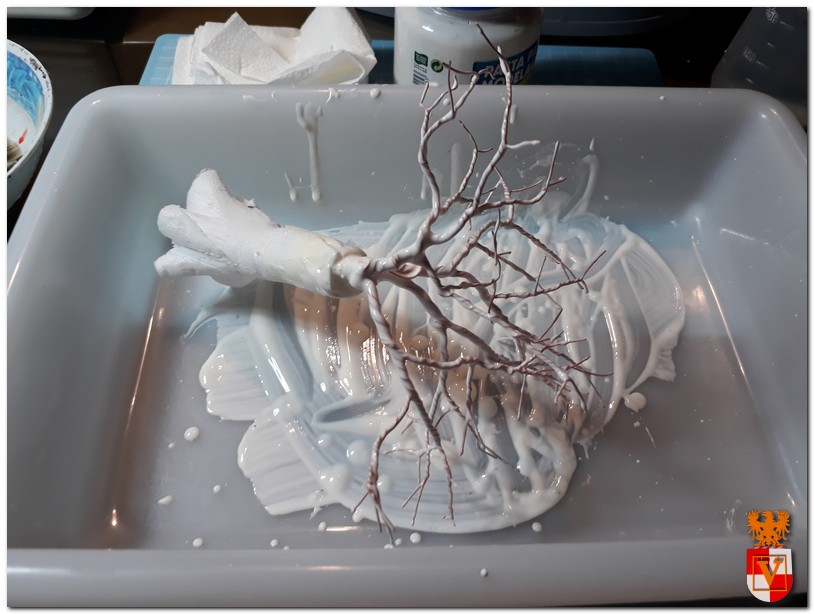
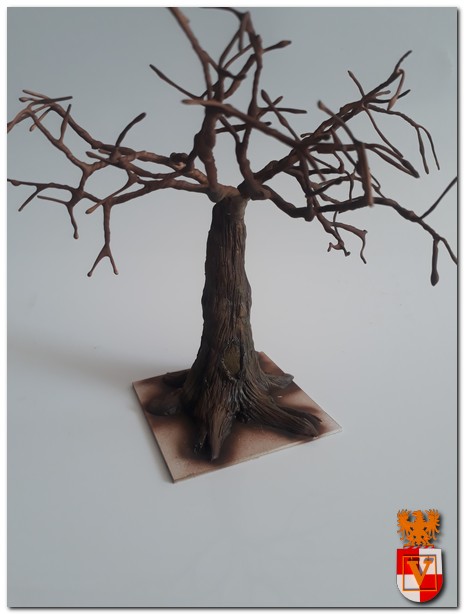
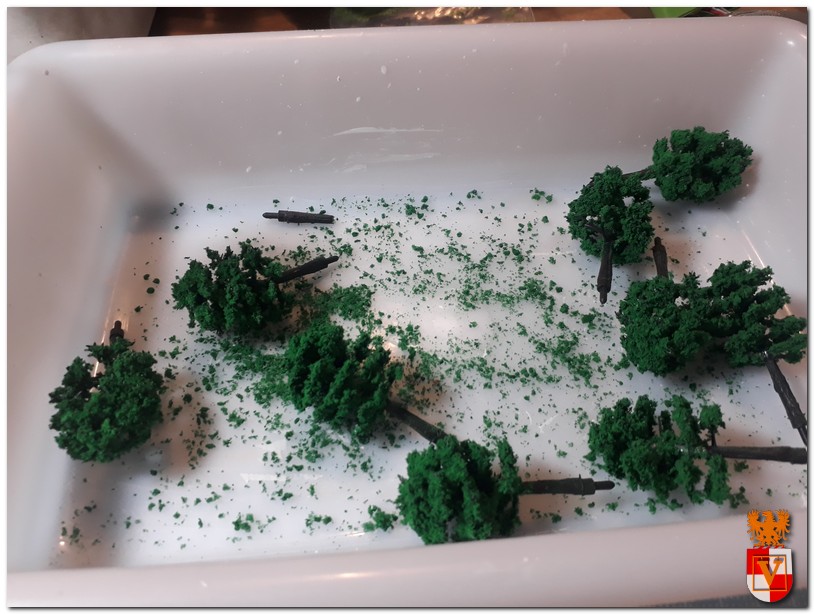
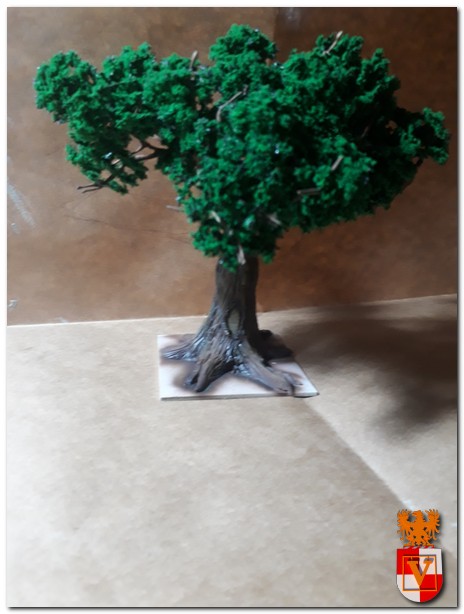
The diorama itself was built over an external base to facilitate my work. The idea was to place the scene next to a tree and a house (or part of it). For the tree I used the wire technique and covered it first with acrylic modeling paste and then the trunk with epoxy.
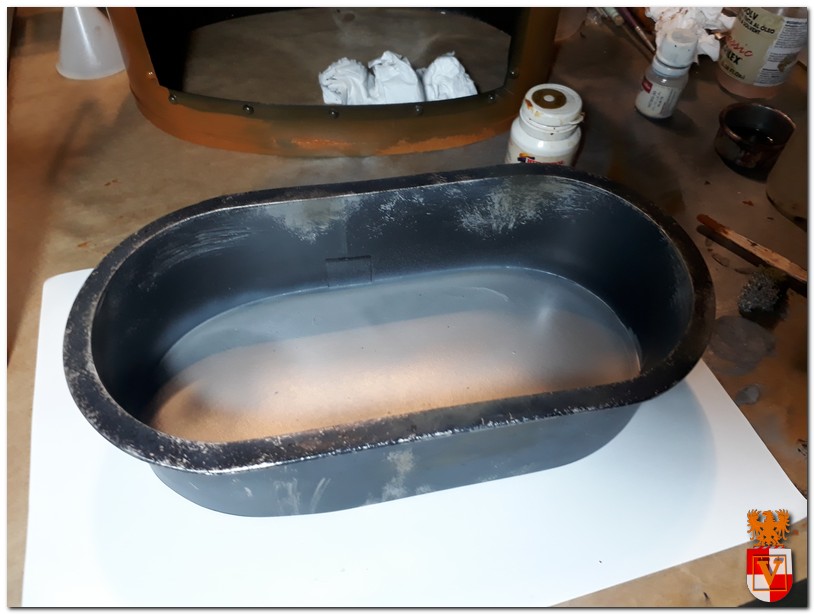
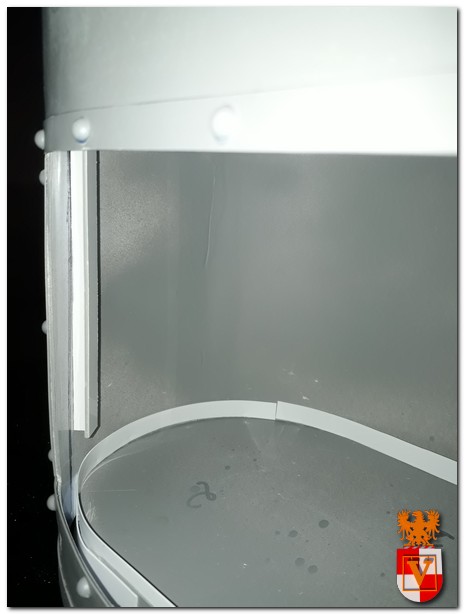
This is the base, shaped like the inside of the can. Note that there is a straighter part, which I used to put a piece of transparent styrene to protect the dio from dust. The protection is removable.
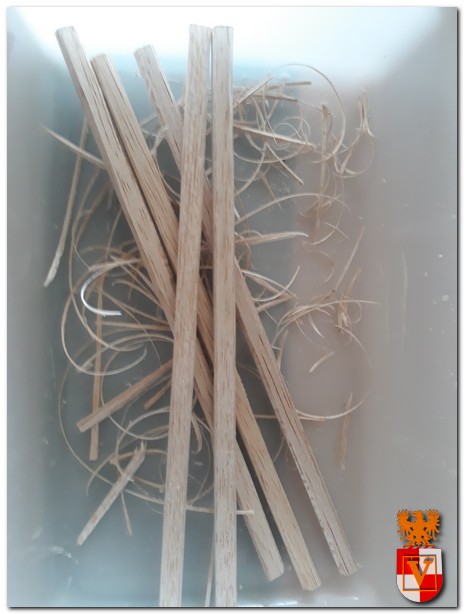
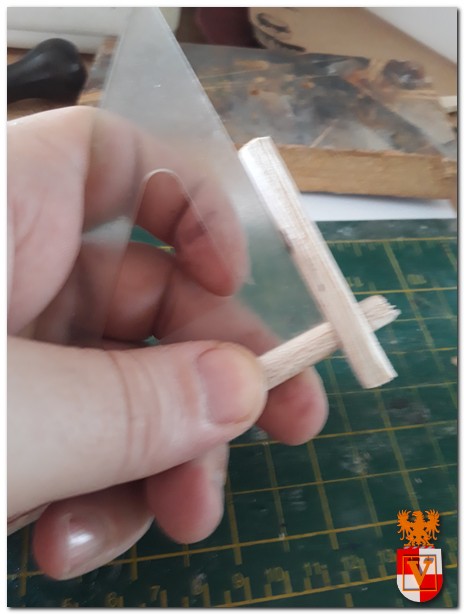
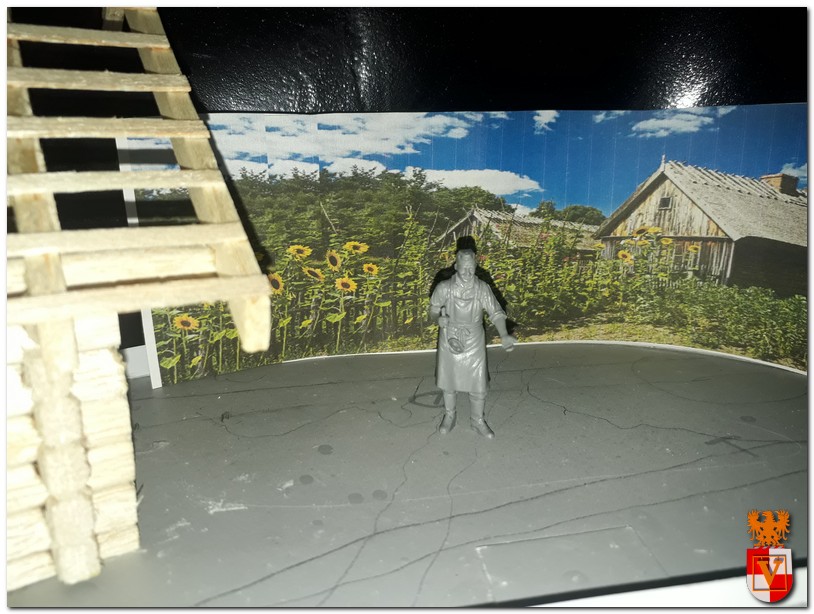
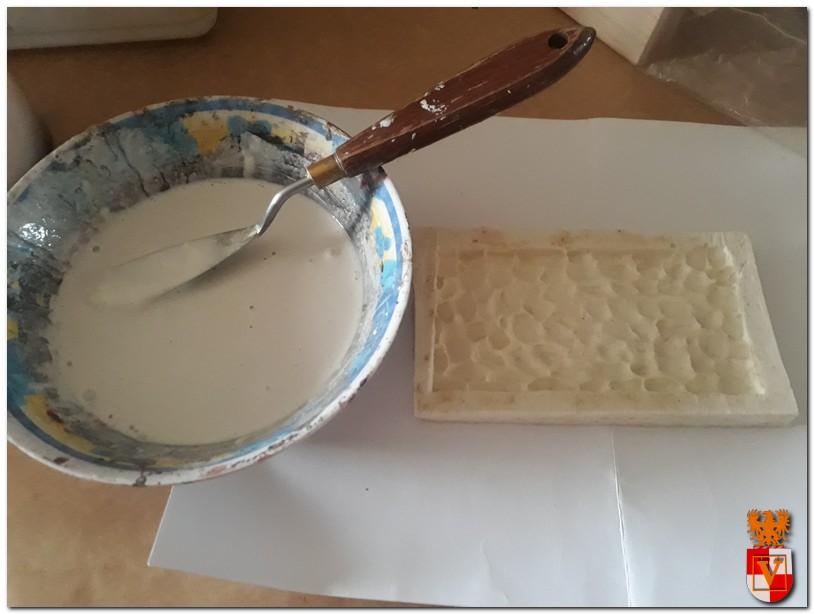
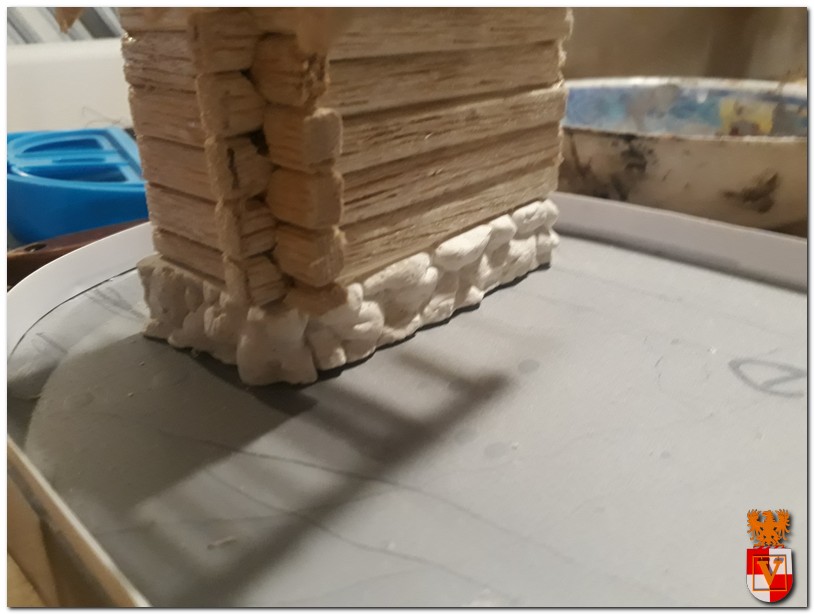
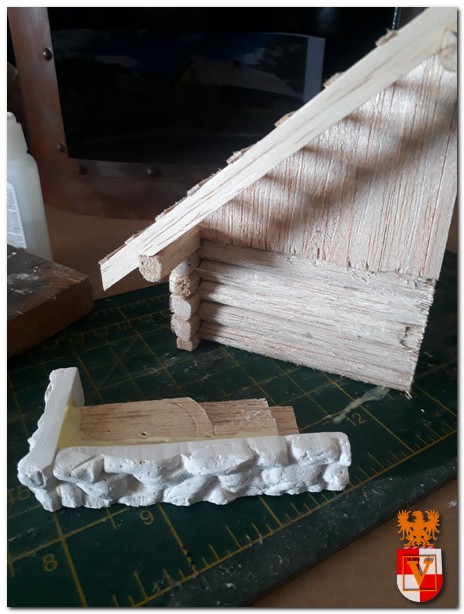
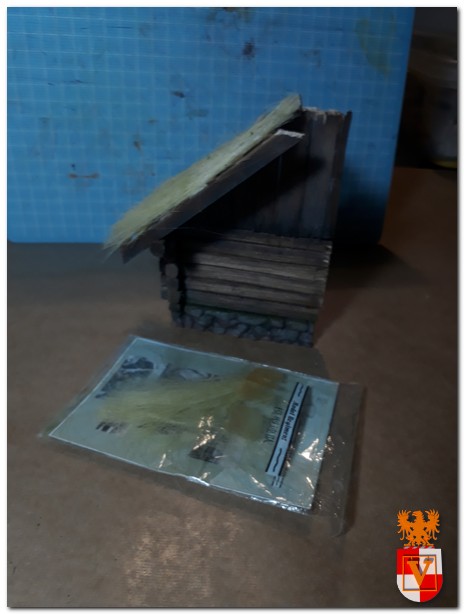
The house was a log house, made of balsa wood and a stone base made of plaster using a mold I made in silicone. The roof were made of synthetic fiber.
Thinking what to do on the inside walls of the can, I decided to put some image that would give the illusion that it was part of the scenery. After much research, I found an image with log houses and sunflowers. I edited it to fit the scene and stay in scale. In addition, I painted the entire interior of the can with a blue background and clouds. I cropped the image to remove the original sky and leave the painting showing