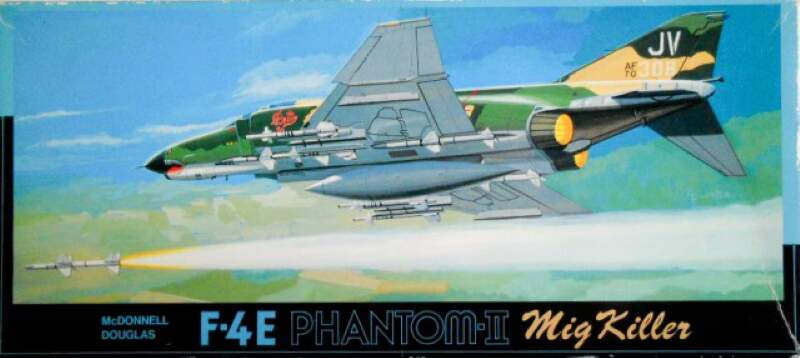
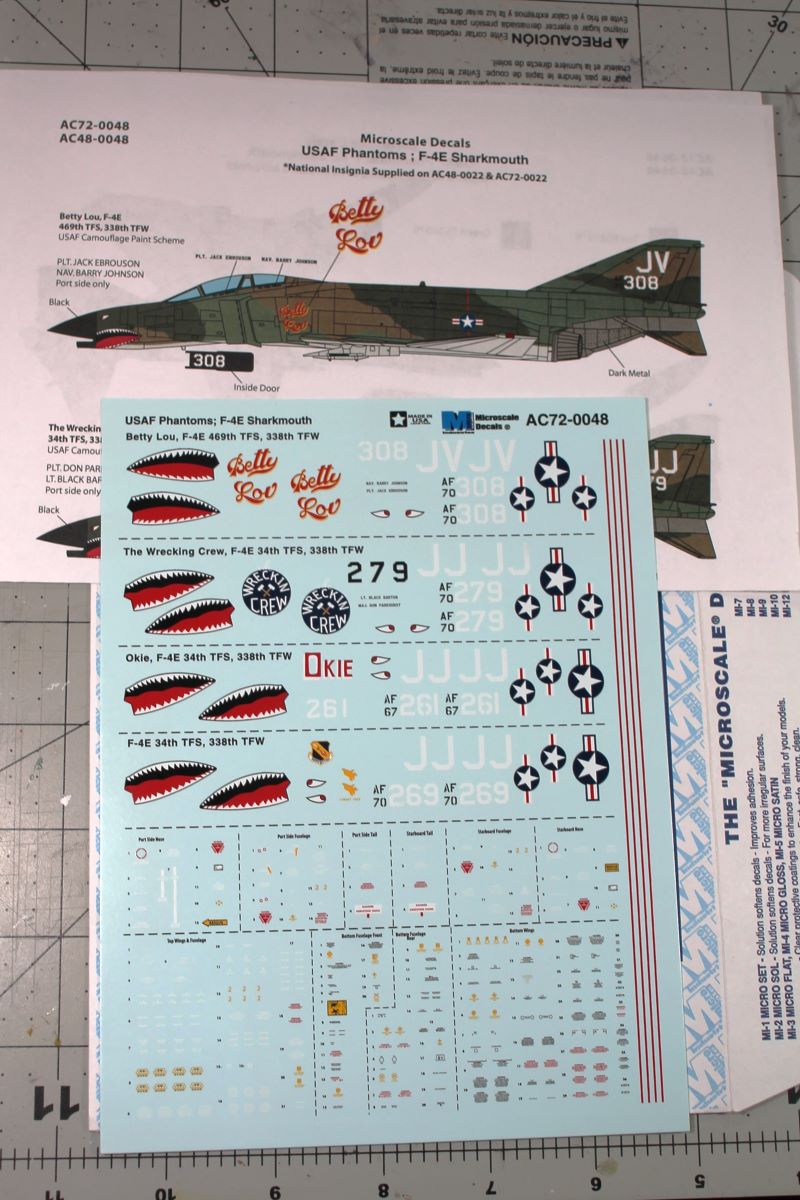
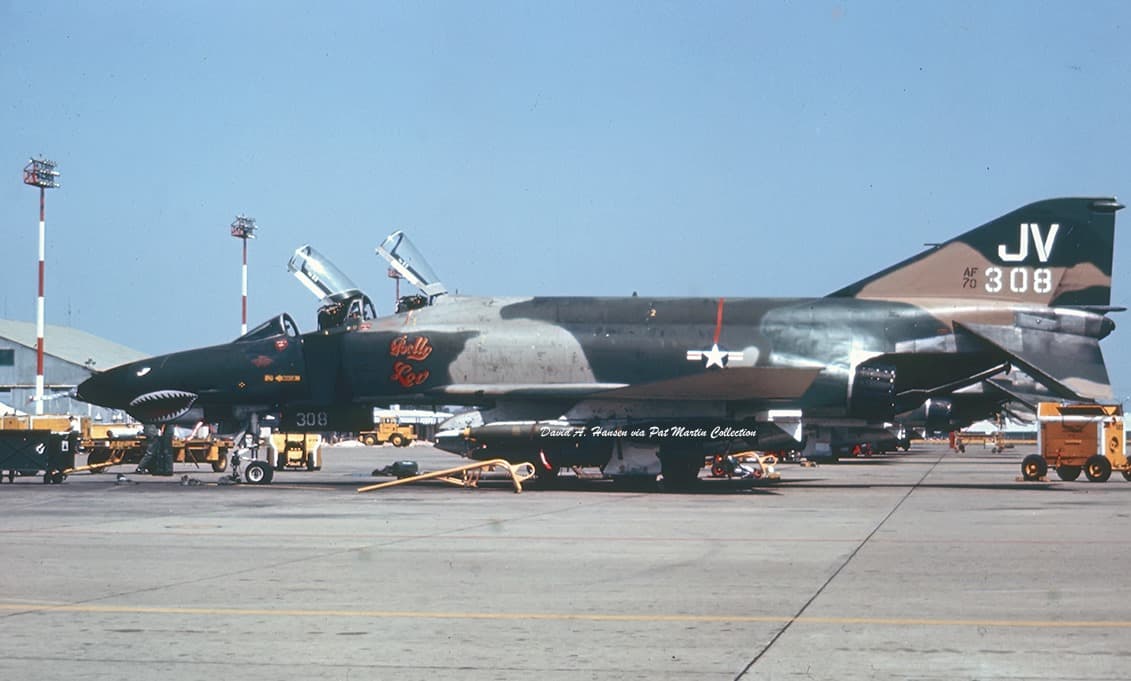
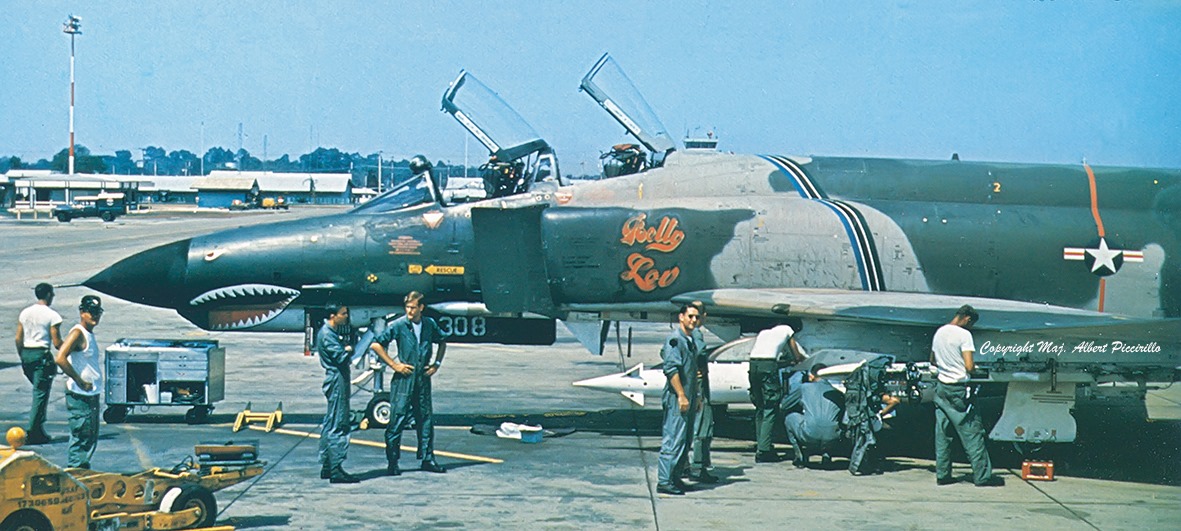
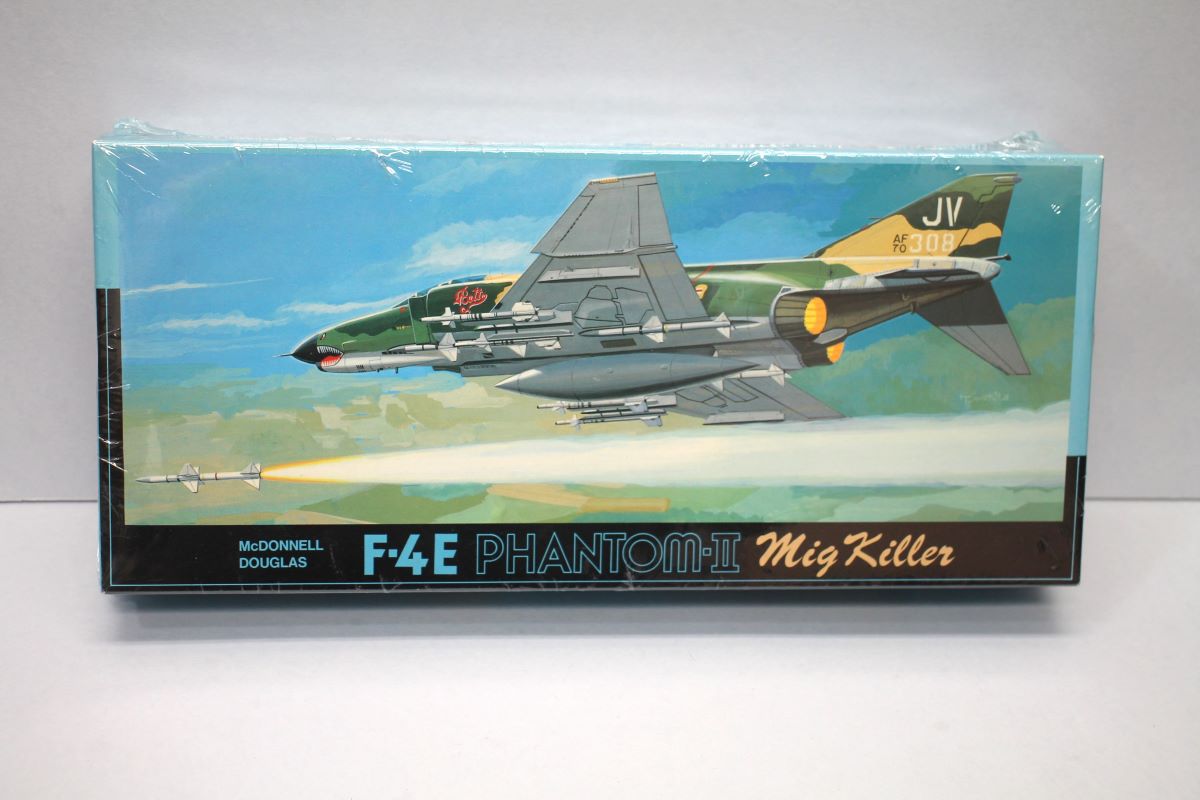
I had this kit a few years ago and it got trashed. I picked up another and will try again. I am doing it as the box art F-4E Betty Lou but using much better after market decals-Microscale. The kit is currently en route to me.
5 Likes
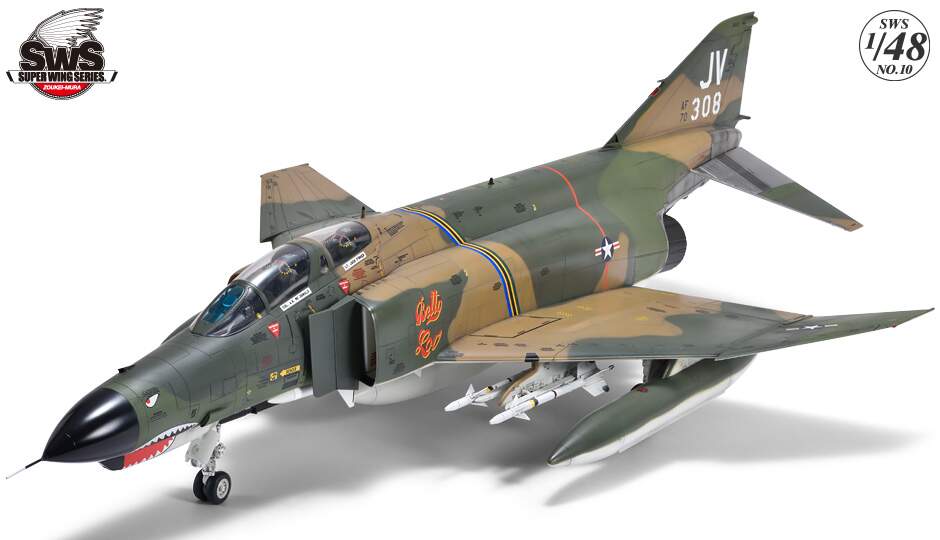
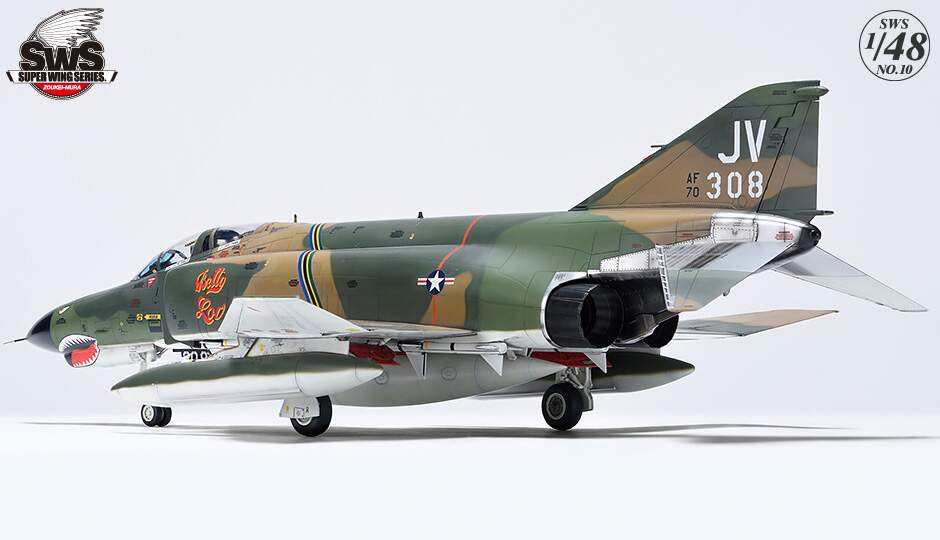
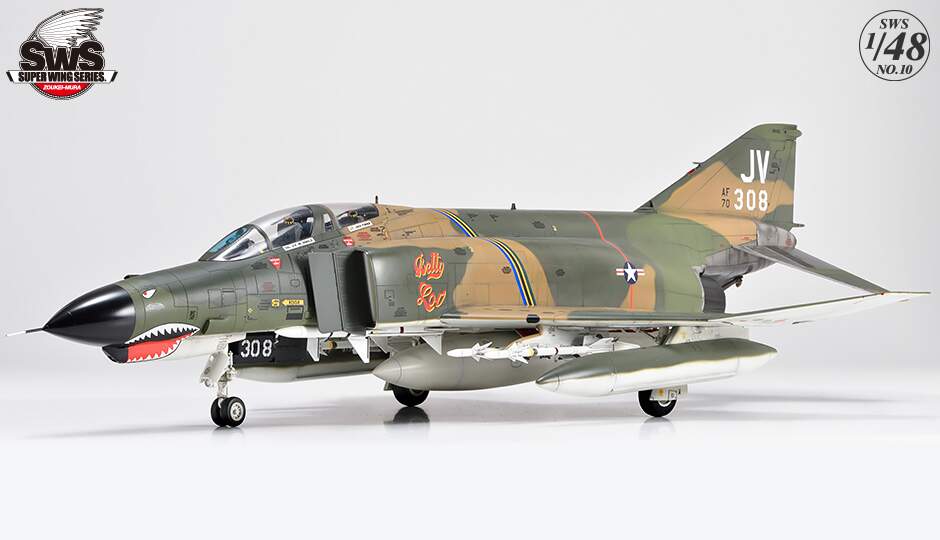
I have the 1/48th Zukie Maura kit of this aircraft in my stash. I will follow your build.
1 Like
The decals, I have pictures of it in Thailand in 1969 and decals show long gun muzzle which is wrong, it was an early F-4E with the short gun muzzle.
3 Likes
Thanks, that’s the 2nd tour I think with command stripes. I am doing the initial first tour, have you considered using Bullpups? Here is a picture of that one with Bullpups.
4 Likes
Bullpups??? Whatever happened to “Not a pound for air to ground”?? ![]()
1 Like
Well, it was invented just after that - when they were developing the F-15 and F-16
1 Like
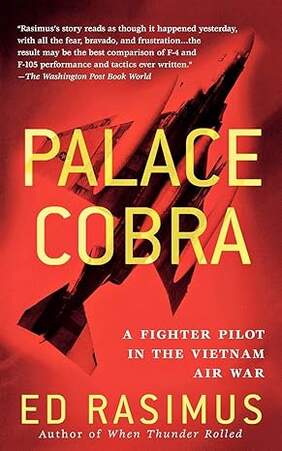
I am rereading this book by a pilot that flew with this unit that flew F-4Es from Korat. If you want to know about the plane, missions or people read this book by Maj. Ed Rasimus, Palace Cobra, about his second tour in Vietnam conflct. I also read his first book on his first tour flying F-105s, When Thunder Rolled. Both times he was stationed at Korat, 1966 and again in 1972.
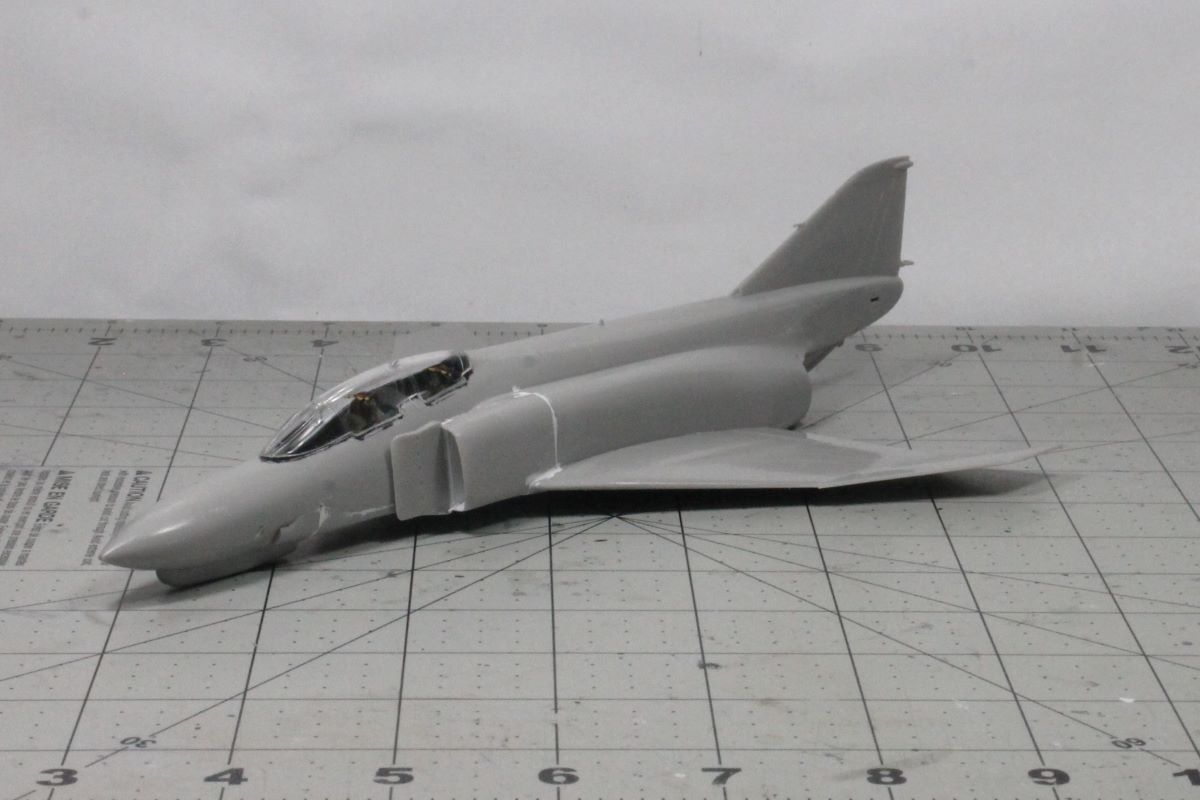
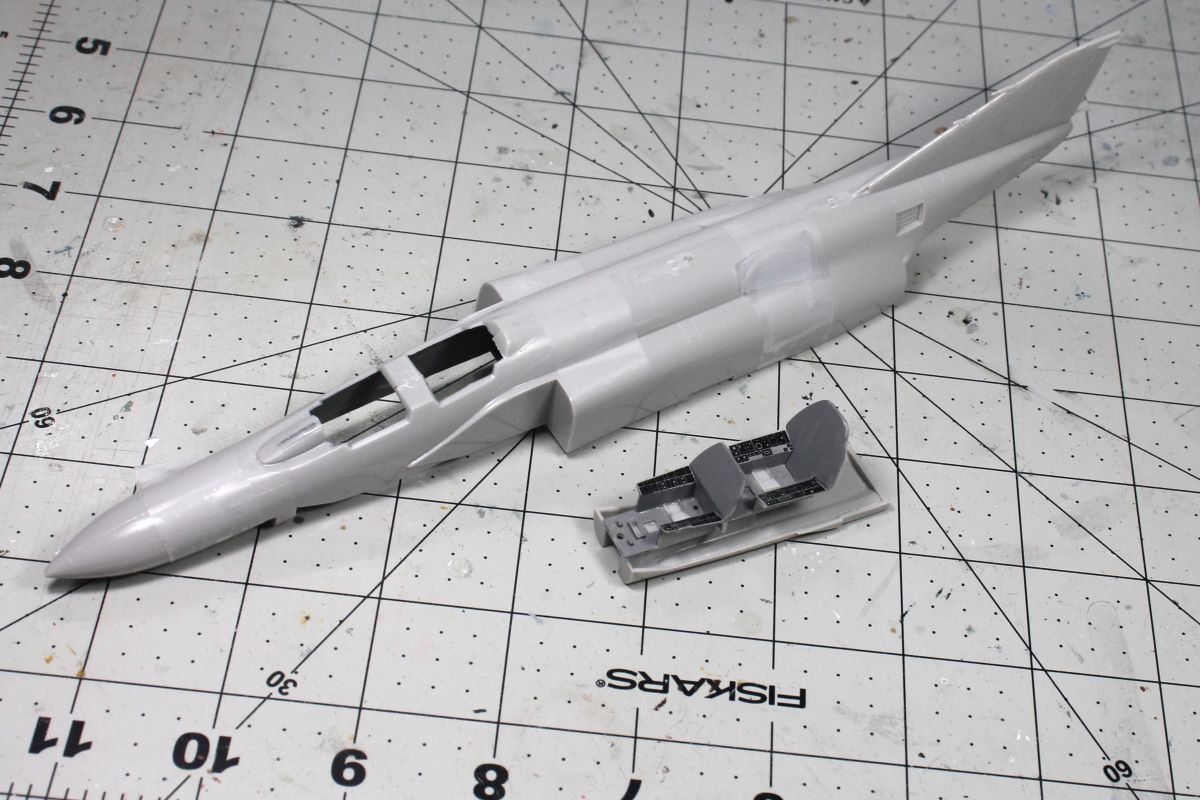
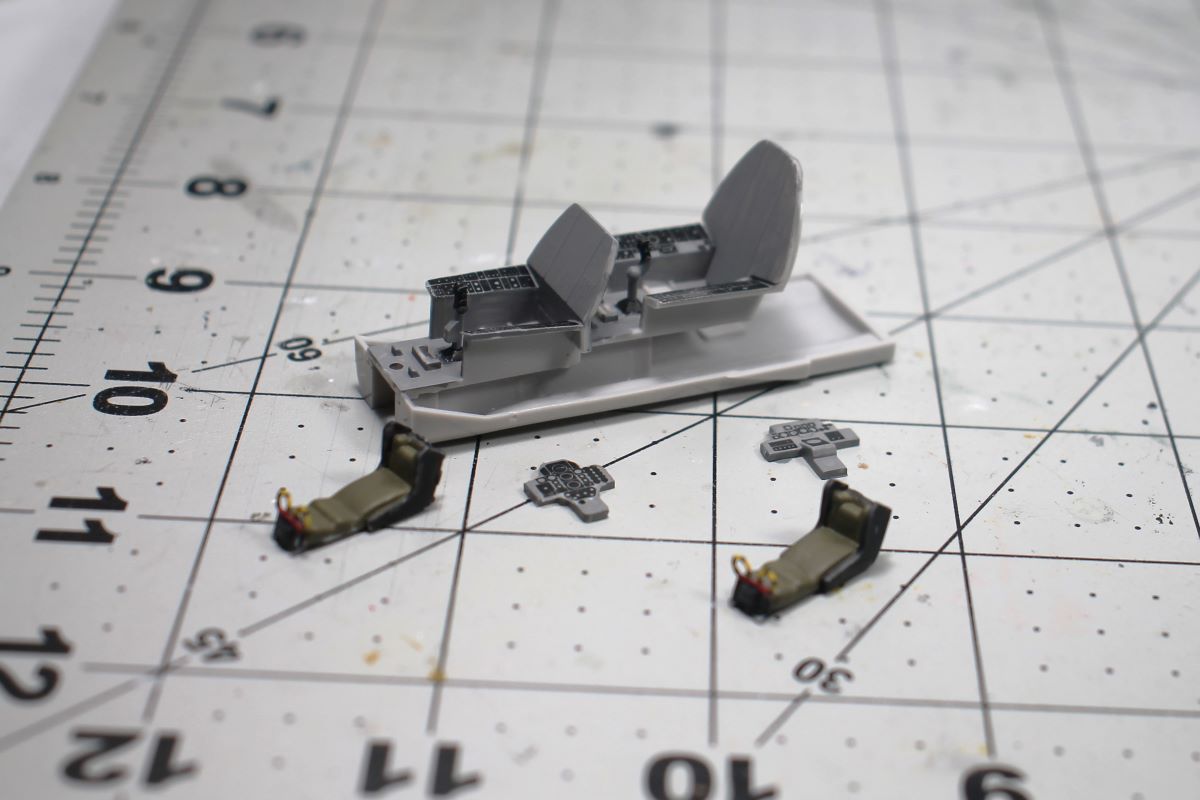
The fuselage is assembled and the cockpit assembly is started. I need to add a little weight in the nose before I put cockpit into the fuselage from the bottom. I still need to paint and decal the instrument panels and seats.
1 Like
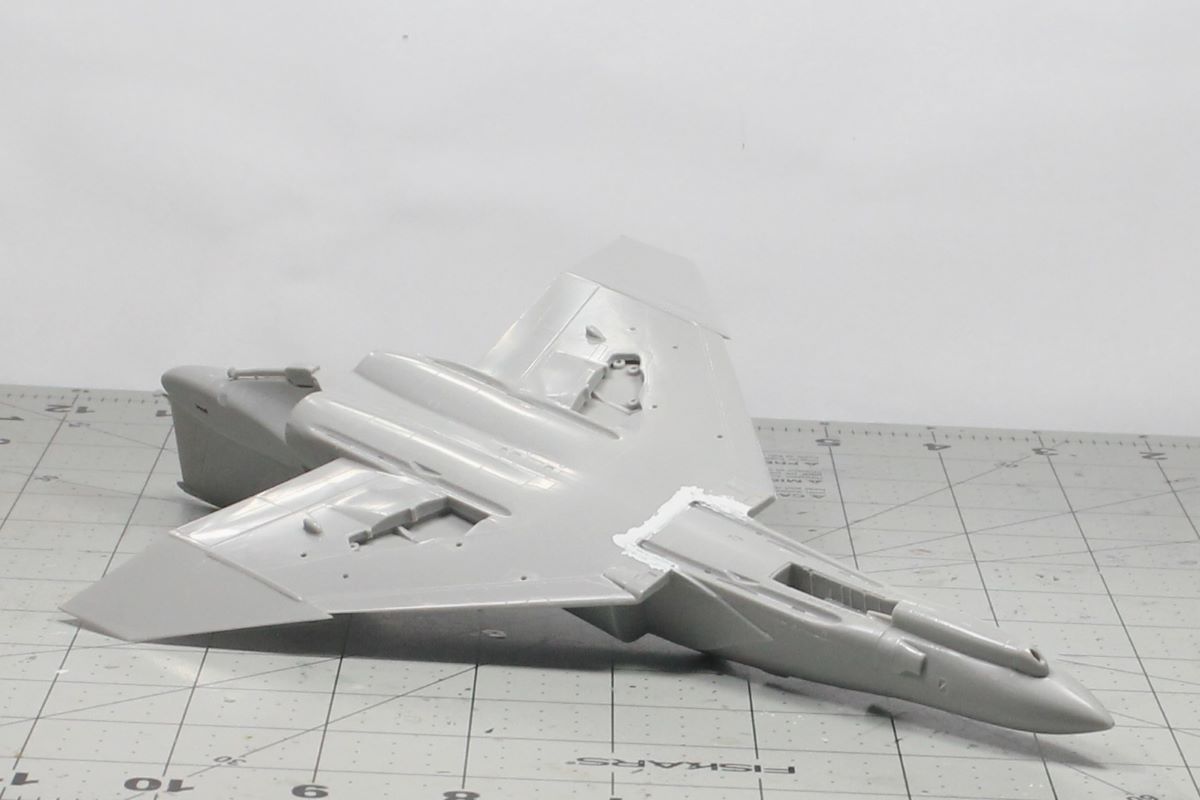
I have some weight added to the nose, 15 grams, the cockpit installed and the wings assembled and placed on but not glued on yet. I will leave the seats out as I have a bad habit of knocking off the ejection seat loops when handling during assembly.

3 Likes
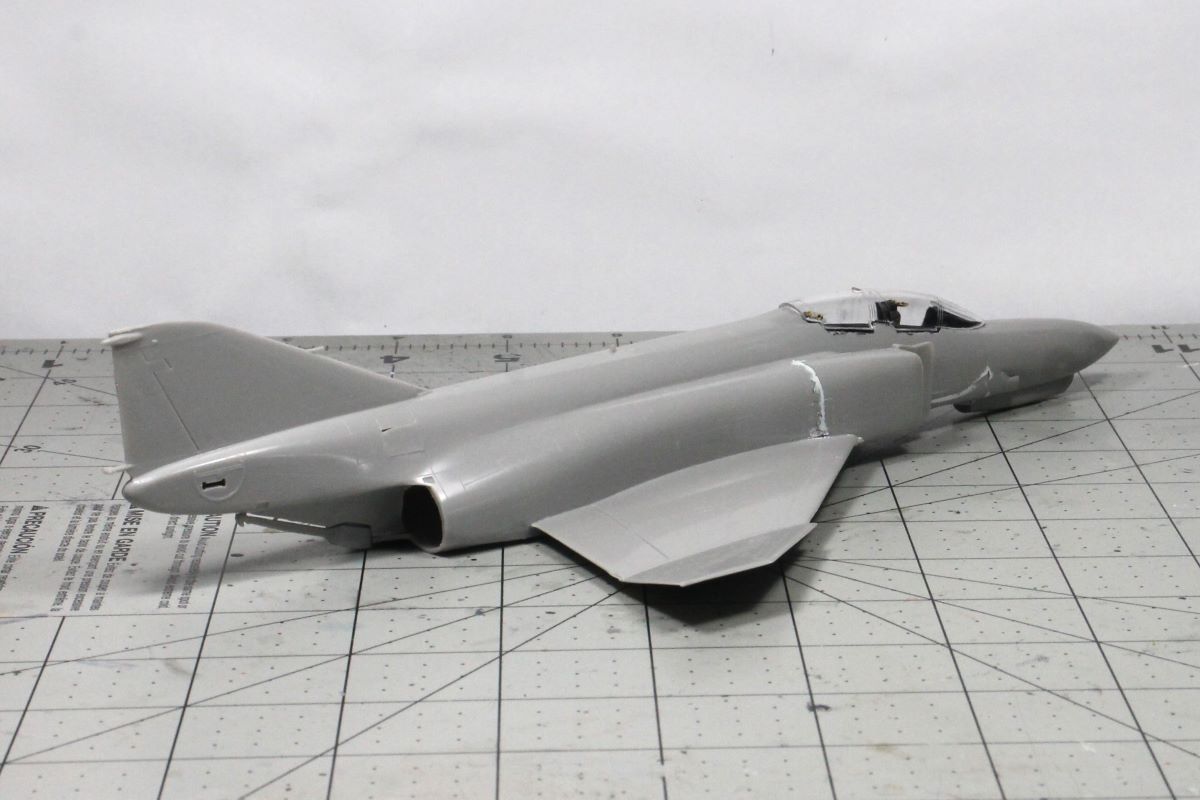
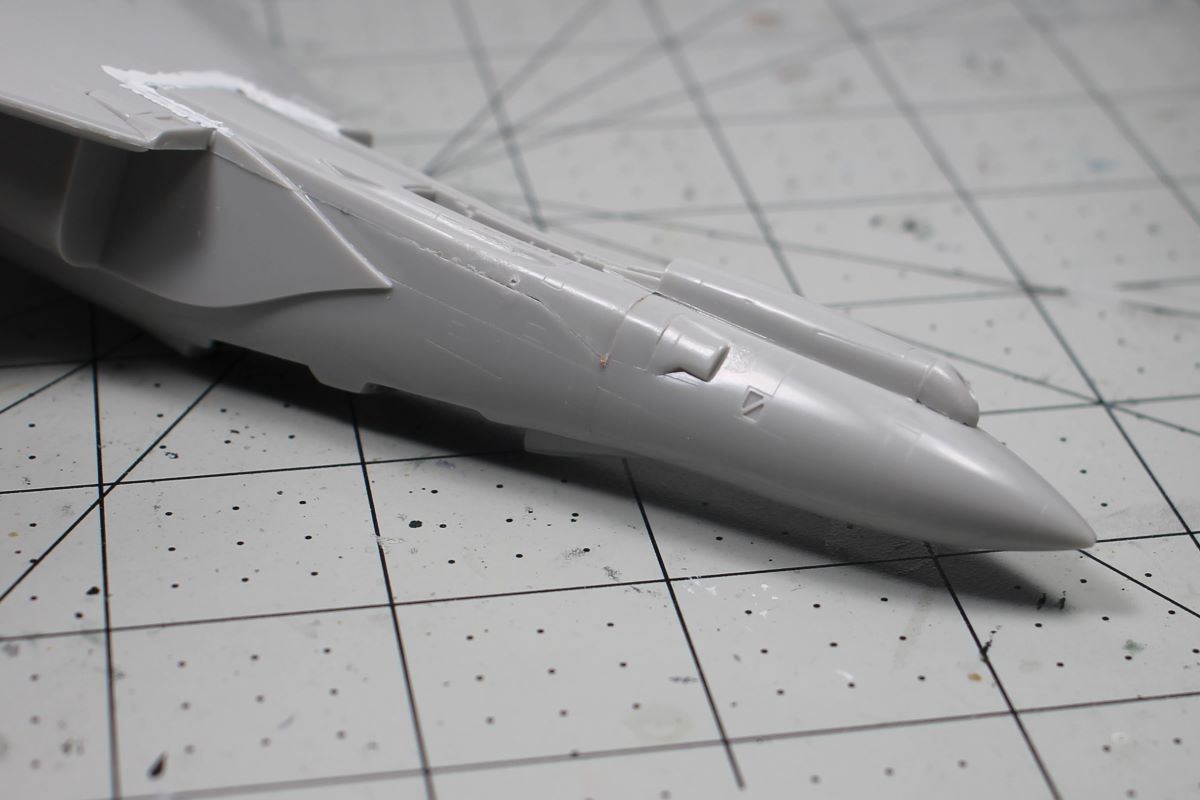
I have the wings glued on and the gap on the bottom puttied. I also added the gun pod to the nose and air intakes on the fuselage behind the gun pod. I need to putty the seams on the side of the fuselage where the cockpit slipped into the fuselage bottom.
1 Like
For future thought, they have acrylic putty out now that you can use a damp Qtip to help clean up and smooth, reducing the sanding you will have to do.
1 Like
Thanks, tried it years ago and was not impressed. Hell it took me untill the 80s to even start using putty. I used Revell tube glue back in the 60s. I may give it a go though as sometimes products get improved.
1 Like
I also failed to mention that I build a lot of older kits. They have less then stellar fits. The putty fill the gaps BUT sometimes the gaps are uneven so I need to fill and sand to “contour” shapes. Magic “wipe n dipe” putty doesn’t help me sand plastic parts to shape. That’s my main concern.I find Q tips useless to hog plastic to shape. LOL
My experience with the acrylic putty was less than impressive, it was like using latex caulk, automotive Bondo is the go-to for me nowadays.
Cajun ![]()
1 Like