I dont like the F-4 as an aircraft, it is as if the engineers are pointing their middle finger to aerodynamics and saying “in thrust we trust” followed by a load of geometry slurs…
As a modelling subject though it is perfect. Lots of details, paint schemes, weapons loadouts, versions, rivets, metal surfaces etc etc.
The base kit is the well known Tamiya kit plus the following extras:
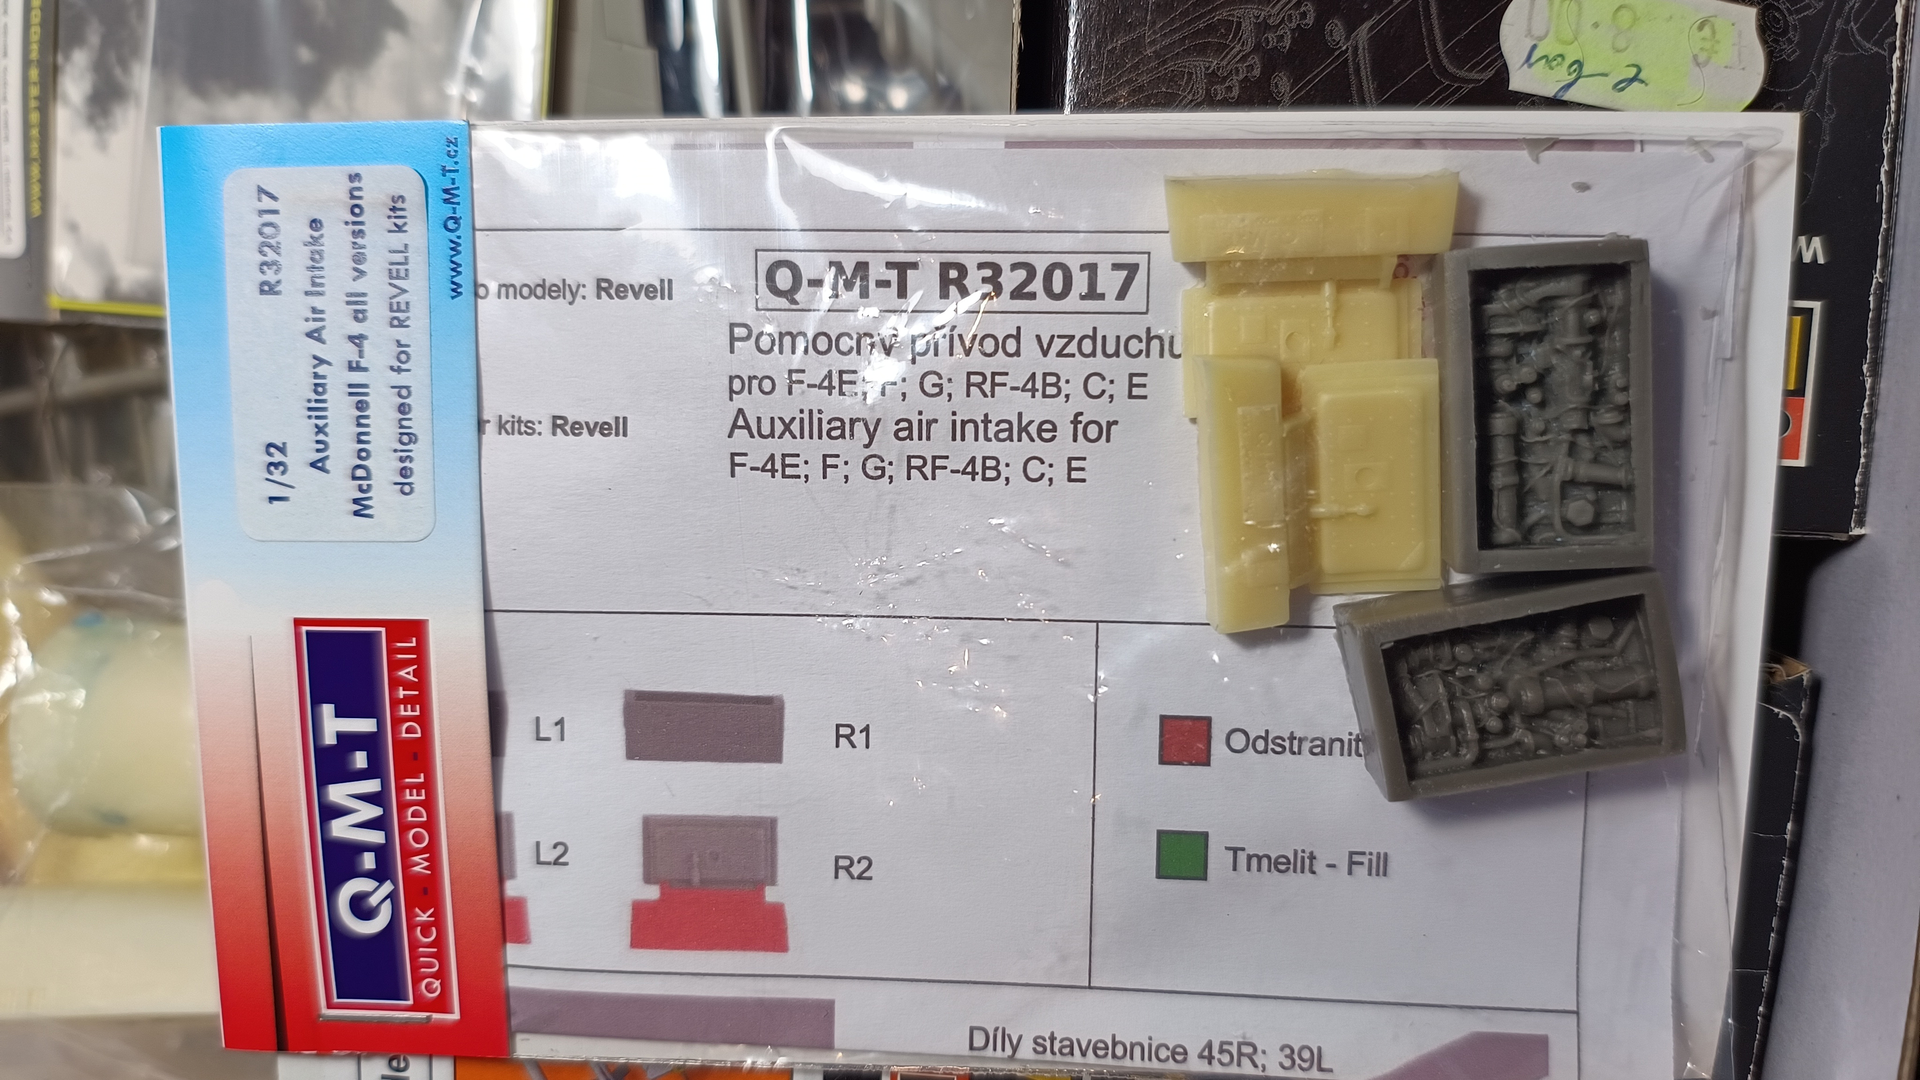
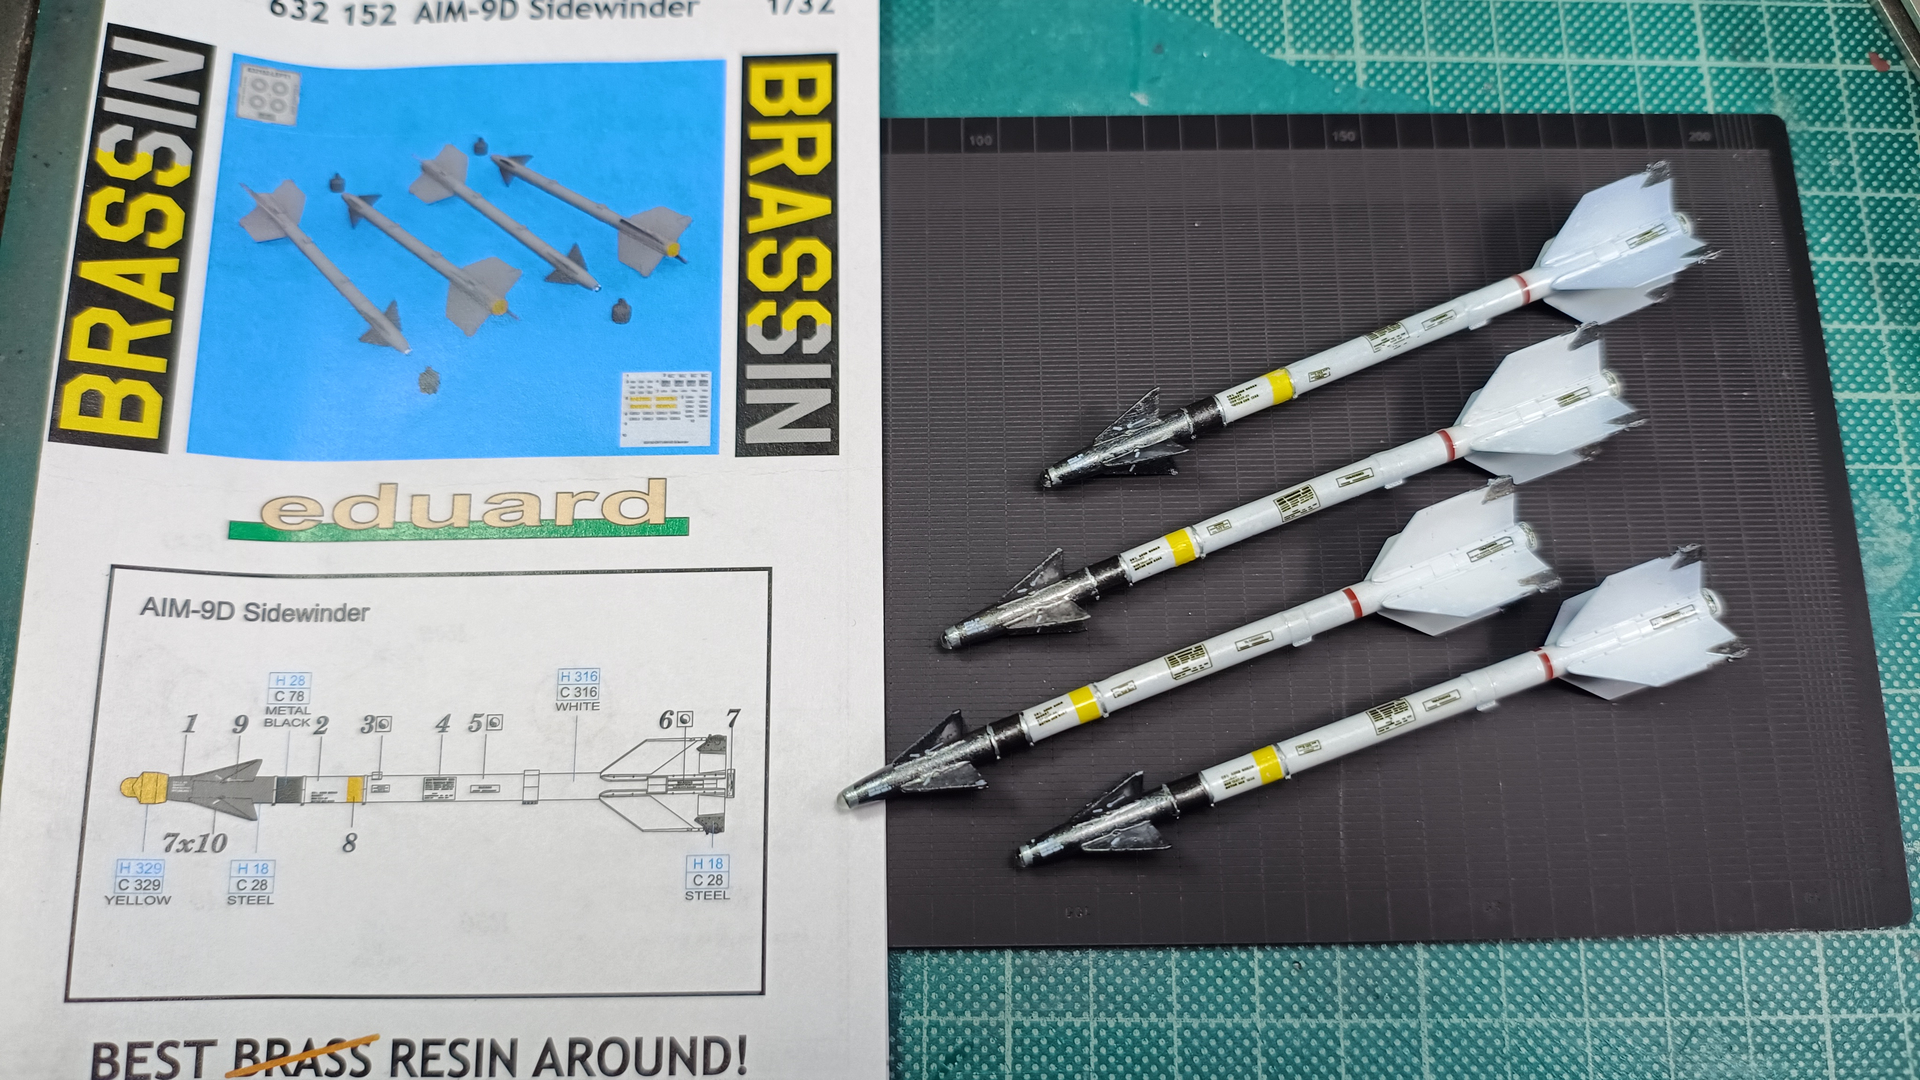
Aires cockpit and ejection seats, resin intakes, QMT R32002E exhausts and arresting hook, Master 32043 pitot and angle of attack sensor, Eduard 32509 placards, Eduard wheels, masks, photoetch for the exterior and interior, Quickboost vertical tail inlet, QMT auxhiliary air intake details and panels, Eduard AIM-9D plus I will try to use the Procal extensive stencil set for an F-4E wherever possible using the Navair manual.
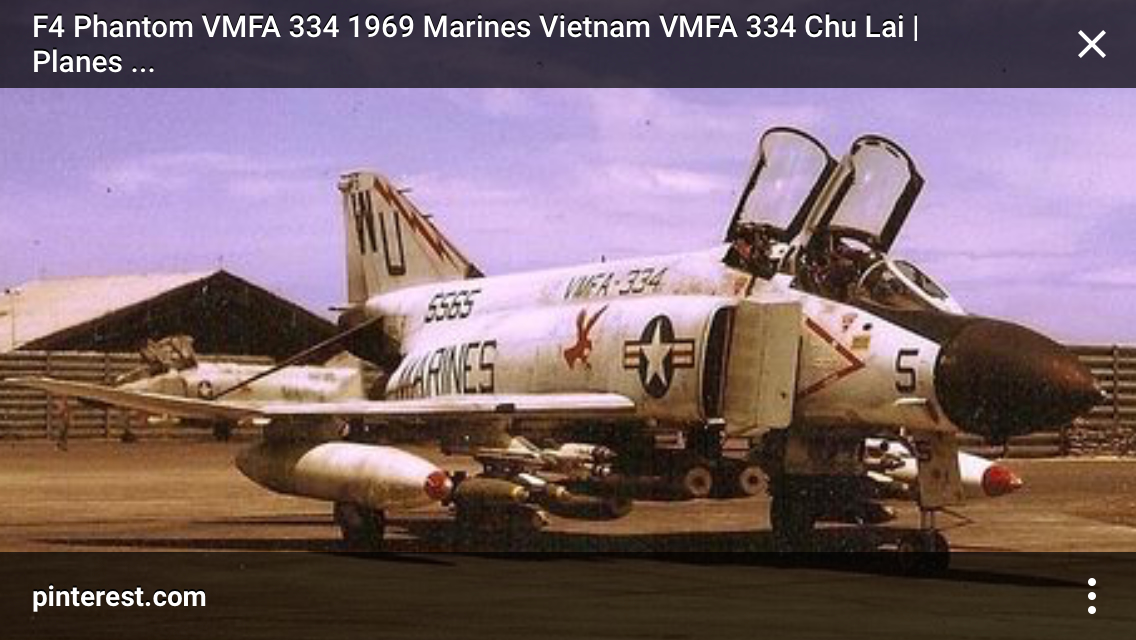
As my main reference source I am using the DACO book on the Navy Phantoms.
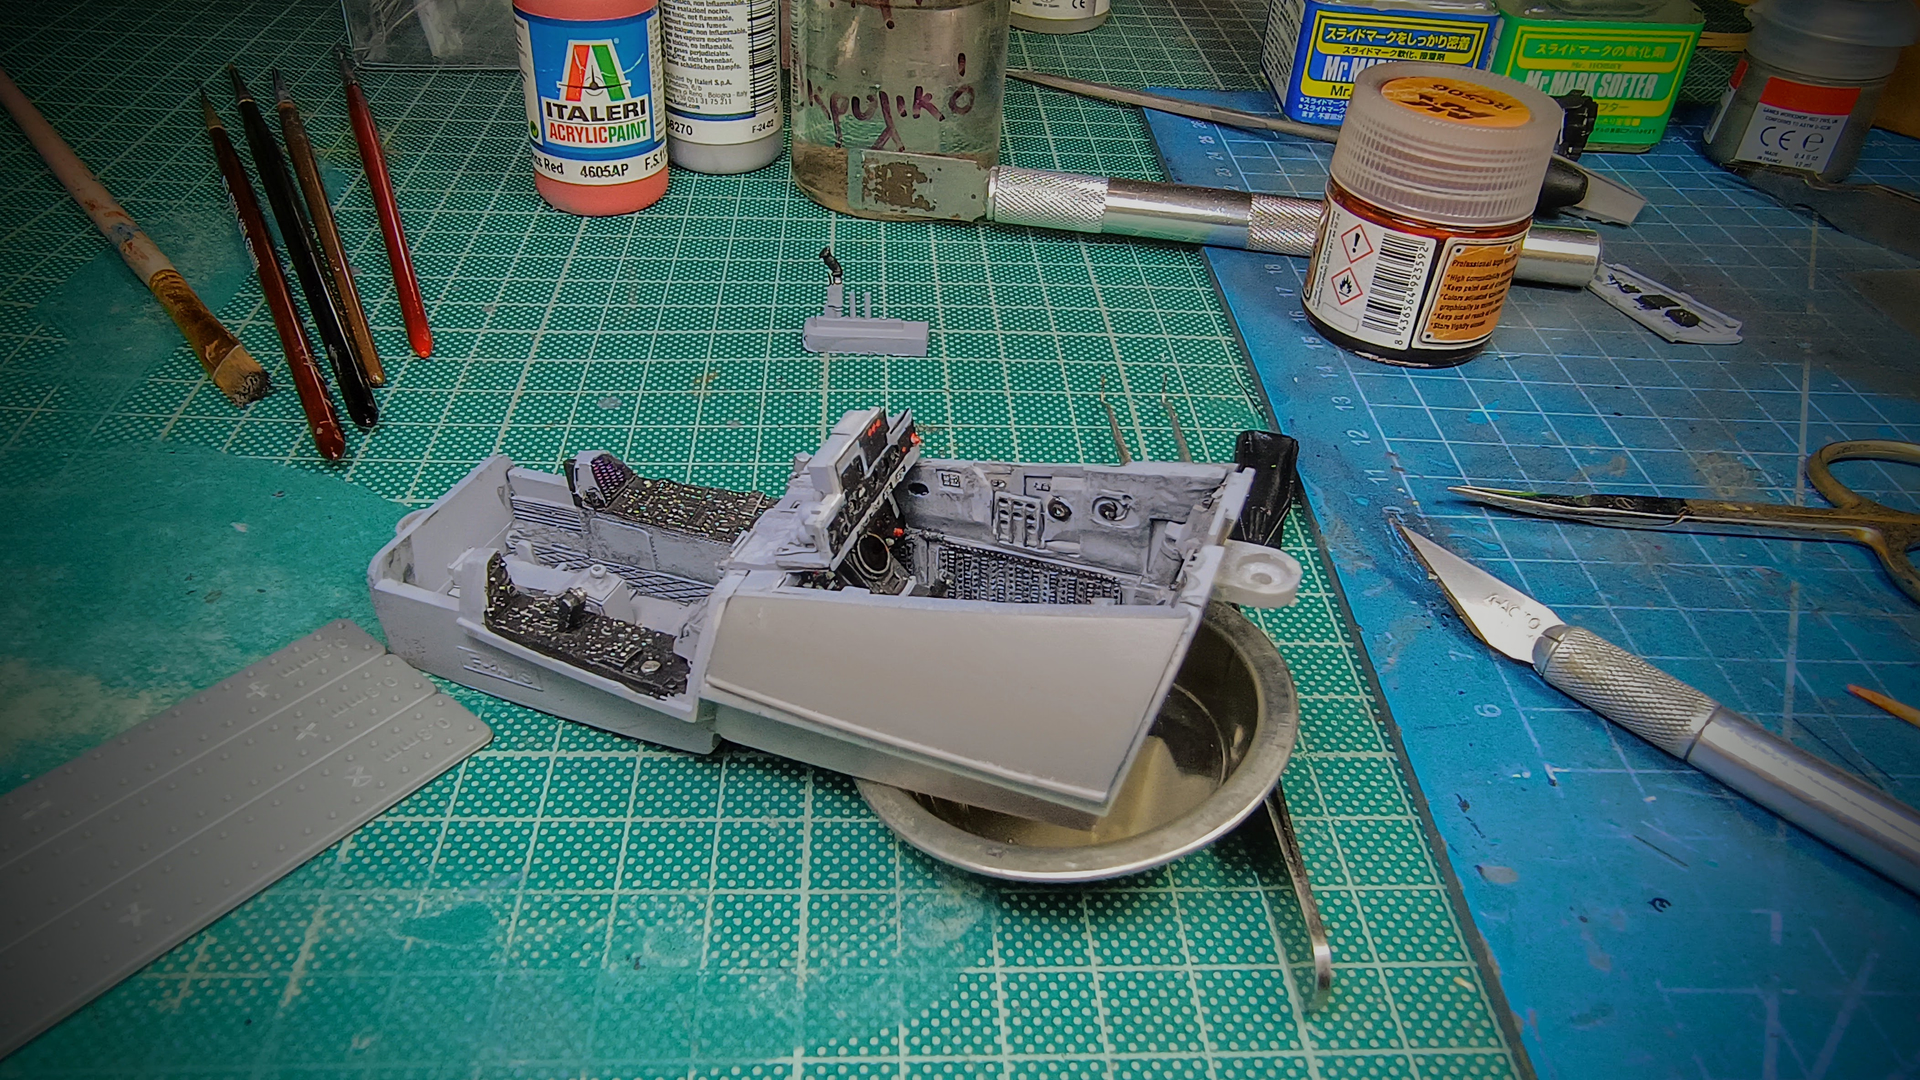
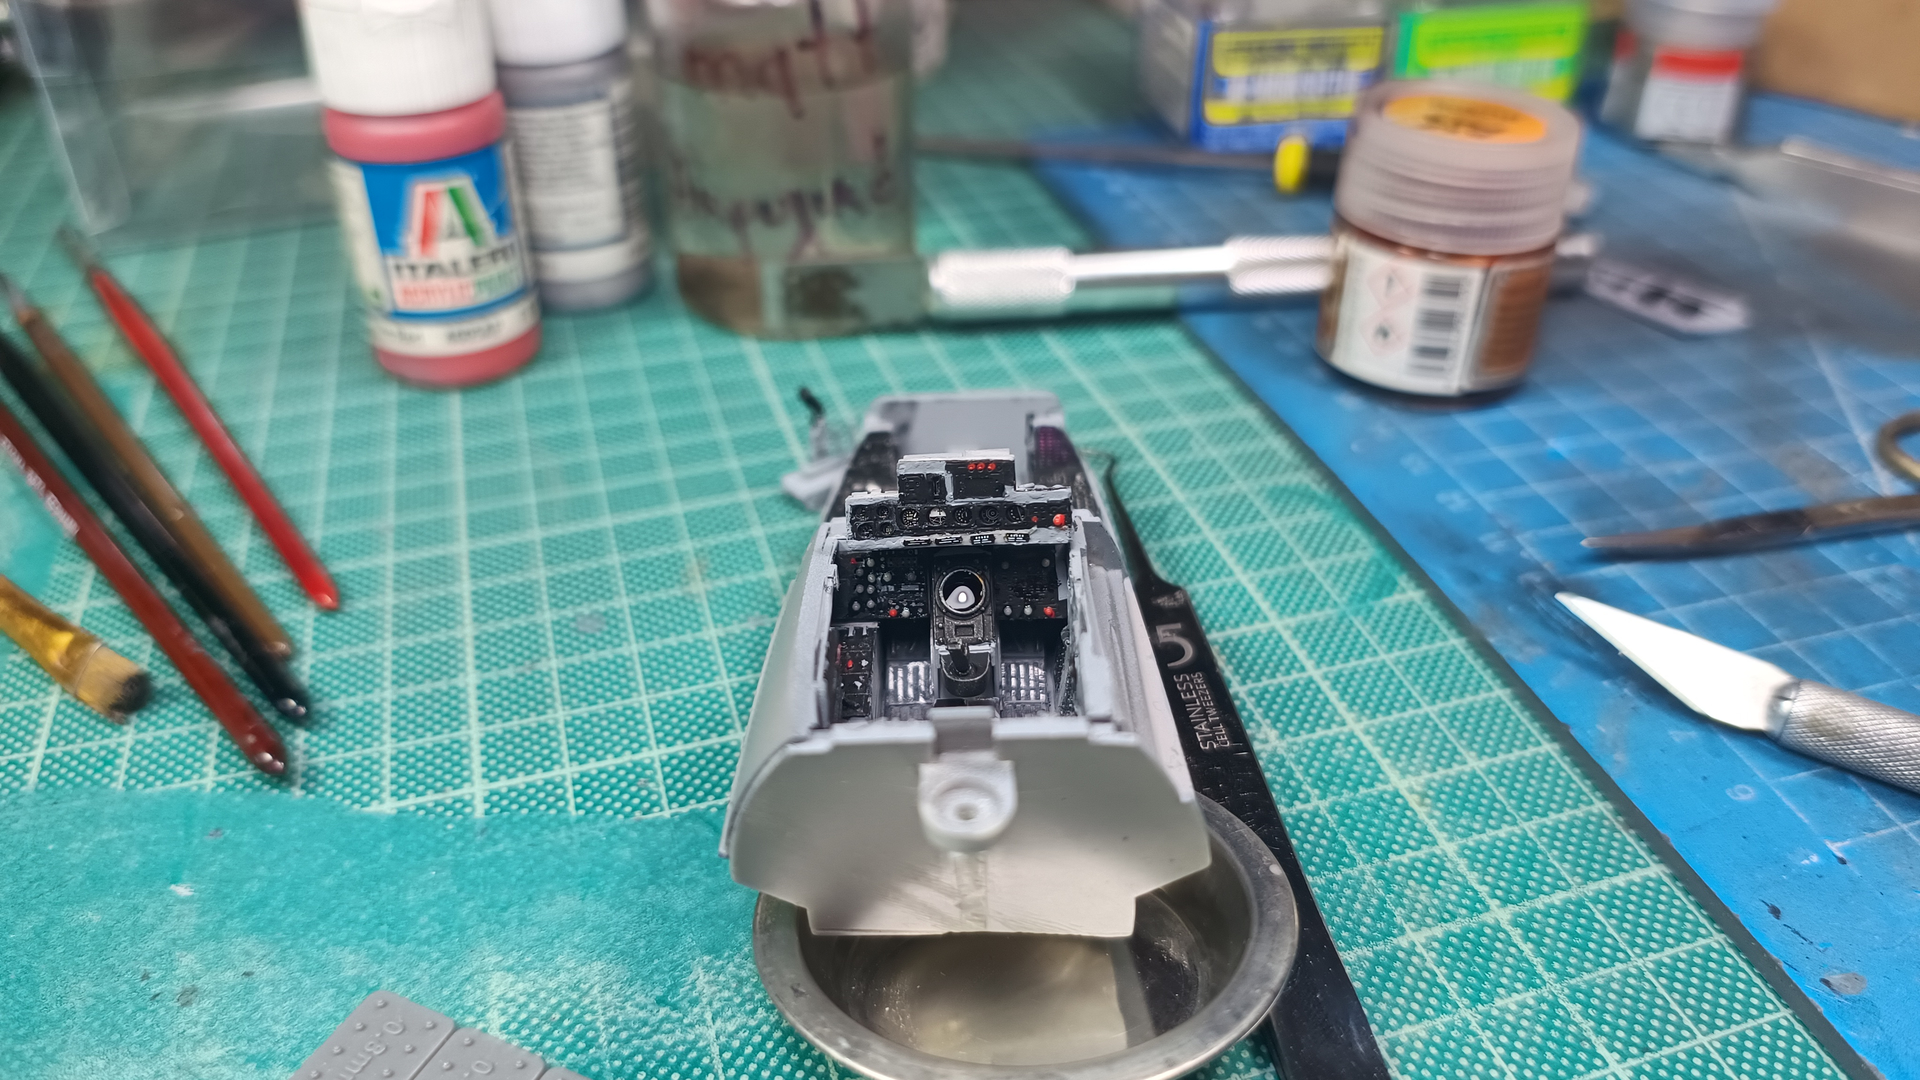
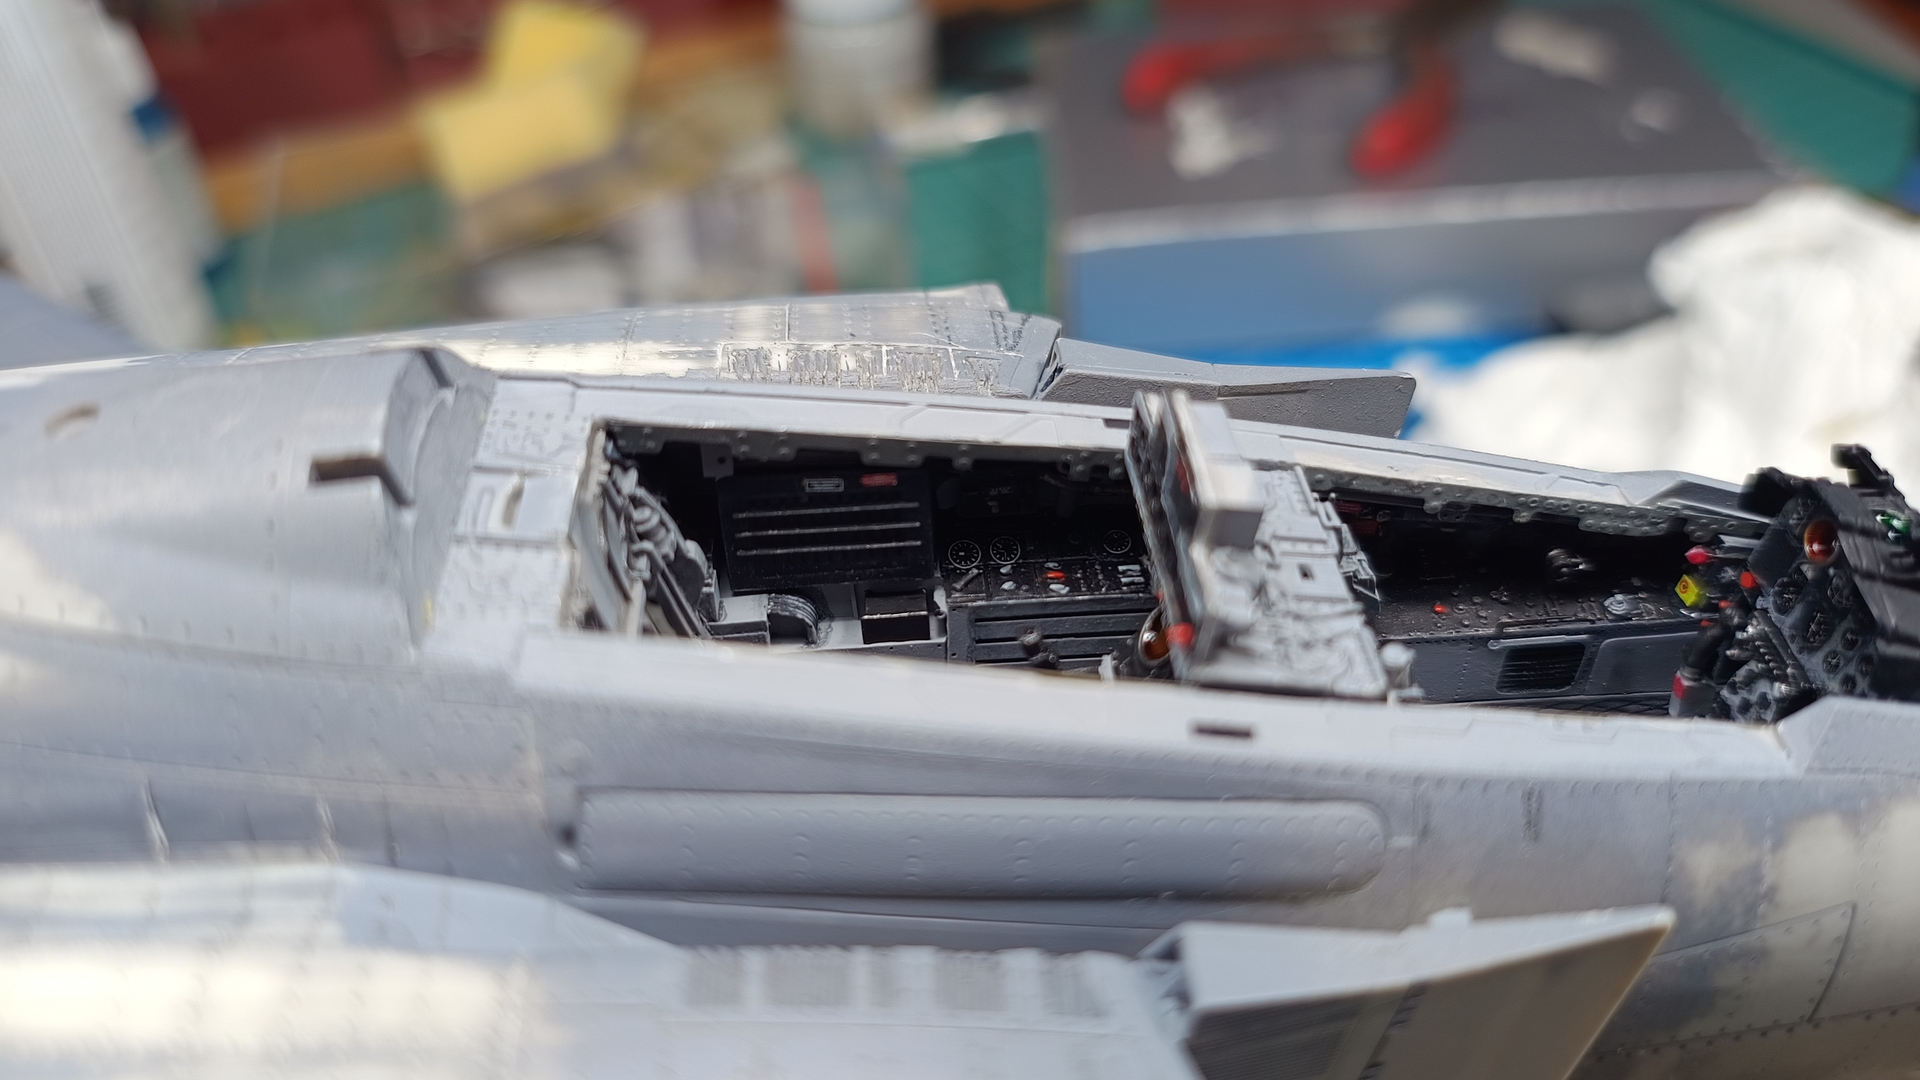
Work started with preparing the resin cockpit tub. Lots of sanding and dry fitting required, not the most pleasant experience. If you add the cost of the Aires set I would say I will only do it once more for the second F-4J because I already bought the cockpit set and never again. 3D decals should be a better option.

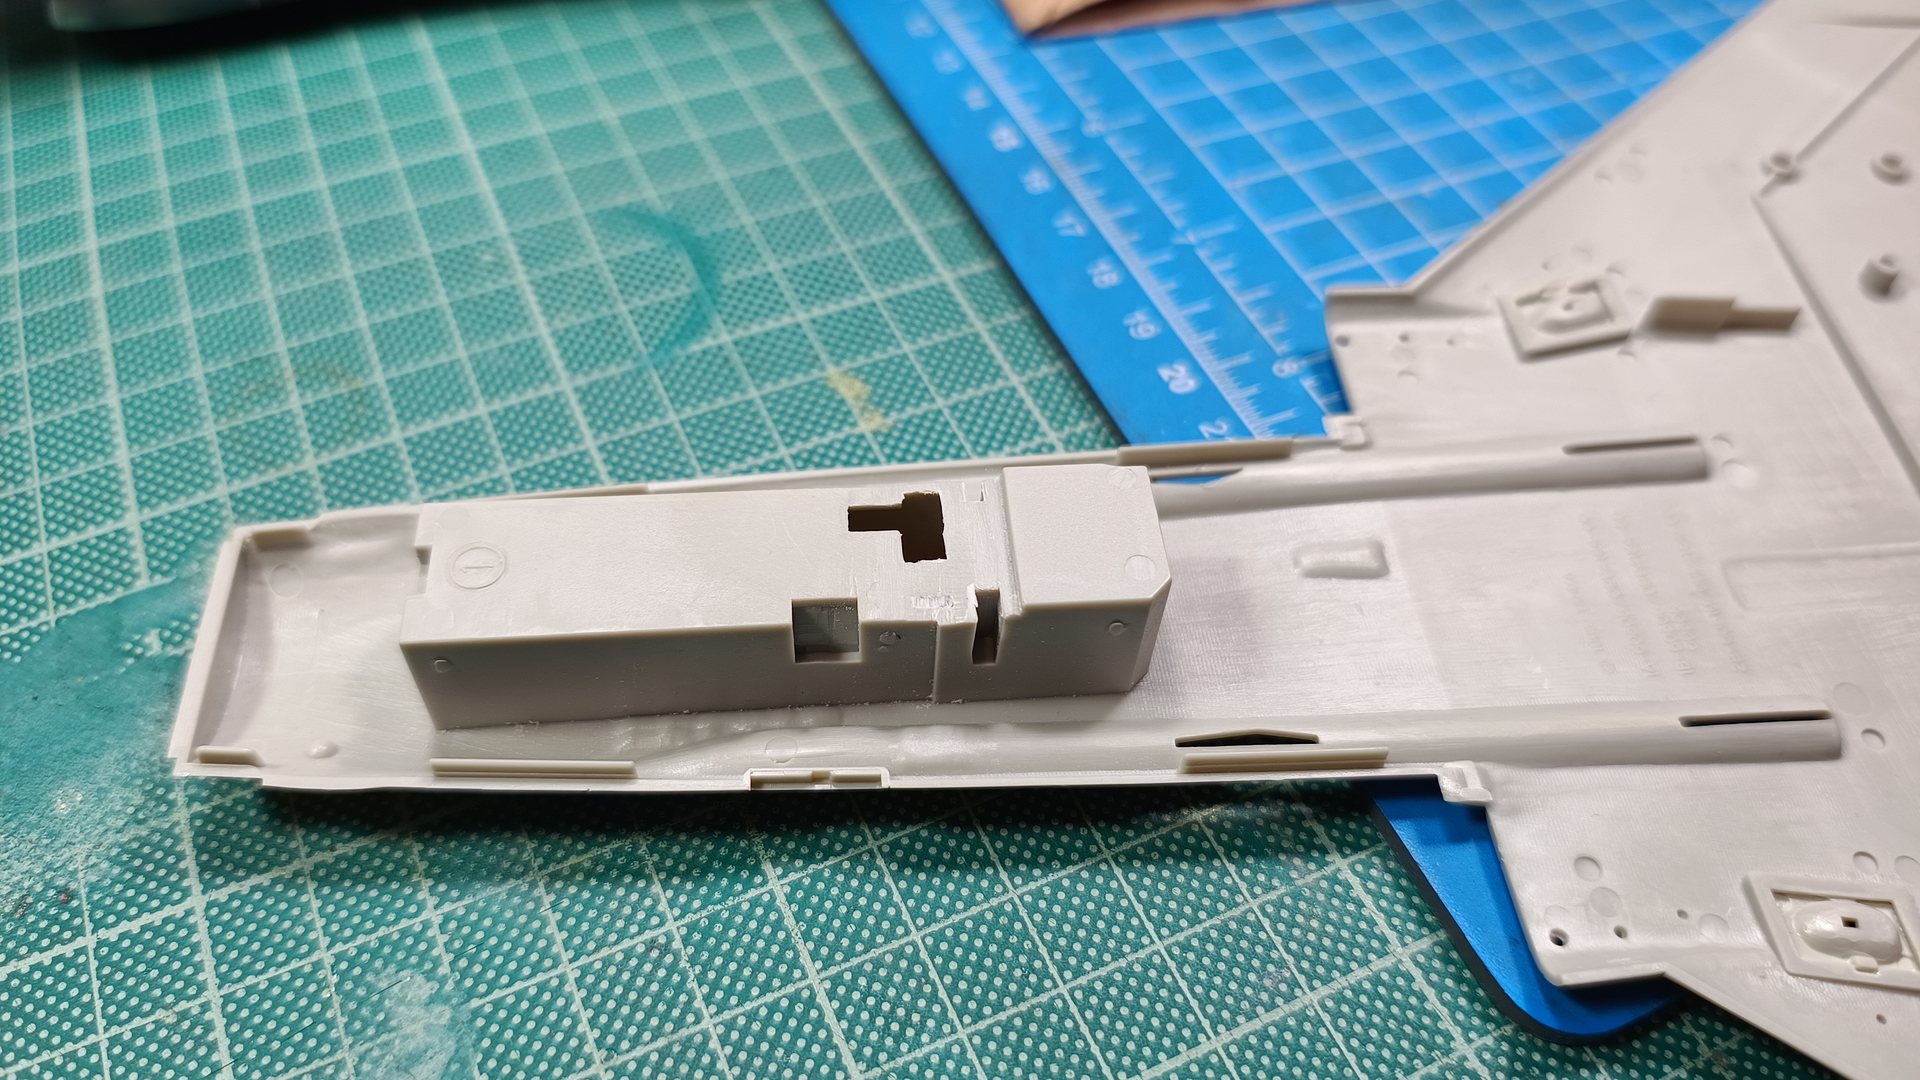
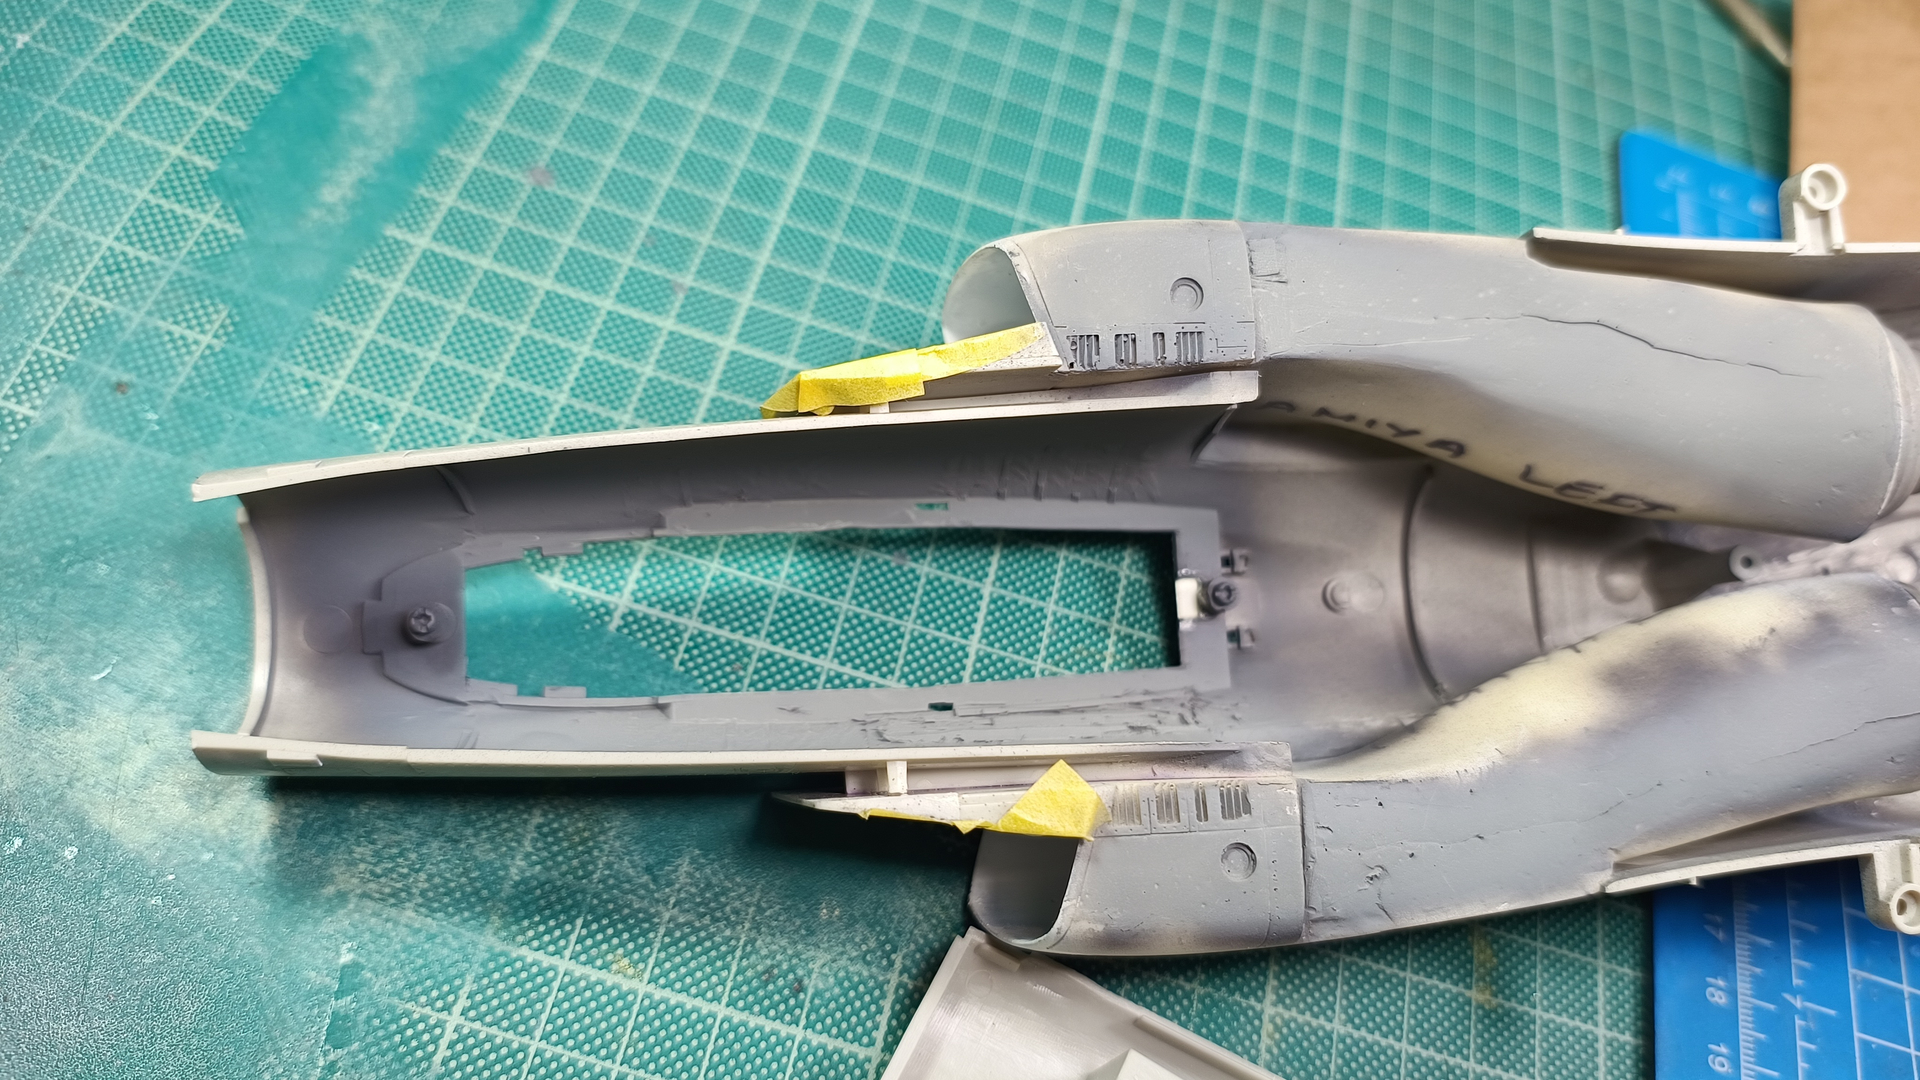
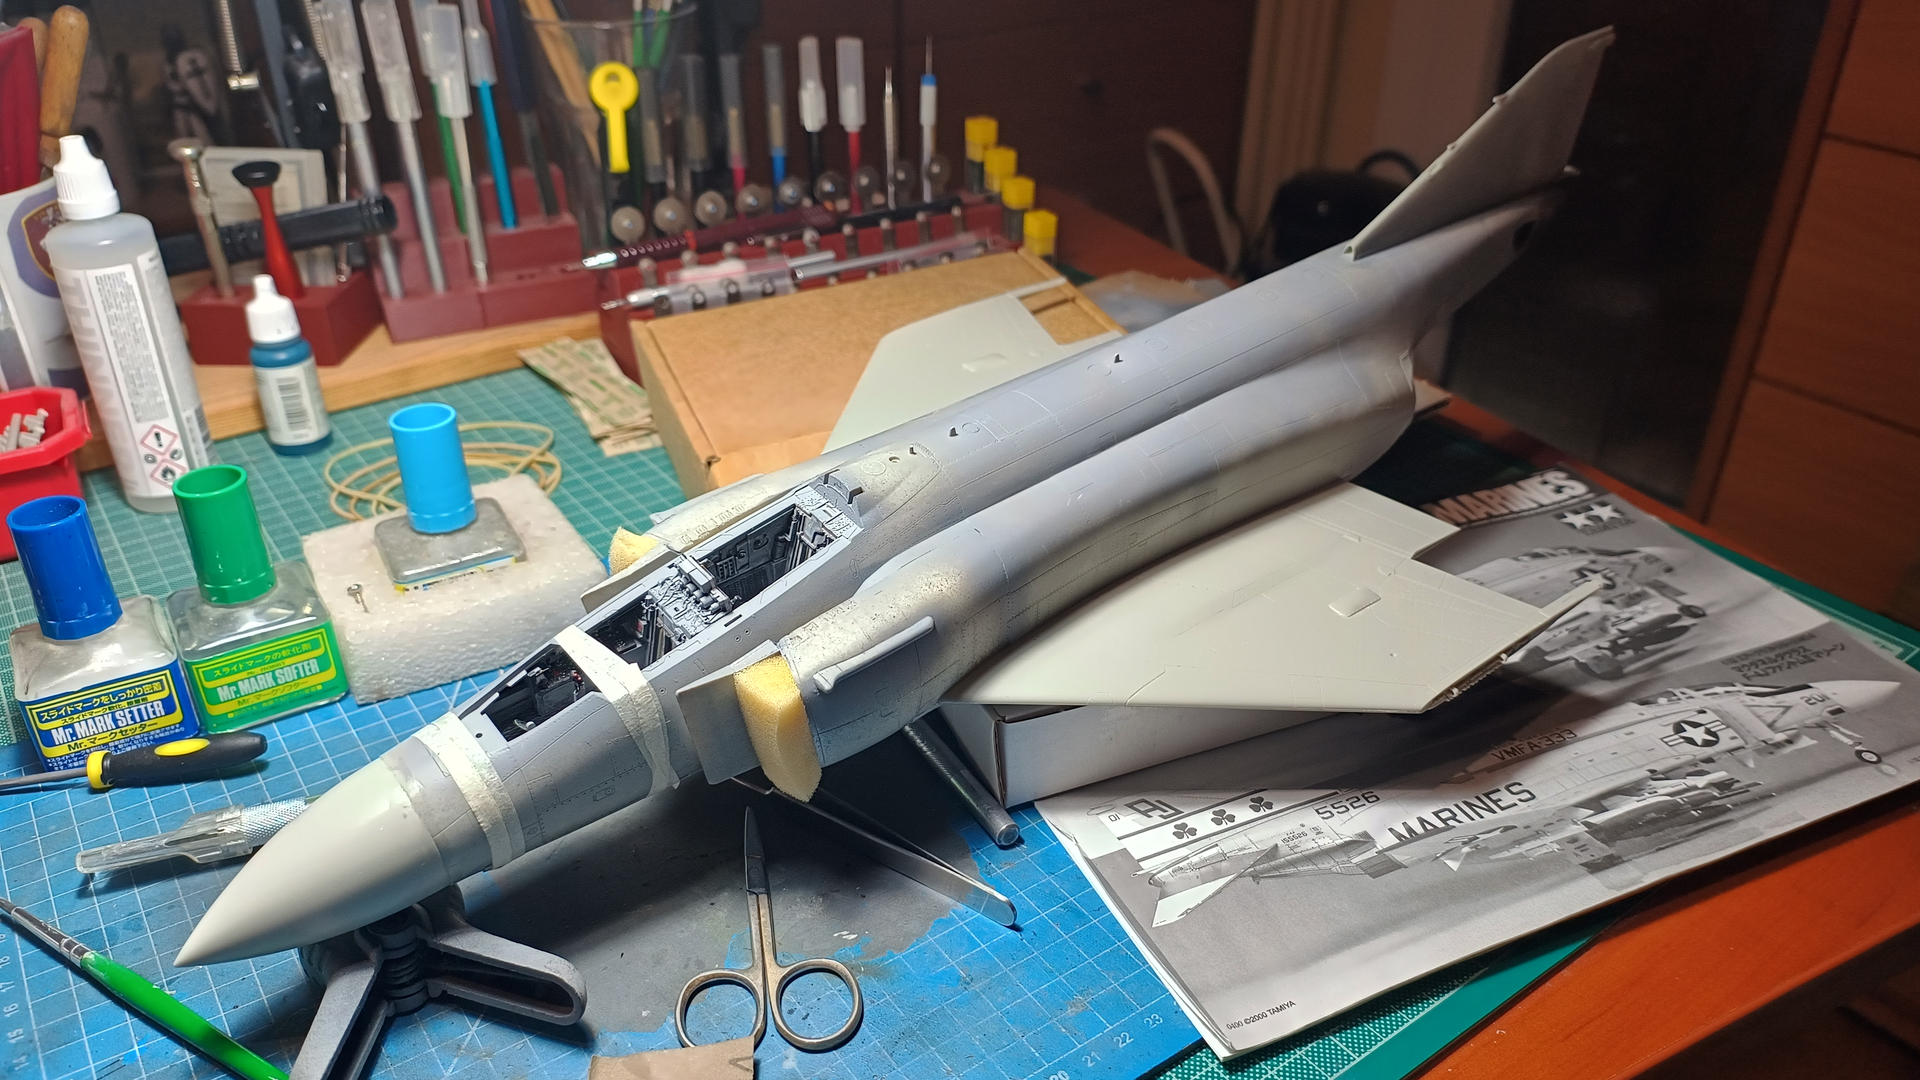
I also added the resin intakes to the fuselage (something I will regret later…)
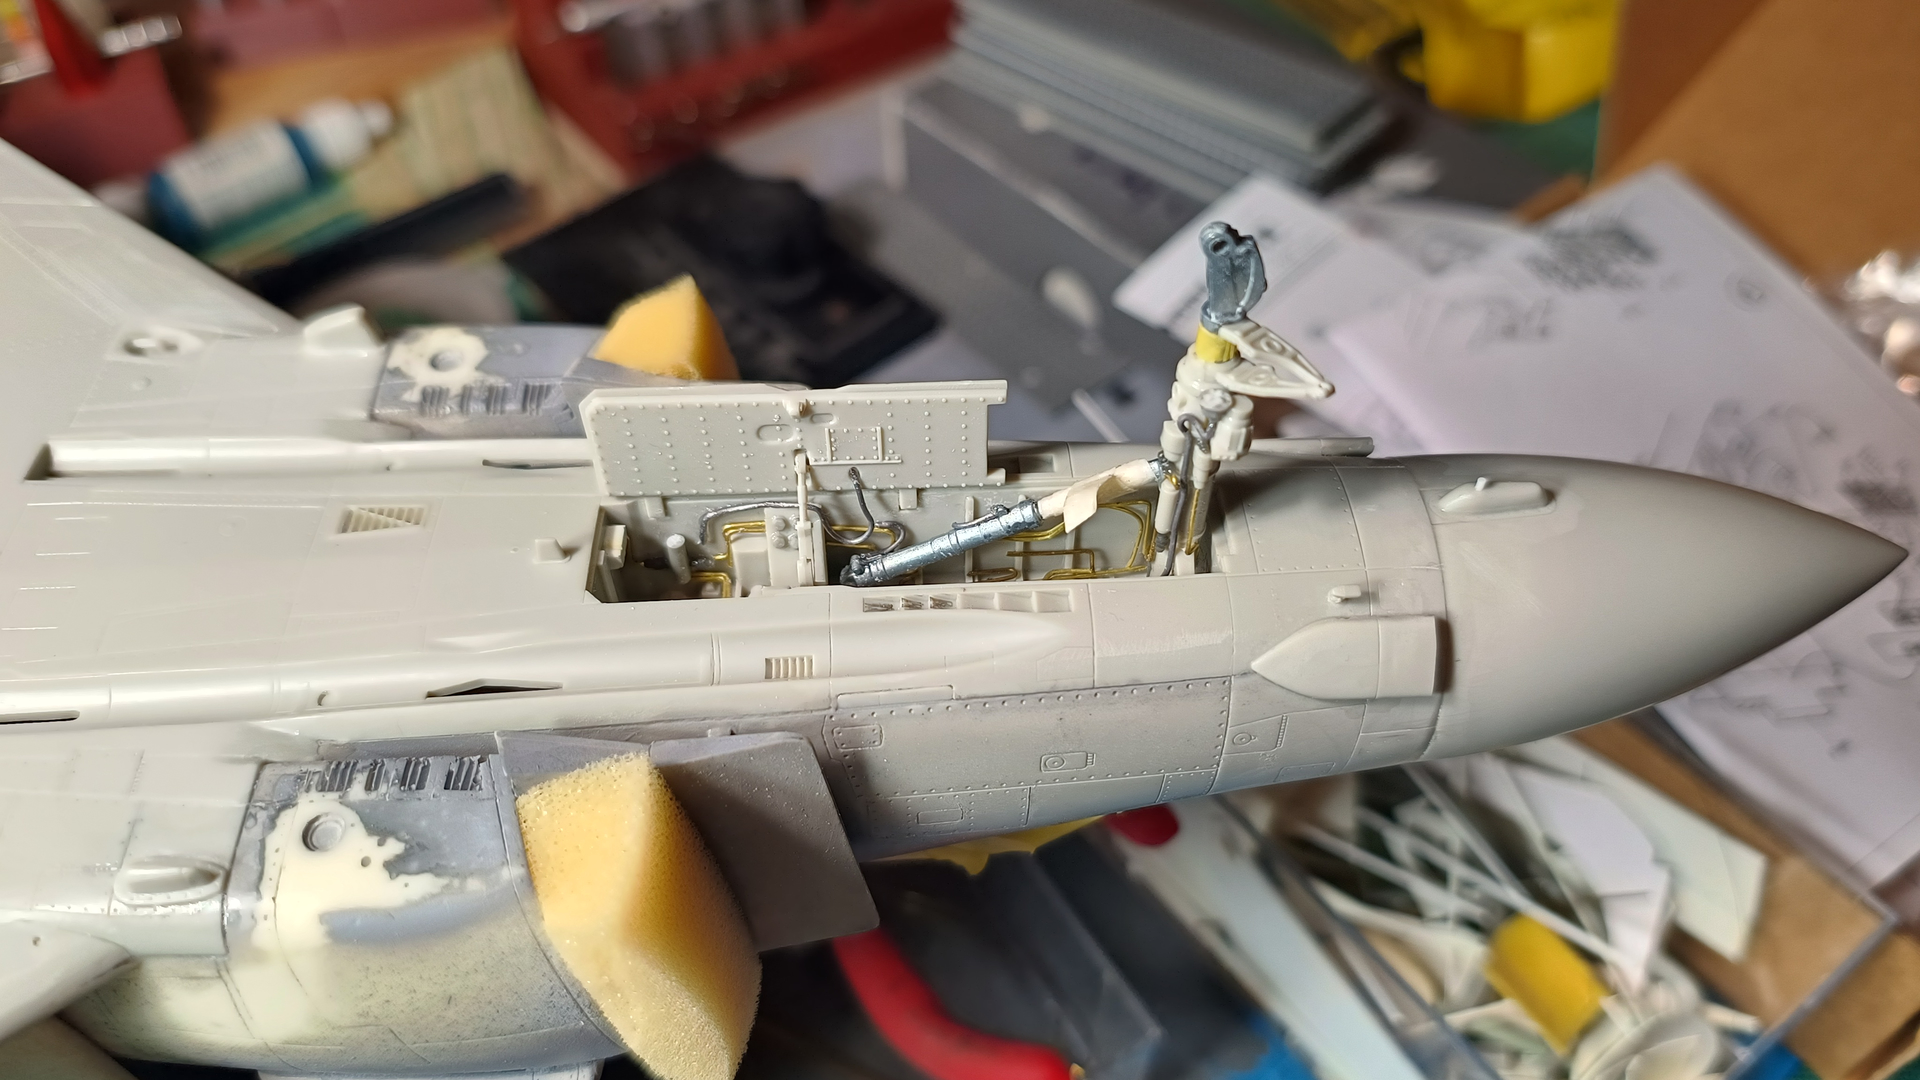
These are the QMT auxhiliary air intakes, the specific set is out of production now. I used the set for the Revell kit because of the improved detail on the doors.
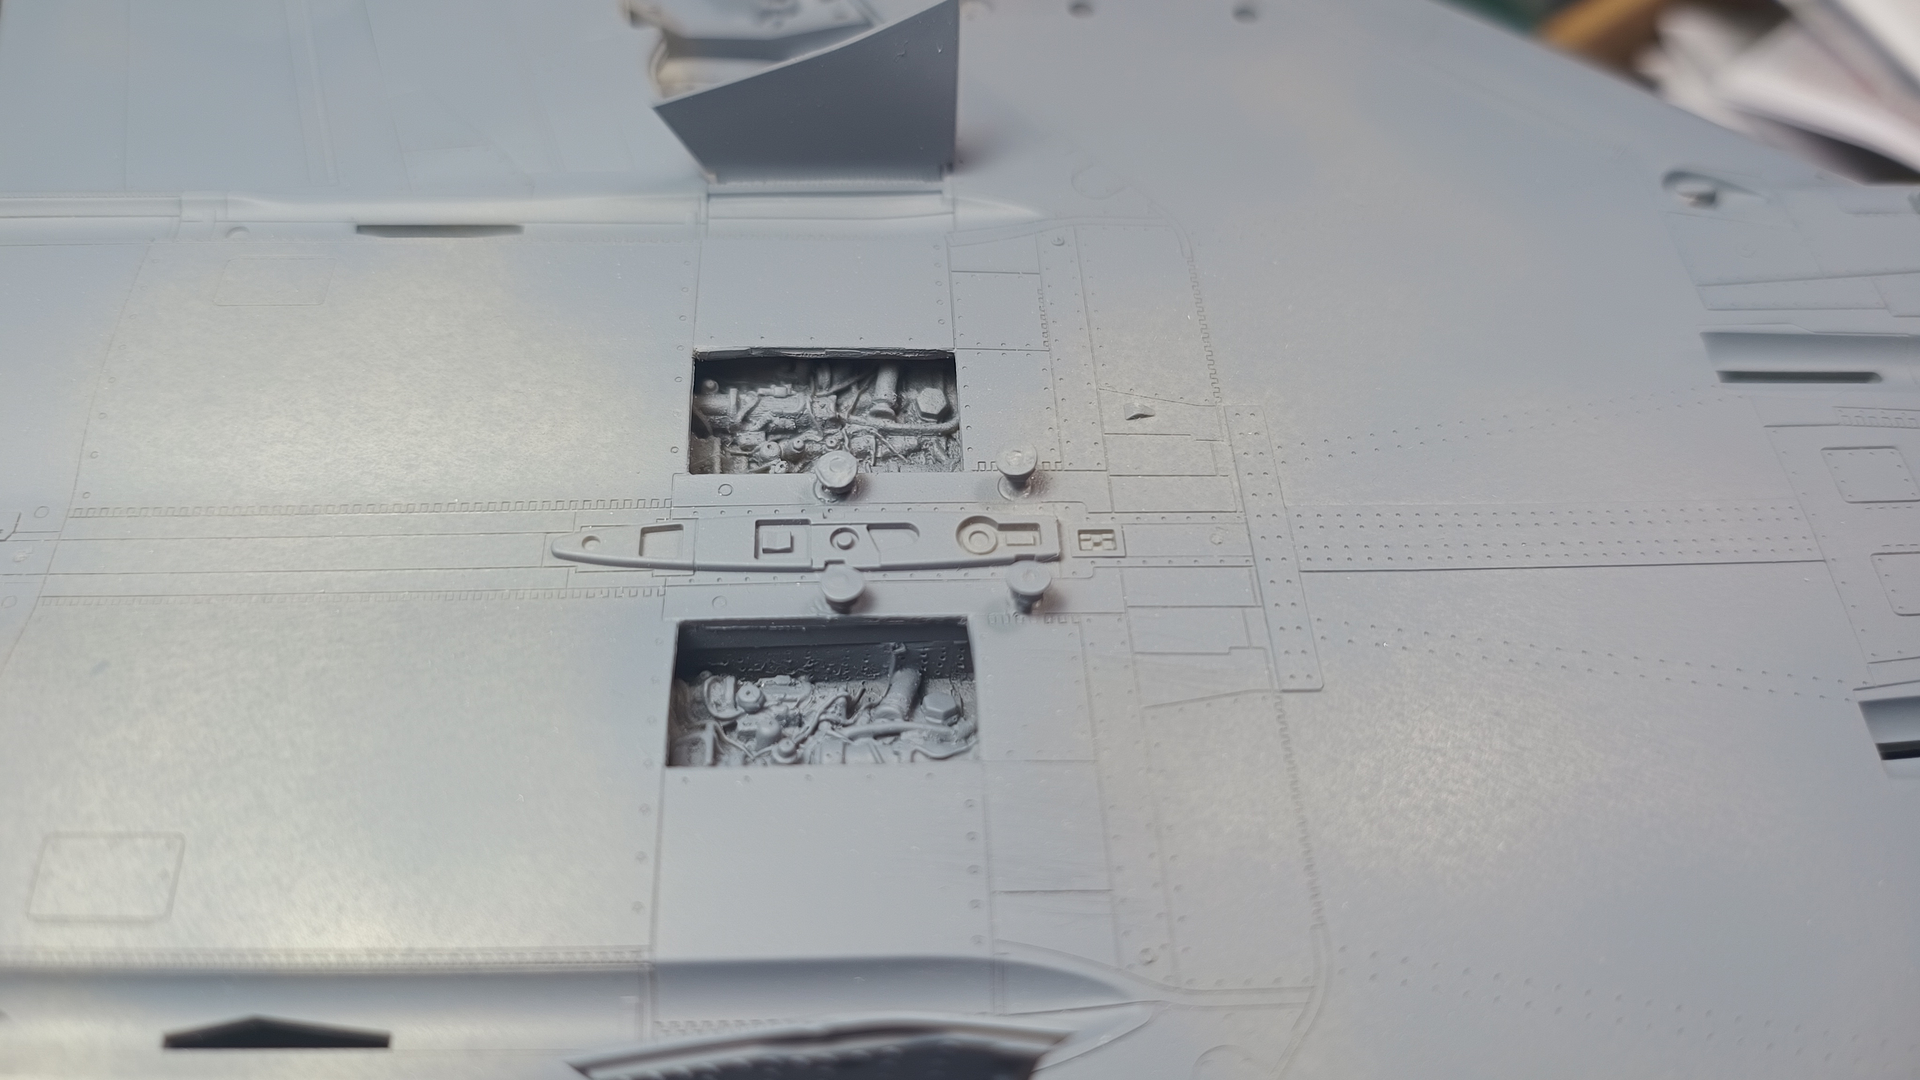
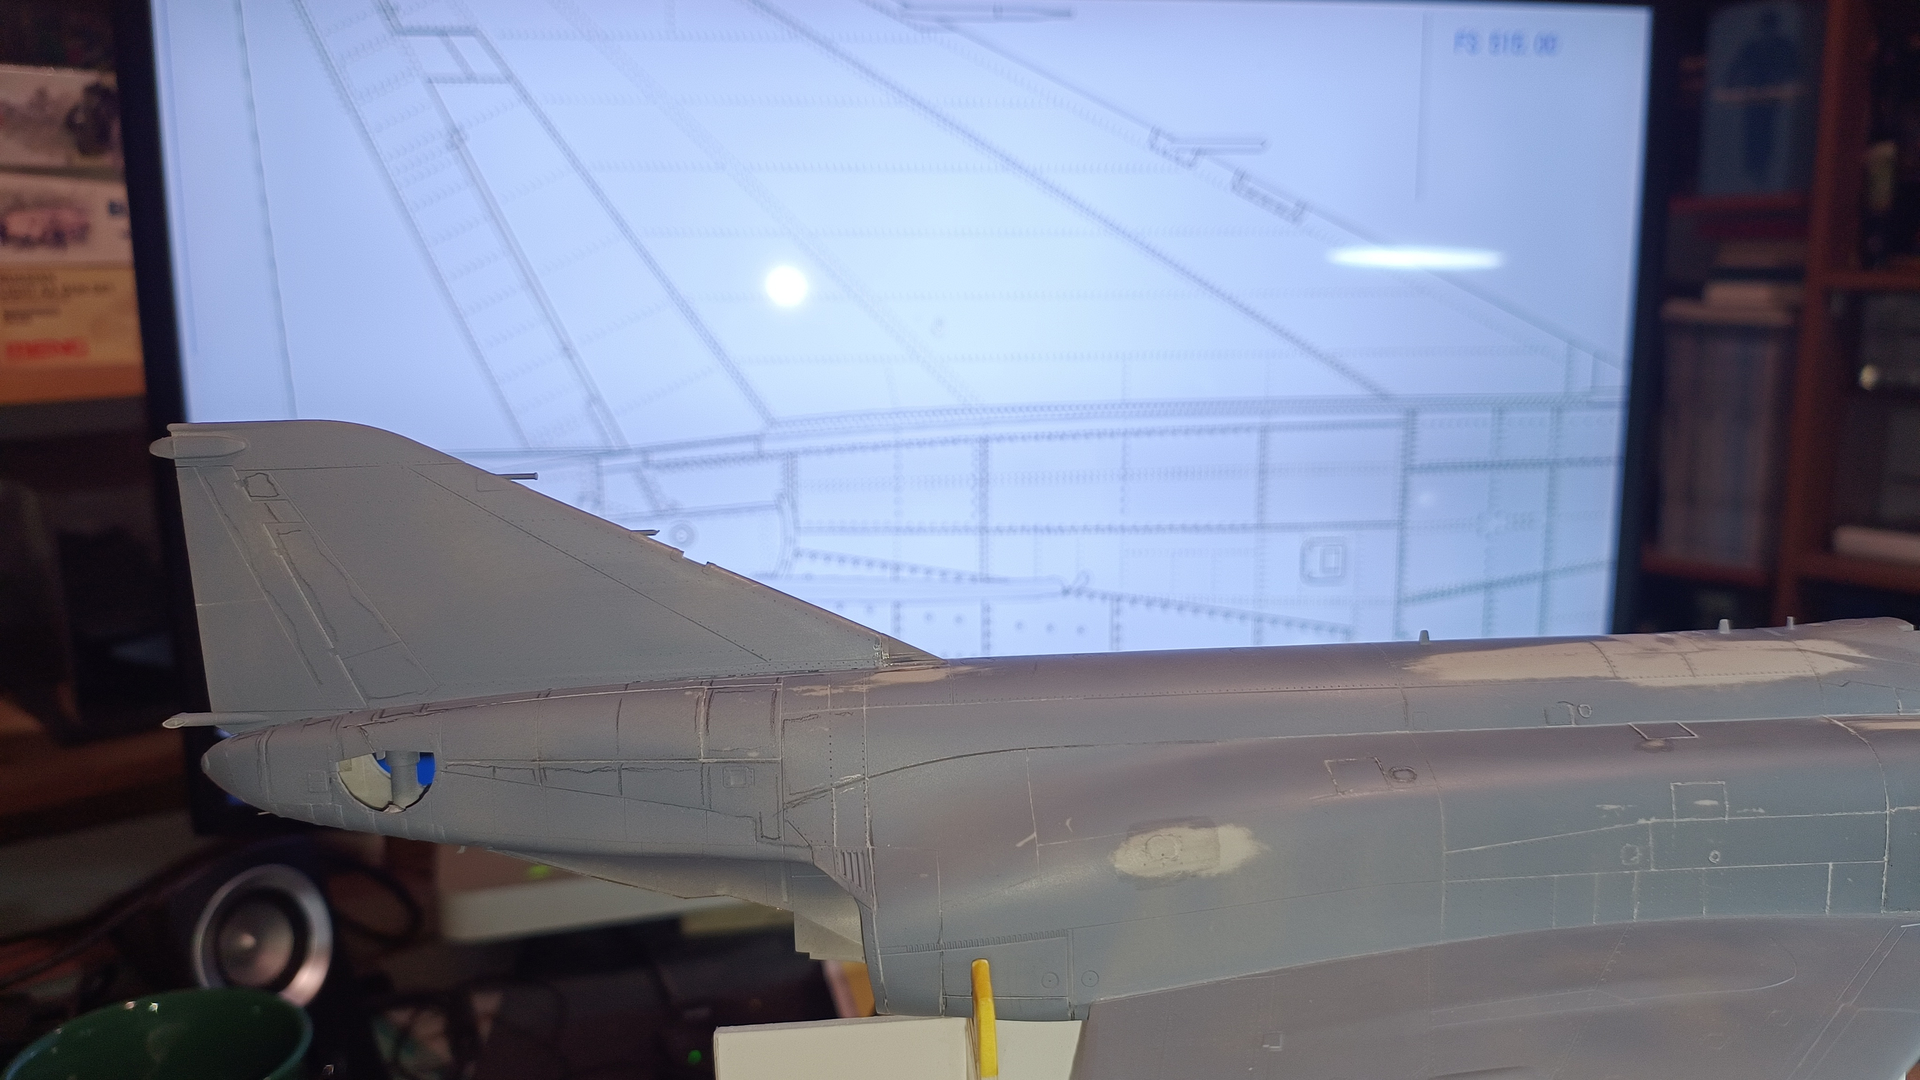
Panel line work and corrections
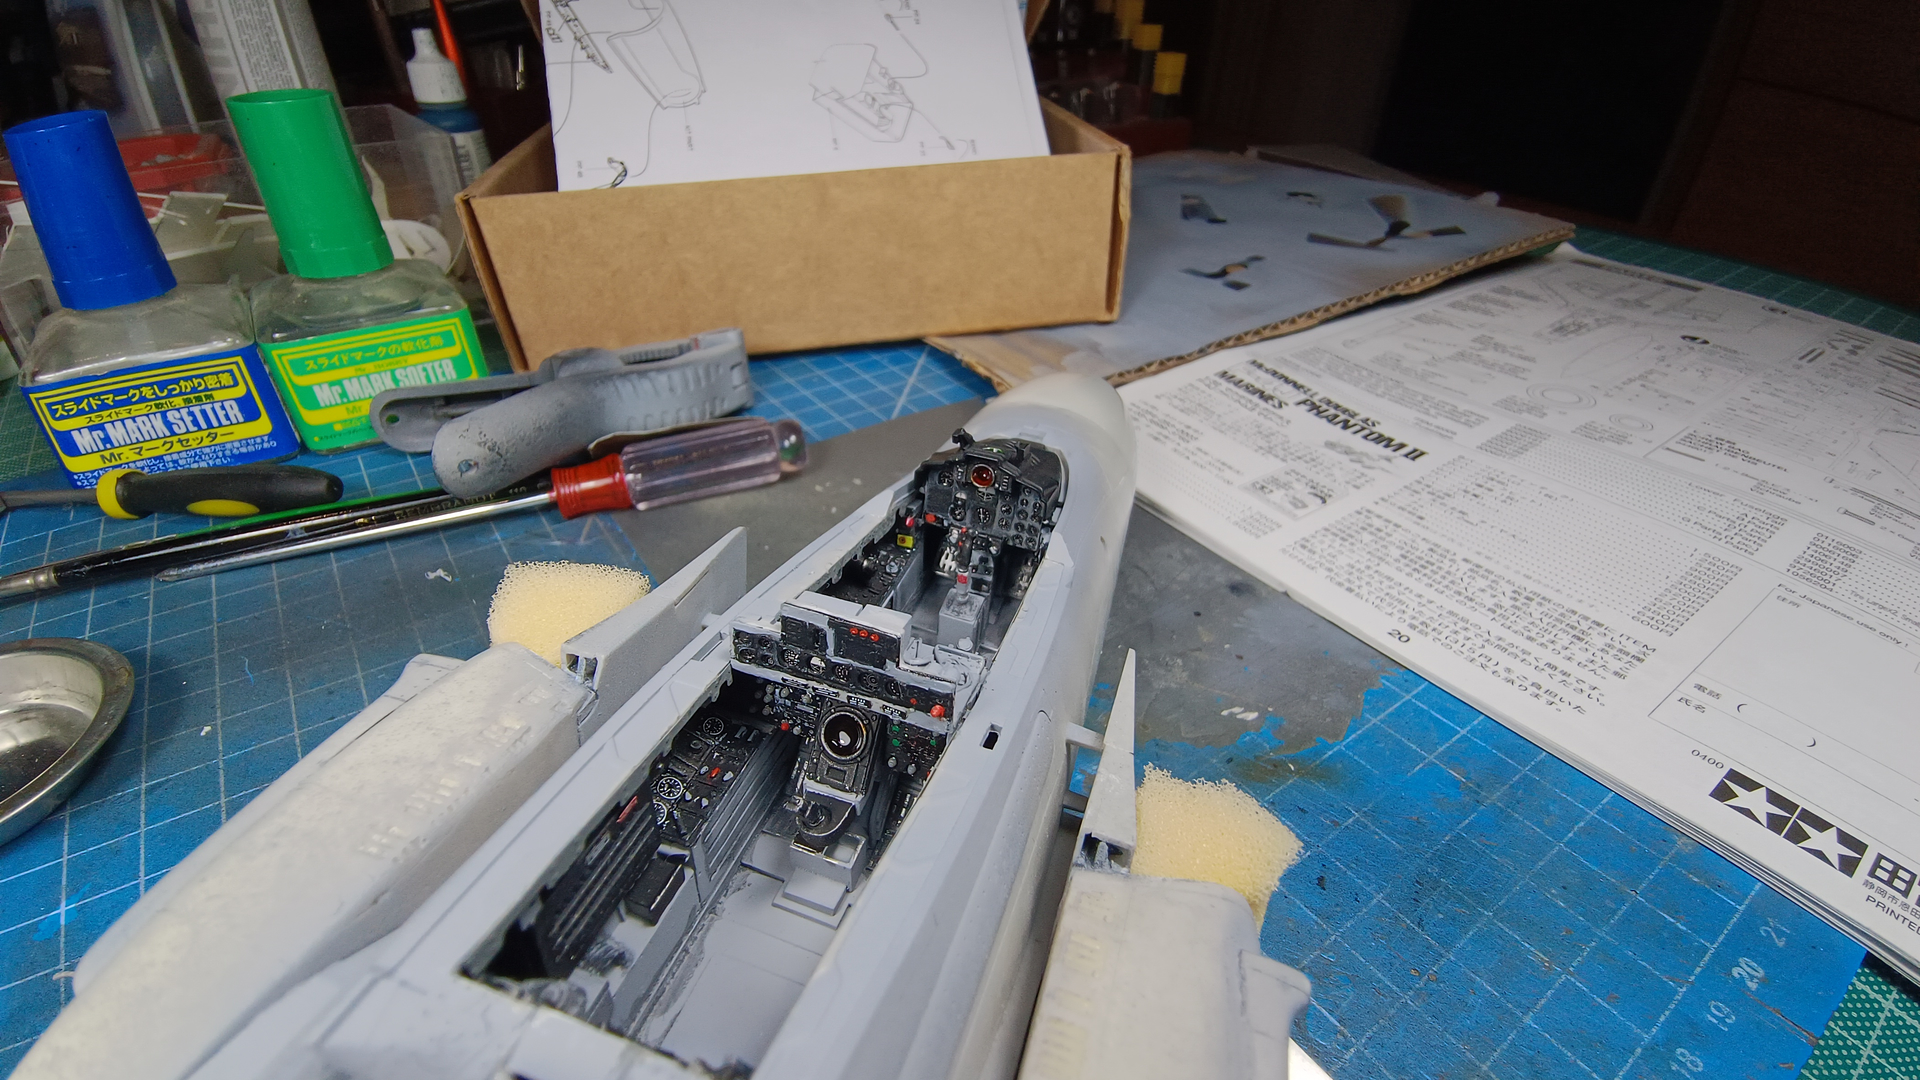
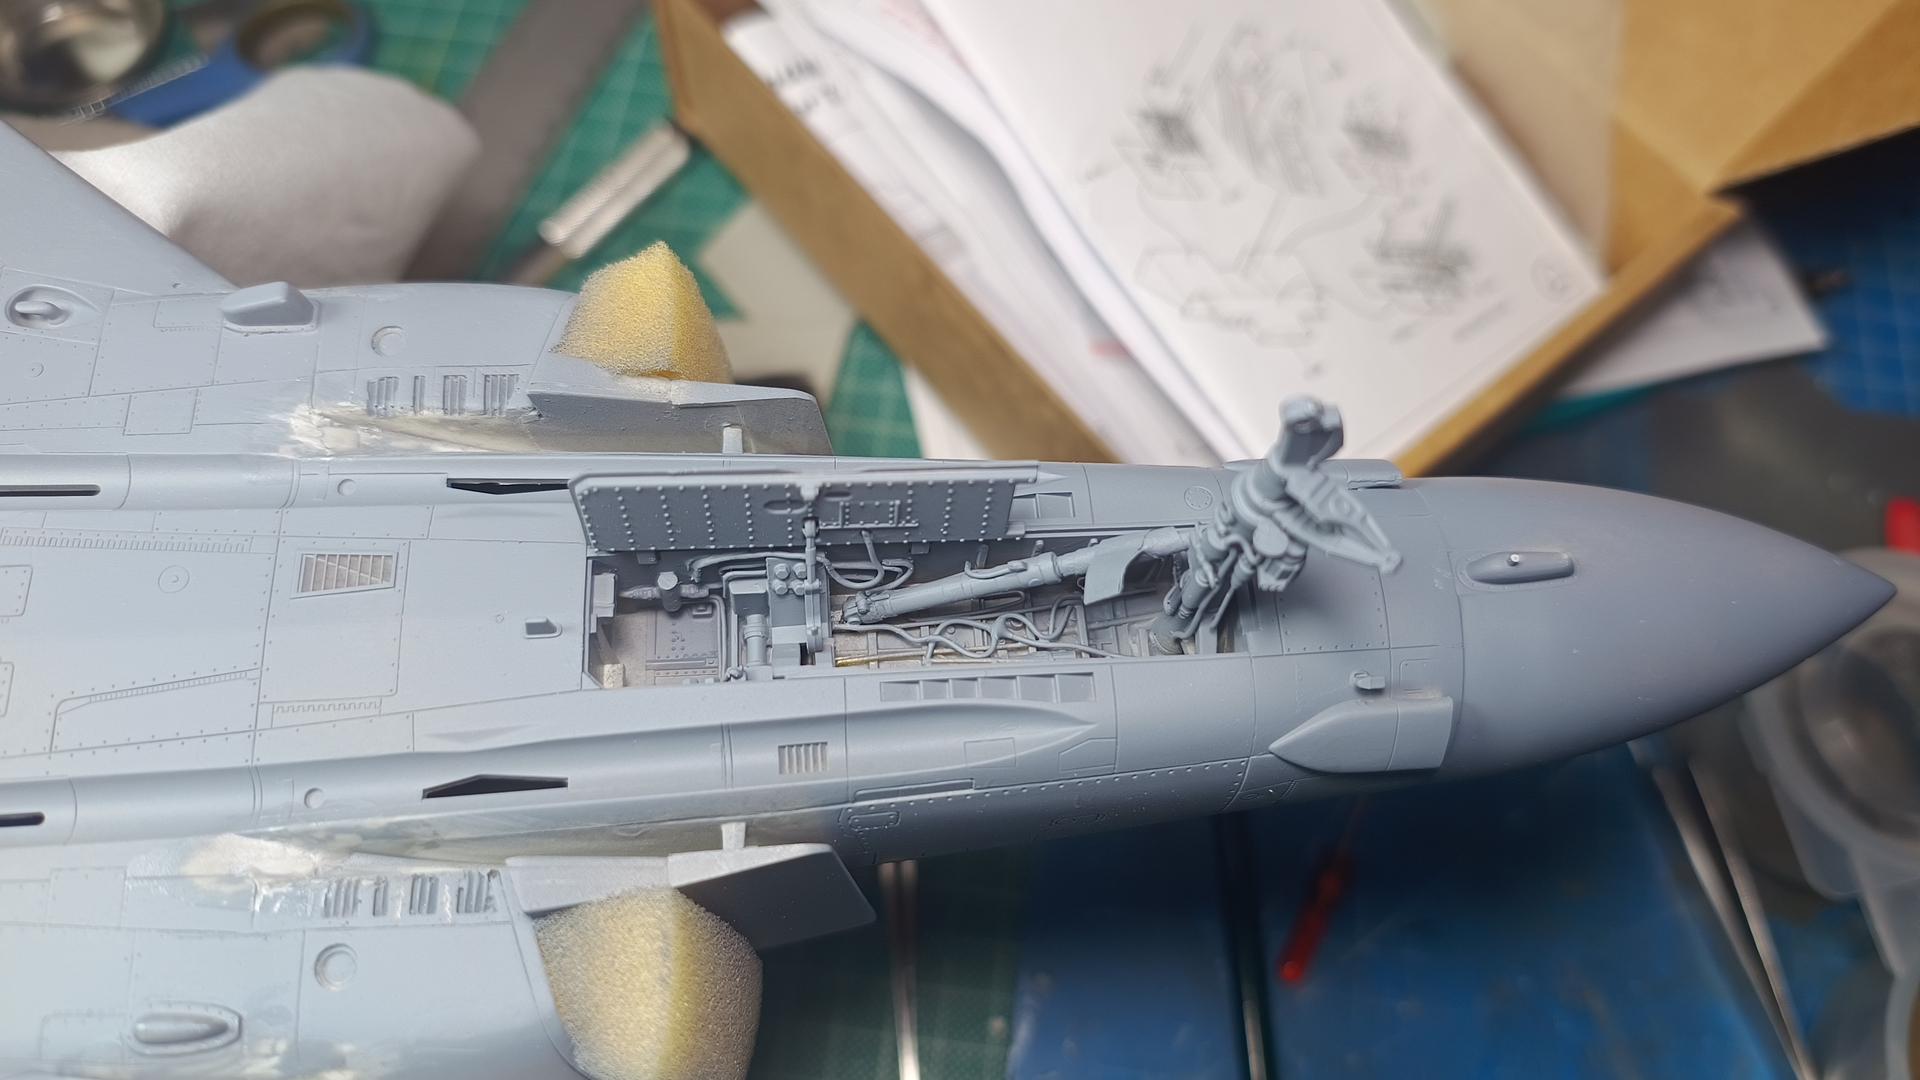
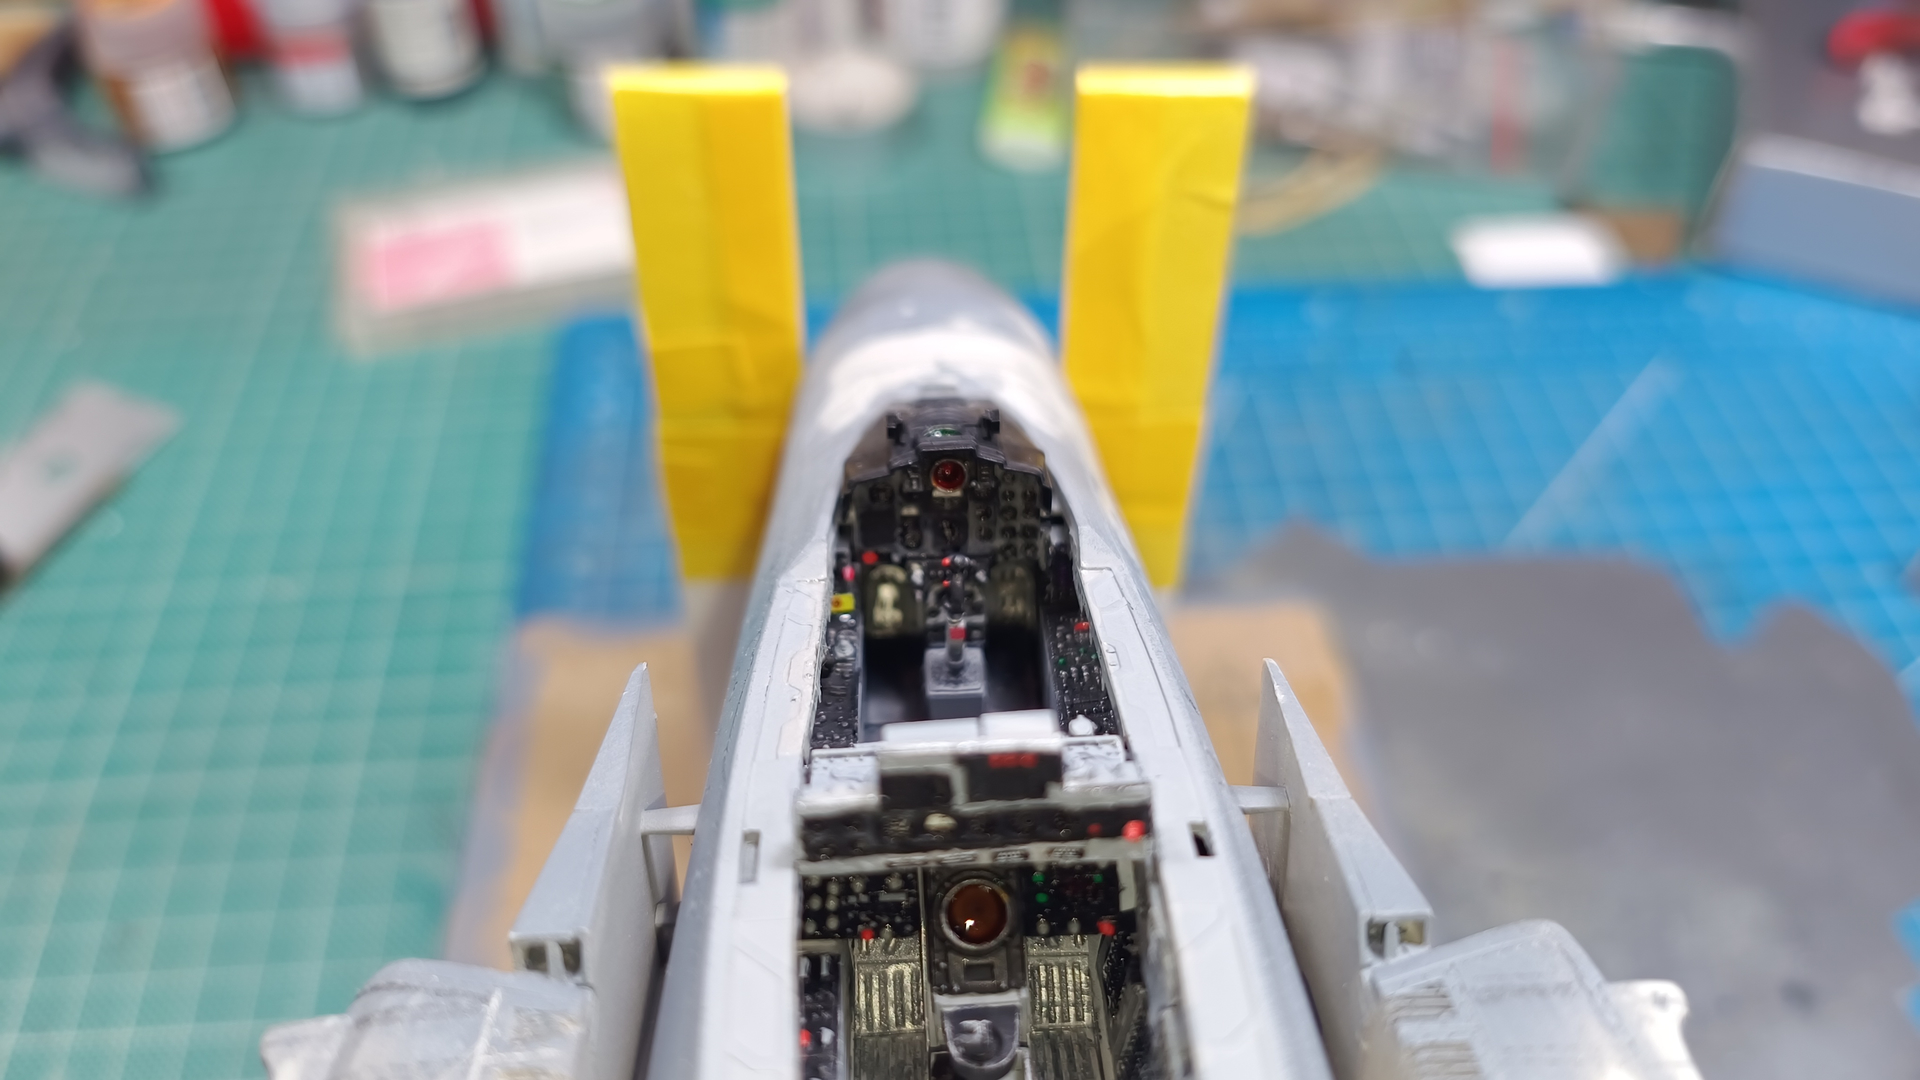
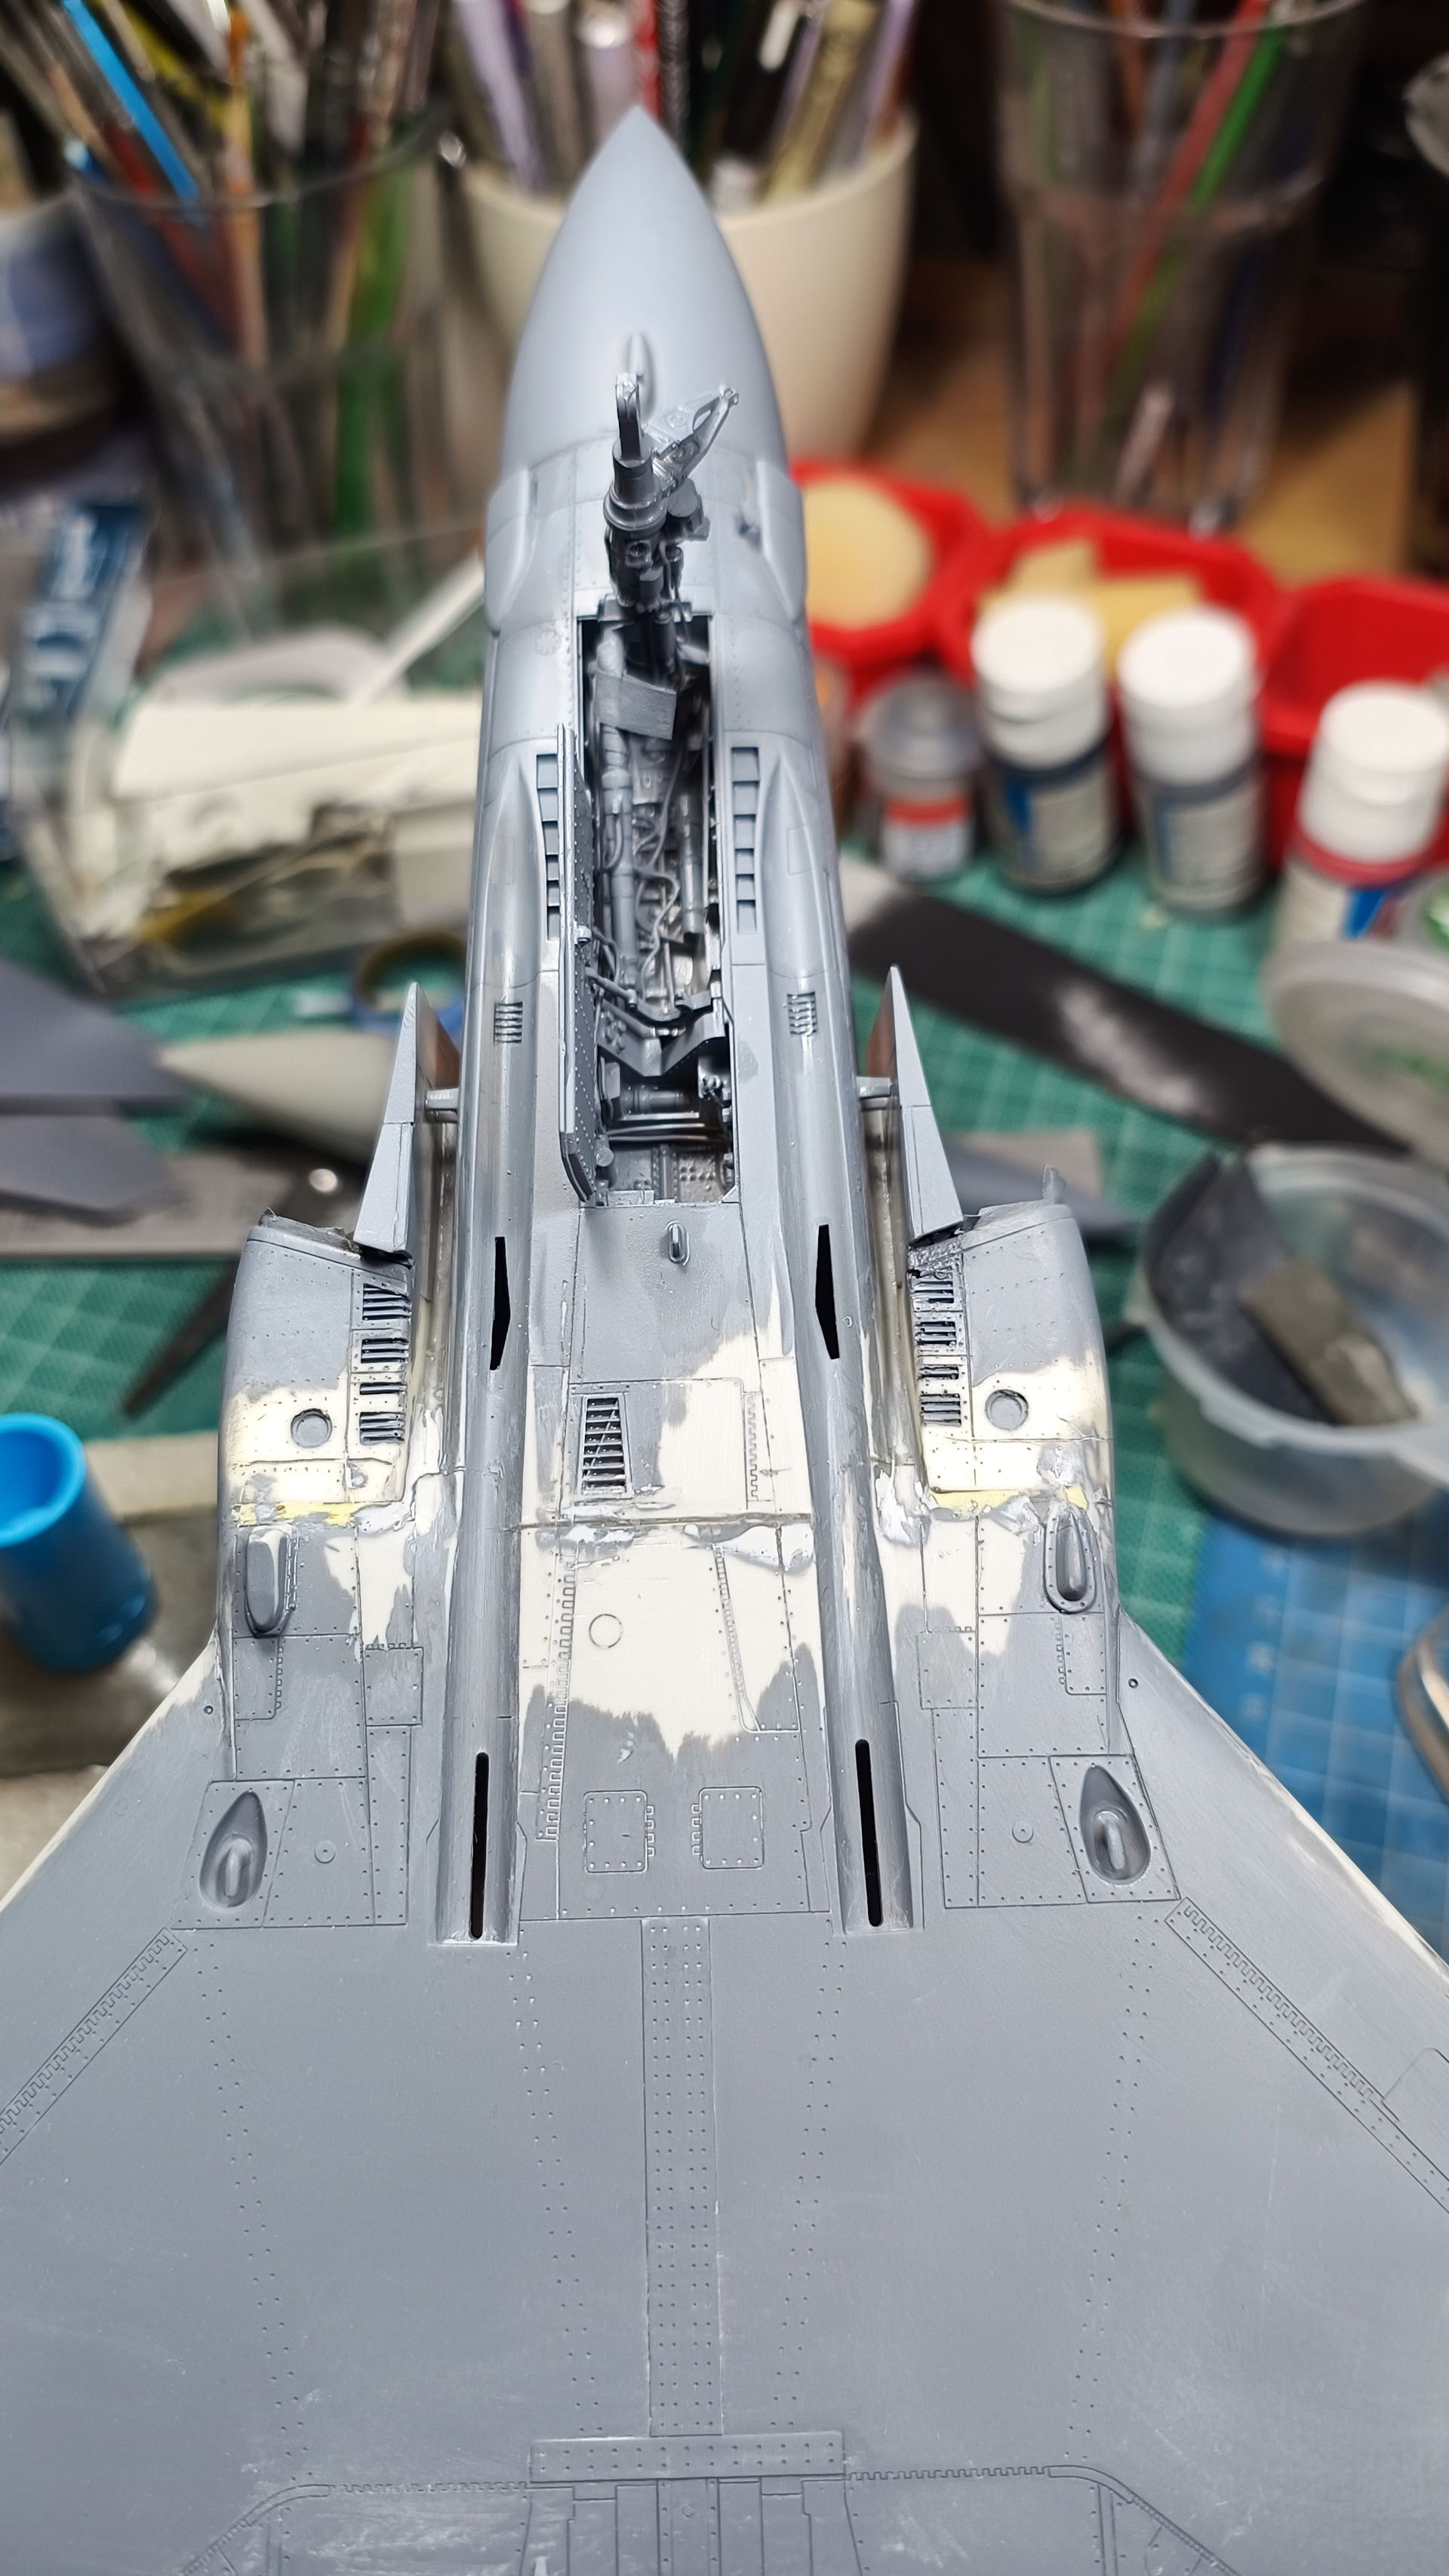
Cockpit tub

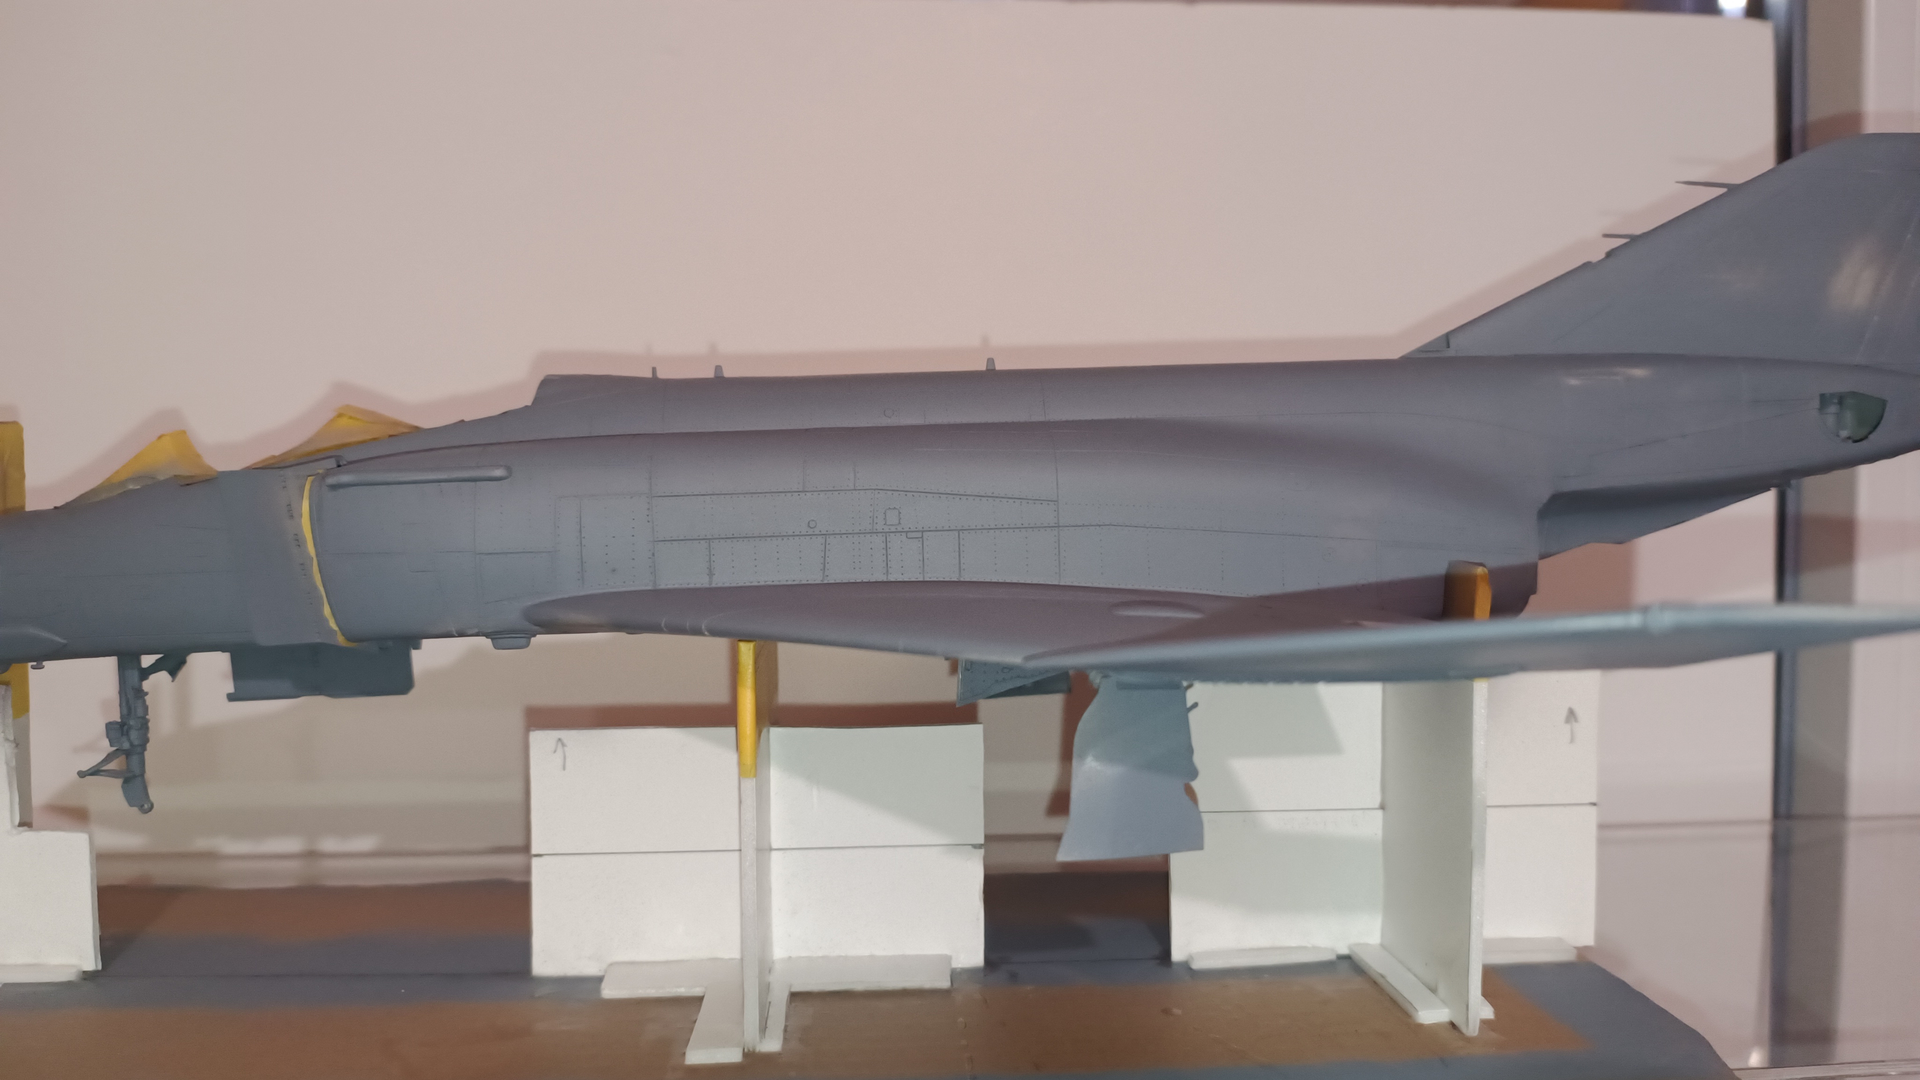
Intakes painted and fuselage assembled


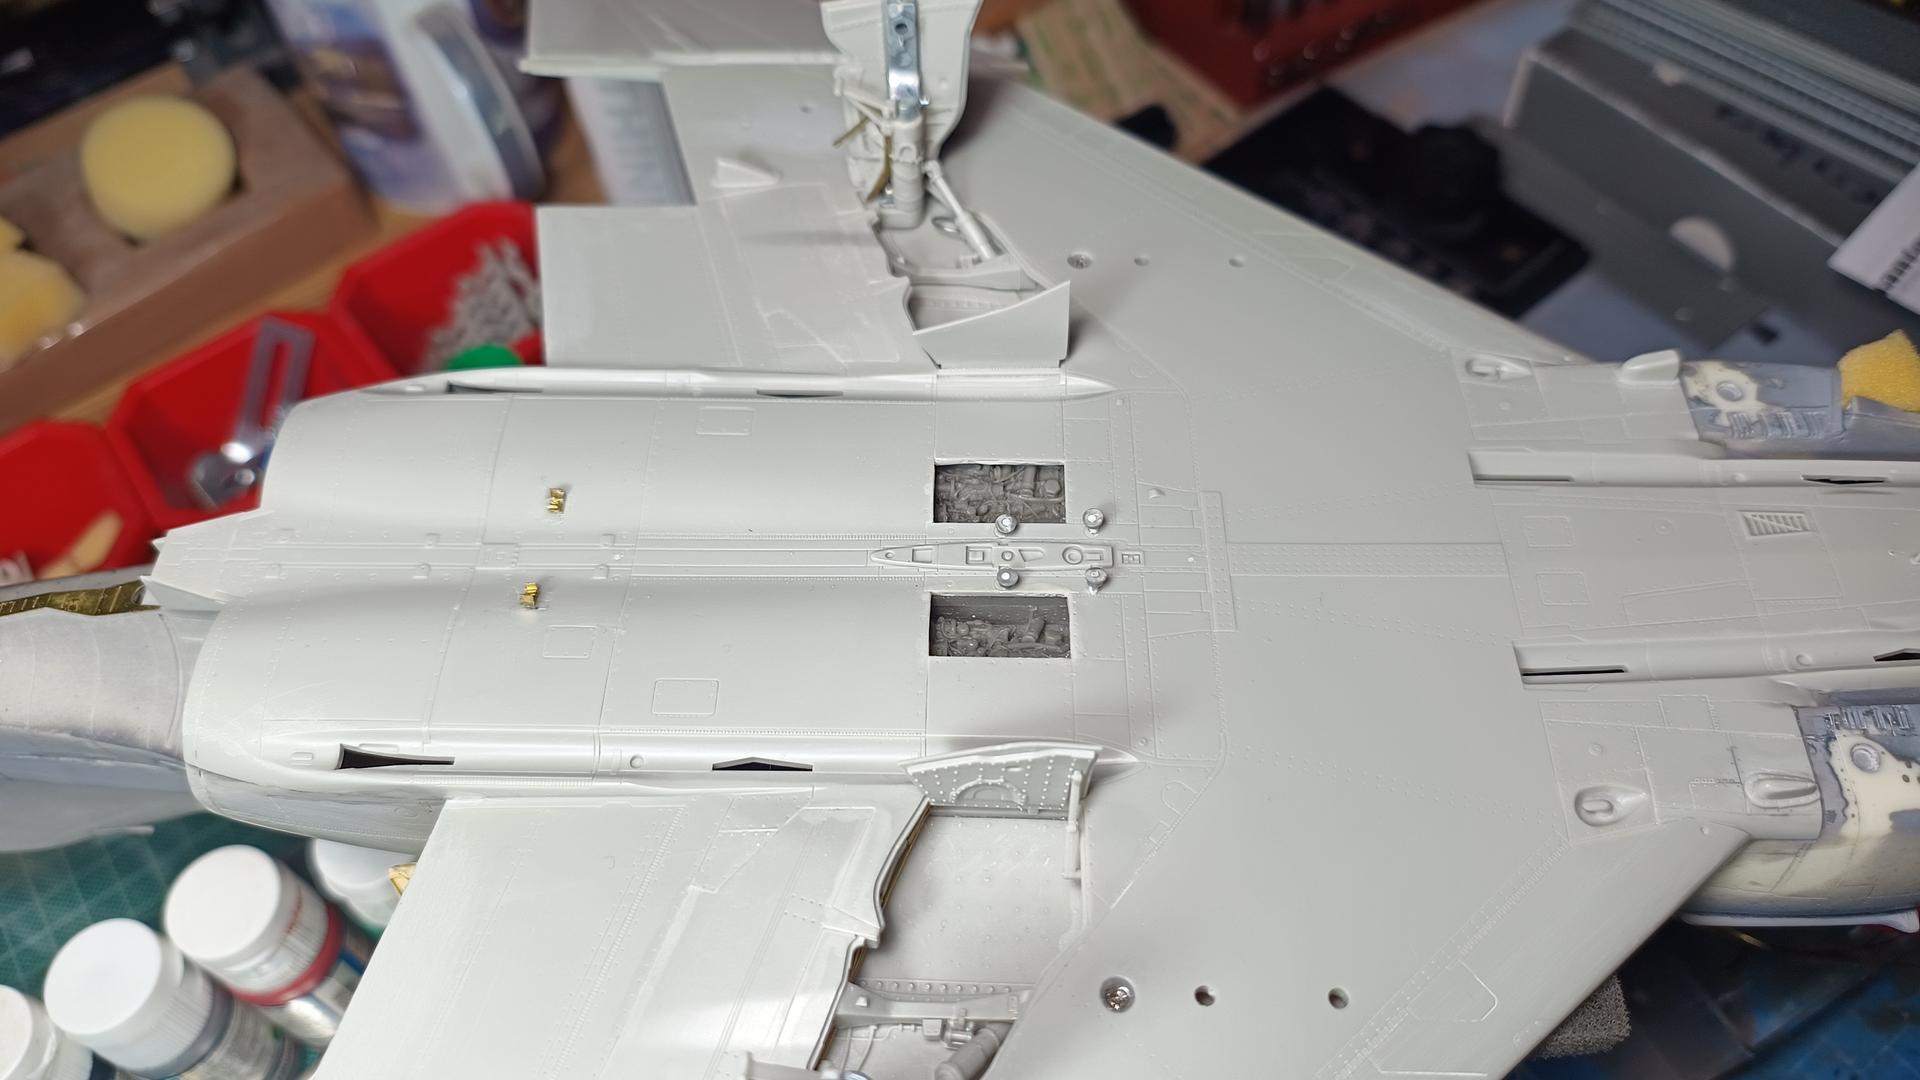
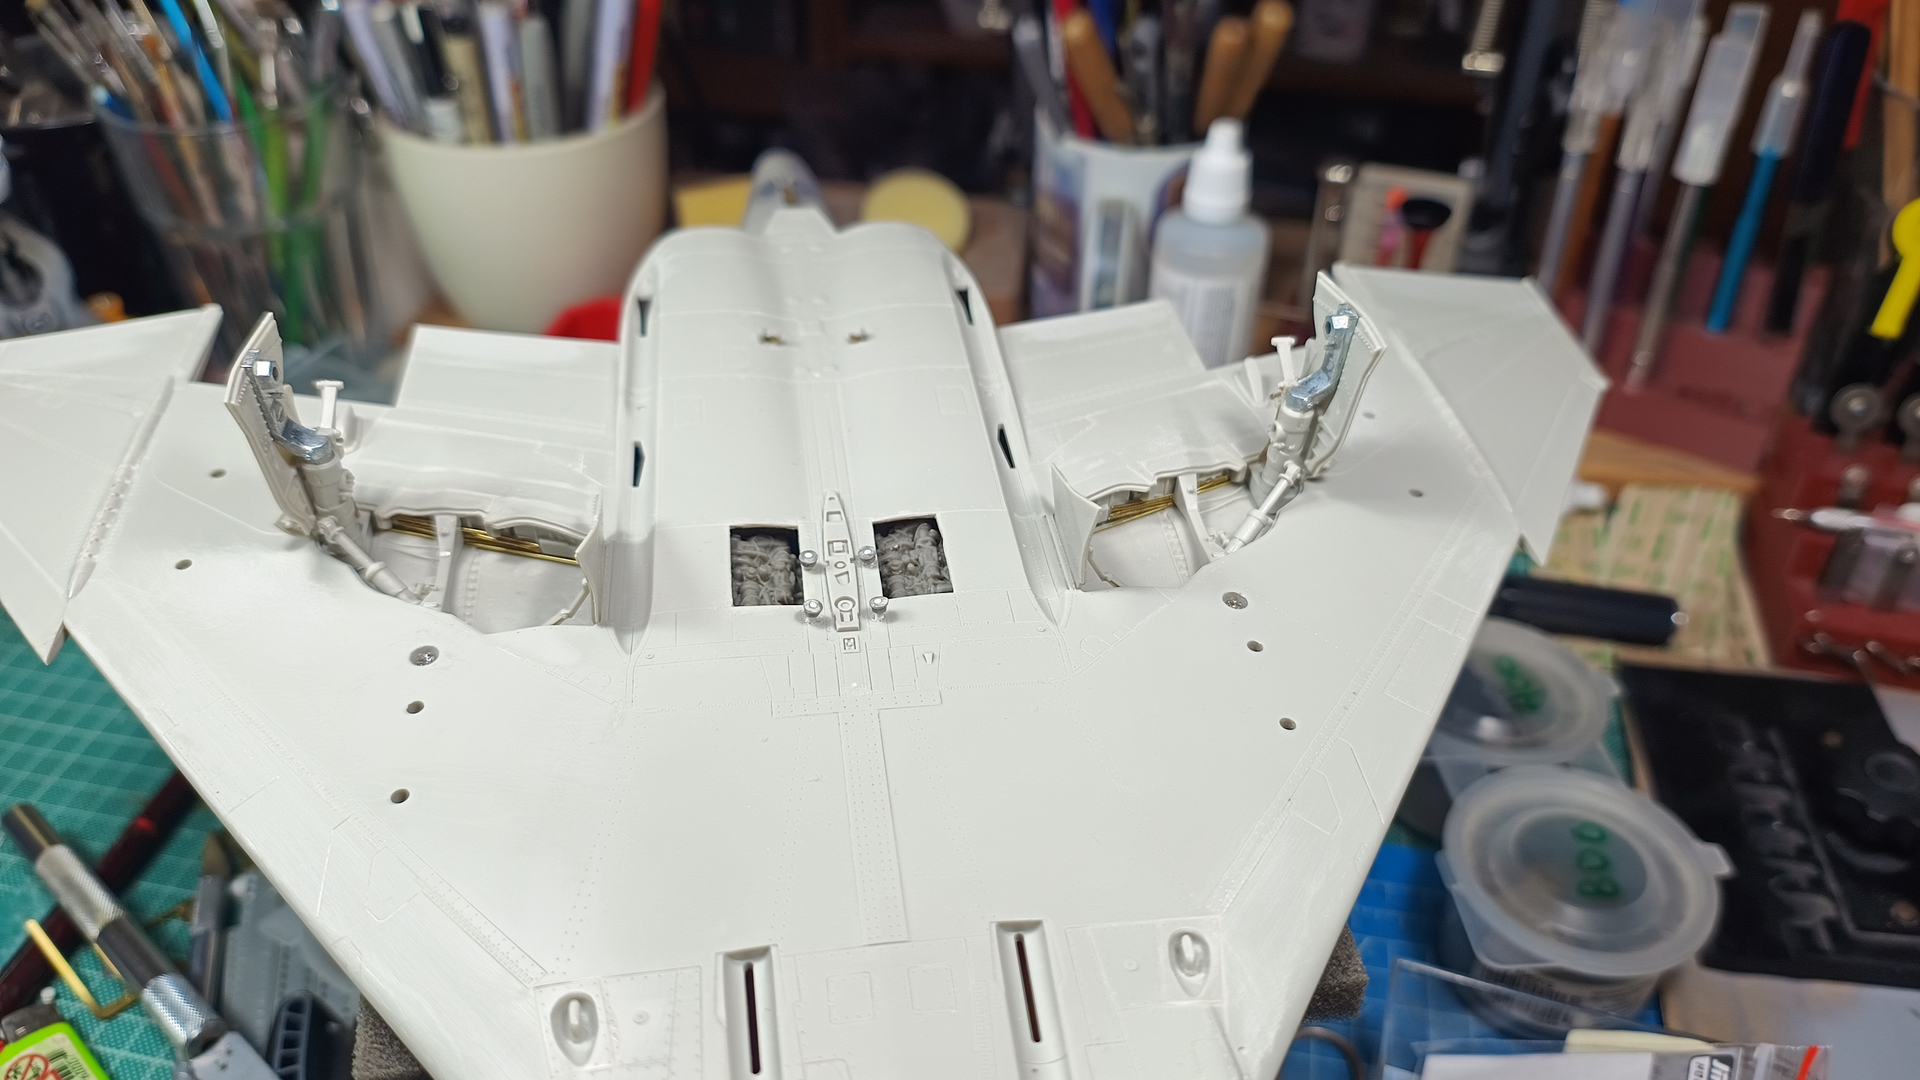
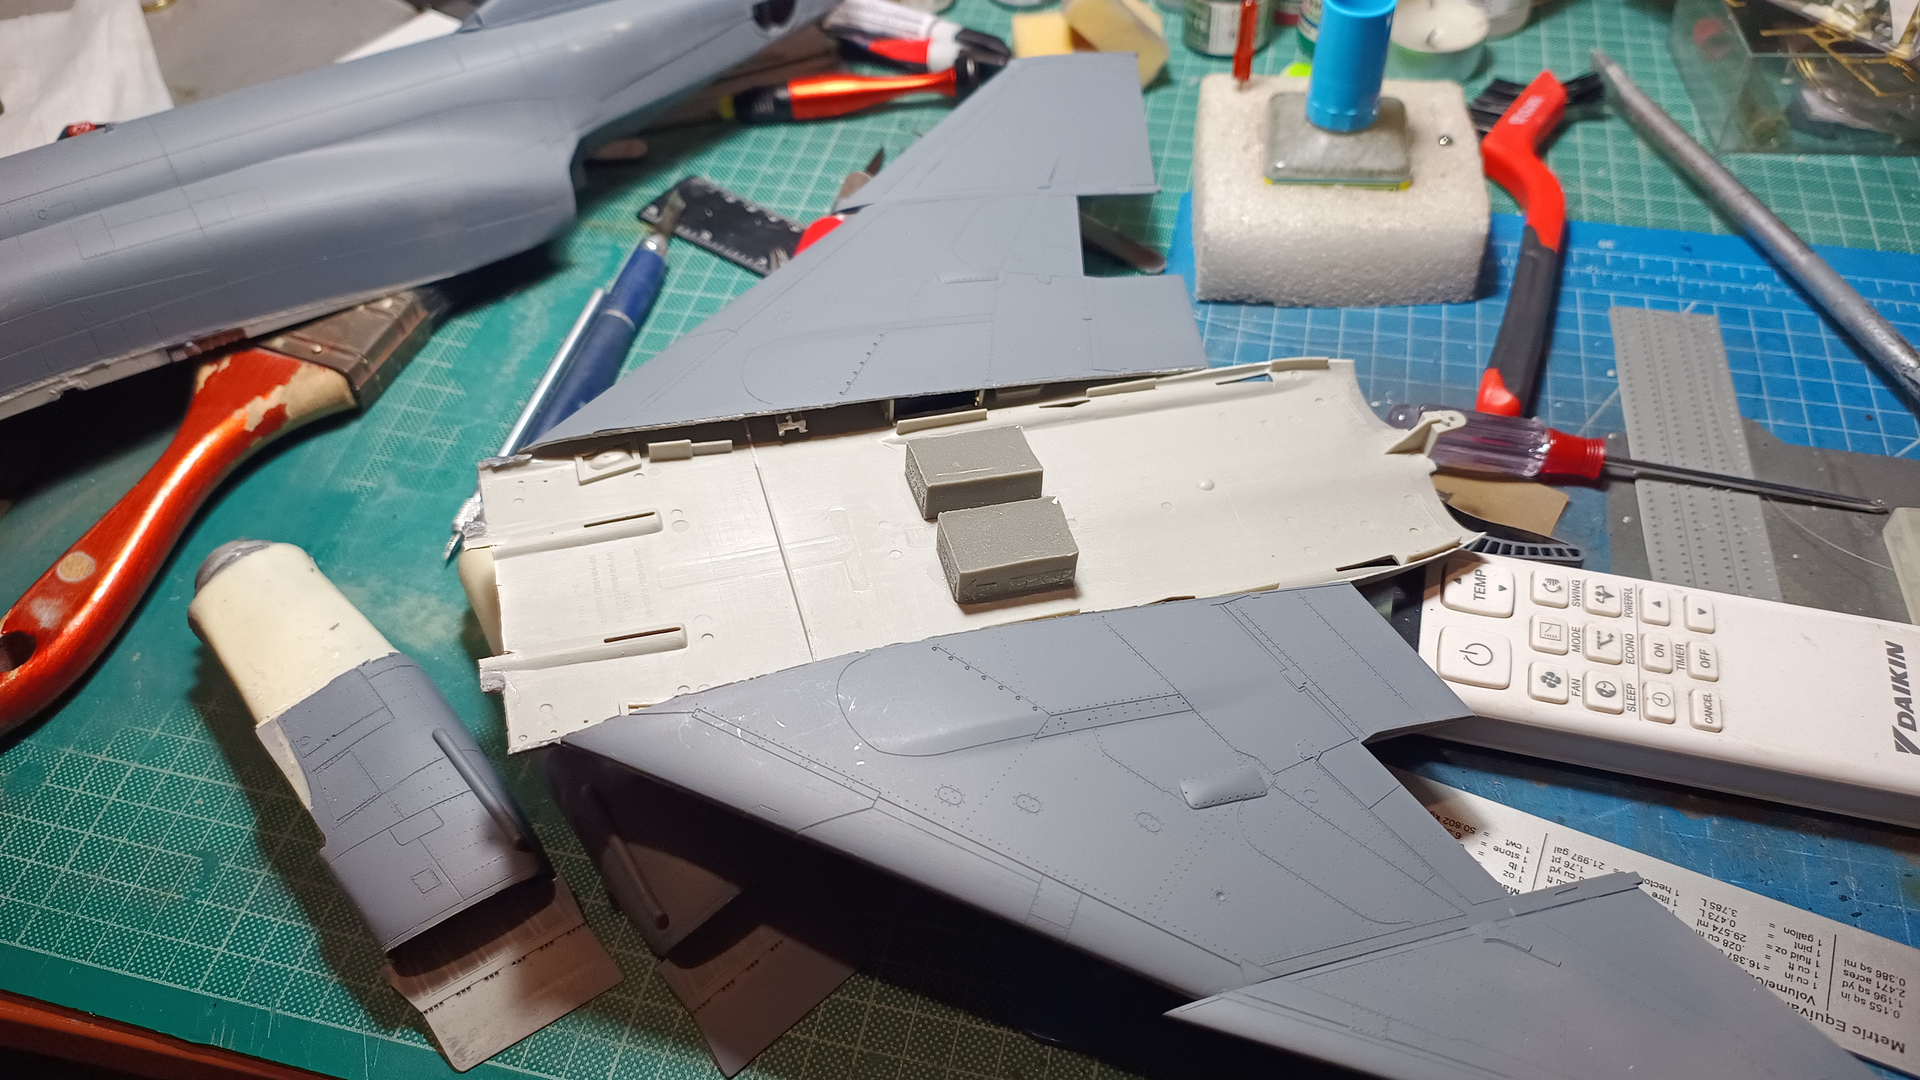
I tried to detail the wheel bays a bit
I also added the centerline fuel tank braces

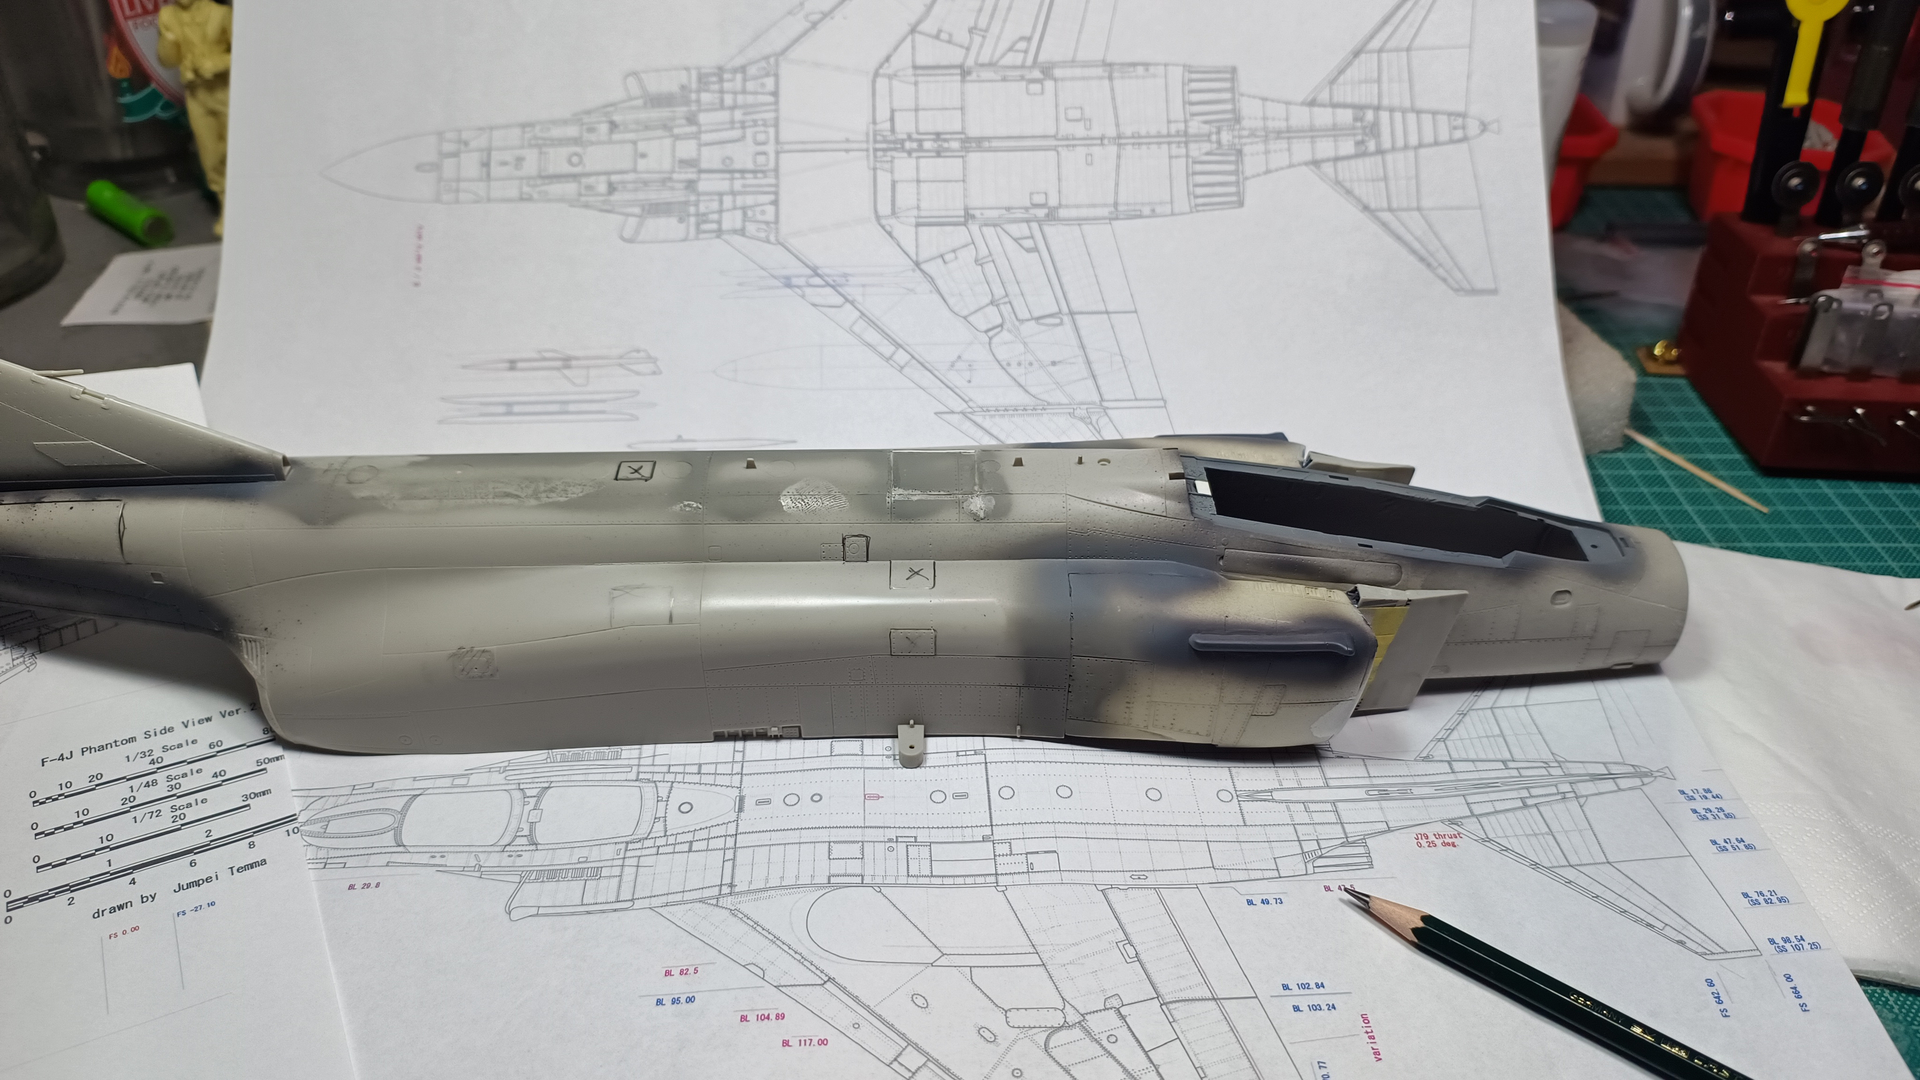
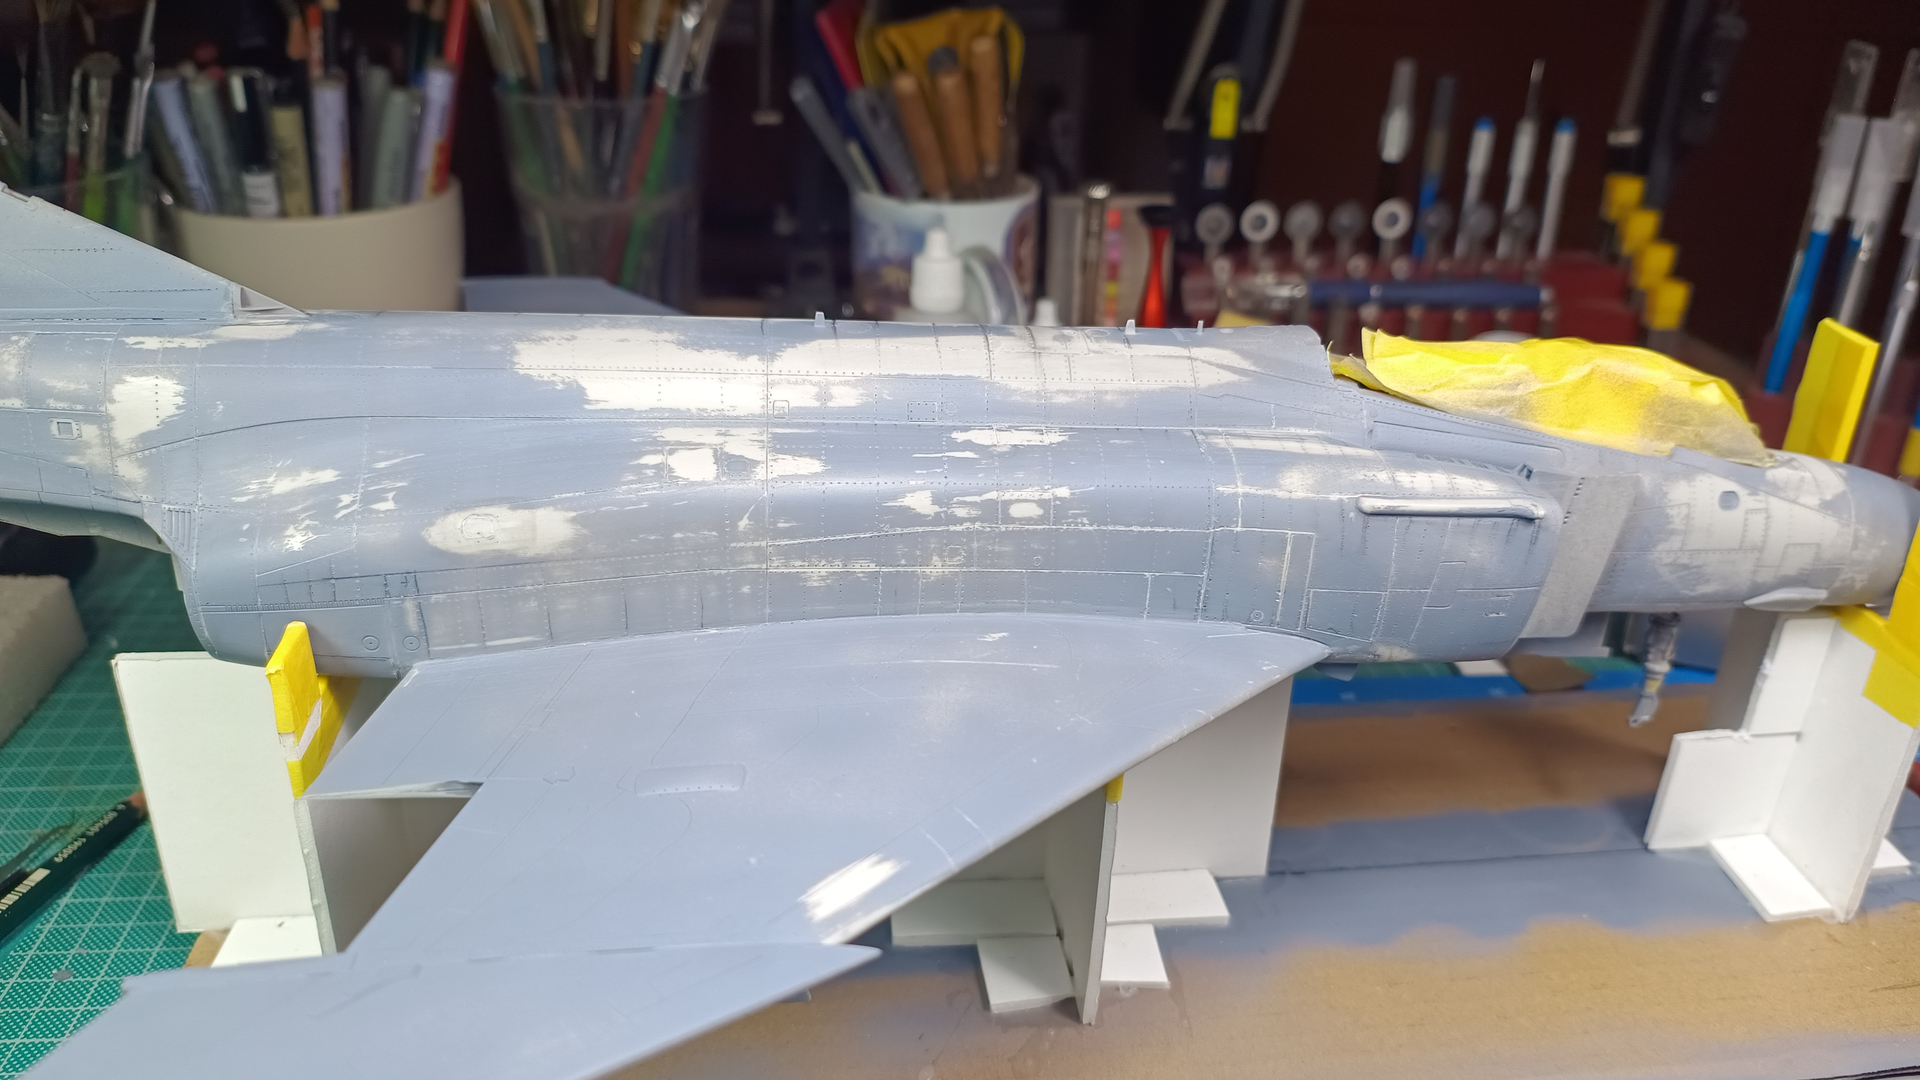
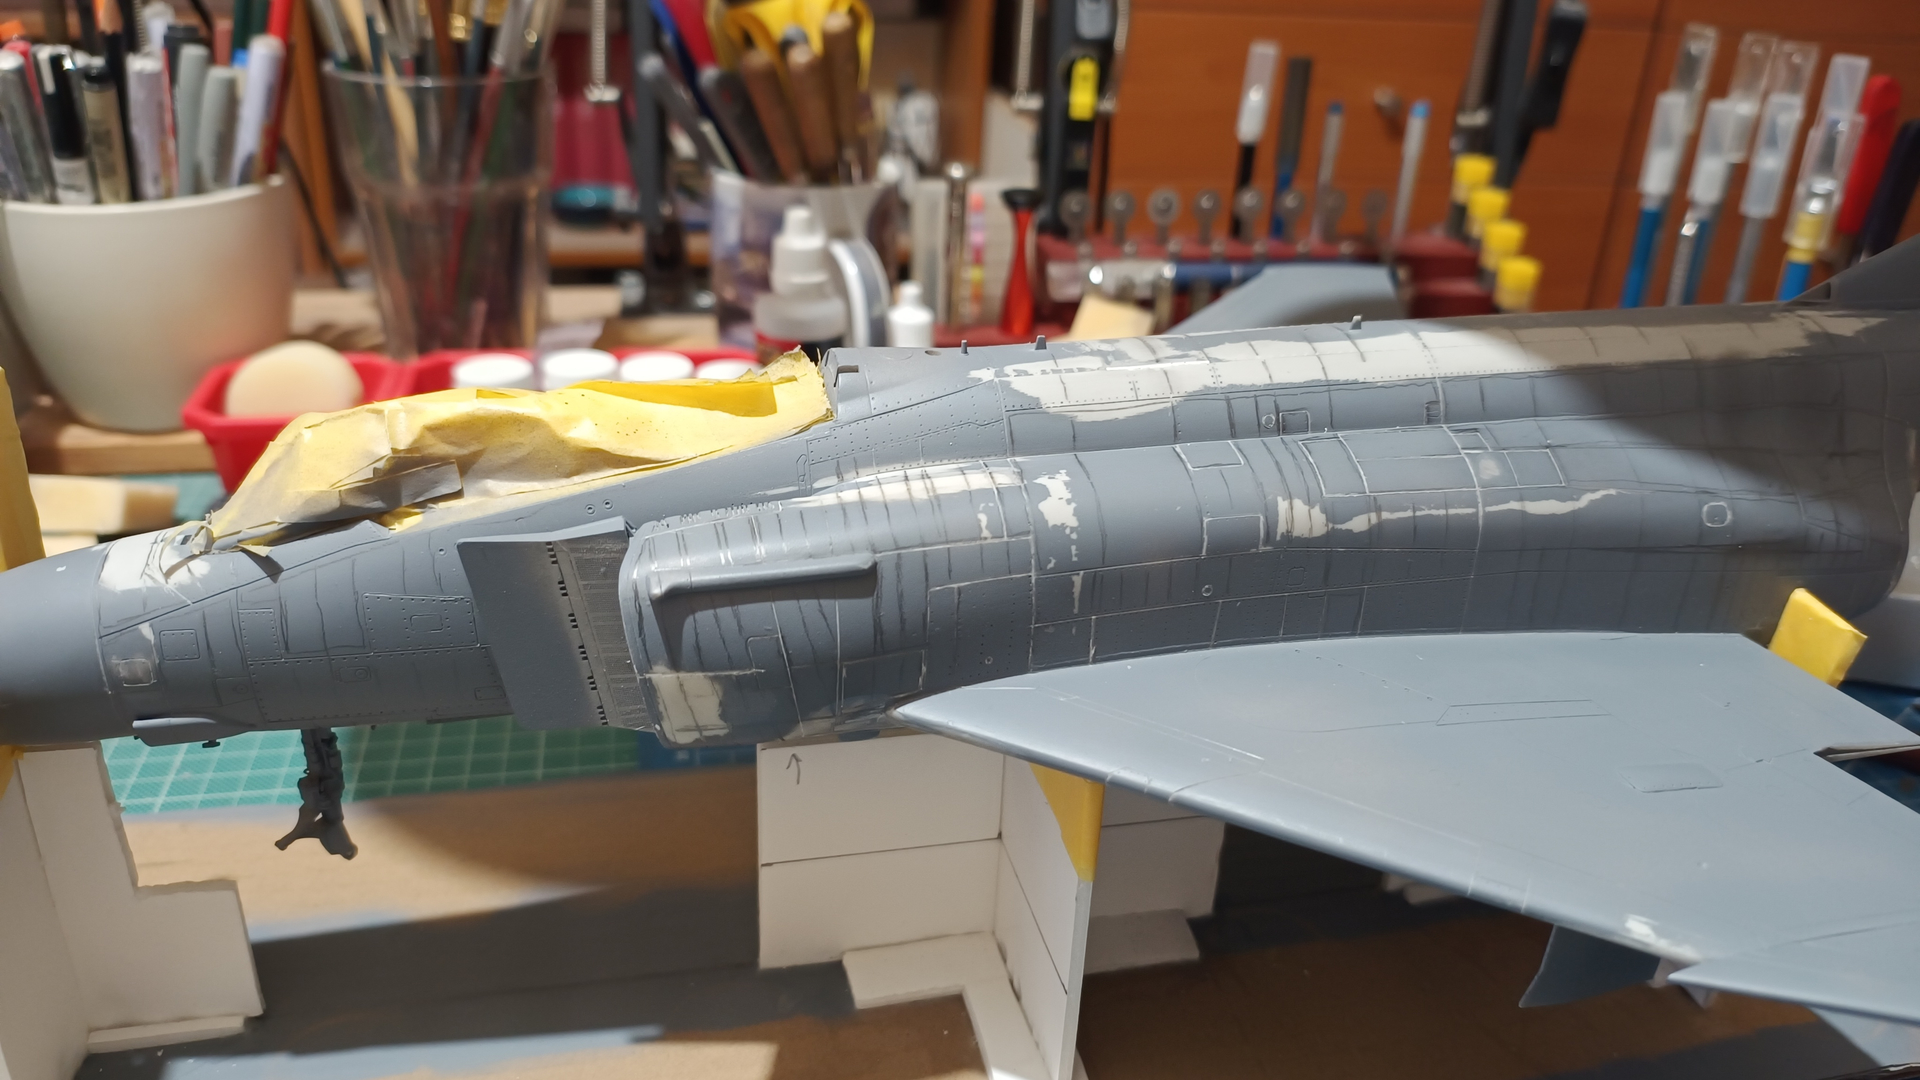
Fuselage has been primed, some puttywork required

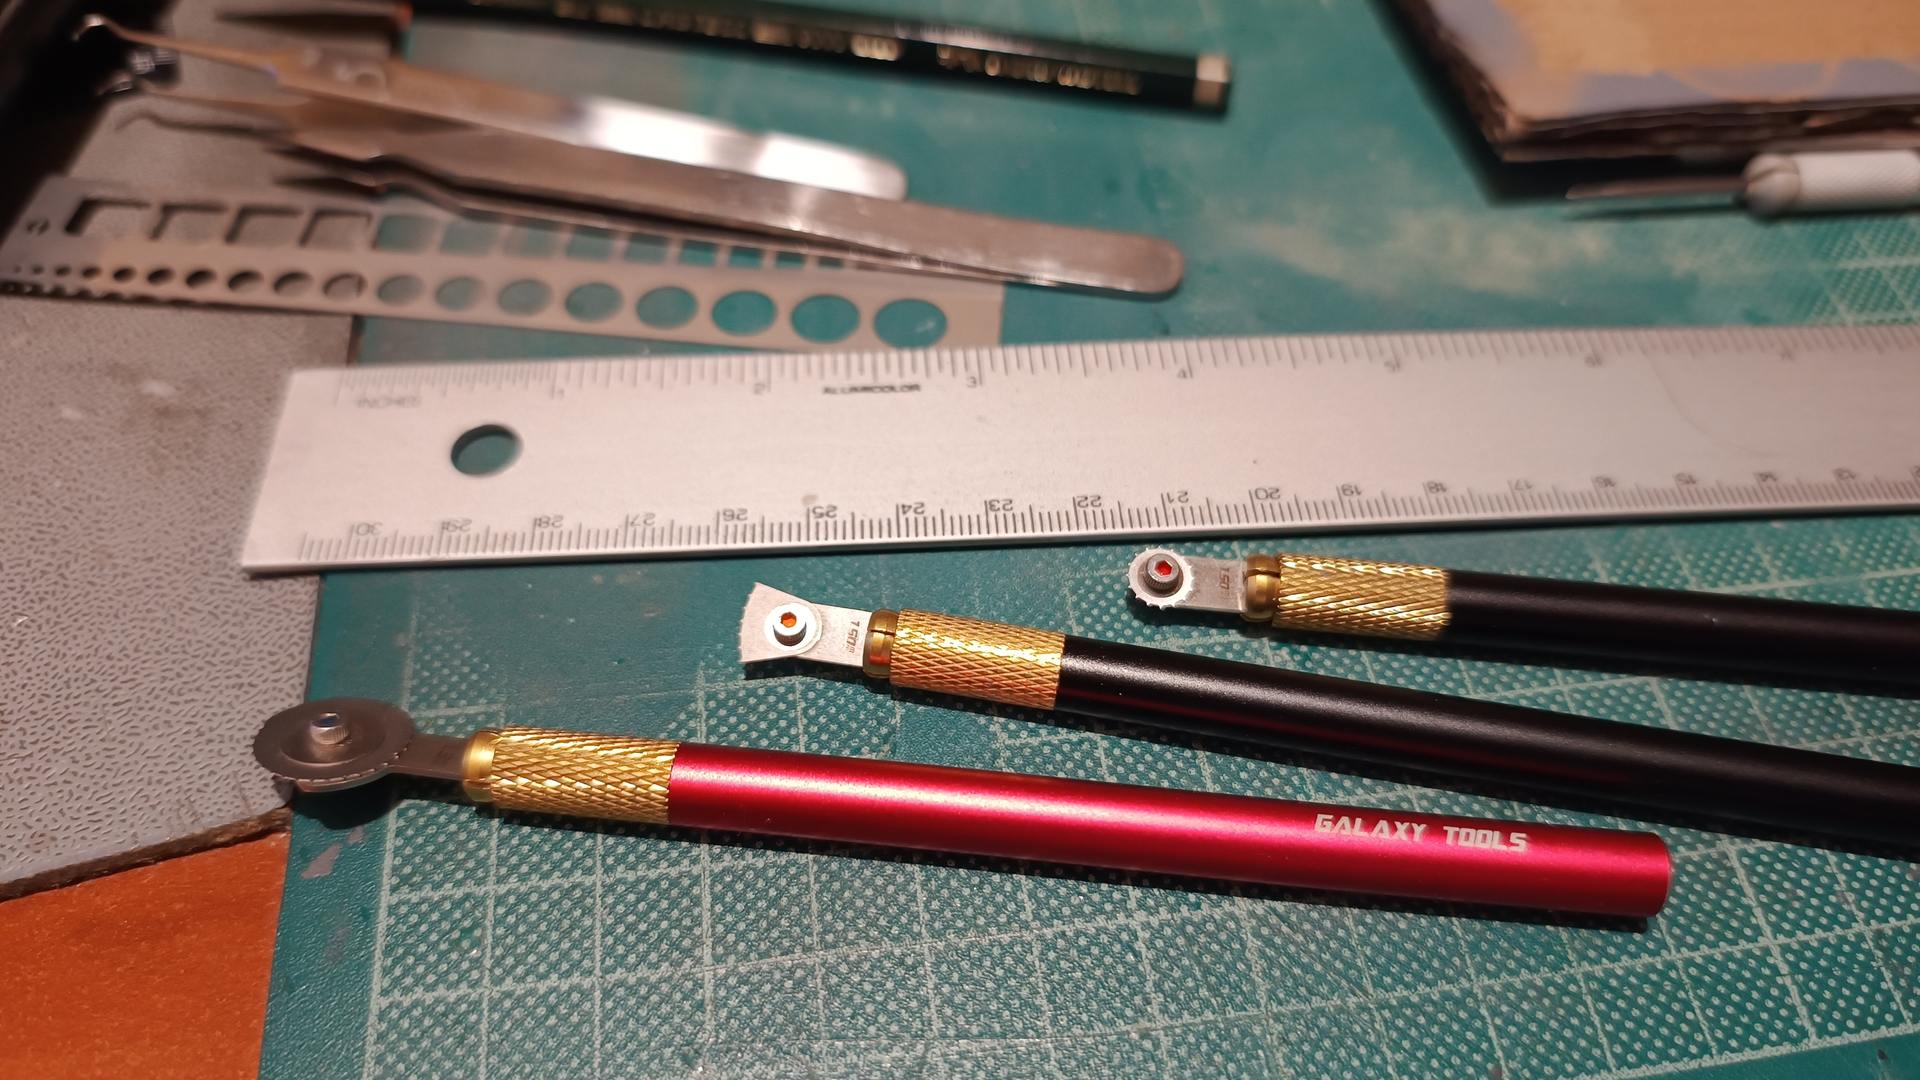
I made a jig to hold the model in place while I am scribing the panel lines and riveting


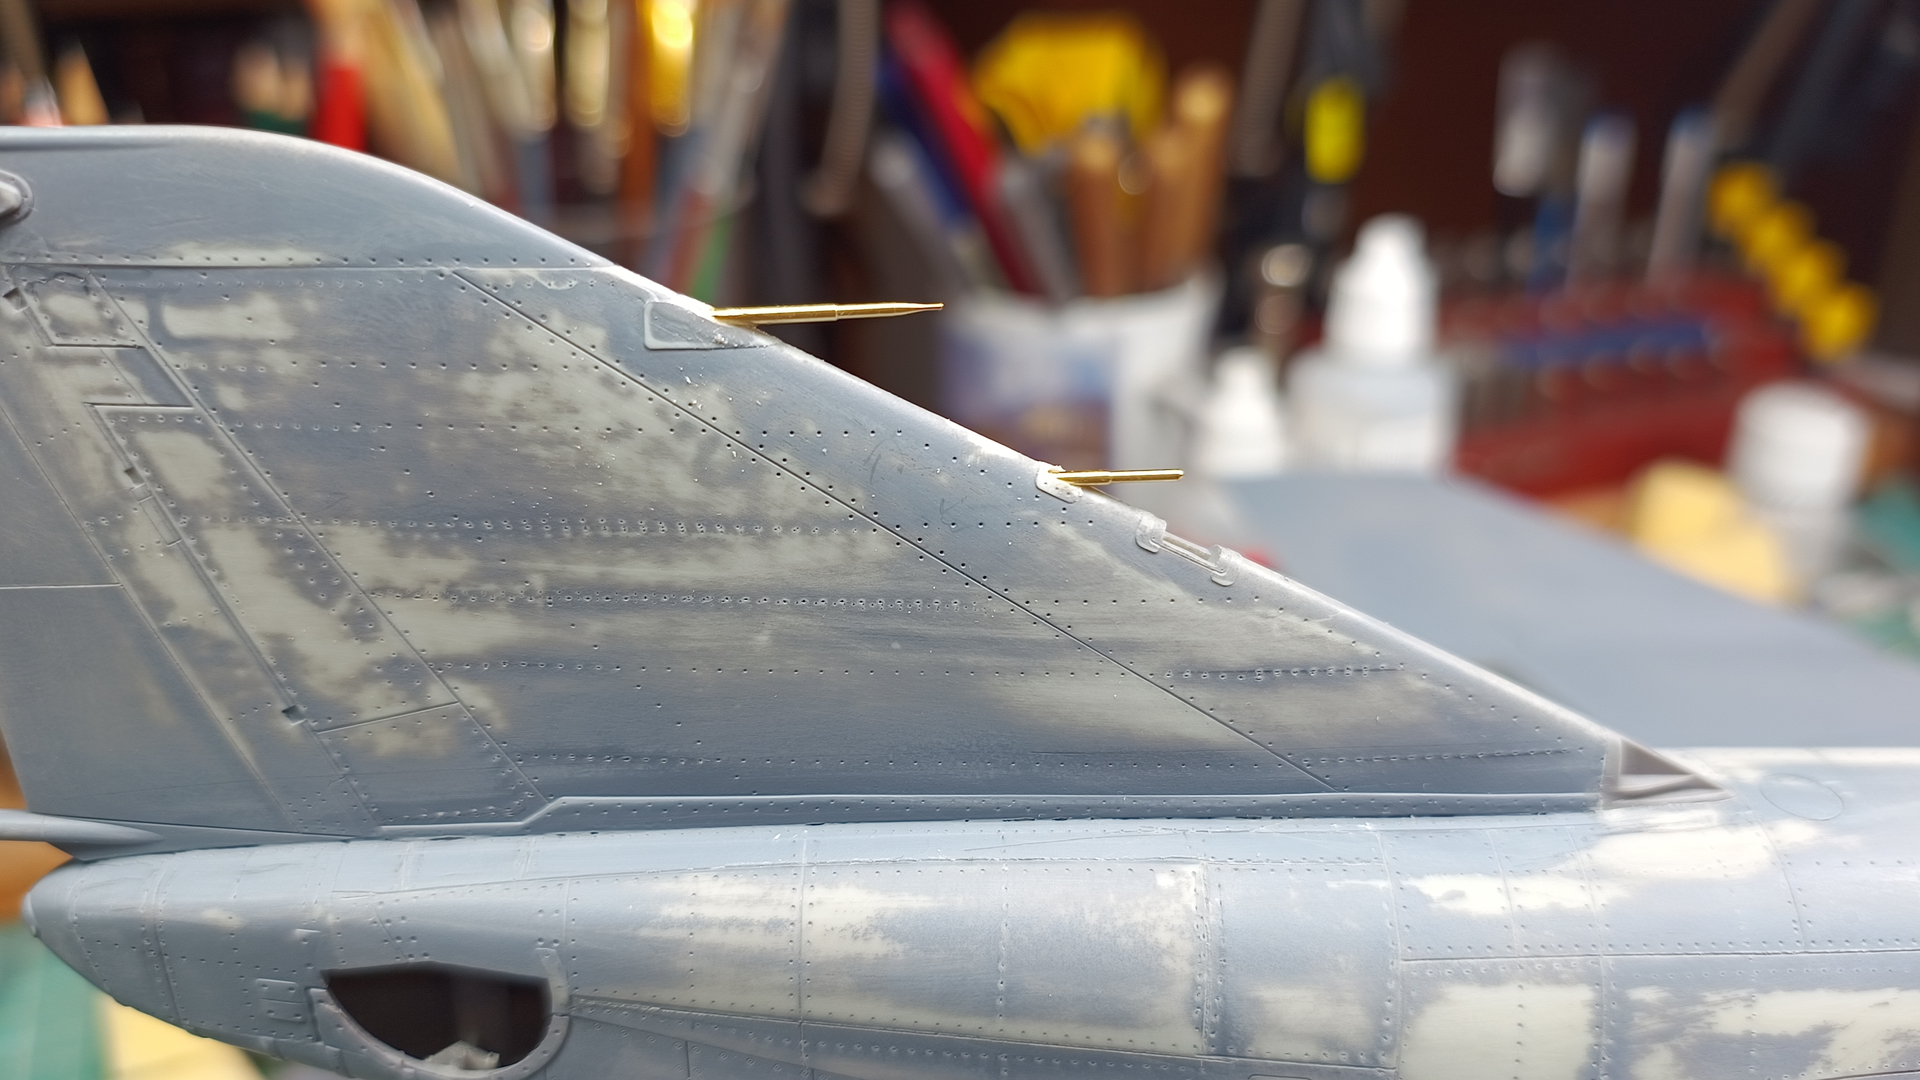
Master pitot added
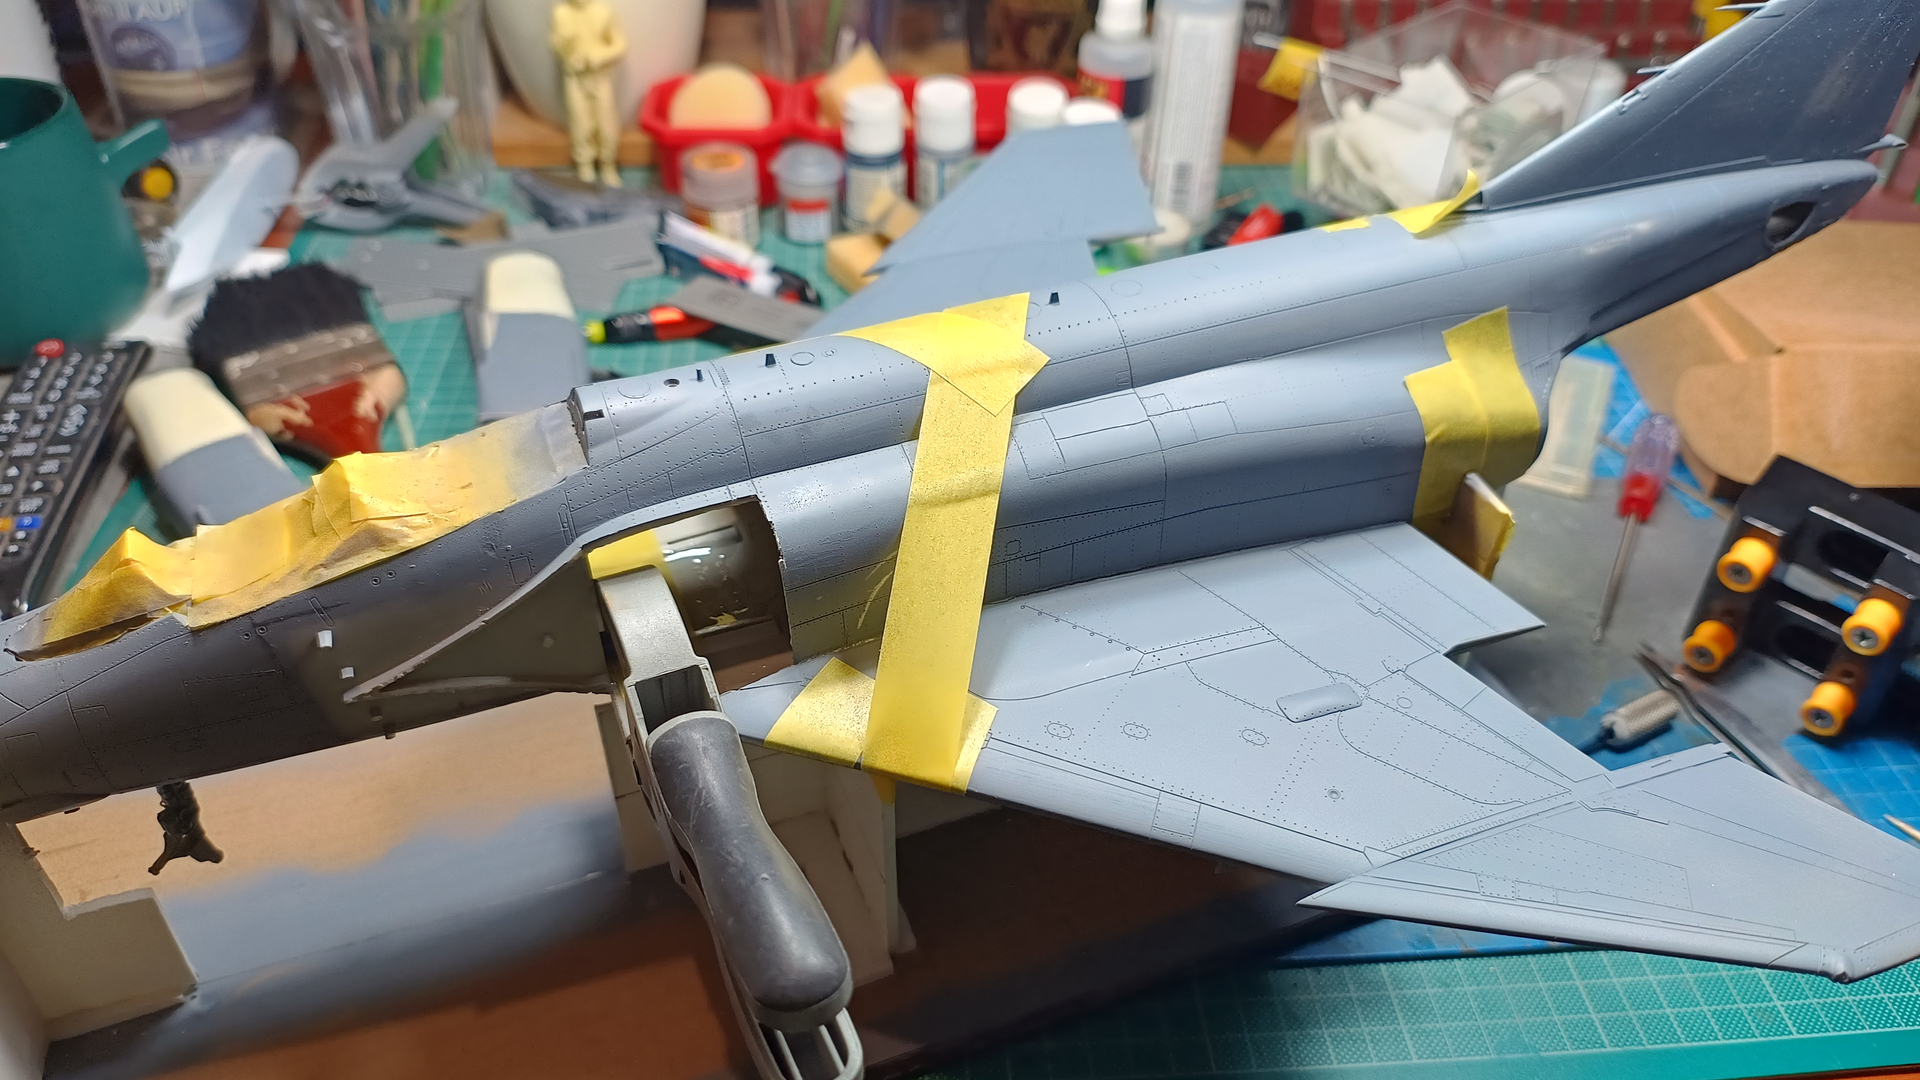
The model is primed after riveting and panel line scribbing.
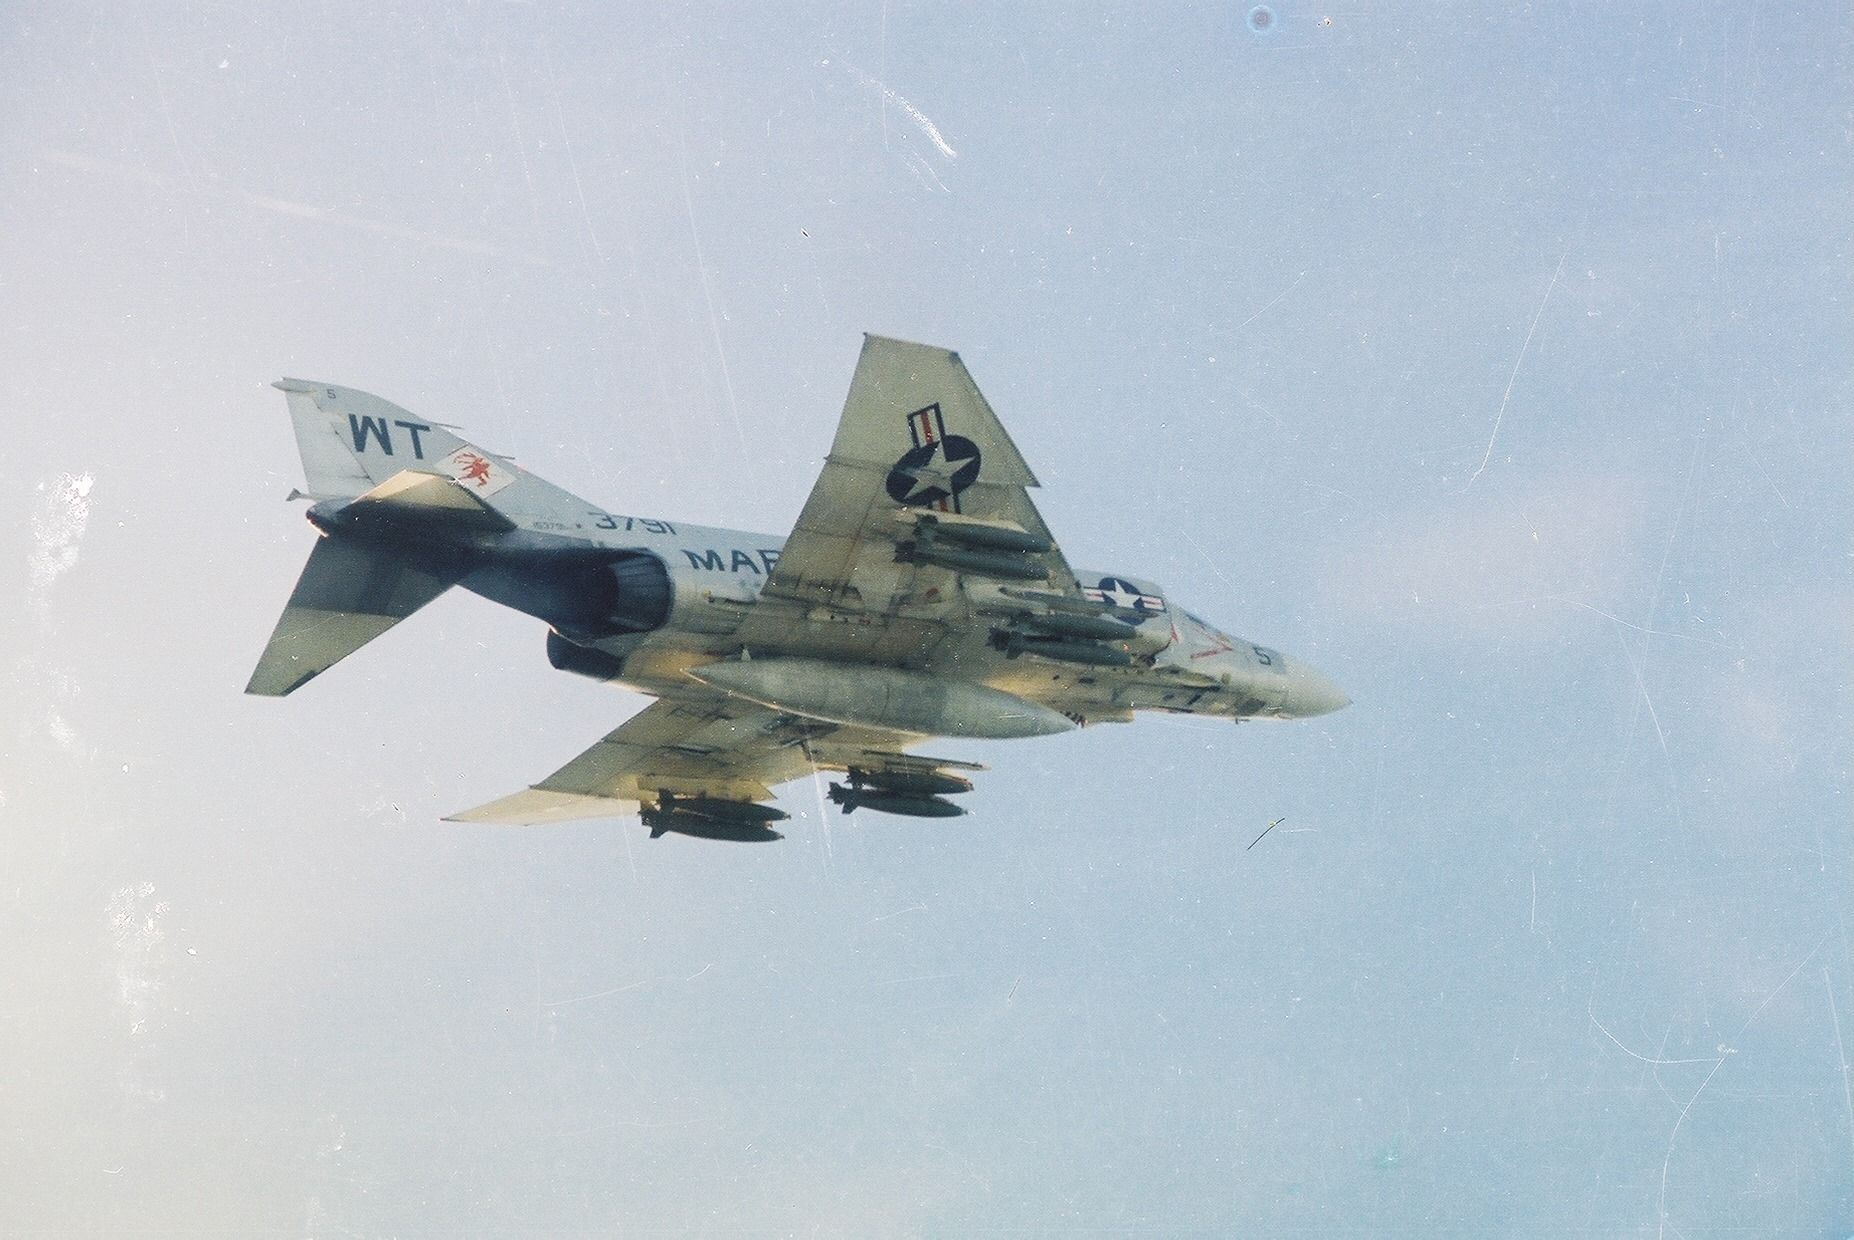
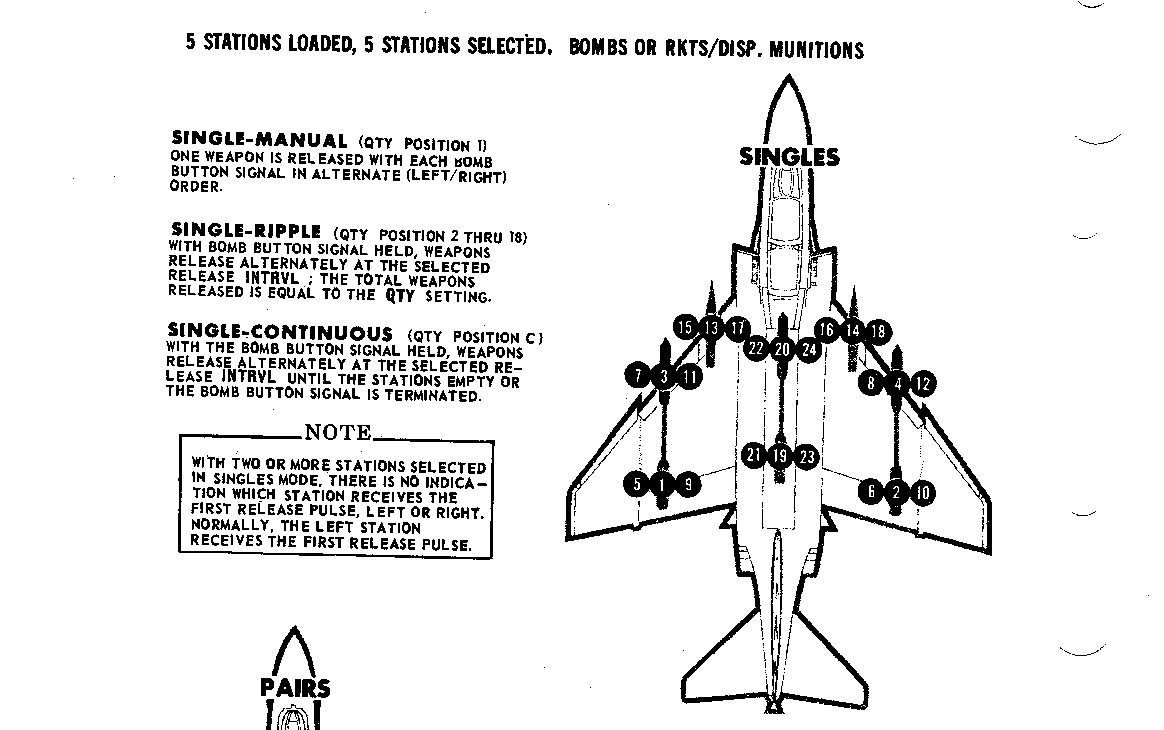
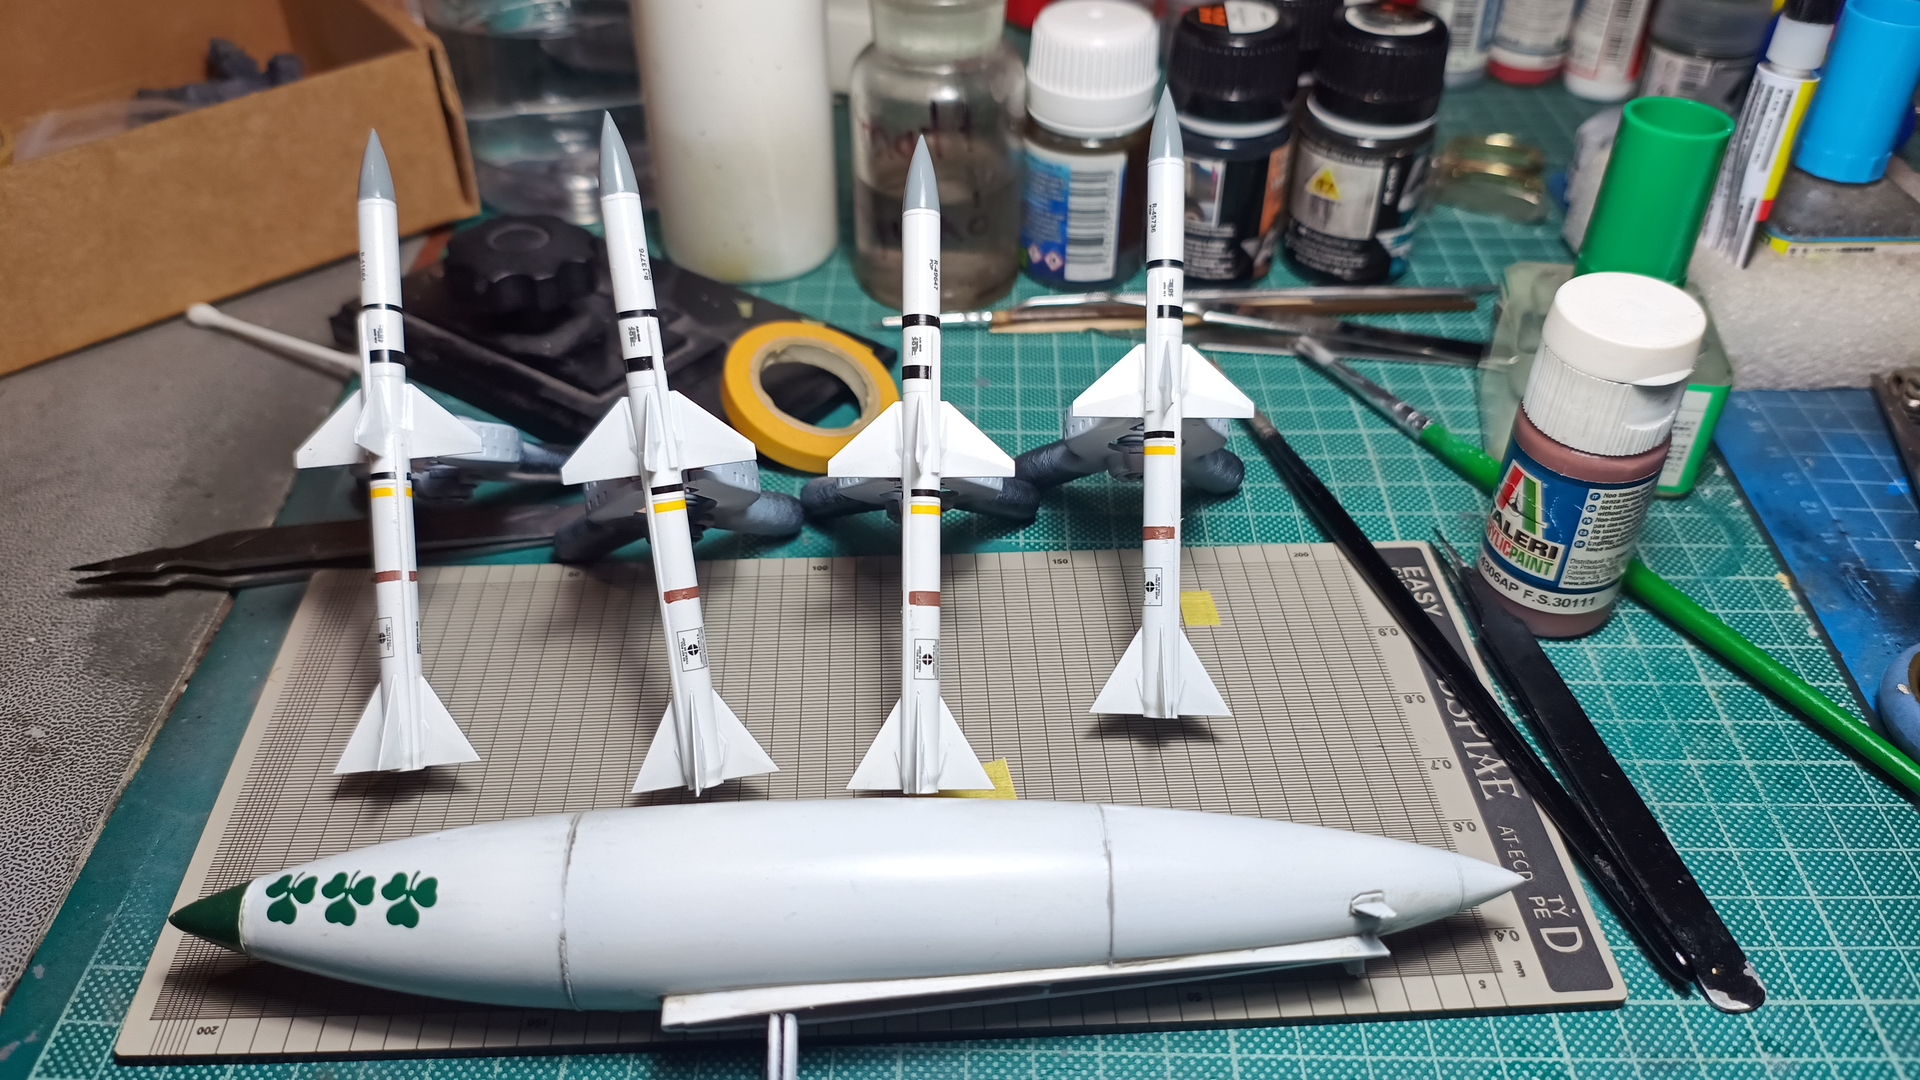
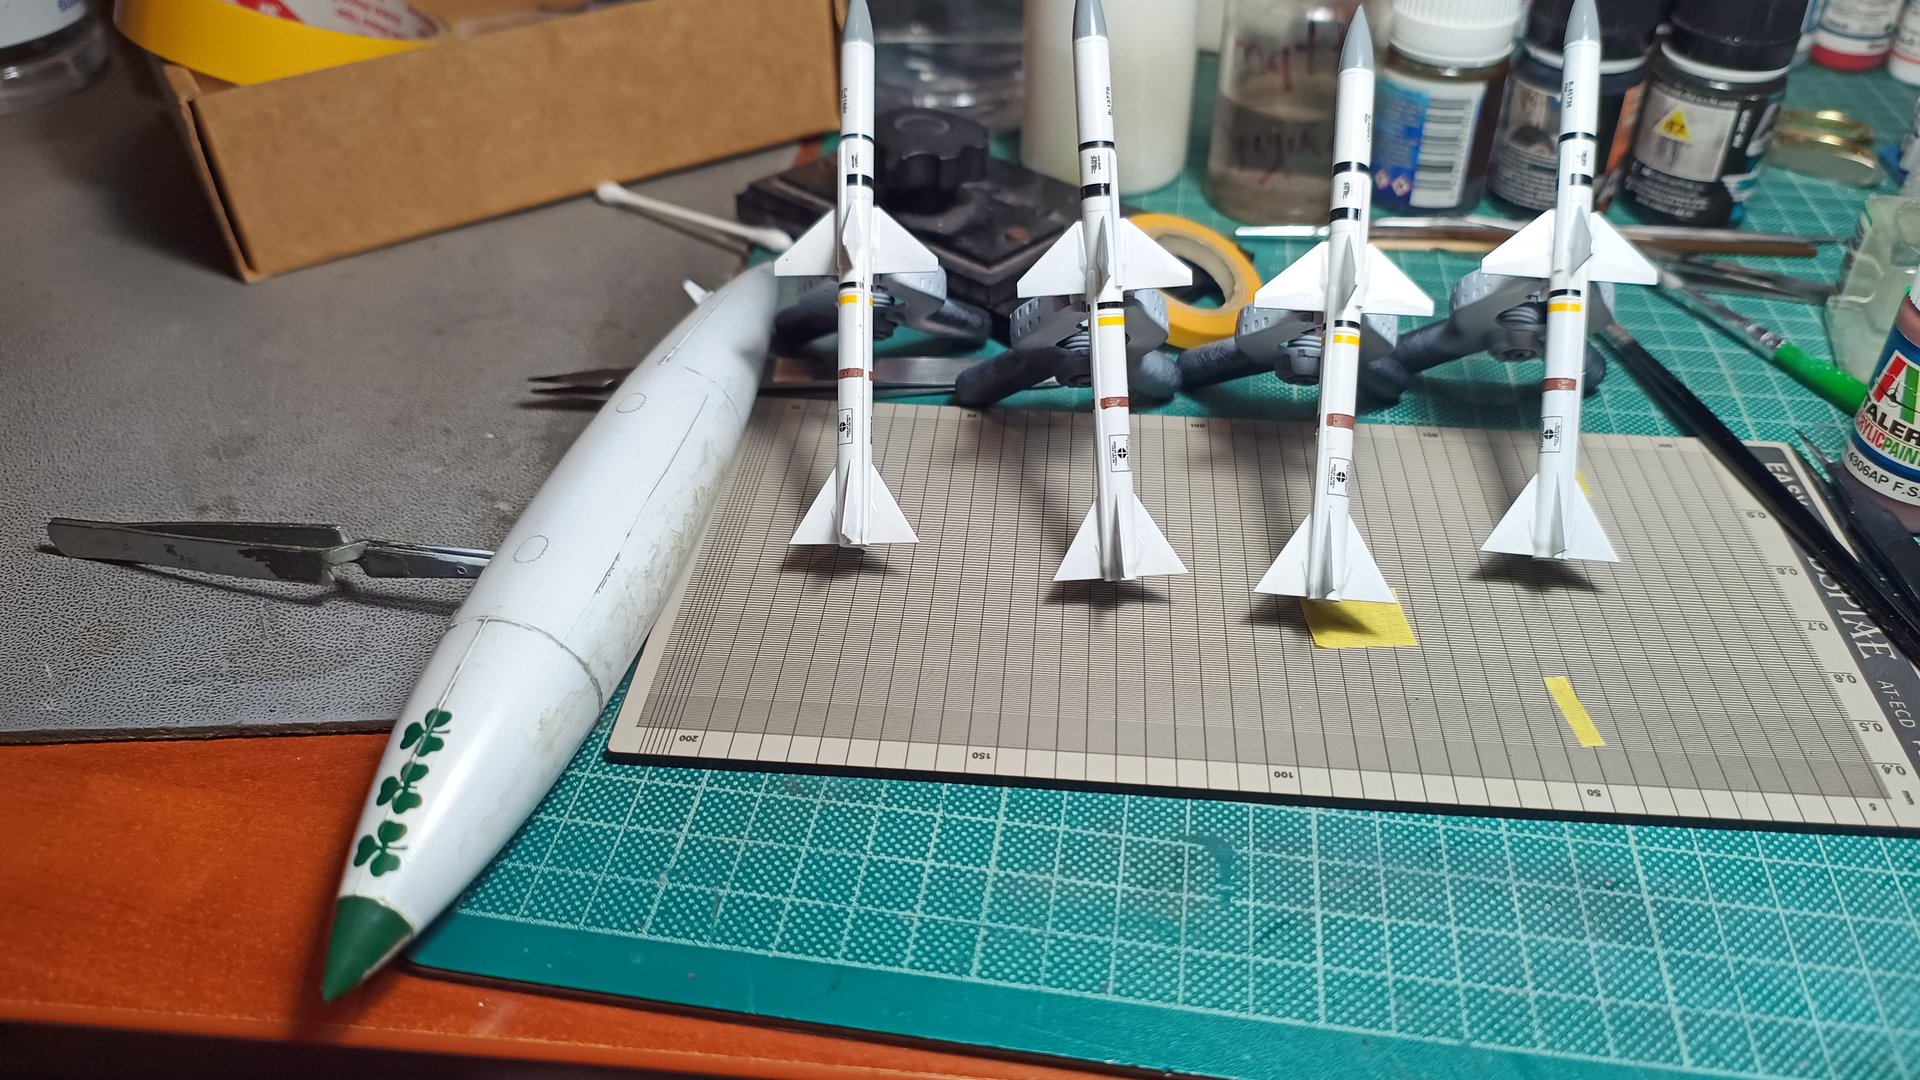
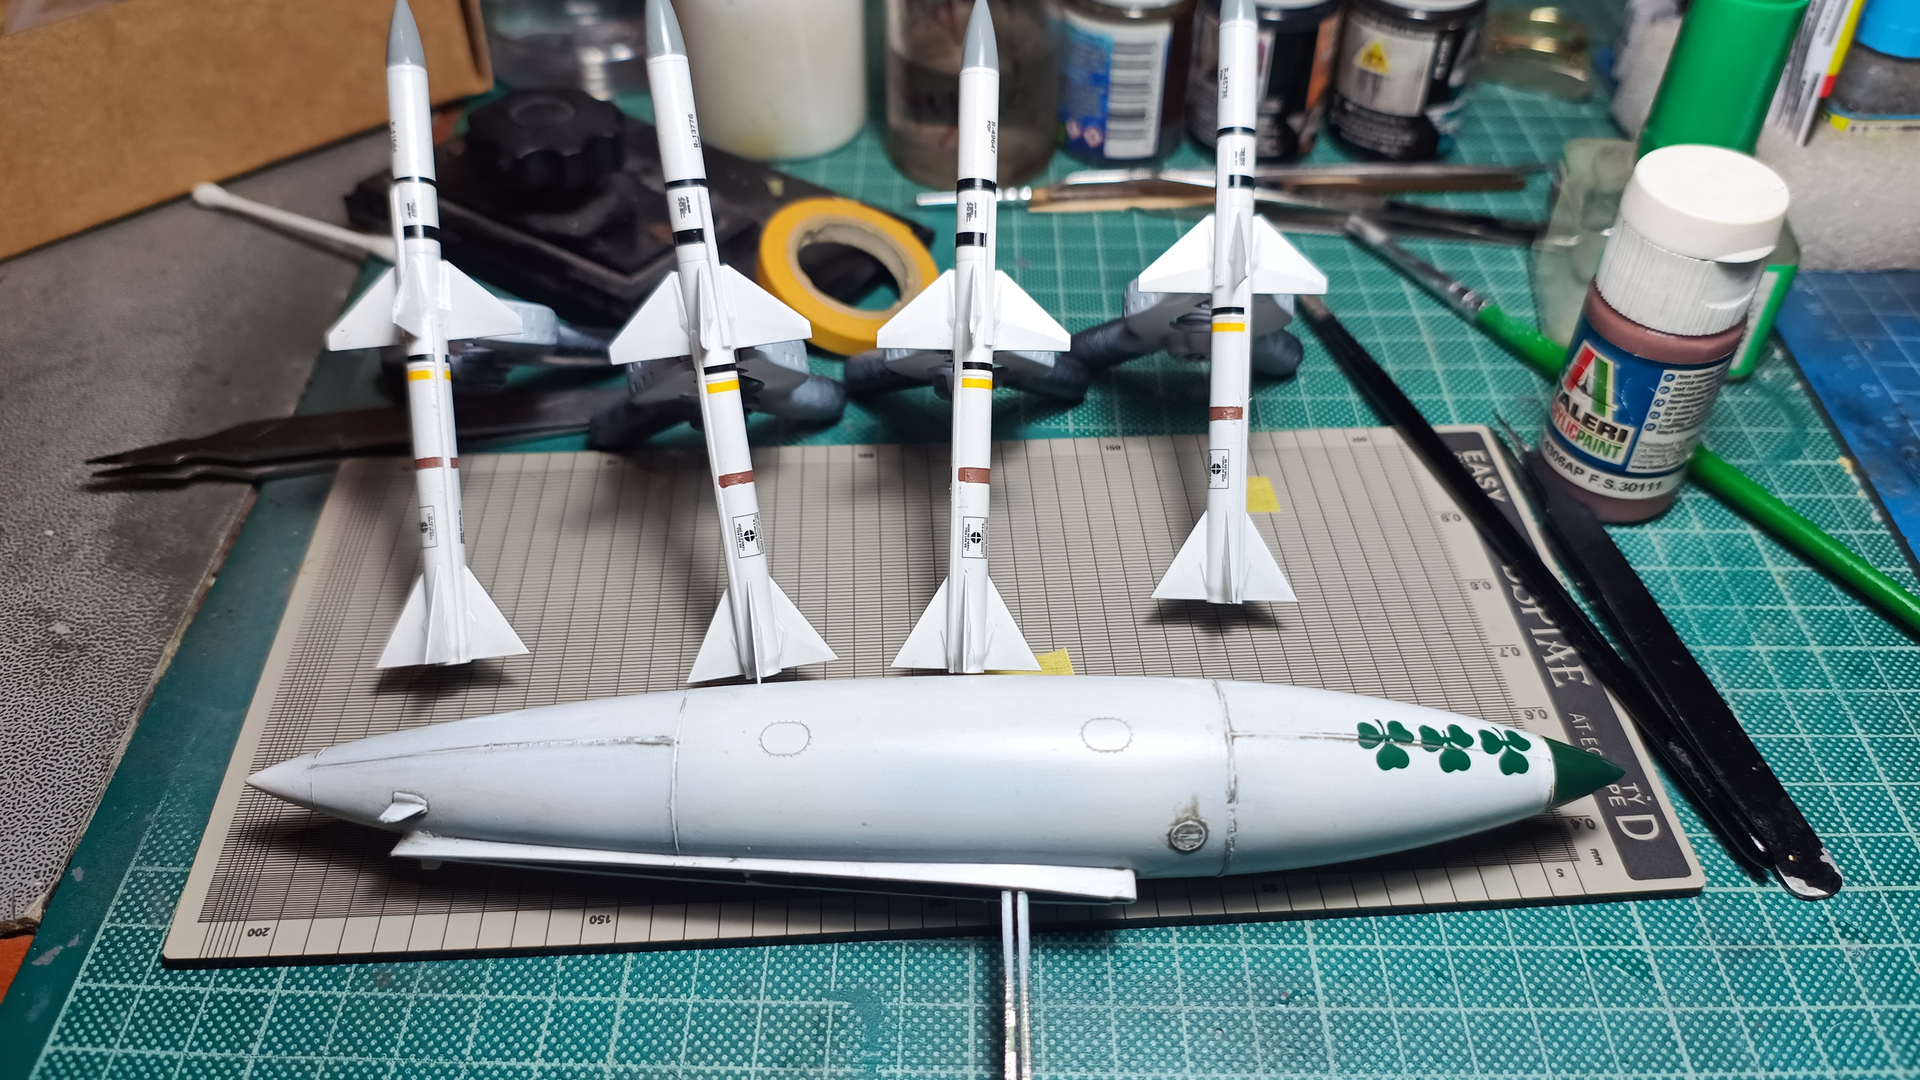
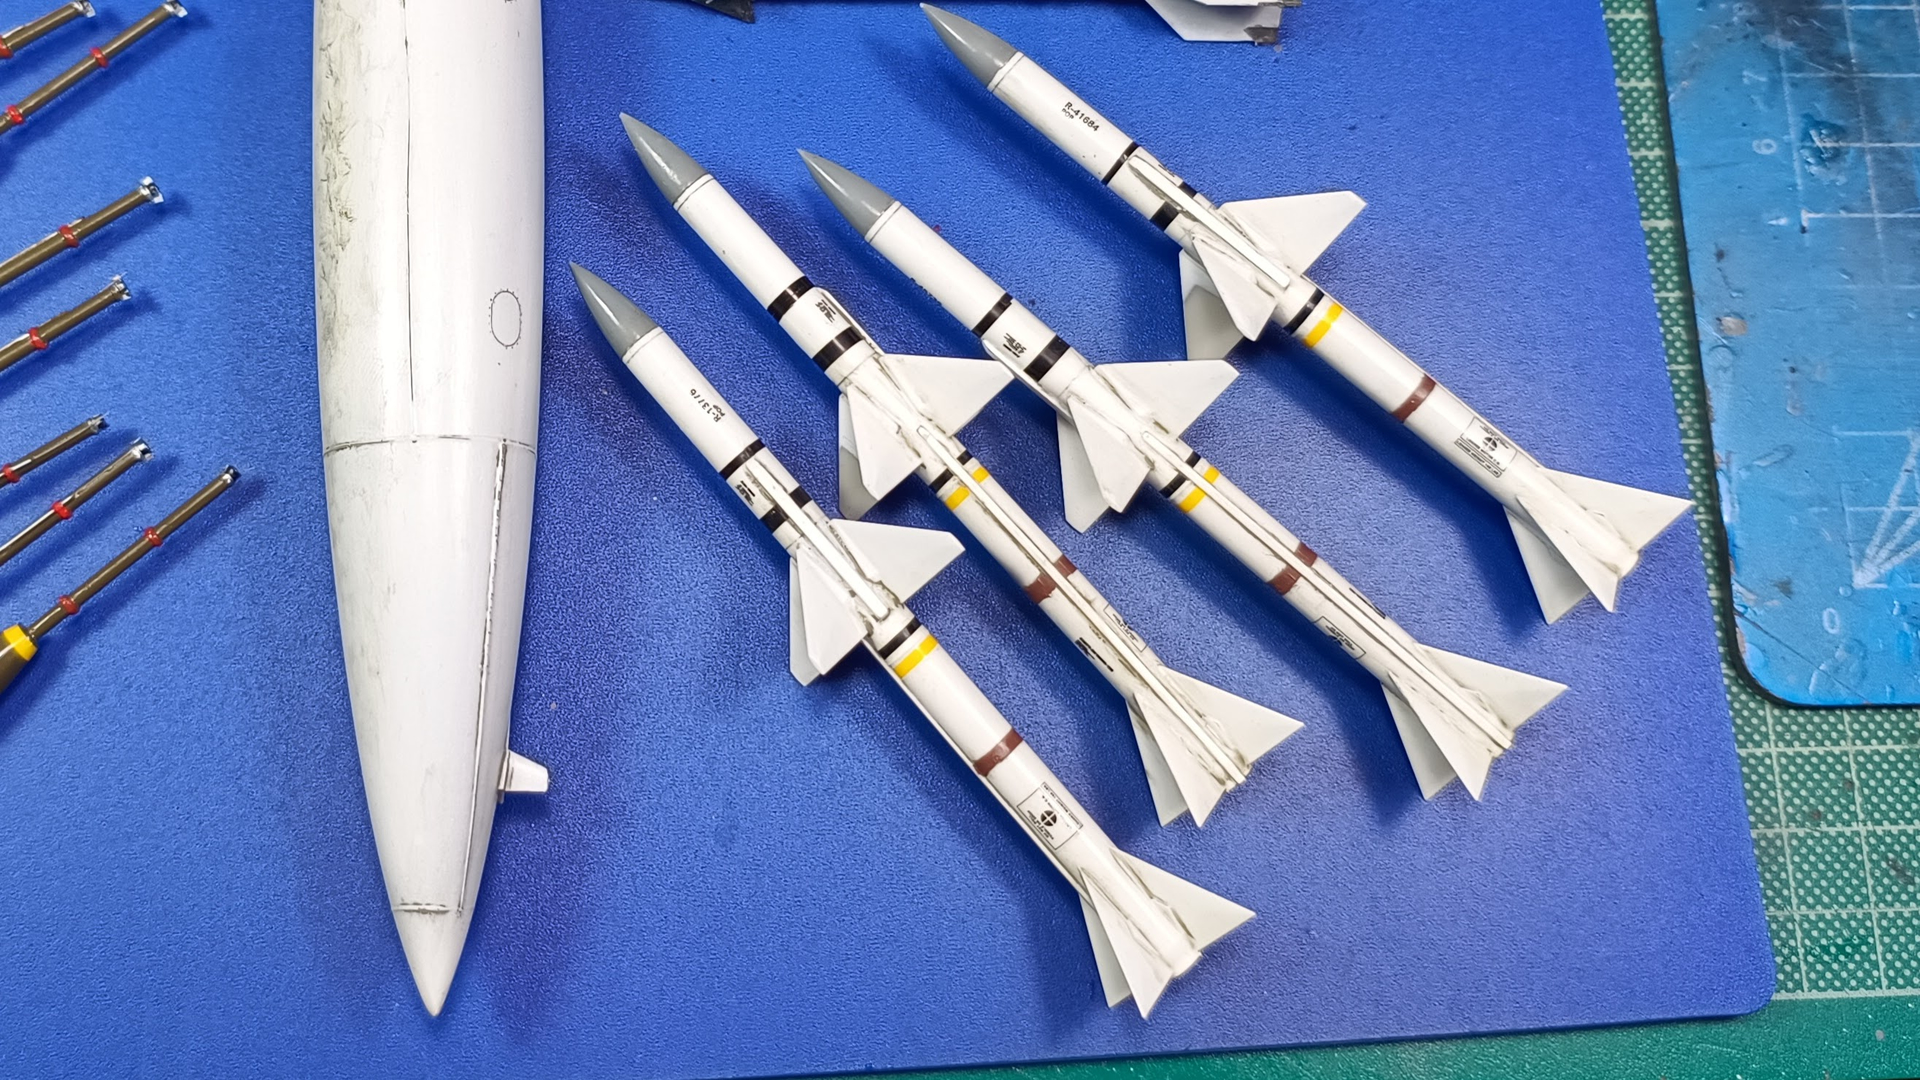
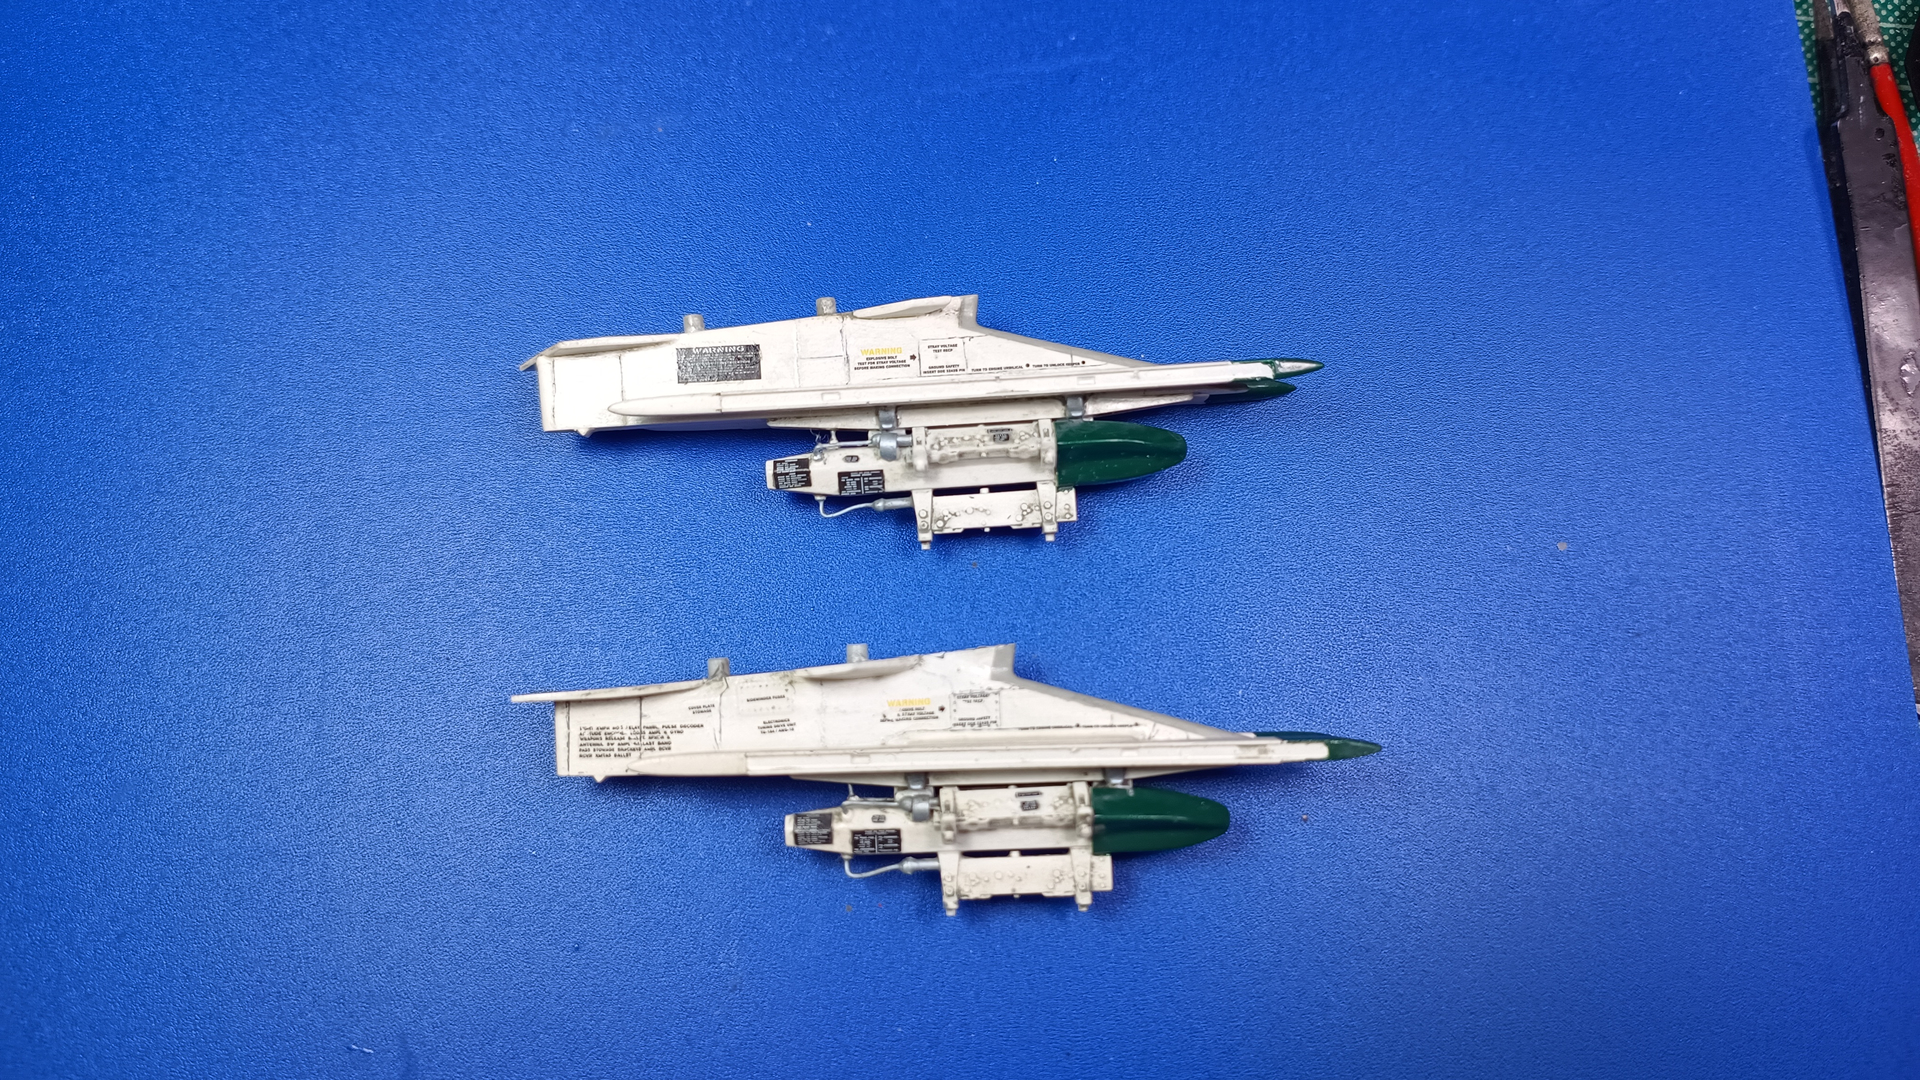
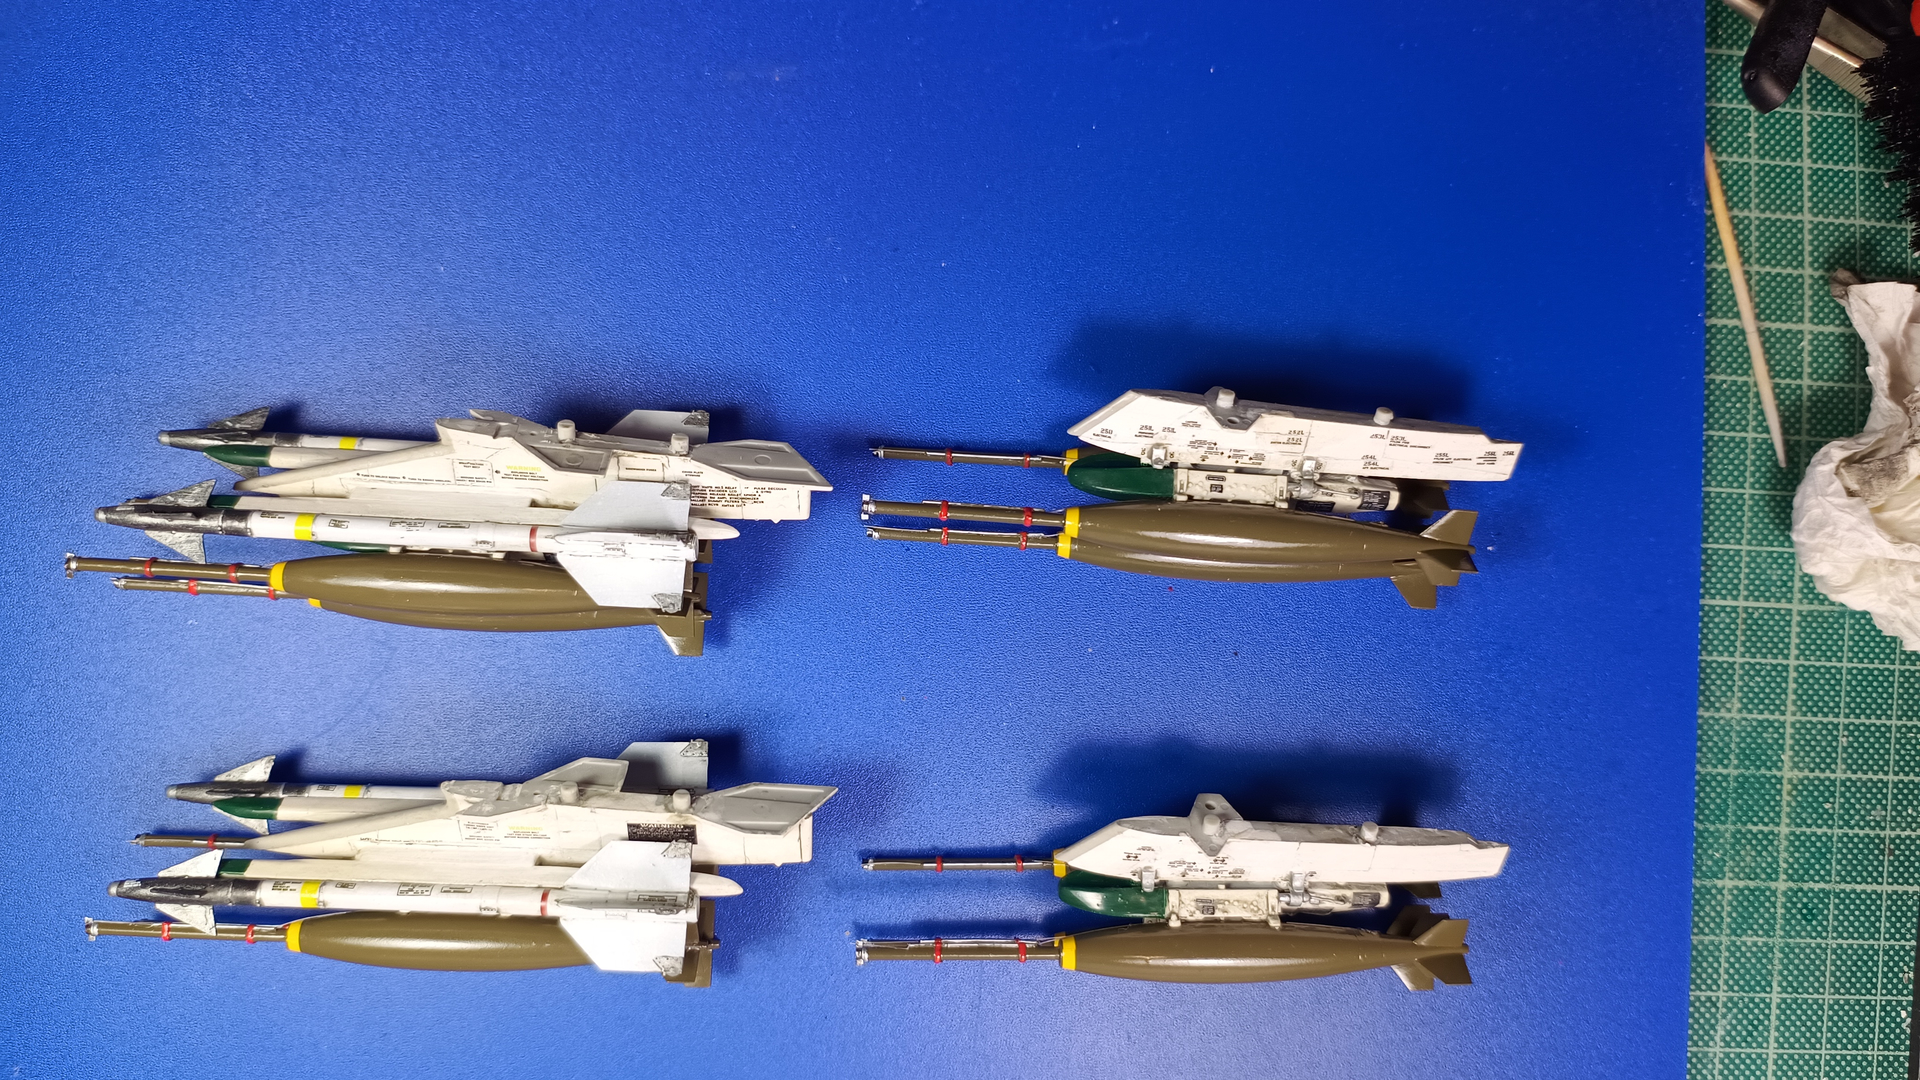
The loadout will be 4 AIM7, 4 AIM9D, centerline fuel tank and 4 TER with Mk82 long fuse bombs. Detail work on the pylons and armament:

And here is a dry fit of the armament
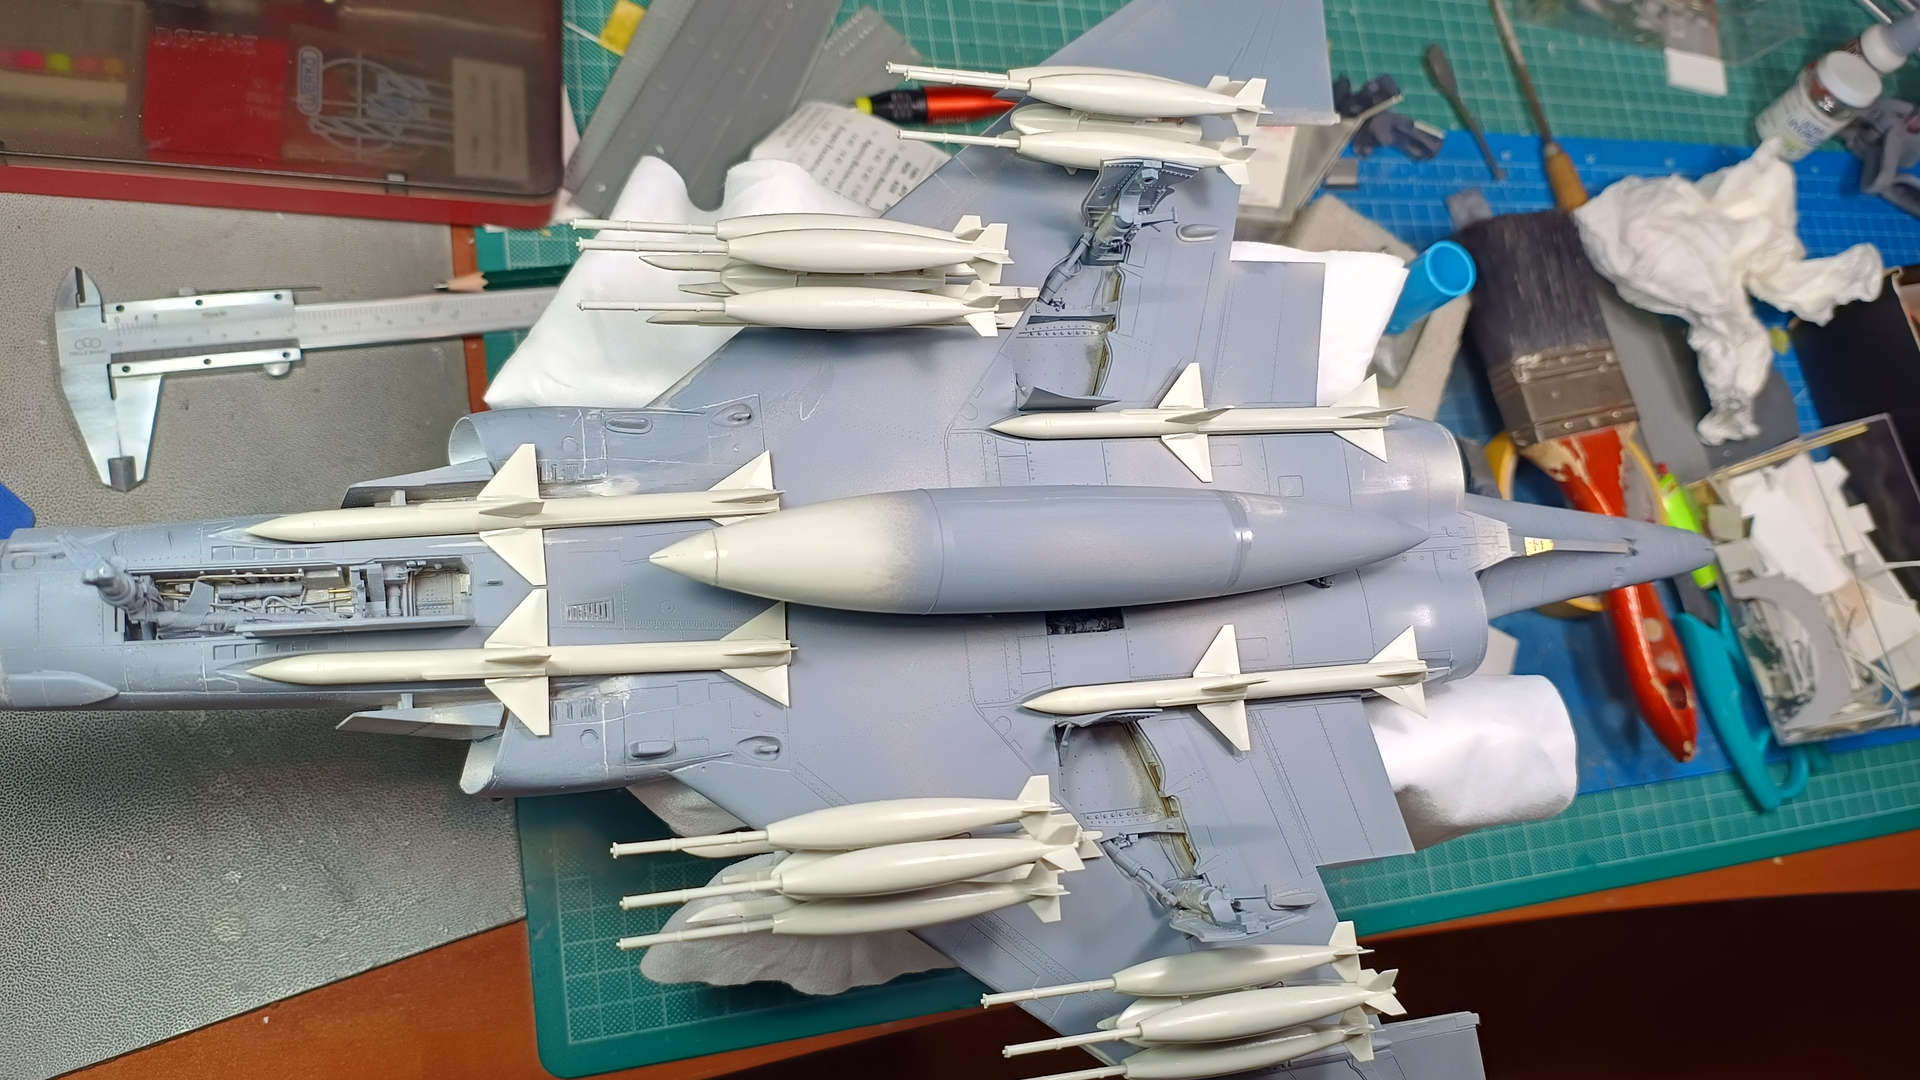
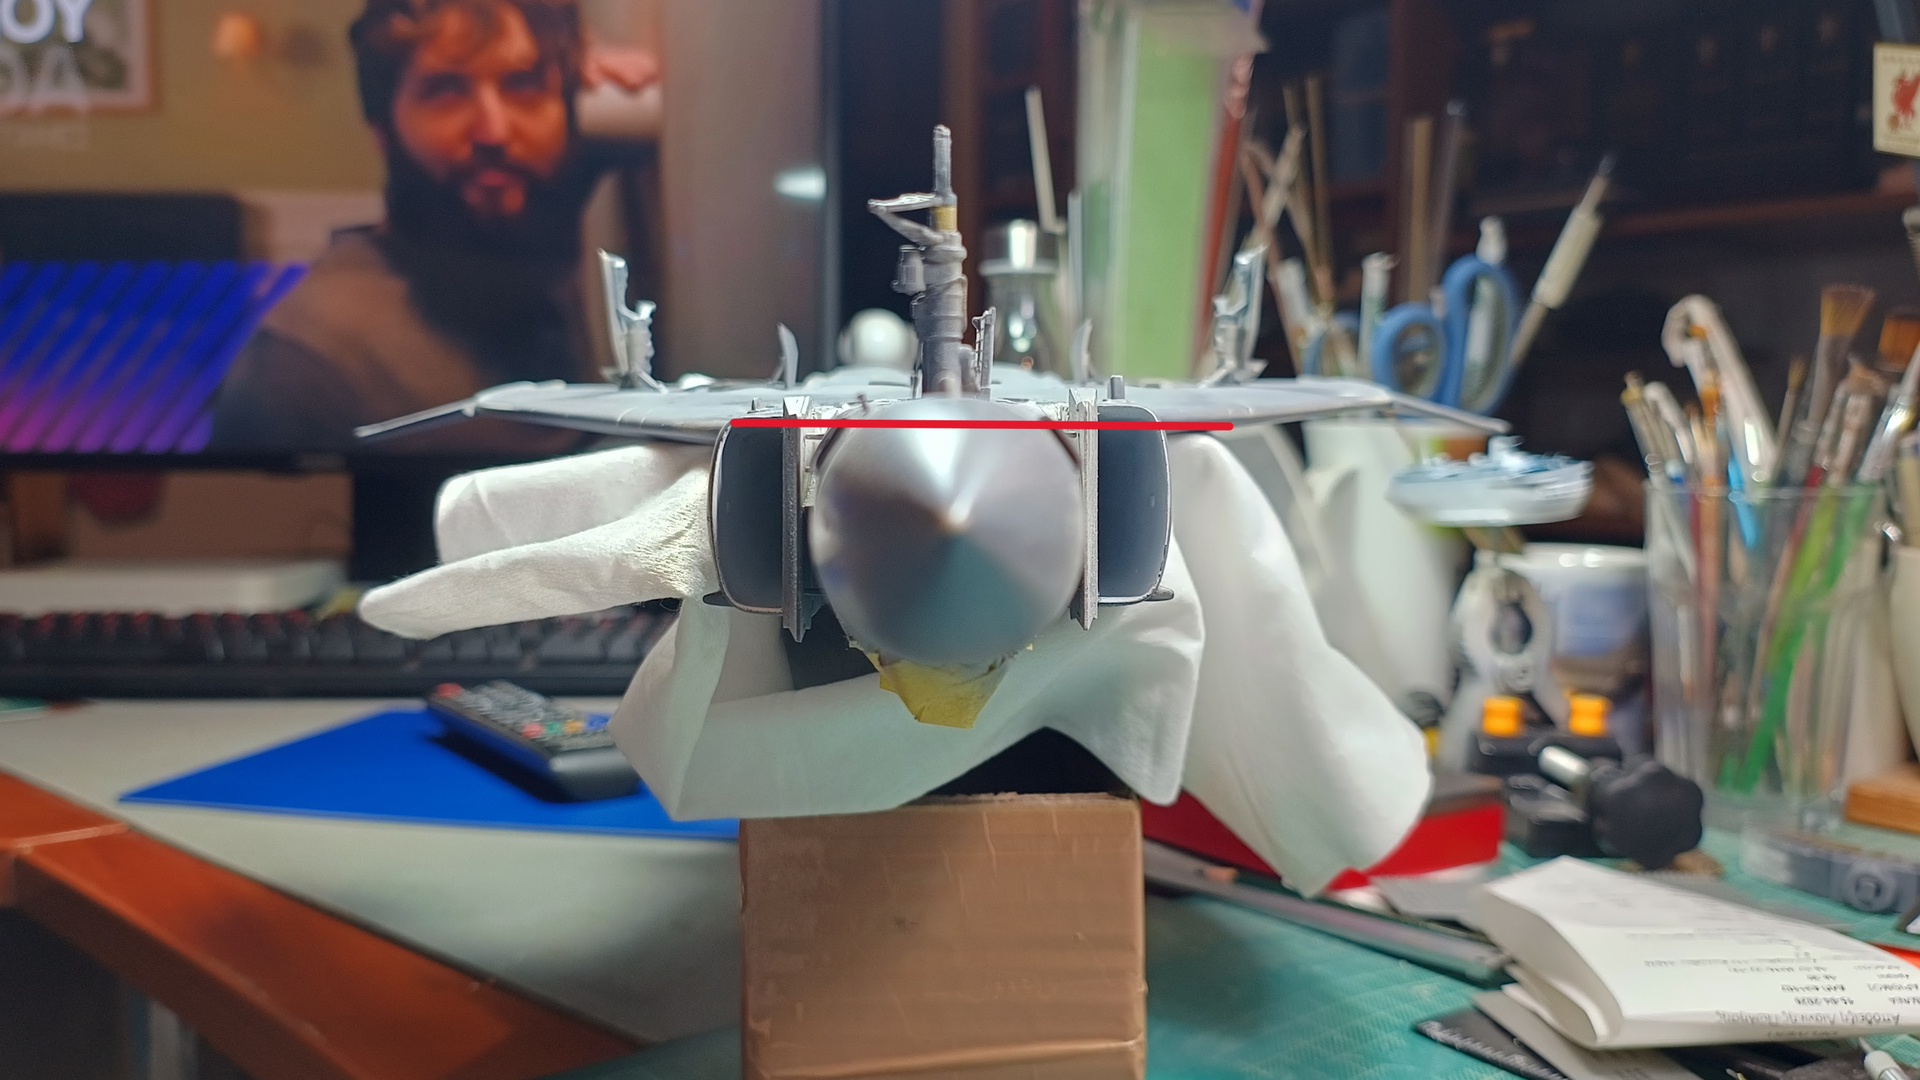
While fitting the front Sparrows into their wells I noticed that they did not fit and their front wings bumped onto the air intake ramps for some reason. After measuring and checking the alignment of the intakes I discovered that they were 2mm shorter at the fuselage and misaligned vertically.
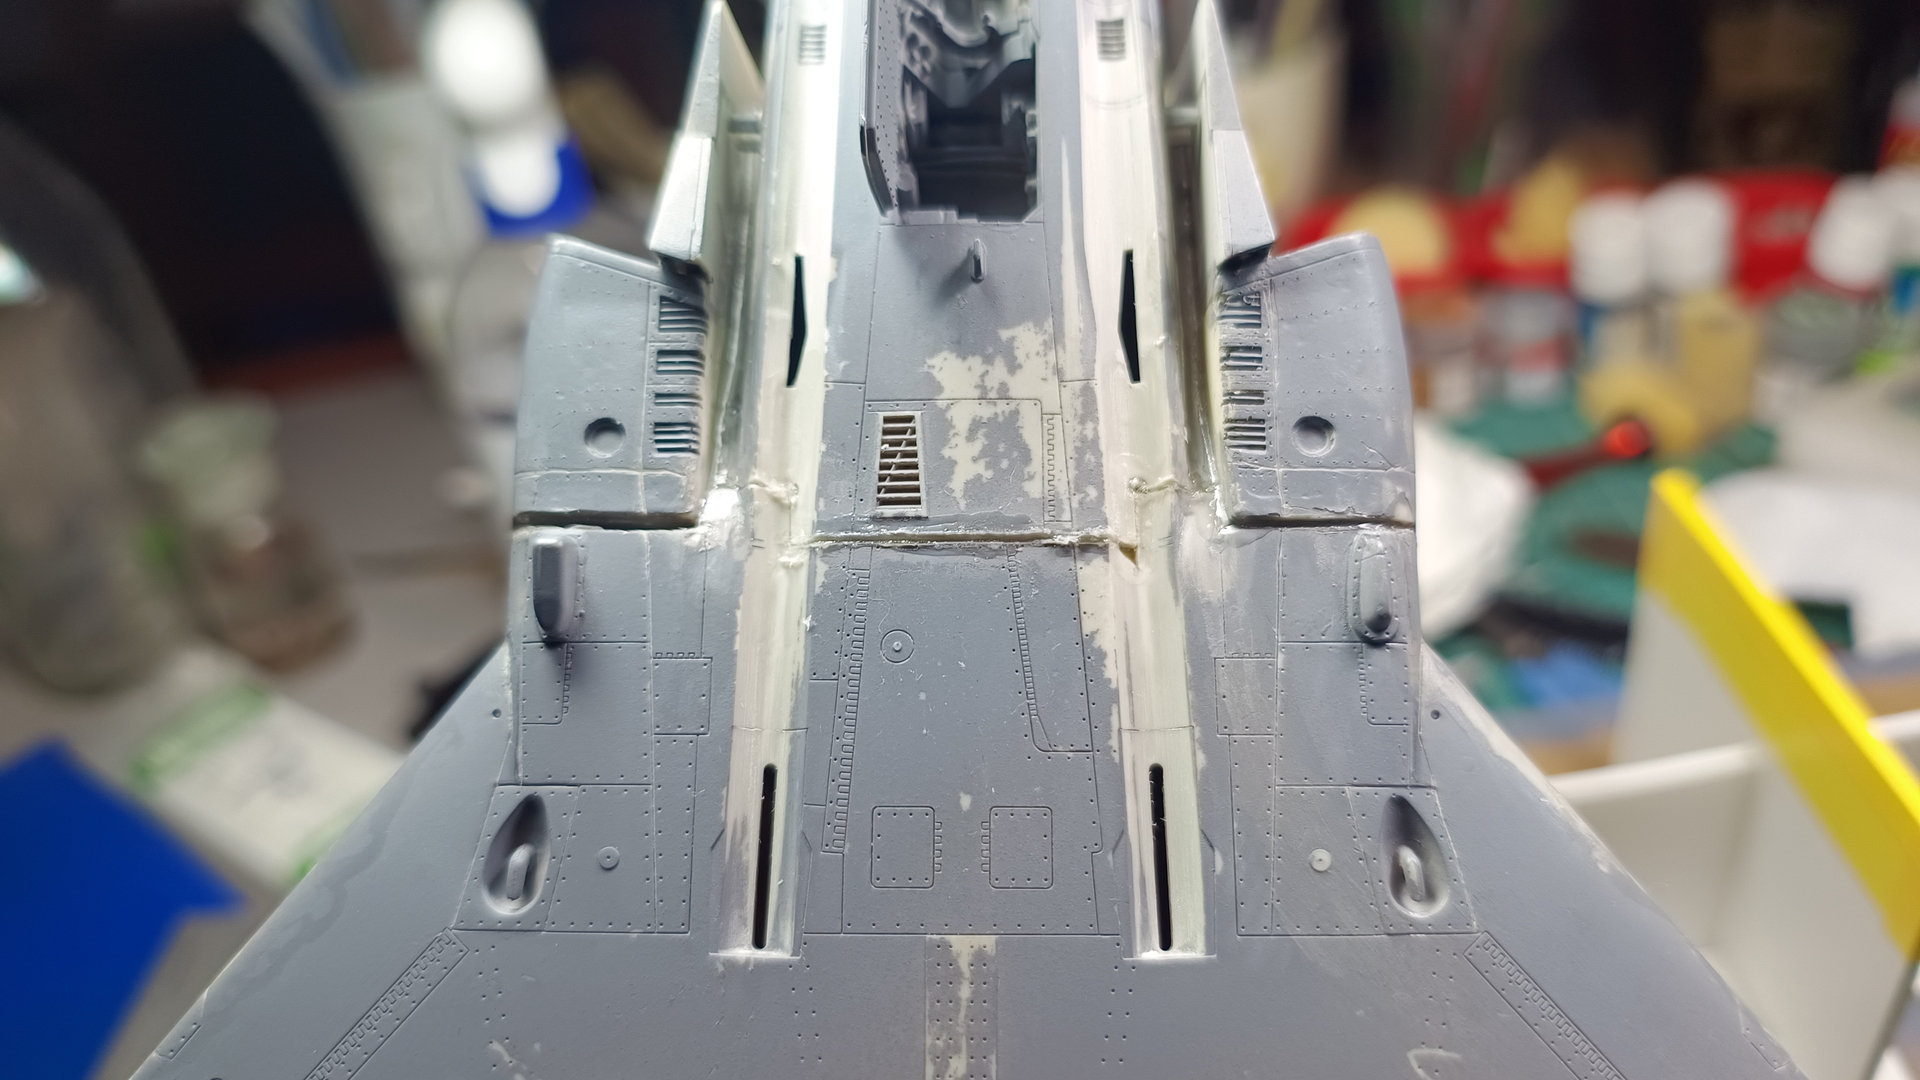
I decided to realign the whole model so I cut it
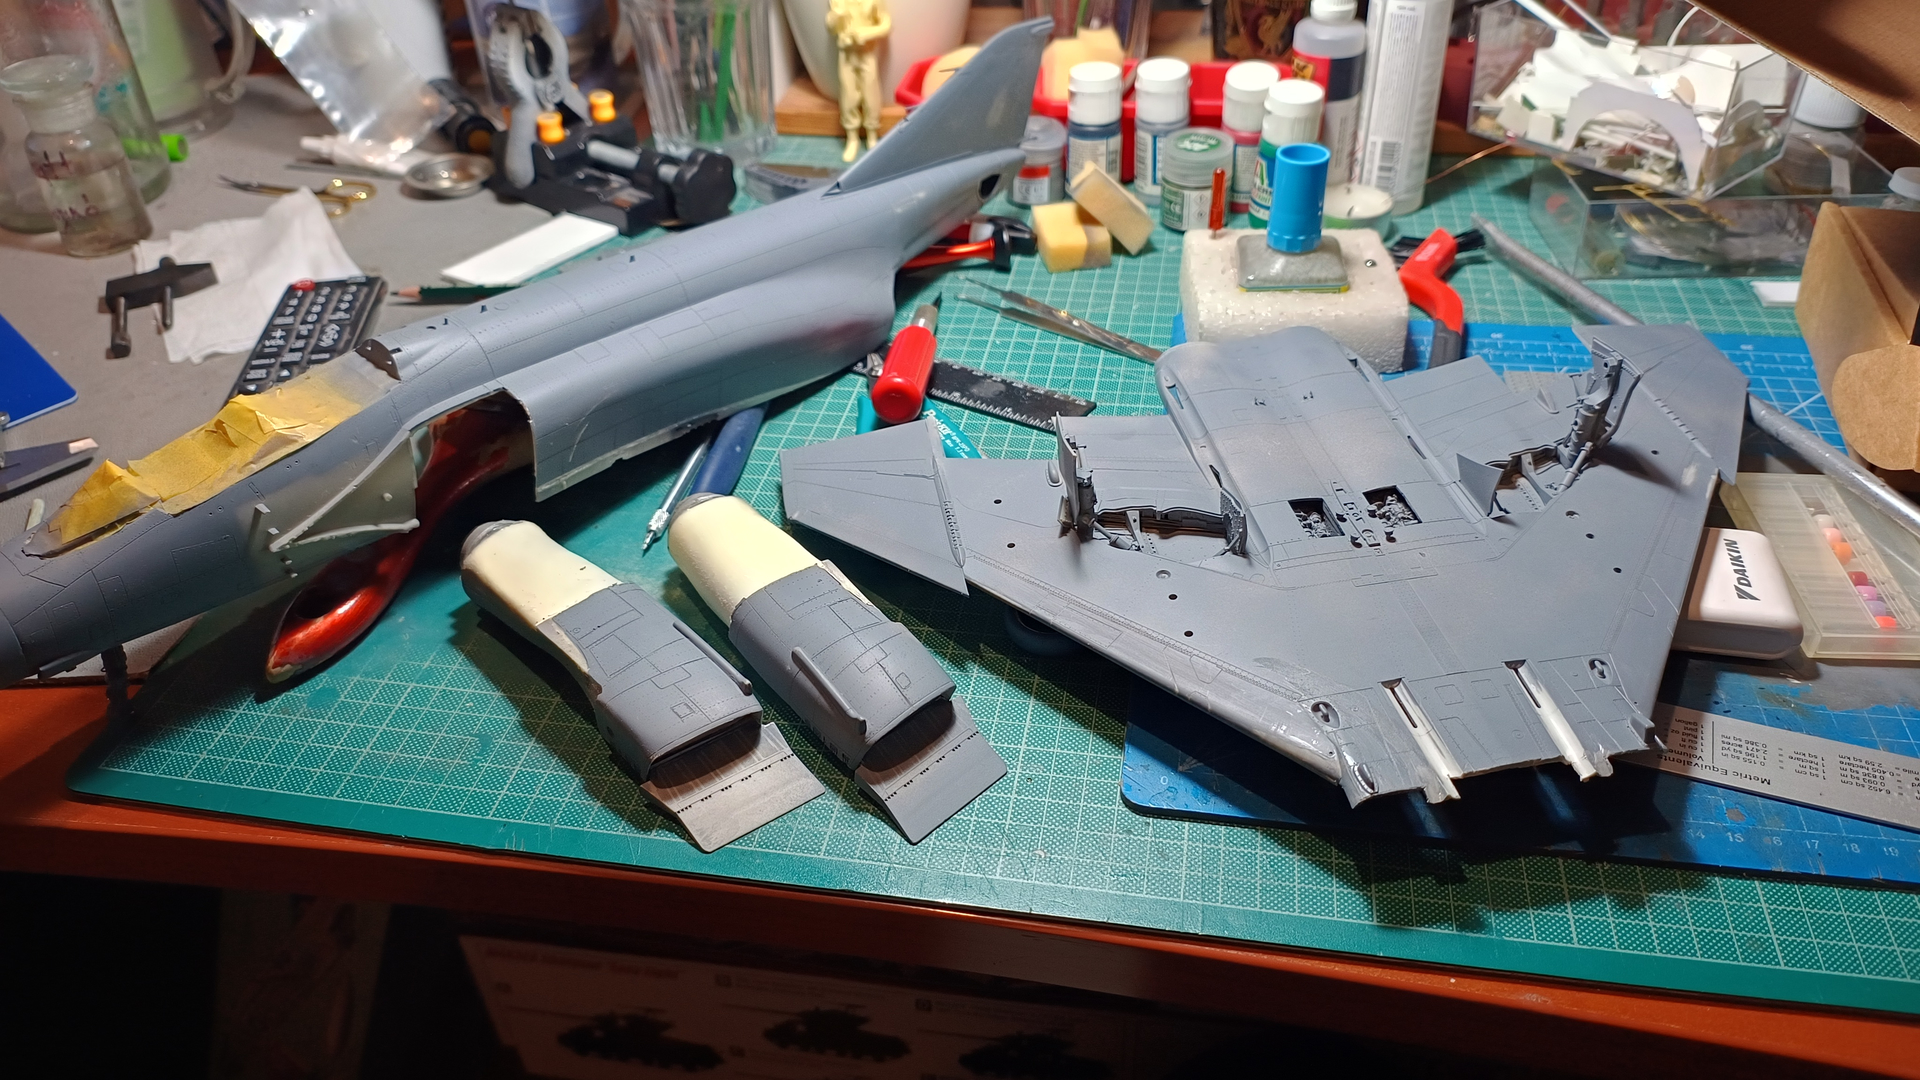
I used epoxy glue to install a shaft to keep the wings in the correct shape and reinforced the fuselage into position

Reinforcing the wings and fuselage so as to get the correct shape and angle will be my go to method from now on.
The intaked were installed at the correct position and the resulting gap was filled with Milliput

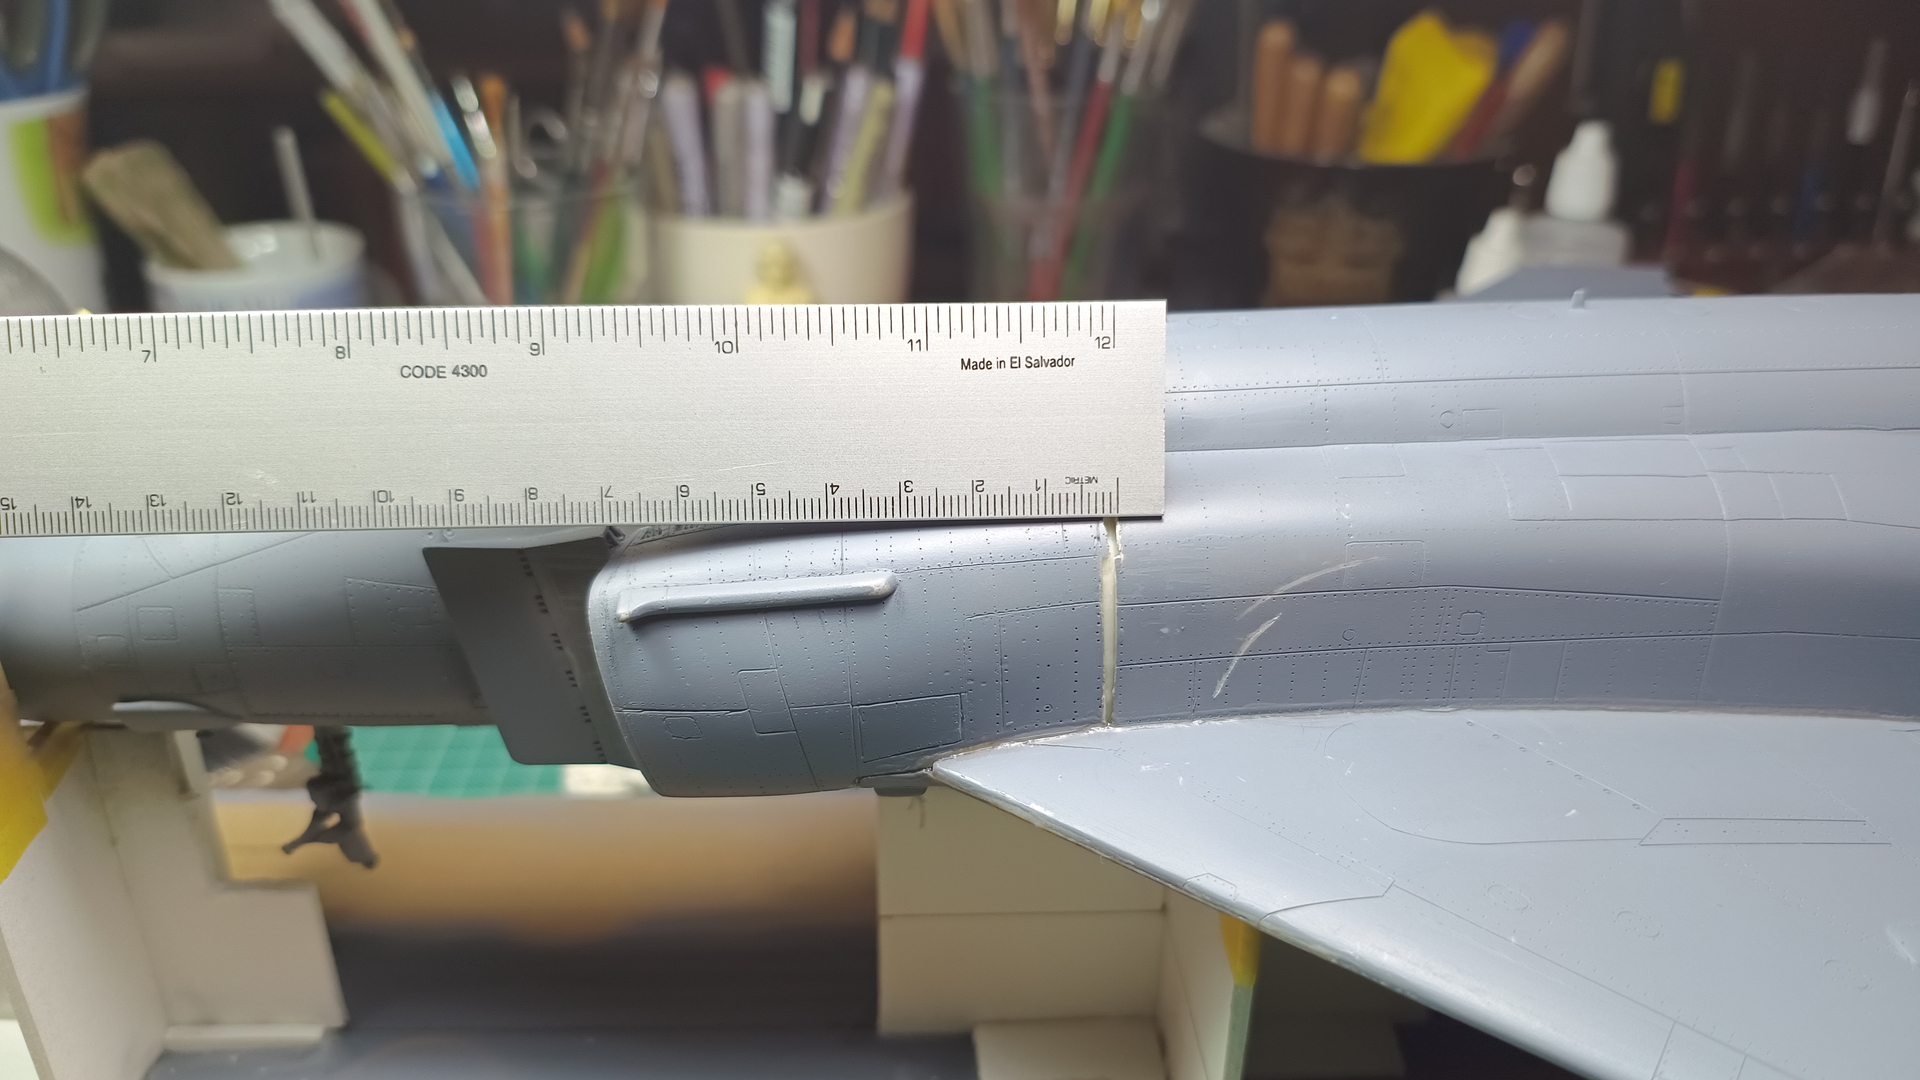
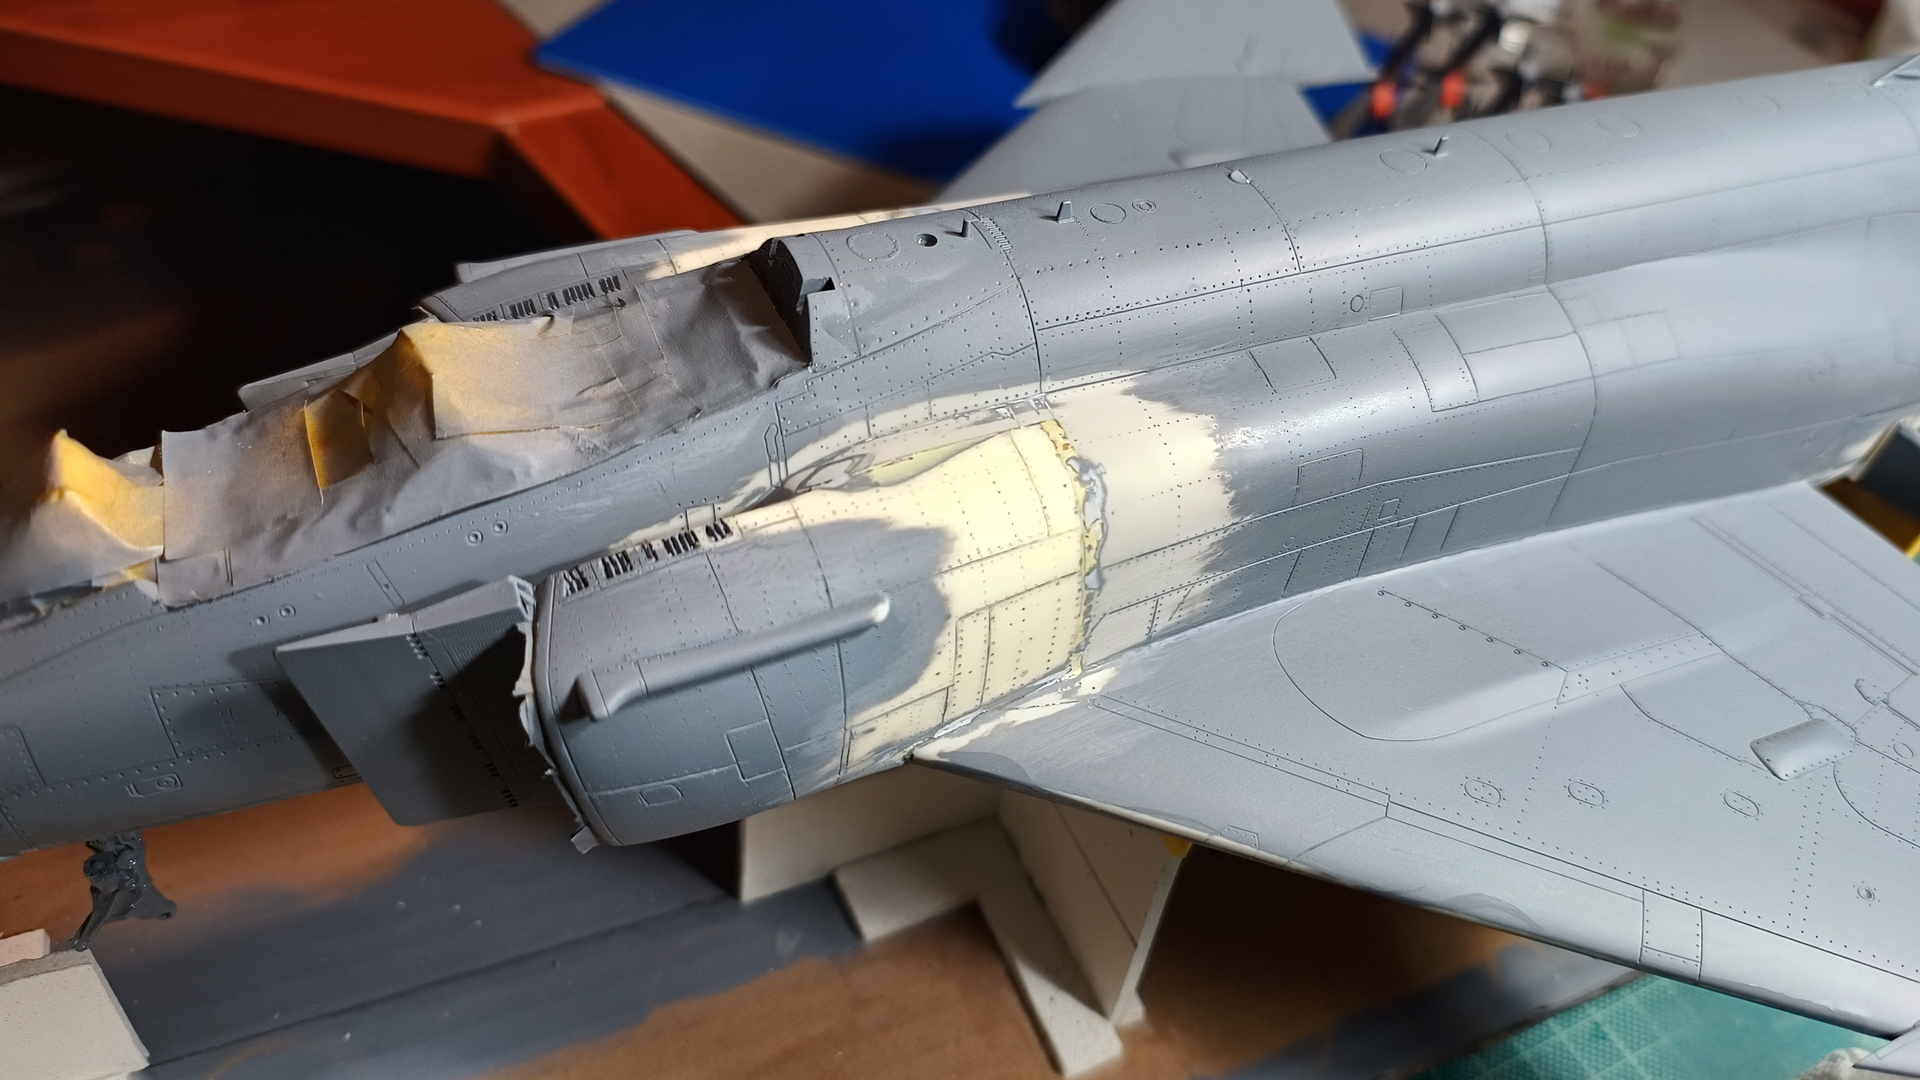
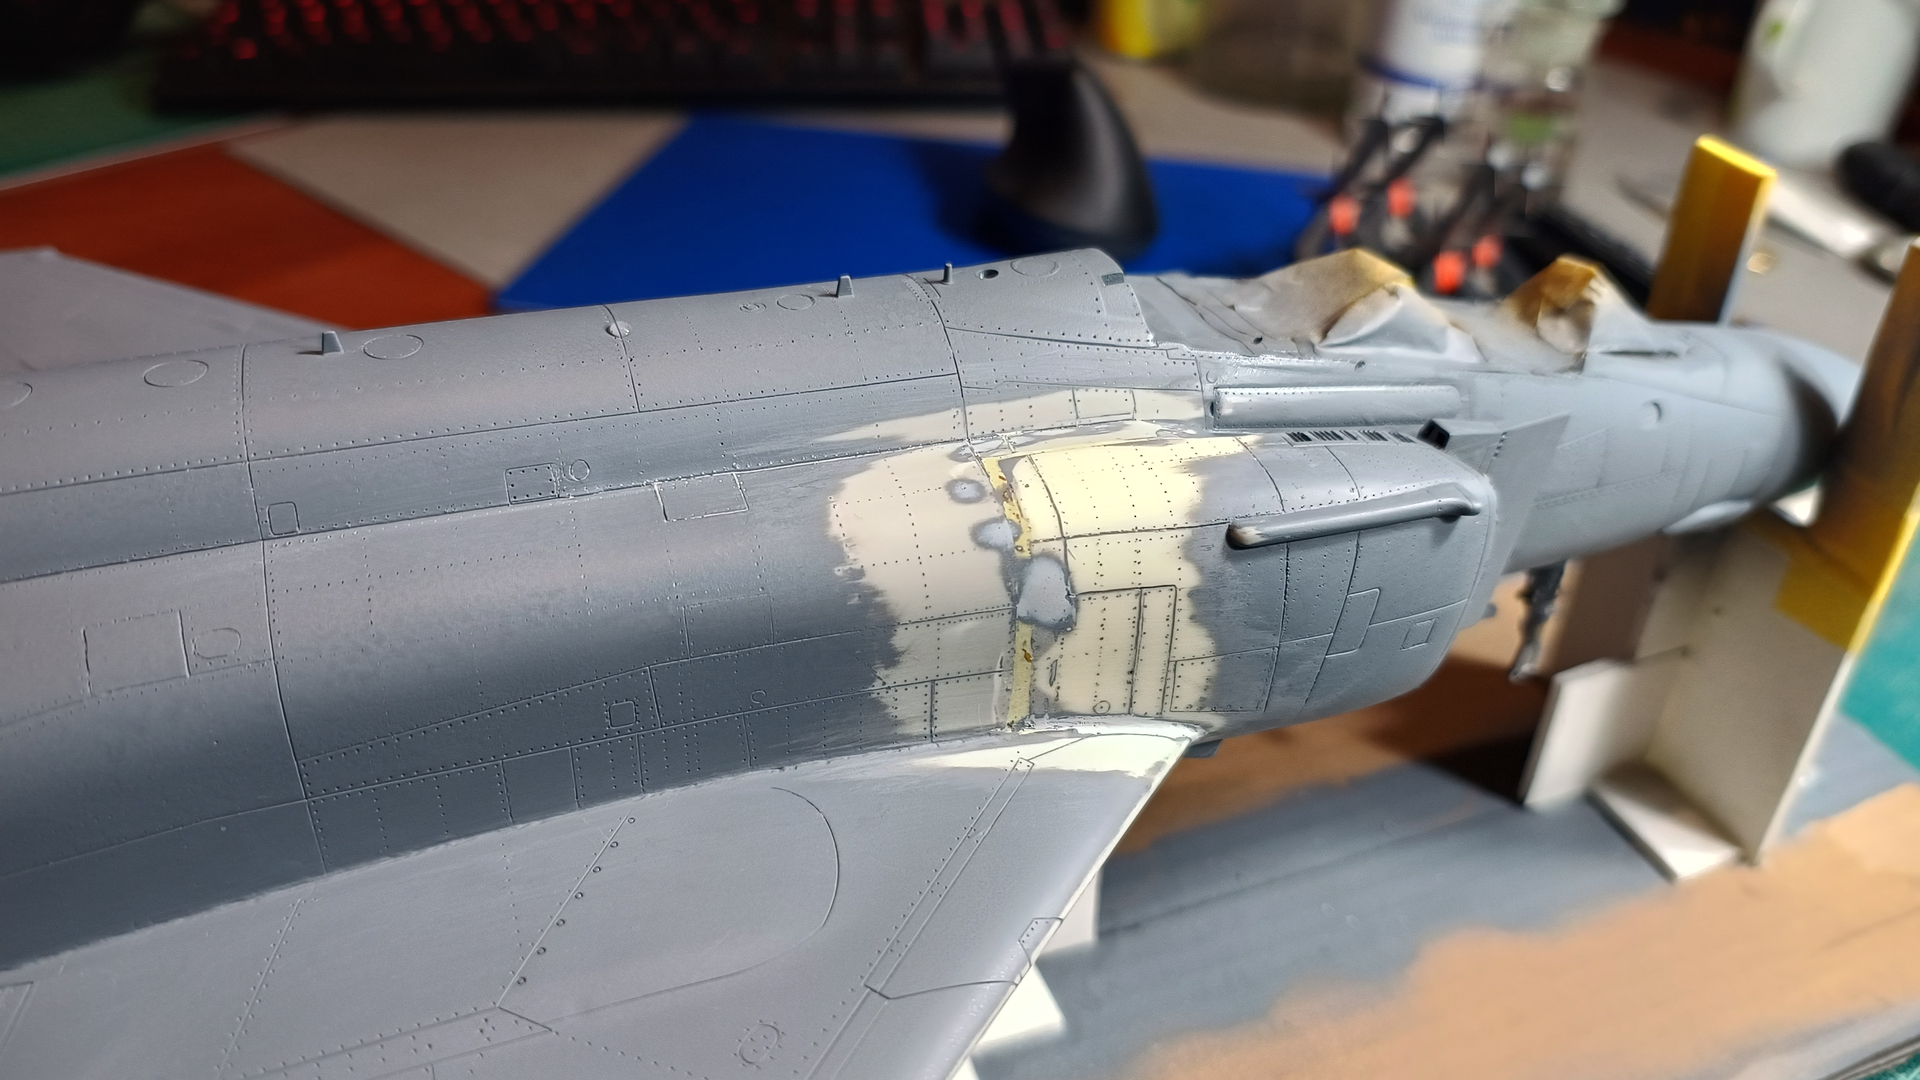
Of course I had to rescibe the lines and rivets.
Armament:
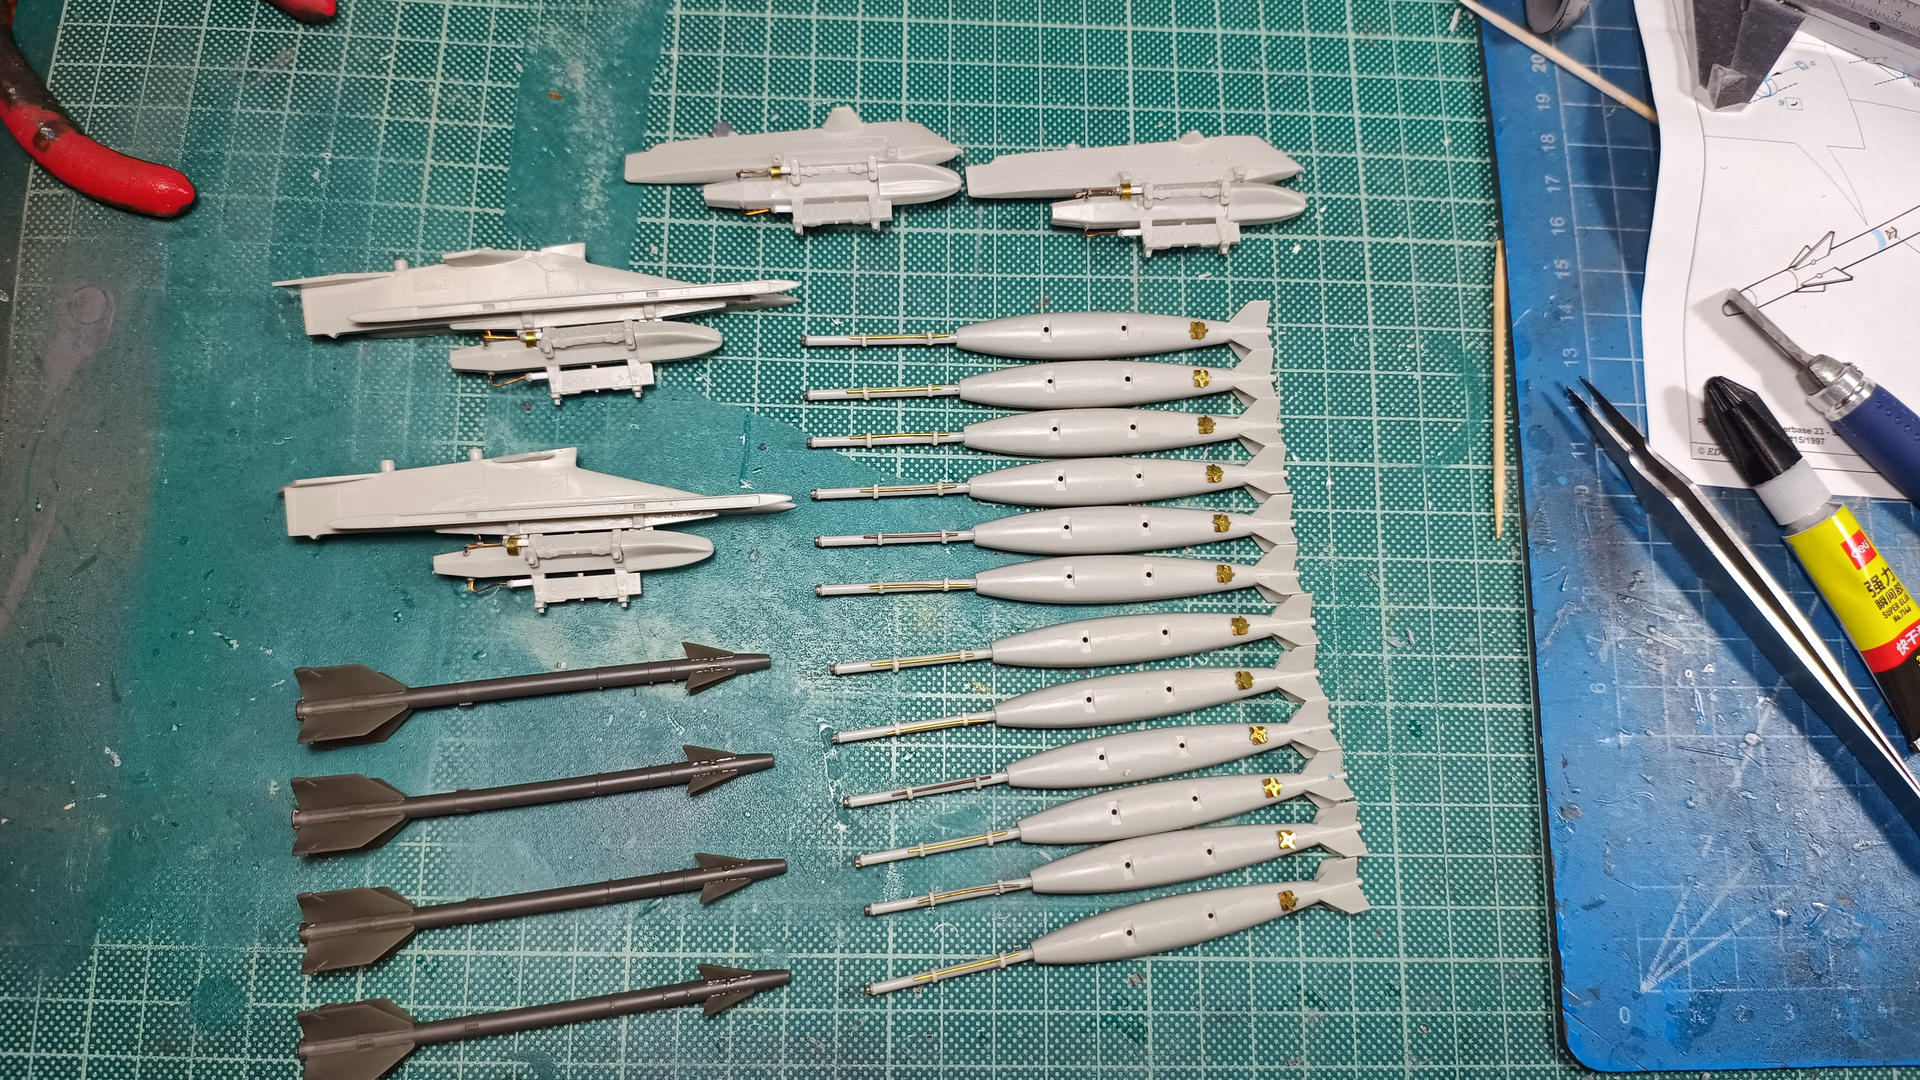
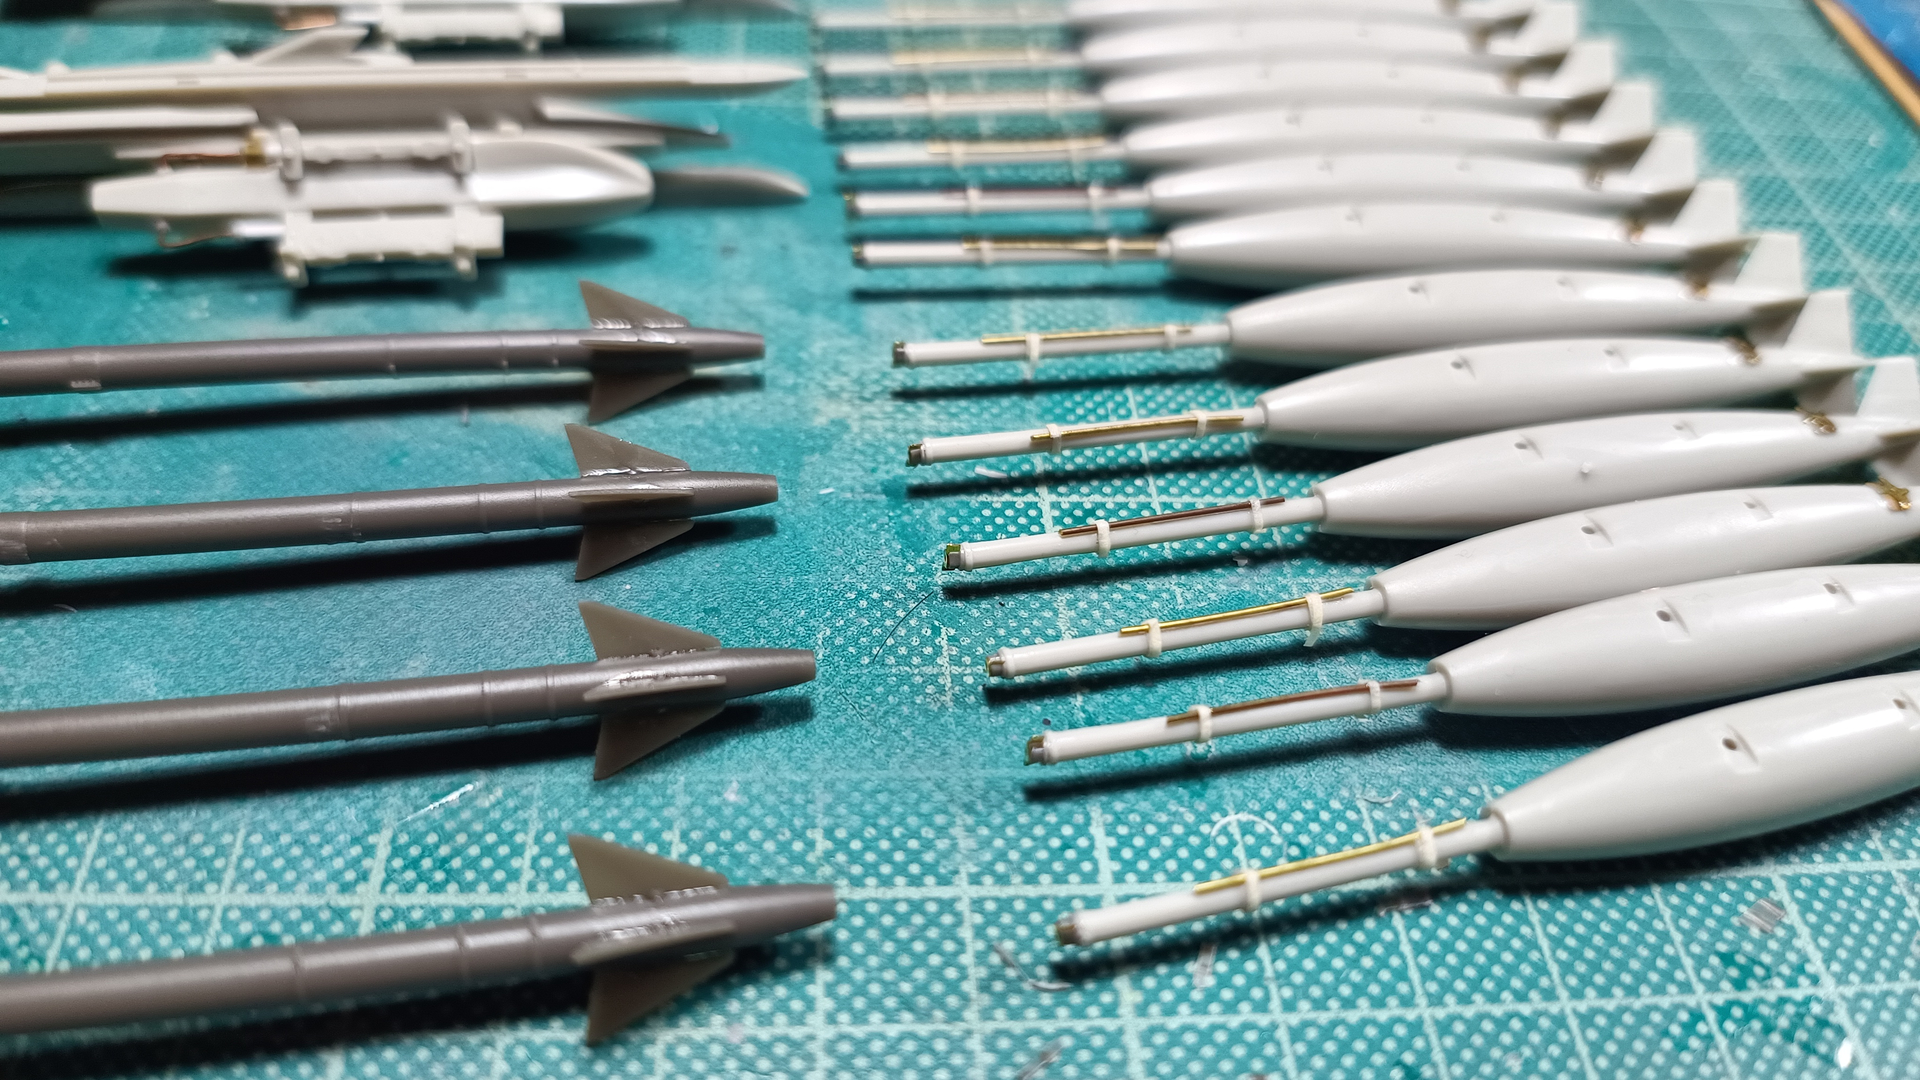


Centerline fuel tank and sparrows


Pylons

Next is painting the fuselage.