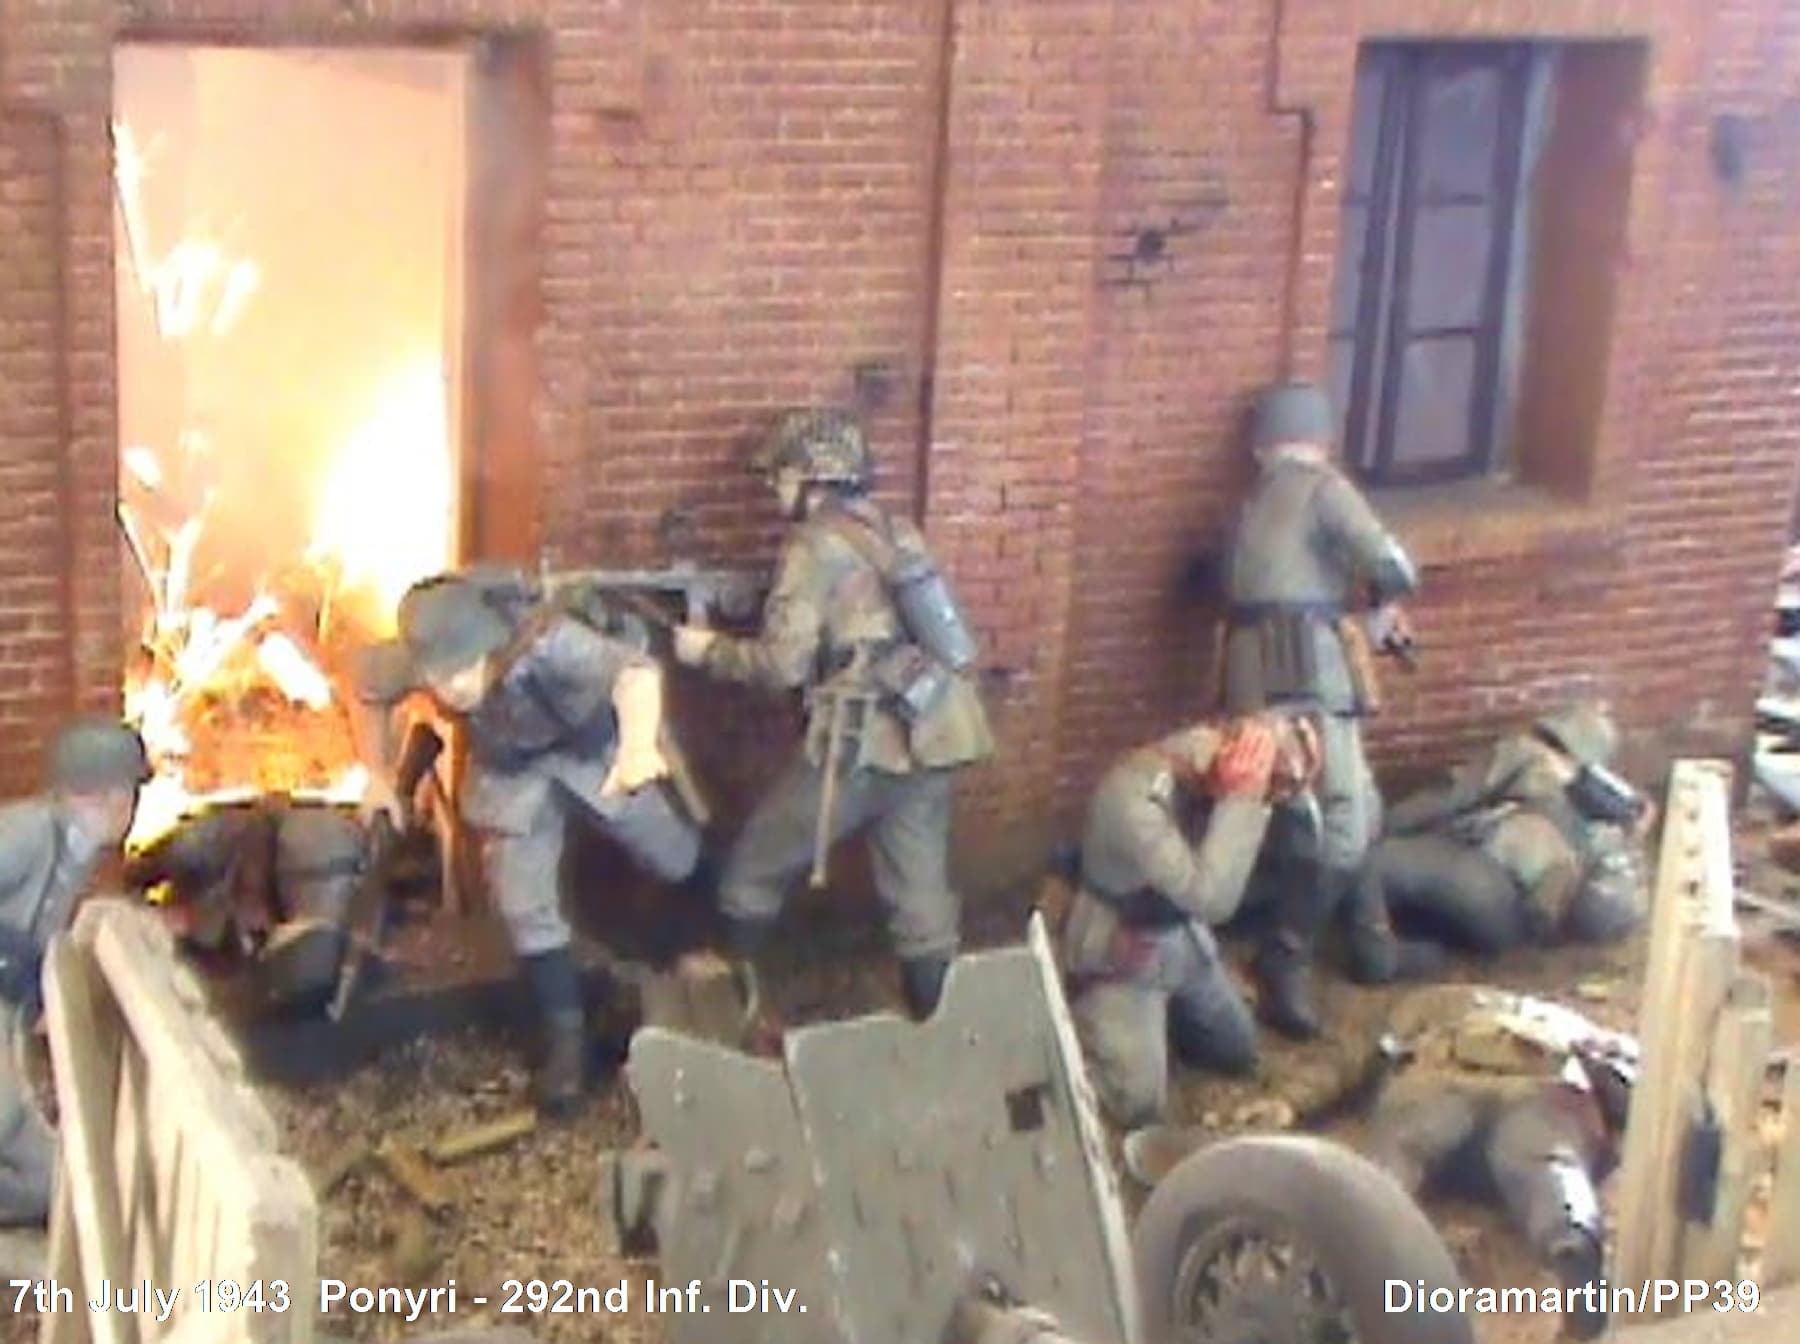
Hi, I want to build 1:35 soviet factory in english bond. I am practically still a kid and have never seen a bigger brick structure in my life so I have a couple of question.
-
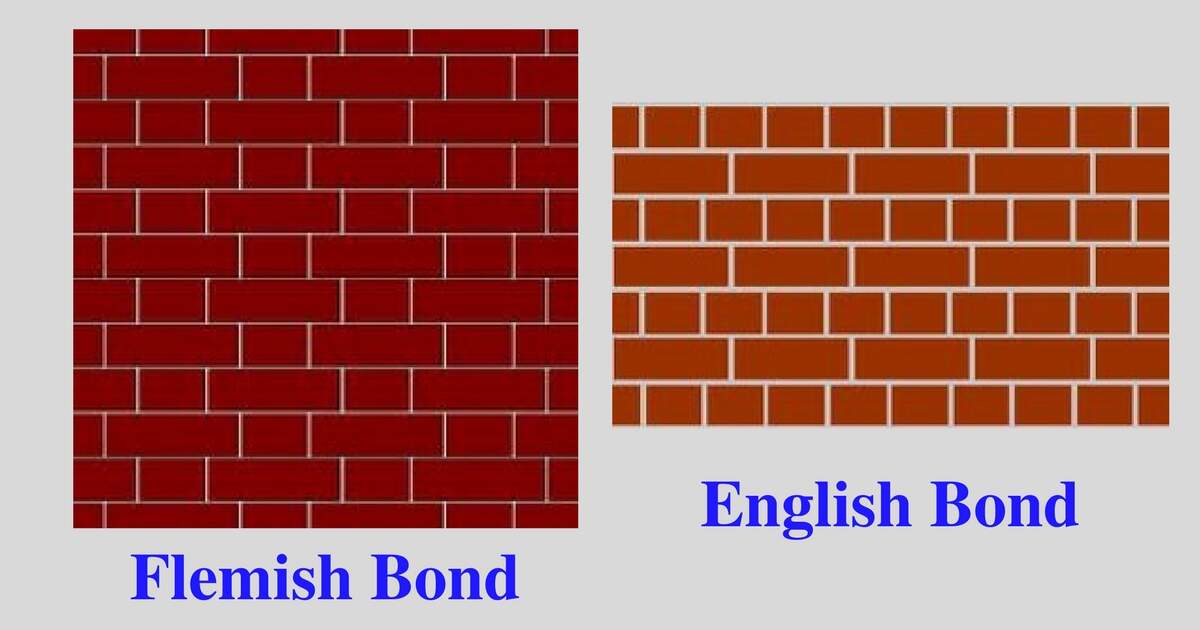
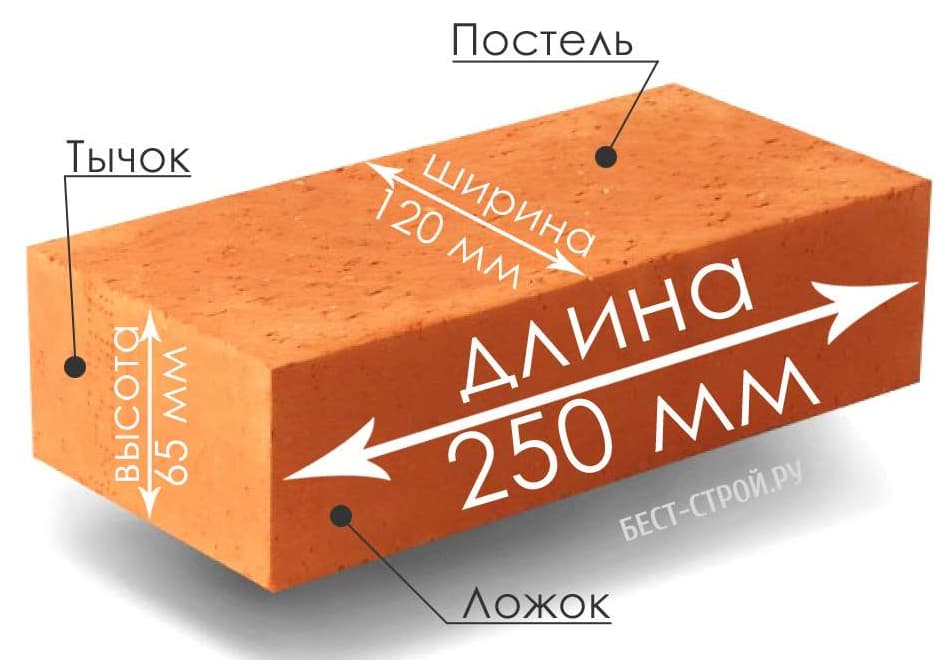
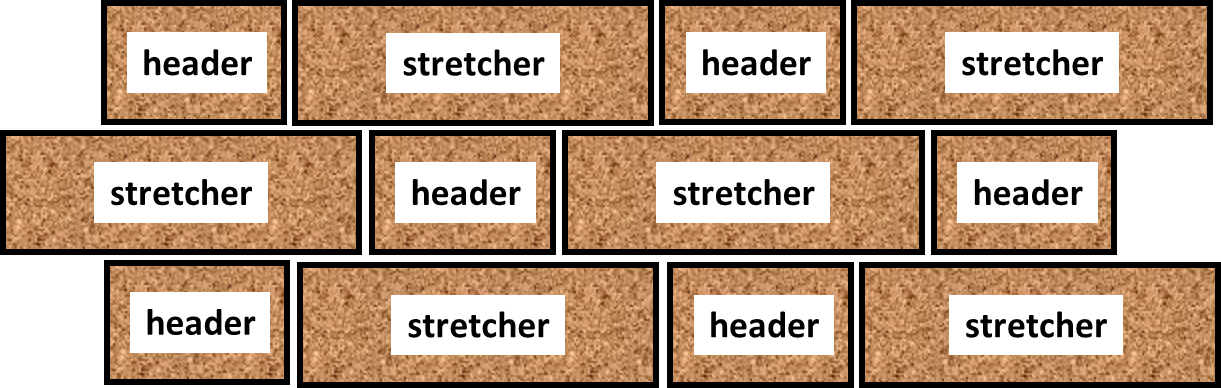
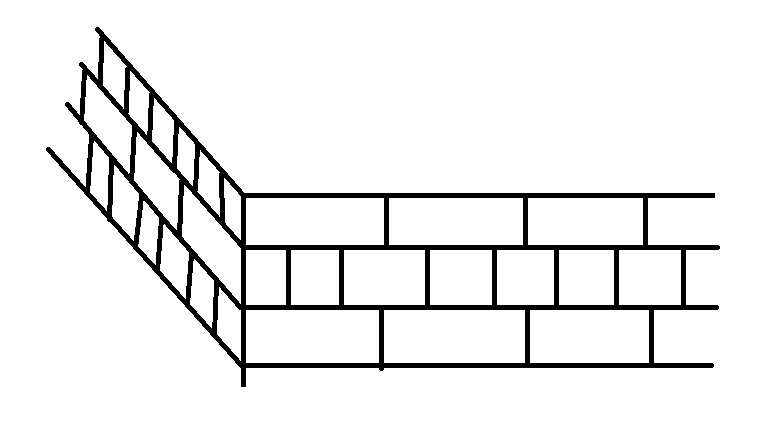
Is this picture correct?
-
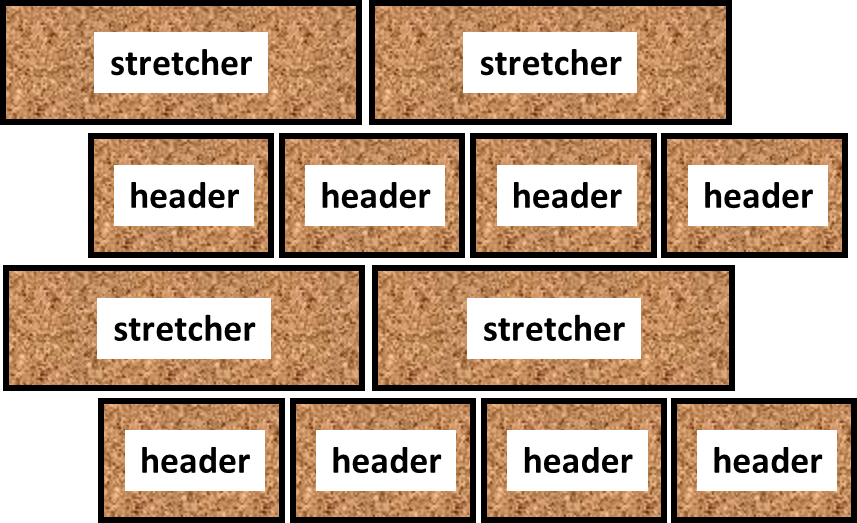
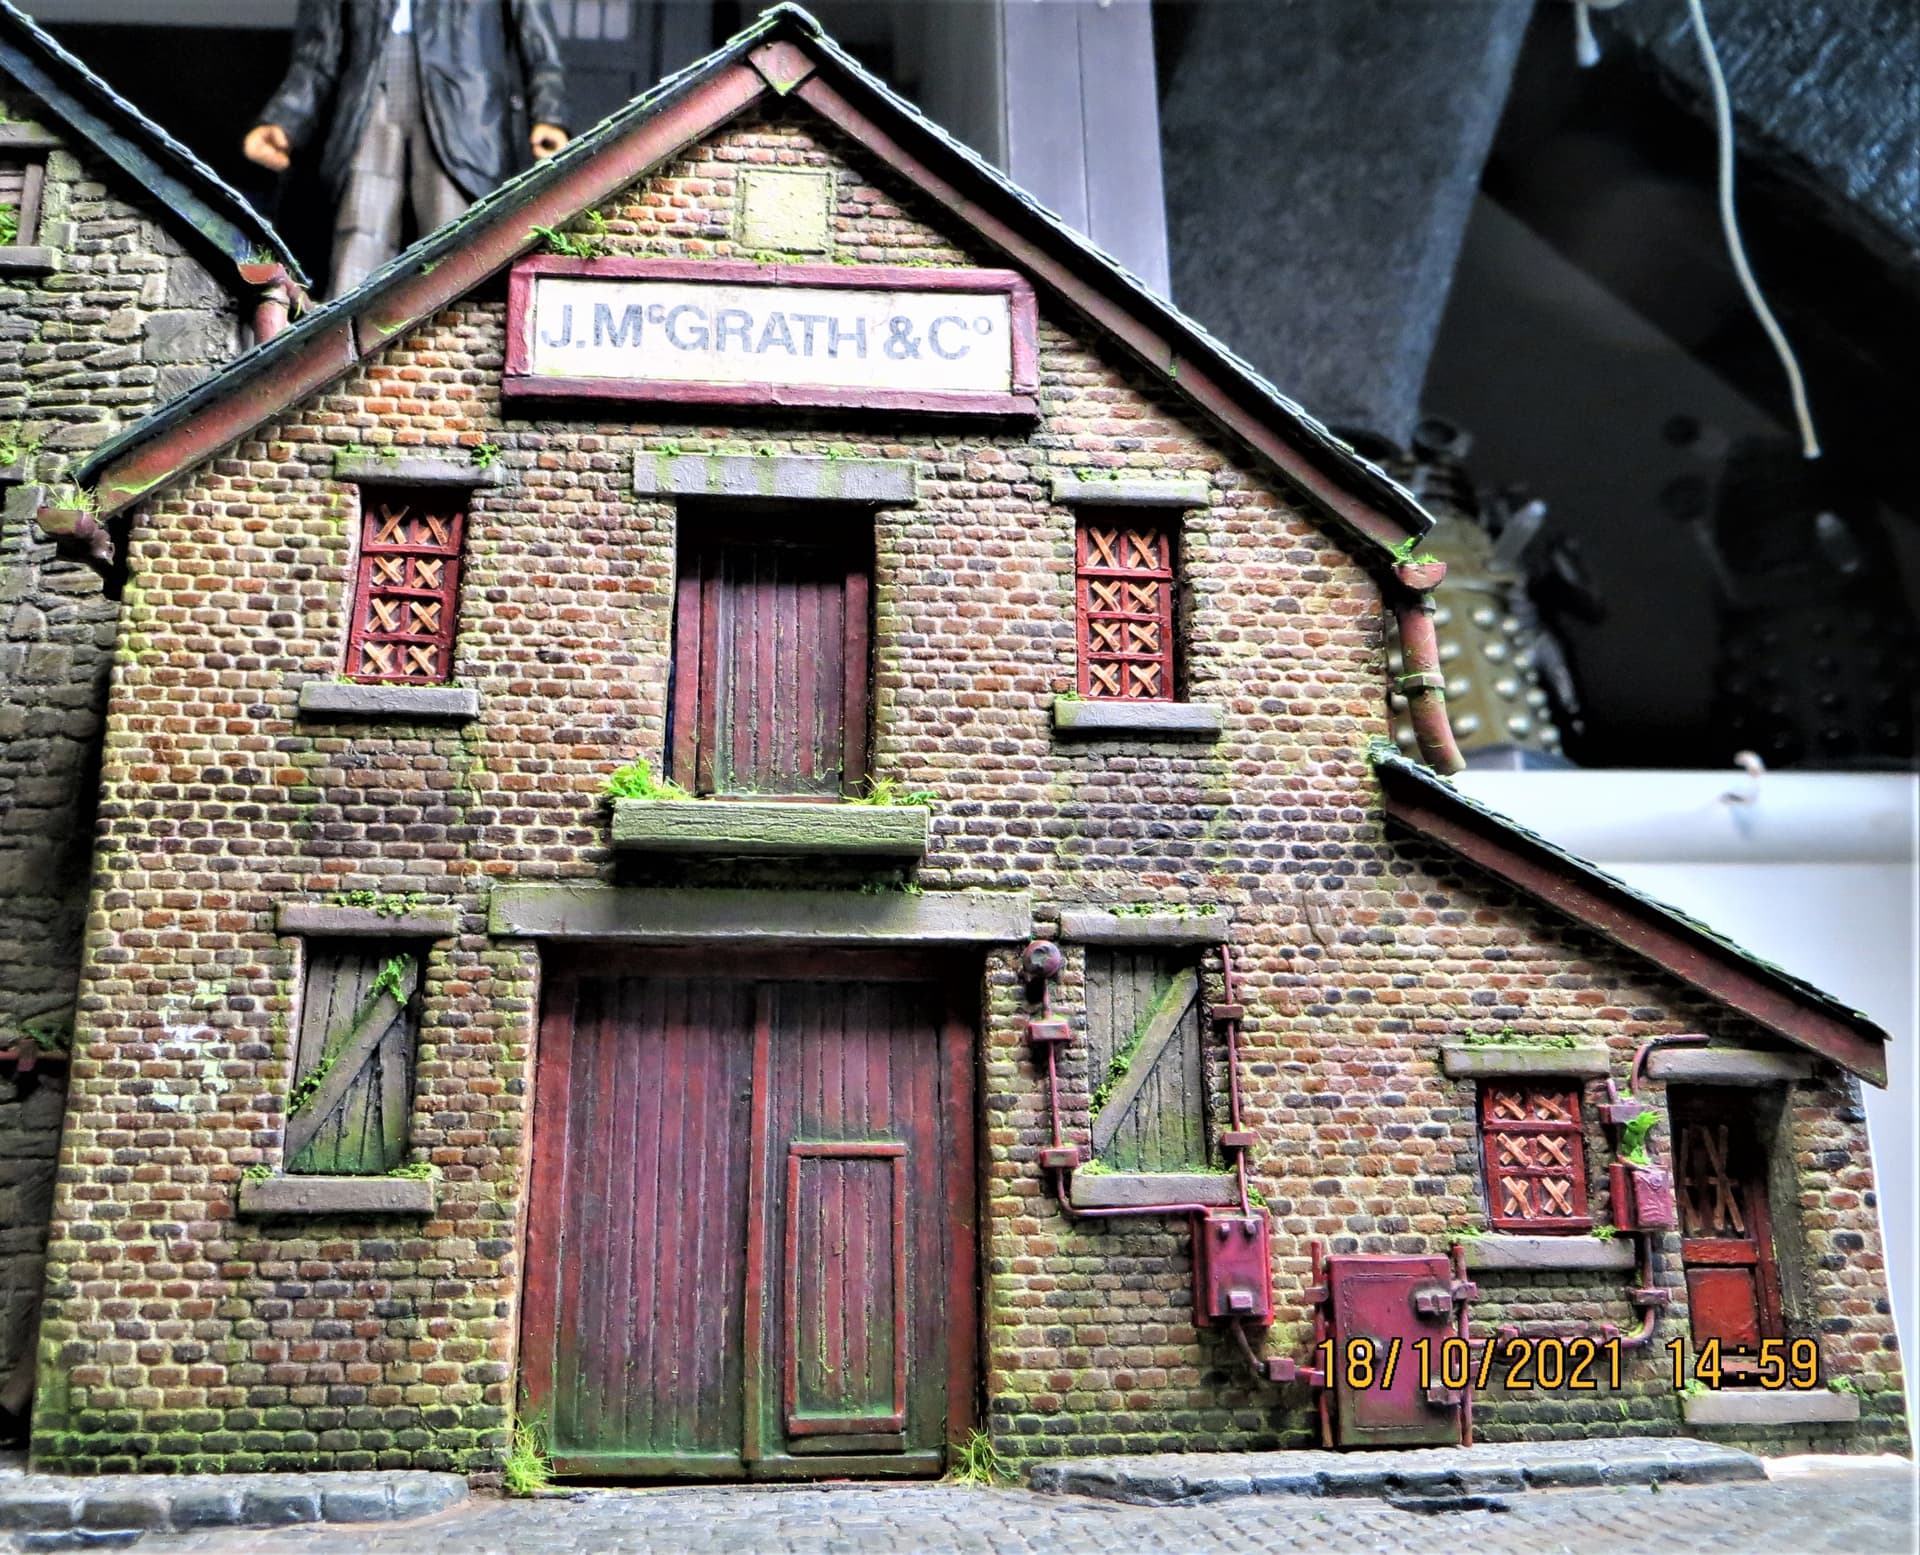
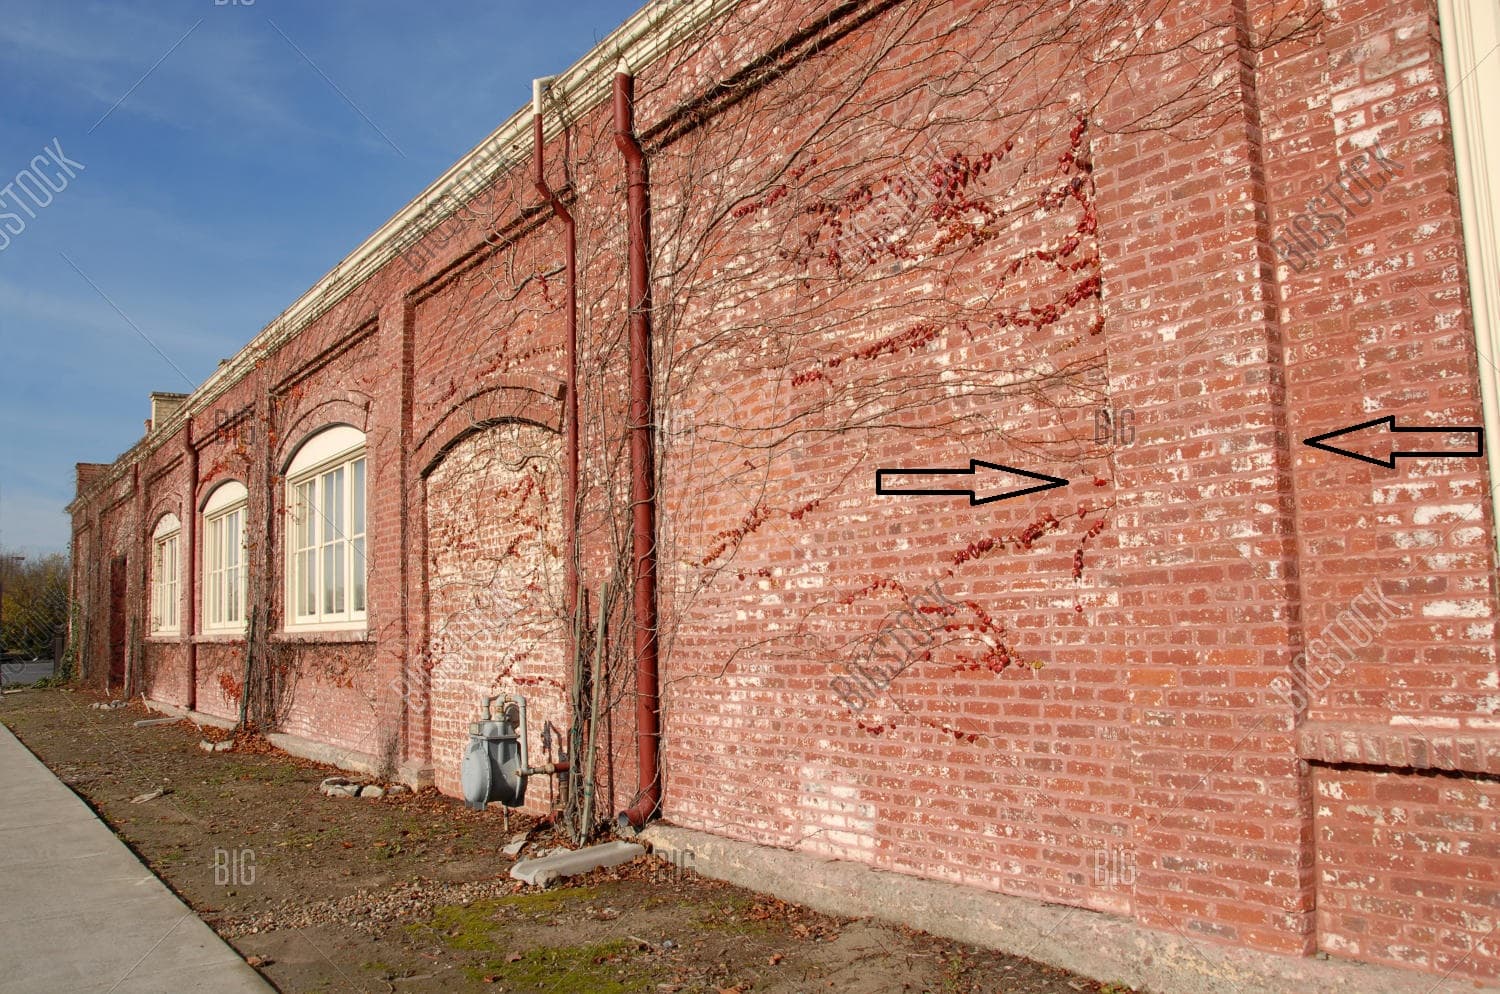
I want to add some pillars like this:
I reckon that they are only for esthetical purposes. How do I continue the bond? Do I even have to? Can I use different type of bond (stretcher)? -
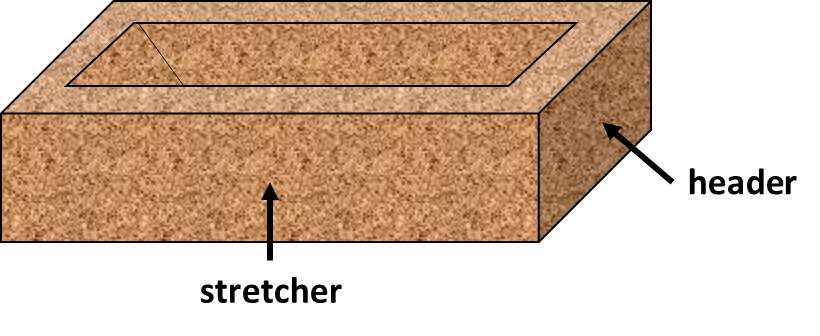
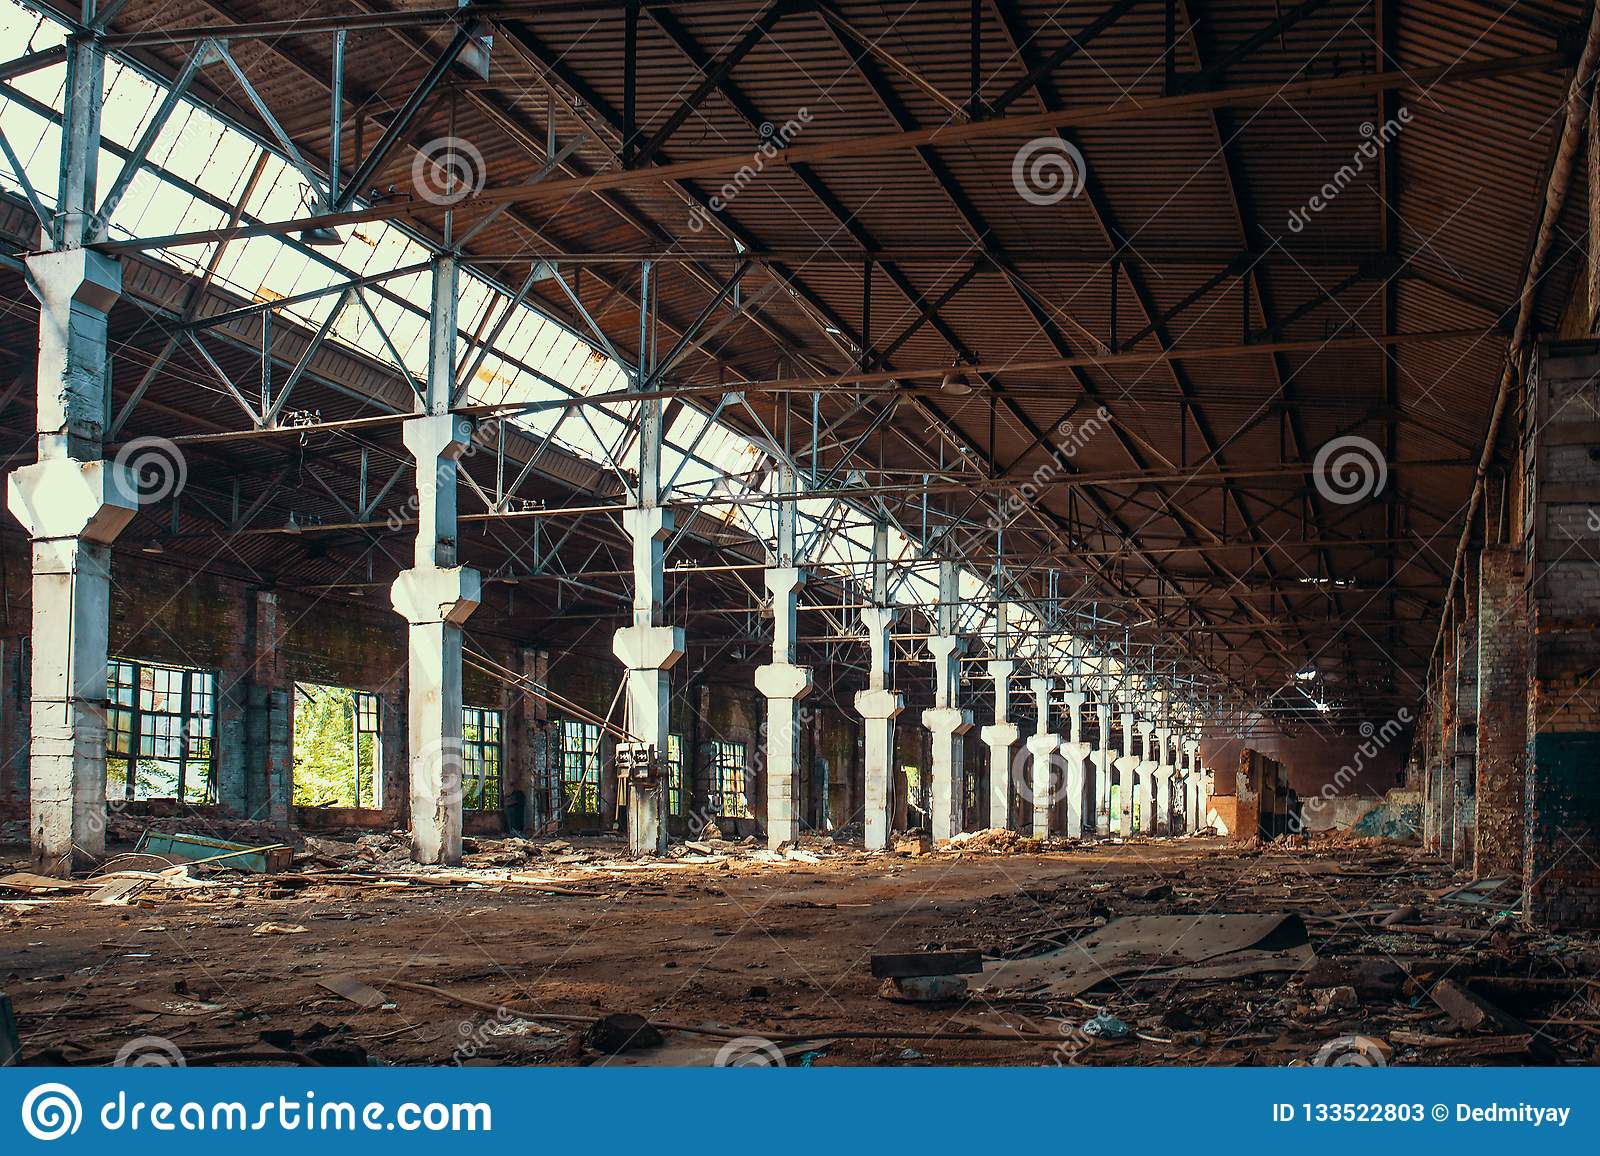
How do I do make arched windows like this:
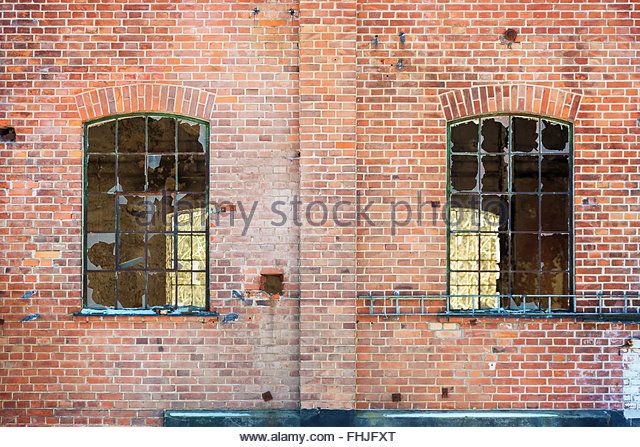
-
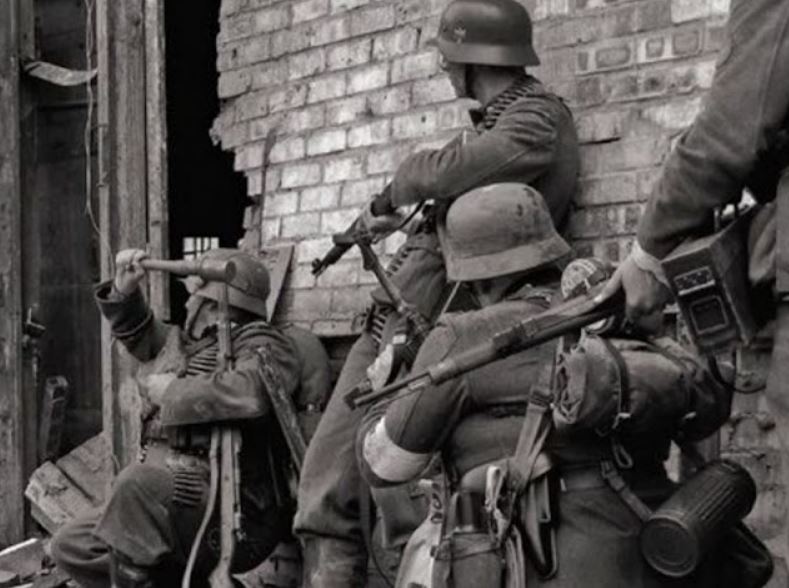
How do steel beams like this connect to the brick wall?
-
Why are some windows bricked up in older factories?
Any other ideas what can I add? Some other esthetical features, …?
I know that is a lot of questions, but Im really clueless. Thank you so much for any kind of help.
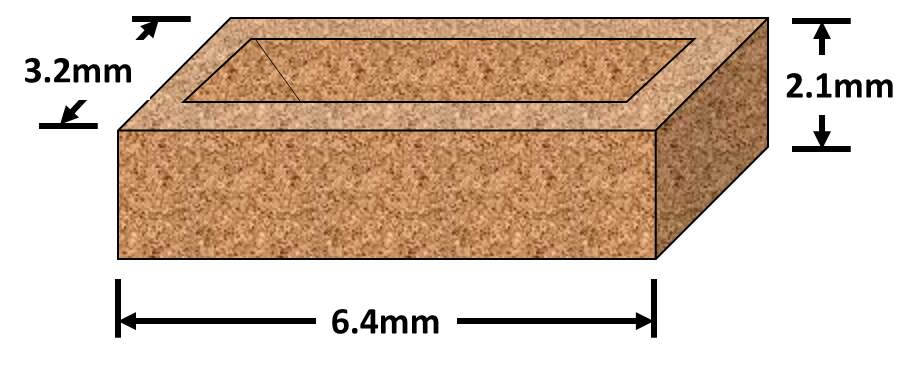
Edit: another question: how thick should the walls be? It will be the main wall of the building.