Final weathering stages tanks

I’ll start off by saying sorry for the long post, and that I know this is a huge topic with differing opinions.

I used to be pretty daunted by any weathering. I would paint a kit fairly monotone in the base color, maybe a camo. Paint the details like tools, add the tracks and call it a day.

Since I got back into the hobby more seriously I’ve been experimenting with weathering techniques, and I think I’ve started to get color modulation with the airbrush, pin washing, and dry brushing down, allowing details to pop and adding visual interest.

One thing I still really struggle with is getting over the hump with is making the tank look lived in, I don’t care to much for heavy chipping. But I would like to go for a dirty look that looks like the tank has been used. I know the basic techniques or pigments, possibly airbrush dusting, and mud type products.

Problem is, I watch tons of tutorials but can’t seem to make my test runs on old kits look remotely convincing.

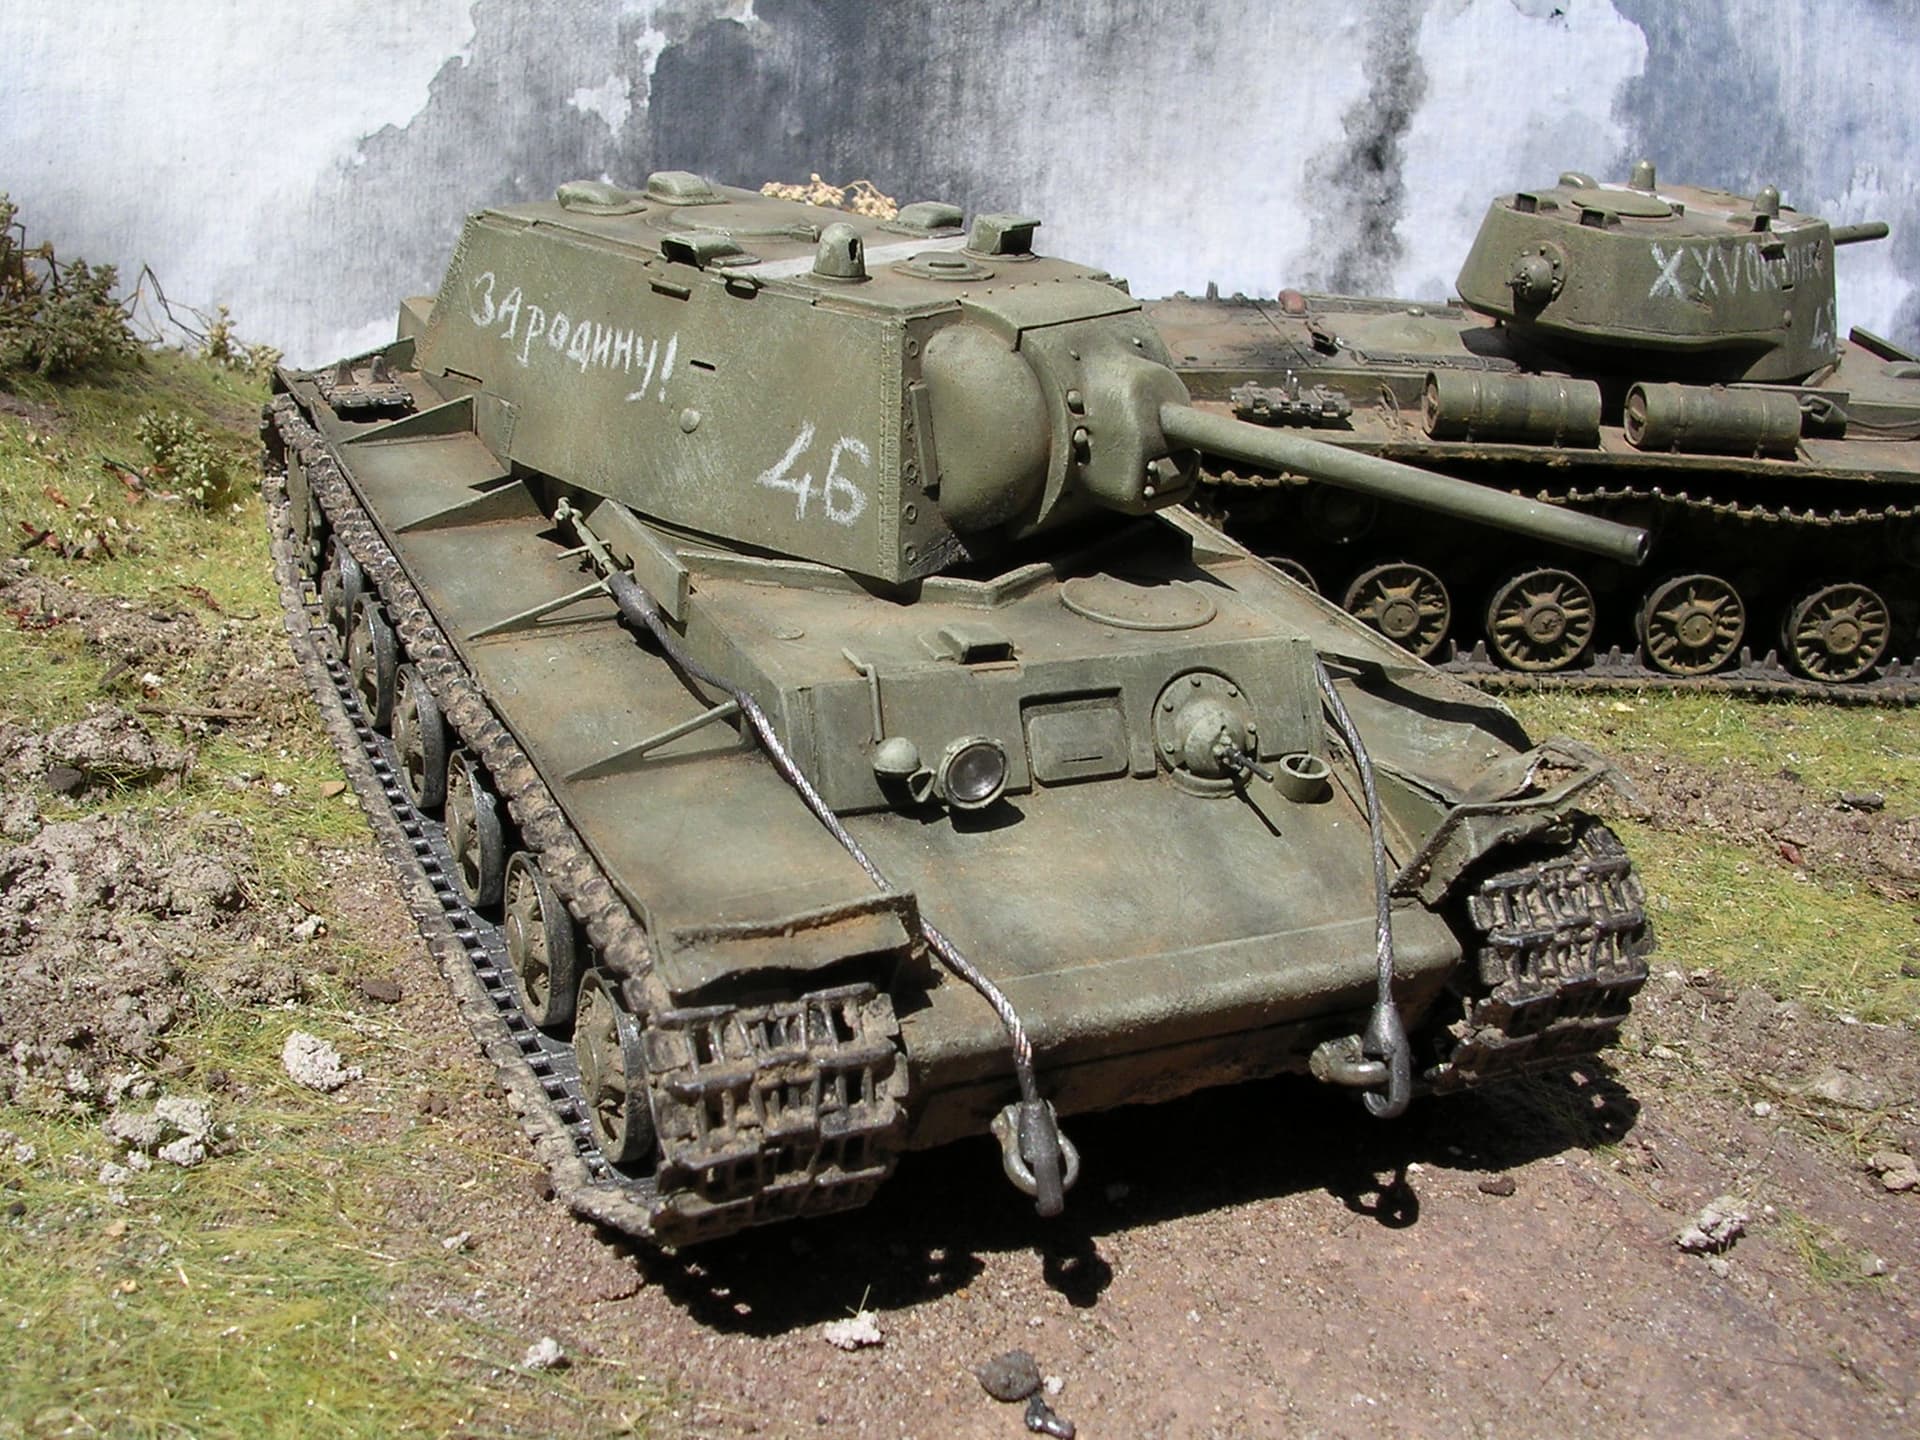
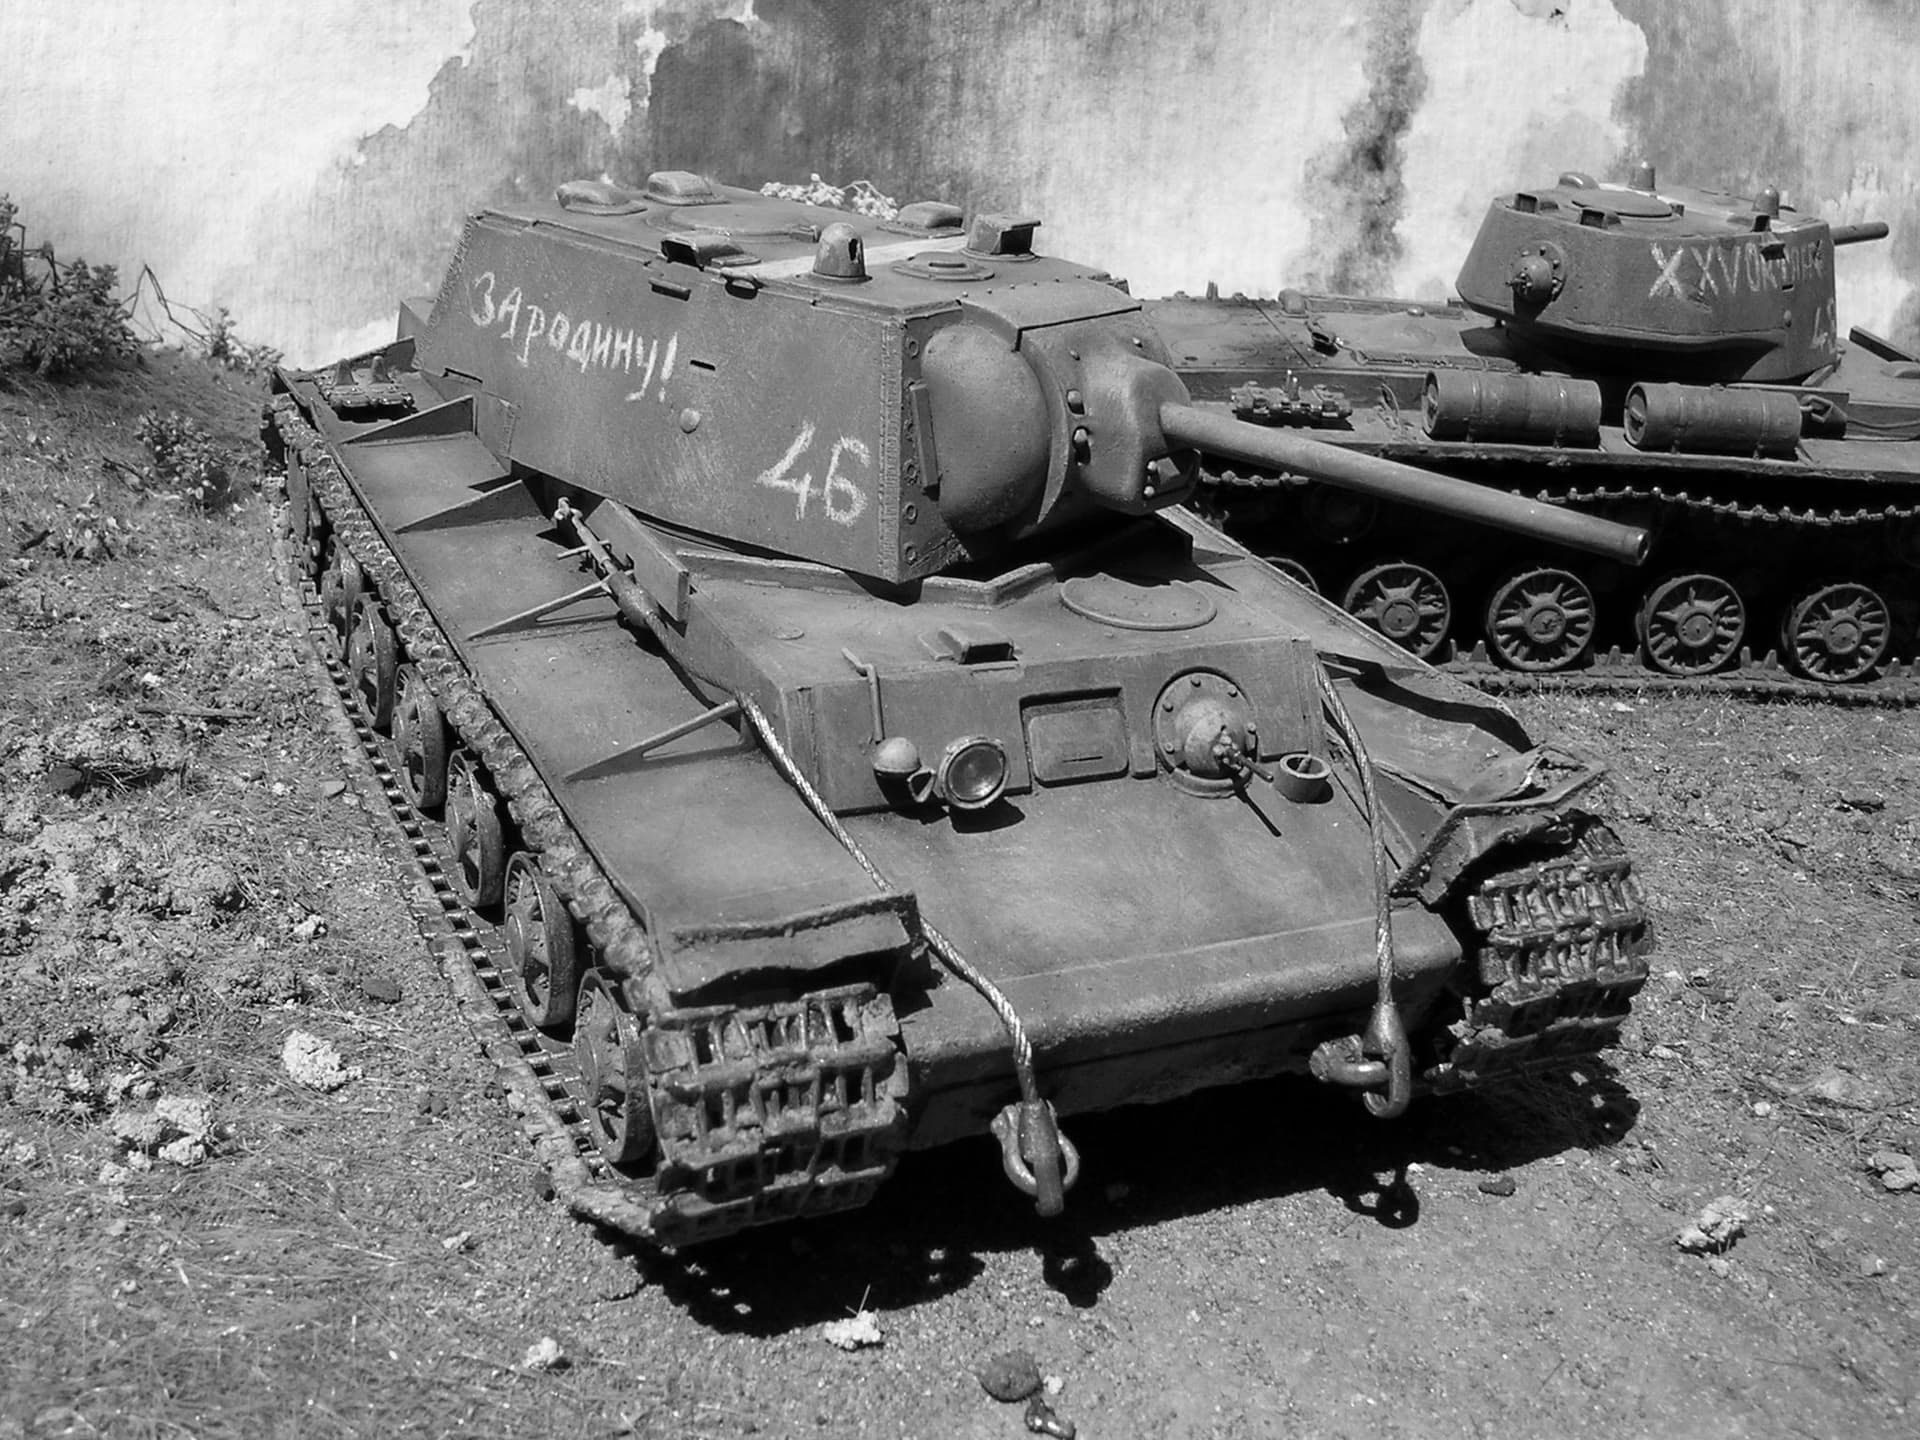
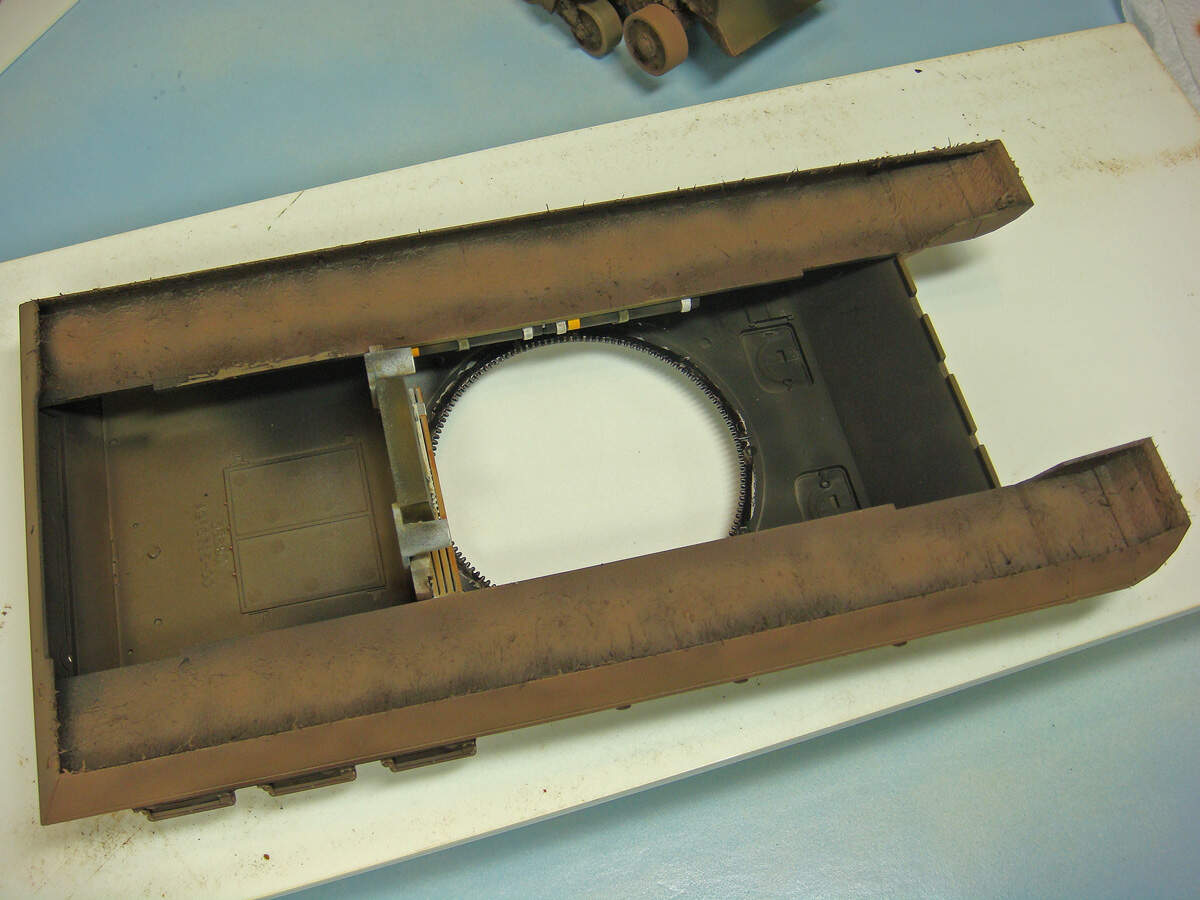
Where I am now, is working on a Trumpeter KV-1. Base coat was done with a black basing technique and a bit of post shading. I was really happy with the paint. Next I did a pin wash, followed by light dry brushing. At this stage I am pretty happy with how it looks!!


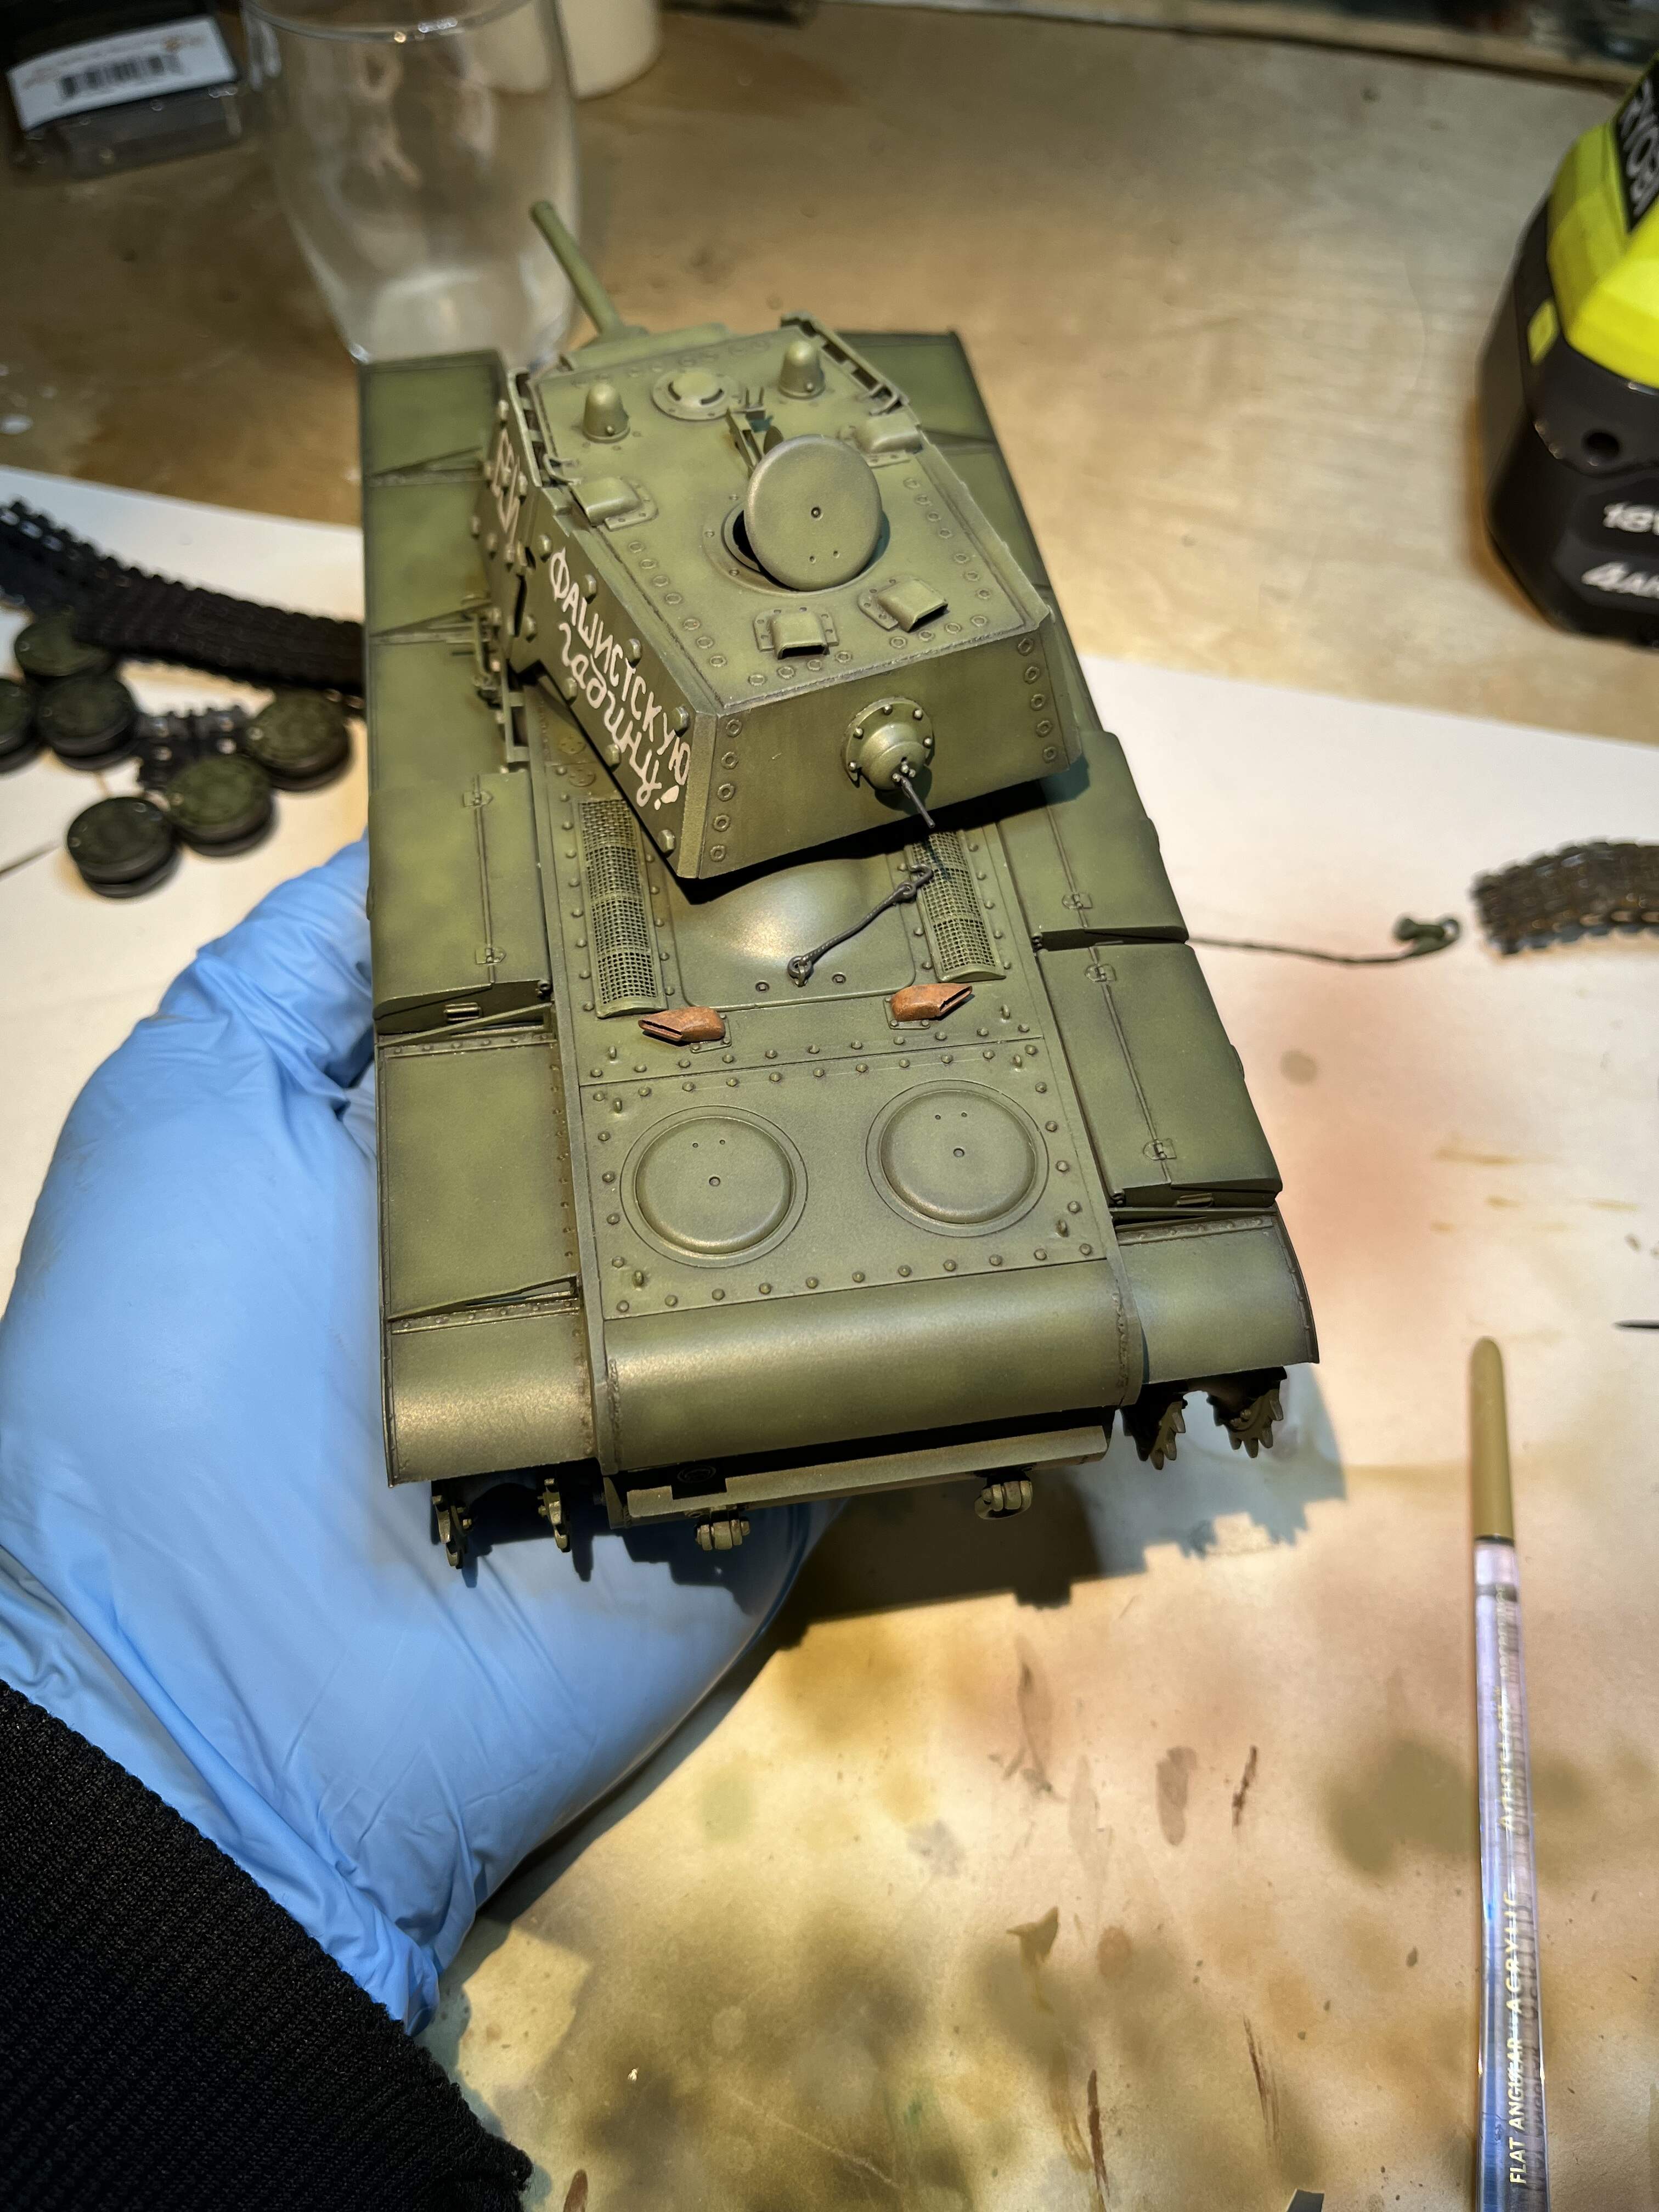
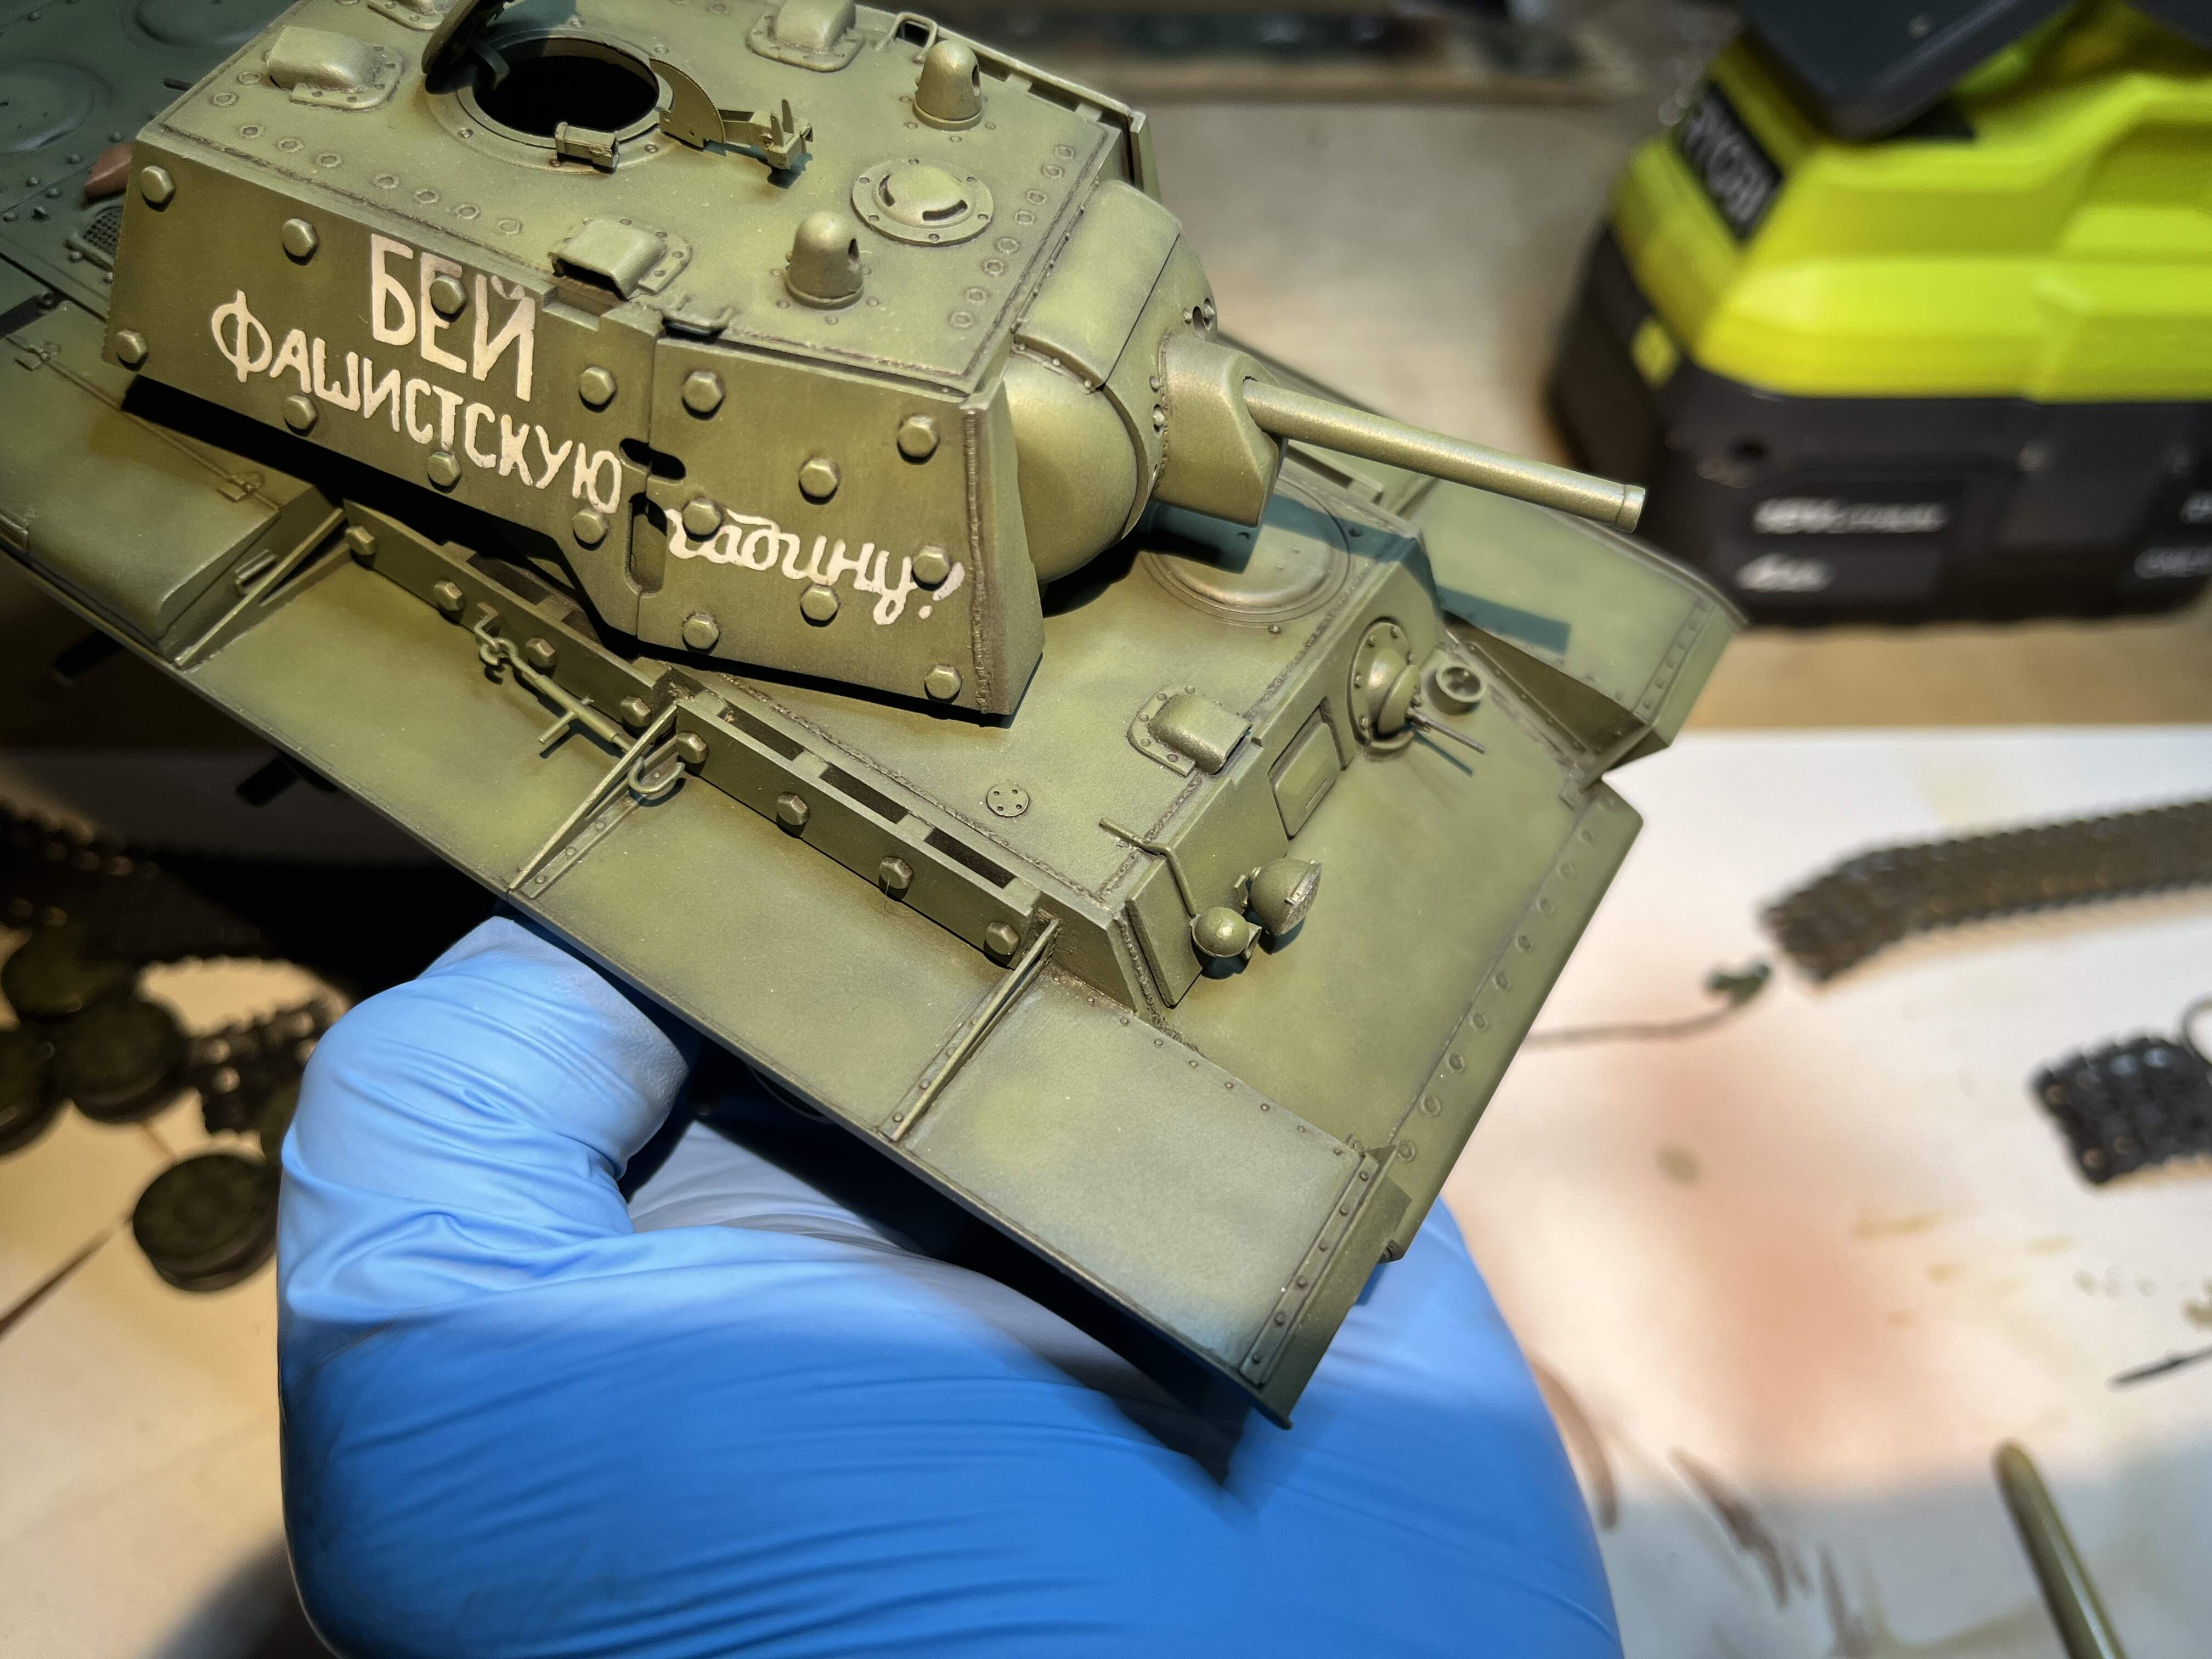
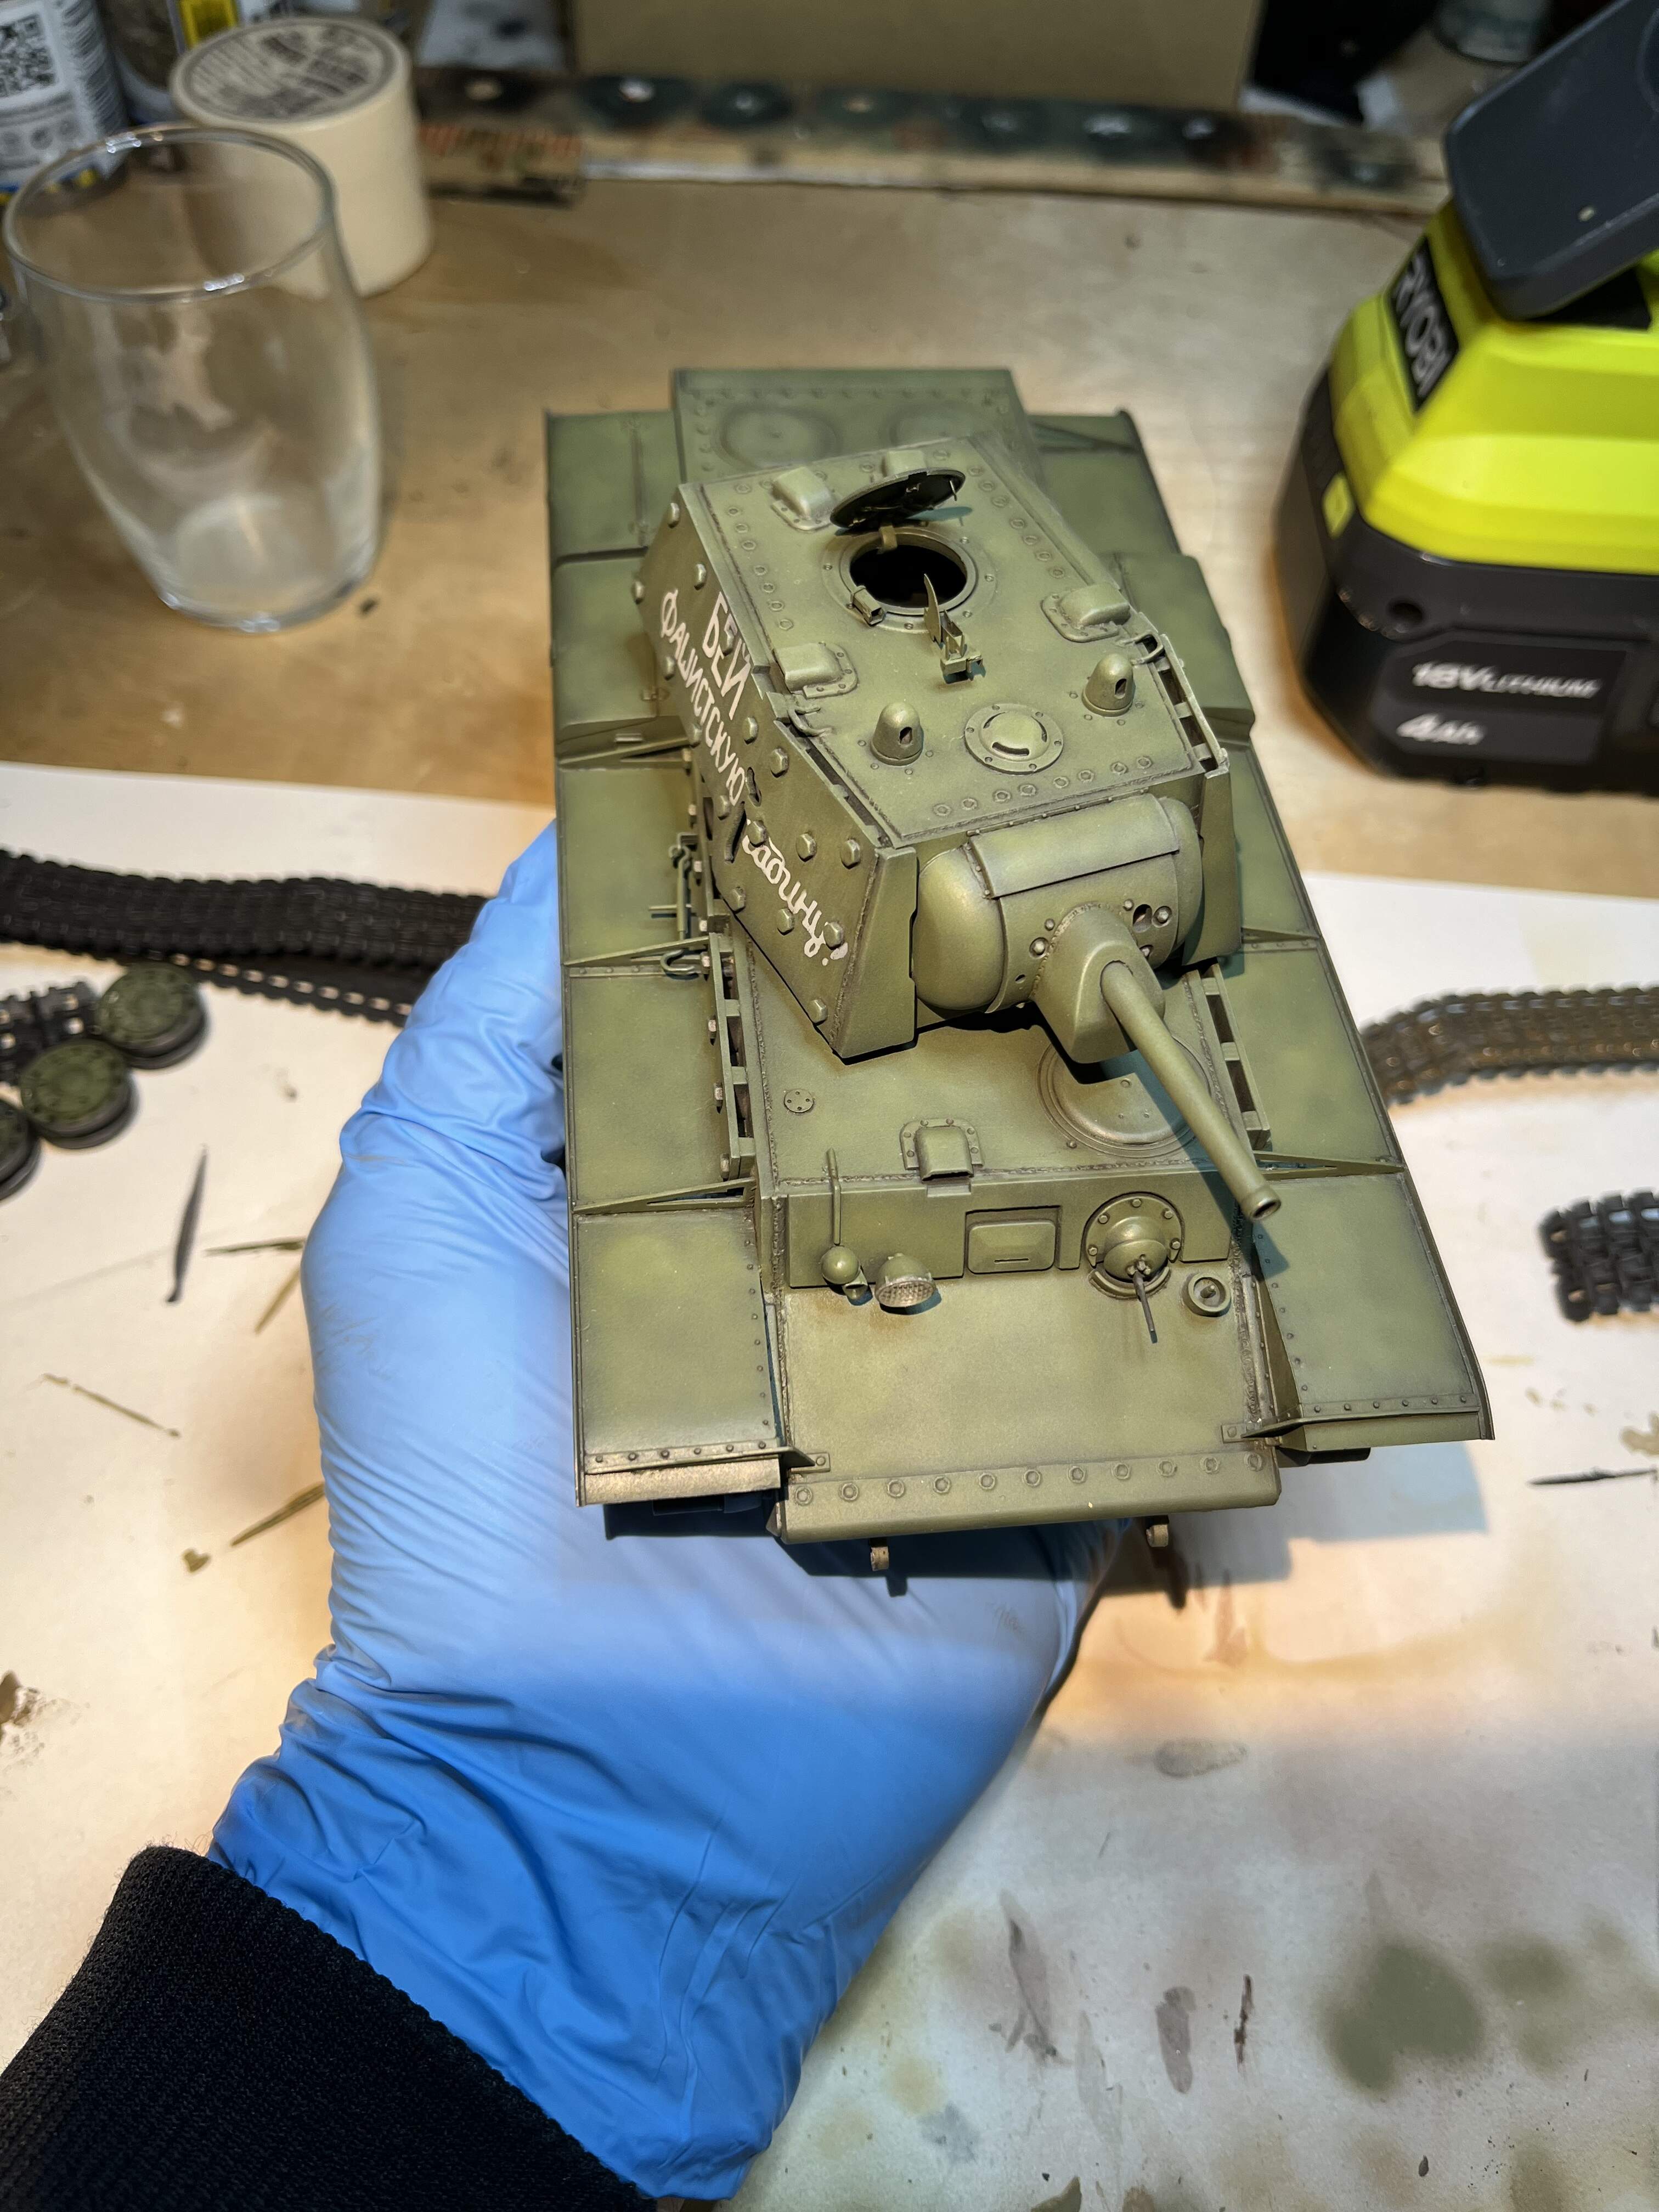
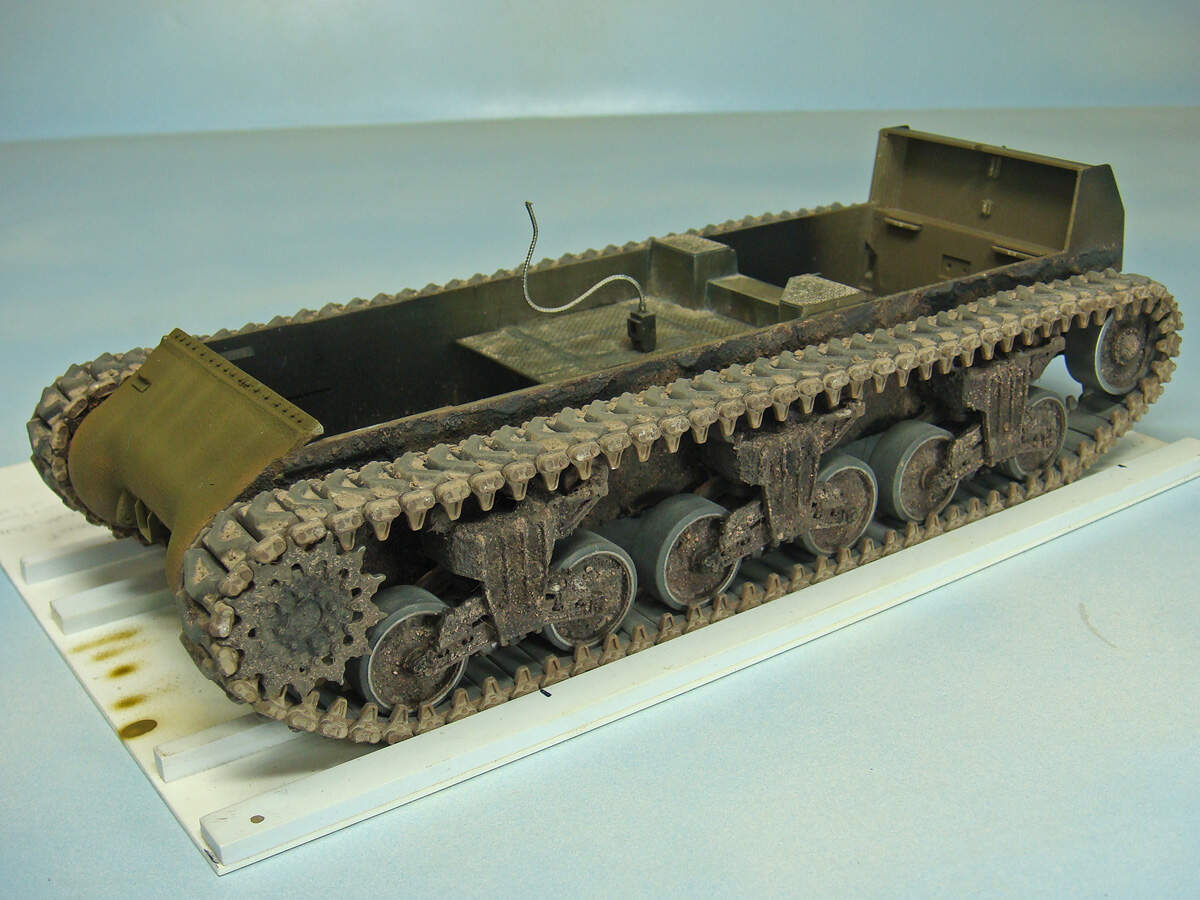
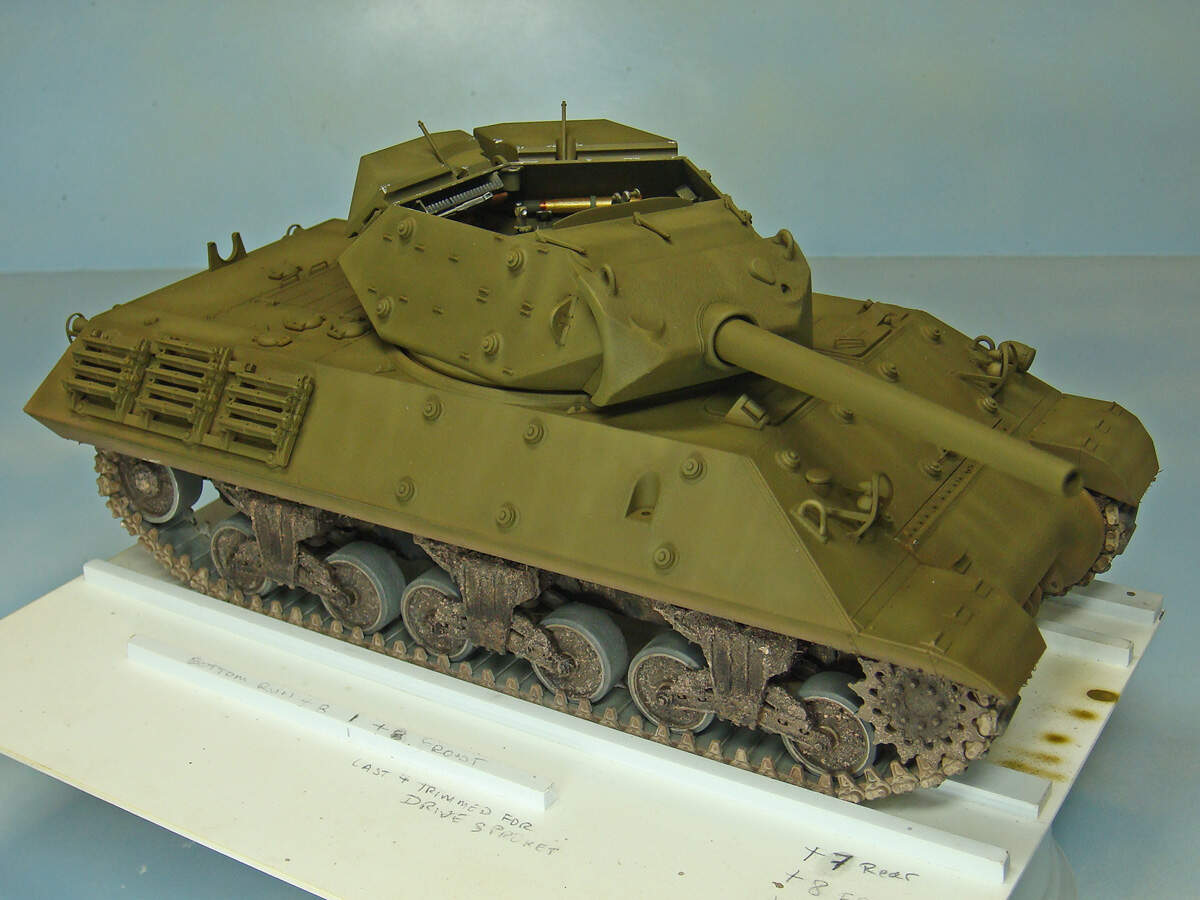
Trouble is it looks factory fresh. I plan to add exhaust stains with the airbrush. But I also want to add some weathering to the lower hull and running gear in the form of dust, old dry muddy look, dirtying up the tracks and running gear, and adding some light weathering and dust to the rest of the hull and turret.

My question is what do you typically to do to achieve this. I am looking for as much info as possible.

  1. how do you weather the lower hull/running gear? Pigments? Some other method? If pigments, do you put them on dry and blend, make a slurry with water and apply them blend, etc. looking for as much detail as possible
  2. how far up the hull/turret should expect heavier mud/splatters
  3. what technique do you use for light dust and such.

Looking for as much advice as possible. This is a weak area of mine

3 Likes

You’re right - there are as many answers as there are modellers!

Depending on how “lived-in” you want it, I’d start with a “dirt” wash on the flat surfaces (fenders, engine deck, glacis etc) to settle into the corners the way real dirt/dust would. Then I’d do some “dry-scrubbing” of a dirt/dust colour on the flat areas where you’d expect the crew to walk when getting in & out. This is similar to dry-brushing, with almost no paint on the brush, but instead of catching edges and highlights the aim is to grind in dirt on the panels themselves. (Oddly, dirt in real life tends to get rubbed off of edges and raised details…)

For the lower hull, add some dust & dried mud on the hull sides behind the wheels, pretty much scrubbing it in the whole side below the fenders. Vary the colours a bit, as more thick (thus wet) mud crust tends to be a richer darker brown than thinner more dry mud. I use a scrubbing motion with a bushy paint brush. Do the same to the lower front and rear, as well as the bottom of the hull. Then add some mud/dust washes to the wheels. You can do this process relatively lightly, and repeat it as often as needed to build up your desired effect. Then tie it together with a very thinned spray of an Earth colour to remove some of the harshness. You could also do some splattering by loading a brush and flicking it with your finger to get mud splashes.

Practice on old junk kits to get the hang of it before hitting your masterpiece!

3 Likes

If you are just looking to dust it up a bit it’s not too difficult. Couple of things to keep in mind some of which you probably already know. Lower hull and running gear get the heaviest, closer to the ground and the fenders keep the dust trapped so there is no place for it to go. Dust is usually heavier toward the rear, the dust rises as the tank moves through it. Also somewhat heavier around the drive and idler. I start with a darker color earth and gradually get lighter and lighter as I move up the tank. My first application is usually Tamiya dark earth heavily thinned, practically a filter. Turn down your pressure and work close to the surface. You will have to make repeated passes until you start to see the “color” starting to build up. Don’t worry about uniform coverage you want it to be uneven, heavier here, lighter there. Tamiya buff next using the same technique. slightly overlap the dark earth but move up the hull a bit higher. Last is deck tan. Again as before but slightly higher again. Finally, using the deck tan or buff mist an ever so light coat over the entire model. As in everything else it take practice but the curve is not too steep.

Some examples below. Hope this helps. Good luck.

9 Likes

Curious, is this scrubbing with paint or pigments?

Applied wit AB. You could also use pigment. Sometimes I use a combination of both.

2 Likes

I do it with paint. Same as dry-brushing, you load the brush with paint and then wipe almost all of it away so it only lightly adds colour if you scrub repeatedly in the same place, giving a ground-in dust effect. Be careful - any blob of paint in the bristles will come out as a streak of paint!

I do sometimes also use pigments, but prefer paint since it won’t rub off.

Heresy warning: I didn’t use an AB at all, brush all the way – it’s a long time since I built these but from memory (and usual MO) it was:

Undercoat of Humbrol steel enamel, followed by cheap artists’ acrylic green mixed with Tamiya Flat base, it goes on just fine with 2 thinnish coats. Next coat was slightly lighter green patches fairly randomly, then a dilute dark grey wash concentrating around joints. The markings were done with a very sharp white Derwent crayon, deliberately amateurish as photo-refs confirm. Finally several shades of chalk, finely scraped as a powder from pastel sticks & applied with a soft brush – browns, blacks, light greys, some places scrubbed in hard with a short stiff bristle brush to rough up the paintwork & even expose the steel if required. Track mud was domestic-grade paste filler mixed with kids’ powder paint, thick but then diluted/brushed down with a very wet brush to taste.

The other anti-factory-fresh measures are dings & dents – front portside fender kit part was replaced with tin foil duly crumpled, tweezers or small pliers used to (gently) bend other fenders :tumbler_glass:

8 Likes

If you remove the color, you get a very good retro photo! Great job!

Thanks for the pleasure.

5 Likes

I think your KV-1 looks fantastic! I ageee with everyone’s suggestions here; and they have all offered some excellent examples. Excellent in that none of them are “over-done”. Subtlety is key. My personal opinion is that many tend to take weathering too far (the so-called Spanish school, etc). The old adage, in model railroading at least (where I have the most experience) is that just when you think you need to make one more pass - don’t! Stop and take a look. It’s far easier to add more than to subtract too much. Again, your KV-1 is gorgeous; yes a little dust and mud may be nice. But don’t beat yourself up. Just my humble opinion :slight_smile:

Jimbo

Thank you kindly!

That is my biggest concern! I am quite happy with how it looks now, and don’t want to ruin it

1 Like

Anyone remember Pactra Weather? I loved that stuff.

Recently found a bottle about a third full from when I was a kid.

Wish they still made it.

I think your model looks great. Very nice finish on it . One can really see the small details from your washes etc. Looks very much like the way I finish my armor. You could go a little further with the dust application or mud but that’s your choice. I tend to heavily weather my armor most of the time.

Thank you! I appreciate it! I am really trying to get better at the next stage of dust, mud and wear and tear

What techniques to use for this?

Mead have you ever tried oil dot filters? This technique is very effective on tanks like the KV-1, where you have one color and big slab surfaces. It can enhance the depth of the finish and the visual appeal of the model greatly. I’m sure you have read about this technique and are familiar with it. Practice it on a paint mule until you get it just right before moving on your KV. Unlike a lot of other experienced modelers, I like to do my oil dot filters one color at a time. This gives me more control over which way shades are shifting and what tones are created, and also prevents everything ending up in a grey mess. If you don’t know this technique, I can explain it.
Also, for my finishing touch, I love working with pigments. Don’t use paintbrushes. Go to CVS and pick up a set of makeup brushes. I like to slap pigments everywhere below the fender line, then lighter on the upper surfaces. Rust pigments for the mufflers, black soot for exhaust stains. You can really do a lot very easily with pigments and if you don’t go too fast, get excellent results. Pigment fixers ruin the dusty result of pigments. Put your model on a simple base so that nobody touches it.

3 Likes

I actually did some oil filtering in the turret sides to fade the markings, it’s subtle but I think it shows here

I’ve shied away from it because as you say it always ended up in a grey/brown mess. Interesting thought to try one color at a time!

For the pigments. Do you use like the makeup sponge type brushes? I’ve tried pigments with a paint brush but most of it flies off as dust. Maybe makeup brushes would be the answe

5 Likes

No, sponges are no good. I went into the girlie section and bought actual makeup brushes and they work fantastic for pigments.

3 Likes

I’d suggest that for your next project you should start thinking about how you want the finished build to look BEFORE you even start assembly. I believe that a lot of modelers get themselves into a bind because they divide “finish” from “weathering” and view these ideas as two separate concepts. The truth is that finishing is a spectrum that runs from bare plastic on one end and stops at some point of your choosing on the other. “Weathering” steps are really just different finishing steps made along the way.

I’d suggest that you begin your “weathering” even before you start painting by devising a finishing plan to achieve your final vision for the build. Work backwards from that final vision, step by step, all the way back to the unassembled kit as it sits in the box before you.

So, for example, the best way to begin to add 3D weathering textures to the lower hull and suspension might be during actual assembly as those areas are most accessible. The materials used might be various uncolored acrylic texture mediums mixed with perhaps additional static grass and fine grit. The start of your “weathering” colors might be airbrushing earth tones on the lower hull and suspension that are blended into subsequent factory base colors.

You might find that your best results come from almost completely finishing the lower hull and suspension before you complete construction of the upper hull and turret. For instance, with link-and-length or link-to-link plastic track that must be glued together and formed around the suspension, you might find that the best time to finish - including wear and “weathering” - the track runs is before you install them on the suspension, and in your visualizing the progress of the build, you have anticipated that installing the track runs must be done before the upper hull is permanently joined to the lower hull. Therefore, in your backwards planned finishing scheme, you have noted these steps and incorporate them into the build itself.

The variations and permutations are essentially endless.

In this build that you have shown us, you have started to look at the “finish-weathering” process as a whole rather than as separate processes. For your next project, you take the next leap and start at the very beginning with a vision and plan for the final, desired look.

Here’s an example of what I’m trying to describe here. The “weathering” is not done as a separate and subsequent stage to the overall finishing, but rather it is viewed as an integral part of the overall finish process. The finishing progresses in parallel with the construction and moves towards a vision of the desired final look, a vision that formed the goal and established the plan to achieve that goal.

7 Likes

And I have a similar one!
The main thing here is either to immediately confess to your wife (Be careful! She knows the exact prices for this product) or hide it until death.

5 Likes

Really good point @SdAufKla. I’d been thinking about that a bit last week. It’s a tough one to figure out.

Mike, I have to ask - what’s with the wire sticking up from the slip-ring box on the floor of your excellent M10?

1 Like