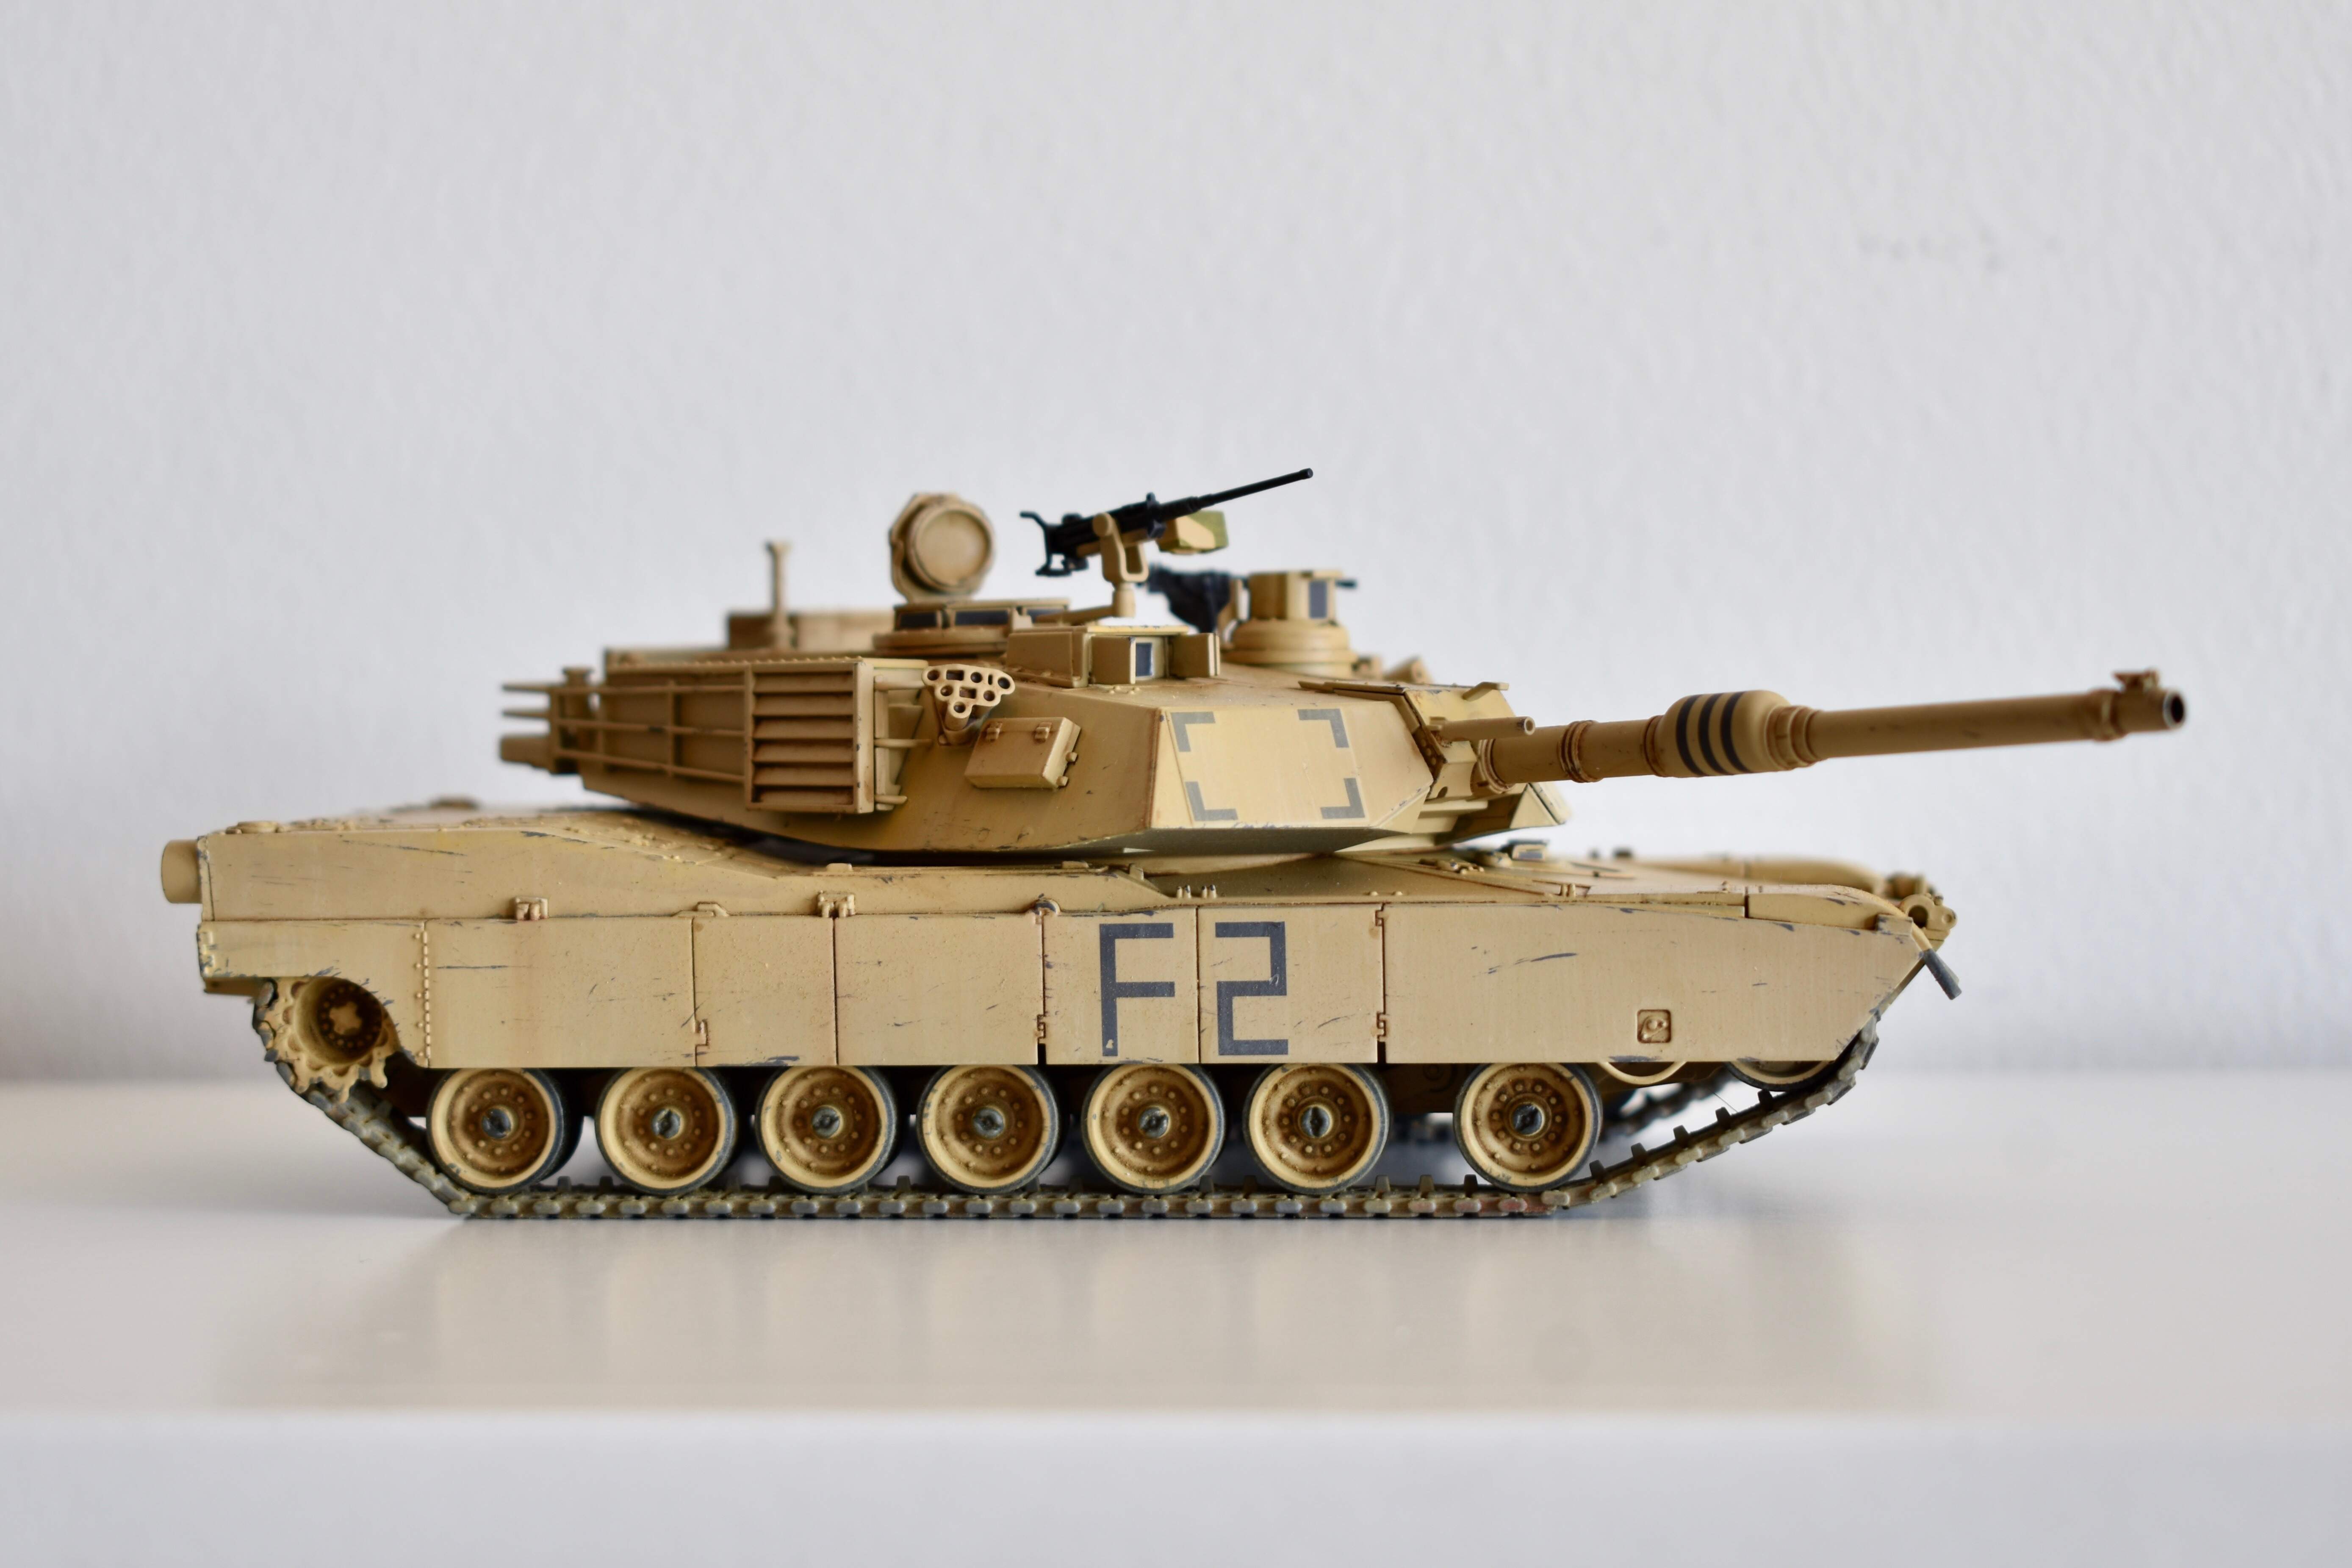
Finally got some better pics of Tamiya’s 1/48 M1 Abrams. Took awhile to finish…about 4 years with big gaps. It’s my first tank in about 10yrs.
Very interested in any feedback or criticism. This was my second attempt at oil dot filters (or whatever they’re called now) and I’m not quite there on controlling the process. Used white, umber, sienna, and yellow ochre.
What are some areas for improvement?
20 Likes
Really nice rendition. 1/48 can be tricky to get a finish just right and you have done well. You avoided the ‘too much’ oil paint in the dot filter and did not end up with an over done effect - highly commendable.
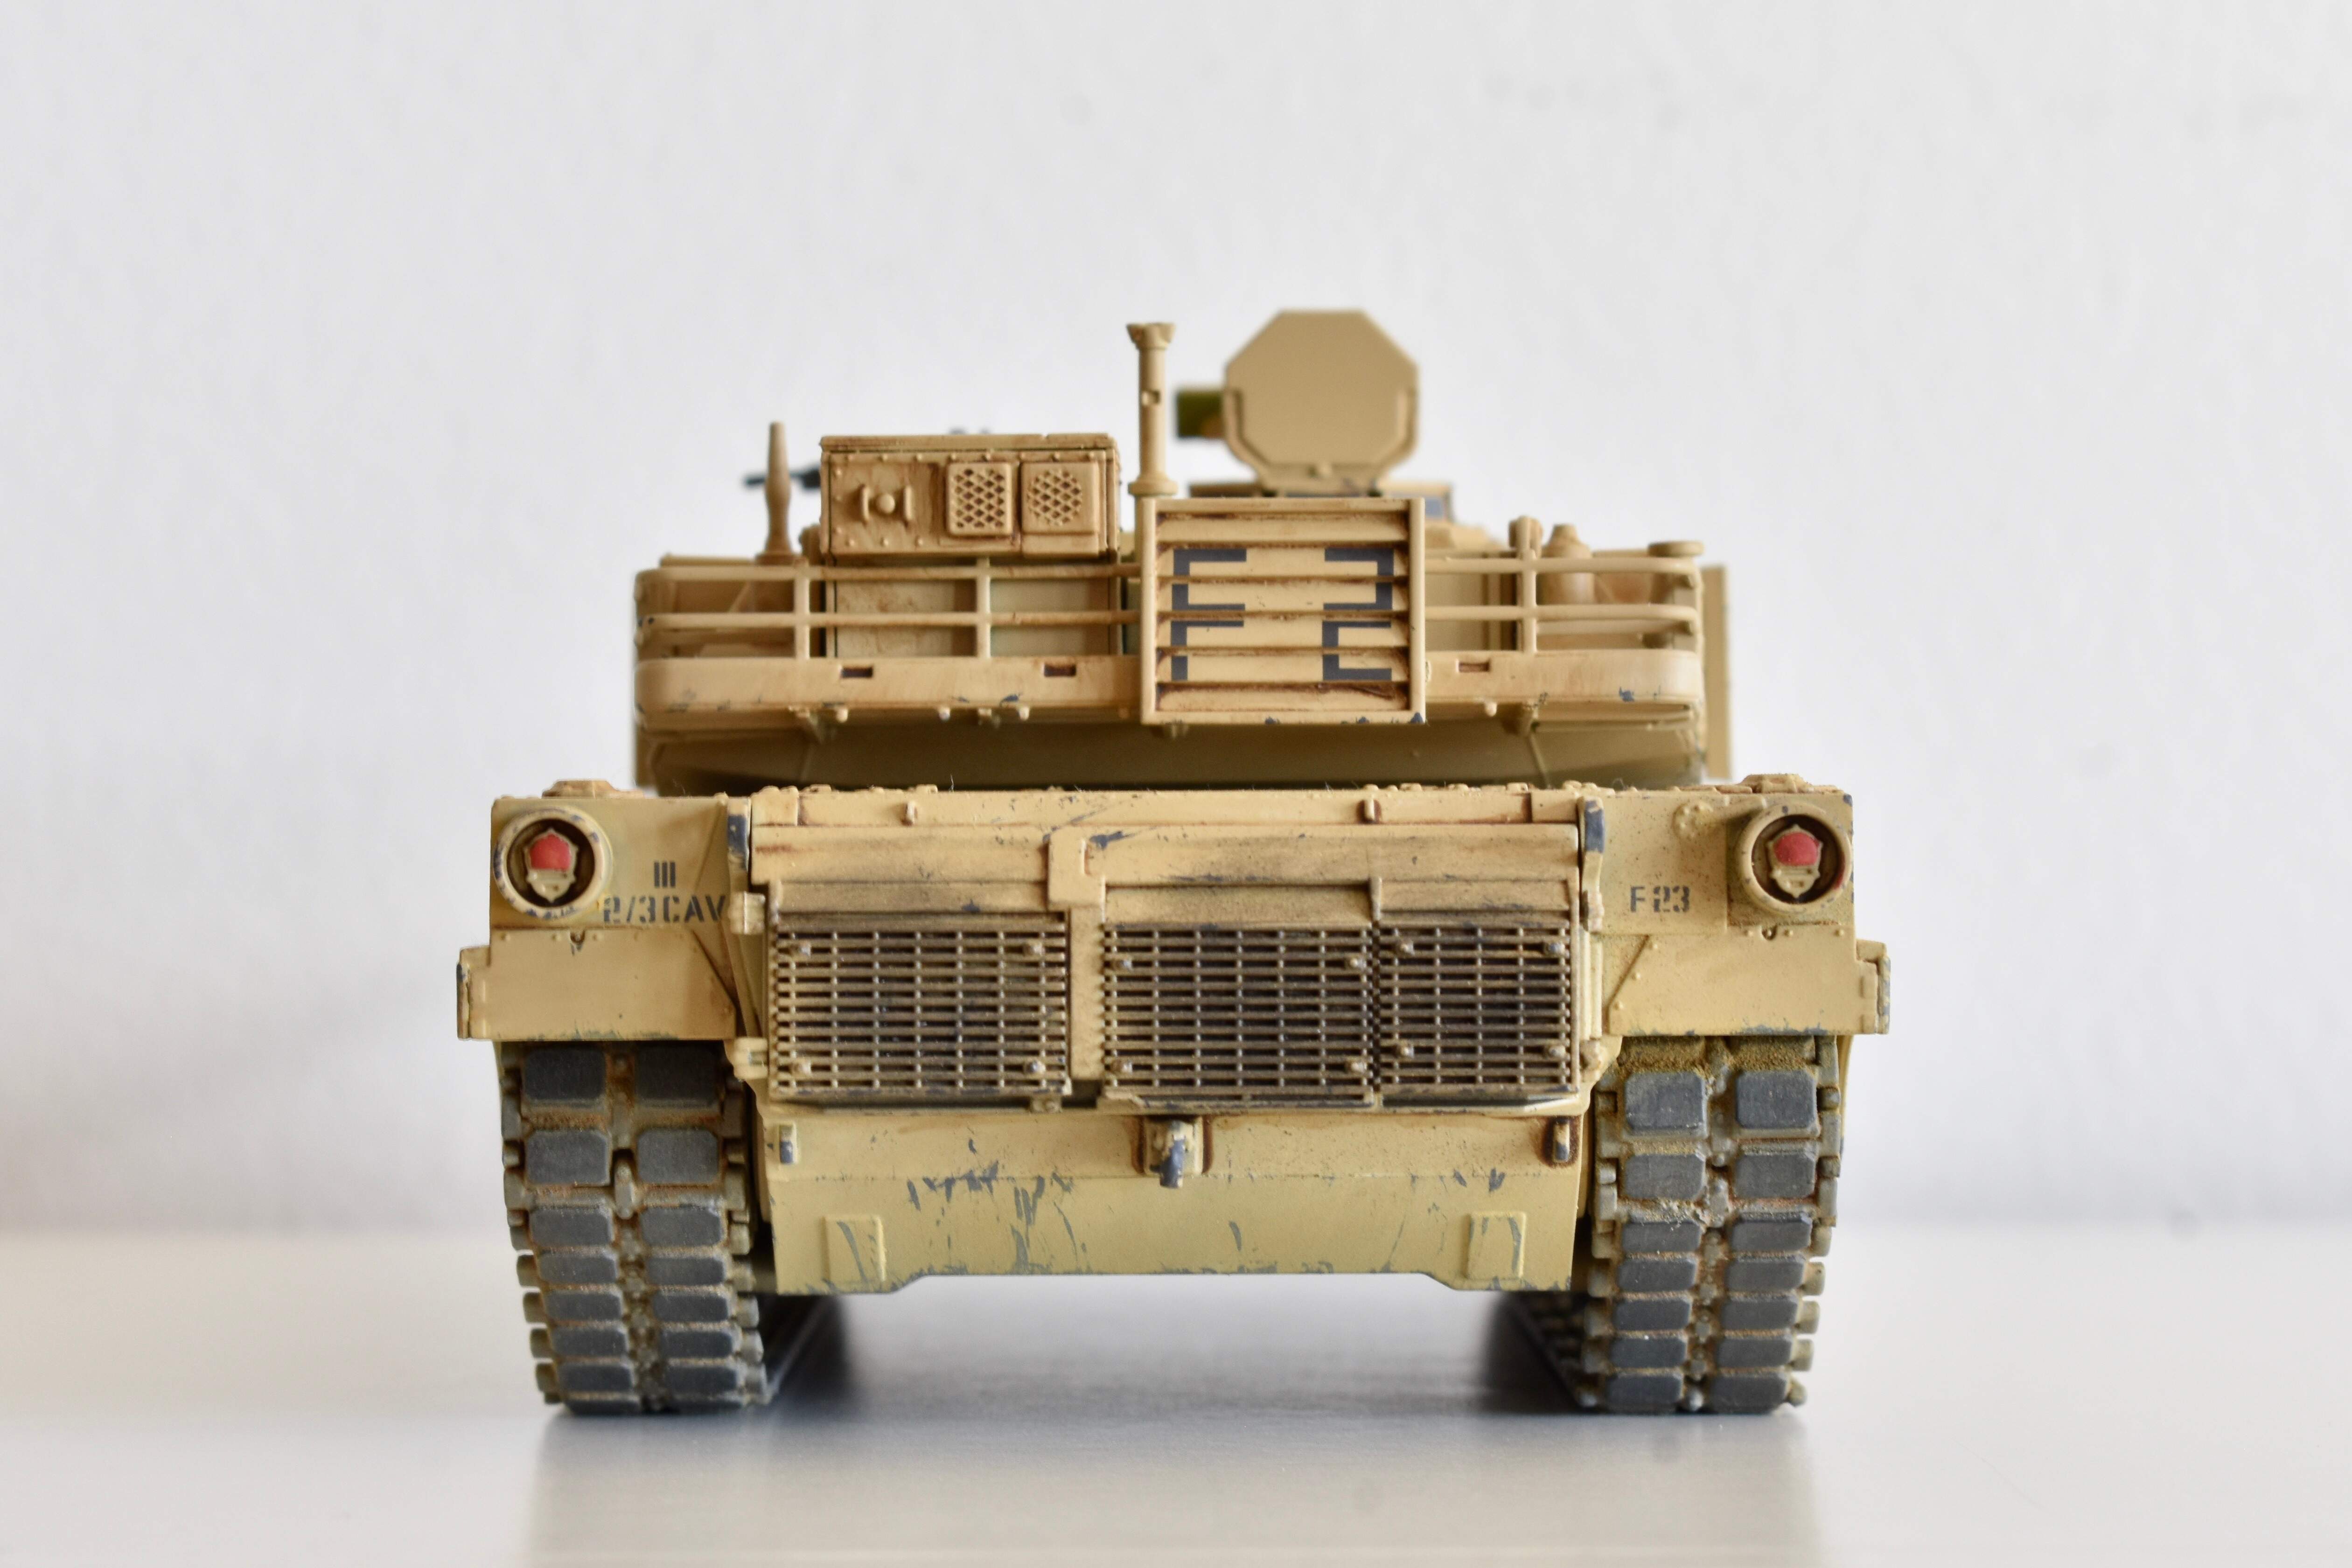
One thing - the peril of having pics way bigger than the actual model - Headlight colour bleed:
One trick I use to overcome this is to use acrylics. Moisten the head light lens with a little water to break tension. Thin your lens colour to make a filmy wash. Dab that on the lens and let capillary action draw the paint into the groove where lens meets housing. You may need to do it a couple of times, allowing to dry between each. Then paint the centre of the lens. This also limits the colour being painted on the housing wall too. Maybe make them a tad darker too and add a semi-gloss clear to make them look like glass (Gloss has a tendancy to be too much in the smaller scales).
8 Likes
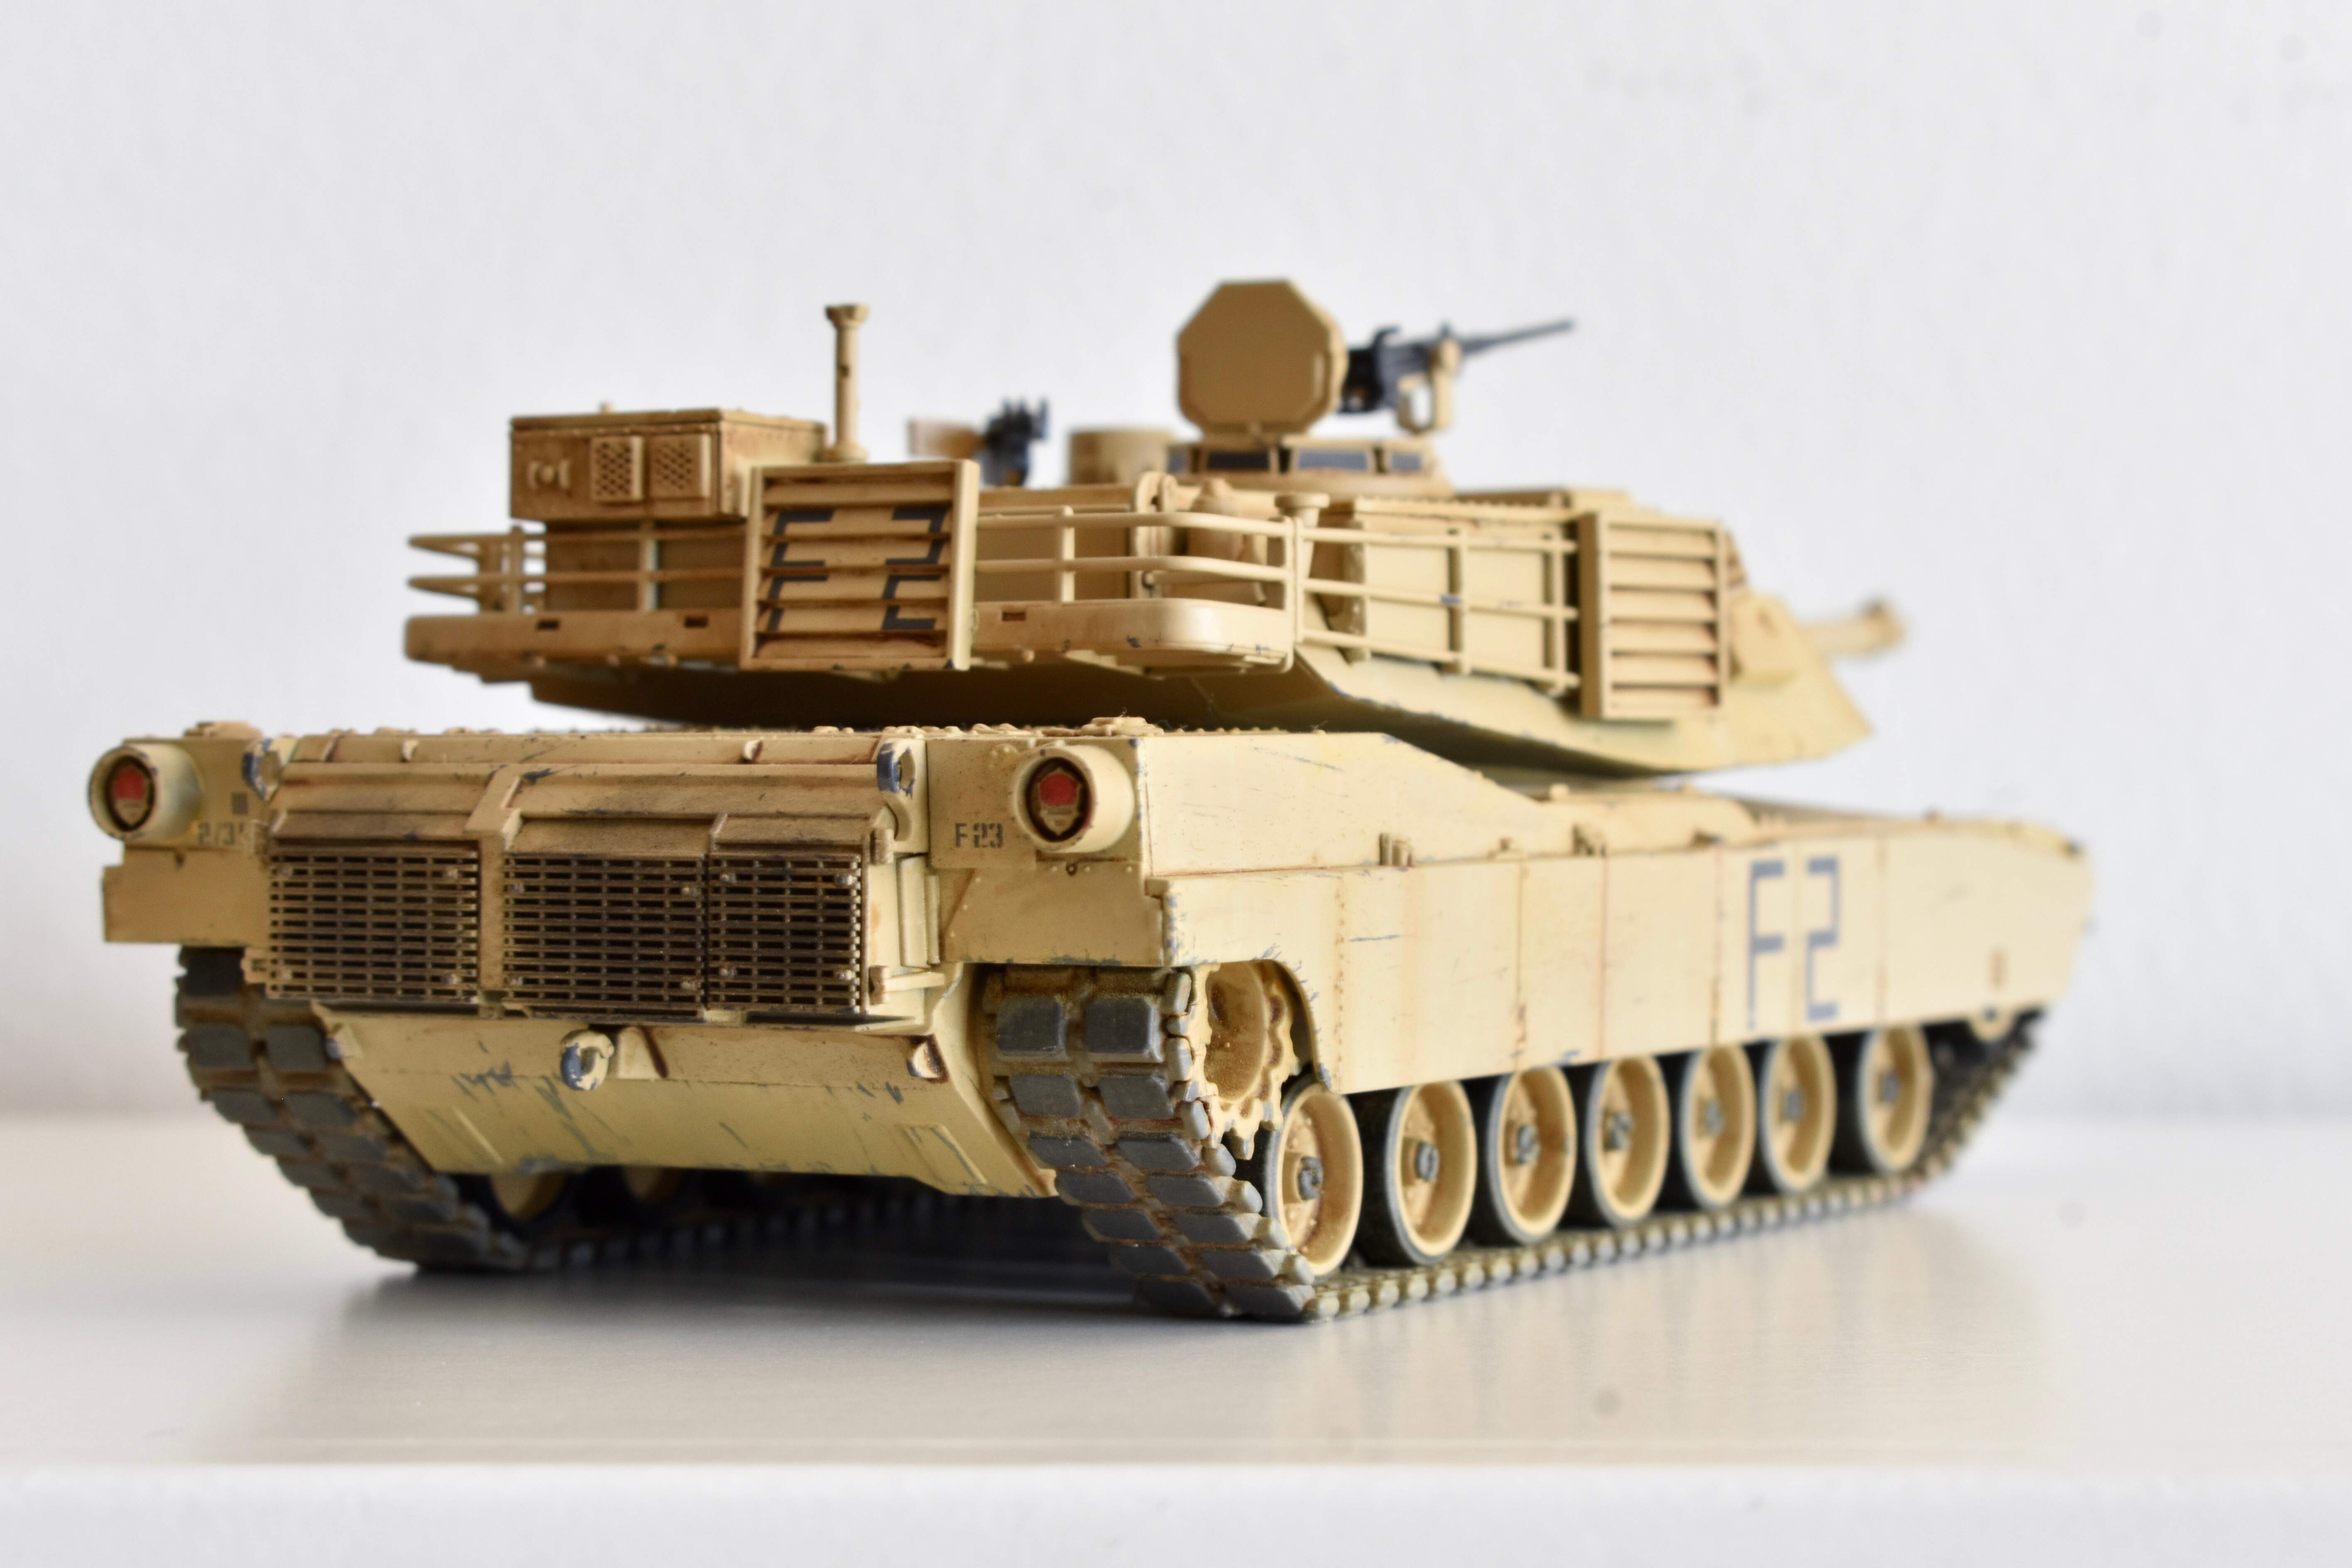
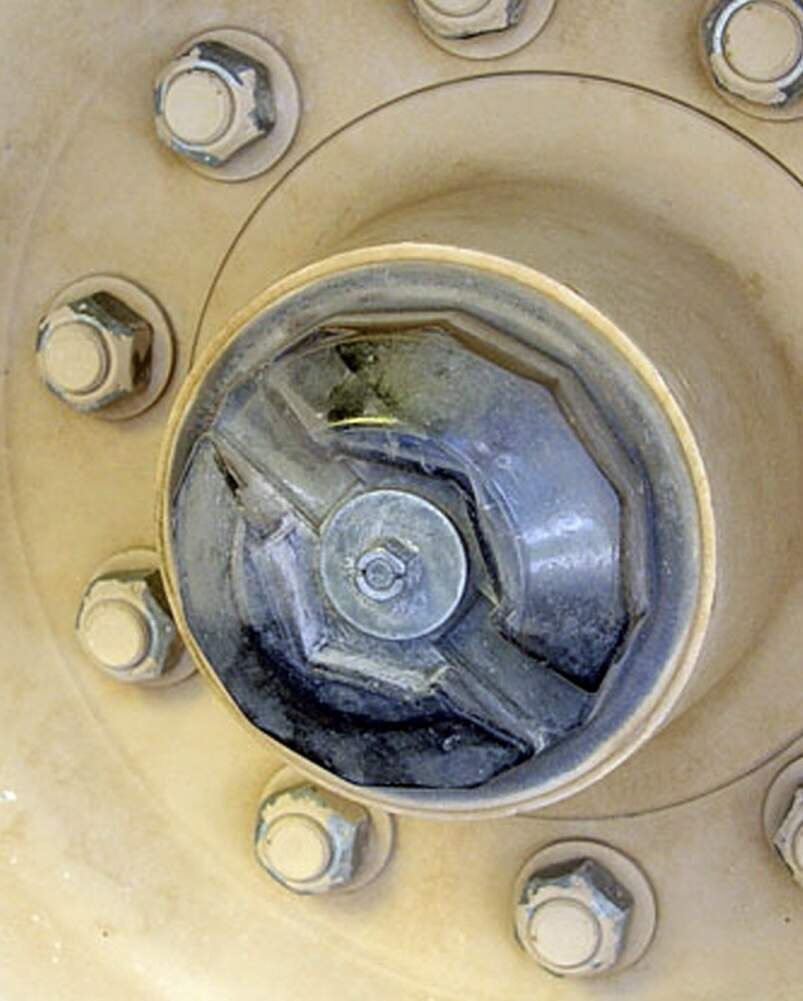
Overall I like what you have done. Another thing to try on your next Abrams, is the plastic wheel hubs. Should be only painted half way or two different dark colors and be shiny or semi gloss.
6 Likes
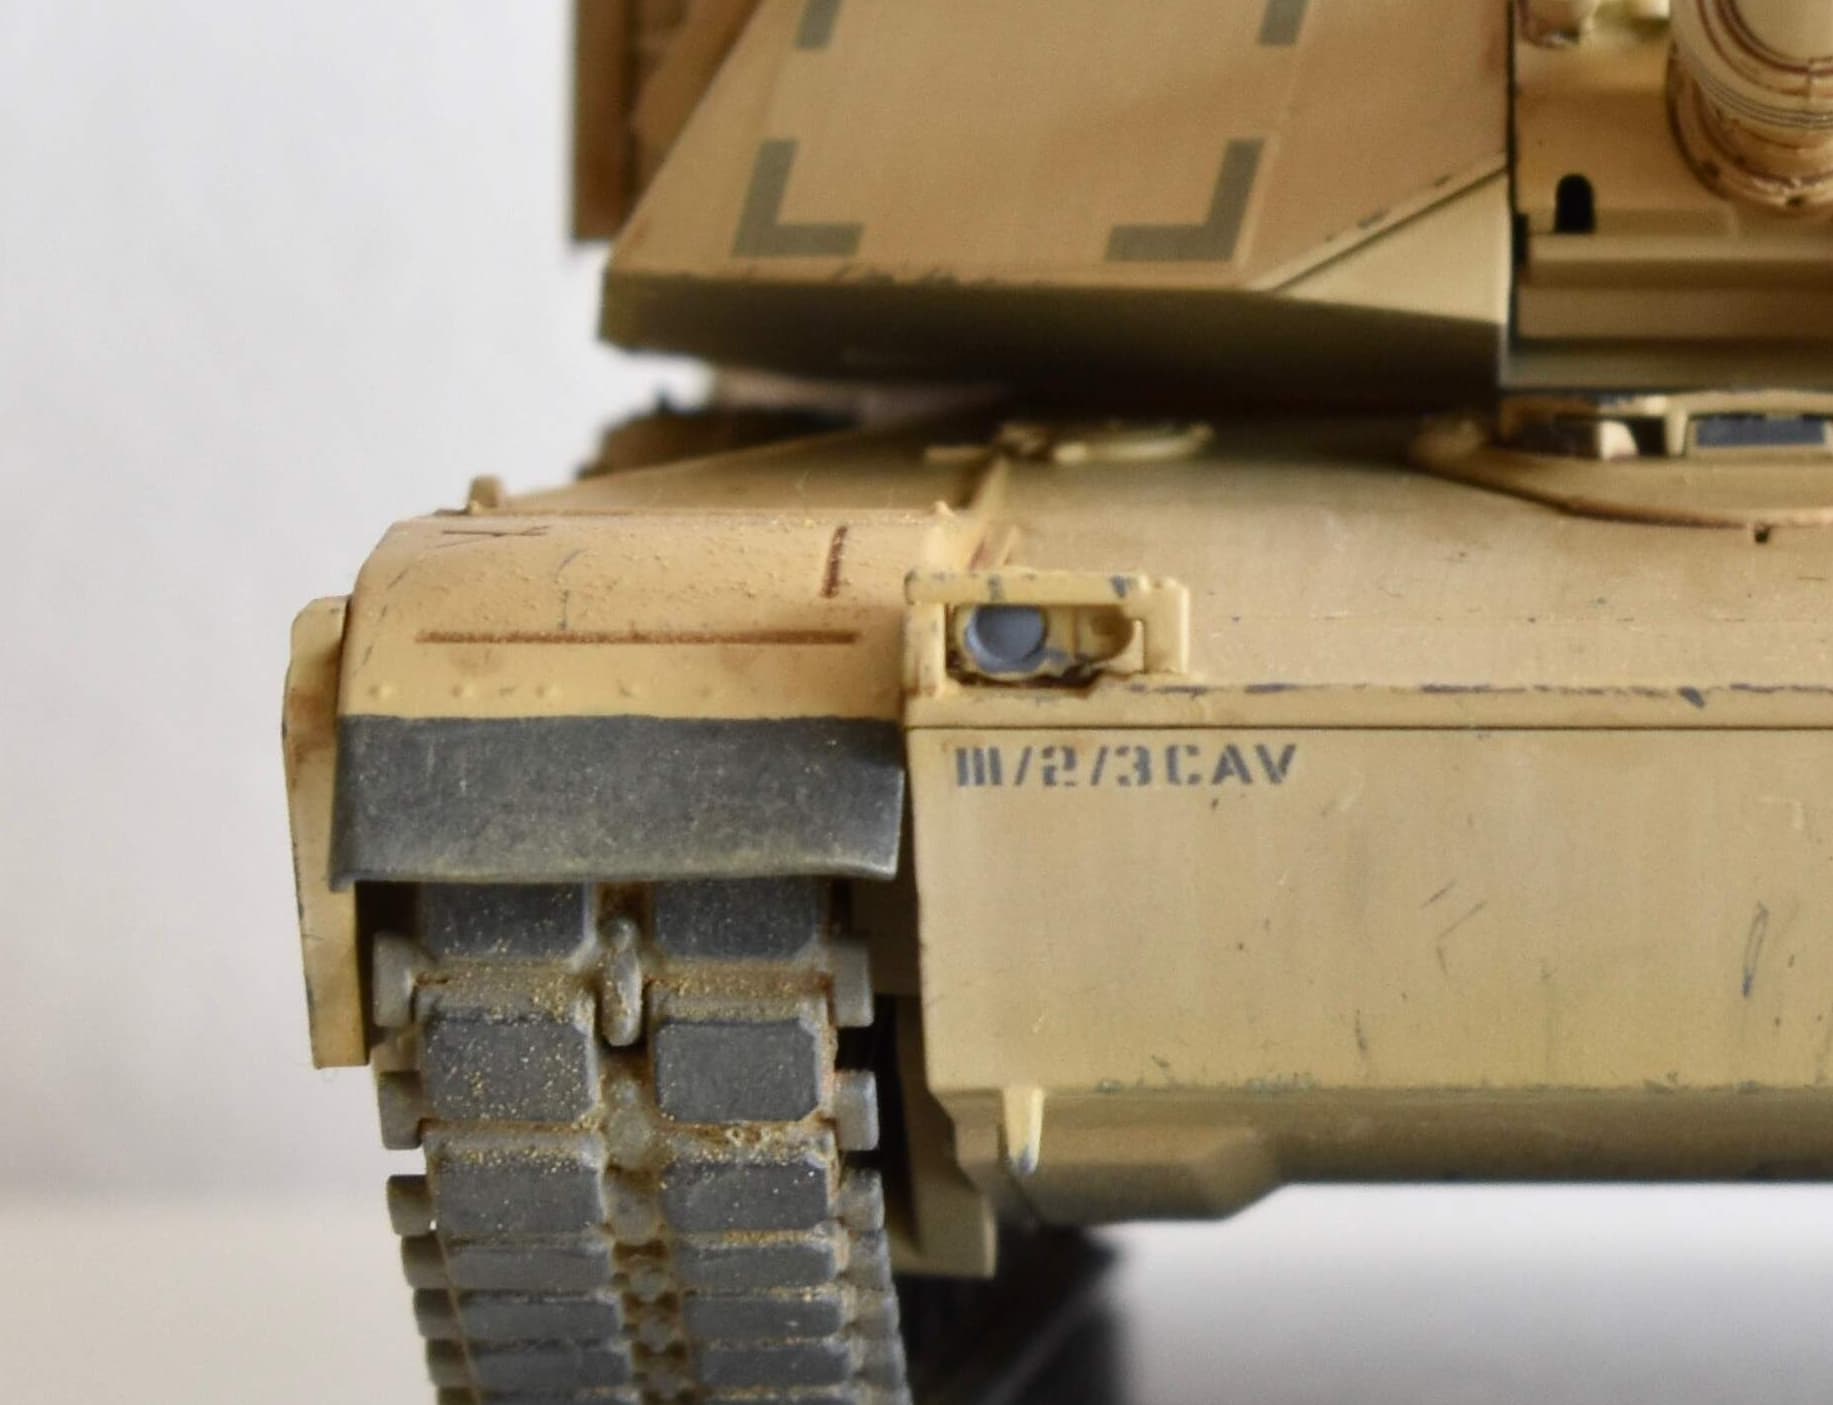
Well Spit I’ve spent a few minutes trying to find something not up to par on your little General but the only thing I see missing is Muhamed Al Rag Head surrendering to the mighty American army. The “F 2” decal on the turret rear came out very nice and considering the scale I’d have to say well done lad. Your subtle use of weathering gets an “A”, I sometimes don’t know when to stop. 
Cajun 
6 Likes
Very well done! Unfortunately 1/48 scale subjects don’t seem get the attention here that they deserve.
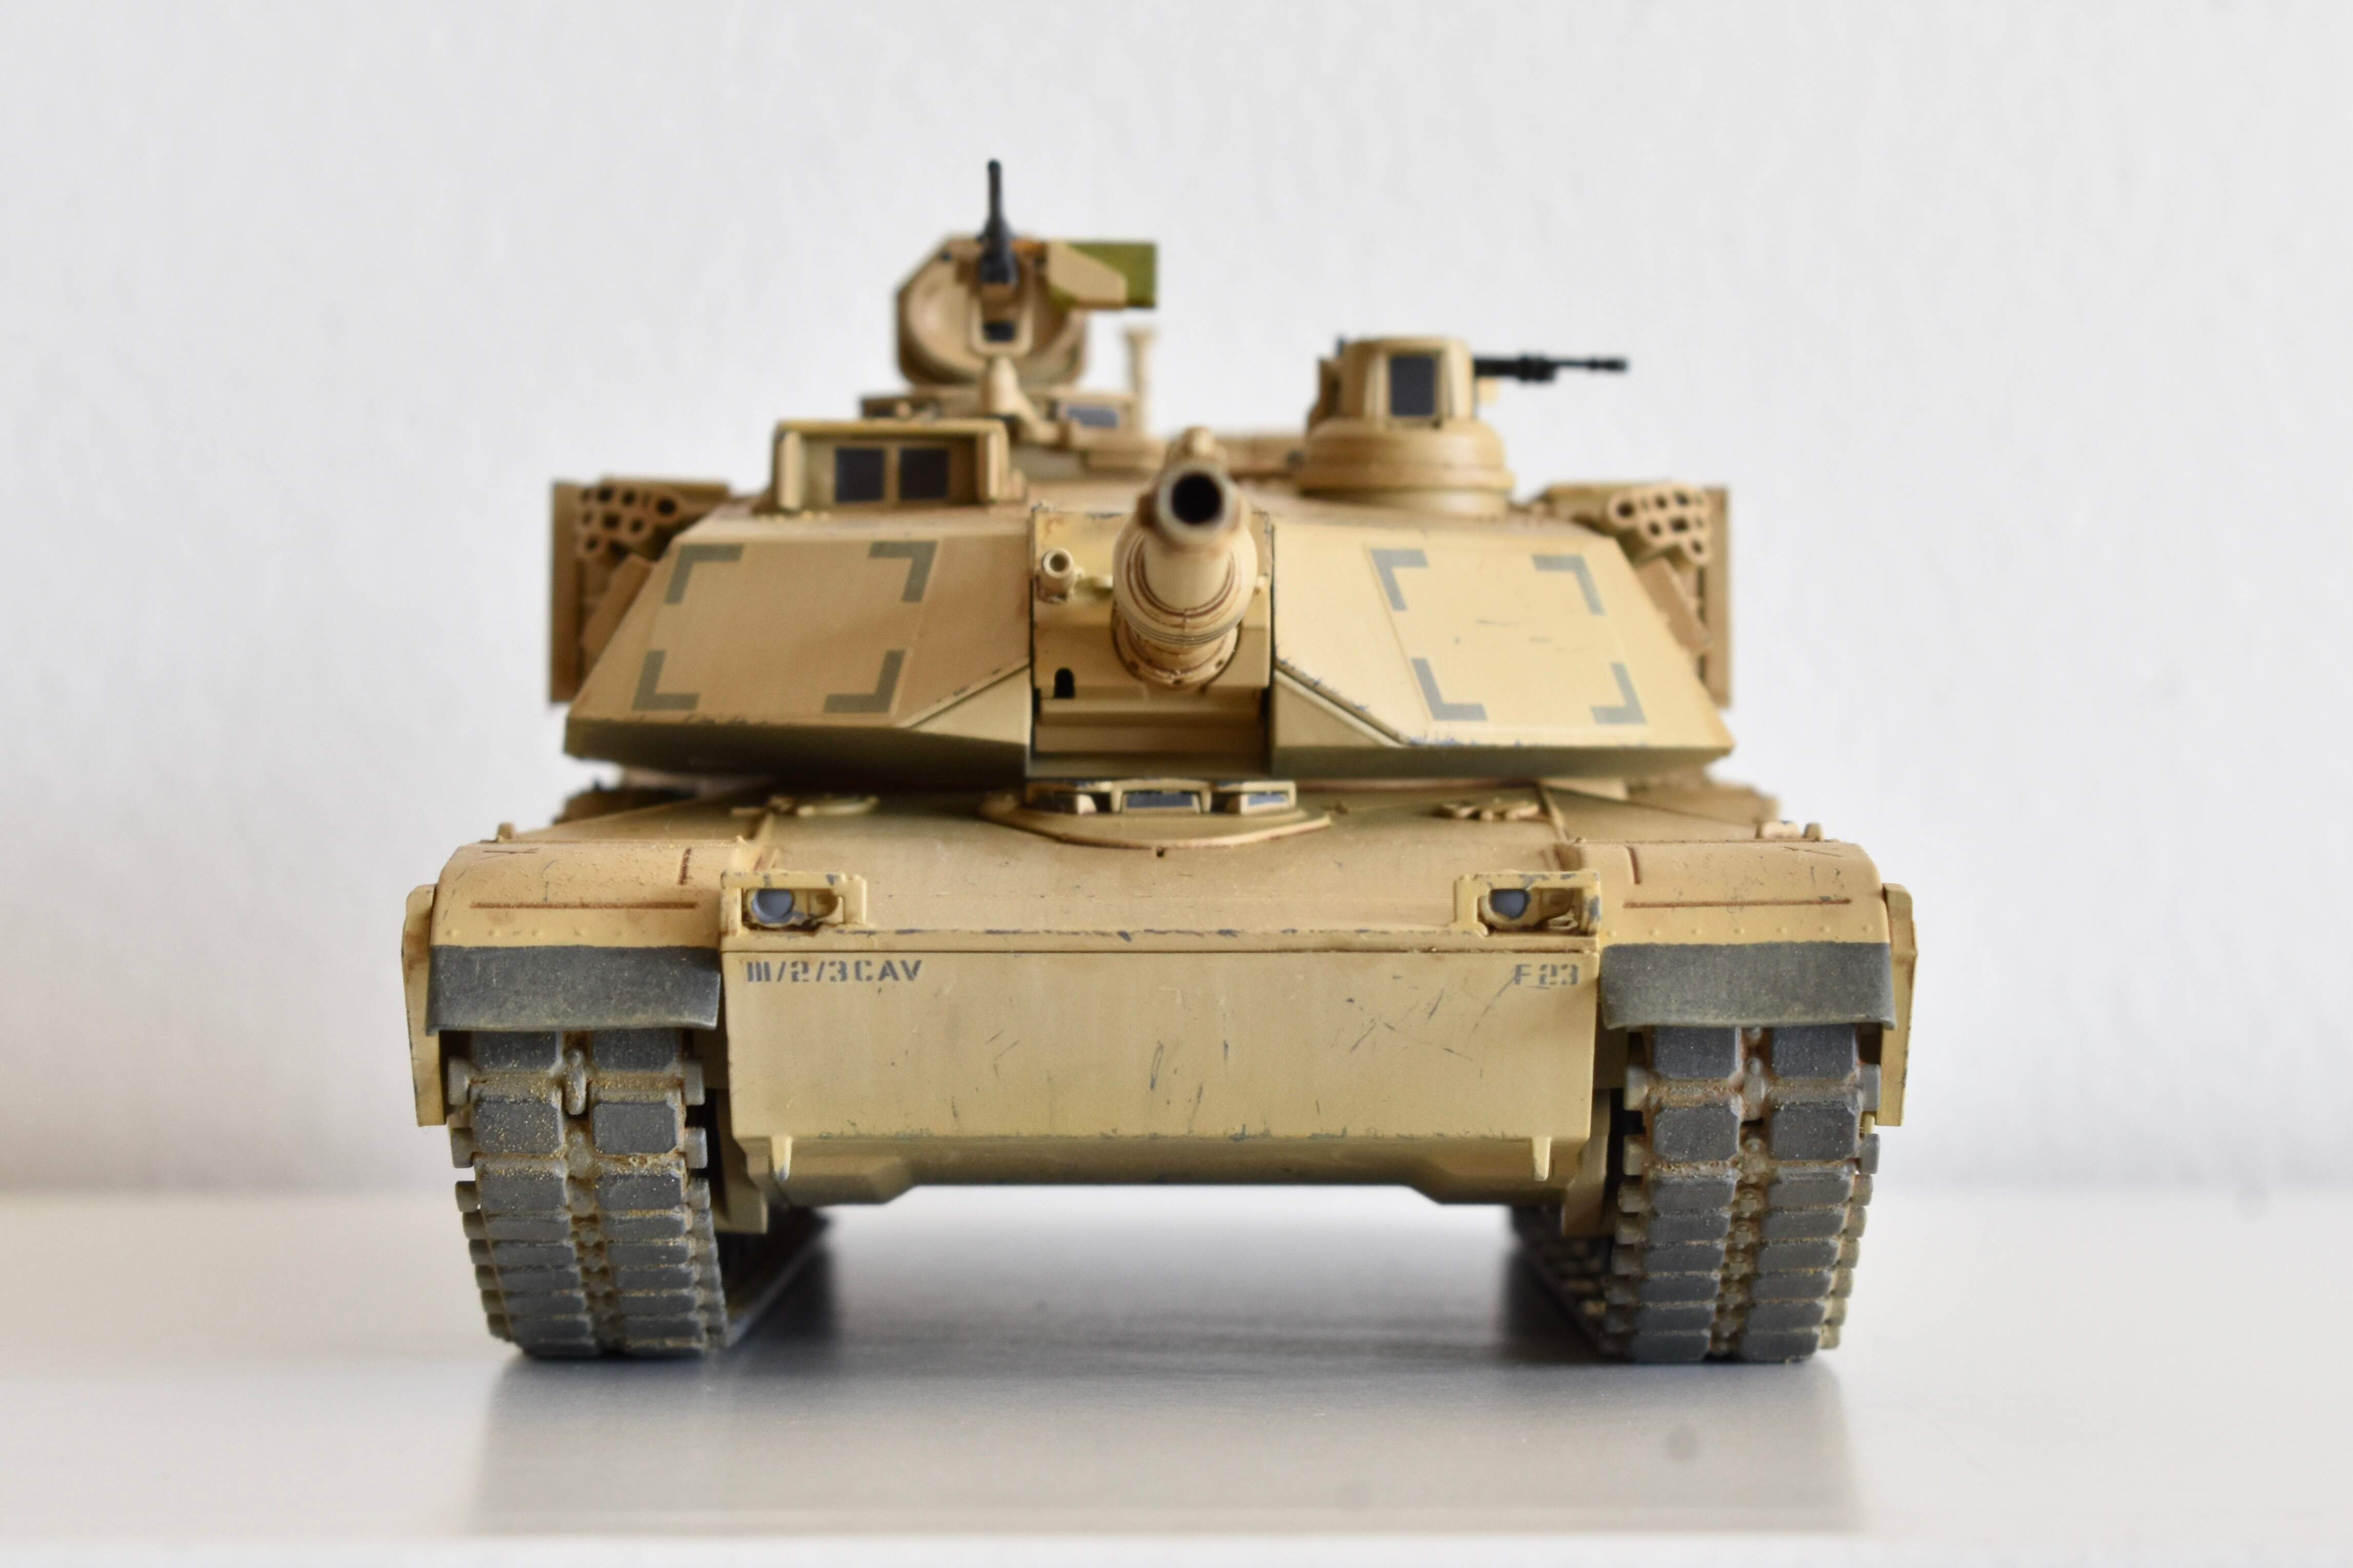
So - if I could suggest two things it would be that glacis joint and the seams around the mantlet… Personally I like to use stretched sprue to replicate the welds rather than just filling with putty.
I had to search through my photos to find one almost just like yours. Note different front fenders in top photo.
4 Likes
Very nicely done. Great job on the finish and weathering.
2 Likes
Thanks everyone. This is all very helpful.
@petbat good catch on the light. And thanks for explaining that technique. Never quite understood it until you replied…I’ll have to try that for my acrylic washes too. Had a bad experience with those in the past and heard that wetting the surface should help.
@Tank_1812 Thanks Ryan. Maybe I’ll brush off some of the weathering pastels to make the caps shinier.
@agincajun thanks for the kind words Terry. I definitely had to consciously decide to stop earlier to avoid overdoing it.
@18bravo This was something that confused me a bit during construction. Thanks for pointing it out. The glacis plate seam appears pretty prominent on these tanks so I didn’t use any filler. But now I’m wondering if I should have at least used a little. And next time I’ll finesse the mantlet seams a bit. I did nothing to this one.
3 Likes