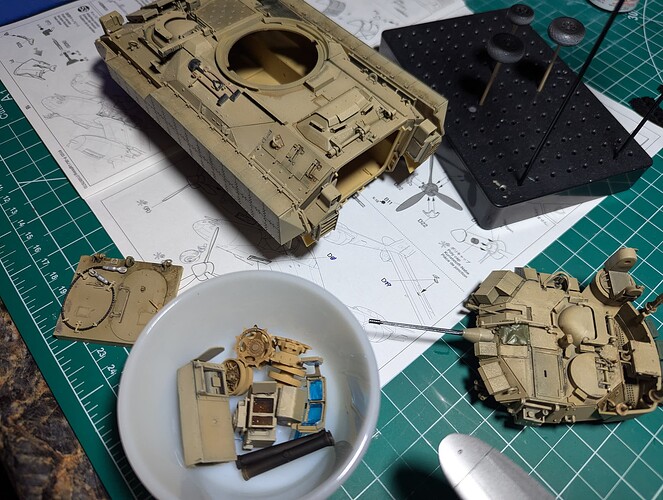
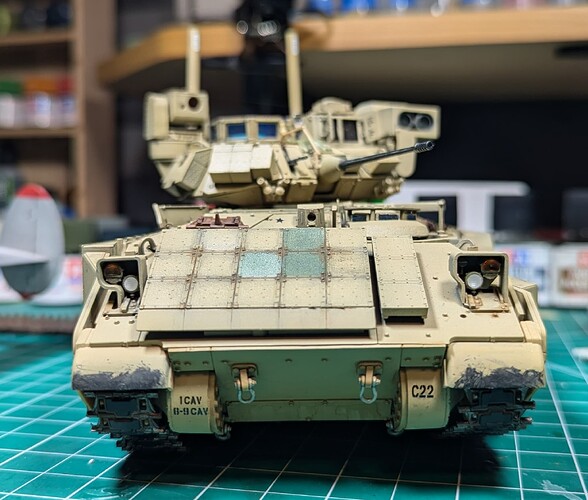
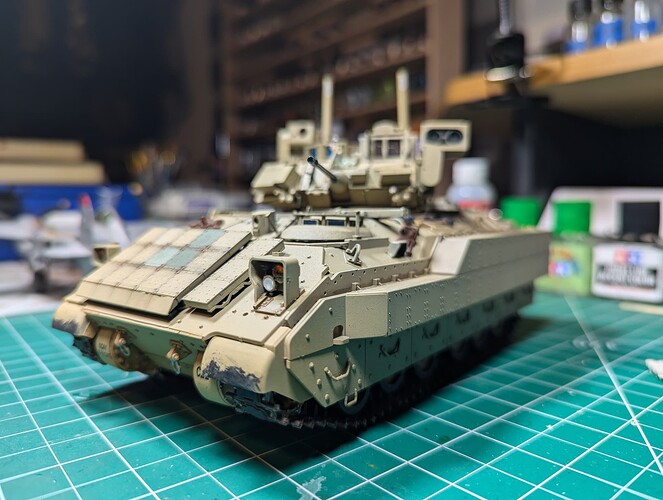
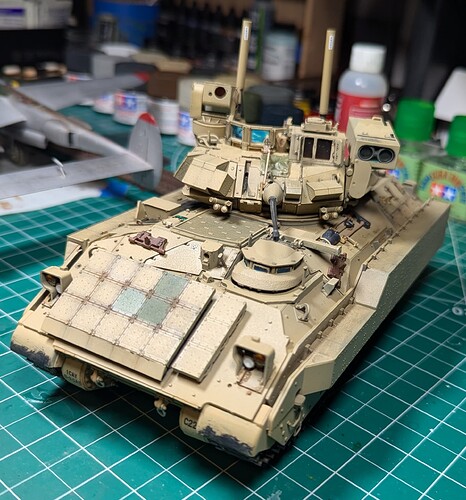
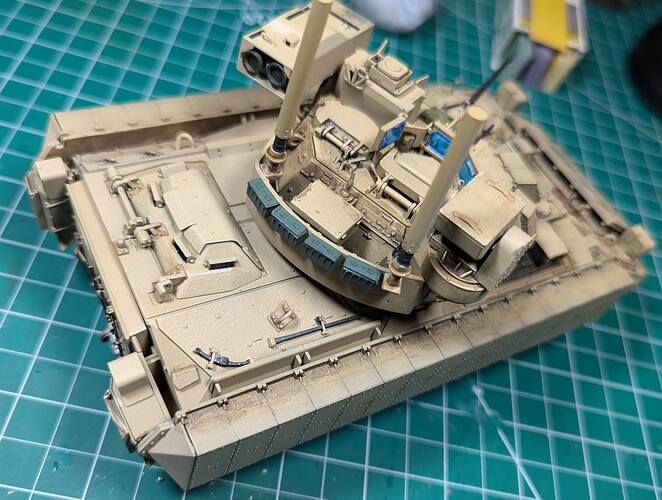
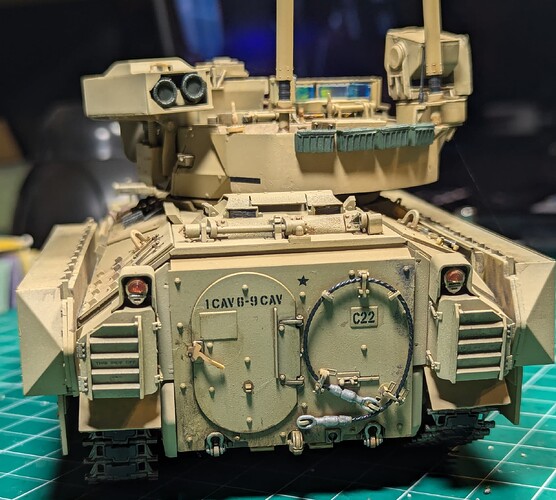
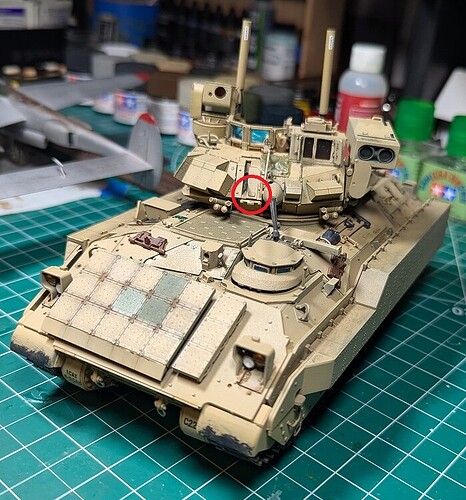
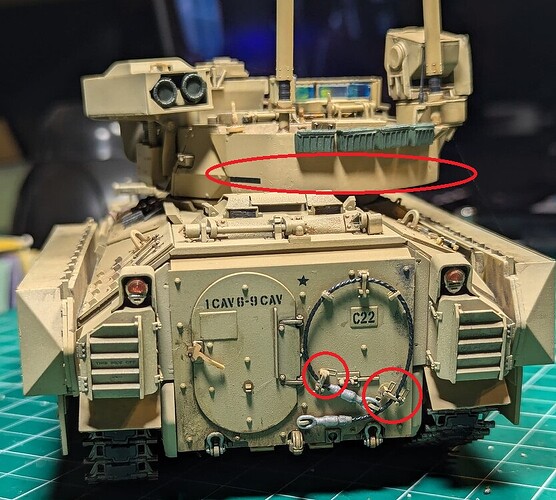
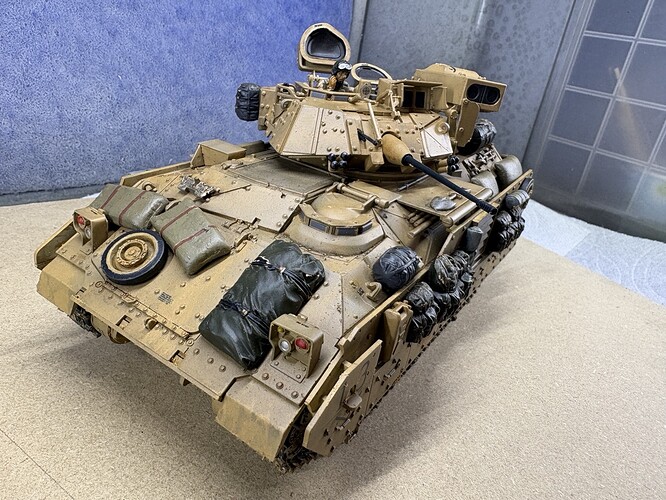
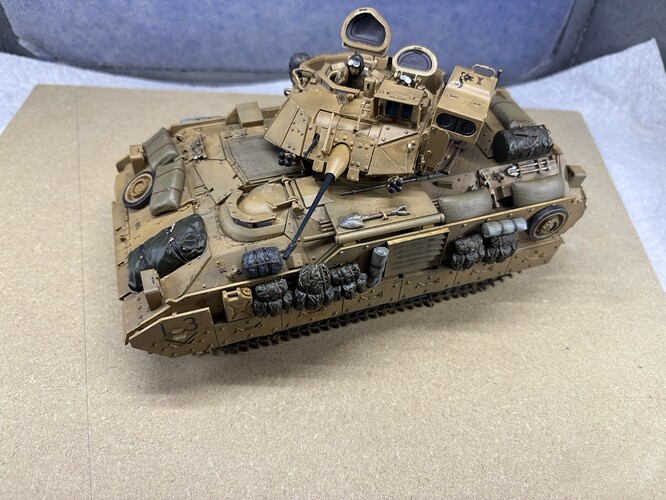
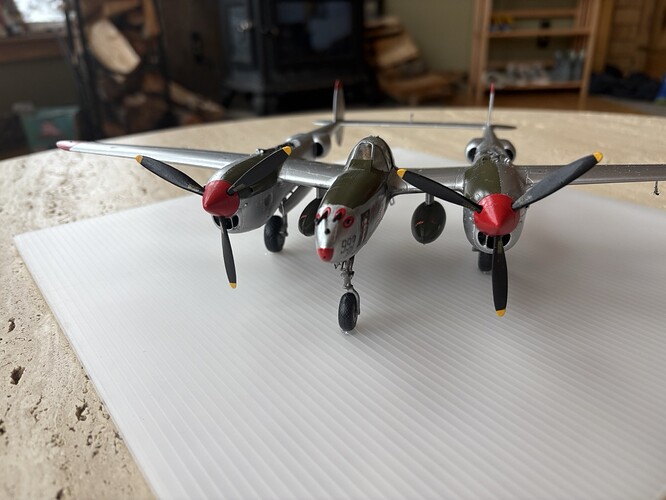
This was my kit on 10/21. There’s a limit to upload 5 files at a time. So here are the current ones…
I need to glue the driver’s hatch down, there’s no interior here, so why leave it “active”.
Looks good Ed.
Beautiful model. Nice build.
Very nice job so far, Ed. If you do desire to keep the hatch open, you can slide an old Tamiya interior (just the front portion) in through the rear hatch. Yes, I have had to do it. It is still a fairly good representation of the driver’s station. You can scratch your own viewing screen. Let me know if you want to go that route.
Looking great so far. I like how you depicted the chipping paint on the mud guards.
Nice job! what paint and color did you use for the desert color.
As I’ve already mentioned, very nice so far. Perhaps you just haven’t gotten to it yet, but there are some things that could be tweaked.
You may have forgotten to add the grenade stowage box. If you’ve left it off intentionally you might want to shave off the mount and add some bolt holes.
Some of the parts shifted after you added them. They should be within those cast on guides that are circled.
Also, very nice job eliminating the seam on the basket. It should actually be there - two separatre overlapping pieces. Something to remember for your next build.
The color was made from multiple passes of three Tamiya colors. None of them looked right to me out of the bottle so all three are blended on the kit not in the cup. I just kept going until it felt right, I did step out of the garage (LED lights) into the house (incandescent) and even outside to check the colors as I went.
The three I used were XF57 XF59 and XF60 with a little XF10 added for darkening and some “buff” added as highlighter.
I’ve no idea about the grenade storage box, will take a look when I get home on Friday.
Bummer about the seam on the stowage bin, I did spend a decent amount of time removing that, and thought it was the only fitment problem with the Meng kit. Doh! I’m definitely a newb.
The tow cable looks like something I can fix, will have to see, think I used CA on that.
There’s also a missing doohicky (technical term) on the cover for the TOW missiles, the thing that (I think) opens the cover when preparing to fire. A tweezer incident sent it flying into oblivion, judging by history I’ll find it sometime in 2025.
While I’m at it, the side-armor plates, not the ERA boxes, but the part they mount to is too low. I eyeballed it and failed.
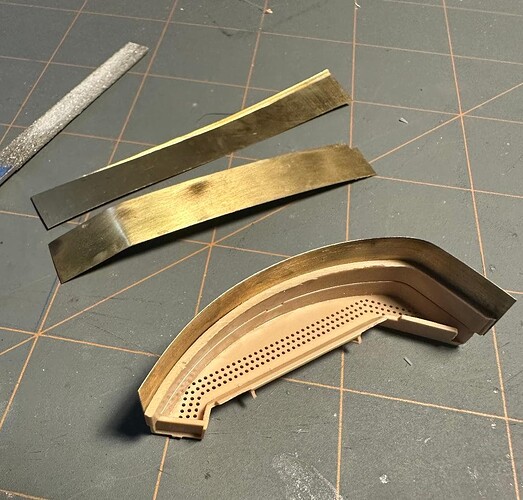
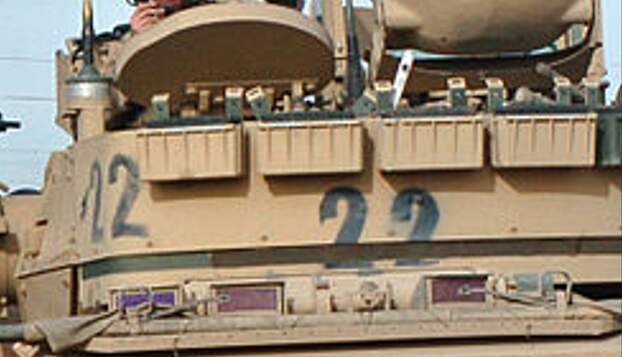
Another set of eyes is always good. You may be able to scratch that missing part. Everything is fixable, even the basket. If you run a thin strip of masking tape (continue where that black stripe is on the left hand side) all the way across, it will hide the fact that the seam is gone. Paint it to look like Velcro. No one will be the wiser. Like this:
He could add a small 0.20 strip of styrene to correct that; then paint to match. nothing hard.
I thought of that, but I’d use brass shim instead. if Ed could get the upper plastic part off it would be entirely doable, but I fear the build is too far along and something might get broken. Plastic would add thickness to an already way overly thick part. By the way, I do all my baskets with brass shim stock.
I found the grenade box in the destructions, part J-34. I had removed it from the sprue and was worried it was lost. But I found it in my box of left-over and unused parts, that will be easy to add, but tough to paint match.
Those boxes are removeable in real life right? Maybe I’ll make the paint not be close on purpose. The green ERA boxes are there to cover up another of my mistakes already, so I am not a perfectionist. I think stuff like that can add interest.
I appreciate the advice on the basket, but I’ll be honest and say I’m not going to bother. While I respect the “I know it is in there crowd” I am usually not a member of that club. I’m satisfied with being close.
You’ve answwered your own question. Paint it green! Happens all of the time in rea life - parts get replaced with a different colored part.
Oh I’m definitely not a member of that club. I don’t like to waste time on things that’ll never be seen.
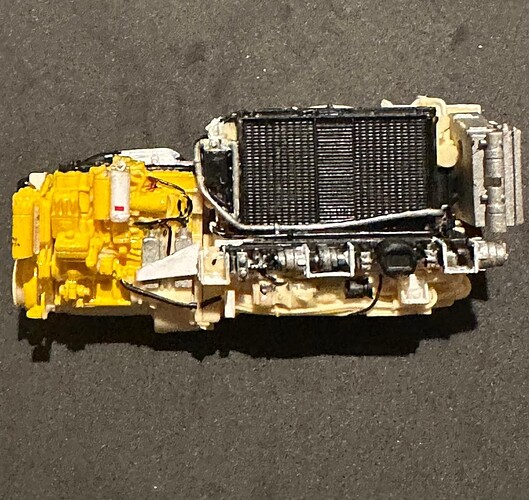
Case in point - I didn’t even bother to paint any of the lower part of this assembly. I already spent more time on it than I needed to. the lower two thirds will barely be seen. The two bare resin areas you see up top are where pipes will be glued on after they’re painted:
I usually don’t even paint the bottom of my Bradleys, leave off return rollers, top runs of track…
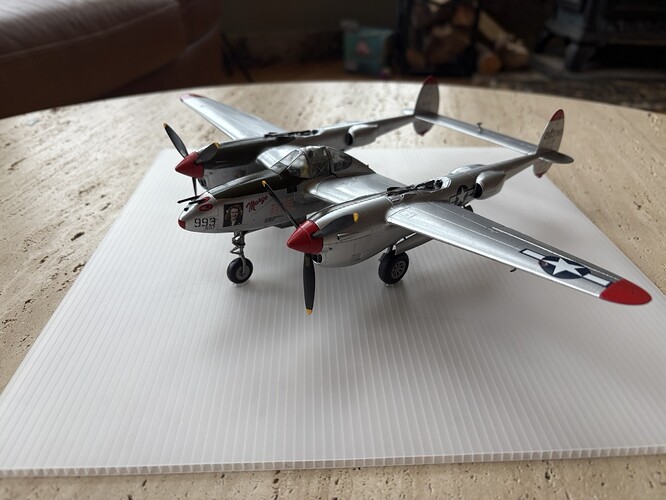
Funny, this was a few months ago, but it looks like you were working on this and Tamiya P-38kit at same time. I just got down with a Tamiya M2 I started while waiting for paint coats to dry on my P-38 kit.
That is pretty funny. But I typically have 4 to 6 kits “in-progress” in some way at a time. Not counting the ones I put away for a few weeks or months.
You’re not by any chance working on a JU88, or B-25 and a M5-Stuart are you?
