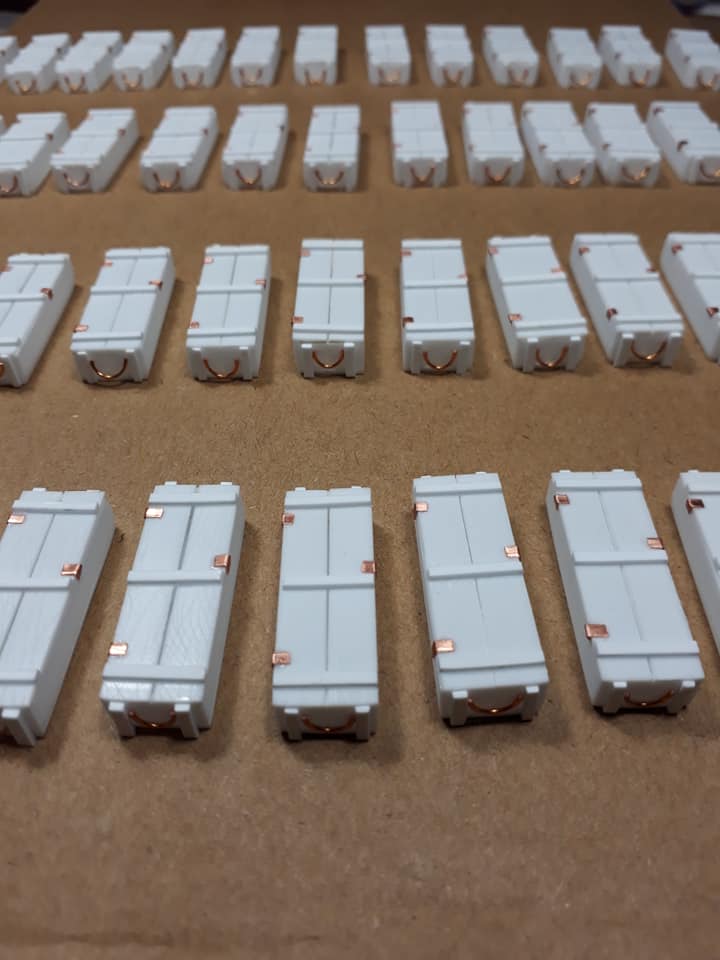
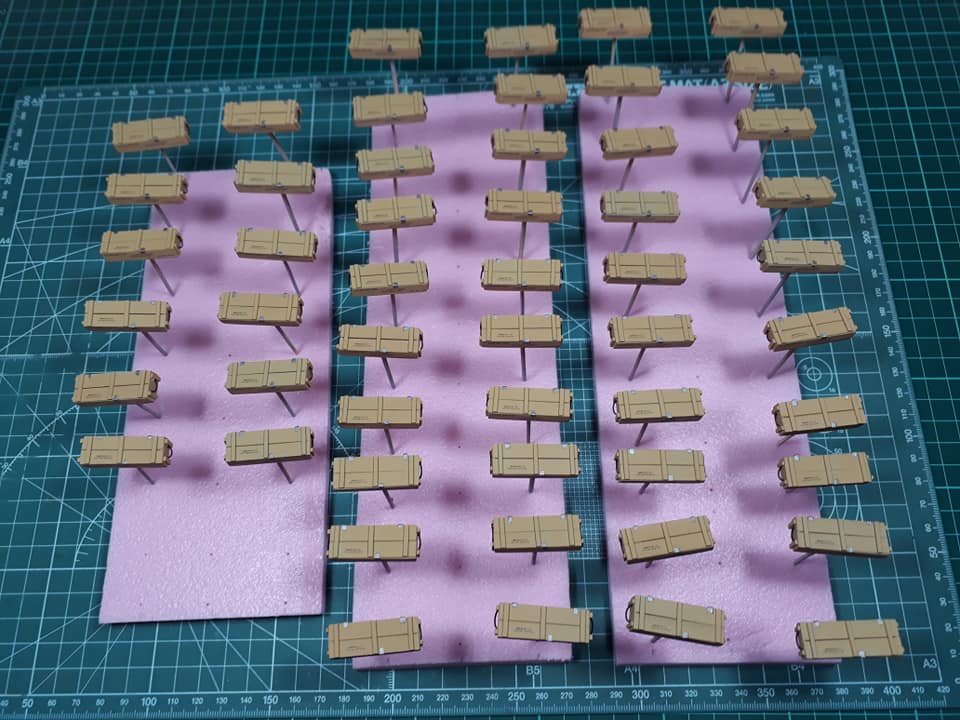
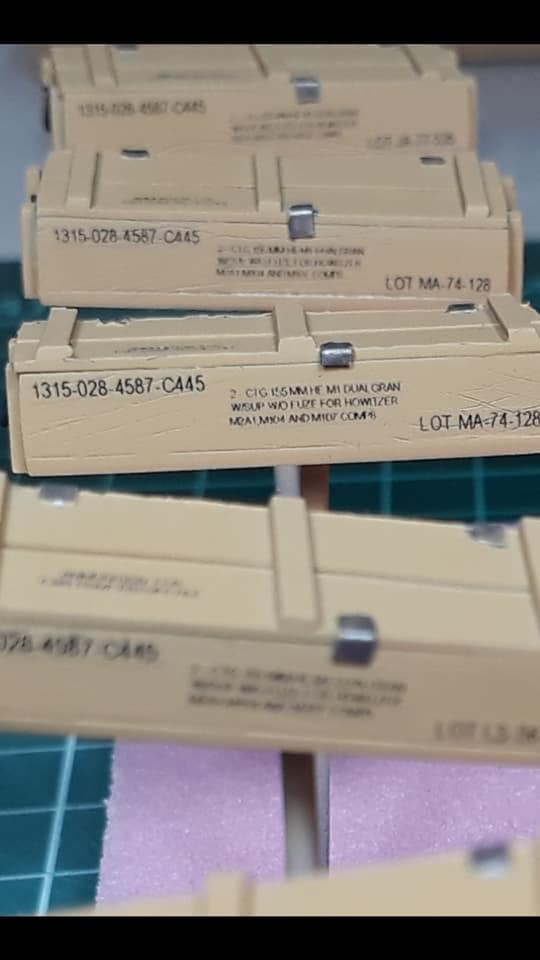
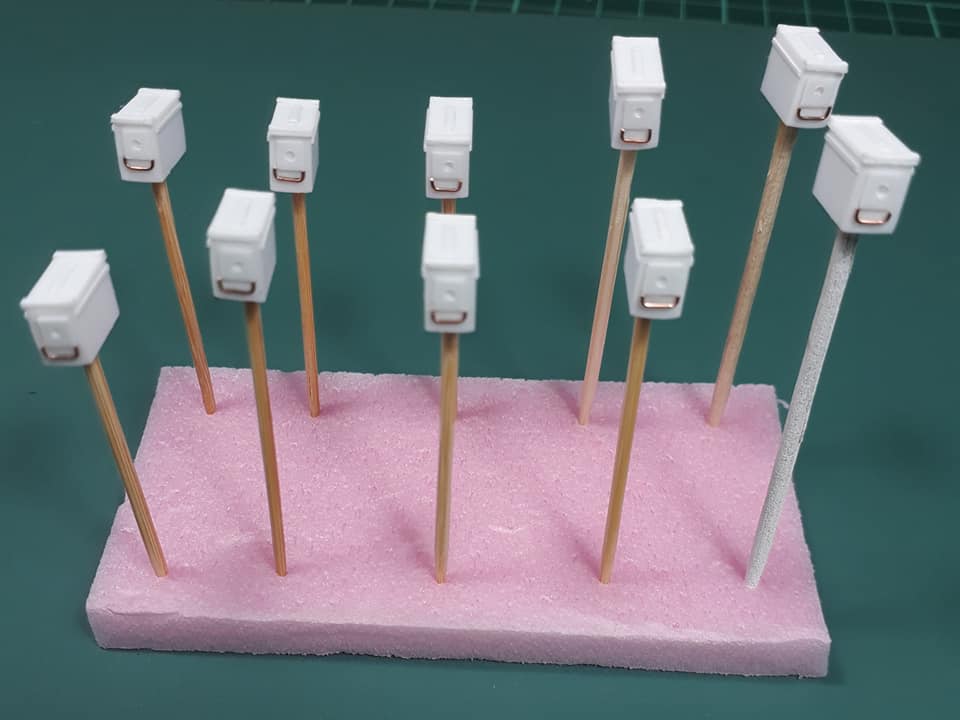
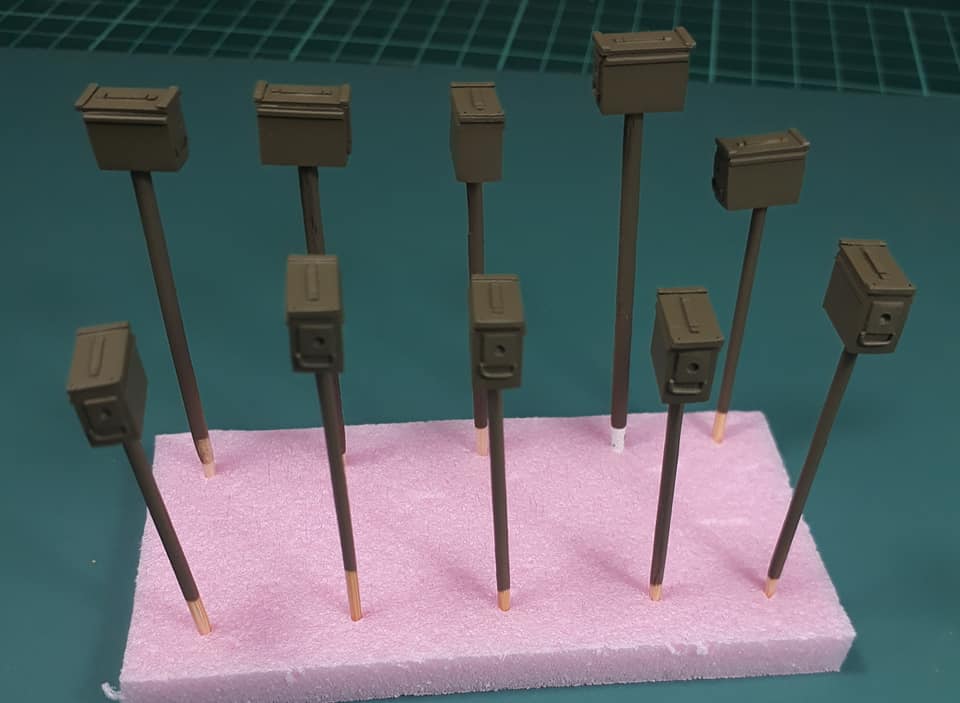
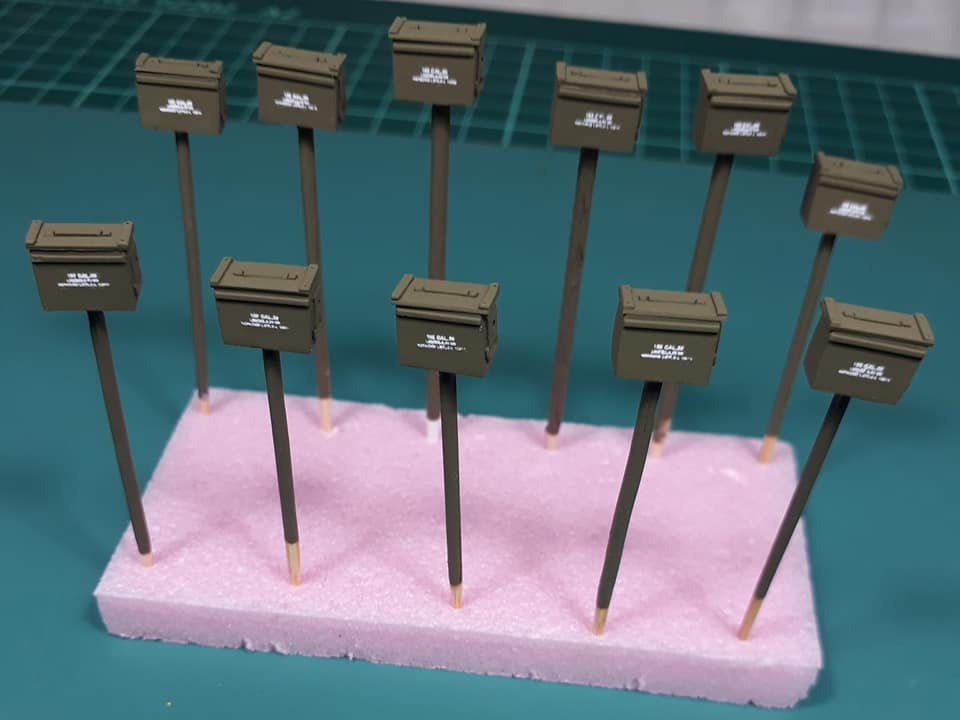
I am working on a diorama of a section from FSB Shiloh, Vietnam War. To create a similar scene; I need so many scratch work. 3 days new year lockdown was a good chance to make them. Wooden crates and metal fuse boxes are made of plastic sheet and copper wire. Decals are home made.
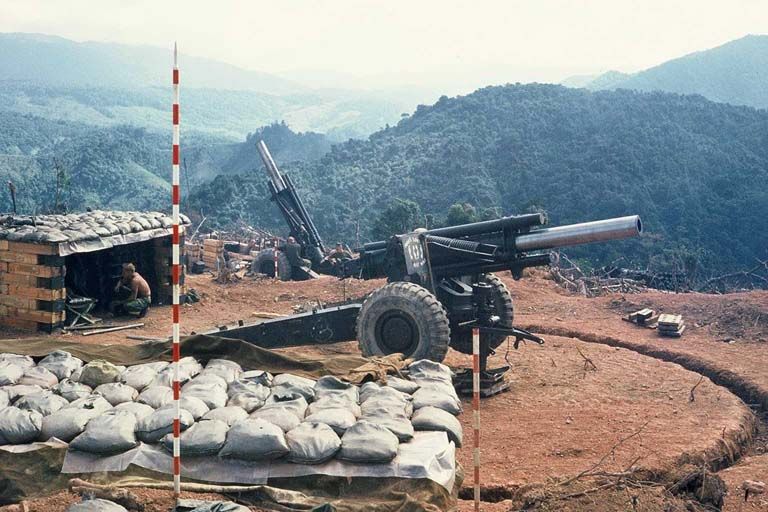
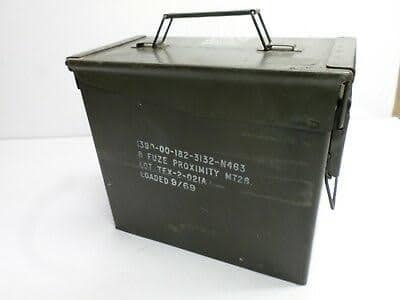
They look like part of a “jump battery”. Pitty the crew on the gun set up for high angle fire. Just not much fun! The term Jump Battery comes from the fact they move around a lot. Rarely spending two weeks in the same spot. Easy way to tell this is to look at the parapet. If it were a base camp or for extended usage, the area dug in for the spades would be backed up with 12"x12" or even 16"x16" logs similar to rail road ties. There’s also little ammo storage (probably what’s in the photo).
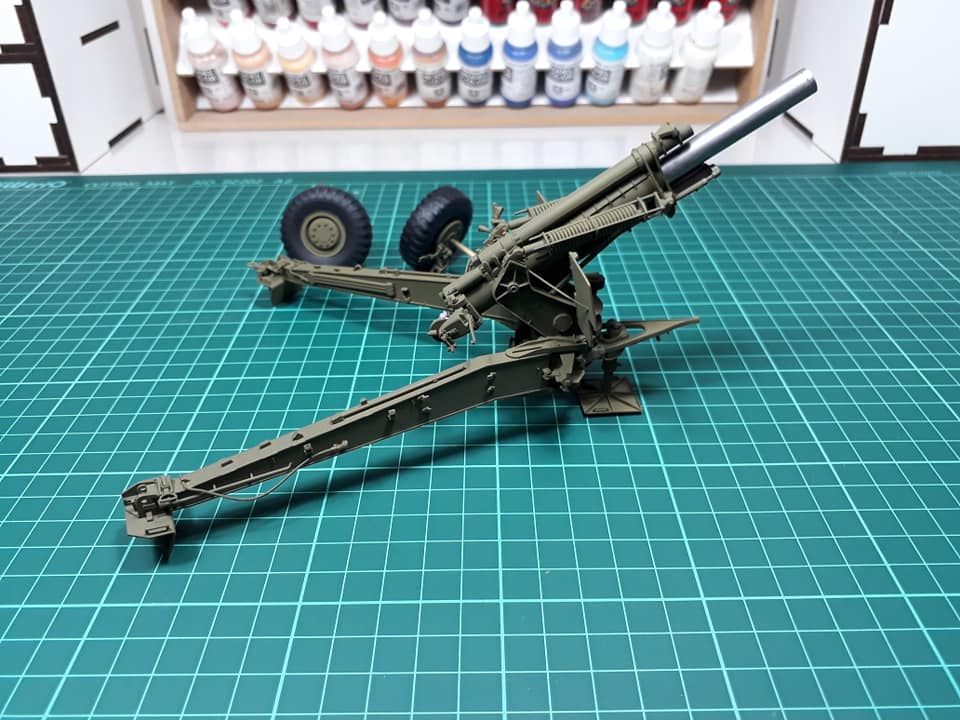
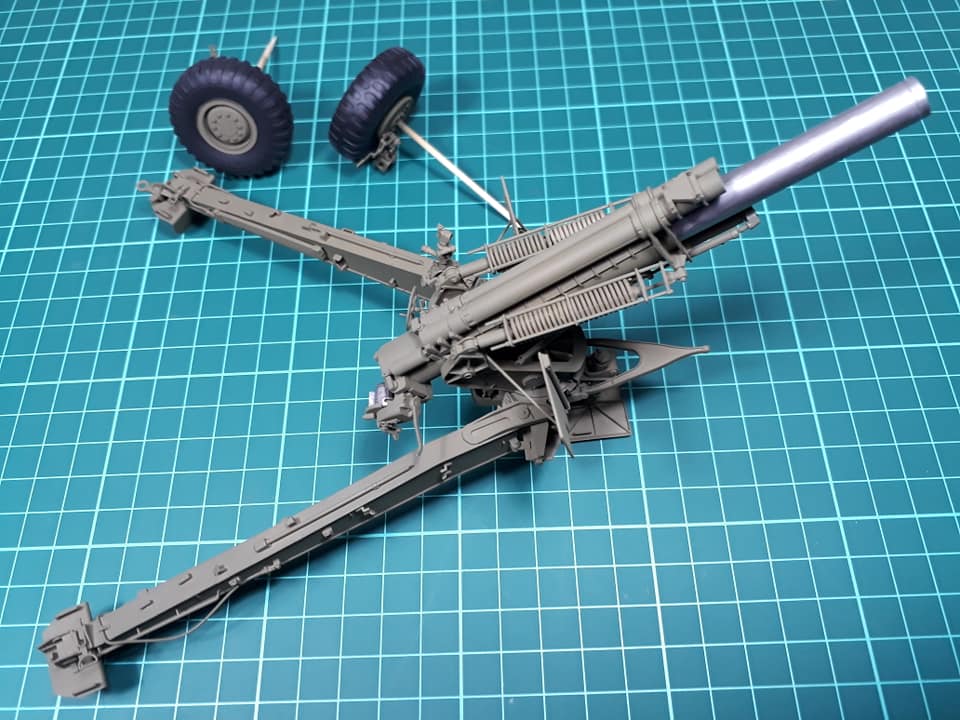
When doing the fuse containers, remember that they shoot almost ten to one ratio of PD fuses verses proximity fuses. In that are they are probably gonna shoot a 50/50 ratio of green bag verses white bag powder. This mostly happens when you deep into the mountains. Take a look at the 155 set up on high angle fire. Look at the barrel and you’ll see it dirty for about one third of the way (20"-24" of travel). That kinda tells you they are shooting a charge three green bag. A charge seven white bag will dirty up the barrel almost all the way to the end of recoil. Looks like they are getting ready to shoot when the photo was taken. Another interesting thing is the groove is only dug for about 270 degrees of azmuth change. Not common! The recoil really takes it’s toll on the ground absorbing the recoil, and that’s why most units used the timbers planted in the ground. Position of the aiming stakes is also interesting, and tells me there must be at least one more gun
gary
In Vietnam you pretty much shot the full 360 degrees. The trench is where the spades end up at the end of the trails. That’s why I said it looked like they were just shooting 270 degrees. The howitzer appears to be in a ready to fire position as the jack is down, and this not the norm. Normally there is a jack stand under the carriage center, and the gun is shifted on the stand. The wheels and tires are only for transportation, and once the gun is set; they never touch the ground again. Also note the lack of shield on the high angle fire gun. This is a sure sign of a jump battery.
gary
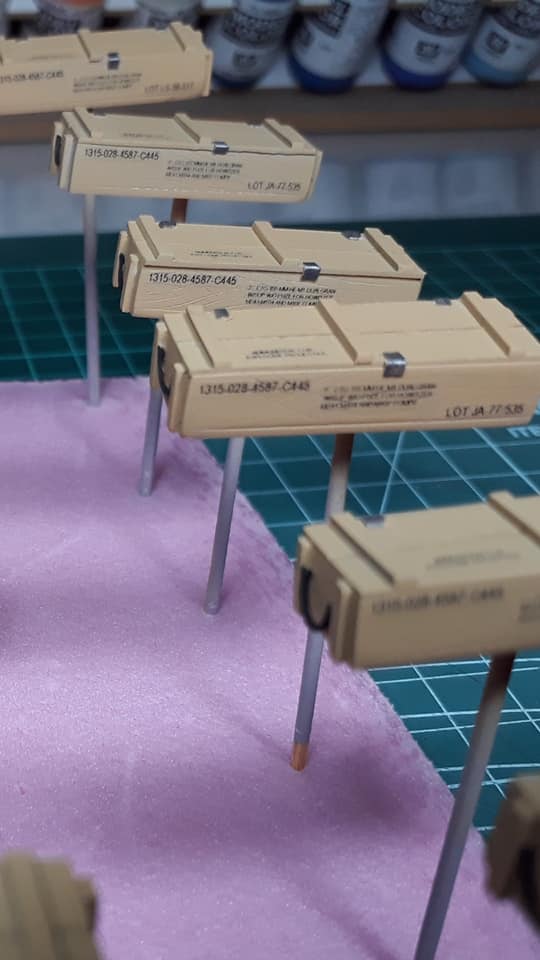
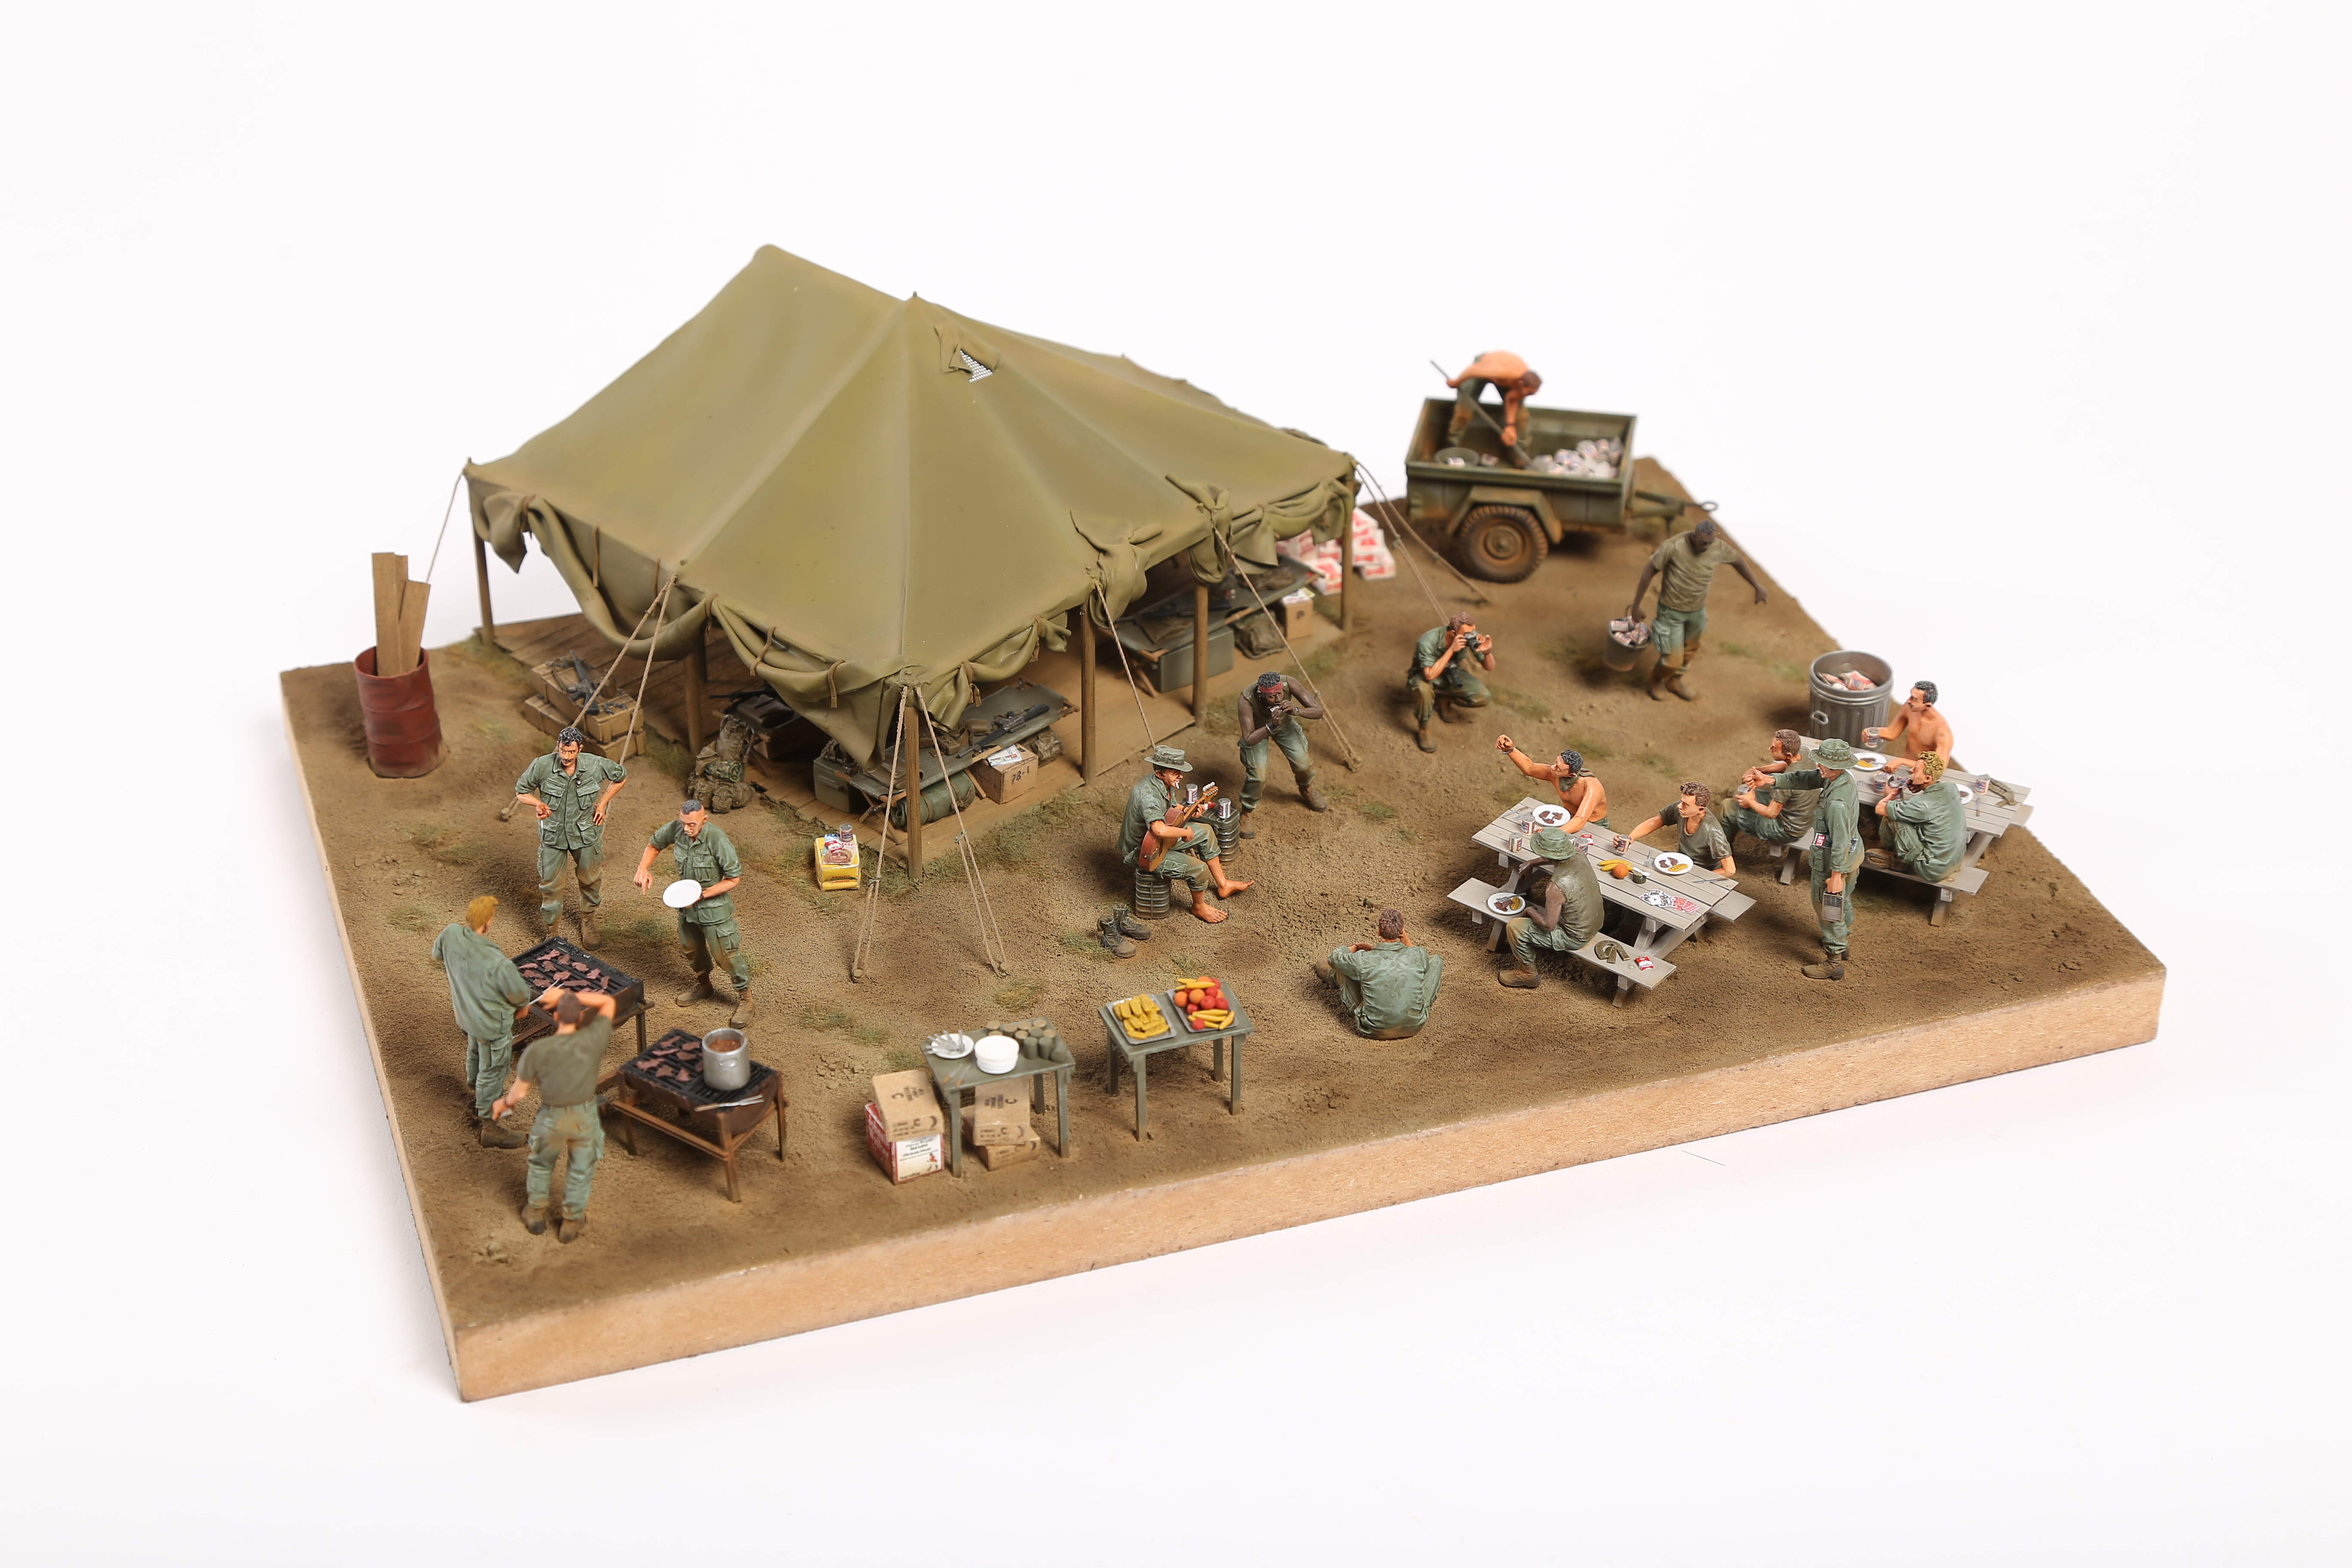
Thanks for the nice comments and useful hints. M114A1 is painted and ready for weathering. I don’t have much photos for the wooden crate shelter so I have to use my imagination.
Thanks John… Yes the scene will have one M114A1, otherwise the dio will be a huge one and I have no place for it in my model den I plan a 25x35 cm dio with an M114, crew quarters from crates and fuse boxes, ammo storage part , a small ammo ready rack and about 4-5 BRAVO*6 figures at rest poses. Keep safe.
Sounds great and even that size is going to punch out a lot of great details for everyone to see …I havent done a stand alone Arty piece before but I am thinking of it now … Seen some great examples in these forums.
I also think size will be good enough for a section of a fire support base. More figures and extra details will make it look better. I have built a basecamp on the same size before and happy with the result.
That base camp looks great. If I had the patience to do that may figures I would love to do things like that but I can only manage about 1 or 2 max then I get figure rage lol - great Dio though
at the end of the trail, and right above the spade (want to say loaders side) there will be a bar of round steel sticking out towards the rear. This is to aid in shifting the axis as well as cracking your shins in the dark. Hoses were usually black, and the screw on the jack will be bare metal but also coated with grease (usually green colored). Paint was always chipping on the springs as well as the spades. The jack plate would show chipping around the edges too. One last thing a lot of people miss is the barrel itself. If you leave it pointed upwards (as you have it) rain water and even condensation will travel into the breech. It’s OK if your shoot a lot, but if it’s just setting there waiting on the next mission then put a plastic bag over the end and also the scope. Water was the enemy over there. Never leave the breech wide open unless your cleaning it (almost everyday), but leave it cracked open about an inch or two. You also need the rod that goes into the jack nut. Maybe one of the rods mounted on the trail. The rod always stays with the jack unless the gun is being transported.
gary
remember that you shoot a lot of zone sweeps with the 105 and 155 howitzers. A one round zone sweep is really nine rounds in a box. Two and three round sweeps happen too often! We had an ammo bunker, and a powder bunker (powder must be kept in the shade if possible). About half the projos in the bunker are fused. Then there is a ready rack outside that will have everything fused up. Ours was about sixty rounds. Never put WP and Illumination rounds in with the HE rounds. We kept ours in a small seperate bunker along with certain fuses. Depending on the time frame, (I’m talking March 68 and later) you will probably have the Cofram round. This is another thin shelled round and not placed in with the standard HE stuff. It’s all a safety issue. We almost never fused up the WP or Illumination rounds. With the Illumination rounds you always need a time fuse, and with WP it could go either way (PD or Timed fuse). We always kept a cover over the ready rounds outside the bunker to keep they dry as possible. A wet projo is a recipe for a broken foot! Some guys like to put a platform ontop the trail to lay the powder on. We didn’t, but had a plate on the ground for the section chief to hand over the powder and check the charge if needed. It’s mostly whatever works for you, but never let the powder get wet or dirty. A dirty powder bag just transfers dirt into the breech and becomes a recipe for a locked up breech. one last thing is the swab and rammer staff. The bucket (we used a bomb fuse case) will have about two or three inches of water in it. Not too much as the swab doesn’t want to be real wet. The fumes will make you puke from being too wet. The rammer staff is usually towards the rear and on the AG’s side, but sometimes directly in the middle. Never in the way of the loader. The swab’s handle is usually good for about six months. We used an axe handle with a sandbag wrapped around it. Sandbags were better than the OEM swab because they were kinda rough and wiped the residue better. Sometime in early 68 the breeches were rebuilt with hard chromed parts. Still the round head on the door would turn a dark charcoal grey in a week or so. The rest is shiny silver. The inside of the chamber will be a dark grey color. Lastly, I never saw a cradle in use in the combat zone. I know there are a couple pictures, but nobody had enough people to begin using one. Loading the round wasn’t that bad, but keeping your skin on your hand from the rammer staff was another story.
gary