I looked up photos of the Matchbox sprues online, traced over the diorama parts in them with Adobe Illustrator, and then scaled them up to 1:35 (easy to do by measuring up the diorama from the Revell version of the kit and multiplying its dimensions by ⁷⁶⁄₃₅). All I then had to do was print them out and use them as templates. See my album about this diorama on Scalemates for more.
3 Likes
I actually never built a Tamiya kit as a teen; they were a bit pricey for me at the time and the only two shops that carried the brand were on the complete opposite side of town from me. So my early days were mostly Aurora, Hasegawa, Revell, Monogram, and Bandai.
I didn’t build my first until I got the Panzer II with a Hobby Lobby coupon in 2013, age 49. Tamiya make up about 10% of my stash at present.
2 Likes
You can reduce the “launch” risk by wrapping some masking tape around each jaw so your slippery hard plastic part isn’t squeezed between slippery bare metal jaws! And unlike specialist rubber-coated tweezers the masking tape can be removed or replaced whenever needed…
6 Likes
I don’t have any of my first models. They are long gone.
But i do still have this Tamiya panther I experimented on in the late nineties.
It’s just model for trying new techniques/ stuff on, now a days.
3 Likes
Welcome!
My first kit was actually this exact Tamiya Panther A late.
I tossed it long ago, but it was a disaster.
I didn’t have sprue cutters or nippers, just a scalpel, testors model master glue as well as their black, olive green paint, some cheap brushes and some lichen.
This was in 1999, I had just seen Saving Private Ryan and spent all my lawn mowing money with my mom on a Hobby Lobby run lol.
My model was awful. I cut myself a lot by accident, used way too much glue with far too little precision.
Once construction was complete, I then painted the tools and road wheel rims black and used the olive green paint to paint the camo scheme on the box art by hand. I just let the plastic’s color serve as the dunkelgelb base.
Finally, I glued some lichen all over it.
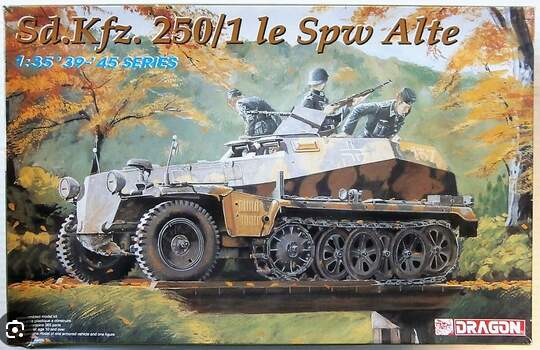
My next model was the Dragon 1:35 Sdkfz 250/1 Spw Alte which was a whole different world and major challenge for a 12yr old. It was the old one. The box art showed the vehicle going over a small wooden bridge with the crew members leanign out to check clearances. I believe it was DML 6117, but I’m not positive. I remember it fondly, though, because It was later in the school year and I had more lawn mowing money and was able to buy Squadron’s excellent ‘Panzergrenadiers in Action’ book at Barnes and Noble the same day I got the 250 kit. It was a great way to immerse myself in the schutzenpanzerwagen German halftrack world before the internet was anyhtign close to what it is today.
Yeah, this Tamiya Panther A has probably served as the first build for more modelers than any other kit. It has some major dimension issues and is extremely dated, but it’s about having fun. I actually do recommend Tamiya for new builder’s first kits, just other kits. Tamiya is a great place to start.
3 Likes
Hmm. This was still around about 2 years ago. A Tamiya motorized 1/35 Jagdpanther. Long before the Internet, I recall the plastic was excellent, treads detailed flexible material not rubber but the chassis piece came with 2 electric motors with an intended hard wired controller needing 4? C batteries. I left the motors in but left the wires exposed underneath. I attached alligator clips to wires from controller so I could drive it when I wanted and then otherwise renew it. The controller had buttons and I could make the model go forward, reverse, turn even 360 D over the wires. In later years it became a reminder of original Tamiya versus new. Now I smile at the simplicity of RC gear for 1/35, but I have moved on.
2 Likes
Was lange währt, wird endlich gut! The German equivalent of “Good things are worth waiting for.”
– Although I am not sure whether the tank I finally completed was really a “good” kit worth waiting for.
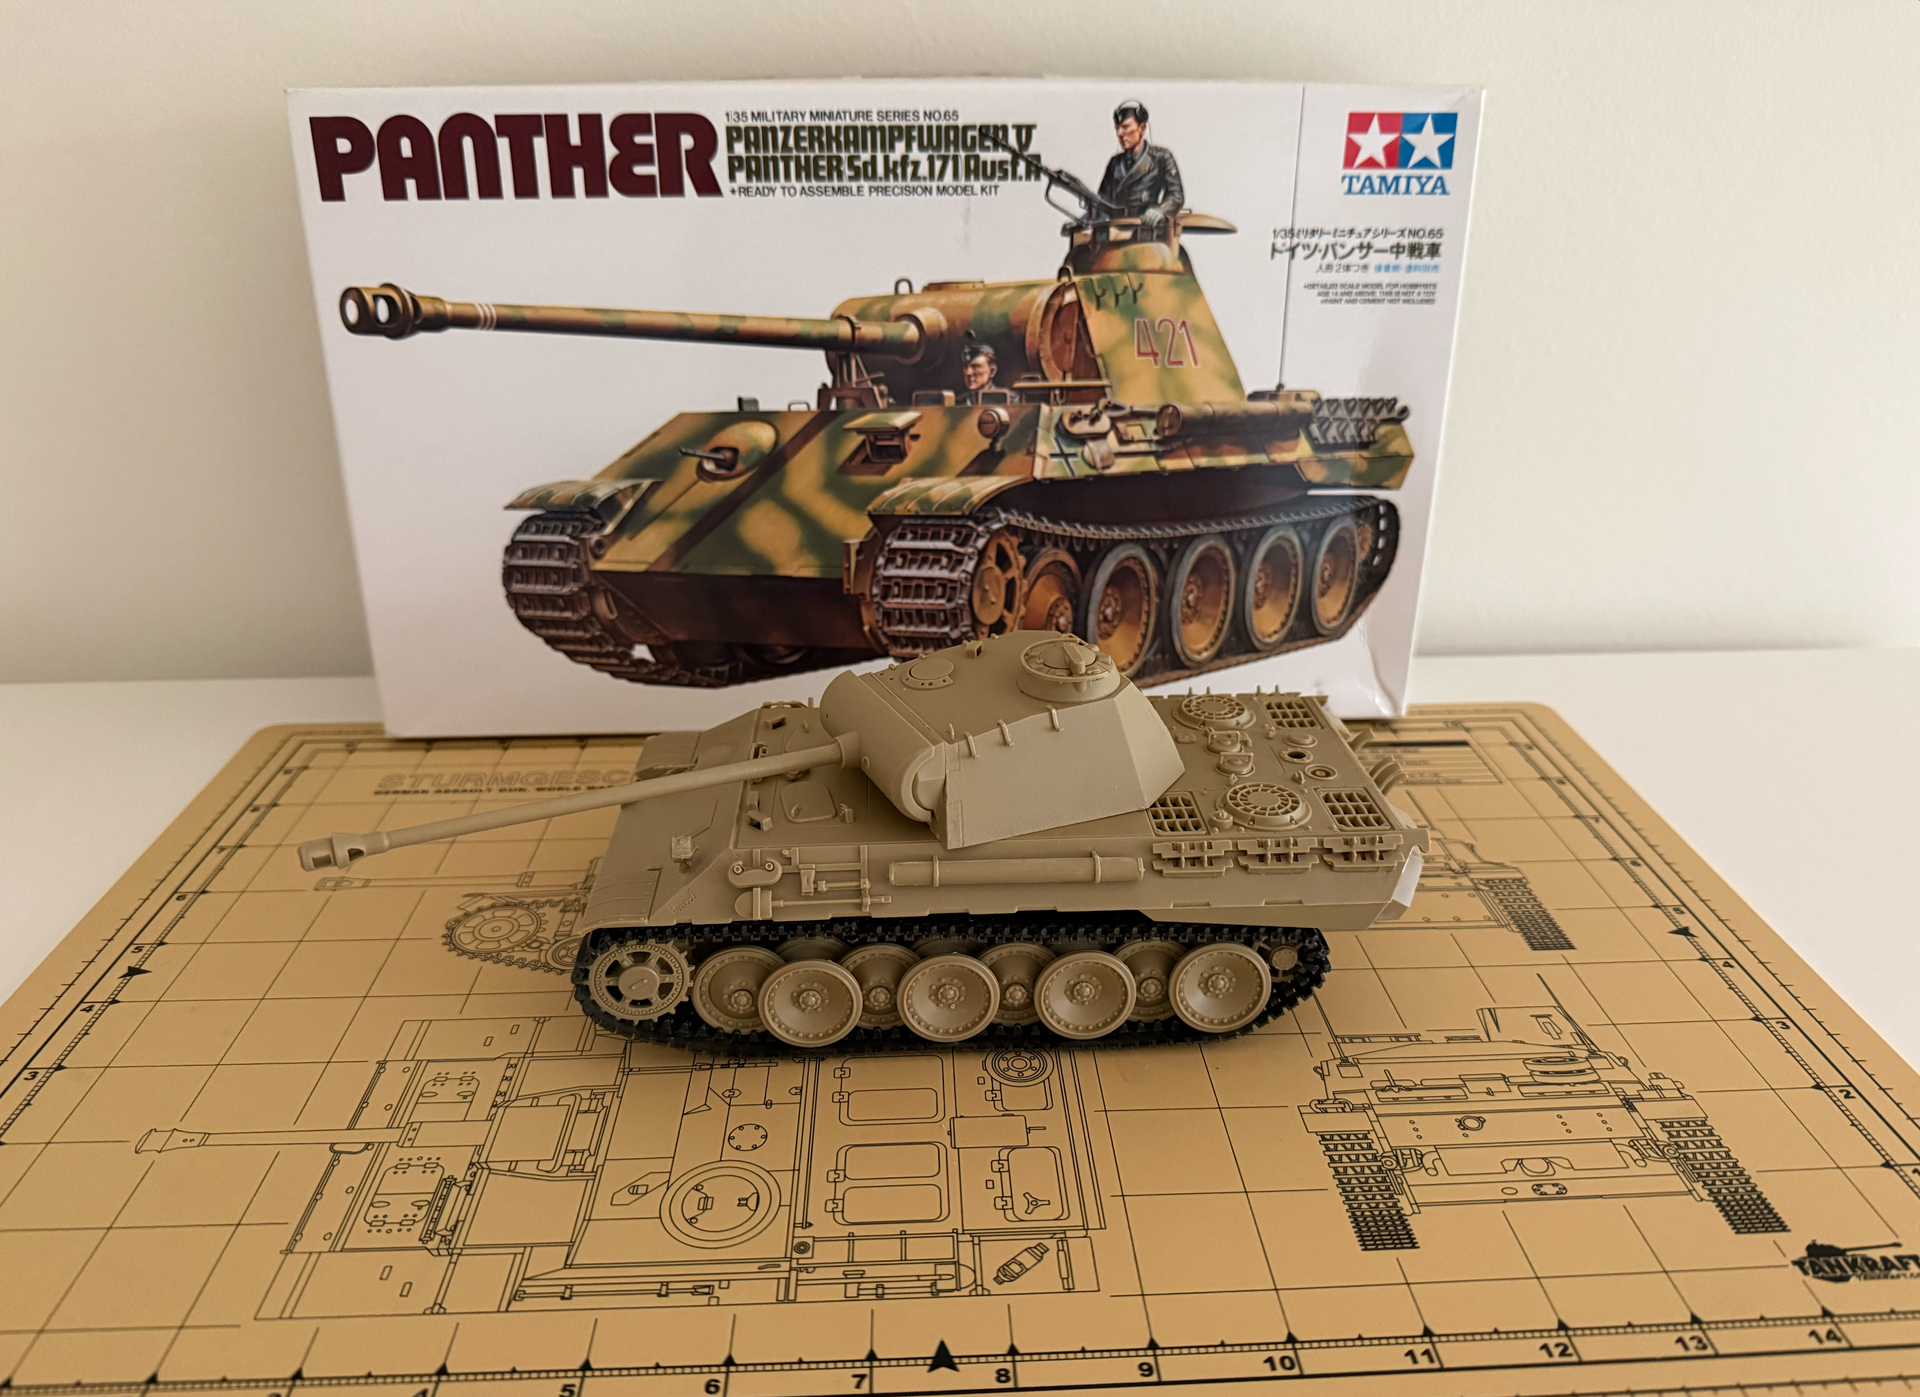
After a very long break, I was finally able to pull out the kit that I started six months ago (shame on me). I was hesitant to finish it because of the many issues I encountered during the build and several things I simply did not like. However, I kept reminding myself that I am still a beginner and that I can only gain experience by actually building models.
So, I unpacked all my tools and parts and continued working until I had finished the assembly.
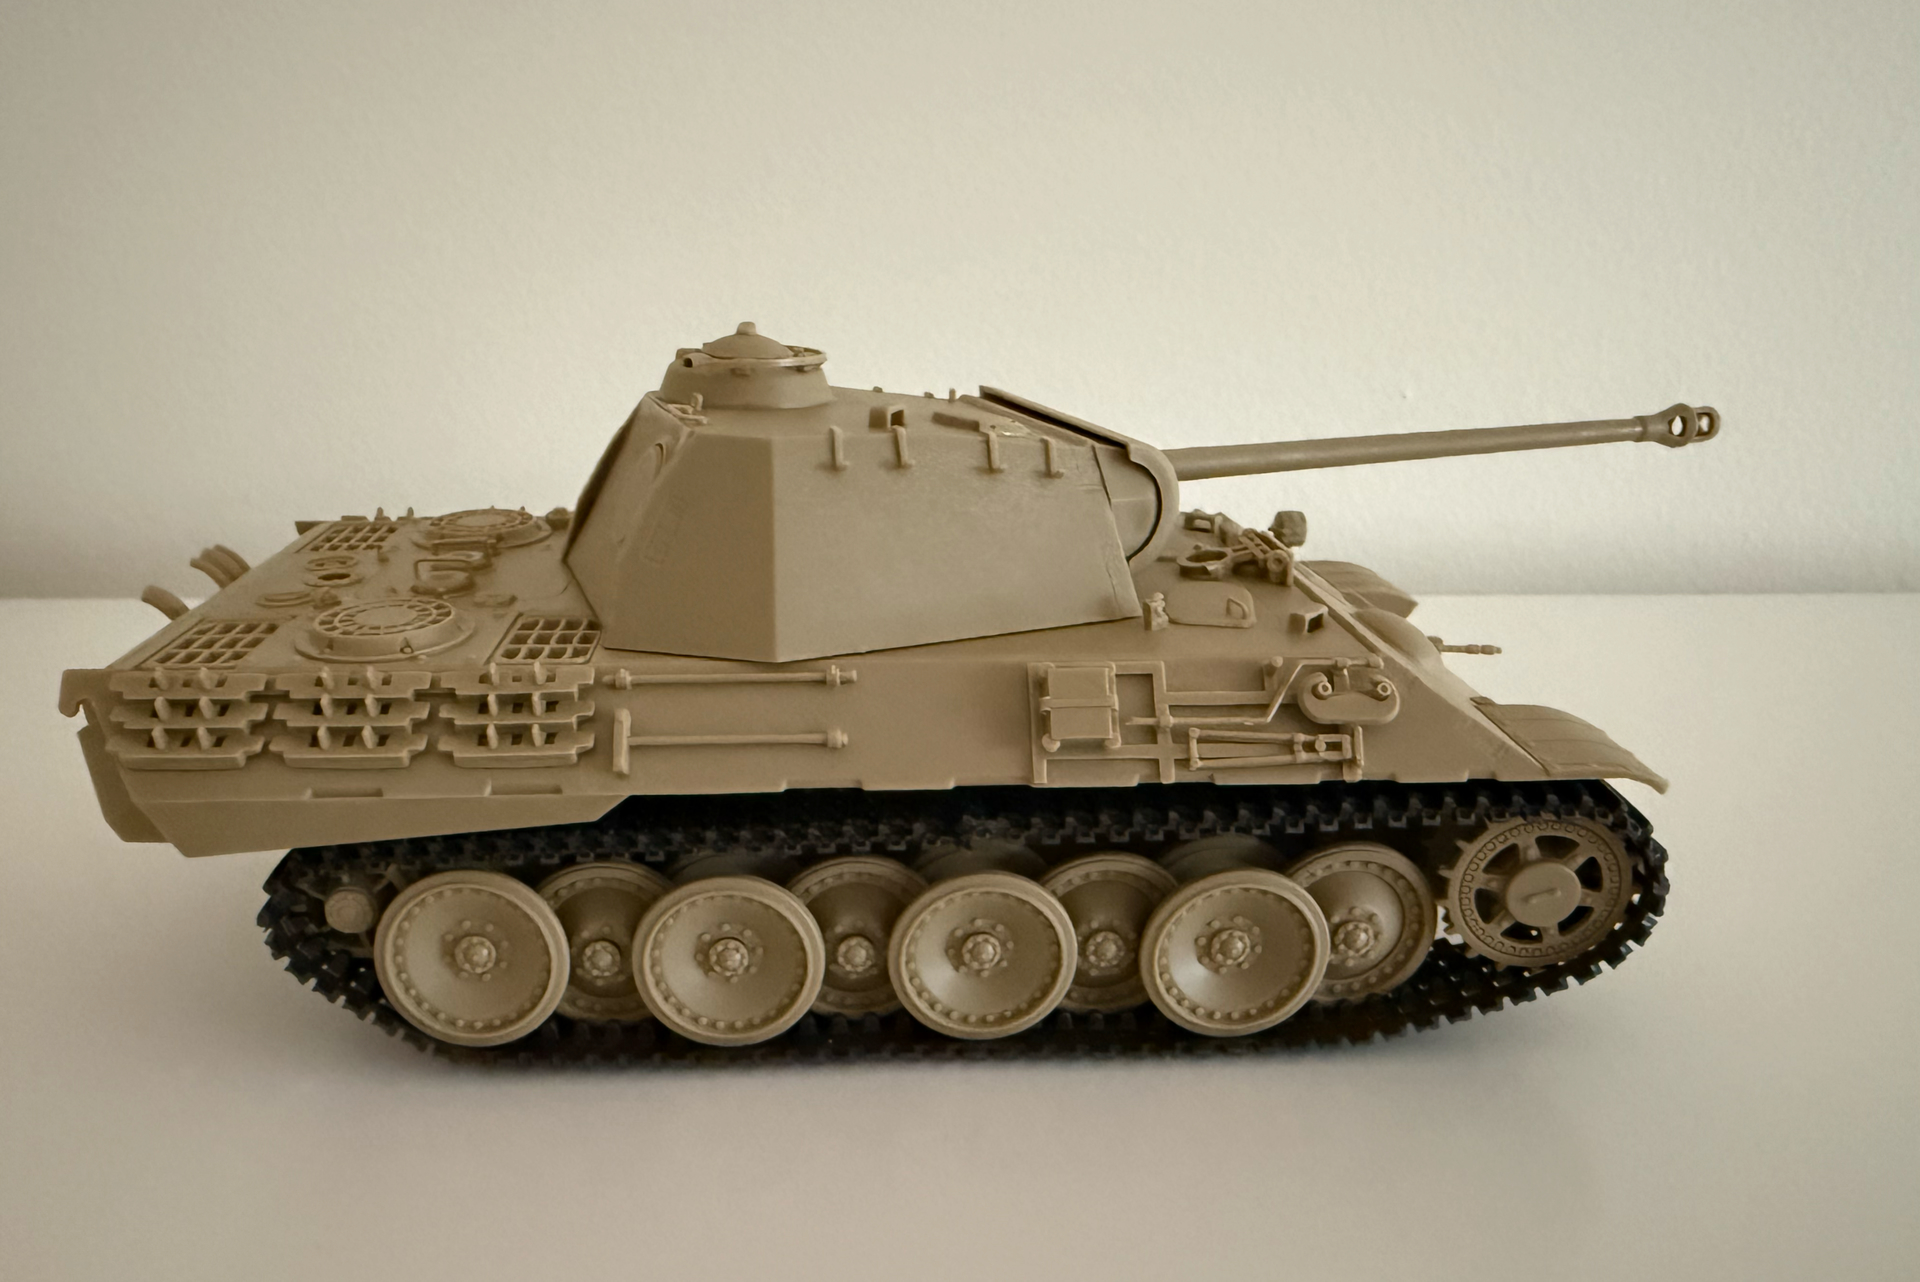
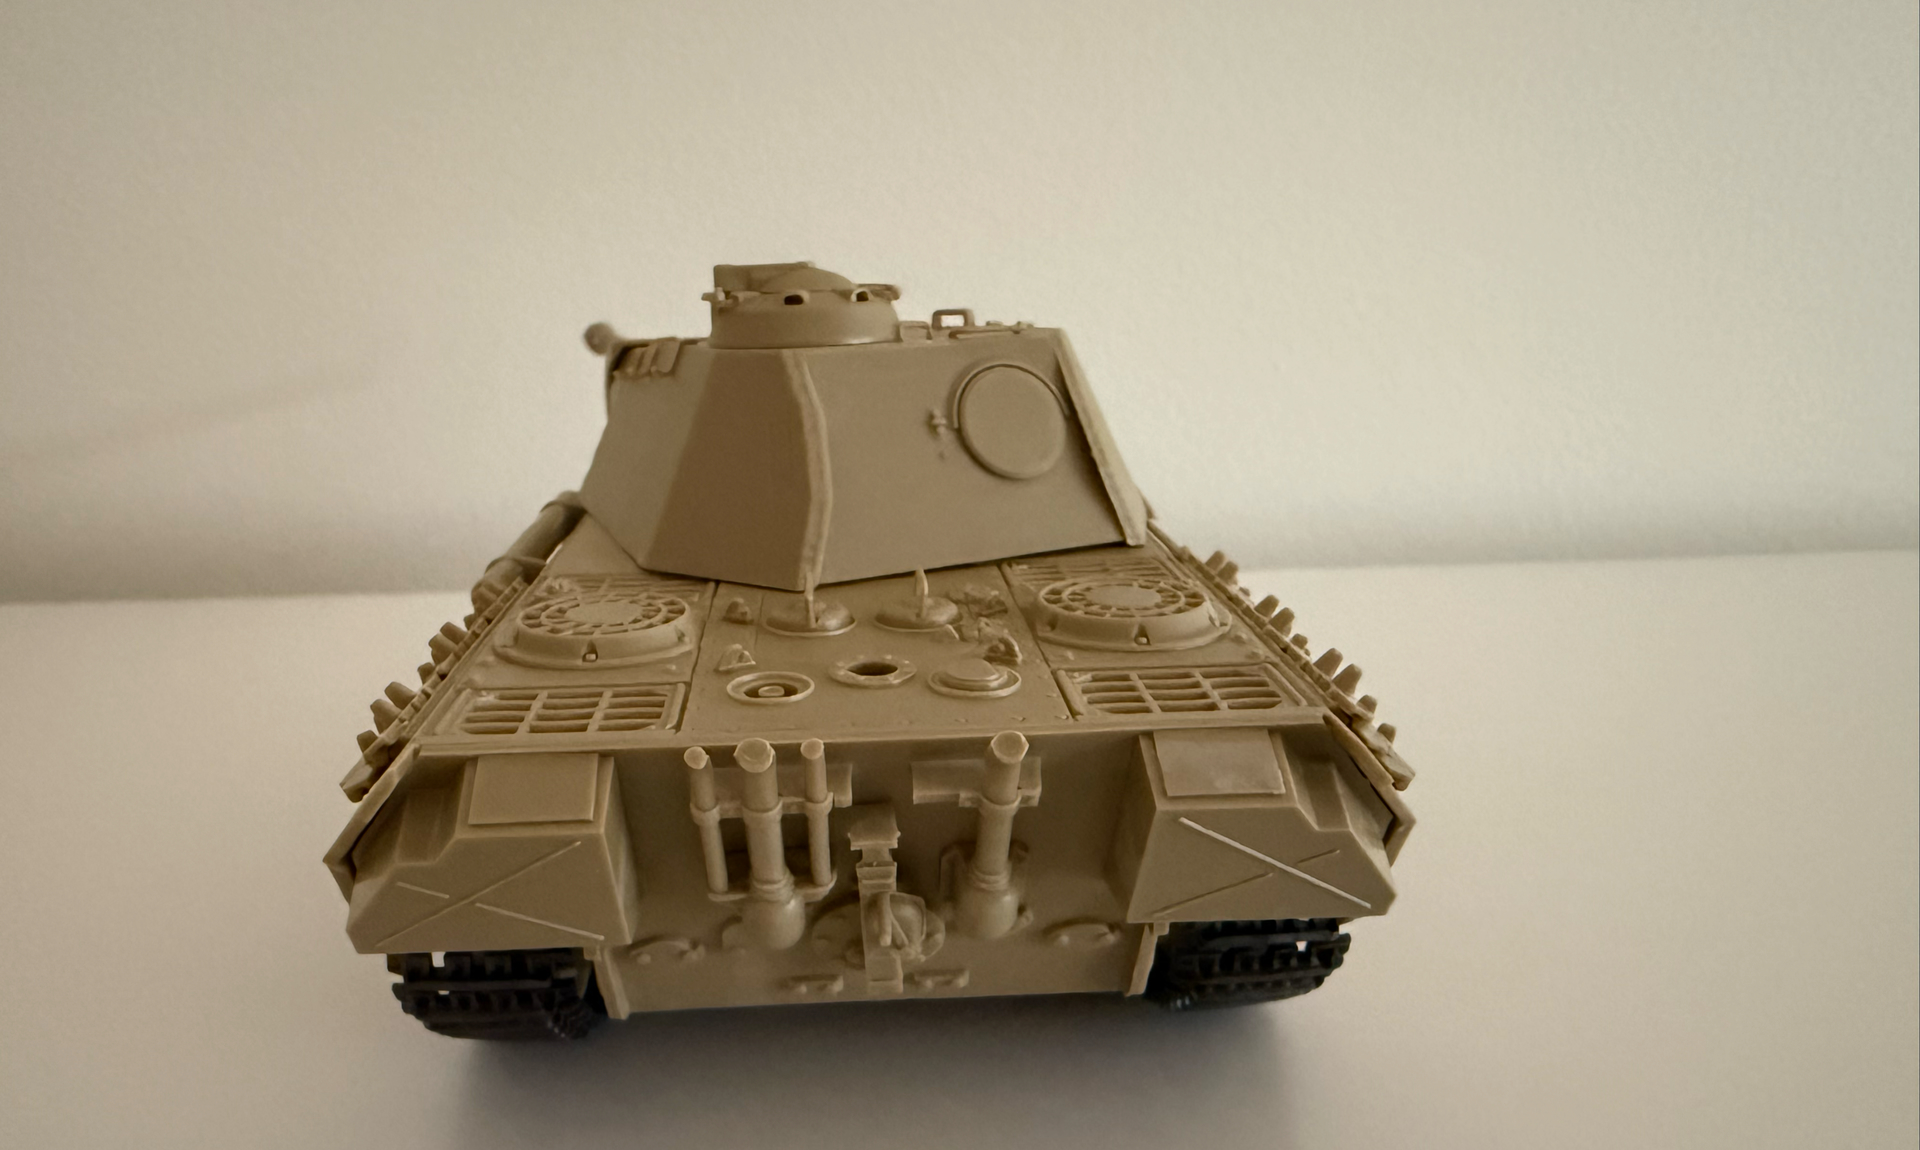
Attached is my completed model. I am planning to paint it, although I am not yet 100% sure when that will happen. For now, I see this build as a test piece on which I can practice and improve my skills. Since I have never painted a scale model before, I would rather experiment on this one before painting a model in which I have invested more time and passion.
My main critics for this kit:
- It is a very old kit that was originally designed to be motorized.
- It is not a true 1:35 scale model.
- A lot of mold lines and excess material have to be cleaned up. This can be especially difficult for a beginner when the parts are extremely thin and small.
- Some areas of the hull remain open, and the upper and lower hull sections do not connect properly. It makes the kit feel unfinished and cheap.
- The instructions are sometimes unclear about how certain parts should be assembled. The box art and other reference images provided with the kit were not helpful either.
- Some parts are not shown in the construction plan, while others appear to be missing.
- The tank tracks are extremely ugly and poorly designed. They also force the two front drive wheels to bend.
Now that I understand what this kit was originally designed for and how old it is, I suppose it is acceptable for what it is. I will not use it as a benchmark for future kits.
Now I need to give myself some time to research and find inspiration for what to build next. As I mentioned before, I would like to create a “story” for my next kit - an actual concept of what I want to build and represent.
I also want to do more research before purchasing another kit. I definitely do not want to end up with another “disaster” kit like this one.

5 Likes
Welcome 
1 Like
If you want to do another Tamiya Panther, the G is still pretty good, & the Late version doesn’t need zimmerit at all (although I think the early version could be built accurately without zimmerit too). The D is probably even better, as it is only a few years old, but Ive never built one of those.
Damon.
2 Likes
Although it has taken time and effort, I would not label your model as a disaster. If you can fill the gap on the front with some putty and make some sag on the tracks (drill a pin to force it downwards after the sprocket), it will look pretty decent.
Apart from above, you have achieved a clean build, go experiment and paint it.
Keep in mind that experience is crucial, so you need to build and paint to improve. There is no other way.
Congratulations for your nice start 
5 Likes
You said it. This is good advice.
2 Likes
Yes kit research is important to me.
Yes, the Panther A kit is old, but still builds what looks like a panther . And now that it is built. You can practice painting and finishing techniques.
As someone has mentioned before, we all have built this kit. It’s a right of passage . And I still use mine for practicing new weathering techniques.
3 Likes
I never built one. I started with Dragon.
2 Likes
Hi! I’m glad you’re continuing. This kit is what got me back into the fun of model making. Caught up in the trend of constantly striving to improve, and limited by my skill and time constraints, I hadn’t finished anything for years. A client brought me this very imperfect kit to paint and assemble without any particular ambitions; he wanted something very simple.
So I started it on a Saturday… and I had it assembled by the early hours of the morning. Painting it was a breeze, and applying basic weathering was just enough to highlight a few (very few) details. I had it ready for delivery in a week. I hadn’t had that much fun in decades!
From then on, I approached things differently and started assembling and, above all, finishing my projects again. But most importantly, I let go of excessive ambition and focused on what mattered to me about model making: having fun and enjoying myself!
3 Likes
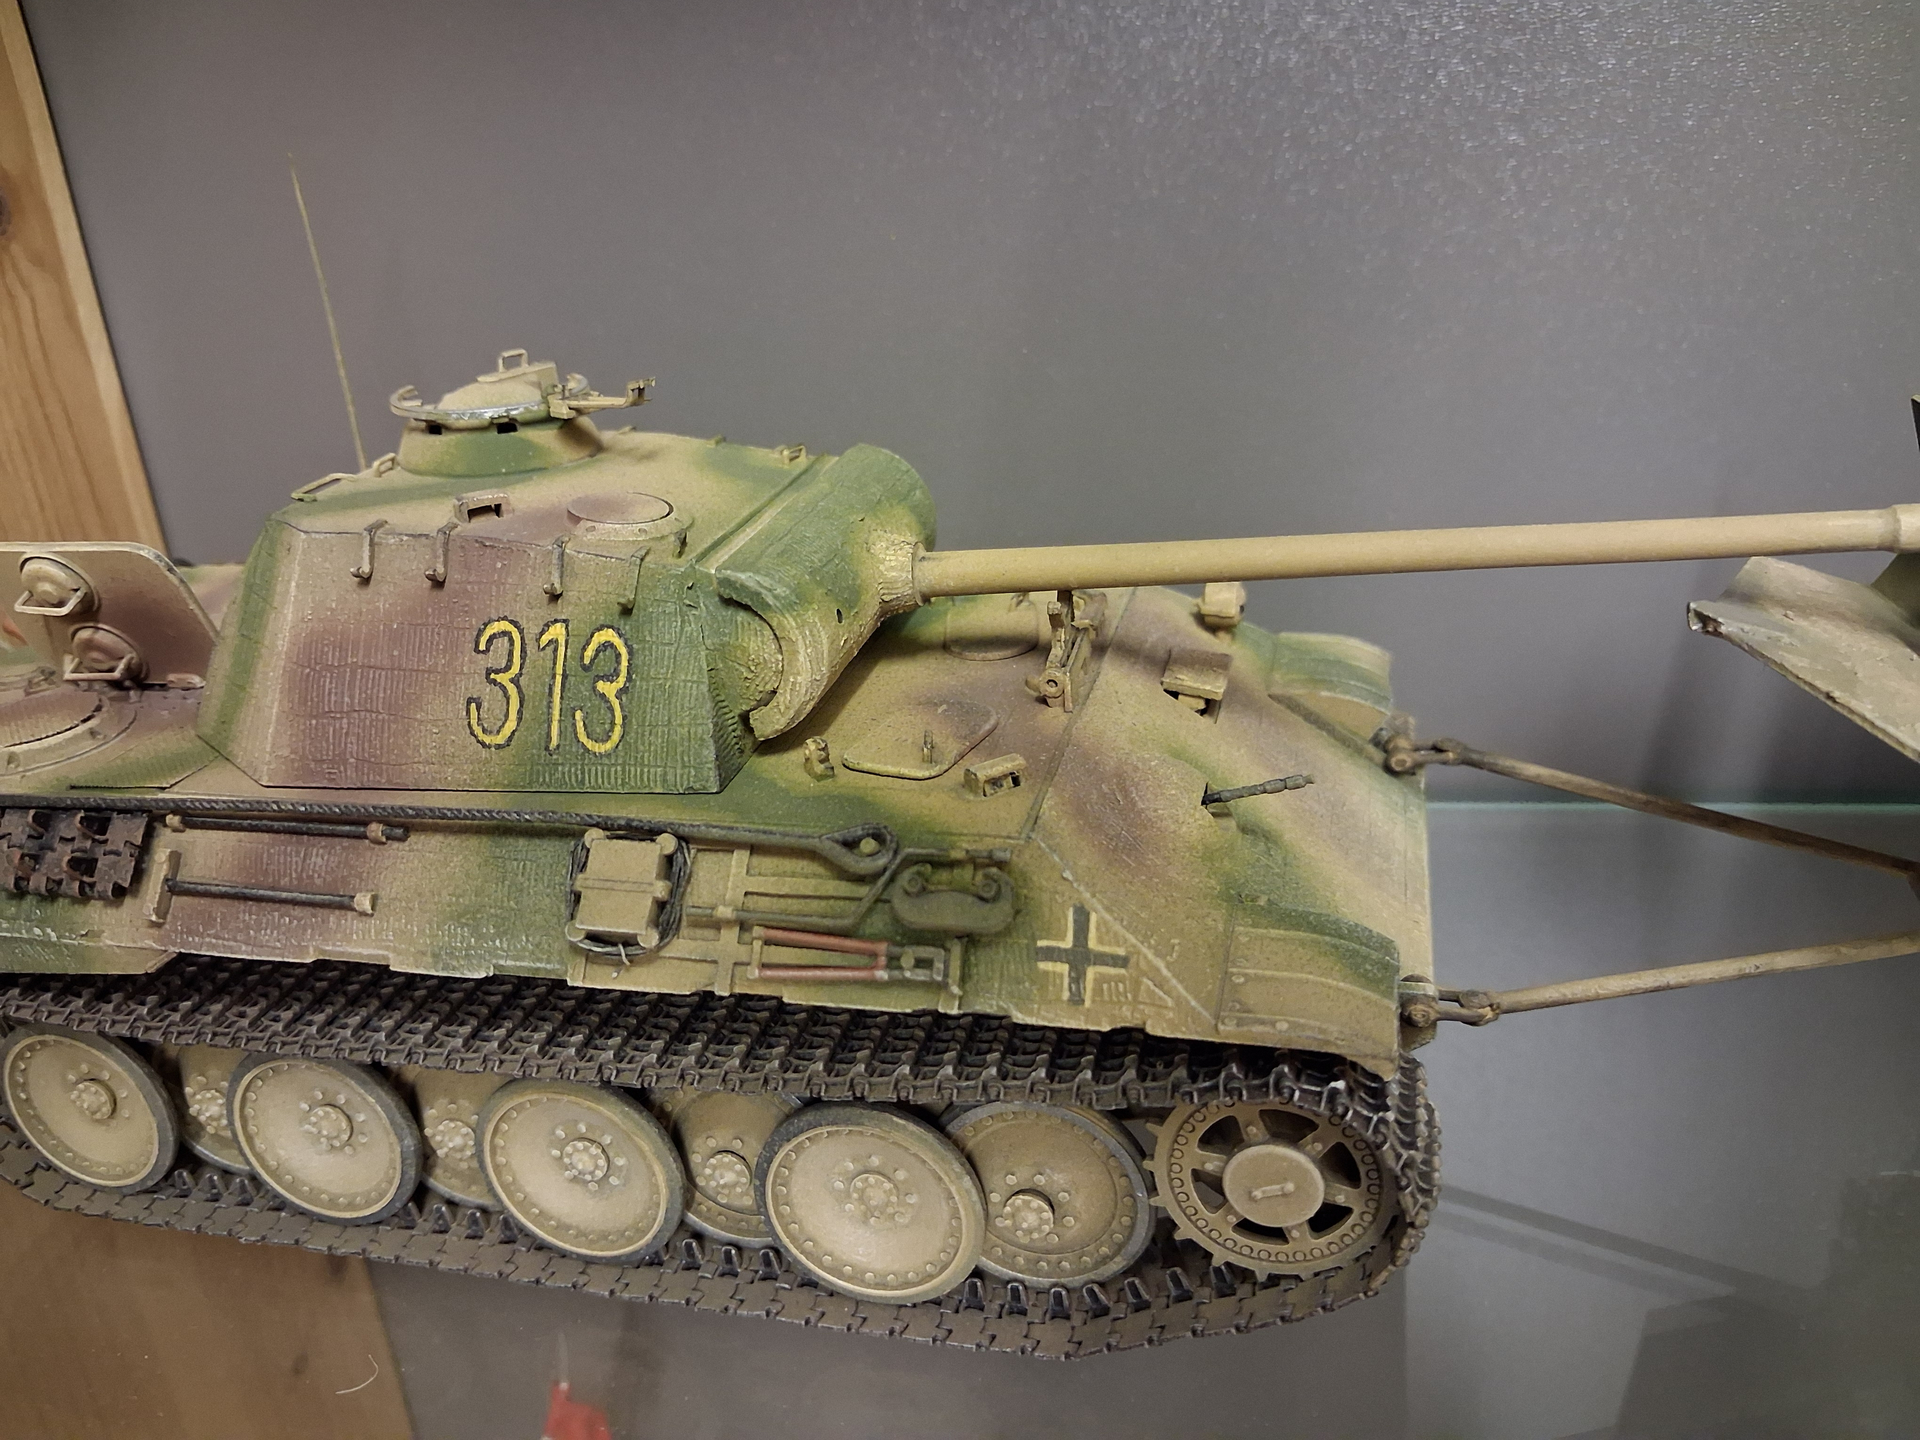
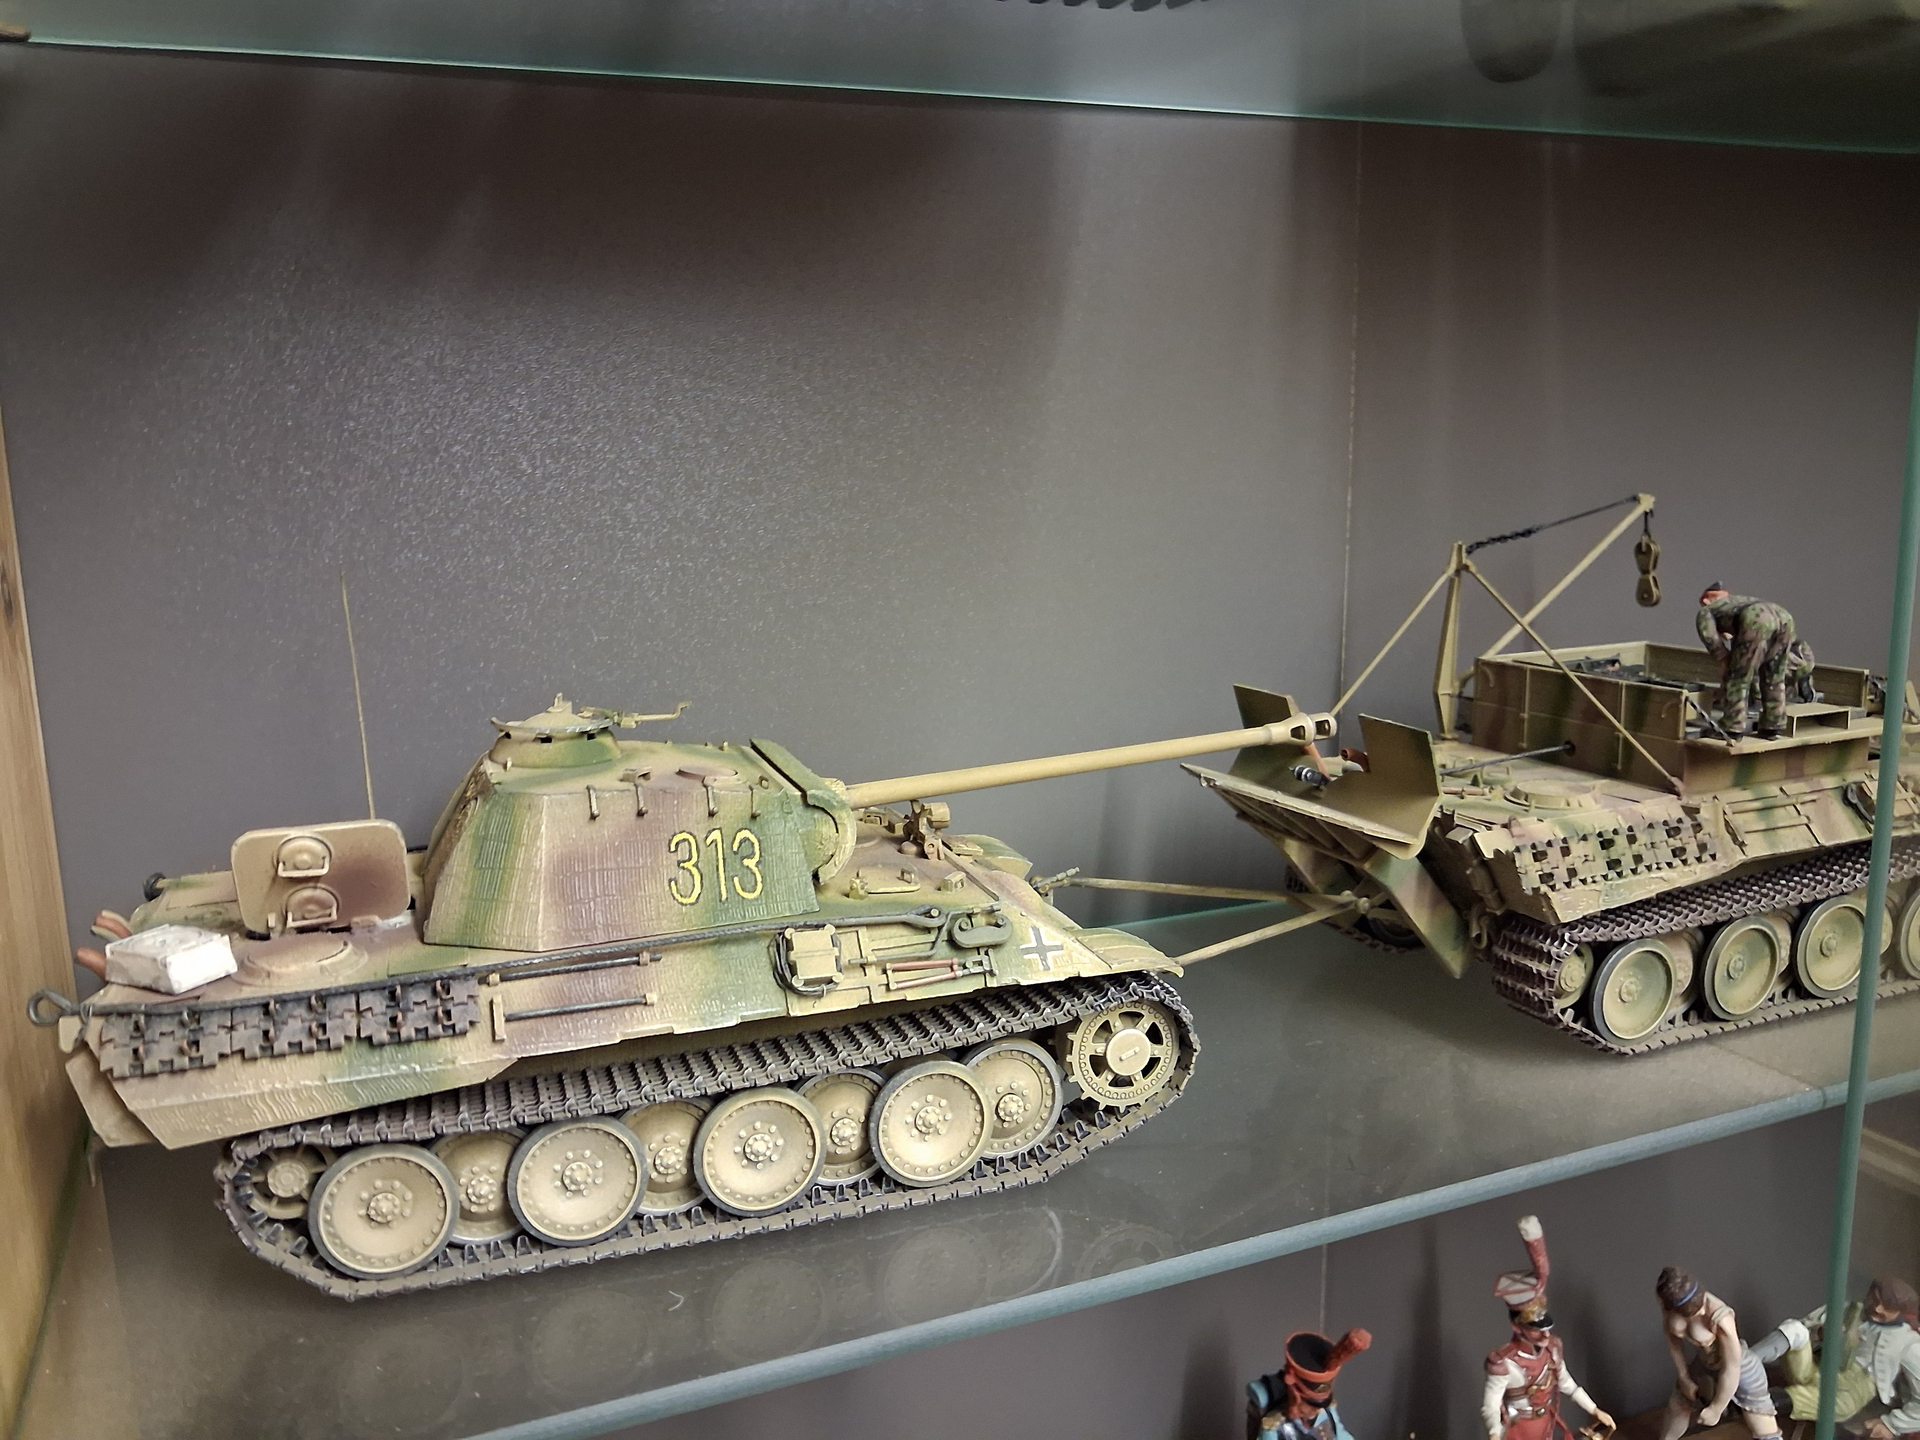
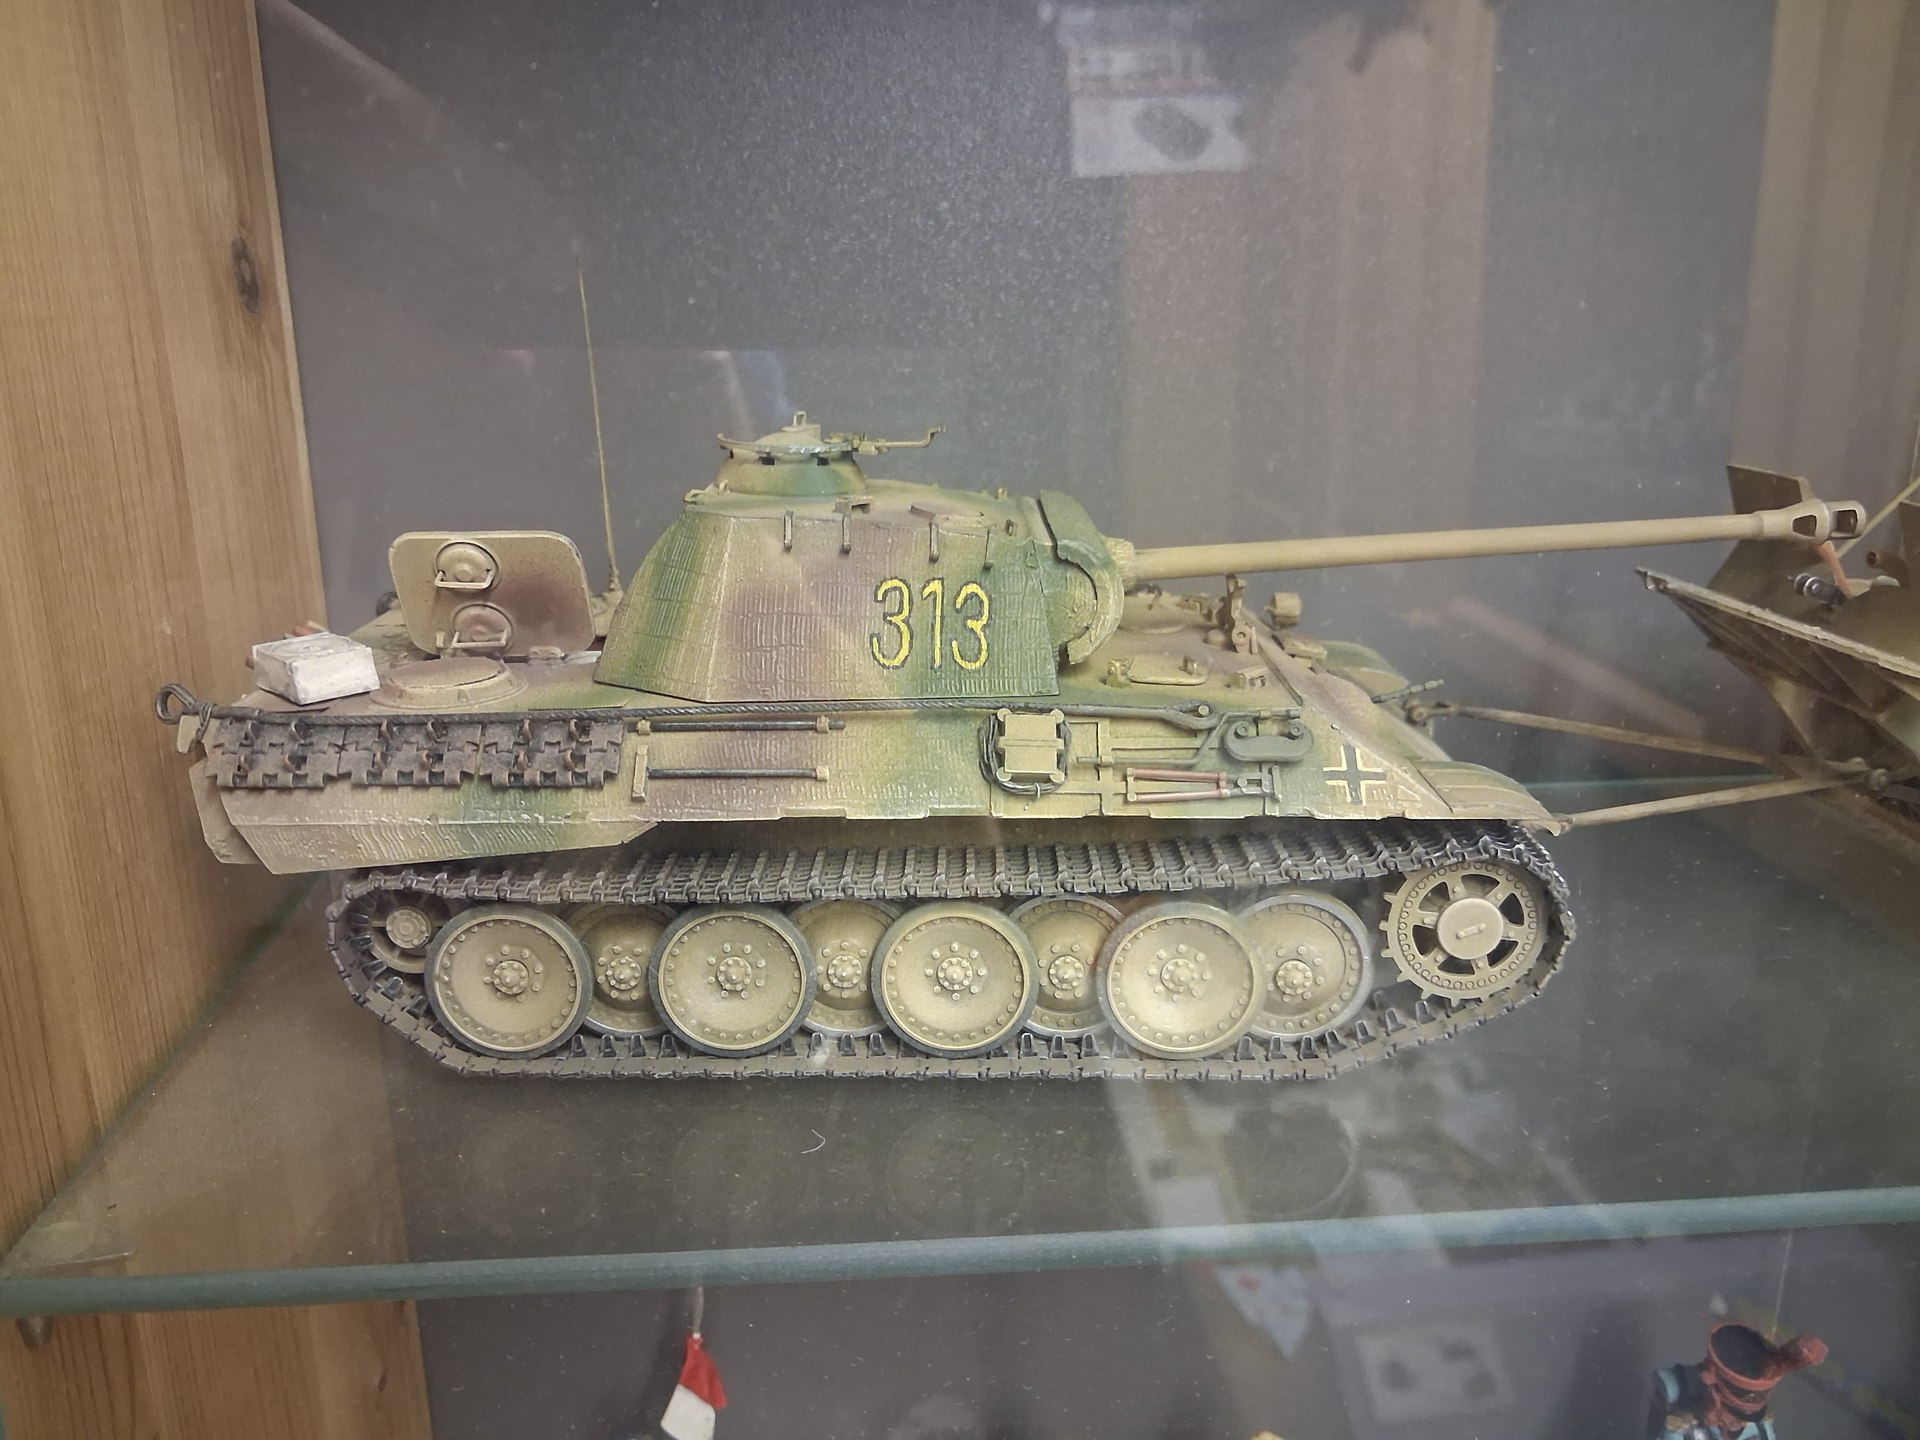
I think you’ve made a pretty good fist of it. OK, as the others have said, this ancient Tamiya offering has a lot of things wrong with it, but that’s hardly your fault. I remember making this as a teenager (I’m now 69!), so that’s how old it is. Despite this, it does look like a Panther. I made this kit again a few years ago (it was a present) and tried to overcome some of the issues. I remodelled the incorrect drivers visor, Opened the rear engine hatch and added the Tamiya engine, replaced the tools from the spares box, either drilled out or swopped the exhausts for left overs from Dragon, applied Zimmerit (virtually mandatory for a Panther ausf “A”) and used Tamiya’s own separate track links. It looked OK enough to display with my other stuff. Some easy fixes which improve the look no end, but of course not available to you as a starter with no spares box(es) yet. Use this kit to experiment with painting techniques and build on your experience. Despite this kit’s shortcomings, it is still a pretty easy uncomplicated build, unlike say, Dragon or especially MiniArt. I’m sure a lot of Dragon, AFV Club, MiniArt or Gecko kits bought by starters remain unfinished, they are just too daunting (I’ve been modelling for 60 years and avoid Gecko kits now having built one!). Here’s my offering, being towed by the Italaeri Bergepanther, another doggy old kit which gets plenty of criticism, given similar treatment.
6 Likes