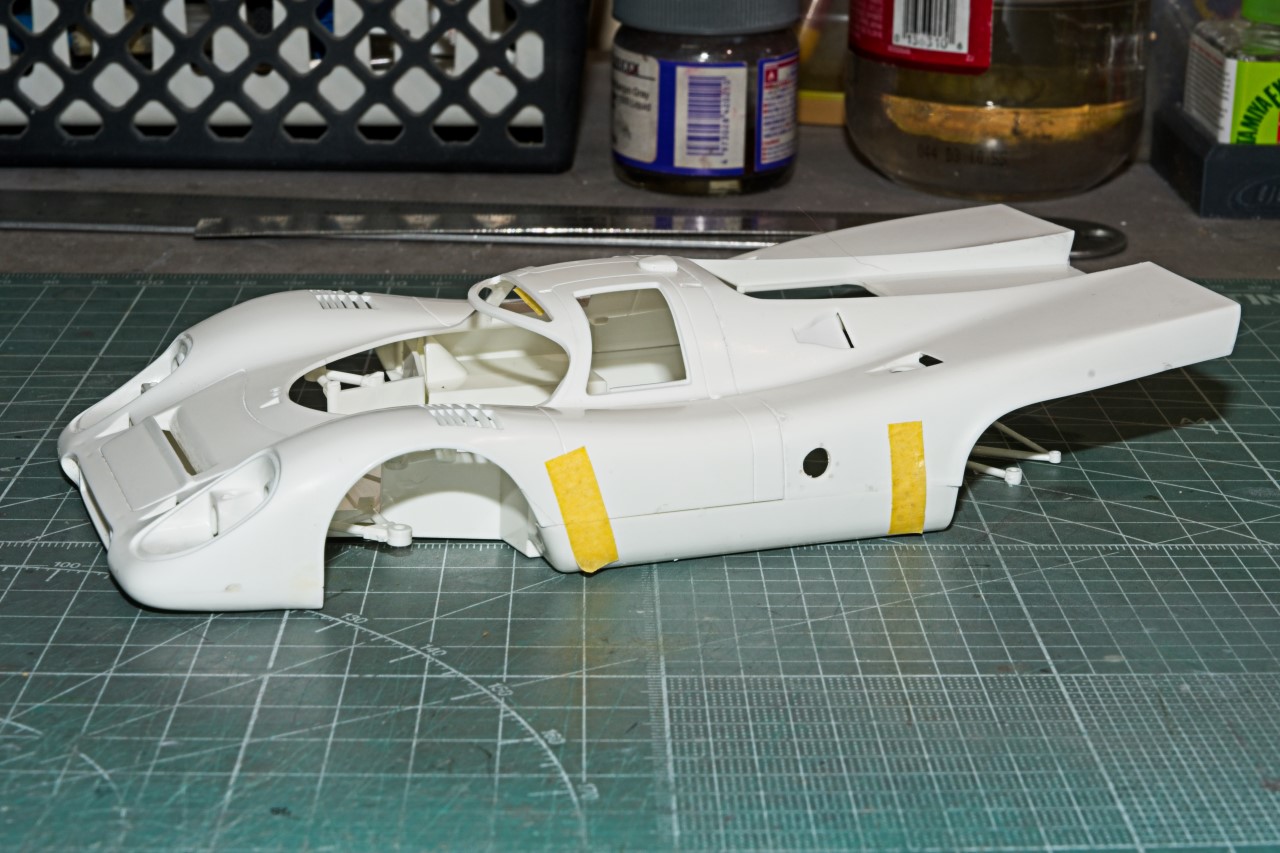
Work has very slowly continued due to my personal medical issues, but hopefully they’re behind me now. All of the flash, molding seams, etc have been taken care of over several days as what seemed like every strut and rod had two seams to remove and then polish out.
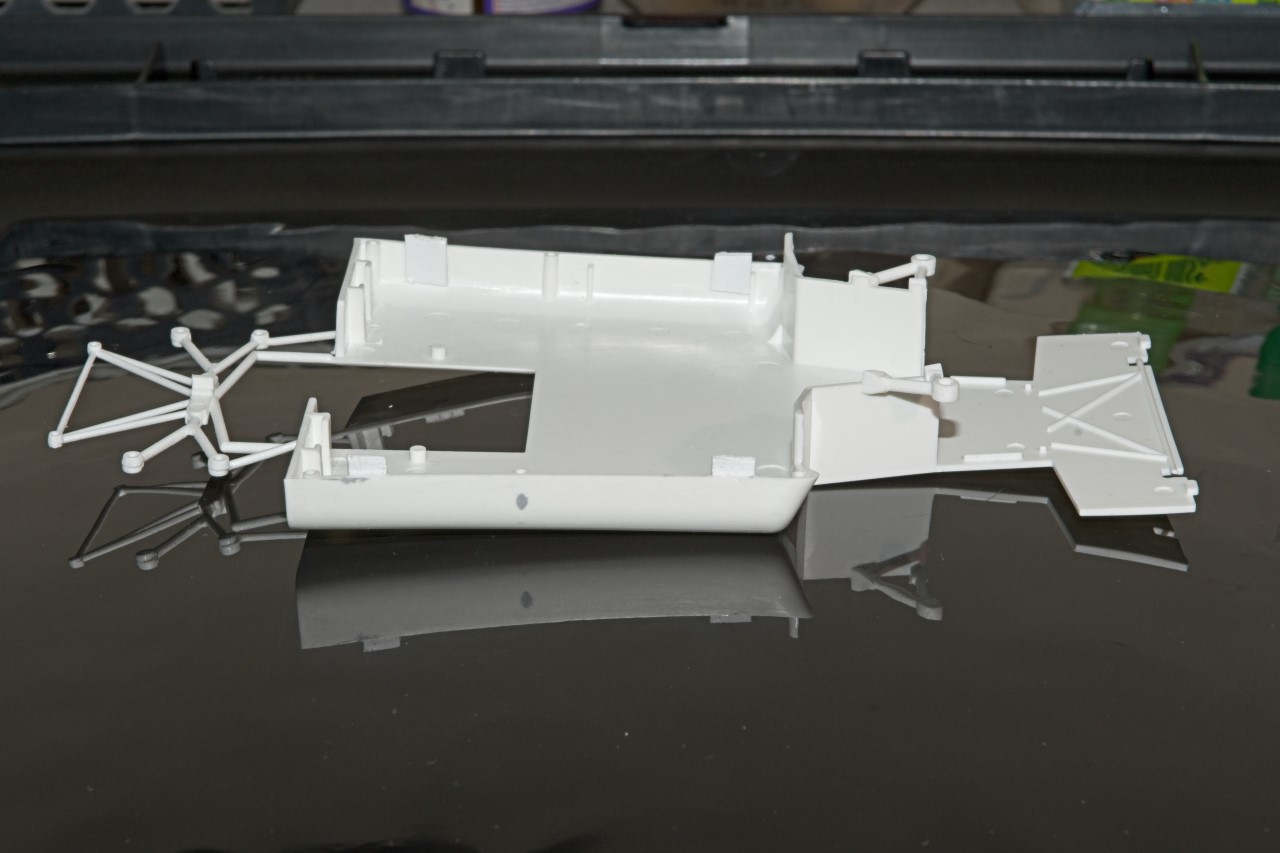
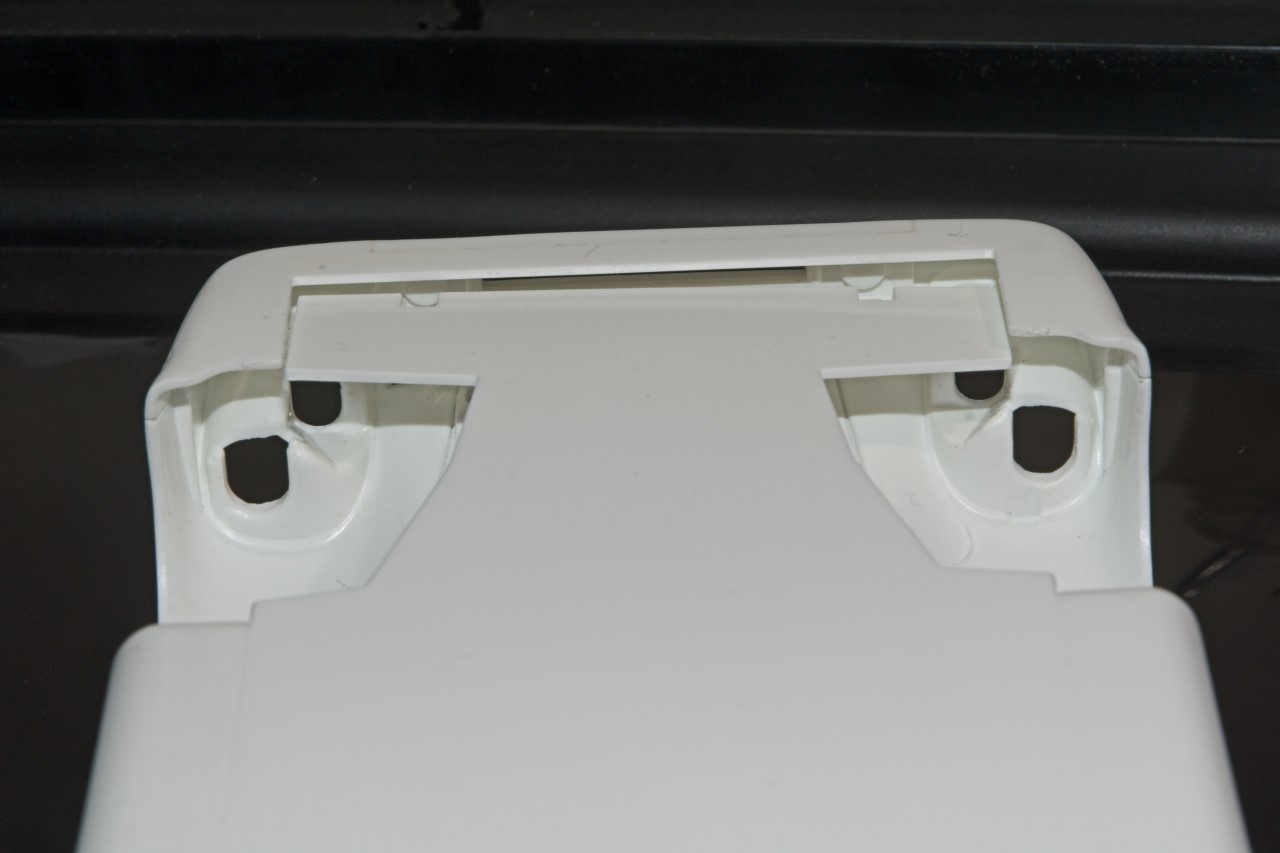
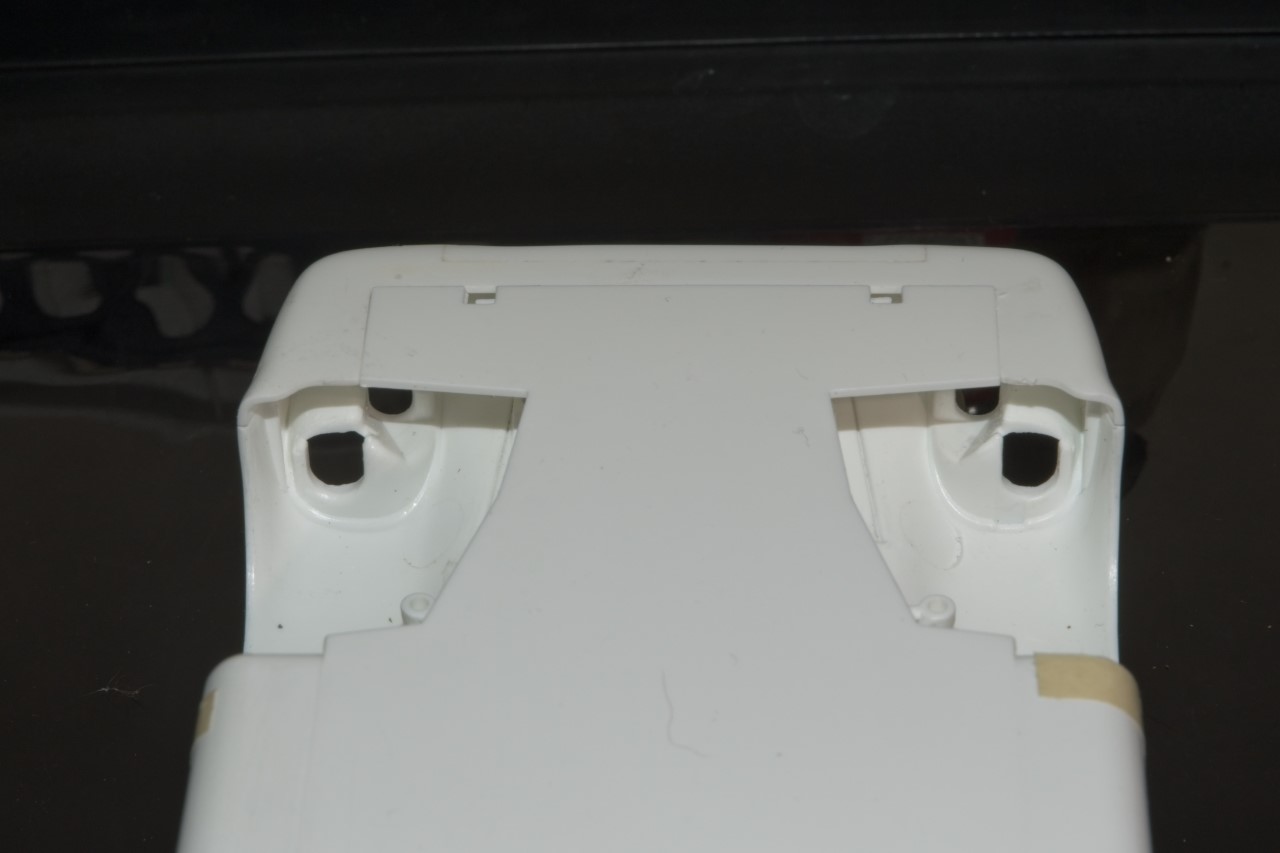
Up next was dry fitting the top body shell to the lower body shell. Unfortunately this not being Horse Shoes, close doesn’t count. The 1st issue is that unlike nearly all of the Tin Tops I’ve built where the body encloses the chassis, making mounting and gluing if necessary easy and little to no chance of getting glue on the lower side surfaces. Proto type cars like the 917 K are basically a clam shell with the seam between upper and lower being about 2/3 the way down the sides. My eyesight is way to poor to chance laying down drops of CCA glue along the edge surfaces without a major screw up, so I fashioned 4 mounting tab; two on each side of the lower shell. But the sides aren’t straight as they curve in on the way down as well as up. So I had to fiddle with rolling the plastic tabs till the dry fitting was as best as I could it get with no pressure needed to seat the top to the body sections.
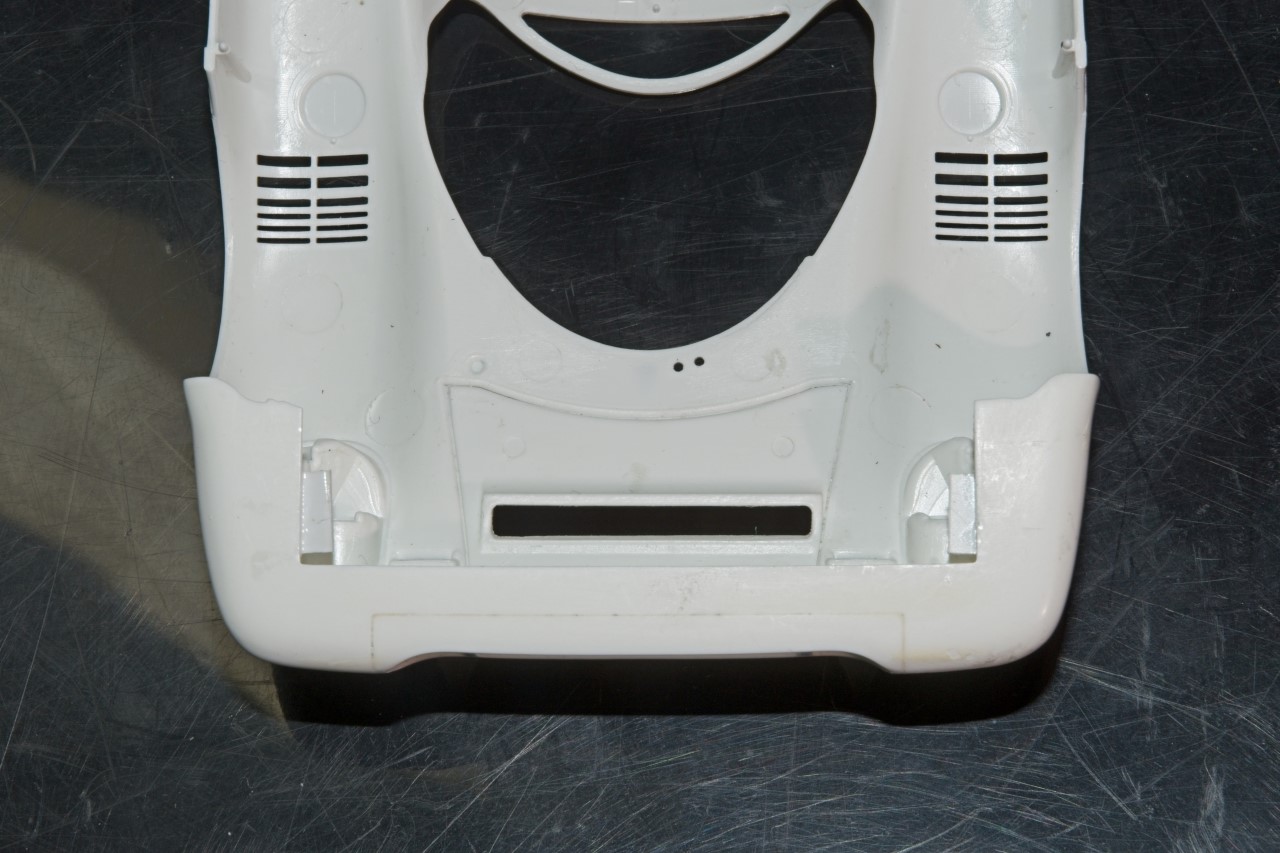
The major issue was that the front of the lower shell when fitted to the upper shell was both slightly warped and twisted.
I gently twisted the front chassis till it was as good as it was going to get, and then did the same for the warping. But as I said, close just isn’t good enough. So I once again glued 2 mounting tapes to the inside of the front fenders which shouldn’t interfere with the radiator assembly.
When dry, a test fit that was about as close as I could hope to get it.
A little final sanding and polishing with a Tamiya
#3000 sponge to prep for Priming. And finally my 1st stop at the paint booth.
joel
4 Likes
JA
Nice work on solving the body shell issues using sheet plastic gluing tabs. The fit now looks mighty good
Bro
With all that dry fitting , twisting , trying again it seems like you are practicing for an MFH kit … just saying , no pressure…
Richard
Completely agree … I know my brother is ready to tackle an MFH kit … just needs a bit more persuasion
Peter
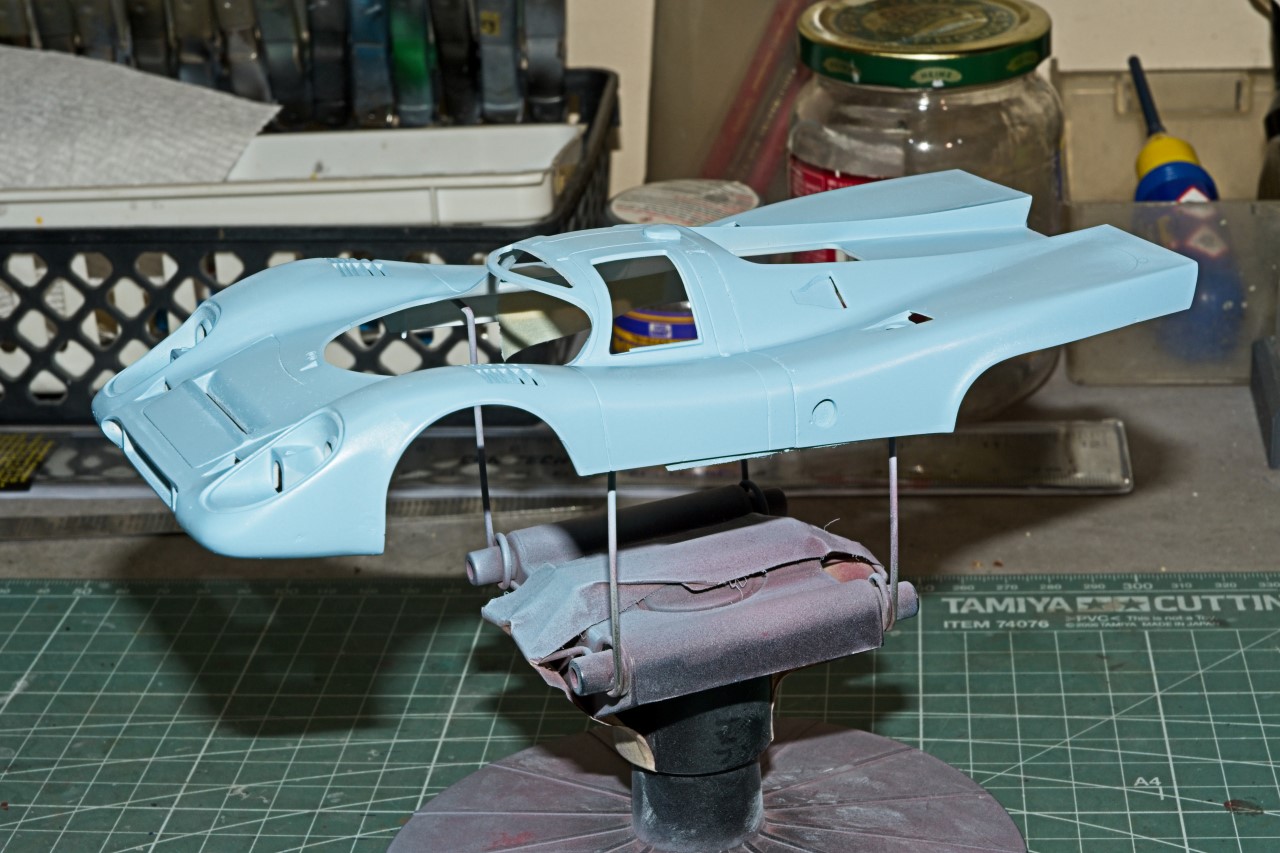
Time to focus on painting the body shell. After a good wet sand with a 3,000 piece of Tamiya sponge, and a good wipe down with Iso Alcohol, the top & bottom shells were air brushed with my regular mix 50/50 mix of Tamiya Gray & White lacquer primers then thinned also 50/50 with Mr. Color Leveling Thinner 400.
Just another senior moment caused me to forget to take a few pics. 
I gave the primer 24 hrs to dry and cure, then once again a lite wet rub with a piece of Tamiya 3,000 sponge, and rinse with a wet cloth. Then back into the paint booth.
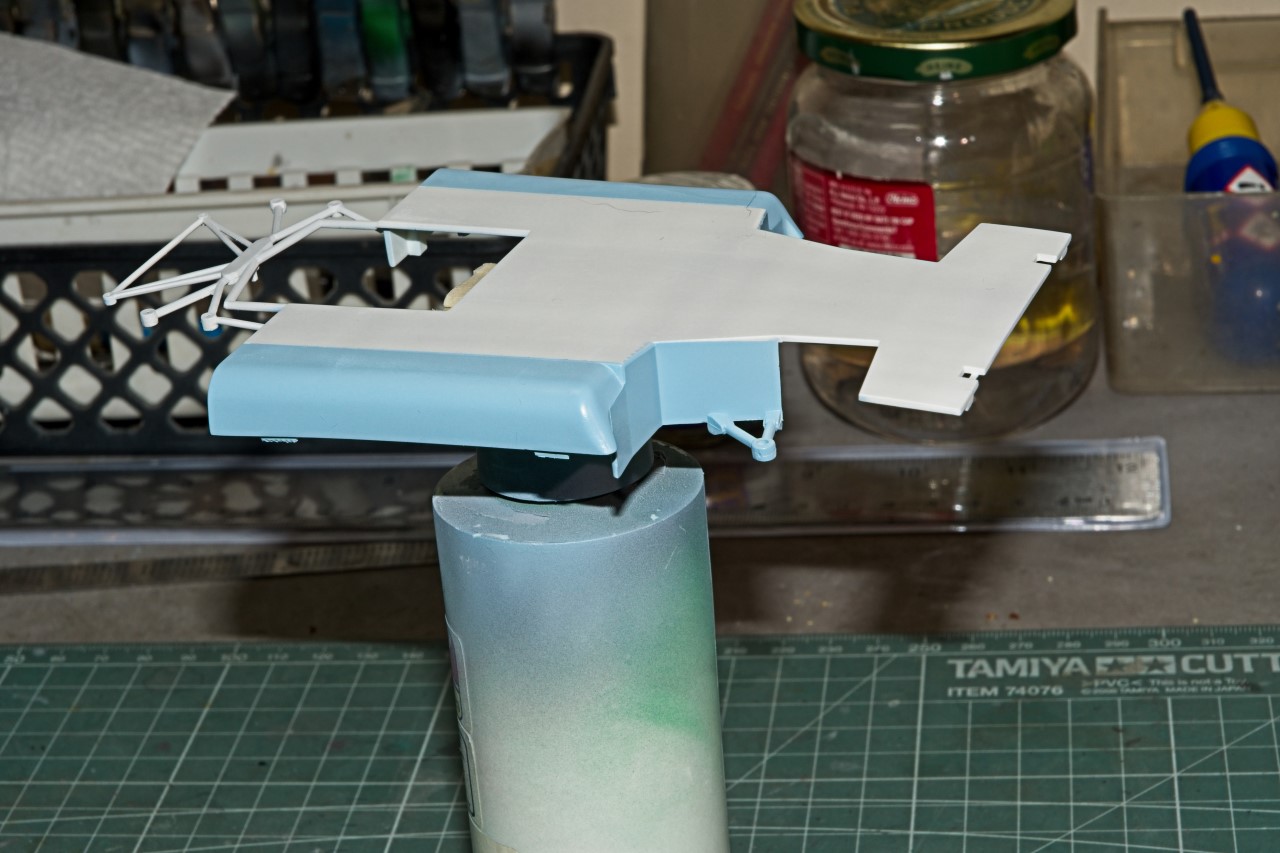
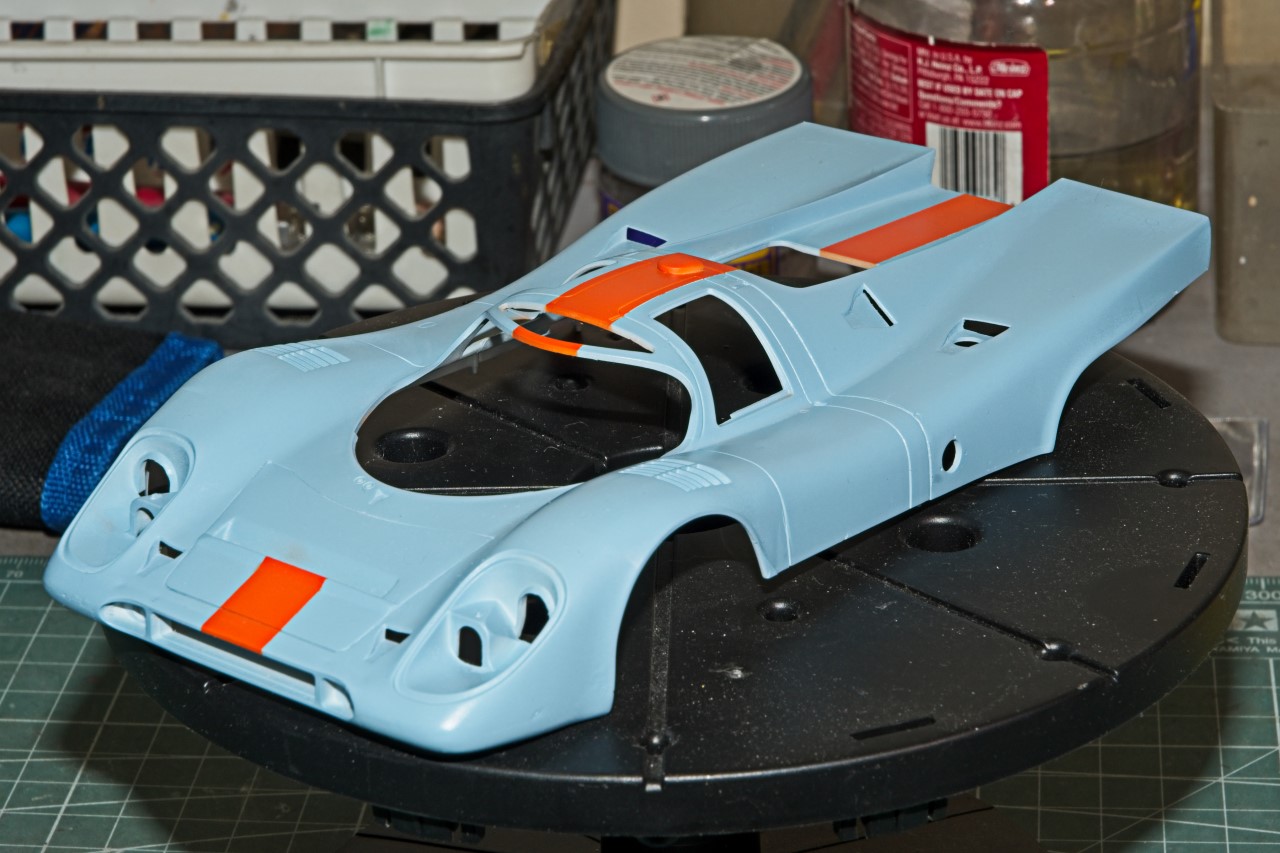
Time for the basic Gulf Wyer Blue by Gravity GC-108 air brushed with a Grex .5mm setup.
and the bottom shell that was masked so just the sides could be painted.
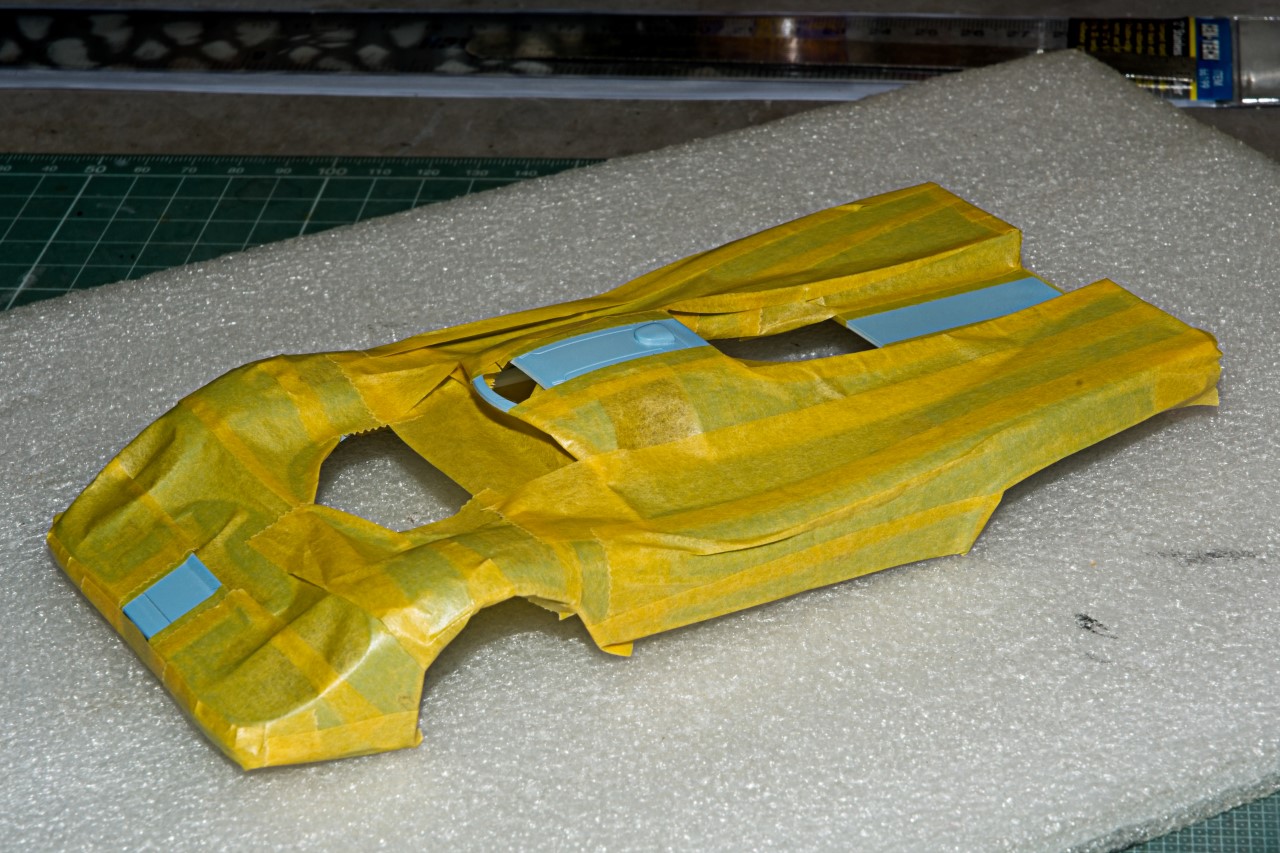
I gave the paint several days to completely dry and cure before masking for the the Orange stripe that I decided on using rather then both decals from Indy Cal and Fujimi. The masking took a good 2 hours and a lot of various sizes of Tamiya tape.
For the stripe to be both the correct width and in the center of the body, my procedure is quite different then the usual cut and apply. I 1st located the center of the front and the rear and lightly marked it with a pencil. Then I measured the width of the Orange Fujimi decal without the Black striping. I used one LONG piece of 18mm Tamiya tape and cut it to the proper width. Located the center for both ends and marked them on the tape. I then careful laid the tape out so that then centers matched the marks on the body. I cut the tape over each opening so that it was easy to lightly burnish the tape down. Then using Tamiya 6mm tape I carefully laid it along both sides of the center tape. Then I removed the center tape sections and taped the entire body.
I started the painting process with a few very lite tack coats of Tamiya Acrylic Flat White thinned 50/50 both to seal the edges of the tape and a white basecoat for the Gulf Orange without it being slightly toned changed from the light Gulf Blue.
For the Gulf Orange I used Gravity’s GC-109. To minimize the lip I applied 6 alternating lite coats. Then gave it a good hour to cure, and carefully removed the Tamiya masking tape. For once as far as I could tell the hard lines were 100% perfect. of course that’s because I still have to apply the black outer lines with decals.
Joel
7 Likes
So glad to see you back at the bench. Looking great so far. I’ve always loved that color combo.
You are indeed Mr. Paint ! Glad you are back at it .
Looks great Joel! You must be happy that #2 didn’t have the wrap around stripe that #1 had.
cheers
Michael
JA
Absolutely perfectly done. Paint finish looks smooth as ice and it’s just the first step with no polishing or clear cotes yet.
Bro
Looks amazing Joel. Orange stripe looks razor sharp.
Great paint job Joel, neat as a pin!
Cheers, D
Thanks guys, I’m thrilled that you all really like how the Wyer Gulf iconic scheme is coming out.
Dave,
Like you, it’s one of my all time favorites, and #1 in sports/prototypes for sure.
Michael,
Ok, I’ll admit it that the #2 straight stripe is way easier then the #1 nose job and sides, but I really wanted to do one of my favorite all time drivers: Joe Siffert, and he was one of the drivers in the #2 car.
BTW, I do have a masking set from Indy Cals for it, but never used it. But I do feel another Gulf Wyer 917K car coming sooner than later that will need it painted for sure.
Richard,
As always thanks for the Mr. Paint title, but I’ve seen many of your paint jobs over the years, and your skills are more then the equal of mine.
Hey Bro,
Just knew that you’d like where I’m at with painting the body shell. Not bad for a half blind old man.
Bro #armor-afv-scale-modeling:armor-irl-news
Jesper,
Great to have you checking in. For a change, I actually nailed the stripe from front to back. I’ve been known to wander off the center line from time to time.
joel
D,
Much appreciated for your thumbs up.
joel
1 Like
Looks good. I guess this is the same scheme, number 2 with the straight stripe, that I did my Airfix 917 in. I must admit, afterwards, I realised that the Fujimi kit does look a lot better. Like you, I did the blue then the orange, but perhaps it would make for easier masking to start with the orange?
That’s what I have been wondering. Only thing I could think of was a more muted under coat as the white might make it too bright. 
Mathew,
The Orange would have been easier to mask for sure. Guess you can say that I like doing mostly everything the hard way. Also I wouldn’t have had to lay down a basecoat of white since my homemade primer is more like an off white then gray.
joel
1 Like
It’s been nearly 2 weeks since my last update, but progress has been made.
Decaling was up next, so both the upper and lower body shells got a lite wet rubbing with a well worn piece of Tamiya 3,000 sponge. When dry, the decaling phase started.
I used Indy Cal’s excellent decal sheet for most of the decals especially for the Black stripes that bordered the Orange center stripe, needing to trim and alter it to fit the cockpit top window opening. The Fujimi Kit decals were used for the solid White number circles, and the #2s. To my surprise these decals were as thin as the Indy Cal decals, but required a whole different decaling approach.
My usual method is once the decal loosens up I slide it off the backing paper, then slide it into position after the surface was wetted with warm water with a drop of Dawn dish detergent, and gently pressed into place. Then the Micro Set followed by the Micro Sol, and finally Walthers Solvaset. I let the solutions do 90% of the work, and don’t touch the decals until they’re almost dry, then gently work them with a dampened Qtip. But with the Fujimi decals I quickly learned that even less touching was needed, or you just moved or damaged the decal. So after positioning each decal, and very, very lightly nudging it into it’s final position, I didn’t touch the decal after applying Micro Set, and then ever so lightly with the Micro Sol, and no Solvaset. As they dried, the wrinkles vanished. Layered decals like the numbers on the number circles were done a day latter.
I gave the decals a full 48 hours to dry and cure, then I applied Tamiya’s new Lacquer based LP 9 Clear Gloss thinned 50/50 with Mr. Color’s Leveling 400 thinner because I can’t find Tamiya’s new leveling thinner in my usual online retailers.
Honestly, I was just blown away at the smoothness and gloss after applying 6 coats with the last 3 being almost a full wet coat but not quite. Here’s what the upper shell looks like after a day drying in one of my drying boxes. There’s been no polishing at all at this stage. The shells will dry and cure for 4 days or so till the polishing and waxing phase.
joel
4 Likes
She is looking pretty Joel. 
JA
Unreal … absolutely brilliant paint and decal work, as the shell looks perfect. No question about it, you nailed the Tamiya LP 9 lacquer Gloss Clear - fantastic work.
Bro
Thank Richard, Ryan, and Peter,
Always glad to get a few posts. I’m thrilled that you guys like my efforts to date.
joel
1 Like