Hello again. I’ve been overwhelmed by the positive responses to my figures, both here and on other platforms, and found myself getting more ambitious.
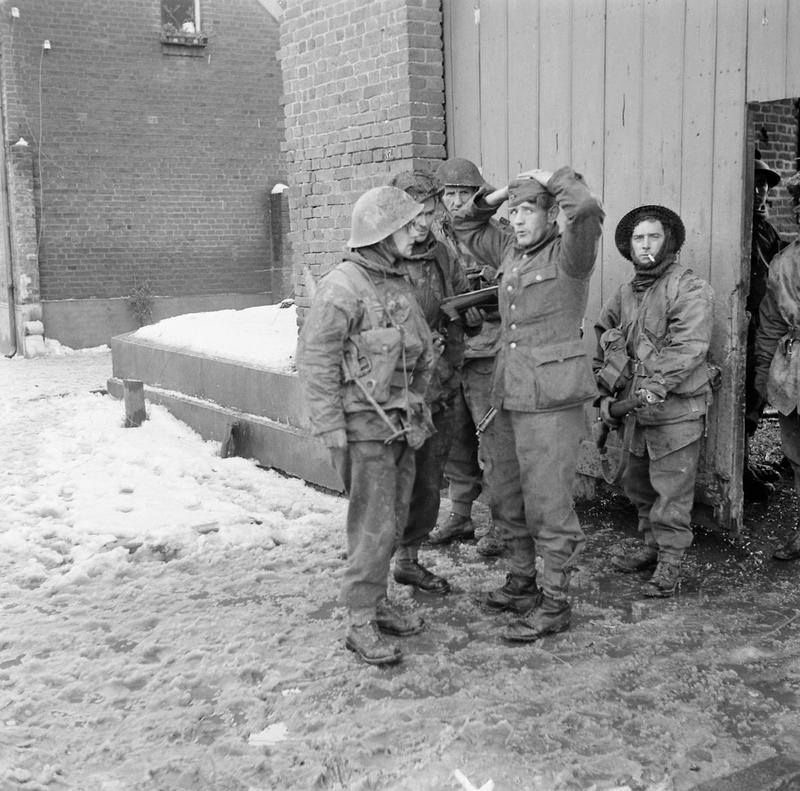
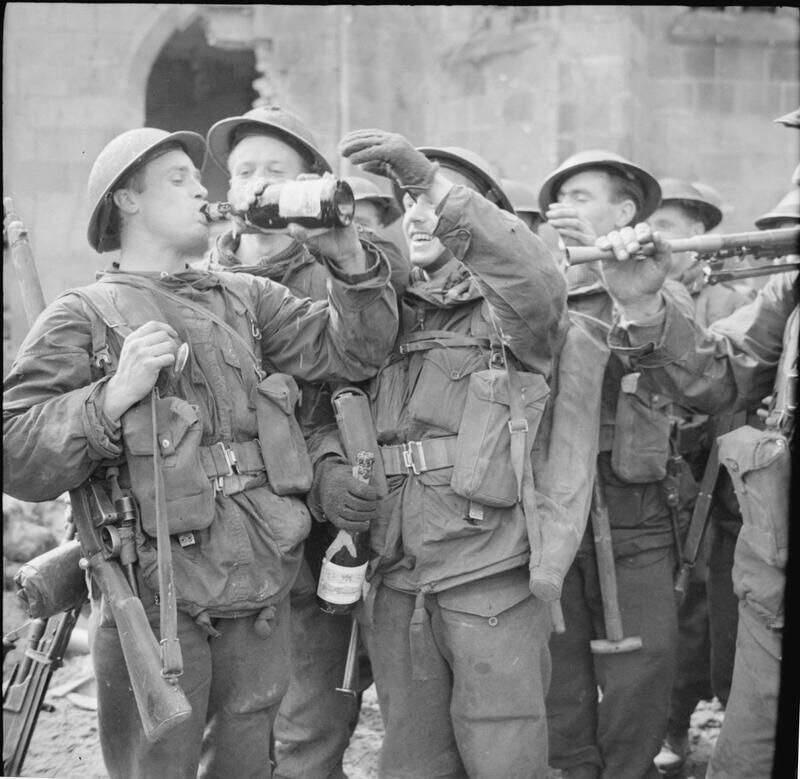
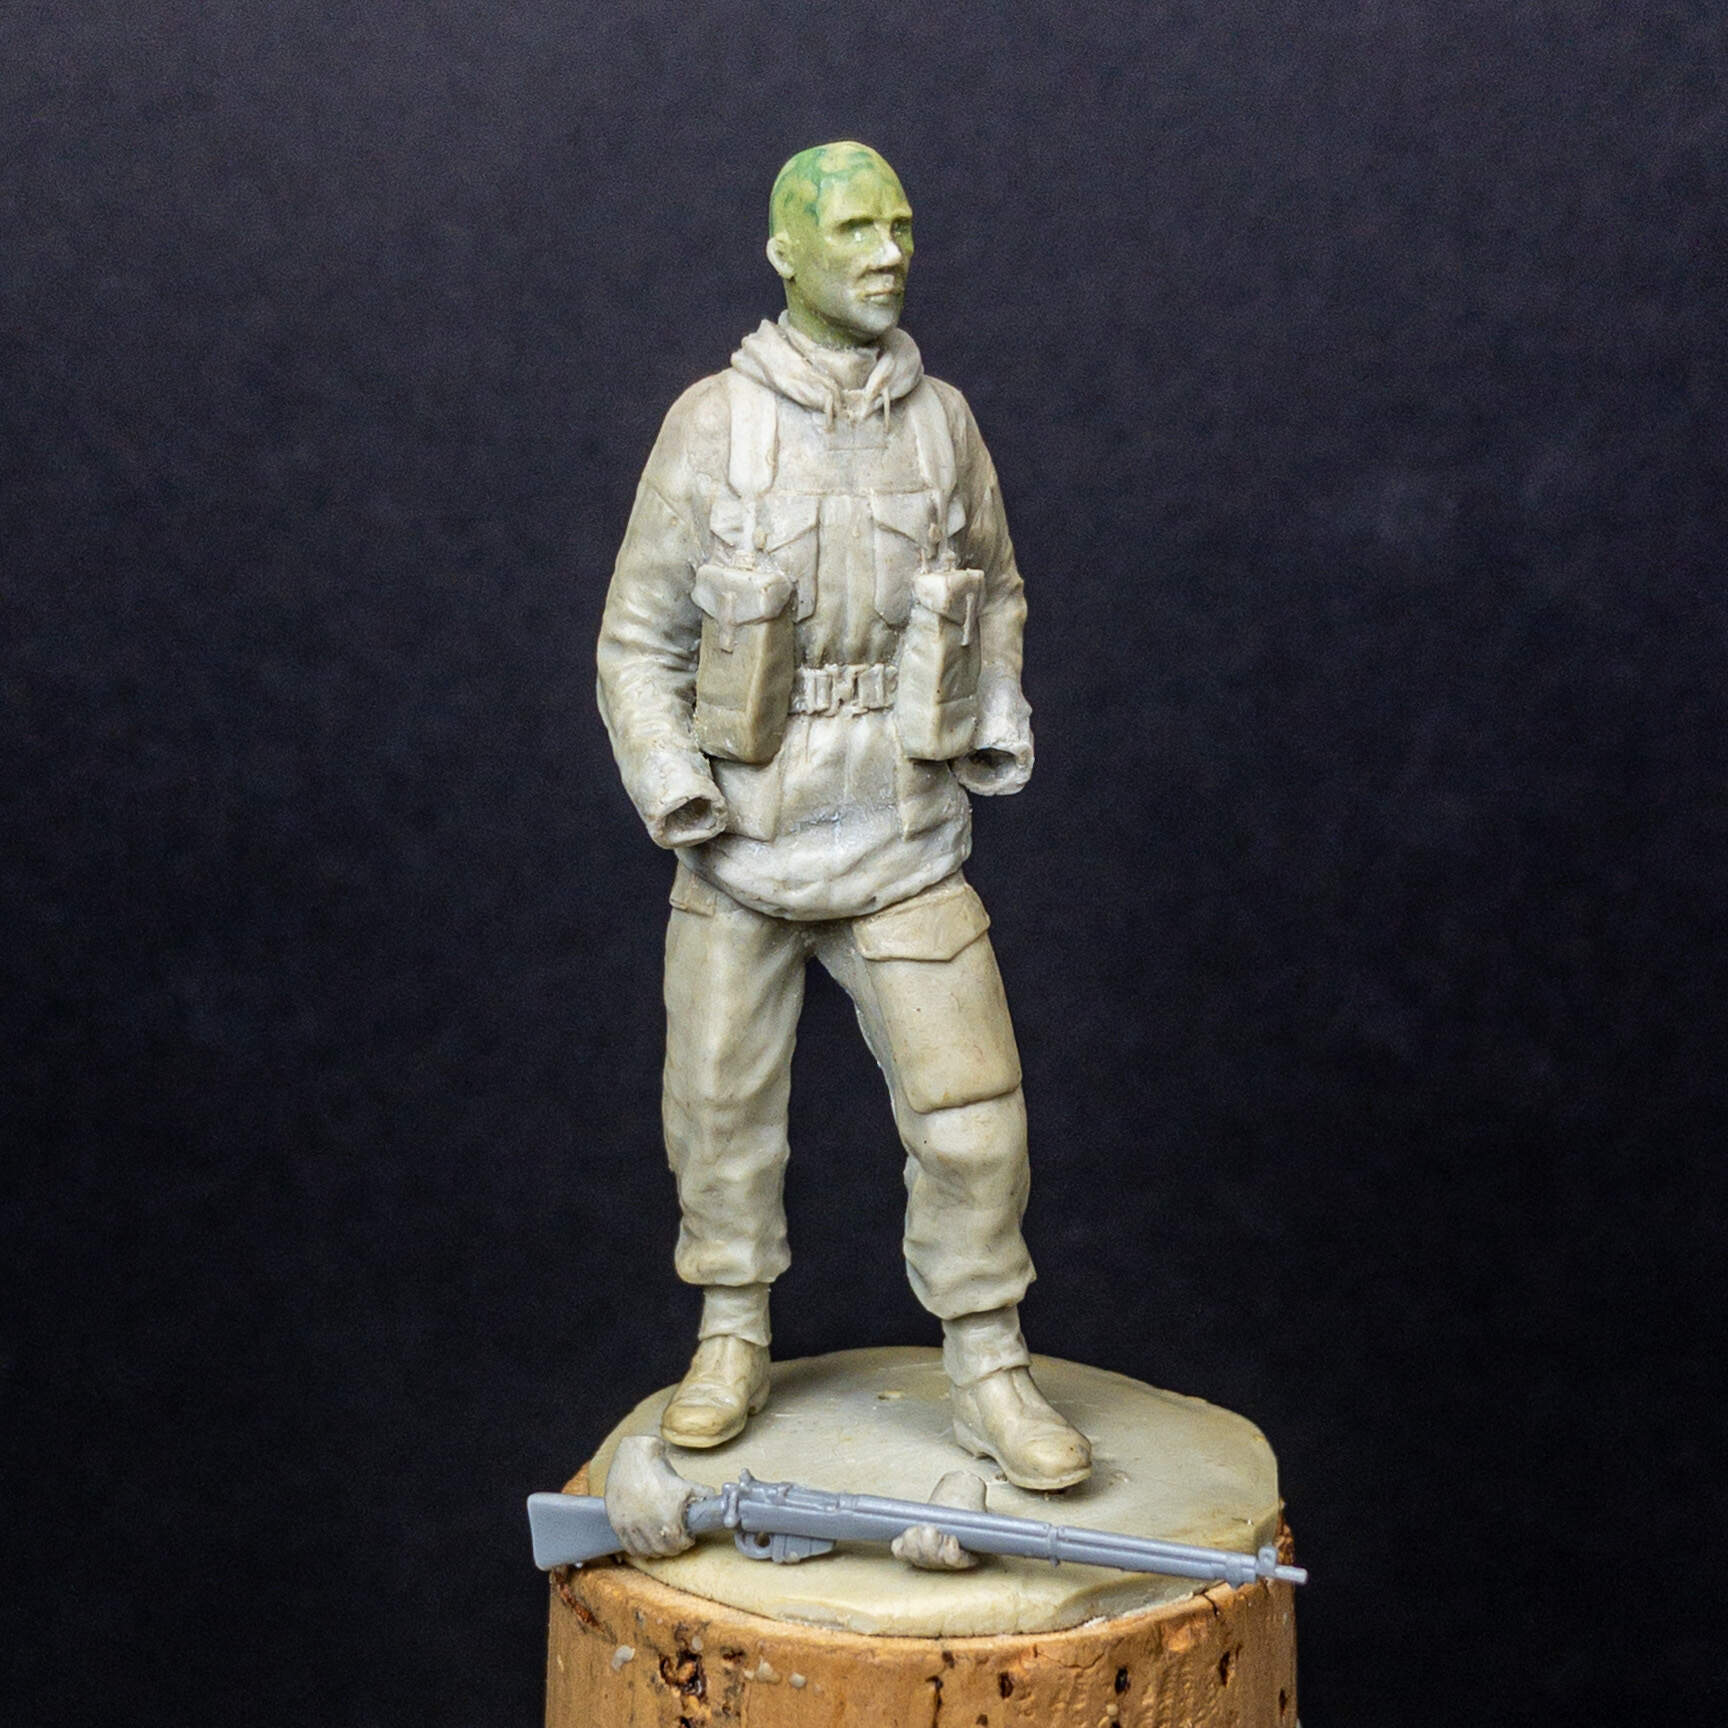
I’ve been getting into a podcast called We Have Ways of Making You Talk, about the Second World War history. They have a good following on Twitter and with many published historians being involved. Someone posted a photo of some British soldiers wearing something I’d not seen before. A windproof camouflage hooded smock. Not a Denison, and with their Brodie helmets, they looked like a cross between Paras and regular Tommy’s.
Worn principally by a Scottish division, who initially trained for mountain warfare, and an invasion of Norway, they ended up being used in Holland and into Germany.
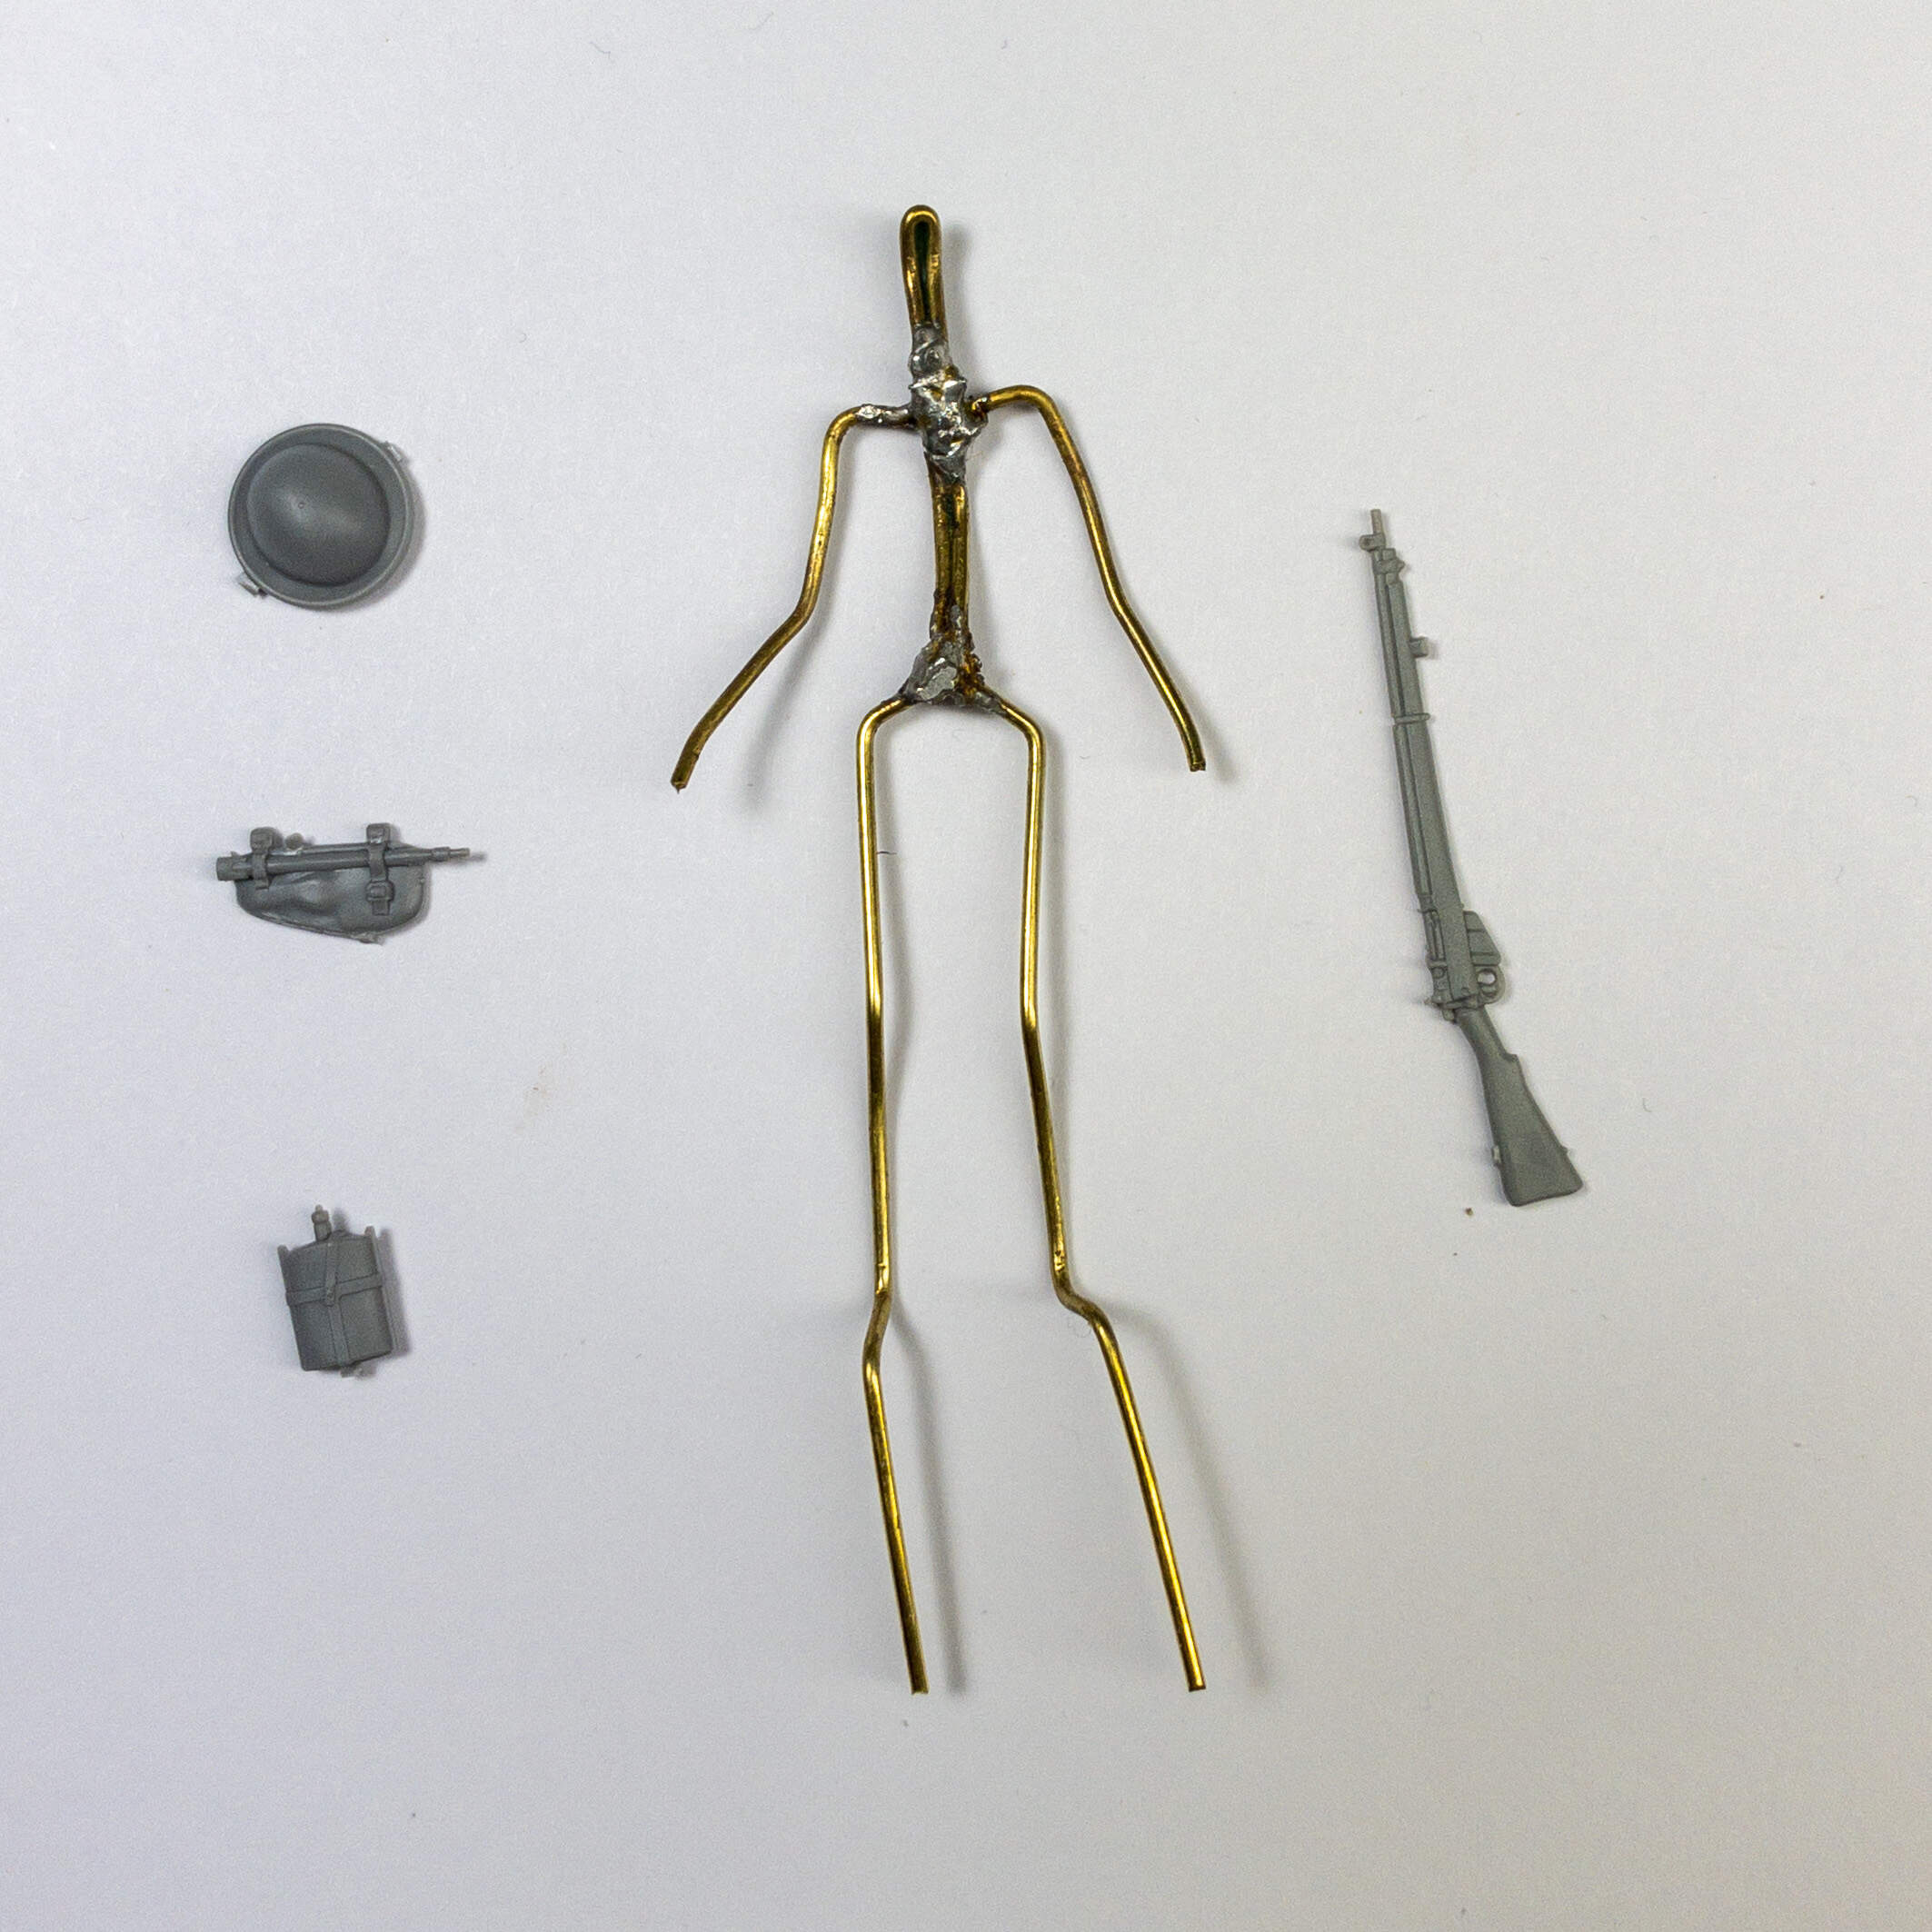
With no figures of these guys, I decided to bite the bullet and have a go at serious scratch building, using only Miniart accessories.
‘Looking forward to whatever you produce Rob; incidentally, the Windproof Smock (and trousers) were widely used Post-War and eventually became synonymous with the SAS. However, it was also used by the Women’s’ Royal Army Corps so perhaps wasn’t quite as macho a garment as the (male) wearers intended!
I certainly recall it being used by RM Commandos – and their Army supporting Arms in the early 70s. We were issued it as Junior Leaders (in the British Army) for our Annual Camps – ie a period of intense military and adventure training - 69-71.
During my first posting in BAOR, SAS members of the Corps Patrol Unit would turn up wearing it with OG trousers (including their own interpretations of webbing and equipped with Armalites) c.1971.
I’ve seen some articles in the old Military Illustrated magazine from the early 1990s of Commandos and SAS wearing elements of these, complete with personalised webbing…an interesting mix!
And it seems the smock found it’s way to the French Legionnaires in Indo China, albeit with modifications where they had a full length zip added.
Makes sense; it was a real pain in the arse pulling the things over, especially with pockets loaded.
However, it really was quite windproof, if not entirely waterproof. They certainly knew how to make uniforms back in the day; I vaguely recall the labels bearing 1950s markings;(mind you, our heavy duty pullovers bore markings of 1943!)
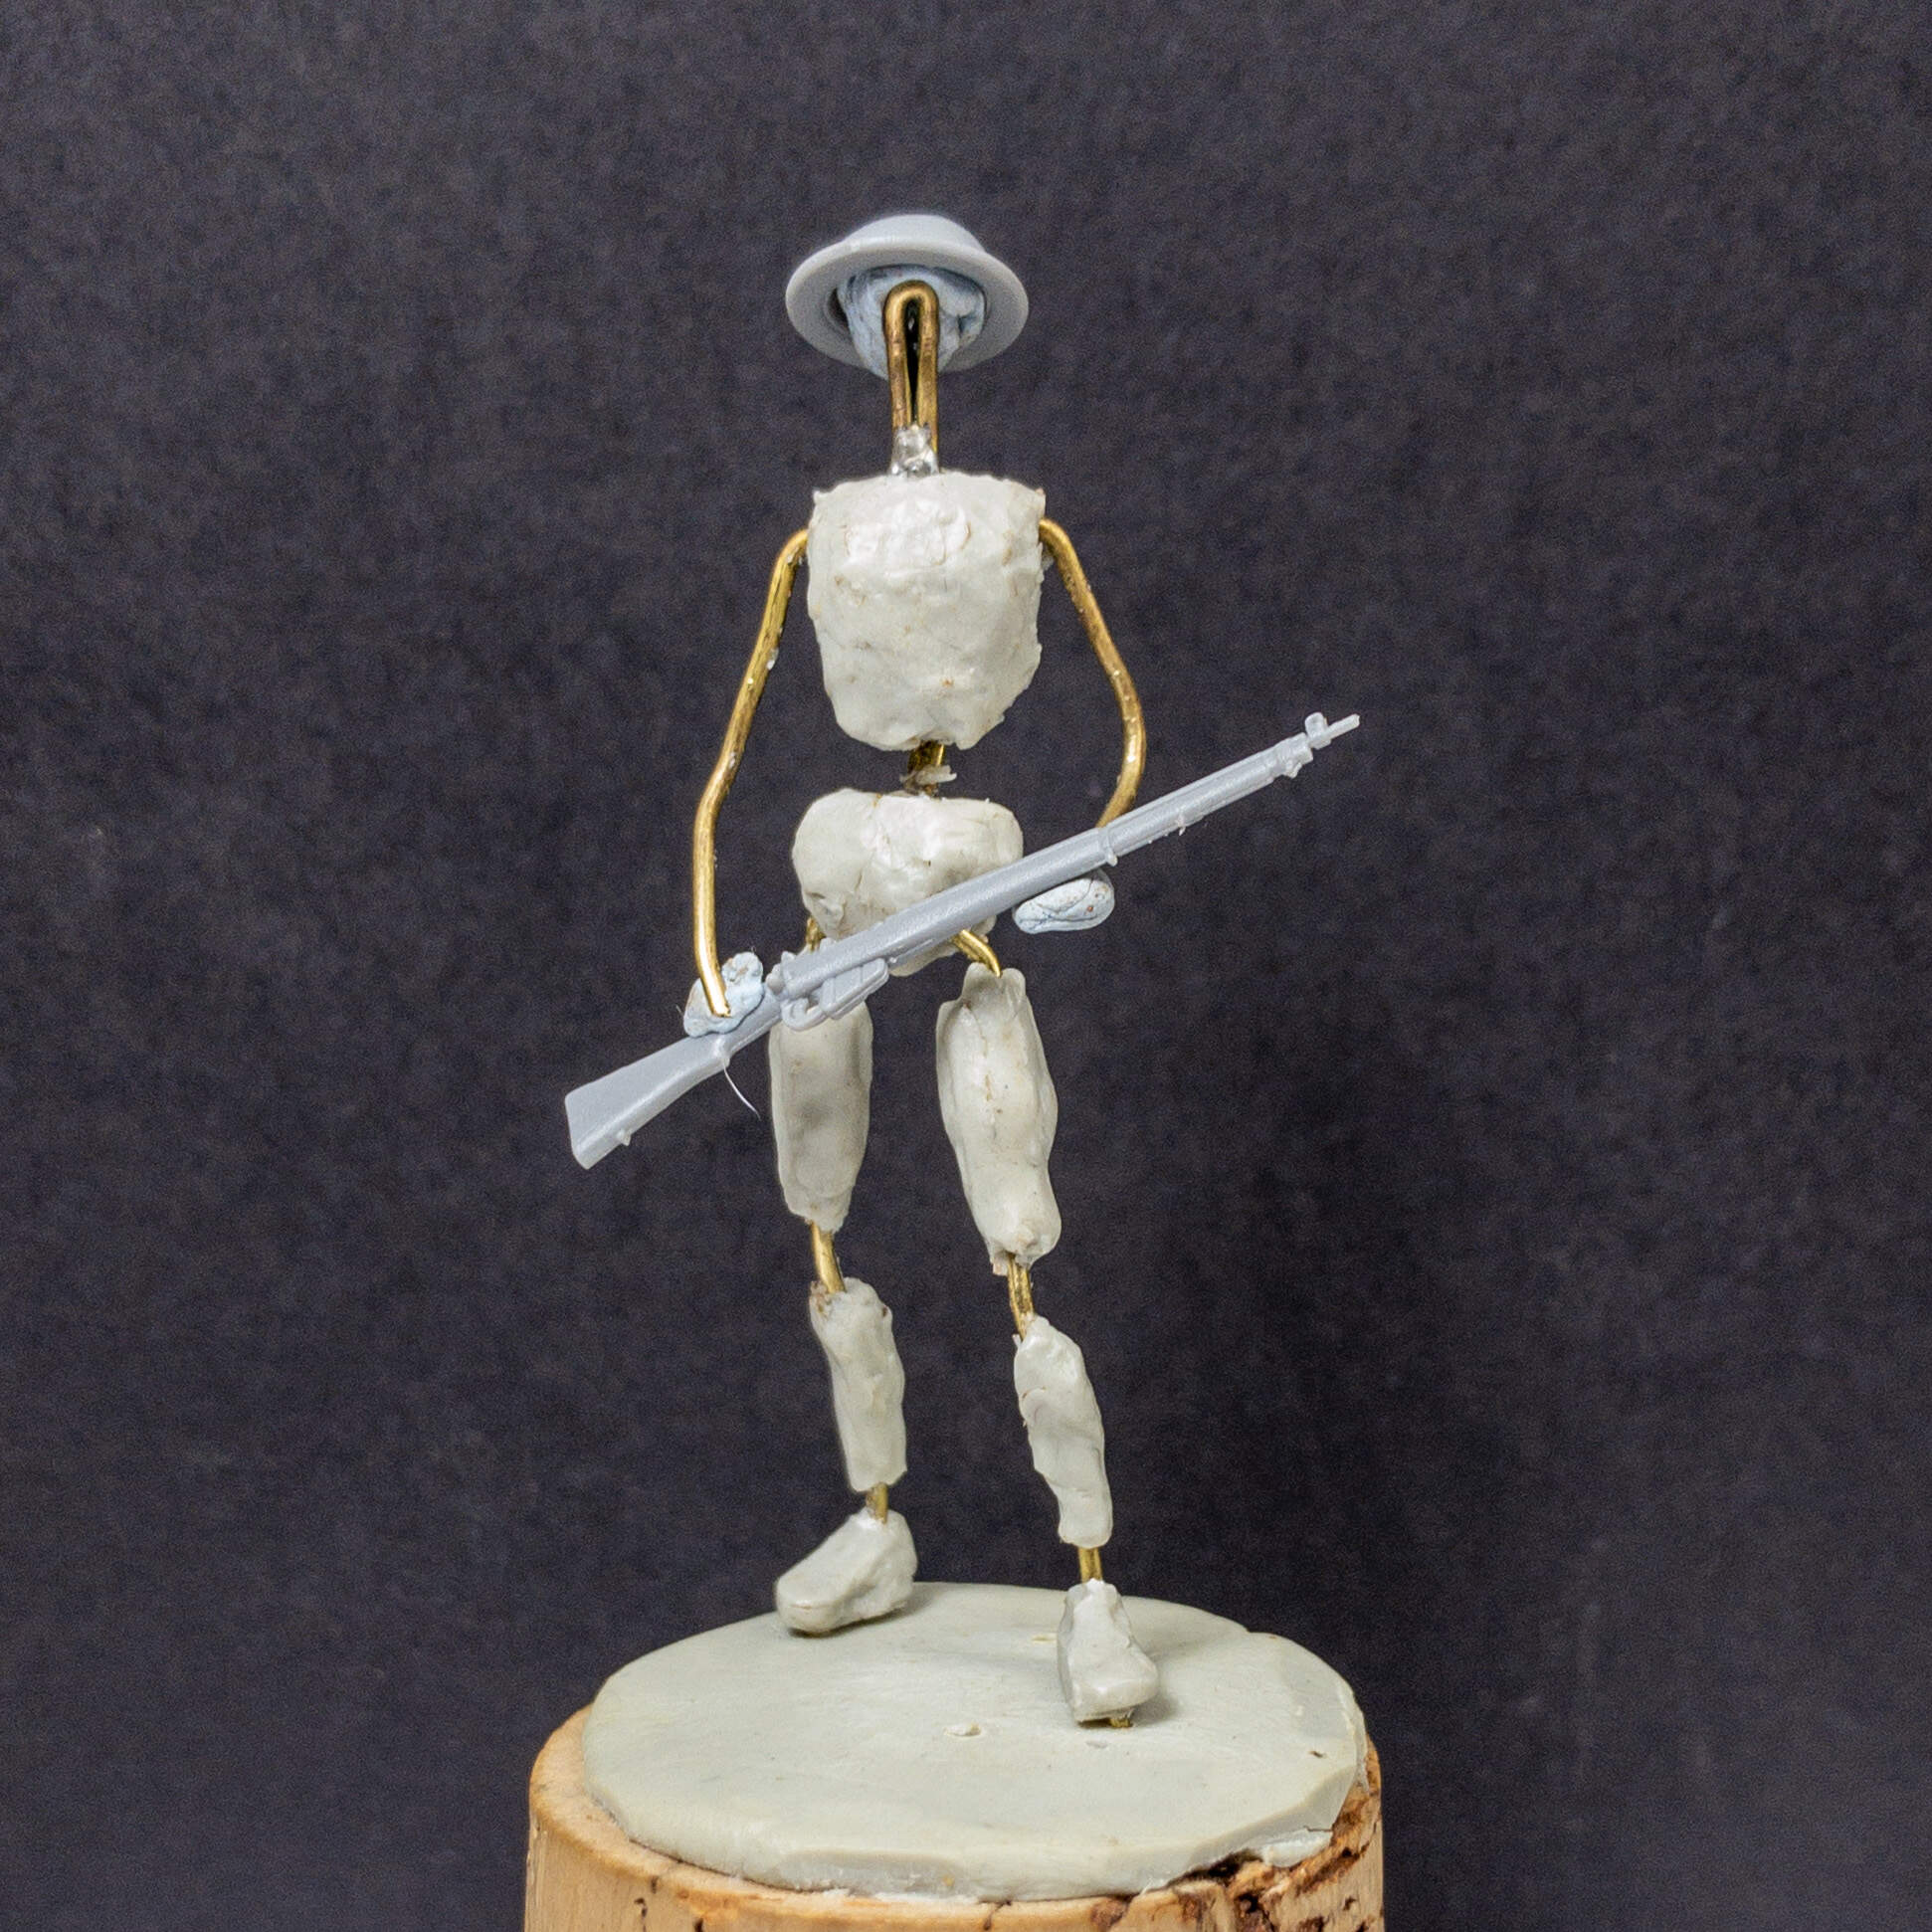
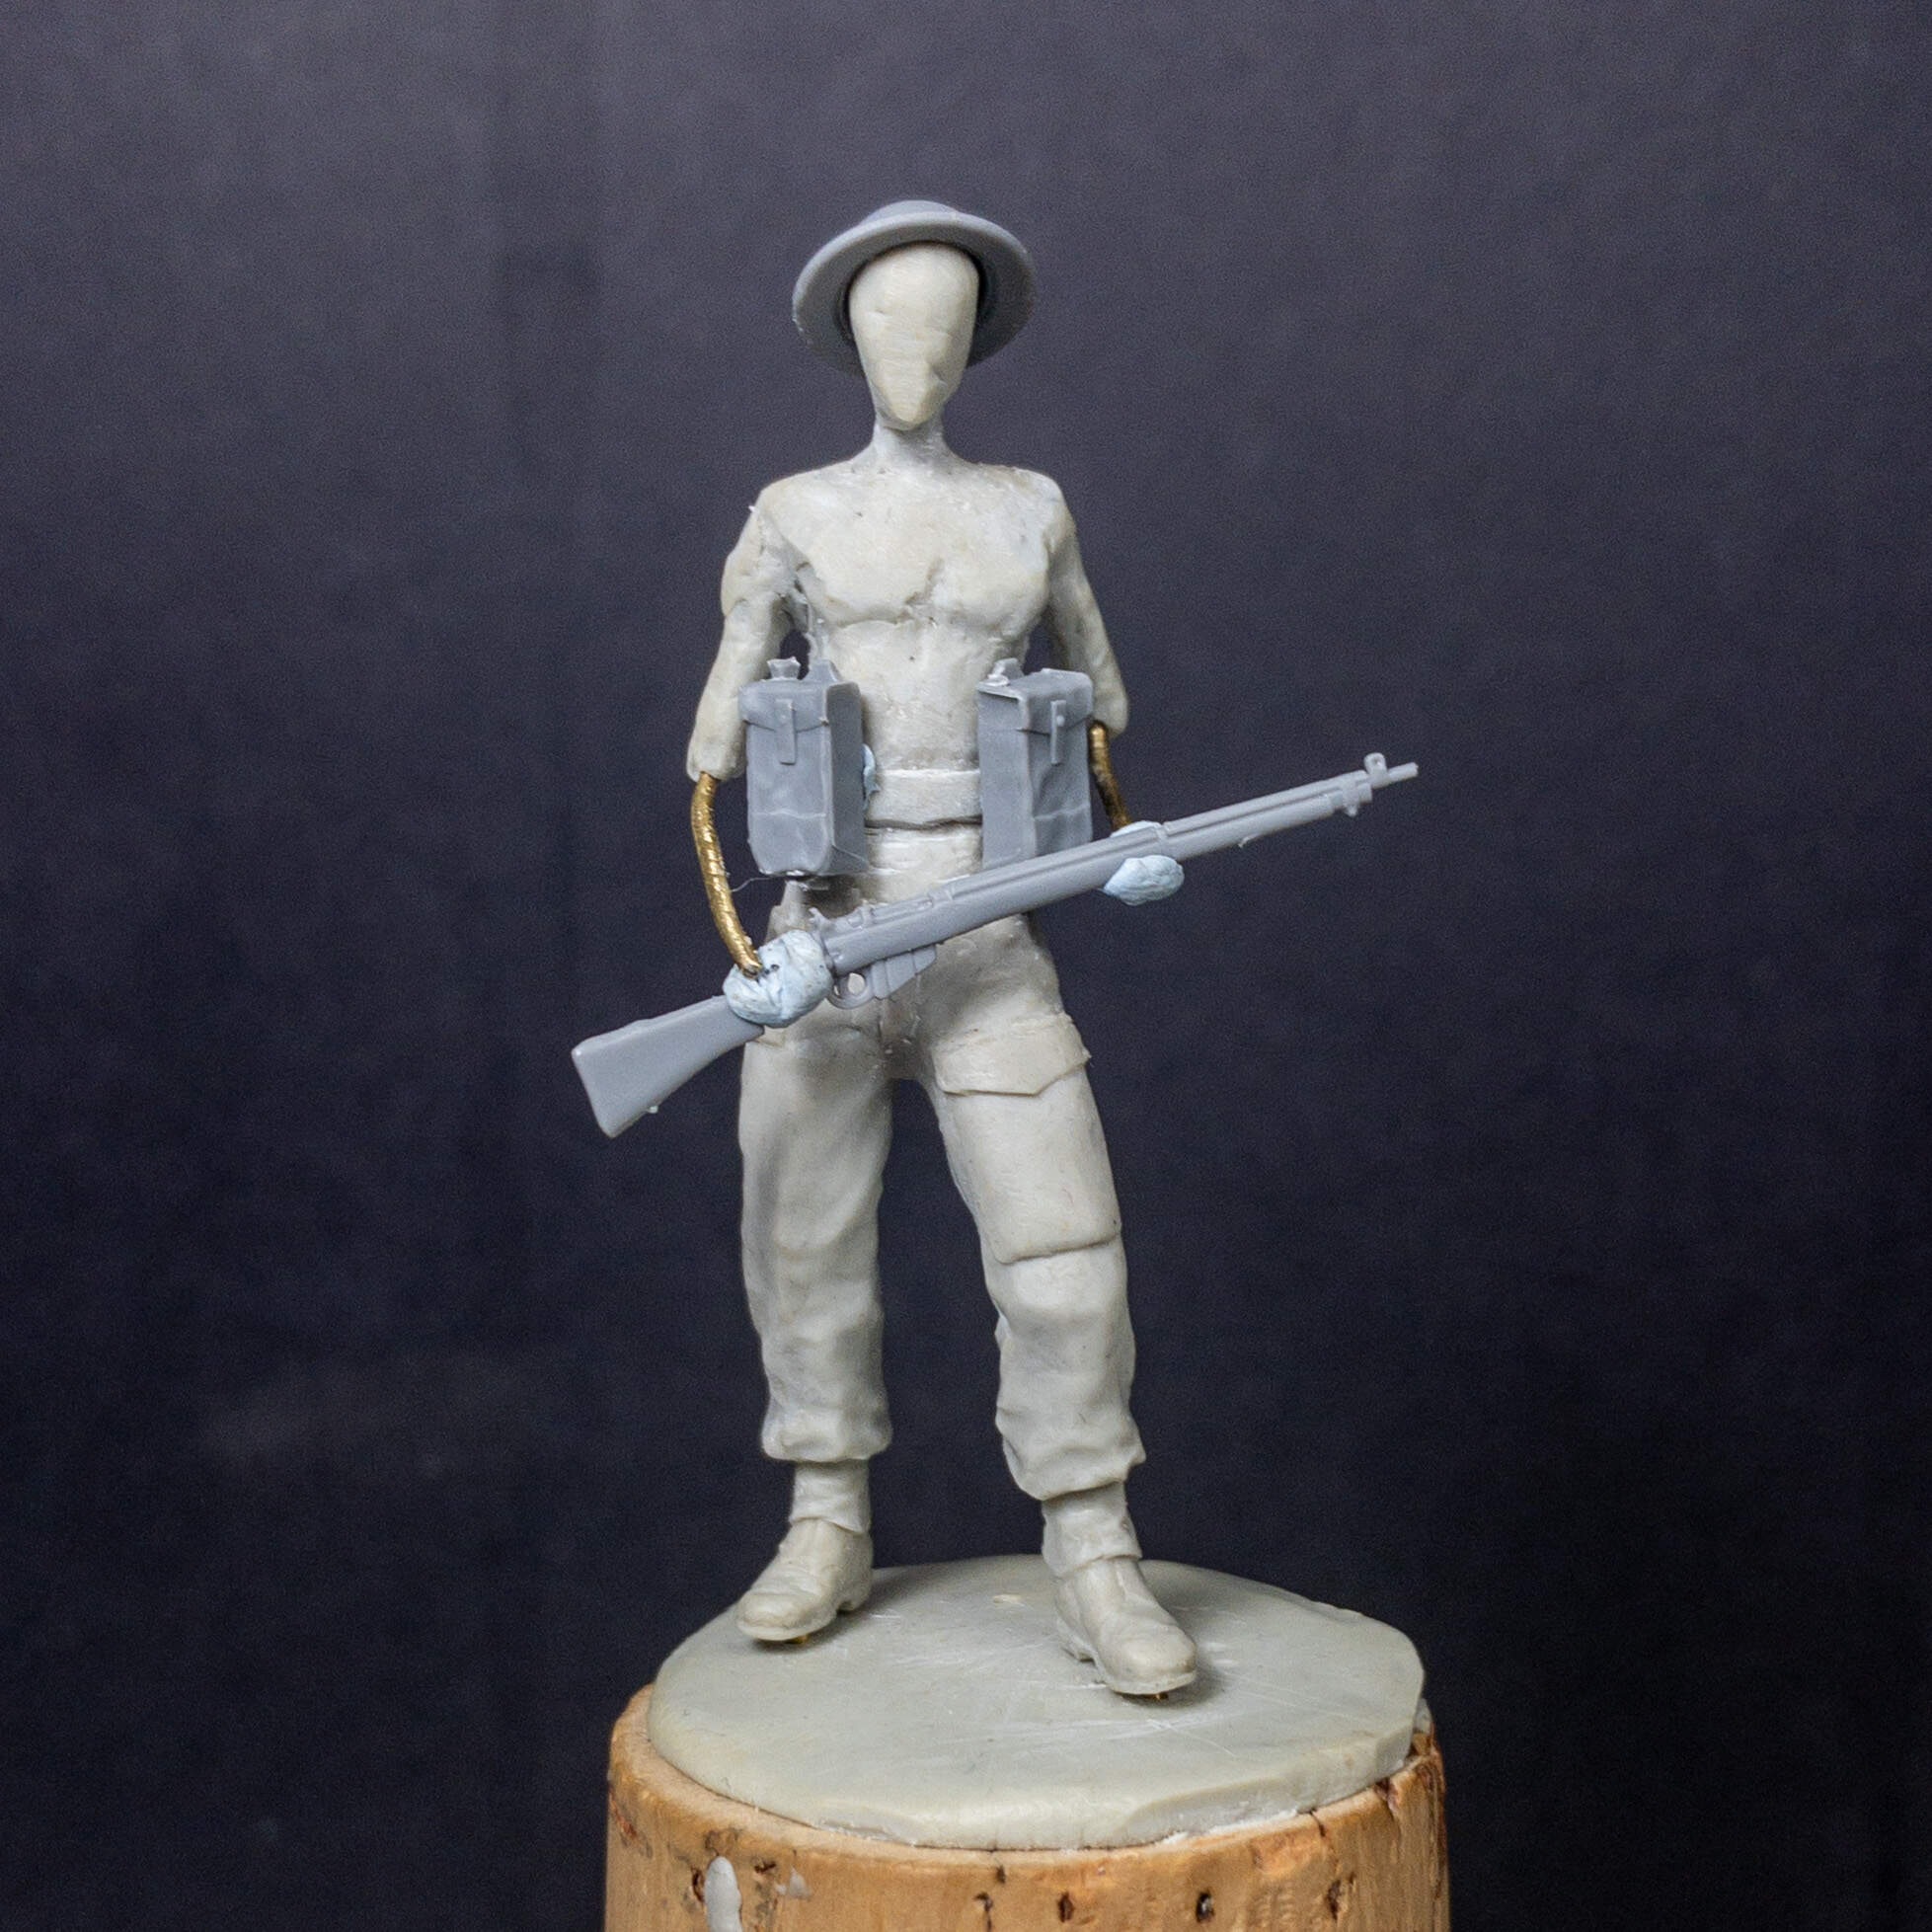
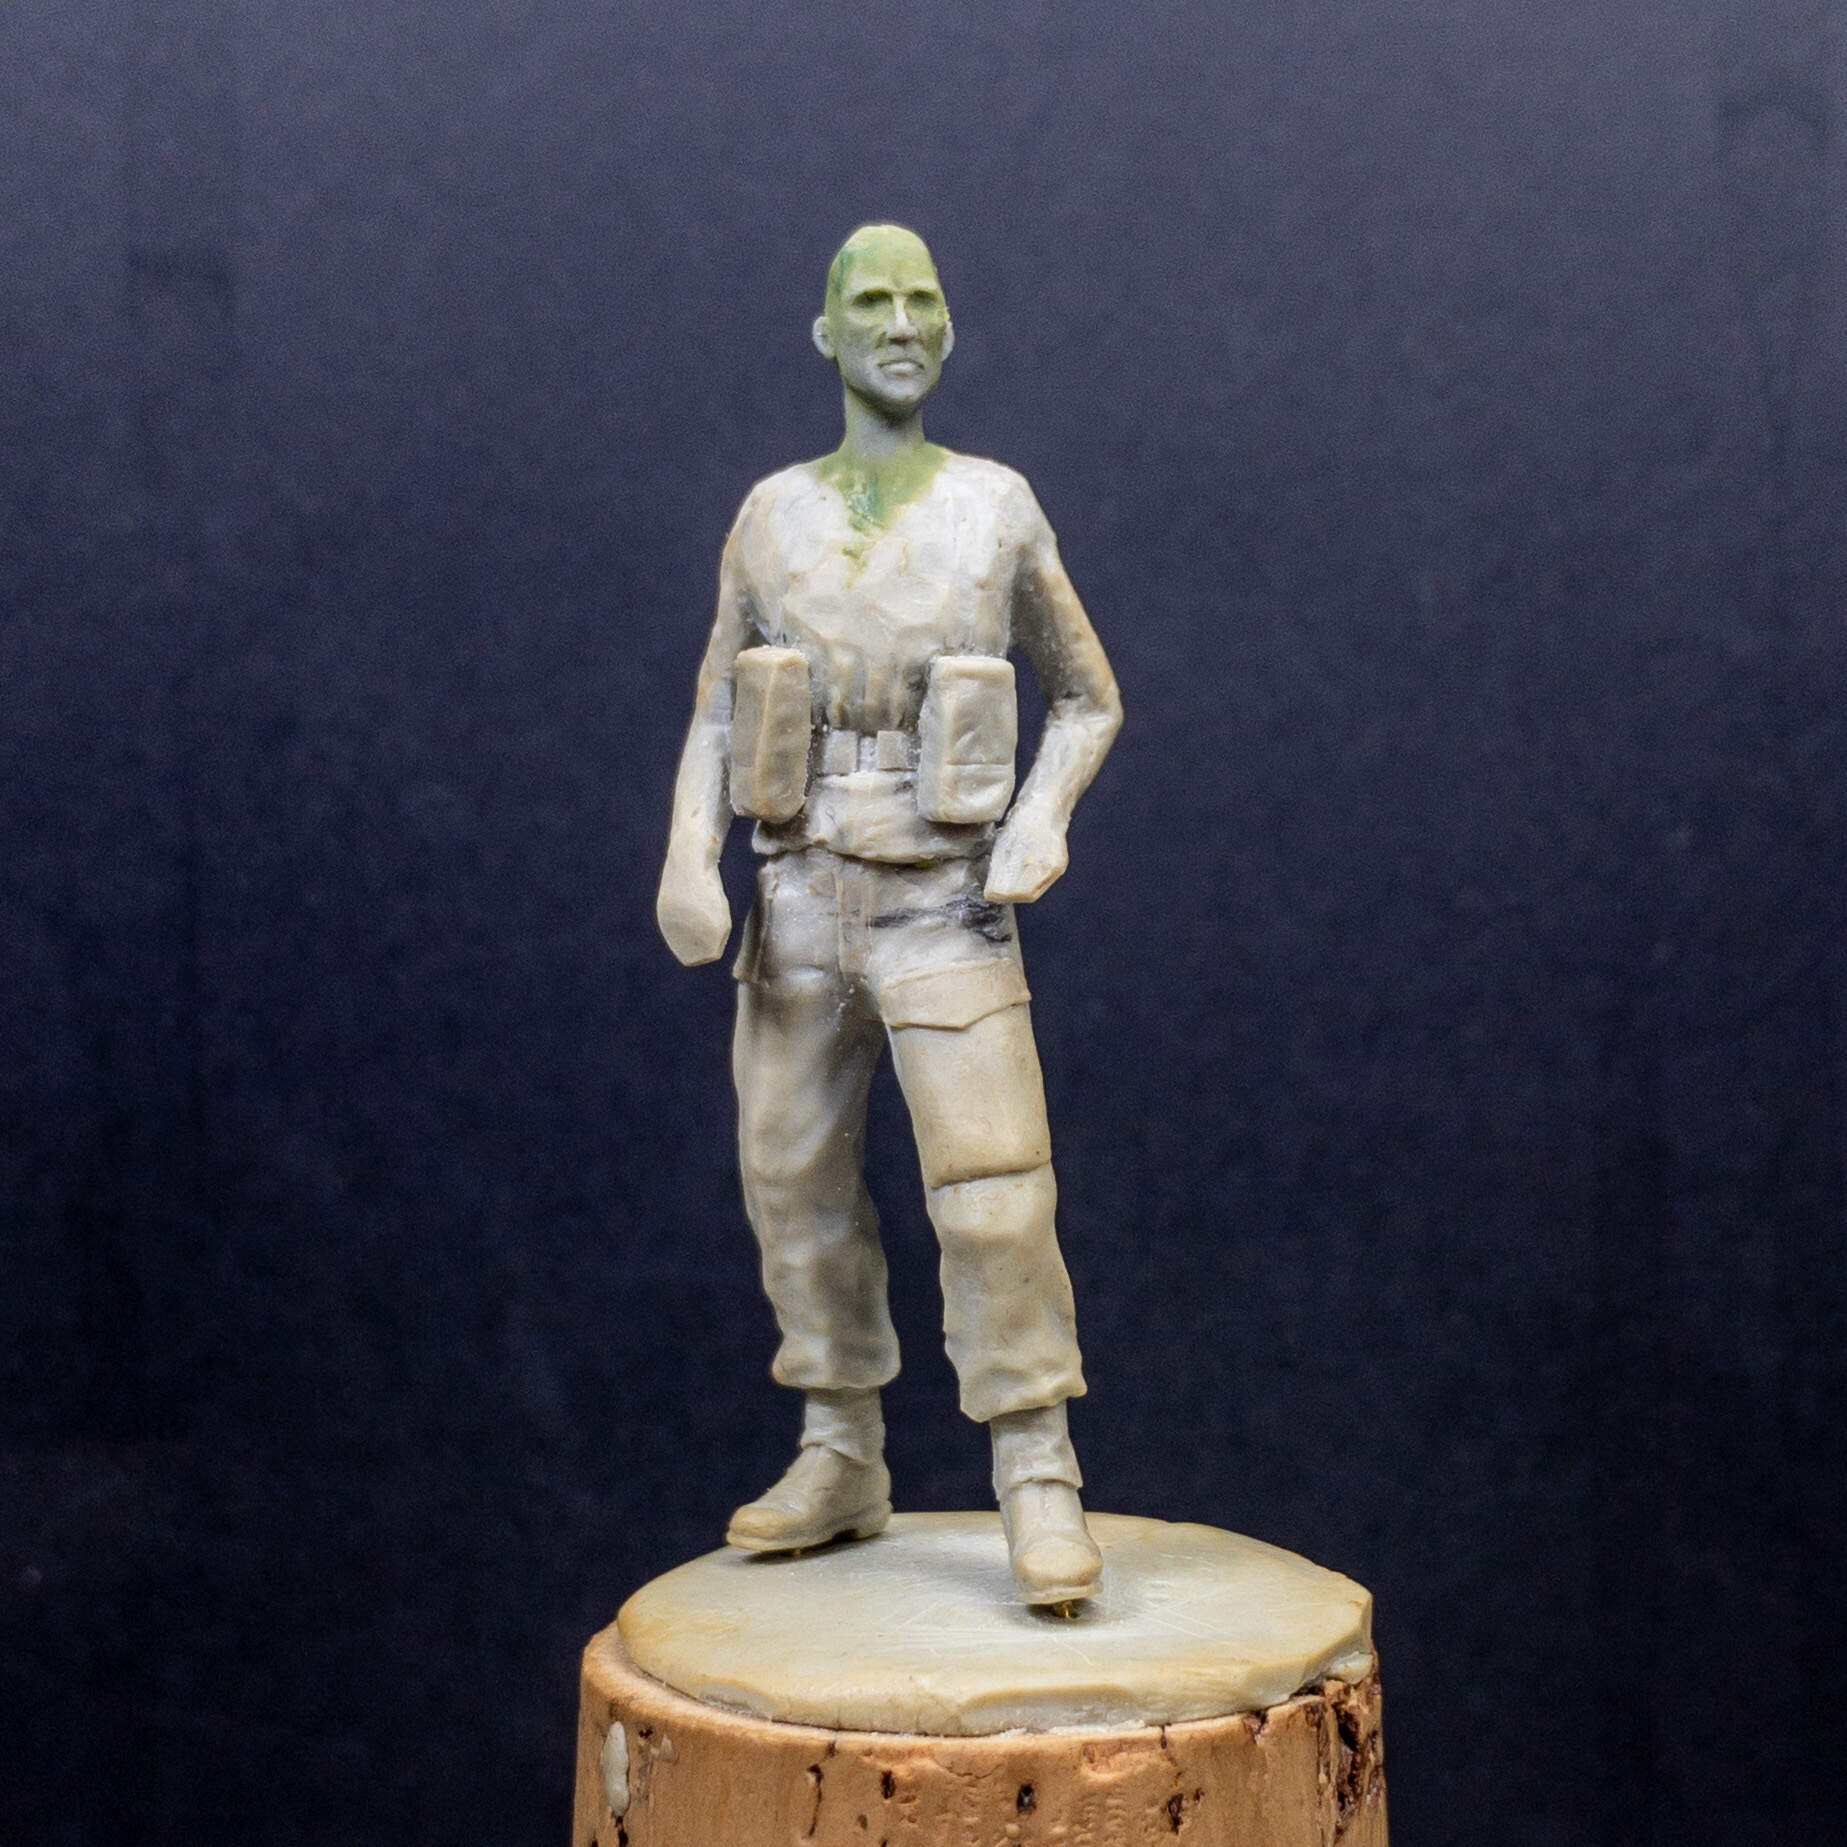
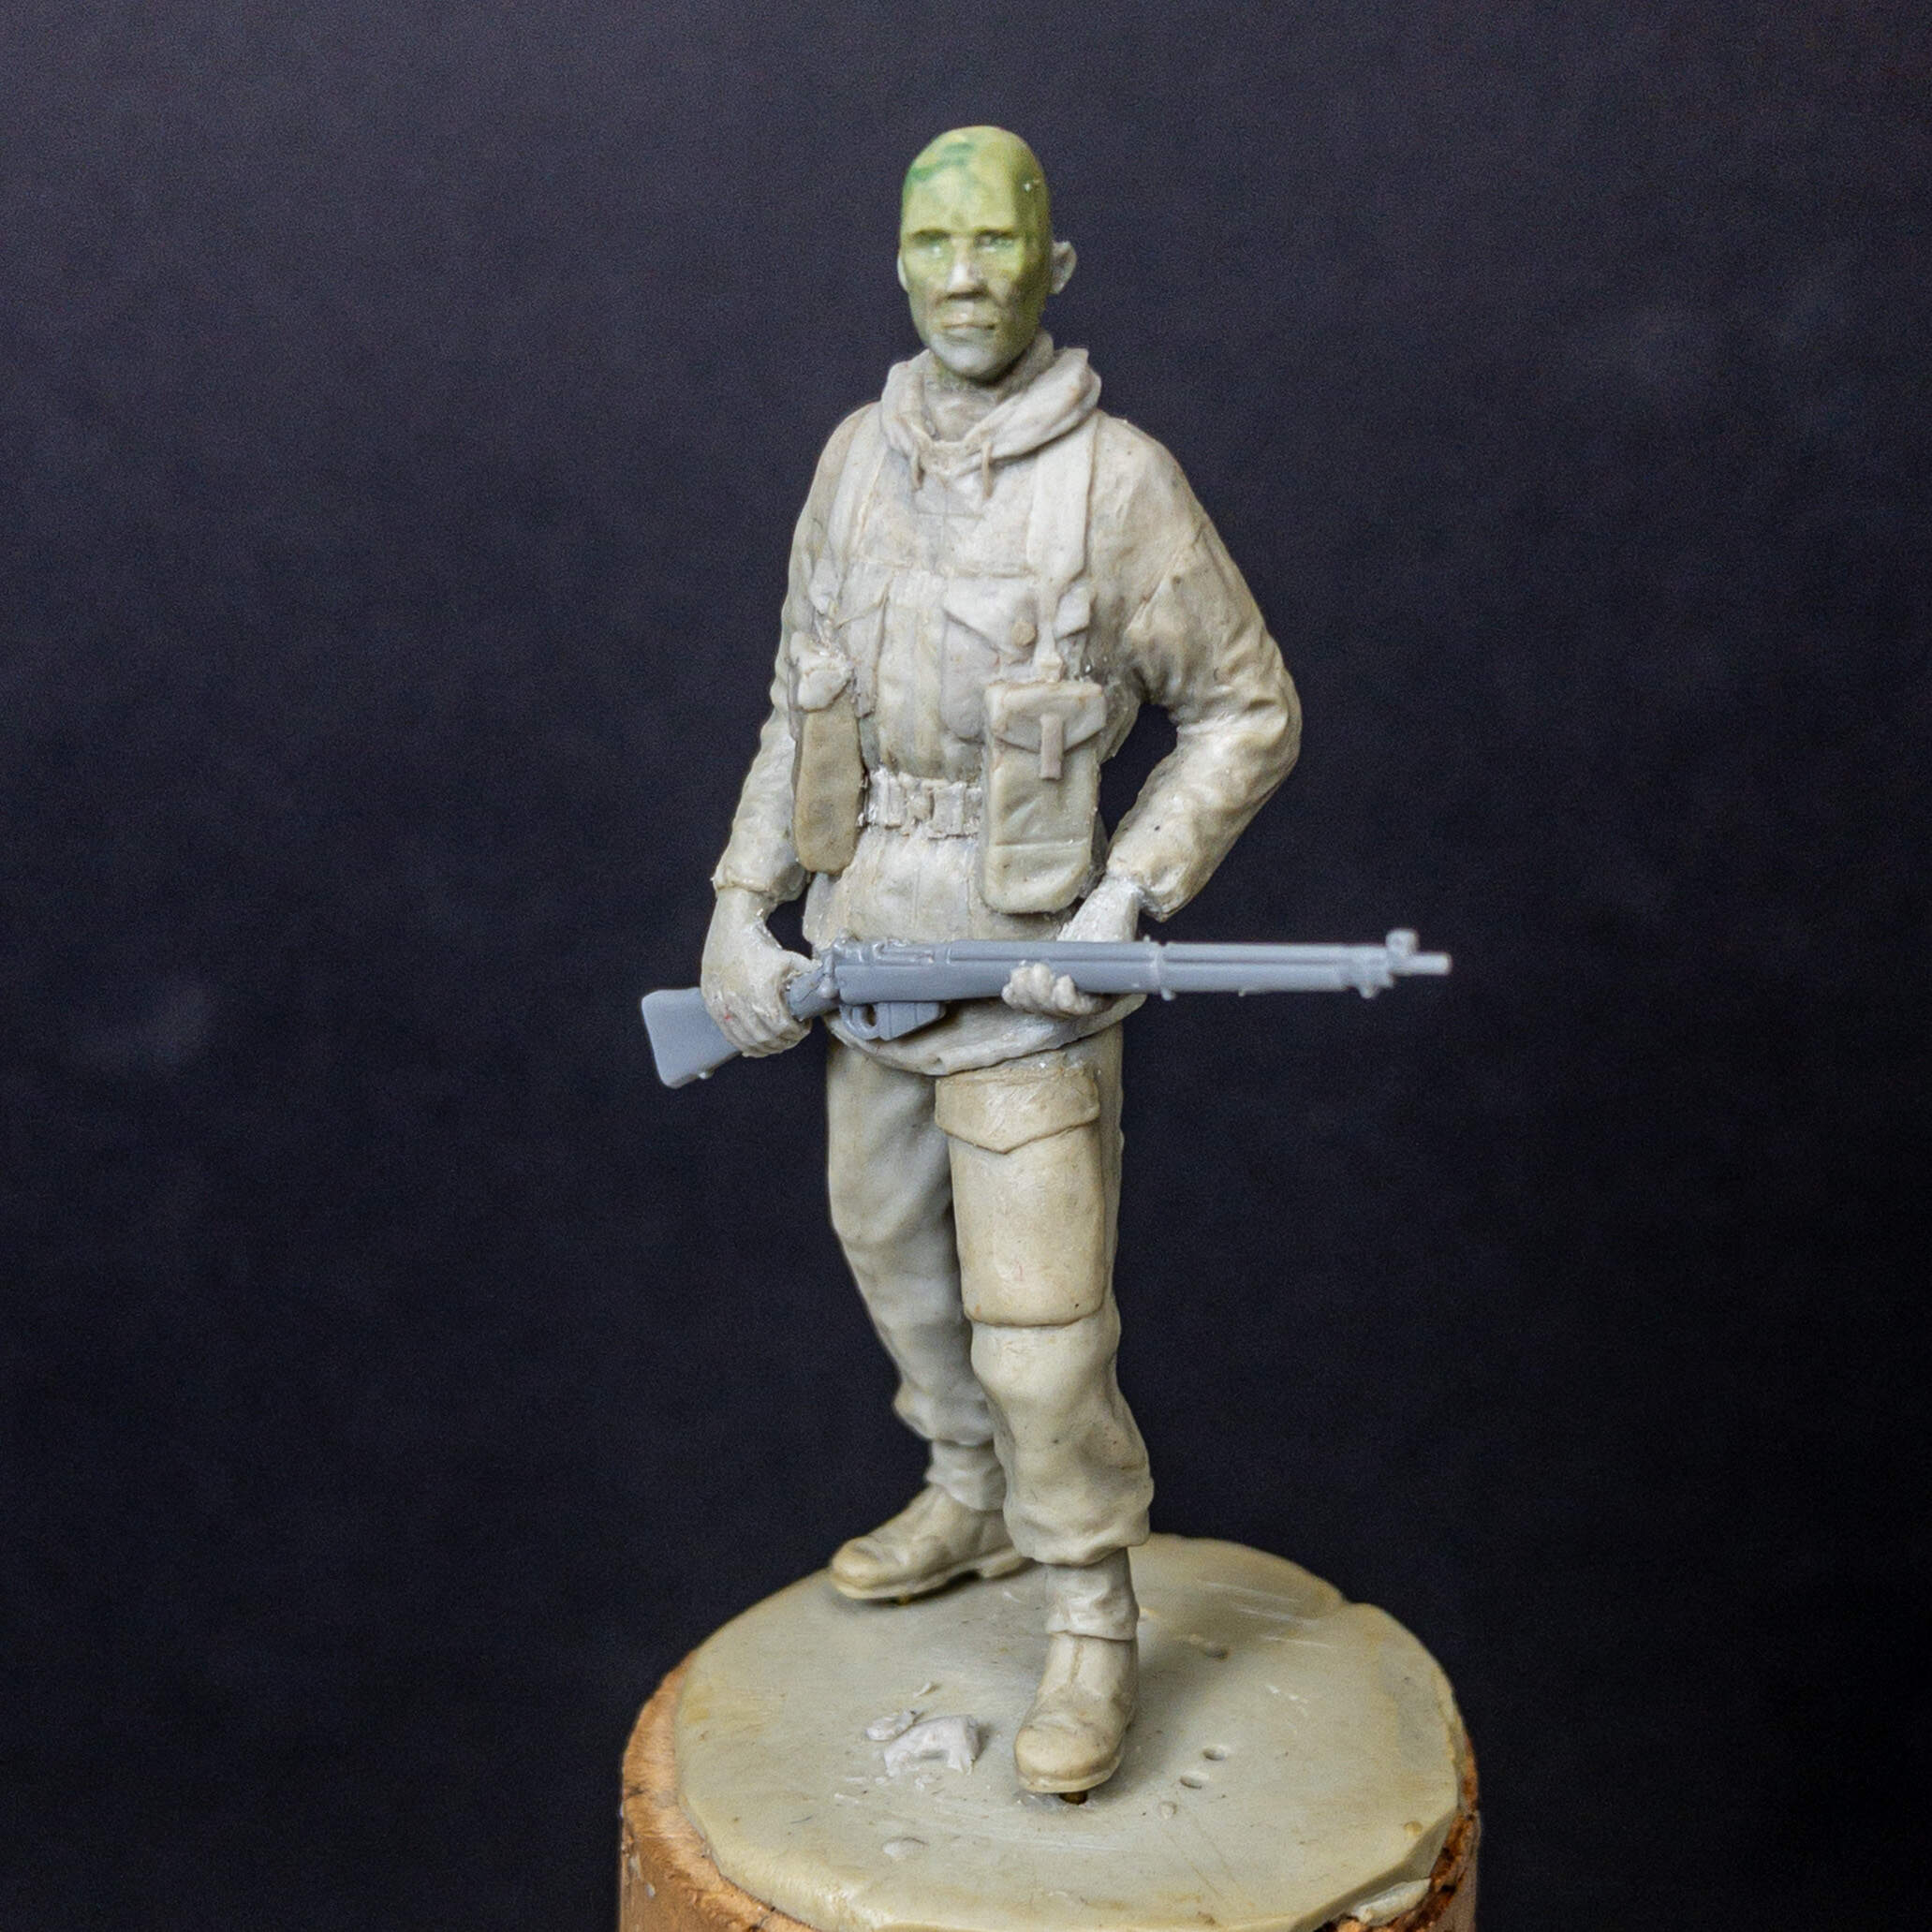
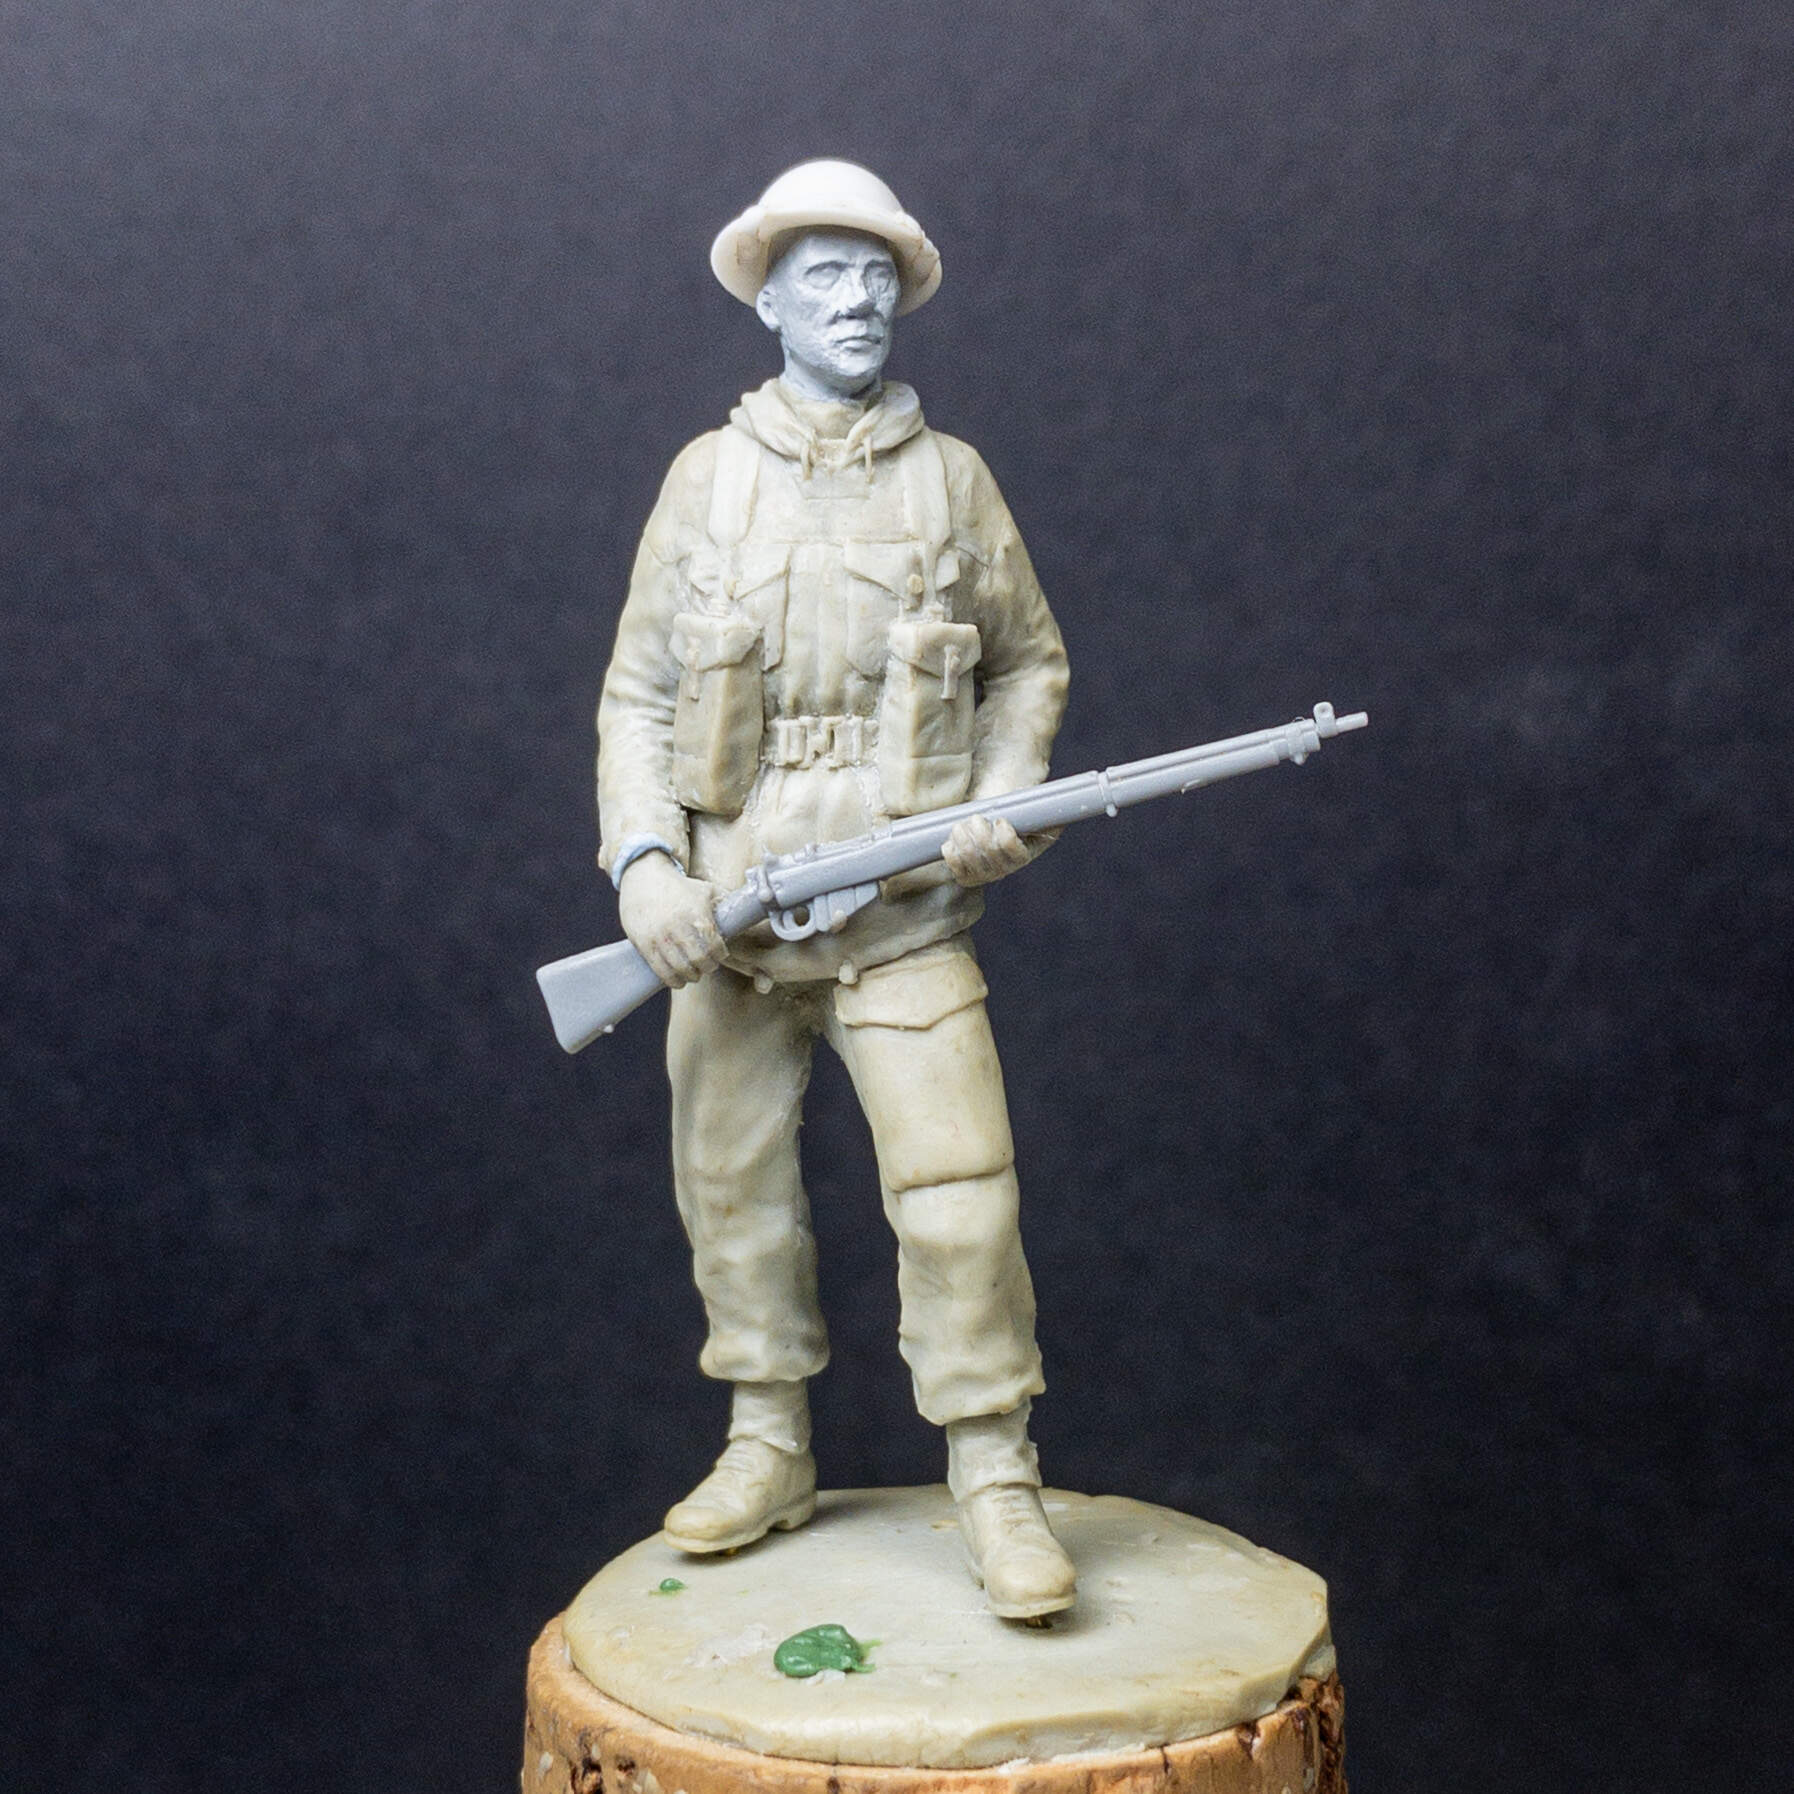
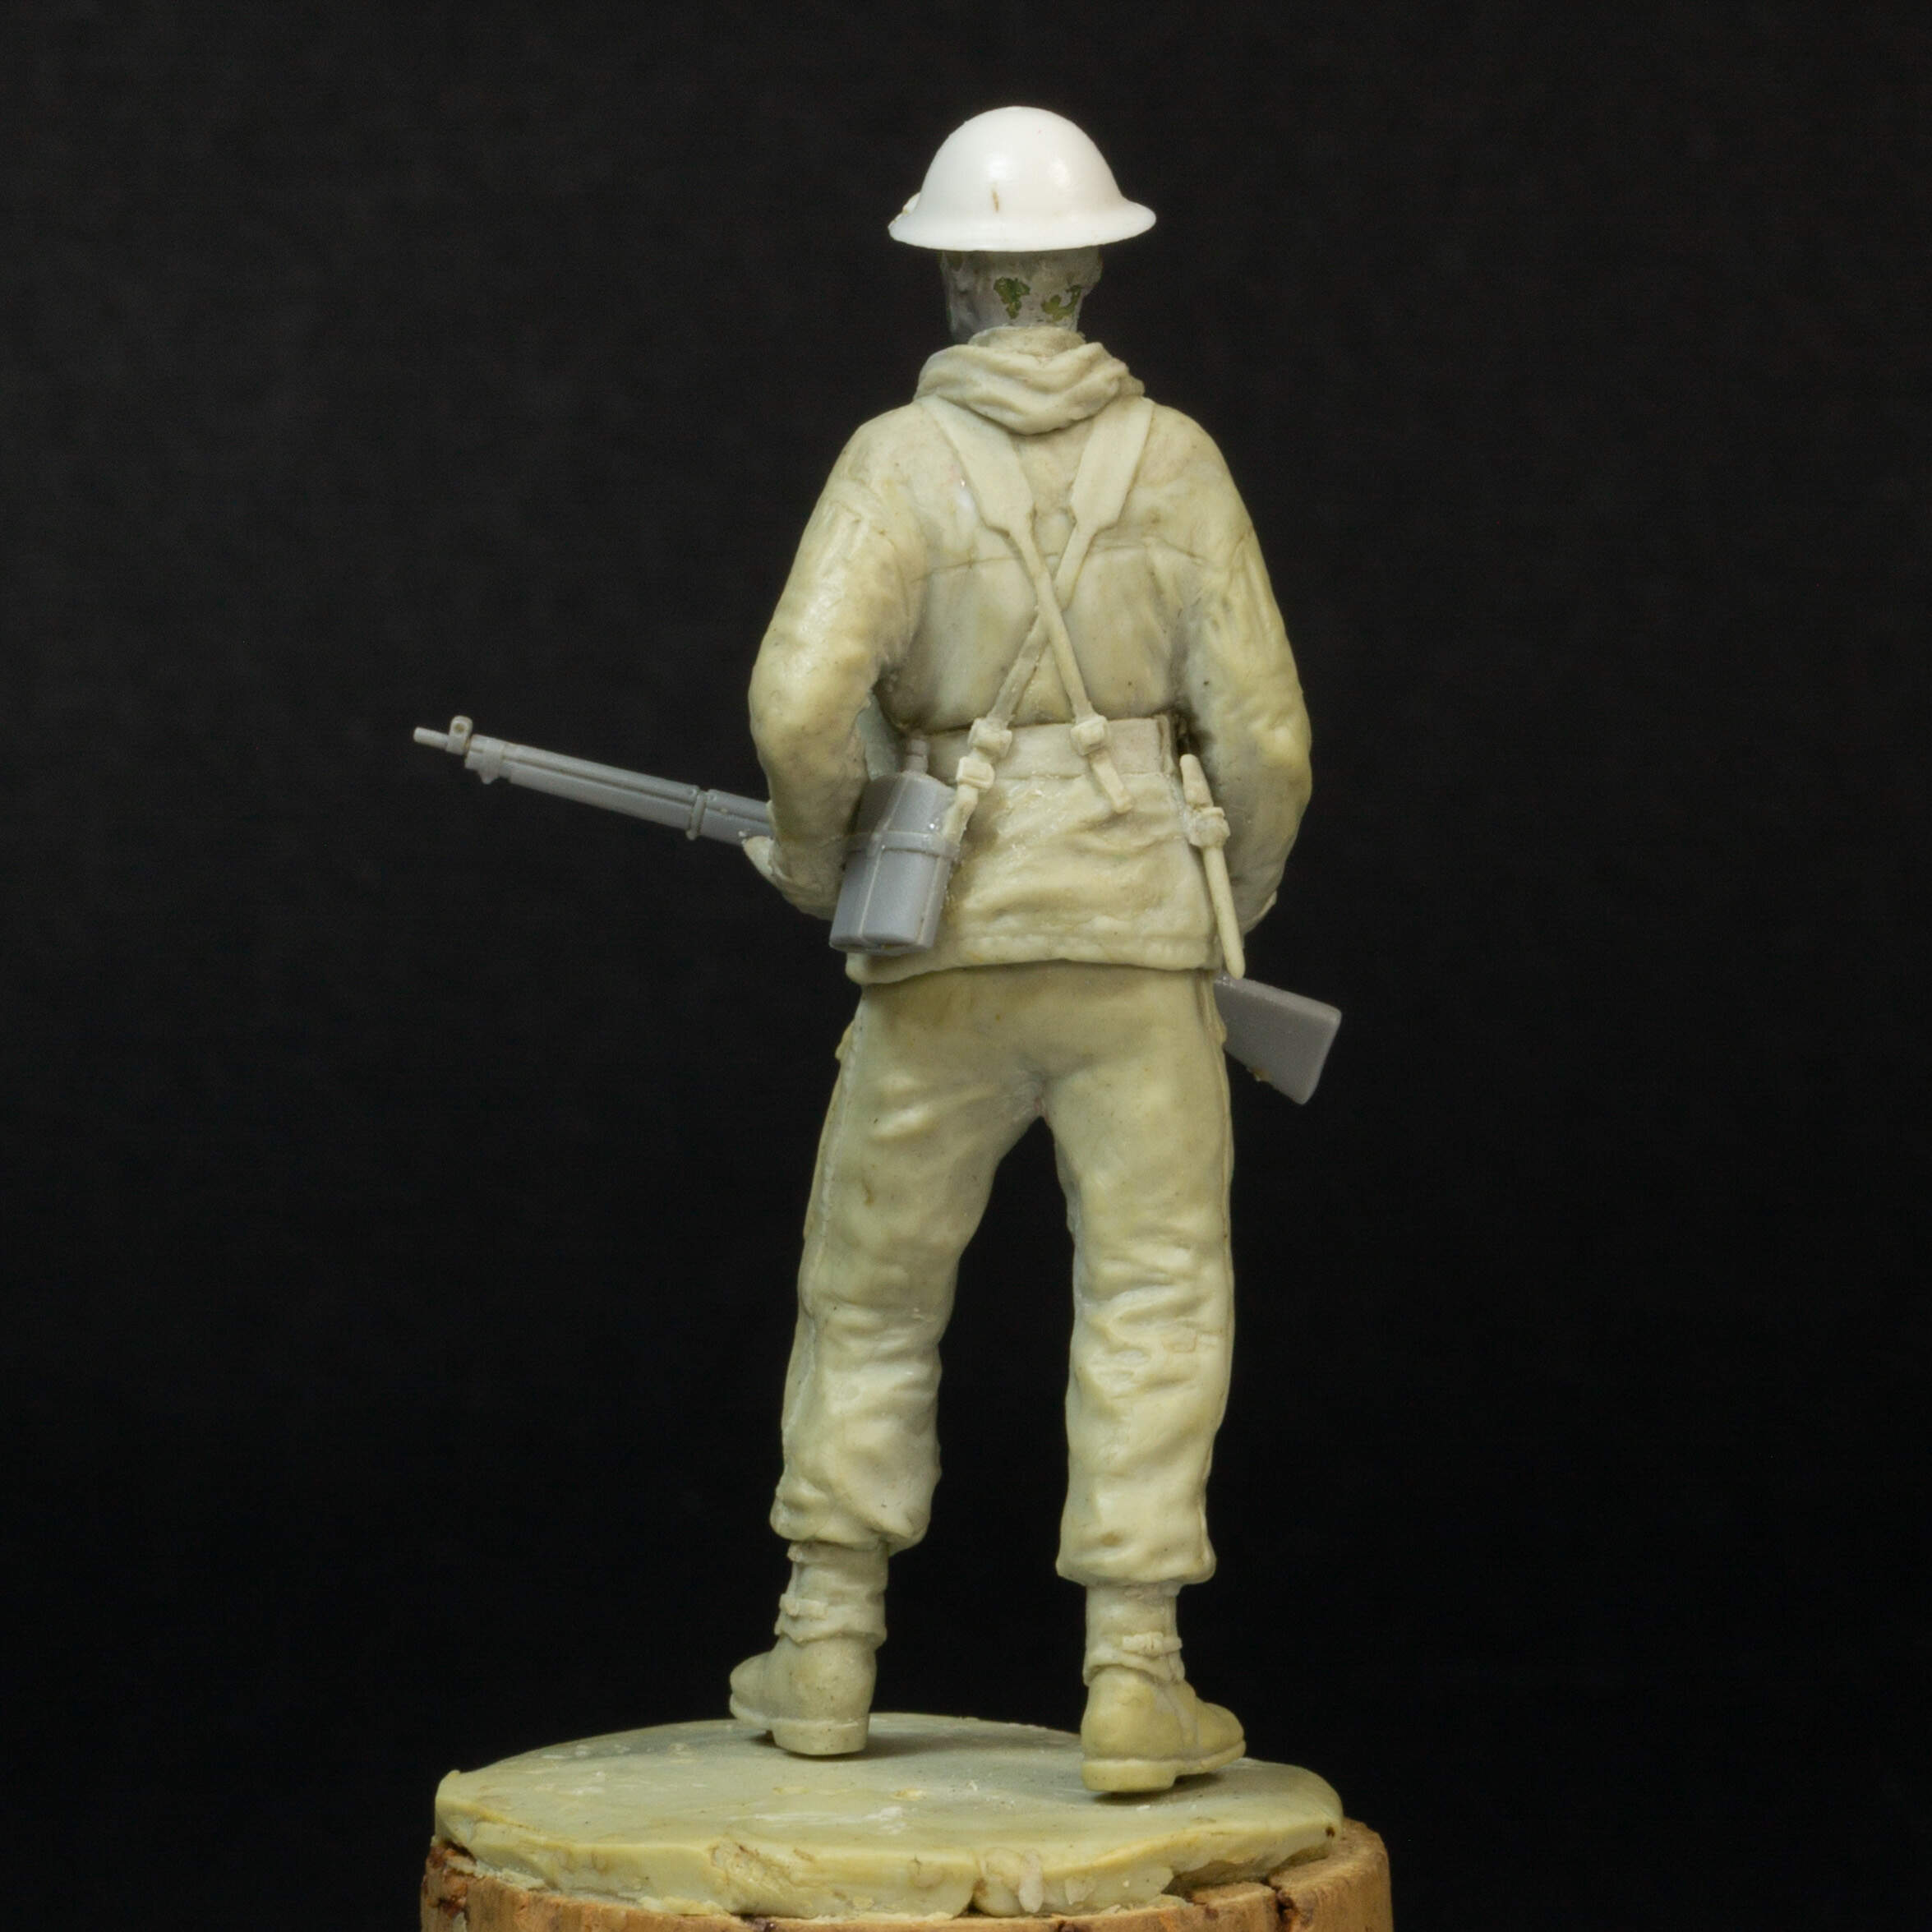
I used Magic Sculpt for the bulk of the sculpting, but tried using a polymer clay, Beesputty for the head. I think I messed up using green stuff as a sticky layer under the Beesputty, as it was too thick, but you live and learn.
I also ended up sculpting my own pouches as the Miniart ones were too deep and blocky despite the height and width being accurate.
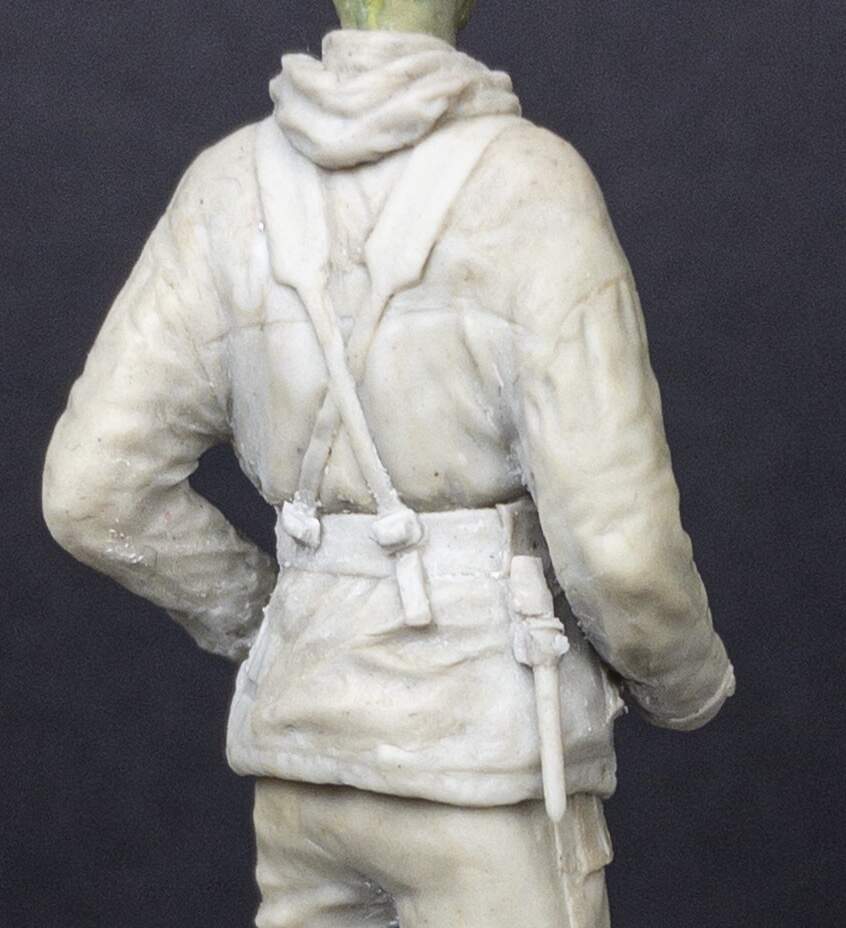
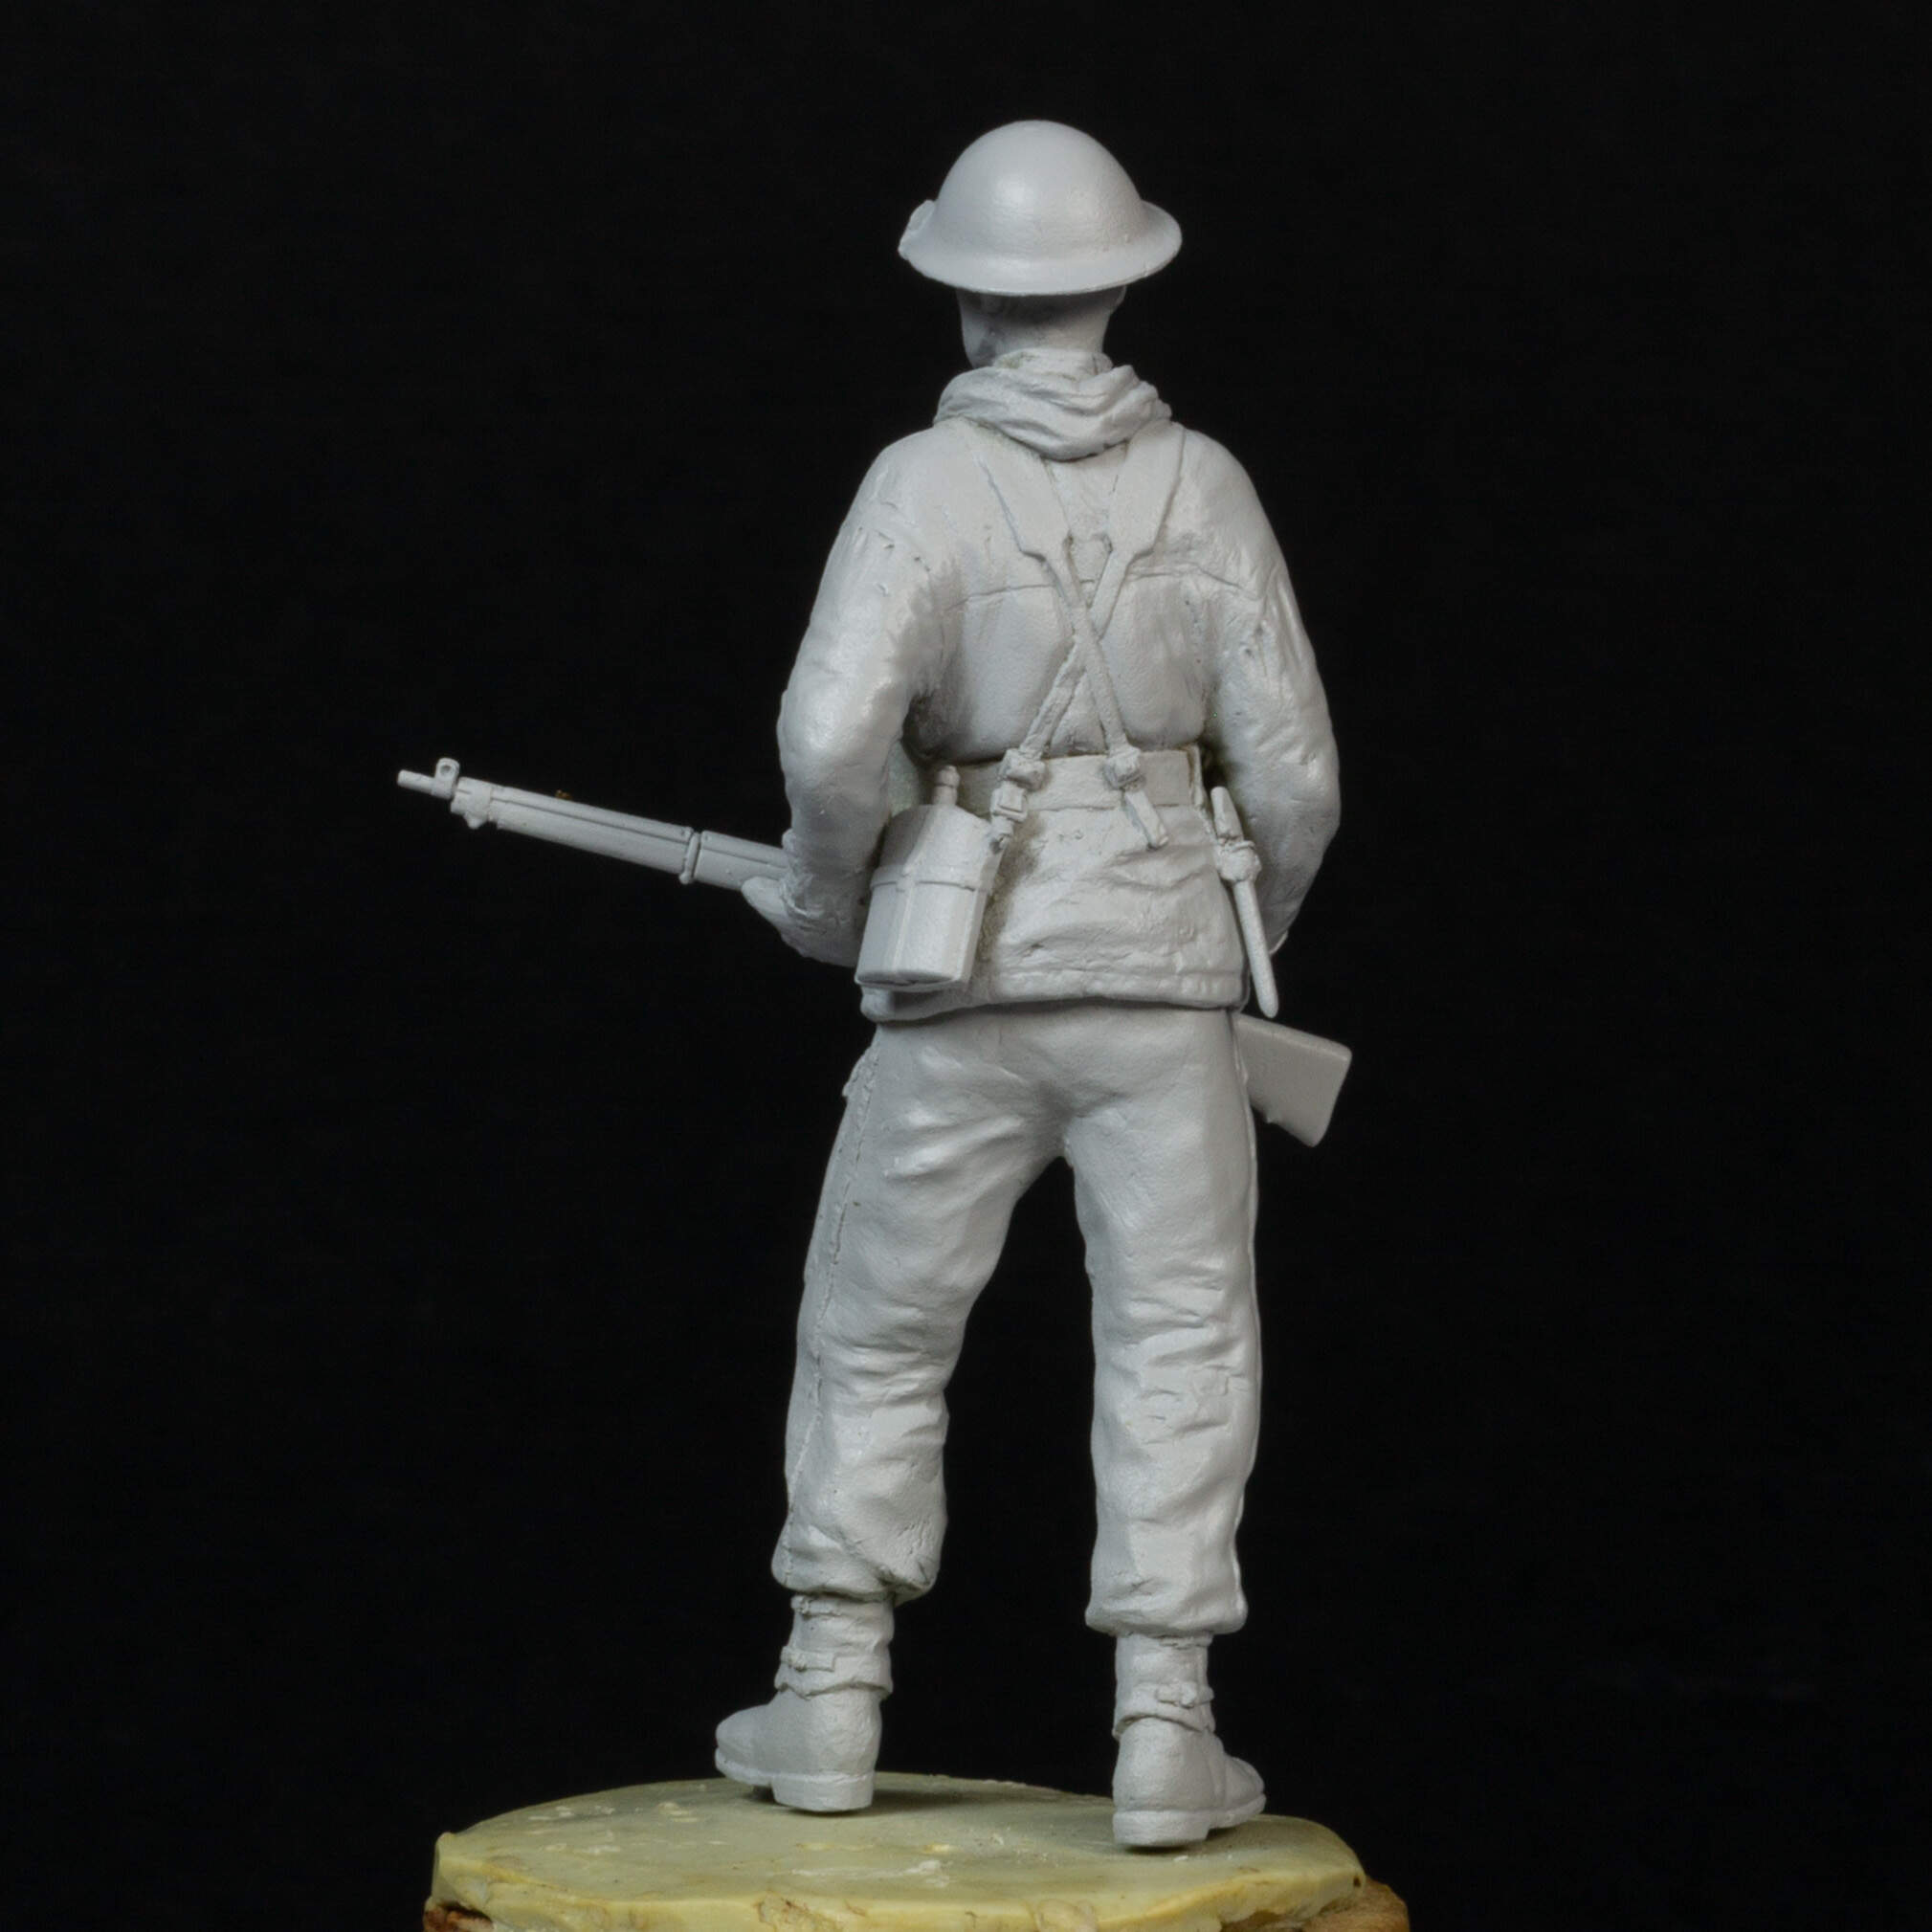
It was a really good learning experience trying to work out how best to sculpt the webbing, and hopefully I found a decent solution - adding the webbing then adding the clothing between, allowing for folds and creases beneath the webbing.
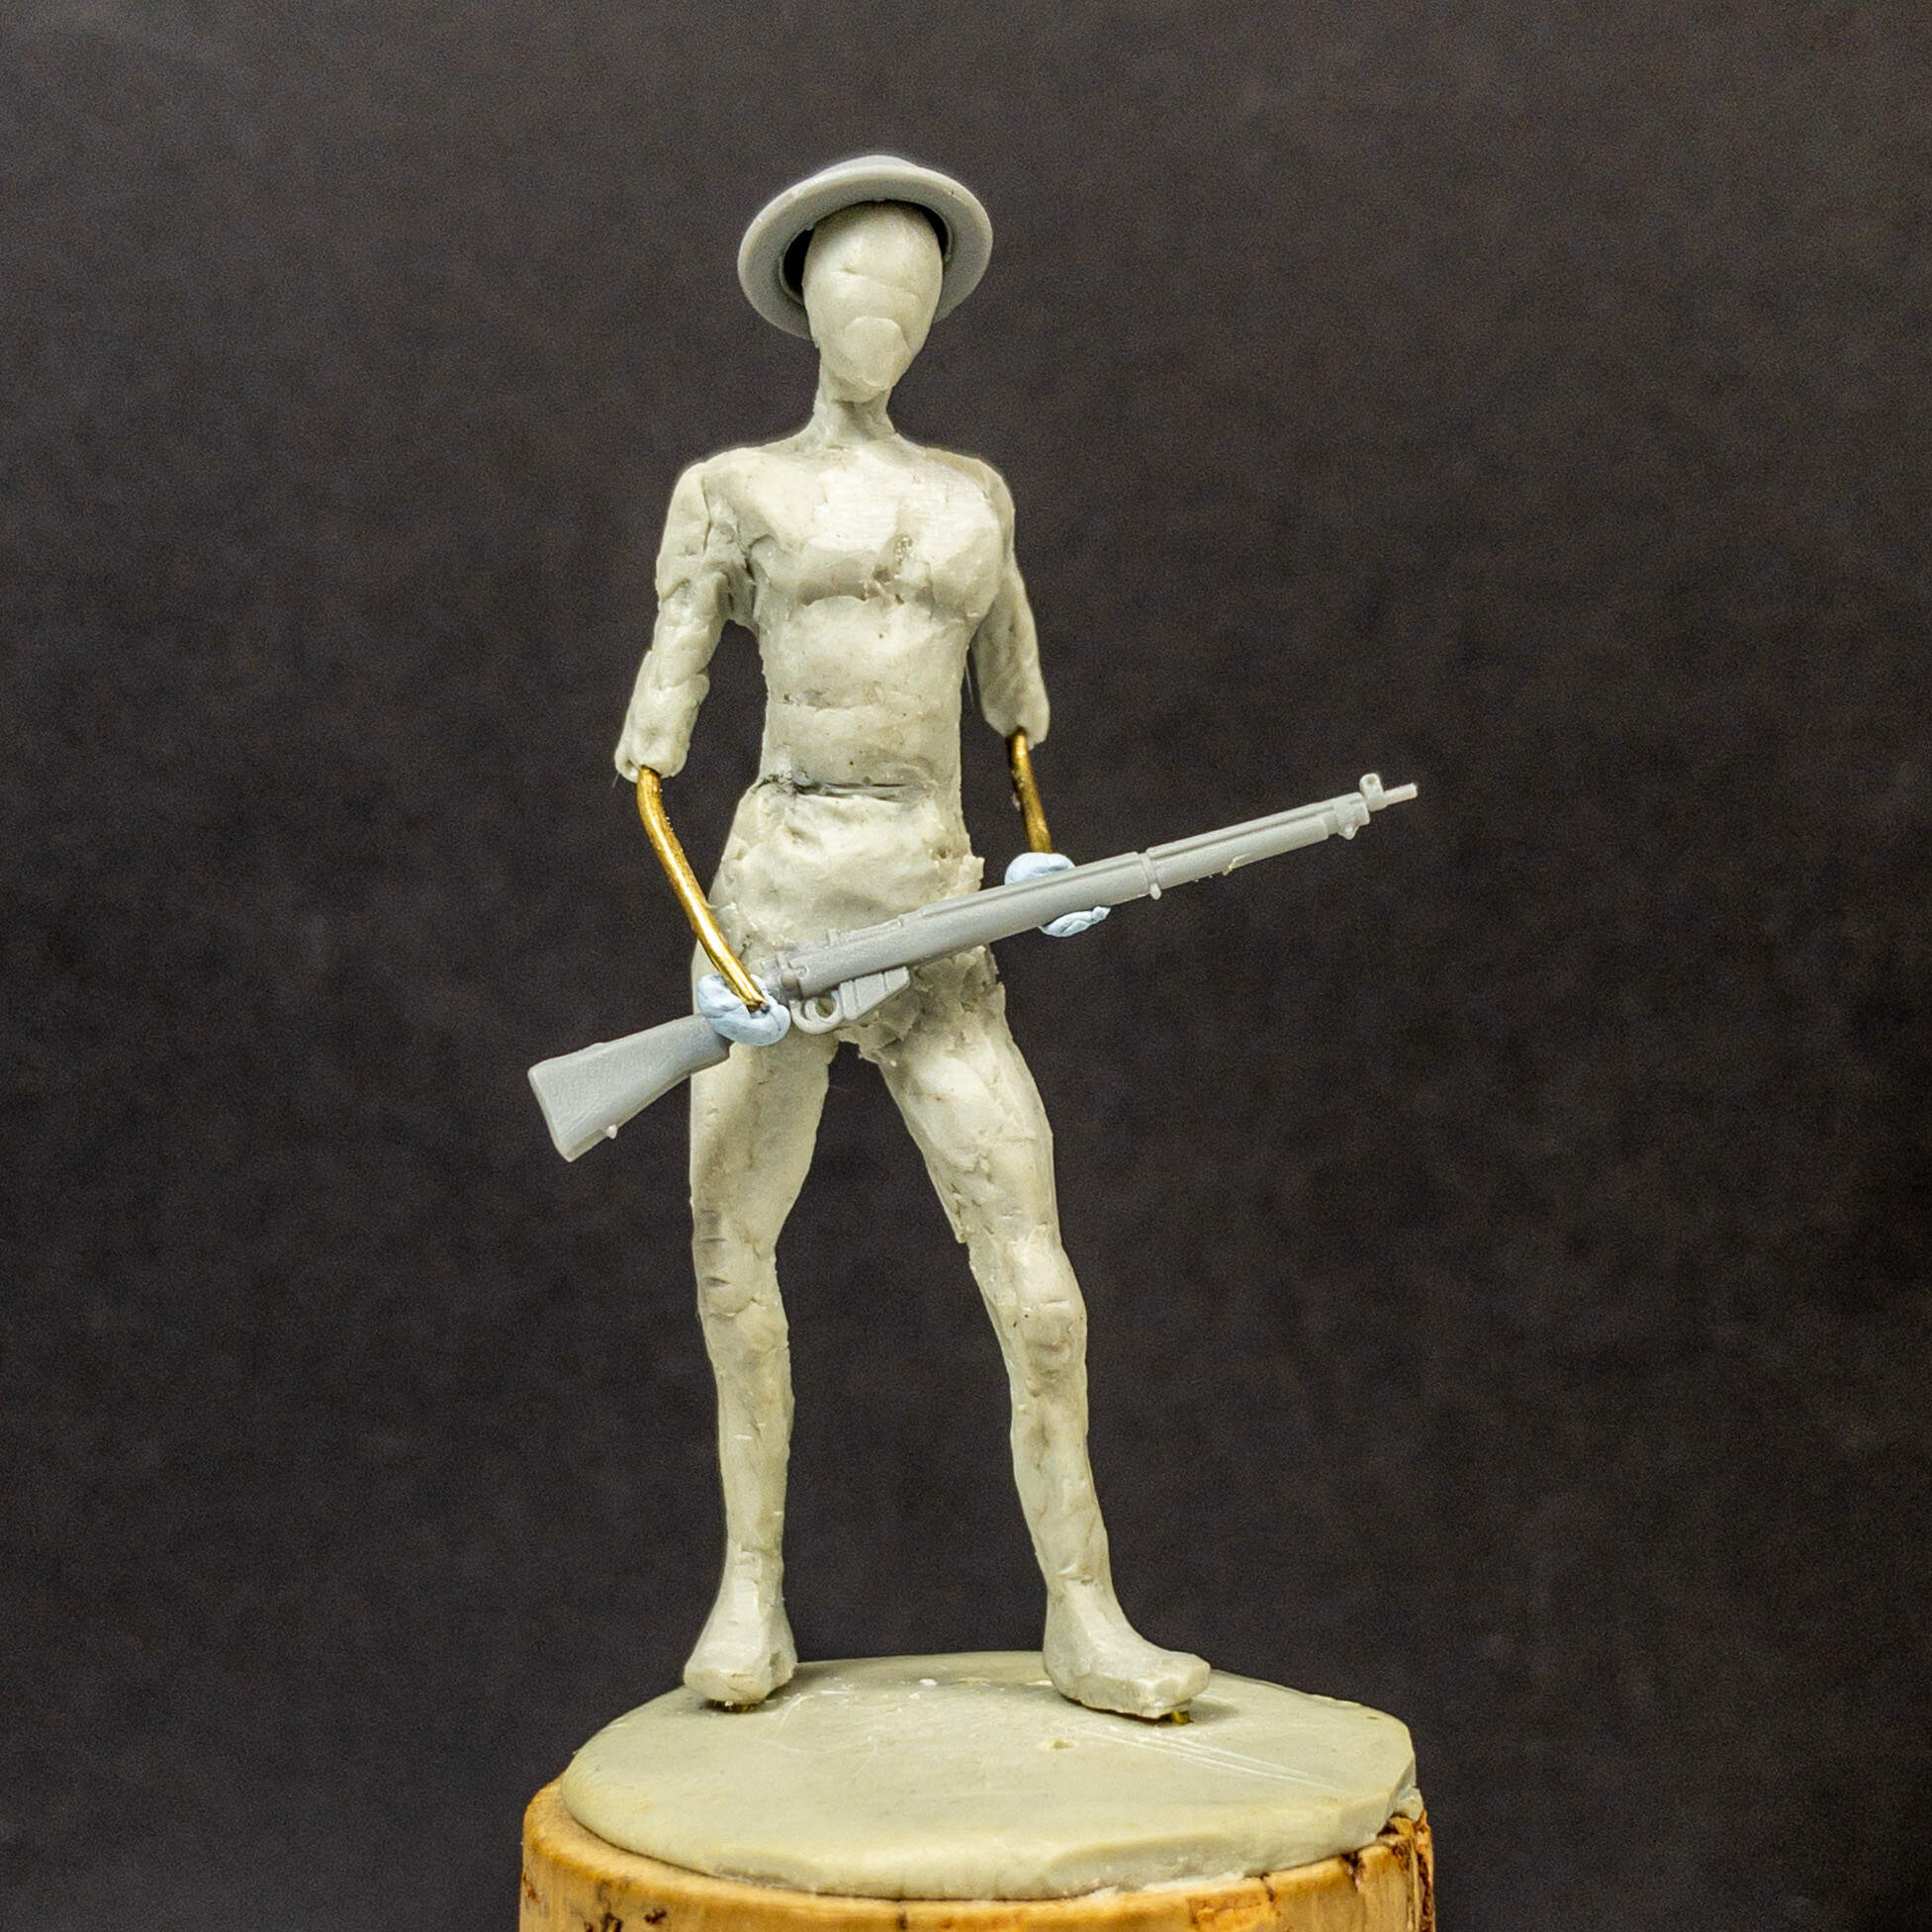
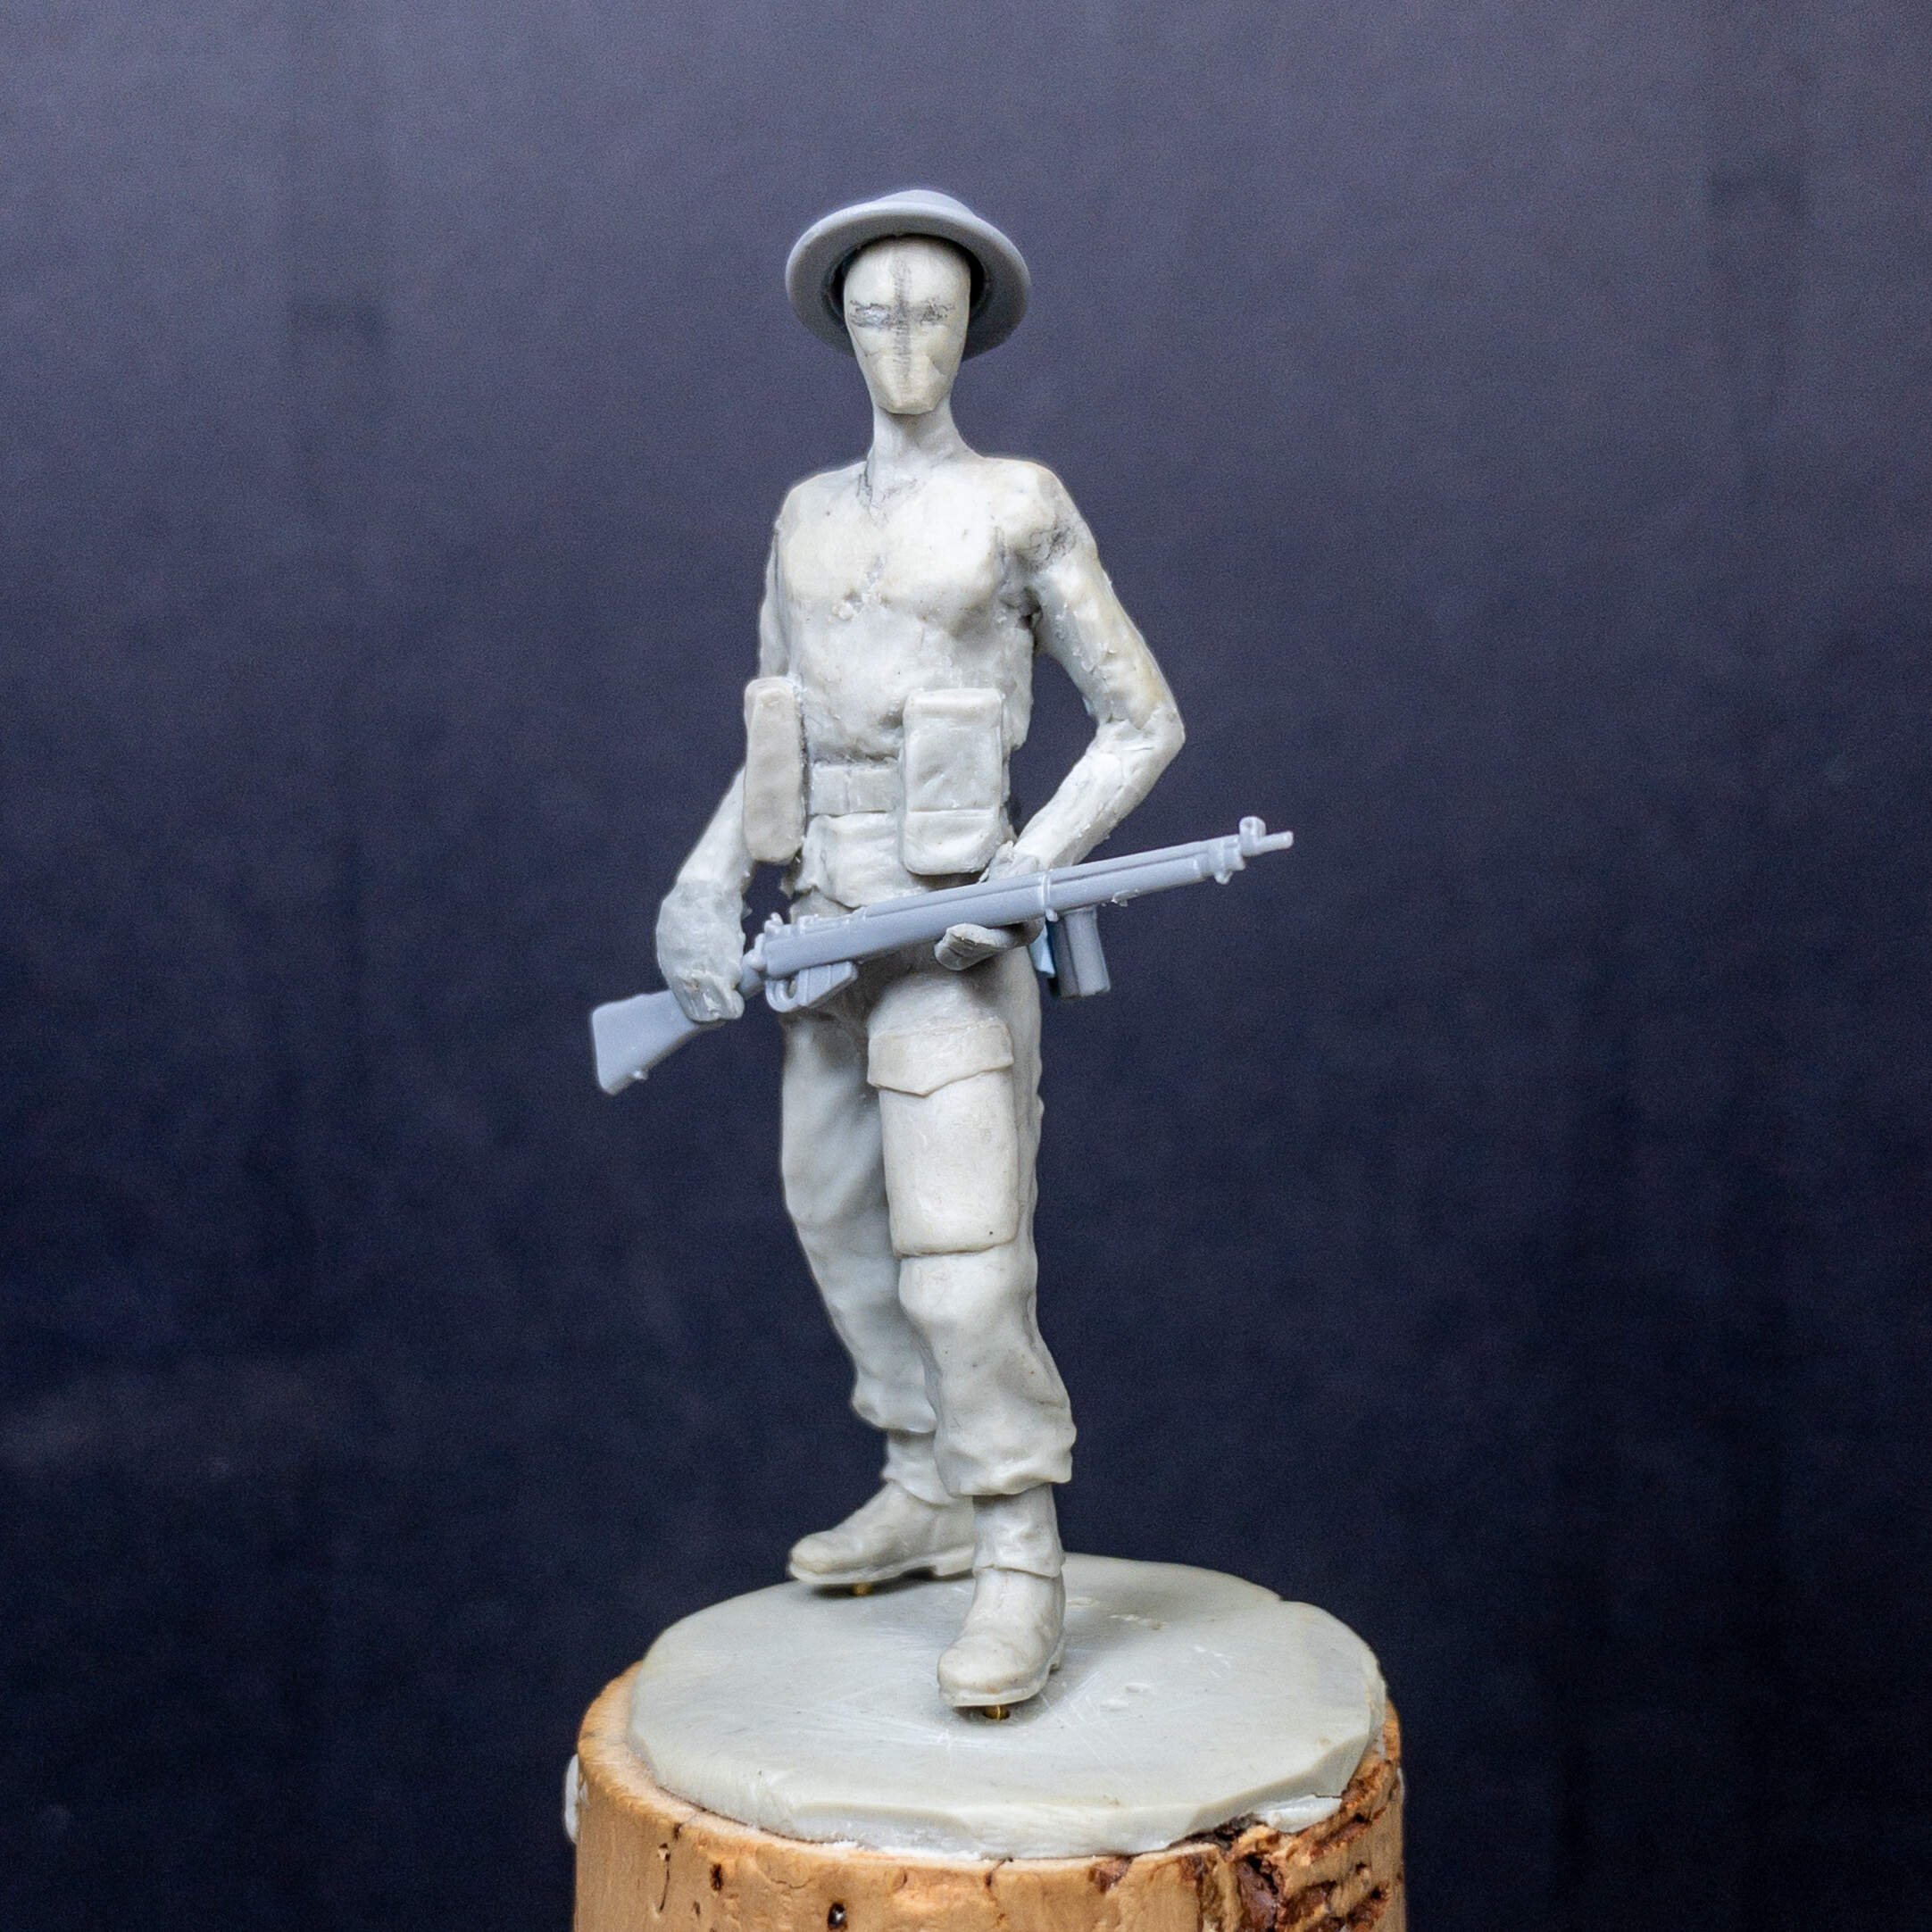
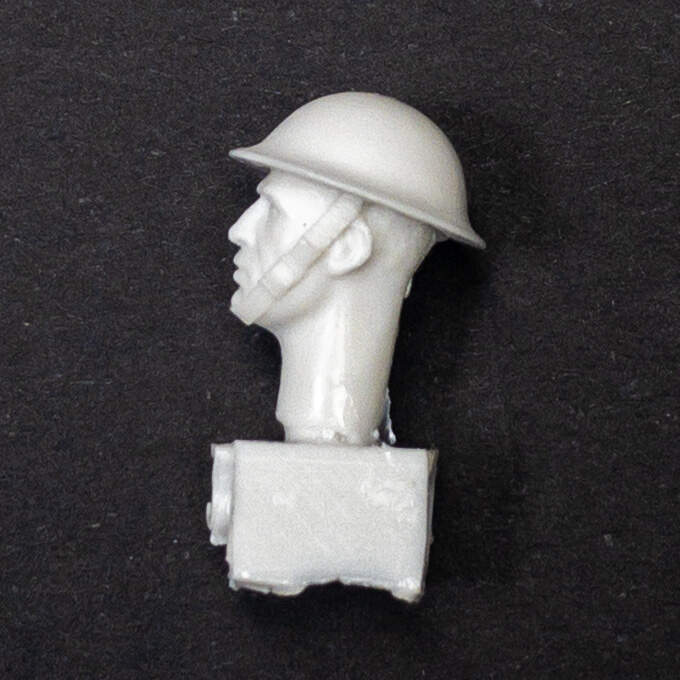
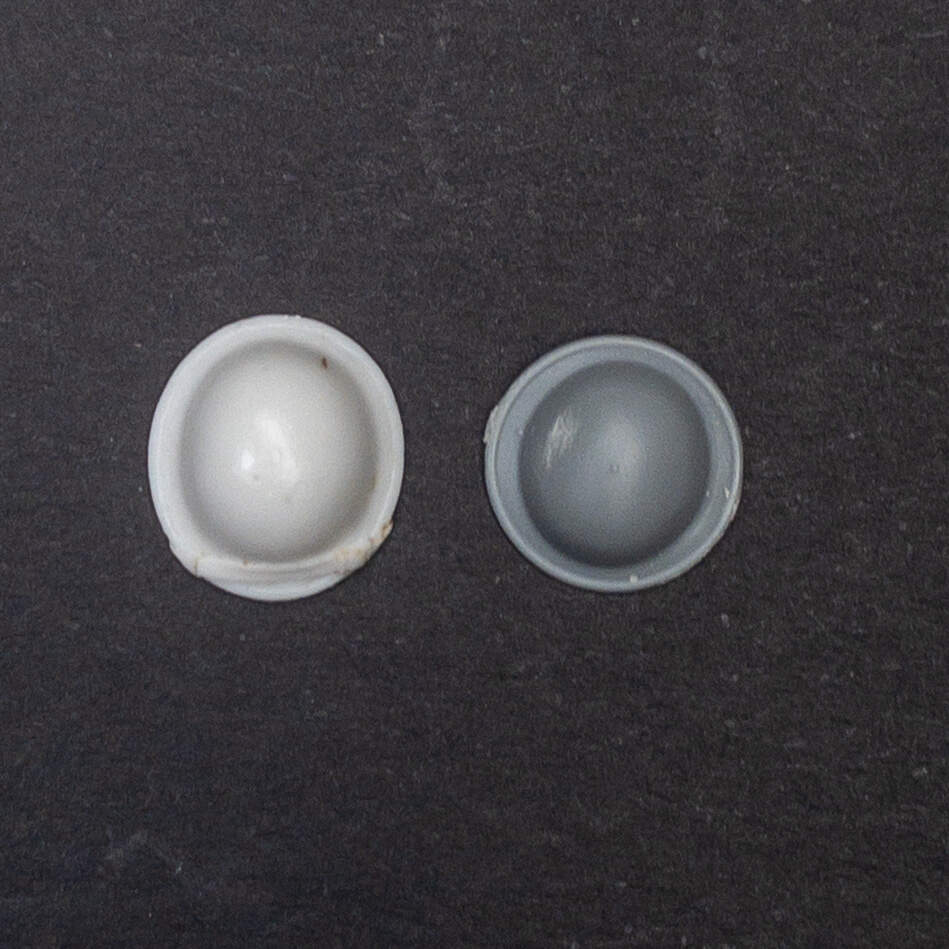
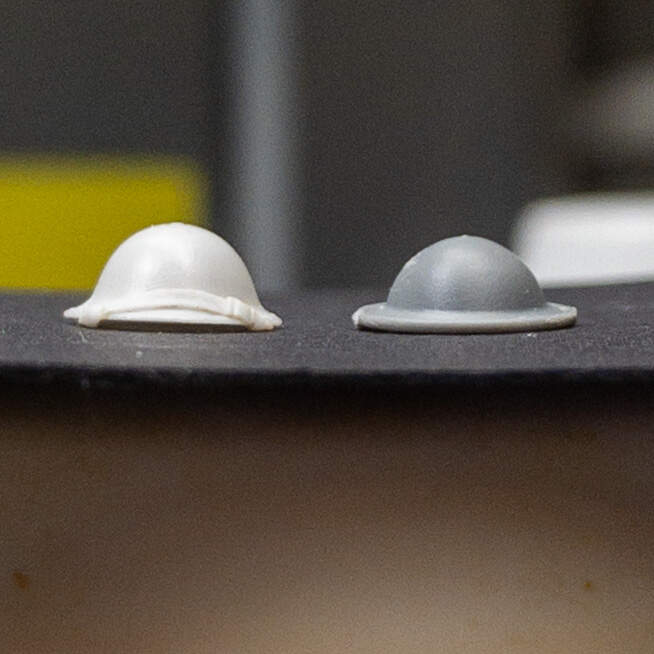
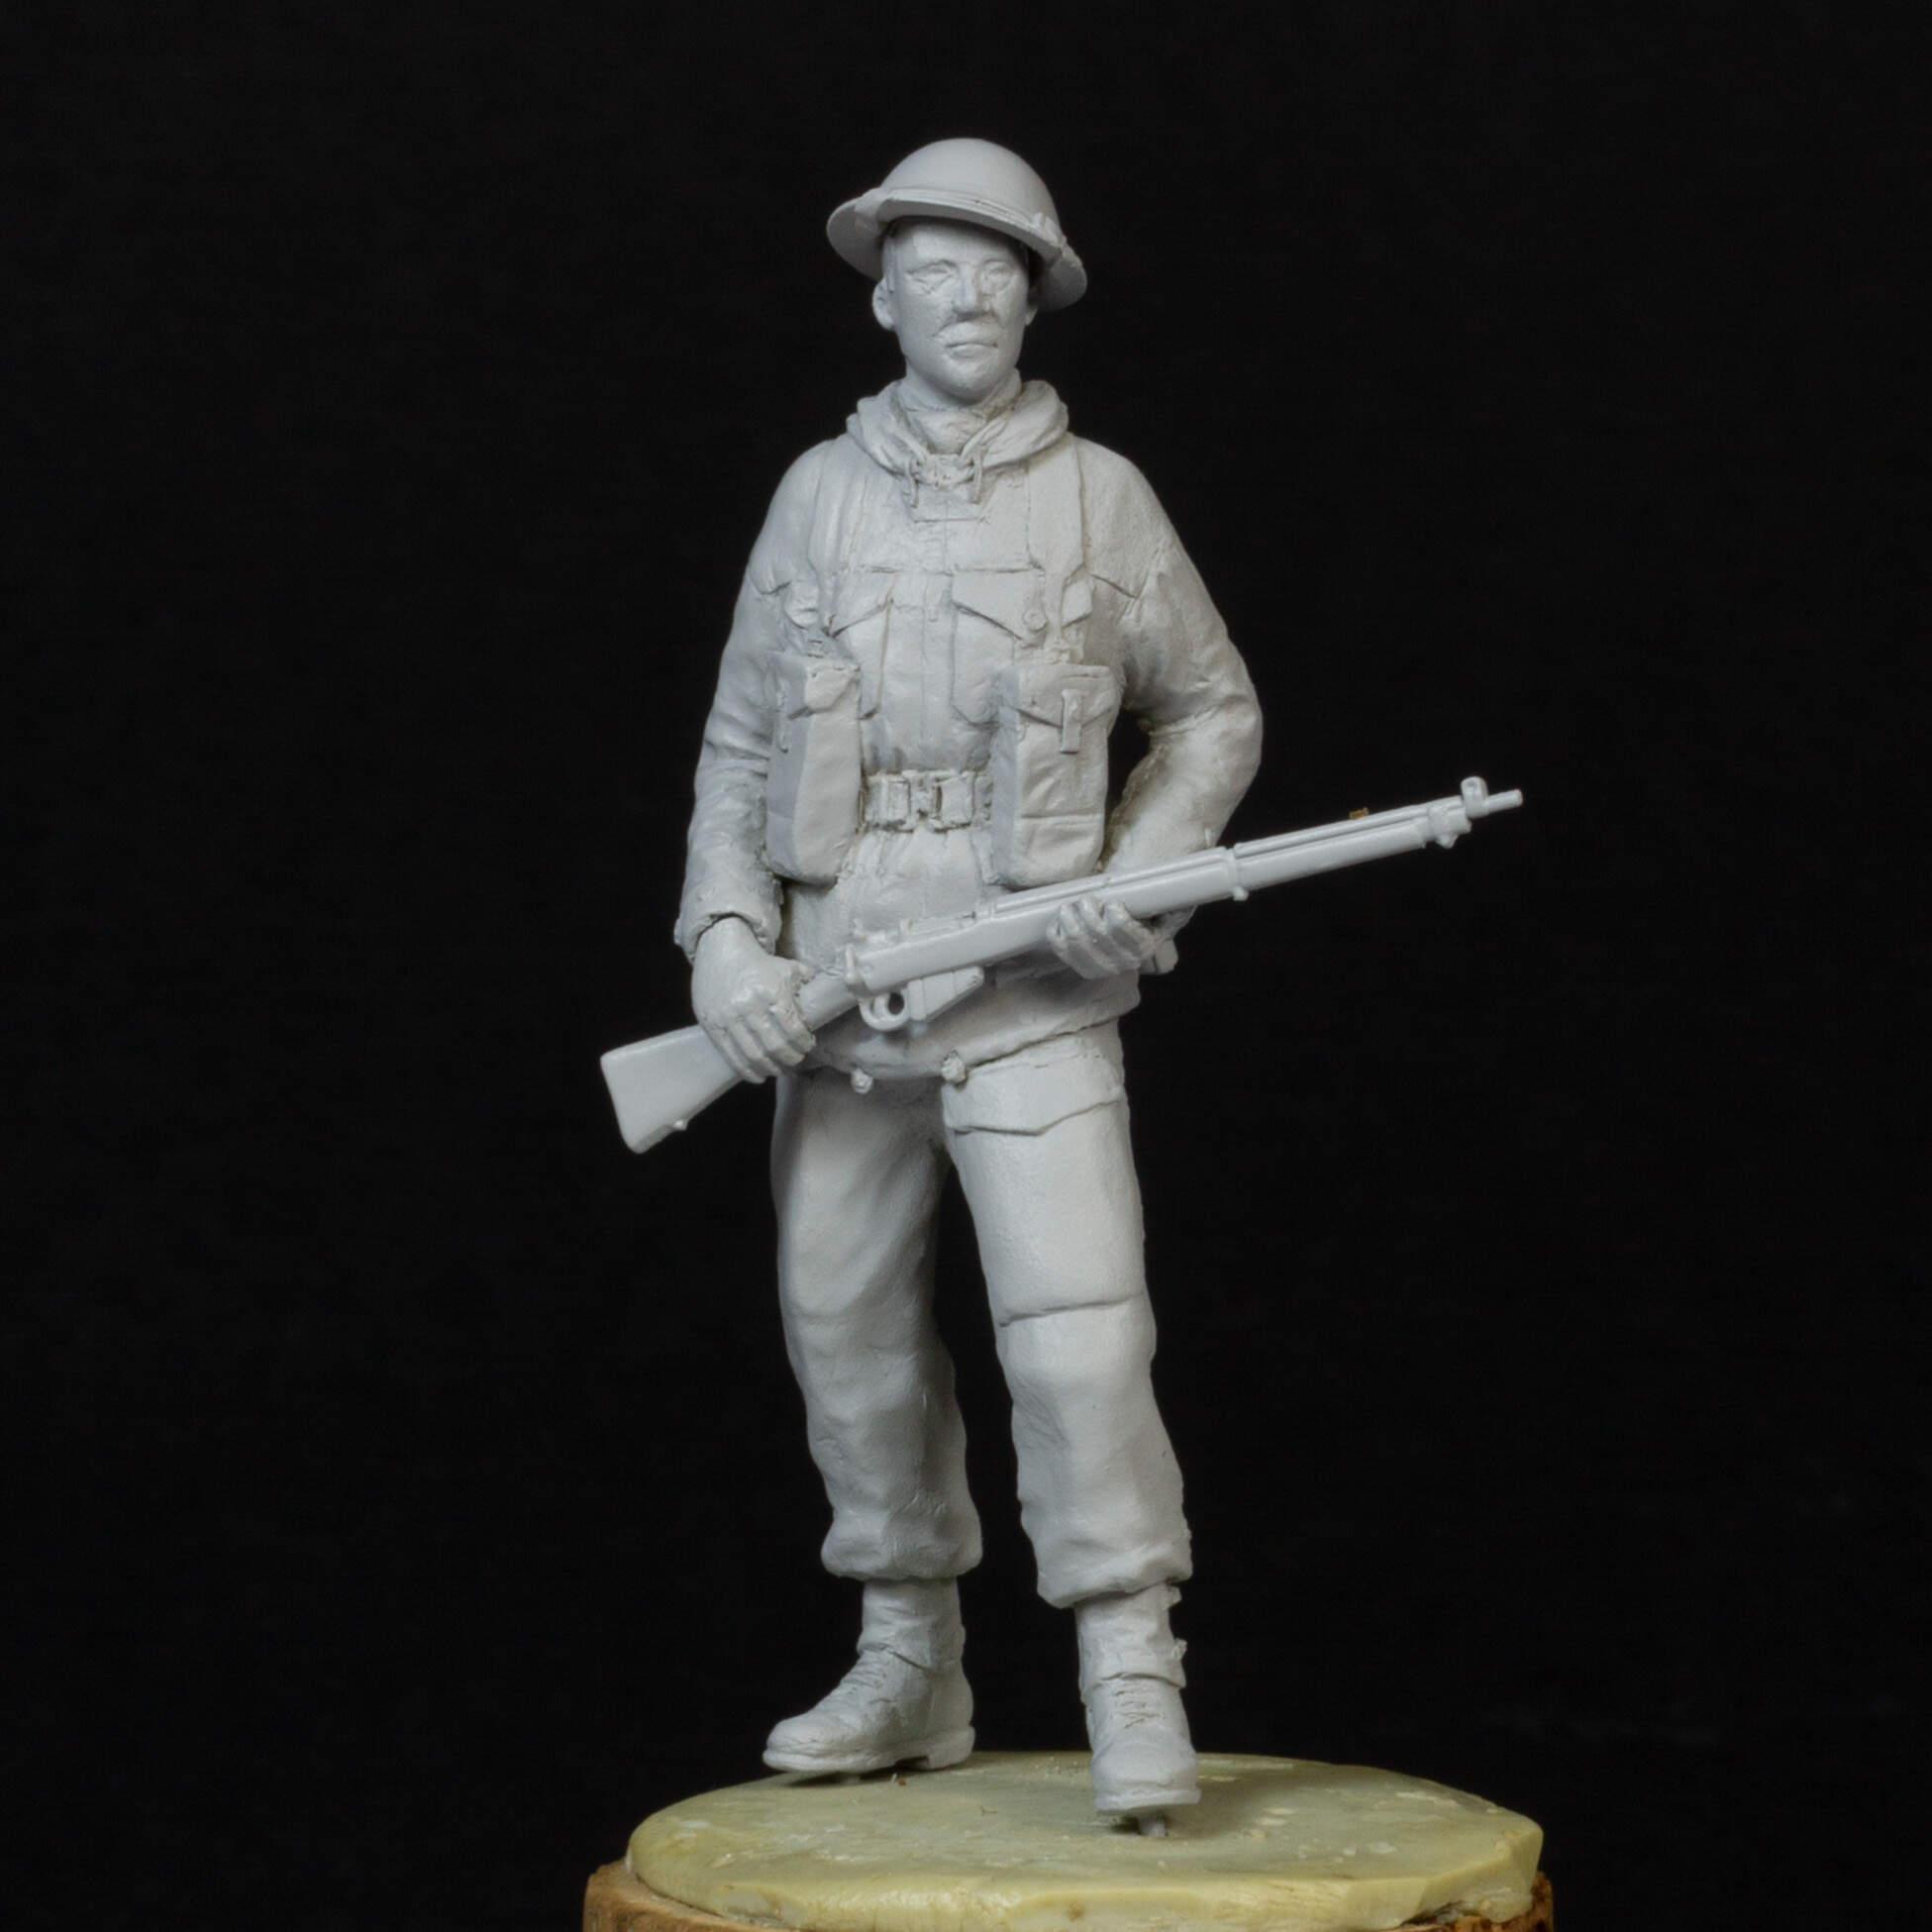
Next update. The Miniart helmet seemed very very shallow to me, and despite it being approximately correct dimensionally, something didn’t sit right. I always remember some iconic British figures from Hornet, so I got hold of a Hornet head, and although the helmet was slightly larger, it looked more of the part……
So I sawed off the helmet and hollowed it out with a burr in a motor tool.
It looked much better than the Miniart helmet, so I kept it.
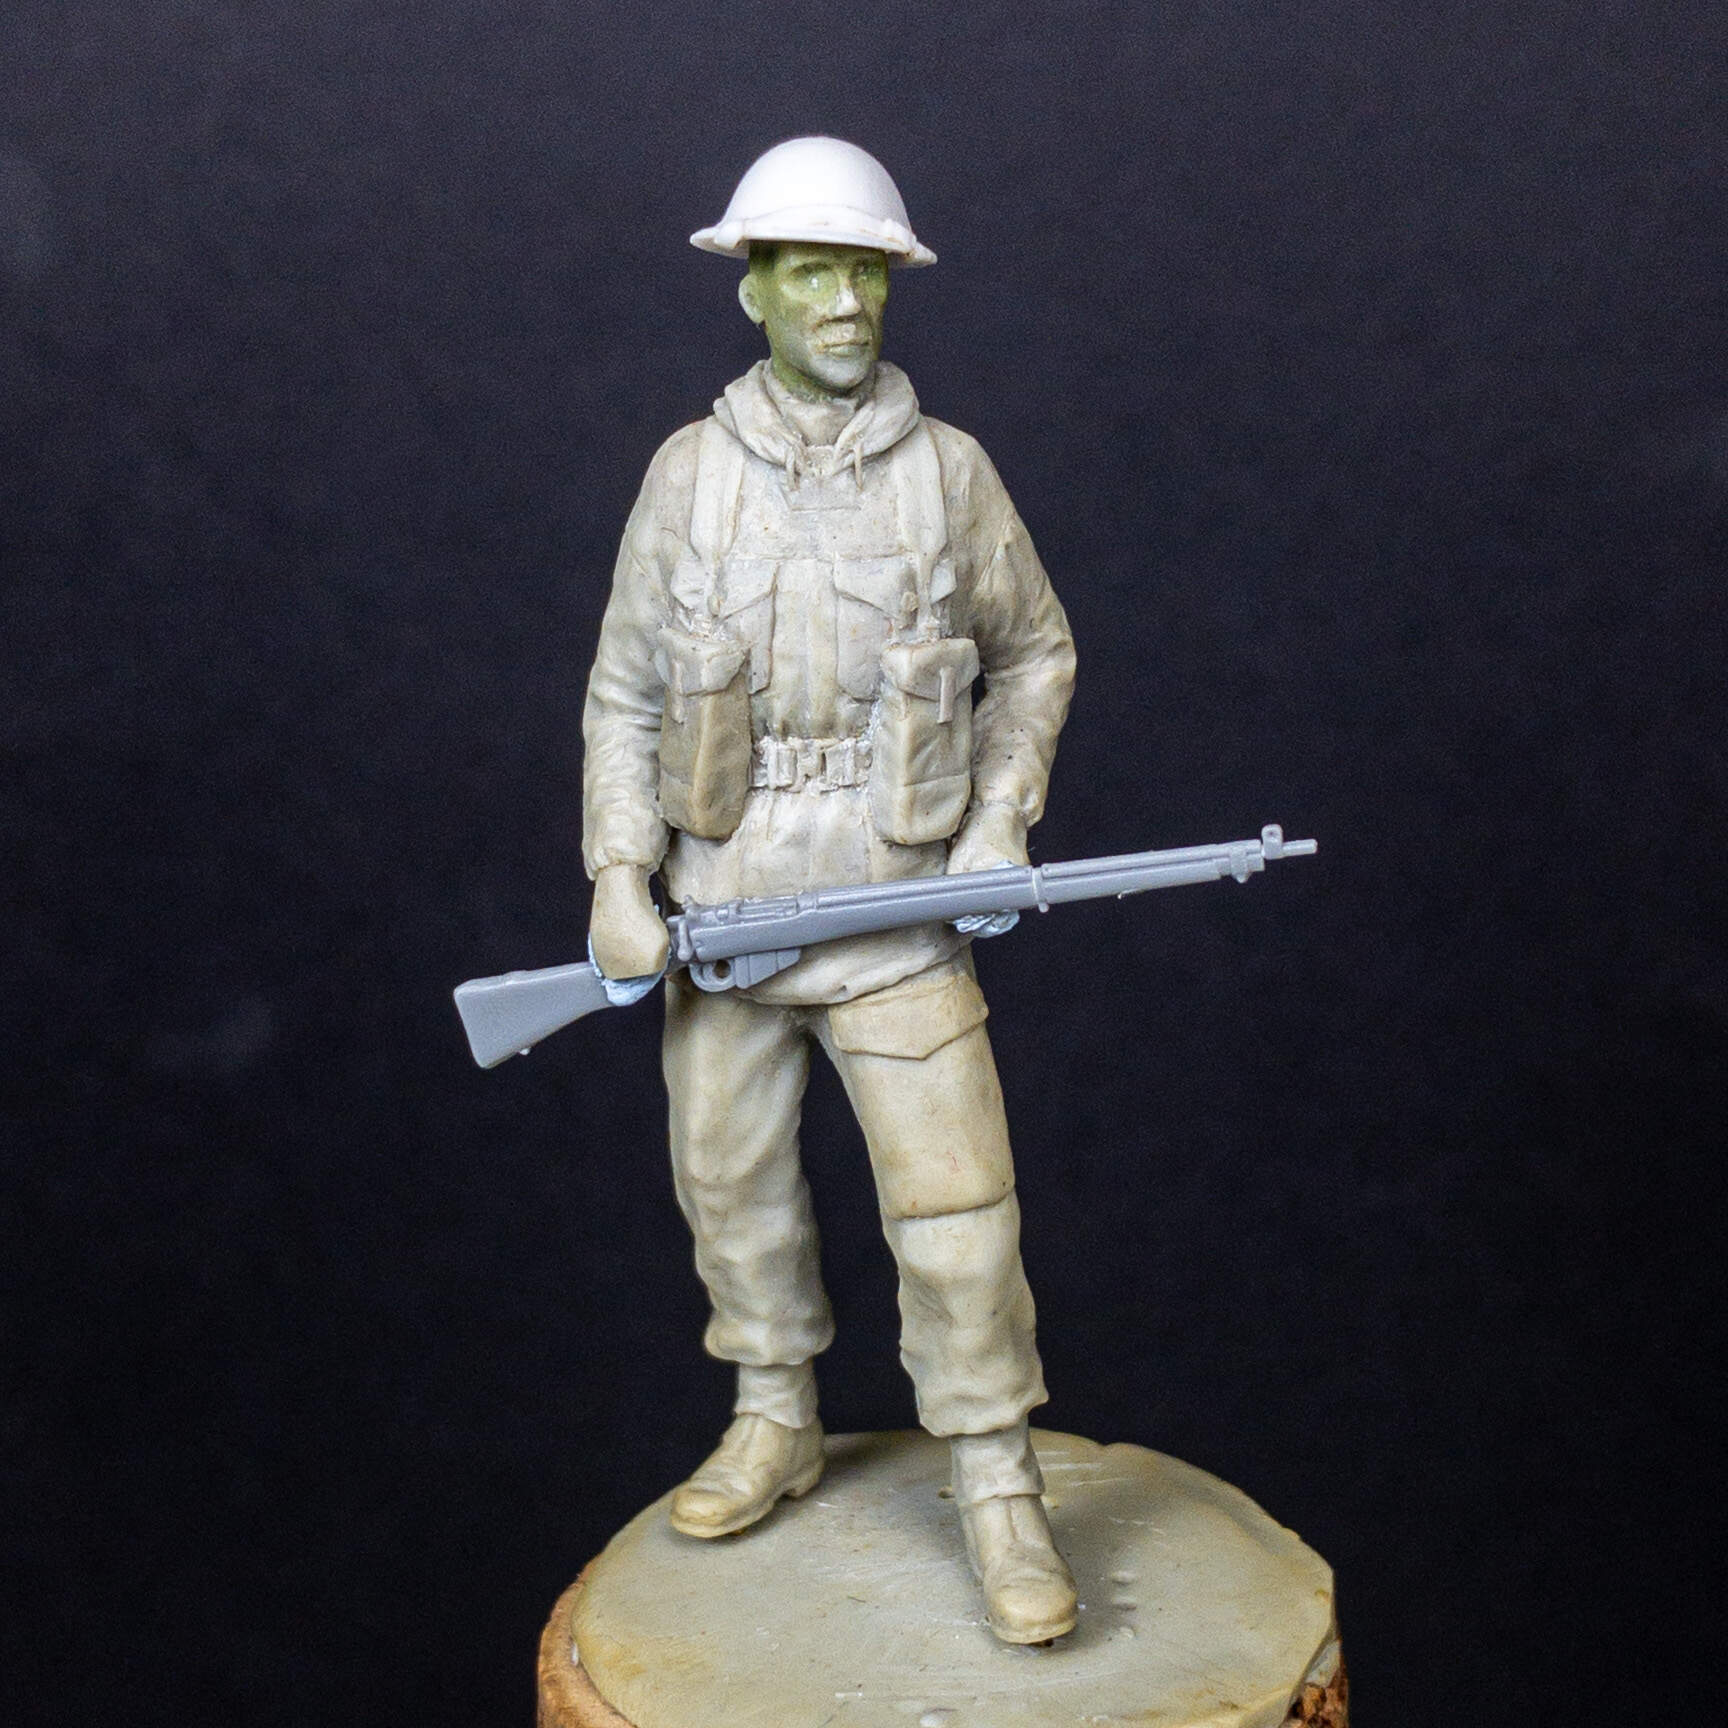
I was then able to continue with the final details of the sculpting, including the buckles on the webbing and belt. These were easier than expected, and I think actually look ok!
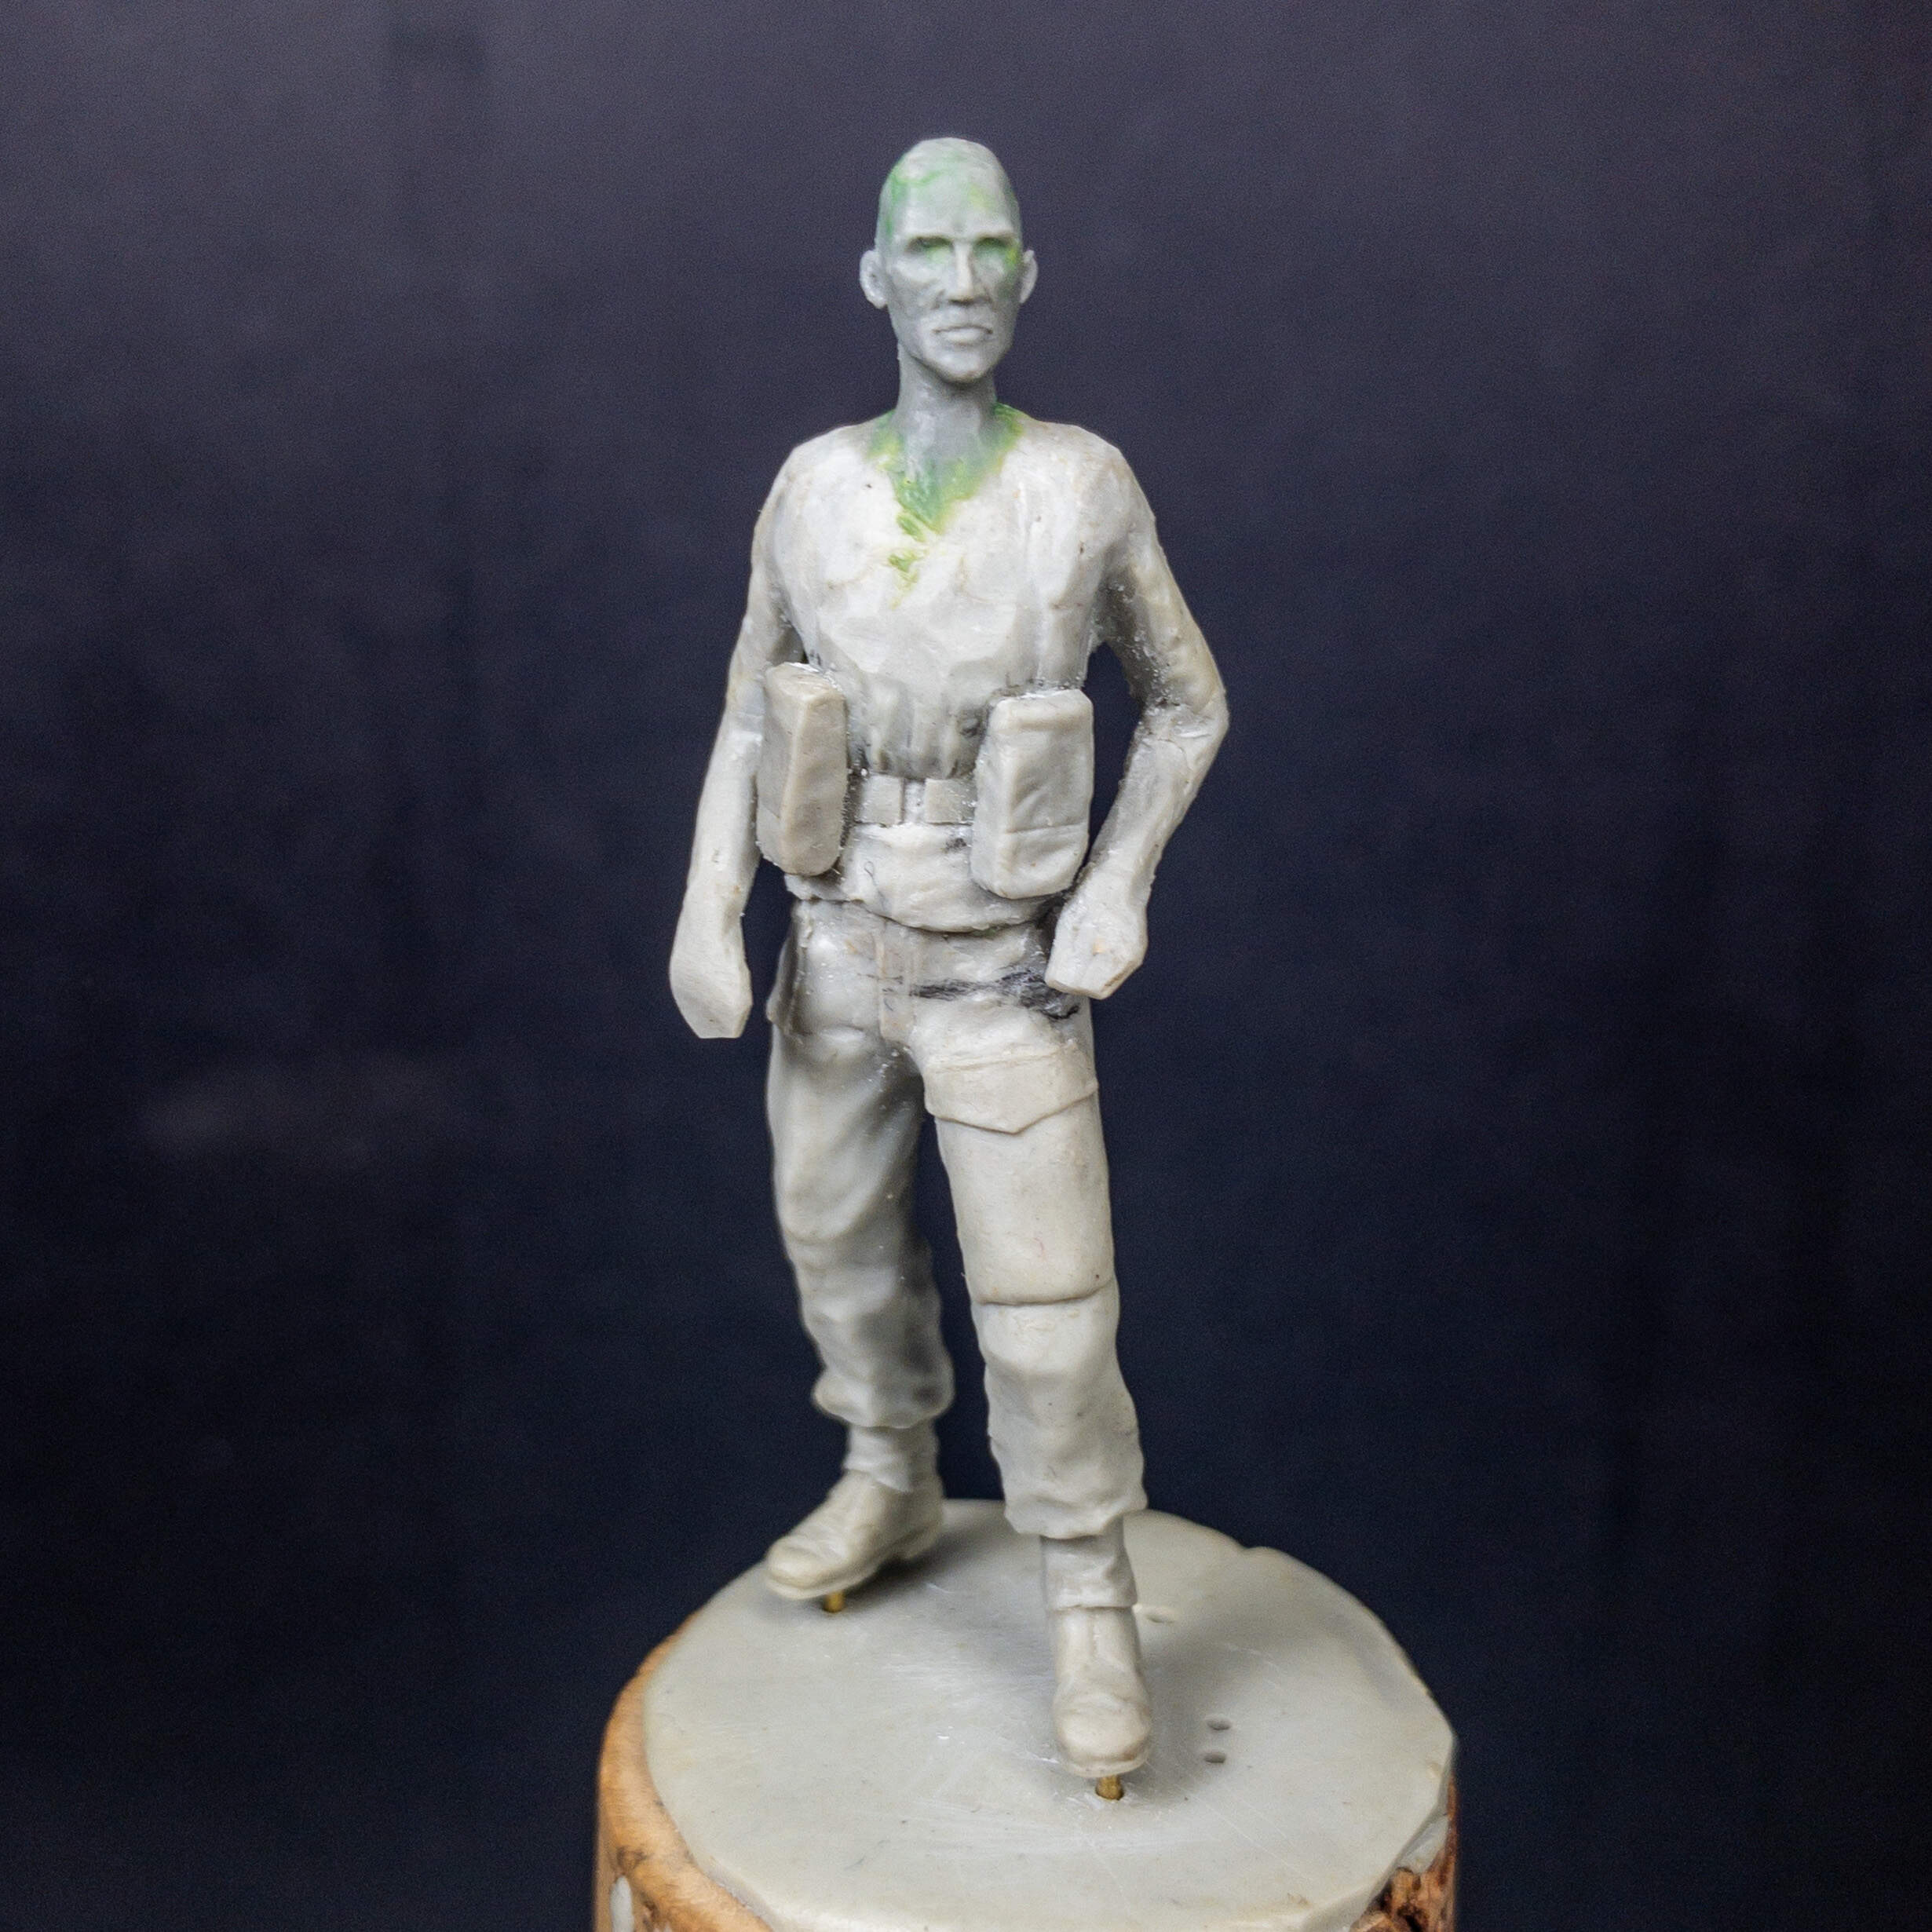
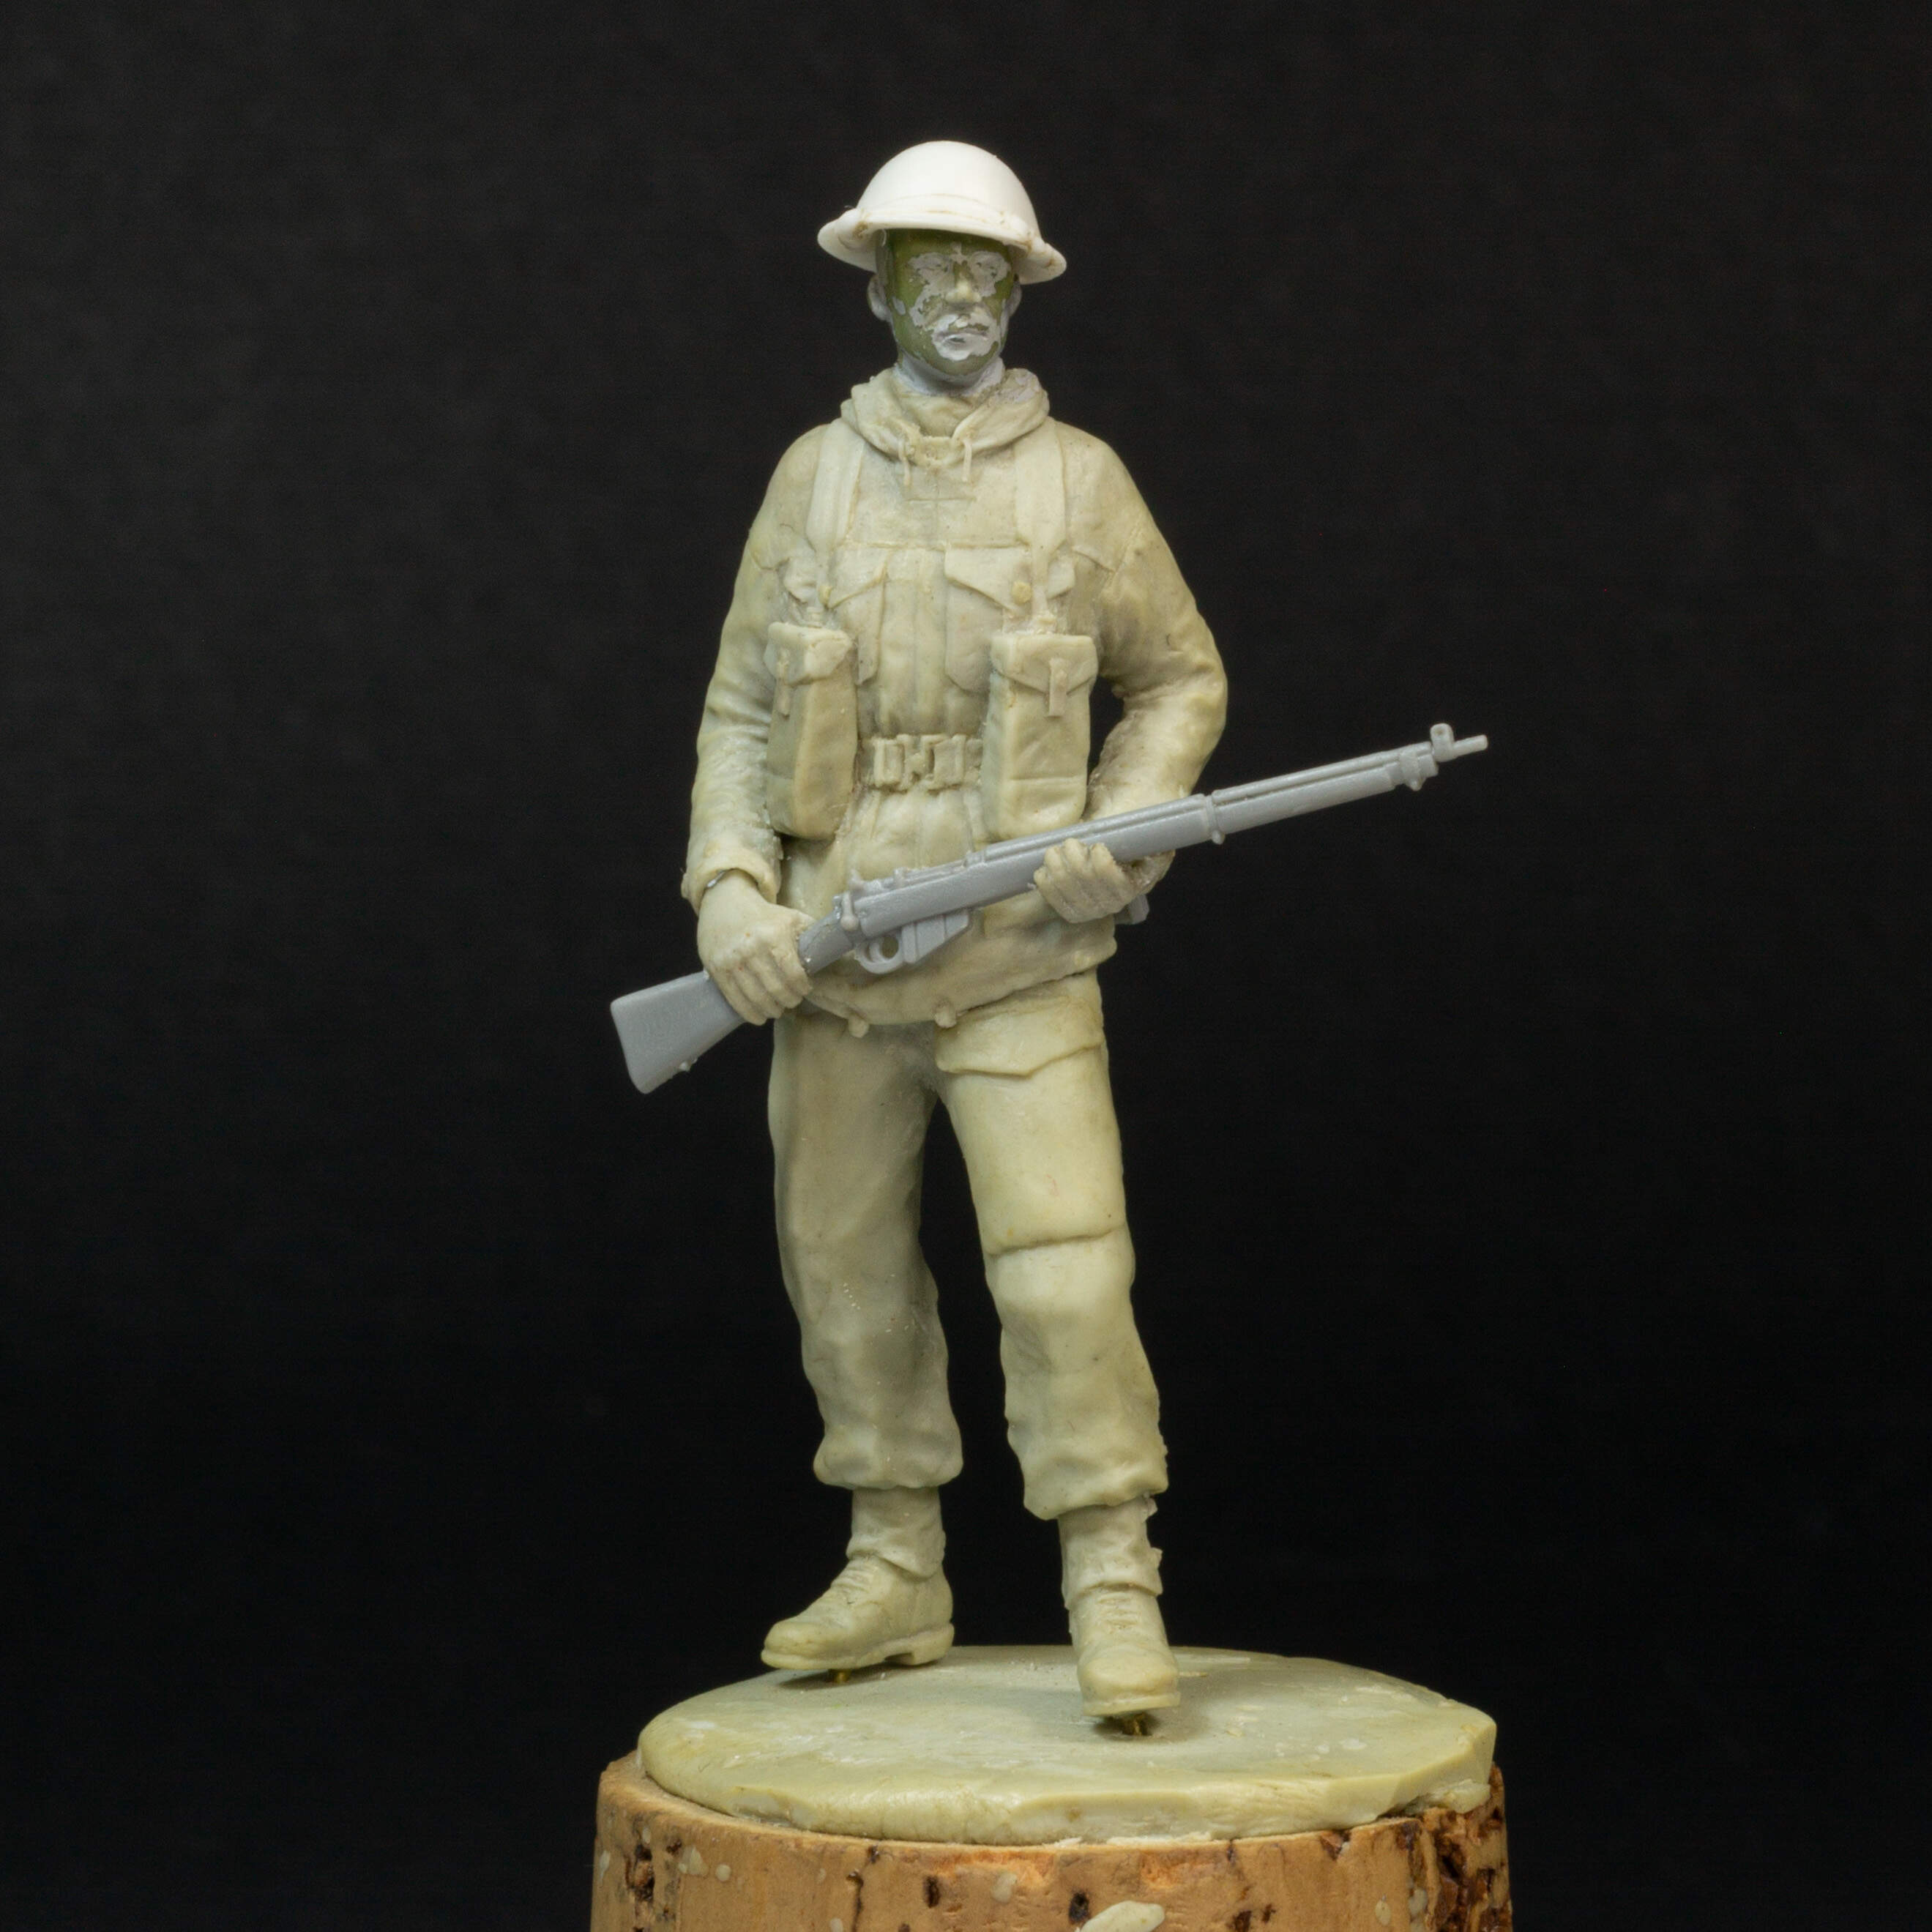
I then did a brave thing and glued the rifle to the hands, sculpted the fingers, then cut off the hands at the wrists! This was so I could paint the figure without having to fight past the rifle, and it was an engineering challenge!
So after attempting to refine and smooth the sculpting, I gave home a priming od Mr Surfacer. I did make a couple of adjustments, but it was time to work on the base. (i used a Miniart water bottle but added straps and buckles attaching it to the webbing myself.
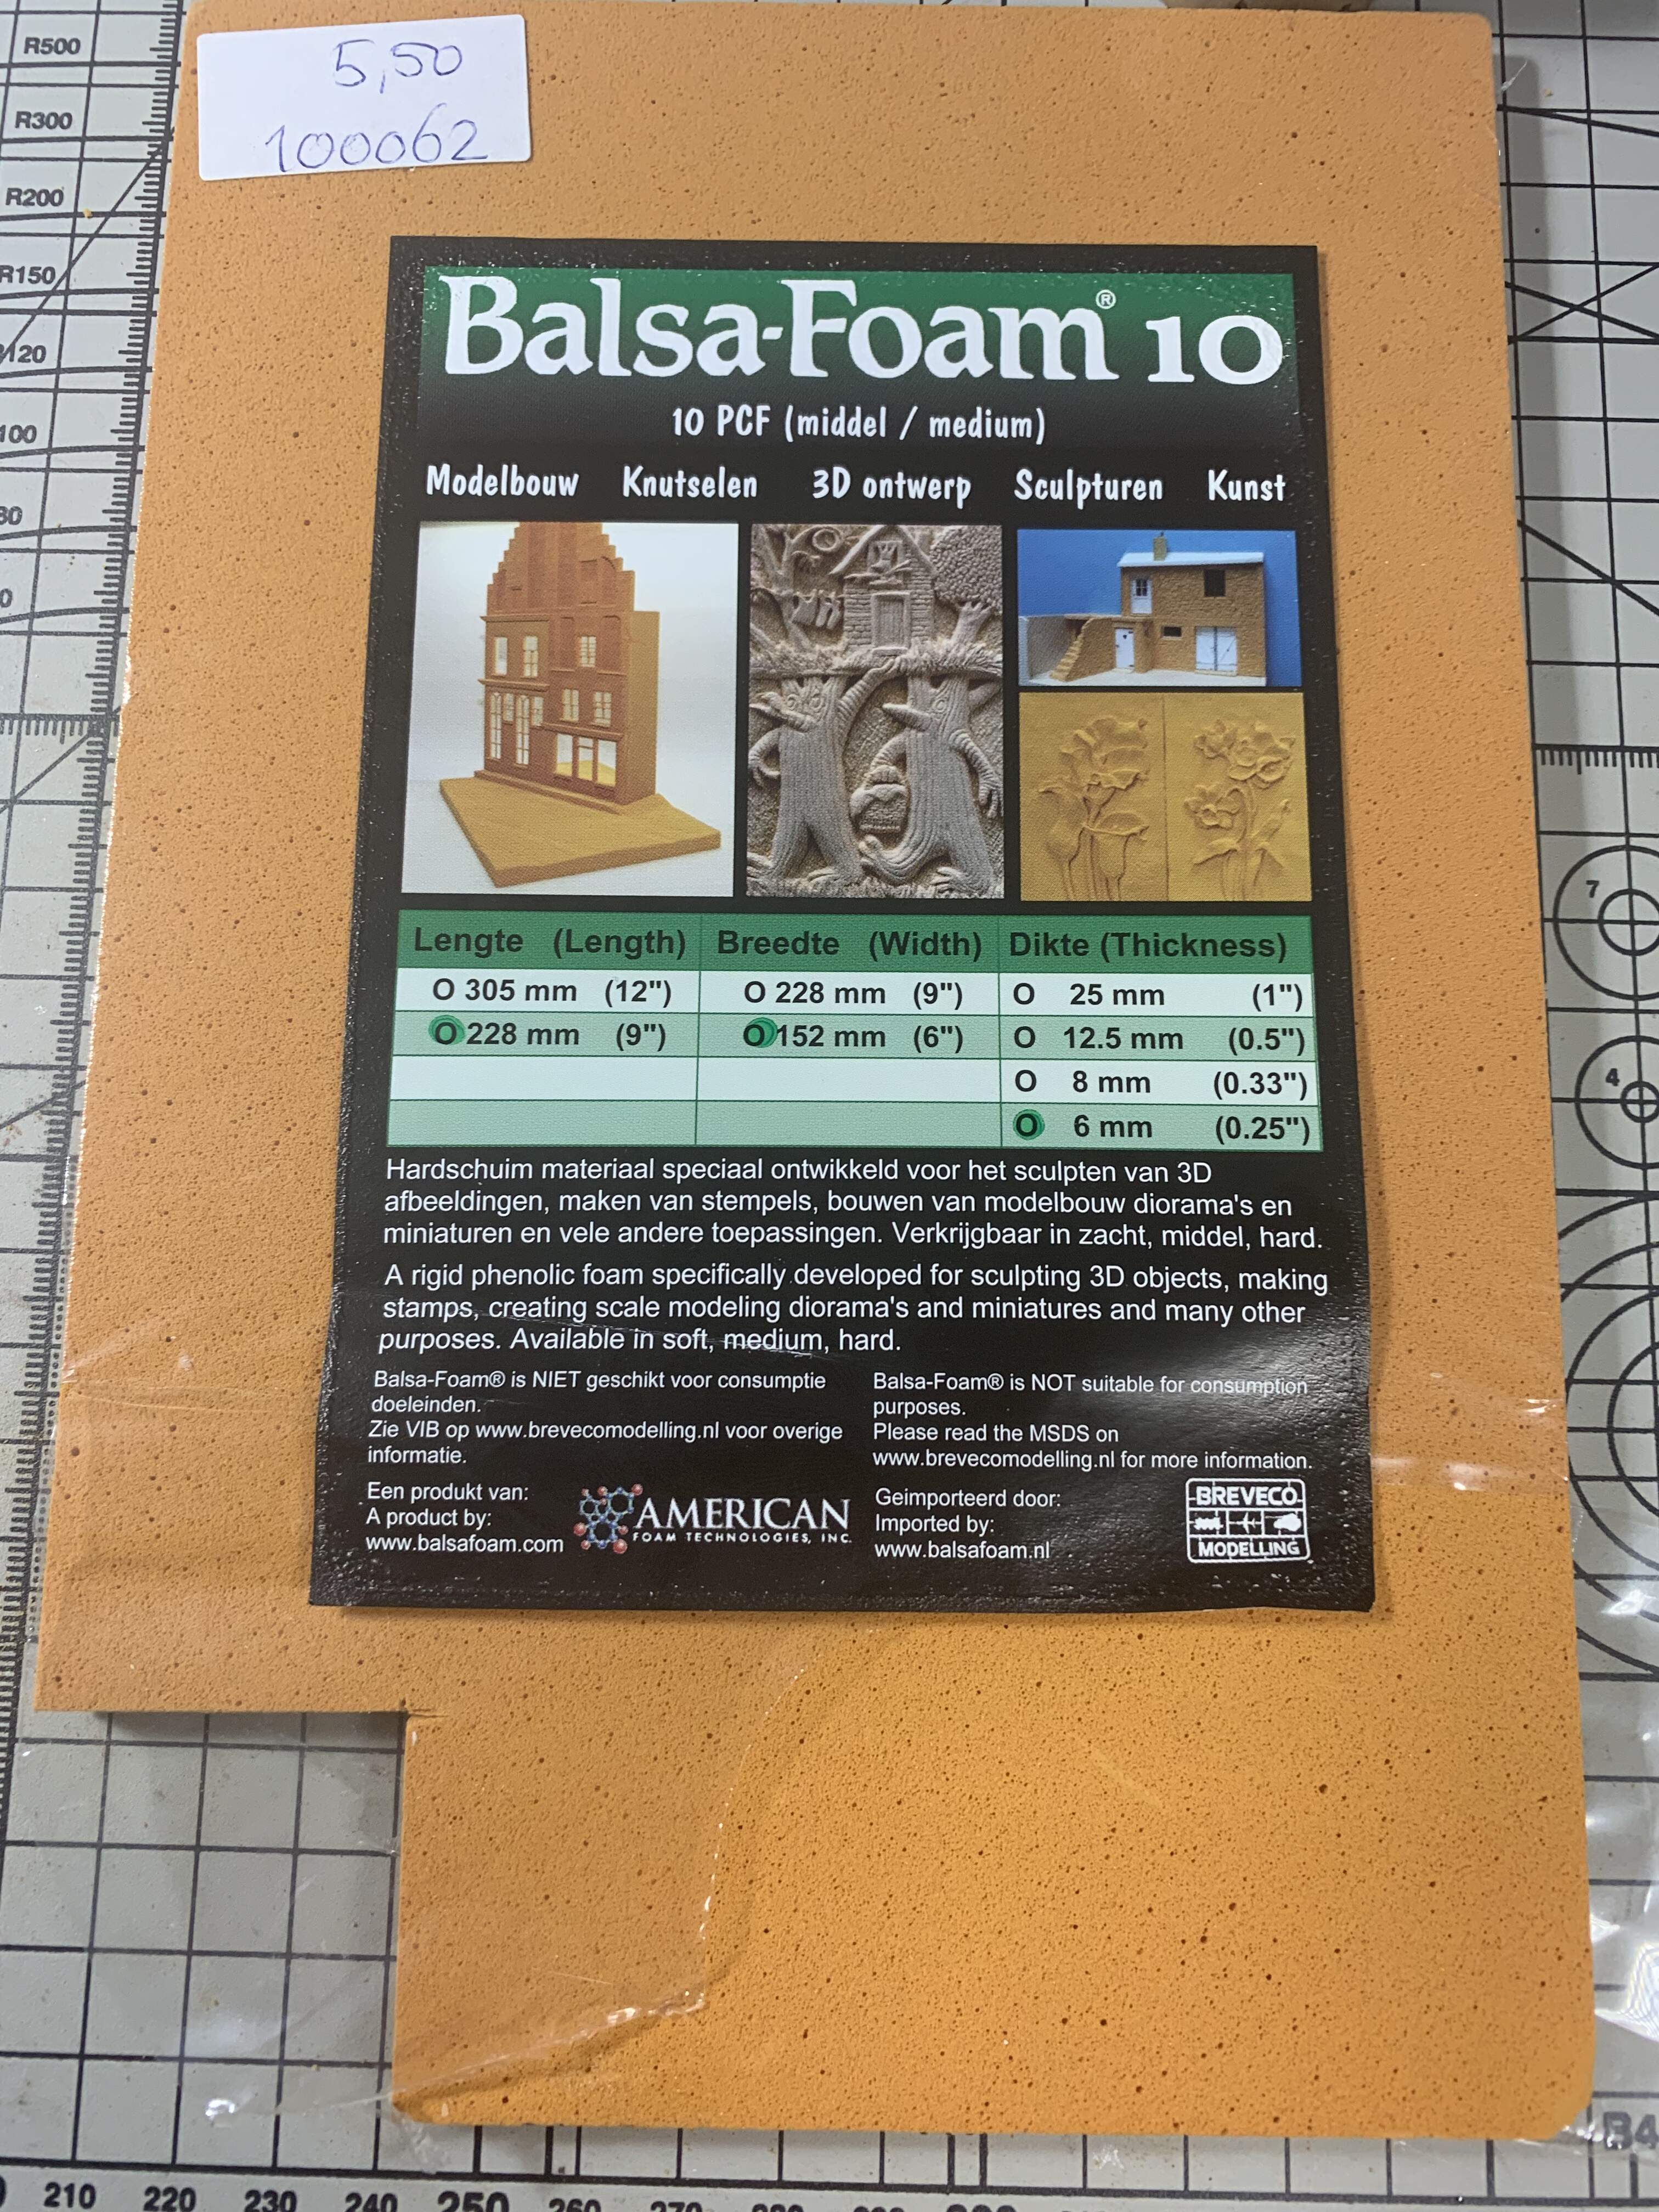
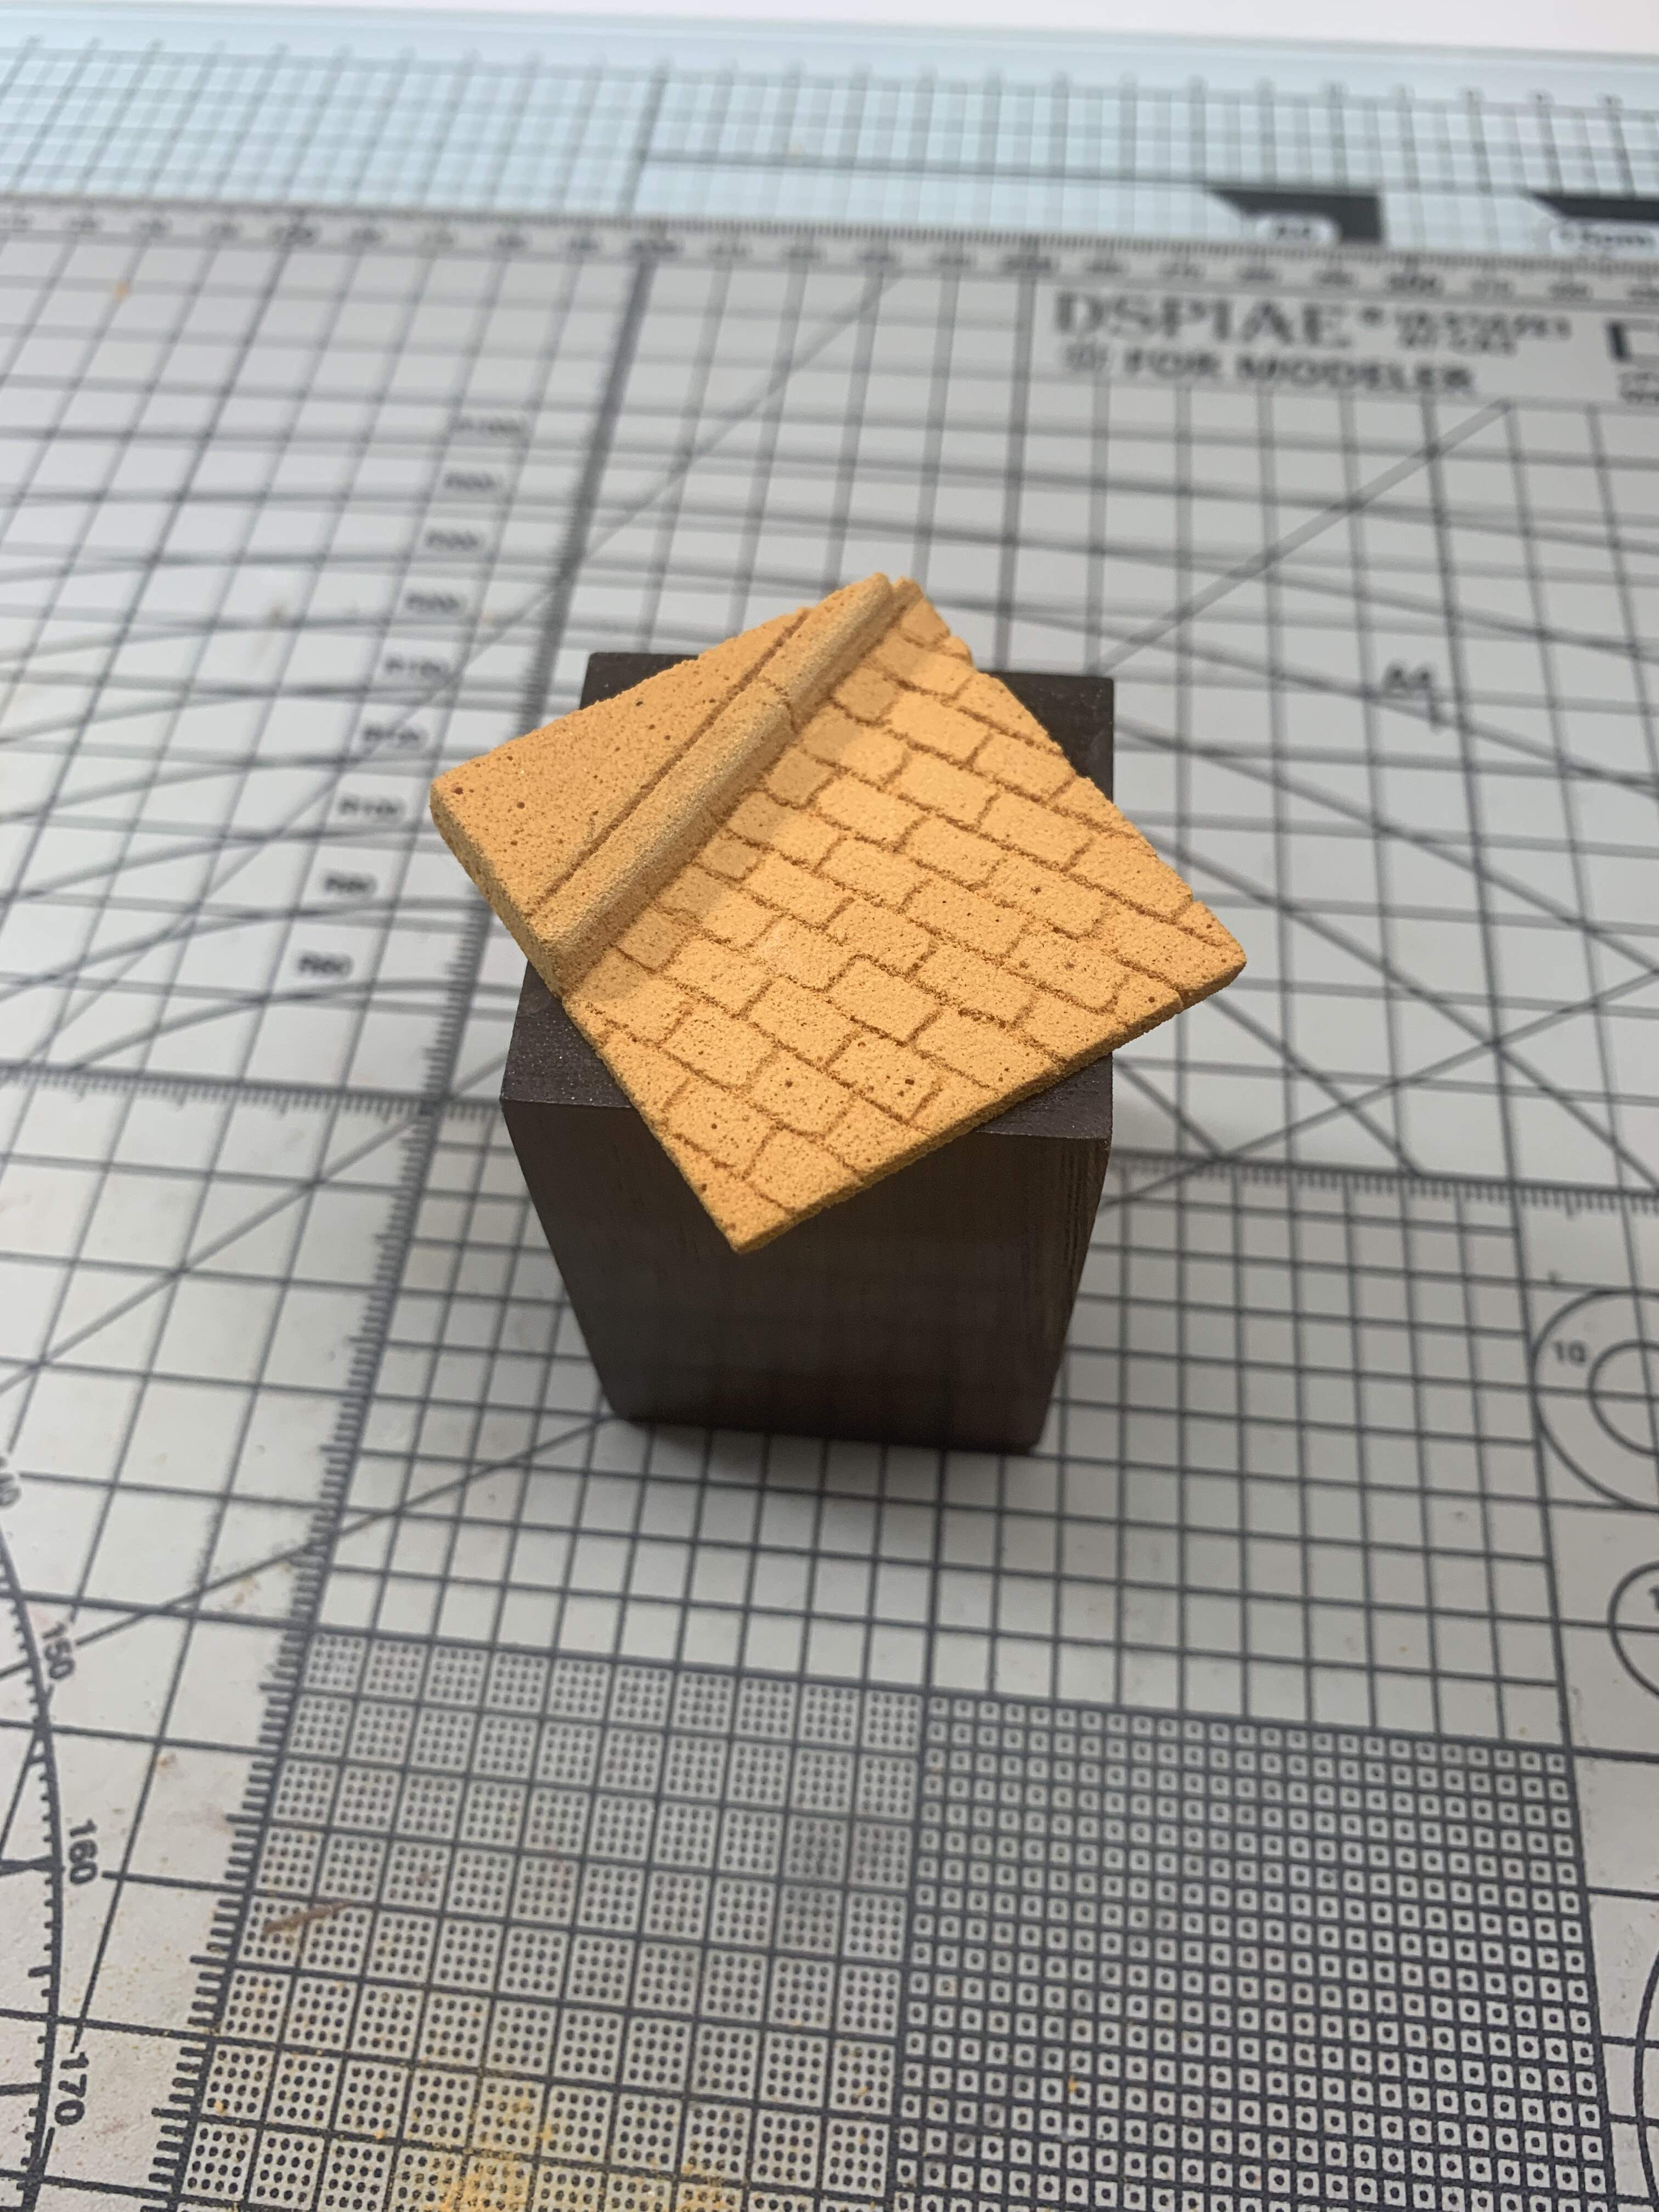
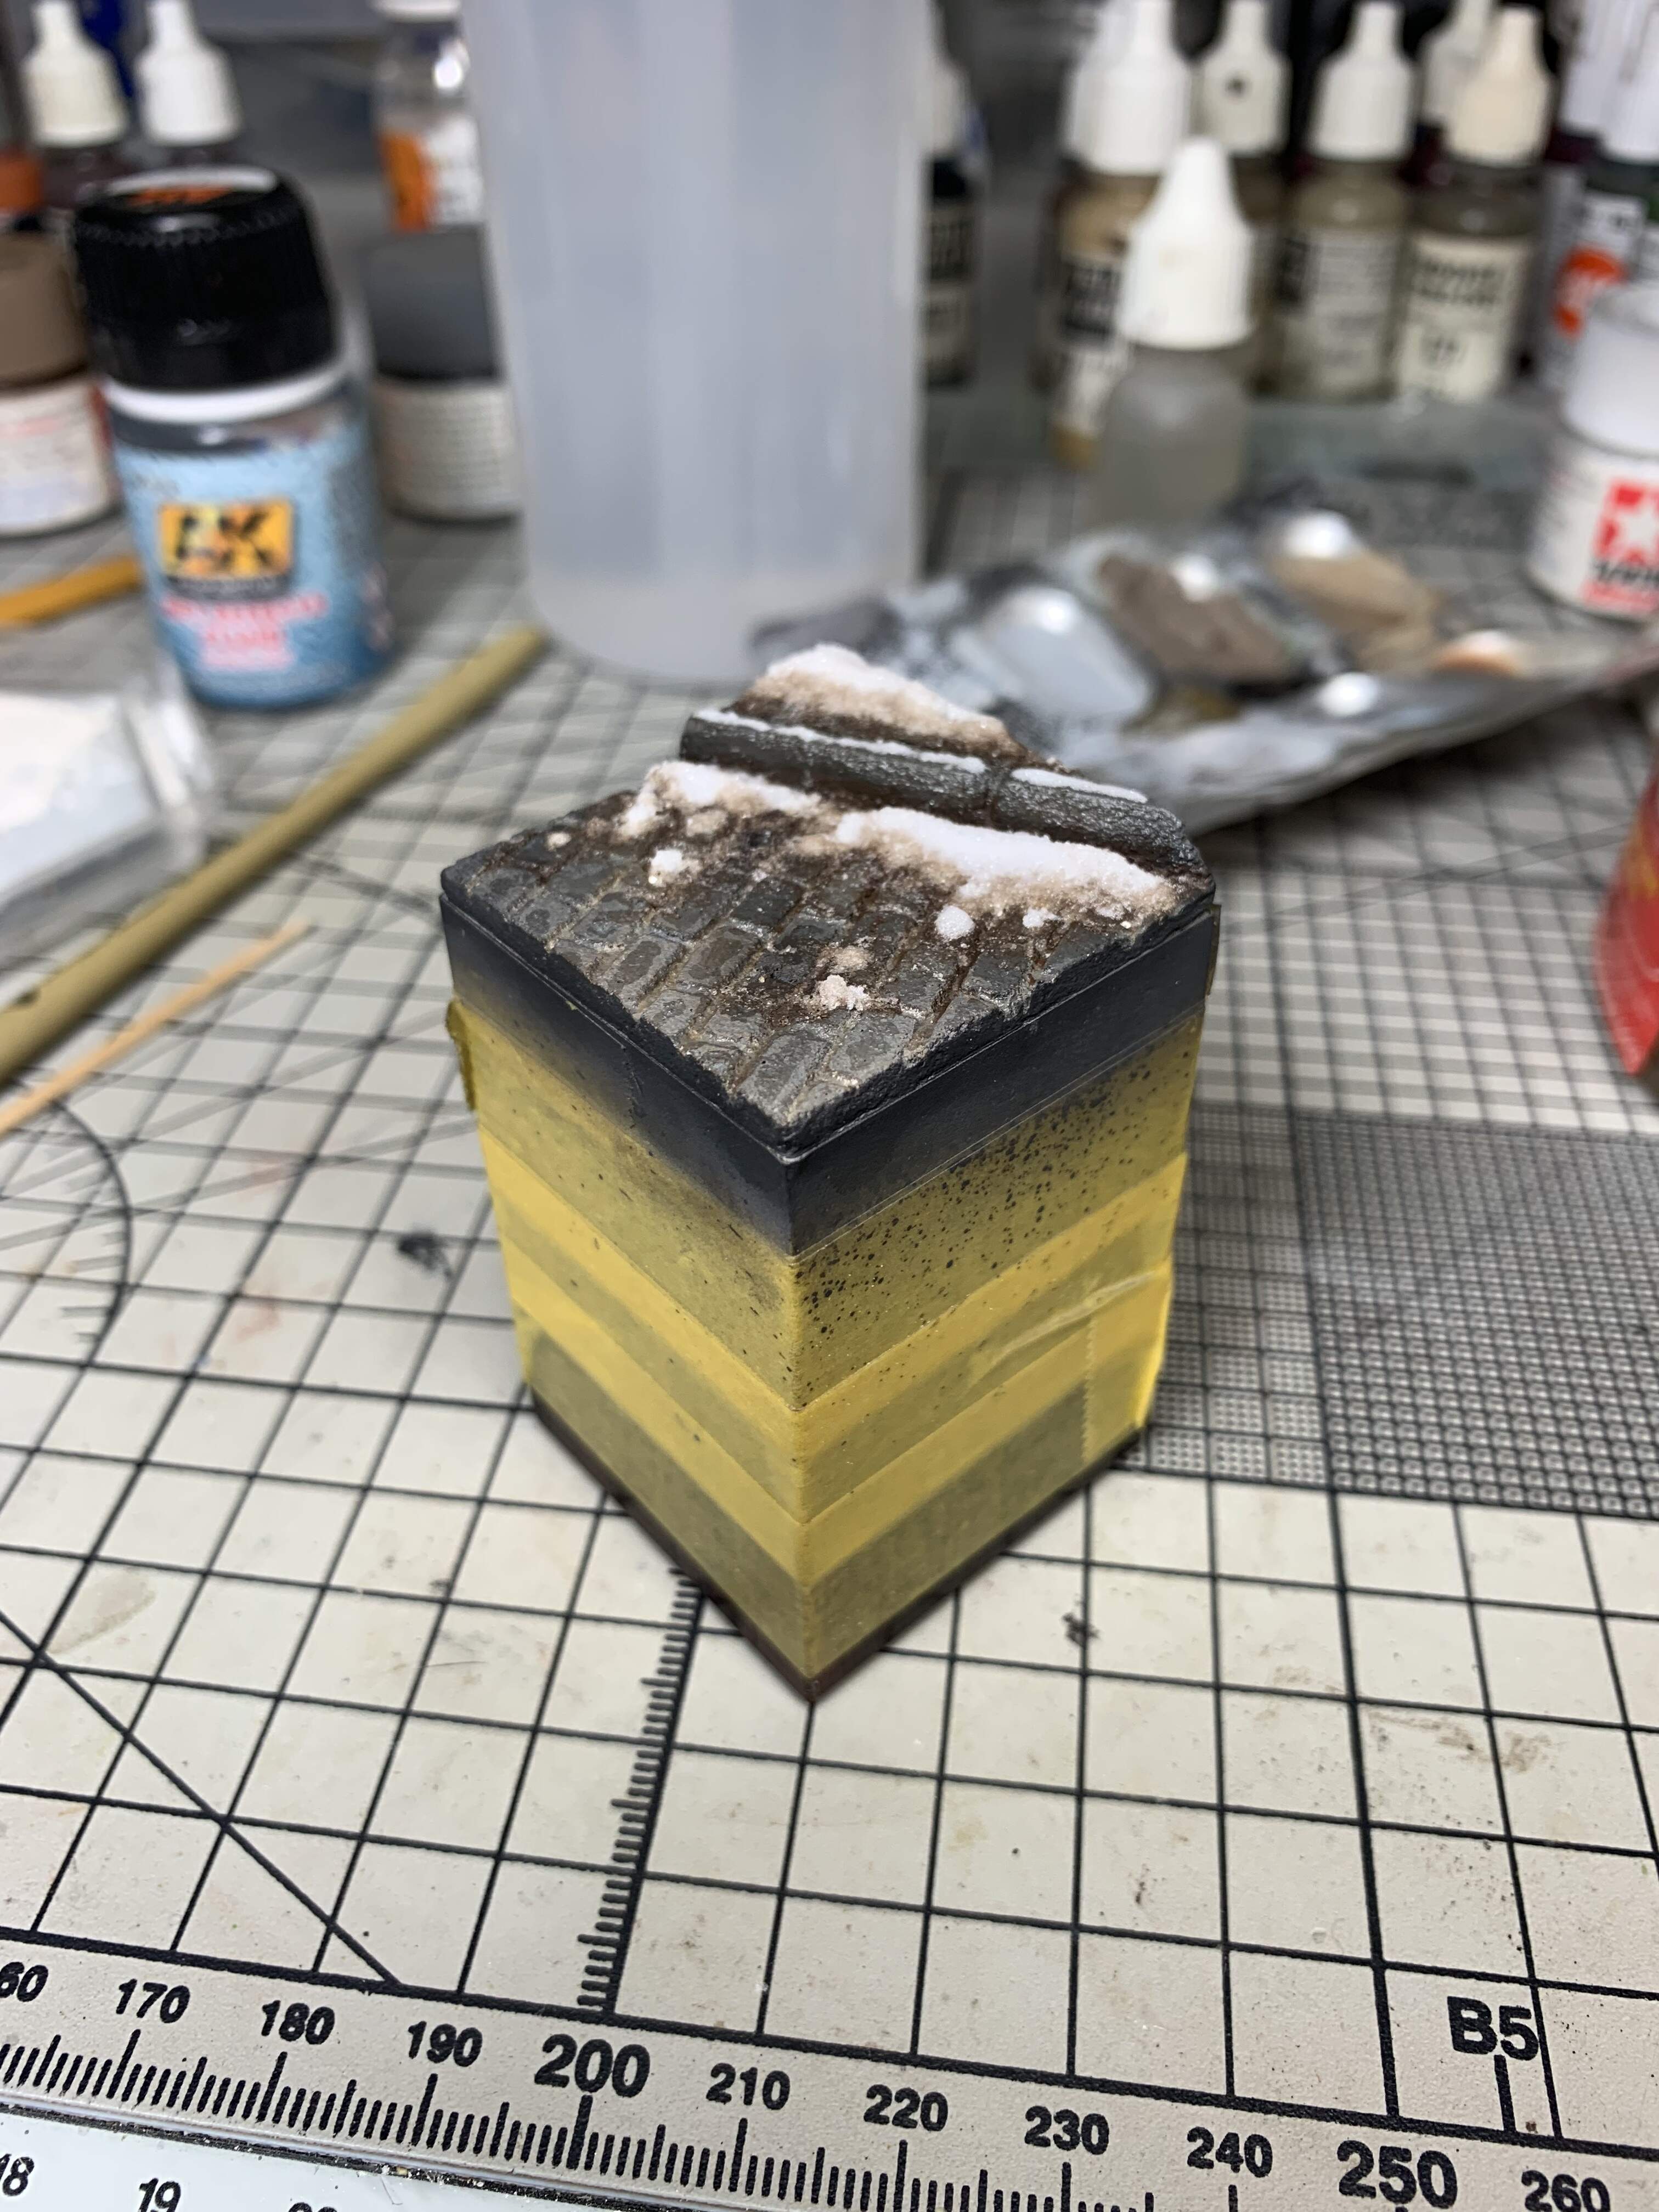
I used some balsa foam and cut a square and then cut and scribed a kerbside section into it. It was my first time using it and liked it, but care should be taken because it generates a lot of dust. I gave it a coat of very thin filler to both seal it and act as a mortar in the cobblestones.
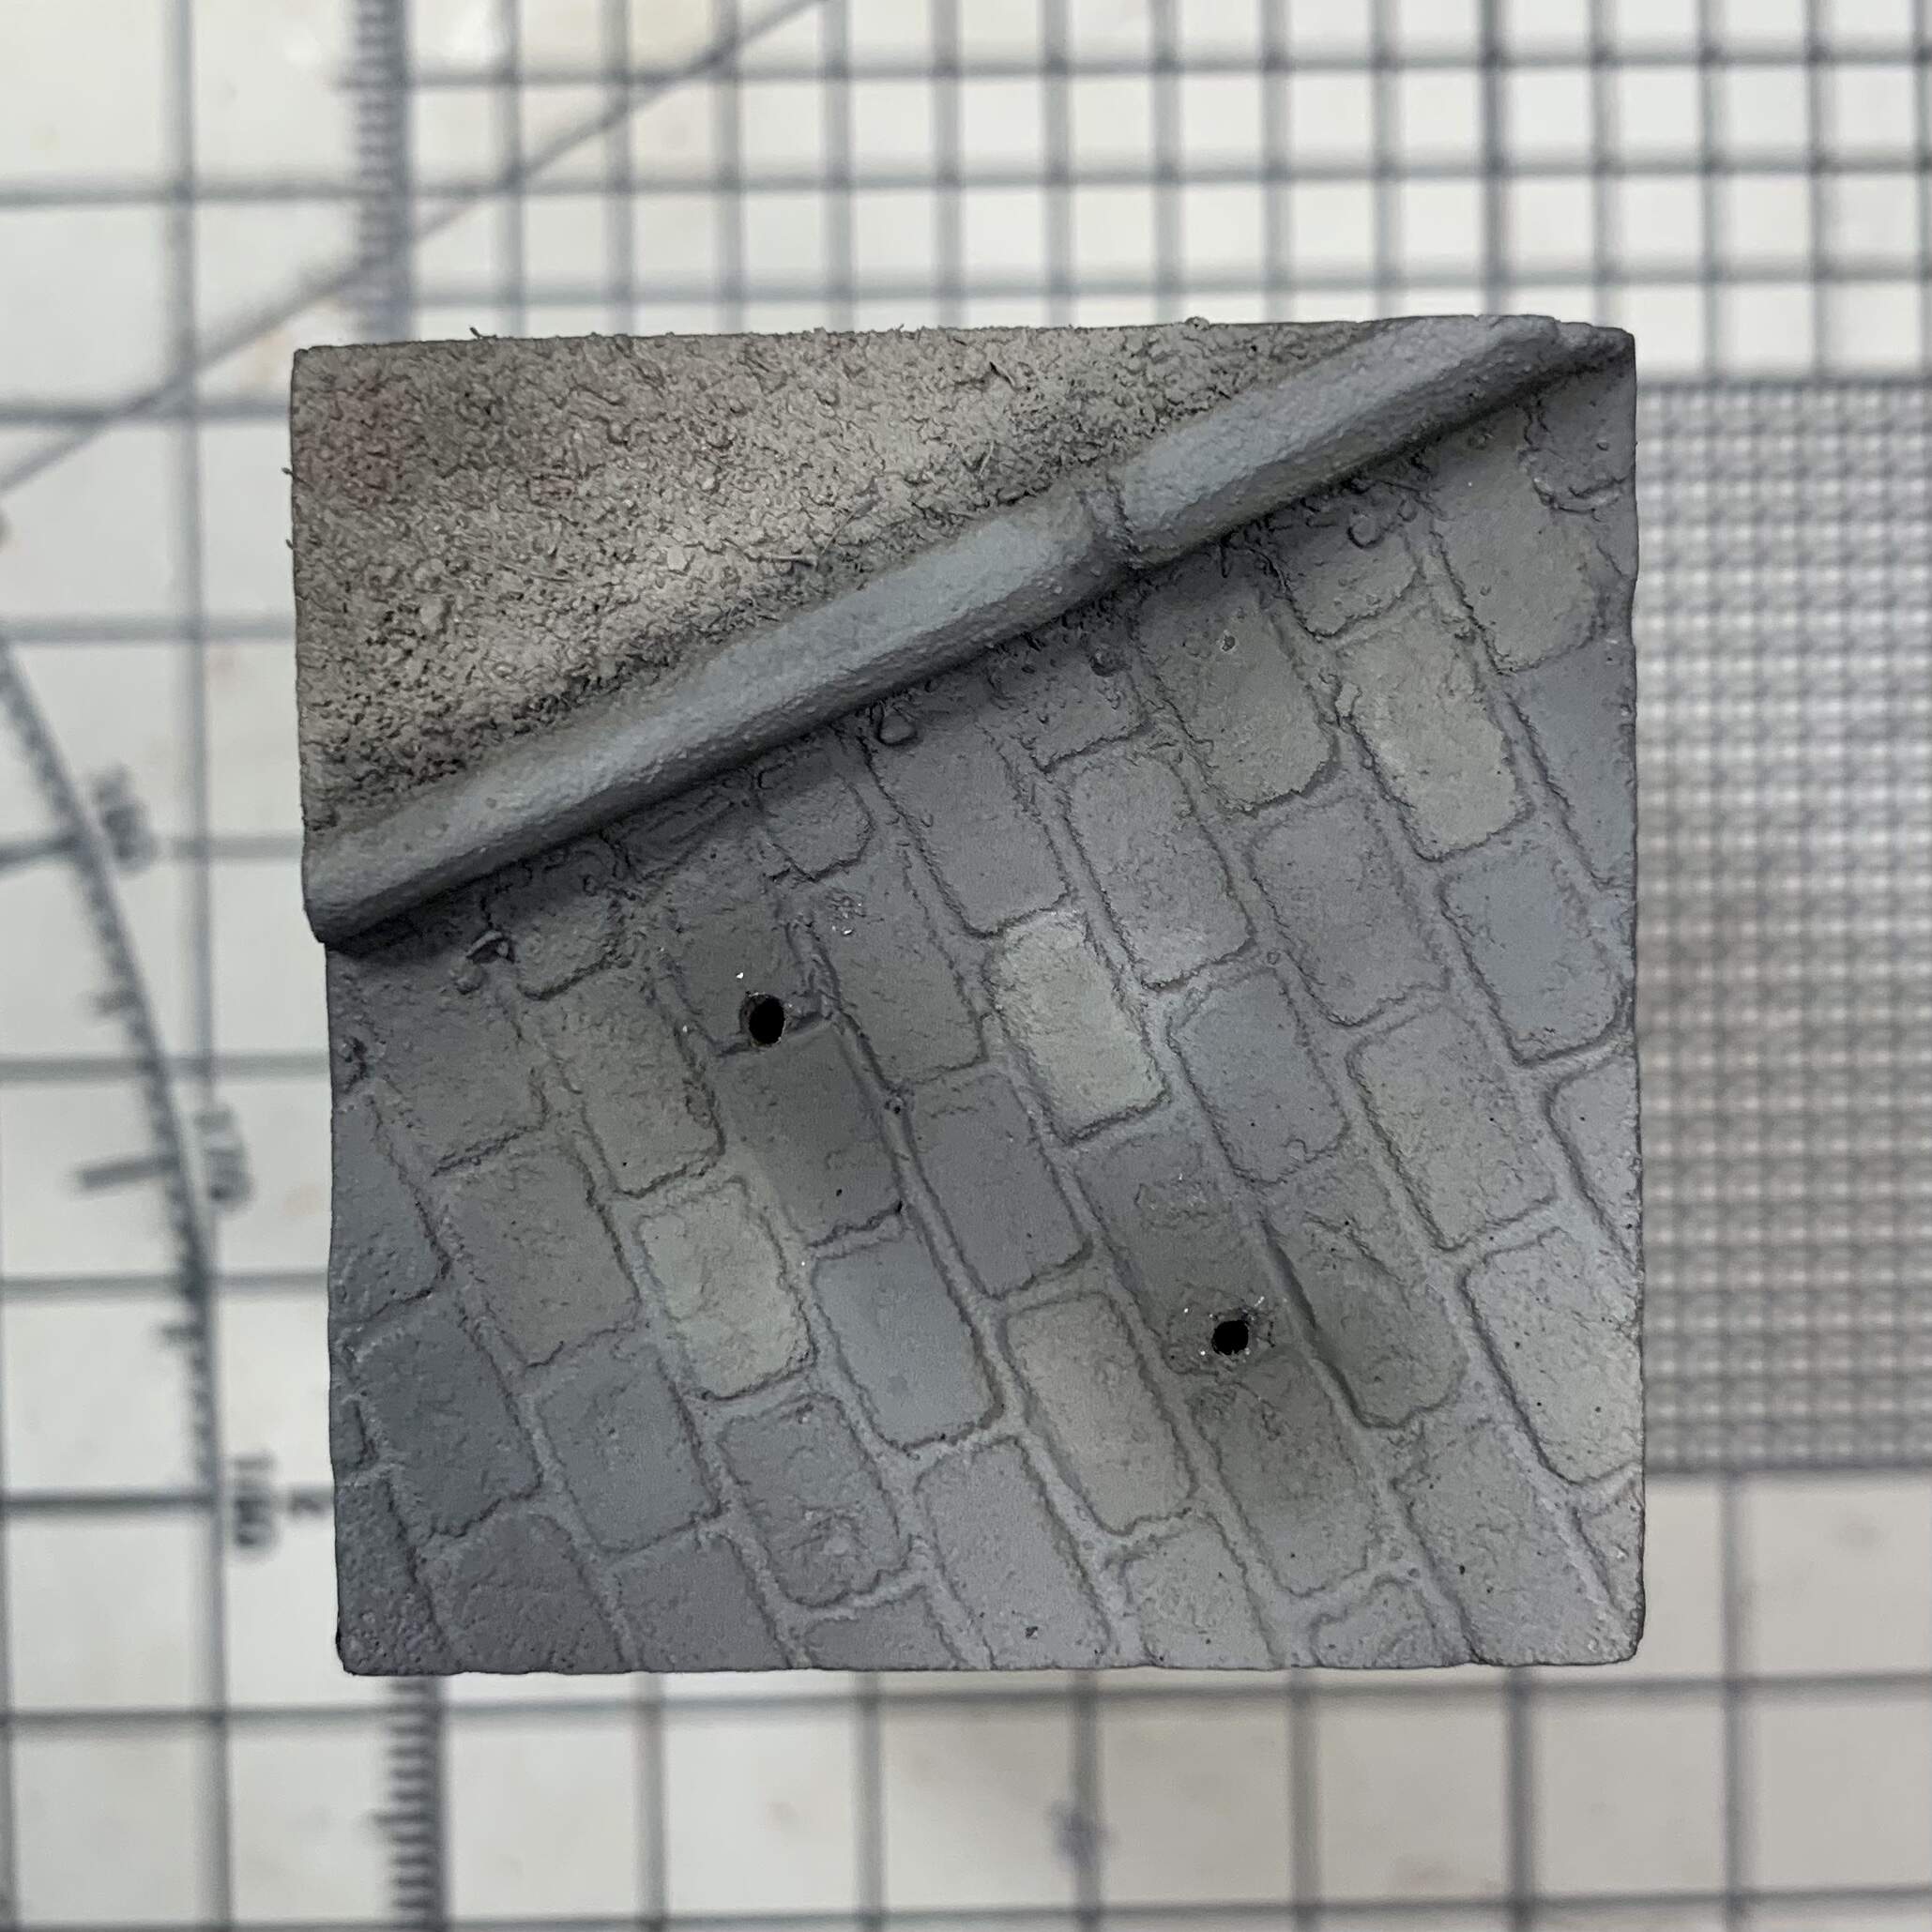
I then airbrushed the base in Tamiya grey paints with added buff on selected stones. I wasn’t too concerned with precision as I’d be giving it a layer of melting slushy snow, which I mixed some snow material (honestly no idea where it came from, I’d had it for years, possibly marble powder) with white glue, water and brown paint. As it dried I added more with less brown paint, and once that had dried it added pure snow powder. I also used AK wet effects fluid in several controlled washed around the slush, but not covering the whole base. I found some pretty excellent photos of the effect I was hoping to achieve.