All I know of the interior is a drawing in George Forty’s Modern Combat Vehicles 5: The Scorpion Family[1] but it’s clearly not to scale — the crew look far too big. But I wouldn’t be surprised if it did have poor ergonomics. A lot of vehicles like this seem to have had that, especially the ones designed in the 1960s.
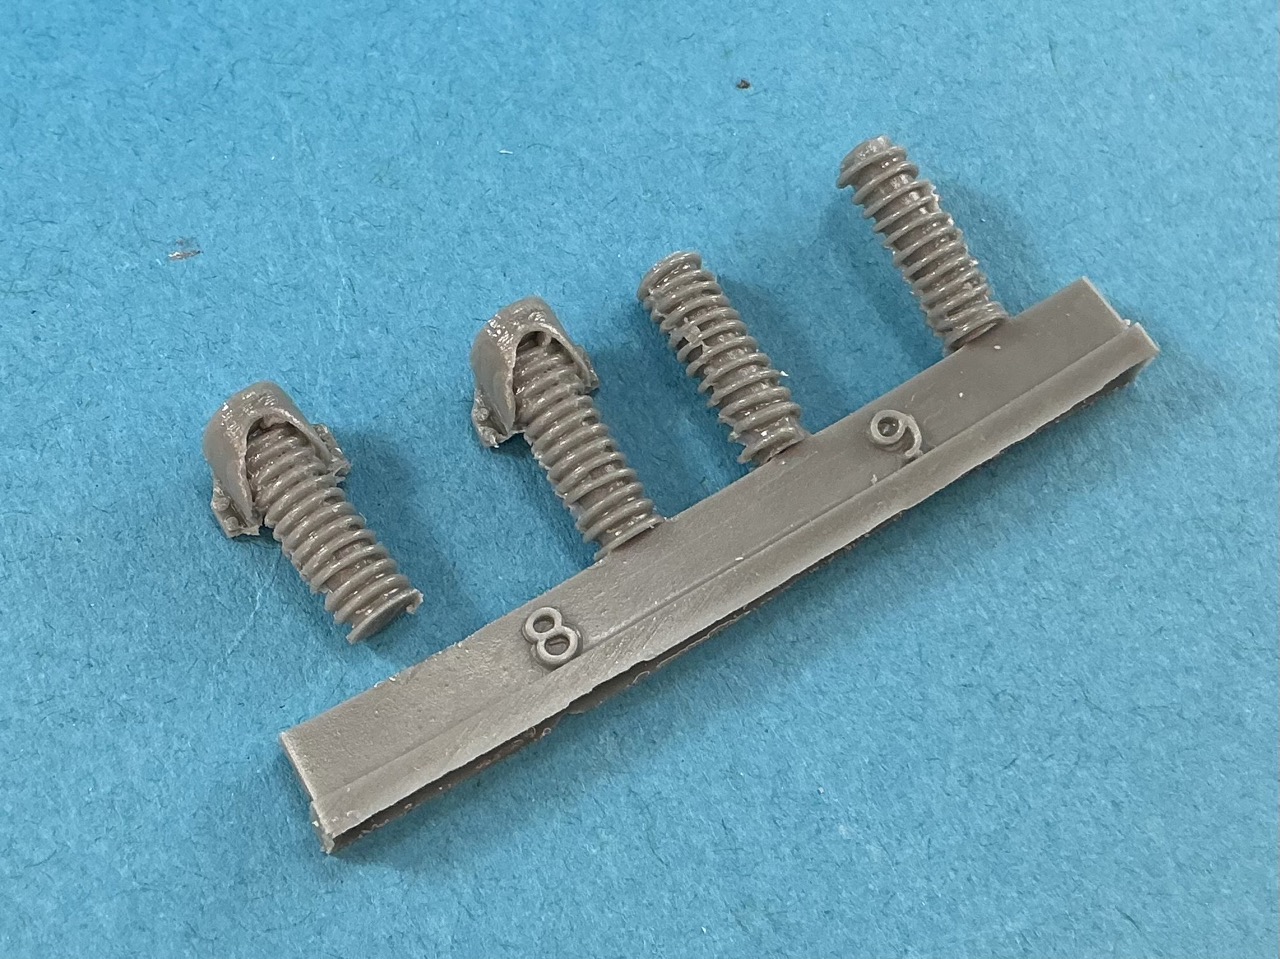
Yesterday evening, I began building according to the instructions, with the suspension. Not counting the wheels, this consists of only eight parts: four axles with suspension arms cast on, and four springs. The springs were not cast overly well, with seams running through them and misaligned coils in some places.
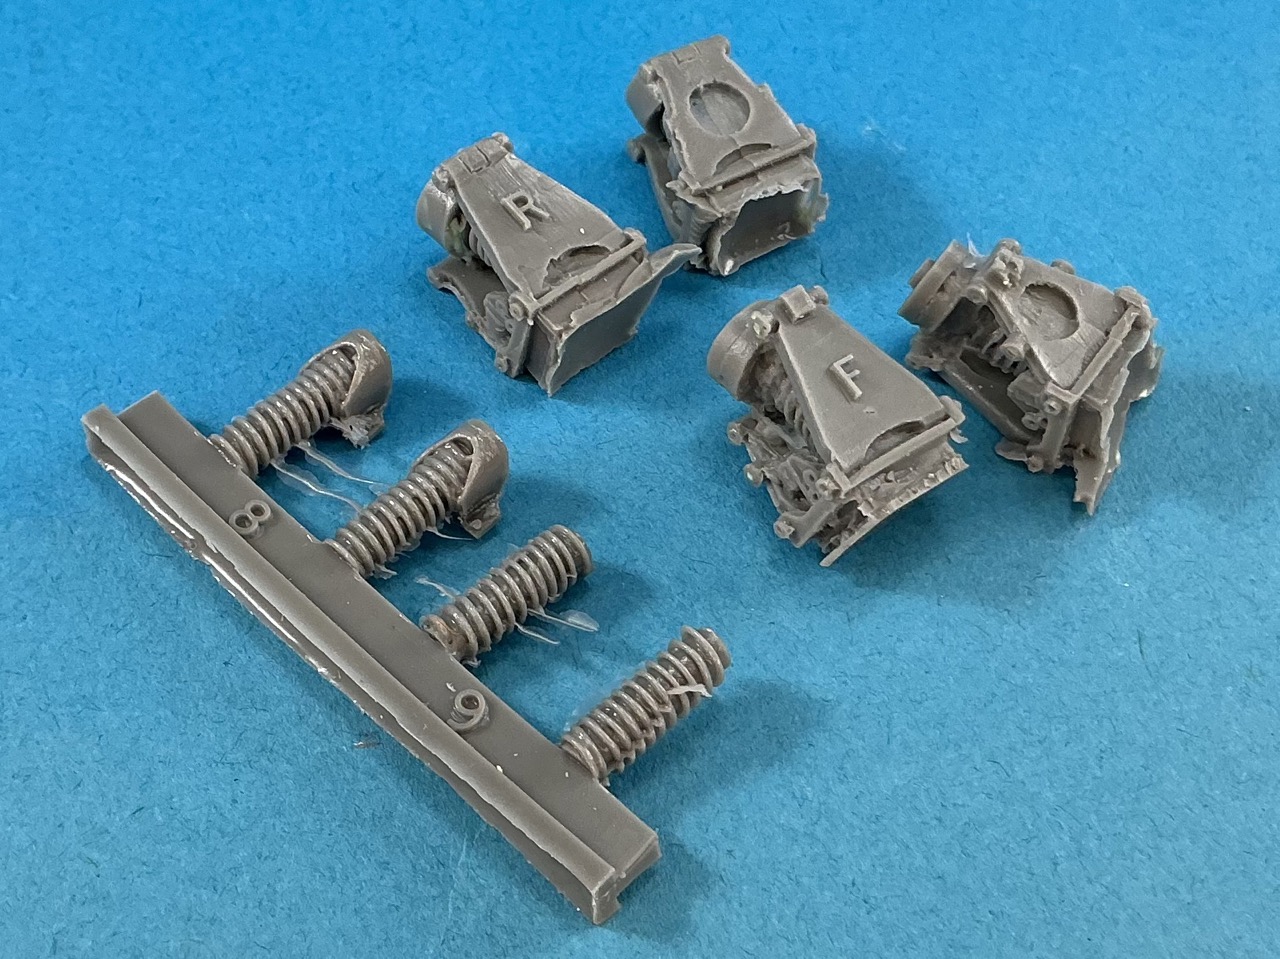
Since of late I’ve been seeing a good deal of messages on different forums of people who seem to not know how to deal with traditional resin parts, rather than 3D-printed ones, let’s do this step by step  The parts are typically cast either on blocks or strips, like the springs here, or have a pour plug attached, like the suspension arms.
Removing a part from a block isn’t too hard: take a fine-toothed razor saw like this:
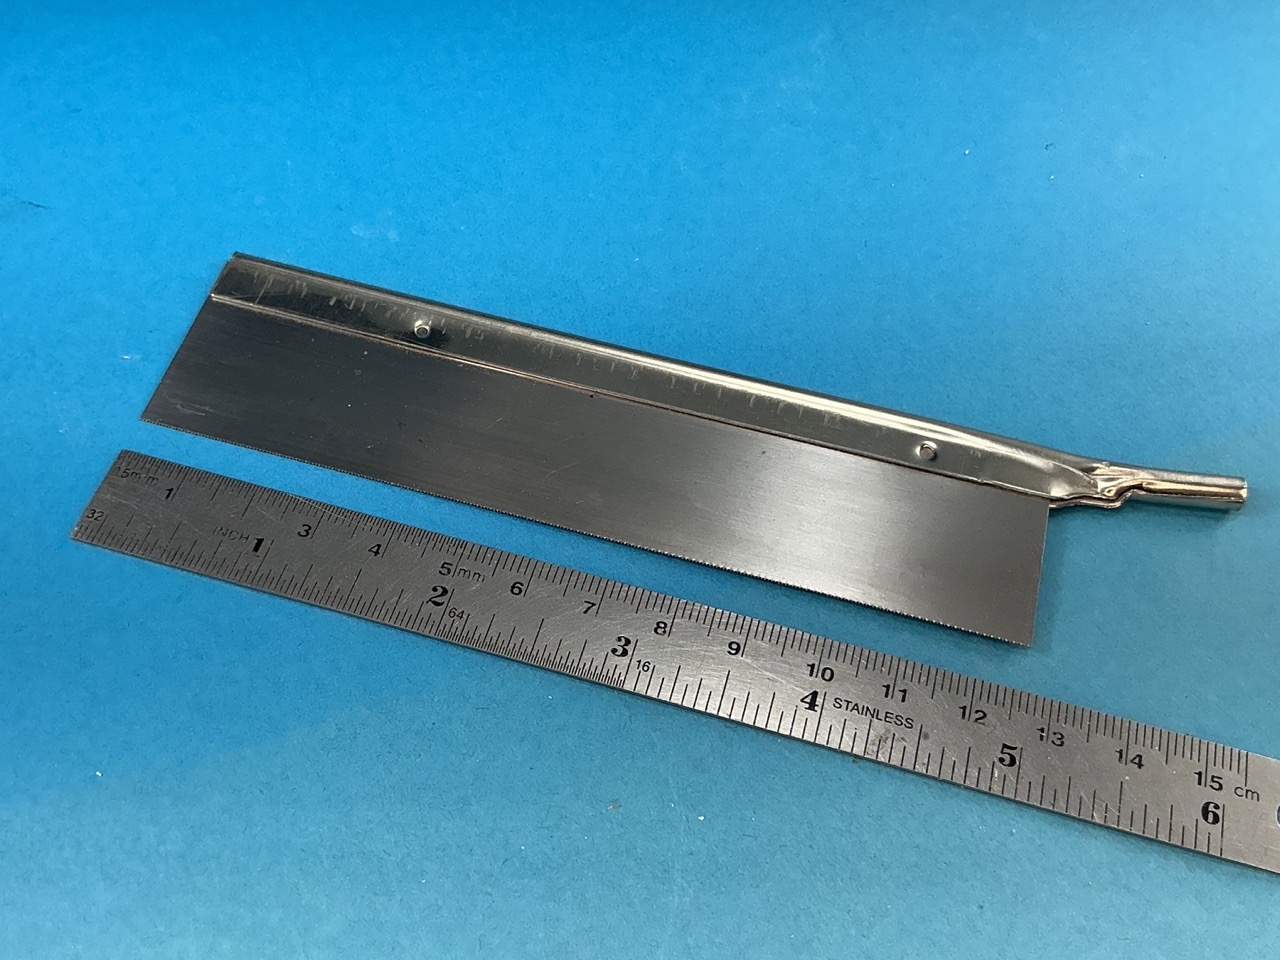
You can put a handle on (the type used for heavy-duty hobby knives) but for light work like this, that’s not necessary. Then just saw along the block to separate the part:
Polyurethane resin is a very easy material to saw. It feels a bit like soft wood without a grain, and usually saws more easily than polystyrene plastic. But that also means you will need to take a little care that you don’t accidentally saw where you don’t want to go.
If you need a part that’s in the middle of a block, you can saw vertically through the block on both sides of the part to separate it from any others cast on the same block.
Do note that sawing resin produces fine dust, and though that’s turned out to be not as dangerous as it was once thought to be, it’s still fine dust. It’s not great to breathe, so take care that you only saw (or file or sand) it as little as you have to, and don’t leave it lying around longer than necessary.
For pouring plugs like on the suspension arms, you do much the same: saw through the plug alongside the part:
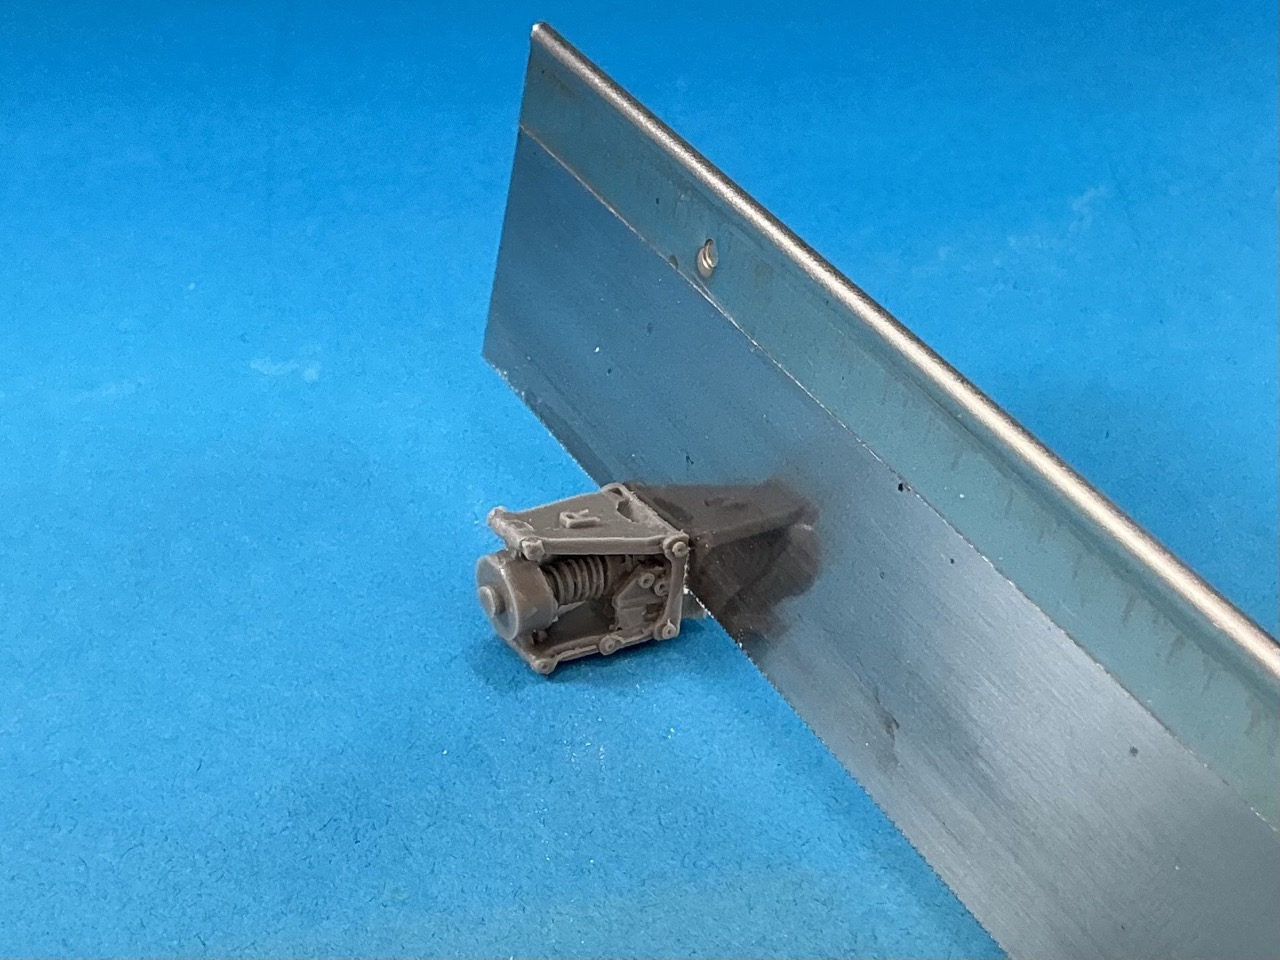
Again, be careful of where you saw and which direction you end up going in. If you’re not careful, you might veer into the part and saw off bits you actually need to keep! It’s better to err on the side of caution:
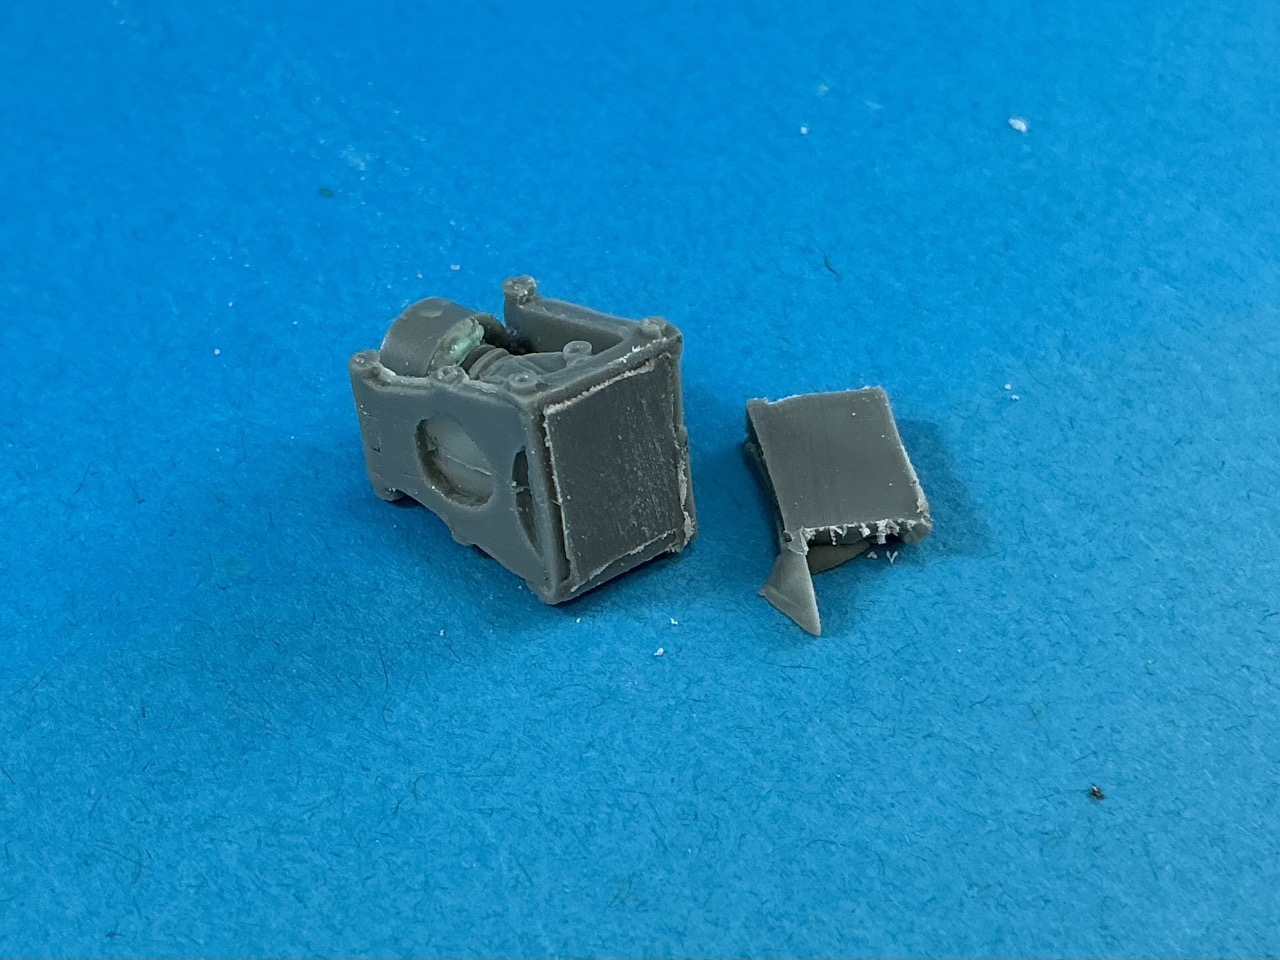
As you can see, there’s still a small amount of plug left on the part. You can remove this in a number of ways, including filing, sanding or scraping. Filing and sanding produces dust, but if you use wet-and-dry sandpaper with water, that’s not a problem. I myself prefer scraping with a hobby knife (one with a straight edge, not curved!) for all but large parts. Here’s what it looks like after maybe twenty seconds of scraping down the remains of the plug:
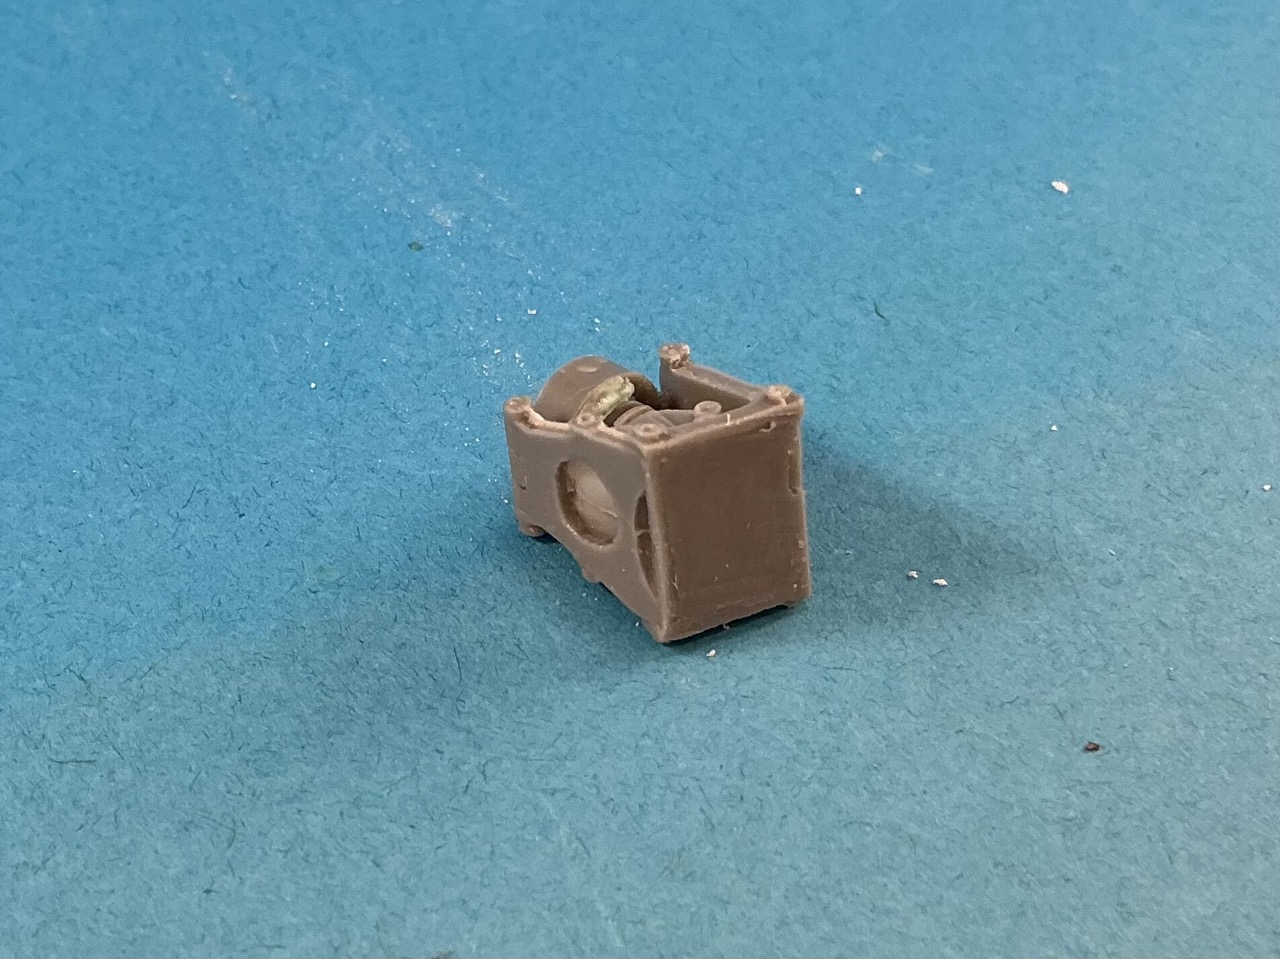
That’s flat enough to glue. You can tell you’ve gone far enough if the outline of the plug has disappeared from the part. Be careful with scraping, though, in that it’s easy to create a hollow in the part. Scrape a bit in one direction, then turn the part through 90 degrees and scrape a bit more, turn 90° again, etc. Also, don’t scrape areas that are larger than the length of your knife blade, for much the same reason.
When this is done for all four suspension units and springs, it’s a simple enough matter to glue them to the hull. Always test-fit first, though, because resin parts are not generally as tightly produced as plastic ones. In this case, they all proved to fit well enough, so I fixed them in place with superglue.
One small problem is that the rear springs are clearly too short:
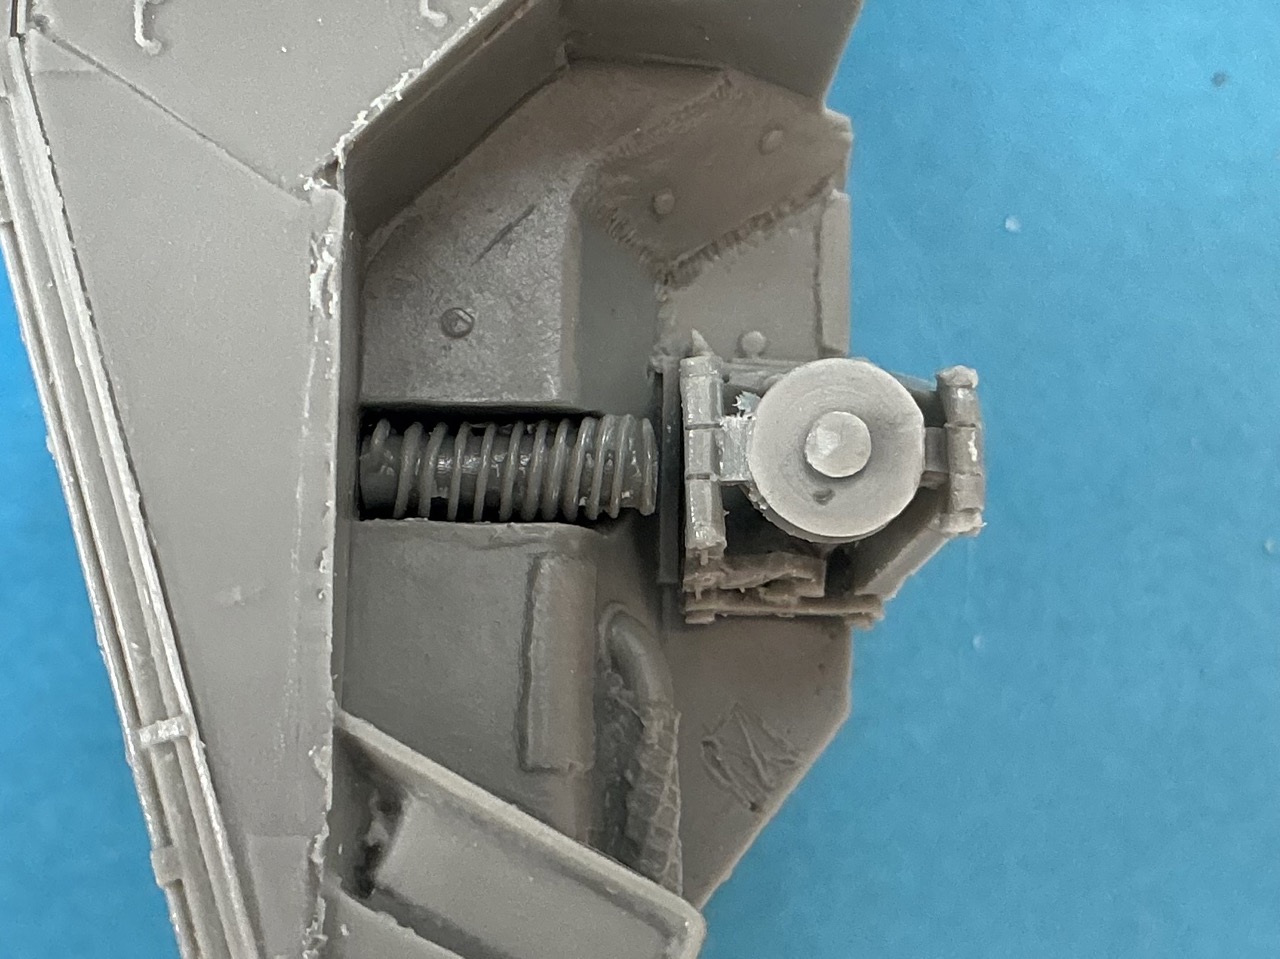
By a good millimetre or two, I reckon. For this reason, I glued them at the top of the wheel arches instead of touching the suspension arms, because once the wheel is also on, you can’t see the gap at all:
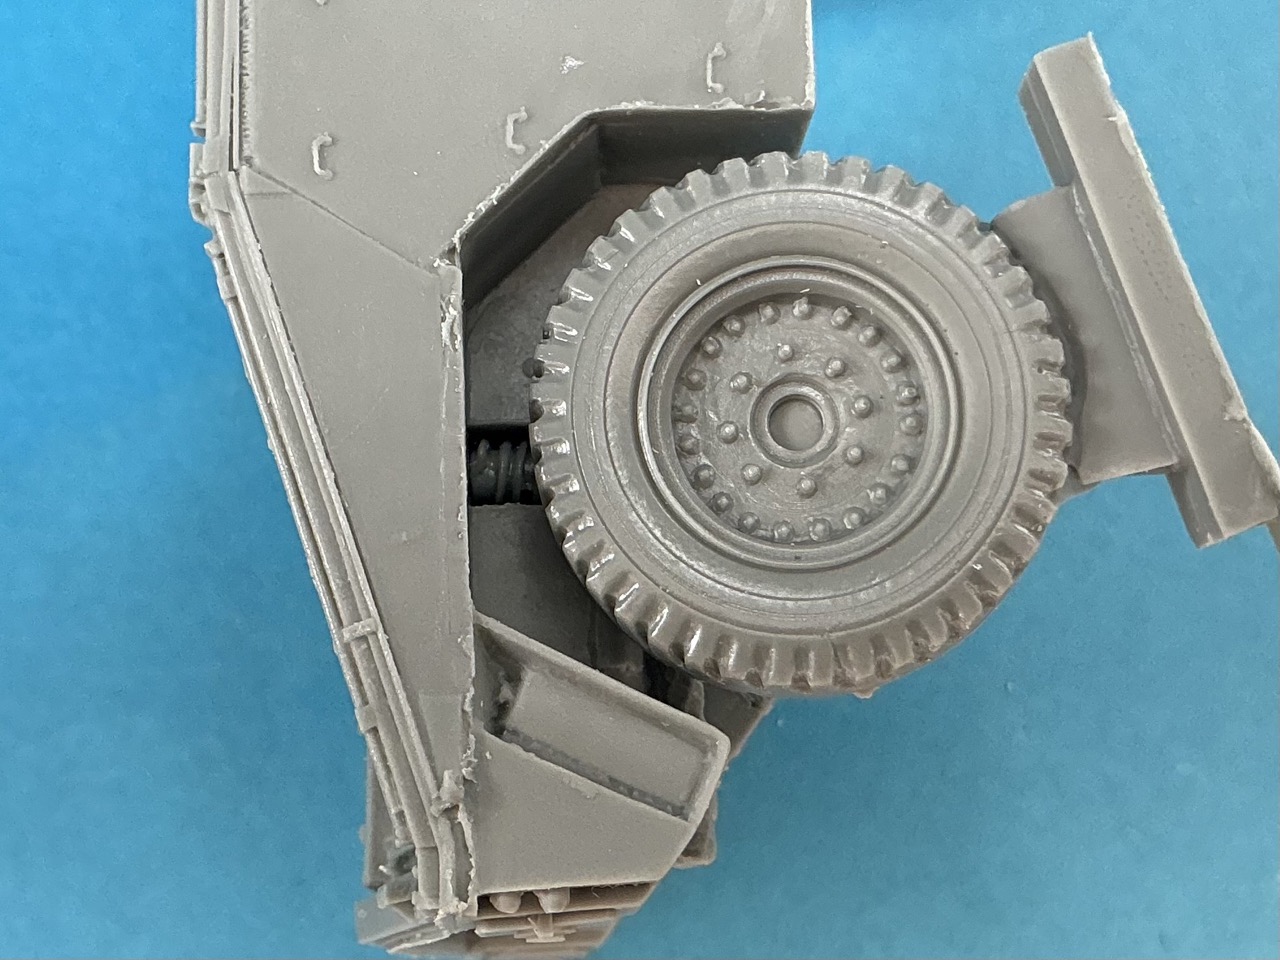
Today, though, I discovered that it would have been better if I had left the suspension off a bit longer. I started reading up a little on the Fox, which told me that the flotation screens (a canvas curtain all around that allows the vehicle to swim when it’s raised) was removed from Foxes fairly soon after they entered service. Pictures of CVR(T)s in the Gulf War also showed all of them without their flotation screens (remember that no CVR(W)s were deployed there, making the CVR(T) a logical alternative reference for a what-if model). That’ll be fun:

The raised border around the whole upper hull is the stowed flotation screen … That needs to go, but how? I began by cutting it with a No. 11 (straight) blade, but that didn’t go all that well. A chisel-shaped blade (No. 18) made it much easier, by chiselling away layers to reach the height of the “bare” hull.
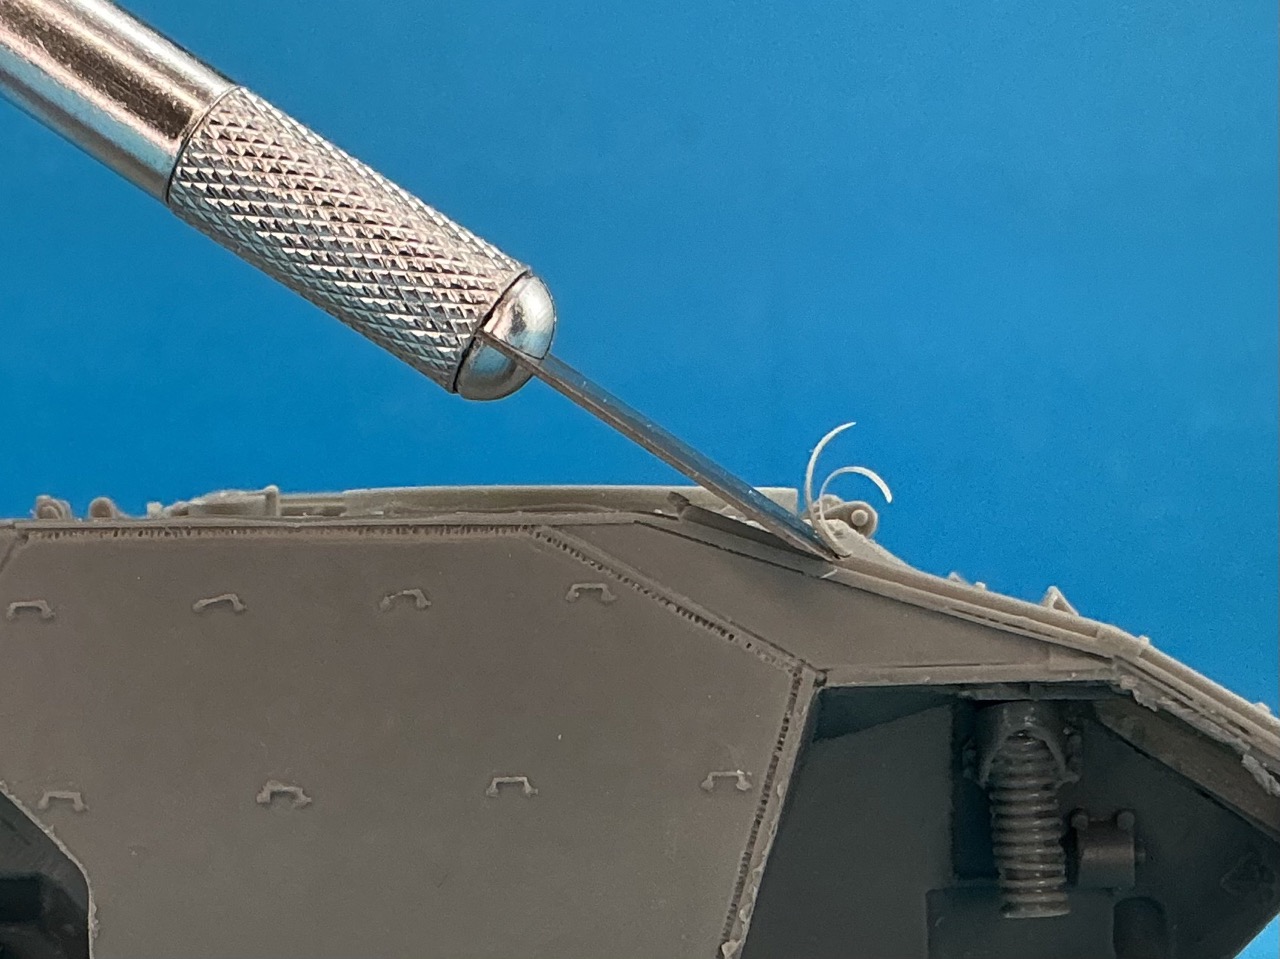
It’s important to do this kind of work with a blade that has been ground on one side only:
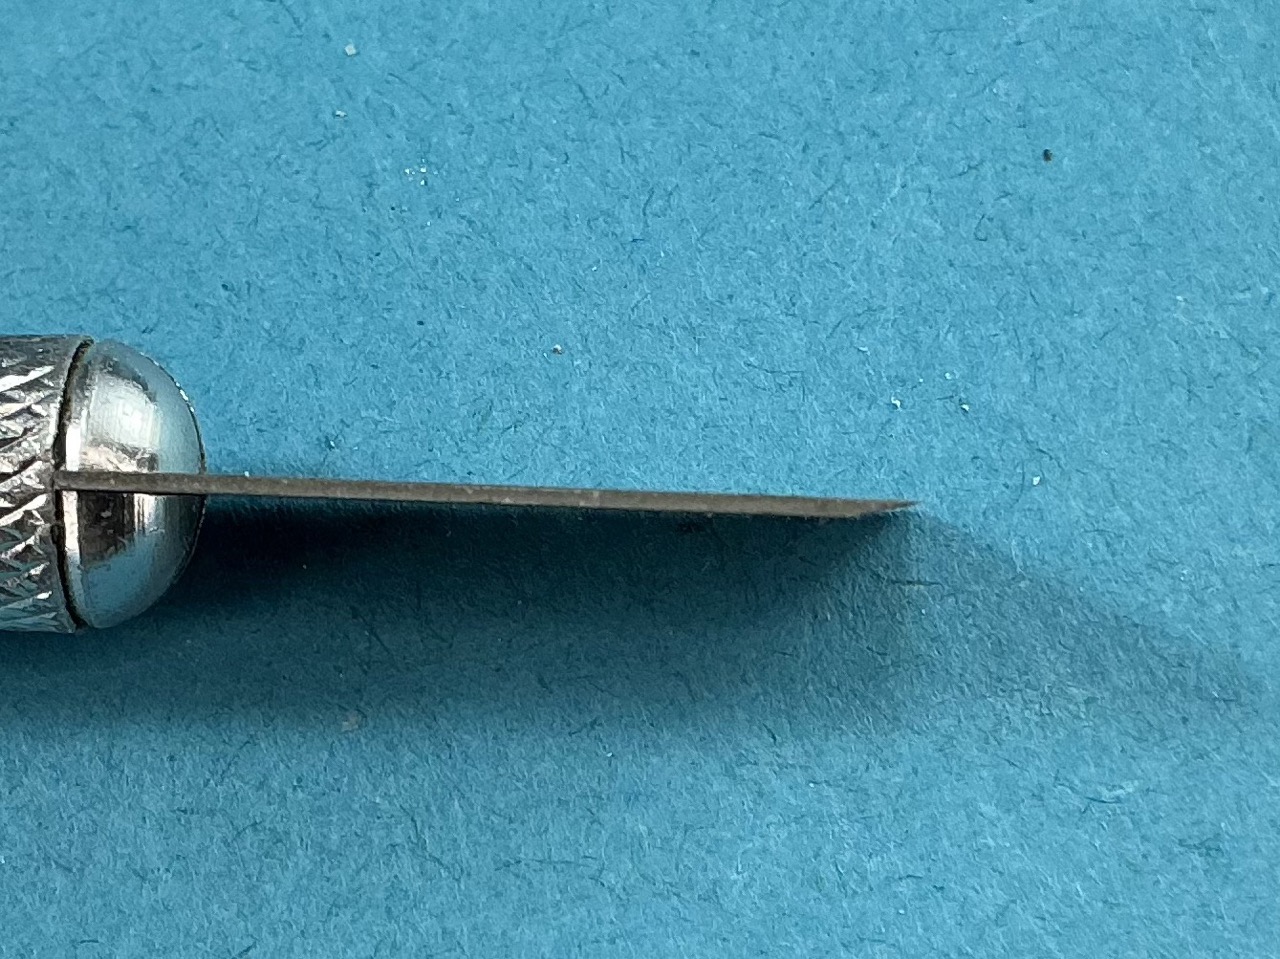
Notice that the upper side is entirely flat, while it’s been sharpened from what’s the underside here. By having that side down, you can chisel flat without the blade trying to cut deeper into the material, but you have to find the right angle to do this at. If you’re too steep or too shallow, you won’t remove much material, but you’ll know when you have the angle right because you’ll slice through. Also, don’t try to go to the full depth all in one go but take layers off until you’re where you want to be.
Also, very important: never do this towards your fingers or other body parts! The blade will slip at some point, and even if your fingers are some way away, you might stab yourself!
A few minutes later, there was definitely no way back:
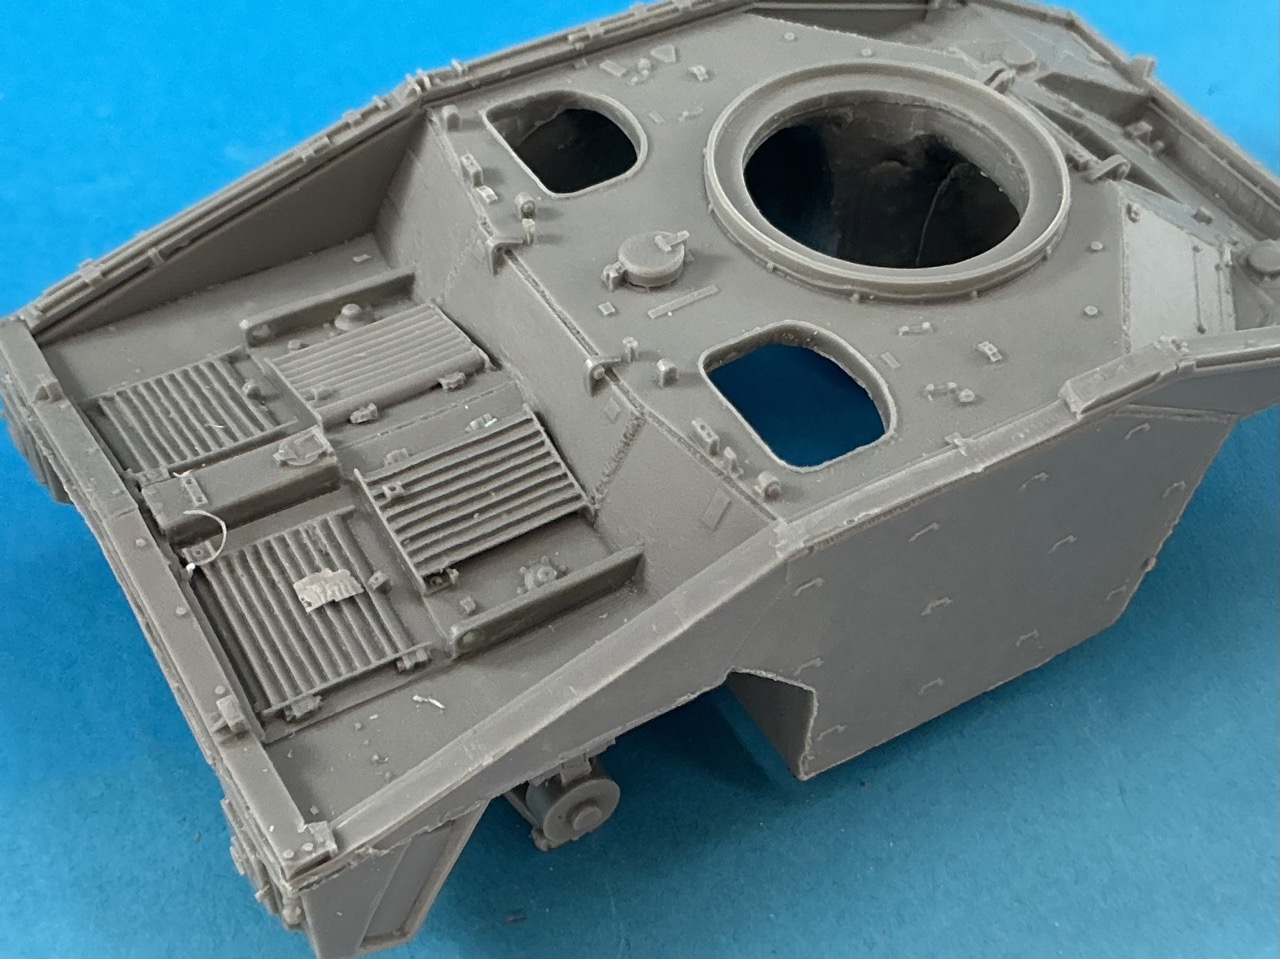
On the inside, you can see a groove that shows how much to take off. On the outside it’s less clear, but there’s a thin raised line there as well, at the same height as the groove.
On with the rest, and within half an hour or so, all of it was gone:
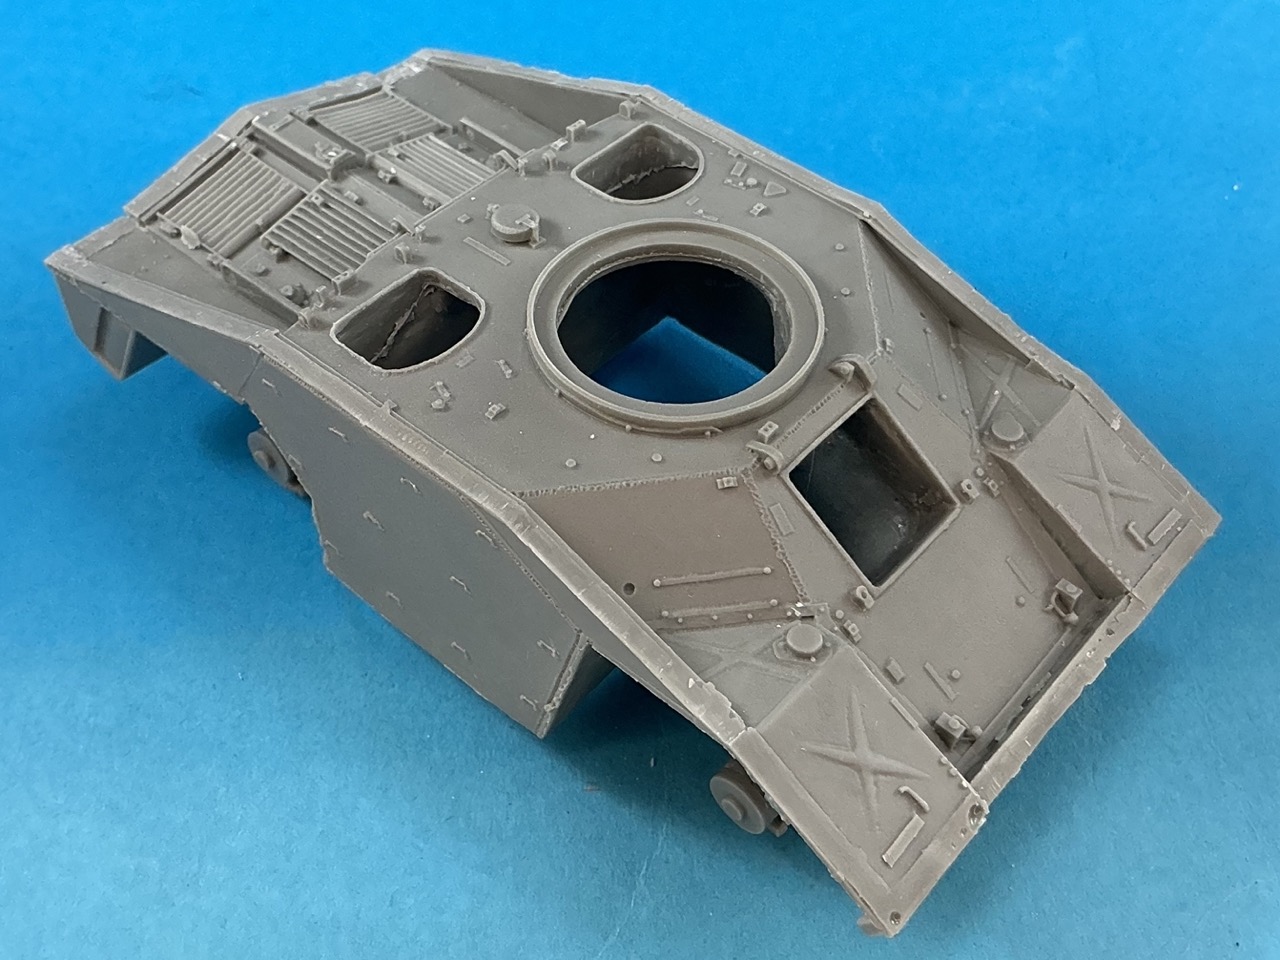
Though this is, of course, only the coarse work. It still needs to be finished off to remove all traces of the screen.
But like I said, I should have done this before adding the suspension, because two units broke off as I was doing this. Luckily it was the glue that broke and not the resin, so I could just stick them back on once I was done chiselling.
Shepperton: Ian Allan, 1983; ISBN 0 7110 1175 3 ↩︎