GERMAN 3t CARGO TRUCK 3,6-36S mid prod 35456 MiniArt under construction

GERMAN 3t CARGO TRUCK 3,6-36S mid prod 35456 MiniArt under construction.

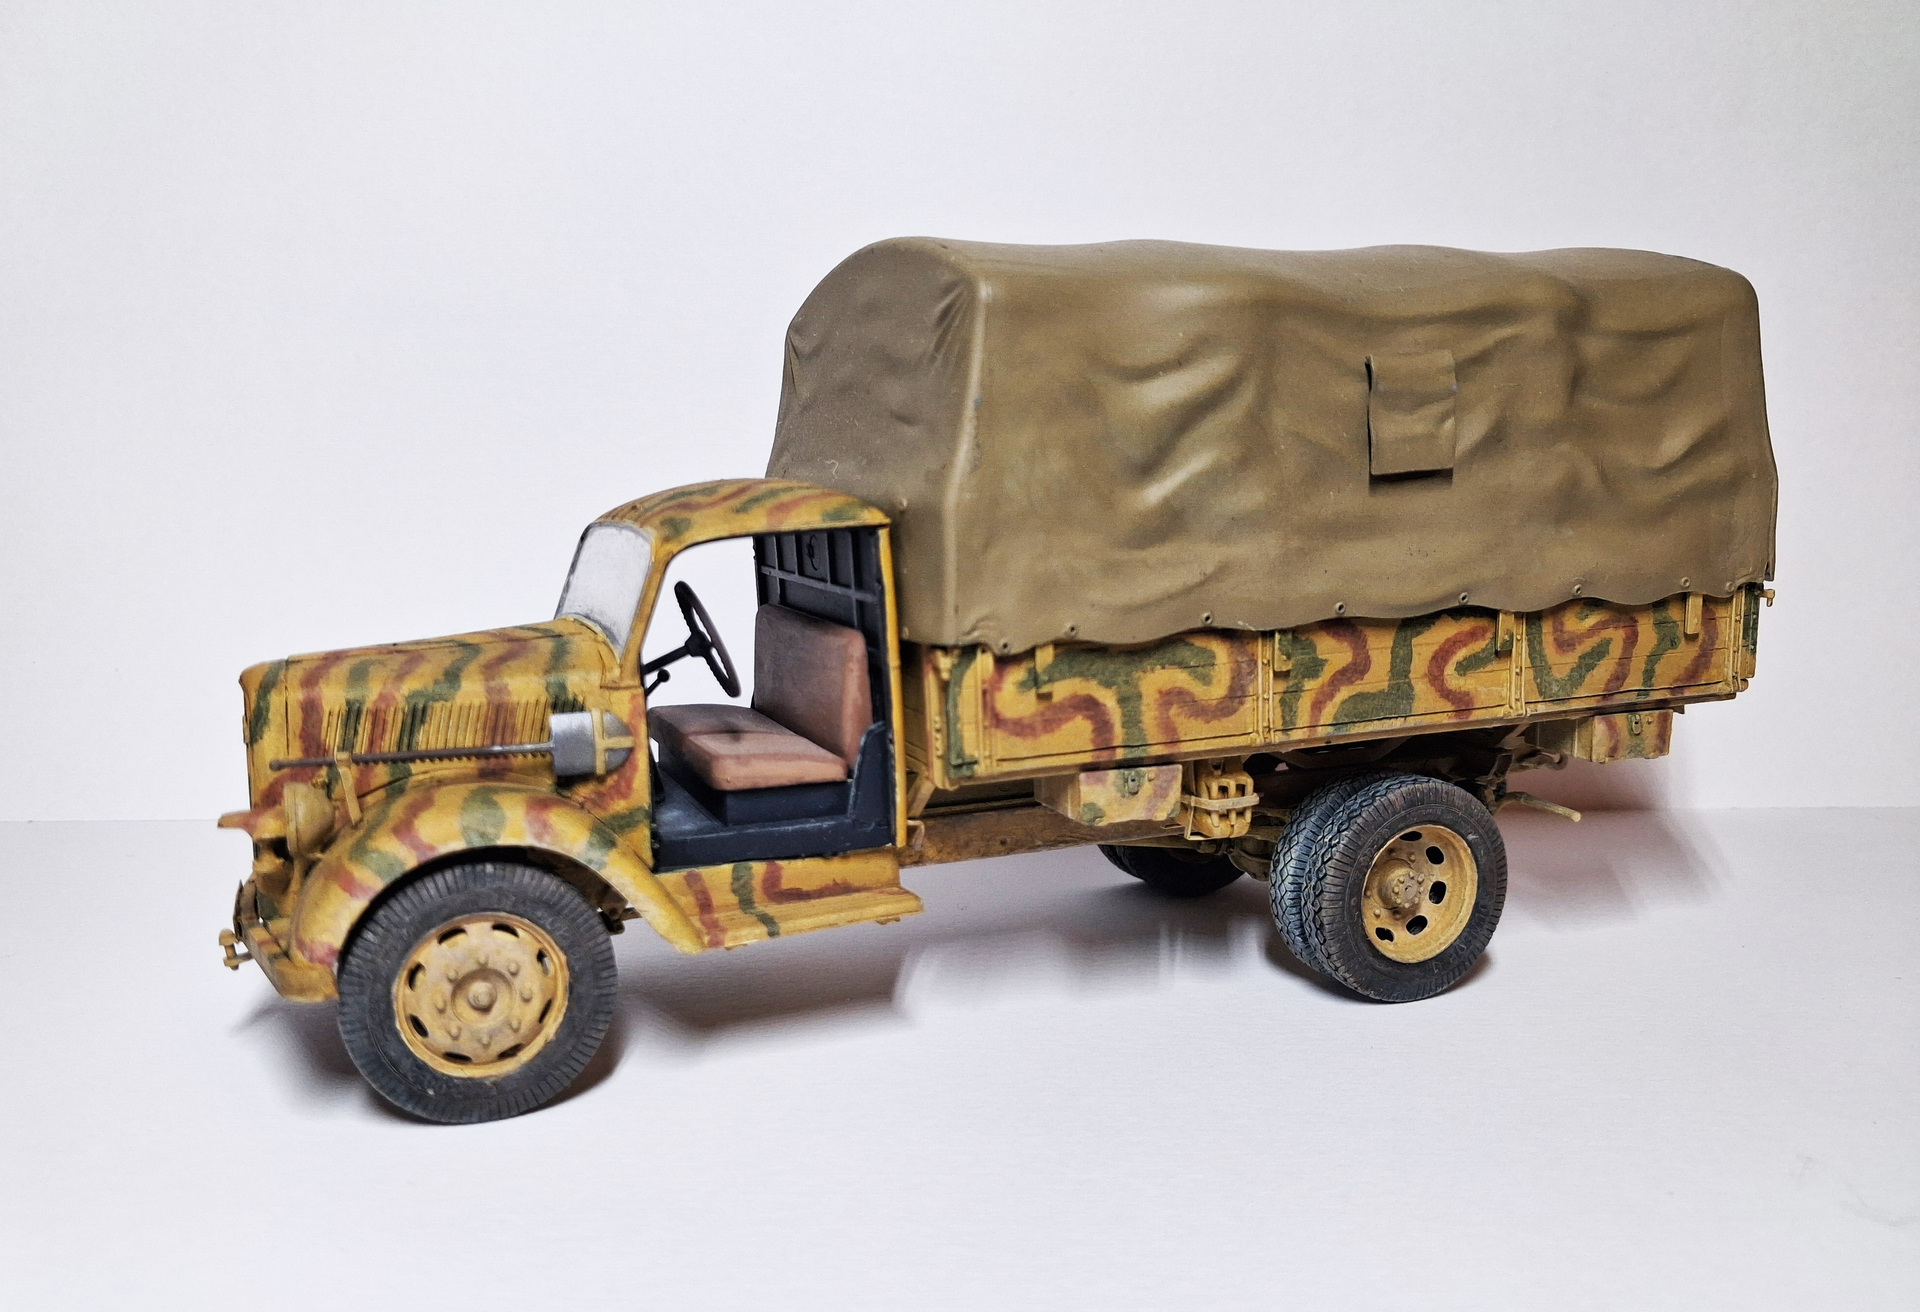
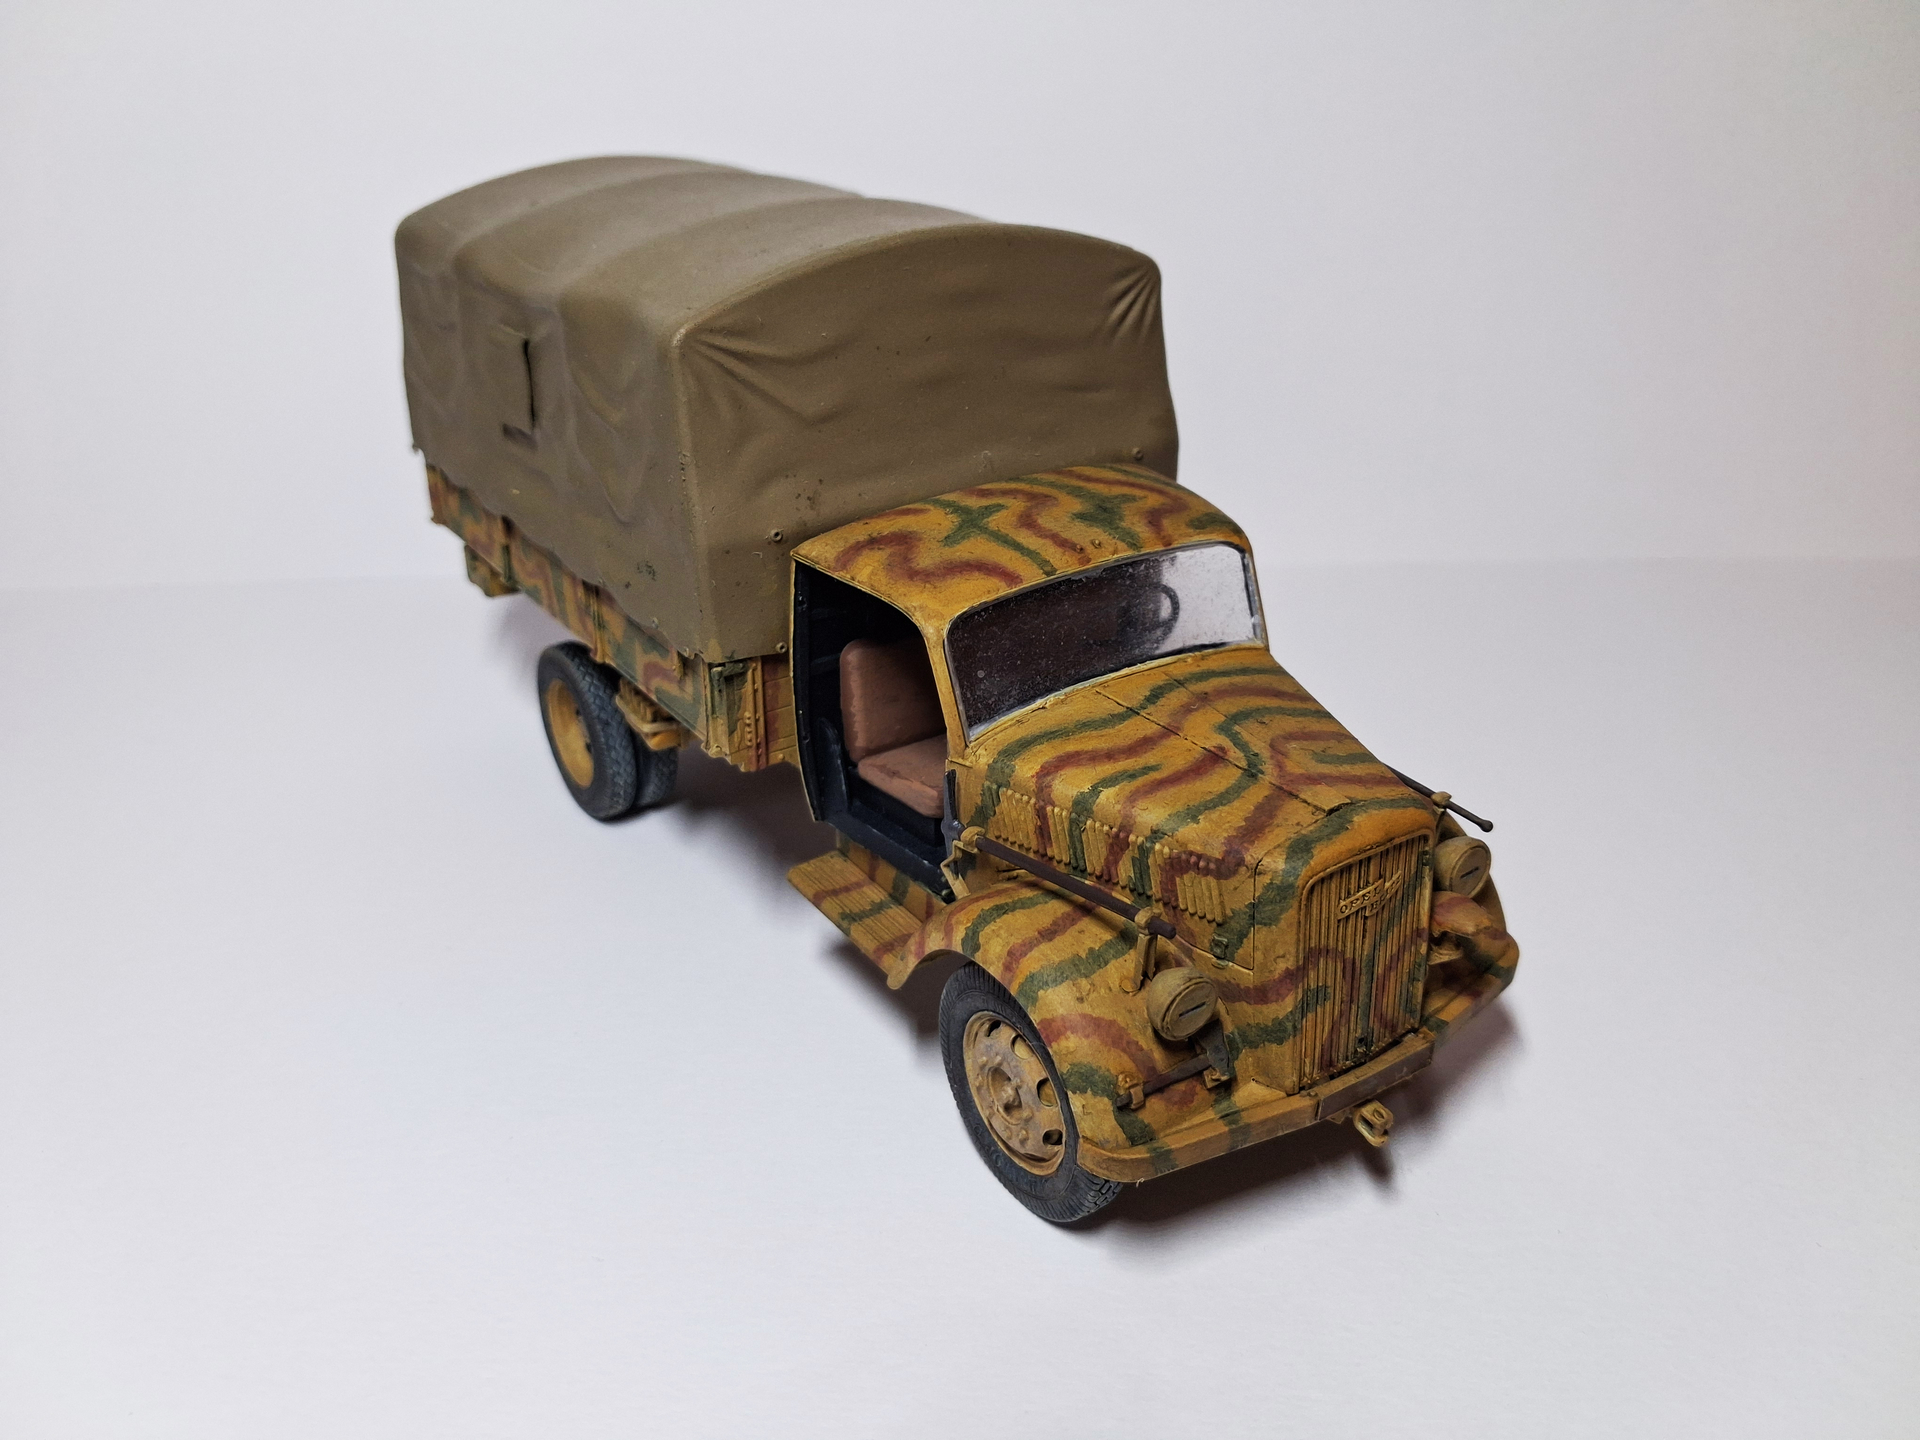
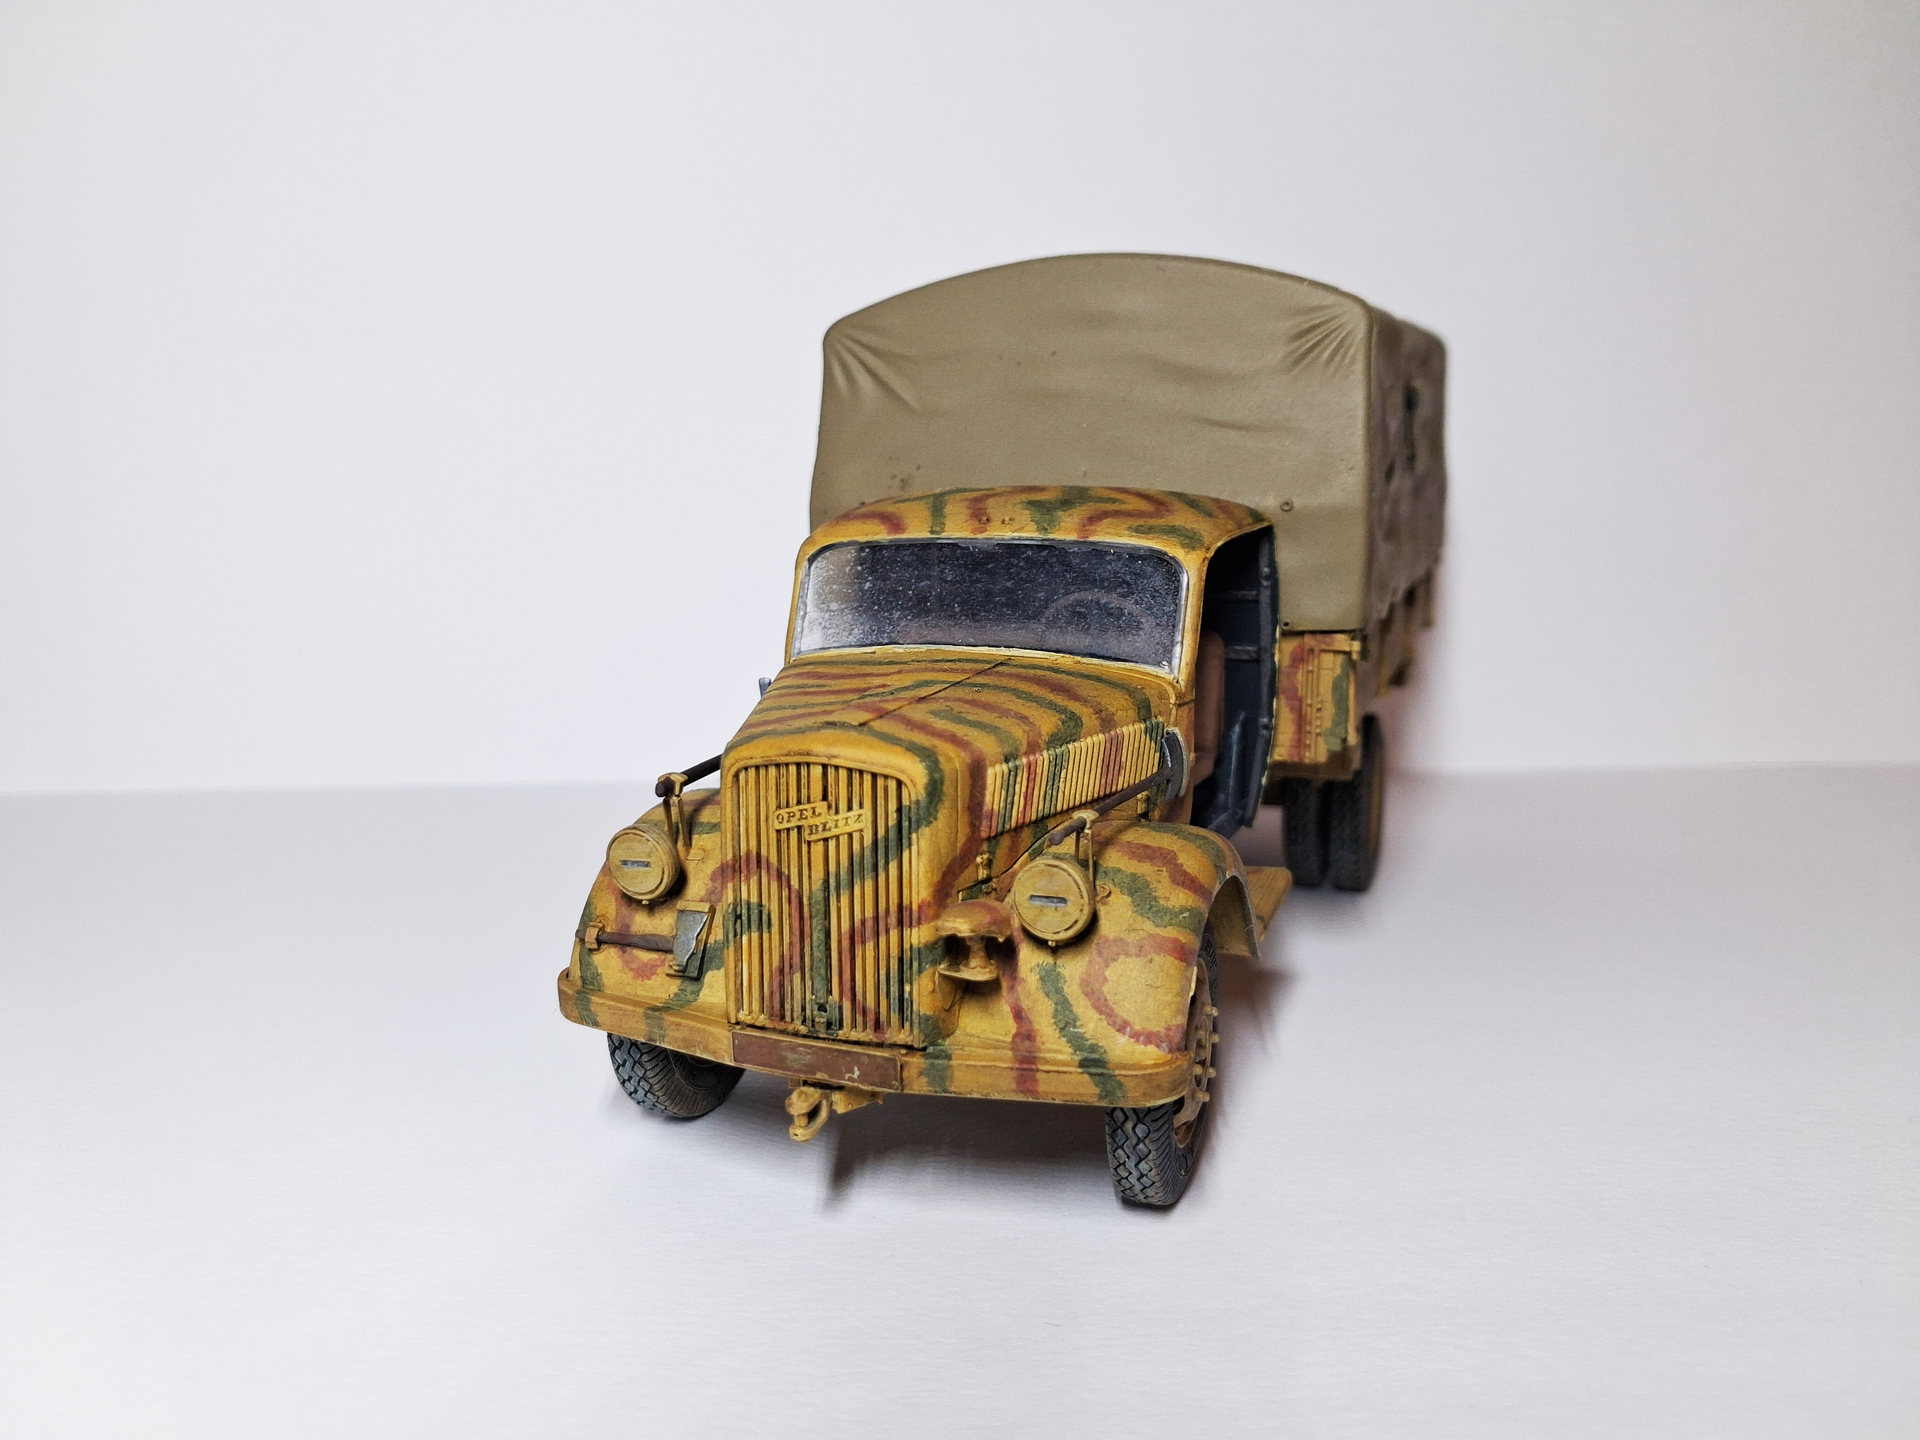
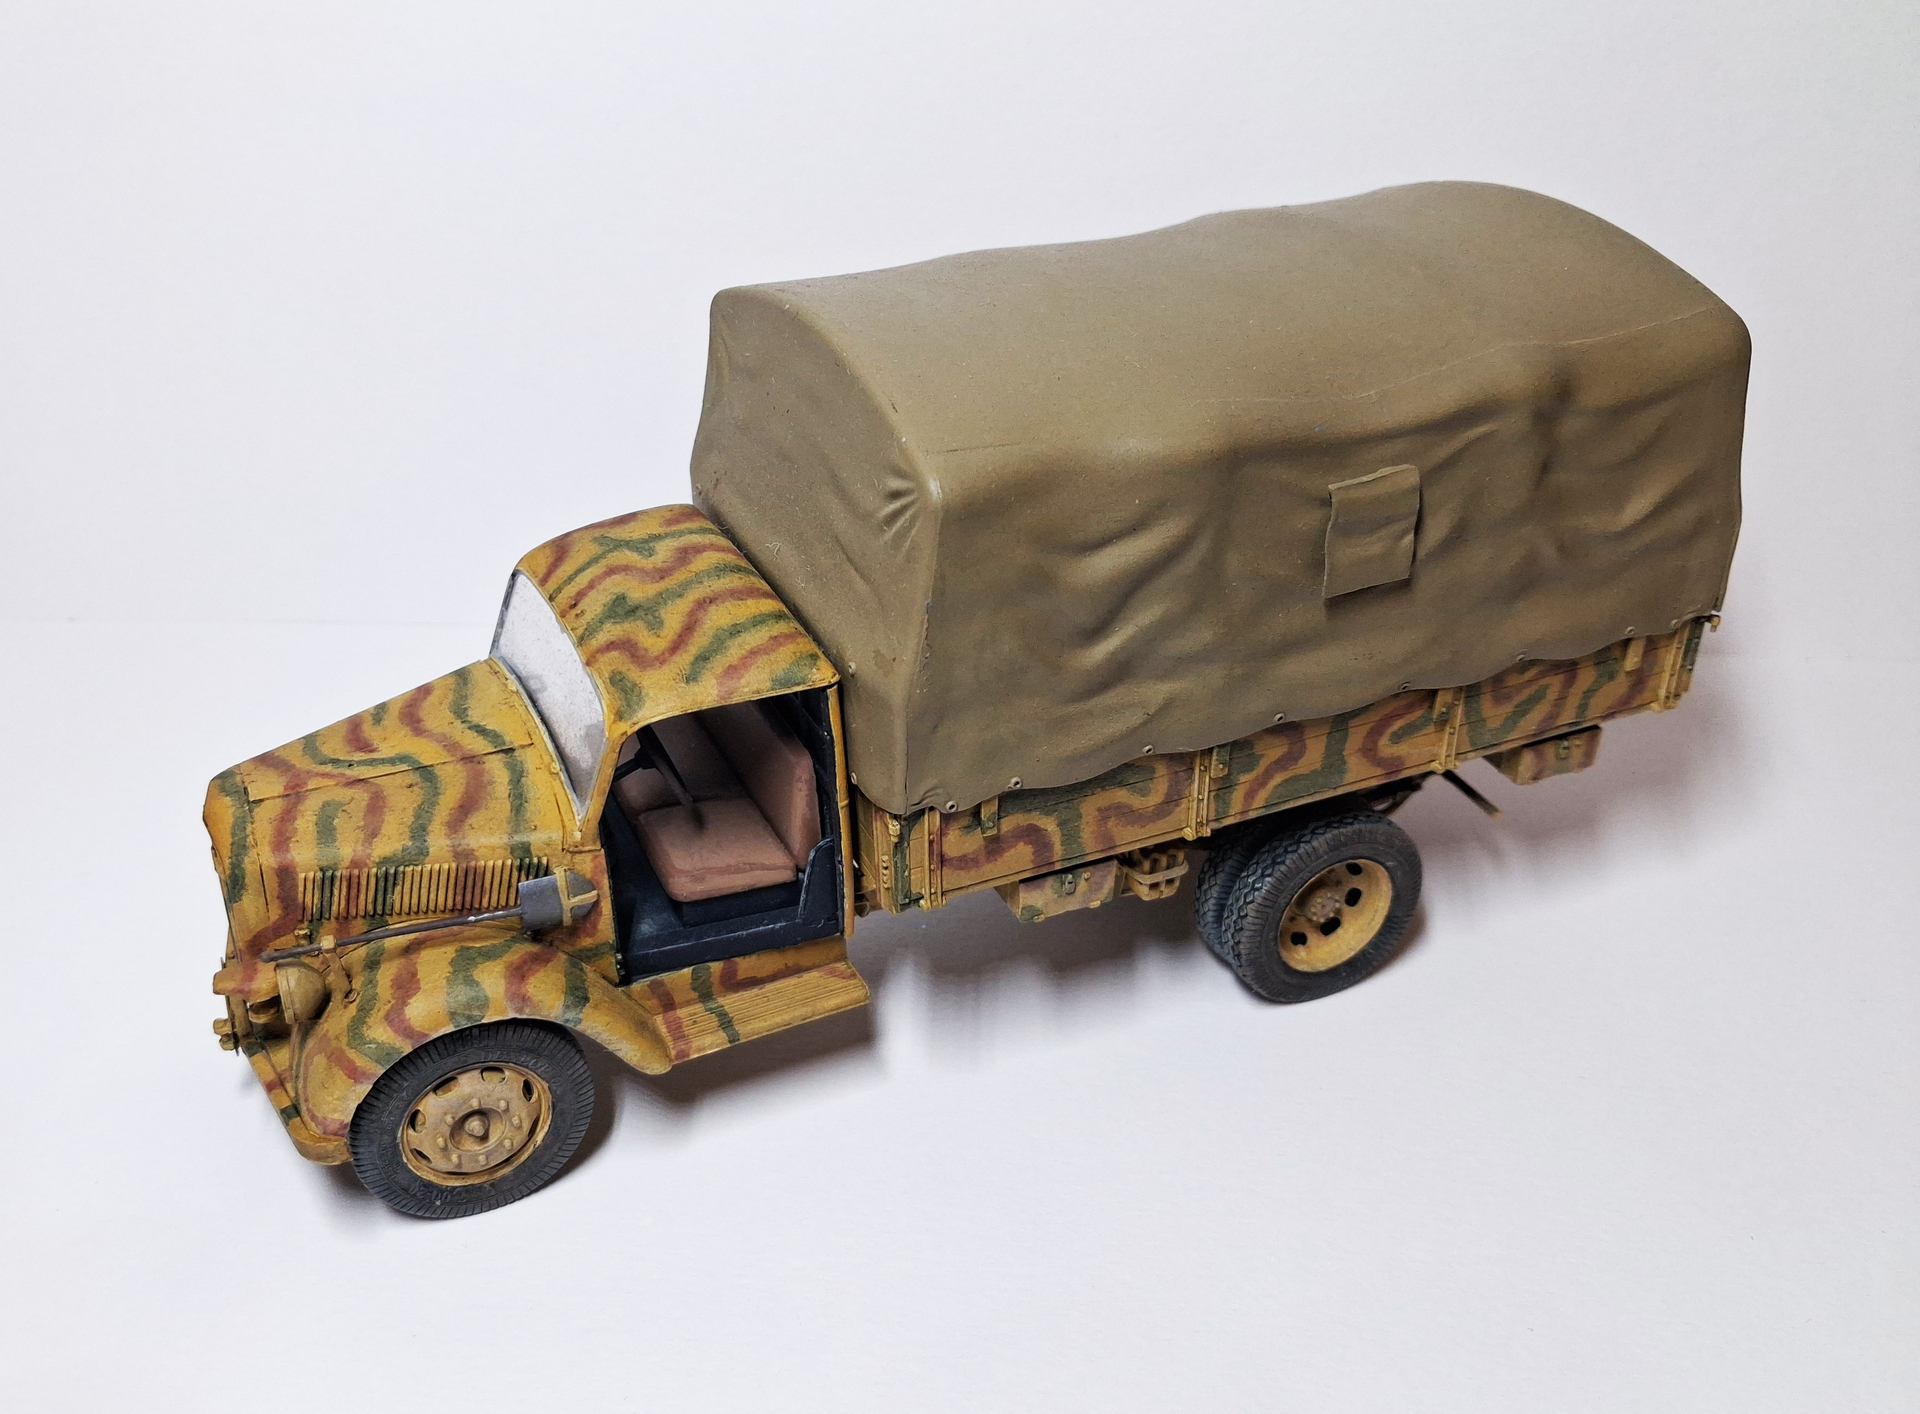
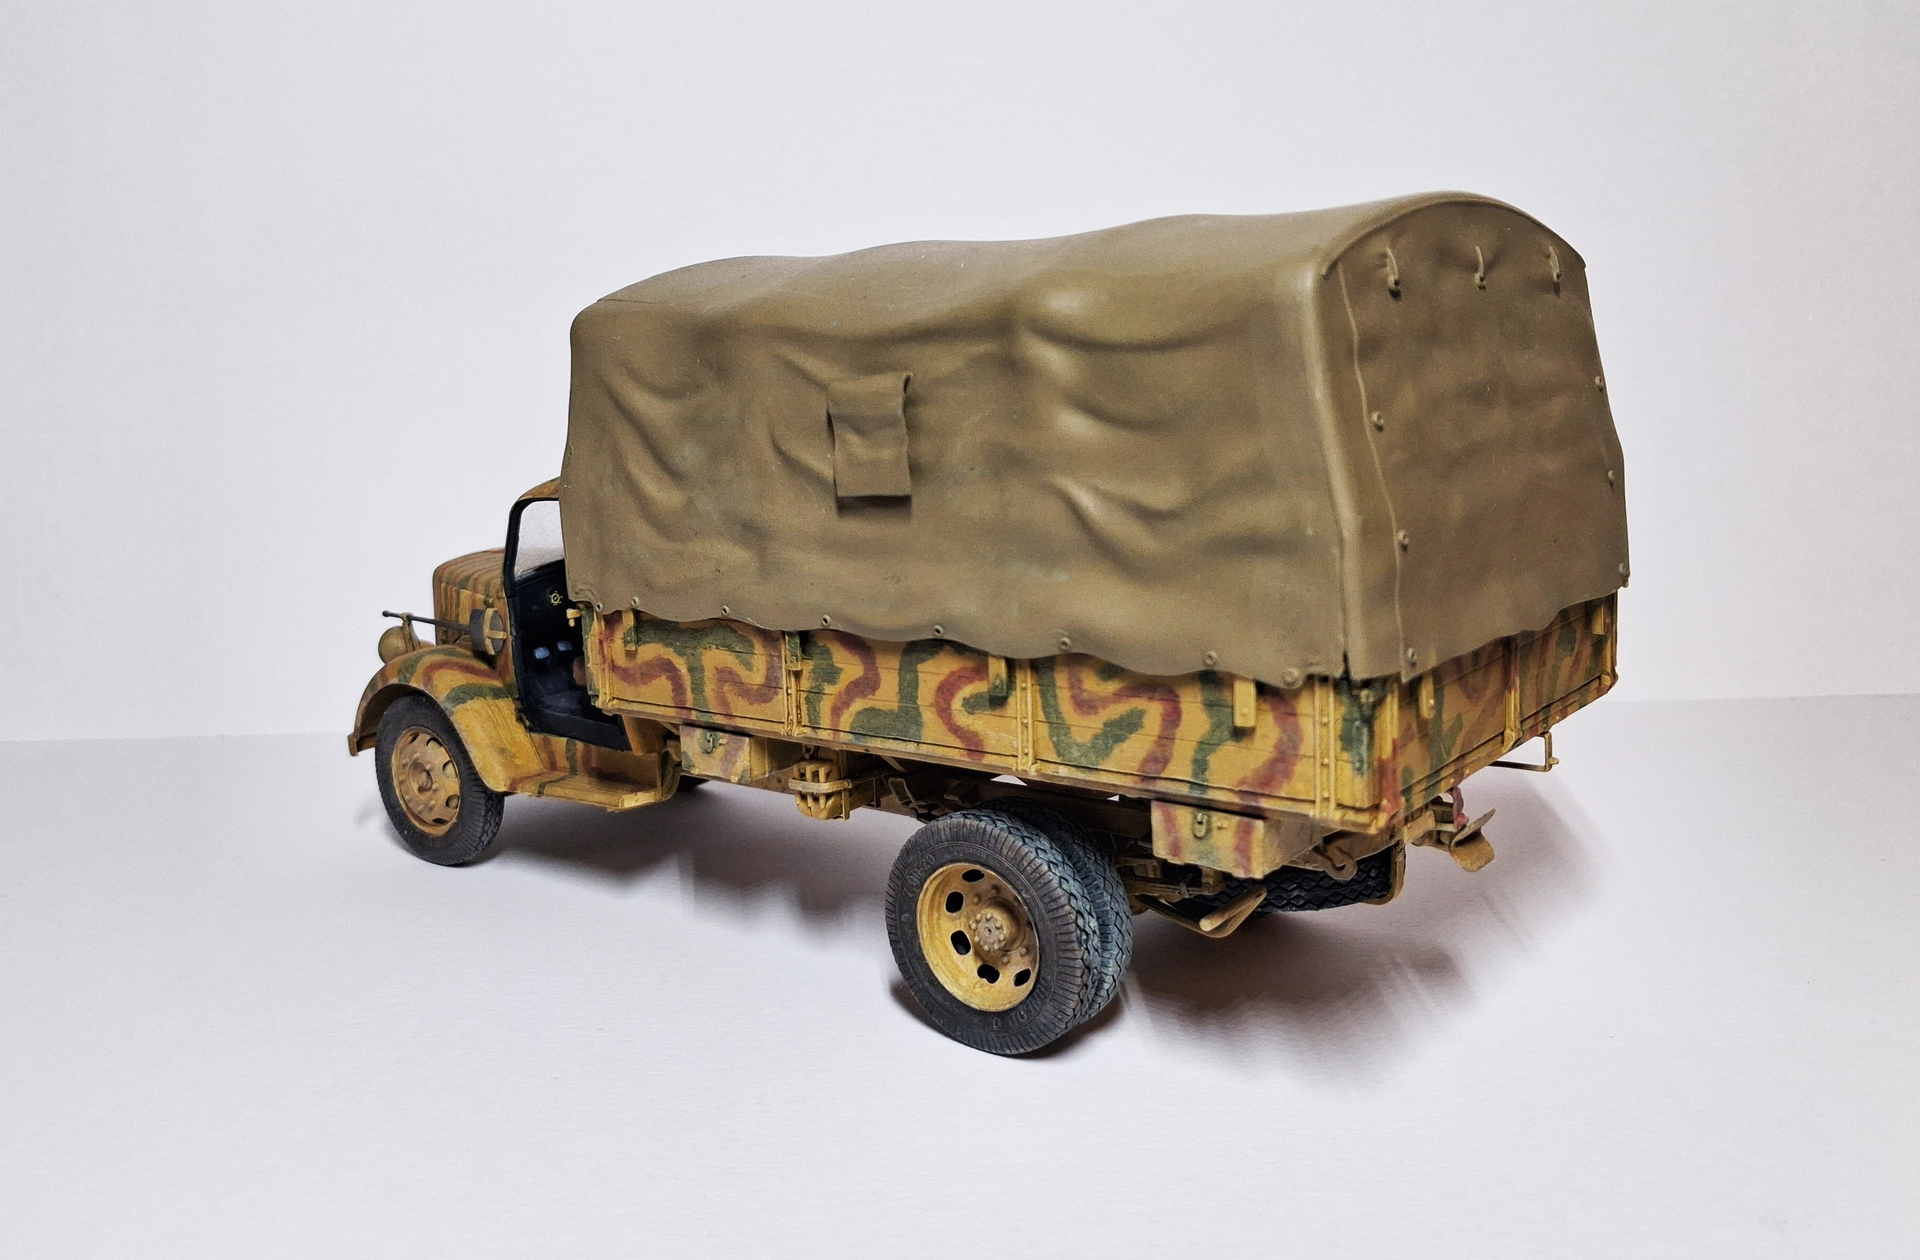
A few months ago I bought a GERMAN 3t CARGO TRUCK 3.6-36S mid-prod 35456 MiniArt.

It’s almost finished, some details are still missing, but this is the result that’s emerging.

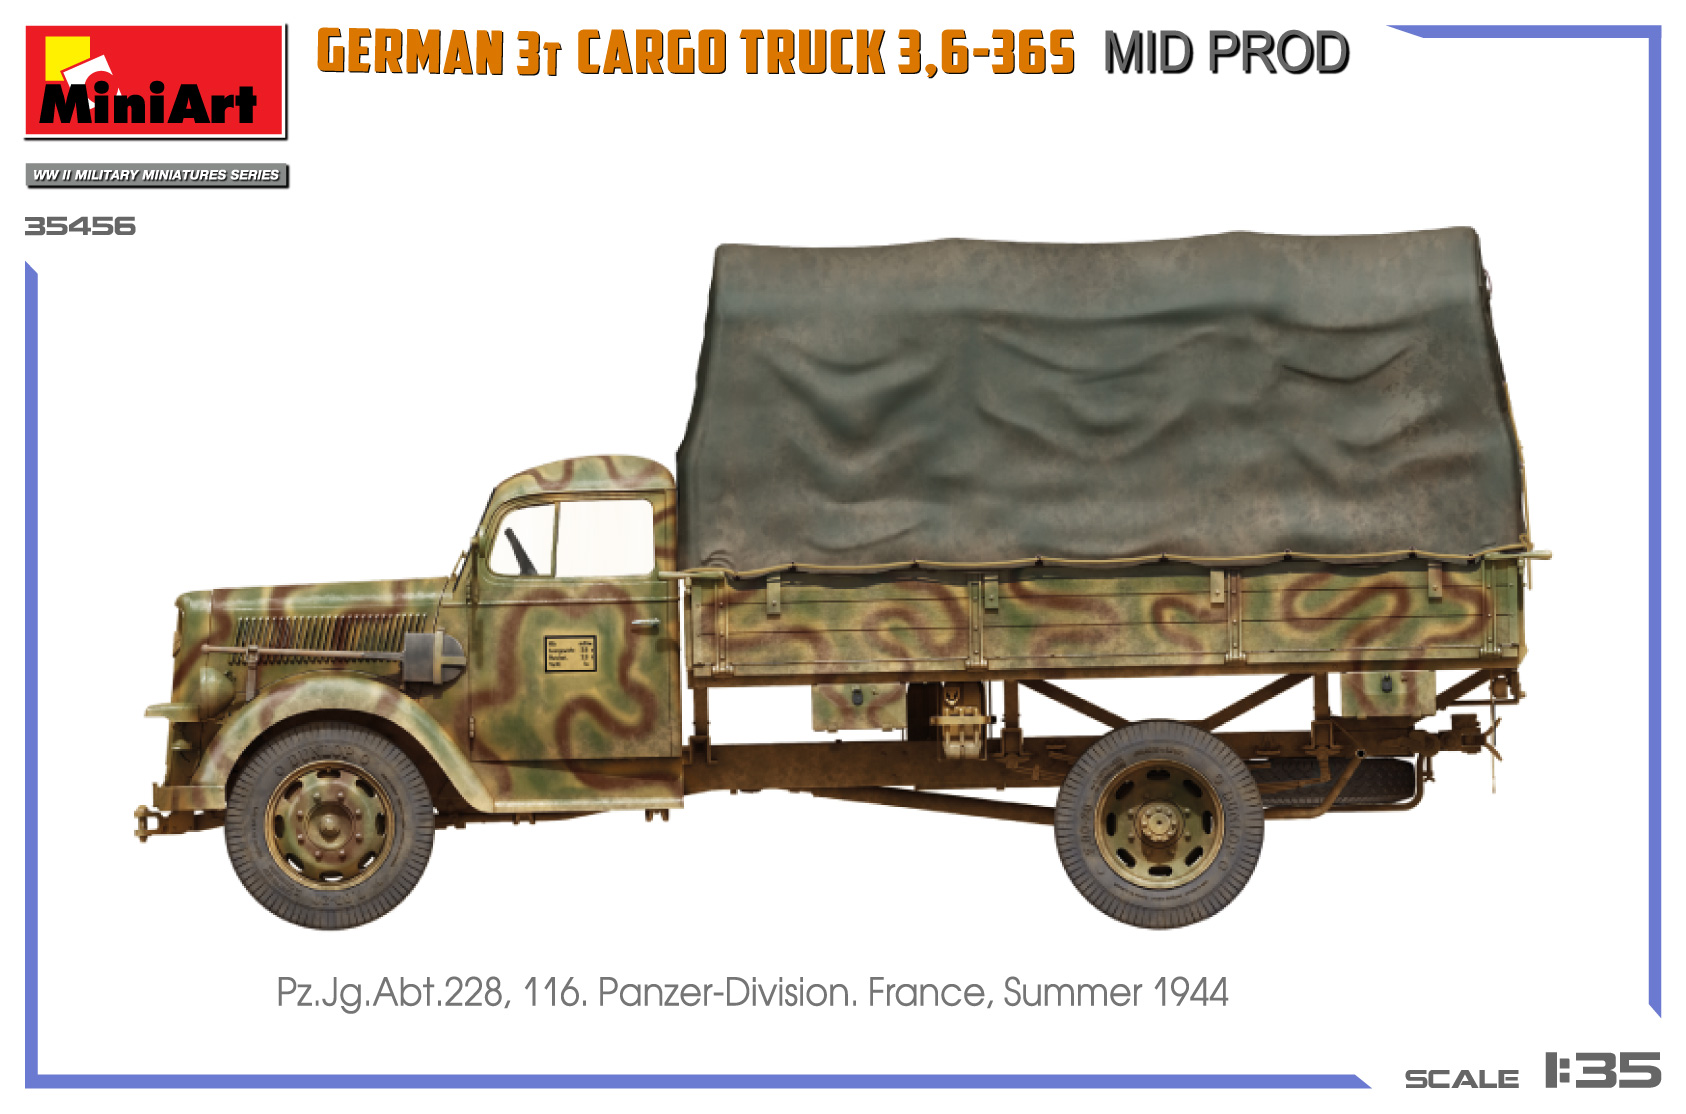
I chose a camouflage pattern like that of this cargo truck used by the German 116th Panzer Division in Normandy in the summer of 1944. (I decided to make the brown color a little more reddish.)

Cargo truck still under construction:

i hope you like it.

6 Likes

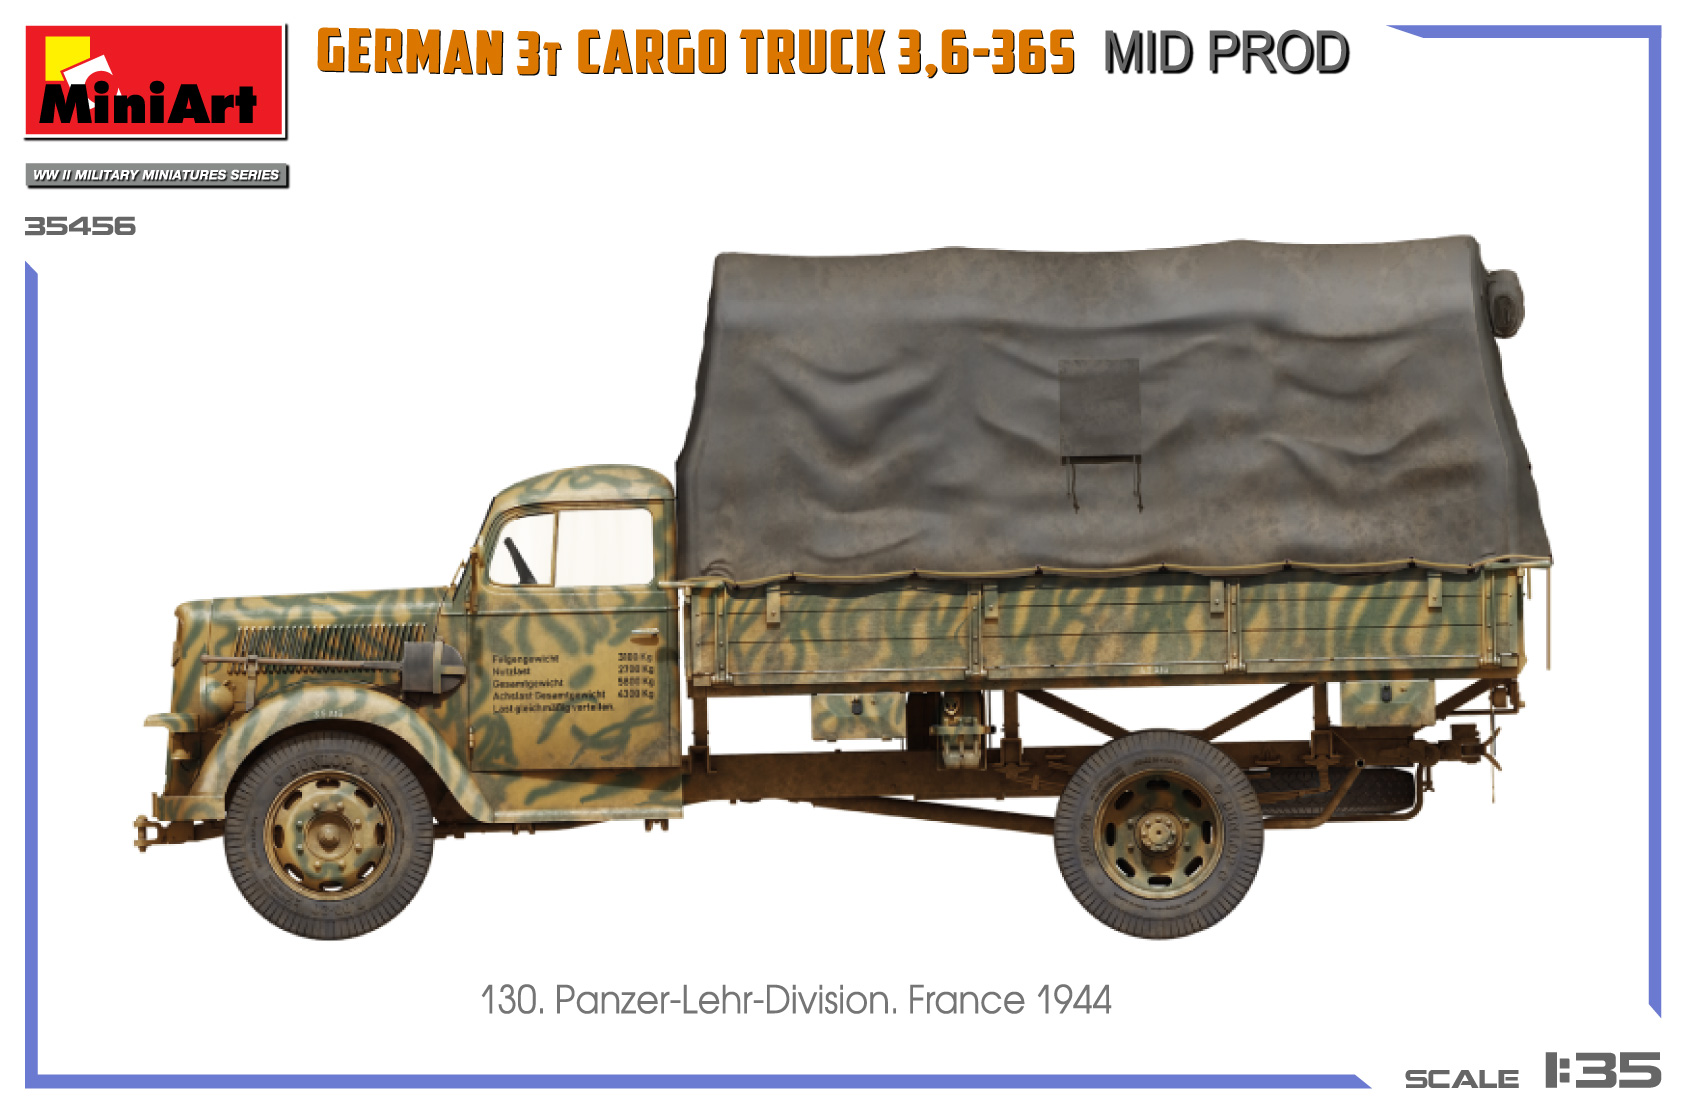
I think your camo looks just fine, but the box art on my laptop looks like it’s just two tone??? Anyway, did the canvas cover come with the kit? And if it is smooth plastic, how will you make it look more like fuzzy material. Someone else showed how to make the tie downs, and when made from tissue paper, but making plastic look like material has eluded me thus far.

2 Likes

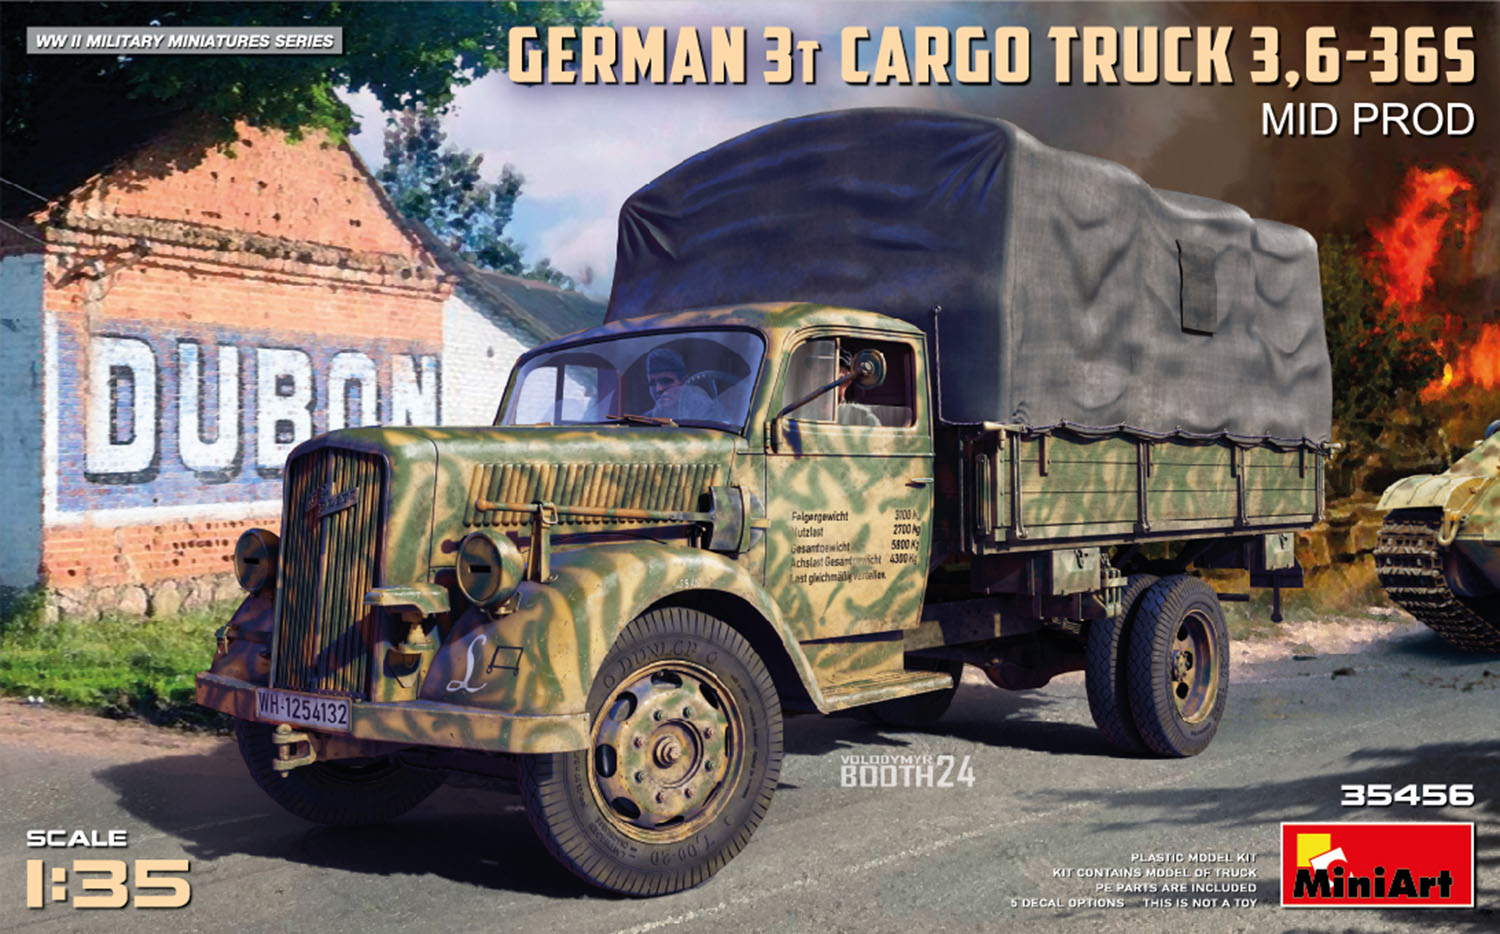
Thanks for the compliment on the camouflage. The tarp is included in the kit and is made of plastic (it can be open or closed at the back, or even left out entirely; I decided to keep it closed). To make it look like fabric, I’ll do this simple thing: I’ve painted the tarp with Vallejo base color 70.988 (KHAKI). Then I mix the Vallejo color with black and apply it under the folds in shadow. Then I mix the pure color with white (I do the same with white instead of black) and apply it to the most exposed surfaces, those that should be most illuminated. As for the packaging, it’s a single color because the box actually provides multiple camouflage design options; the one on the box cover isn’t the one I chose to paint. What you see is this camouflage design below, used by the 130th Panzer Lehr Division (also in France in 1944).
3 Likes

Nice build and painting, however I would tone down the camo to get closer to the Miniart box art faded and dusty looking vehicle.

But it is about one’s taste. Keep it if you want to represent a newly built vehicle.

Tamás

2 Likes

Thanks for the compliments and advice.

I plan to get it a little more dirty and dusty, but I admit I’m not sure whether to paint it with rusty paint or not, since armored vehicles of this type most likely didn’t have time to rust, and were then painted to make them camouflage.

This is a bit of a departure from my philosophy of aesthetics and realism.

1 Like

Nice result Edoardo – how was the build itself? Some guys here complain about MiniArt over-complexity (I’d prefer too complex to too simplified), how was this one?

I agree the camo’s too “bright”, it just needs a dark brown or blackish dilute wash overall.

The canvas folds on the plastic version look reasonable – in such a (fairly rare) case as this, a simple way to get a canvas texture is to apply a sheet/s of tissue paper (or soft toilet paper minus perforations) to it, using semi dilute PVA. When dry paint as per Edoardo’s method, add rain-stains to taste.

3 Likes

Thank you so much for the compliments and the advice on the camouflage!

I’ll be honest, this is the second vehicle I’ve bought from MiniArt. I previously built and painted the Soviet T55 (MiniArt 37023 T-55A Late Mod. 1965). This MiniArt truck was much easier to build than the T55 tank.

The only difficulties I encountered with this model were gluing the extra fuel tanks under the bed and the headlights. Both require the photo-etched metal parts provided in the set, so these require greater precision and care. Other than that, this truck is relatively simple compared to a tank.

In fact, I also thought it would be more complicated, but it’s actually not that difficult (unless you want to add details like the open hood with the engine and interior).

If you want to do it like me, it’s simple; you just need to paint the dashboard and interior well.

2 Likes