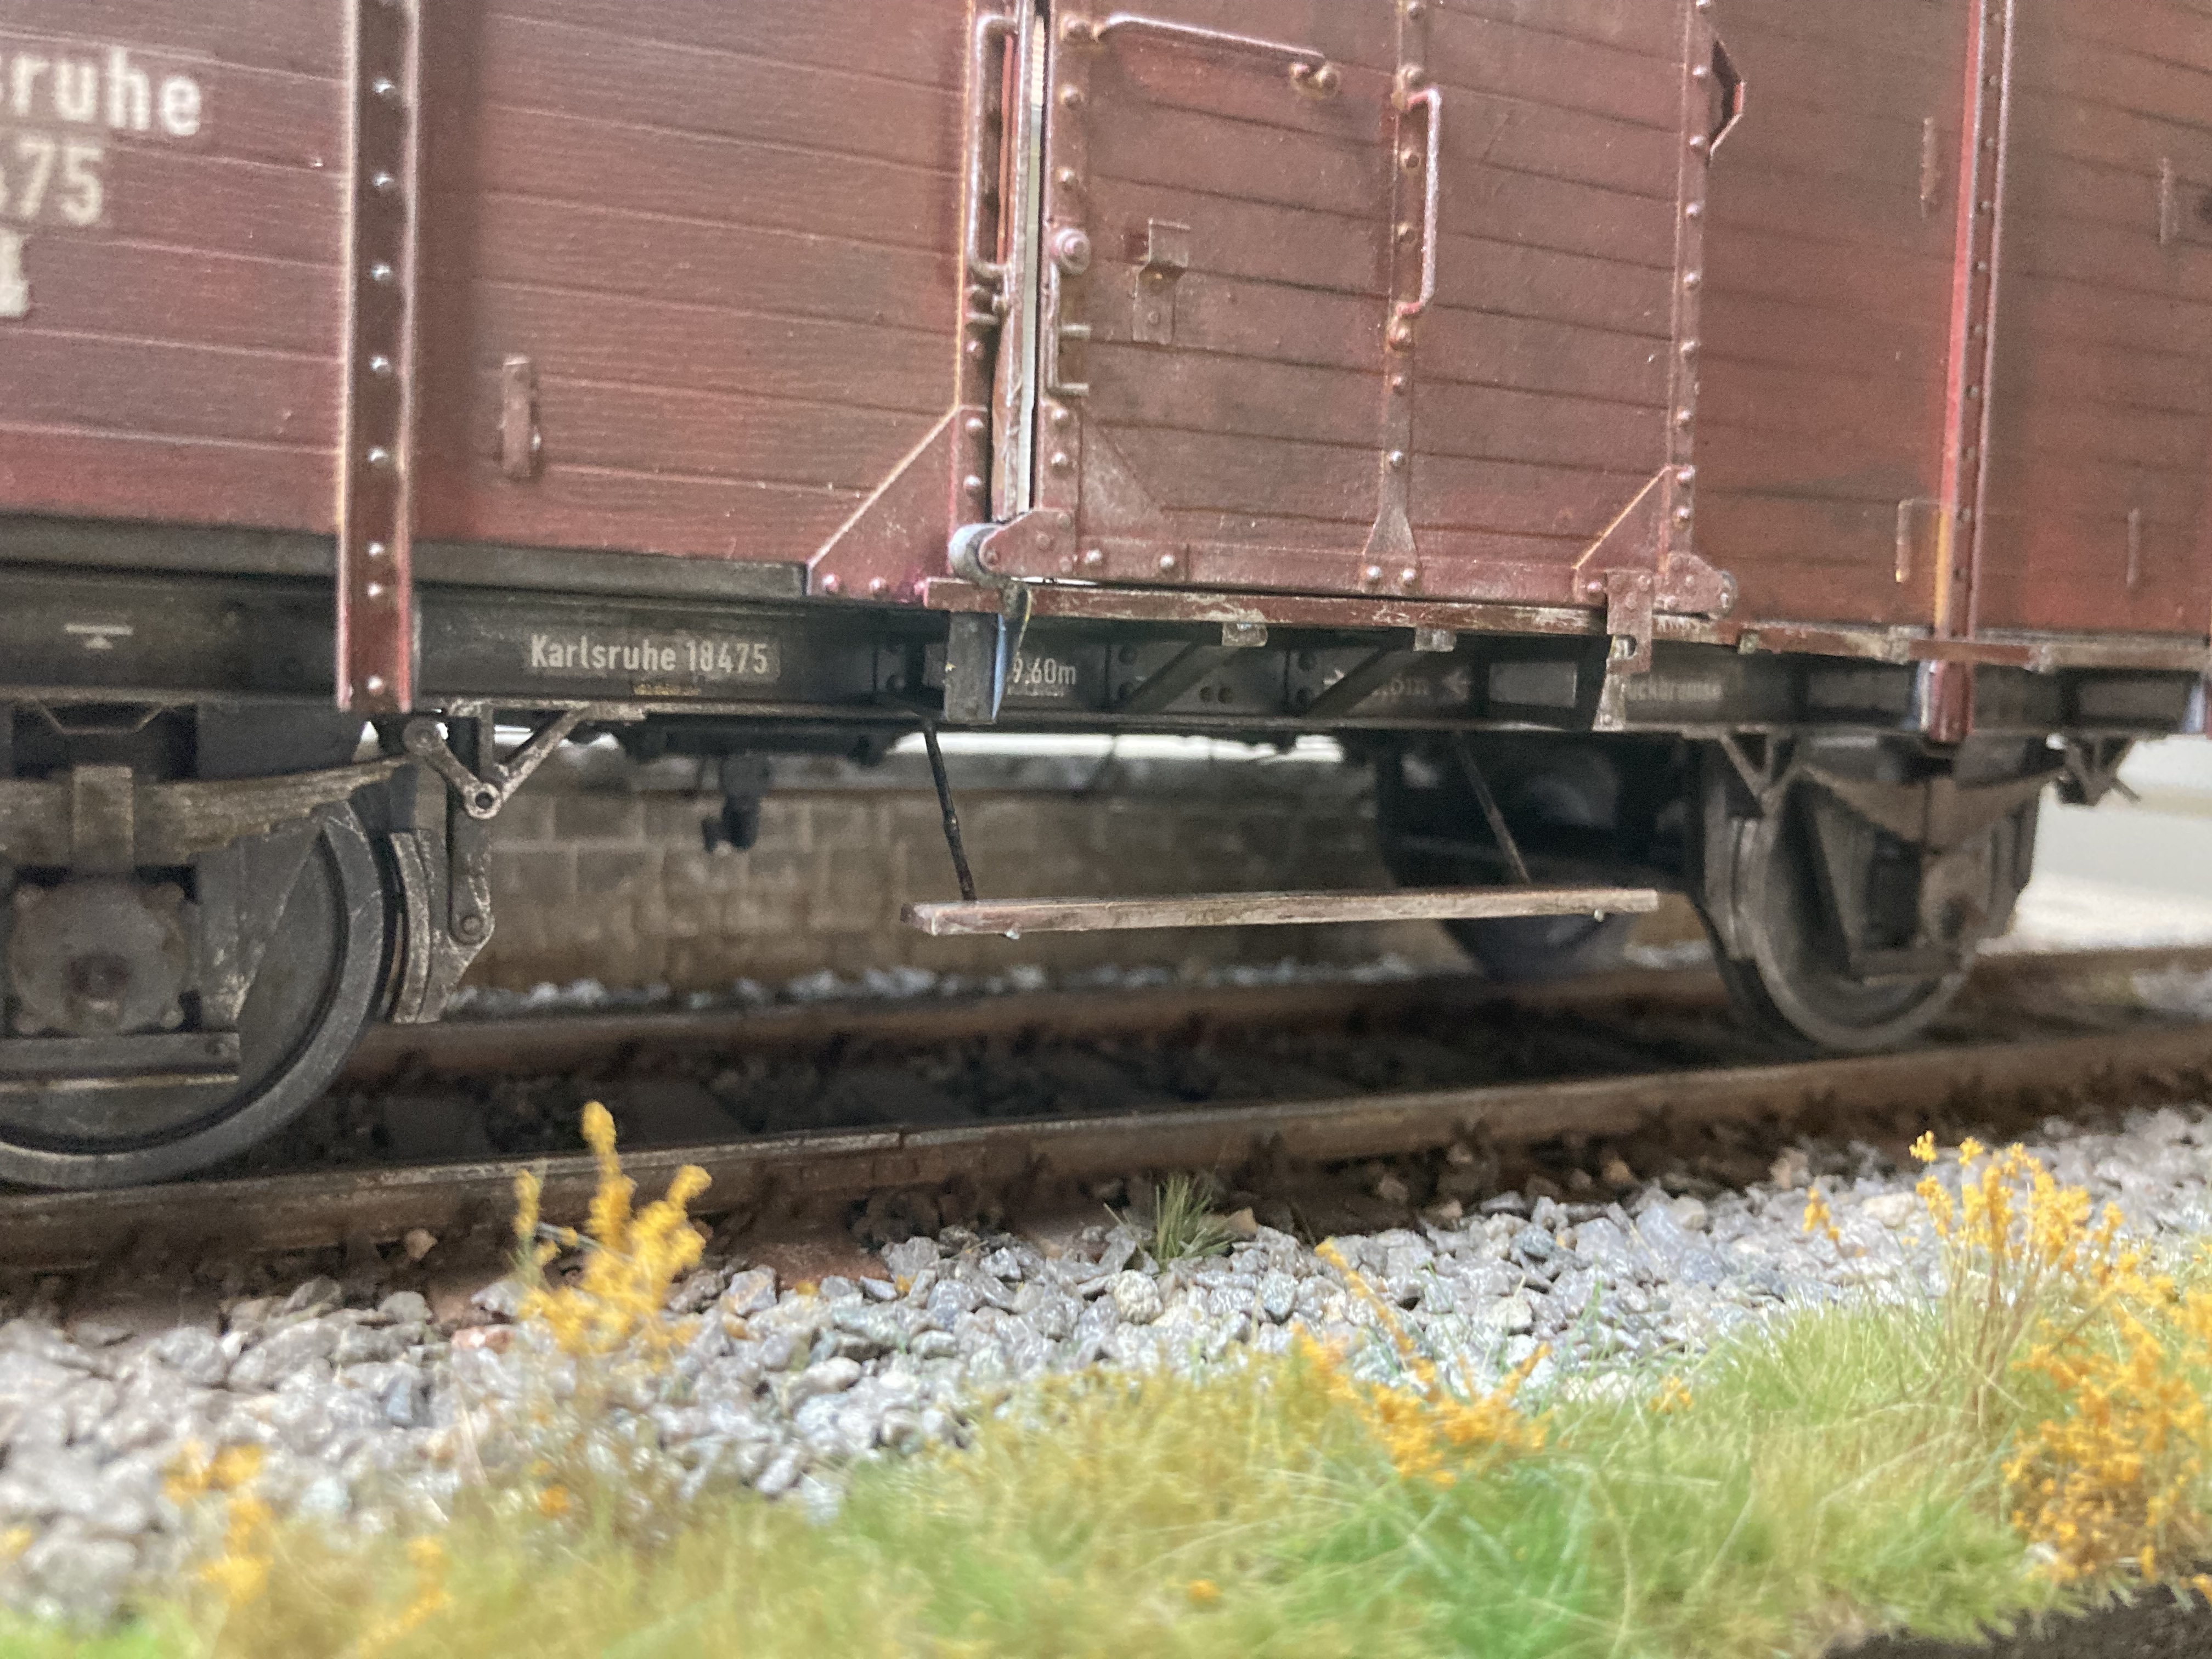
Excellent detailing ![]()
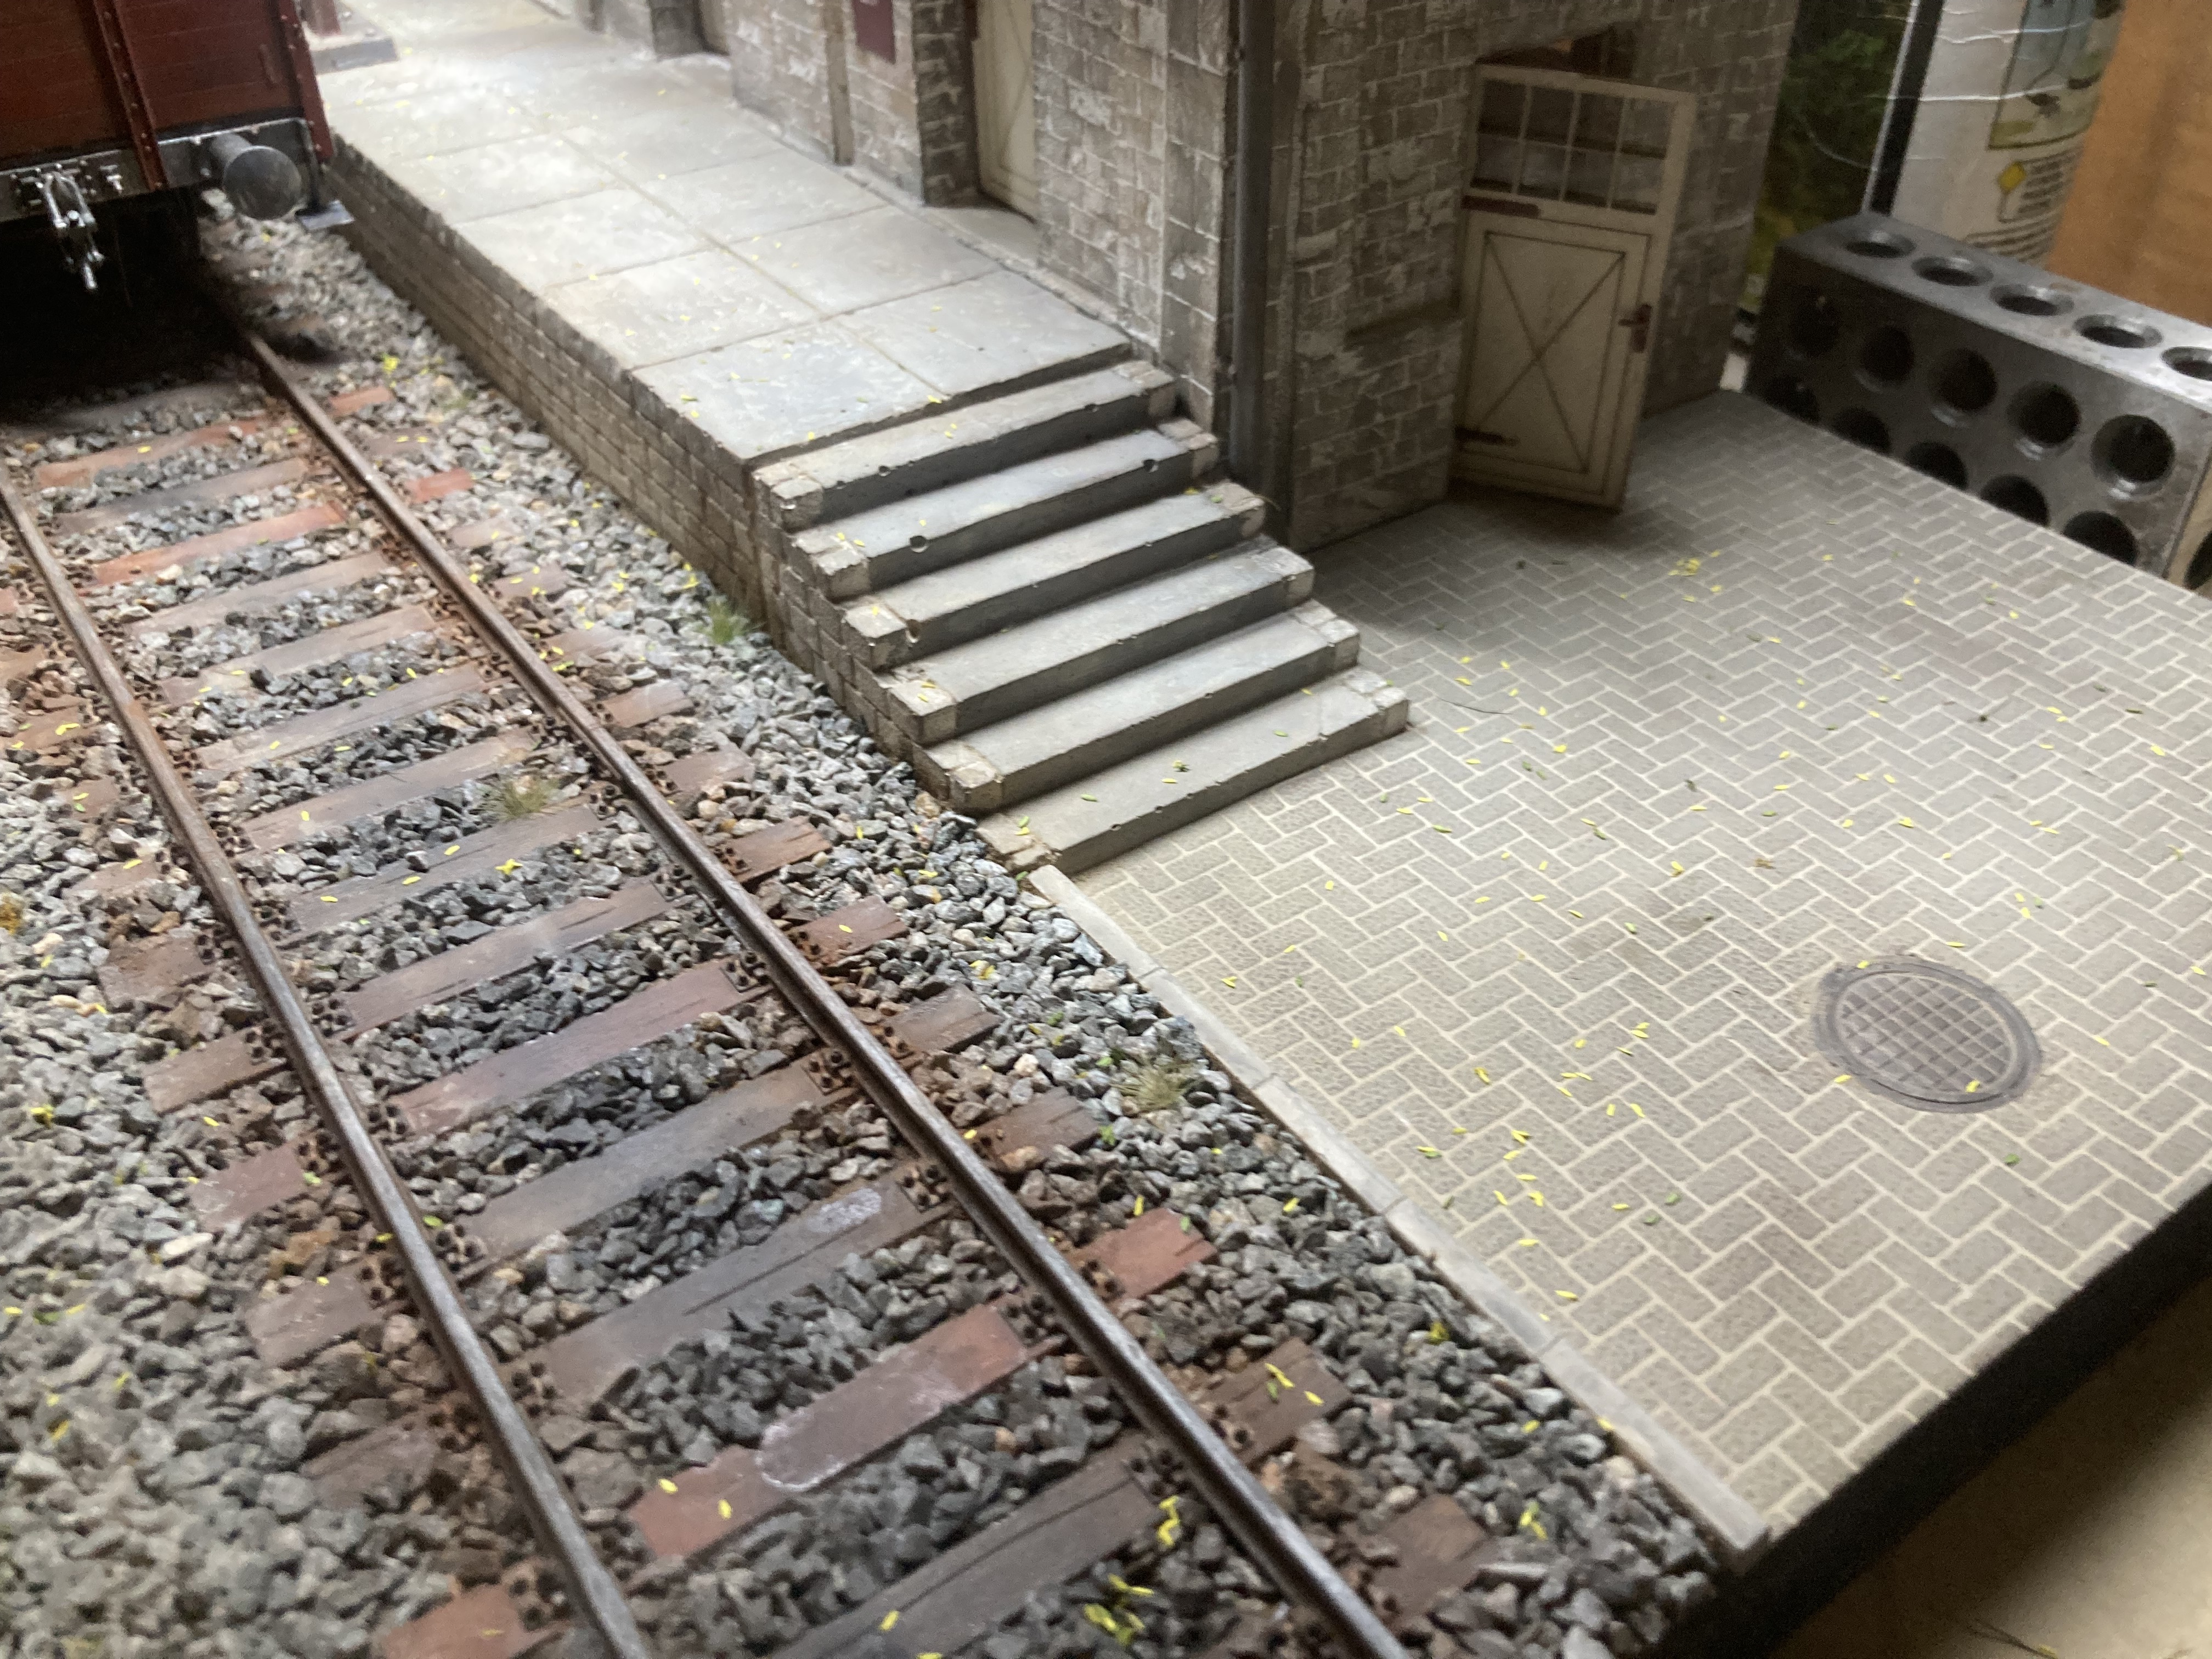
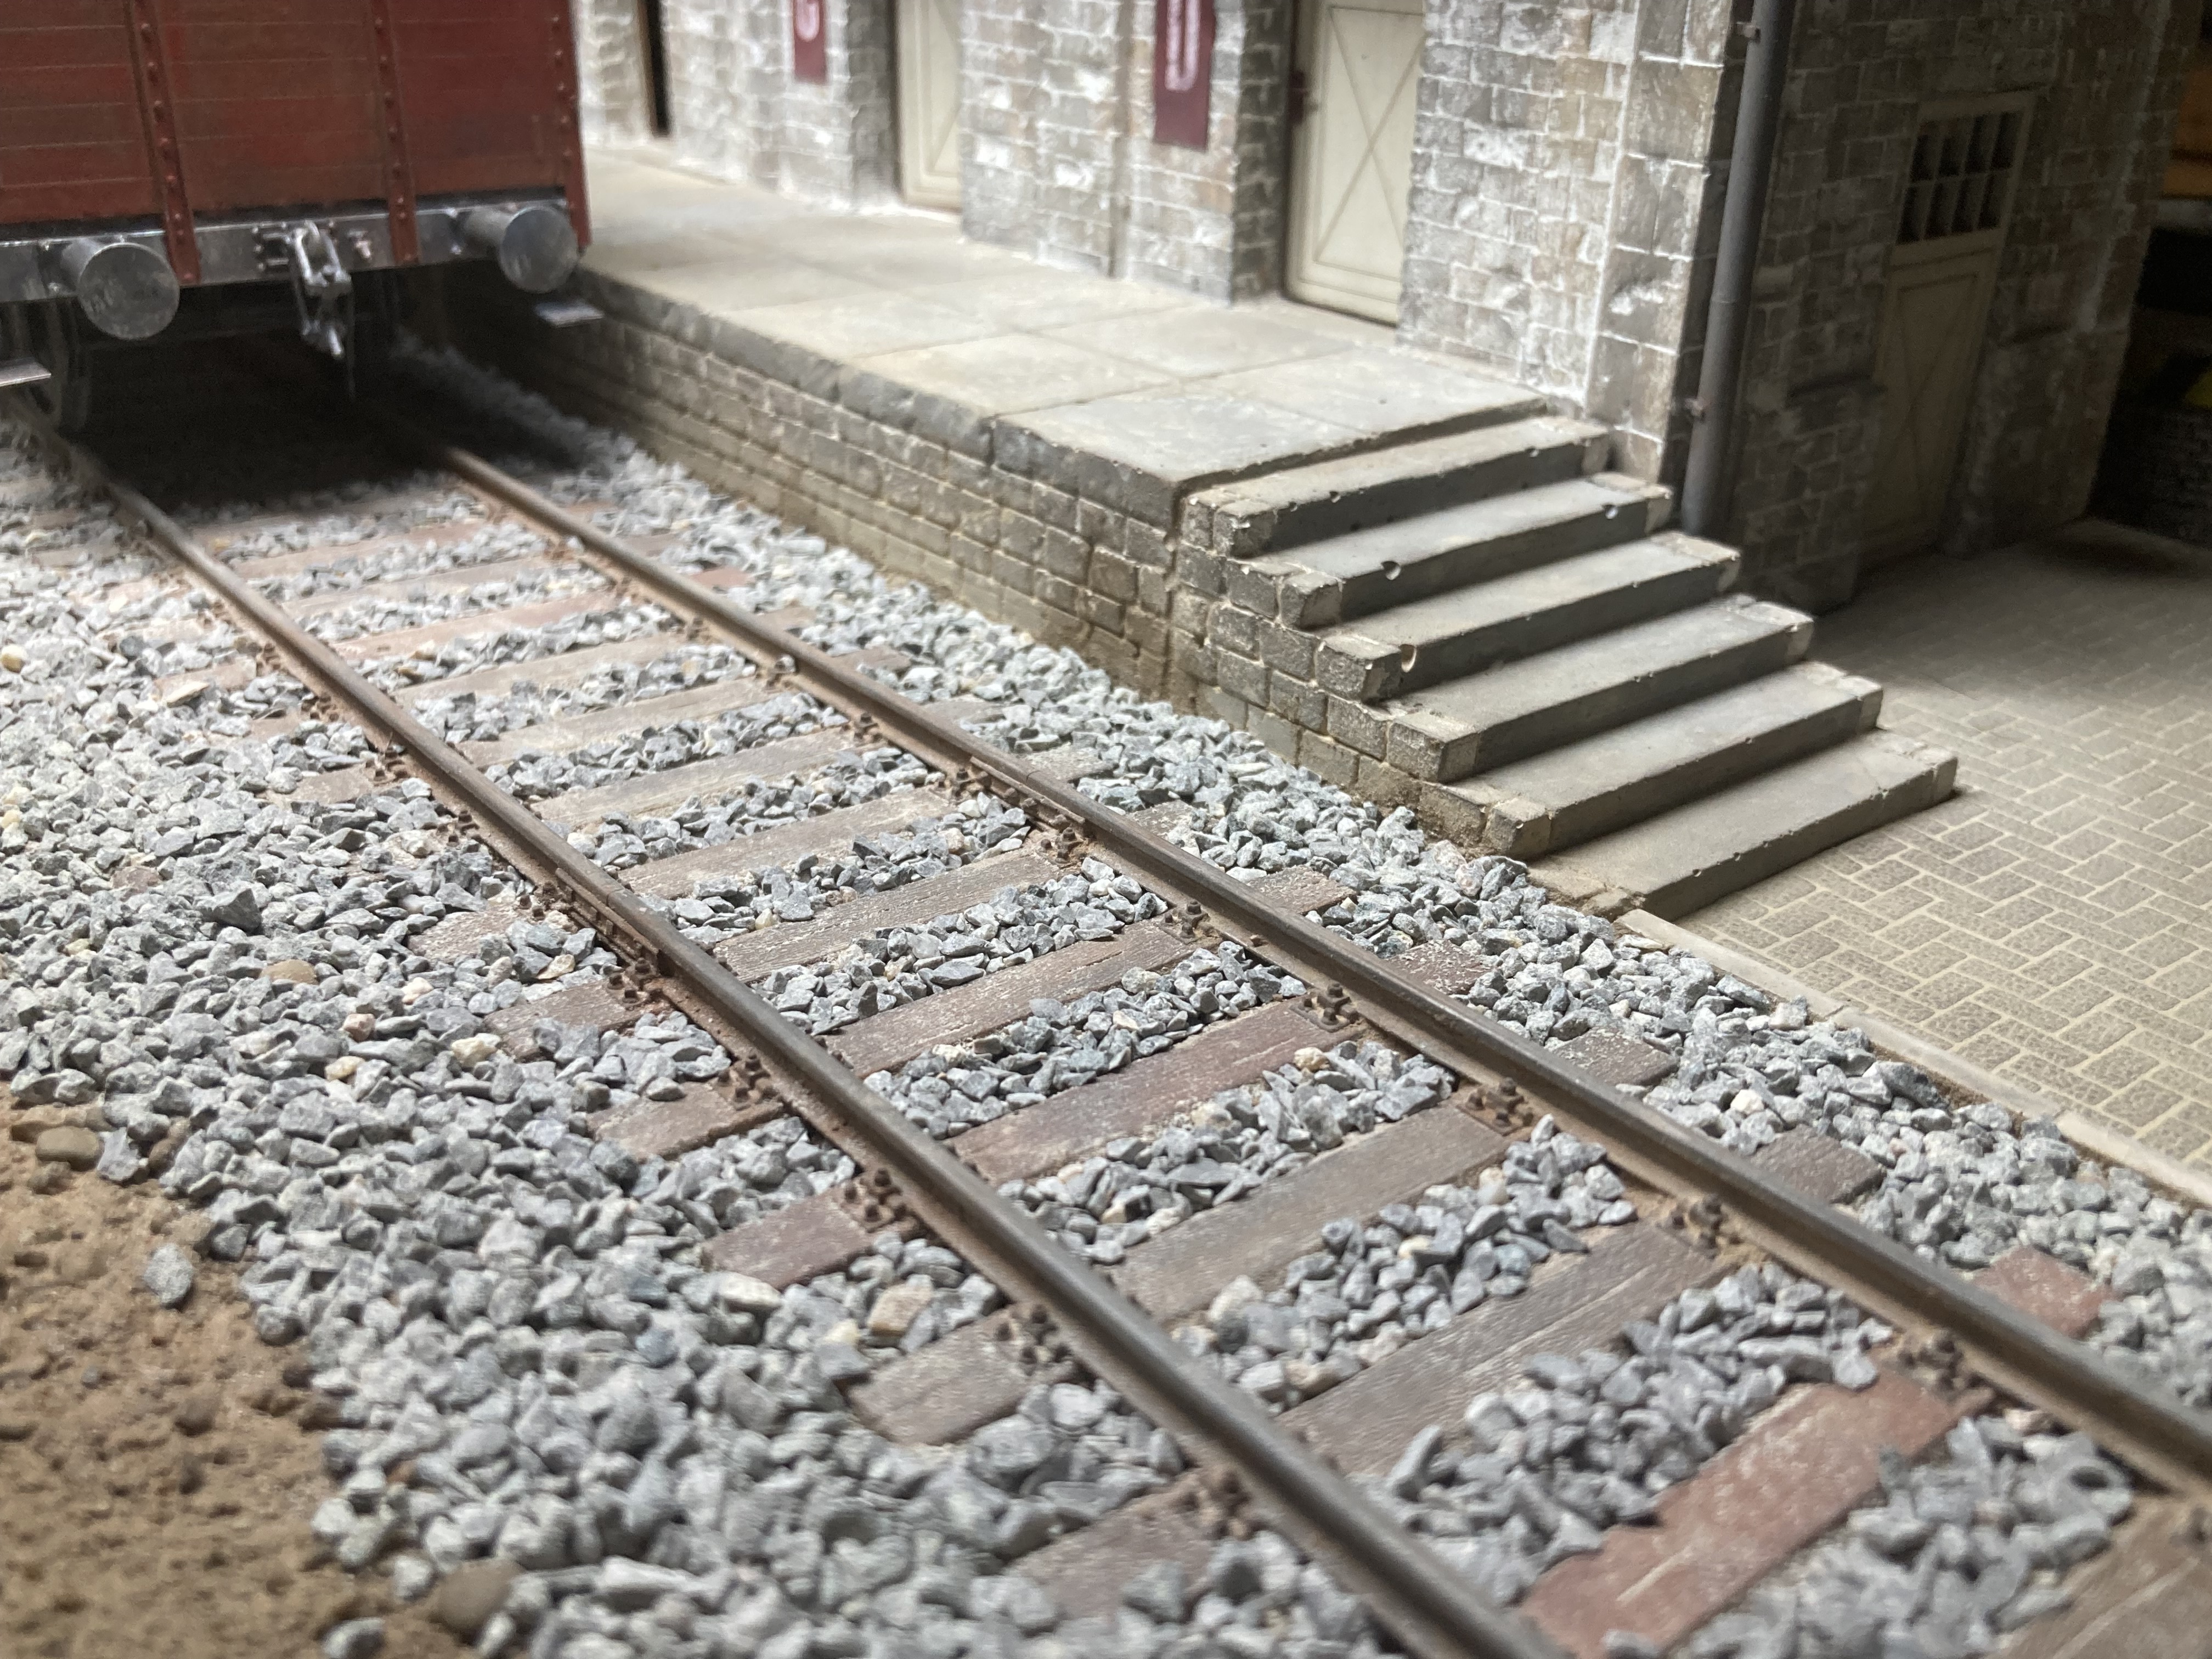
Just a thought, would the DR have staggered the joints, as opposed to having them opposite each other?
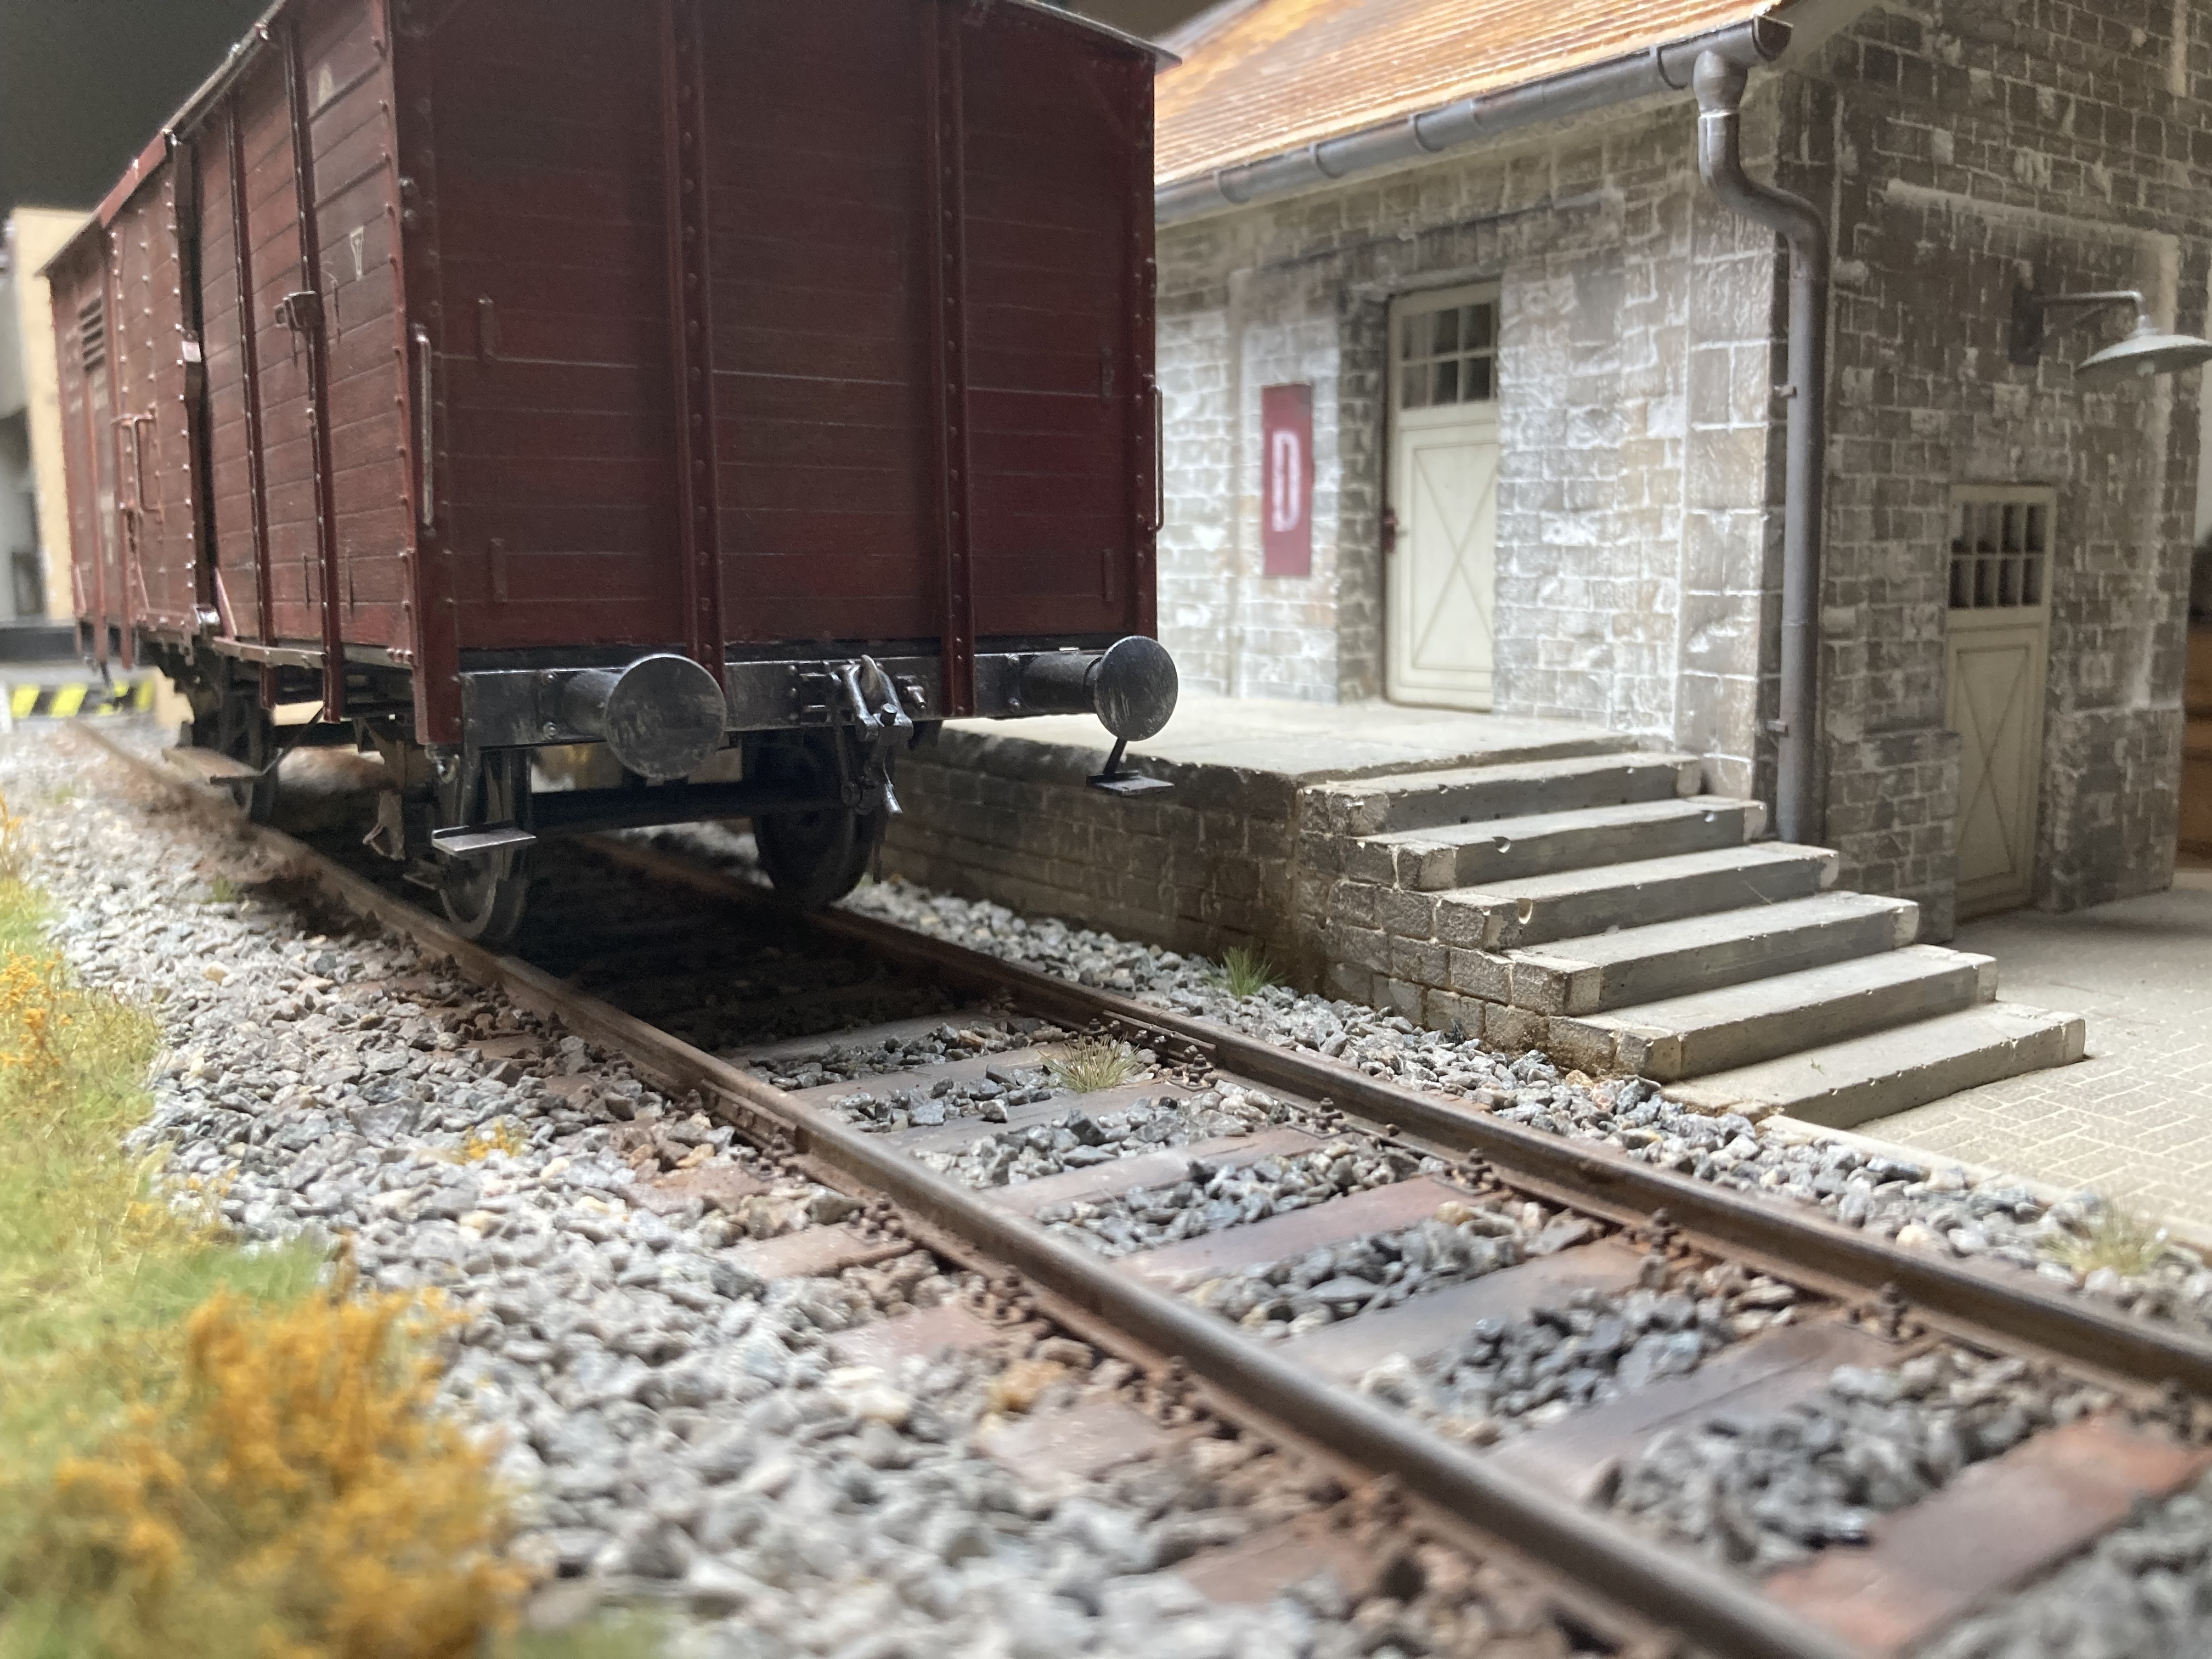
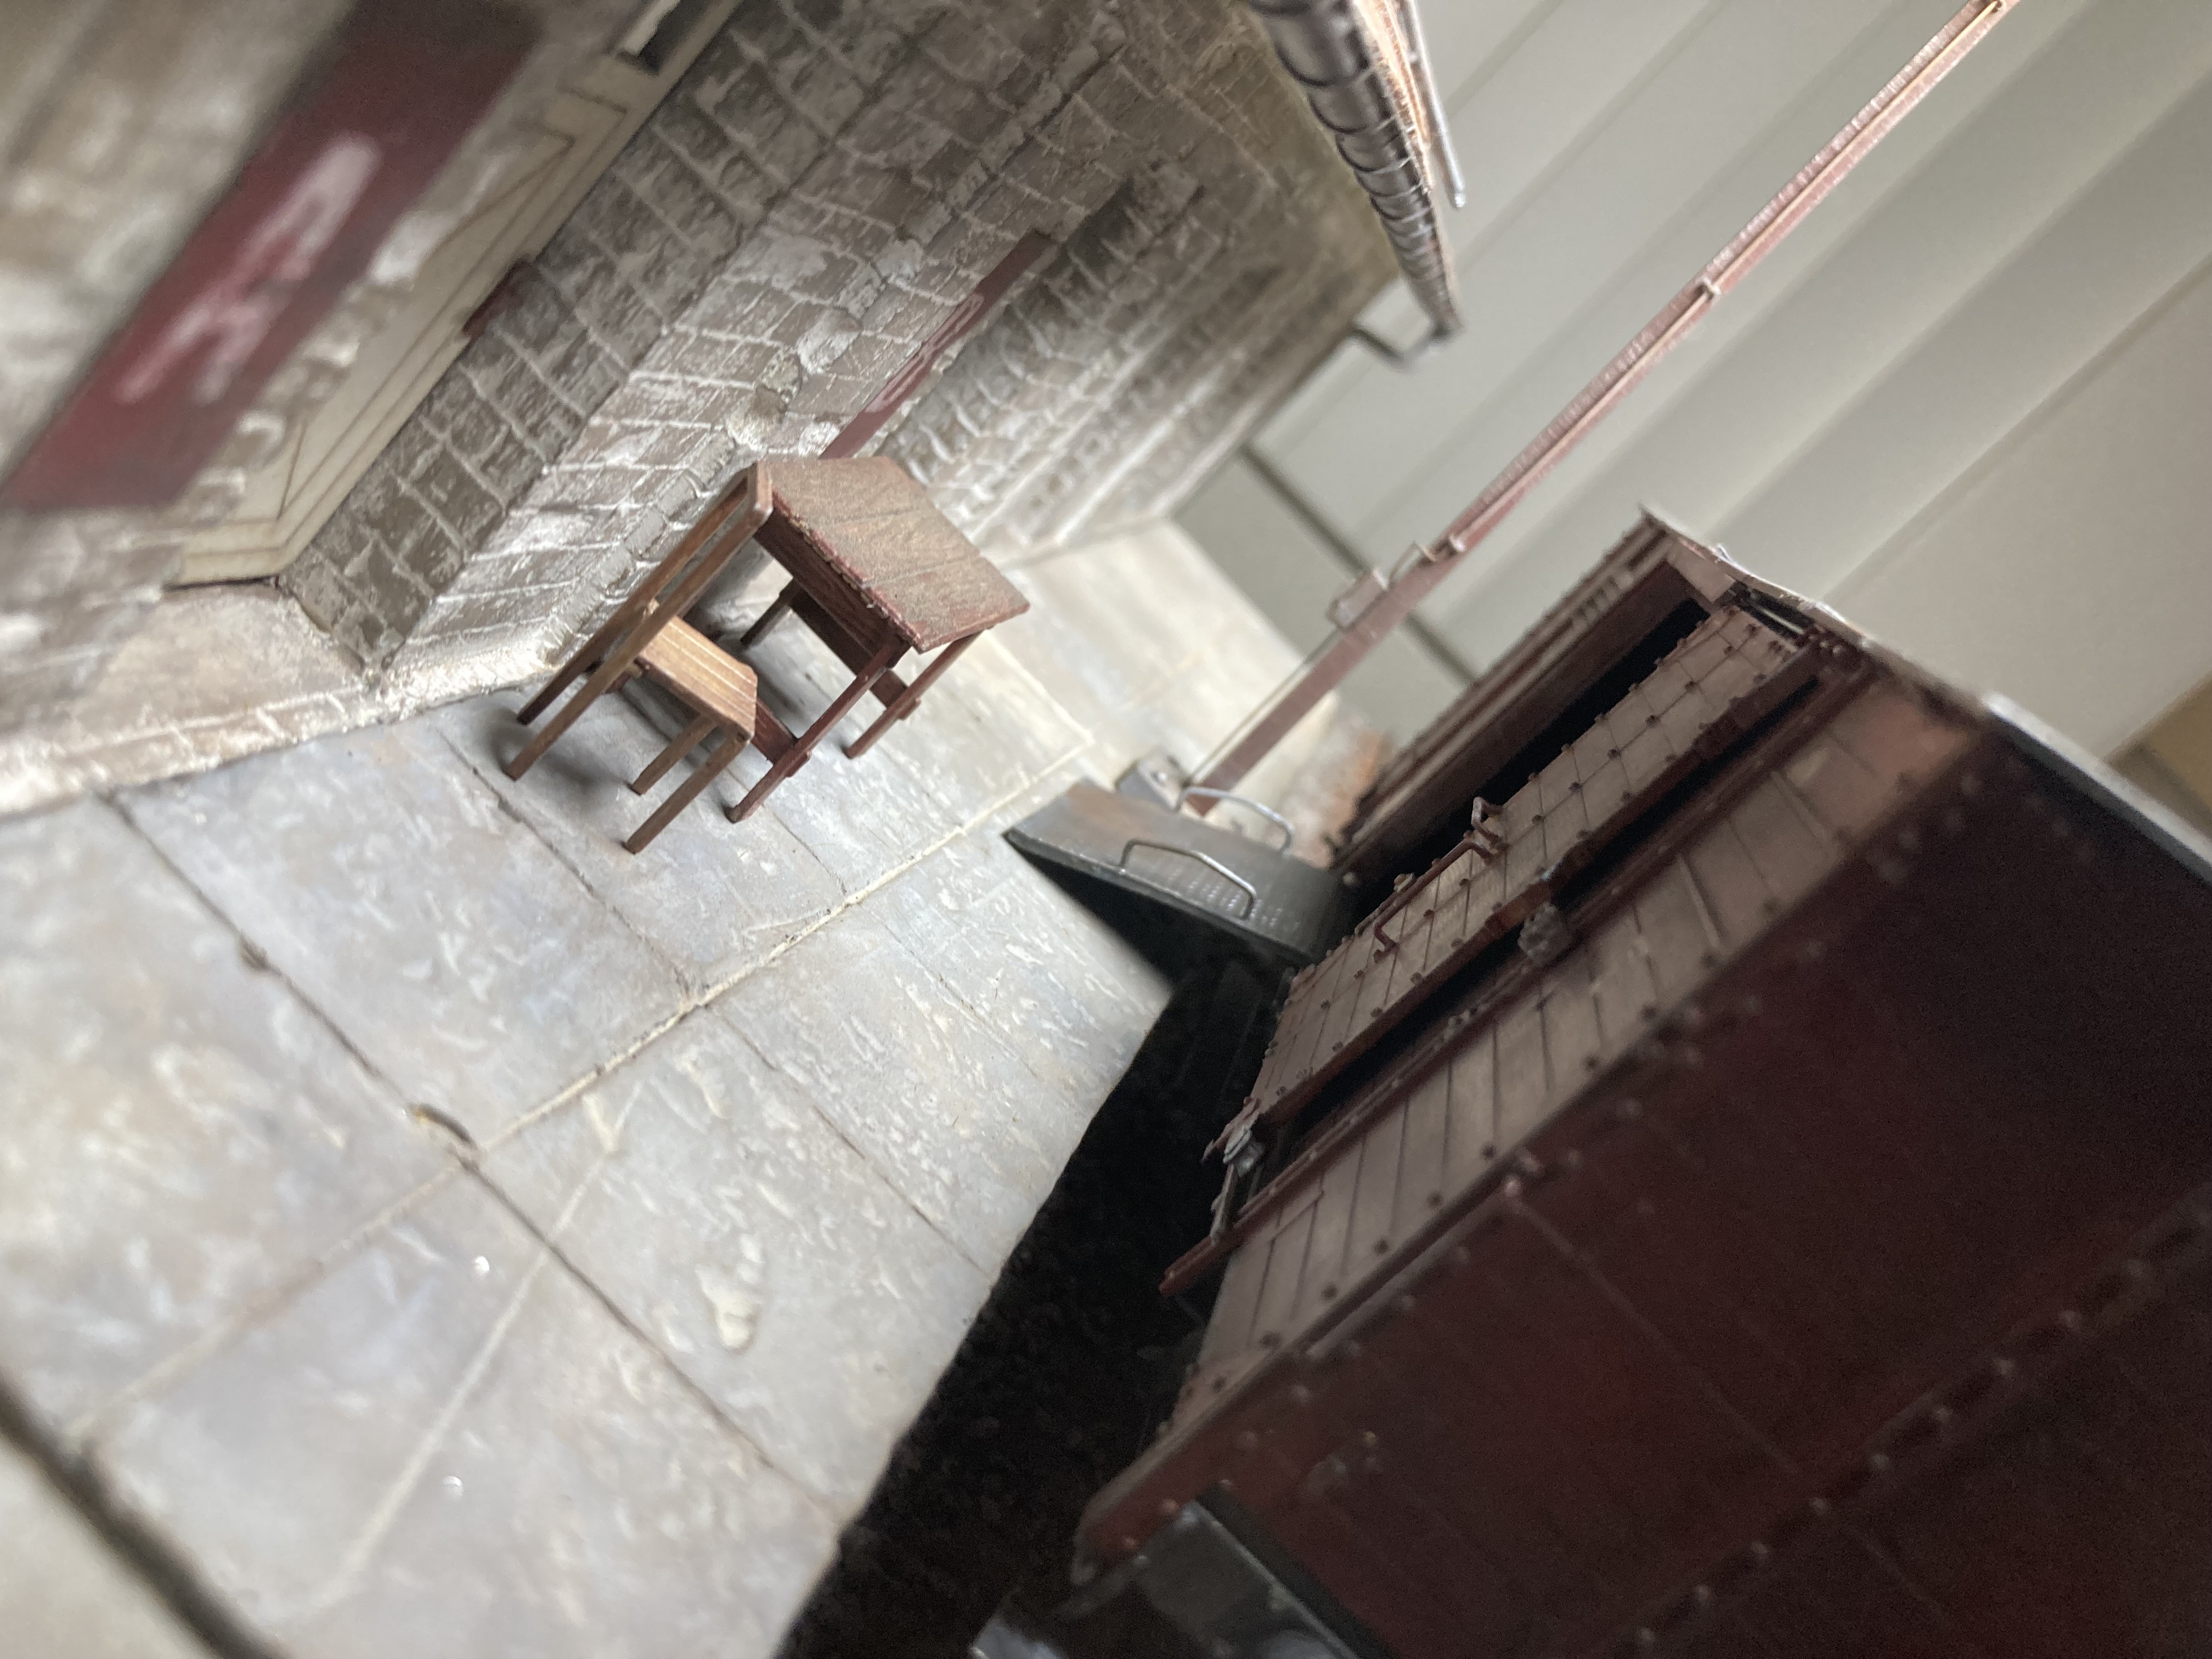
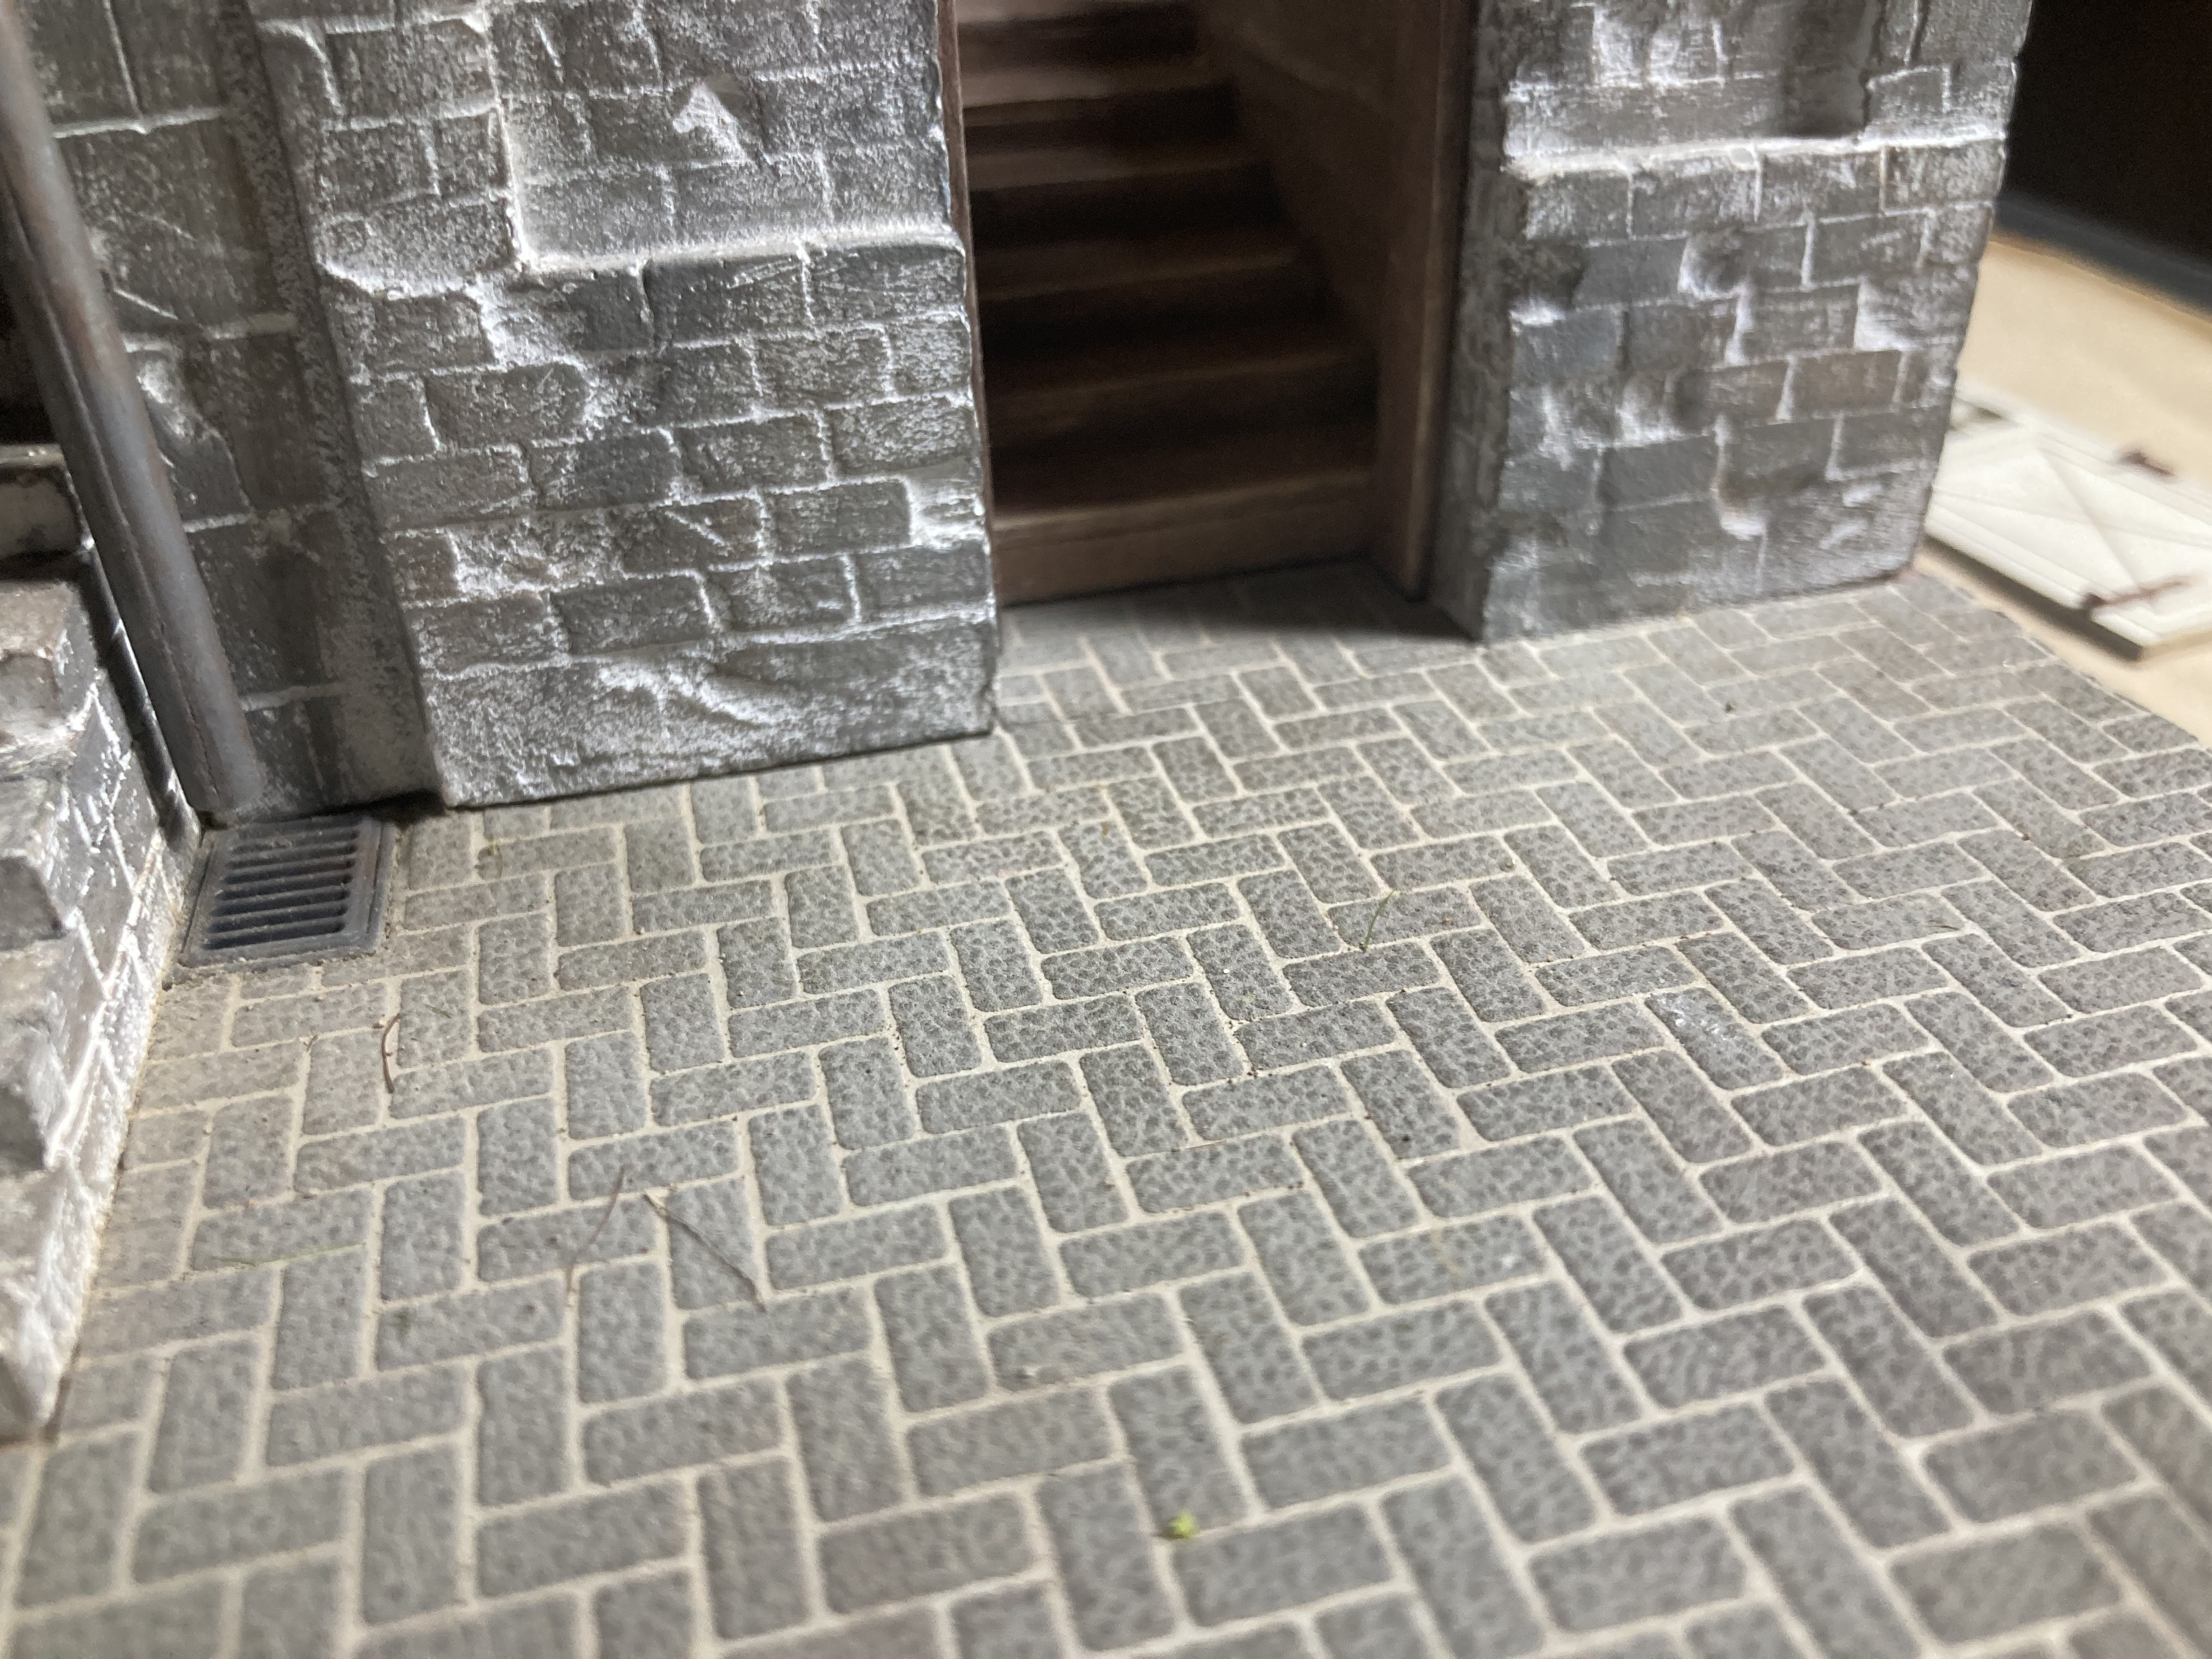
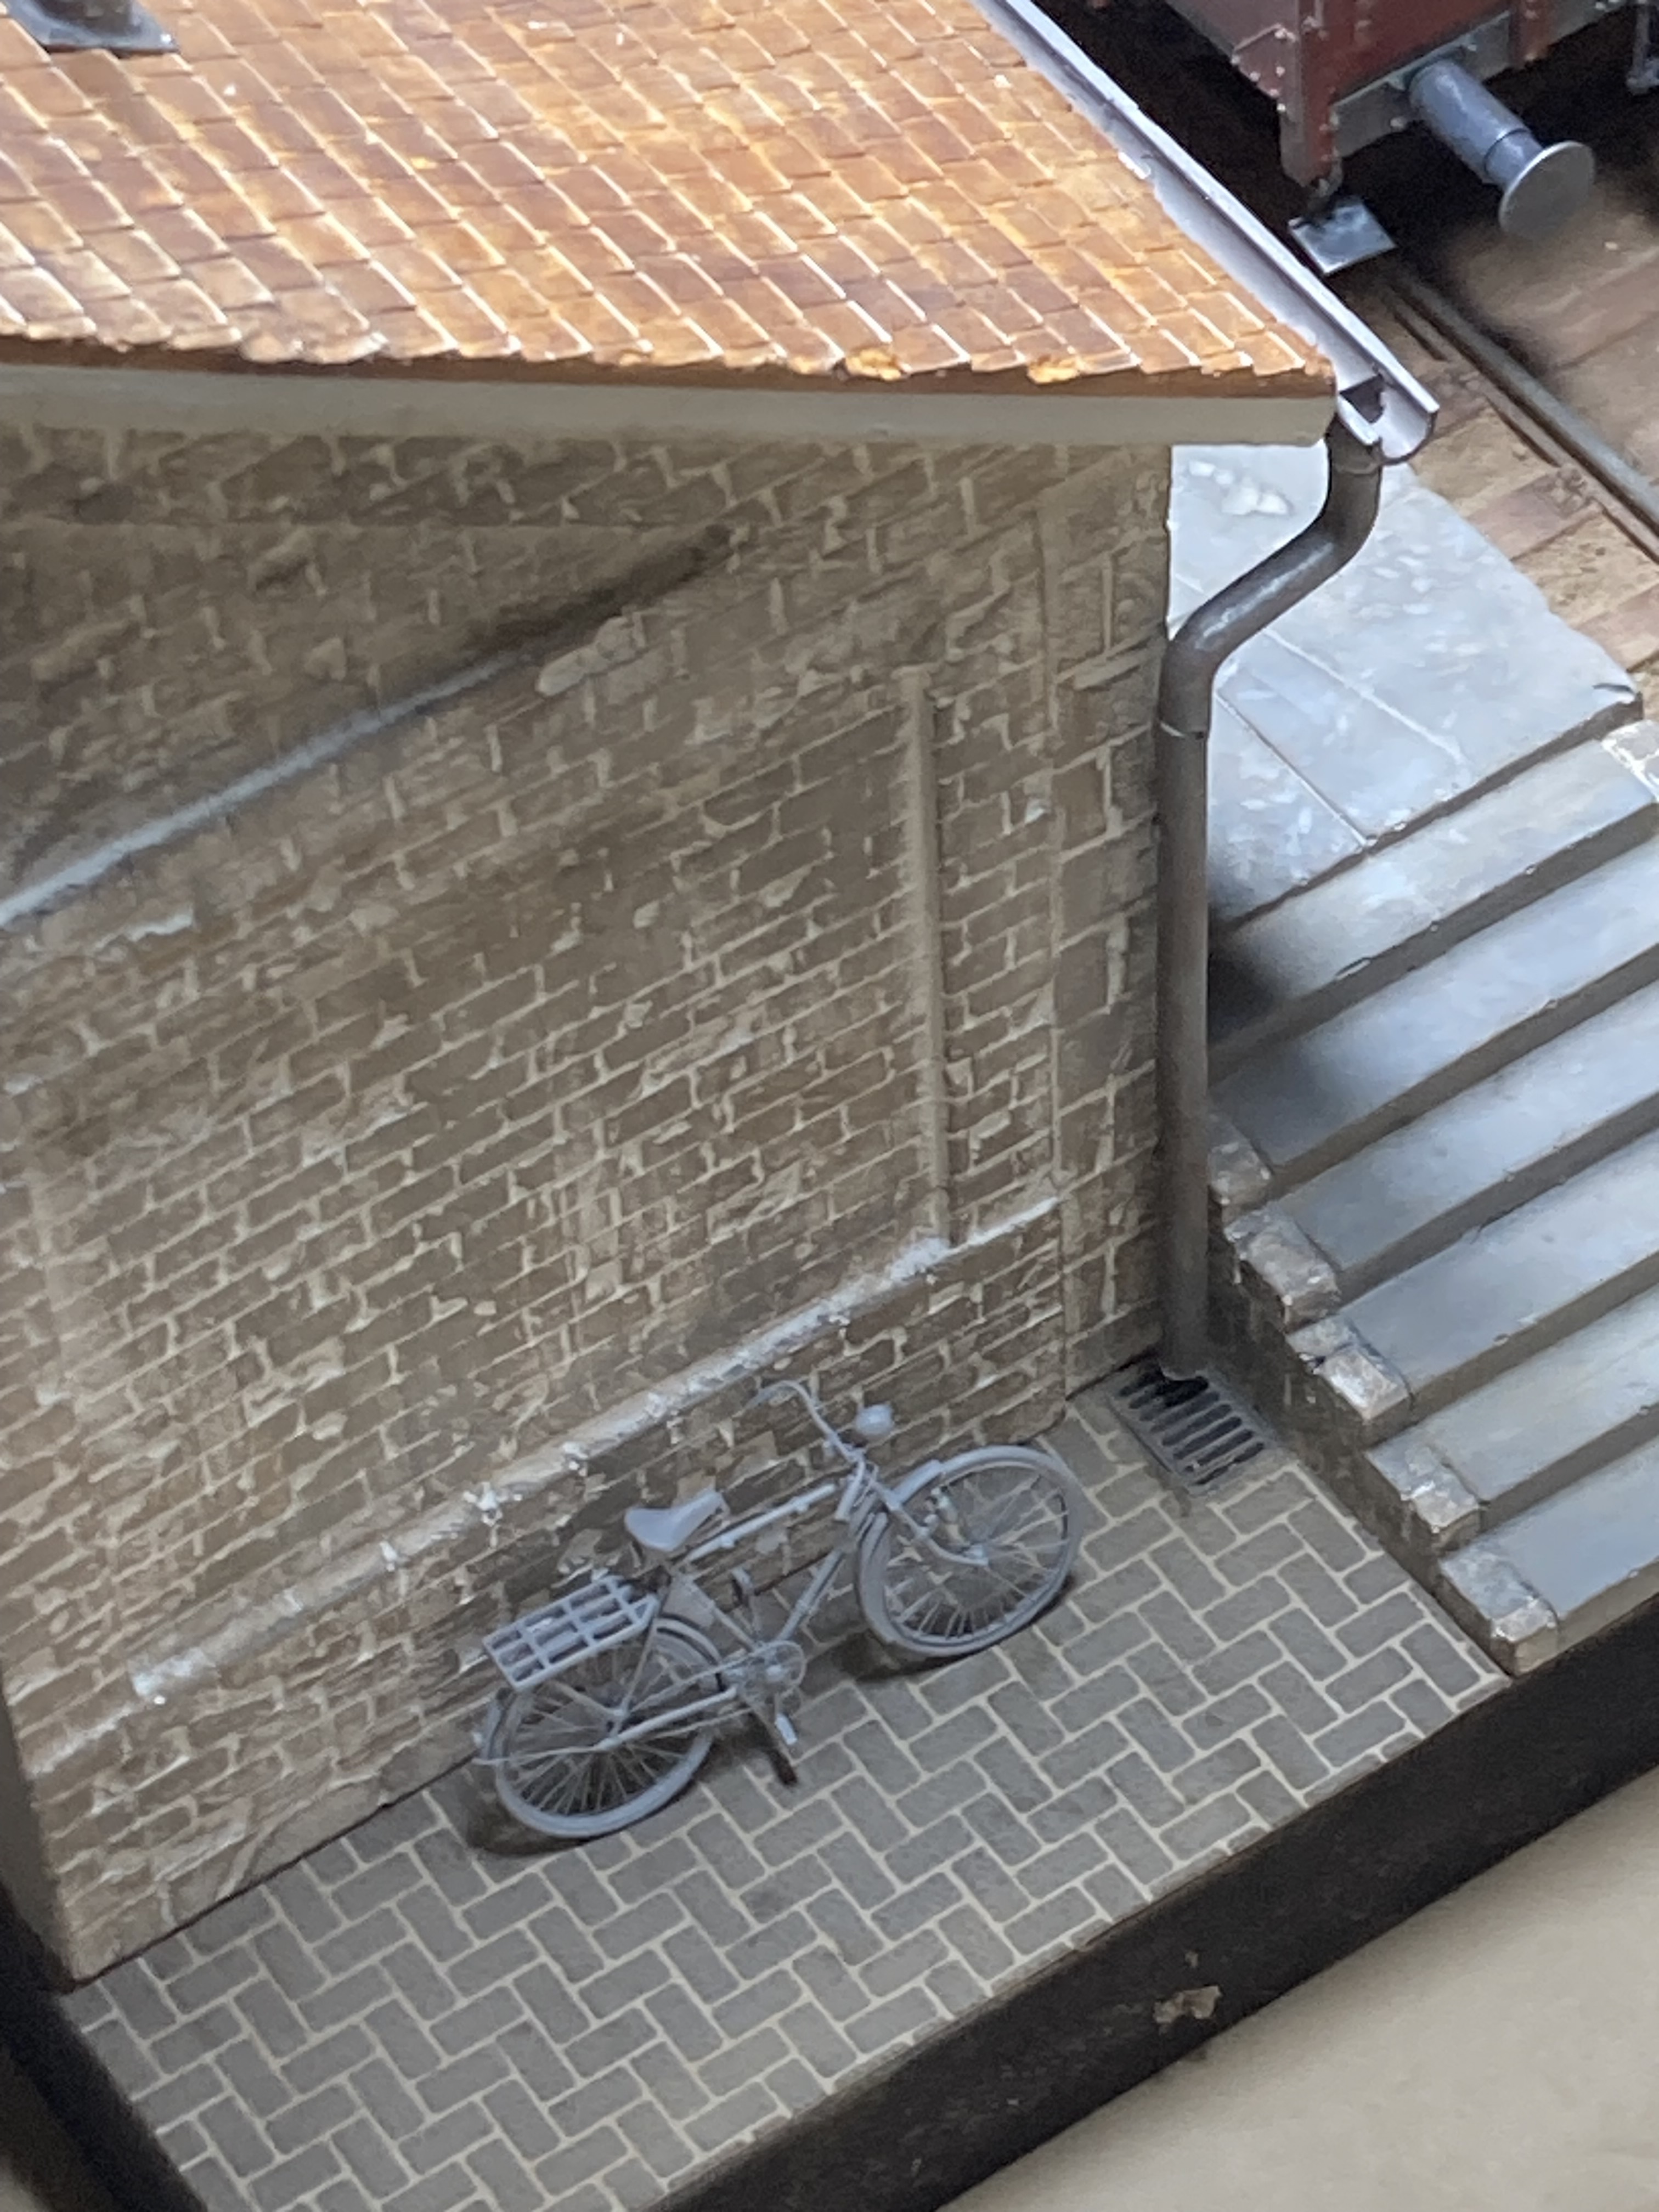
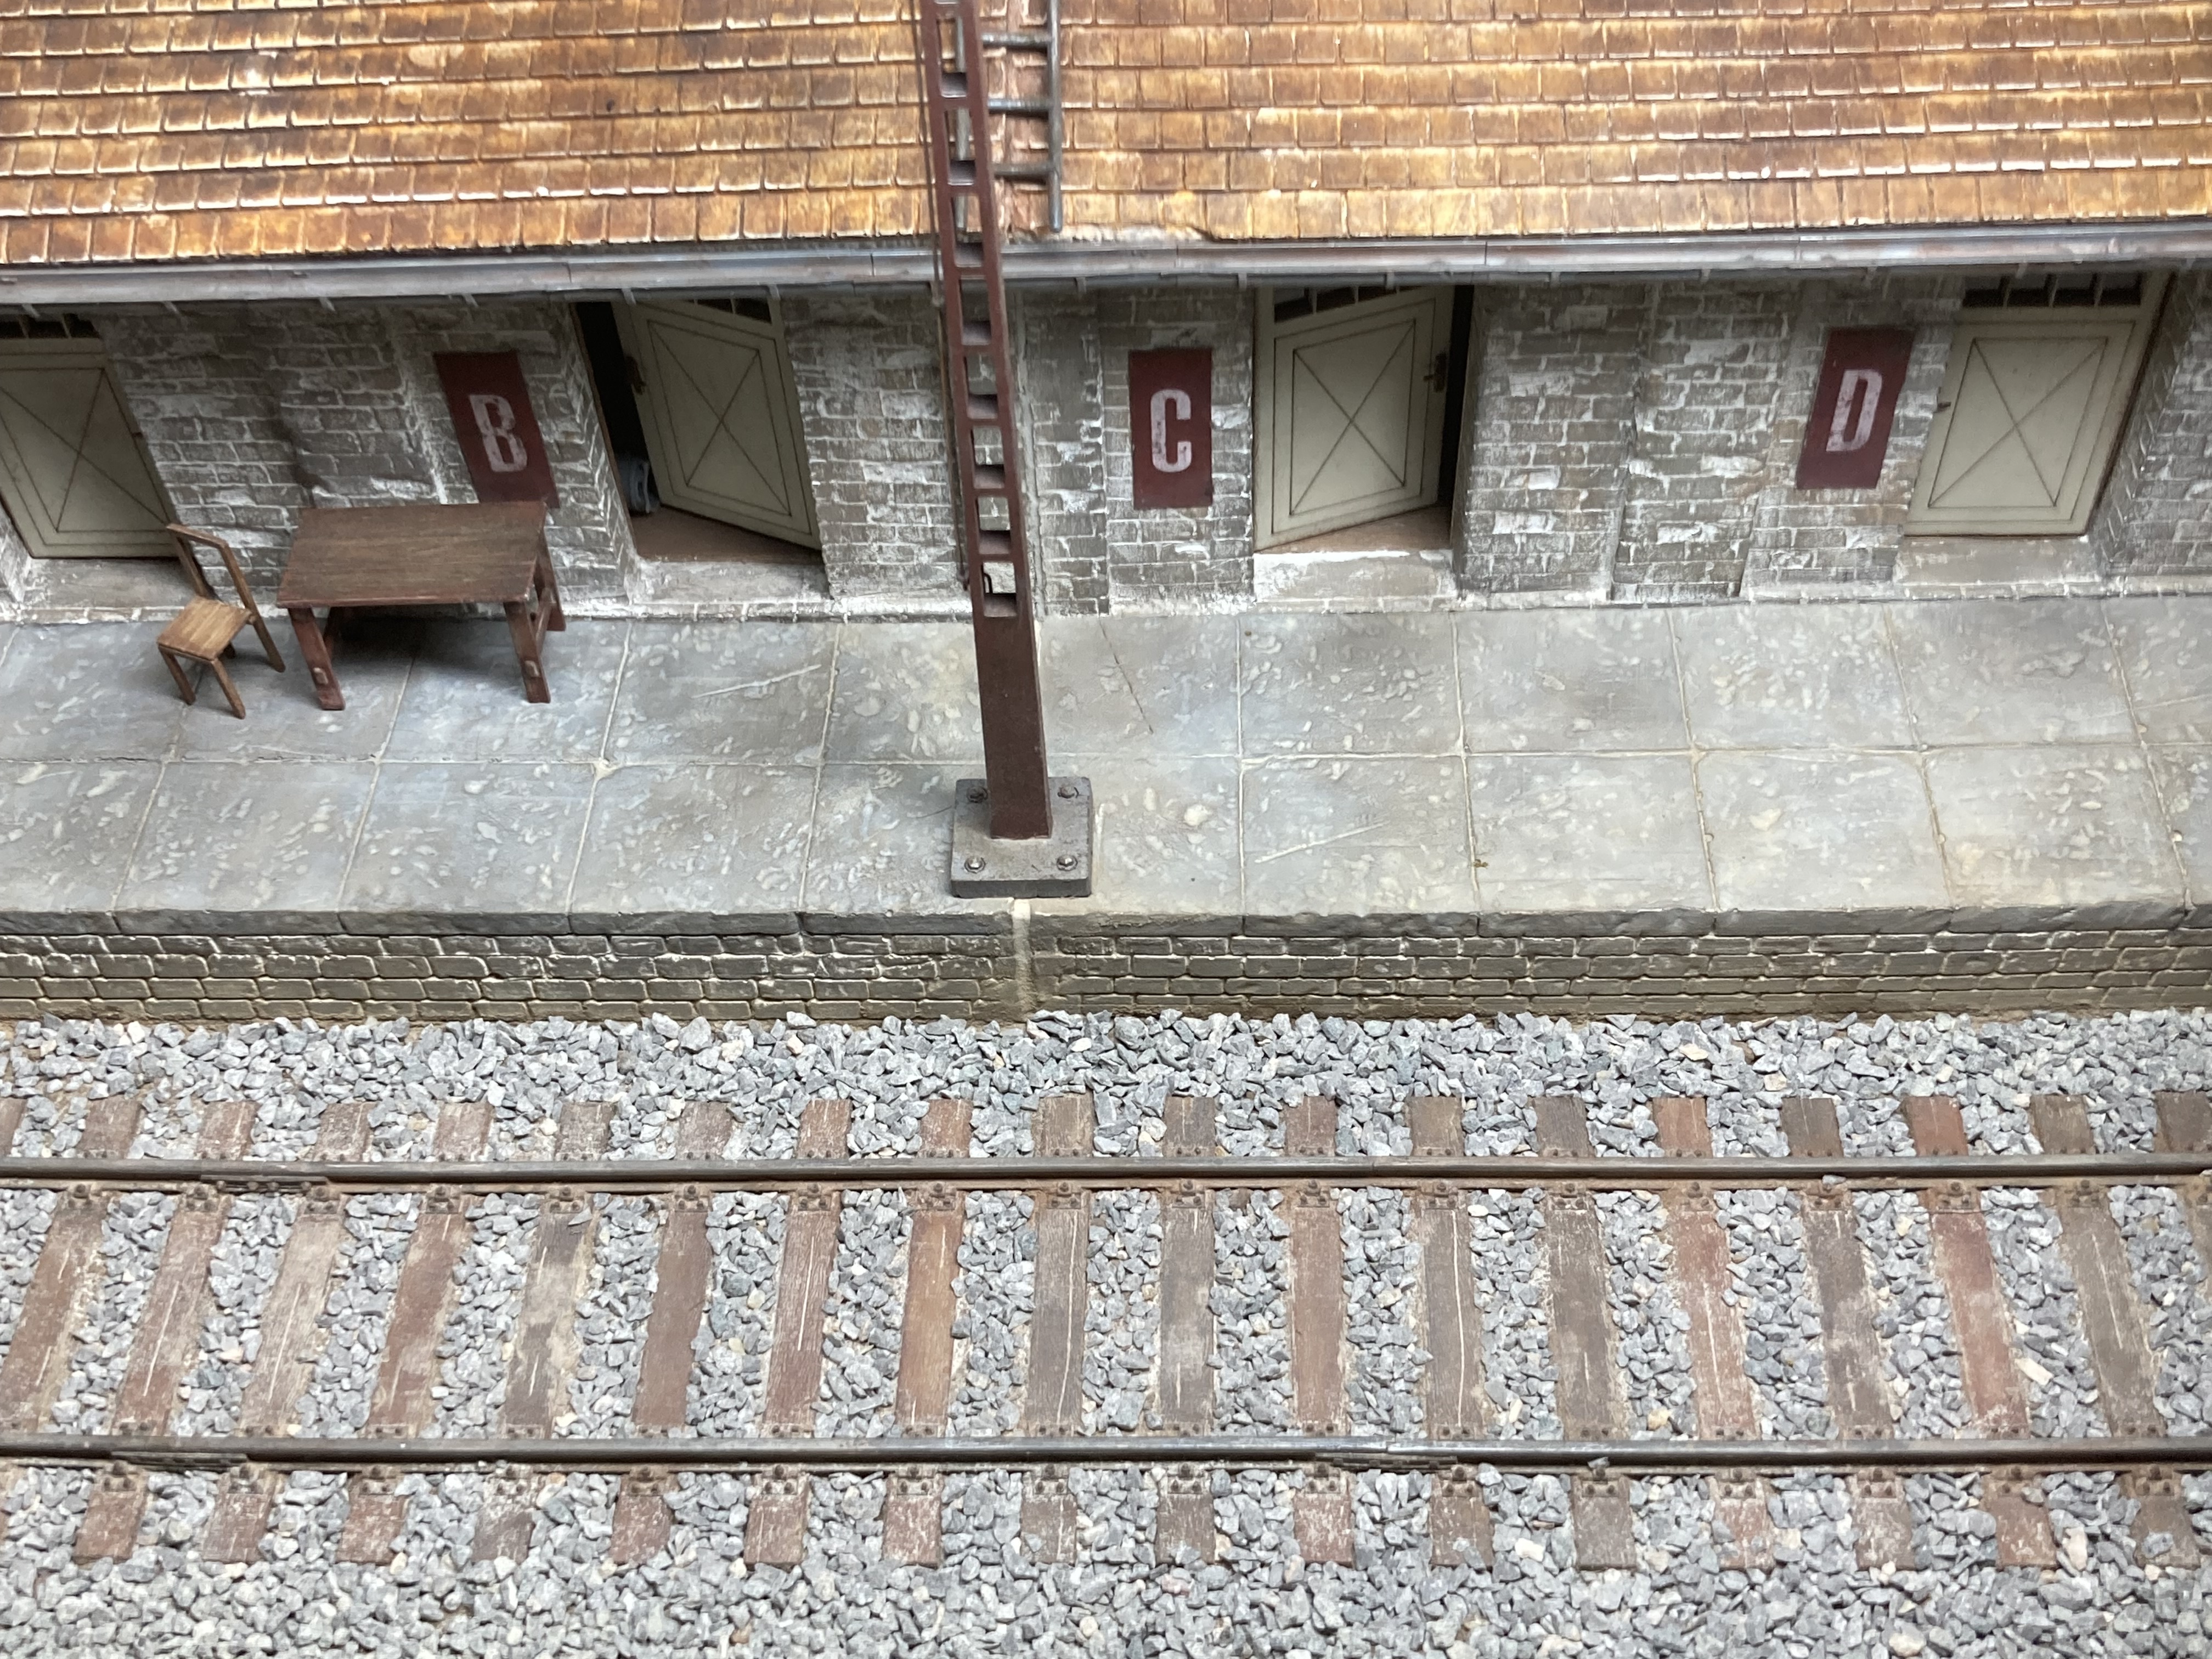
Rain Water Drains and Manhole cover are super nice detail additions! Kudos!
The joints would have been staggered but I did not have enough rail to do that
What you do is cut one section of rail to a half length. Starting out at one end of the diorama laying a half length rail section on one side and a full length rail section on the other. When you get to the other end of the dio you then install that left over half length rail section and the joints are then staggered.
Also
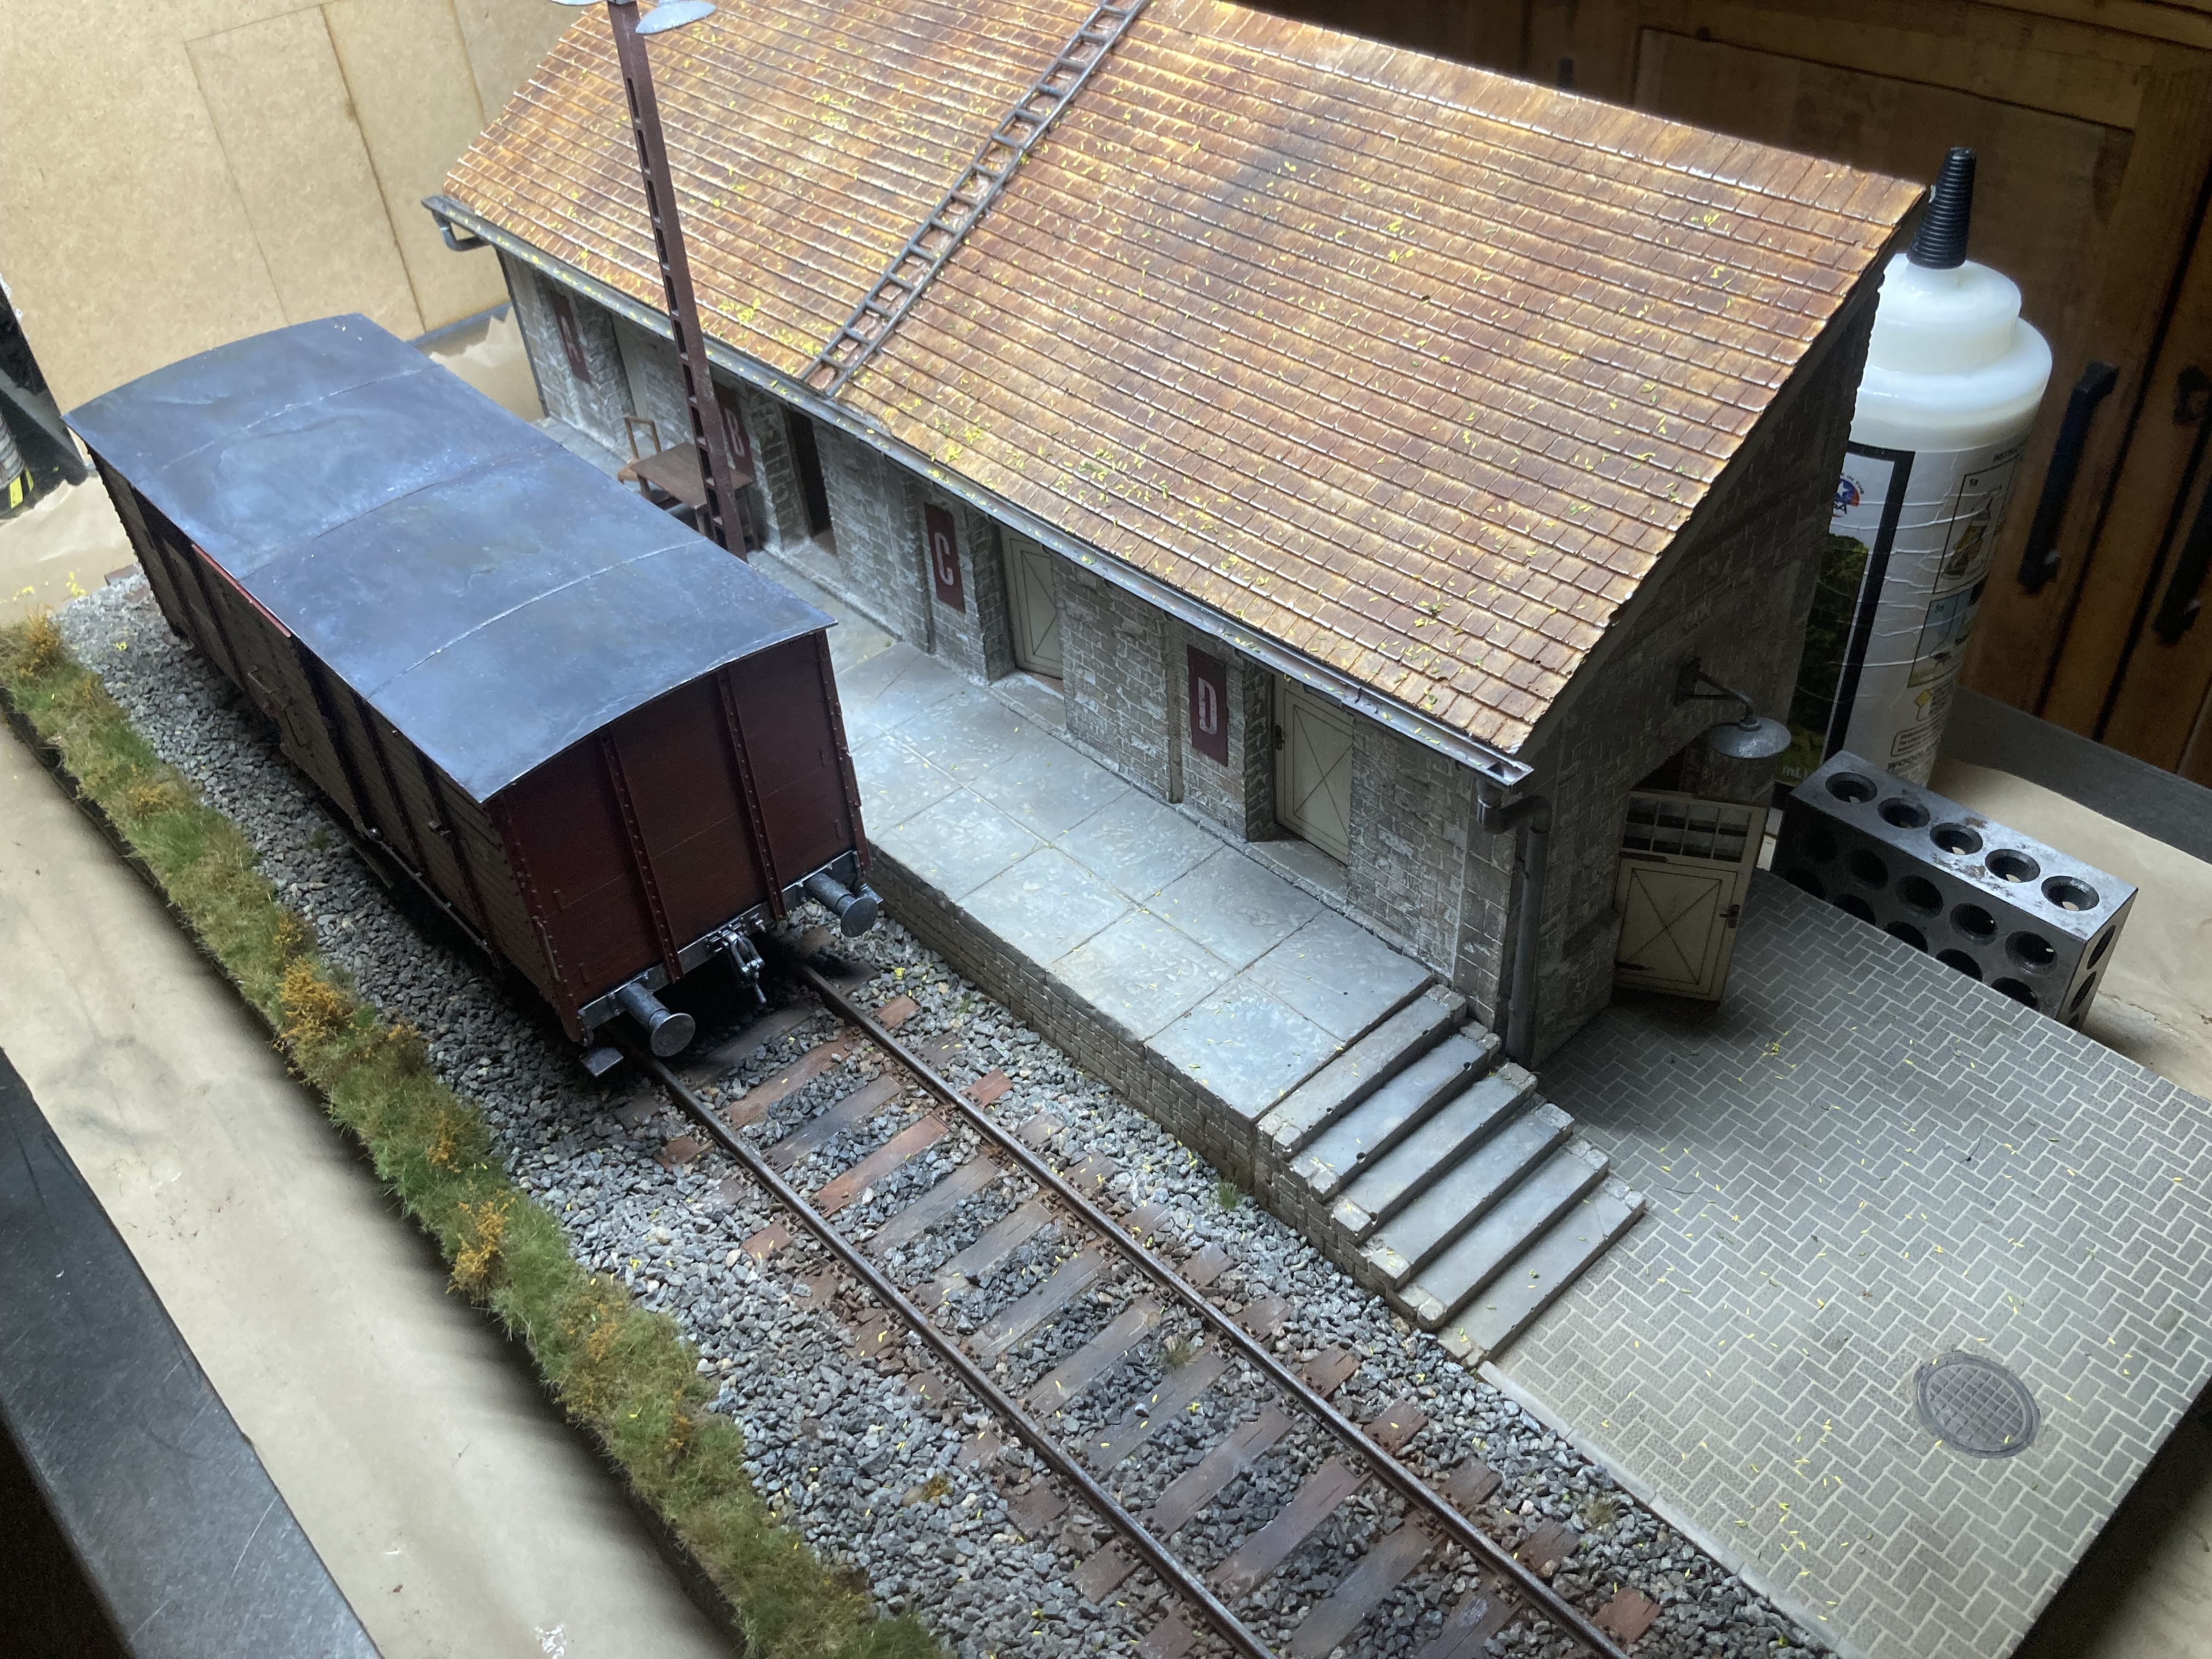
How about a piece of electrical conduit pipe coming up out of the ground, bending 90º and going to the base of that light stanchion/tower? Doing this would disguise that center seam in the loading dock stone work. Or perhaps another short ladder here?
(I would have told you all of this; about - electrical panels, safety switches, double rail ties and staggered rail joints - If you had just not considered my private comments to be irritating and critical rather then helpful as was their intent. So you blocked me from messaging you. My original remarks were only intended to help make your amazing work all that much greater!)
My next comment would have been about how to stagger the rail joints but . … .
Alas . . . . rasberries!
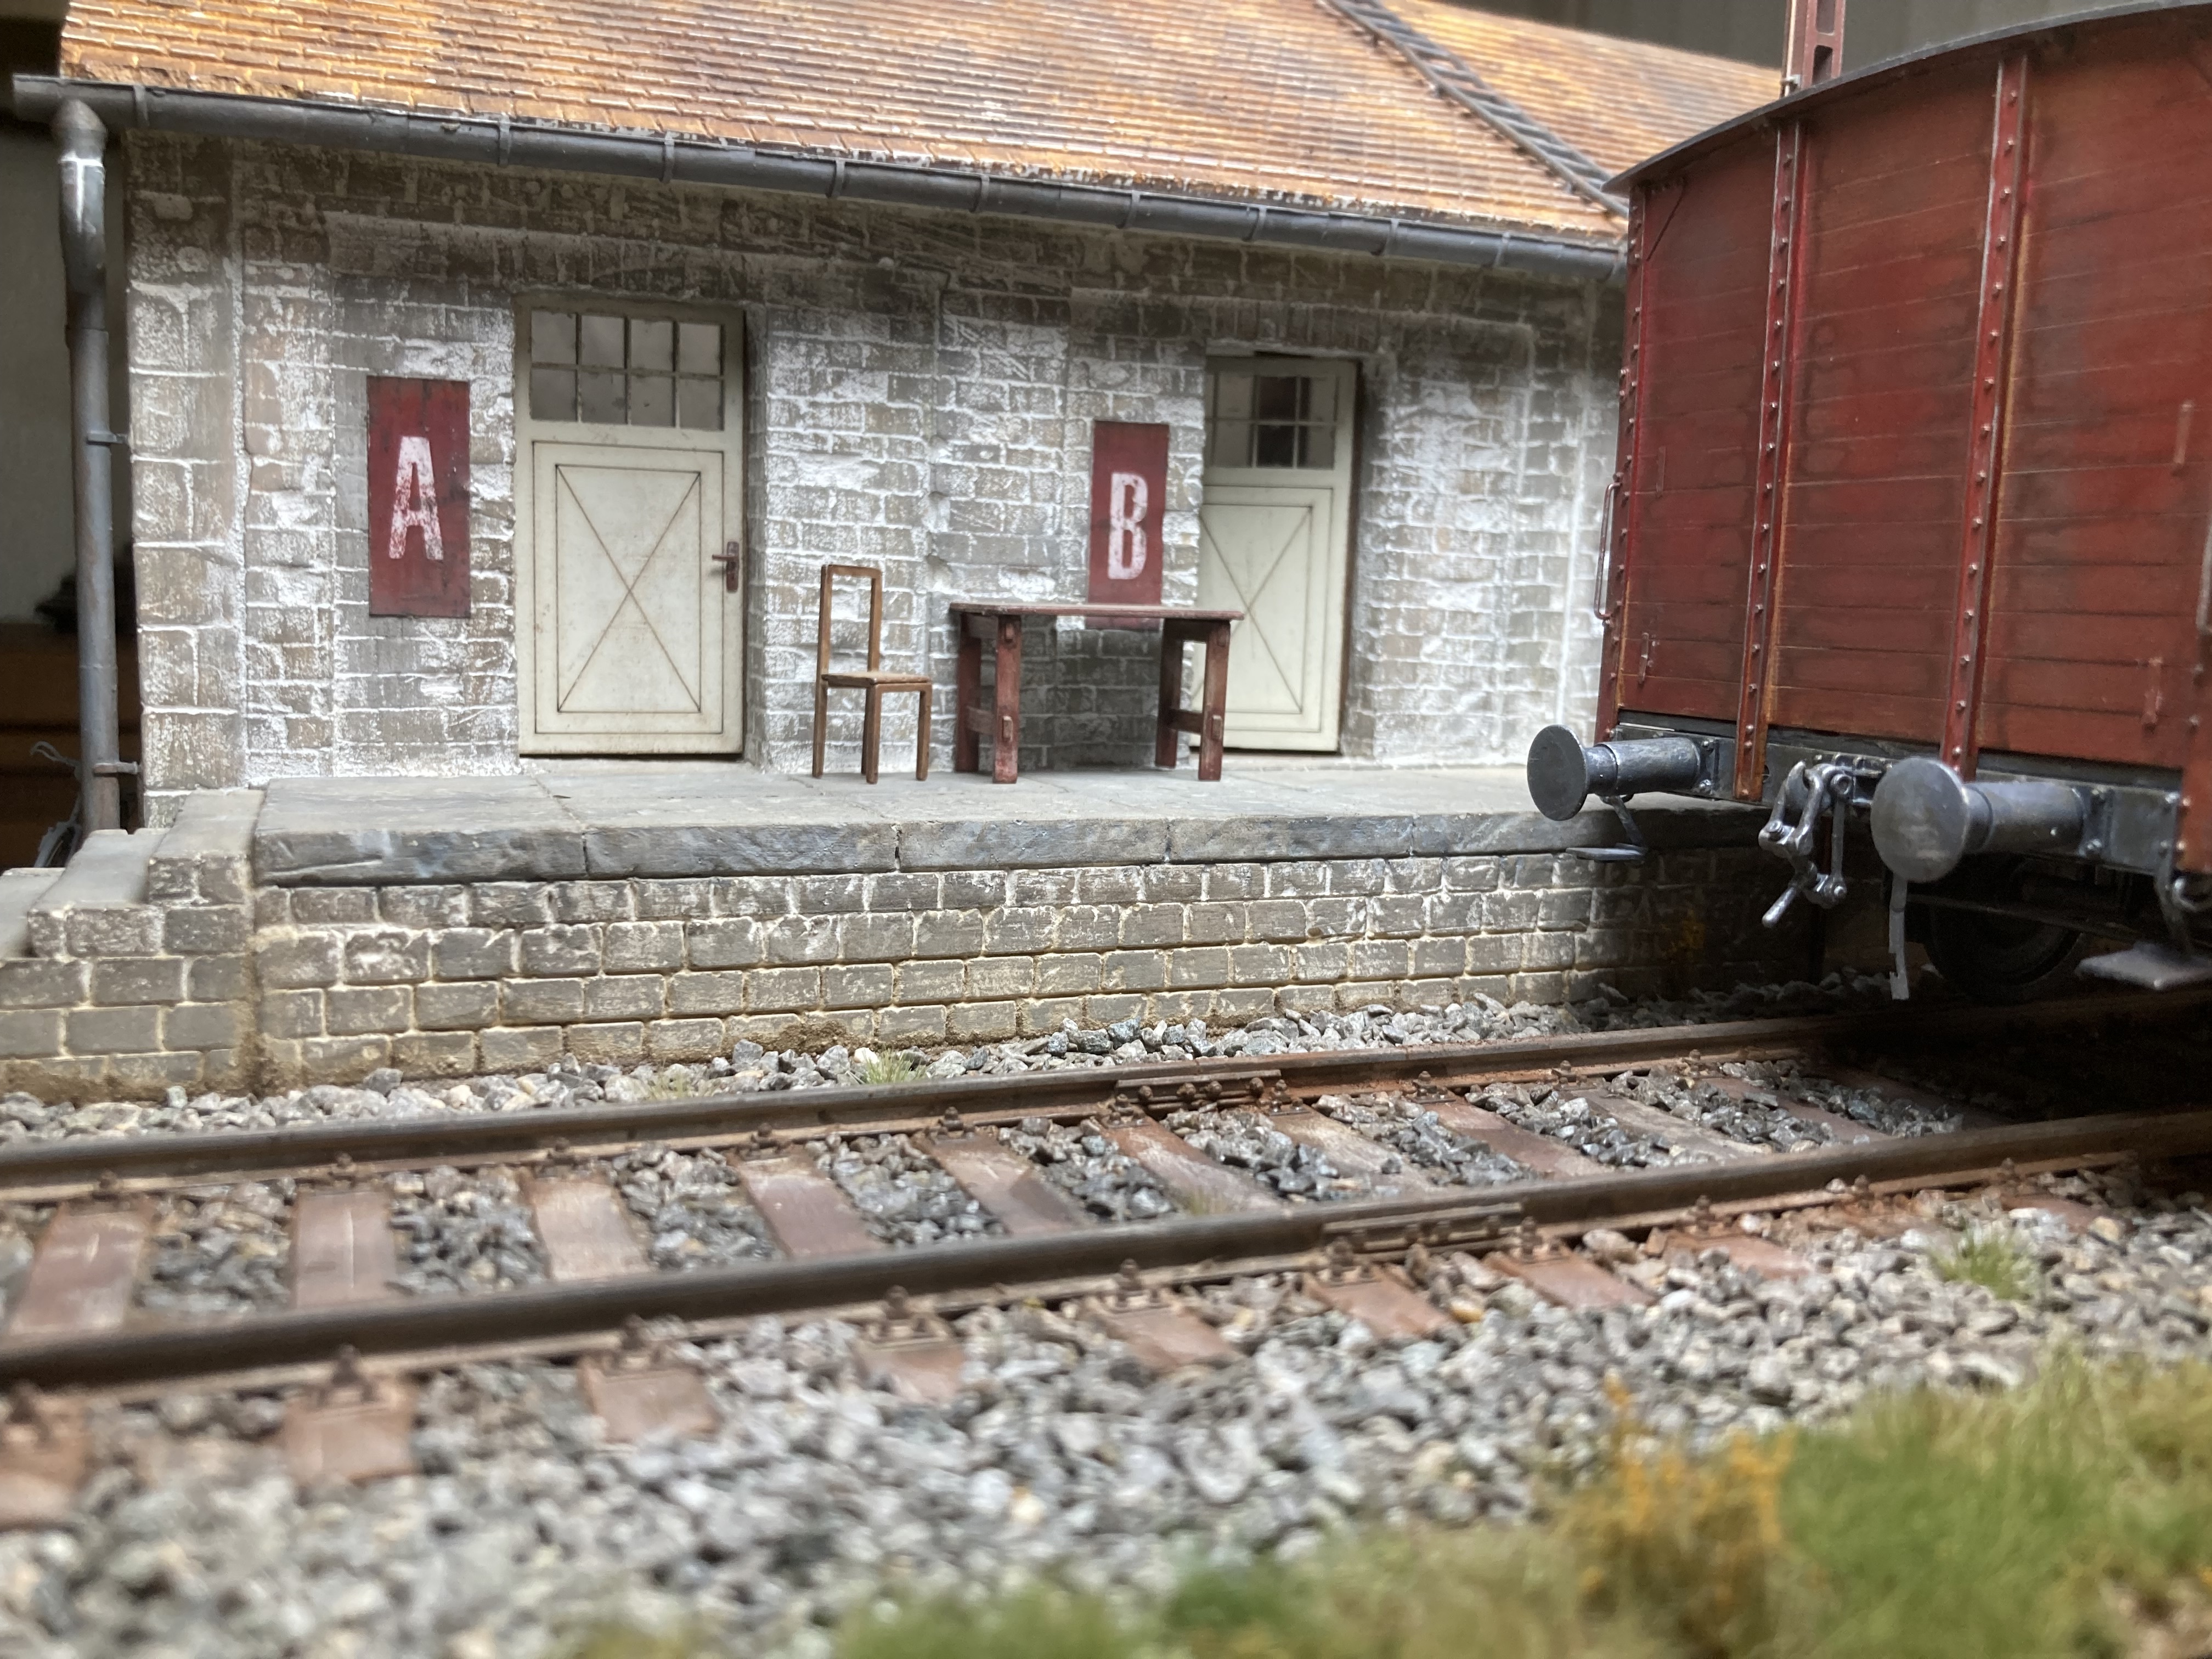
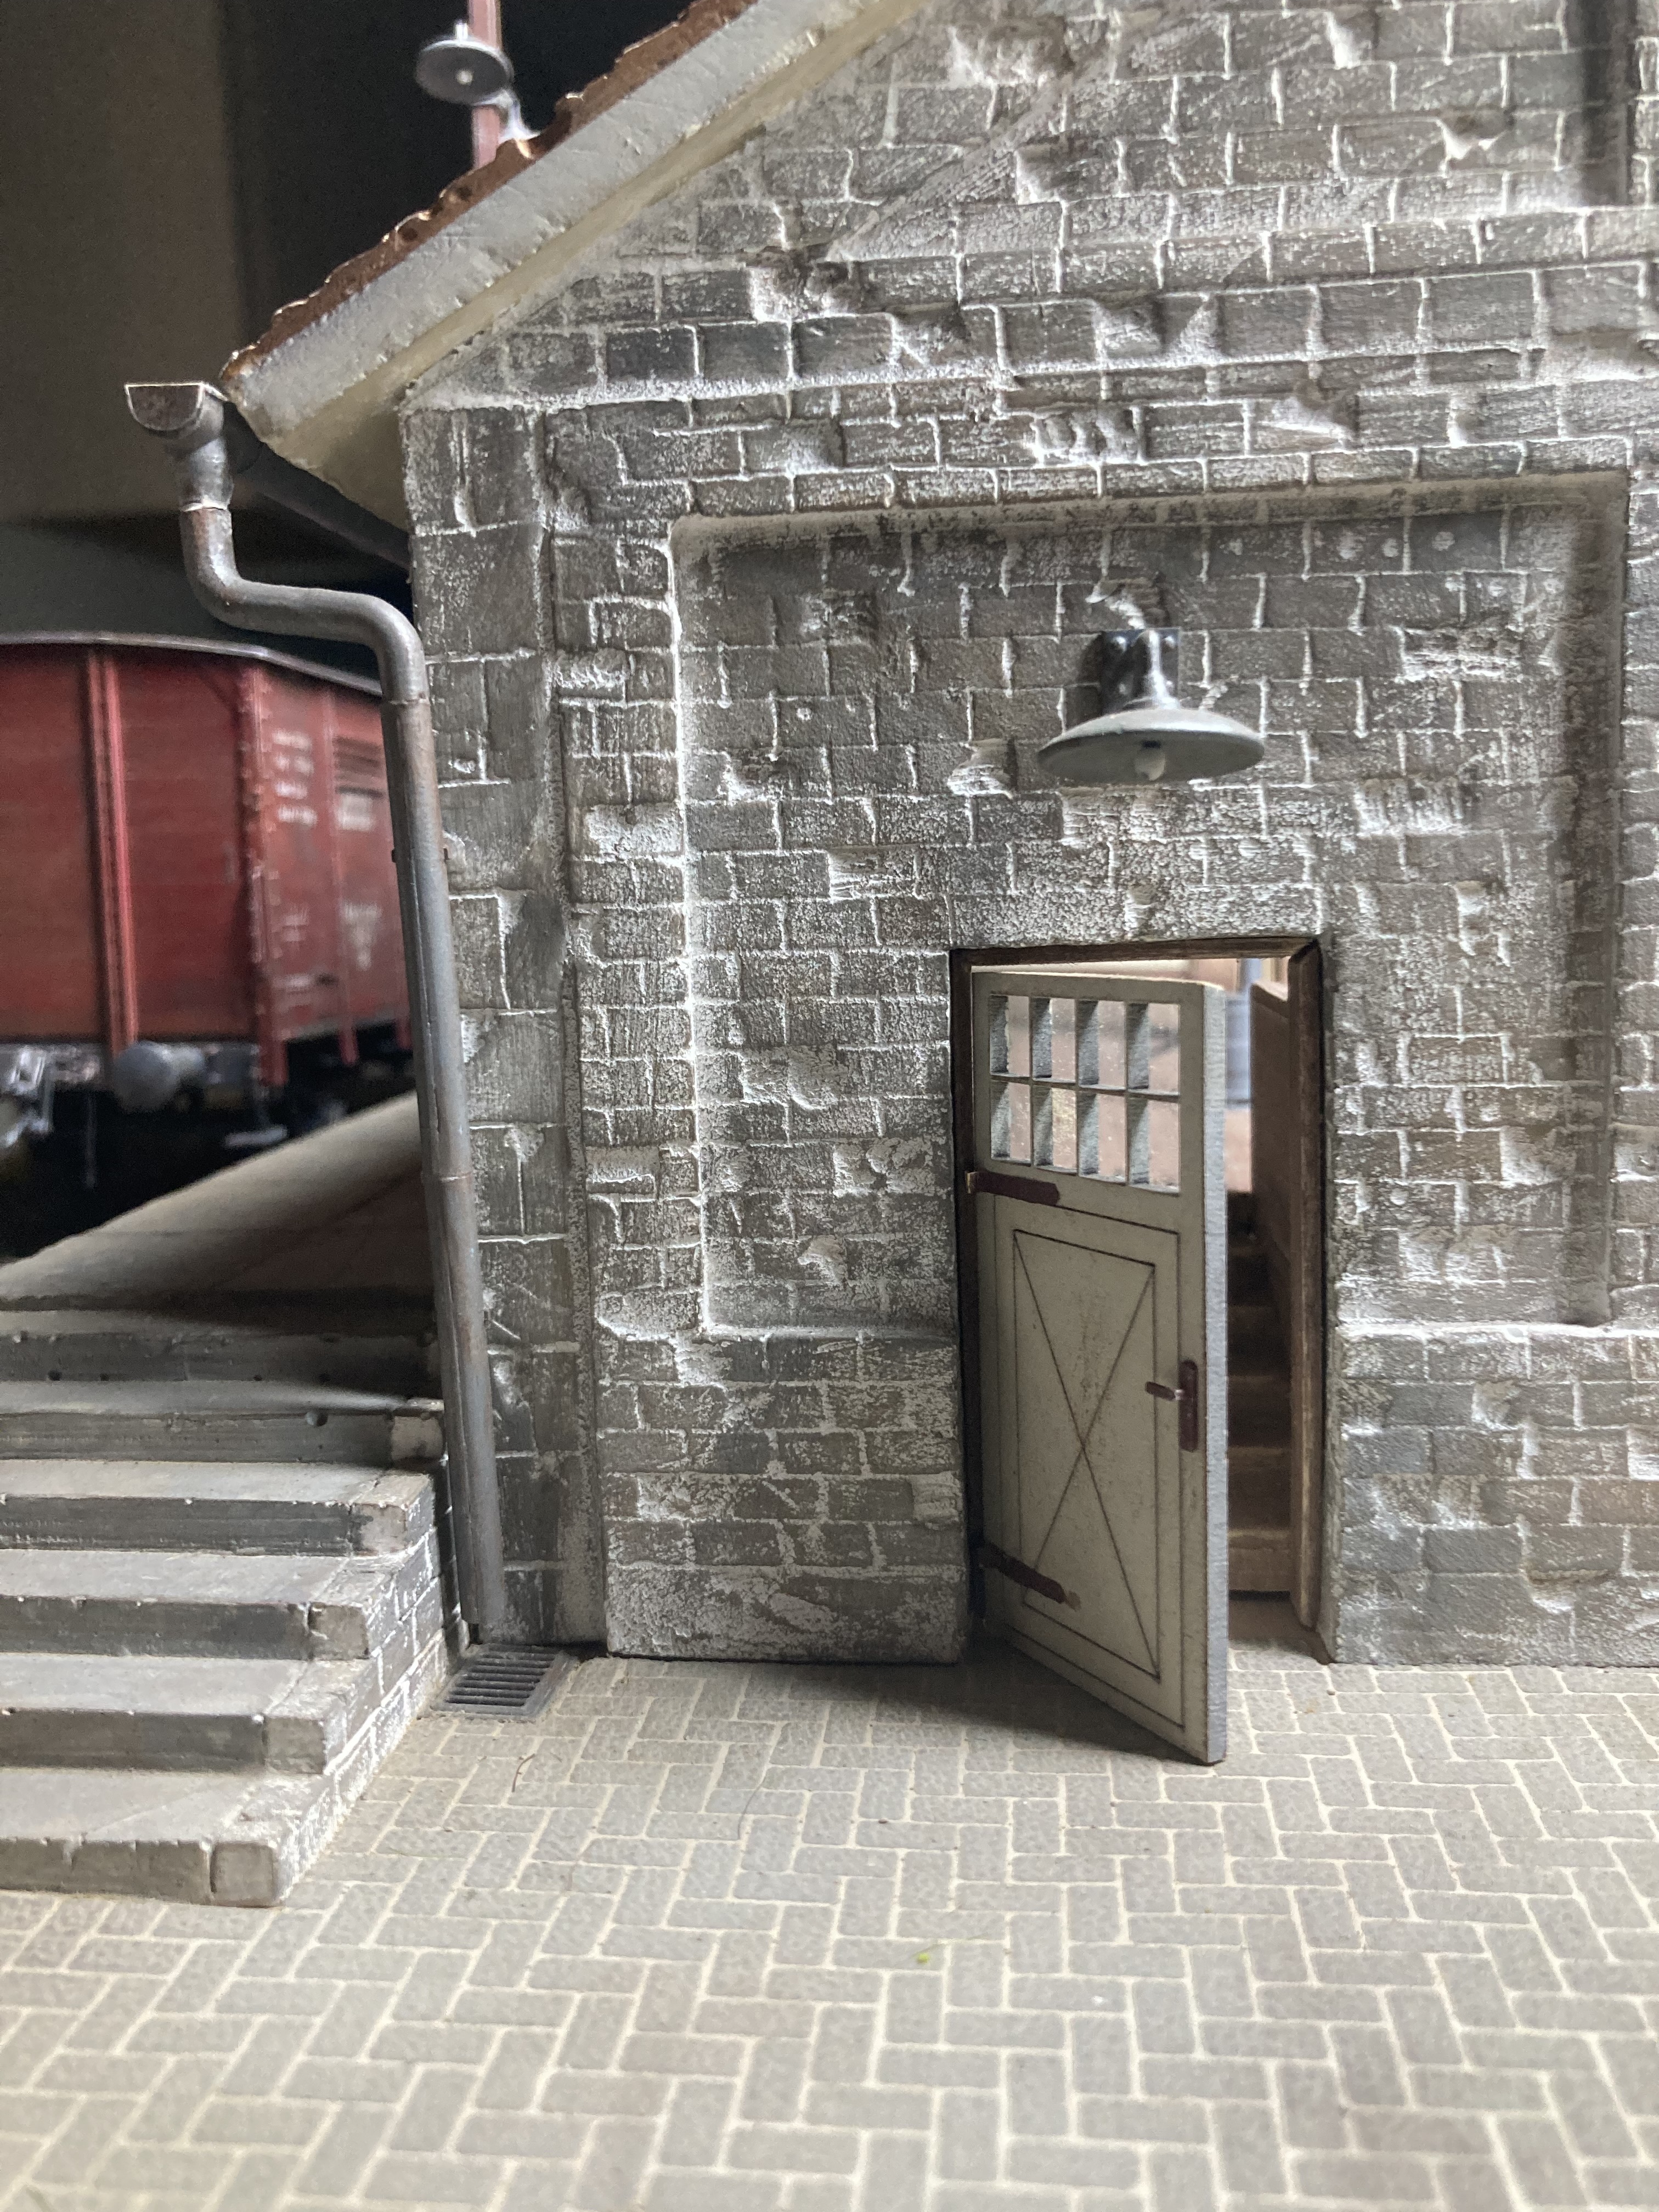
I like the overall effect so far. The stonework looksthe part to me.
There have been comments I’ve held back as well, but my patience paid off. Sometimes you just have to let a guy discover his own mistakes and let him correct them himself. A fine line between “thank you” and blocking you.
For instance, I said nothing about the seam lines from this photo farther up:
But now they’ve taken care of themselves. I have a feeling that being somewhat more senior (as am I) it may take the OP’s eyeballs a bit longer to notice these things. Which he did. And I’m sure he’ll catch the others.
That’s why I use an Optivisor these days.
So your comments about the seam in the stonework, while valid, may just be a matter of “I haven’t gotten to that yet.”
That said, I think a viewer would be very hard pressed to see the seam or the matching rail joints once the locomotive and box car are re-installed.
Besides, in the OP’s own words:
Just like real life nothing is perfect. Modeling dioramas is no different. It brings character to the display. Oddities make the scene.
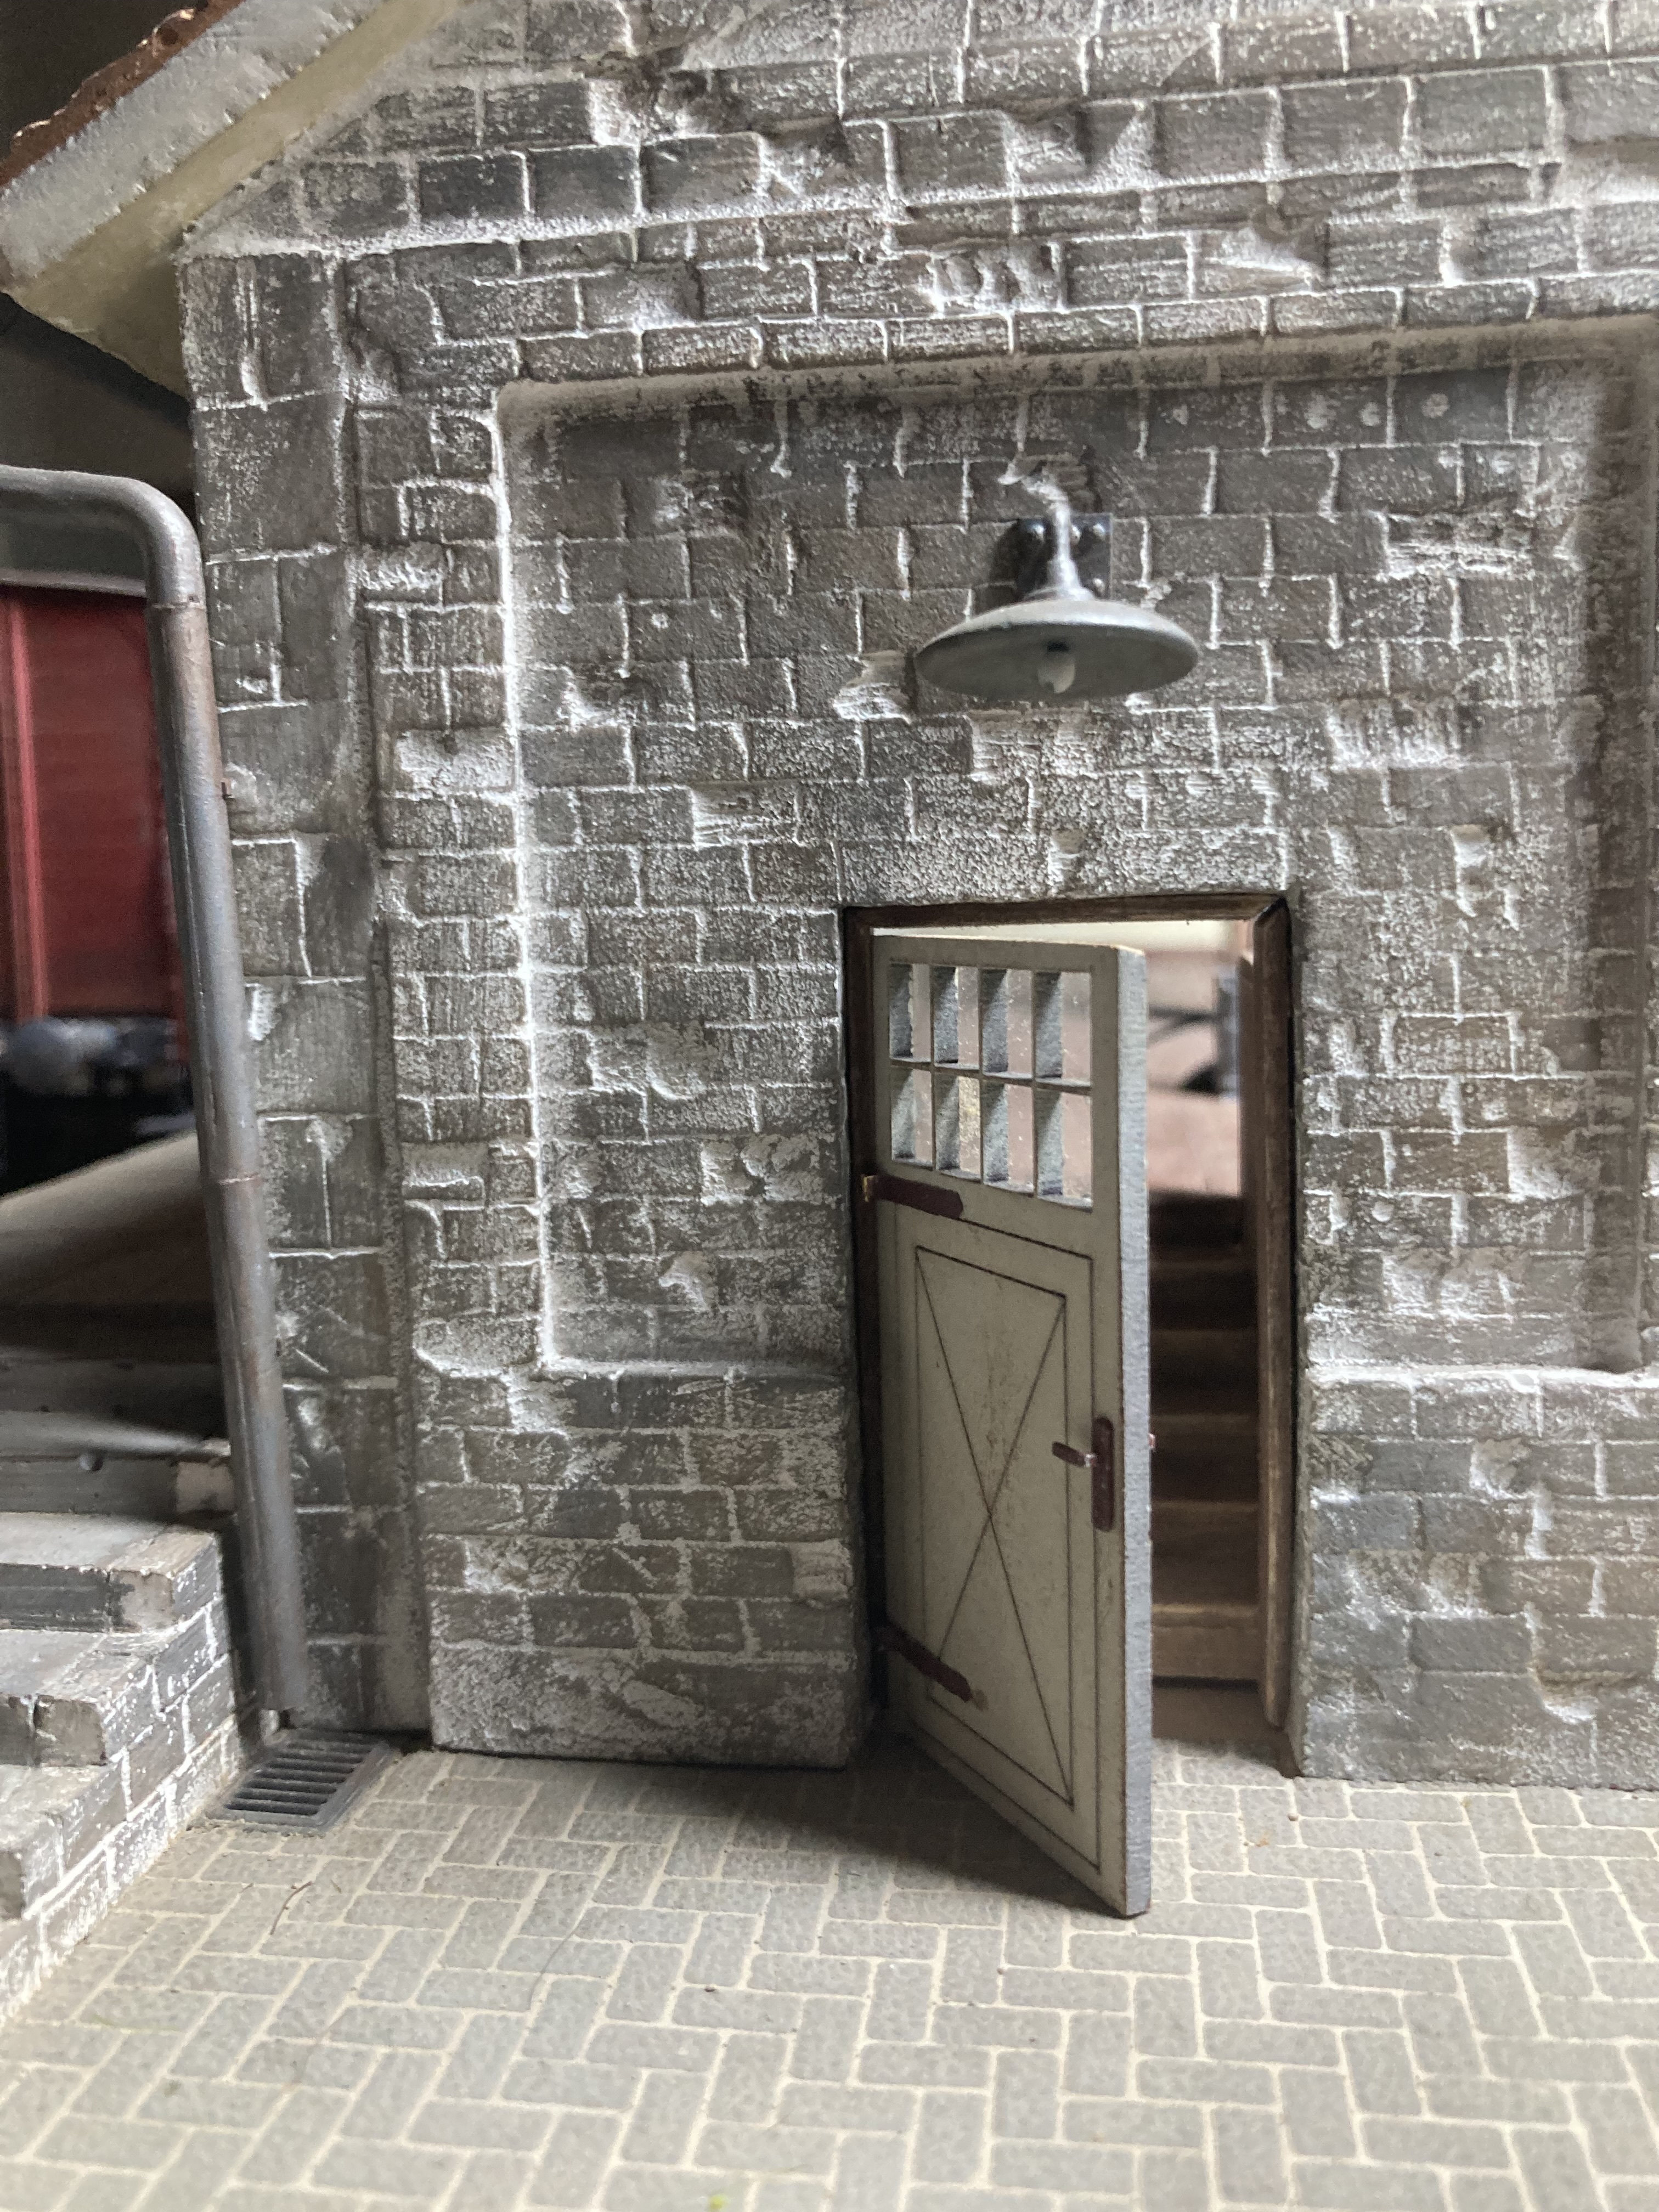
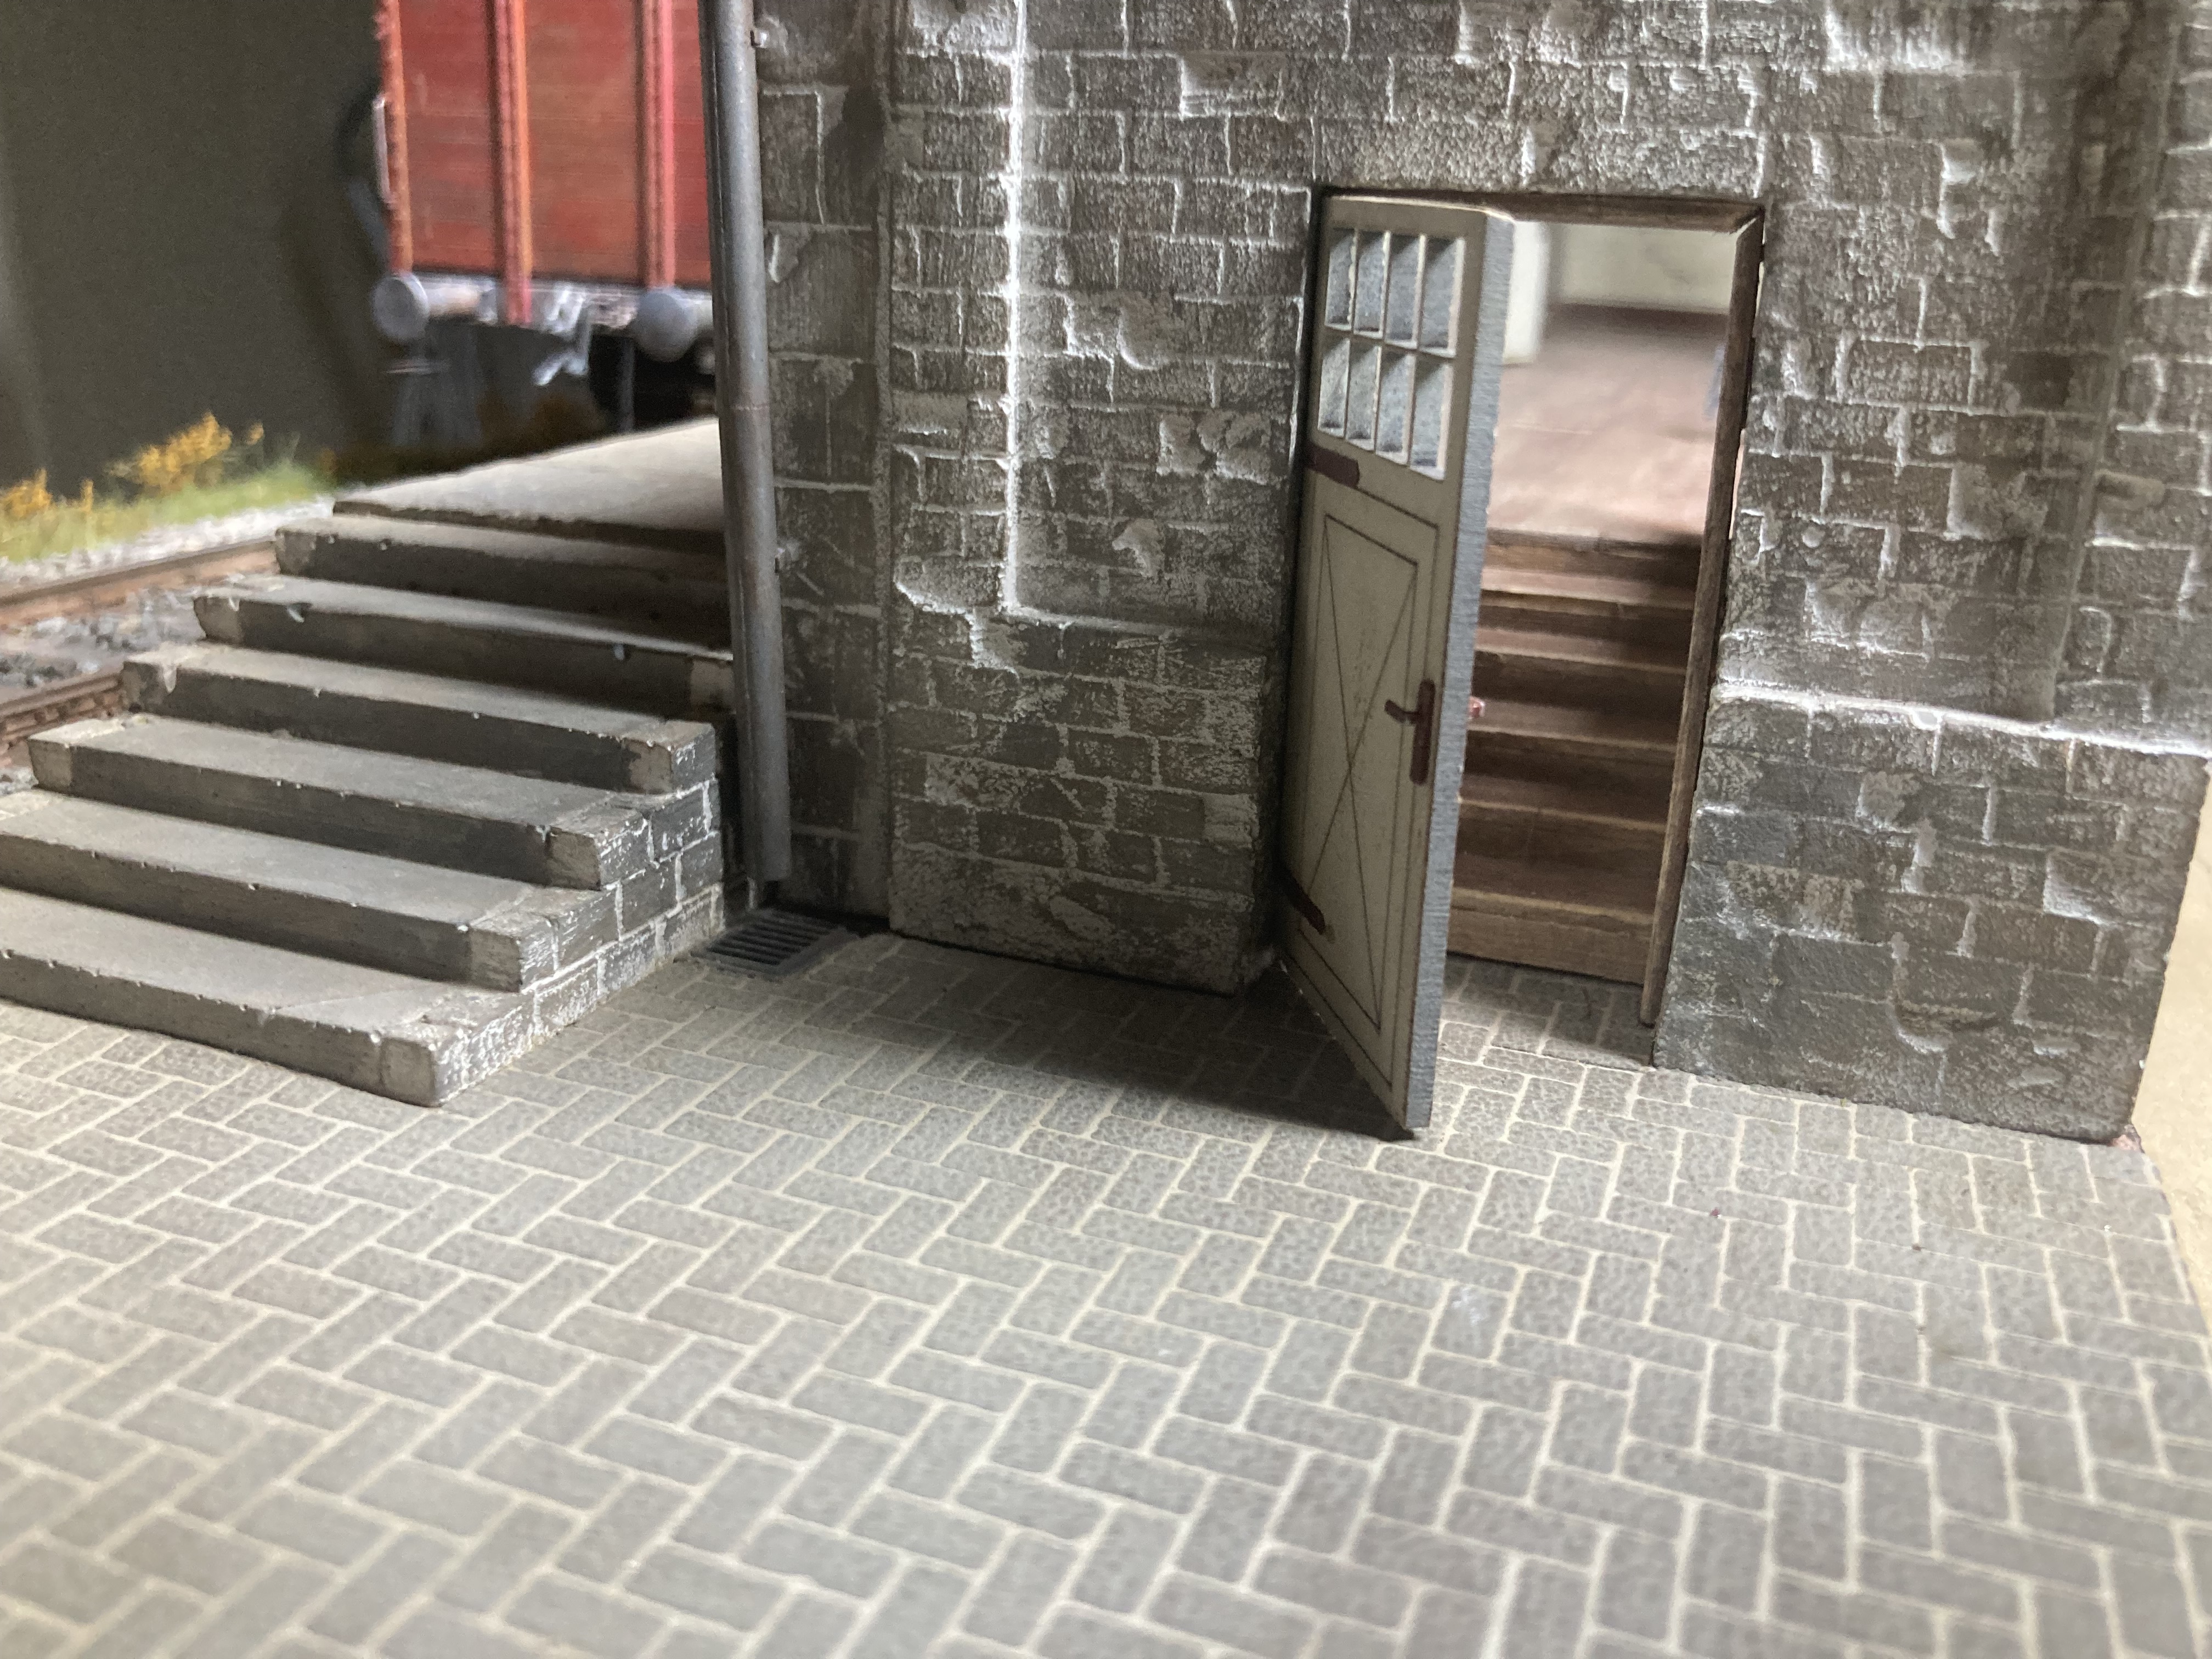
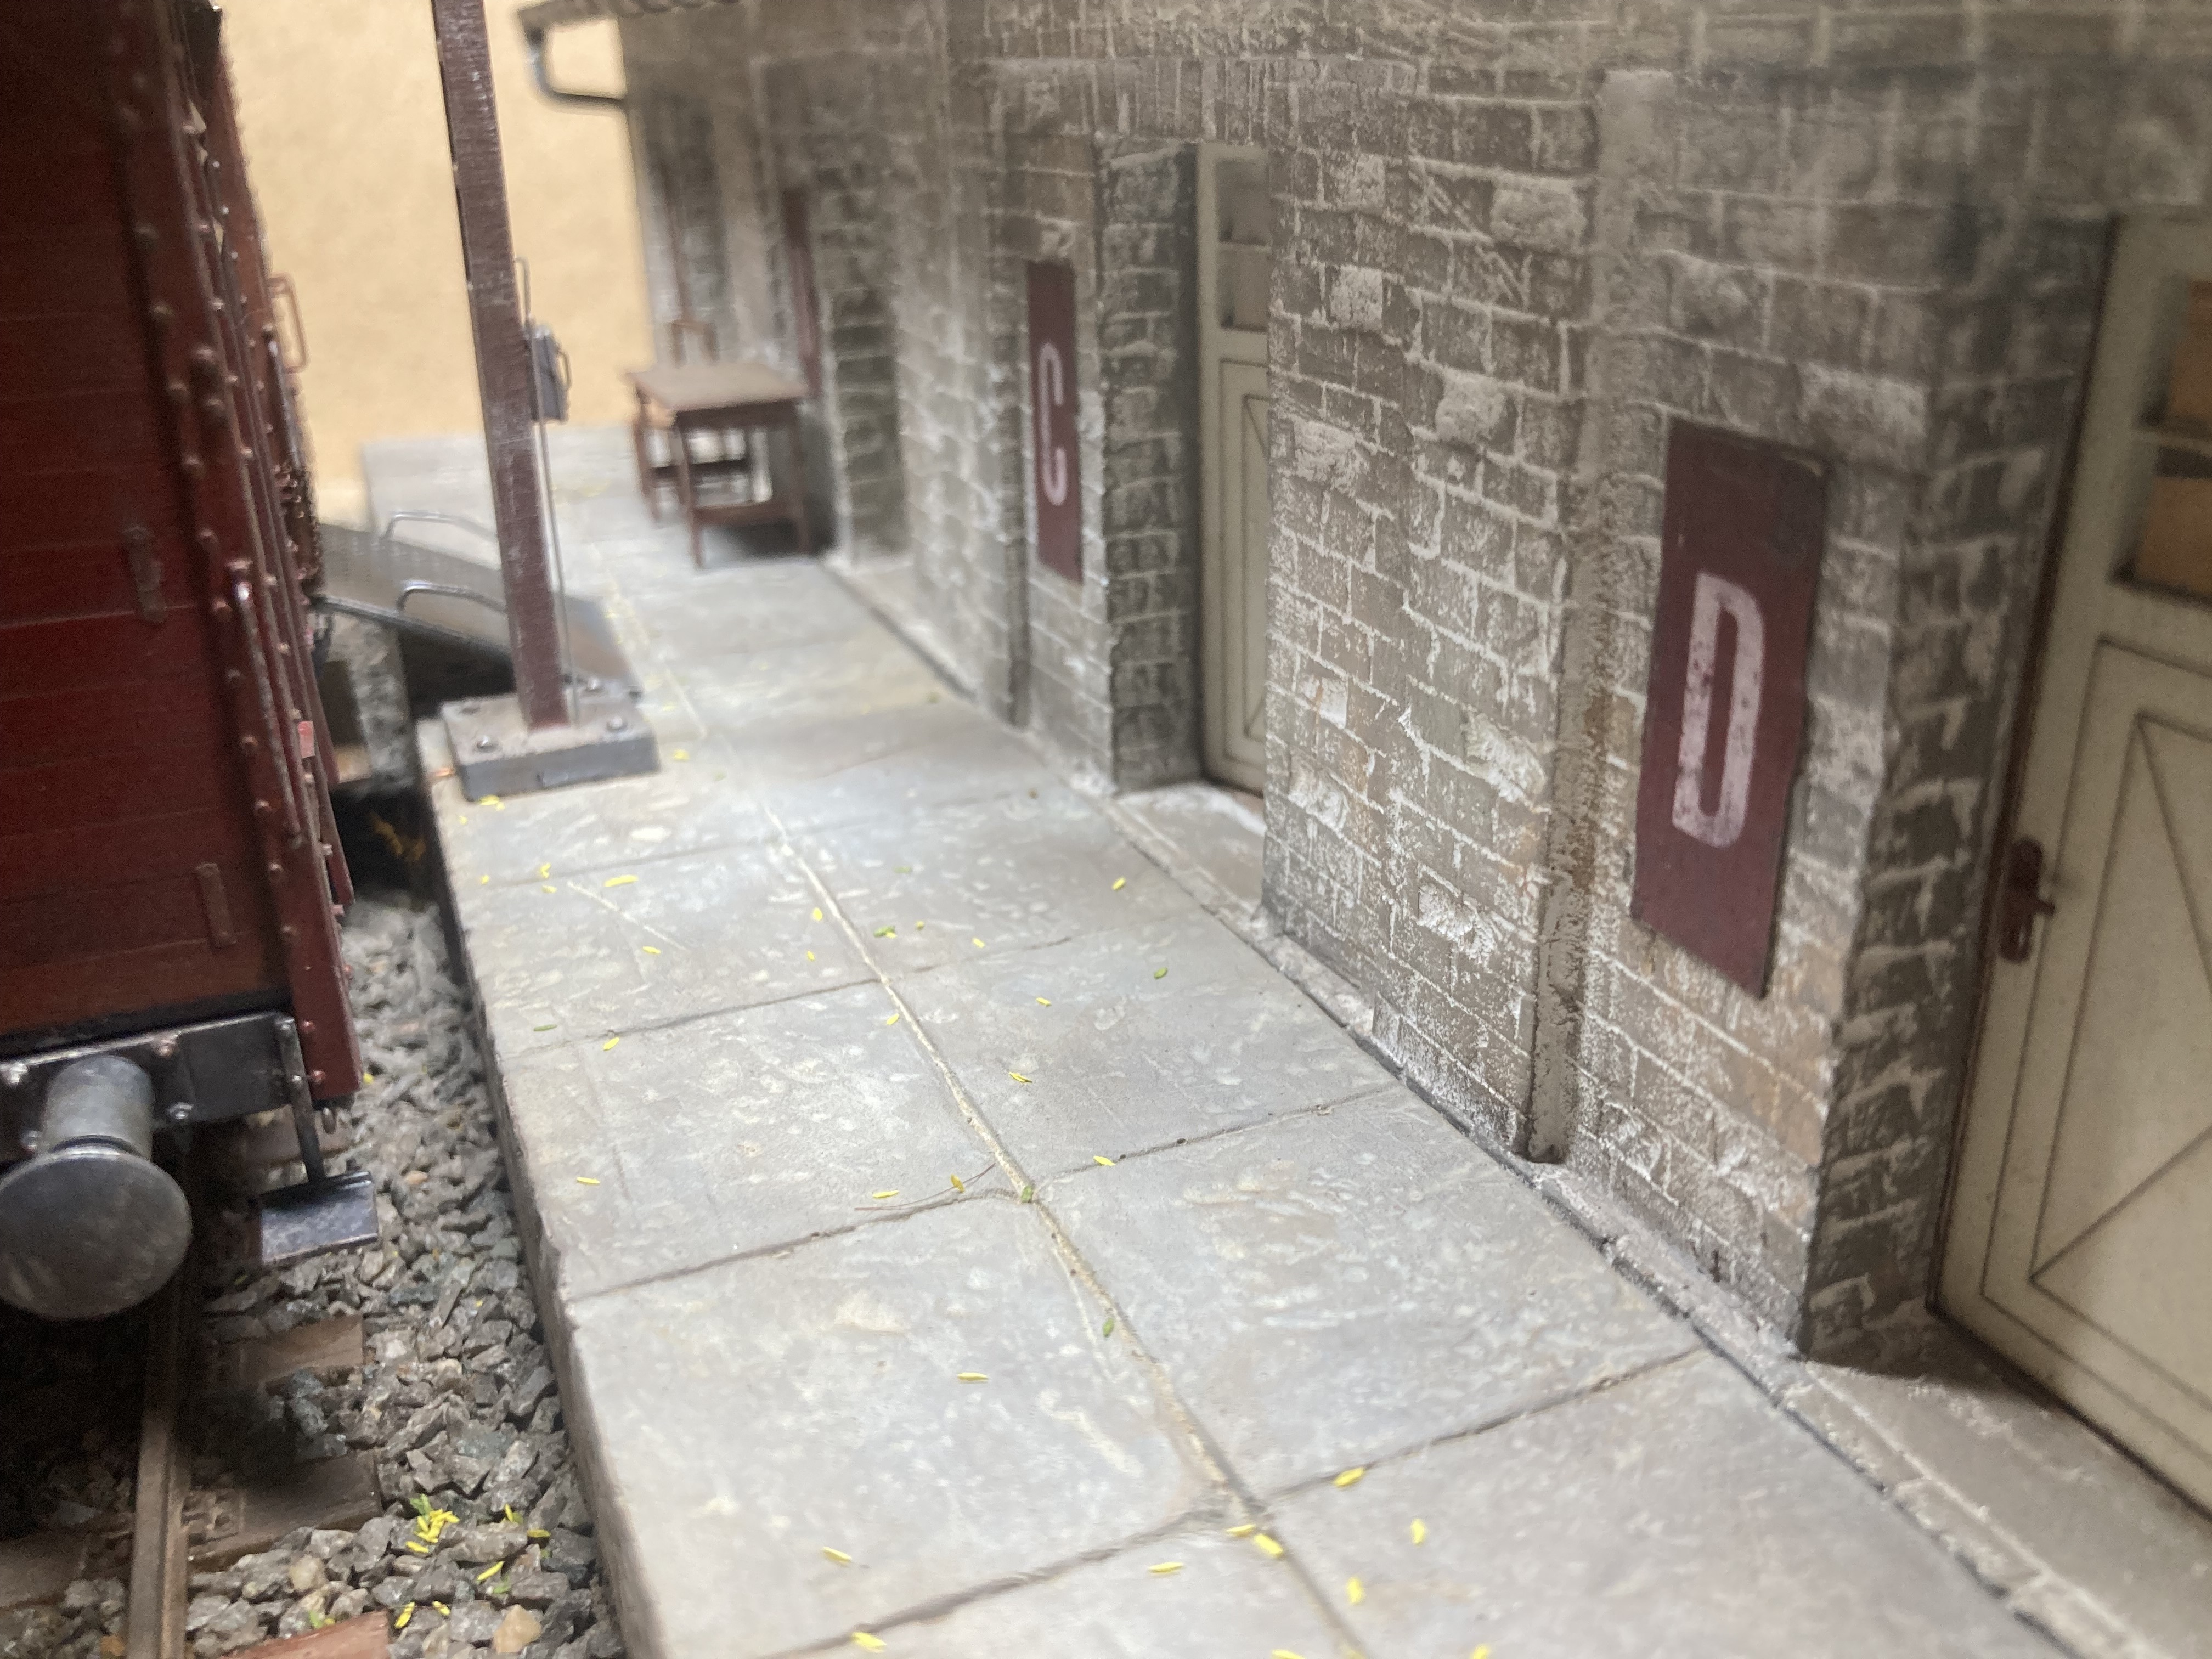
My comments have nothing to do with craftsmanship, but with the design of the kits. I still find the side door placement in the warehouse a bit odd. A laborer would still have a heck of a time rolling, dragging or pushing anything through that bay door and then immediately encountering that wall. How do you get a pallet jack around it? I’m curious if the designer of the kit based it on an actual building or just thought it up. Doesn’t matter in the end. The presentation is ultimately what counts.
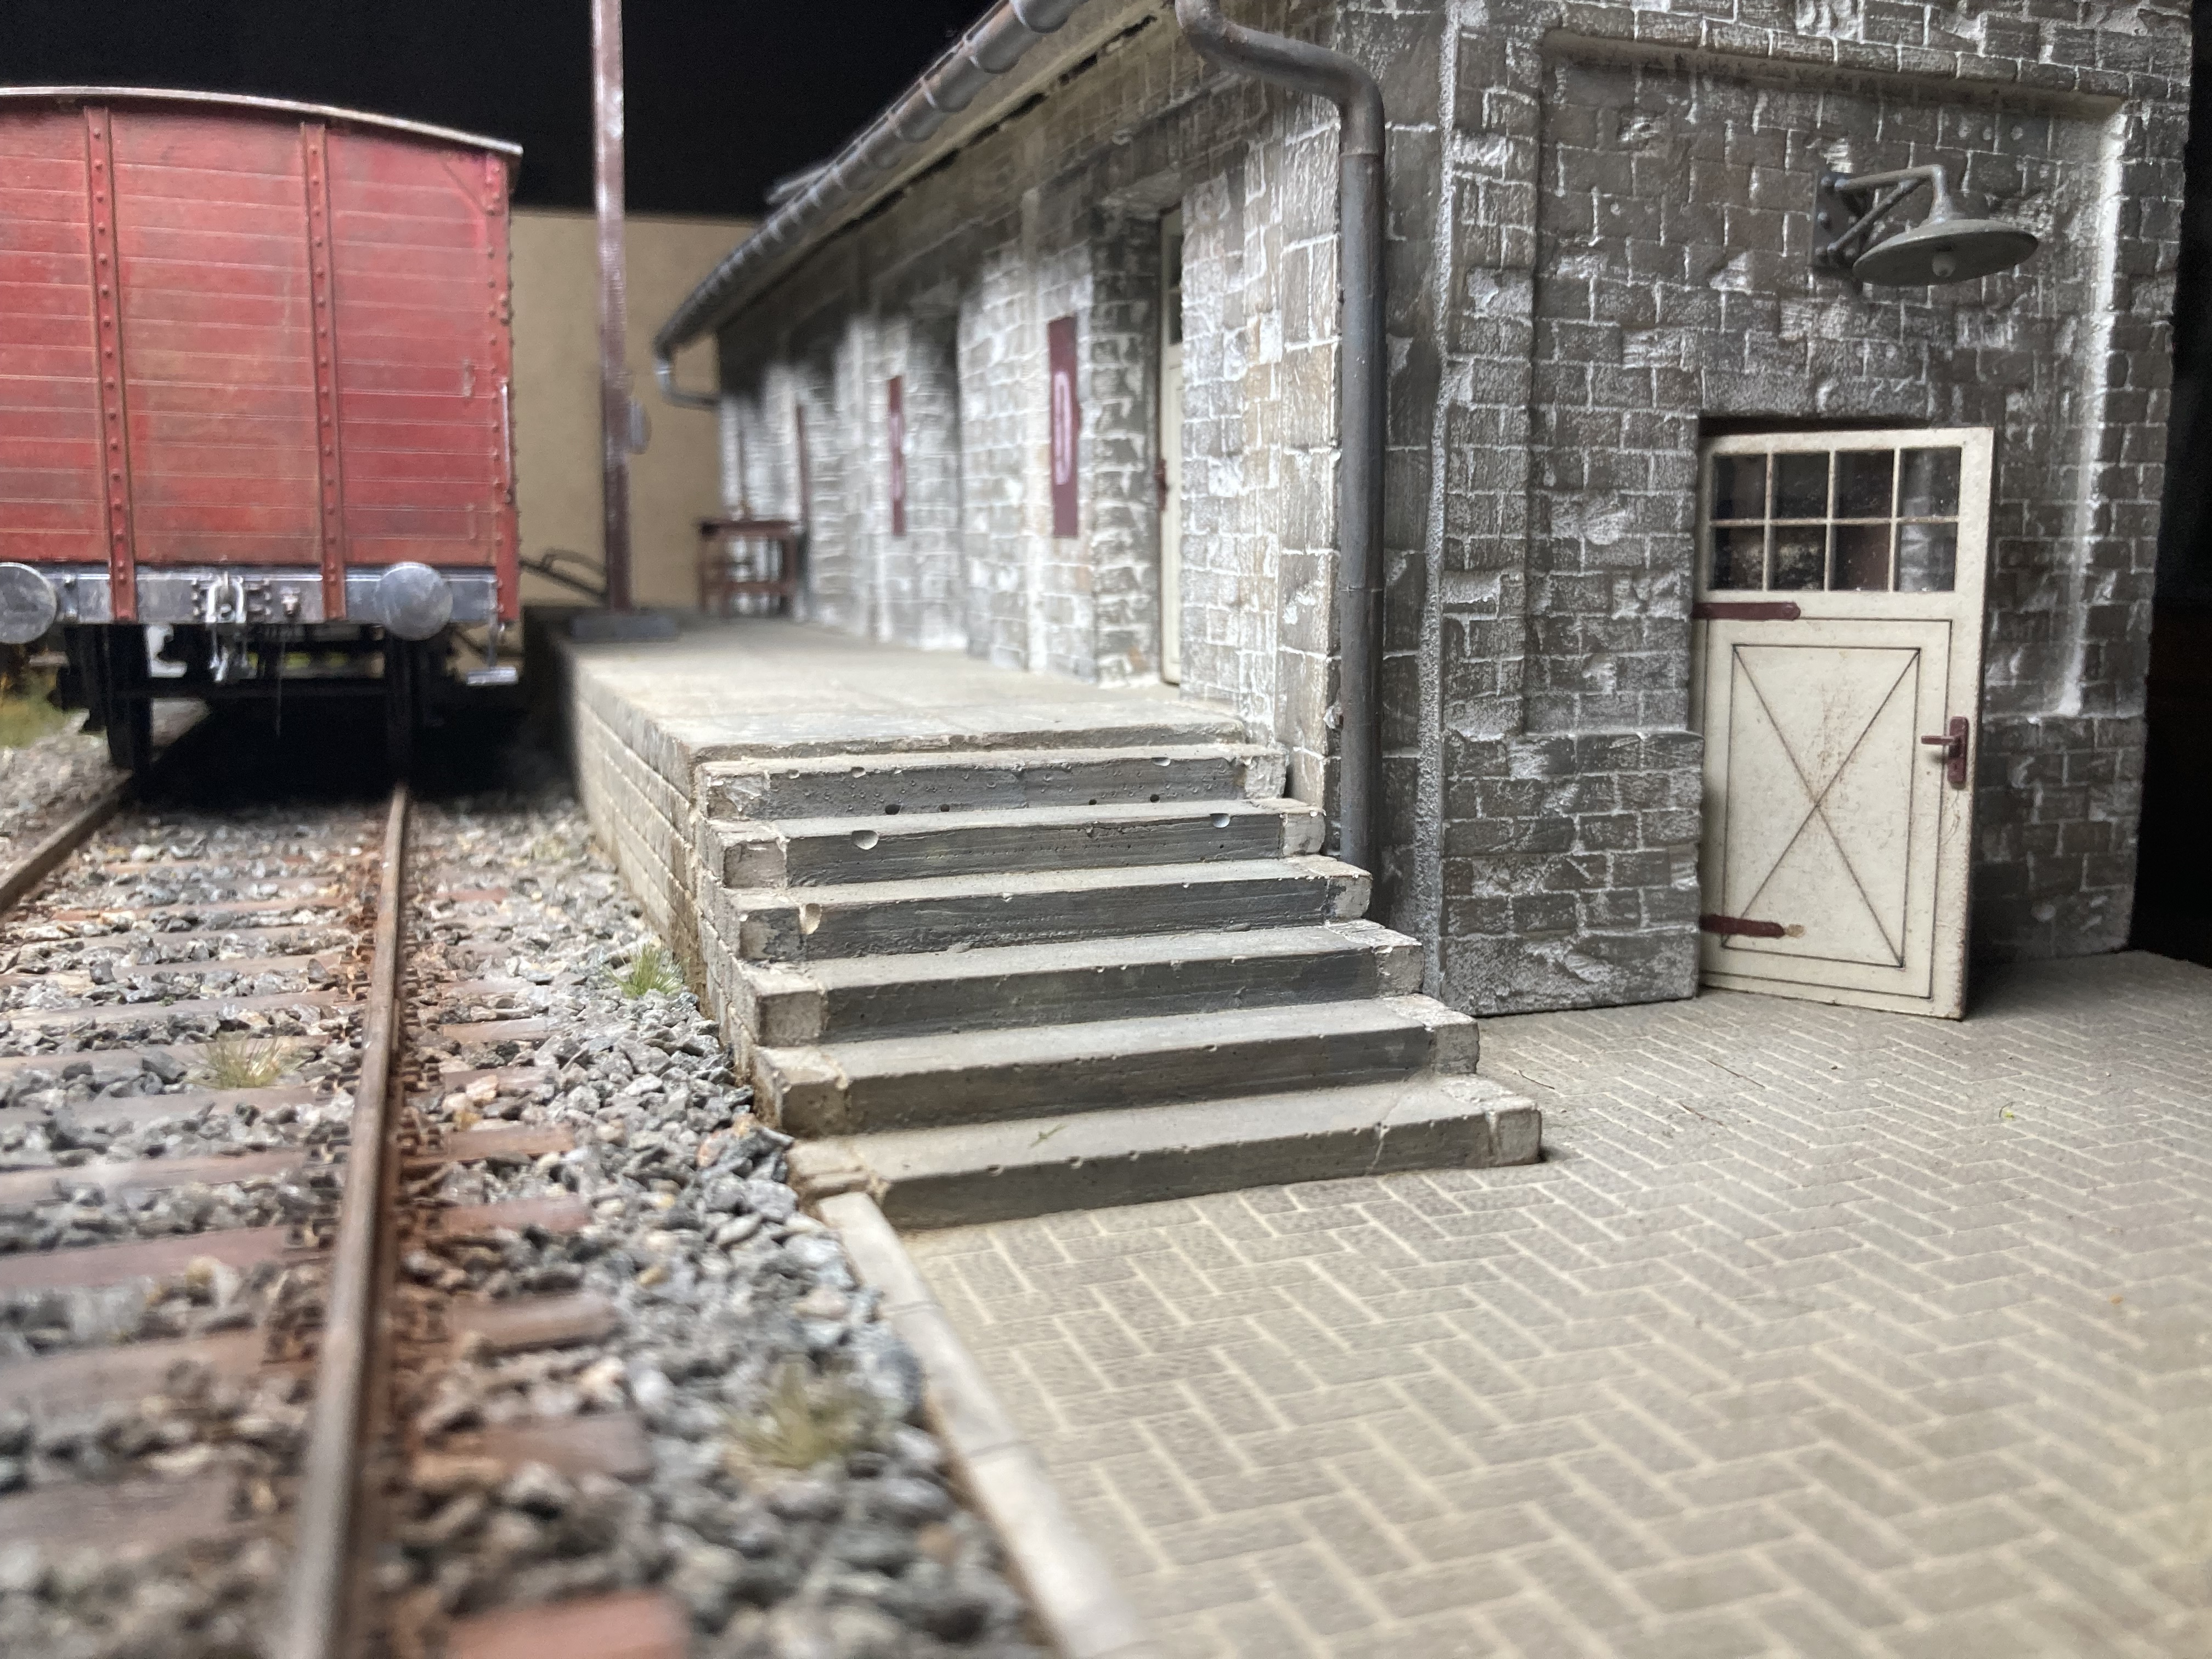
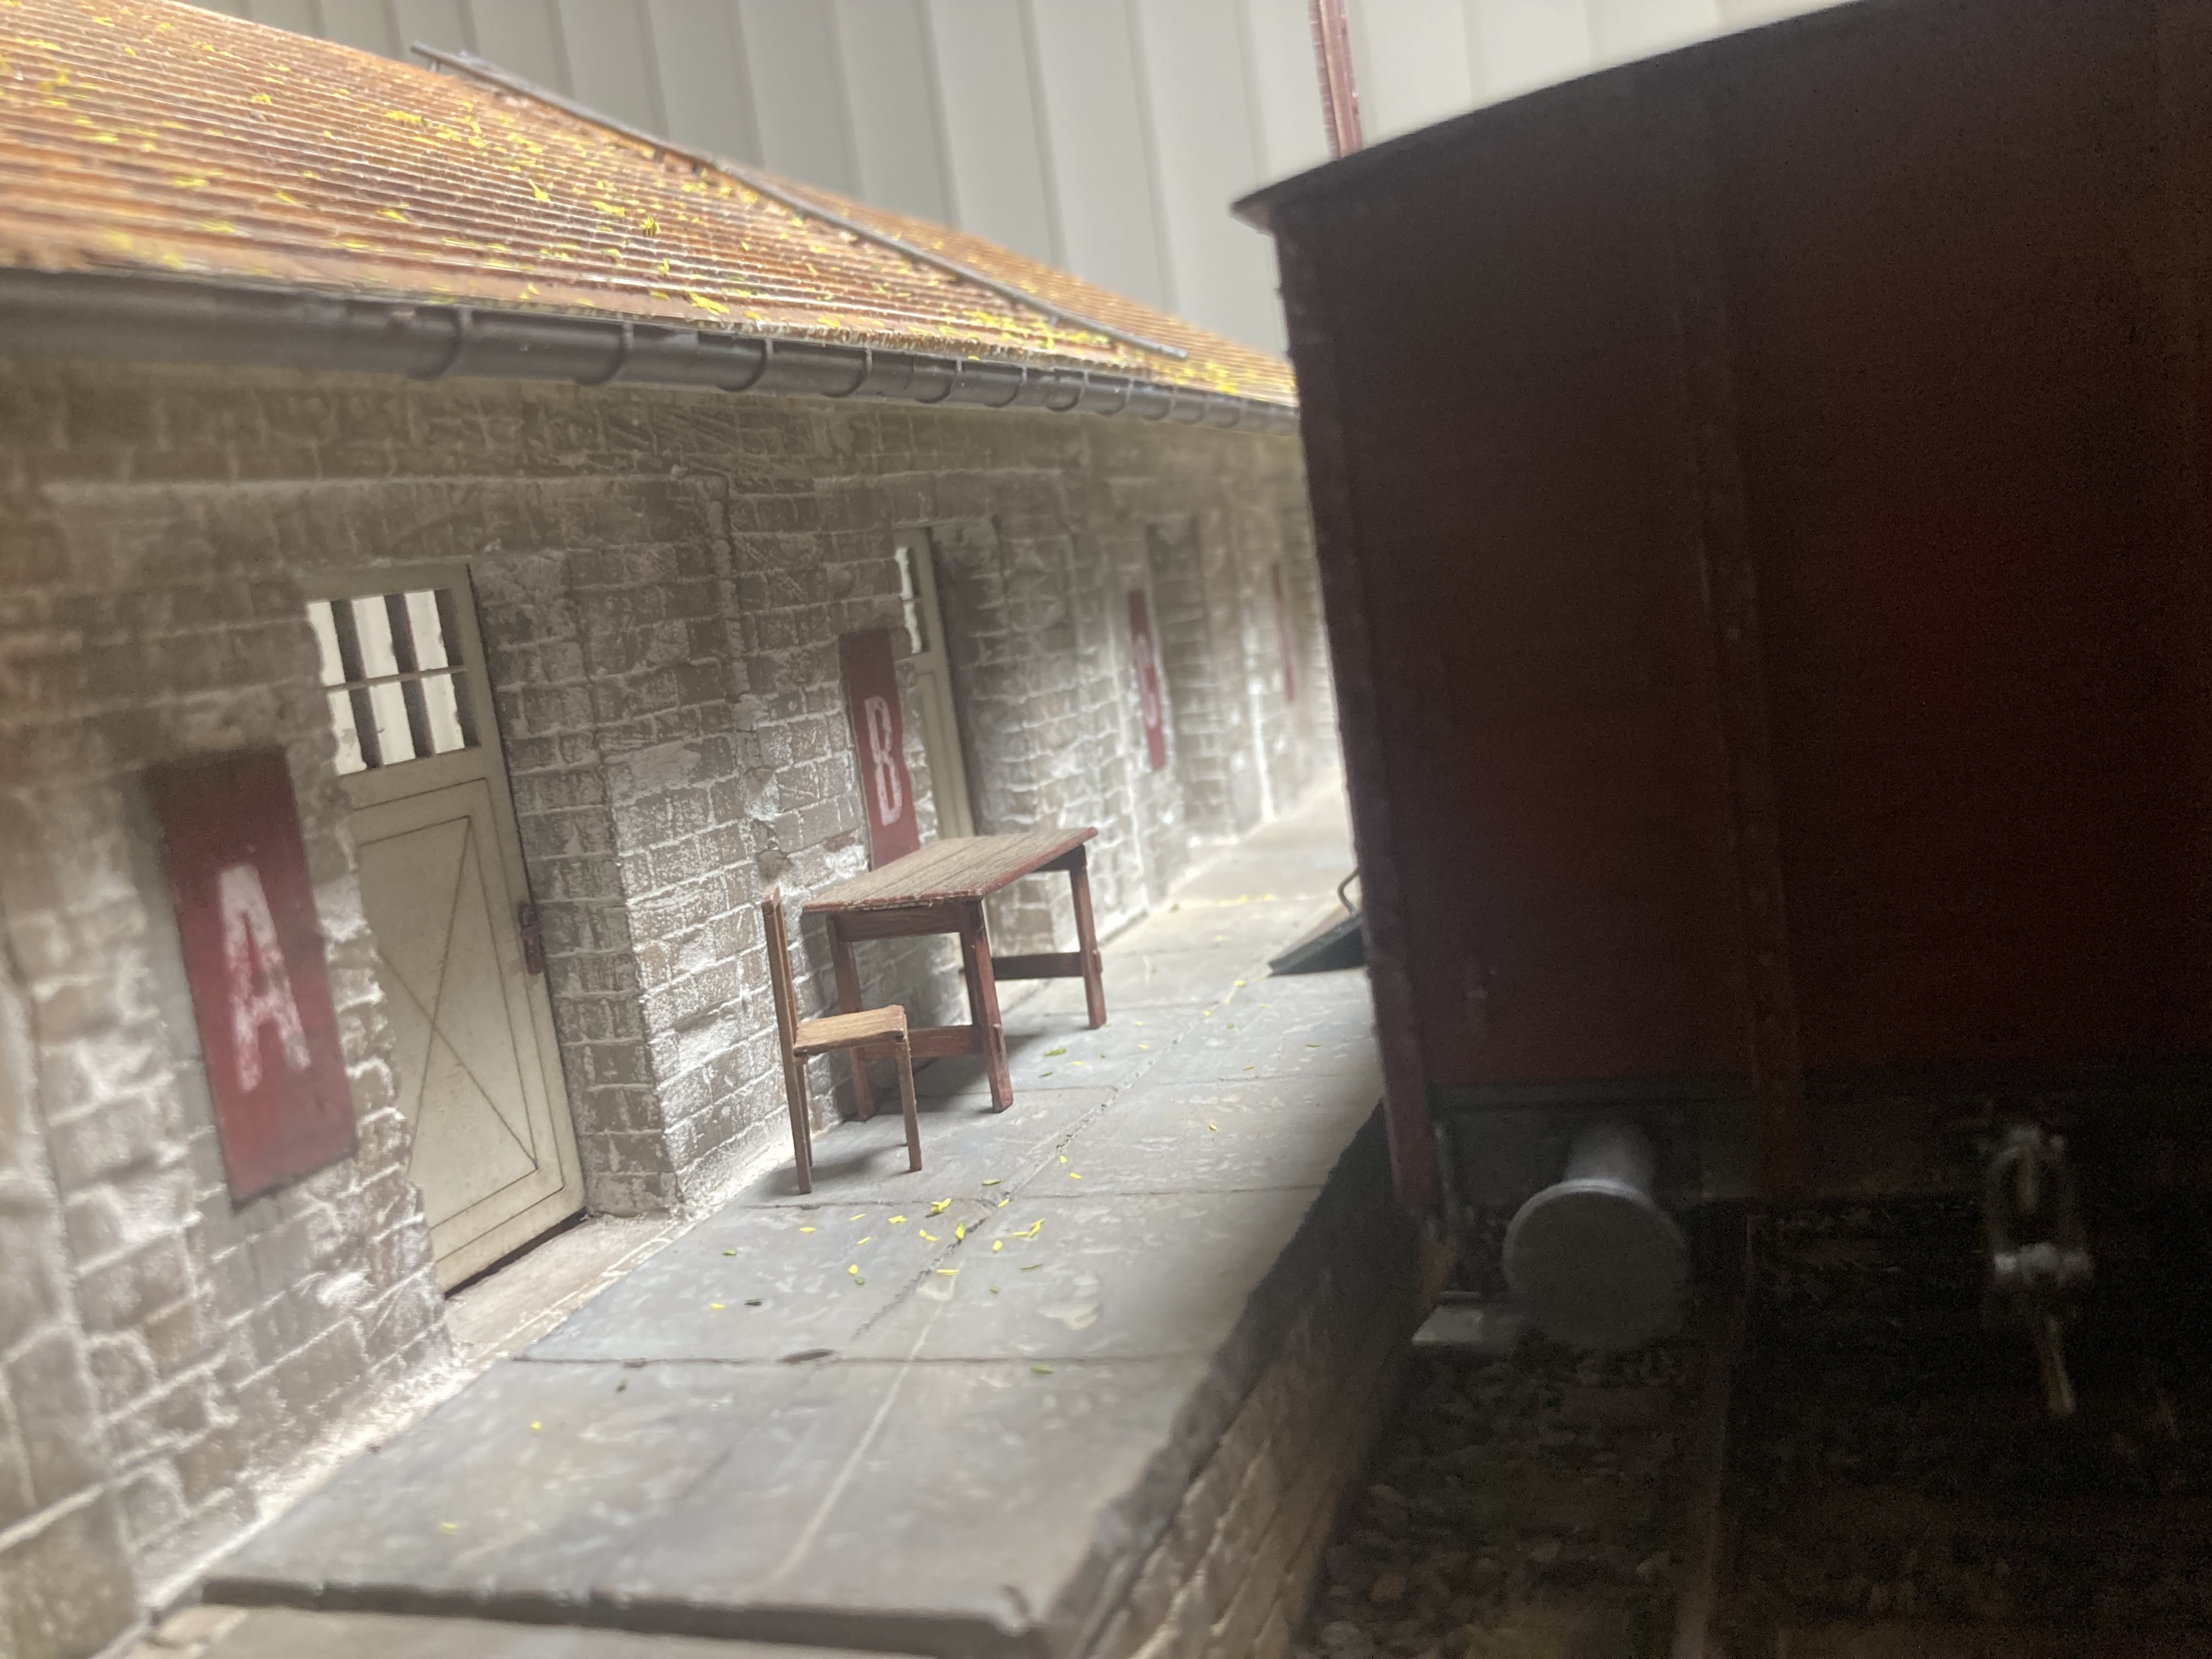
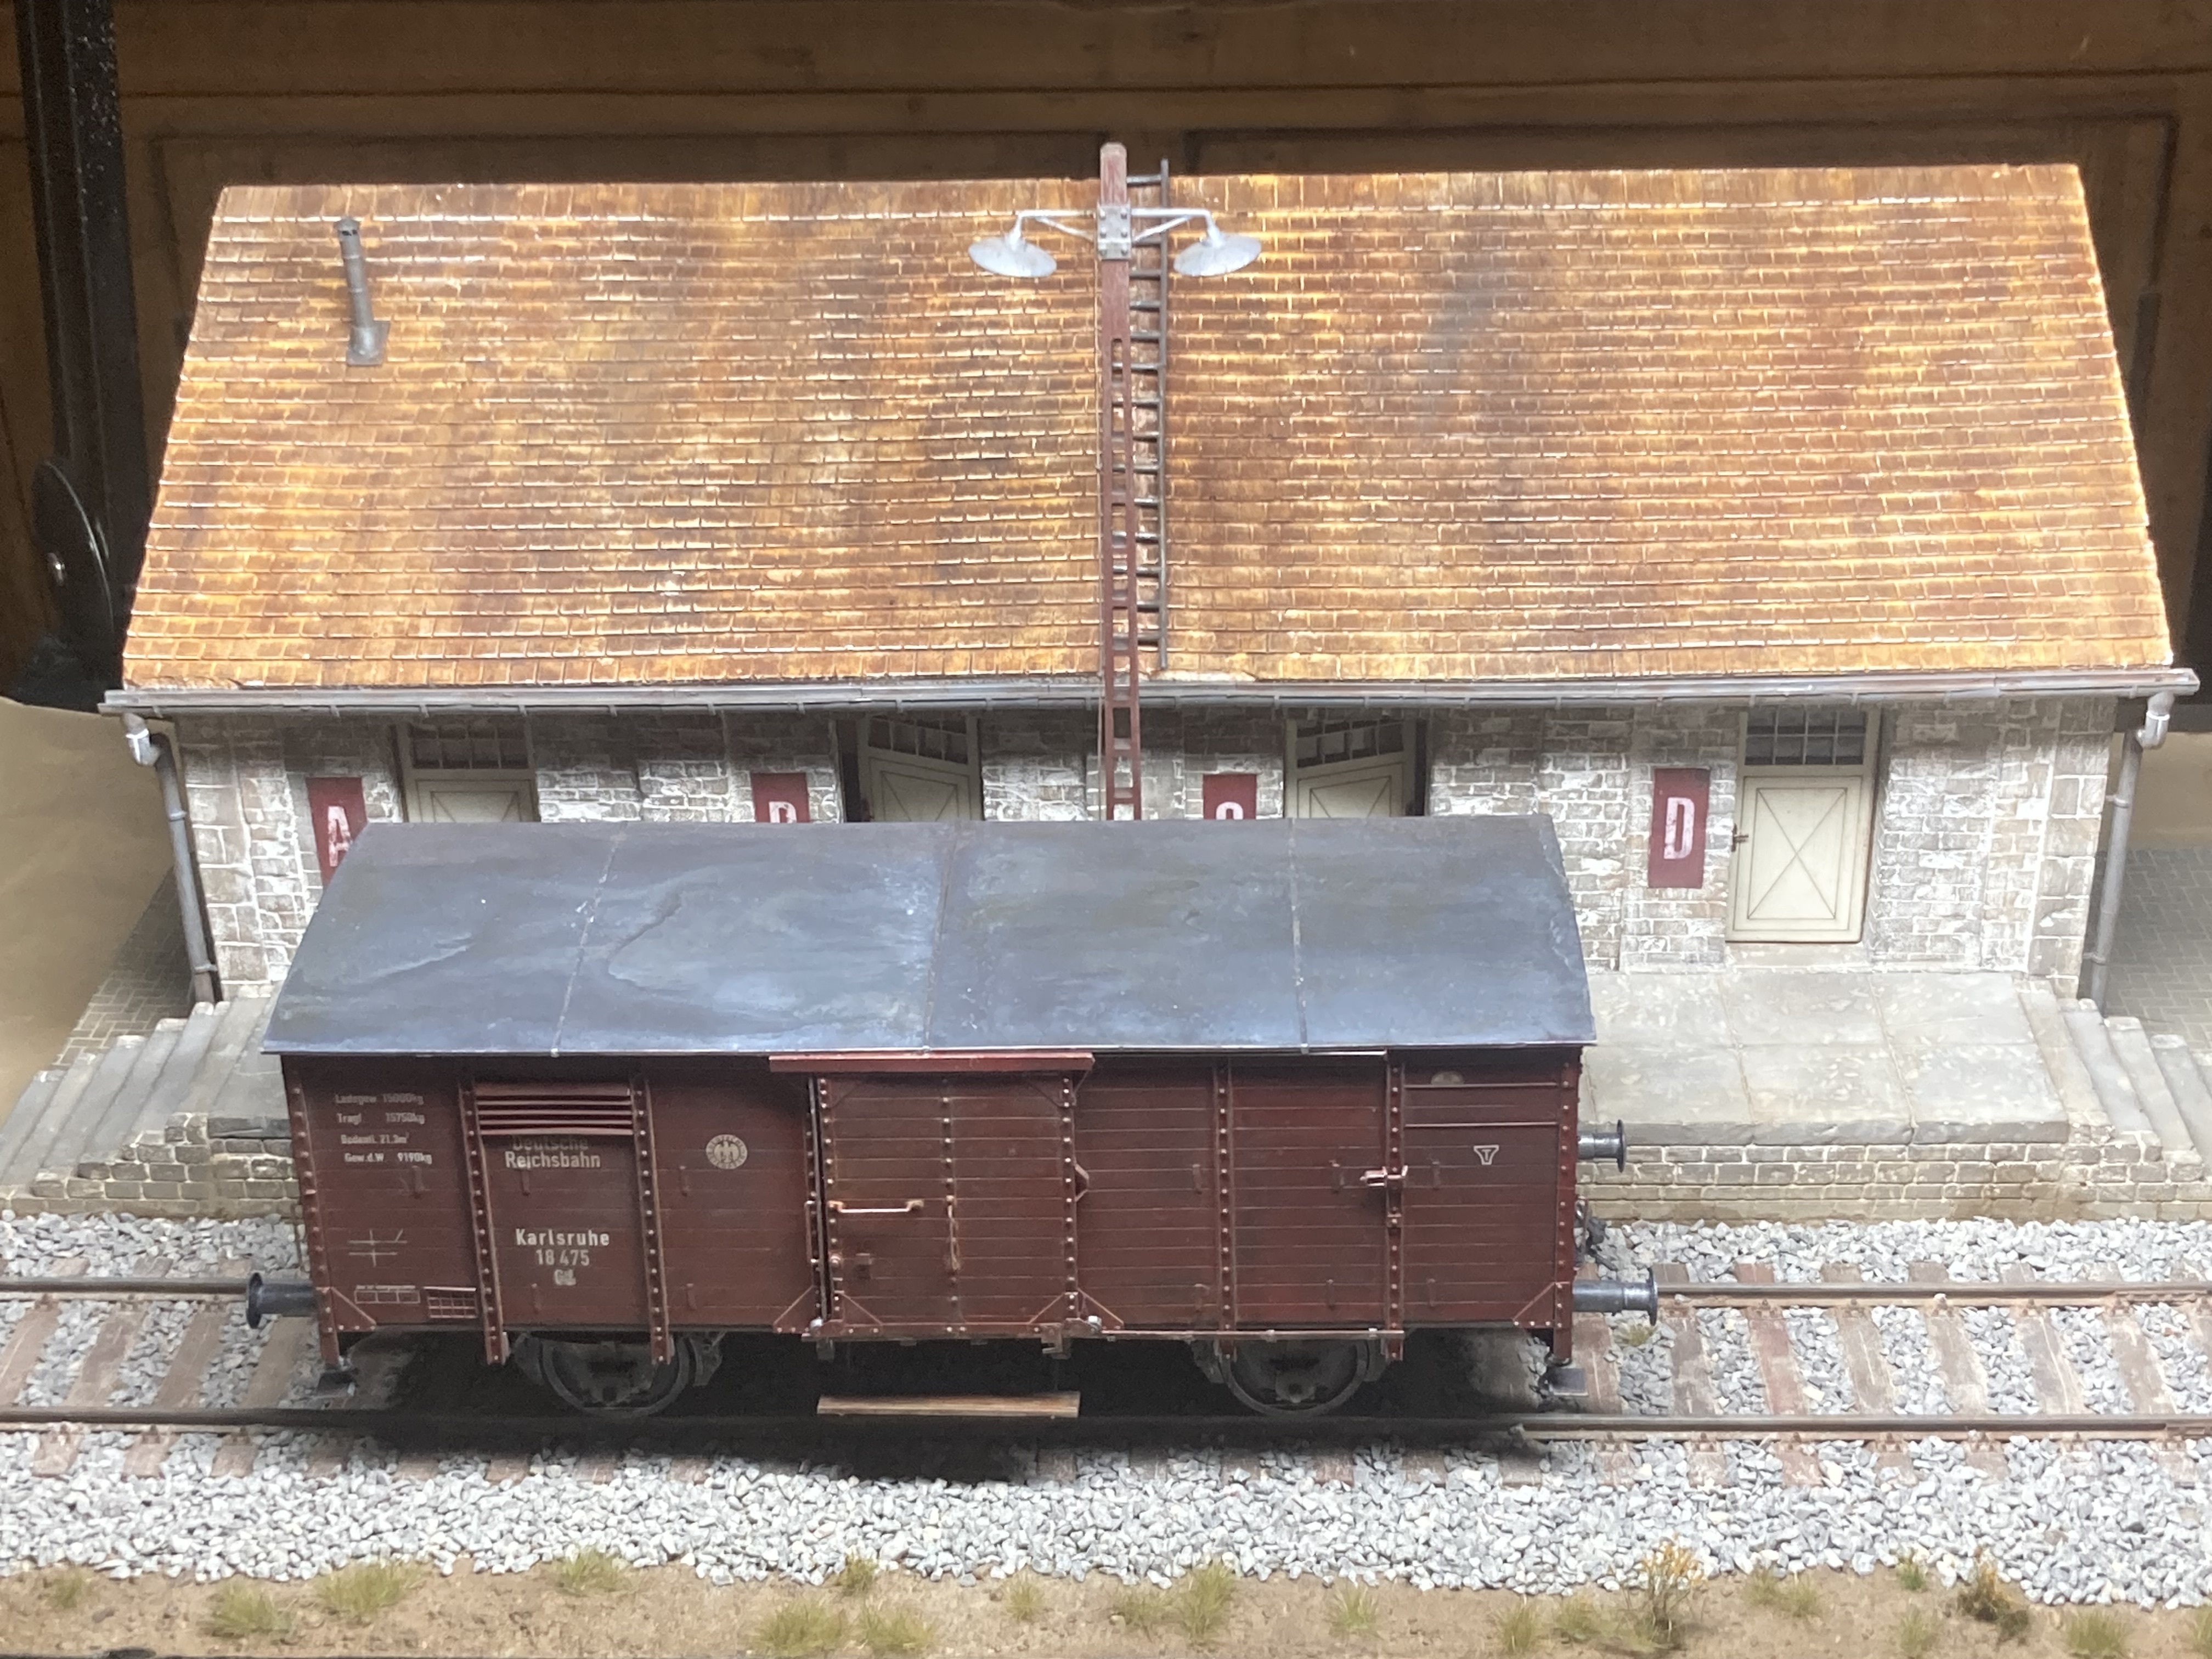
But the other design element I’m having a bit of trouble with is the height of the box car floor relative to the loading dock. I can’t speak for all German loading docks, but the ones I’ve seen in both the East and the West back in the day were pretty much even. I rode the duty train in and out of Berlin enough to notice.
And while they weren’t loading docks like the one depicted in this build, the loading ramps for vehicles were obviously the same height as the flat cars - as the side and end sills lowered we could load vehicles from the side or end of the flat cars.
I’m sure someone will dig up plenty of p[hotos now showing the pronounced height differential at several locations, but that’s how I remember it. (I did have to put my motorcycle on the duty train once - we had to put a plate down for the gap but the box car was level with the platform.)
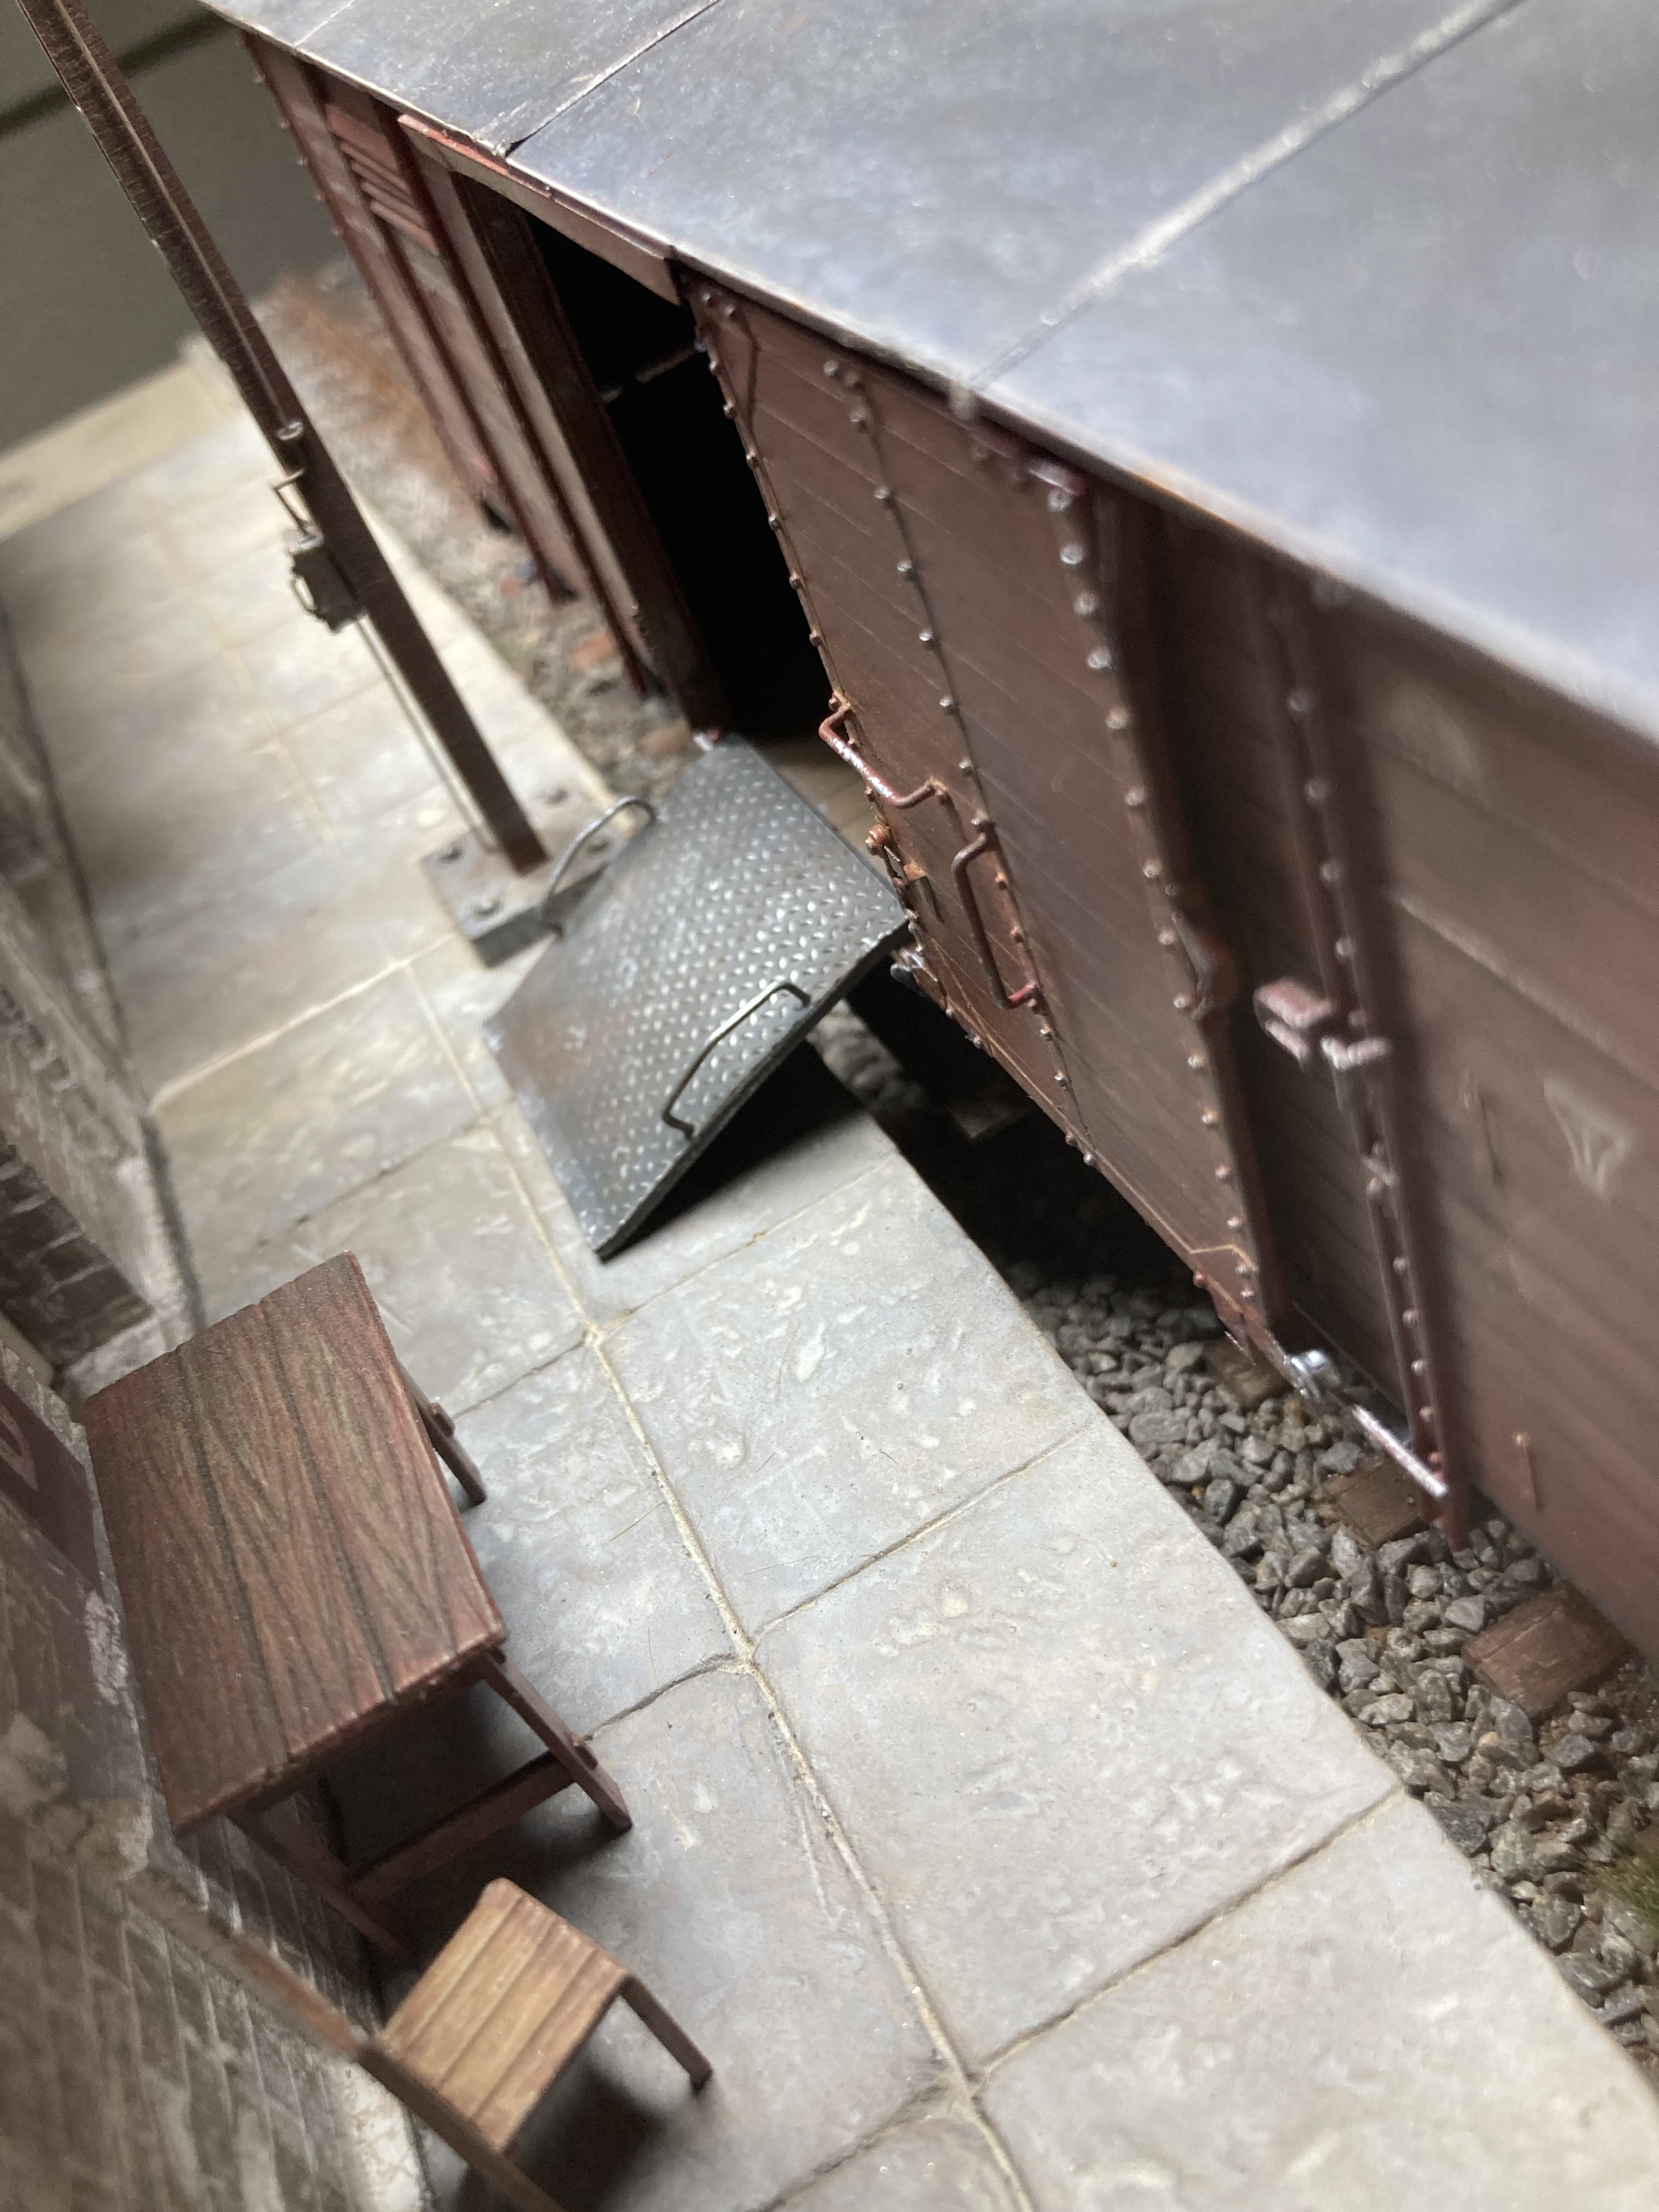
I can imagine pushing a pallet out of the car only to have this happen:

I too thought about that end walk-in door making it near impossible to move freight through that area but that is the fault of how the kit was made and not the builder.
In the real world two things might have happened. Either there would be a landing immediately inside the door and the stairs would turn 90º to the rear of the building.
OR, more likely; the door would actually be up at the interior floor level and the staircase/landing/porch/stoop would be on the outside of the building so as to not take up valuable warehouse space inside.
Steel plates where often used here to “bridge the gap.” One plate we had, showed a decided downward “bowl” in the plate from many years of use. We would sometimes try and turn the plate over to hammer it the other way but often the tow-motor did not like this.
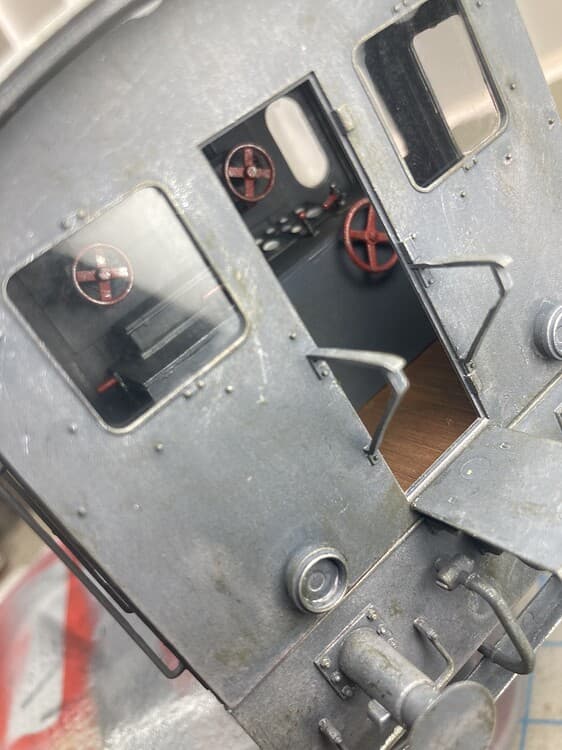
Not sure what seam you are referring to in the locomotive cab? The cab body metal above the floor would be thin 1/8" sheet and the metal down by the buffer would be 1/2" or 3/4" boiler plate??? So a horizontal seam at the floor line would be appropriate here.
The supports for the handrails outside the door. Also an ejection pin mark on the metal plate. I assume it’s gone as well. I haven’t looked closely enough.
OK. I see what you are looking at now on the handrails.