For my next ship build I am going for something a little smaller (and hopefully simpler) to build than my last few battleships.
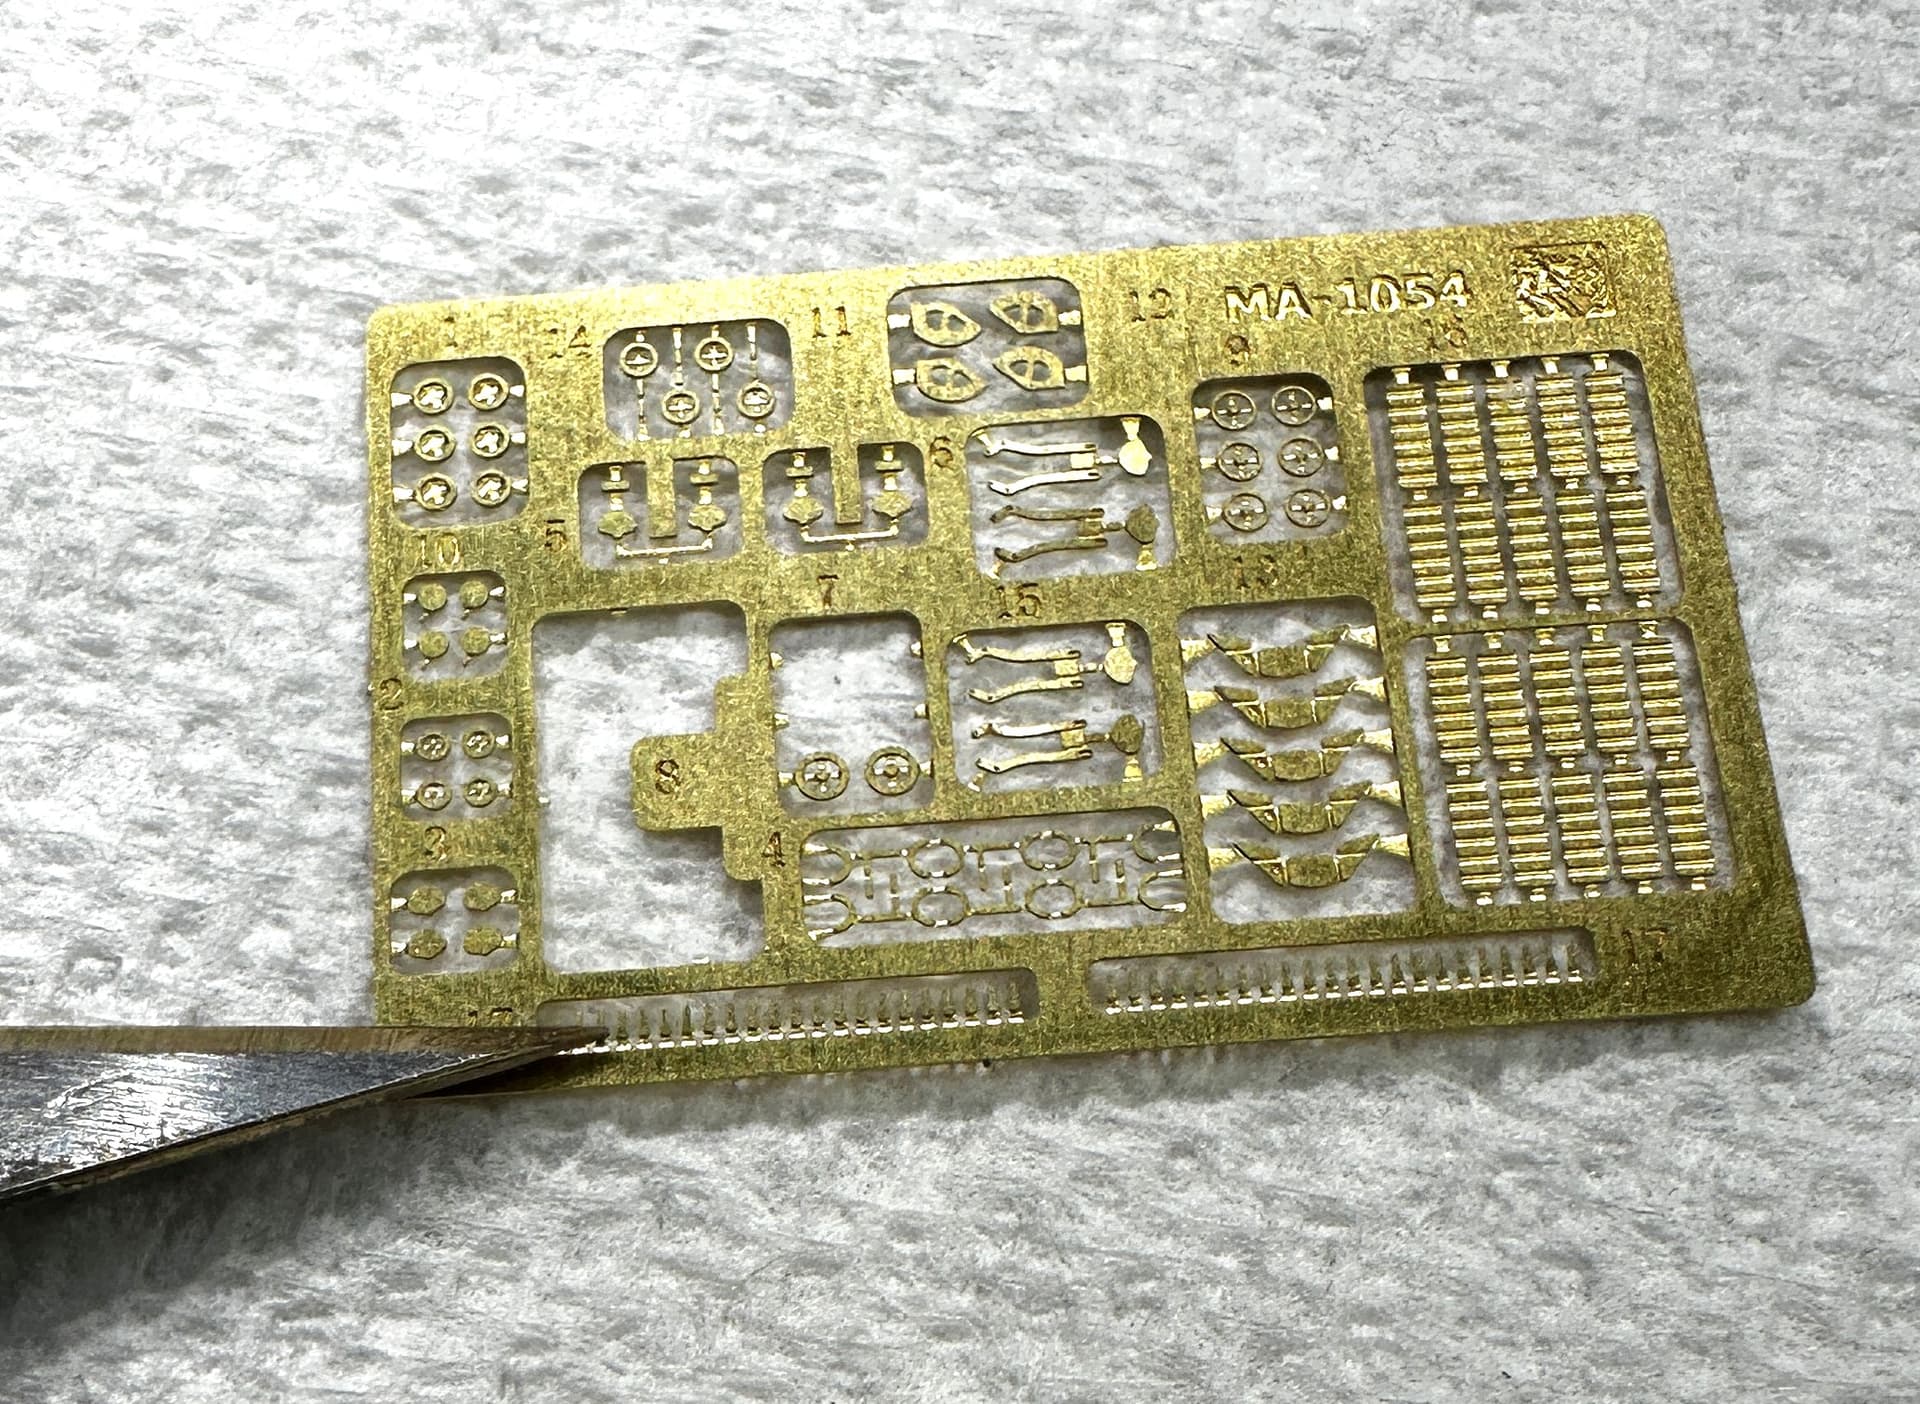
I have had this Z-26 destroyer sitting in my stash since around 2017 so its time for it to get built. I am not going to go crazy with AM on this one since it comes with a reasonable amount of PE in the kit. I also sourced a railing set from Eduard. Its for the Dragon Z-32 but they are essentially identical when it comes to railings so should work.
First order of business though is to go through my paints and make sure I have the right colours 
9 Likes
Hi Rory,
Nice choice, I will be along for the ride.
Cheers, Si
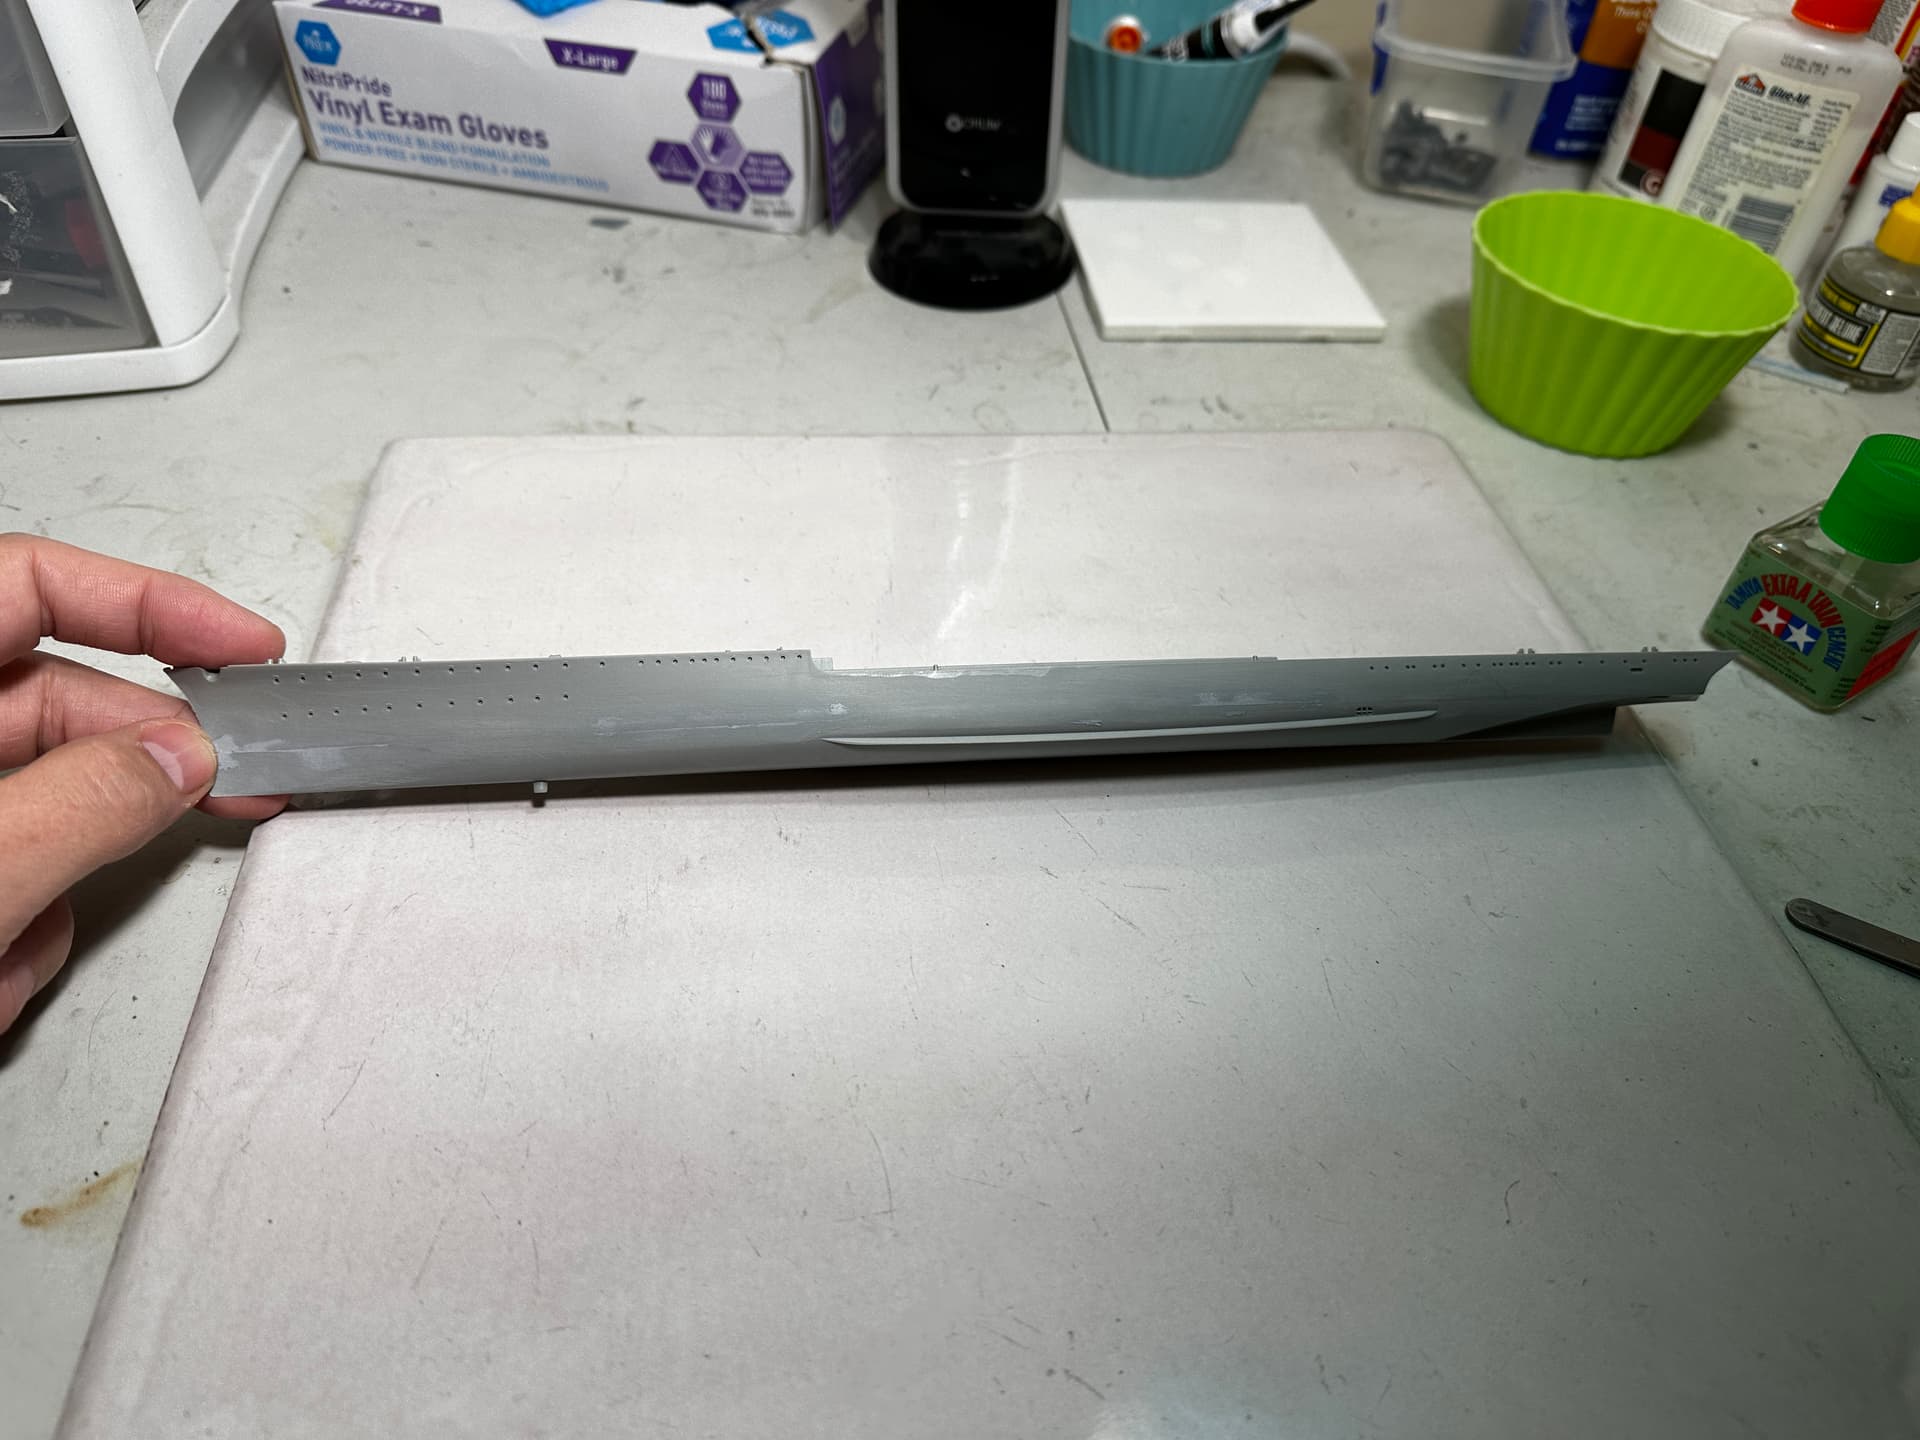
Not a lot done this week but I did get started on the hull and deck.
I will be honest, this was one of the easiest hull joins I have done. Barely any filler needed and pretty much zero step at the joins.
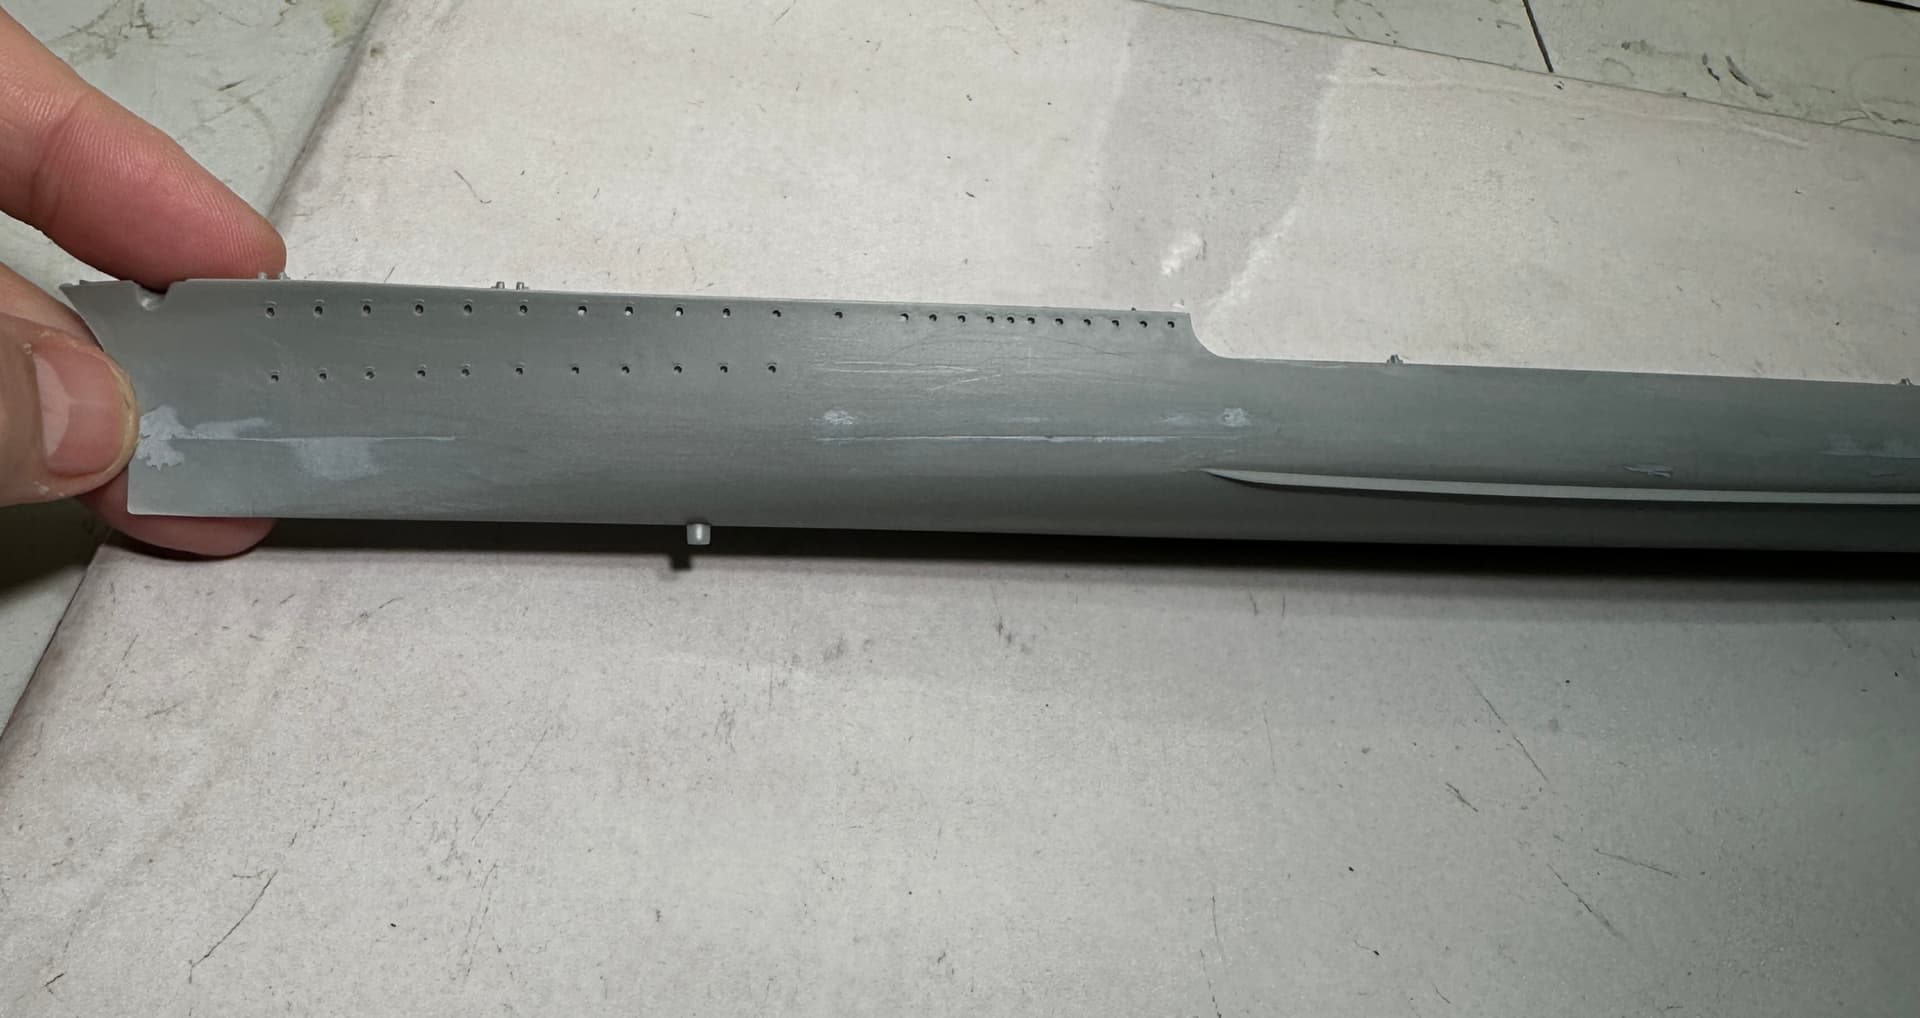
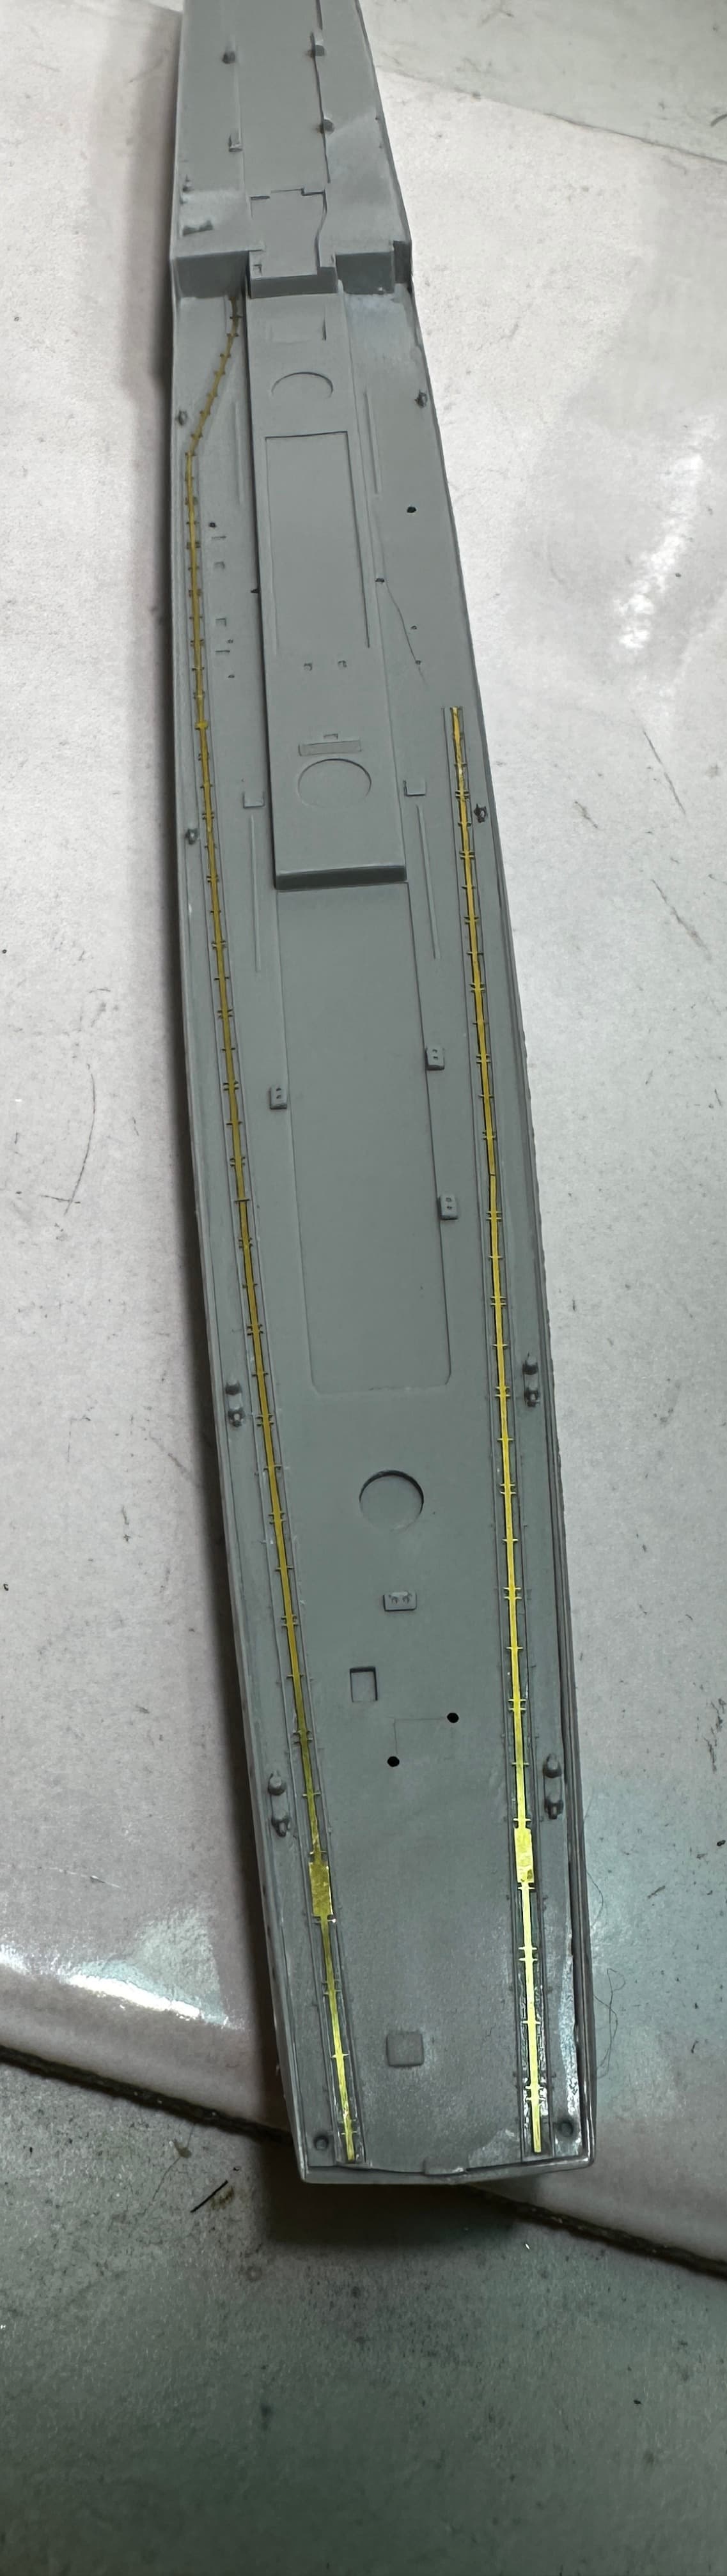
I also installed the rails for the mines. The instructions would have you remove all the plastic molded parts but honestly that was a lot of work for not much gain.
All I ended up doing was leave the plastic rails in place and modify the cross ties to fit.
Saved me a bunch of time and came out looking good.
7 Likes
Nice, Rory! This one is on my eventual “to build” list, so I’m interested to see how it goes for you. Lookin’ good so far!
Nice start Rory, looking forward to some more progress.
Cheers, Si
Been a while since I updated. What modeling mojo I have has been directed to some projects which have been on the shelf for longer than the Z-26 but I am feeling the itch again.
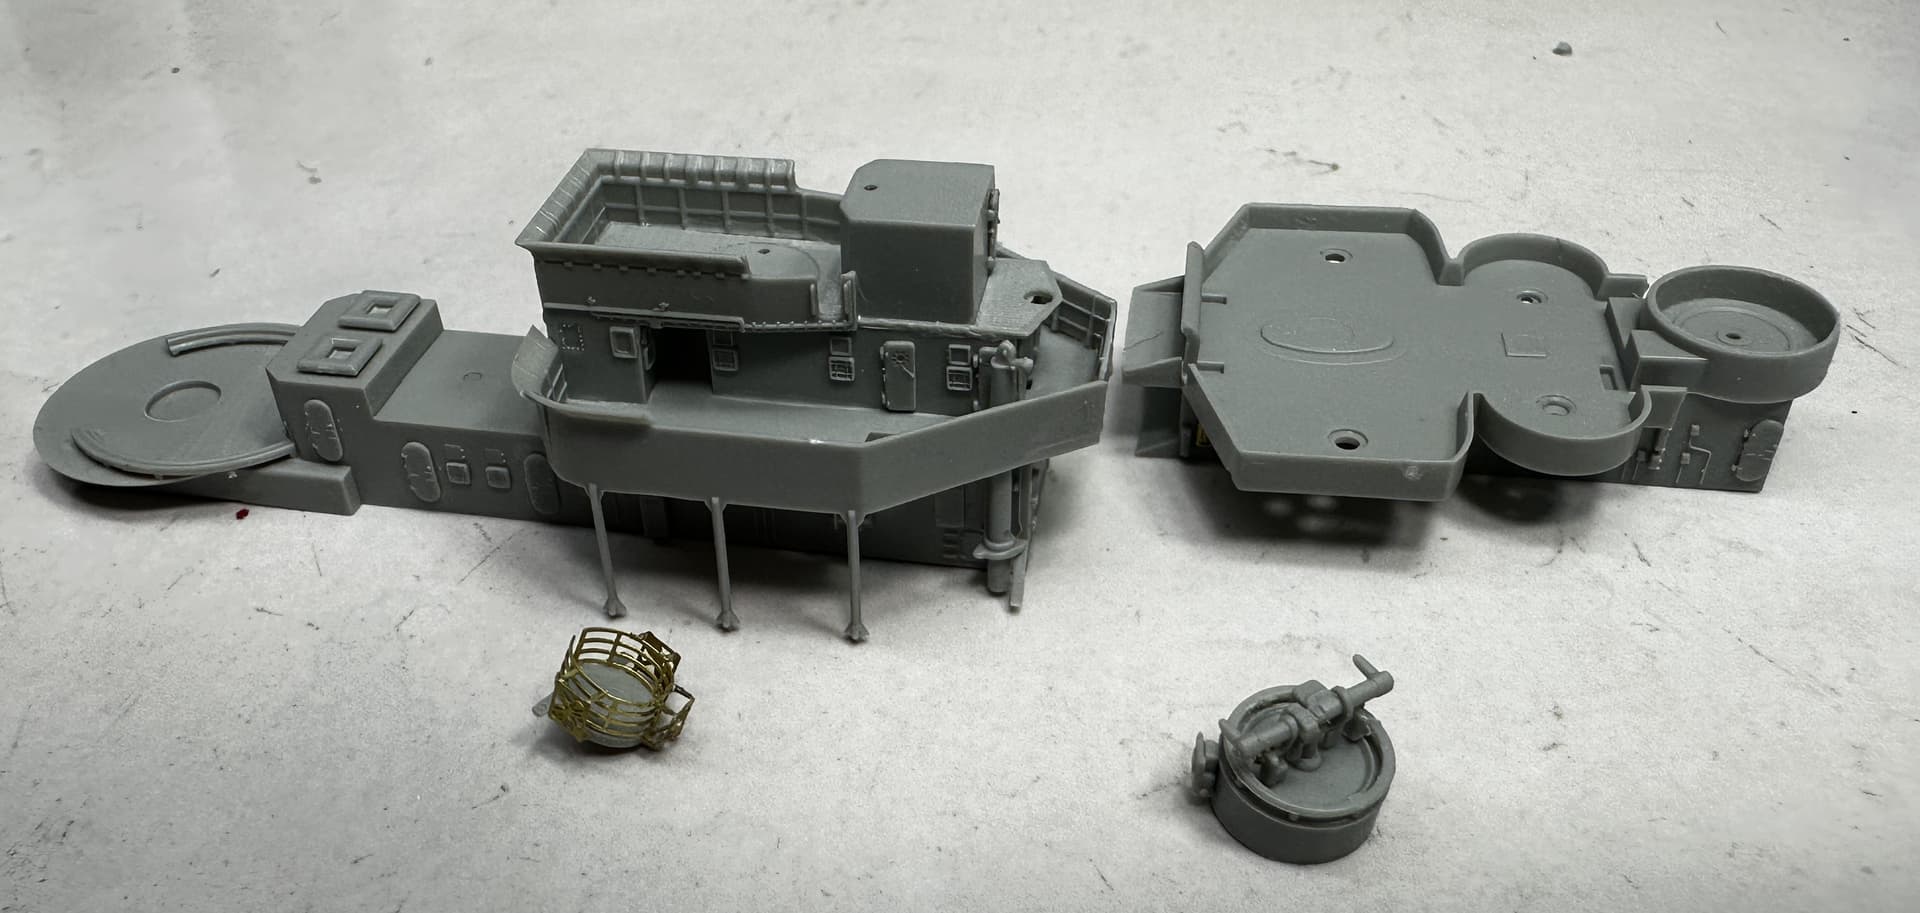
Been working on getting the superstructure together. With the paint scheme she will have, I will have to paint up the superstructure before I come back and all the deck equipment etc.
This is a very fiddly kit. Lots of very small parts (thank you Dragon Models)
Will be taking a short break as I will be traveling to Canada where I plan to visit a 1:1 scale Destroyer. Any guesses which one? 
5 Likes
Hi Rory,
Good to see some progress.
The 1:1 destroyer wouldn’t happen to be HMCS Hadia would it?
Cheers, Si
Got it in one! Looking forward to adding to my collection of ships visited and to compare to the Fletcher class I have toured.
2 Likes
Back to work on the Z-26. And for once the reason I wasnt working on her was not due to lack of mojo on my part. In fact I may have too much mojo since I went from her being my only unfinished kit to having several
All fully built and all needing to be painted! Not shown are a half painted Panther and a half built german half track.
That being said, I got back to work on Z-26 this week and have made some progress.
Doesn’t look like much but she really does have a lot of fiddly bits.
I had planned on getting some paint on her hull this weekend but I got Dragon’ed 
I did a final going over the instructions to see if I had missed something and turns out I had. Very small details on her deck, hidden amongst several other steps. I have cut and drilled and glued and am now waiting for putty to dry before I clean up the areas. Then I can paint.
Hopefully this week because I am at the point where I have to paint the superstructure so I can start add detail parts. She has a multi color camo and will be much easier to mask without all the hose reels, depth charge launchers, ammo boxes etc.
2 Likes
Thank you Dragon, thank you so much 
1 Like
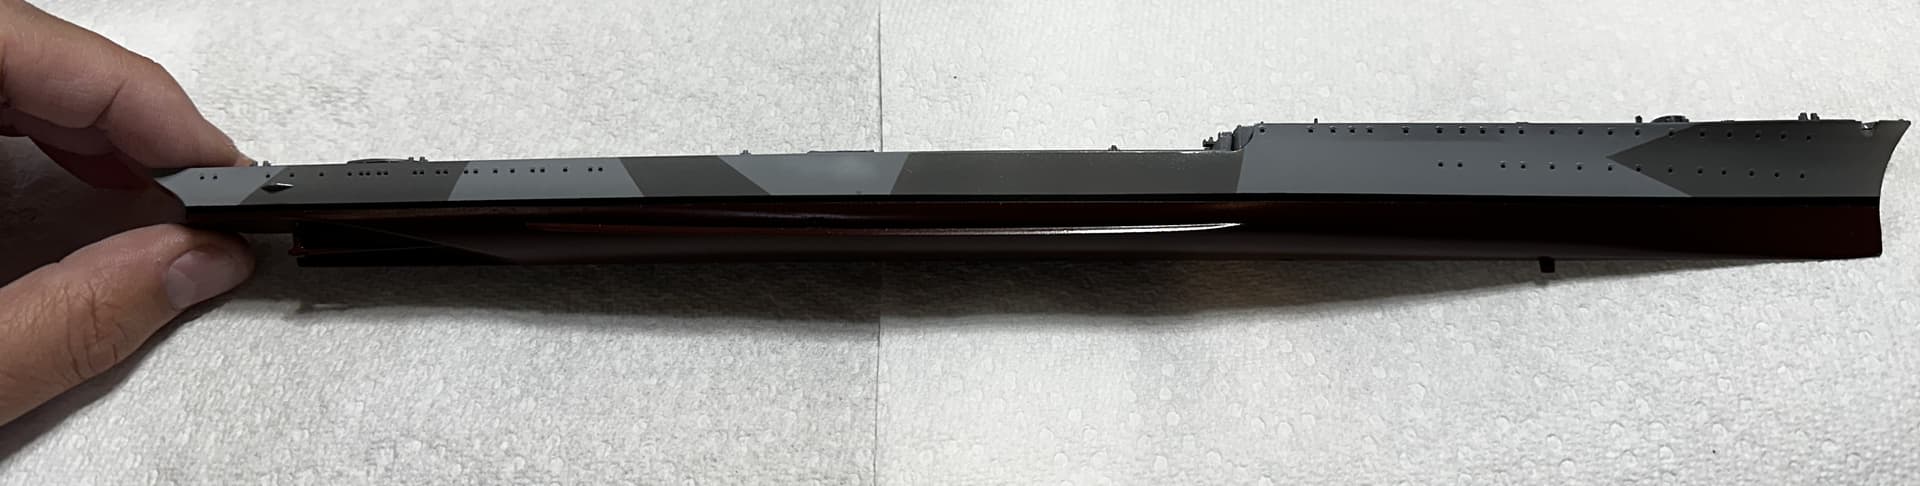
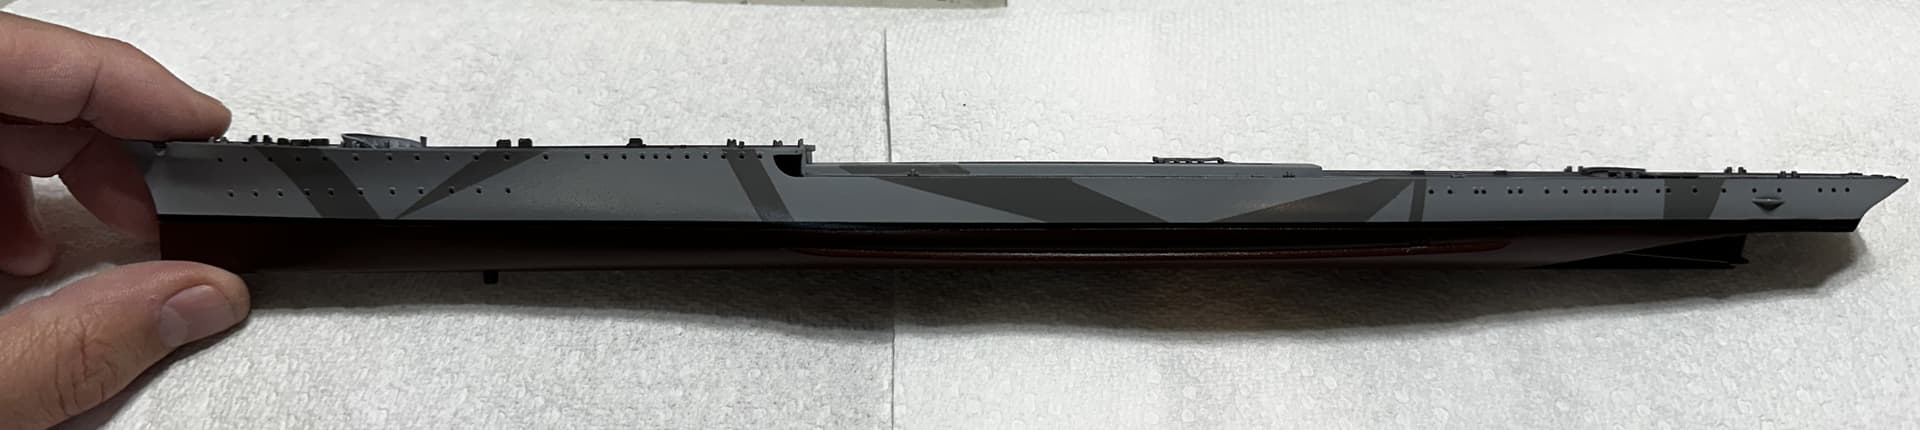
A lot of masking (remasking and then remasking again when I realized I had forgotten a whole section of camo) later and the hull and basic superstructure are painted.
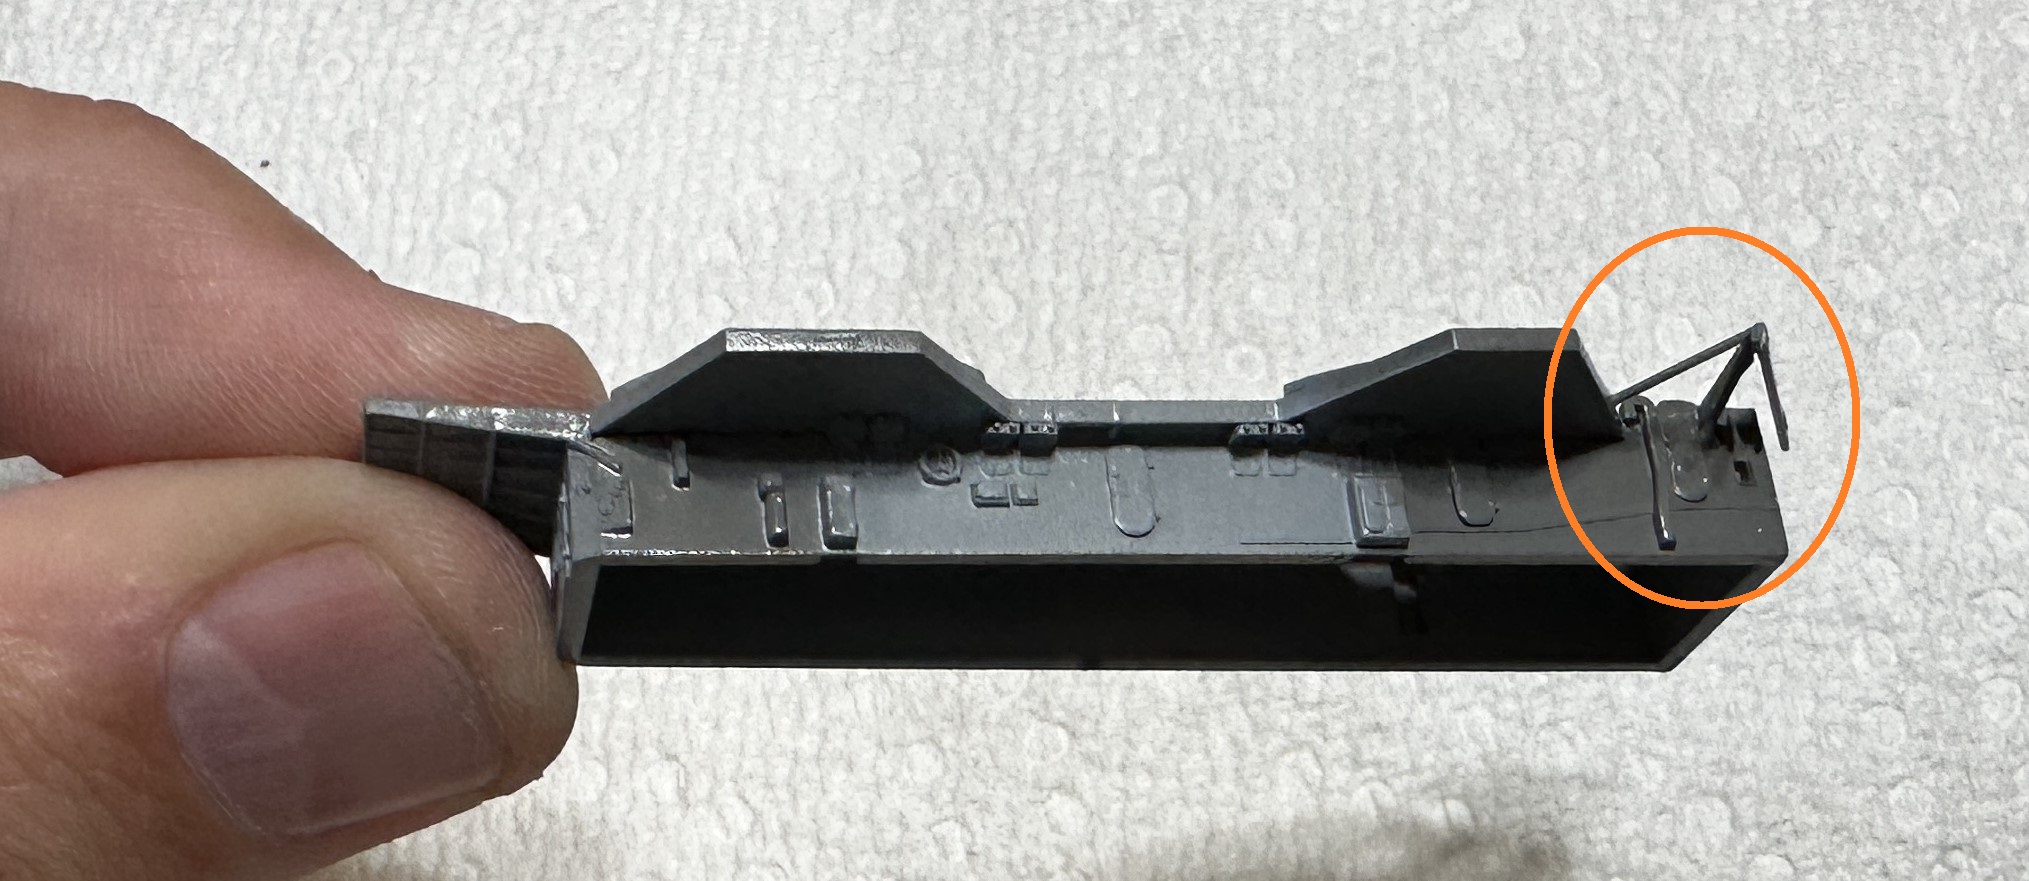
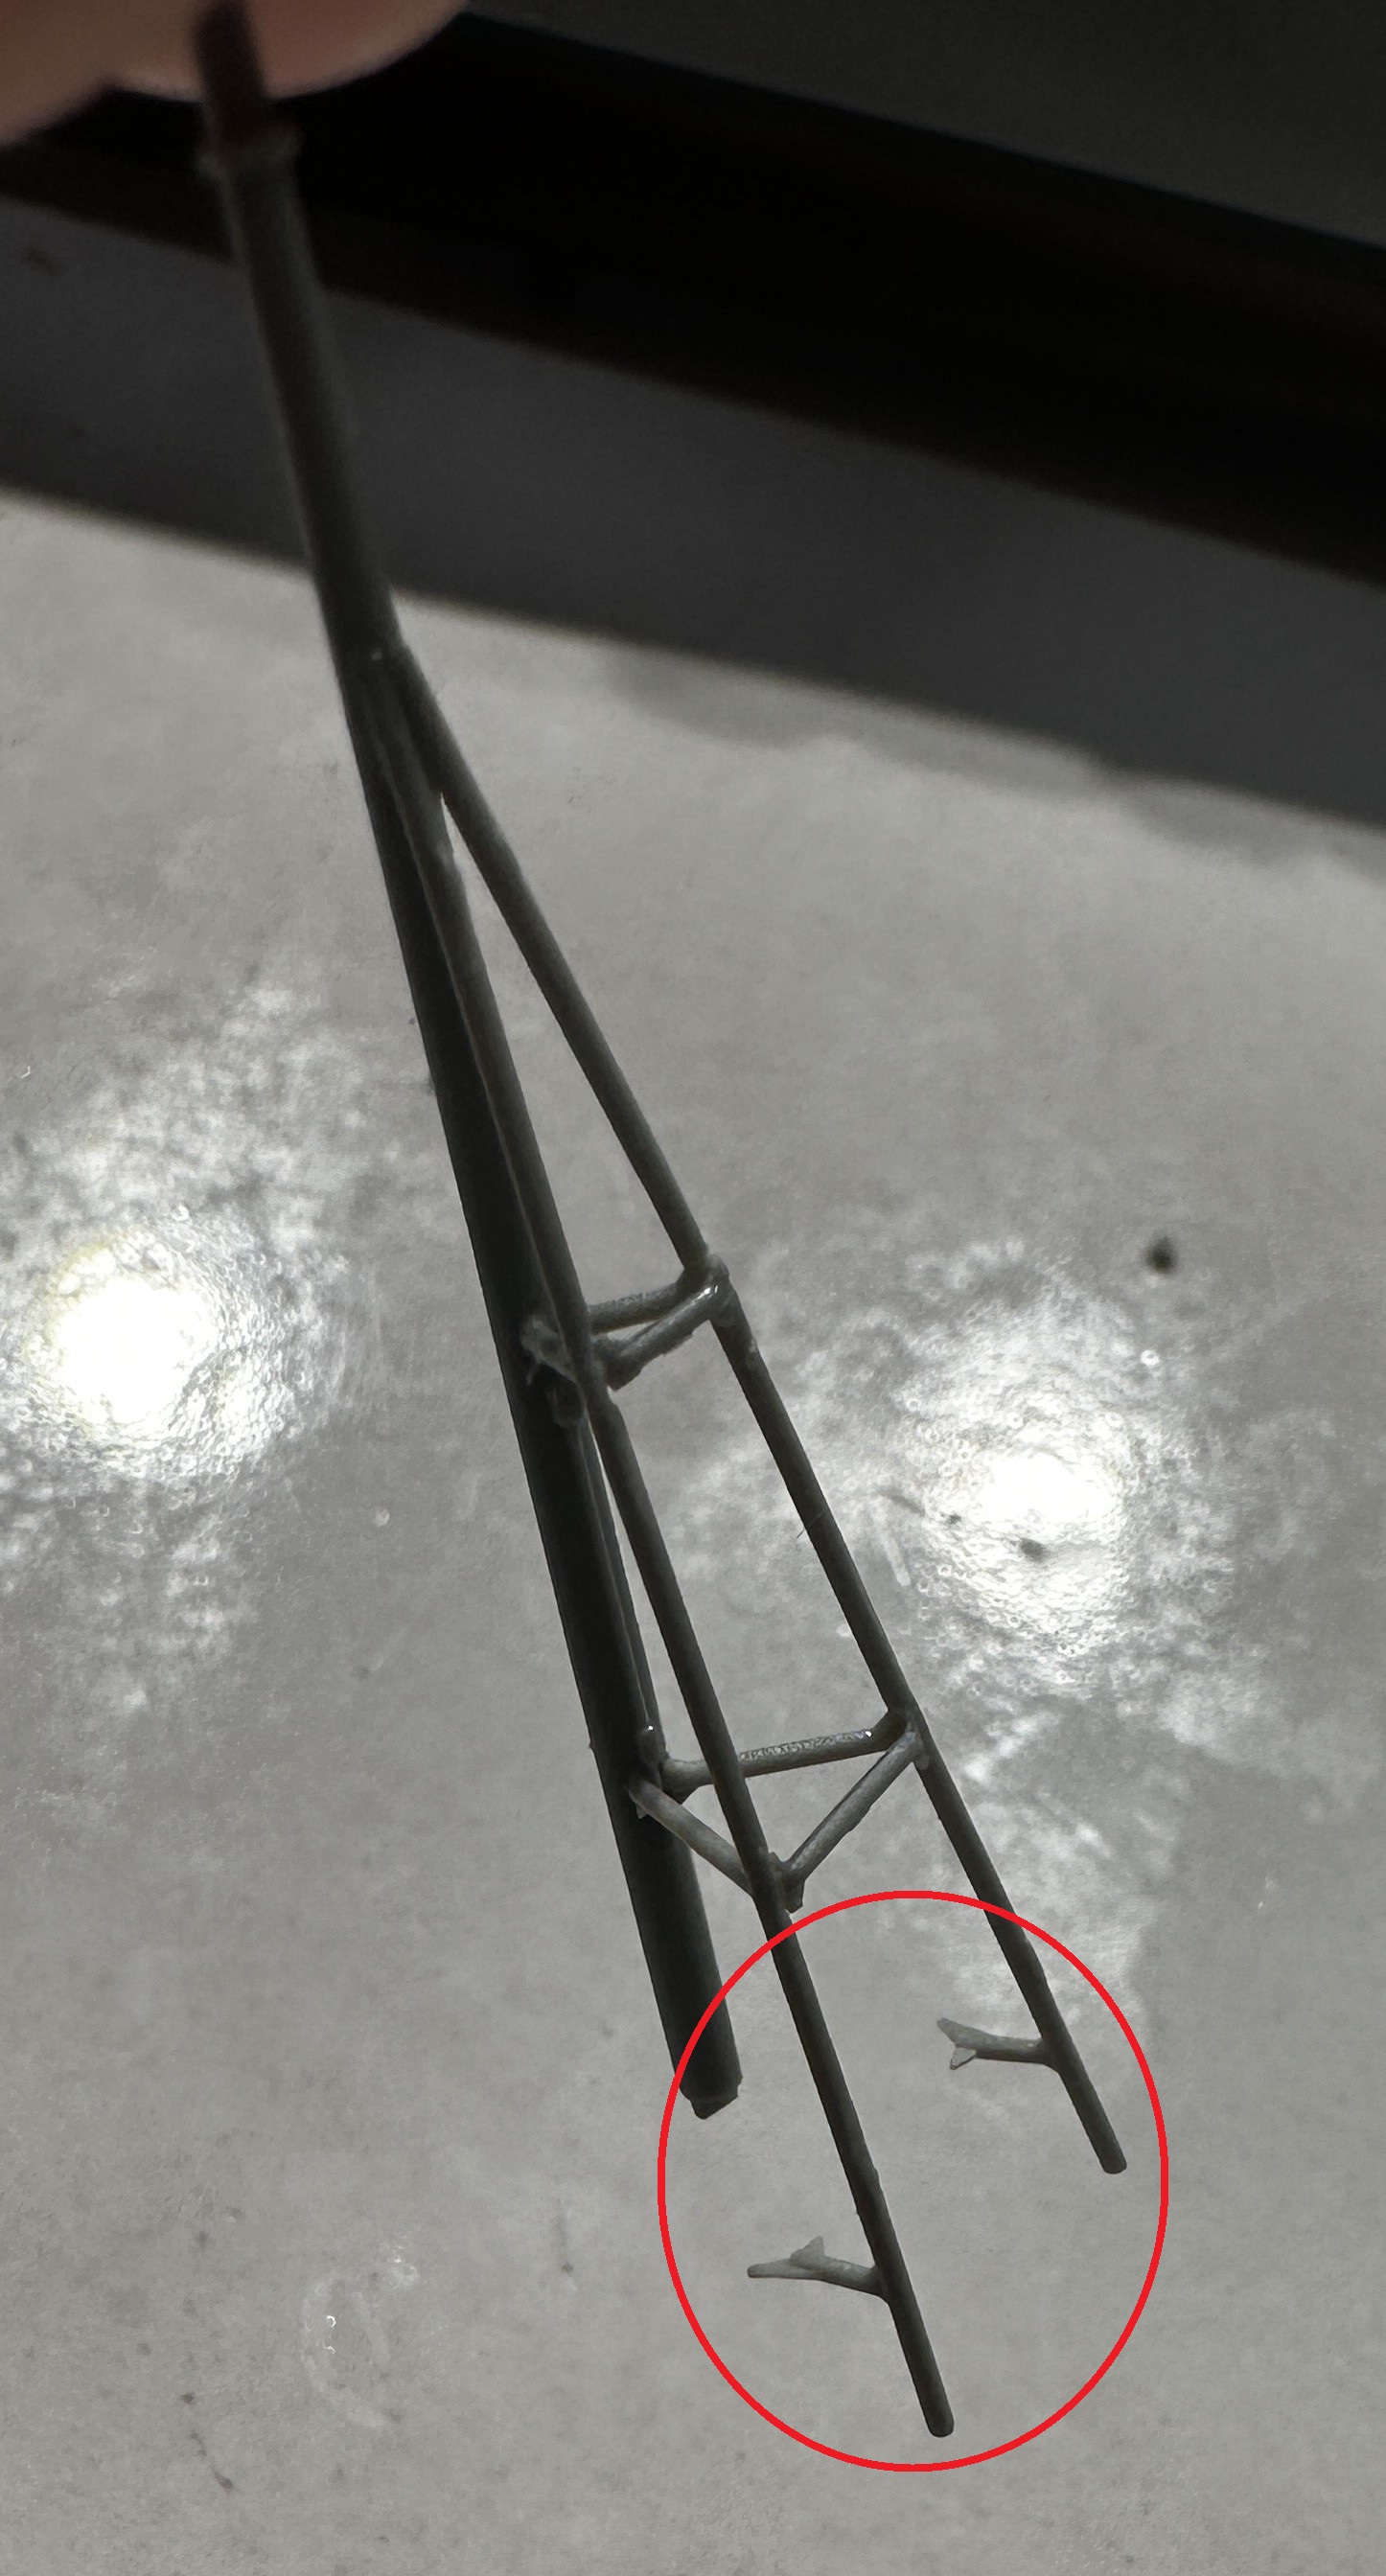
The circled part is where I repaired the parts shown above. I used stretched sprue to replace the small parts where Dragon so kindly put massive sprue gates.
I need to go back and repaint the deck which got a lot of overspray as well as put some washes on all the fine detail on the superstructure. I should hopefully get that all done this weekend and can start gluing parts down 
5 Likes
Another one that I’ve let slip through the cracks…
All caught up now and following with interest, Rory 
Nice progress so far
Hi Rory,
Good to see some more progress, like the camouflage pattern, looking forward to seeing some more.
Cheers, Si
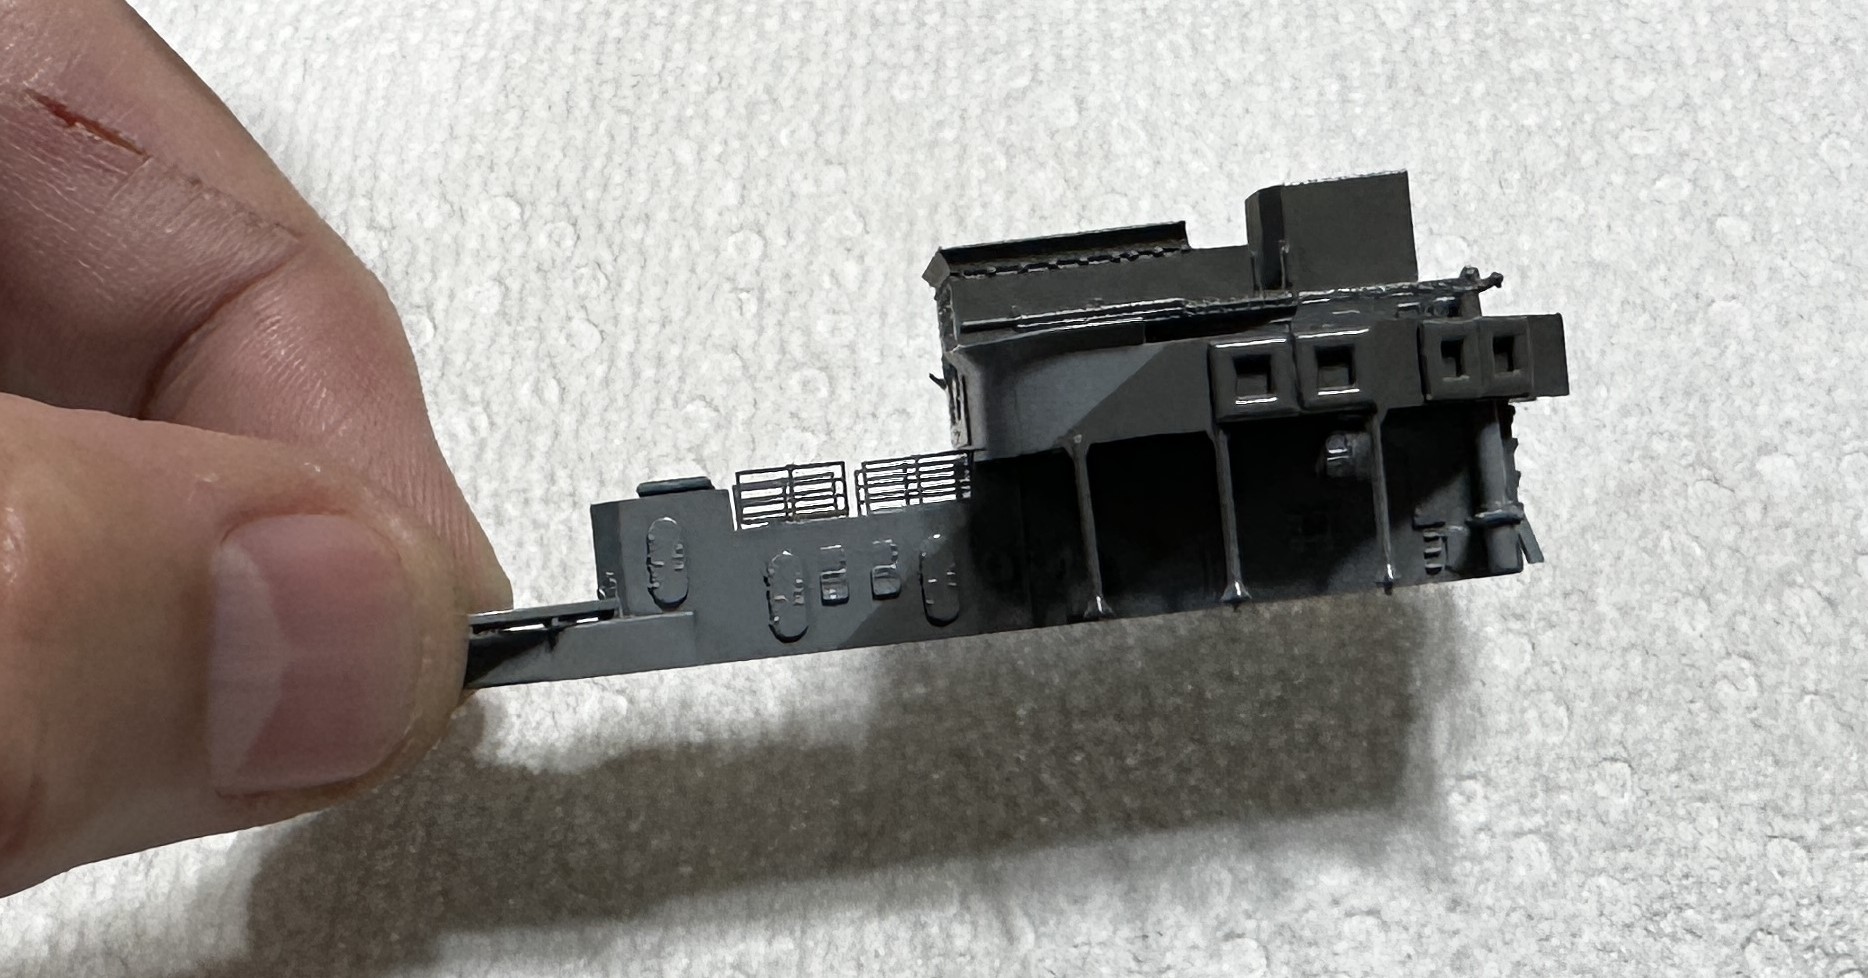
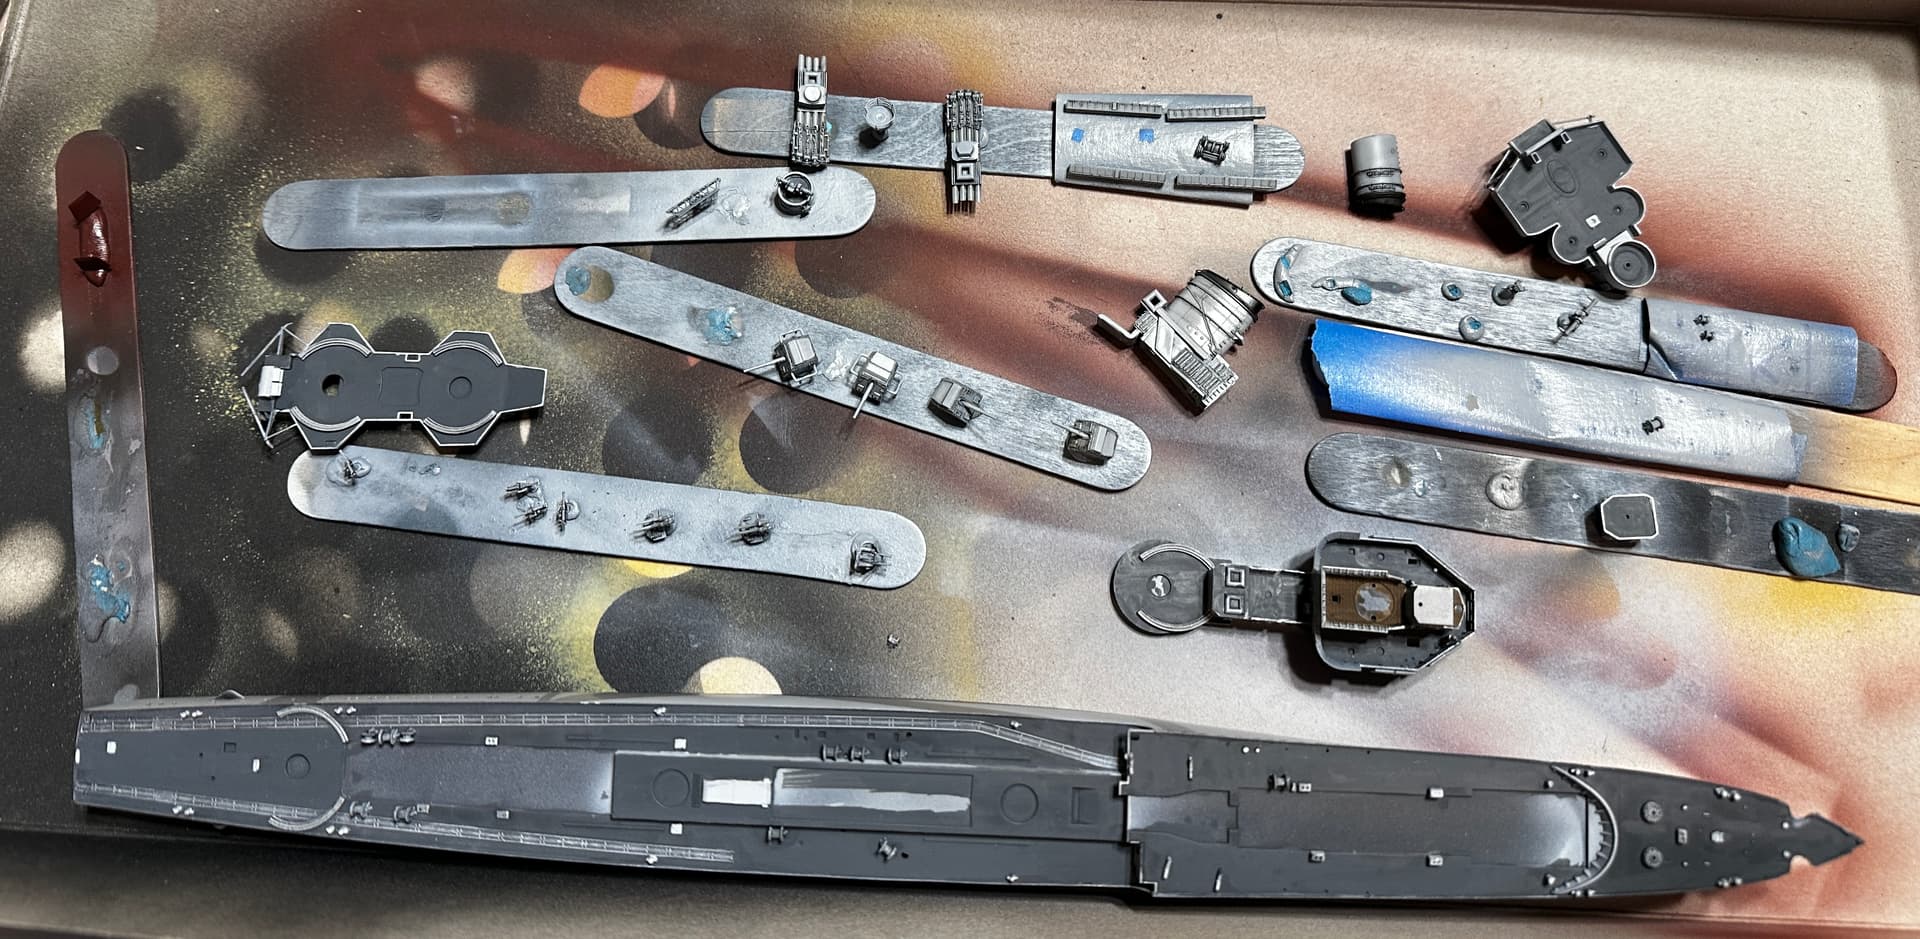
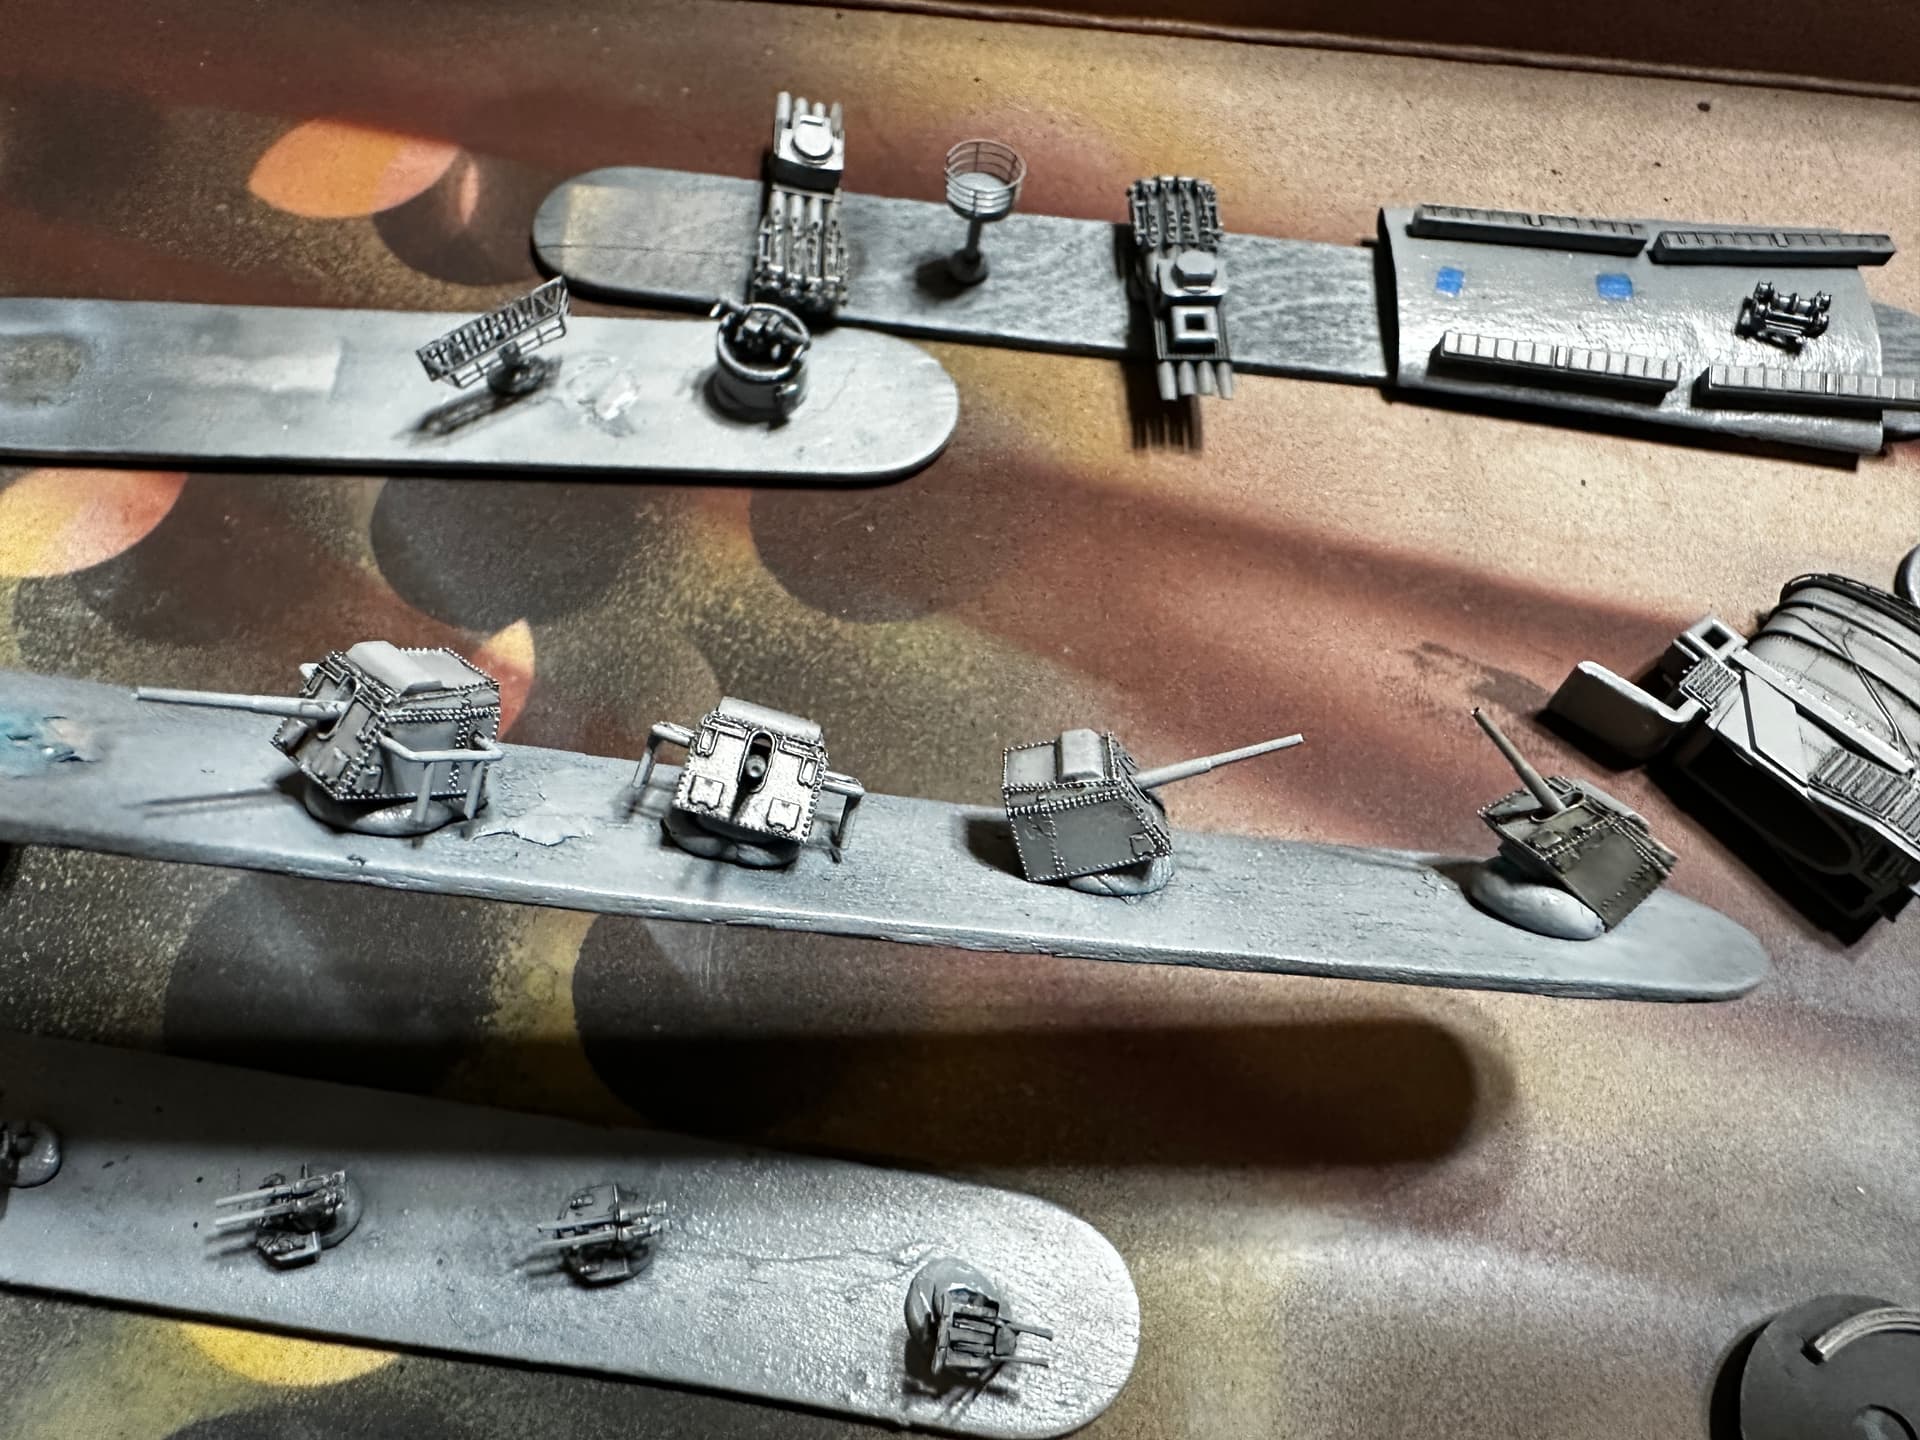
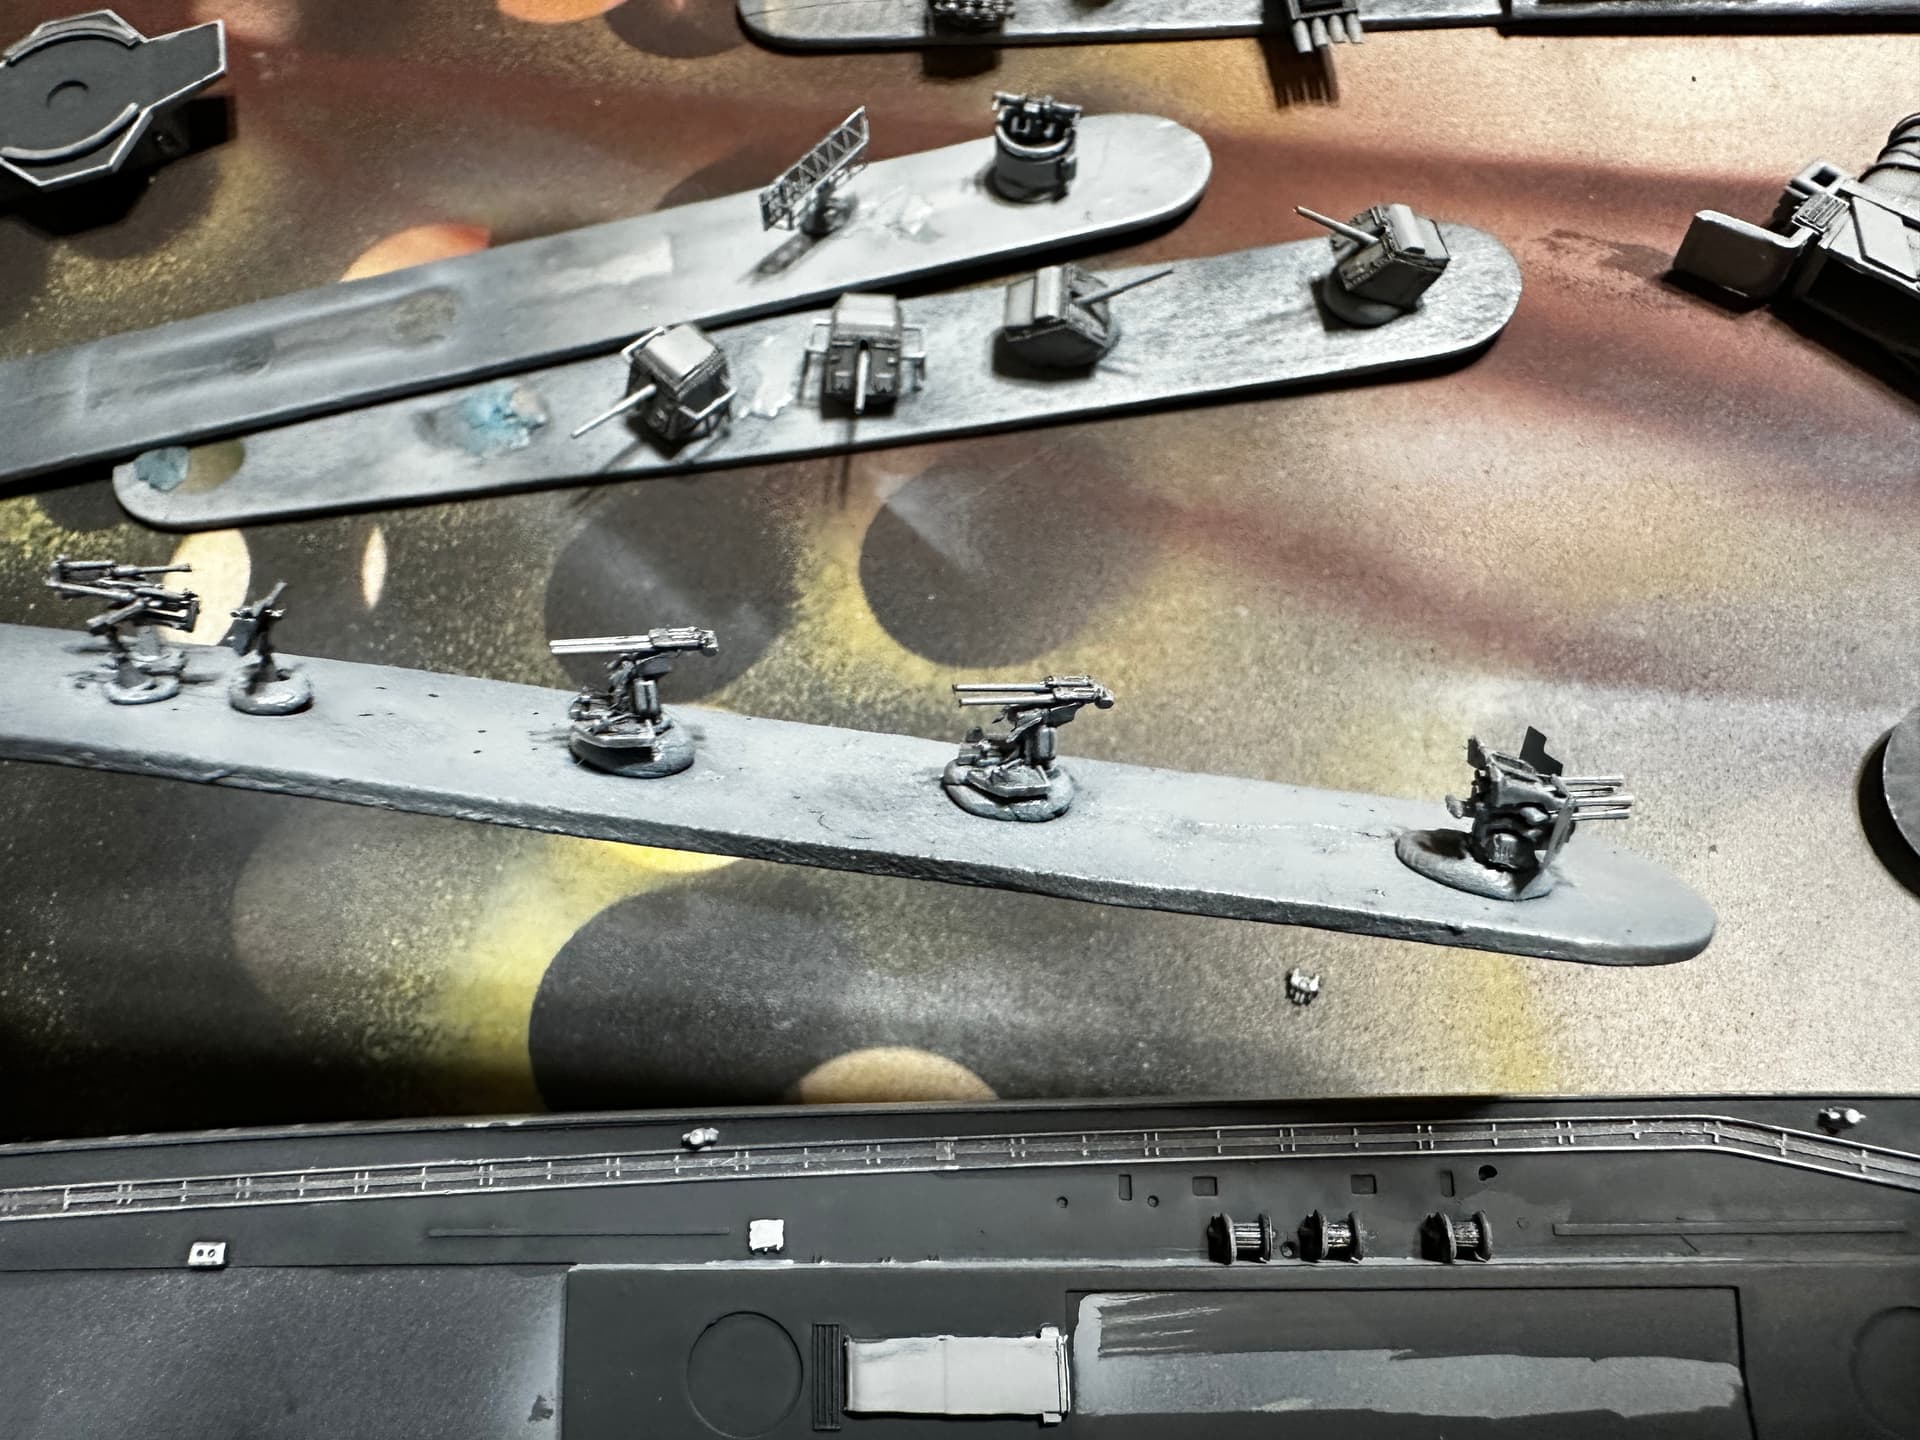
Its been a week of building and painting small fiddly bits but we are getting close to being able to attach superstructure to the hull.
Really happy with how the main guns came out.
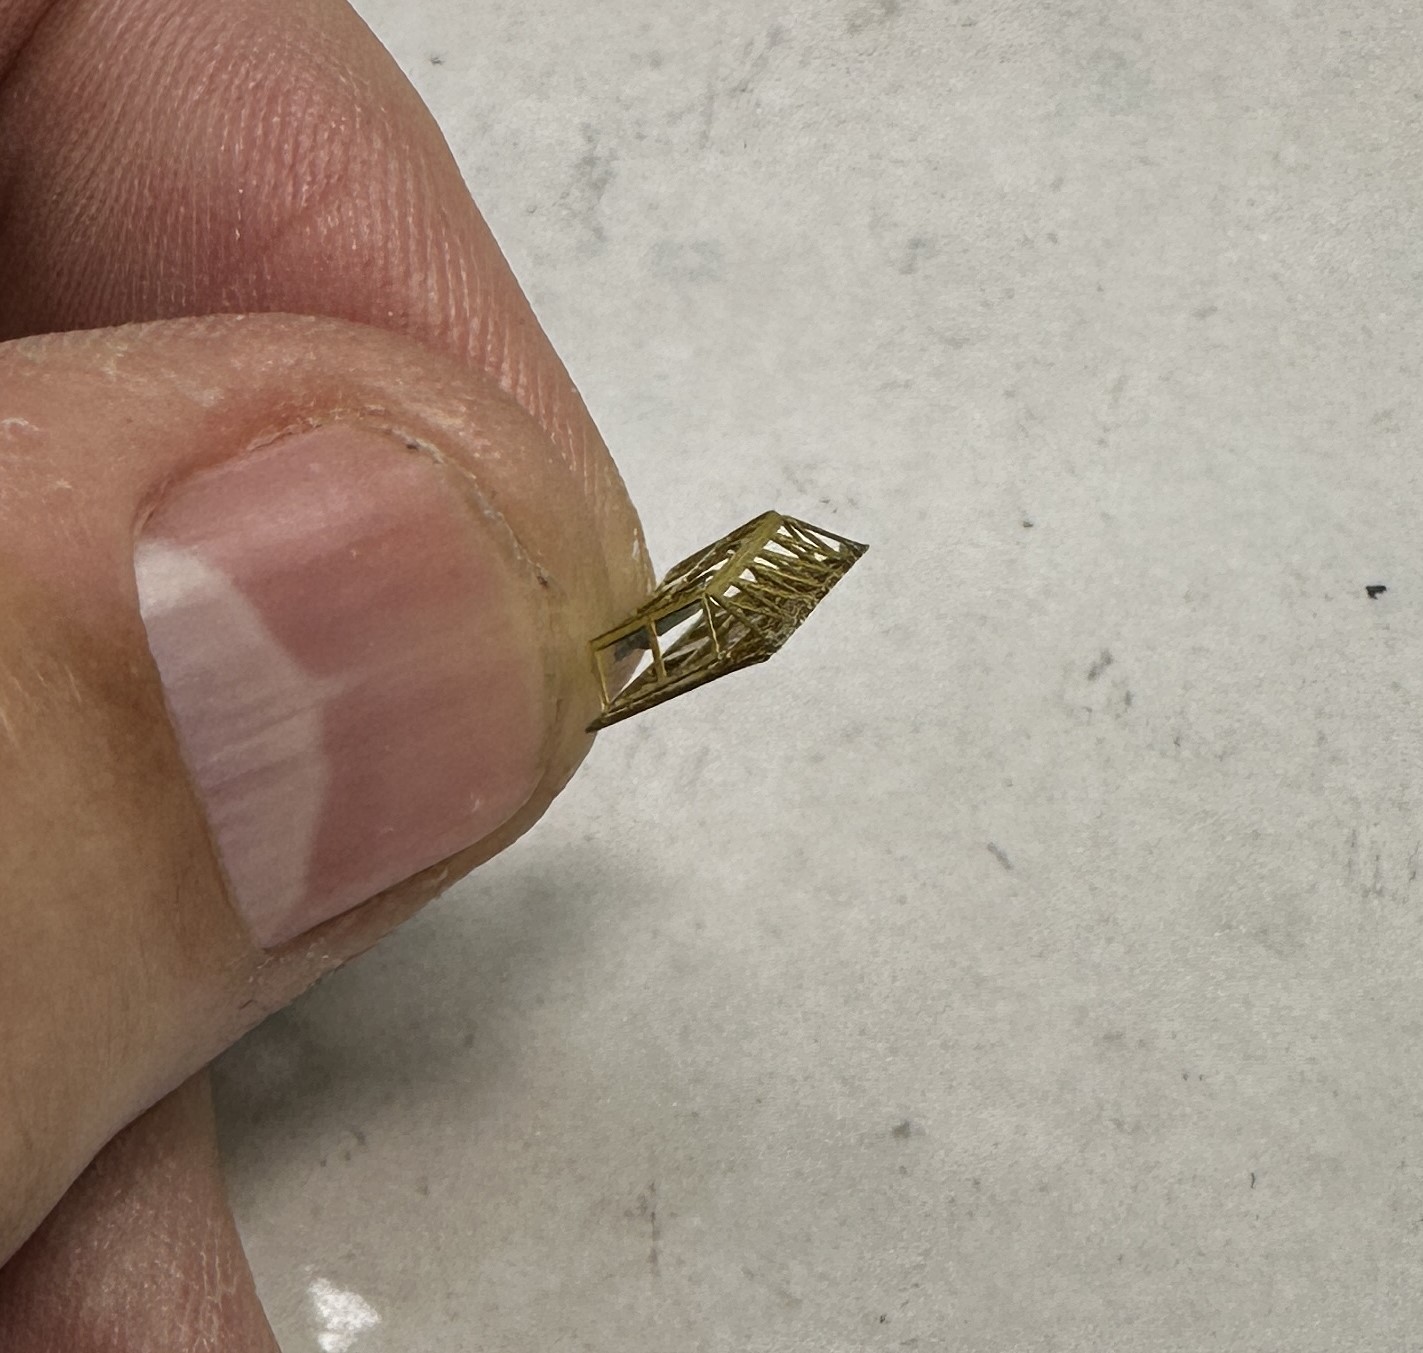
Secondary guns were super fiddly and I ended up leaving the PE off. Was just too small to manage.
The torpedo tubes are gorgeous. Probably the best plastic torpedo tubes I have seen.
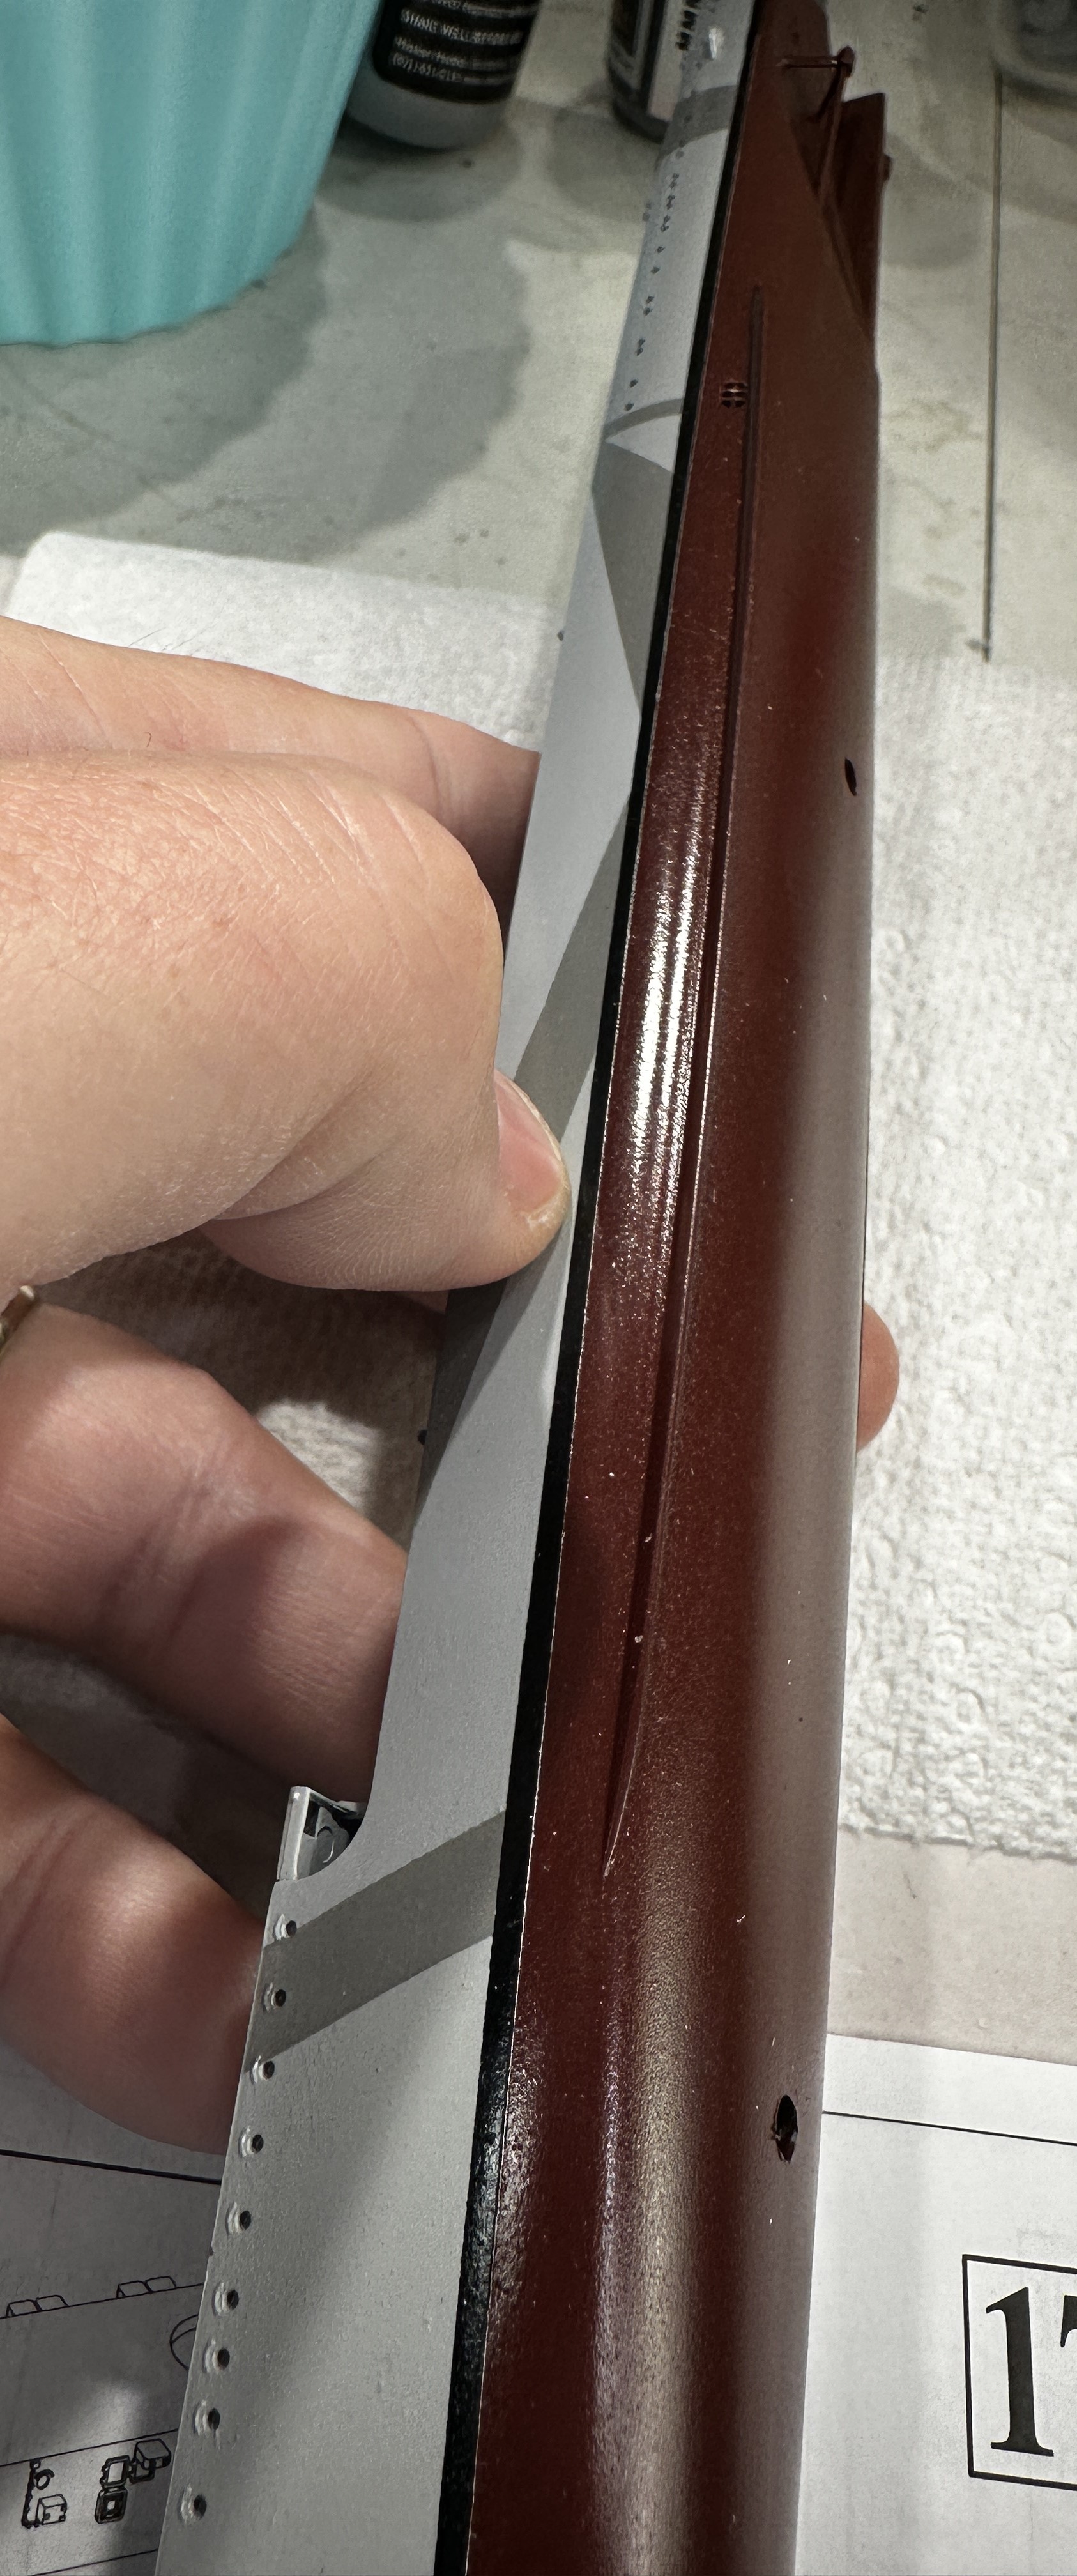
I also realized it was hard to see in my previous post but there is a boot stripe on the hull. I think I made it too narrow but I didn’t feel like remasking everything for 1-2mm of extra stripe thickness.
4 Likes
She is coming together now. Most of the fiddly bits are complete and attached.
The list of things to do to complete her is getting shorter and shorter.
- Masts
- Rigging
- Boats
- Derreck
- Mines on the stern deck
- Railings
I think I should have her done by the end of the week and if not, then definitely by the end of next.
4 Likes
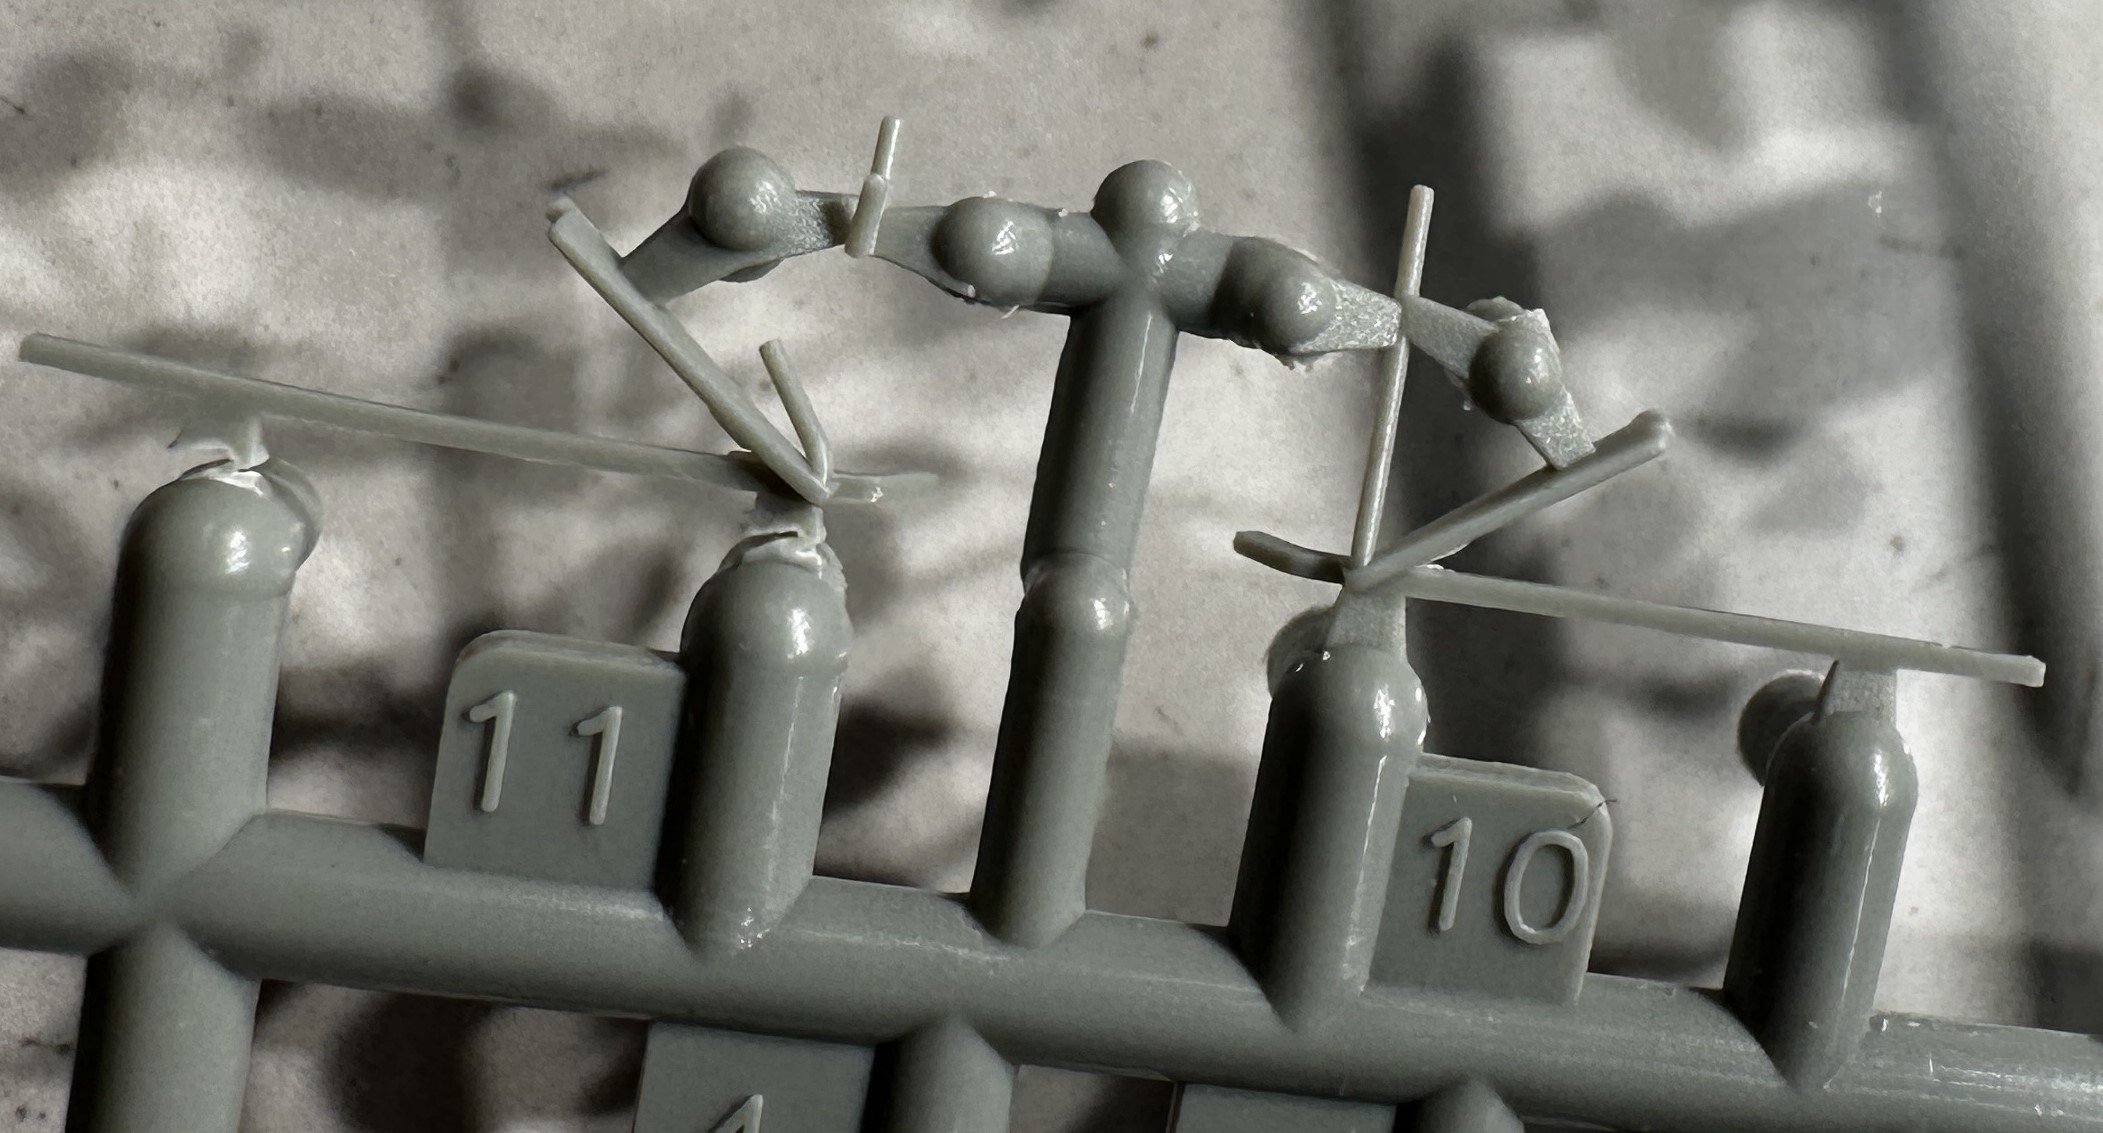
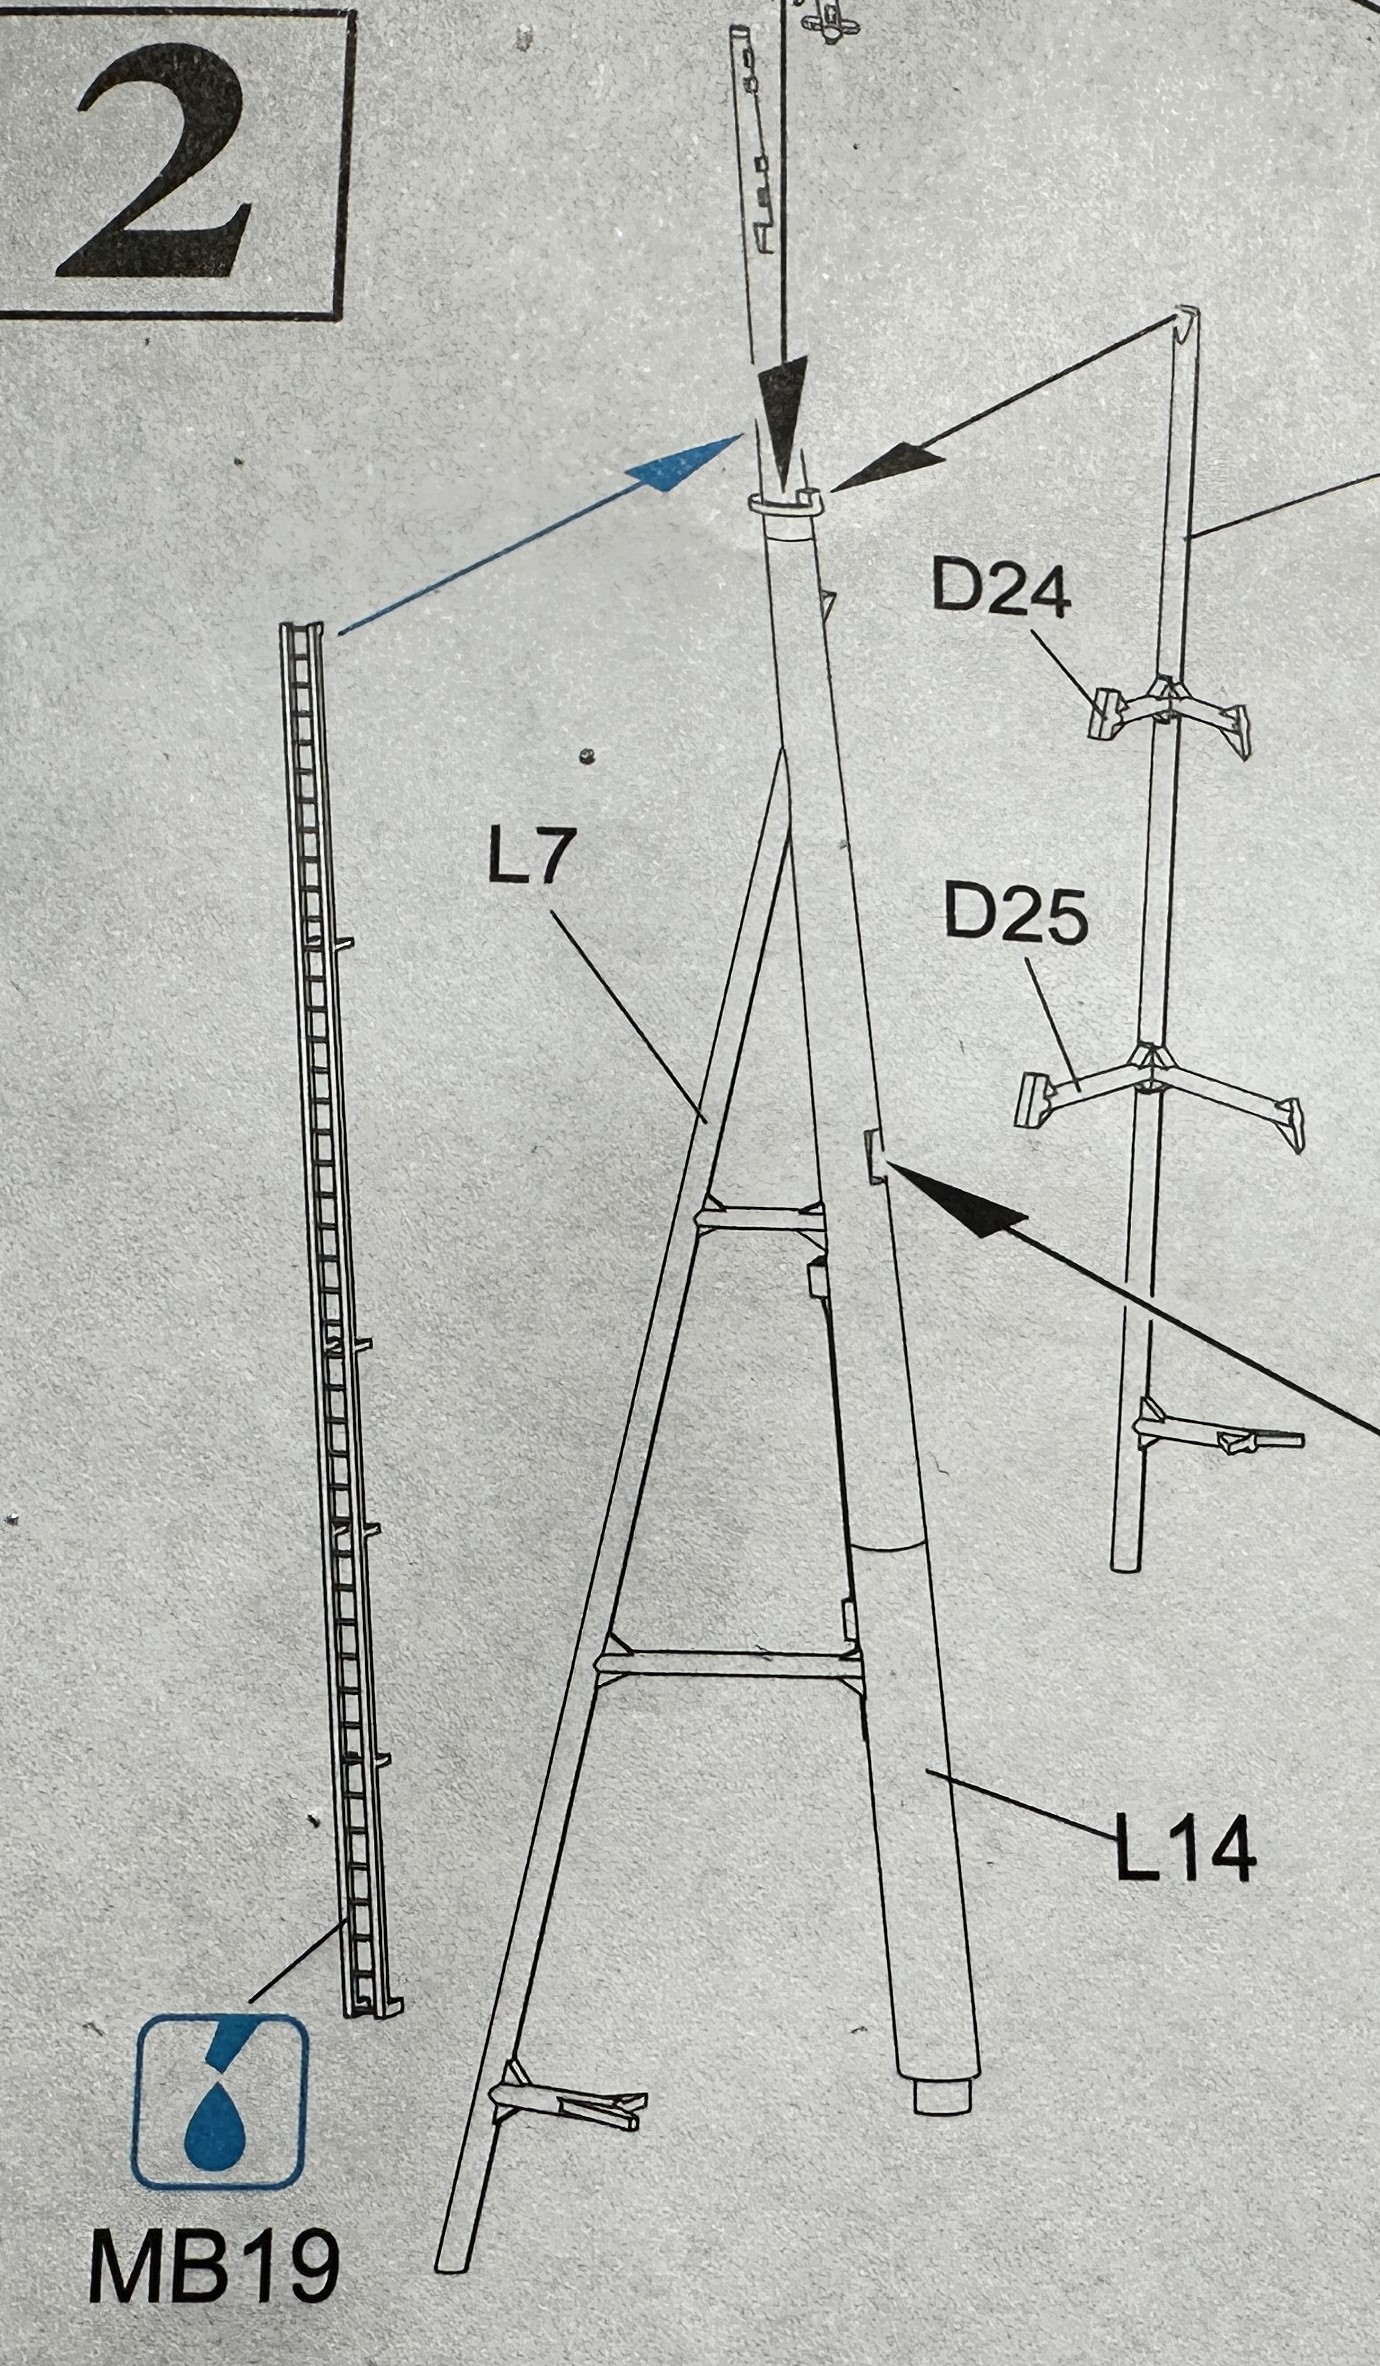
Started work on the main tripod mast and there were some issues with it.
The instructions are not very clear and its kind of fiddly to put together.
Typical unclear Dragon instructions. The correct placement and orientation of the cross beams are not really shown.
This is what it should end up looking like.
For any future builders, be advised that the marked supports need to face inwards towards the main mast. I built them facing out and that will not work when it comes time to install. Luckily I was able to readjust everything before the glue cured properly
3 Likes
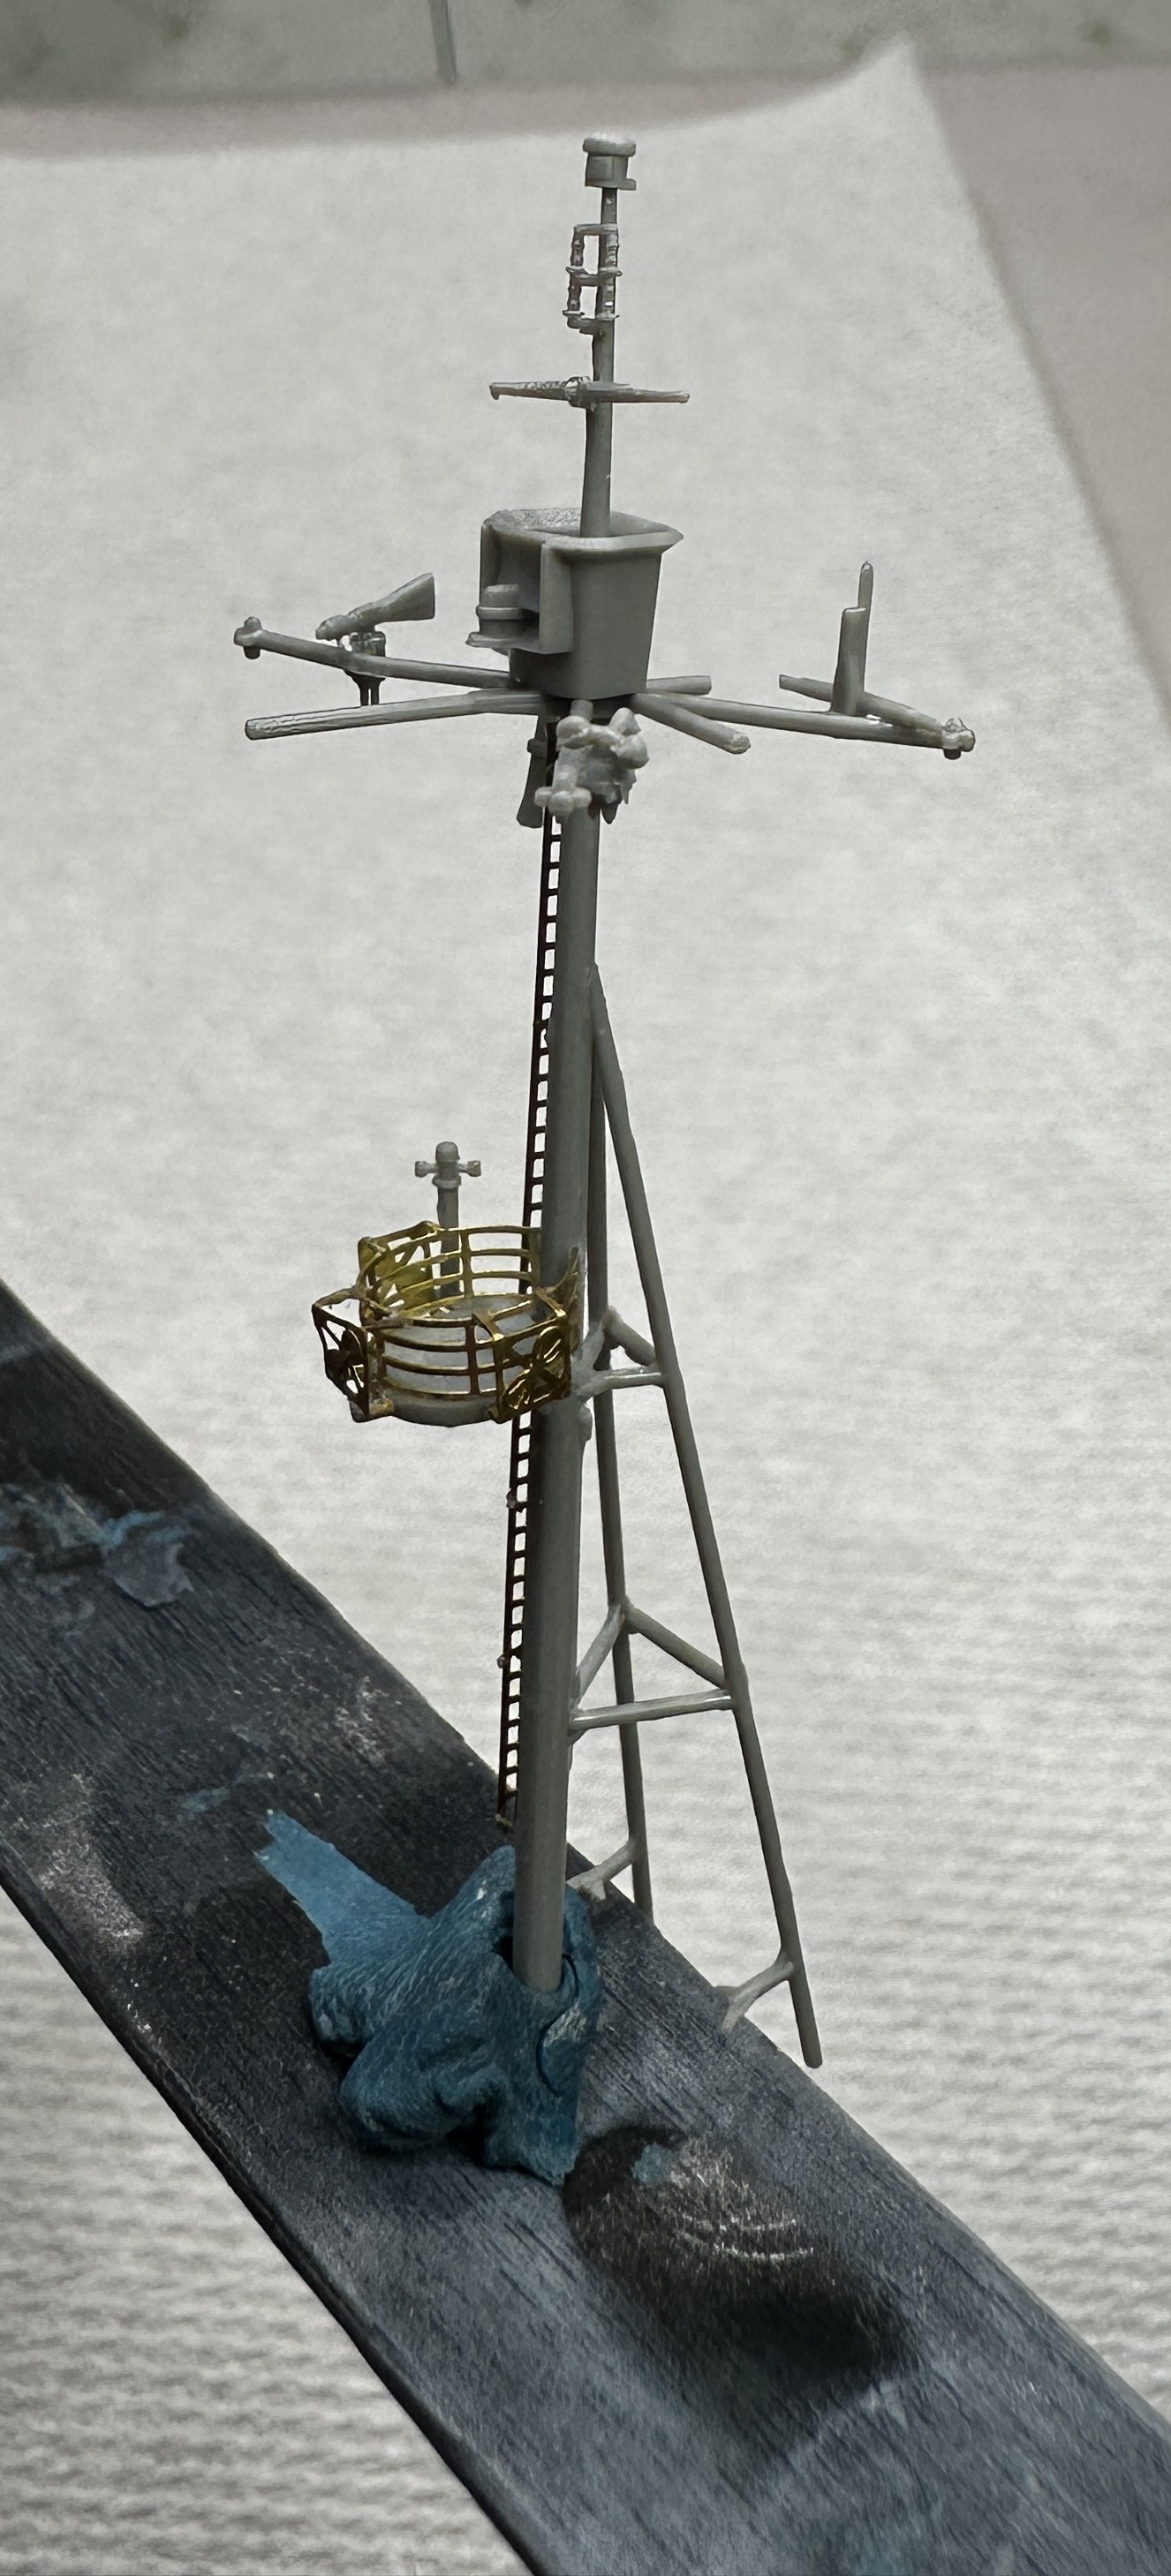
Its been a busy few days away from the bench but I did manage to finish up the masts.
Main mast was very fiddly. Plastic is soft and flexible which is nice as it doesn’t break easily but also means it has a lot of give so hard to push parts together at this scale. Ended up coming together pretty nicely and easily.
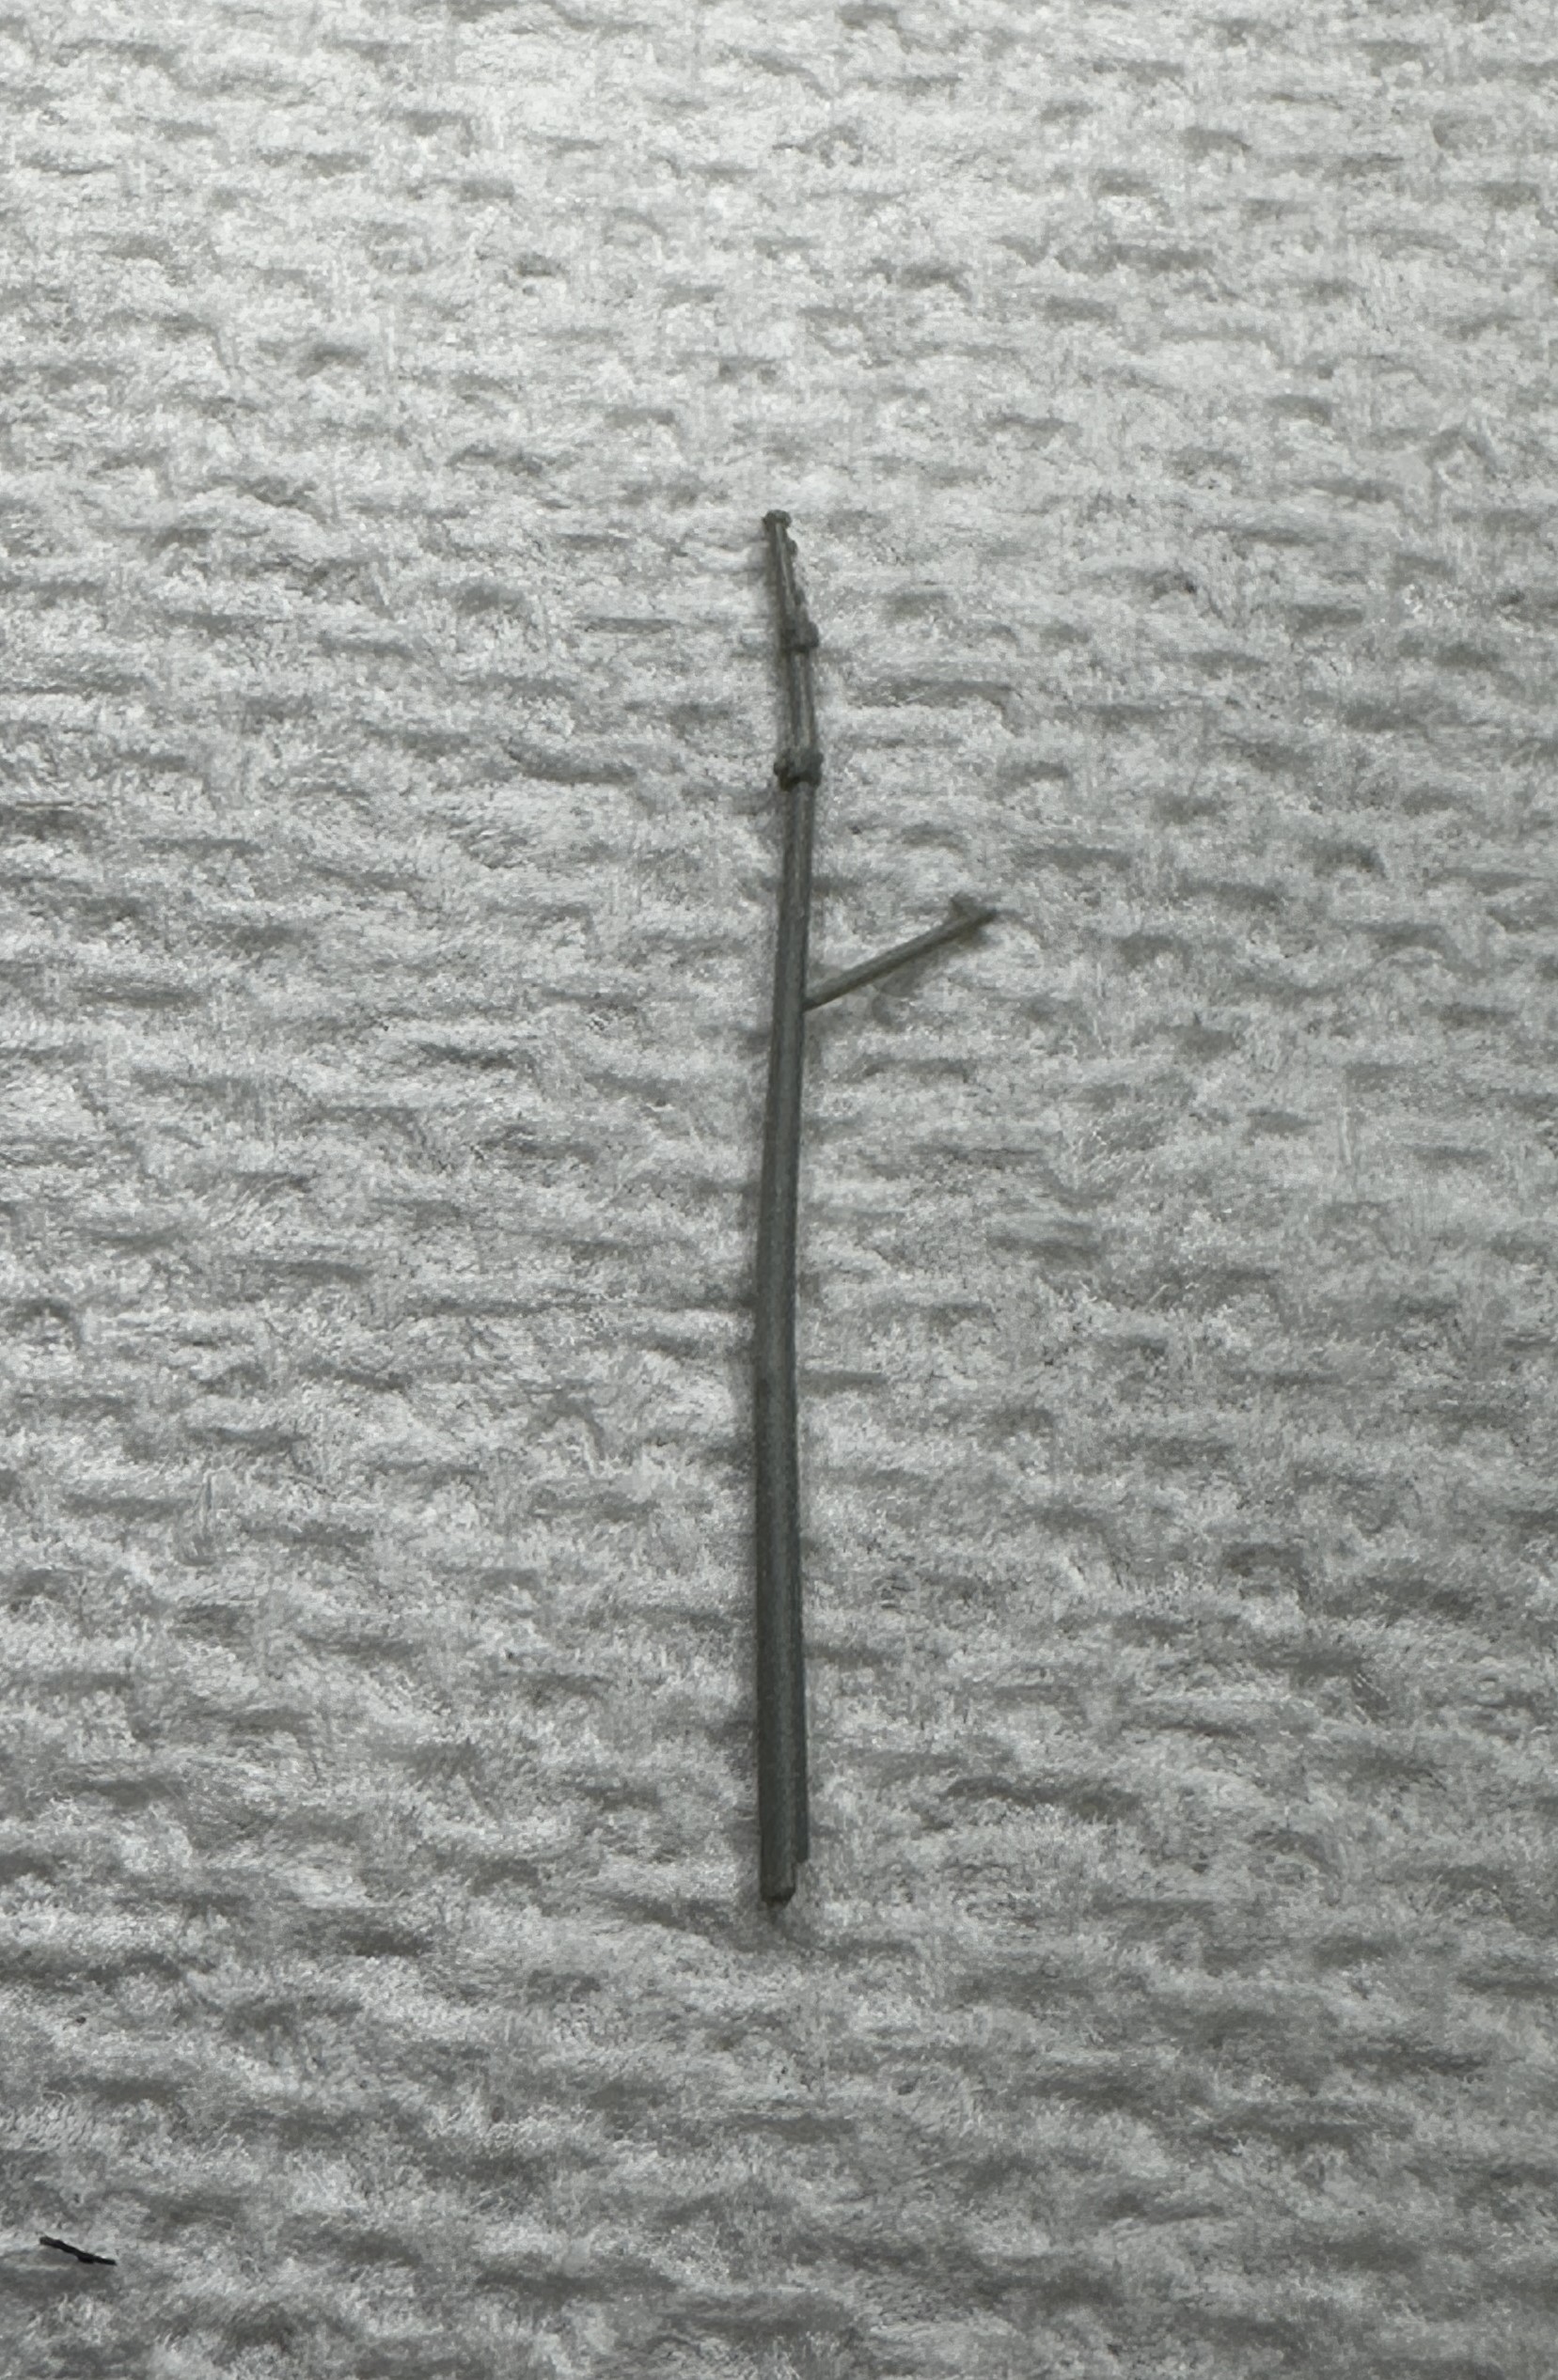
The rear mast was another story. It is a super thin piece and came off the sprue all bent. I don’t think I would have trusted it to maintain shape when rigged even if it came off straight.
A visit to the Local hobby store later and I got some thin brass tube. A few cuts and some wire rings for support and I think I whipped up a good replacement.
6 Likes
Last items to be built were the sea mines. They wanted me to use some PE for the contact horns but these old eyes said Nope!
Honestly, at this scale they would be almost invisible so I opted to just omit them.
Last things left to do are the two R’s
Railings and Rigging
Otherwise my Z-26 is pretty much completed. Scews and Rudders are installed as are the masts.
I may or may not be able to get her done by the end of the week. Have a busy few nights and then I am out of town over the weekend. Off to Chicago to watch the All Blacks and Ireland play rugby!
6 Likes
Fantastic work Rory-looking good.
Great work Rory - and I agree about those mine contact horns! 
1 Like