Any help in this area would be appreciated , i just had a disastrous experience using a super glue that removed the mr surfacer primer off of the tracks, what do you guys do?
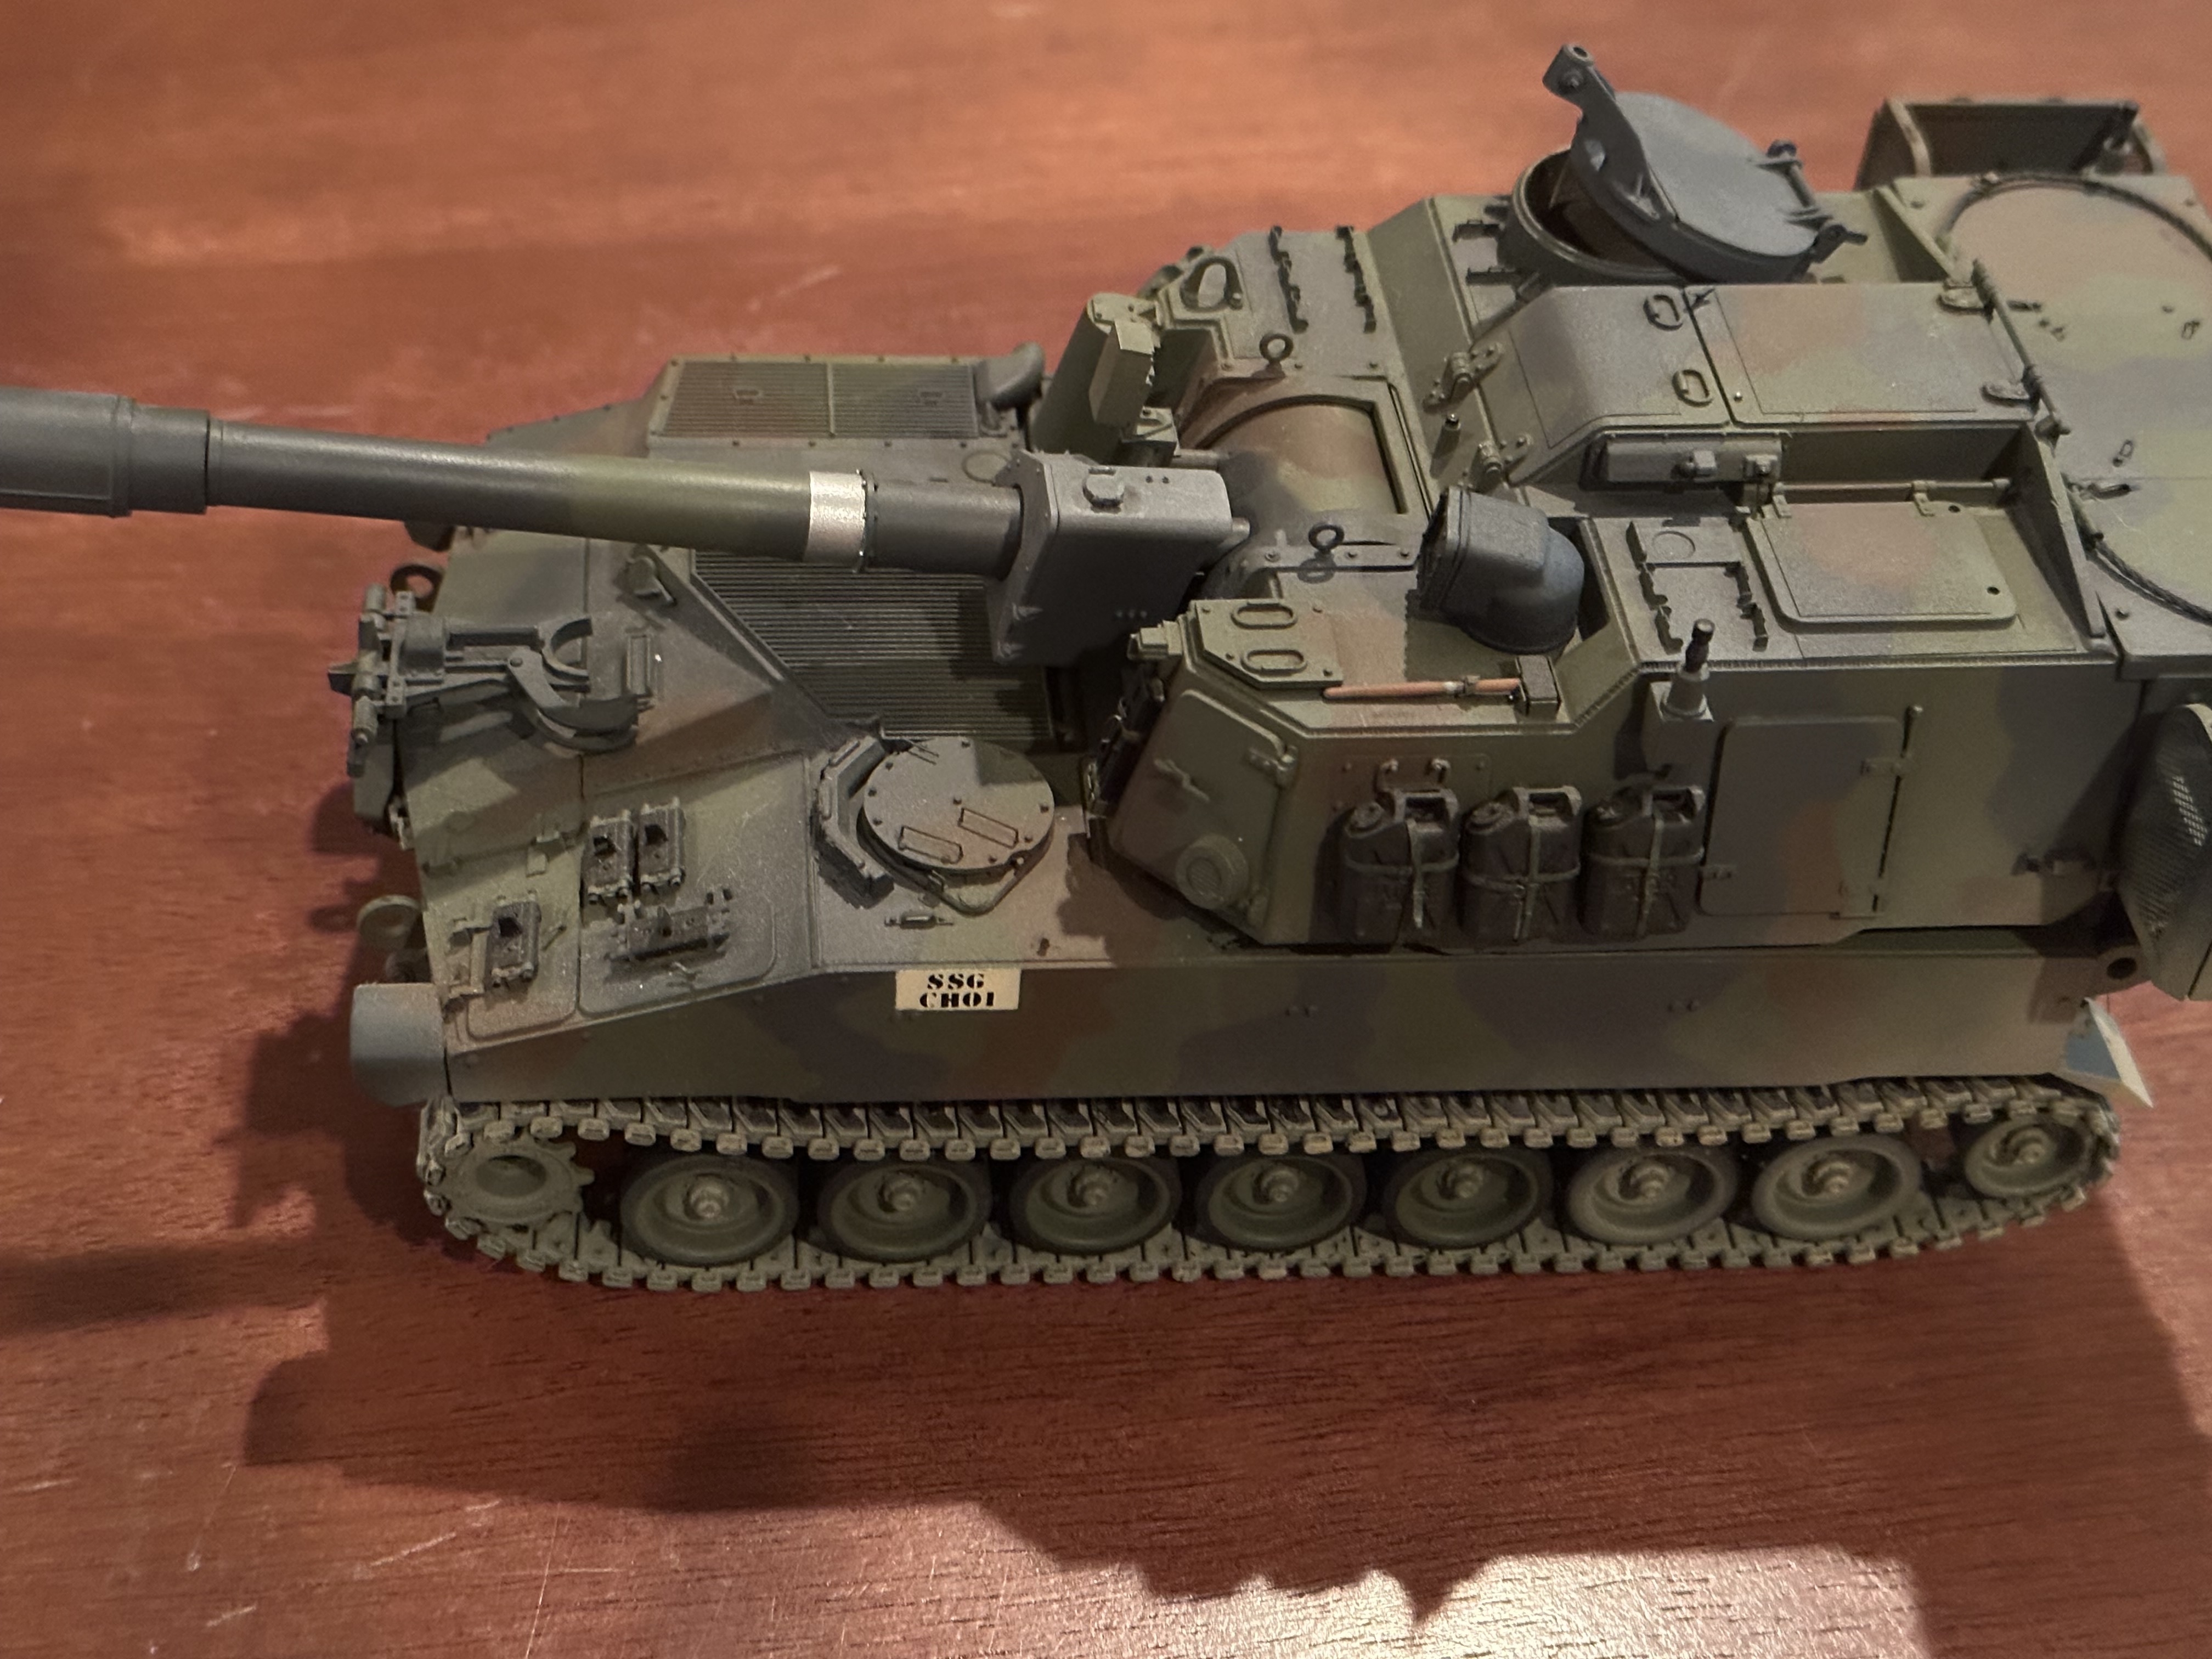
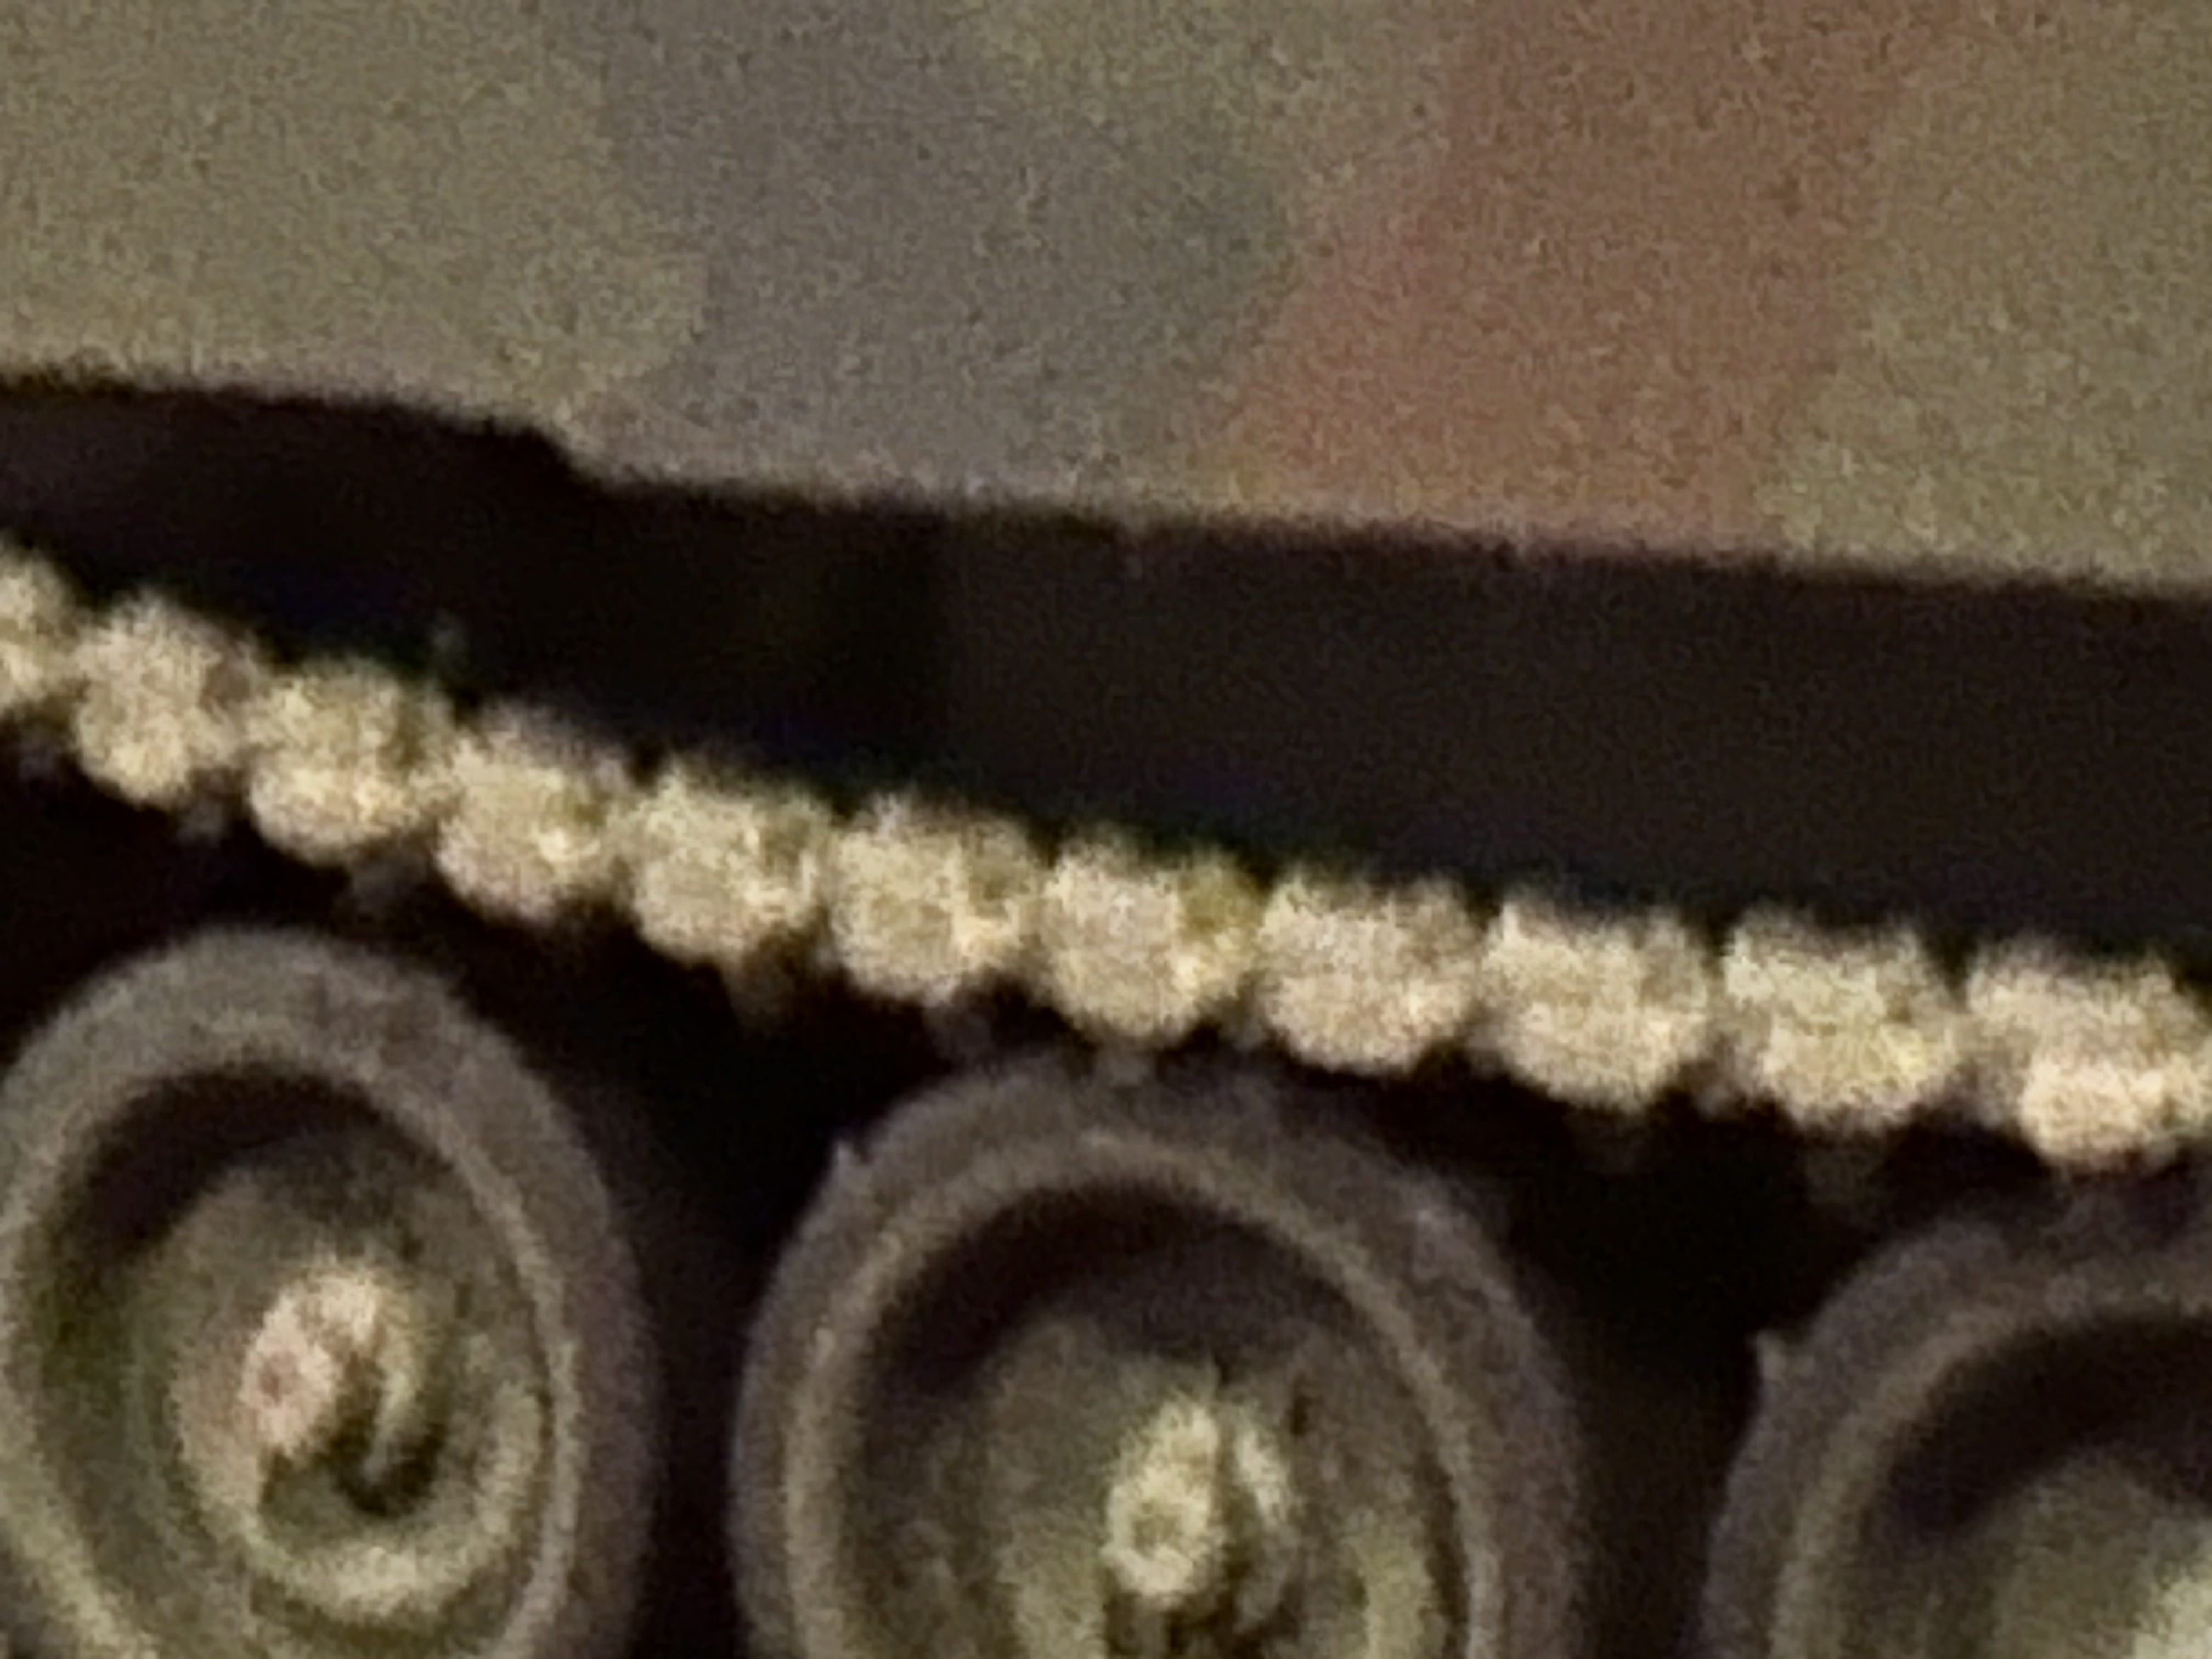
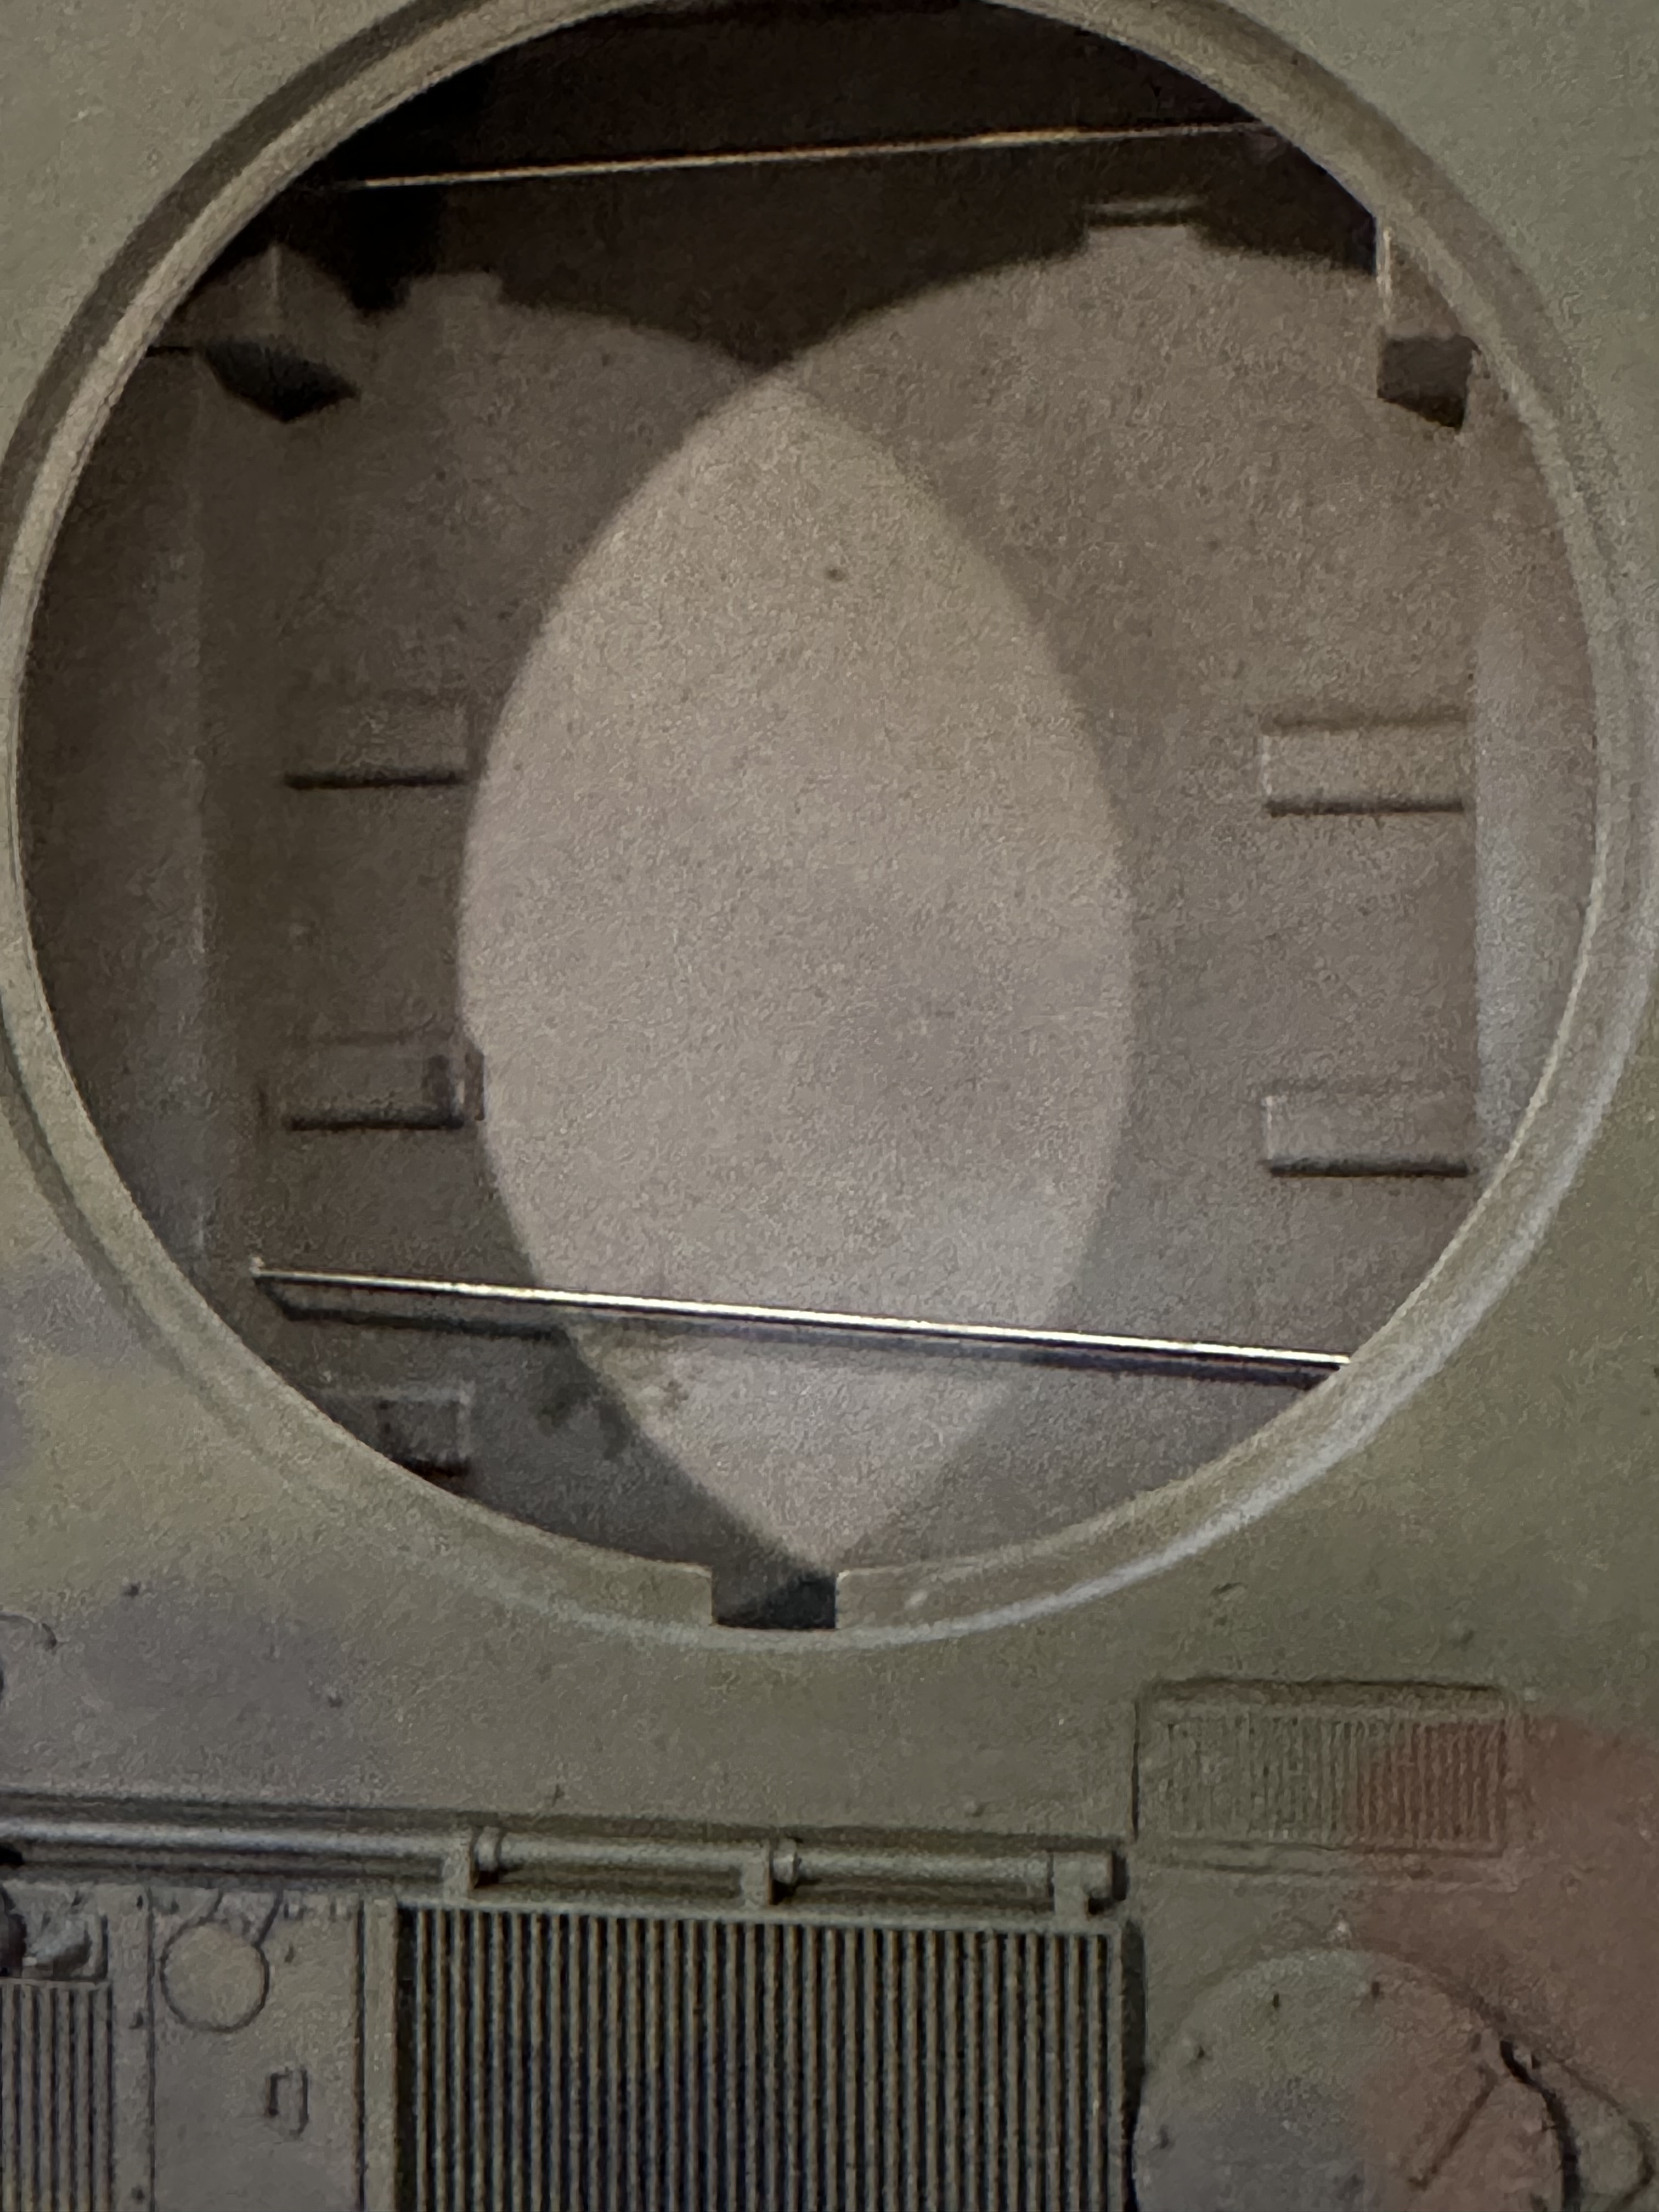
Old school methods included: staples; sewing the ends together (with needle and thread); and heat sealing with a hot screw driver. ![]()
![]()
![]()
2 Likes
Staples if I can hide the joint behind skirts. Brown thread if I cannot.
1 Like
If the old school rubber band track fits well and isn’t highly steessed, super glue the over lapping ends together before painting. If the track has raised nubs they can be cut flush. Hiding the joint can be a challenge but near the top of sprocket often works well. Likewise under a road wheel or at the idler can be an option.
The newer 1990’s era Tamiya style ones seem to hold well with plastic liquid cement.
let me explain , i had no problem connecting the tracks together with the hot screwdriver , that went fine , im talking about securing them to the top of the wheels so they look real laying flat
Depending on the style of return roller and it’s size you can do a thread loop cinched around the roller to pull the track down in those areas. If it’s all assembled I’ve seen guys use dowels etc to introduce sag and glue the tracks to return rollers and finally others will drill a small hole in the hull where you want the sag, insert a straight pin or something similar to push the tracks down. The dowel/glue is what I’ve done.
2 Likes

Hi,
Interesting method, Is the pin in the wheel or in the hulk?
thanks
The pin is drilled through the side of the hull.
I have used sewing thread and a sewing needle.
If the track has center guides I pull the thread through a guide horn and tie it under the axle of a return roller or roadwheel if I can position the track so that the guide horns are directly above such an axle.
If the isn’t any center guides I try to pull the thread through the track links where the pattern on the front of the track link will hide it as much as possible.
Tracks that sag on both sides of a return roller, German Pz I to IV to some extent and many Soviet tanks, get a slightly different treatment. In those case I pull the thread through the track link before and behind the axle so that the thread pulls them down on either side and forces the other links between the axles downwards.
thanks, interesting. i also used the sewing method when needed wit those rubber band tracks
I used three brass rods: front, middle and rear.
I used the sewing needle method for the first time around 1983 0r 1984 on a Tamiya T-62. I might have goten the idea from a Shep Paine book. Not sure if I would have come up with it on my own.
1 Like
what prep do you do before painting them? I gave the model a detergent wash, the tracks i forgot to do anything to them and the mr surfacer primer just came right off of it ? i brushed all the primer off as best i could with a toothbrush.What should i do to them now?
Rinse them off with a thinner,and give them a good take your time scrub,and spray with a lacquer paint like burnt iron maybe,there may have been a reaction to your method of preparation.
Good luck
The old Tamiya rubber band tracks?
After wash and dry, airbrush enamel paint thinned with lacquer paint thinner. It has better bite to adhere to rubber band track.
yes , you think mr surfacer was a bad choice?
Which Mr Surfacer? 500, 1000, 1500 ?
I haven’t tried Mr Surfacer on the old Tamiya rubber band tracks. If thinned with Mr Leveling Thinner that might work. Mr Leveling isn’t as “hot” as traditional lacquer thinner but it might do the trick.
Cigarette lighter fluid aka naptha is hot enough to work with enamel paint too by the way.
mr surfacer 1500