Hi John!
Another solution could be to mask the areas not covered by anti-slip surfaces and spray some diluted Mr.Surfacer 500.
Cheers,
Angel
Hi John!
Another solution could be to mask the areas not covered by anti-slip surfaces and spray some diluted Mr.Surfacer 500.
Cheers,
Angel
Good point Angel - I didnt think of that ![]()
Not my invention John,
A talented model shipbuilder is using this technique to represent armor plating on IJN WWII ships:

Cheers,
Angel
May not be your idea Angel, but thank you for sharing it with everyone anyway. I am sure it will be a tip of use to a lot of guys here.
You said a mouthfull here, Peter!
Information not shared is lost…
I’m not into model ship building myself- although I look in awe at the guys who are (like Kalin @k_mero4 ), but watching this gentleman build IJN ships has not only helped me learn new modelbuilding tricks, but has also increased the variety of tools in my stash.
I heartily recommend his YT channel and enjoy each video he uploads,
Cheers,
Angel
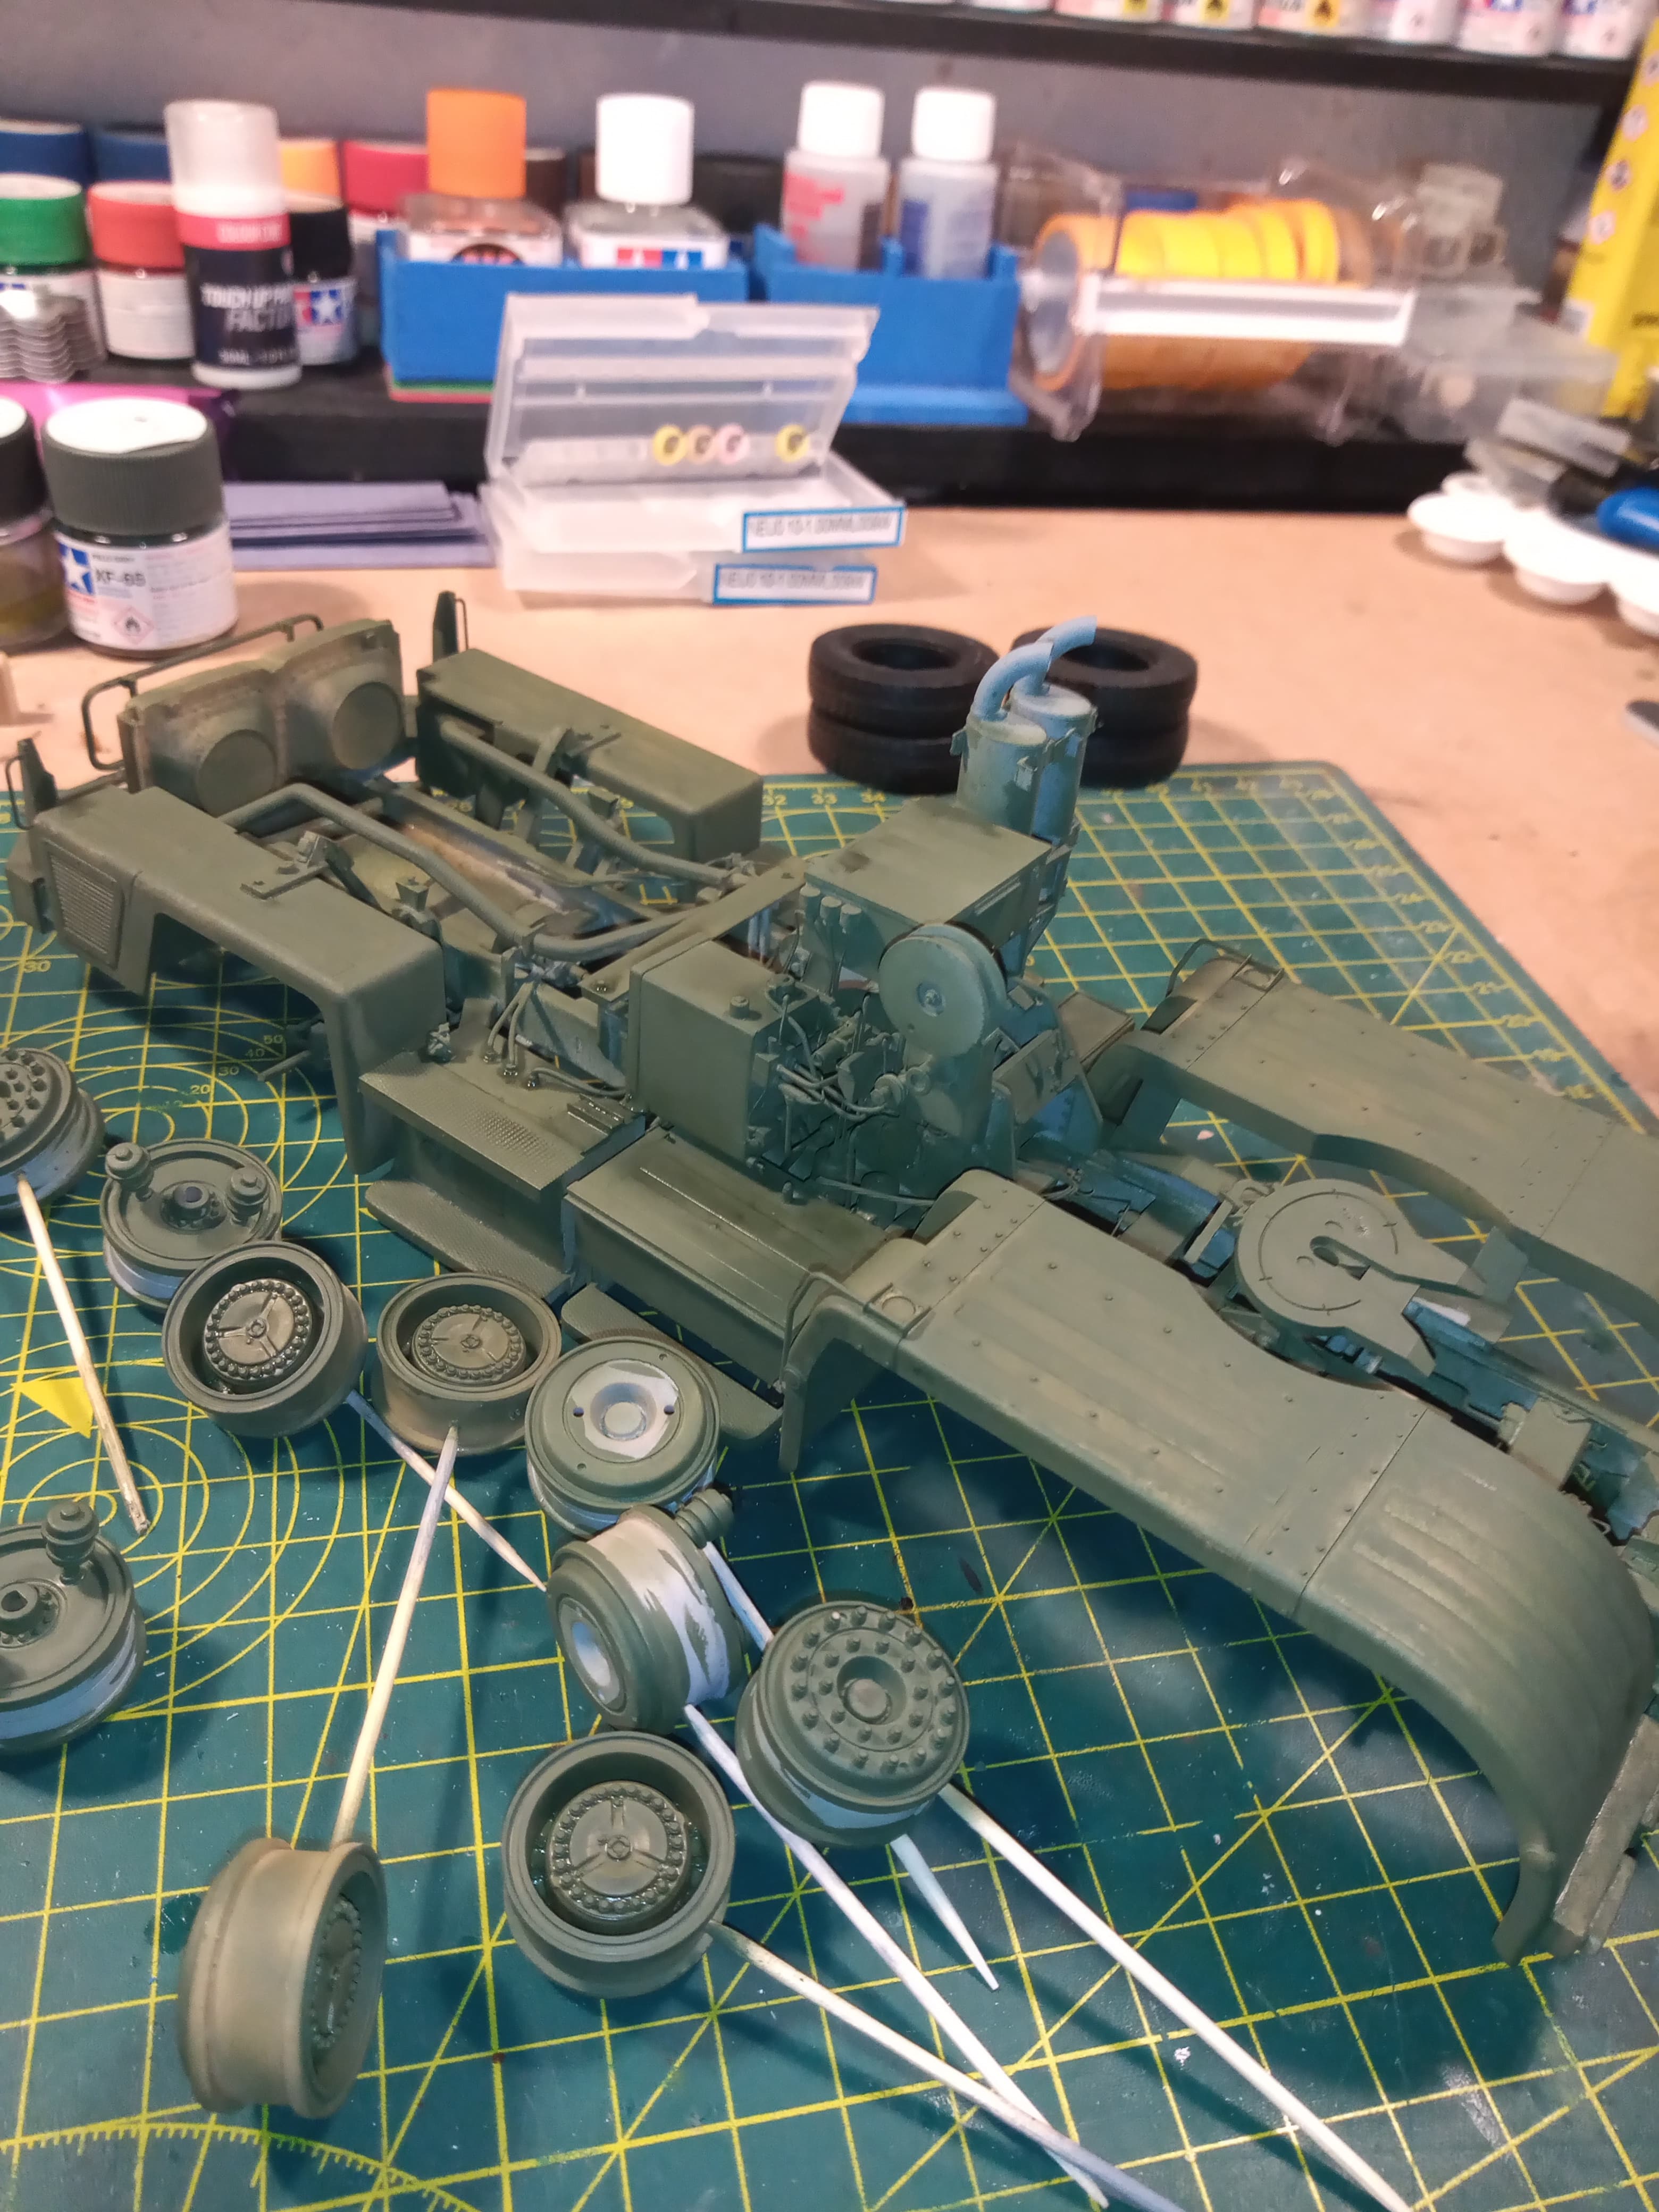
Lower chassis is 99% done. Happy with the way it’s gone, and there were a few fit issues, and things not totally aligning, but all pretty easy to fix, and there may well have been some user error as well…
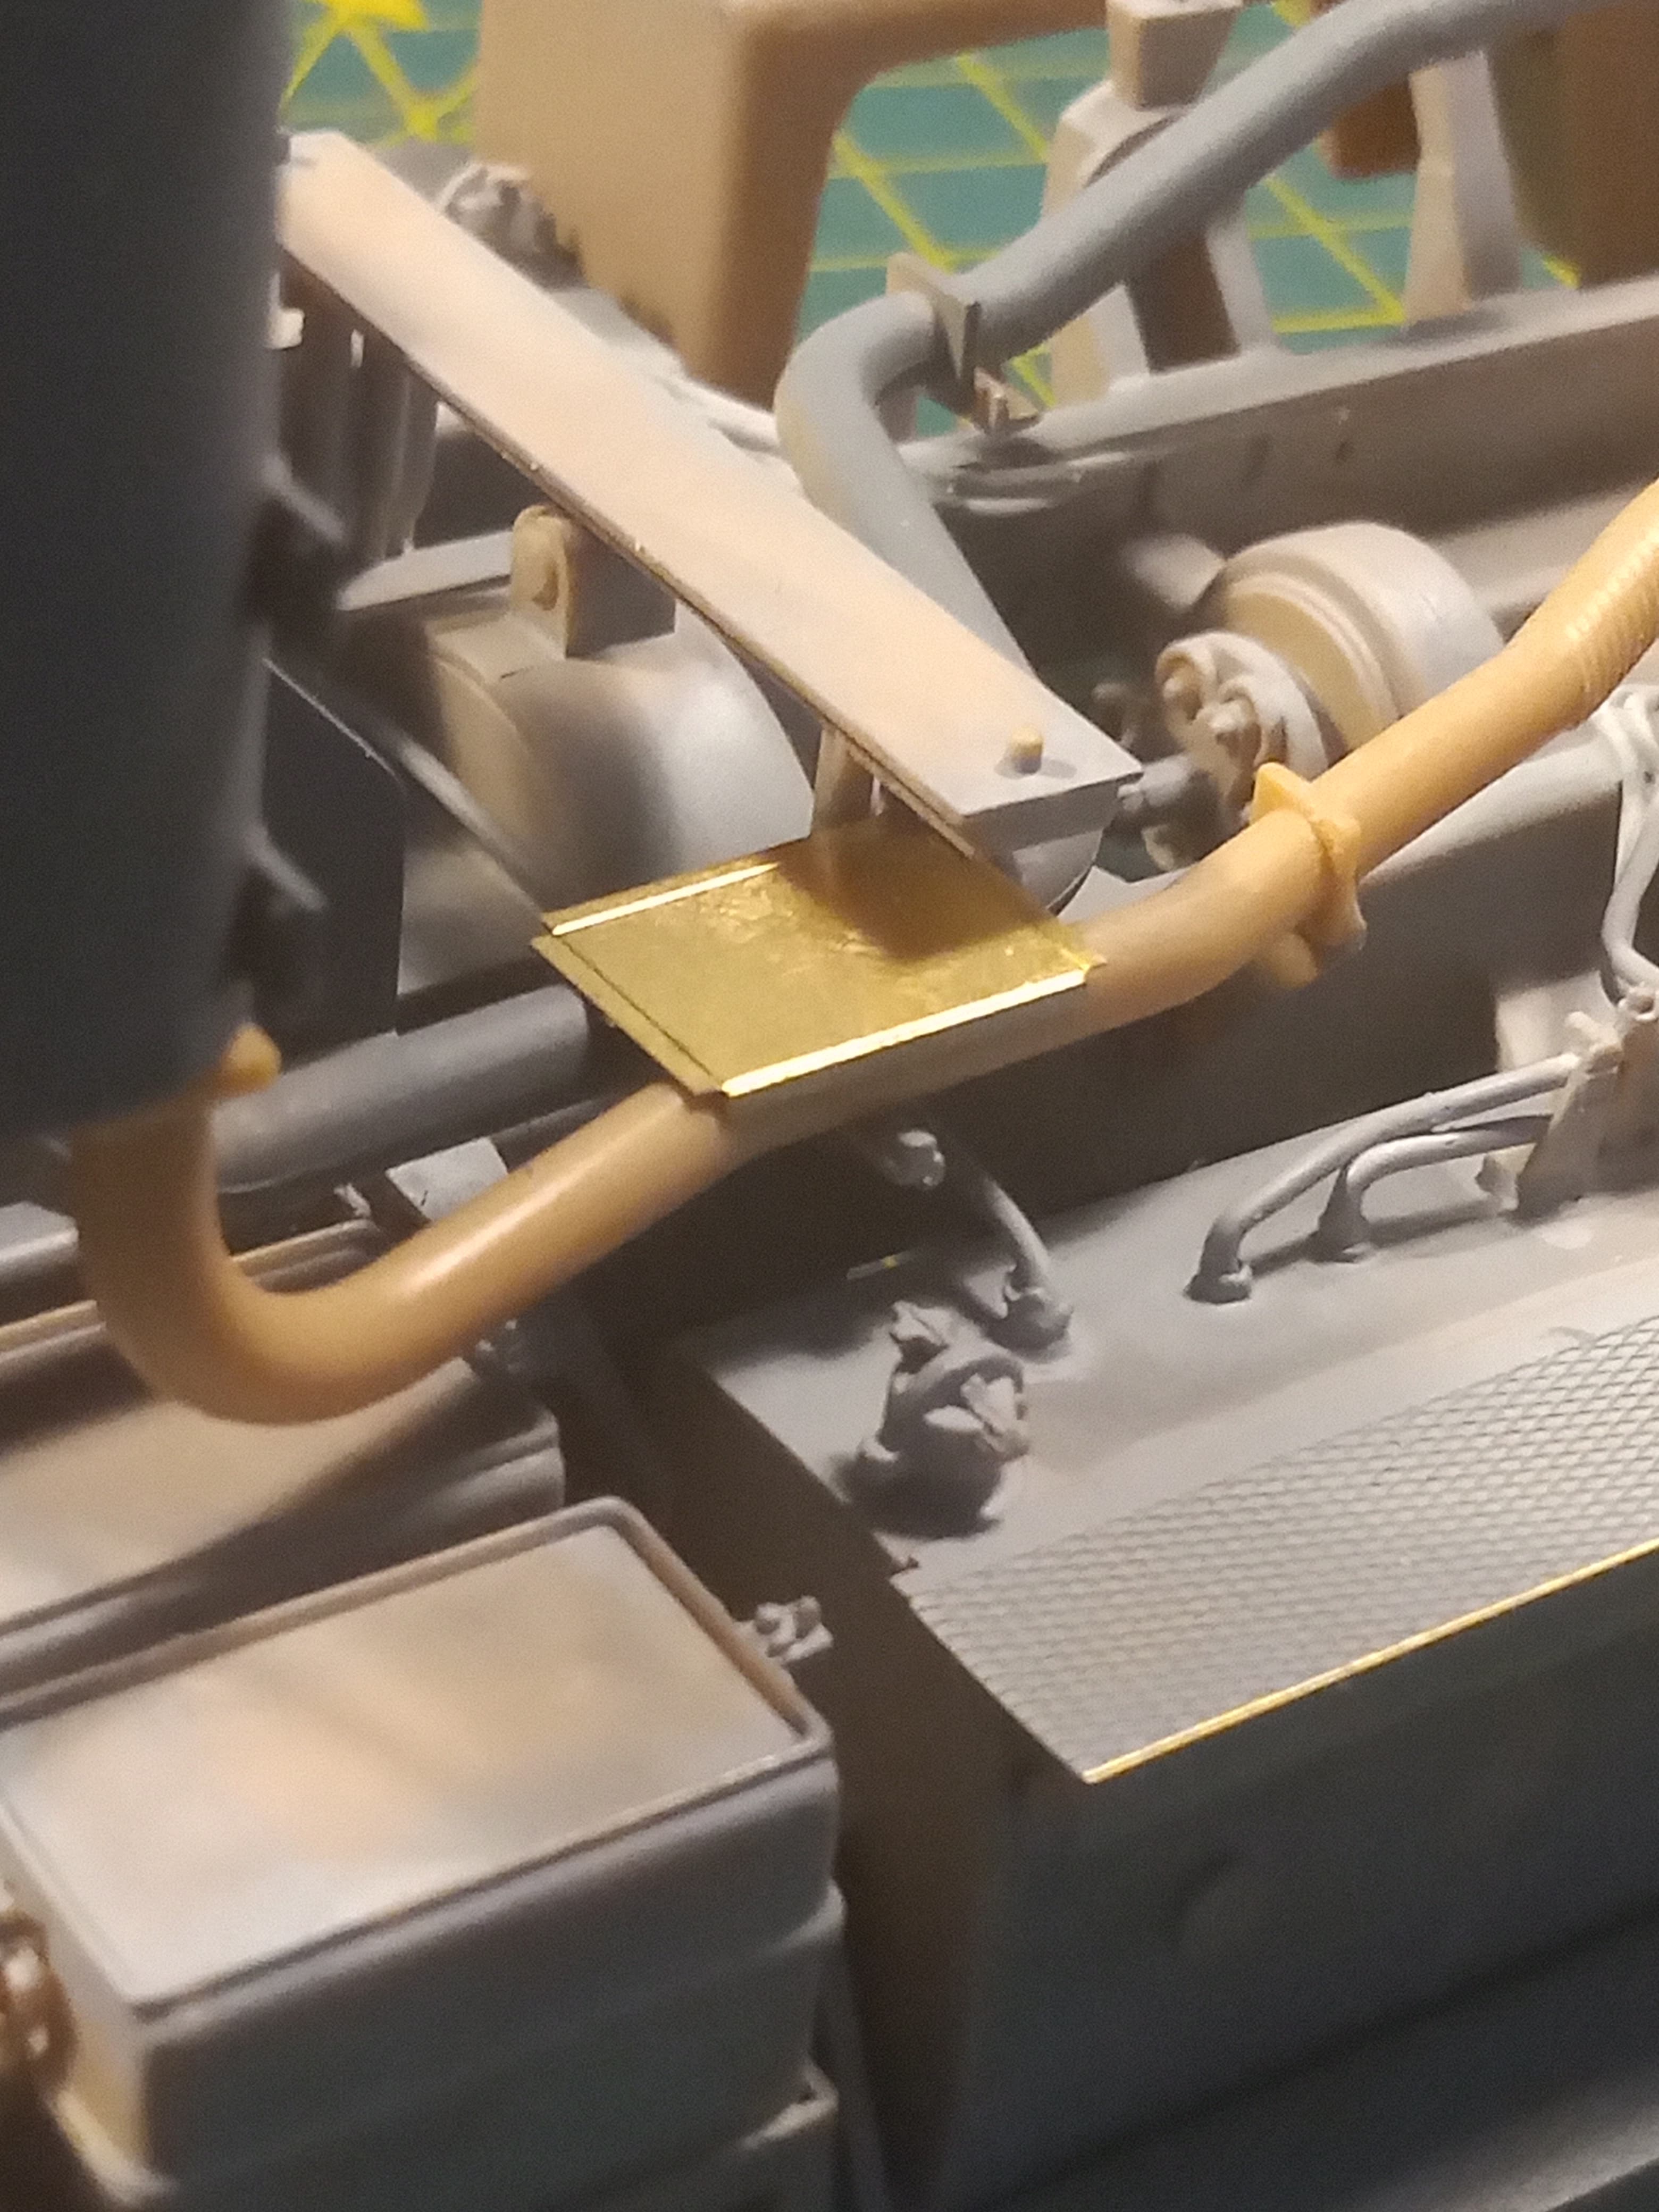
Added this PE heat shield over the exhaust pipes from spares…
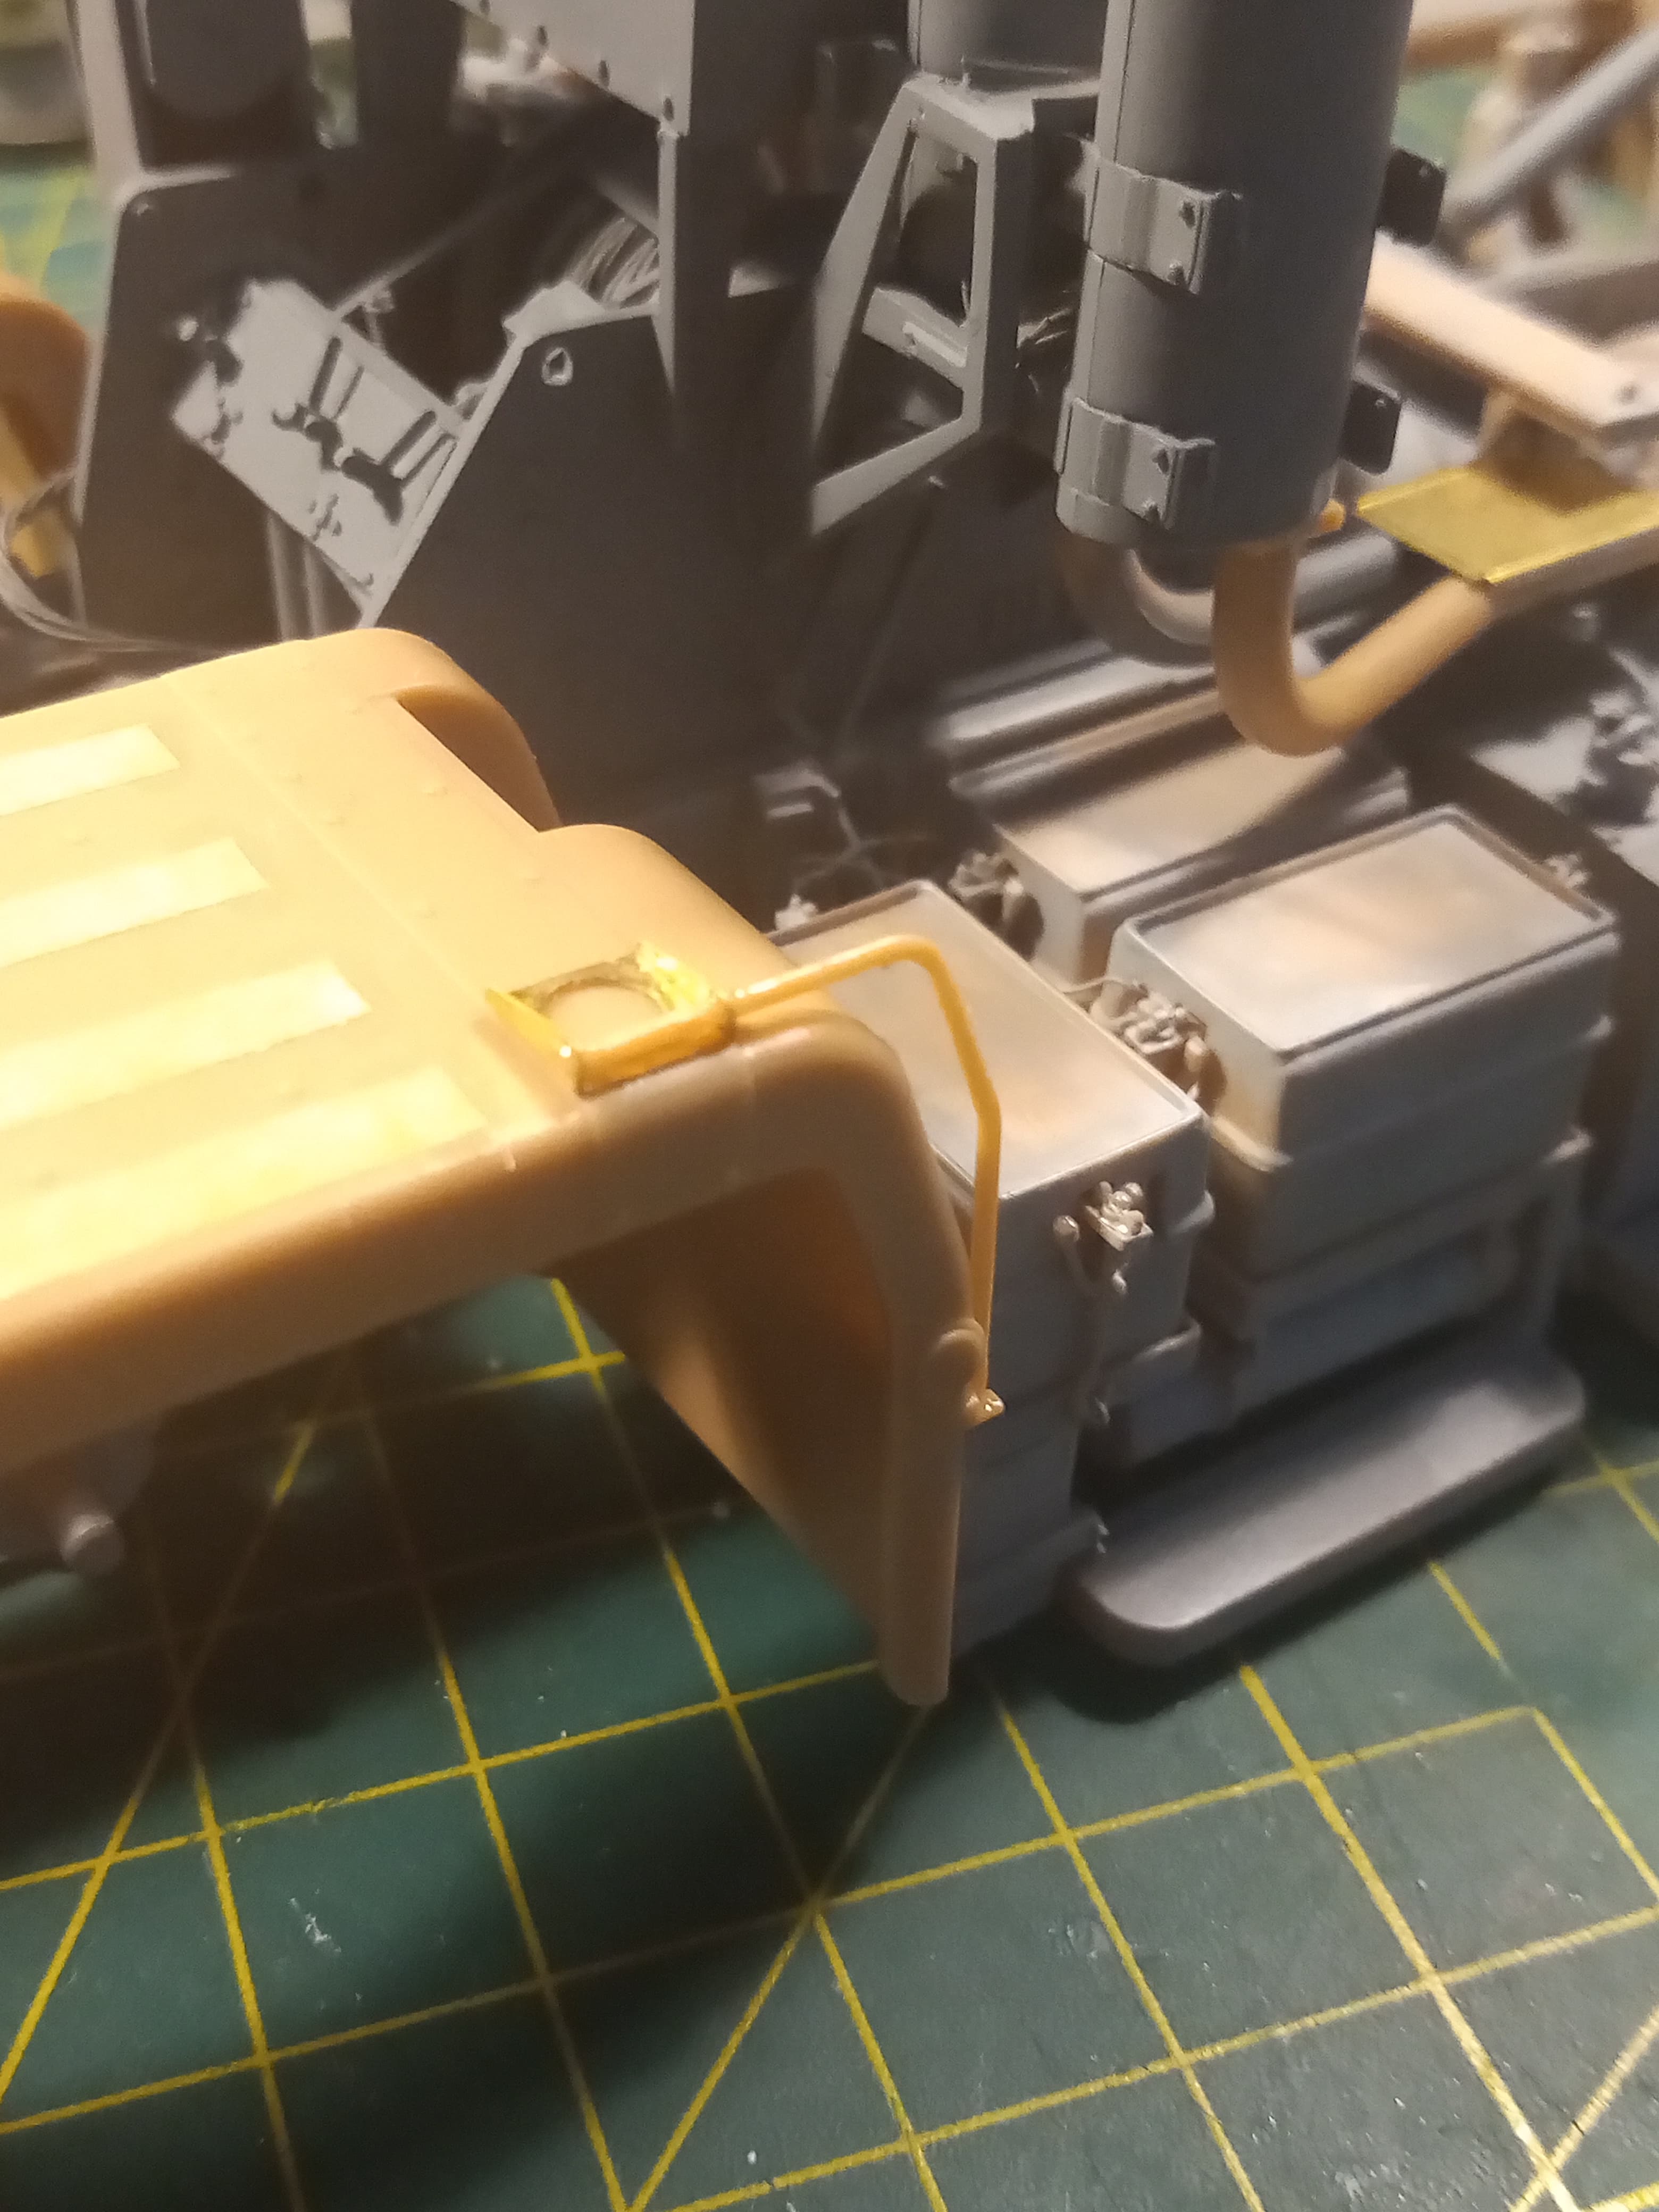
And some PE details on the mudguards
Going to try and get a base coat down of Tamiya NATO green or German Field grey later… Not decided on which yet.
A bit of a slog, but well worth it John. Looking great.
Thanks Peter … Im happy with the detailing thats been added, it also allows for some extra colouring to be added like the red or yellow handles etc … talking of hard slog, I just noticed the fuel tank transfer lever has broken off … time to make a new one ![]()
I love these MENG bolt heads and nuts…
The kit ones on the 5th wheel mounting brackets just looked like blobs of plastic …
Blimey… This chassis only took a huge amount of paint, and it’s only a base coat…
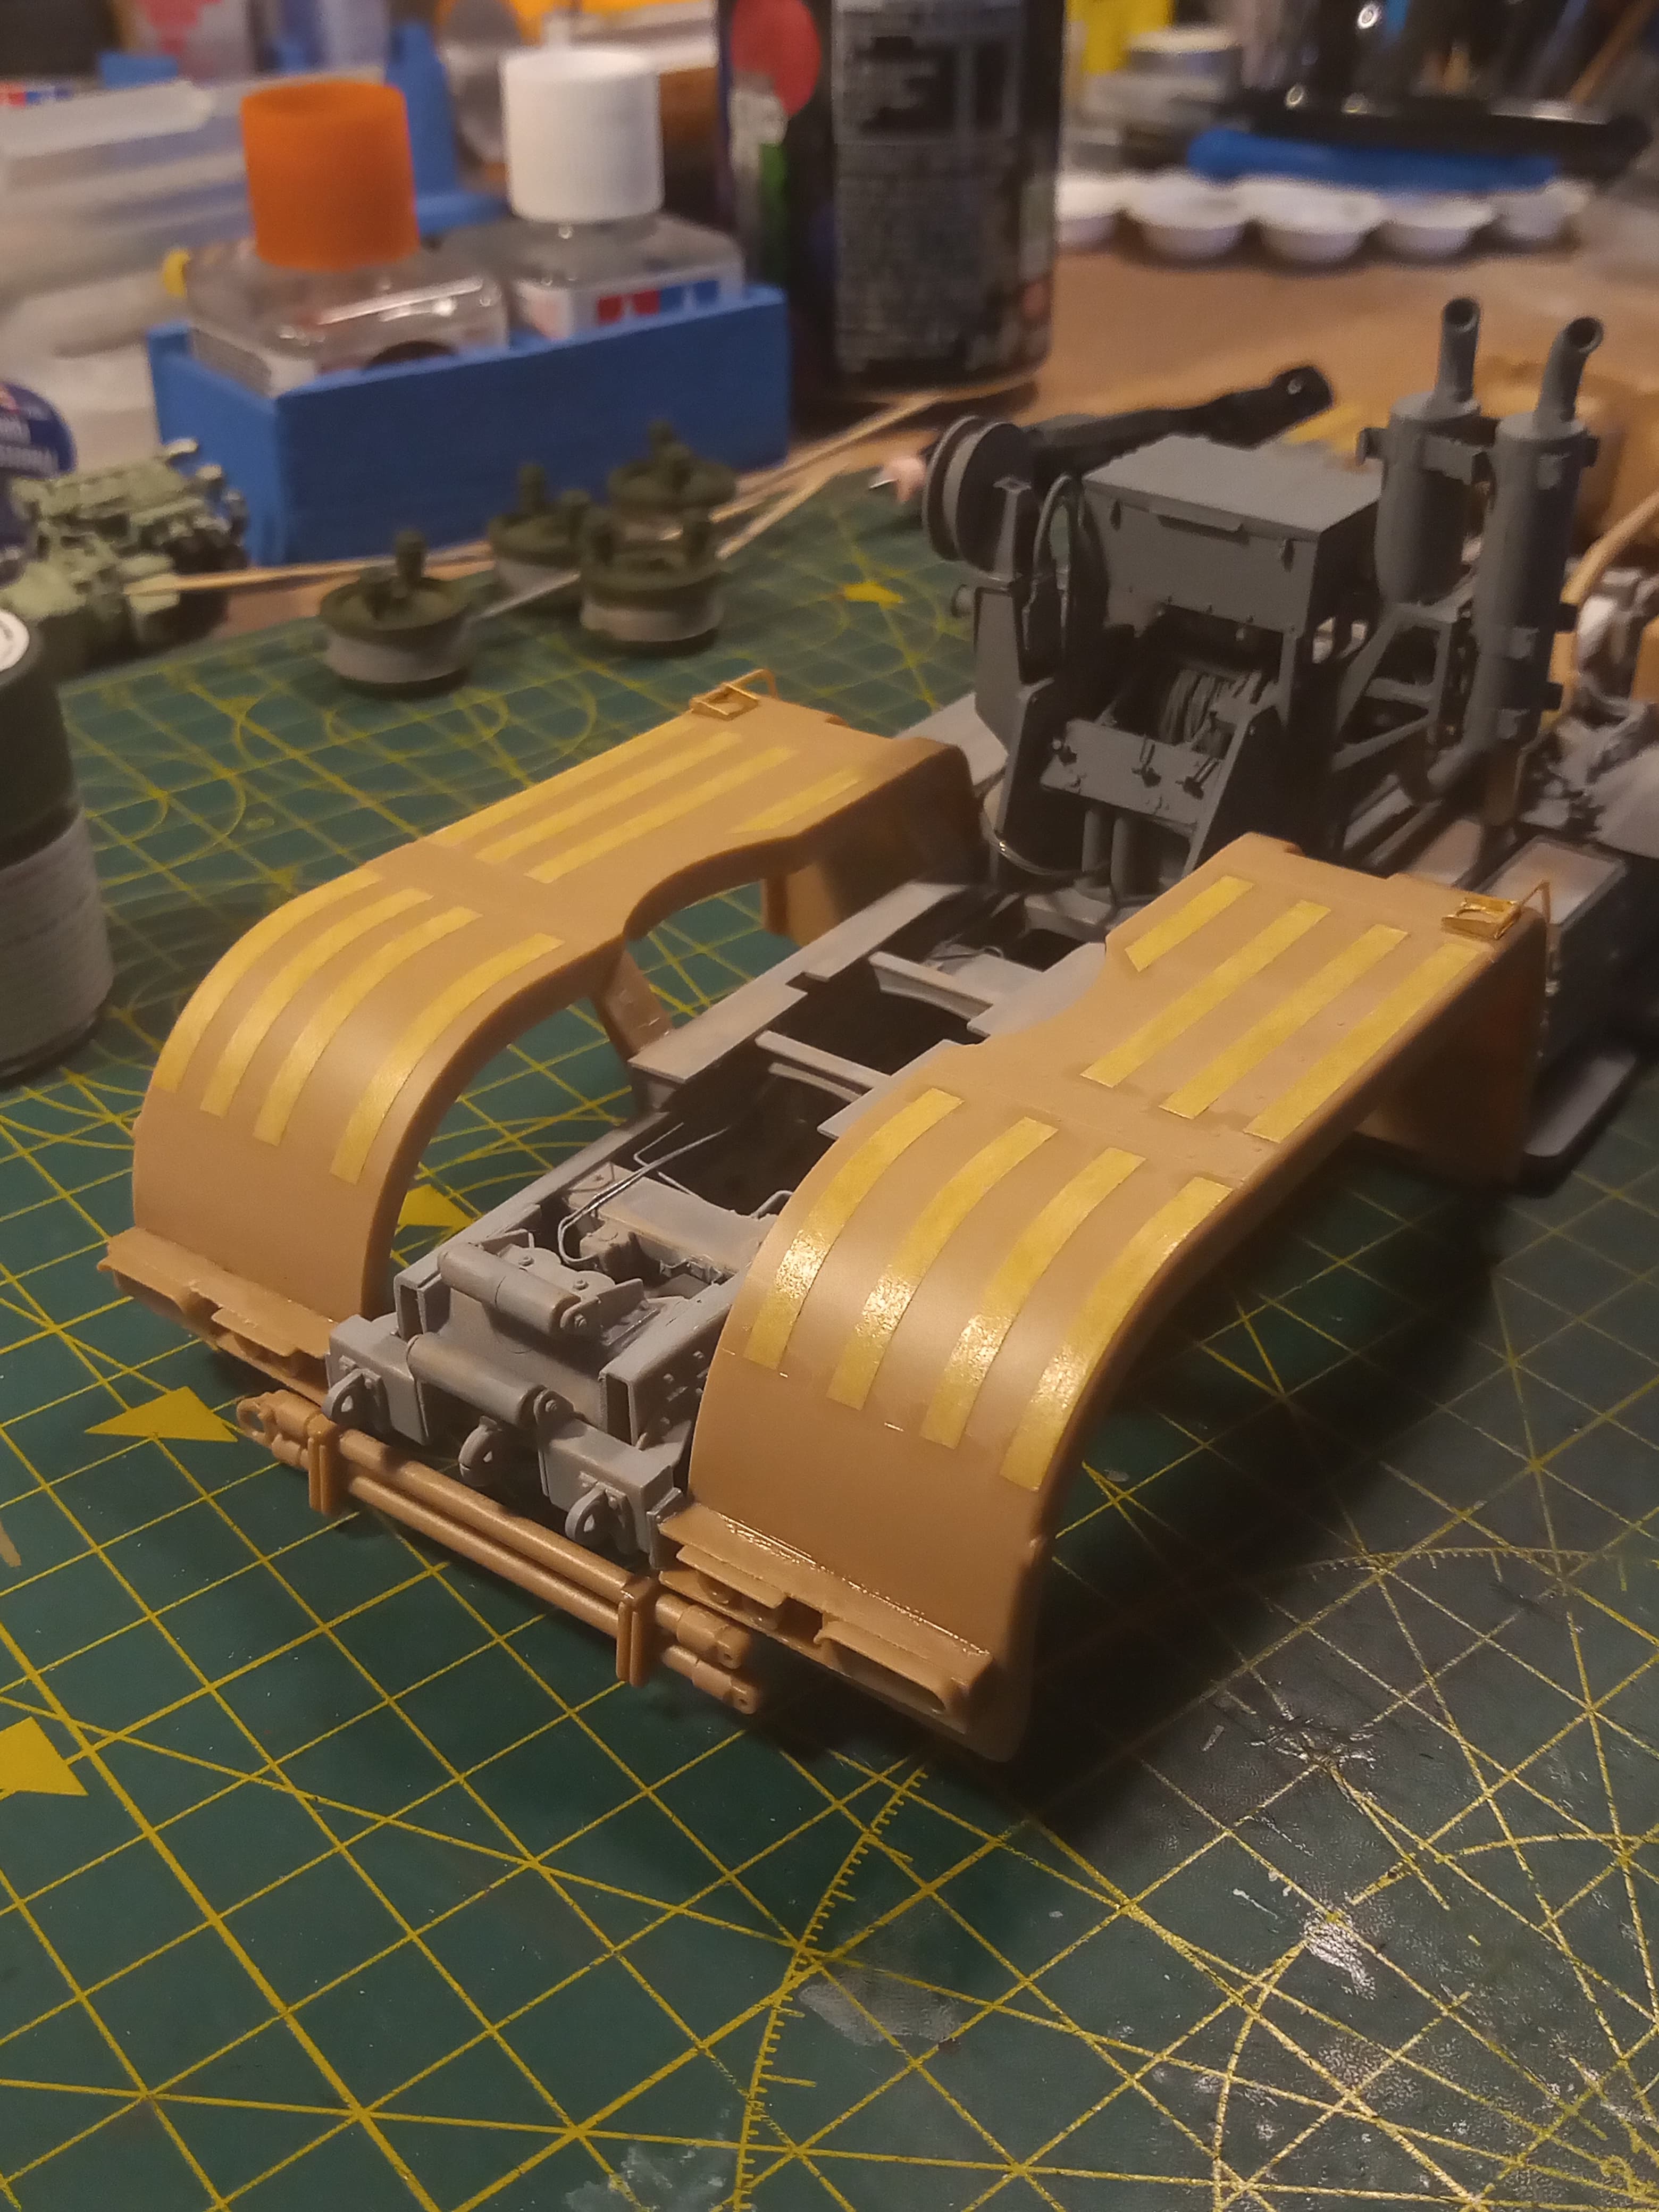
Ended up using Tamiya NATO green, probably a third of a bottle, missed a few areas, but that’s ok as this was a base coat anyway… Will do another thin misting over next few days when I get some time, and then thinking of highlighting with Field Grey once cab is mounted on chassis.
The anti slip masking tape strips came through ok …
Look like the real thing as they are not overly prominent…
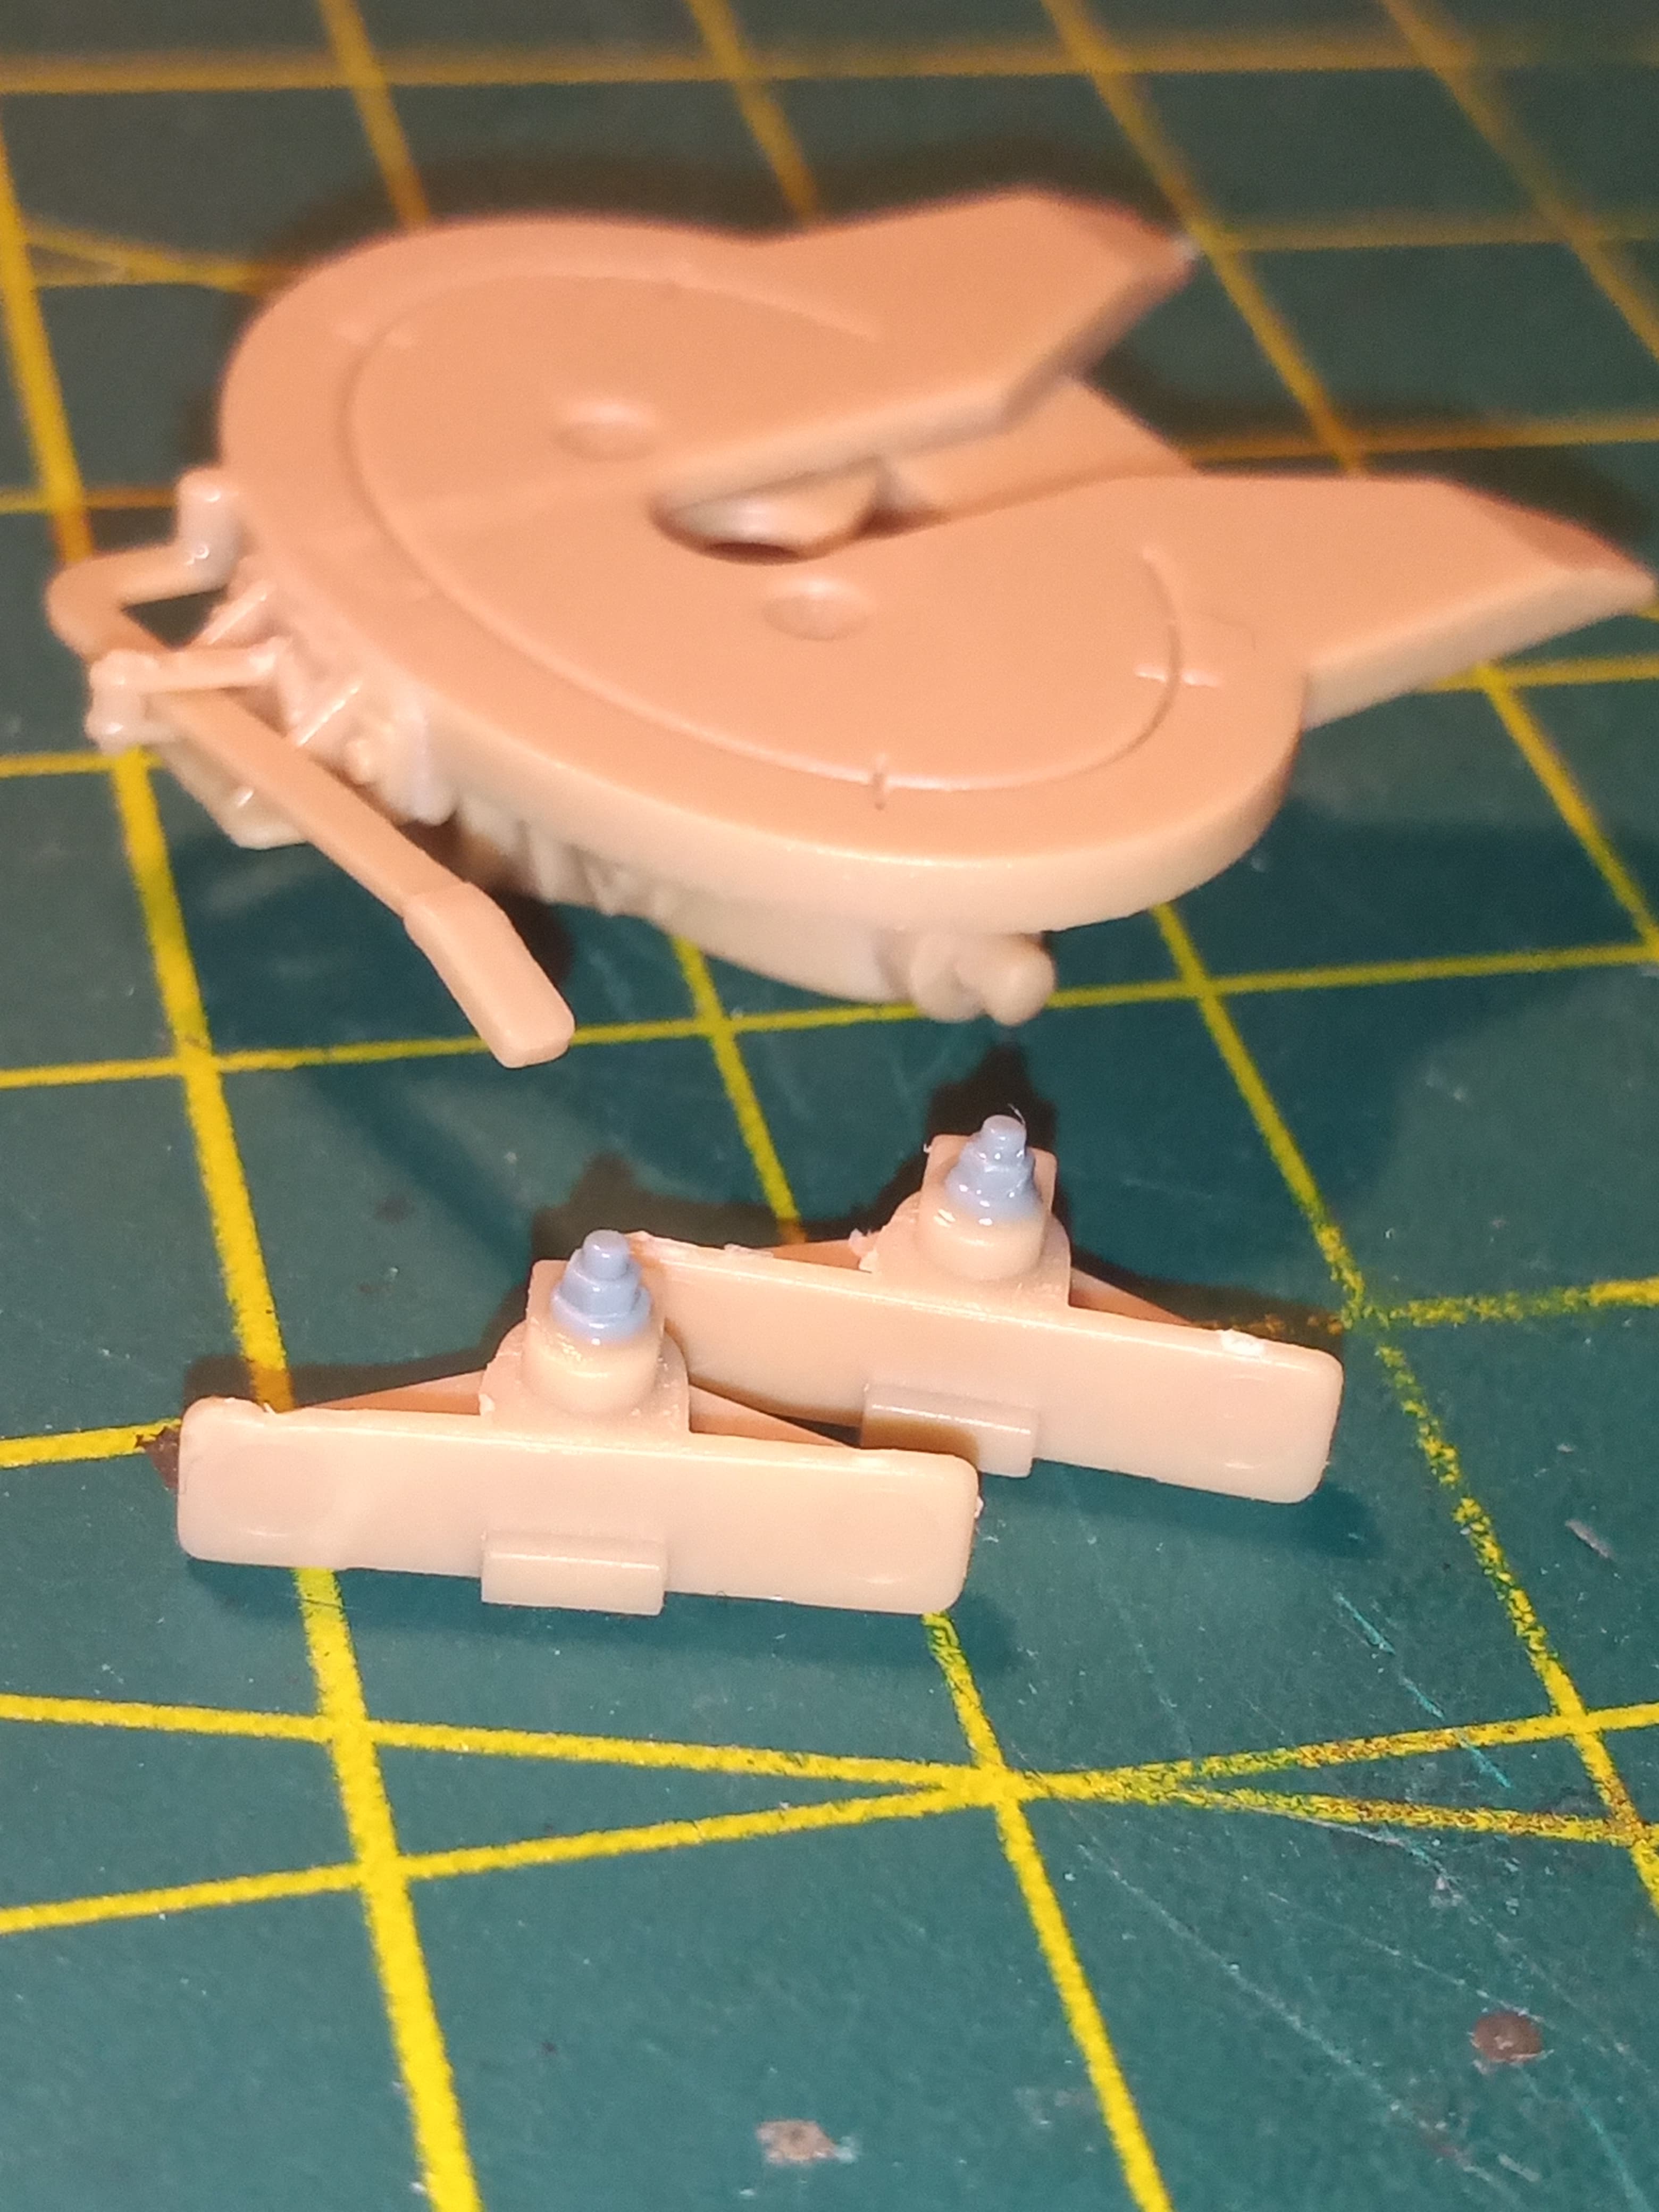
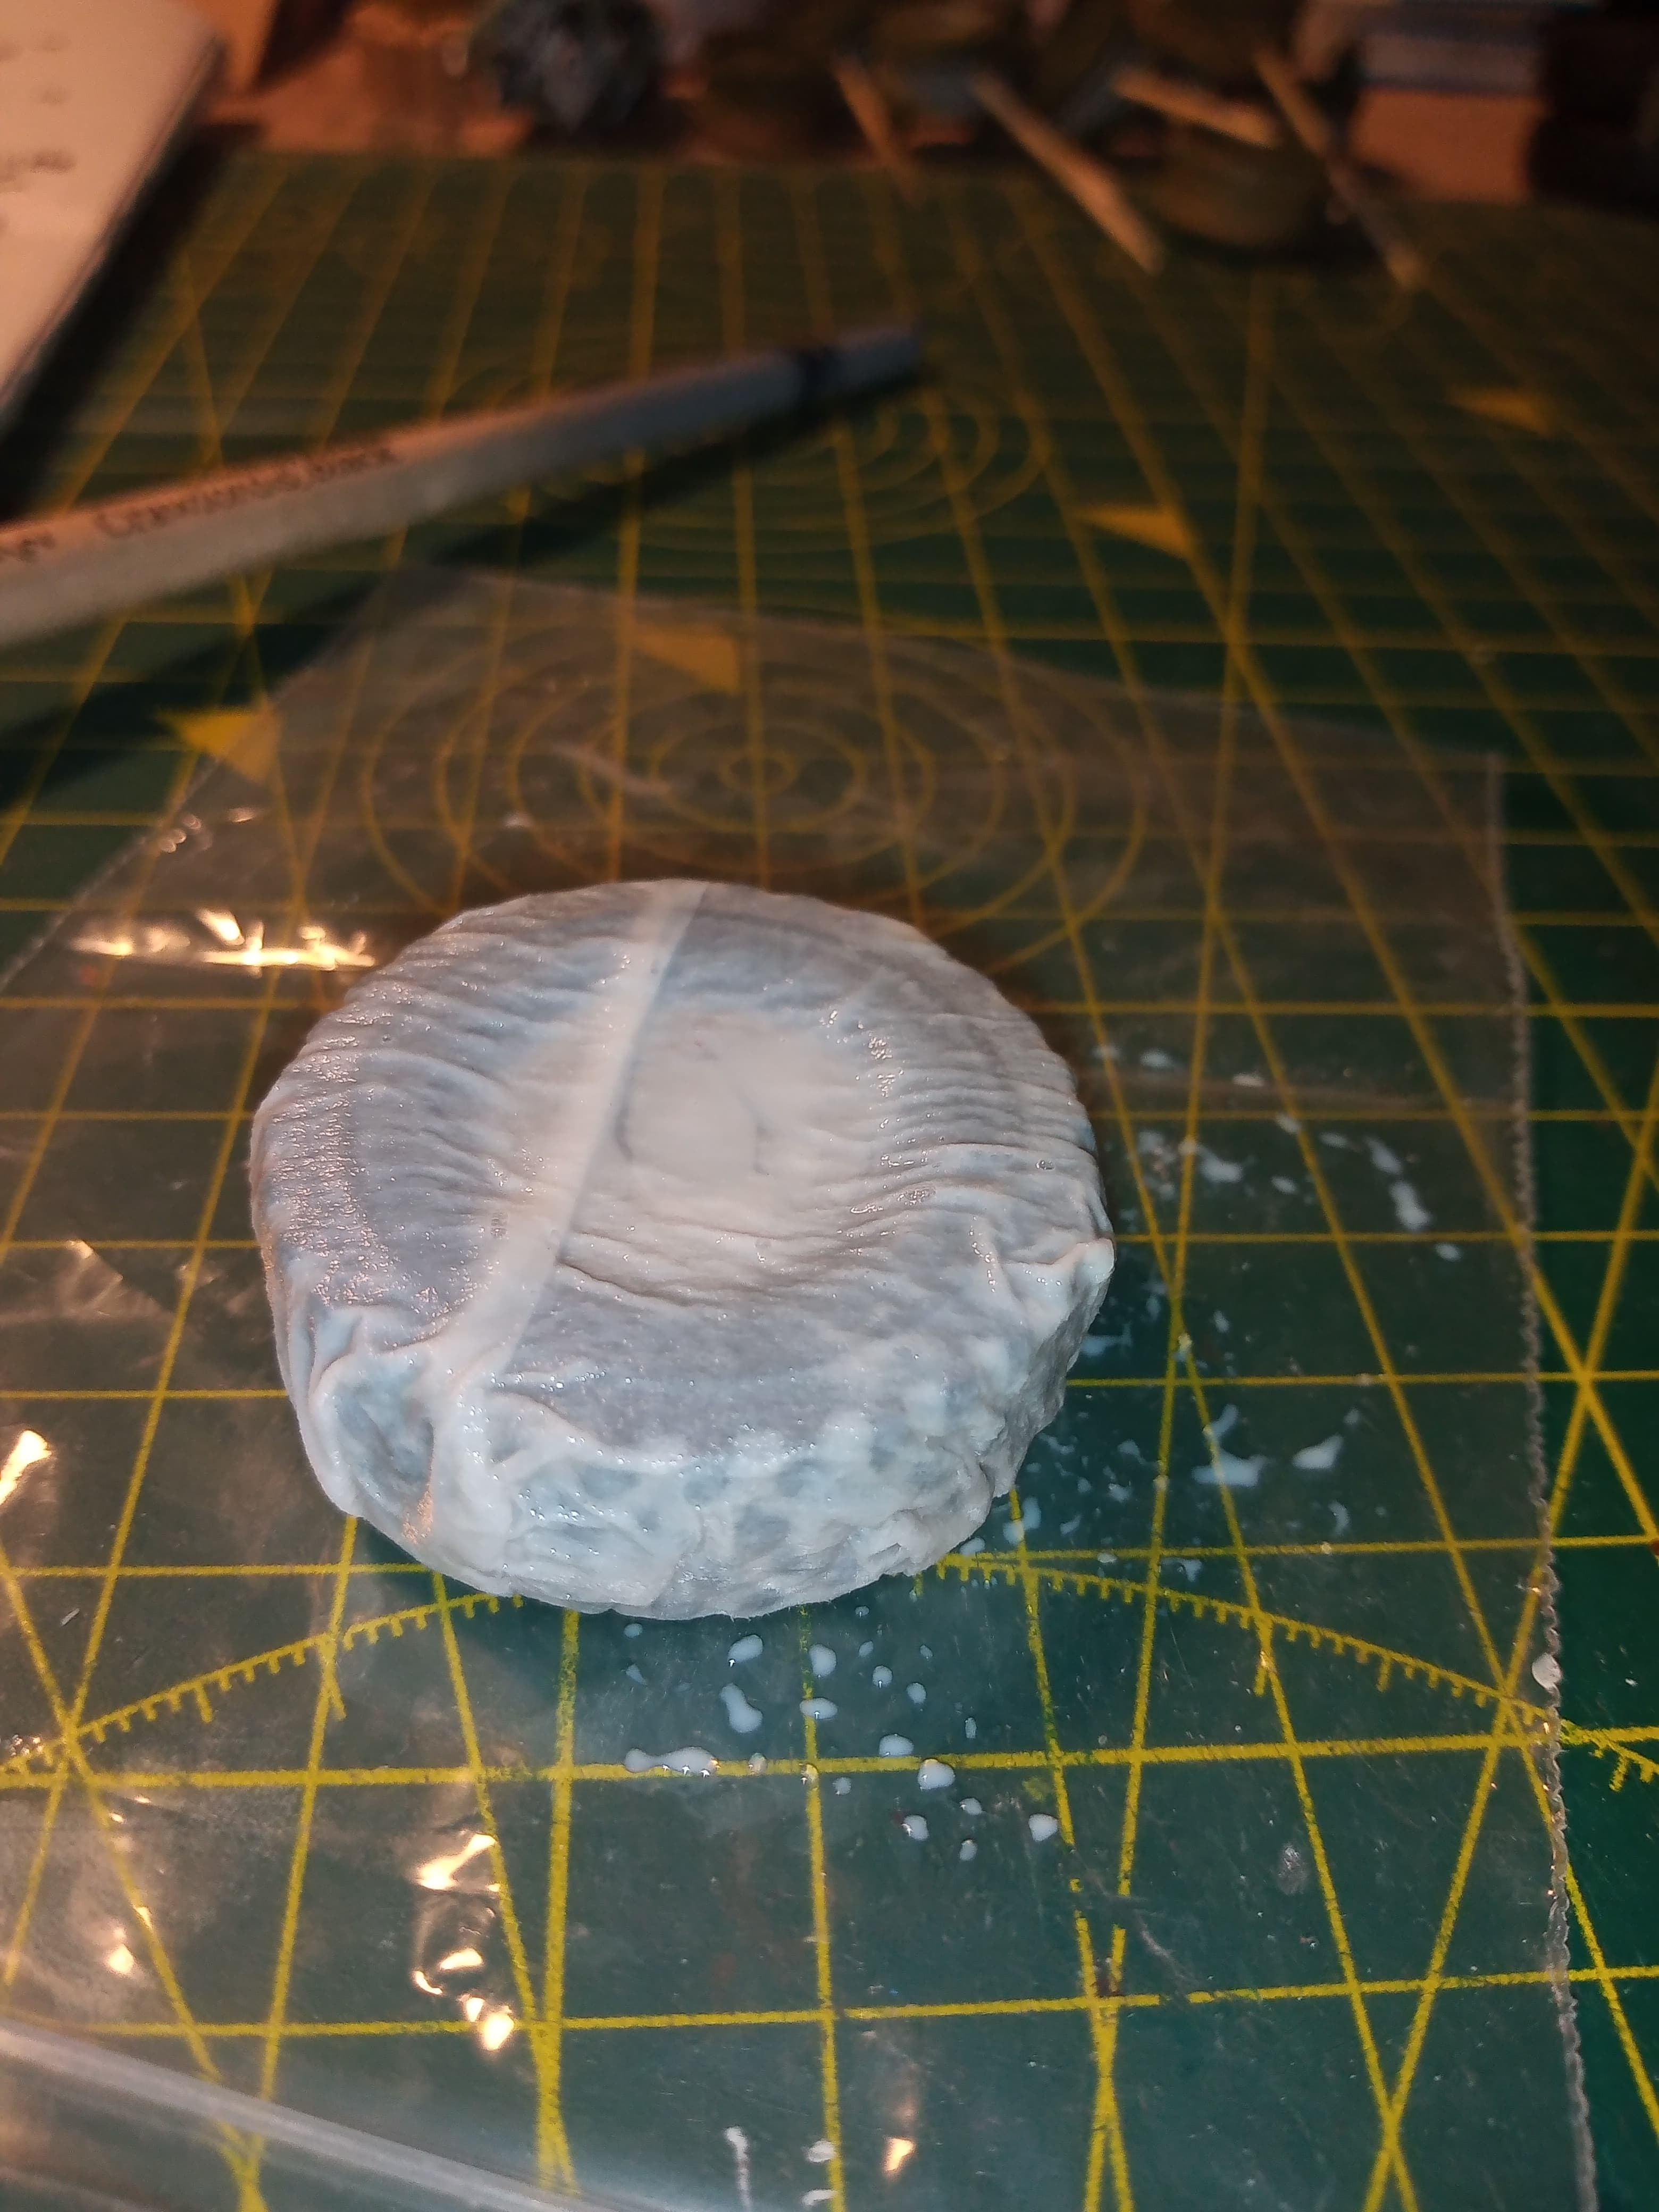
Also started on the canvas covered spare wheel on the trailer swan neck…
Another cast off from the Pantsir …it’s very close to the same size as the tractor unit wheels.
No pics for now but over the last week I got my M983 primed and painted now to start putting the pieces together and getting it finished up. I’ll get some pics out this week I usually don’t take my phone onto the bench as I don’t need that distraction as well.
Looking forward to seeing progress.
Hello,
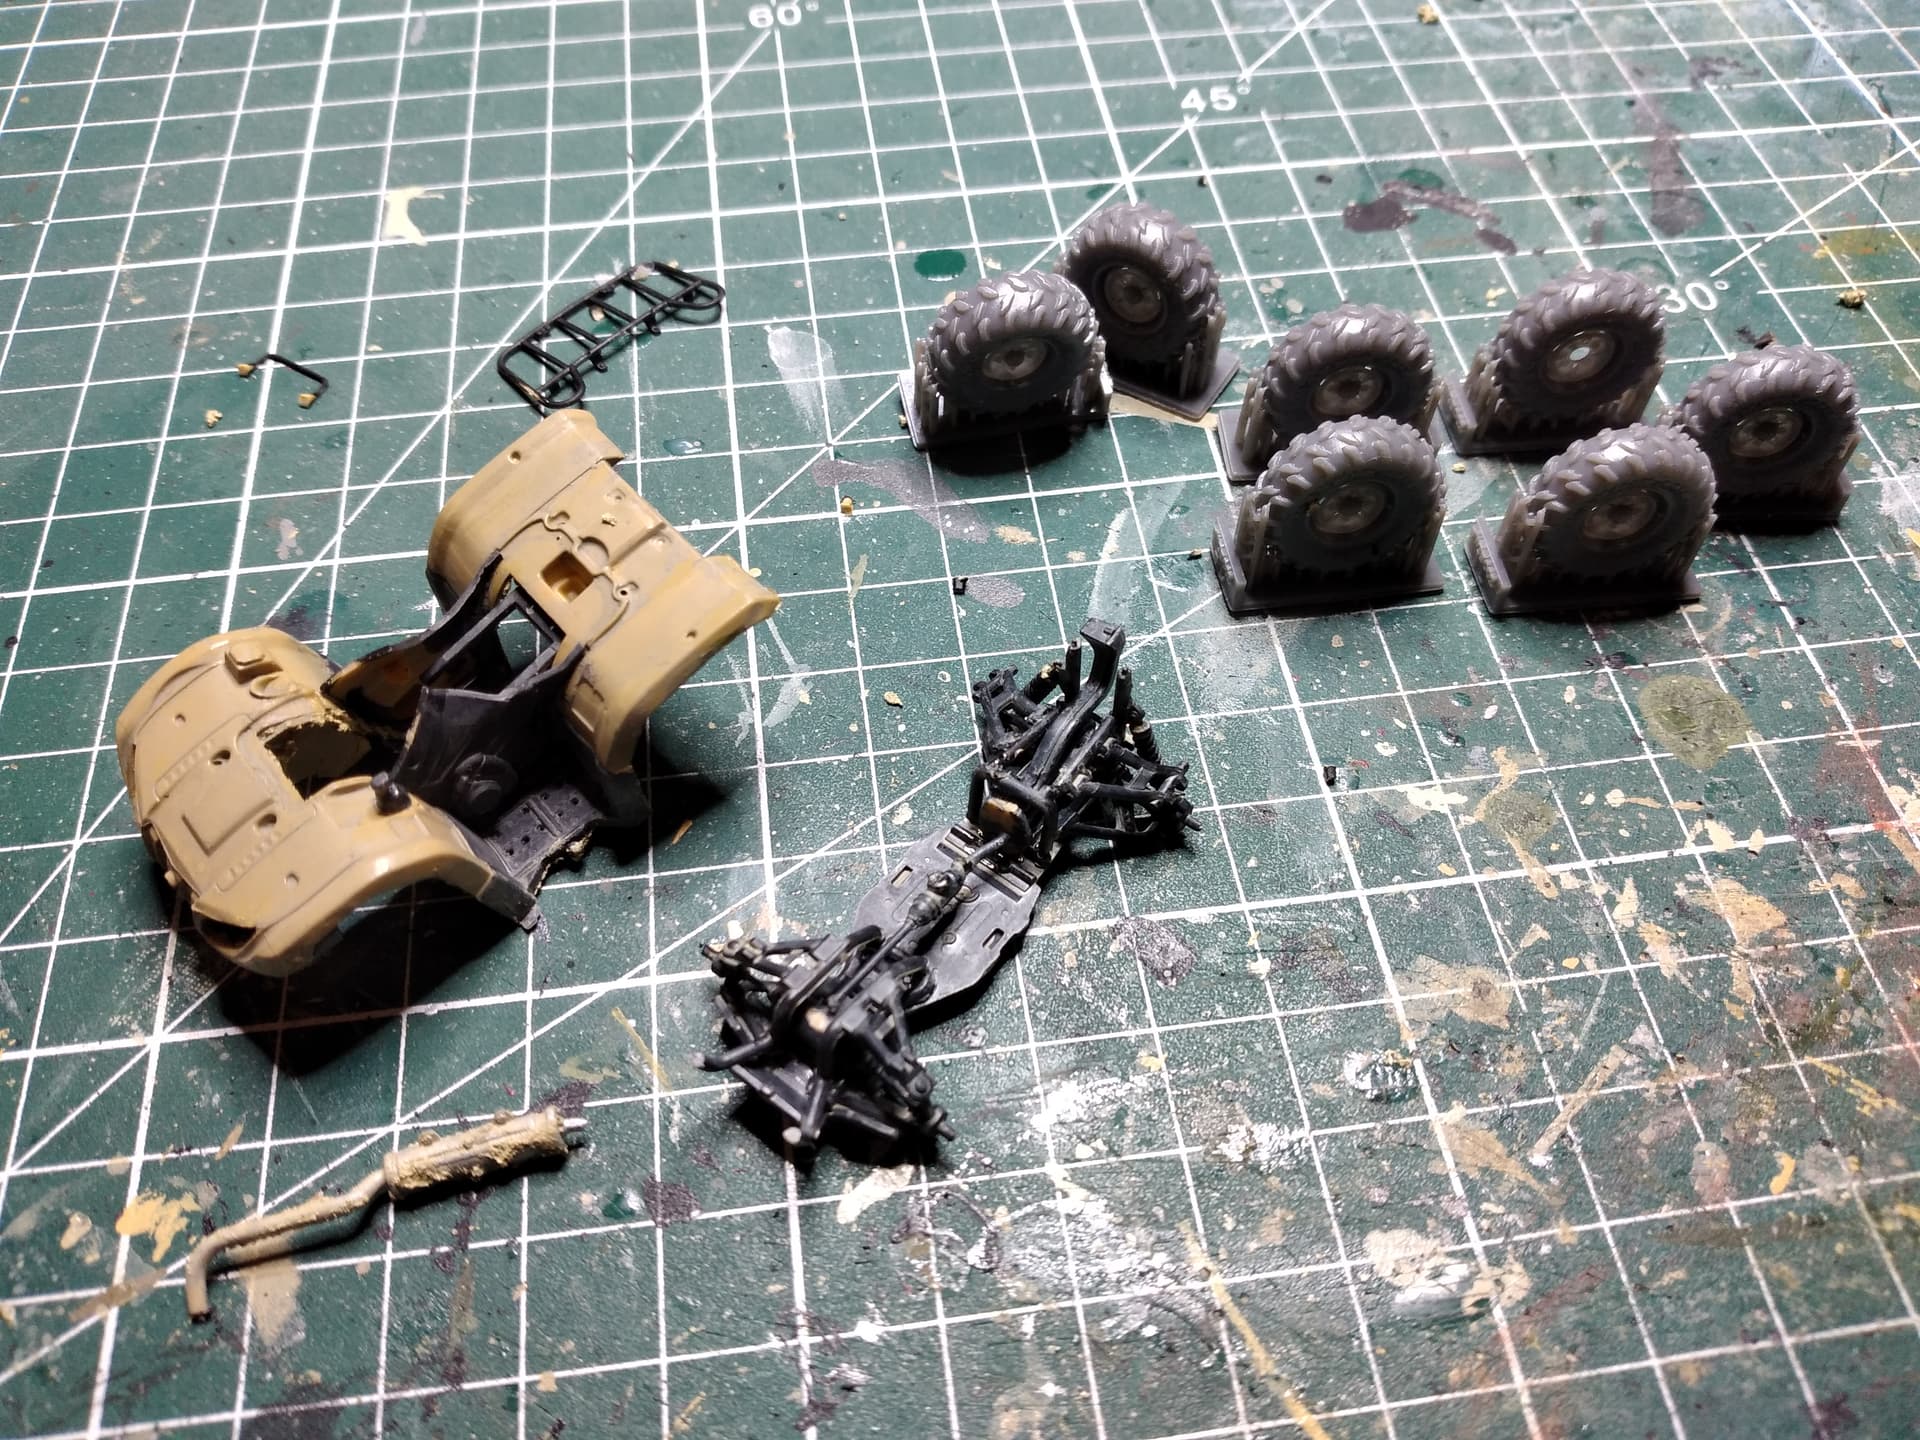
Firt progresses on the quad bike Yamaha 450 IRS.
This is a very little kit !!
Bronco models instructions show the whole thing (quad bike +trailer) in sand yellow.
According pictures of the real things, while the trailer is effectively in british sand yellow, the quad bike is painted in a tan color.
I have used Mr Hobby H27 on my model.
Looking good and its built up nice. The 2 colours will stand out well on that ![]()
Coming along very nicely T.
Thank you Peter,
A bit difficult to work with as parts are very little.
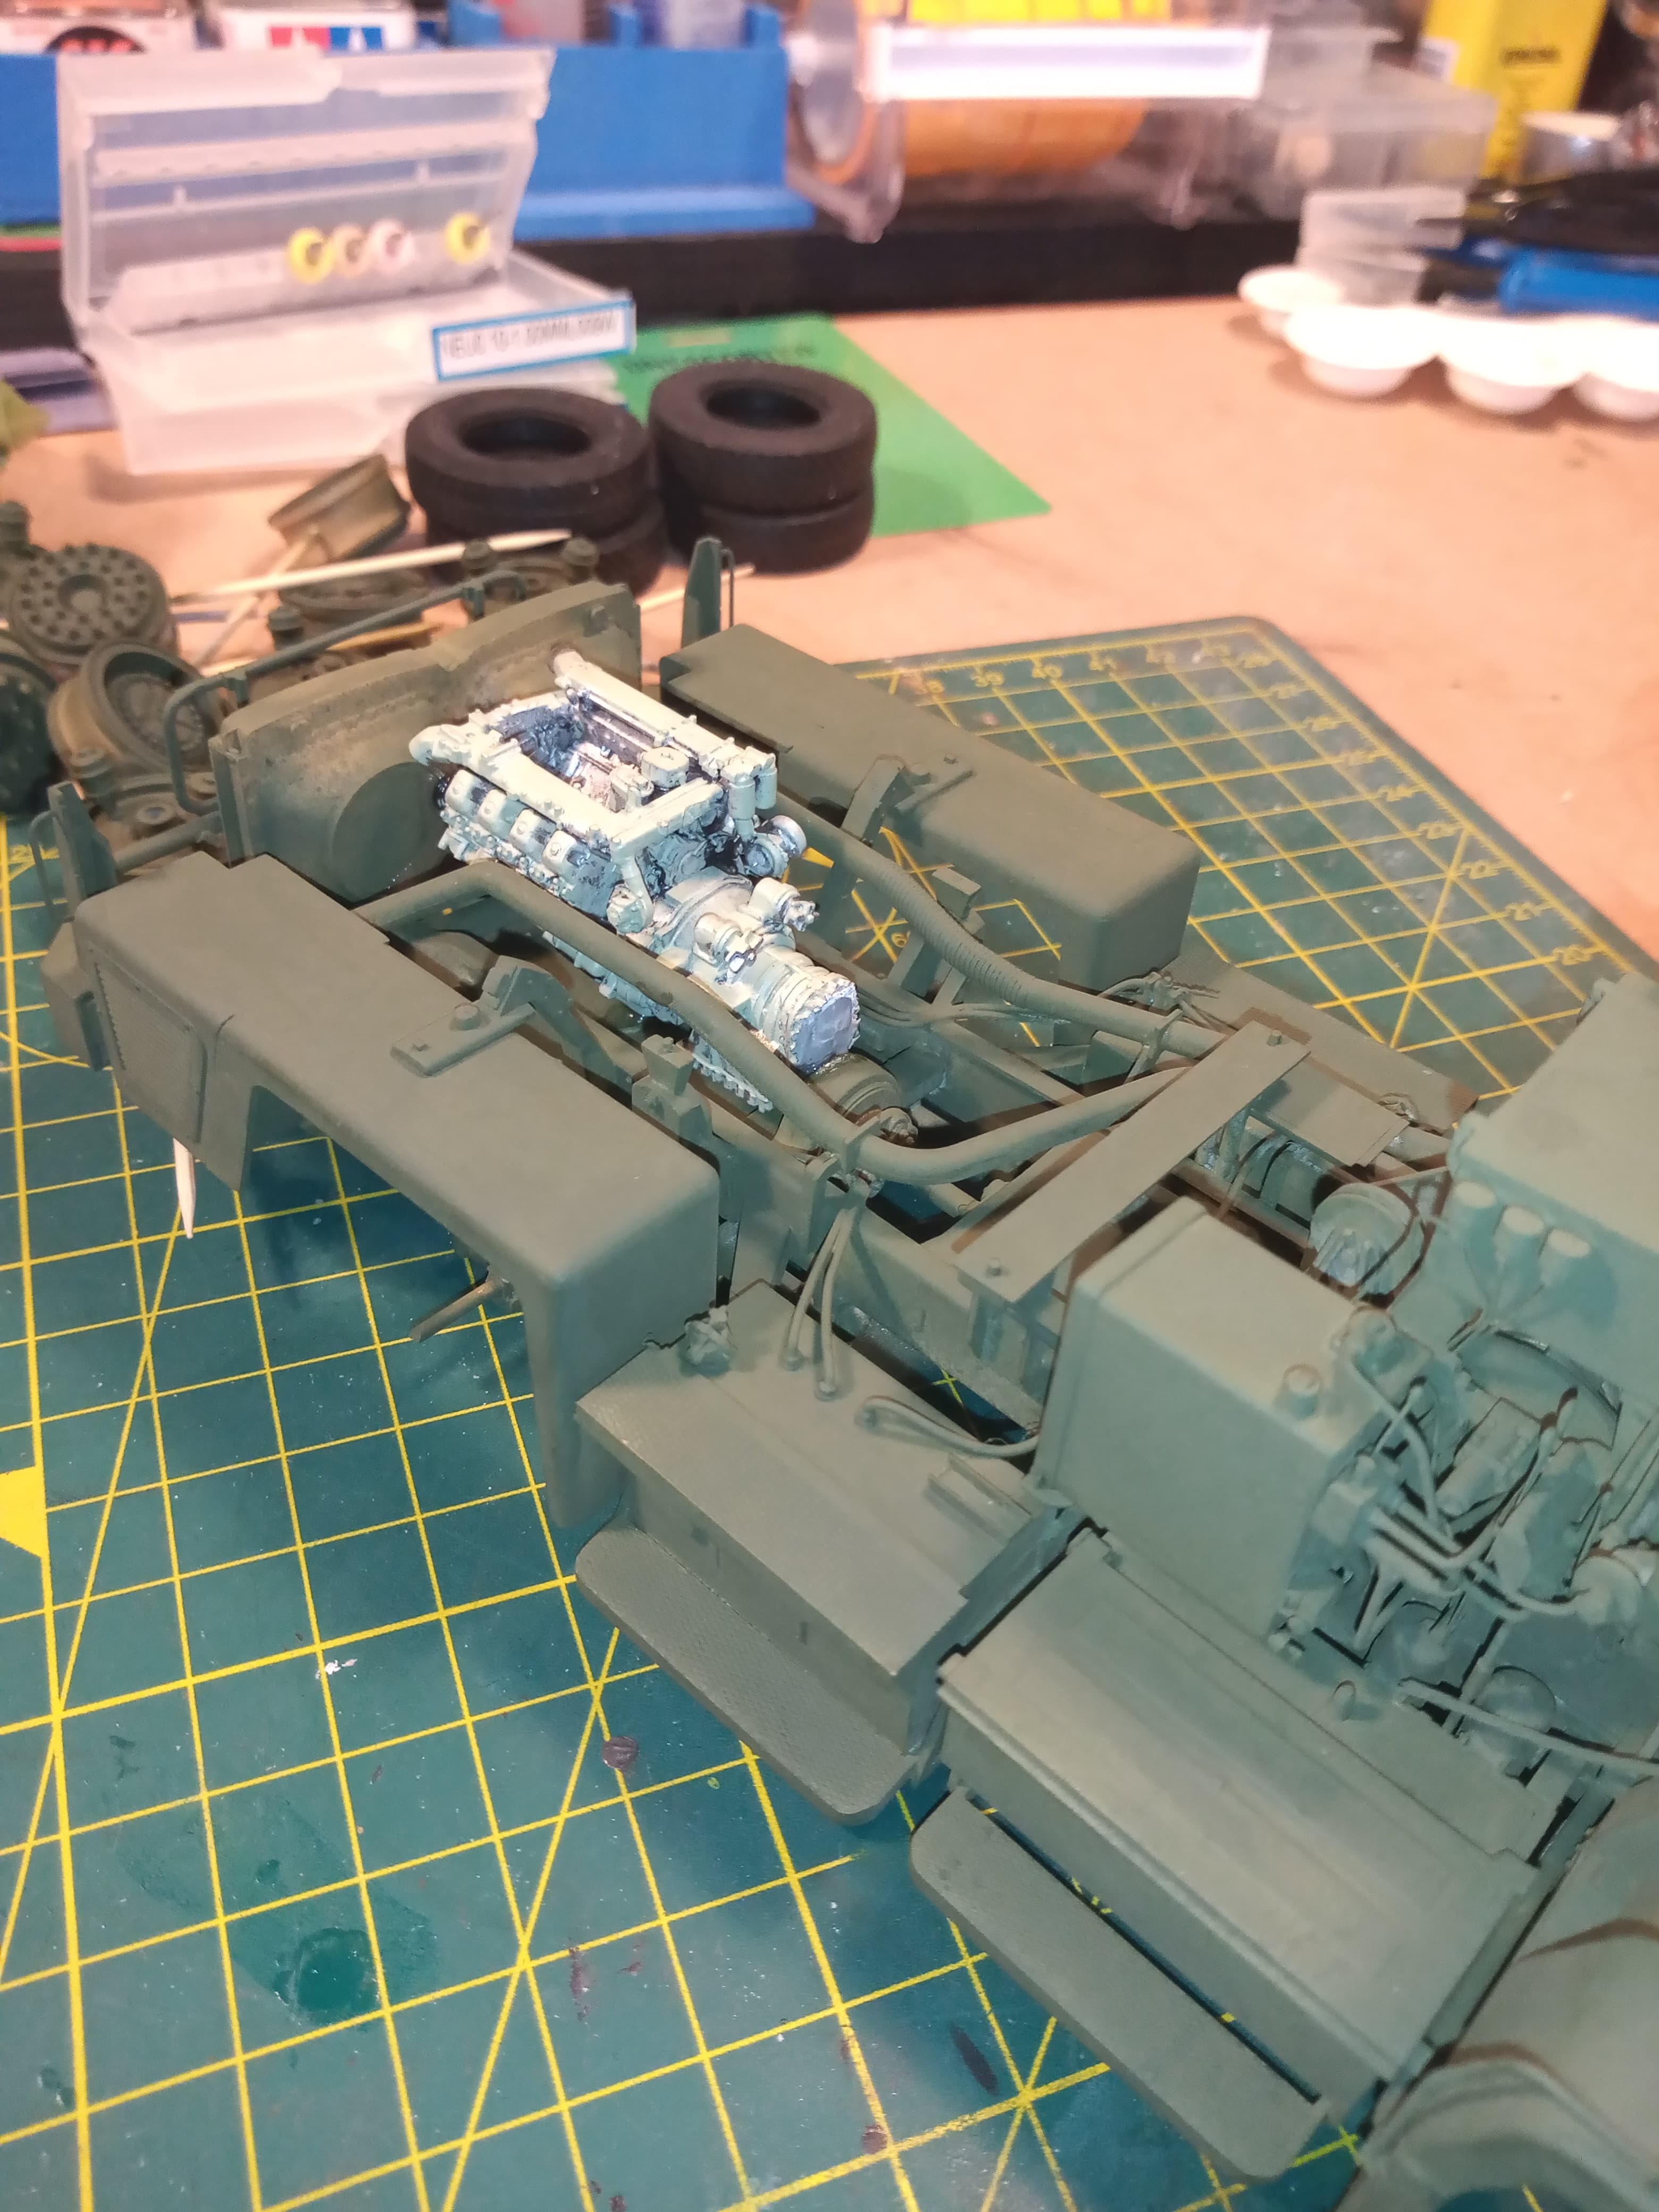
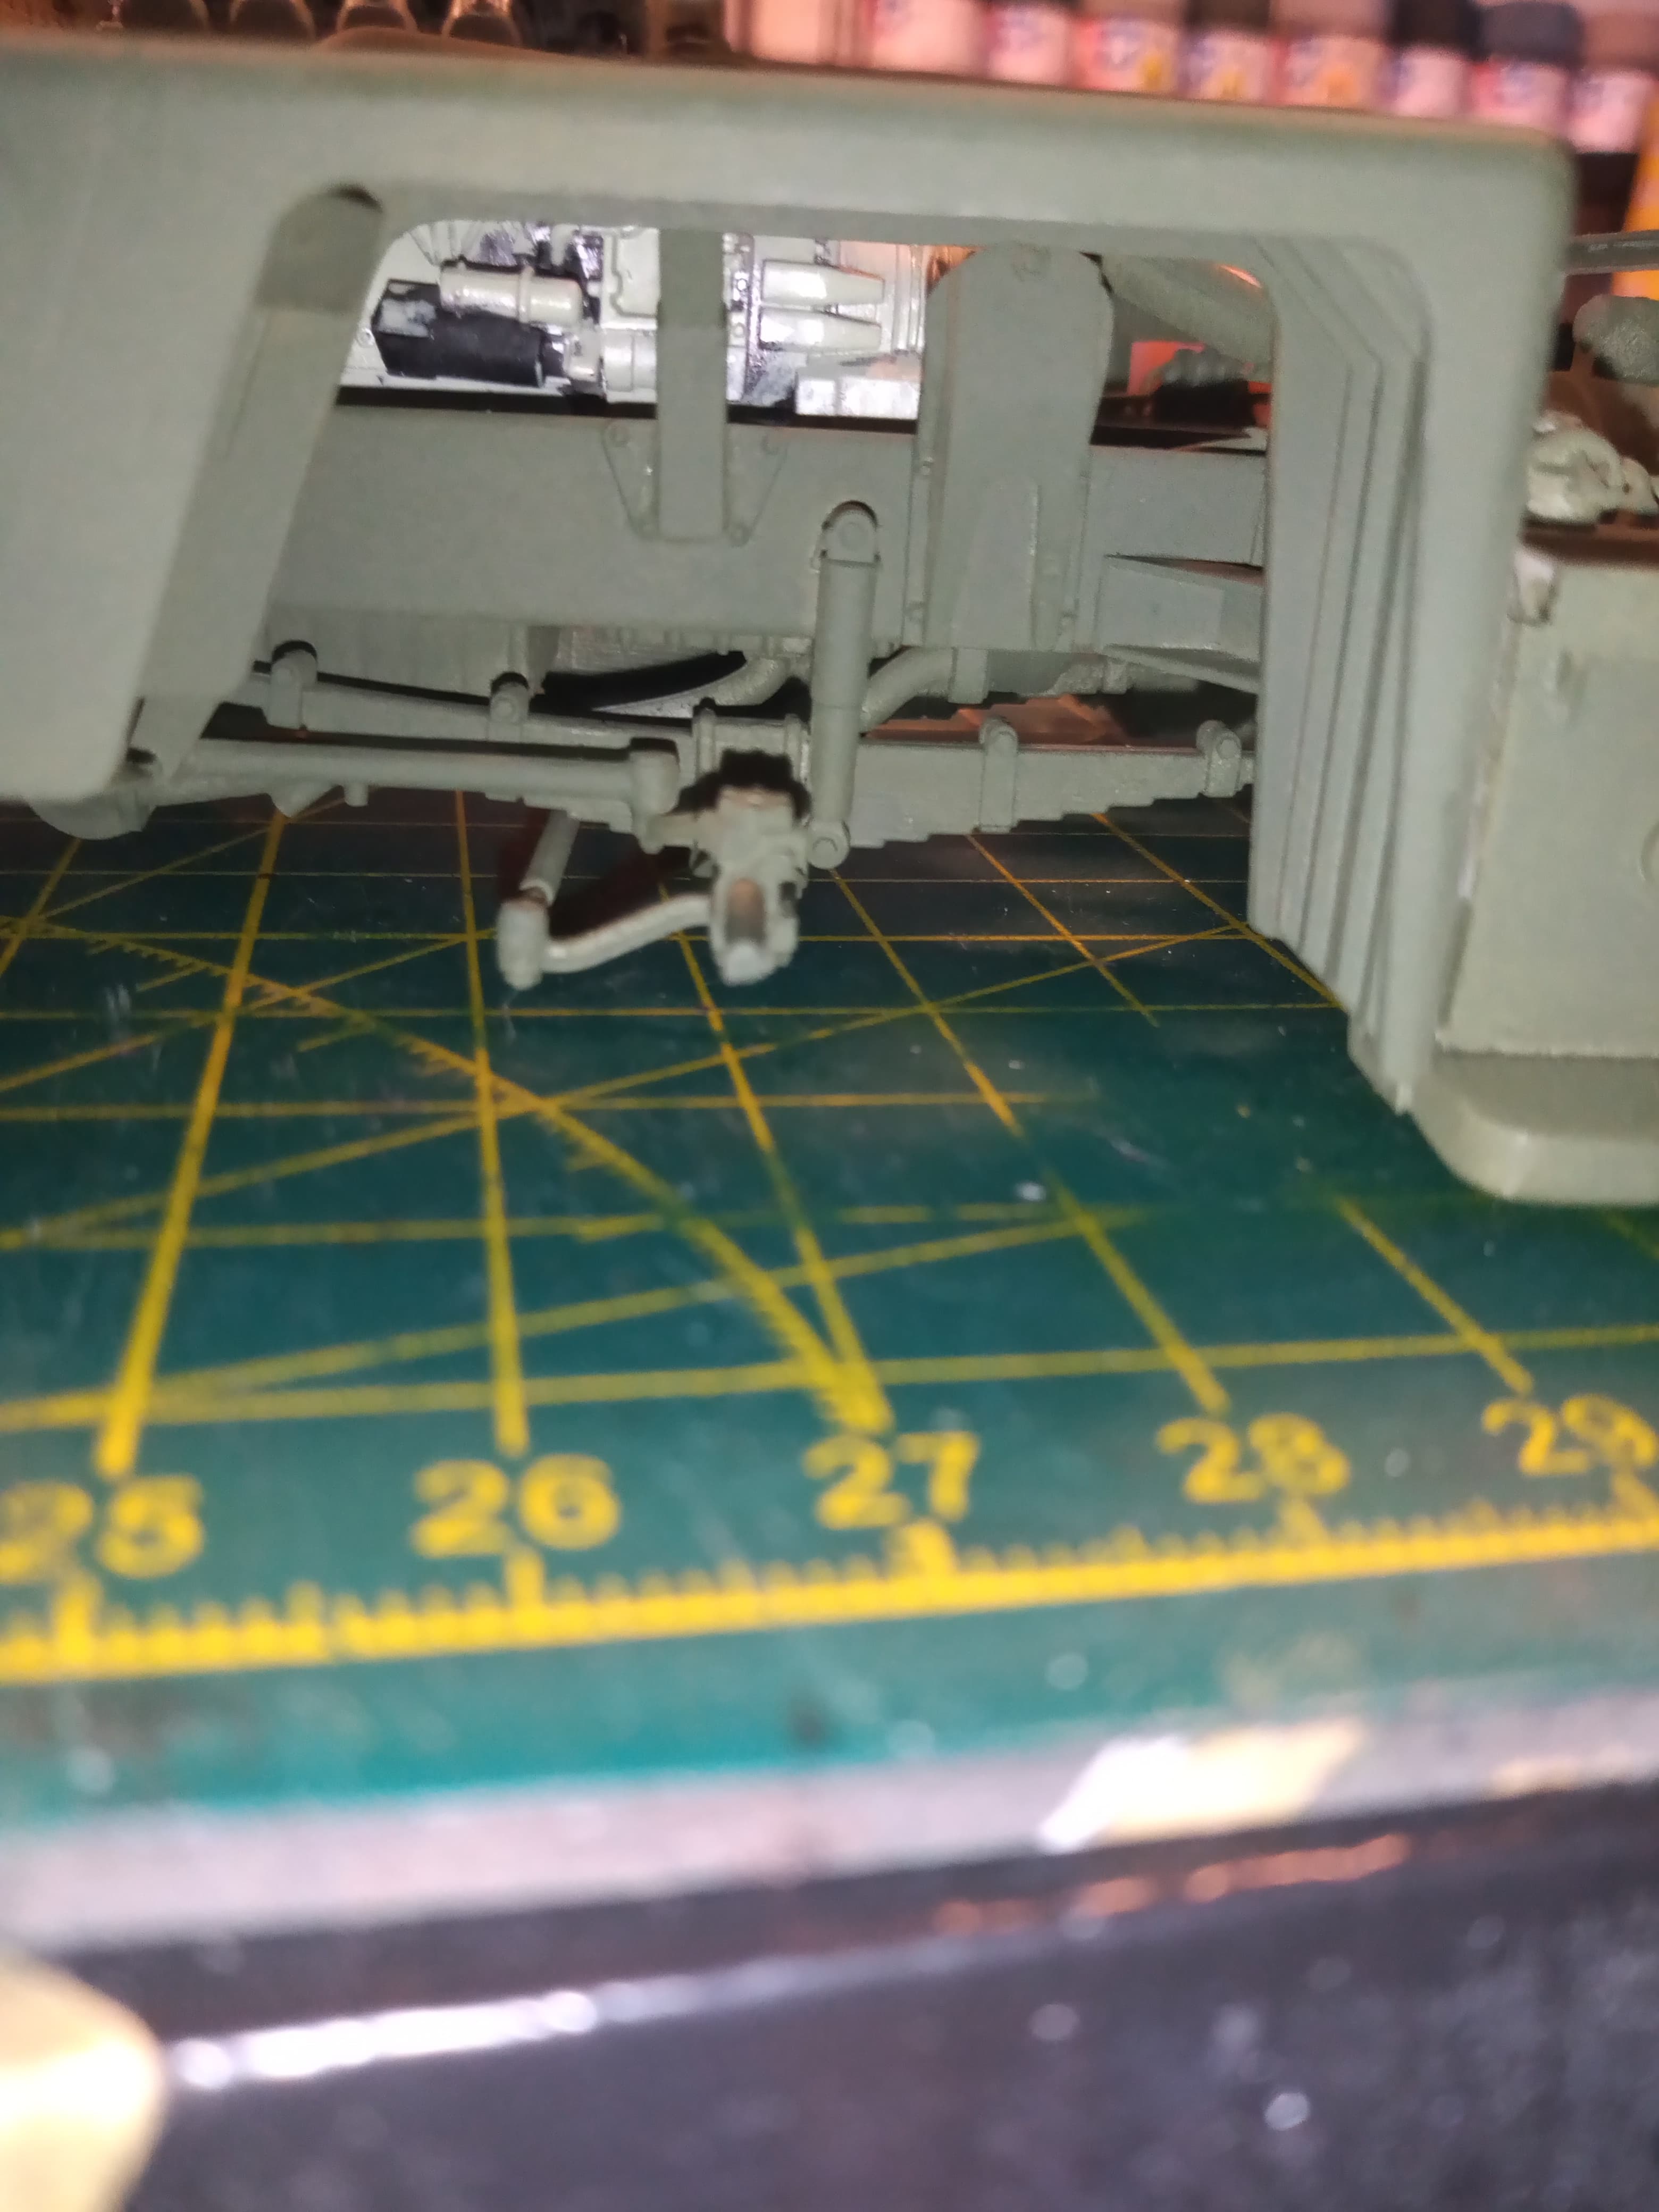
Got another thing coat of Tam NATO green… Everything that needs to be coated is, and once cab is on, it will all get another full coat. Also got the engine secured in place to fill the void as you look through.
And looking through at the engine.
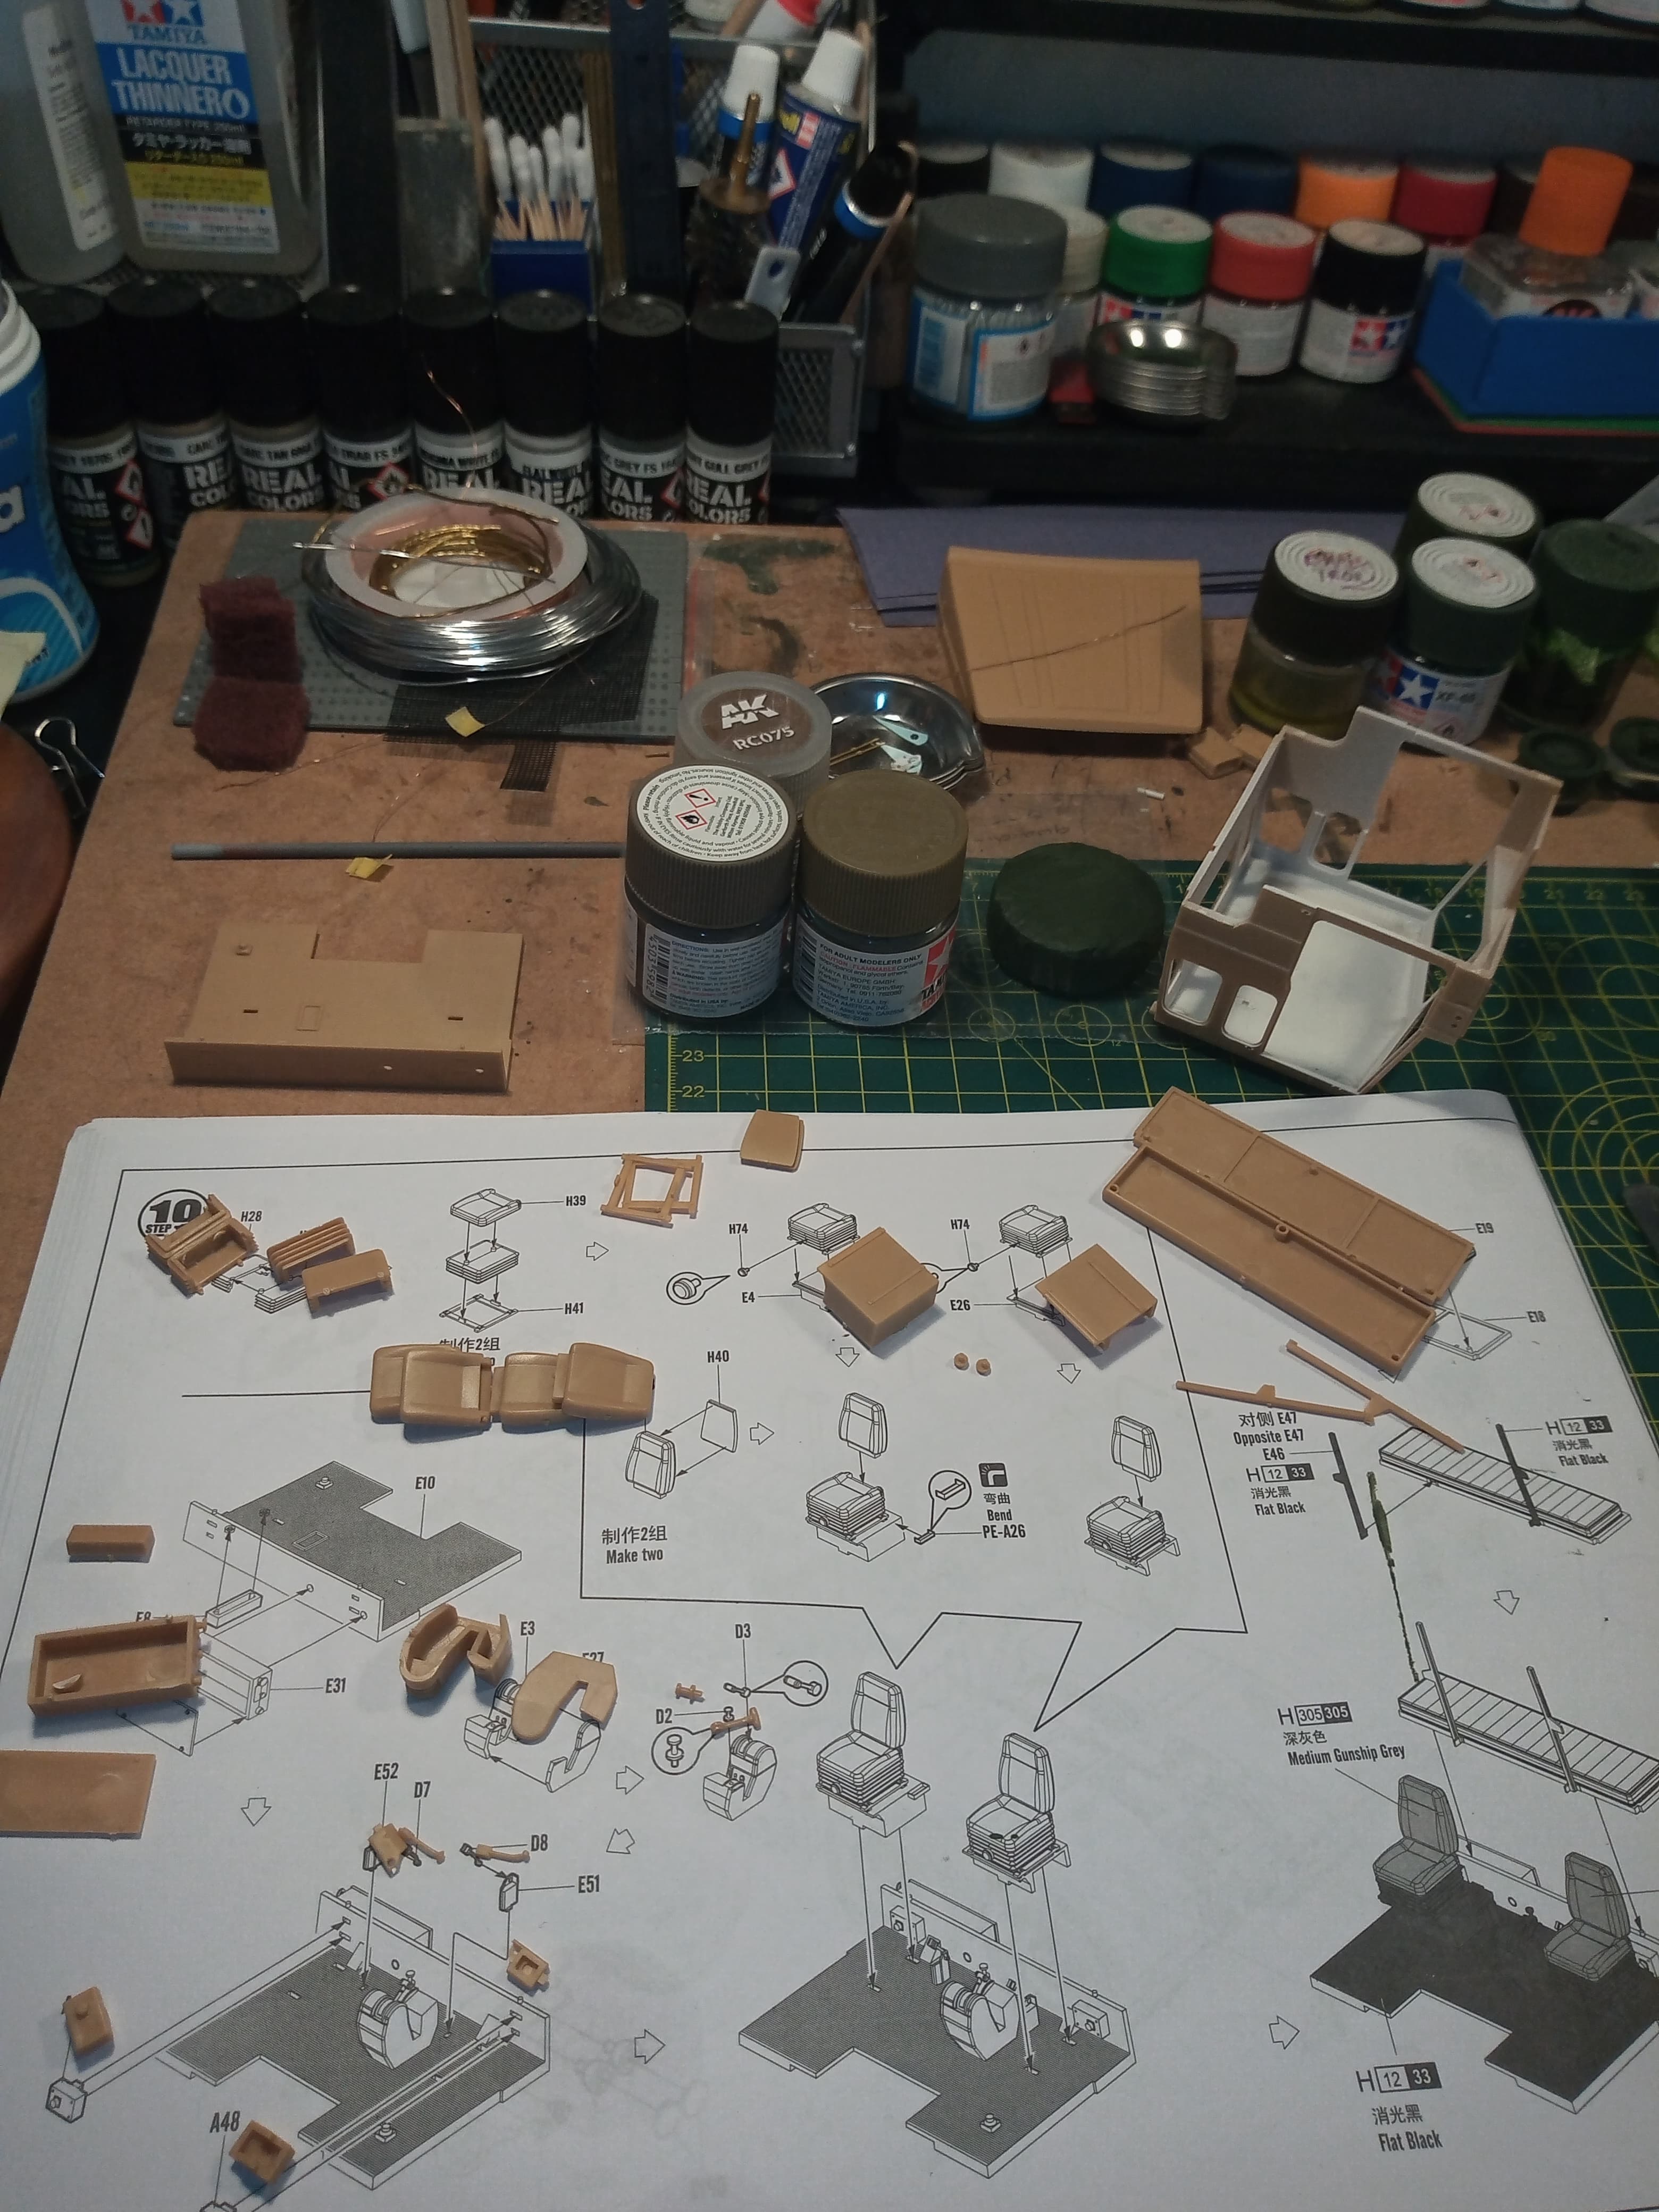
Now its time to get started on the cab insides. Will do a few extra bits in here, main one being an Accurate armour BV next to the passenger seat. Will also do some more cables on the outside as this stage has you doing the battery master switch box and a hydraulic box under the cab.
Internal parts.
Love the concept, unfortunately my immediate thought of a destroyer towing a Towed Aviation Lighter is out because the idea occurred to me last year and the destroyer is now about 70% done and the lighter about 30%. The Airfix Jeep doesn’t really offer much of a substitute. Thinking again.
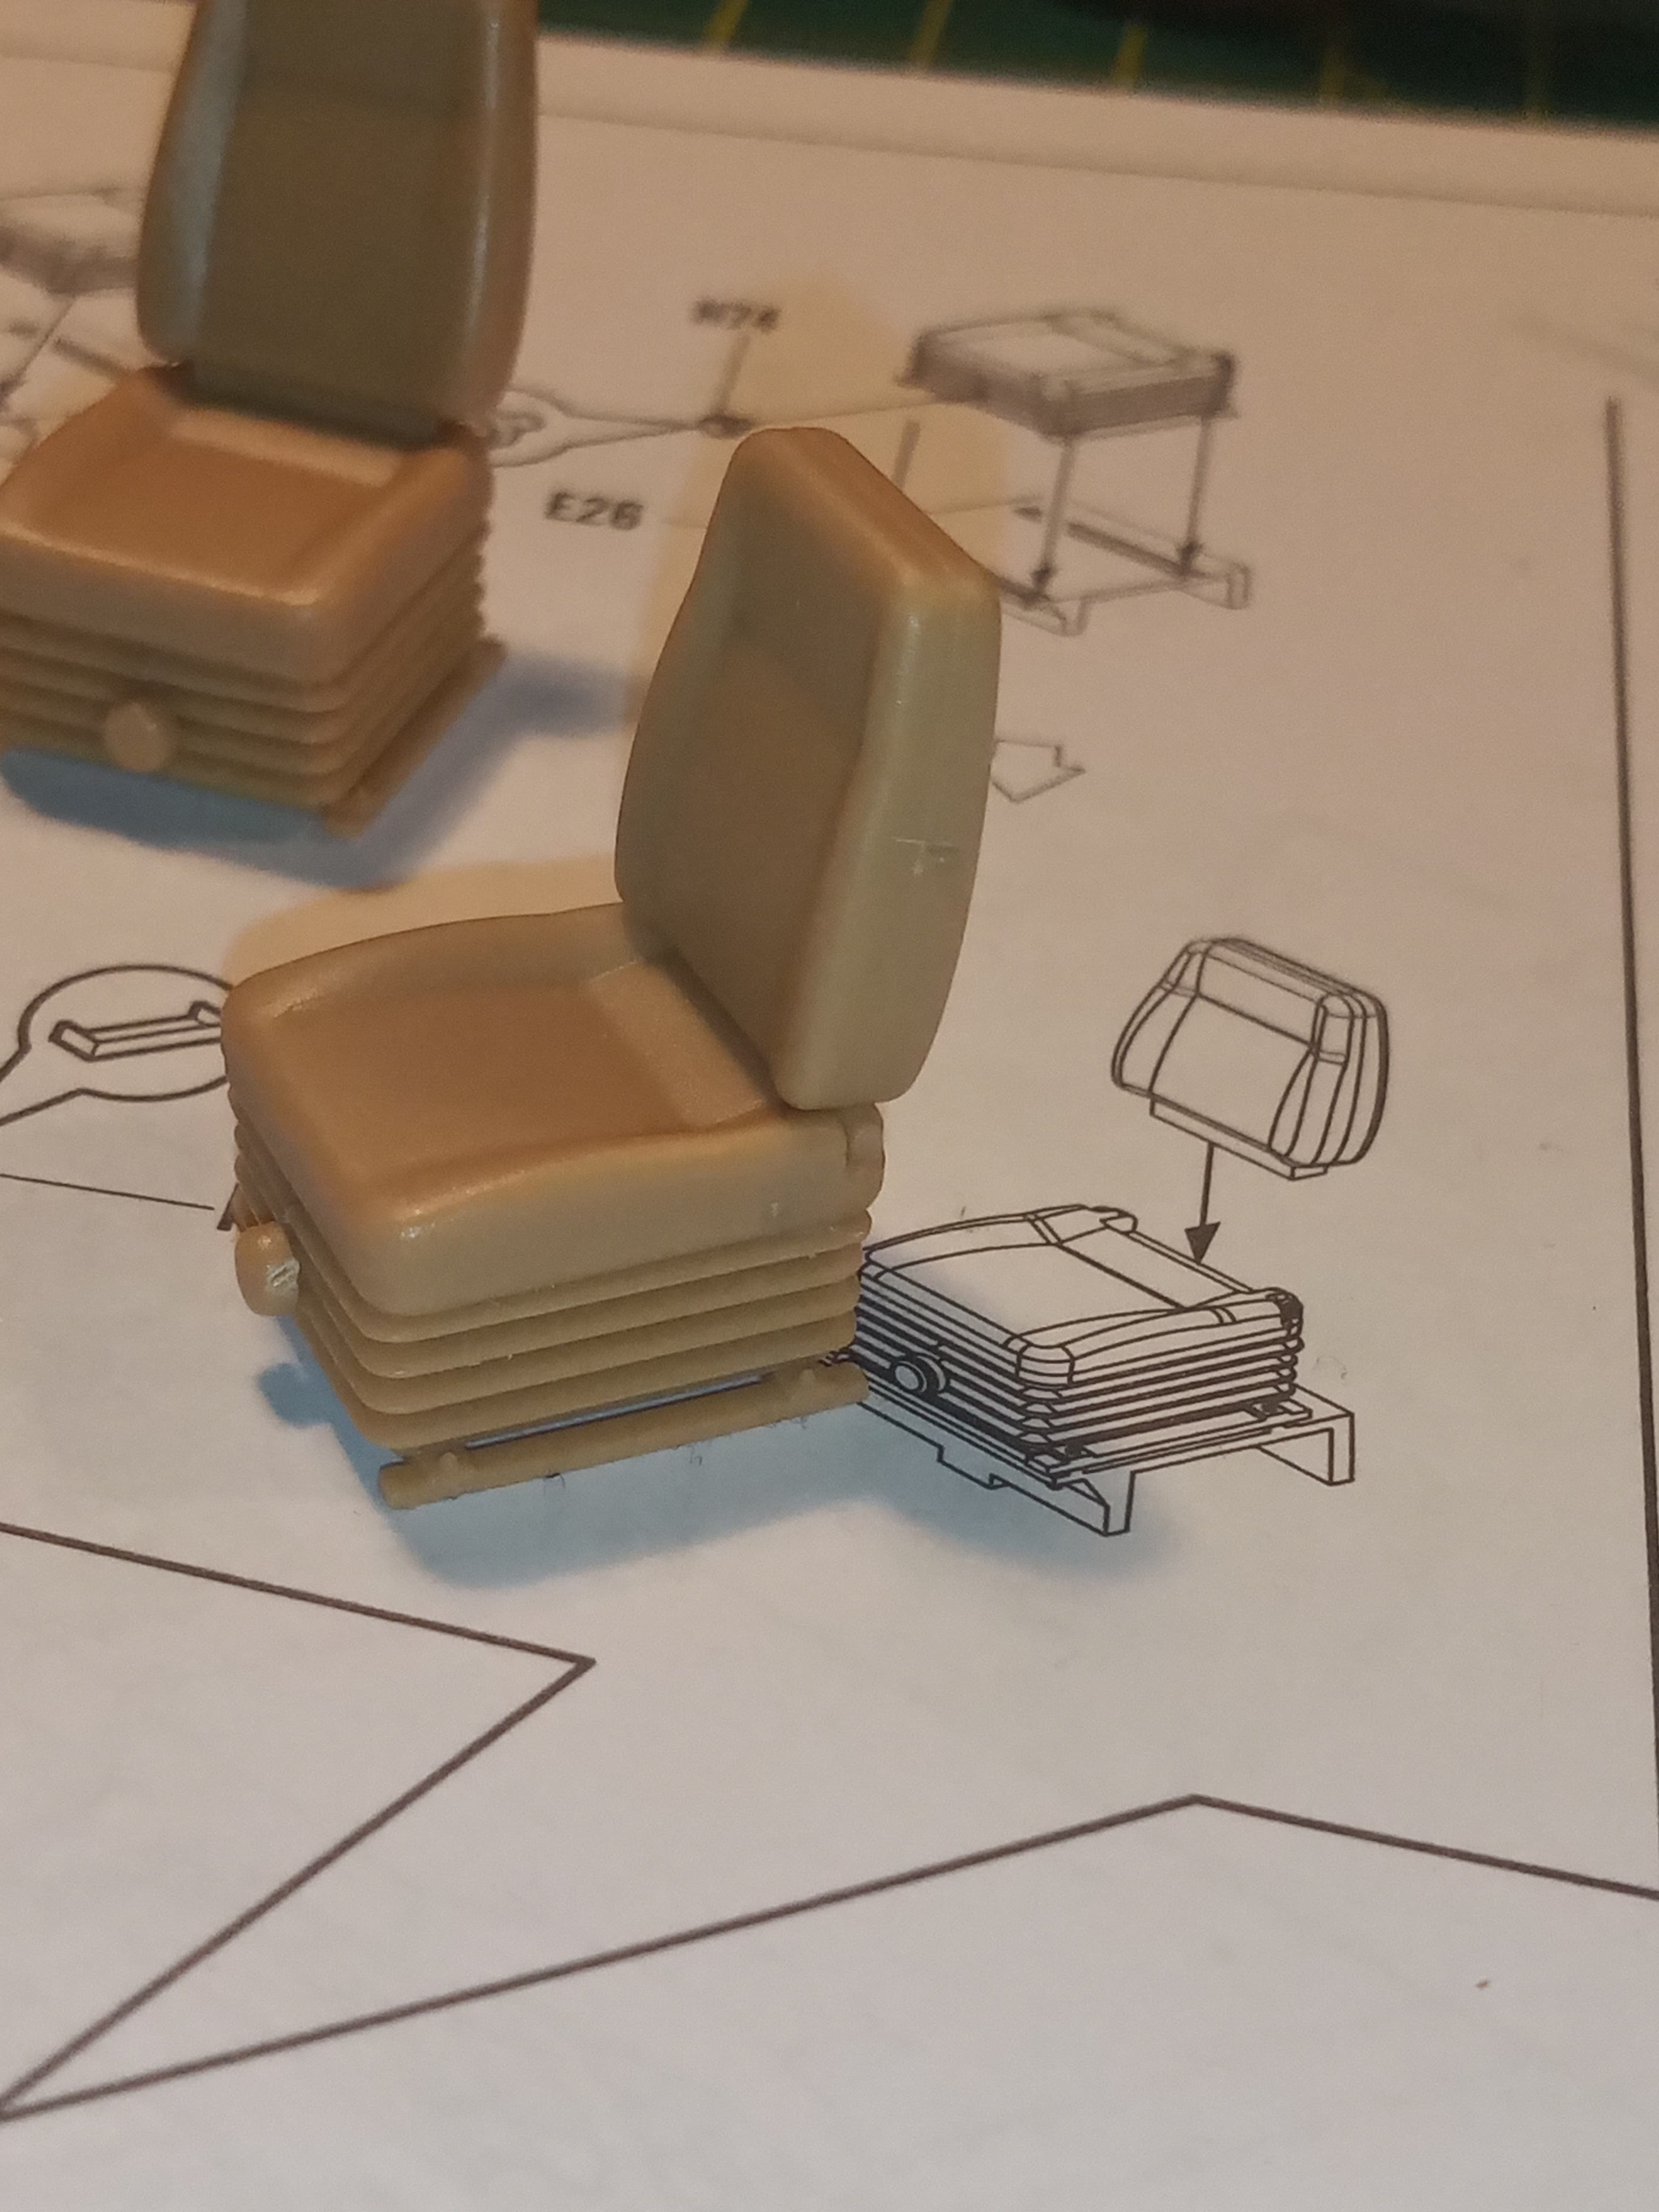
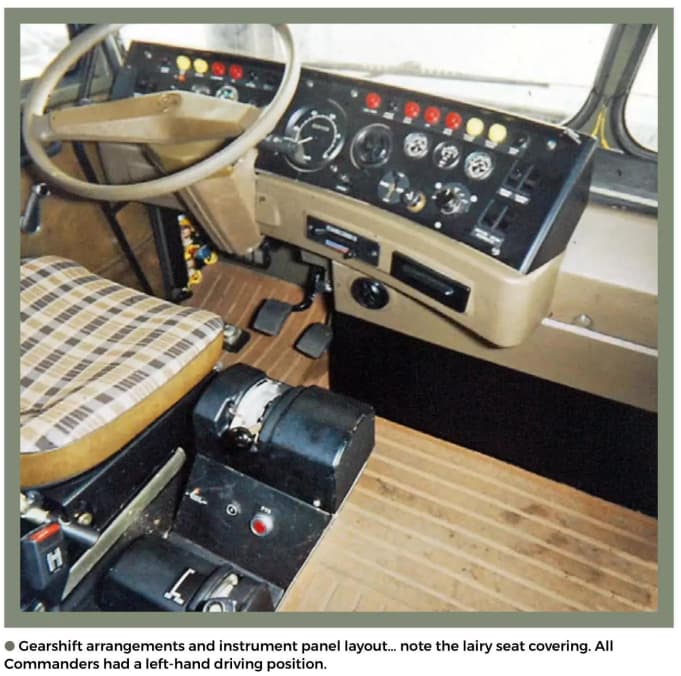
Was putting the cab inside together and while doing the seats, I thought they looked a bit “not right” …
I looked a bit more in depth at the images I was given ( and bear in mind there are practically no images of the cabs inside online) and straight away you can see the seats from the kit …
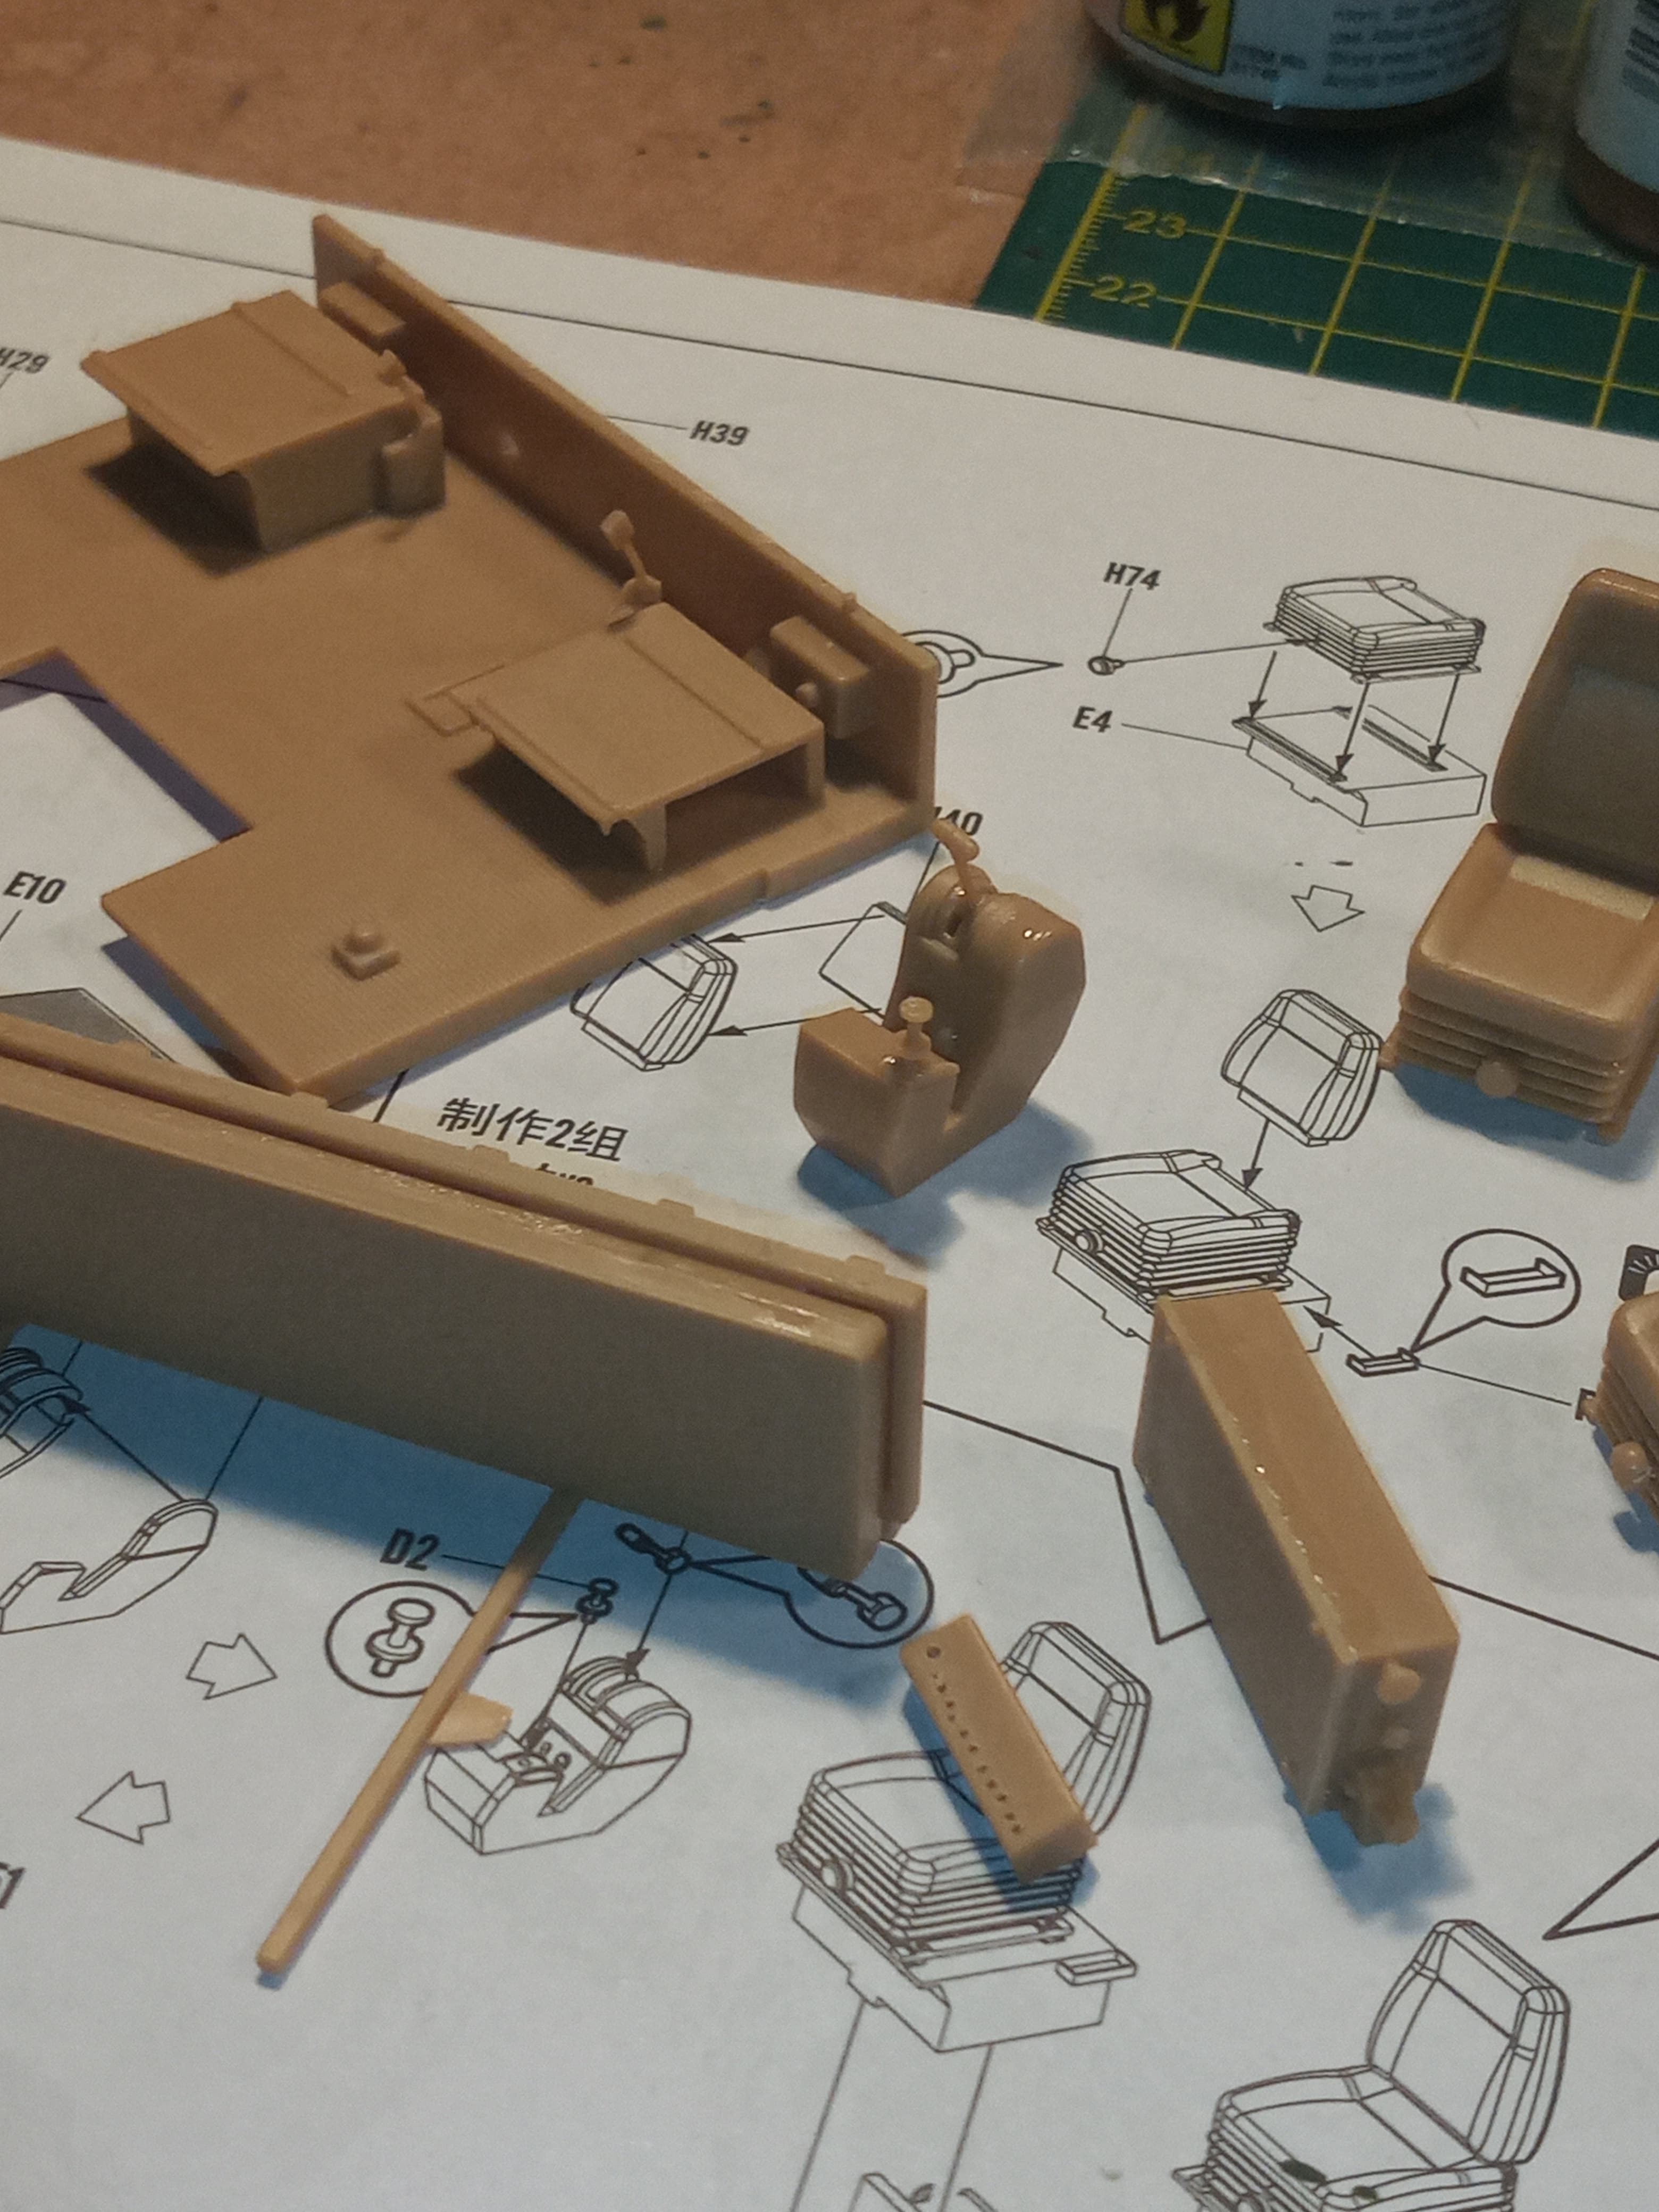
Rest of the insides as it stands…