Hi Everyone,
Looks like lots of interesting builds in the works for this one. While I survived 2023, I’m personally happy that it’s in the books. Definitely was the toughest year physically on me, so I’m very optimistic on the outlook for 2024. That said, I hit the year running! So, here’s my entry for this campaign.
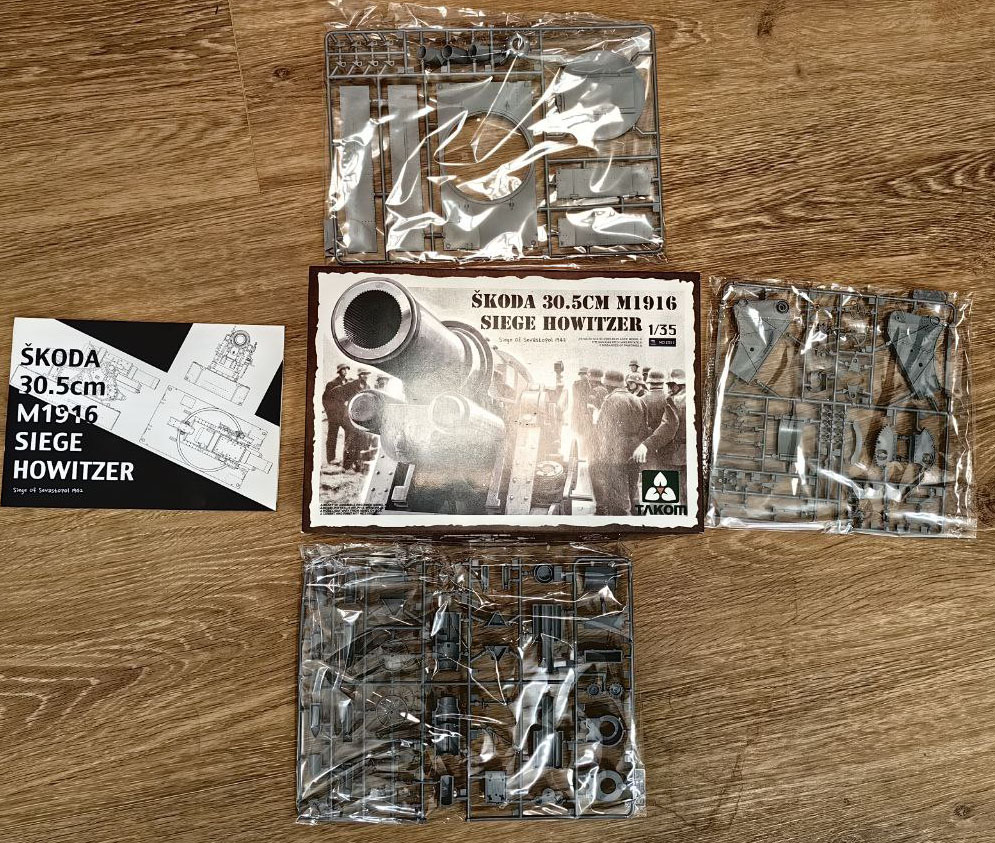
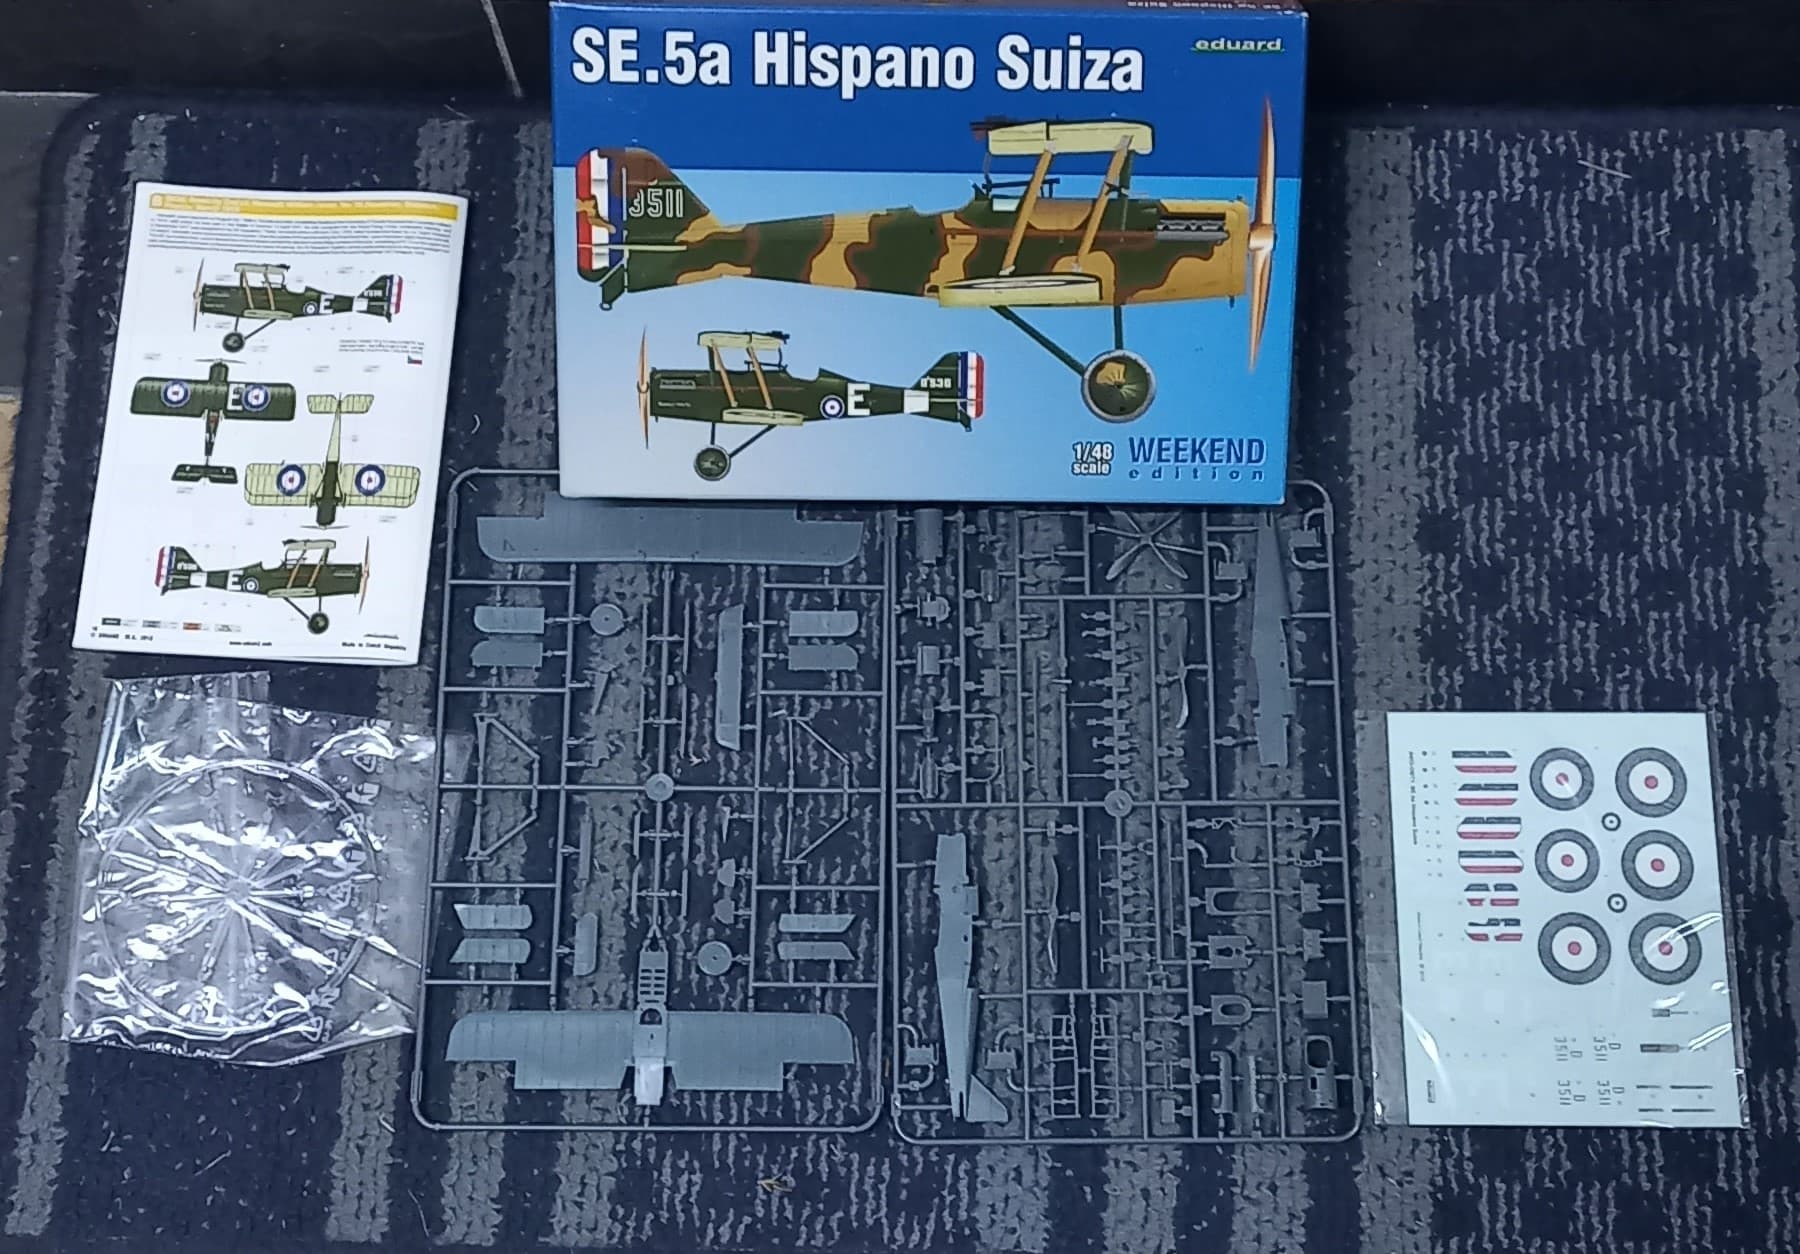
Eduard’s 1/48 SE.5a (Royal Aircraft Company, Scout Experimental 5a) Weekend Edition. This one almost made it into the 2023 campaign, it just wasn’t in the cards. Overall, this kit looks pretty straight forward with really beautiful fine detail molding. Granted there’s some really, really small parts, so the astroturf next to the workbench is licking it’s lips!
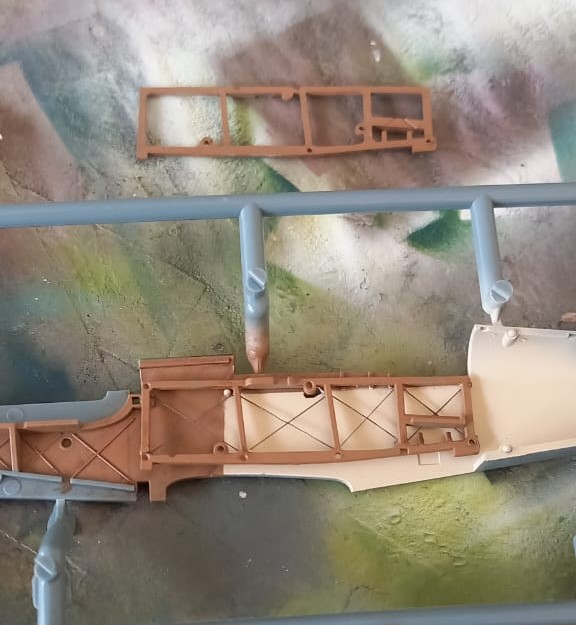
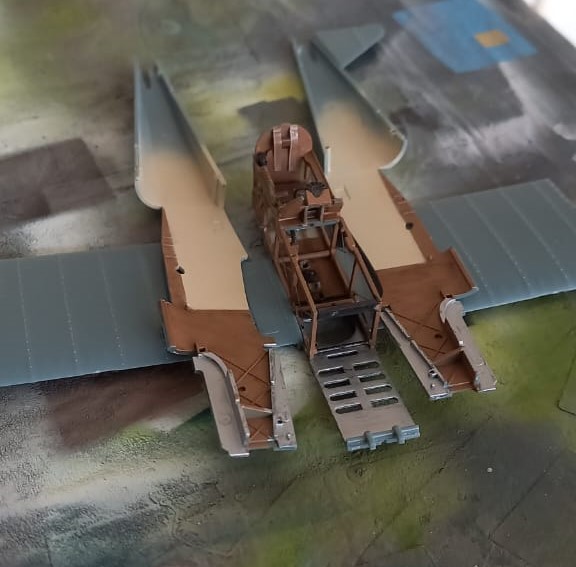
I began with the cockpit area per the instructions, and gave the interior parts that were made of wood a base coat of Mr. Color (MC) 43 wood brown. I followed up with some burnt umber oil paints using a wide flat brush to mimic the wood grain, and add a bit of variety to the parts. Additionally, I constructed the engine.
One of the nice things I found about this kit is that Eduard has incorporated guides for adding wire if one wishes. I wish that! Using EZ-Line (fine charcoal) and small dabs of superglue, I was able to string the line along the guide slots and add a nice detail effect. How much will be seen at the end is a little hard to tell right now.
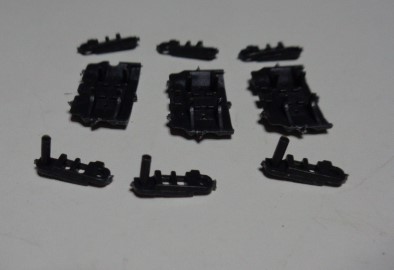
While there are some small parts, by taking my time and closely following the instructions on their placement things went together quite nicely. I did manage to land a dual gauge part in a slightly wrong place. This was easily remedied, and I’m blaming the instructions for this one. One thing I’m finding is that the placement is noted, but it’s vague considering the very low tolerances of the molding. Meaning if the placement is off by just a tad, things don’t fit right. Sadly with really tiny parts, test fitting can become quite challenging, verging on frustrating. Still I was pleased with the outcome, however, there is a fluid tank that didn’'t make it, though in the end it won’t be missed.
The kit comes with decals for the seat belts, however, having some leather colored spar belts from Eduard’s IJN seatbelt set, I opted to add these, which really enhanced the look of the seat area.
I think the cockpit turned out pretty nice, at least for me I give it a passing grade.
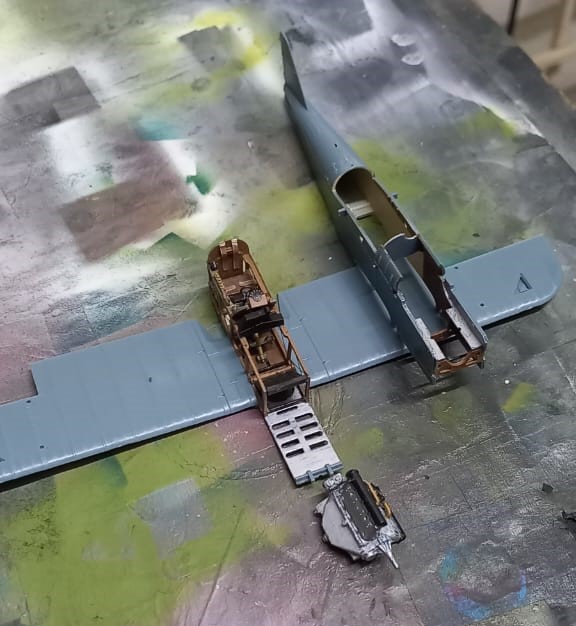
Test fitting found that the fuselage halves should go together and fit relatively well.
I then secured the cockpit onto the lower wings with little fanfare, and glued the fuselage halves together.
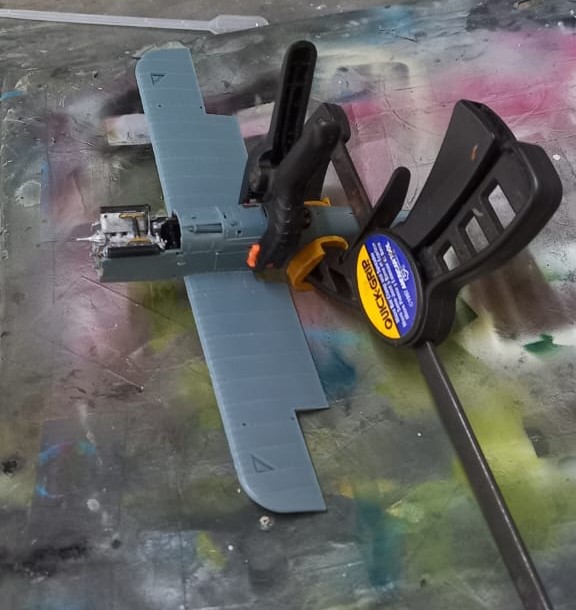
Next came the mating of the fuselage to the lower wing, which went quite well. I did use some clamps to minimize any gaps at the fuselage/wing root mating area.
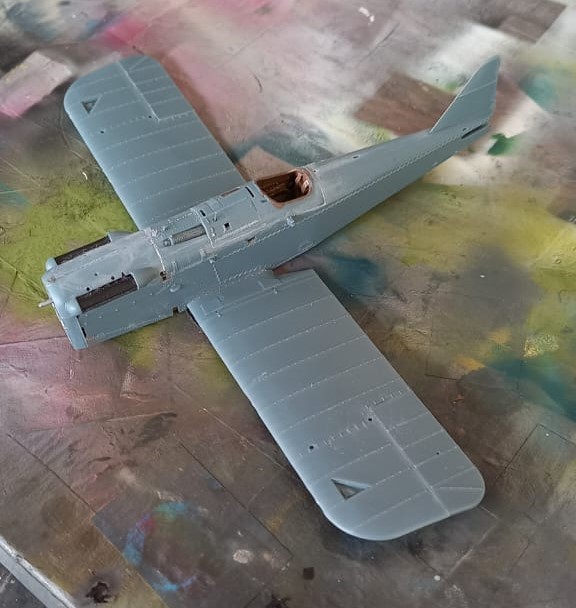
After everything was dry, I gave some of the seams a dose of Mr. Surfacer 500 to even everything out. This was followed by some strategic sanding and fine polishing. Adding the engine and cover along the way.
At this point, I believe I can move onto the next phase. This will entail drilling the areas for the rigging at the correct angle, lots of test fitting, and placement of the cabanes to assure a proper fit of the upper wing. Looks like I’m off to the music store for a couple of high E guitar strings (electric and acoustic), and while up there get a haircut! Gotta keep the wife happy!
Till next time, be safe, wash your hands and have fun!