Why do the flags of Austria Hungary and Imperial Russia have to be so complicated? ![]()
1 Like

Nice! can you get 2024 on it somehow?
2 Likes
I knew that was going to come up. I will move things around and squeeze it in.
1 Like
How about this one?

If anyone is curious…
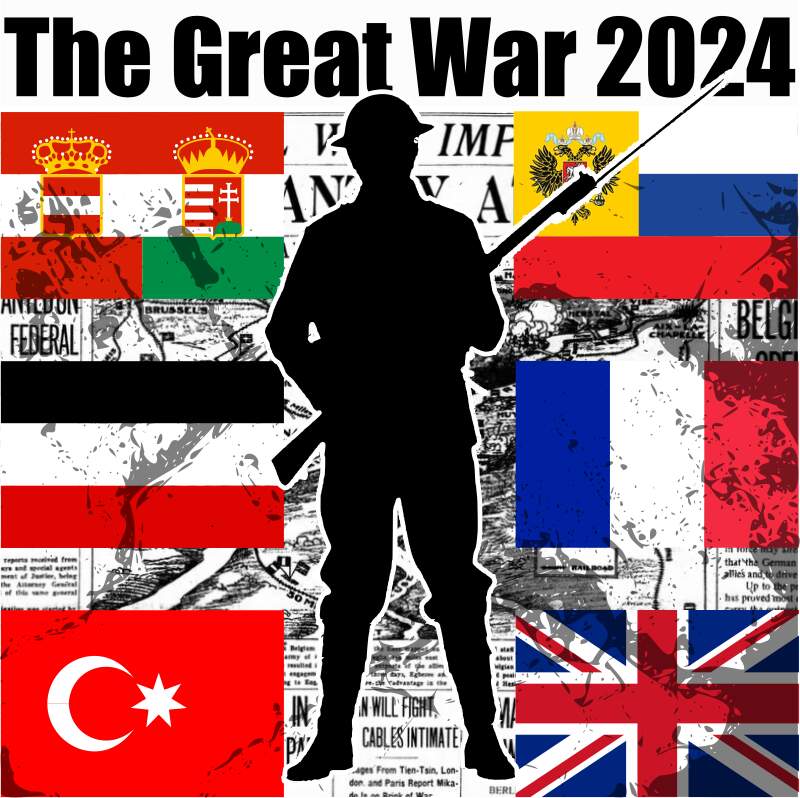
The background is a period newspaper stating that the Kaiser’s armies are overrunning Europe.
The flags are Austria Hungary, Imperial Germany, and the Ottoman Empire on the left side. Imperial Russia, France, and the British Empire appear on the right side. Each flag is opposite the main opposing antagonist. Austria Hungry gets first billing for starting the war. Russia mobilizes. Germany mobilizes. France mobilizes. The Ottoman Empire and the British Empire square off last. It is not perfect but keeps Triple Alliance (minus Italy, who sits out the early phases of the war) and Triple Entente flags opposite one another.
On top of the newspaper and flags in superimposed a trench system.
A British soldier gets front billing since this was mostly a war of vast infantry armies and everyone recognizes the distinctive helmet.
The Great War 2024 is supposed to read like a newspaper headline. The font is not perfect but fits everything in bold text.
3 Likes
Looks great to me! Anyone else have comments on it?
3 Likes
I like it
TinyDog01
1 Like
Thats Awesome
TinyDog01
2 Likes
It looks fine to me!
2 Likes
Here is the list of folks who I think completed builds:
phil2015
TinyDog01
golikell
fromSalekhard
3 Likes
If another WW1 build shows up, I’ll definitely join up again. I had fun in this one thanks again.
TinyDog01
1 Like
I’d like another WW1 build also
1 Like
Seems like we need a great war 2025. I’m already running too many campaigns to step up to run one, but perhaps someone else will take it on.
1 Like
That are not many completed builds!?
1 Like
Hi Everyone,
I realize the deadline is past, I completed my build prior to the first, however, due to an illness that laid me out, the write up was delayed. No medal for me, not a problem, though I still feel this is the best place to add the write up. Since things are still open I’m tossing it here to finish things on my list.
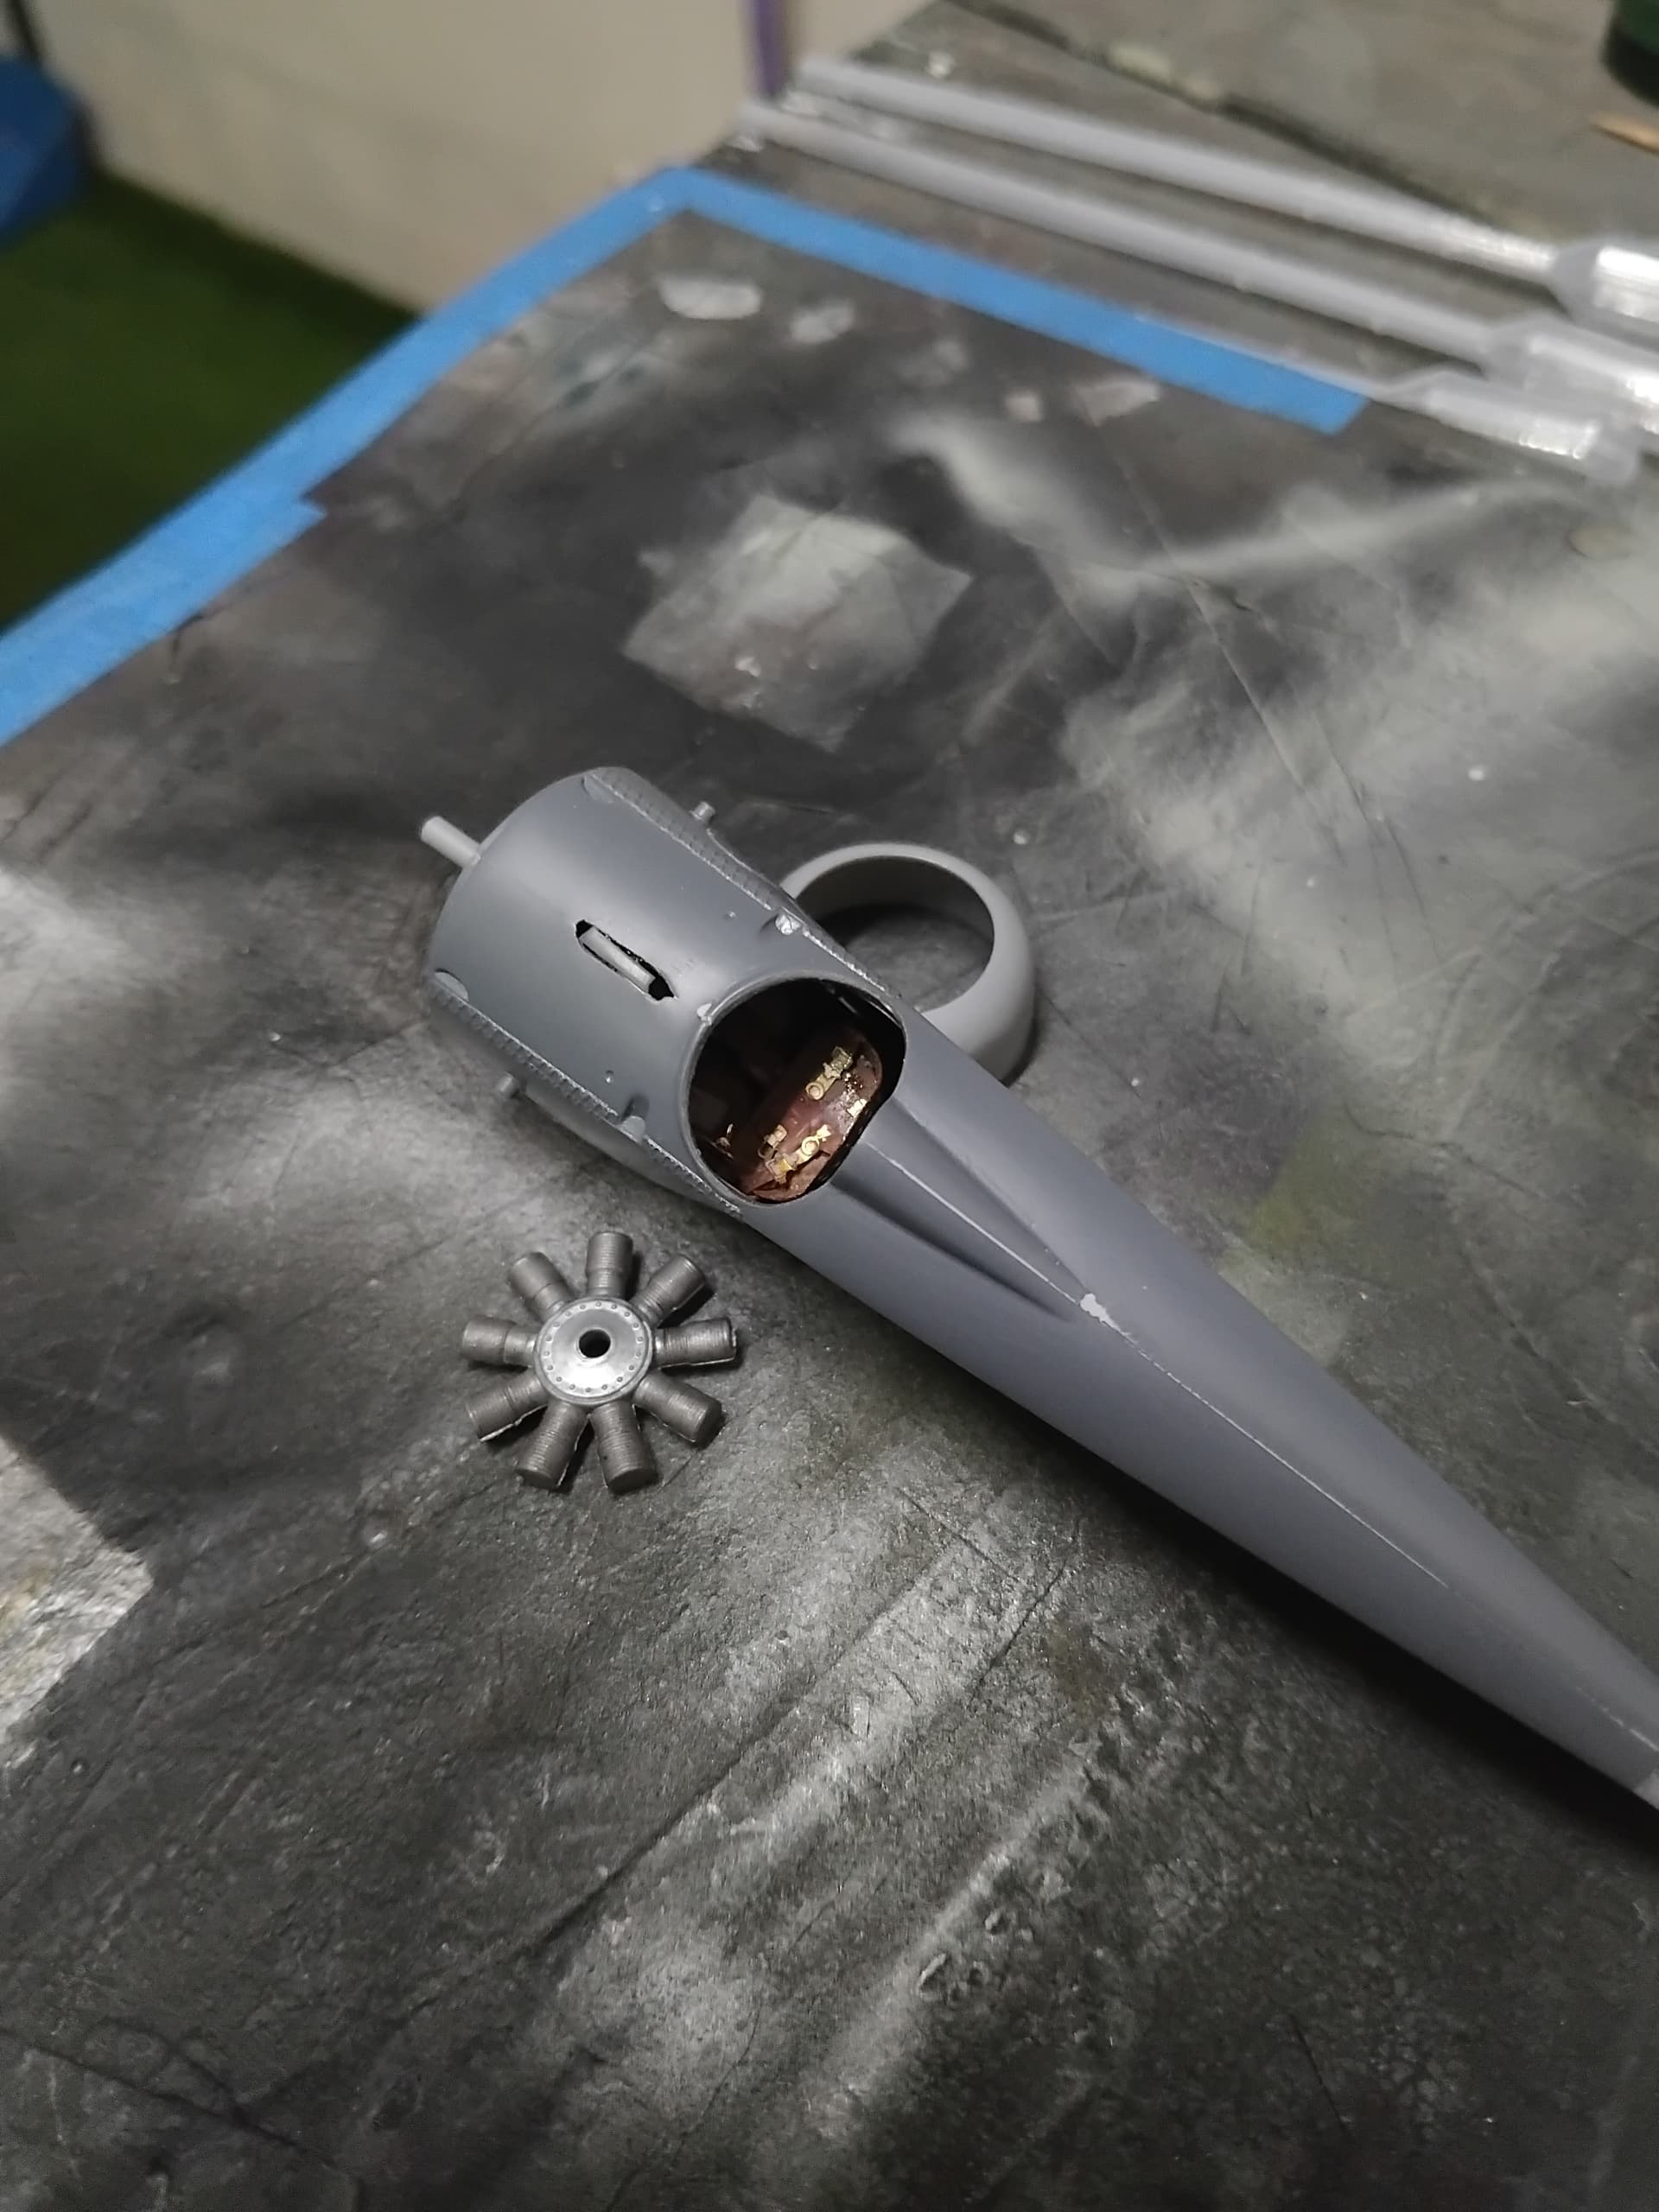
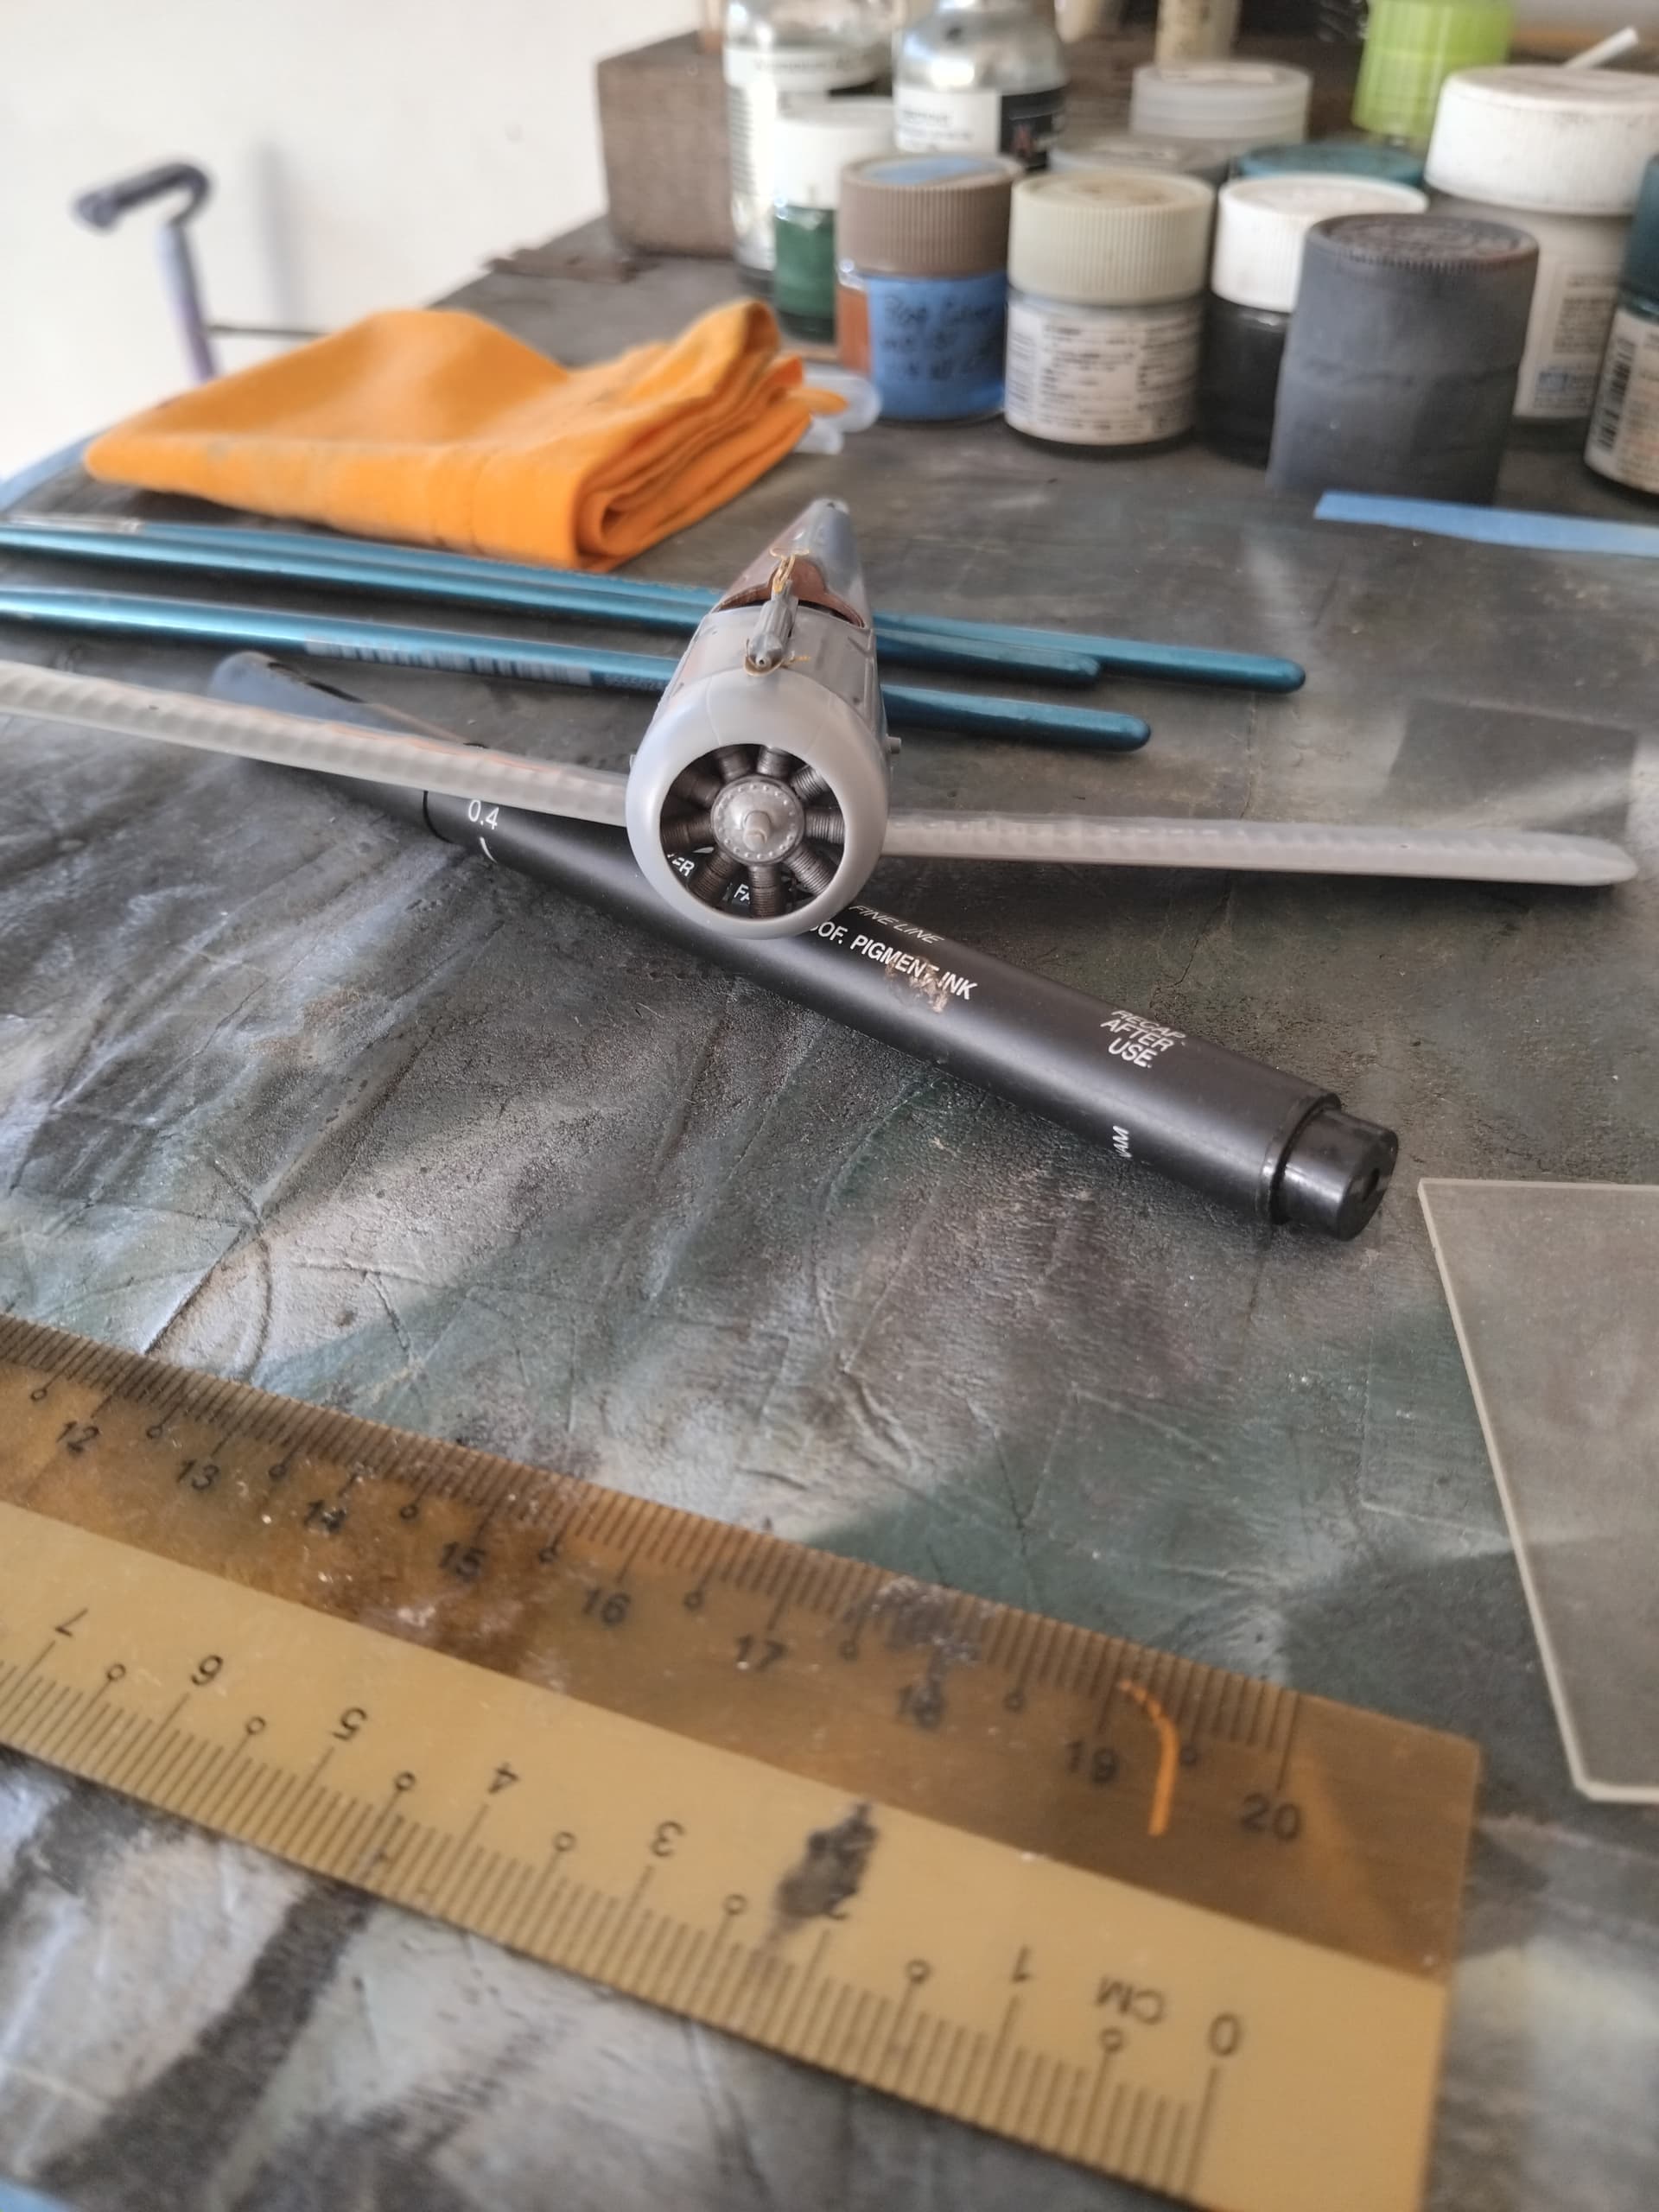
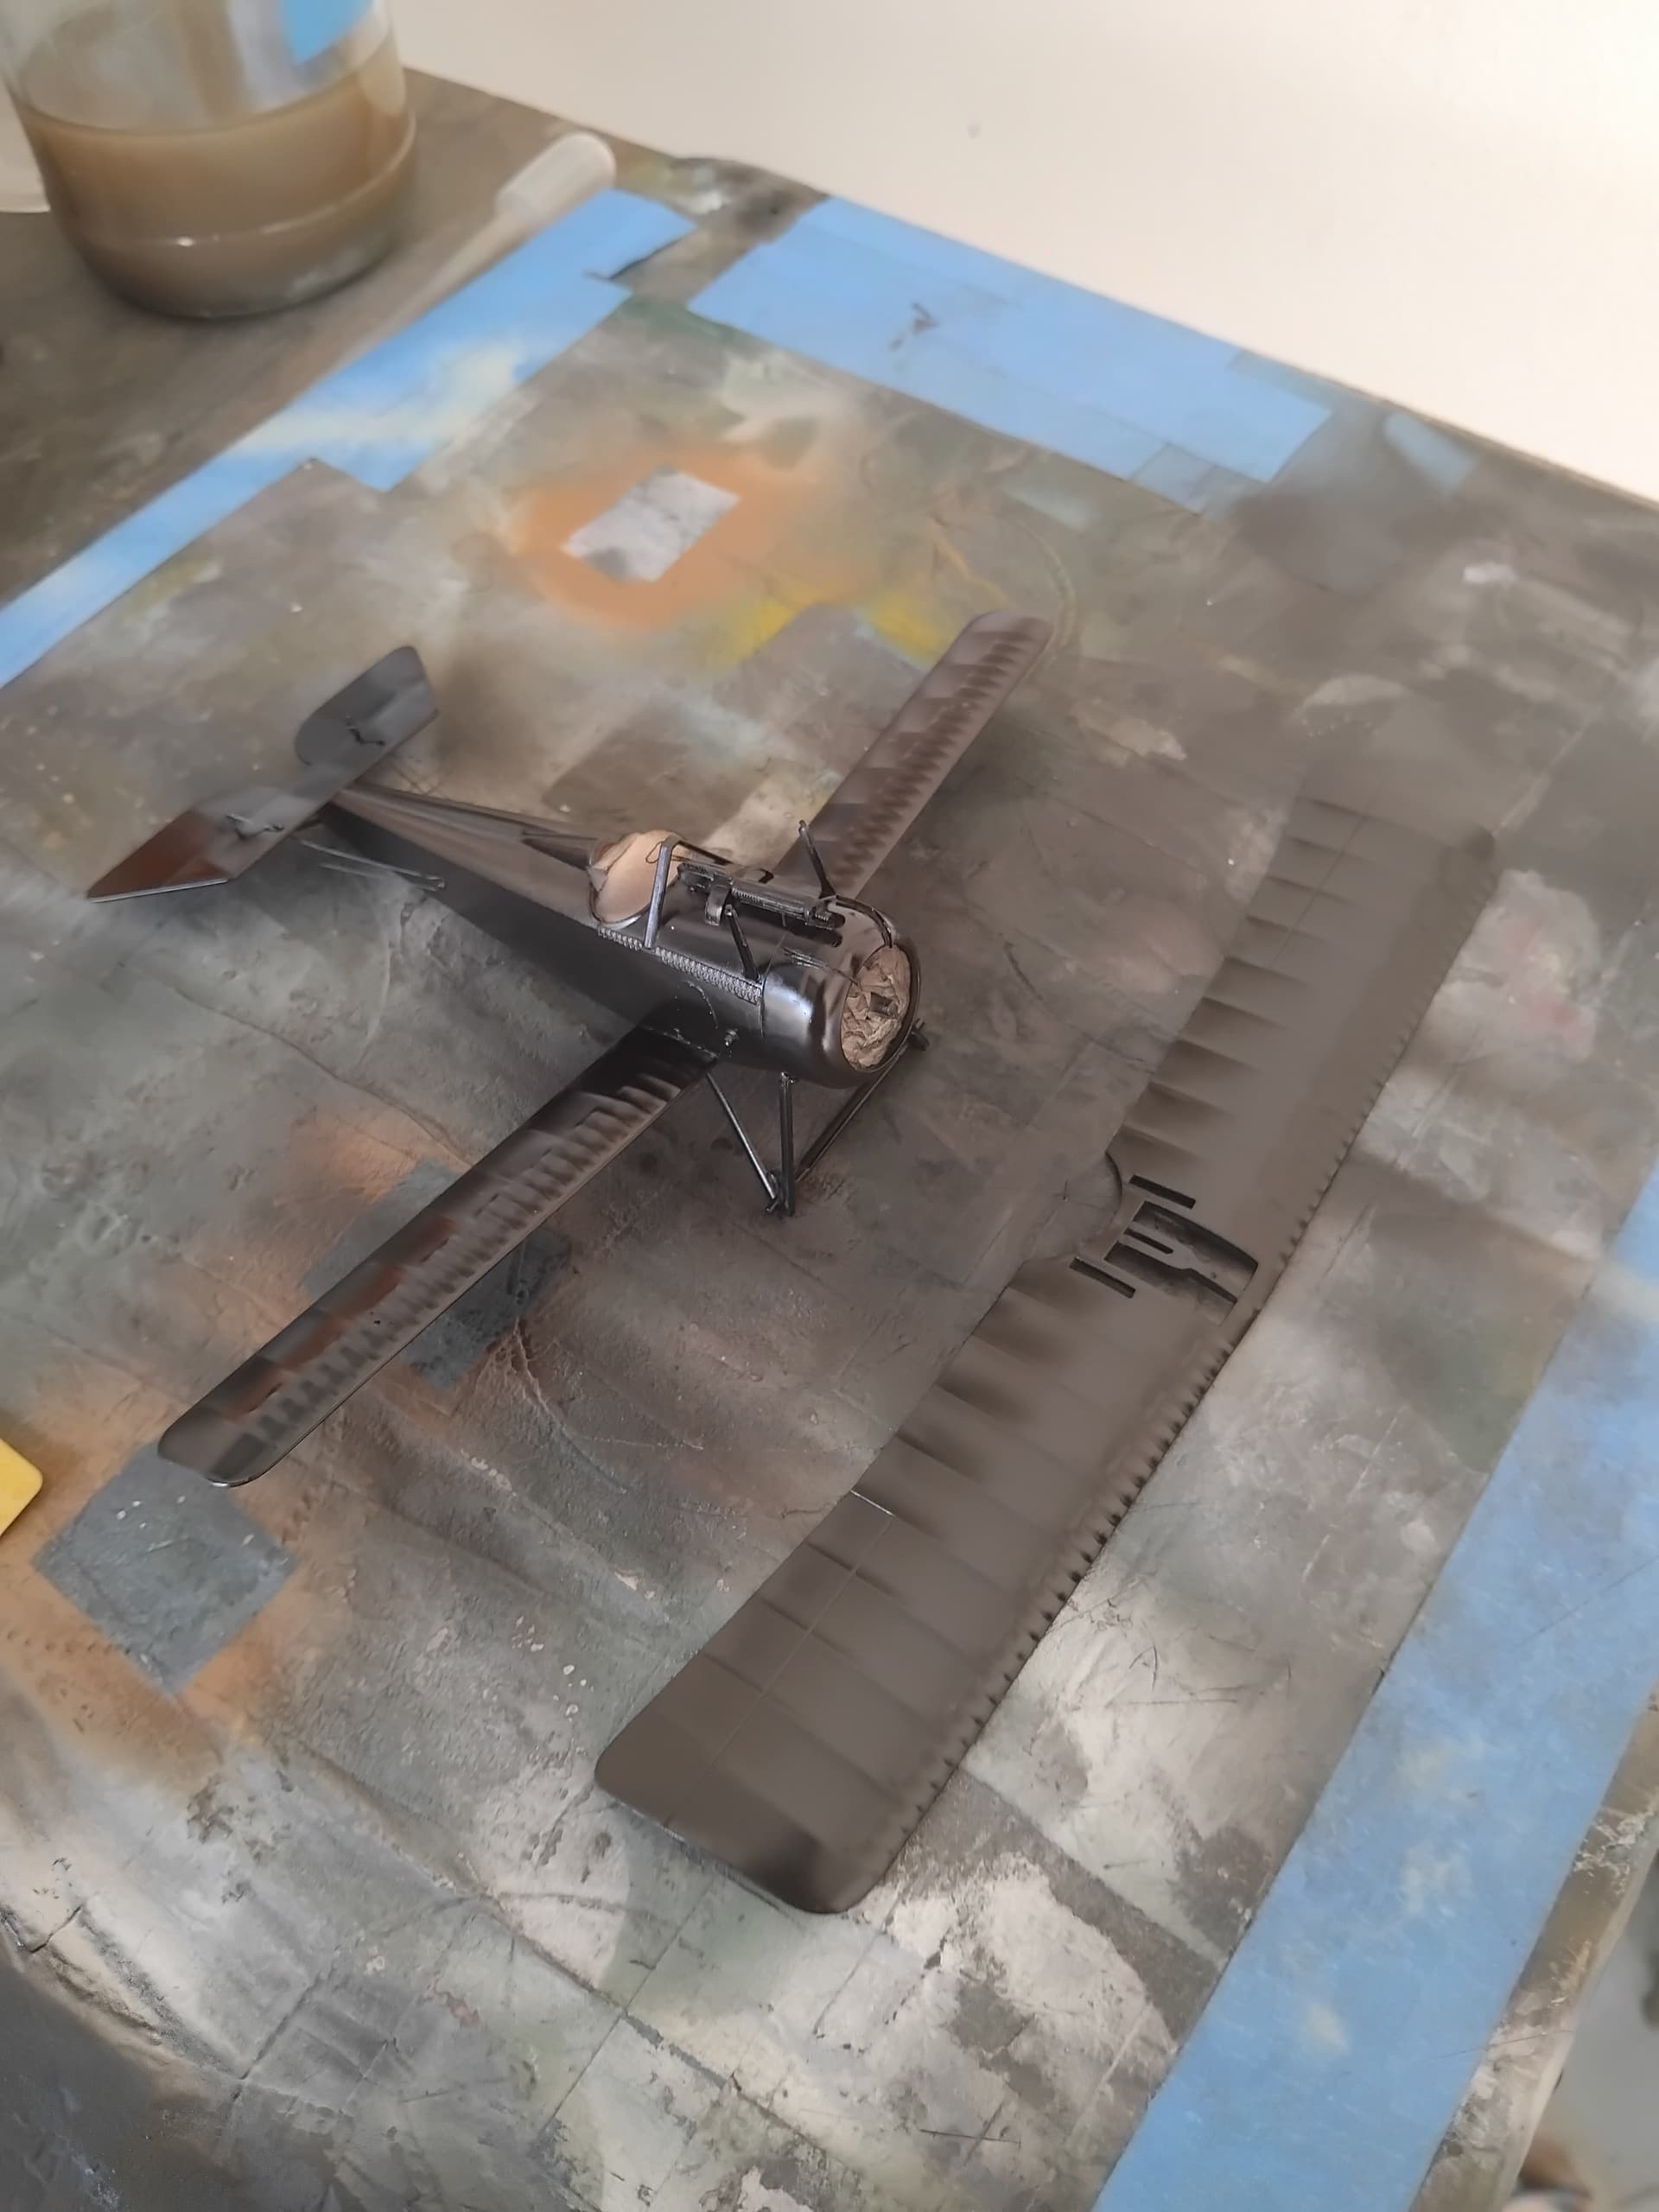
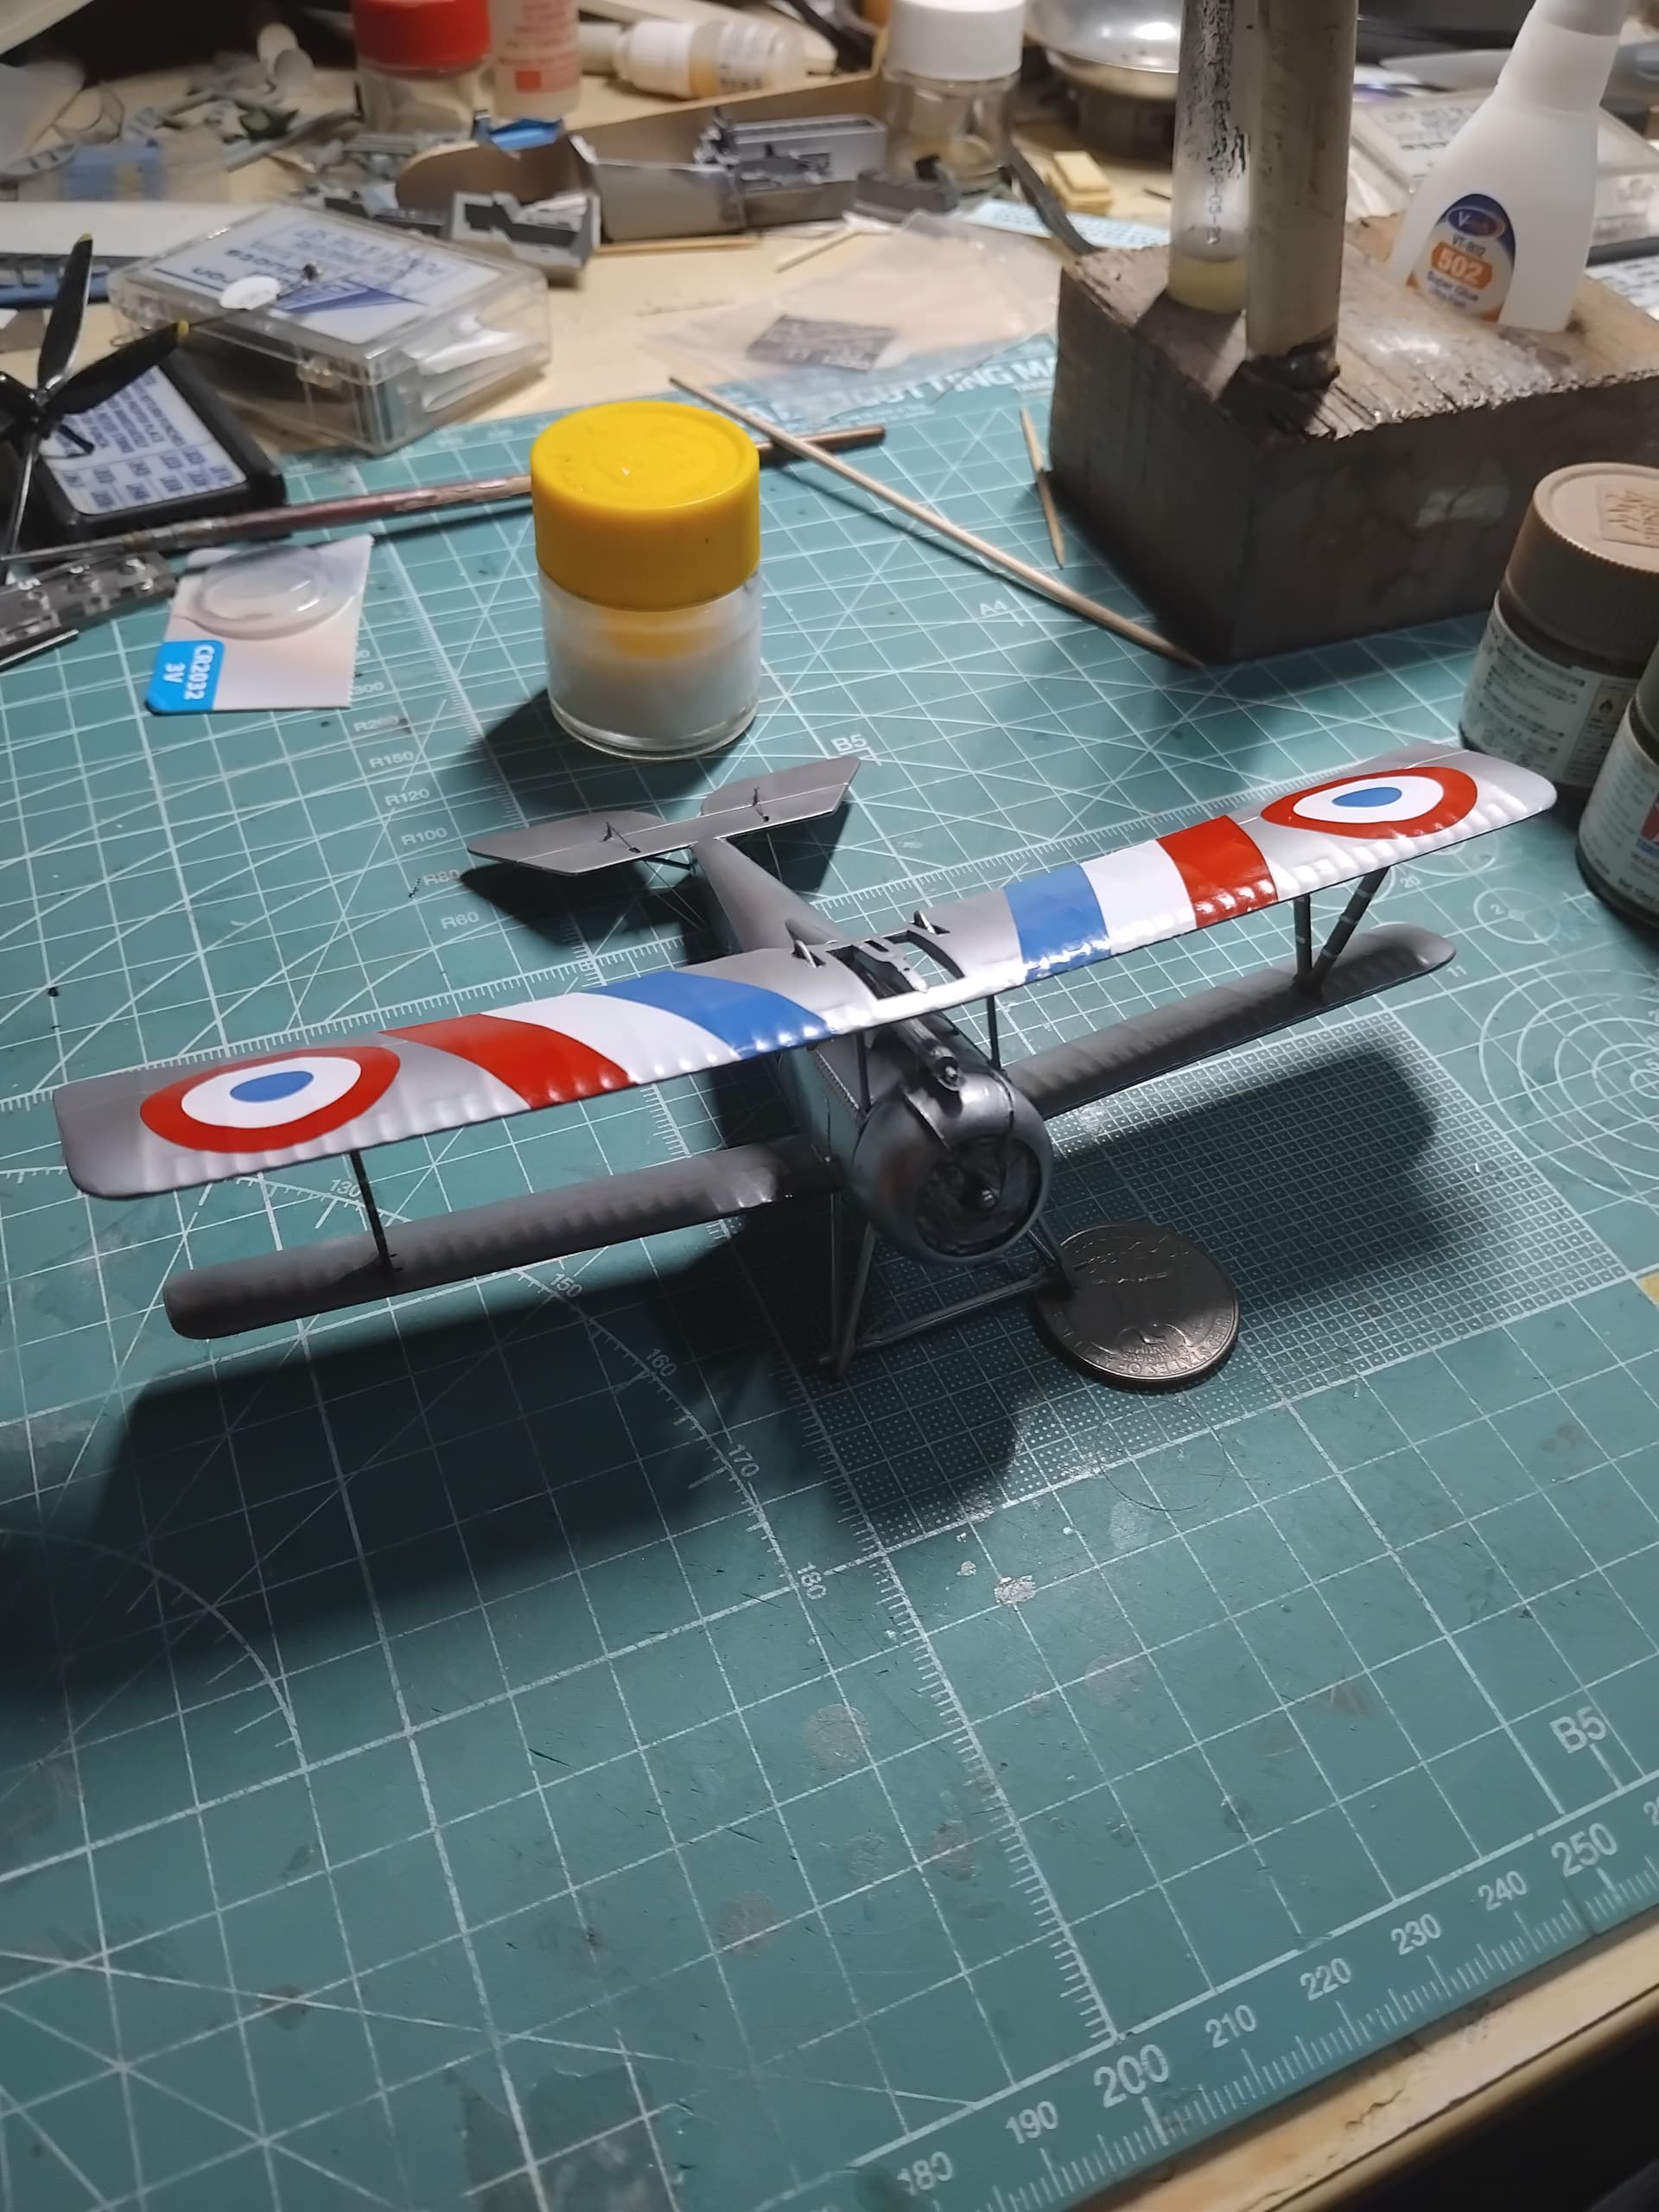
Work on my SE.5a was jamming along when out of the blue the fuselage cabane struts broke, and with no real way to get them back on without some sort of jig, I boxed the kit. So I took a fellow modelers advice and got Eduards Neuport 17.
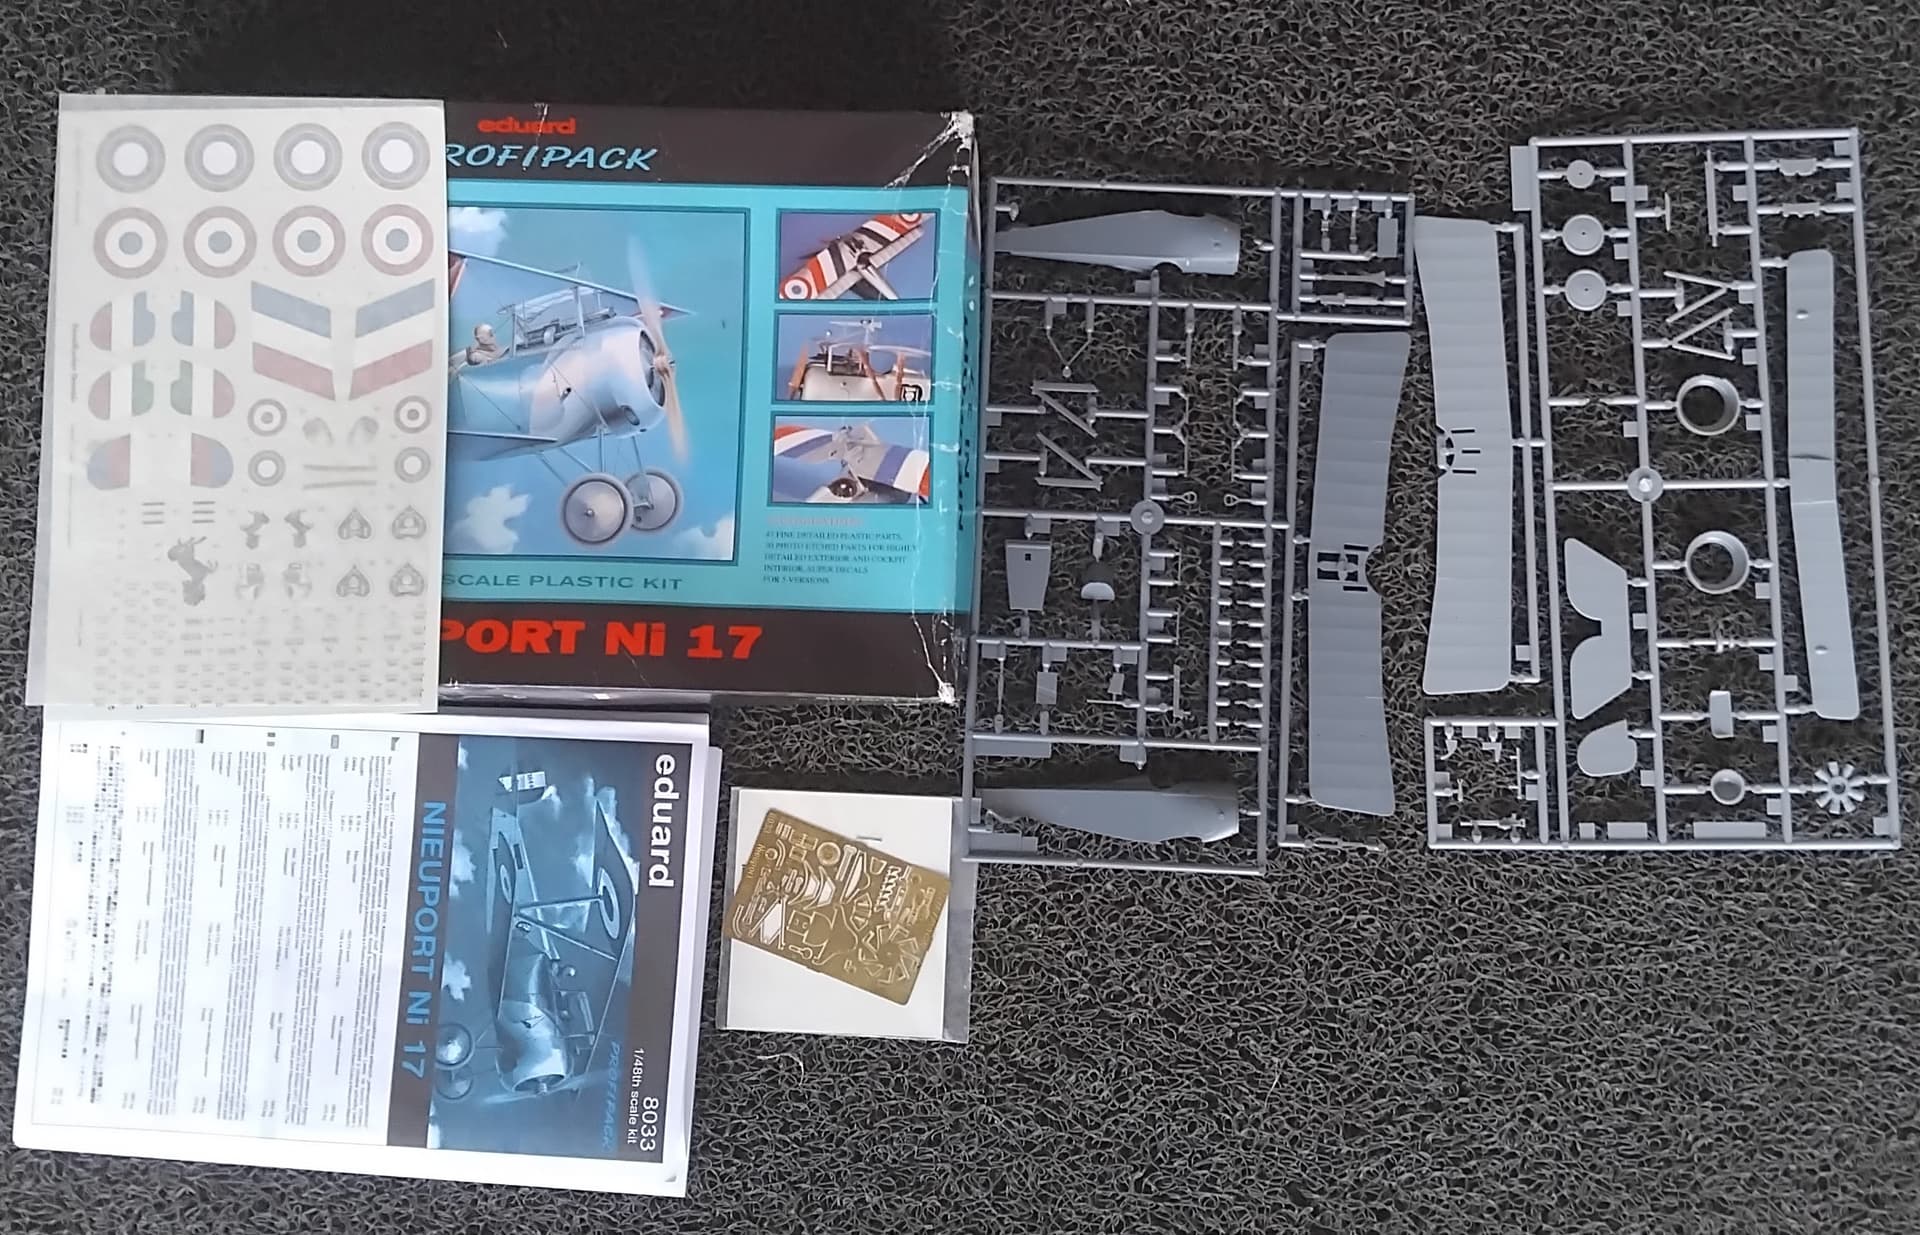
This looks like a pretty good kit, and looks to be fairly simple as biplanes go. I started with the cockpit. The PE includes a nice pilot seat and throttle control, which went together quite nicely.
I drilled out the holes for the control wires for the stabilizers and rudder, and painted up the very nice engine.
I painted the cockpit area as per the instructions, and closed up the fuselage. The fit was almost perfect.
The lower wing was added, and again the fit was near perfect.
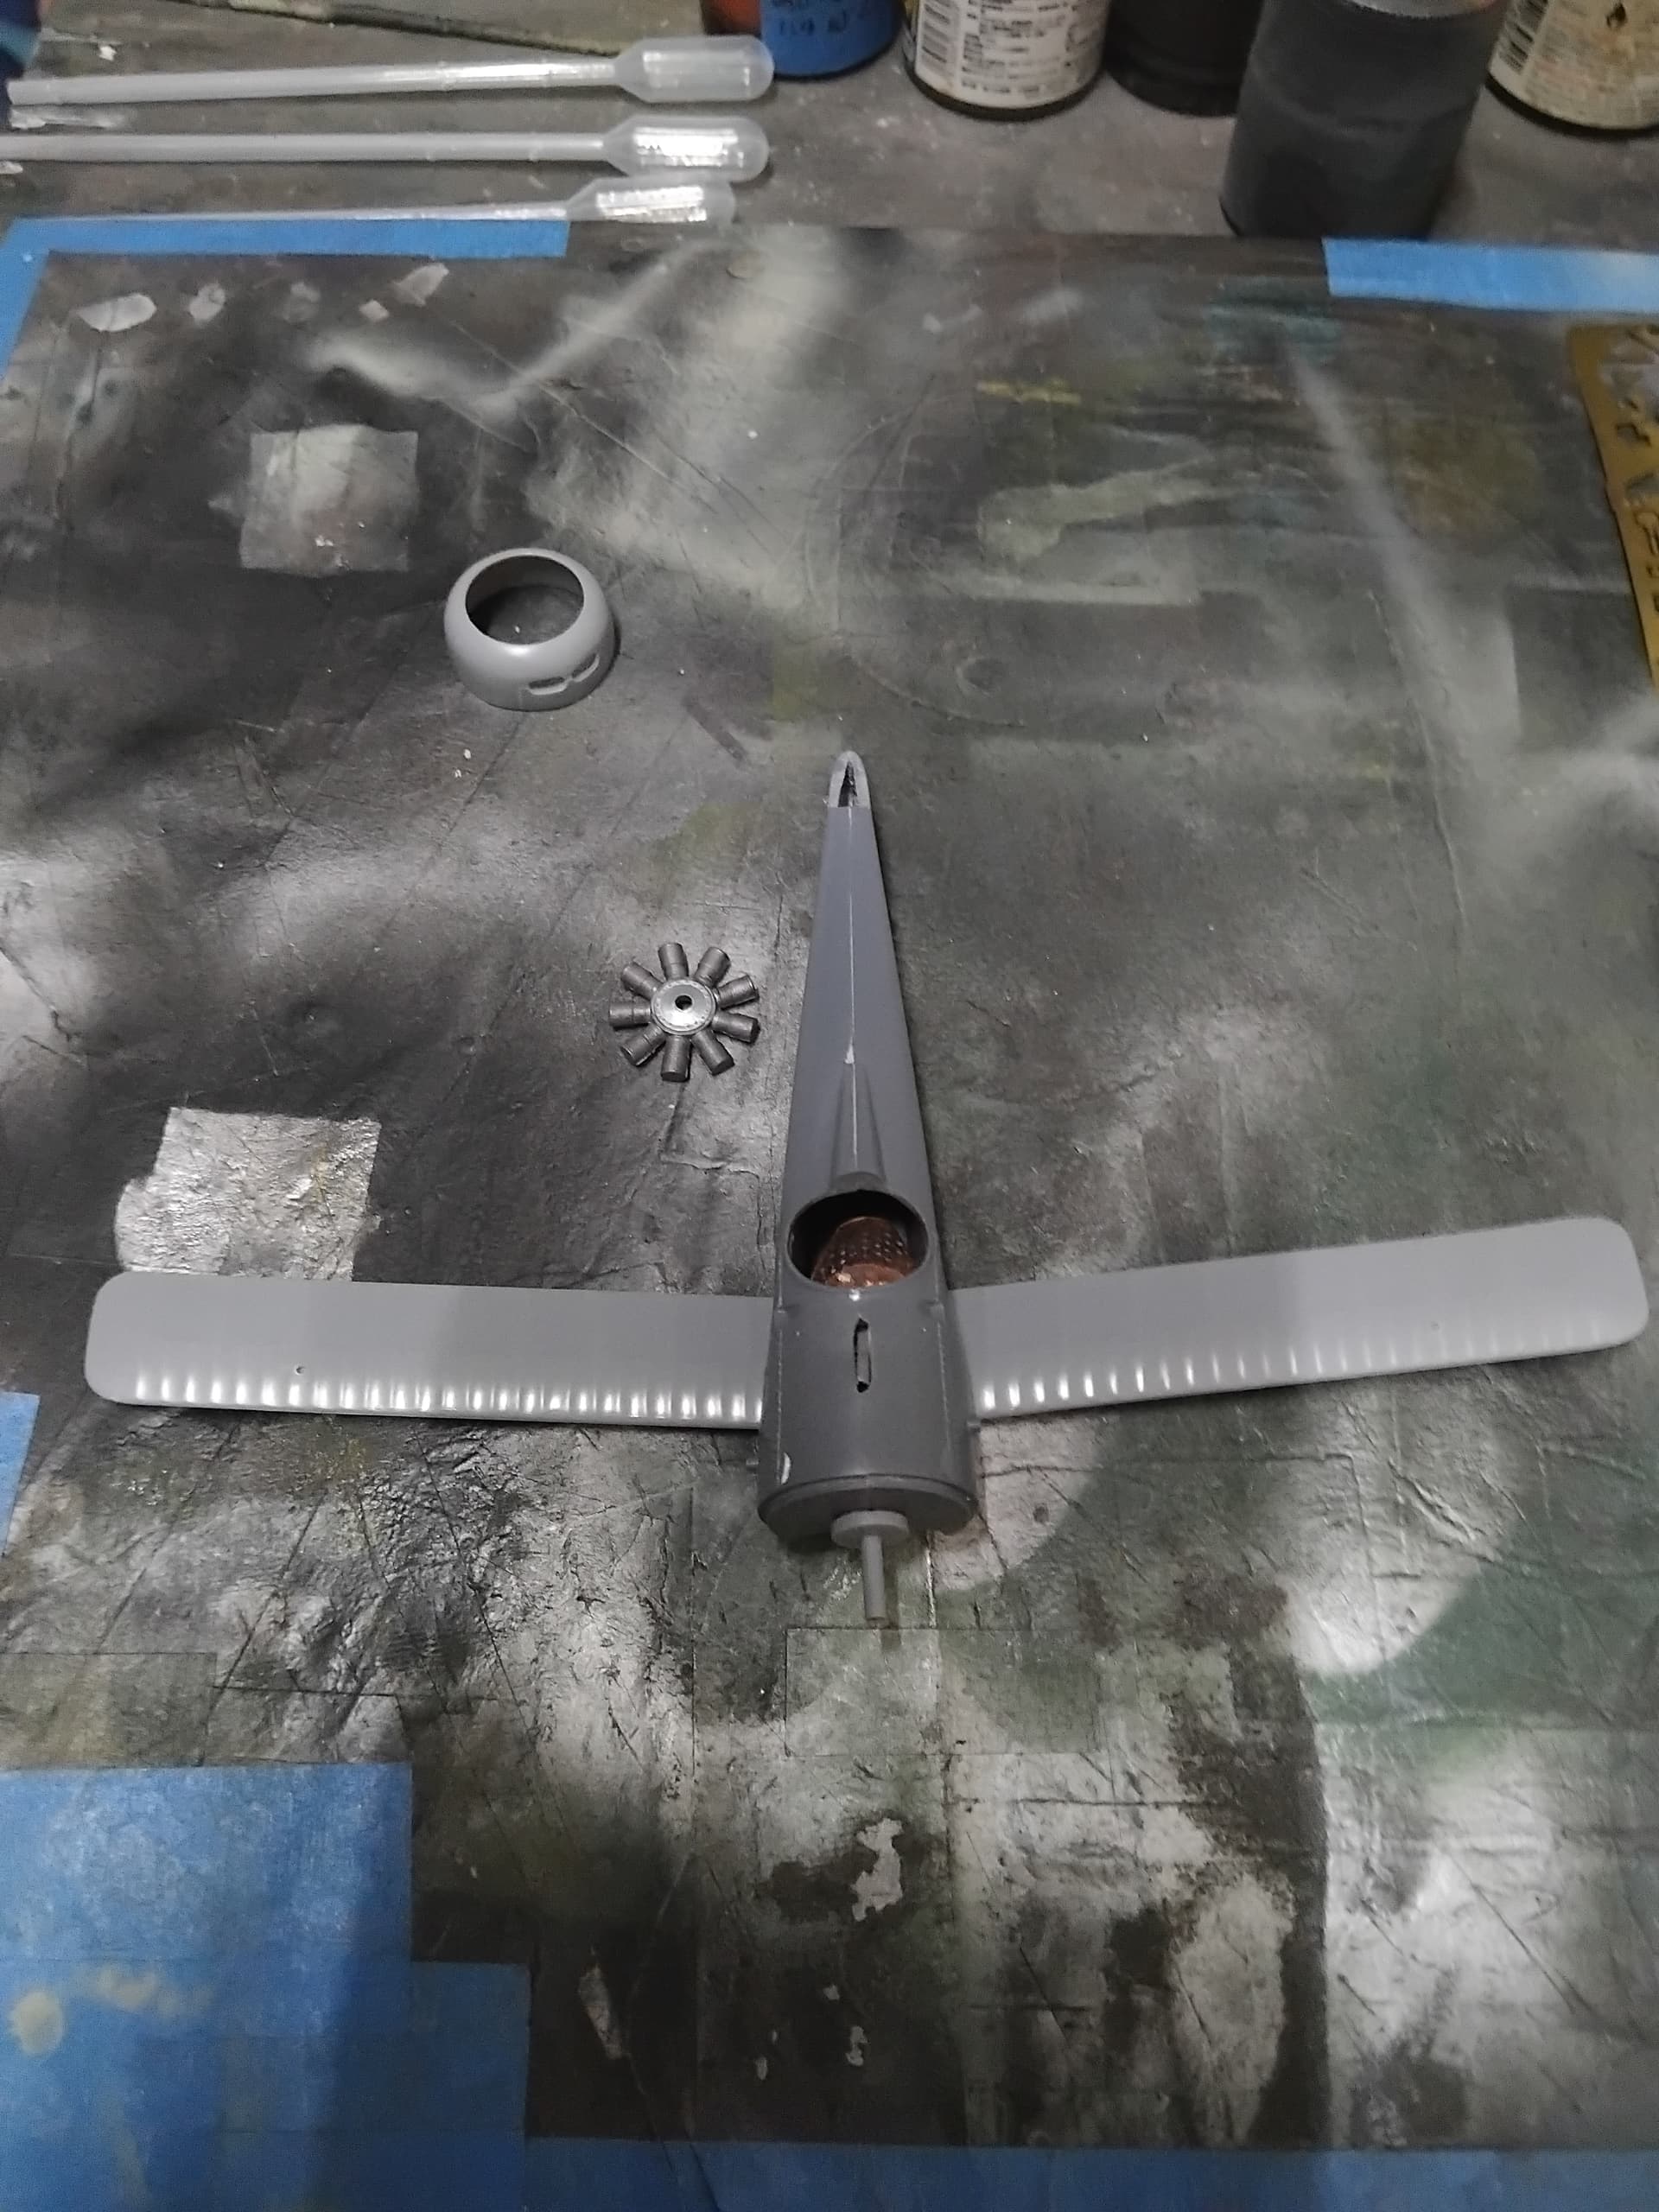
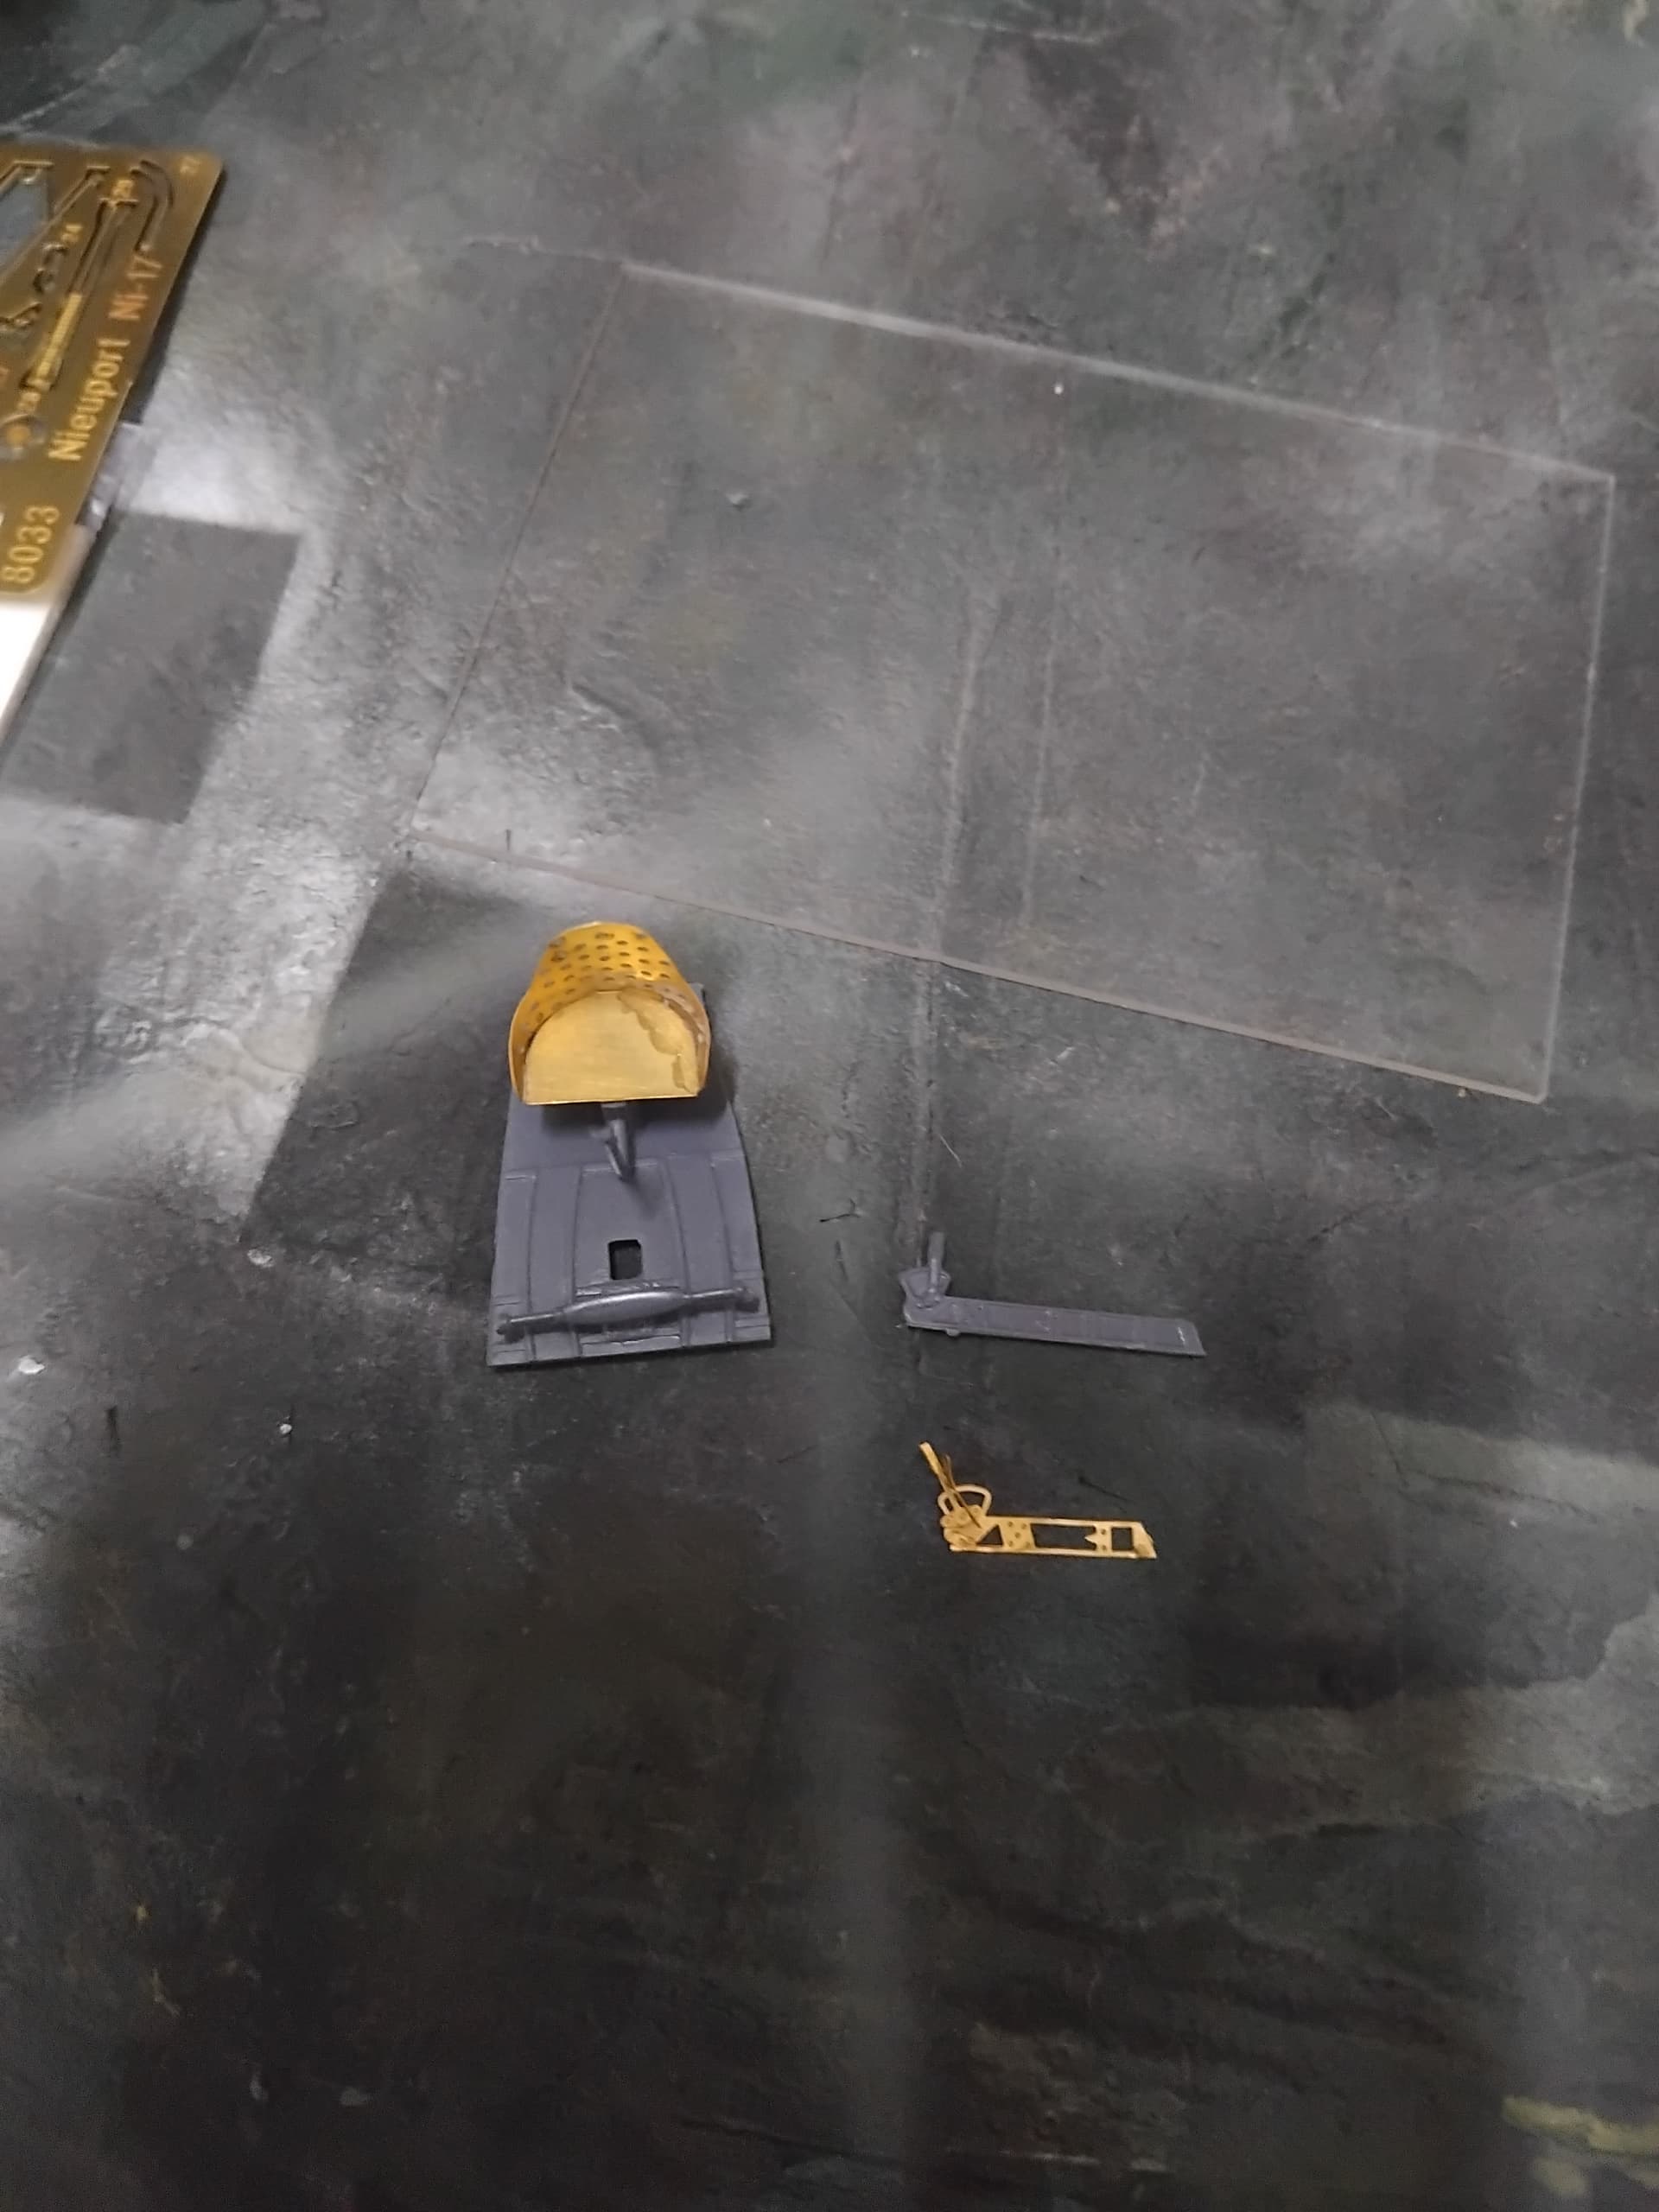
Next the engine was added, the PE included is a nice touch and really adds a lot to the appearance.
The main gun was added as was the cowling.
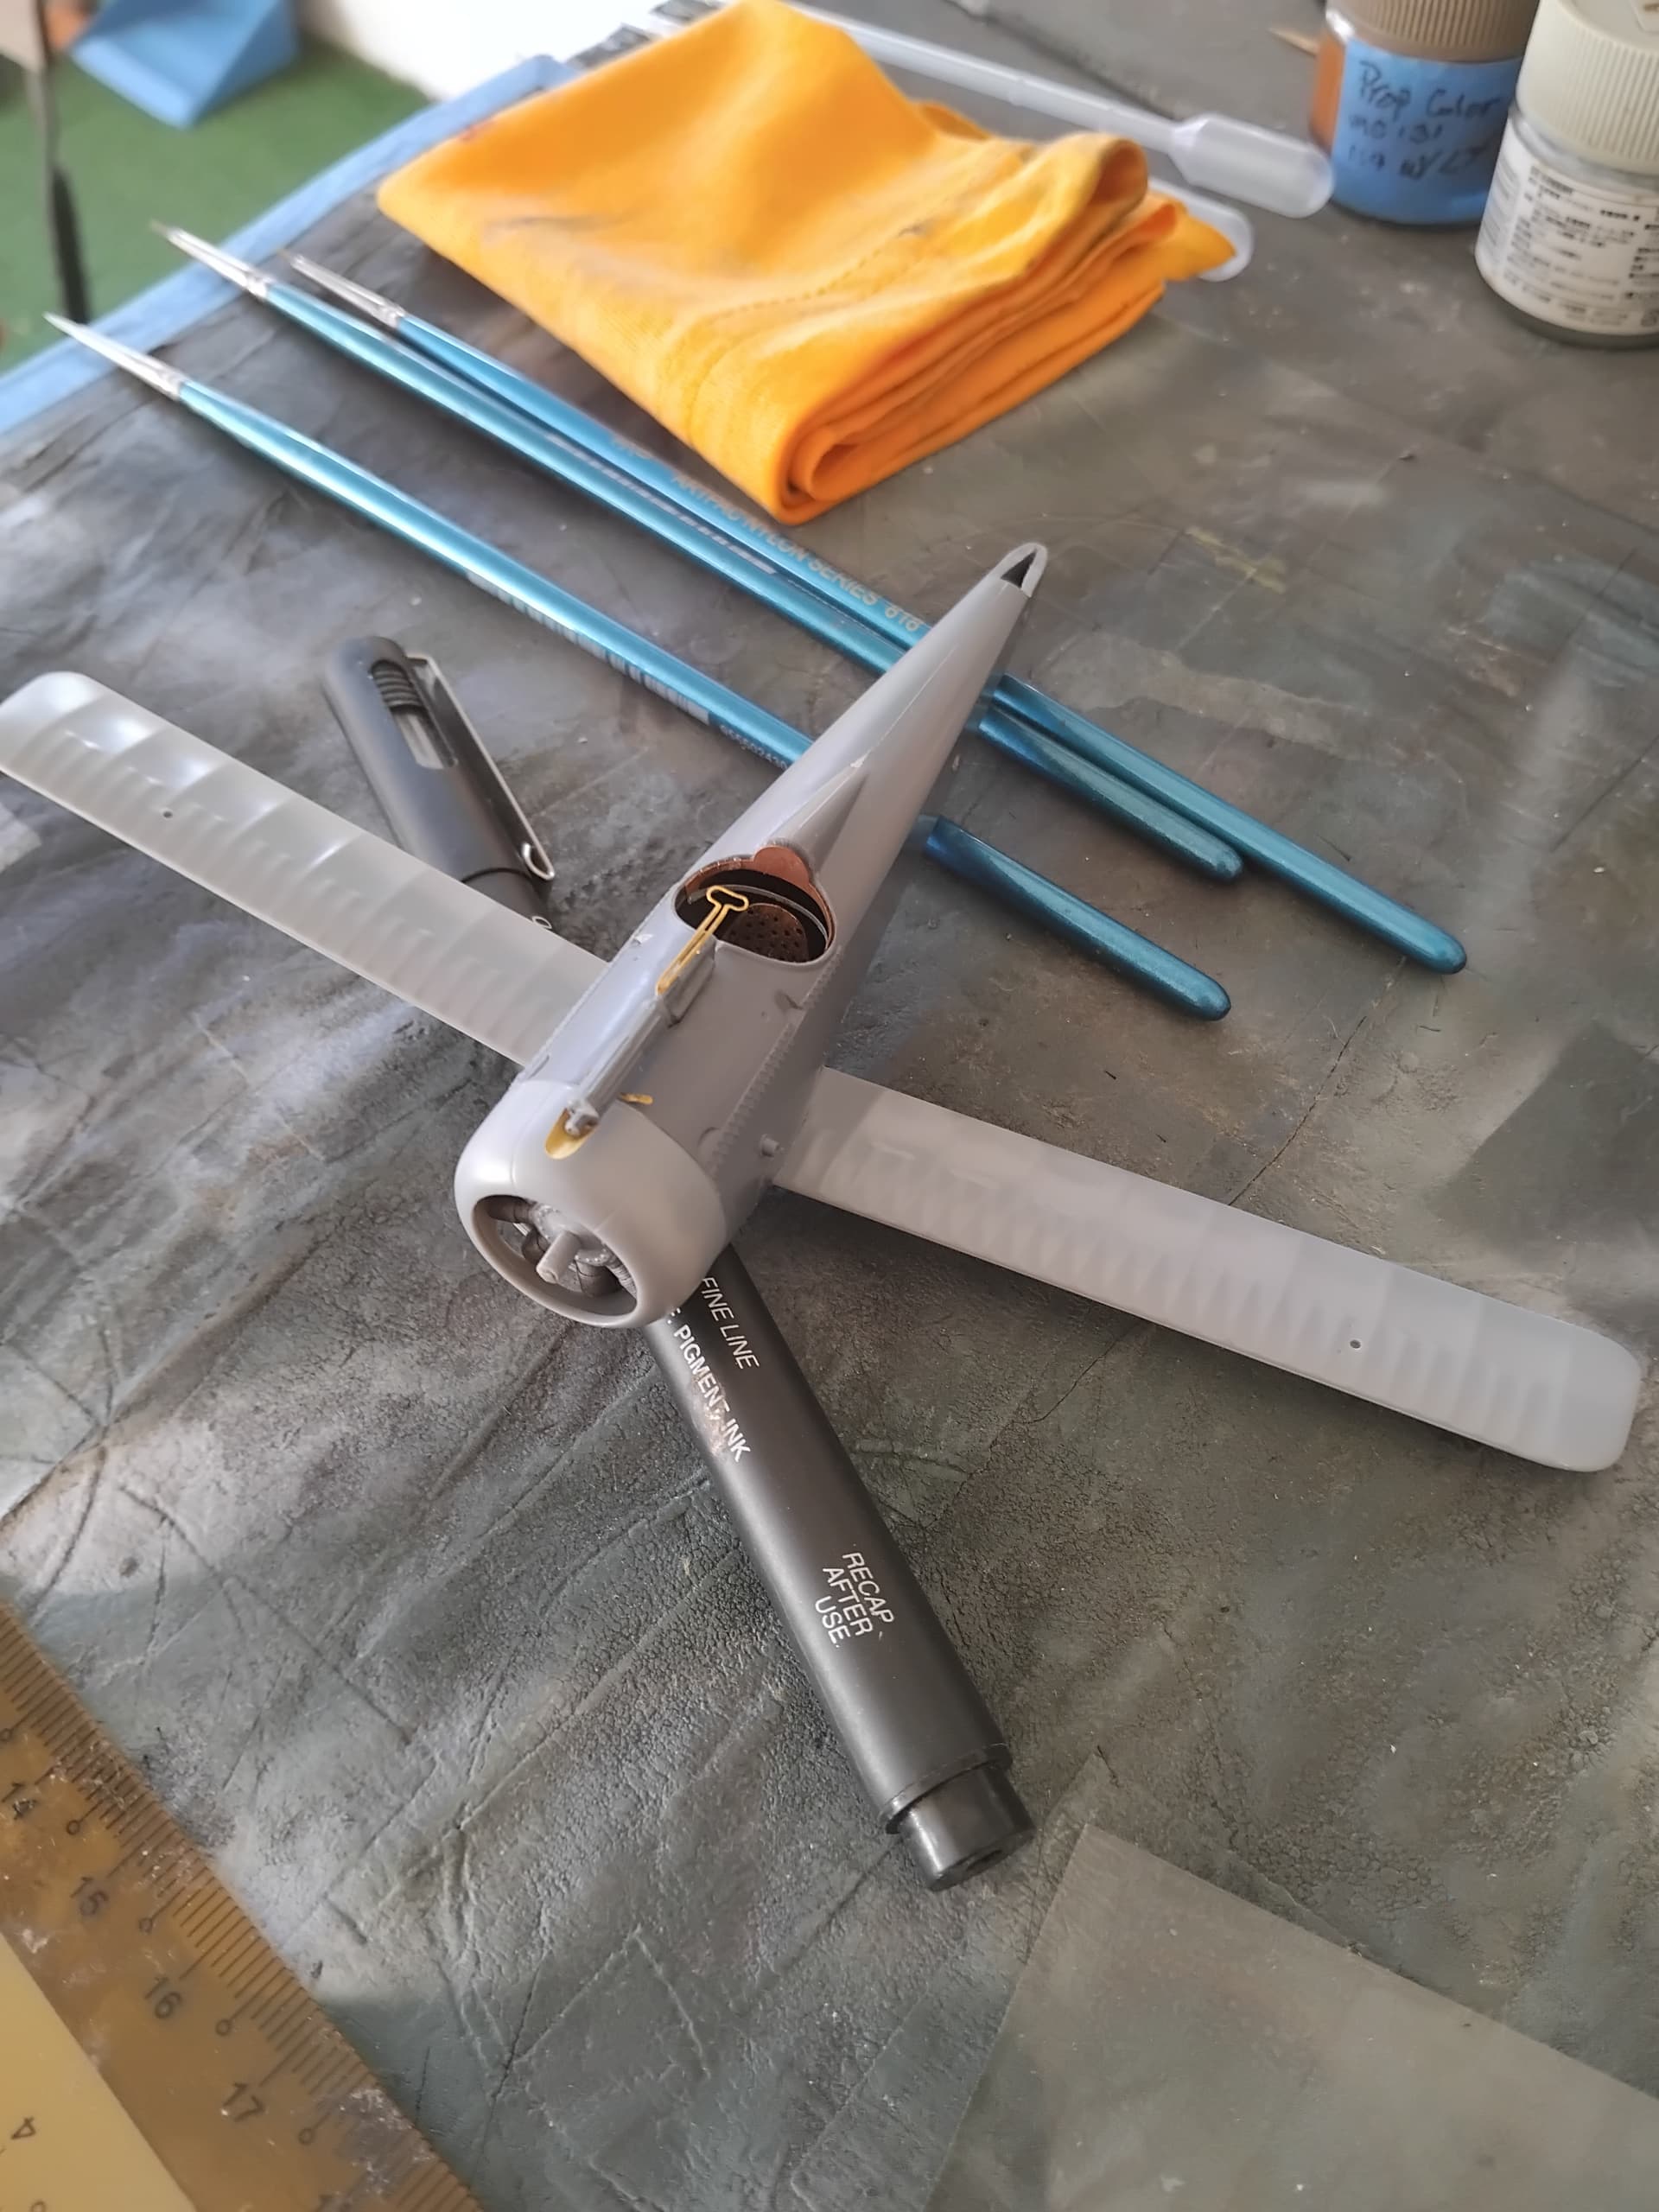
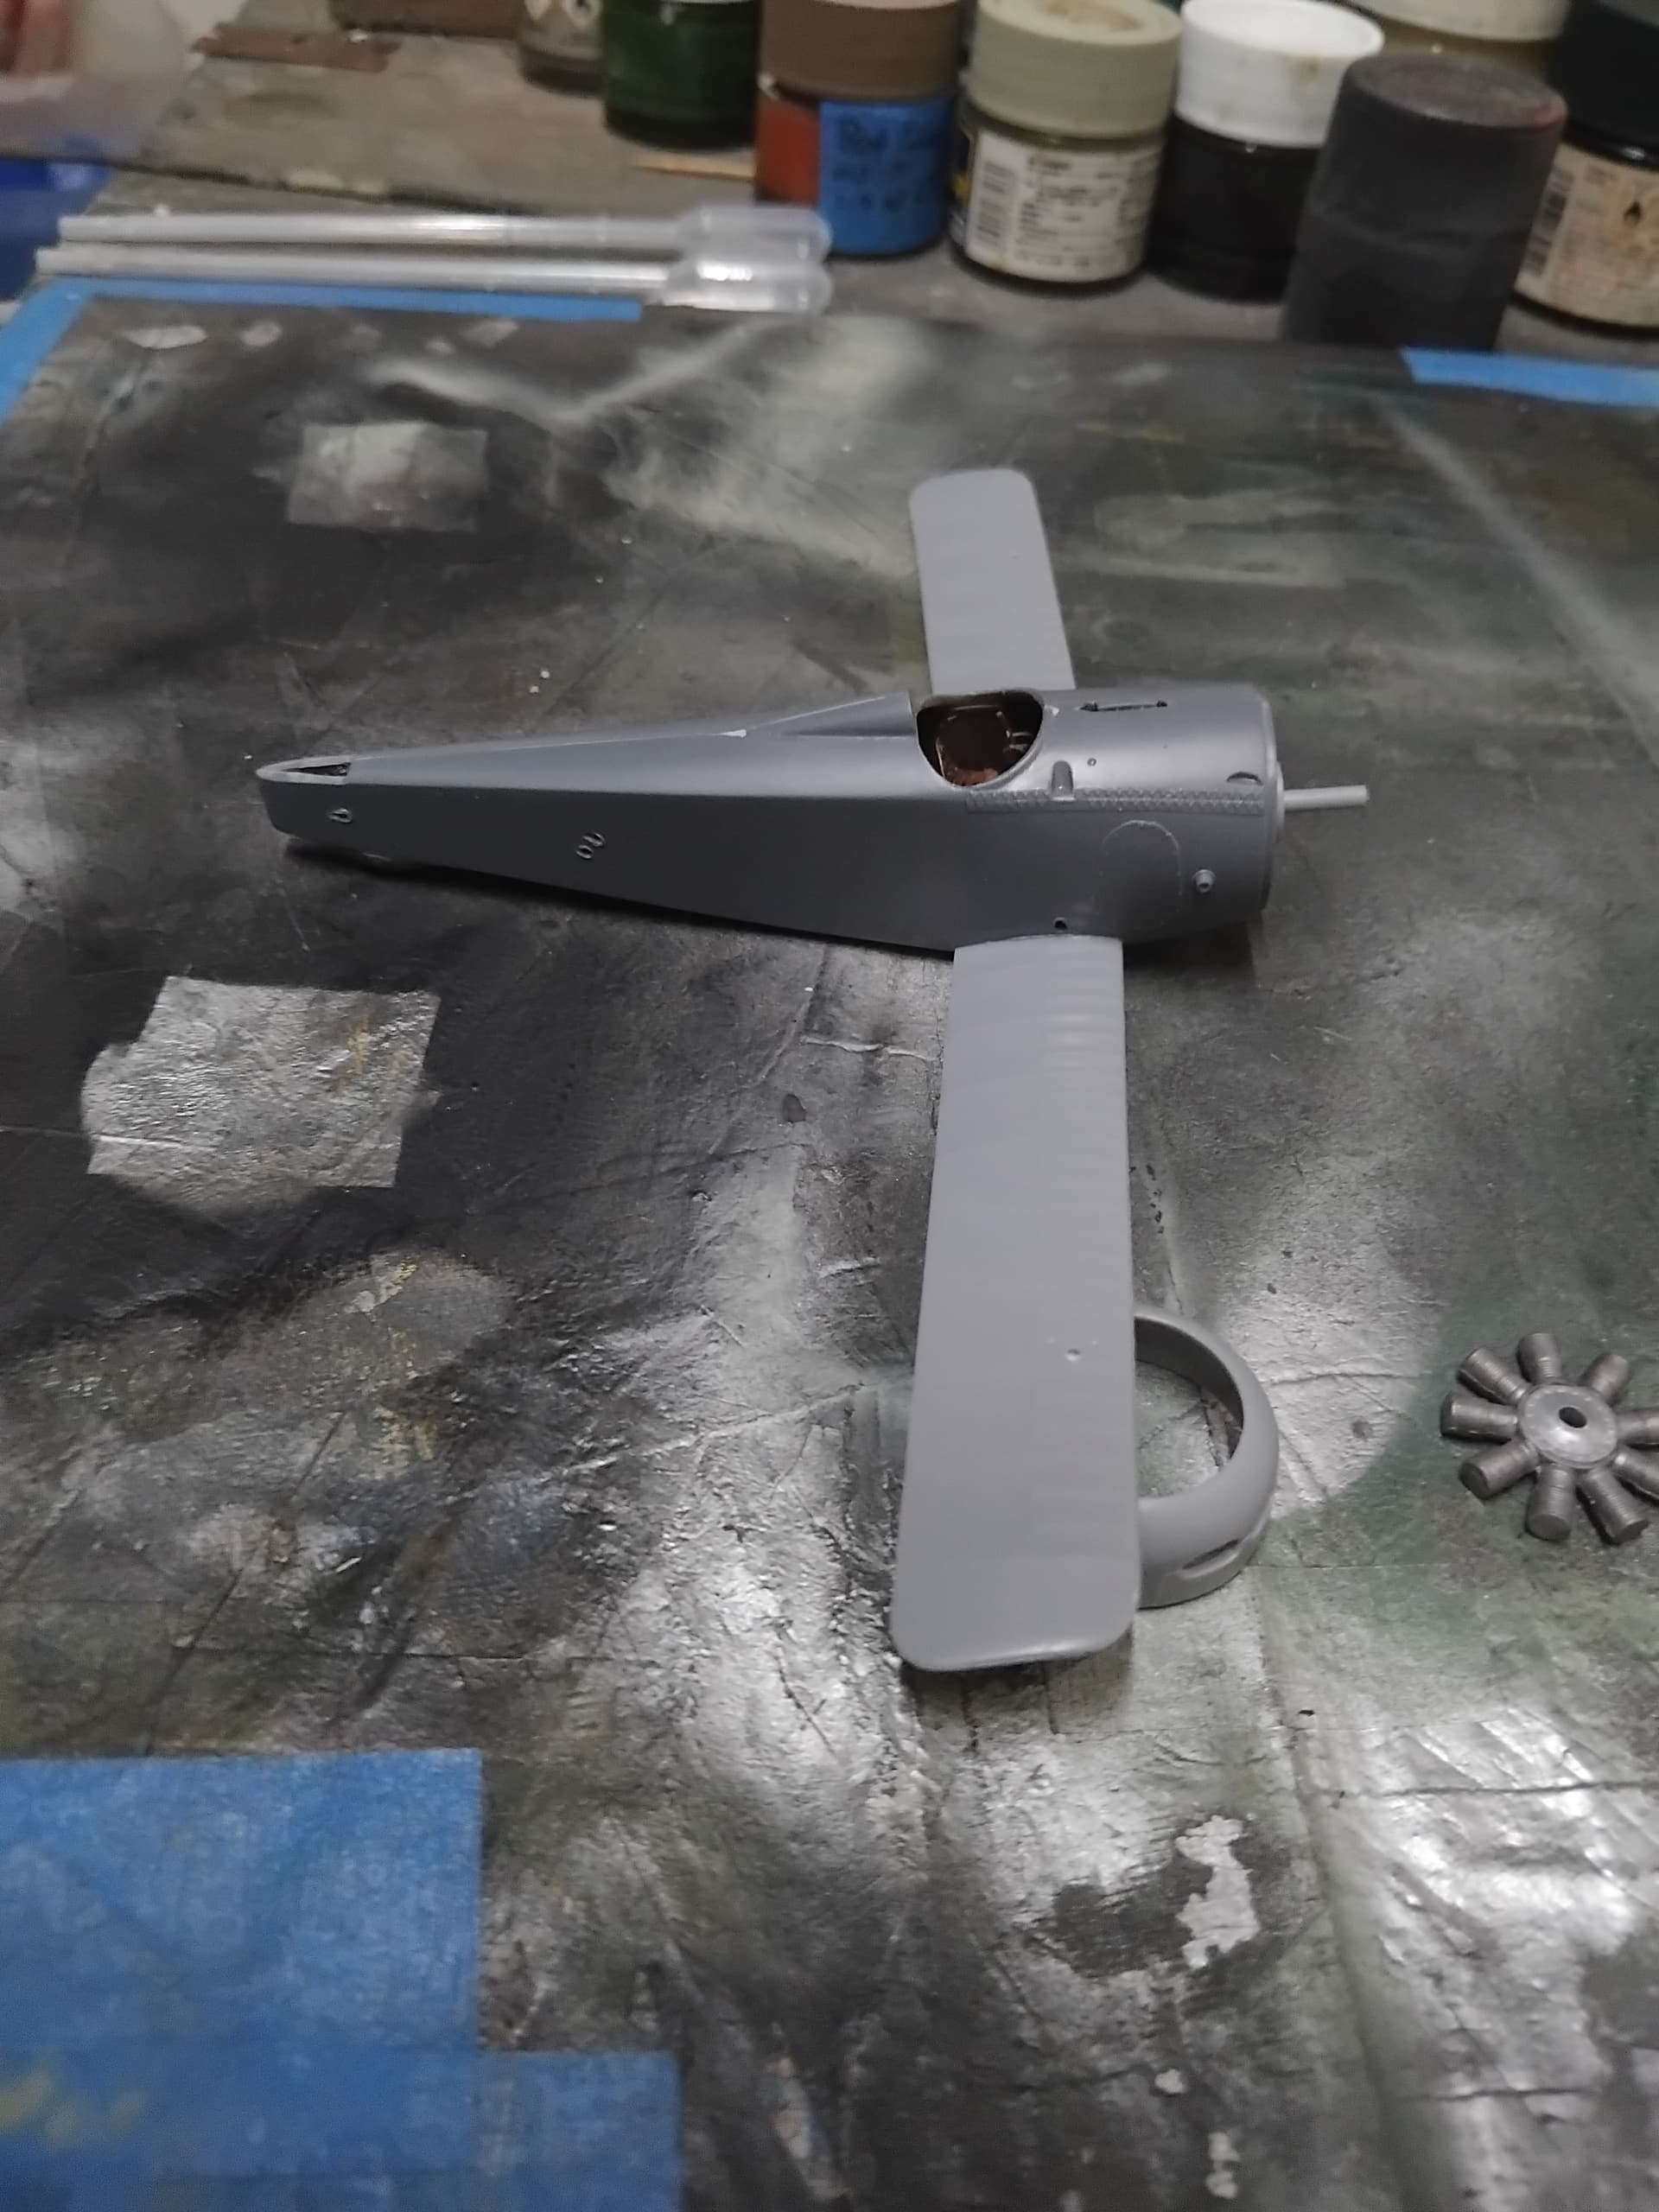
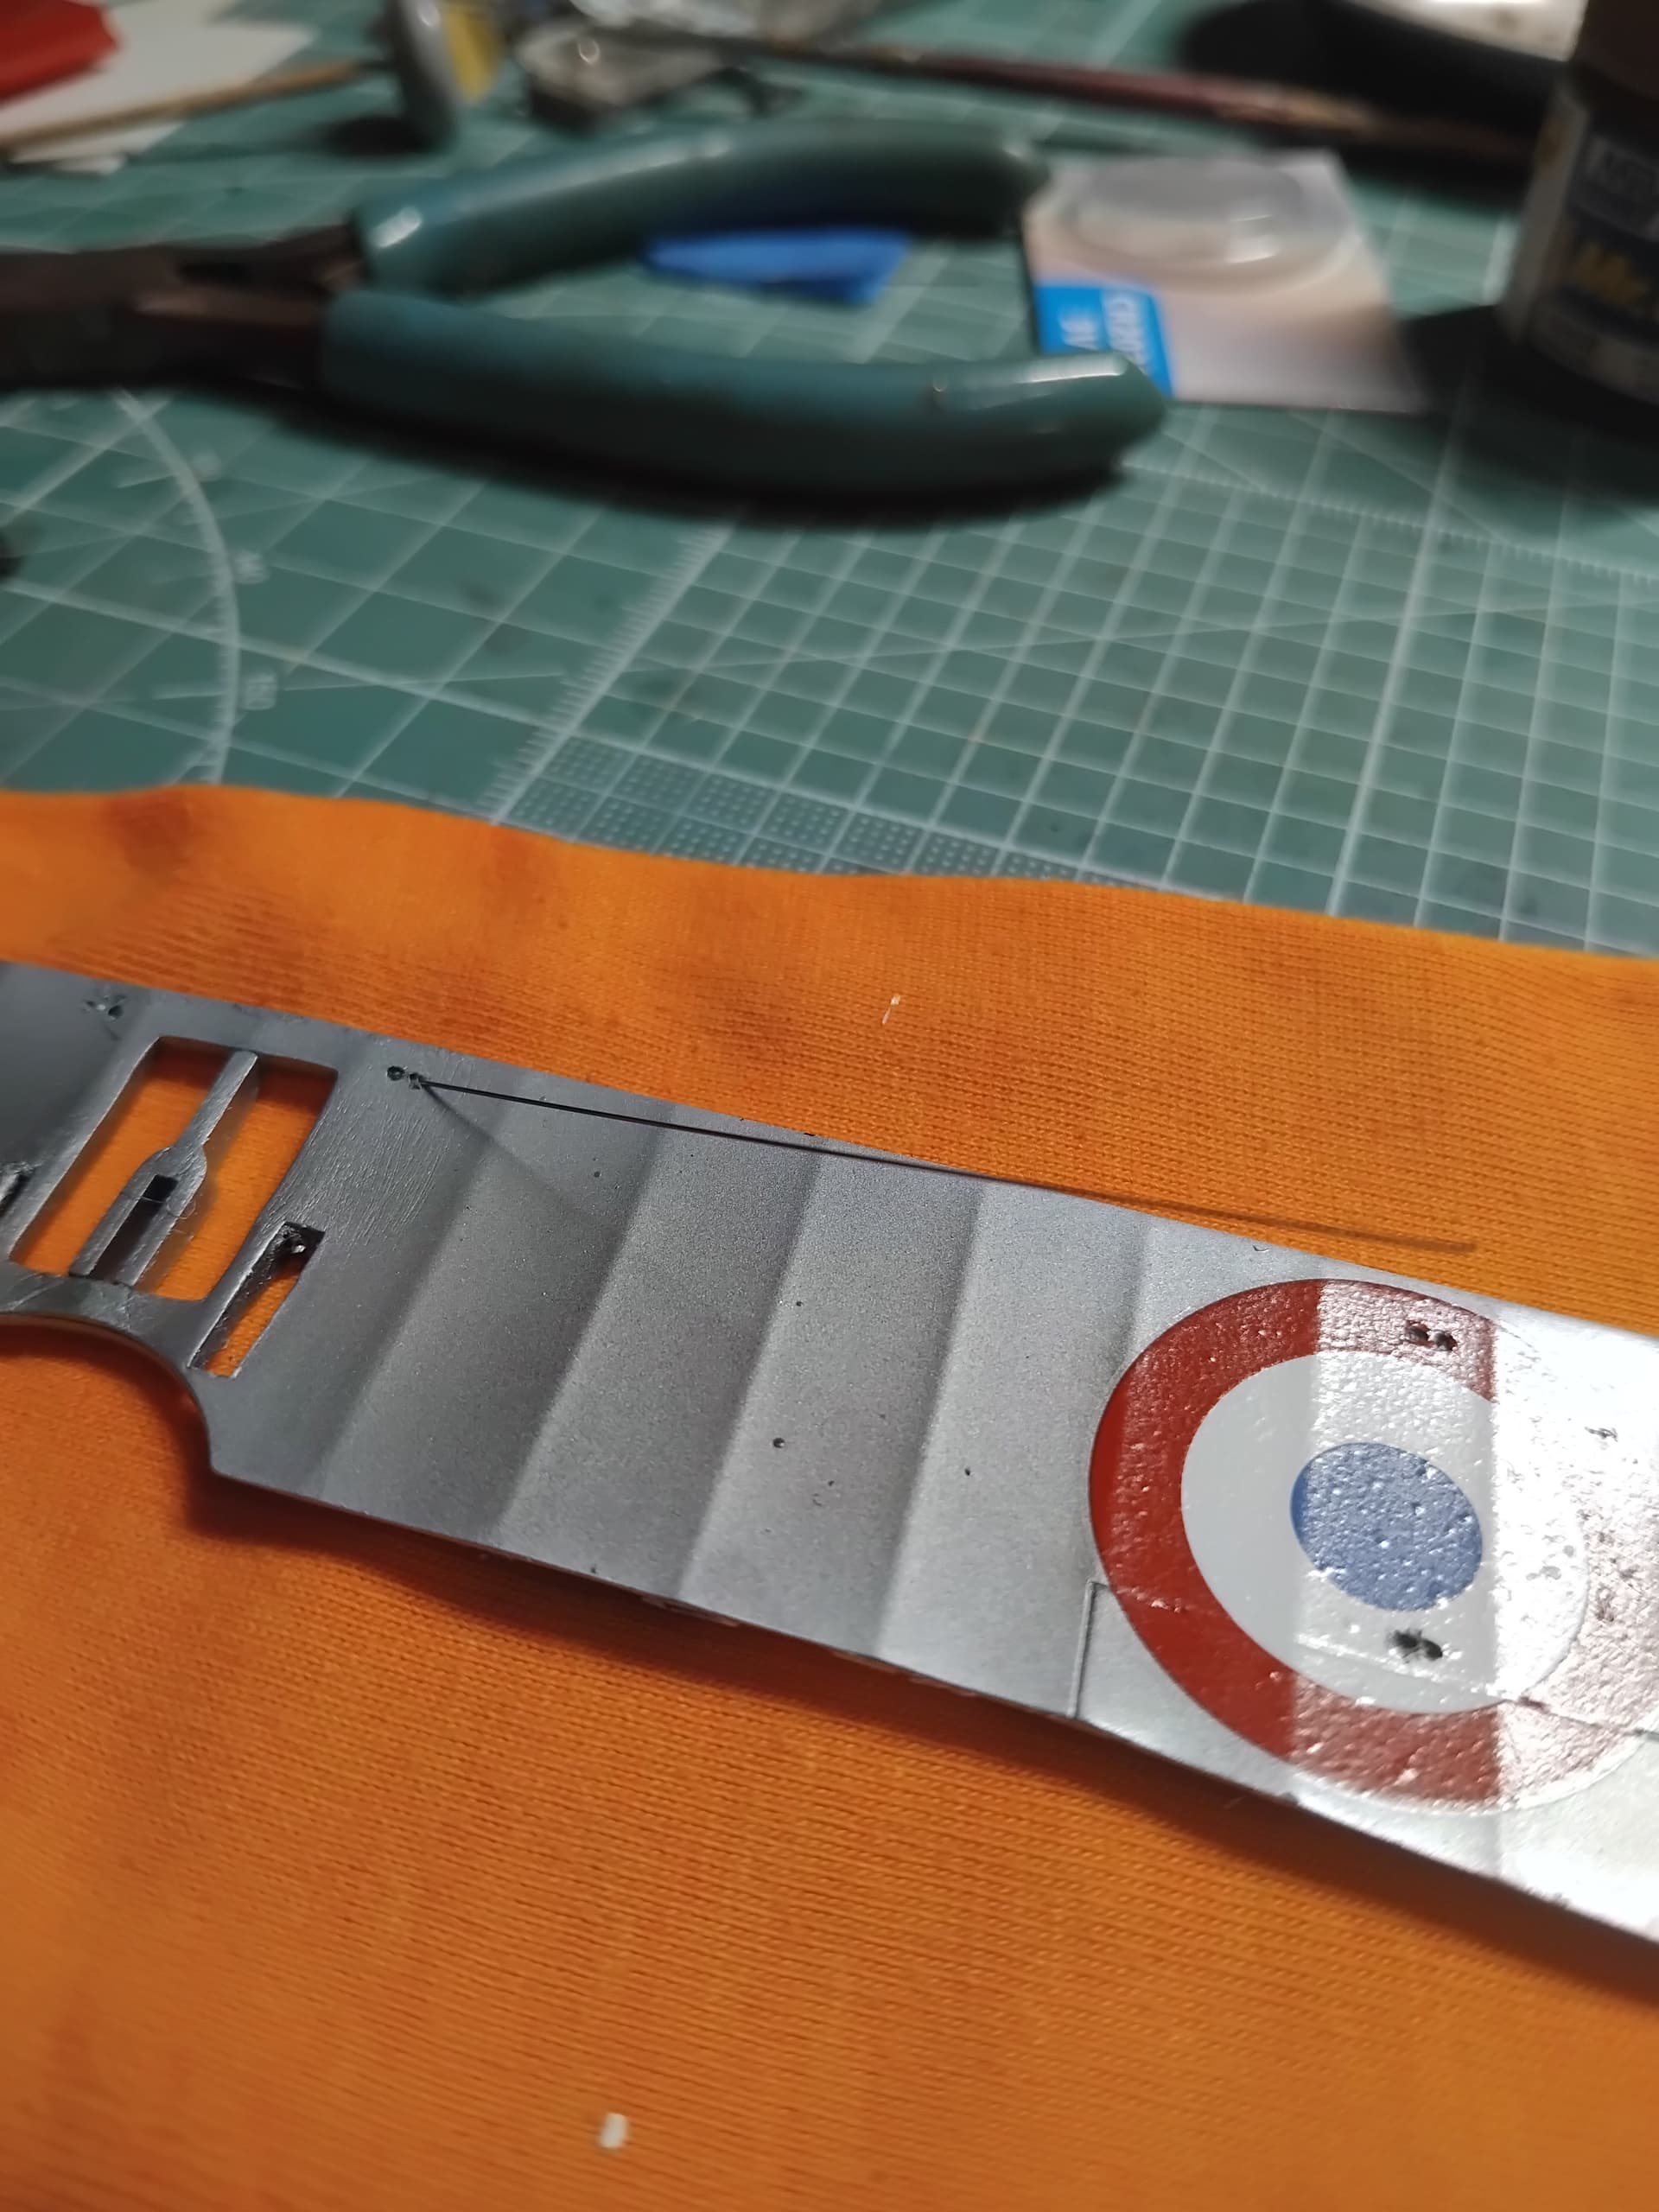
I added the upper wing cabane struts as well as the landing gear struts. At the time I felt fit was good, though this was my first error un-noticed by me until much later I inadvertently did not get the wheel axel properly lined up. Ooops! I guess I was getting excited about doing the rigging using a high E guitar string. So, I started measuring the distances so that the rigging wires could be cut.
After drilling starter holes, I rigged the landing gear. This worked like a charm.
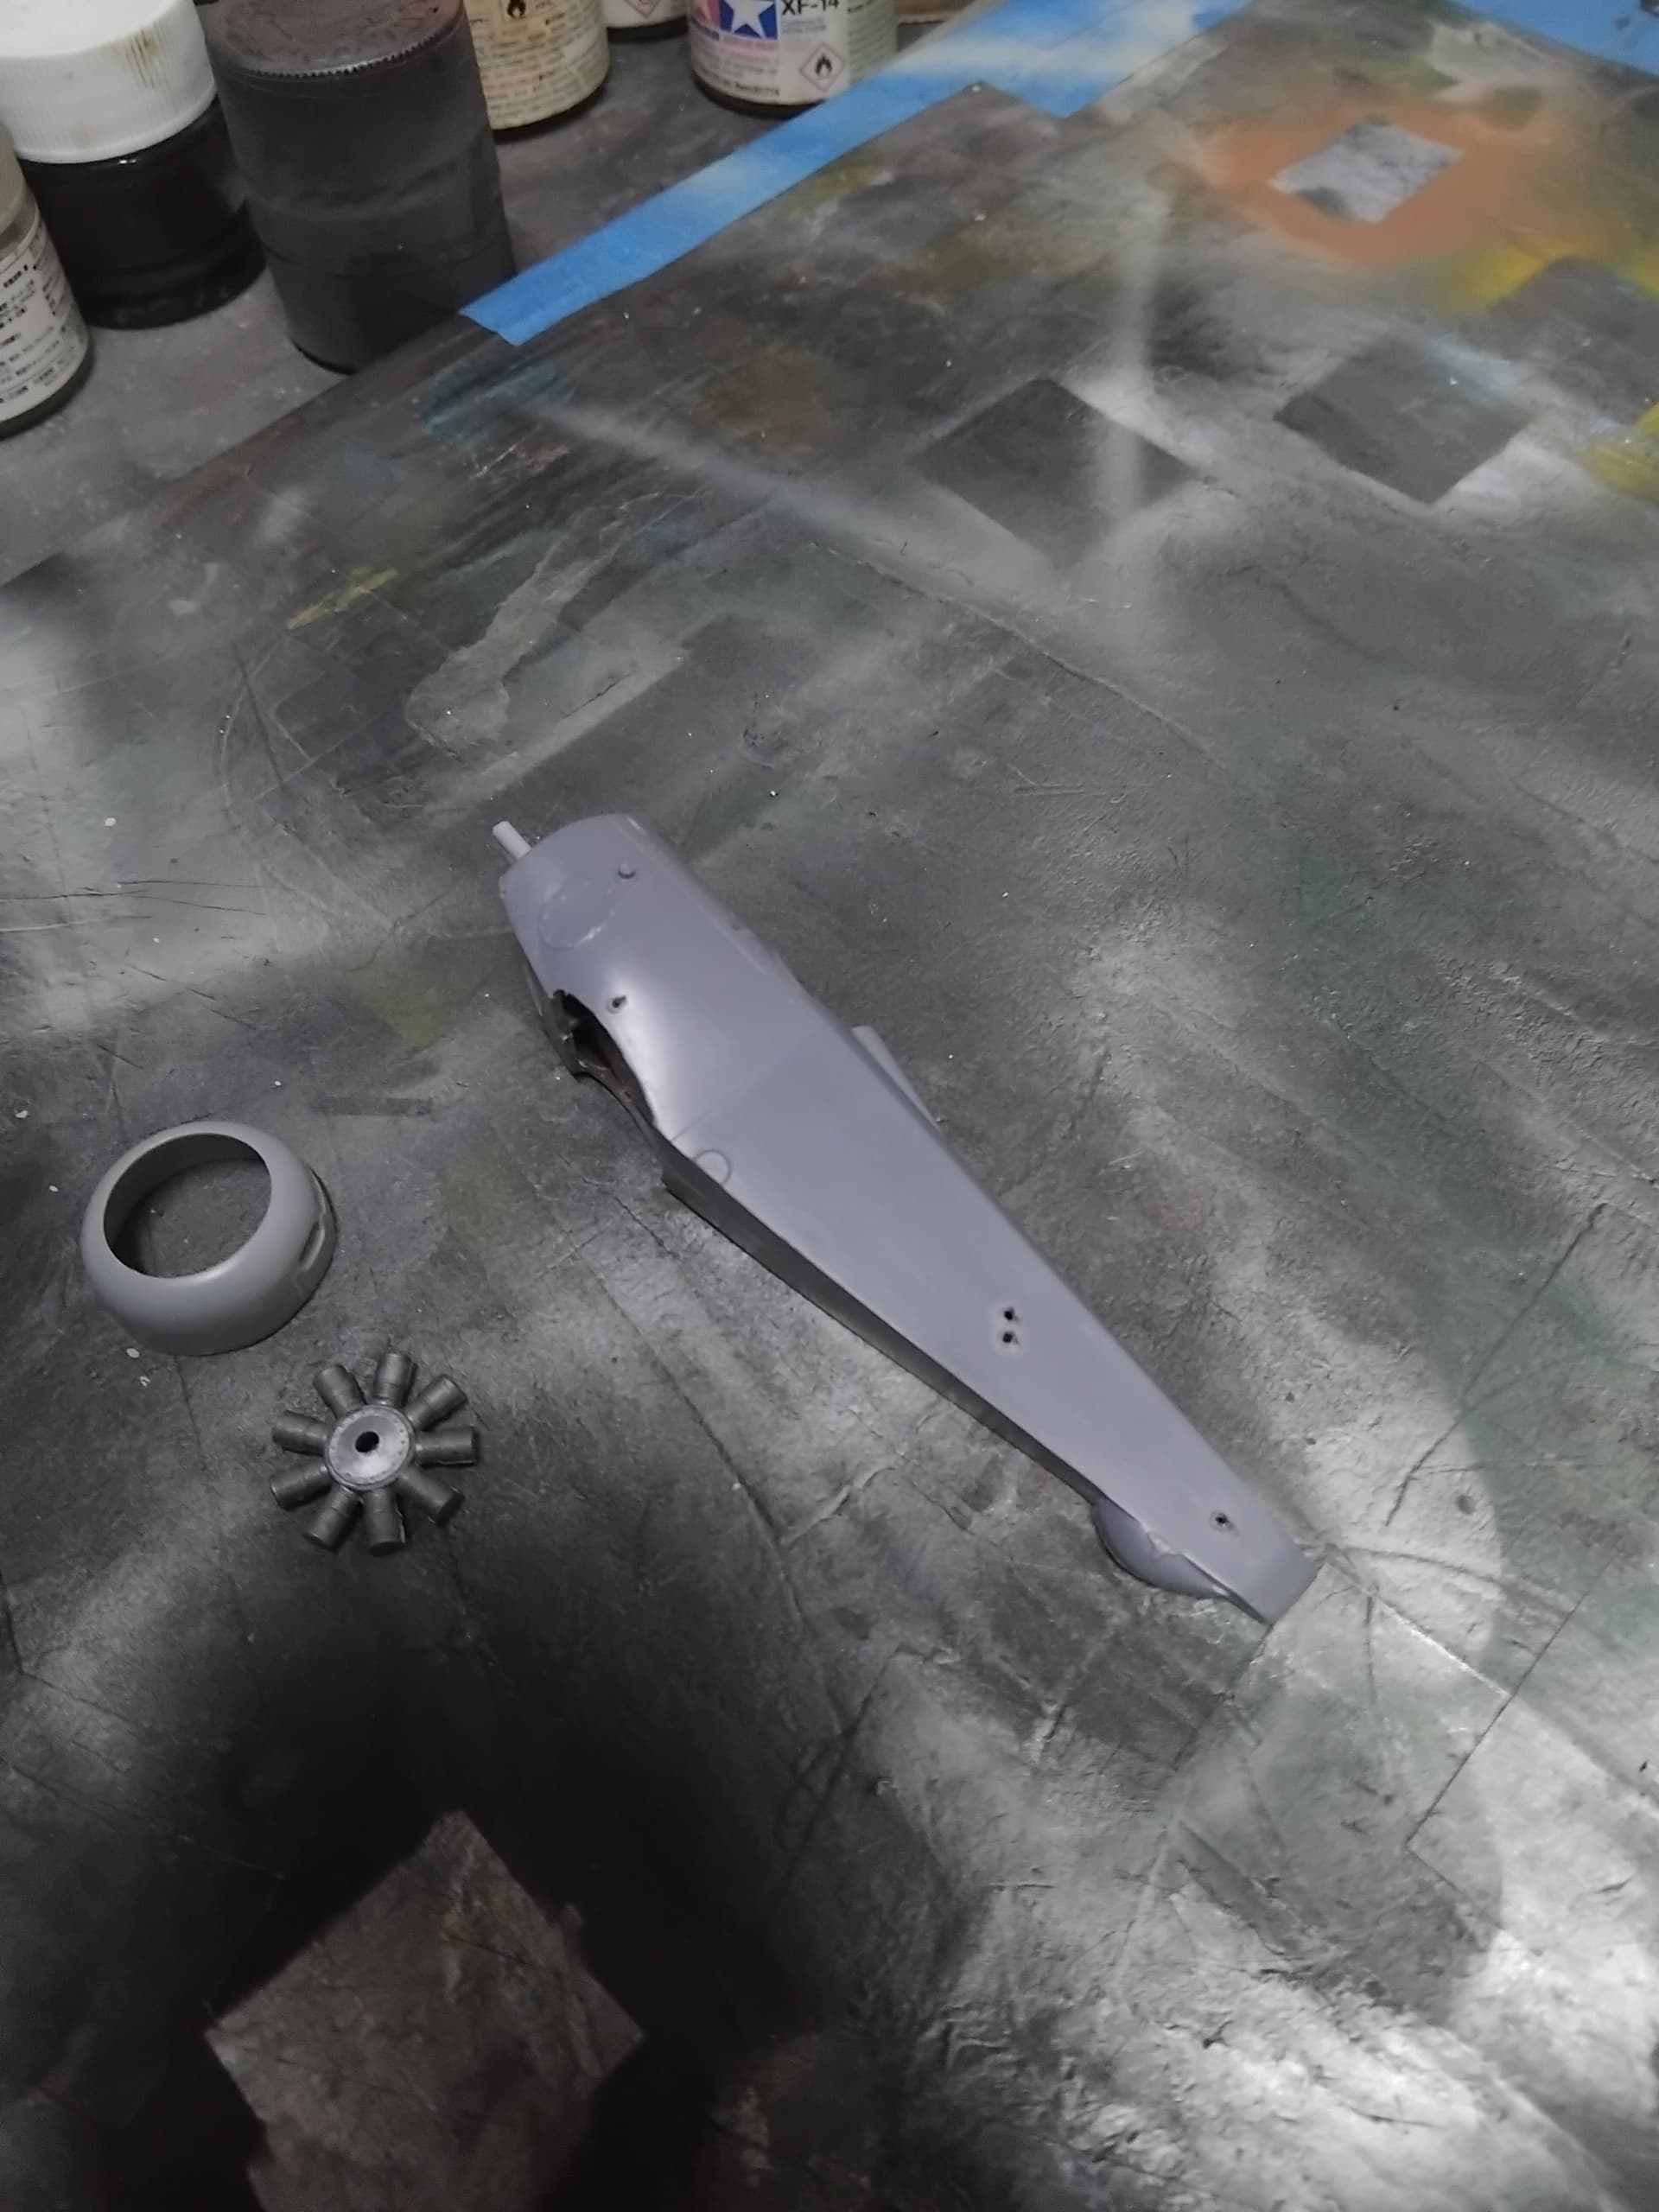
With things looking good, and knowing that the color would be done in silver, I gave the plane a coat of gloss black (Tamiya X1, diluted 1:4 with leveling thinner).
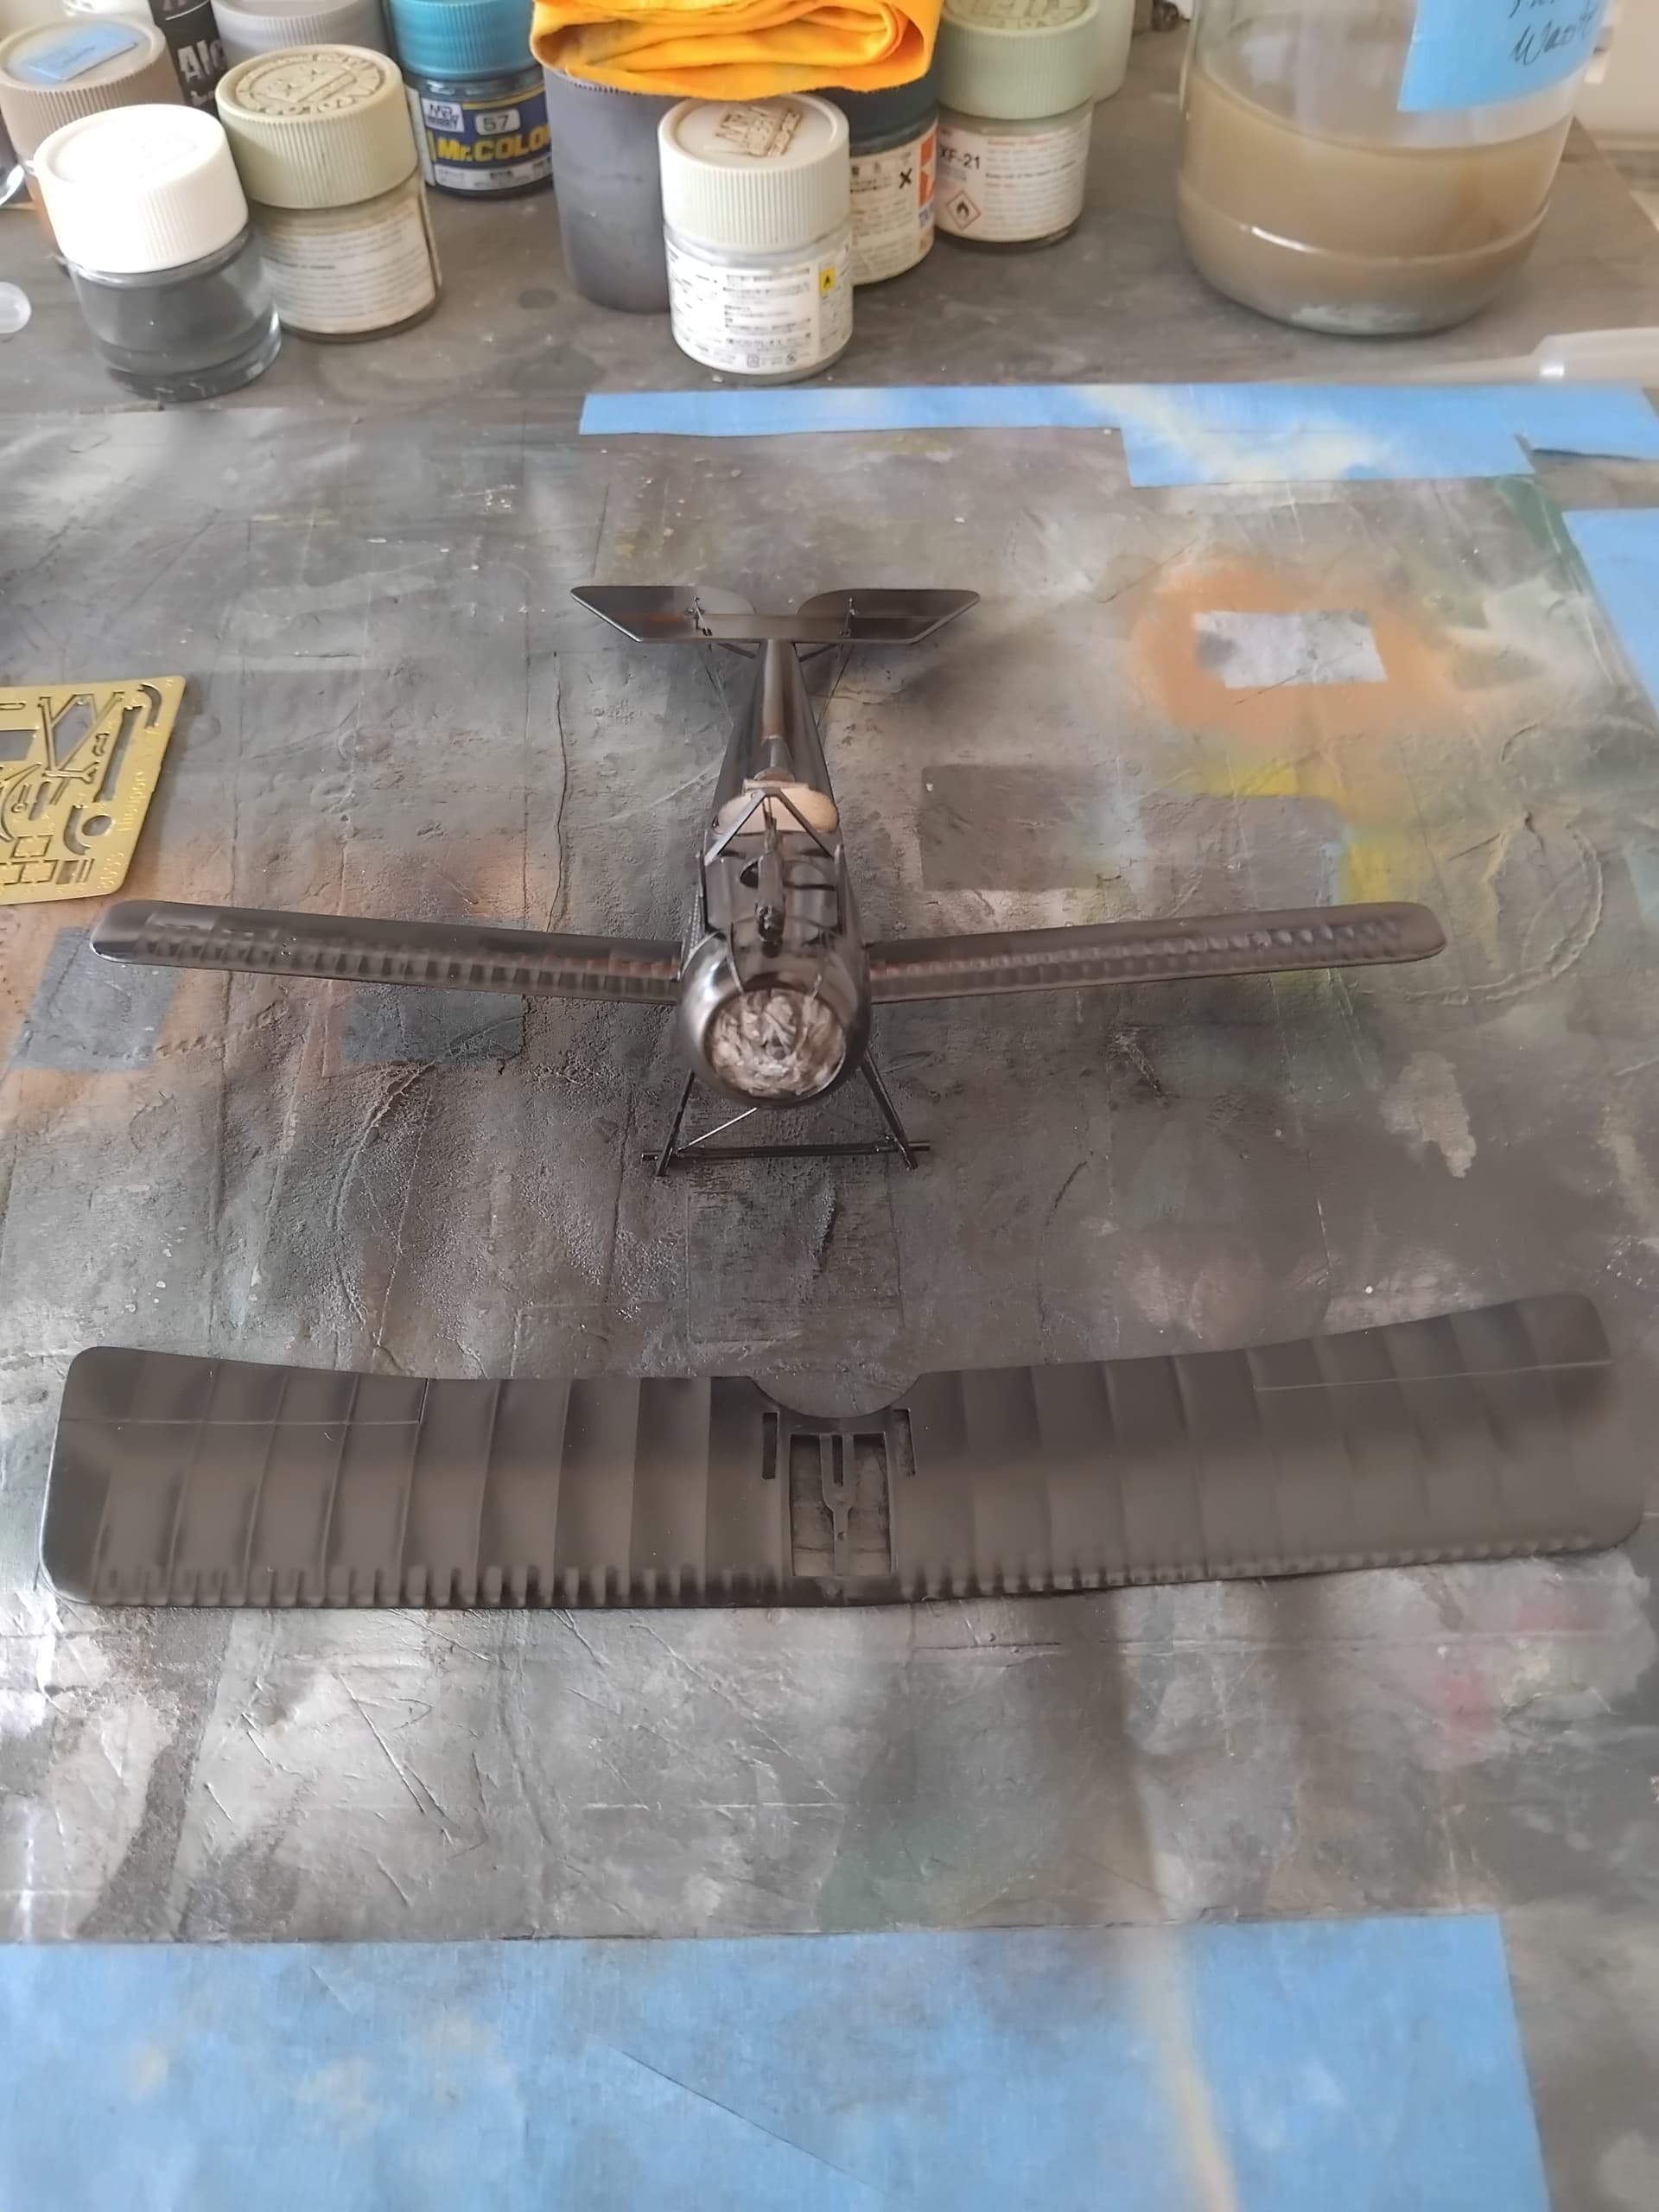
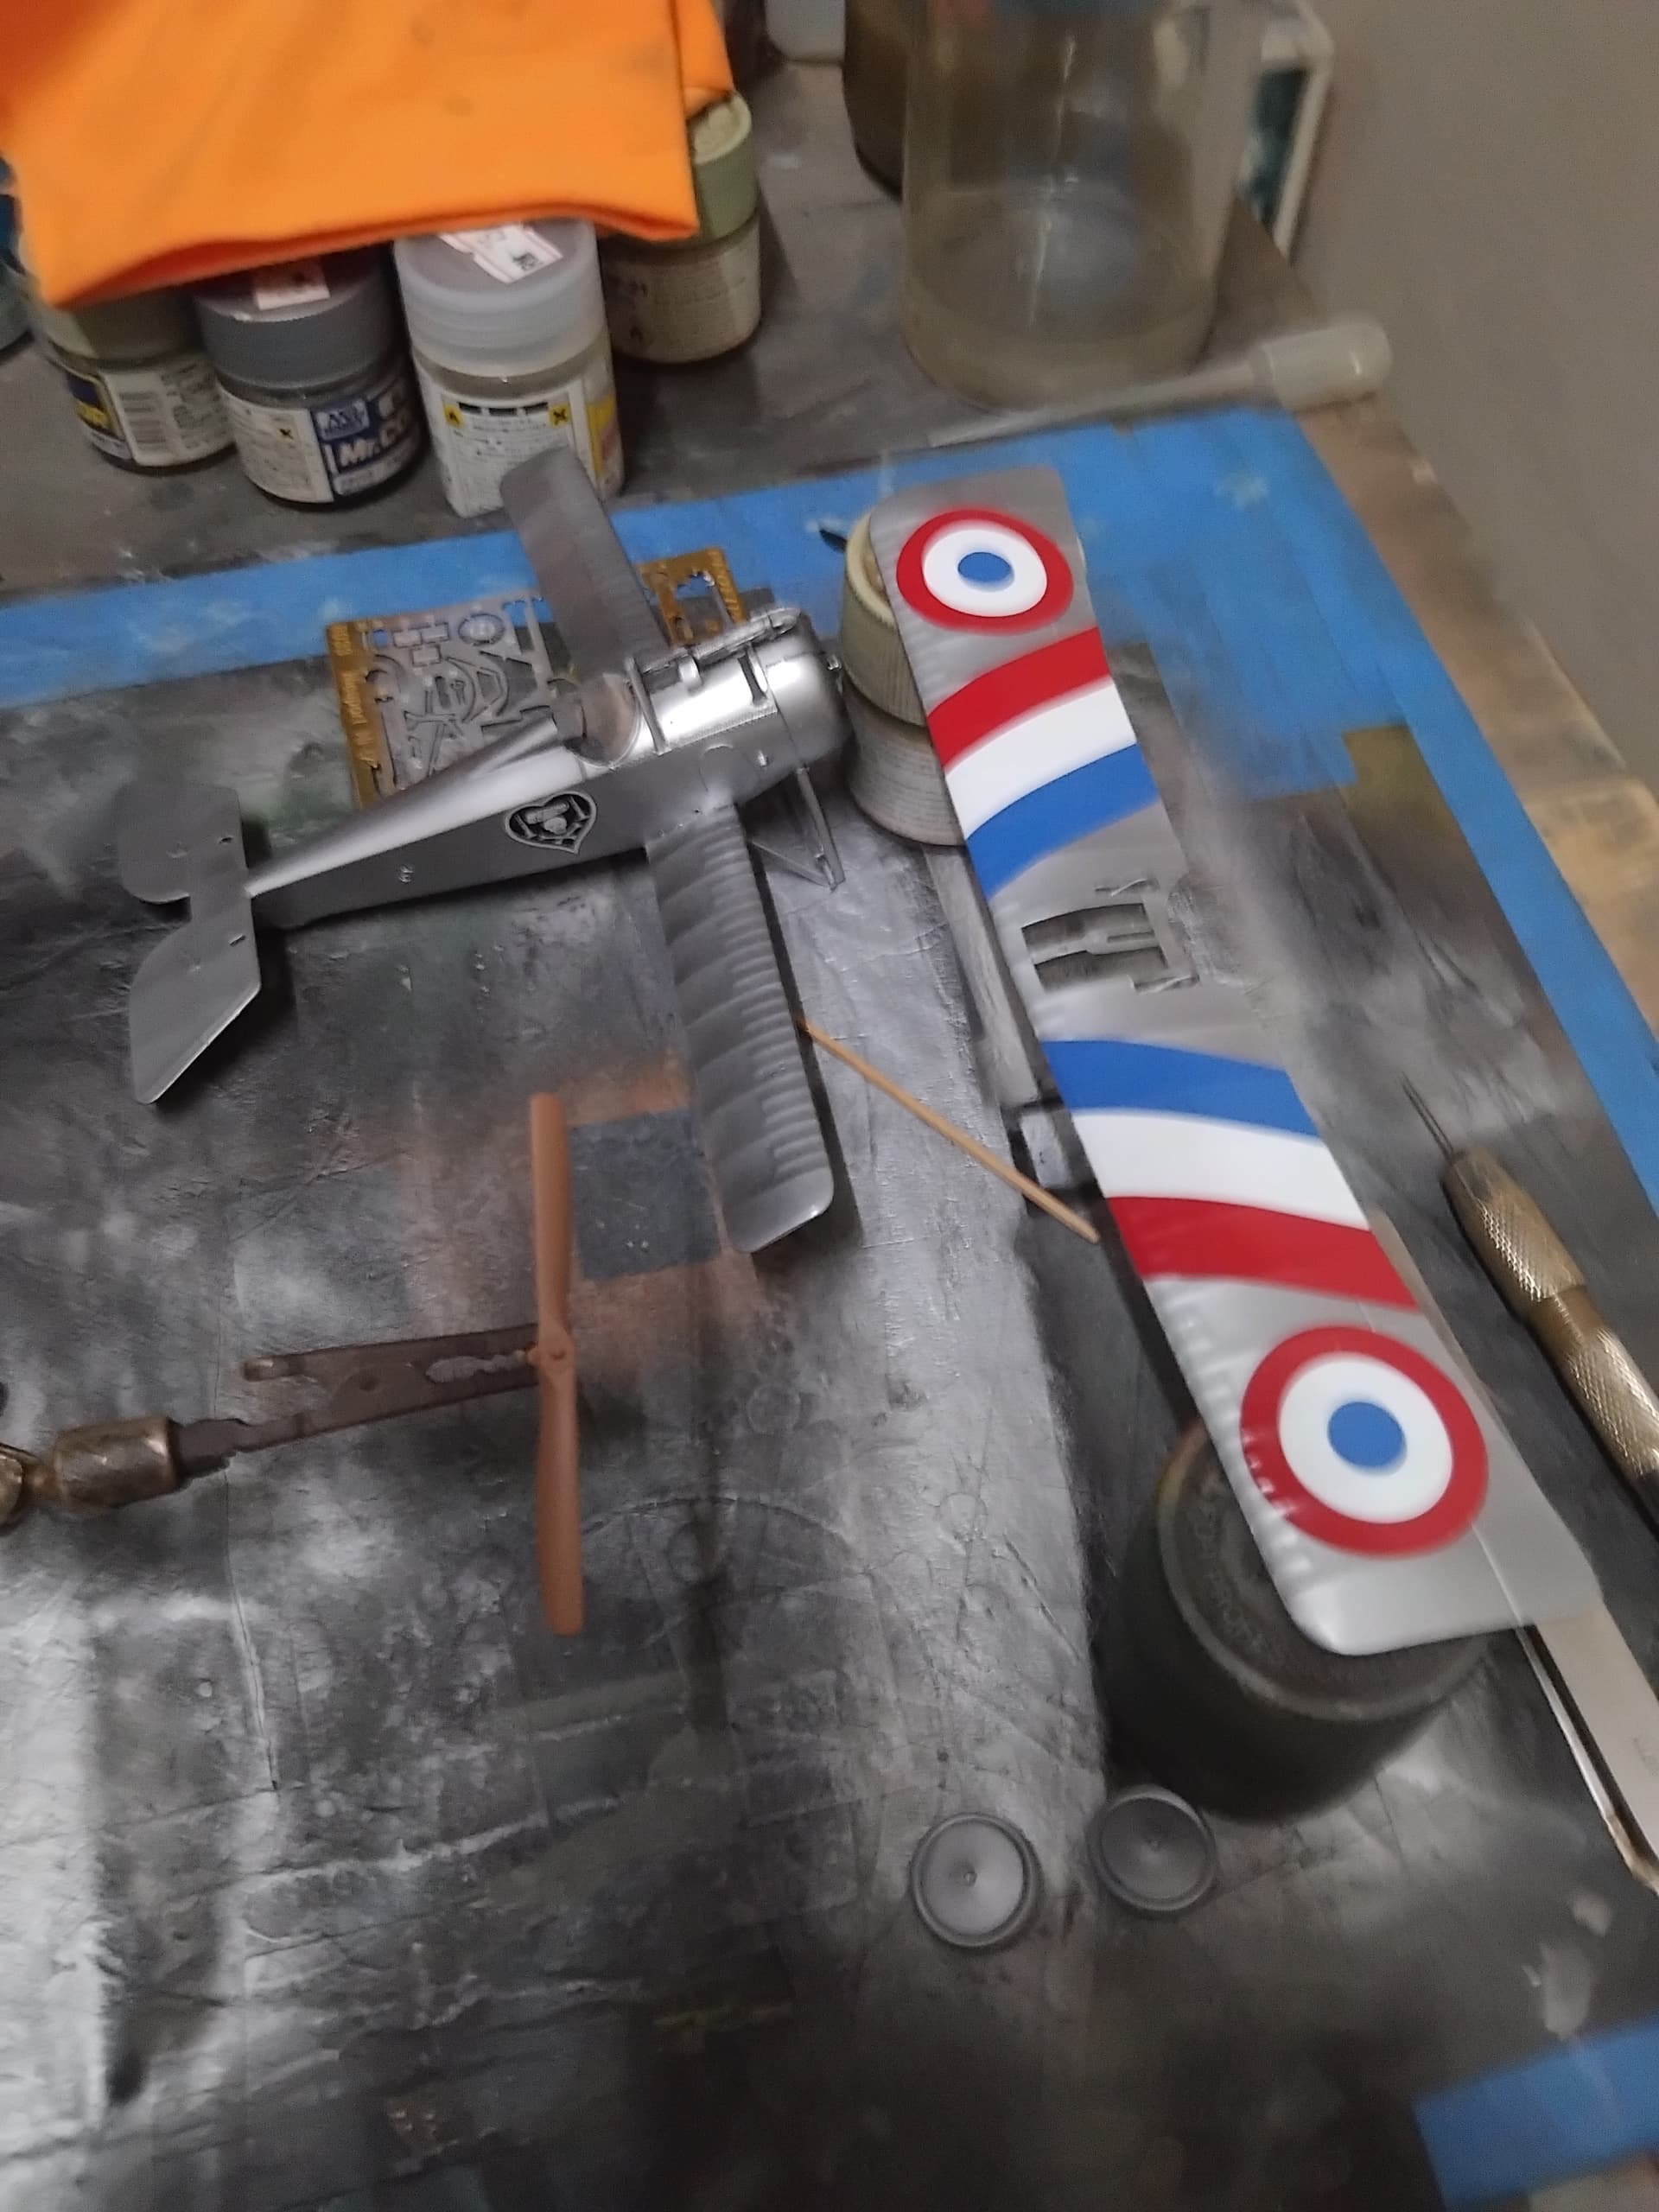
I wanted a two tone silver finish to represent the metal area and fabric areas, so the metal area was masked in preparation for the “shiny” portion of the fuselage.
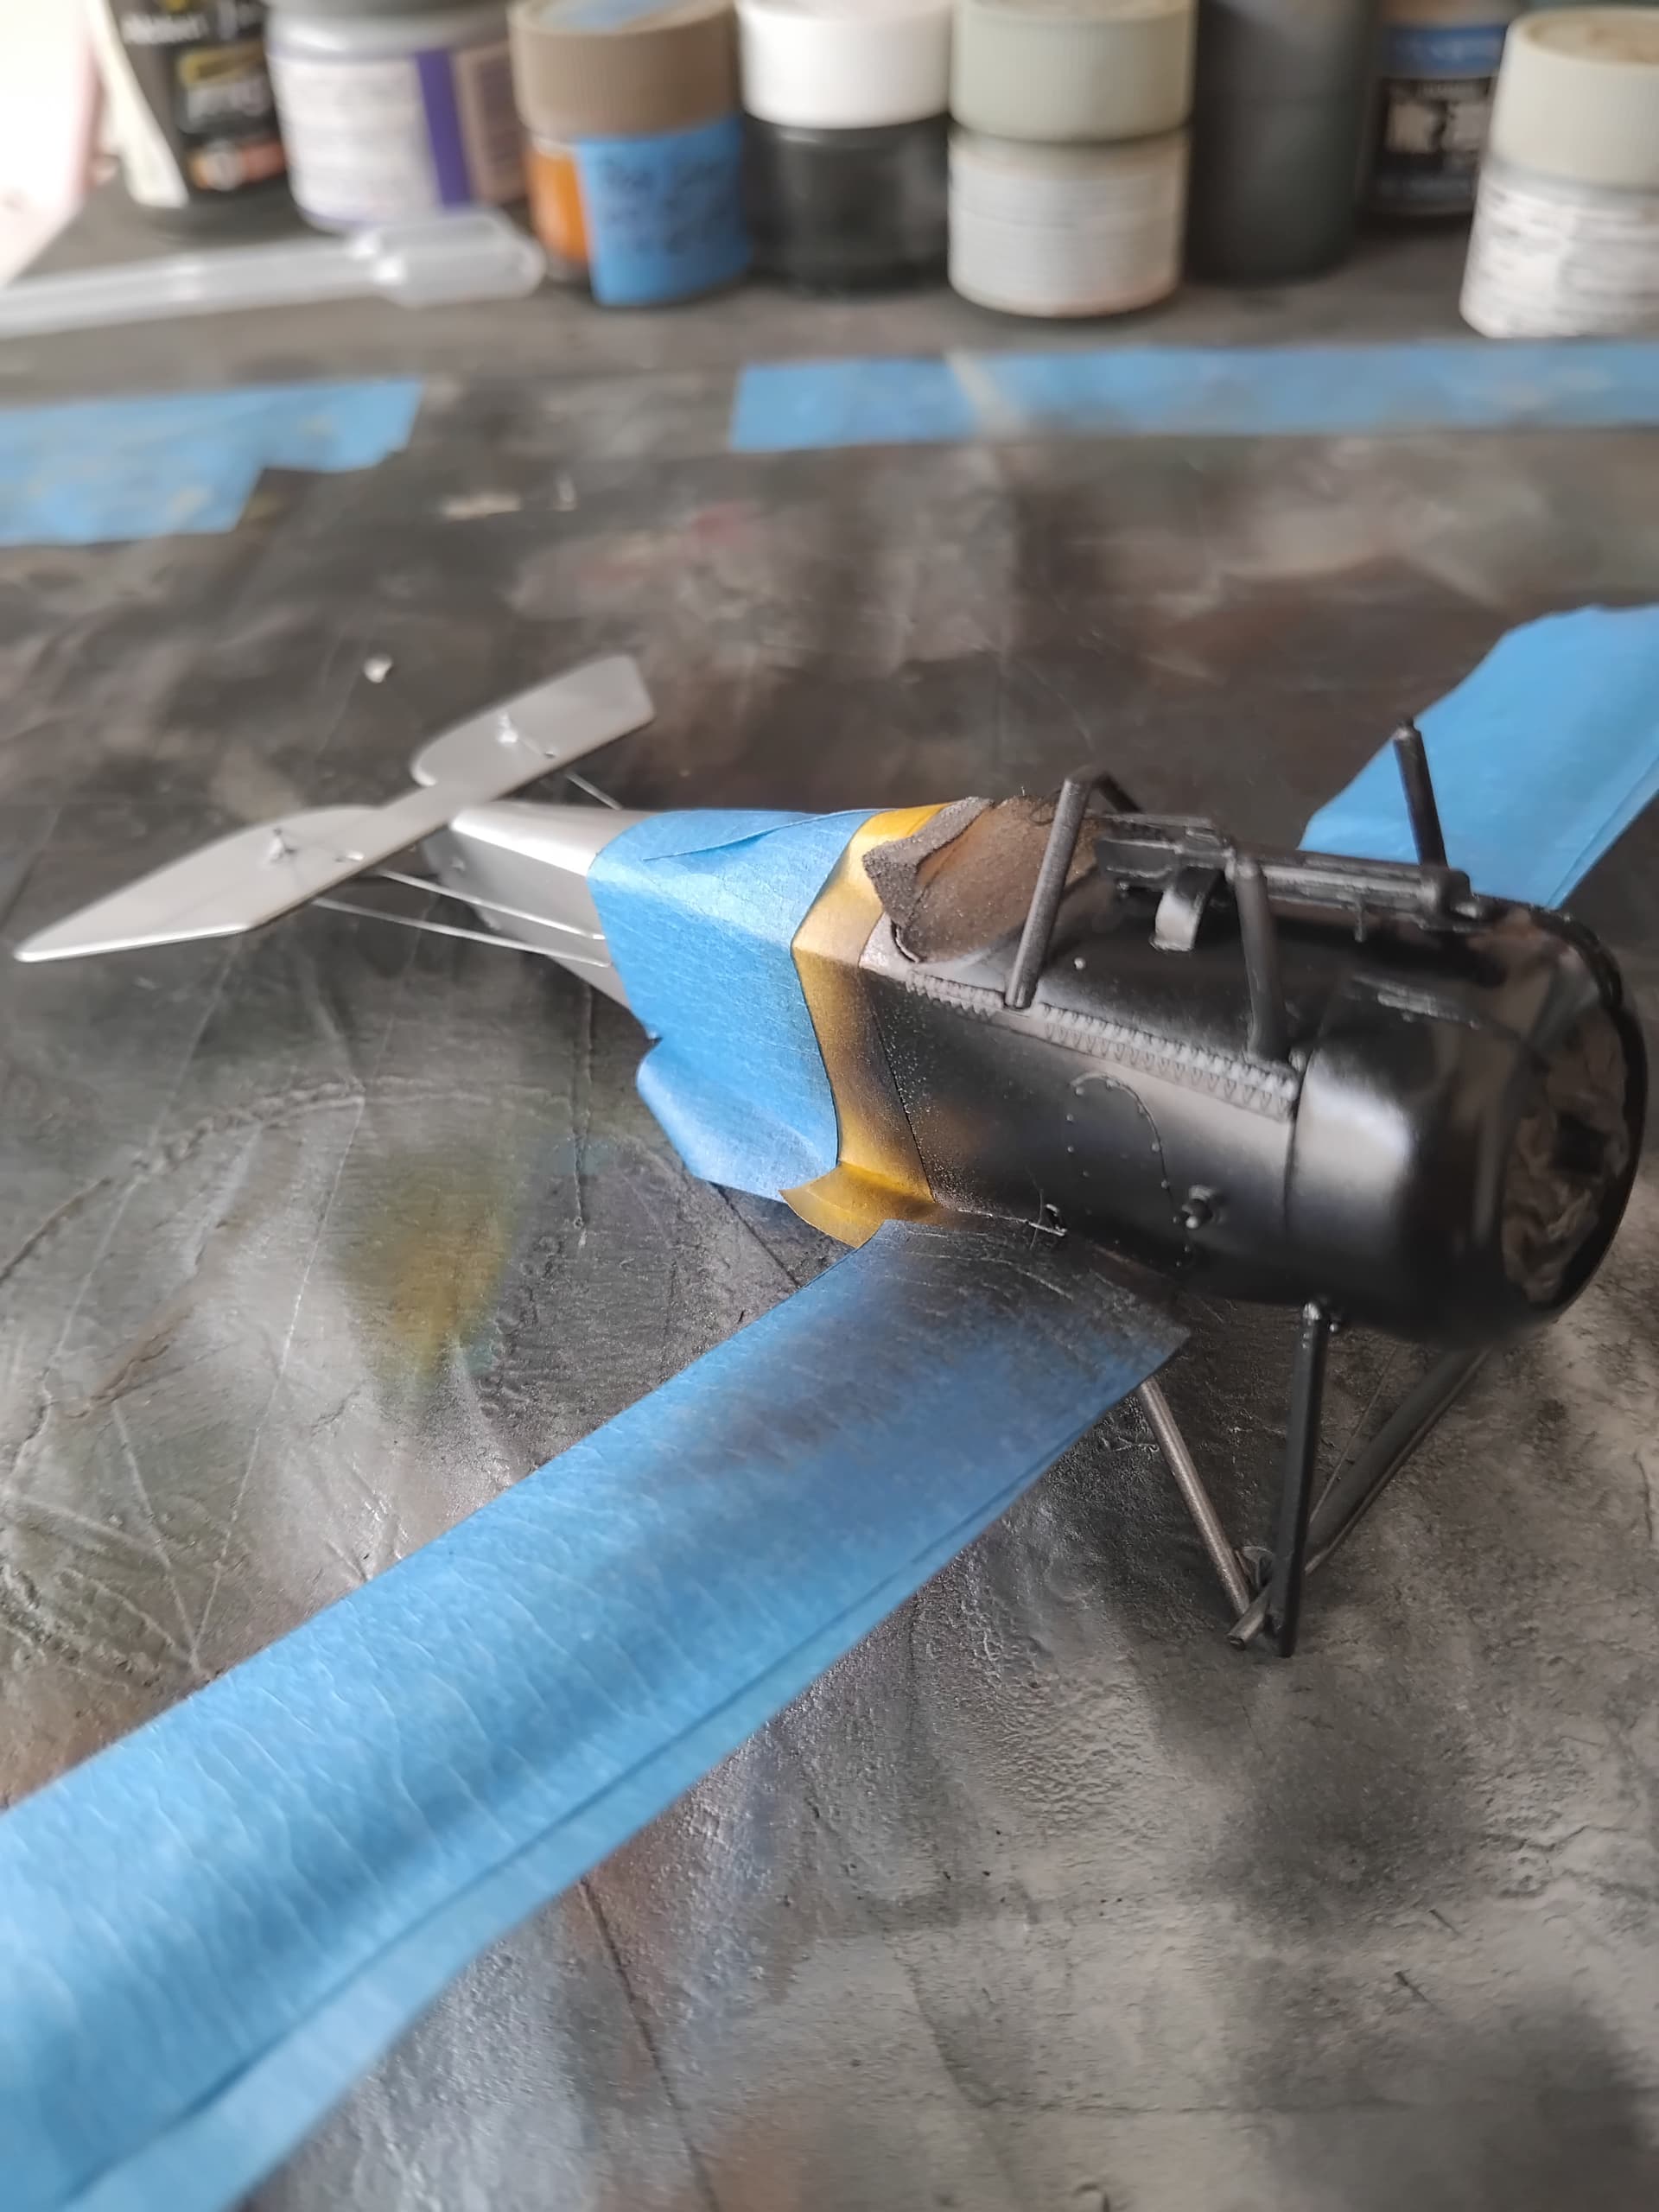
I used Mr. Color (MC) 218 Aluminum, which is their buffable metallic paint line. I really like the results that it delivers. The remainder of the plane was painted with MC 8 silver again diluted 1:4 with leveling thinner.
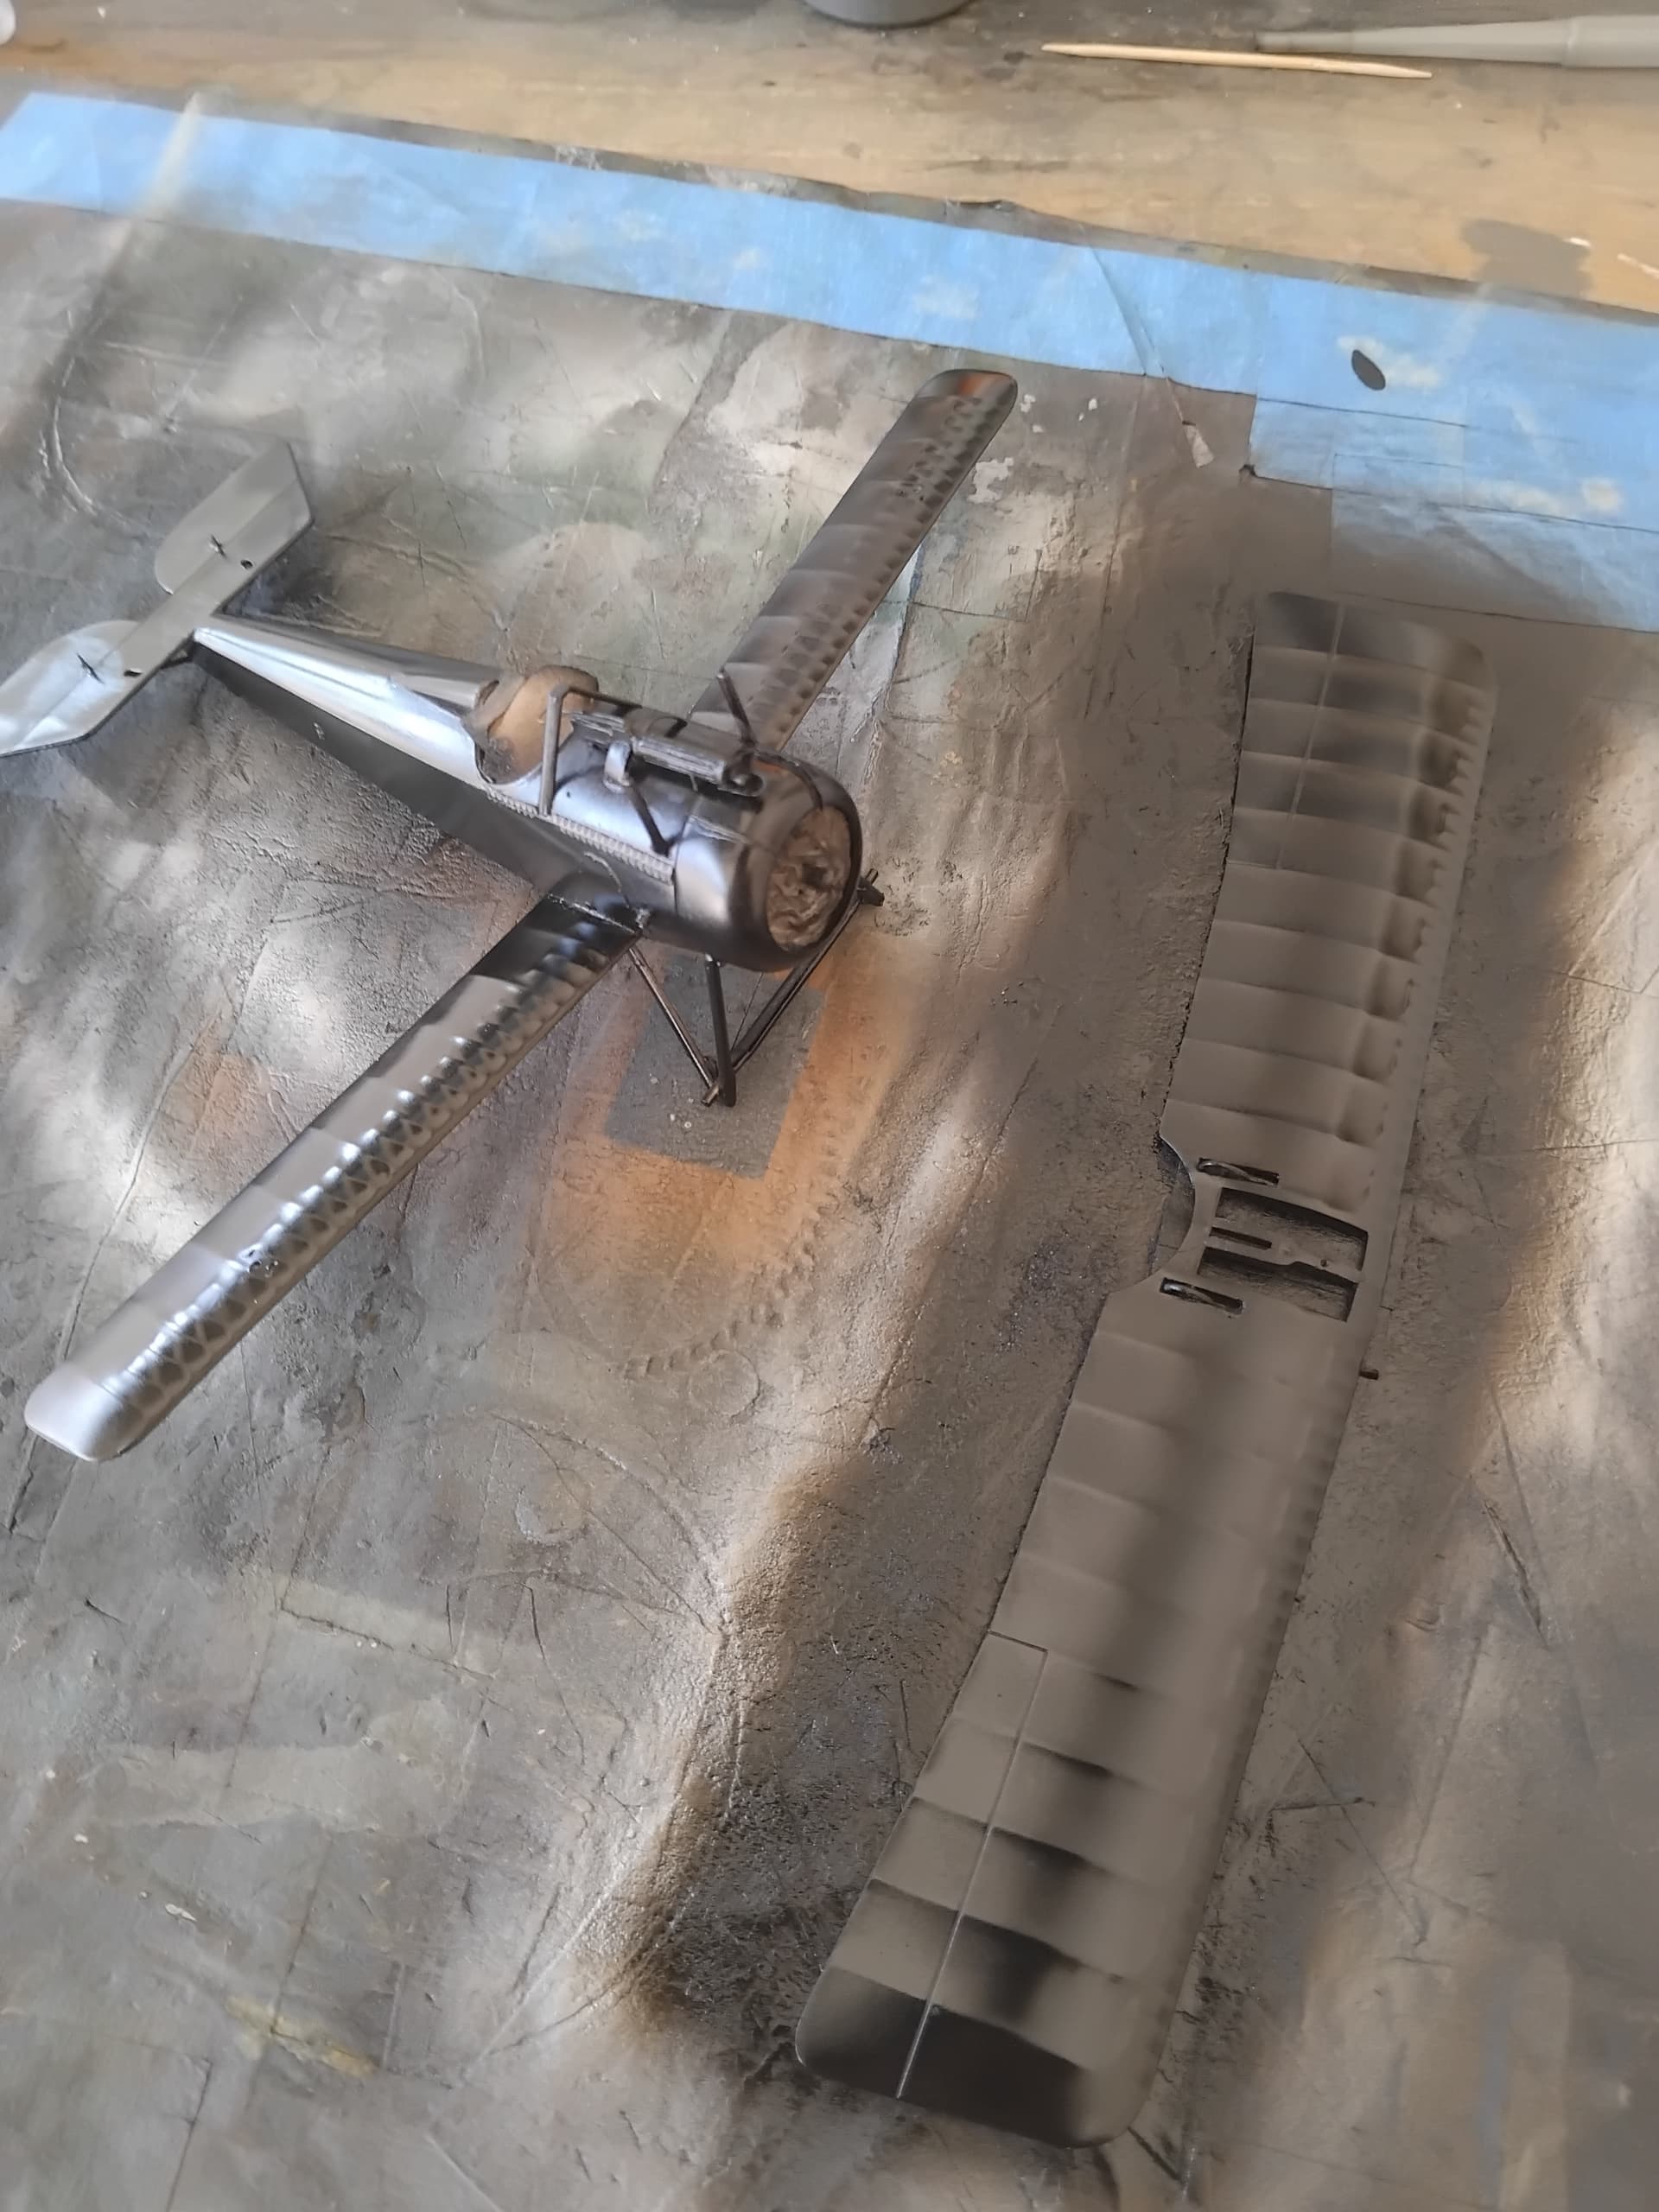
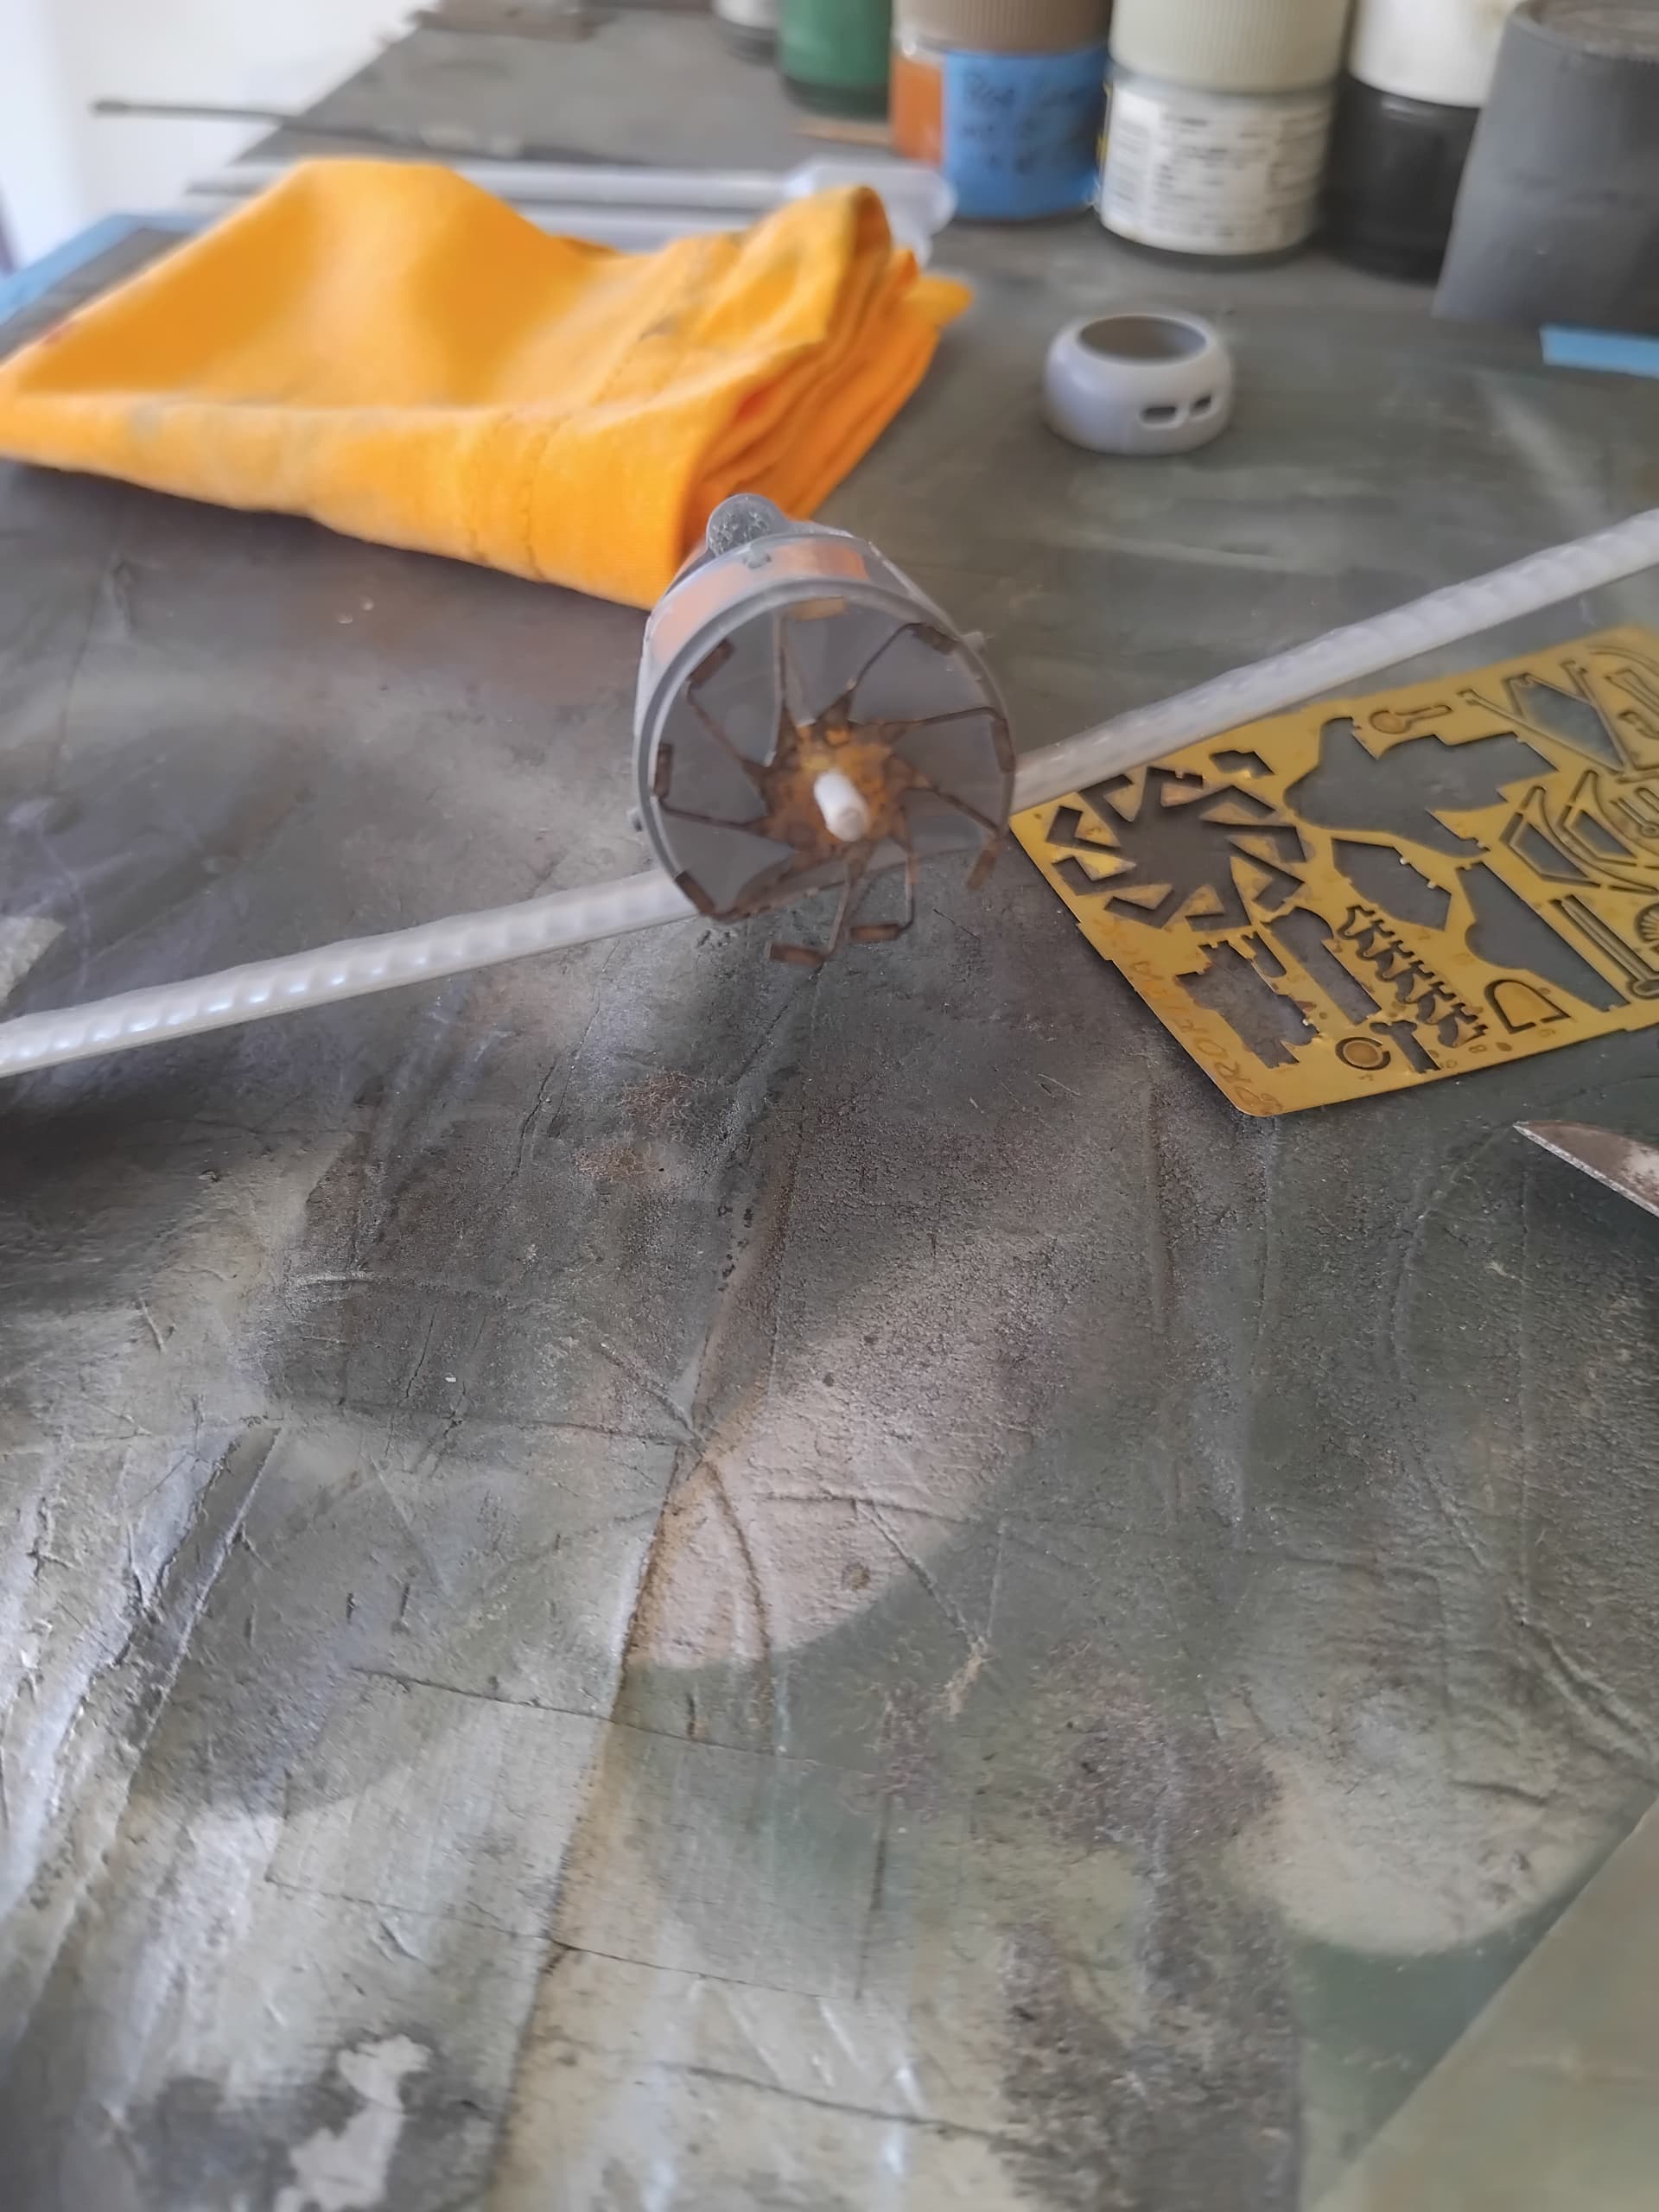
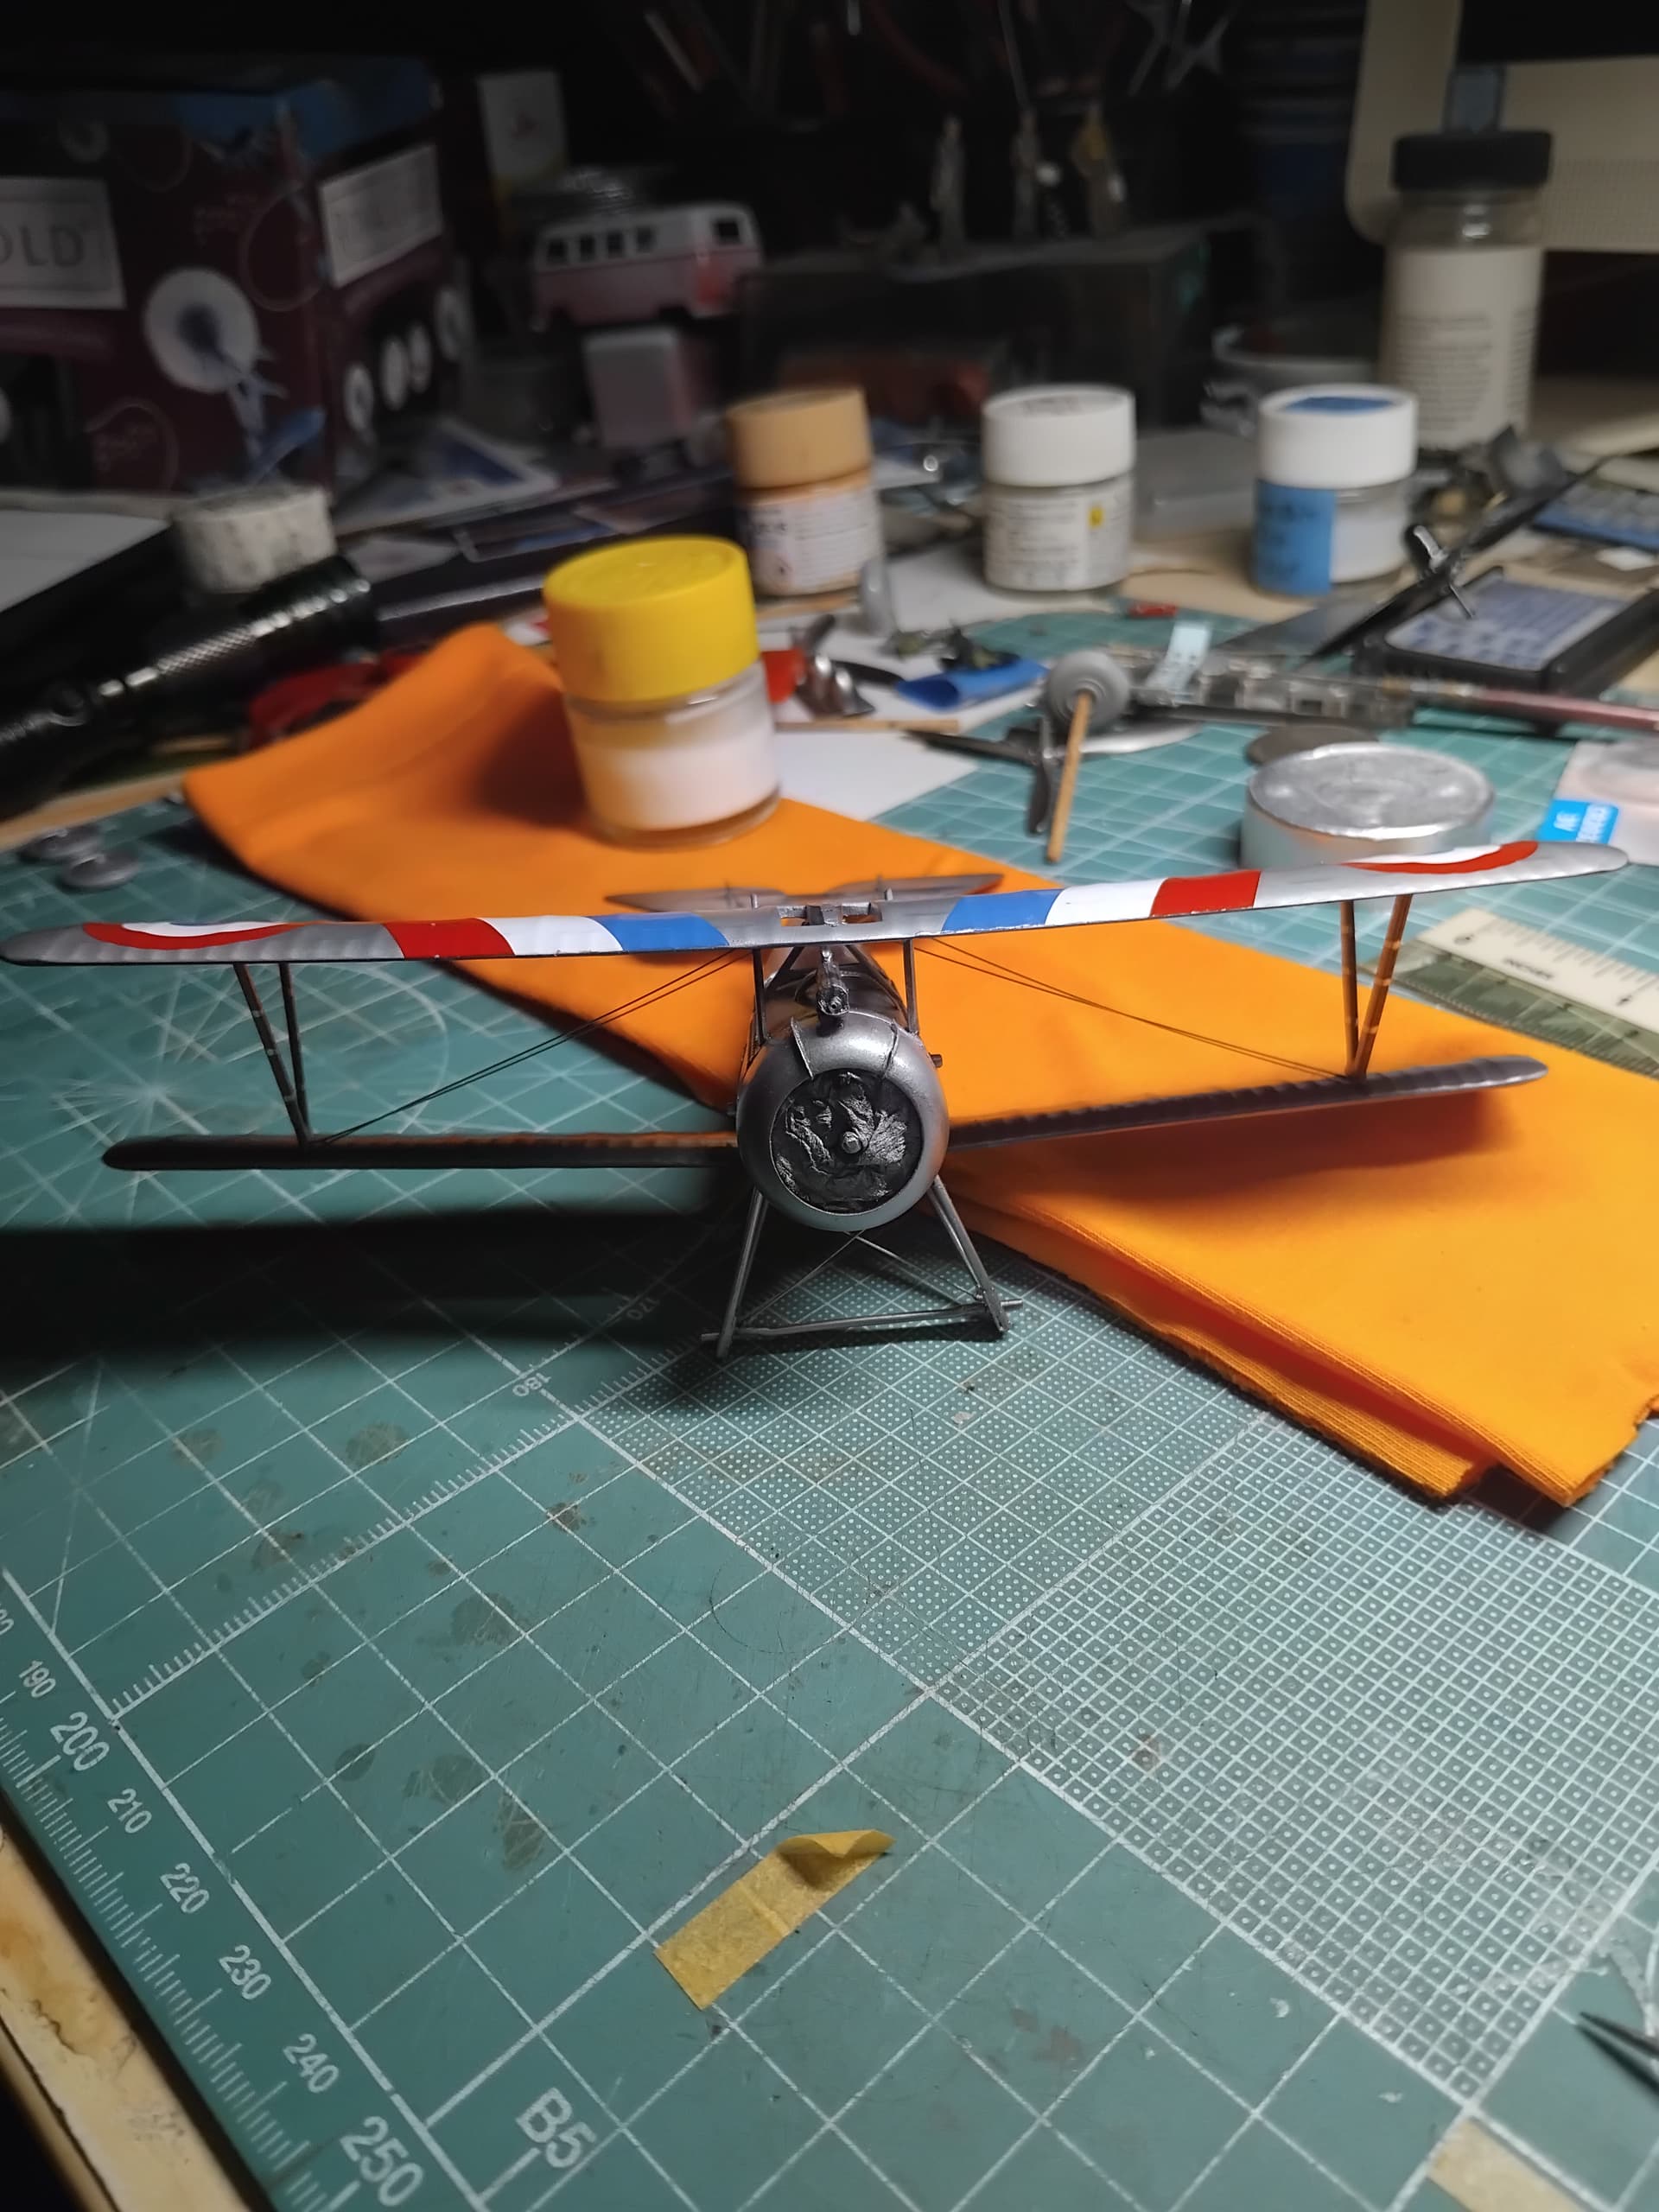
Satisfied with the silver and aluminum finishes, I clear coated everything in preparation for decaling. I then proceeded with the decals. The kit is dated so the decals were a bit old, and for the most part they went on fine and looked pretty good.
There was one decal on the lower upper wing that gave some trouble with air trapped, but a few sessions with some Mr. Softener solved the issue. I also gave the prop it’s base coat of wood in preparation for the laminate looking prop. Using 1 mm wide tape the prop was readied for the darker brown that give that nice laminate look, especially after a light brushing of burnt umber oil.

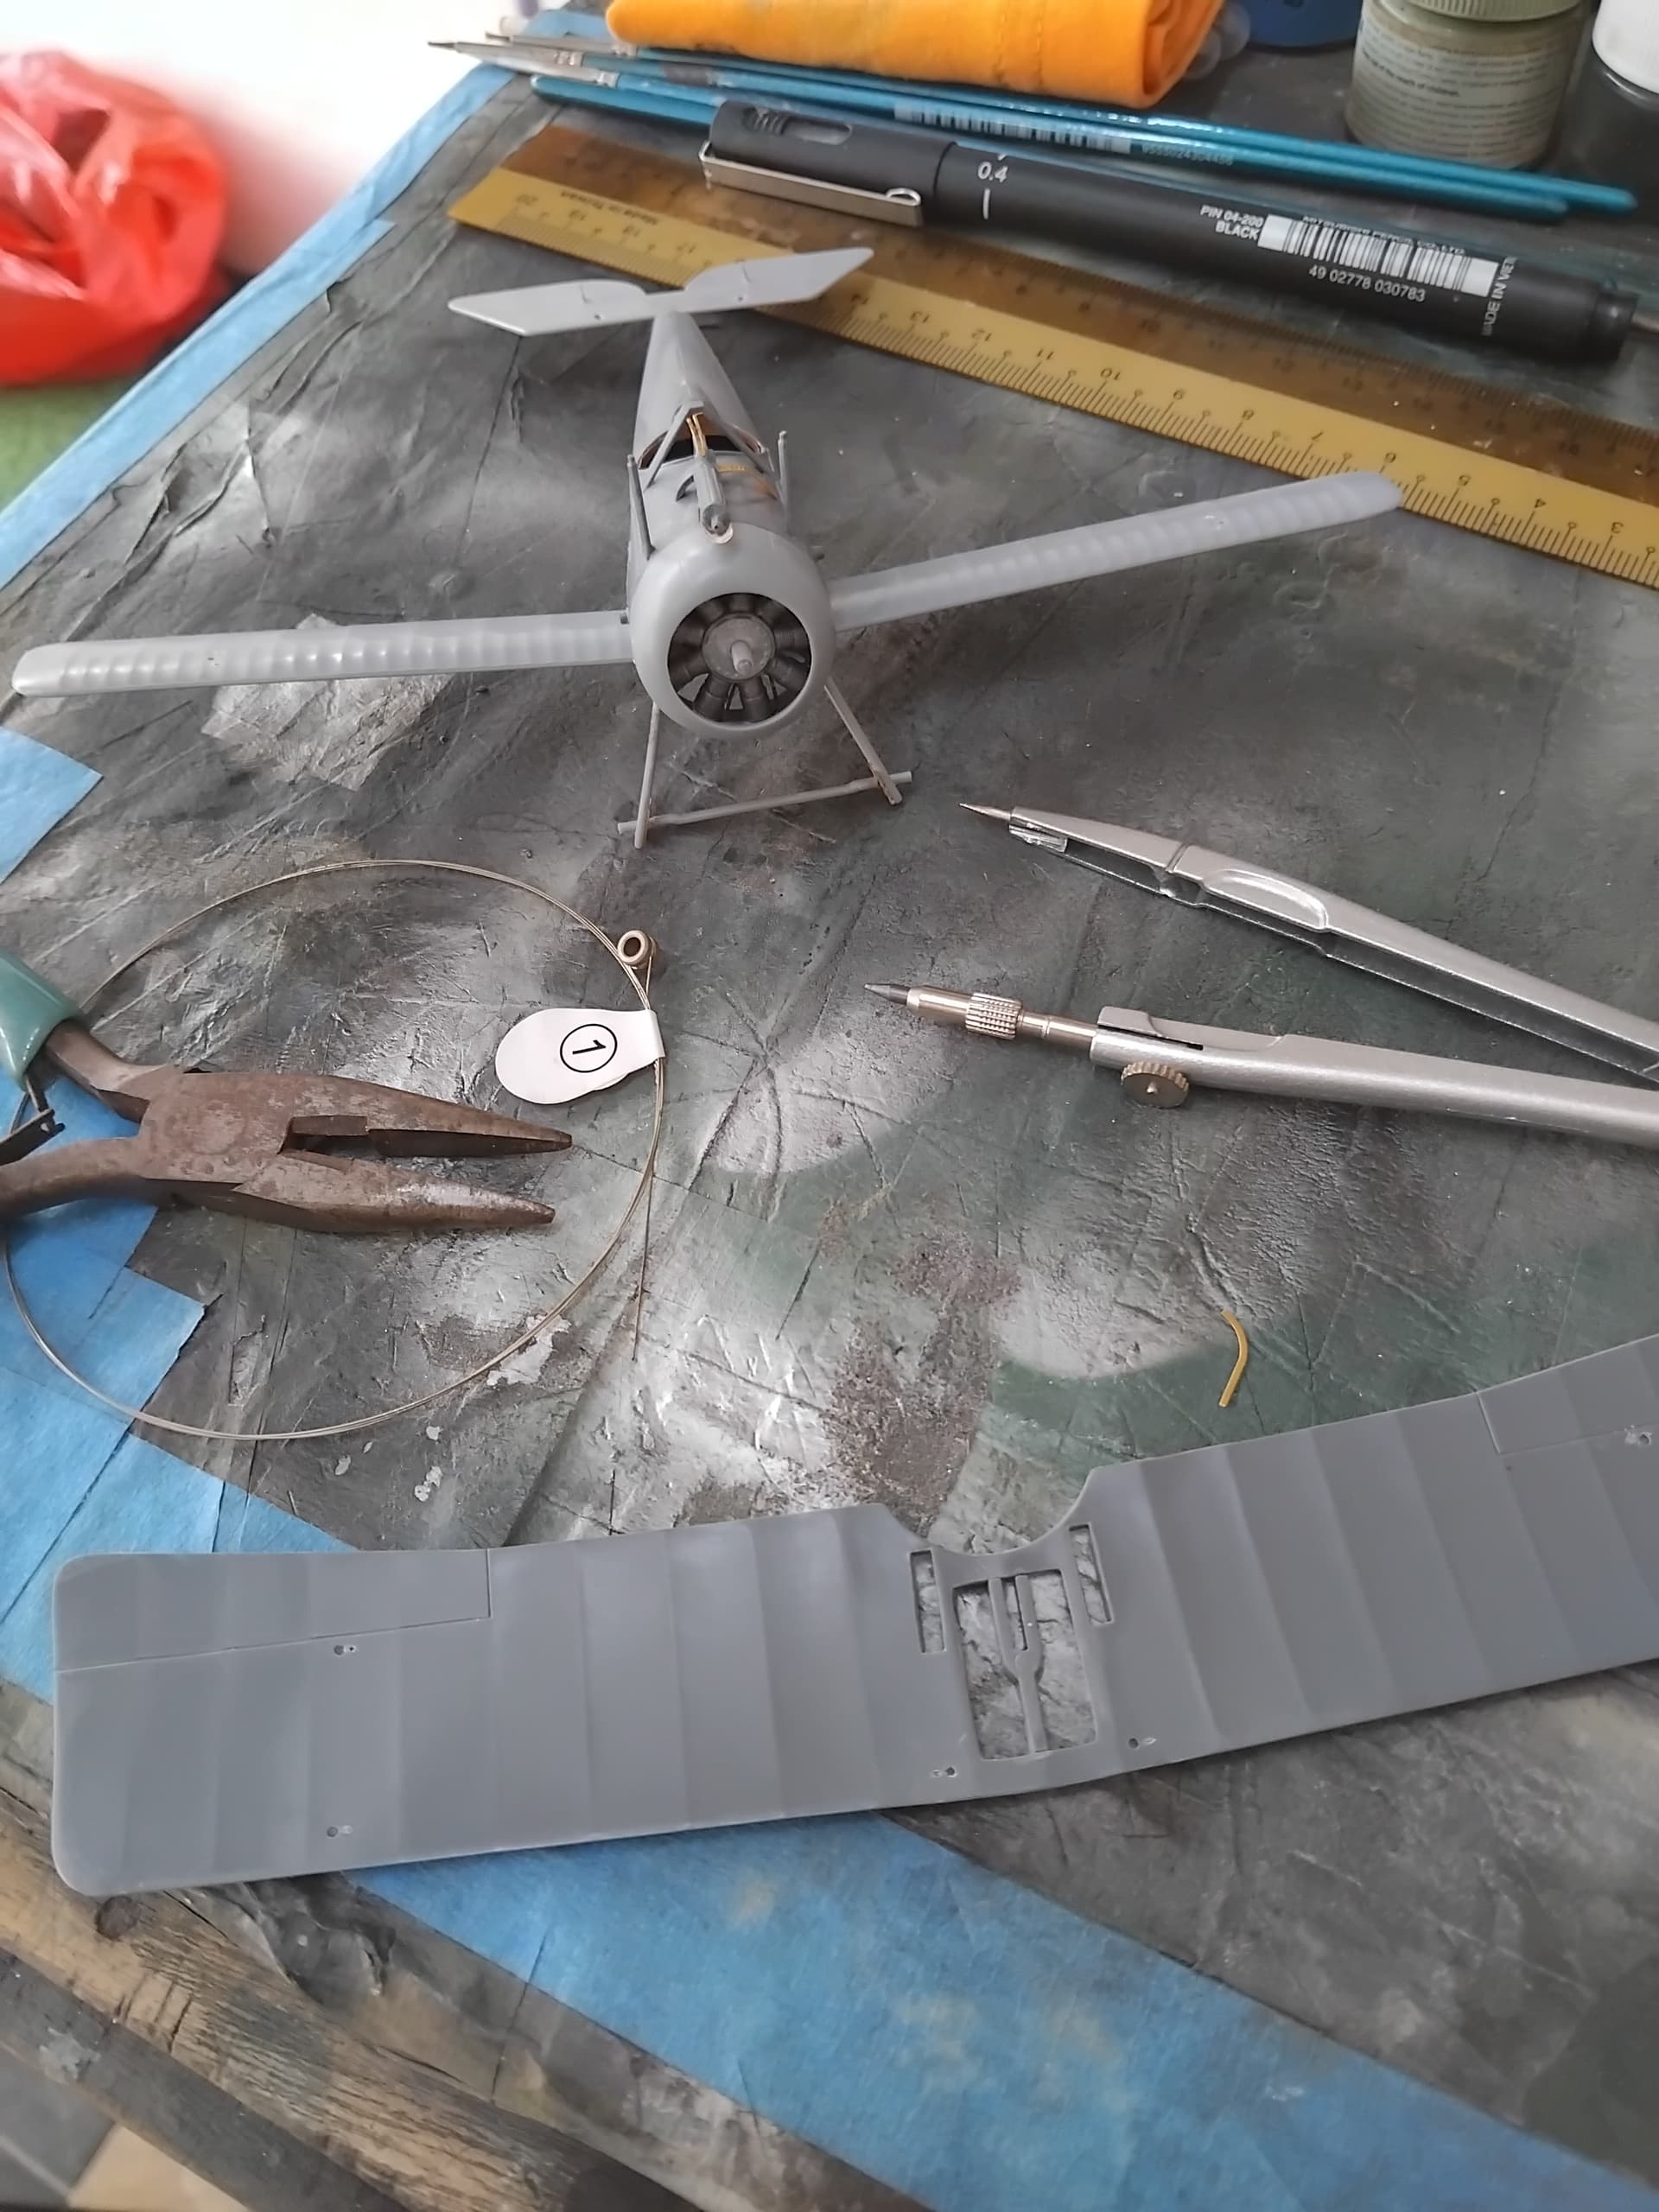
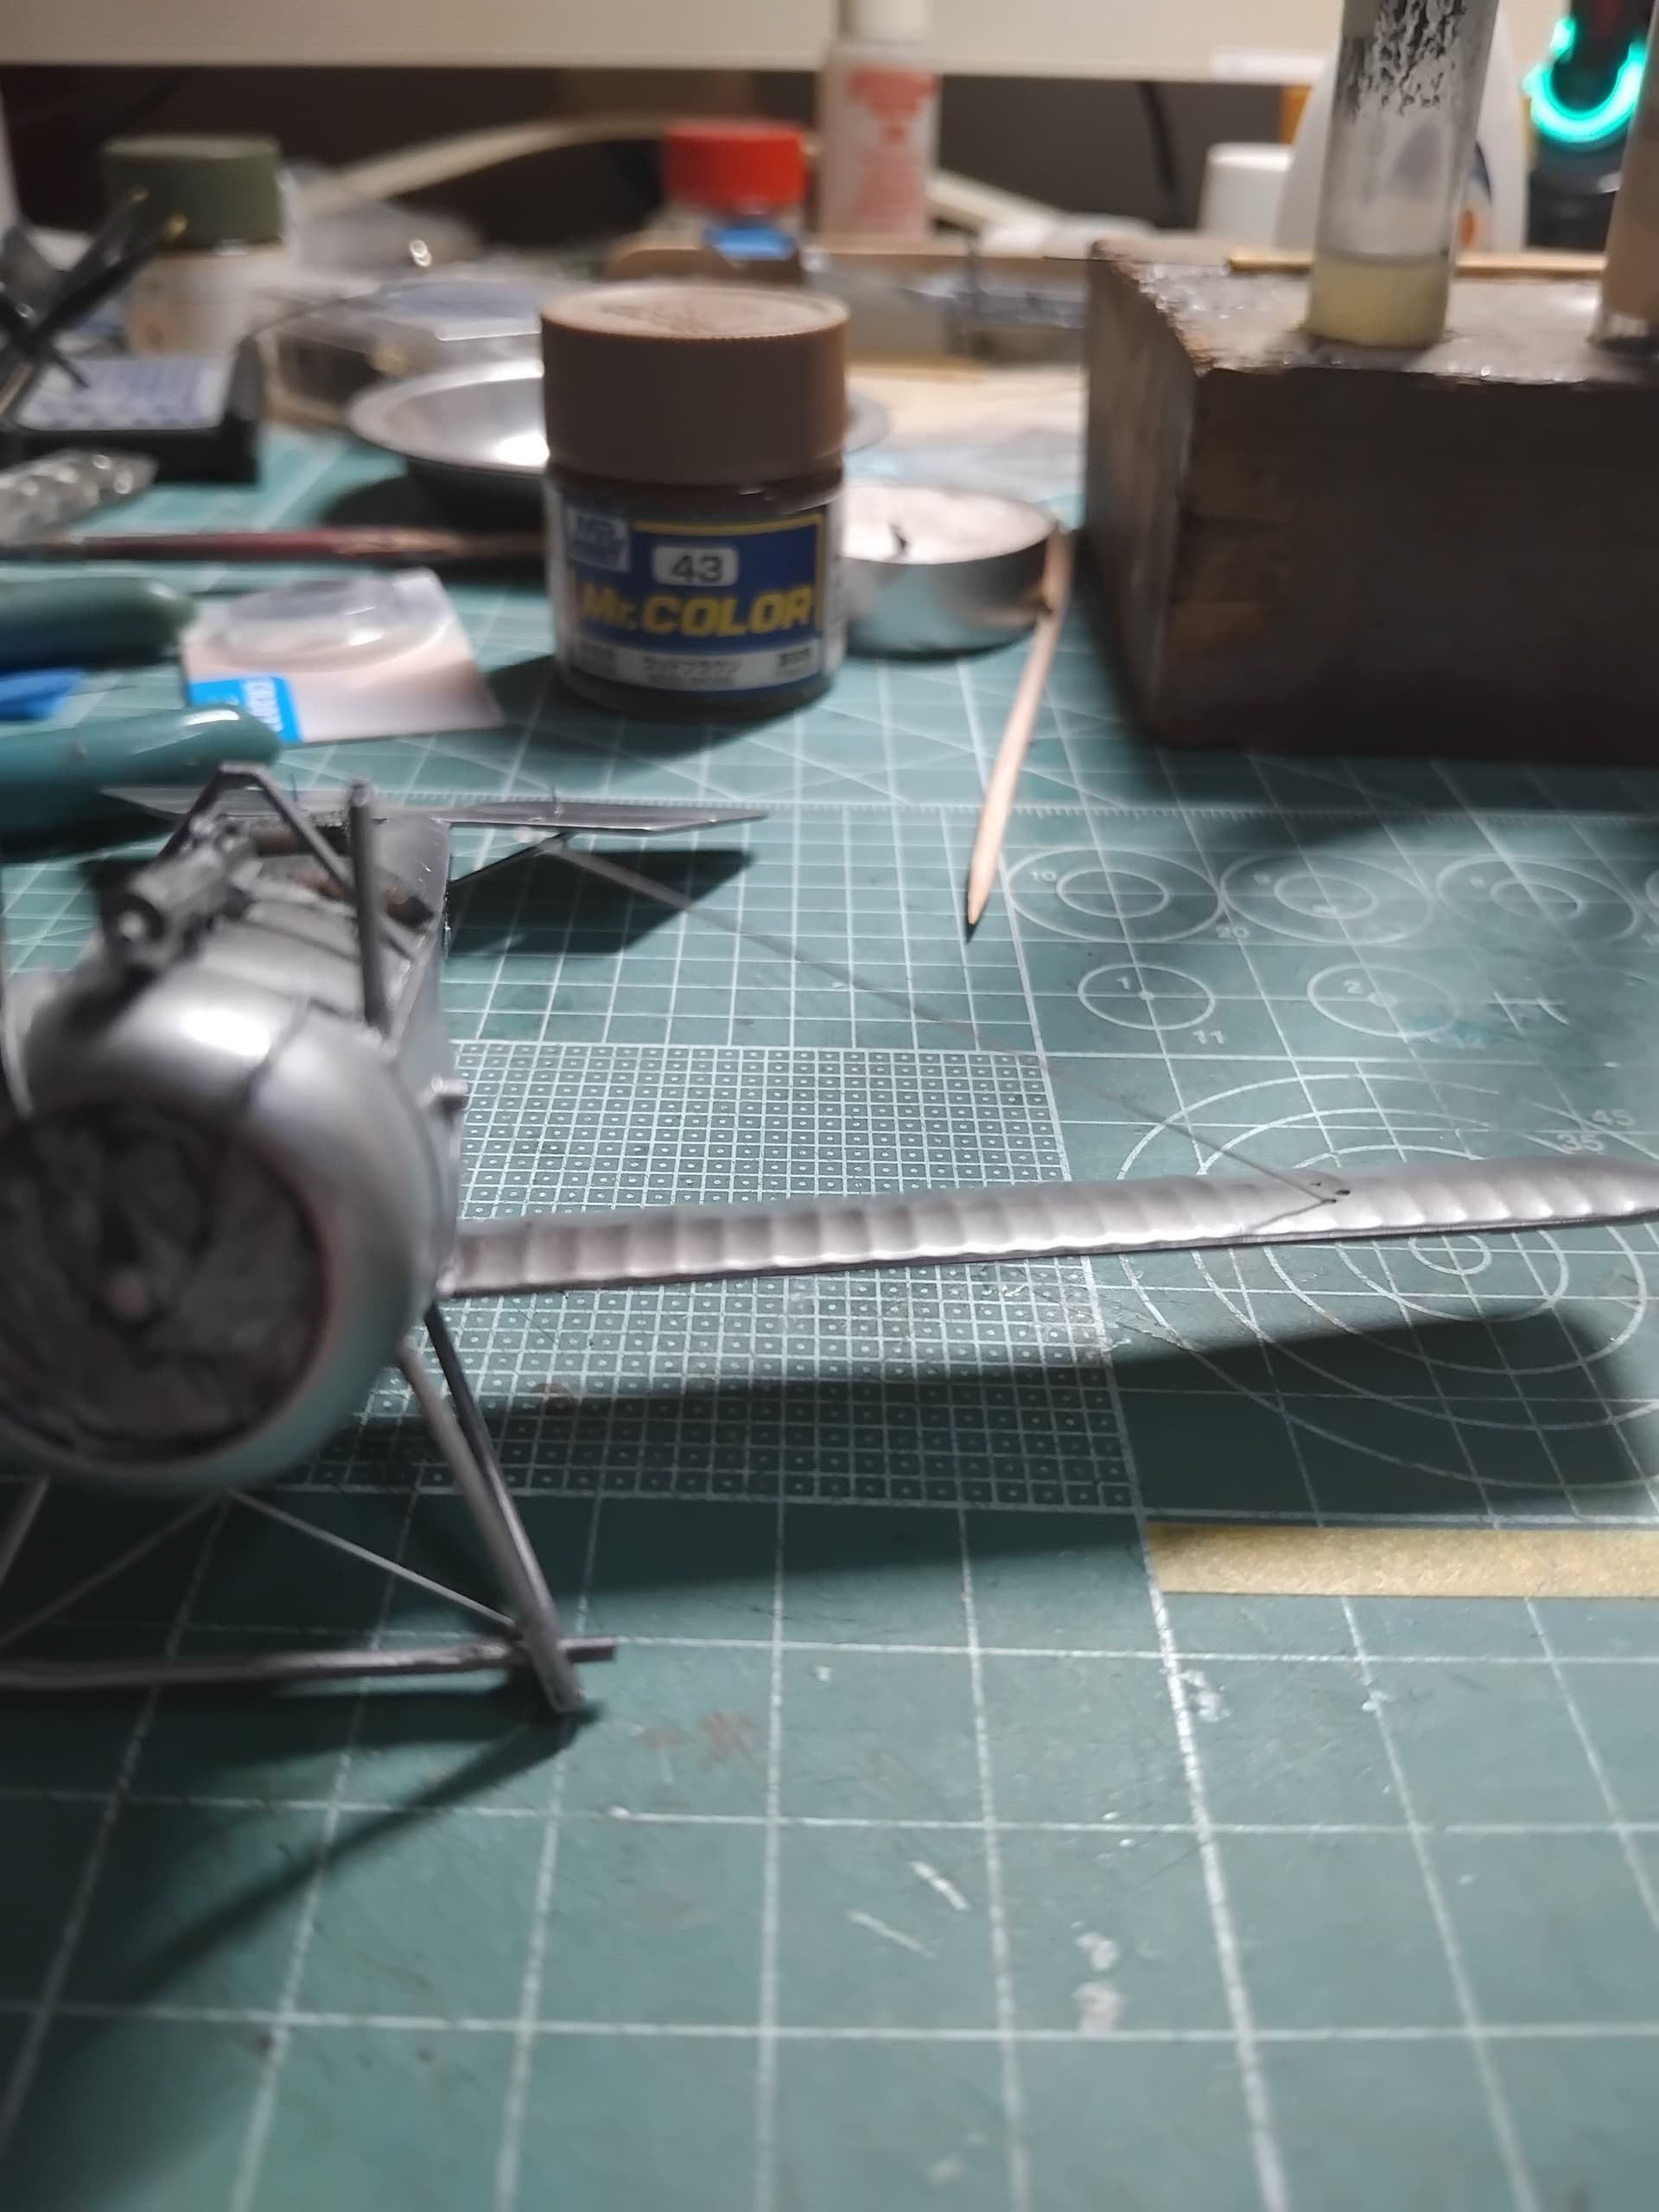
Next up were the pilot holes drilled at the appropriate angle. This is kind of time consuming, so take your time and test fit often!
Upper and lower wing pilot holes were drilled out, angles triple checked. Again slow and steady wins the race.
Fine EZ Line was used to replicate the control wires and were run from the holes to the corresponding control horn on each of the stabilizers, and the same would be done for the rudder.
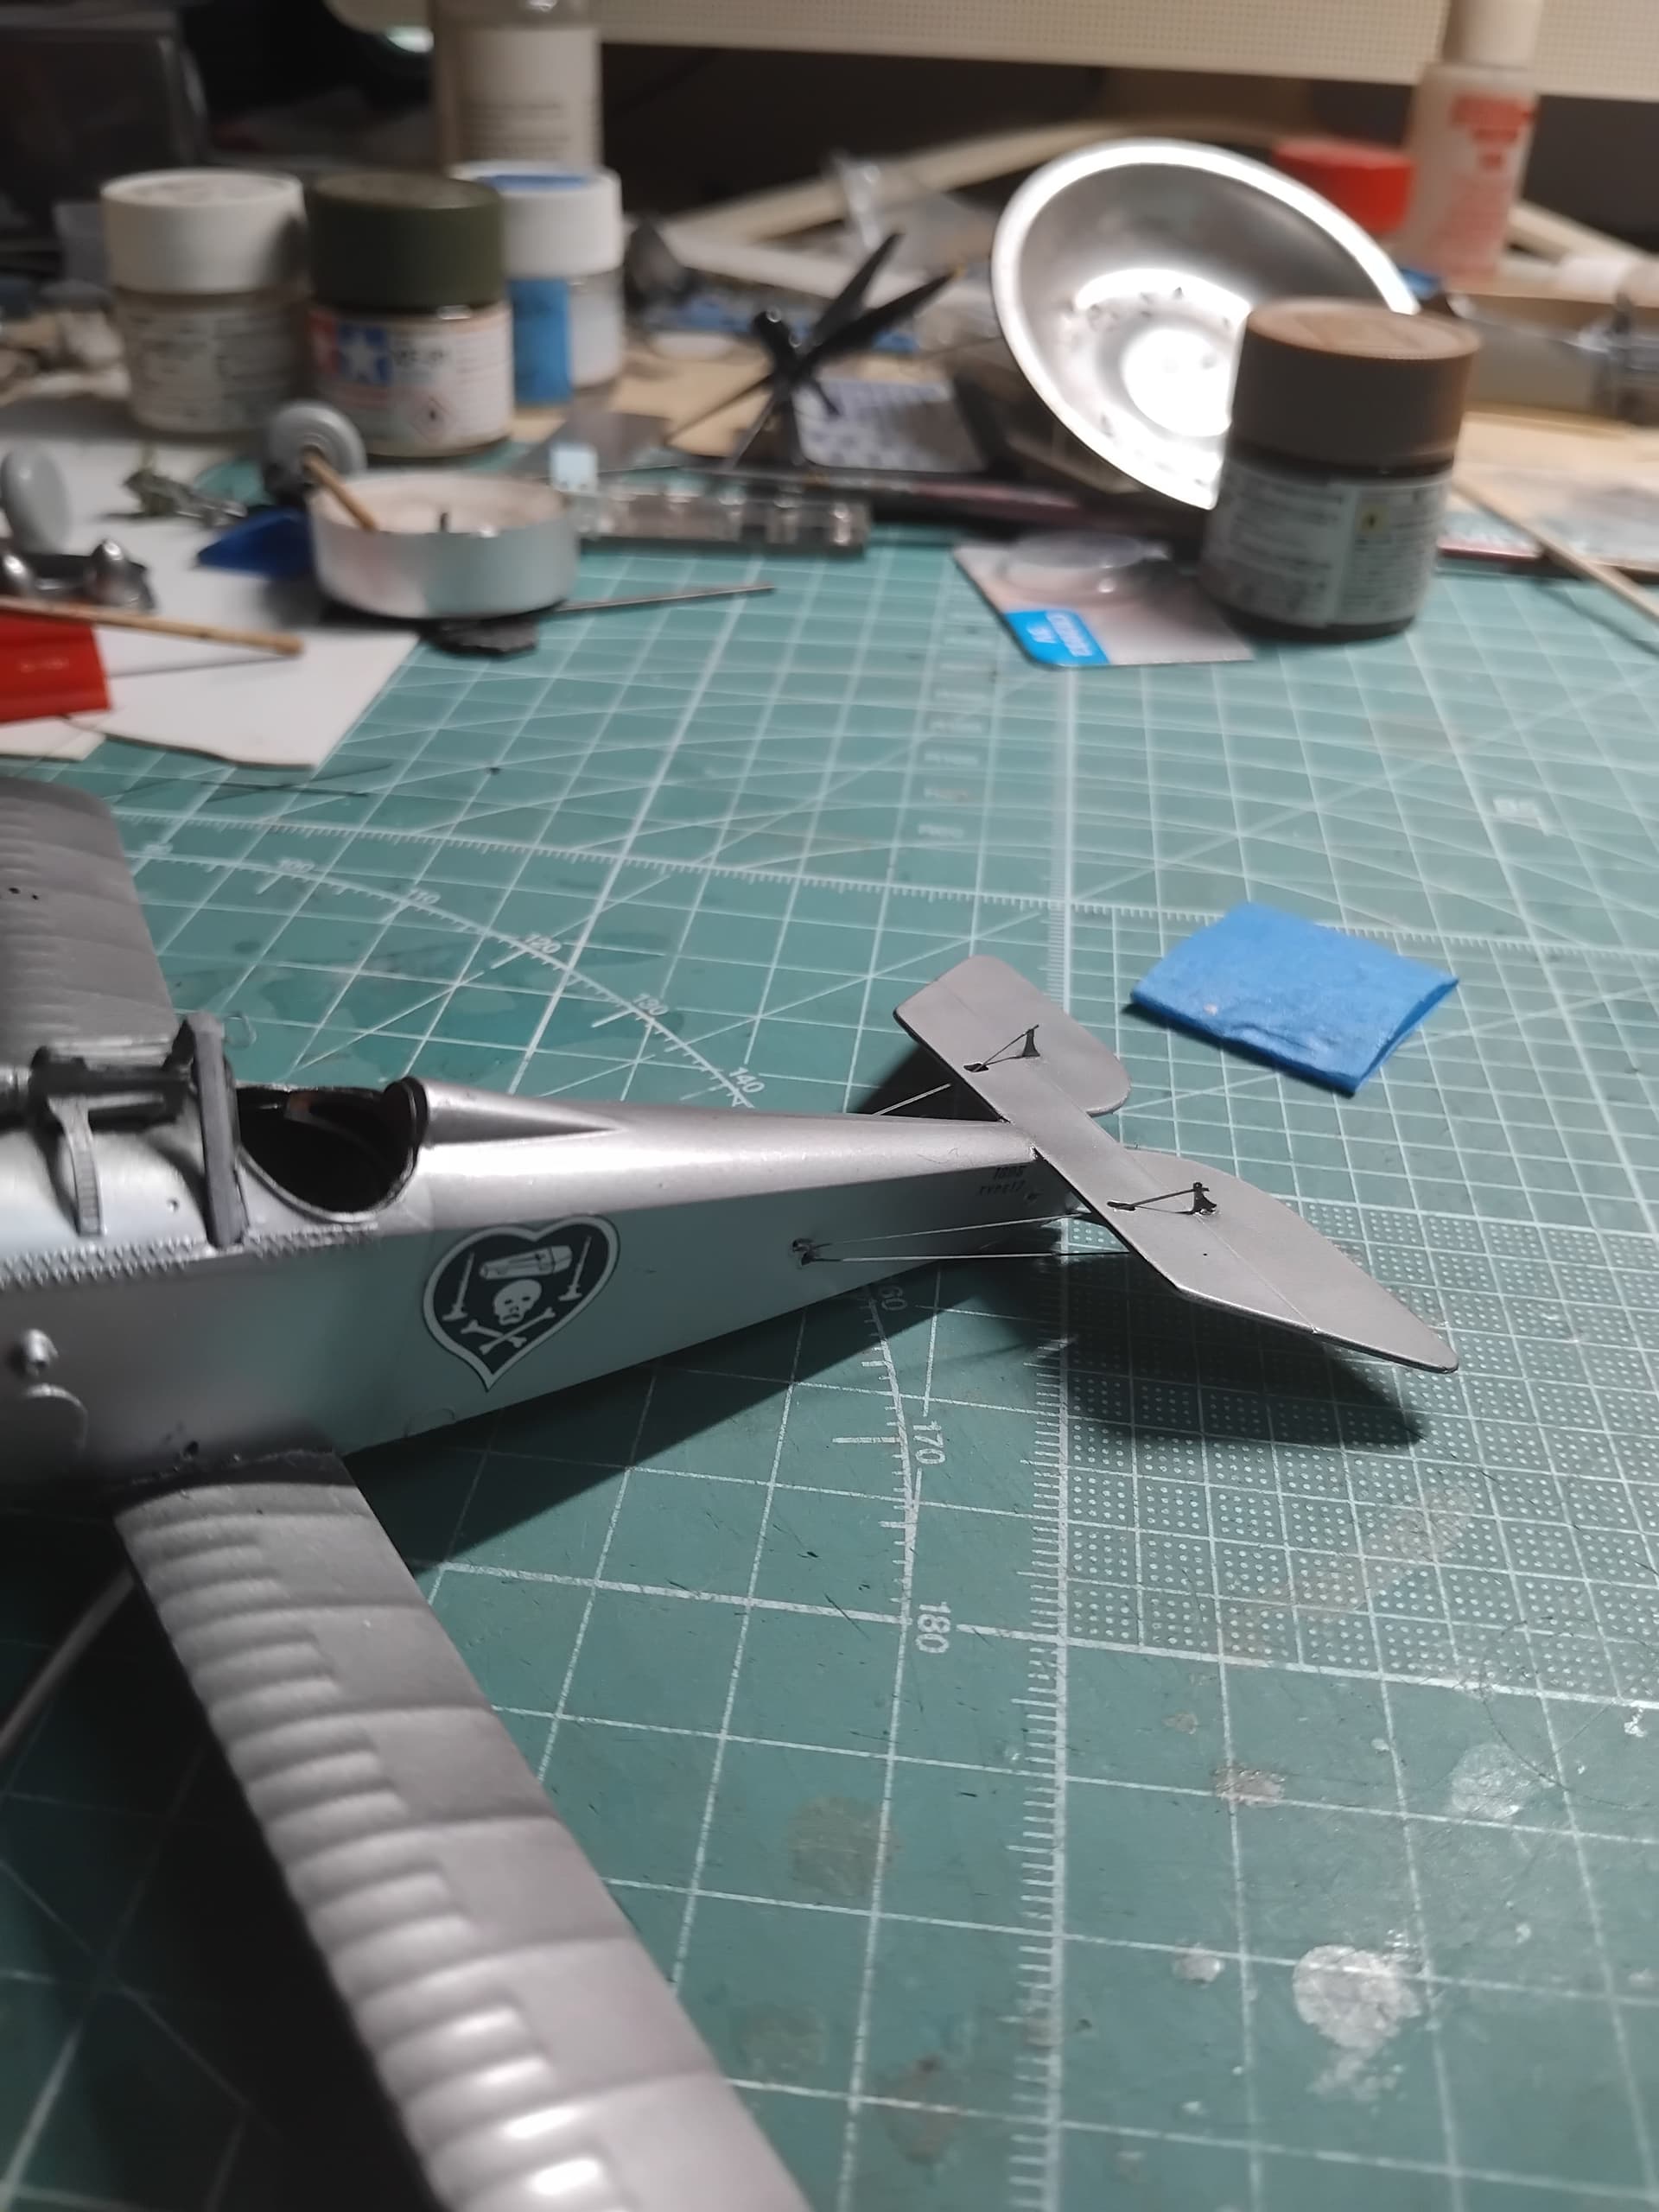
Feeling comfortable that the rigging wire holes were properly aligned, I added the upper wing. It was here that I noticed my first error. Apparently, the landing gear was offset by the width of a US quarter. I figured that at a later time I could mount the plane on a base and build up one side under the area in need and my audience would never be the wiser.

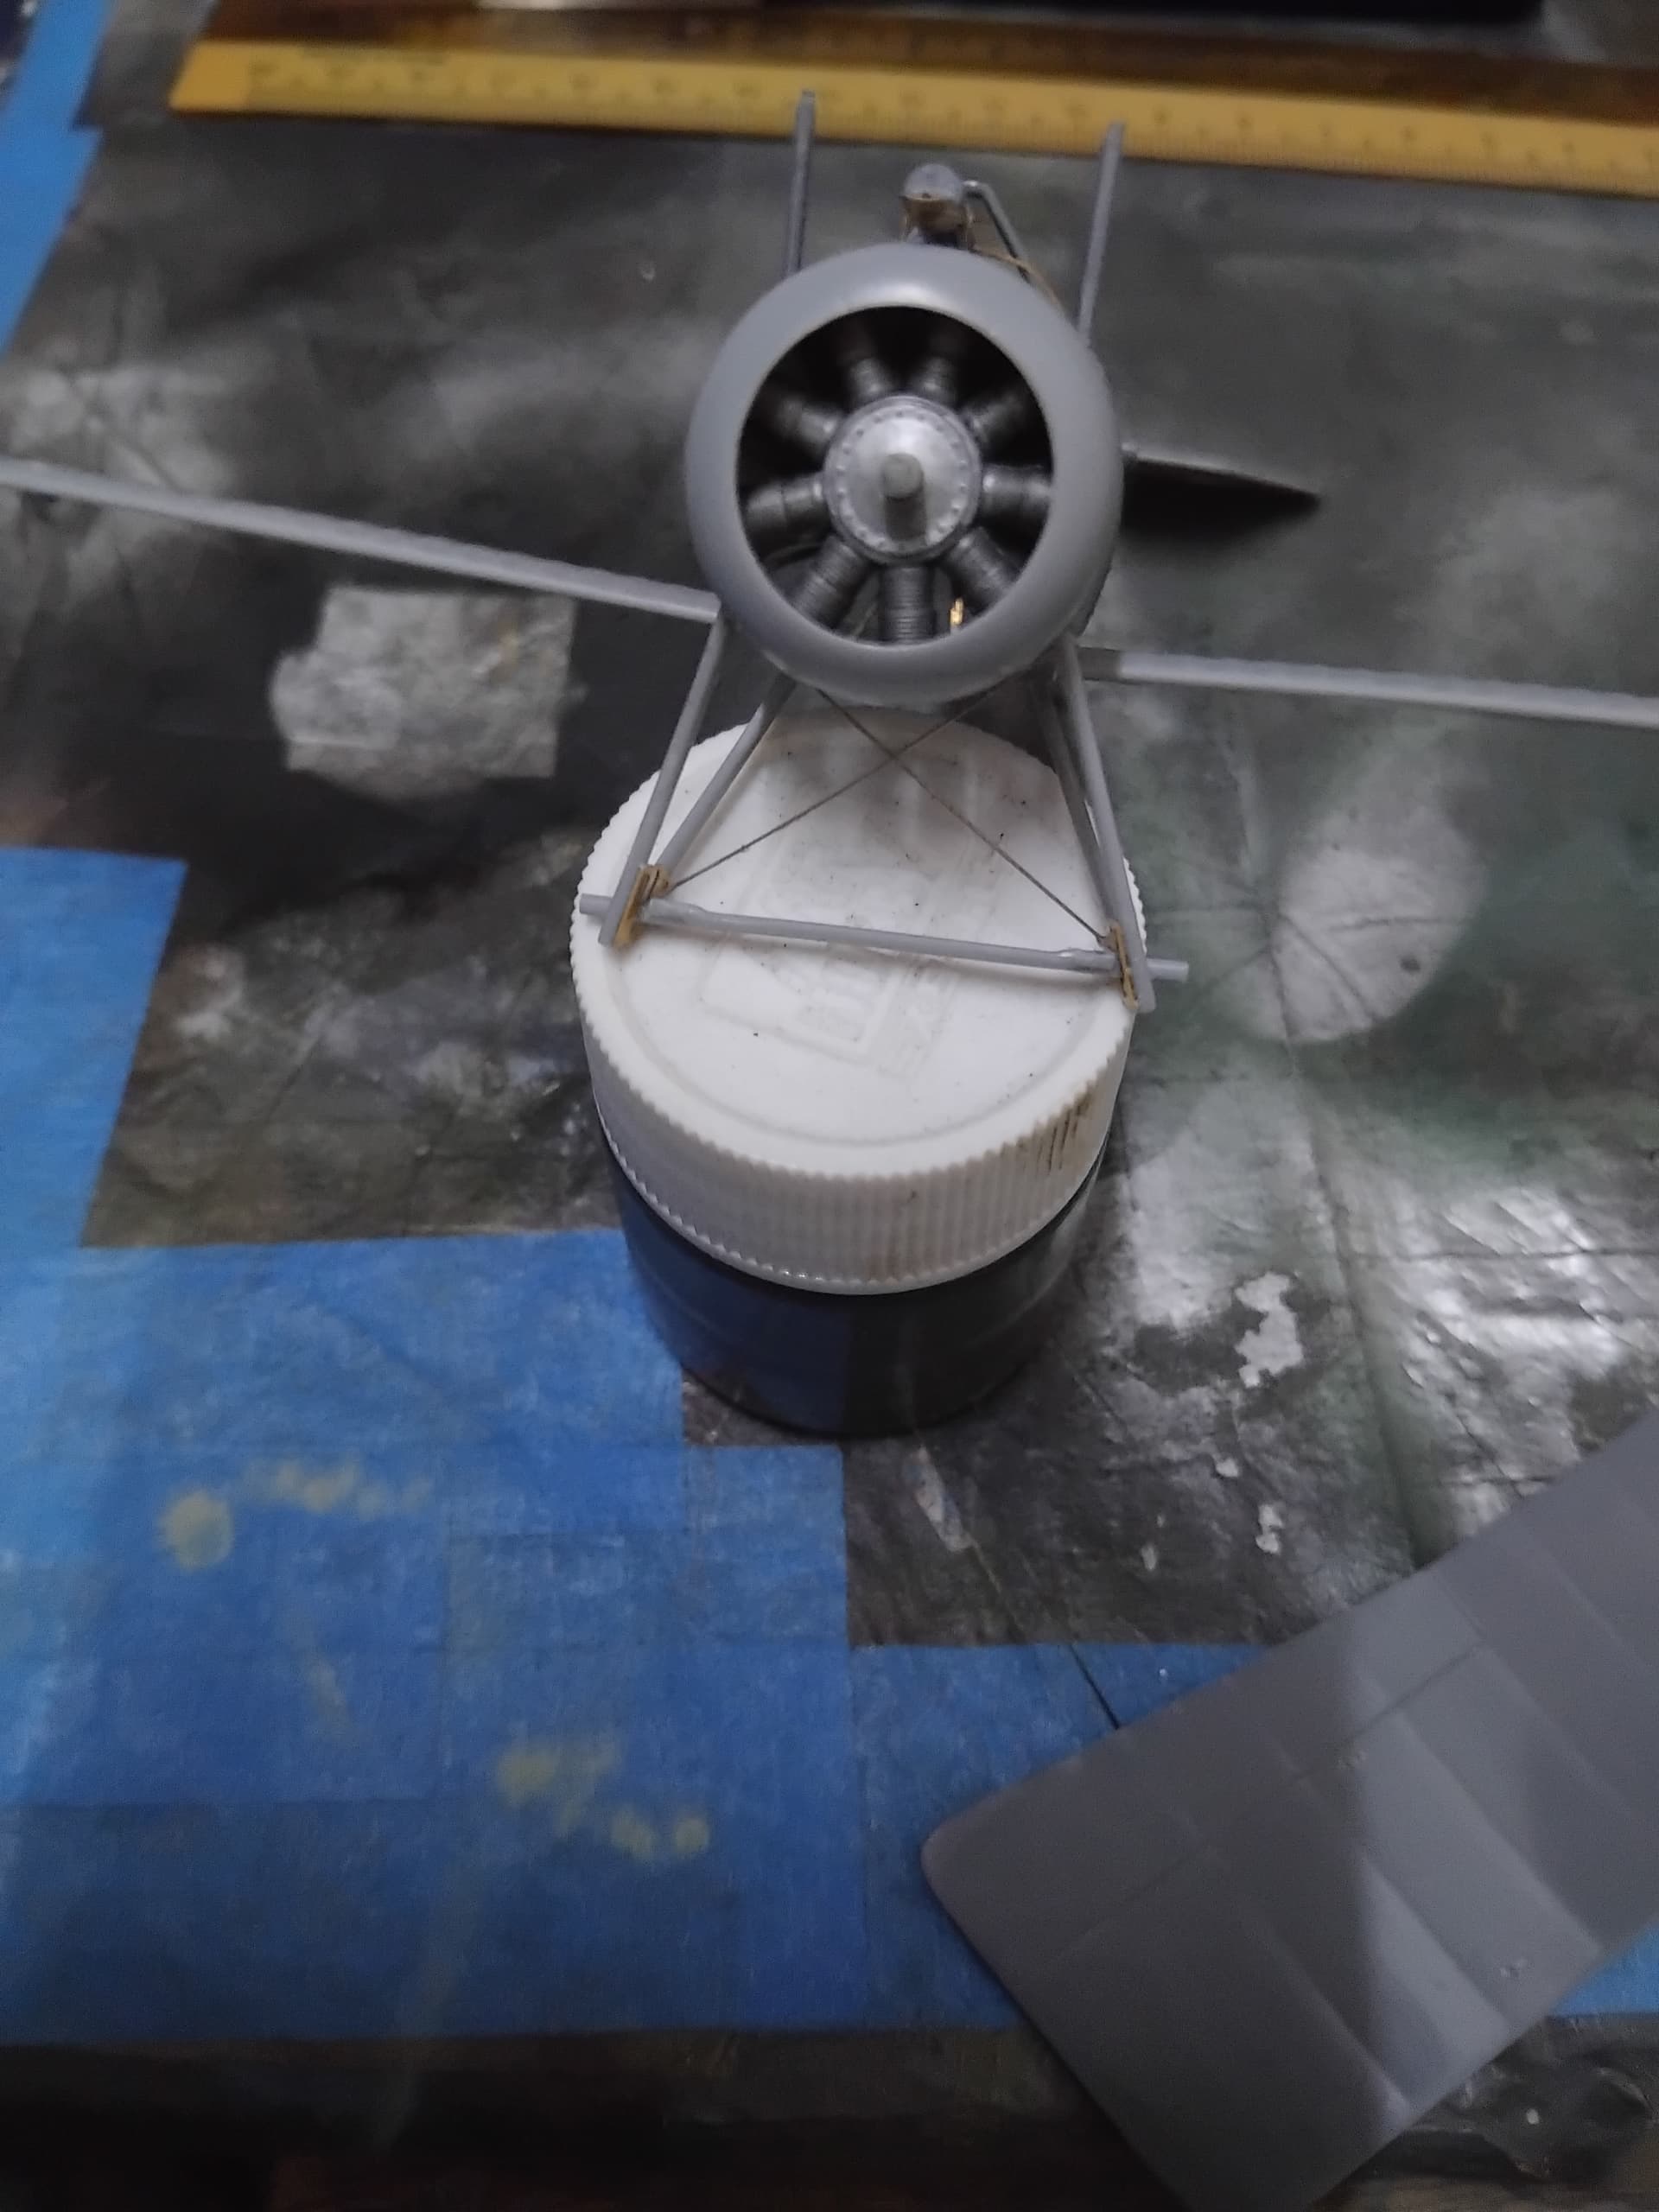
I then proceeded with the wire rigging. Given the preplanning and test fitting this went very well. One thing I have found that makes the process easier for me, is to tape the wires in their corresponding locations onto an index card, such that all that’s needed is to remove the desired wire and transfer it to the plane. I’ve also found that working from the furthest back and moving towards the front makes life a lot easier as well.

Rigging was conducted with barely a hitch.
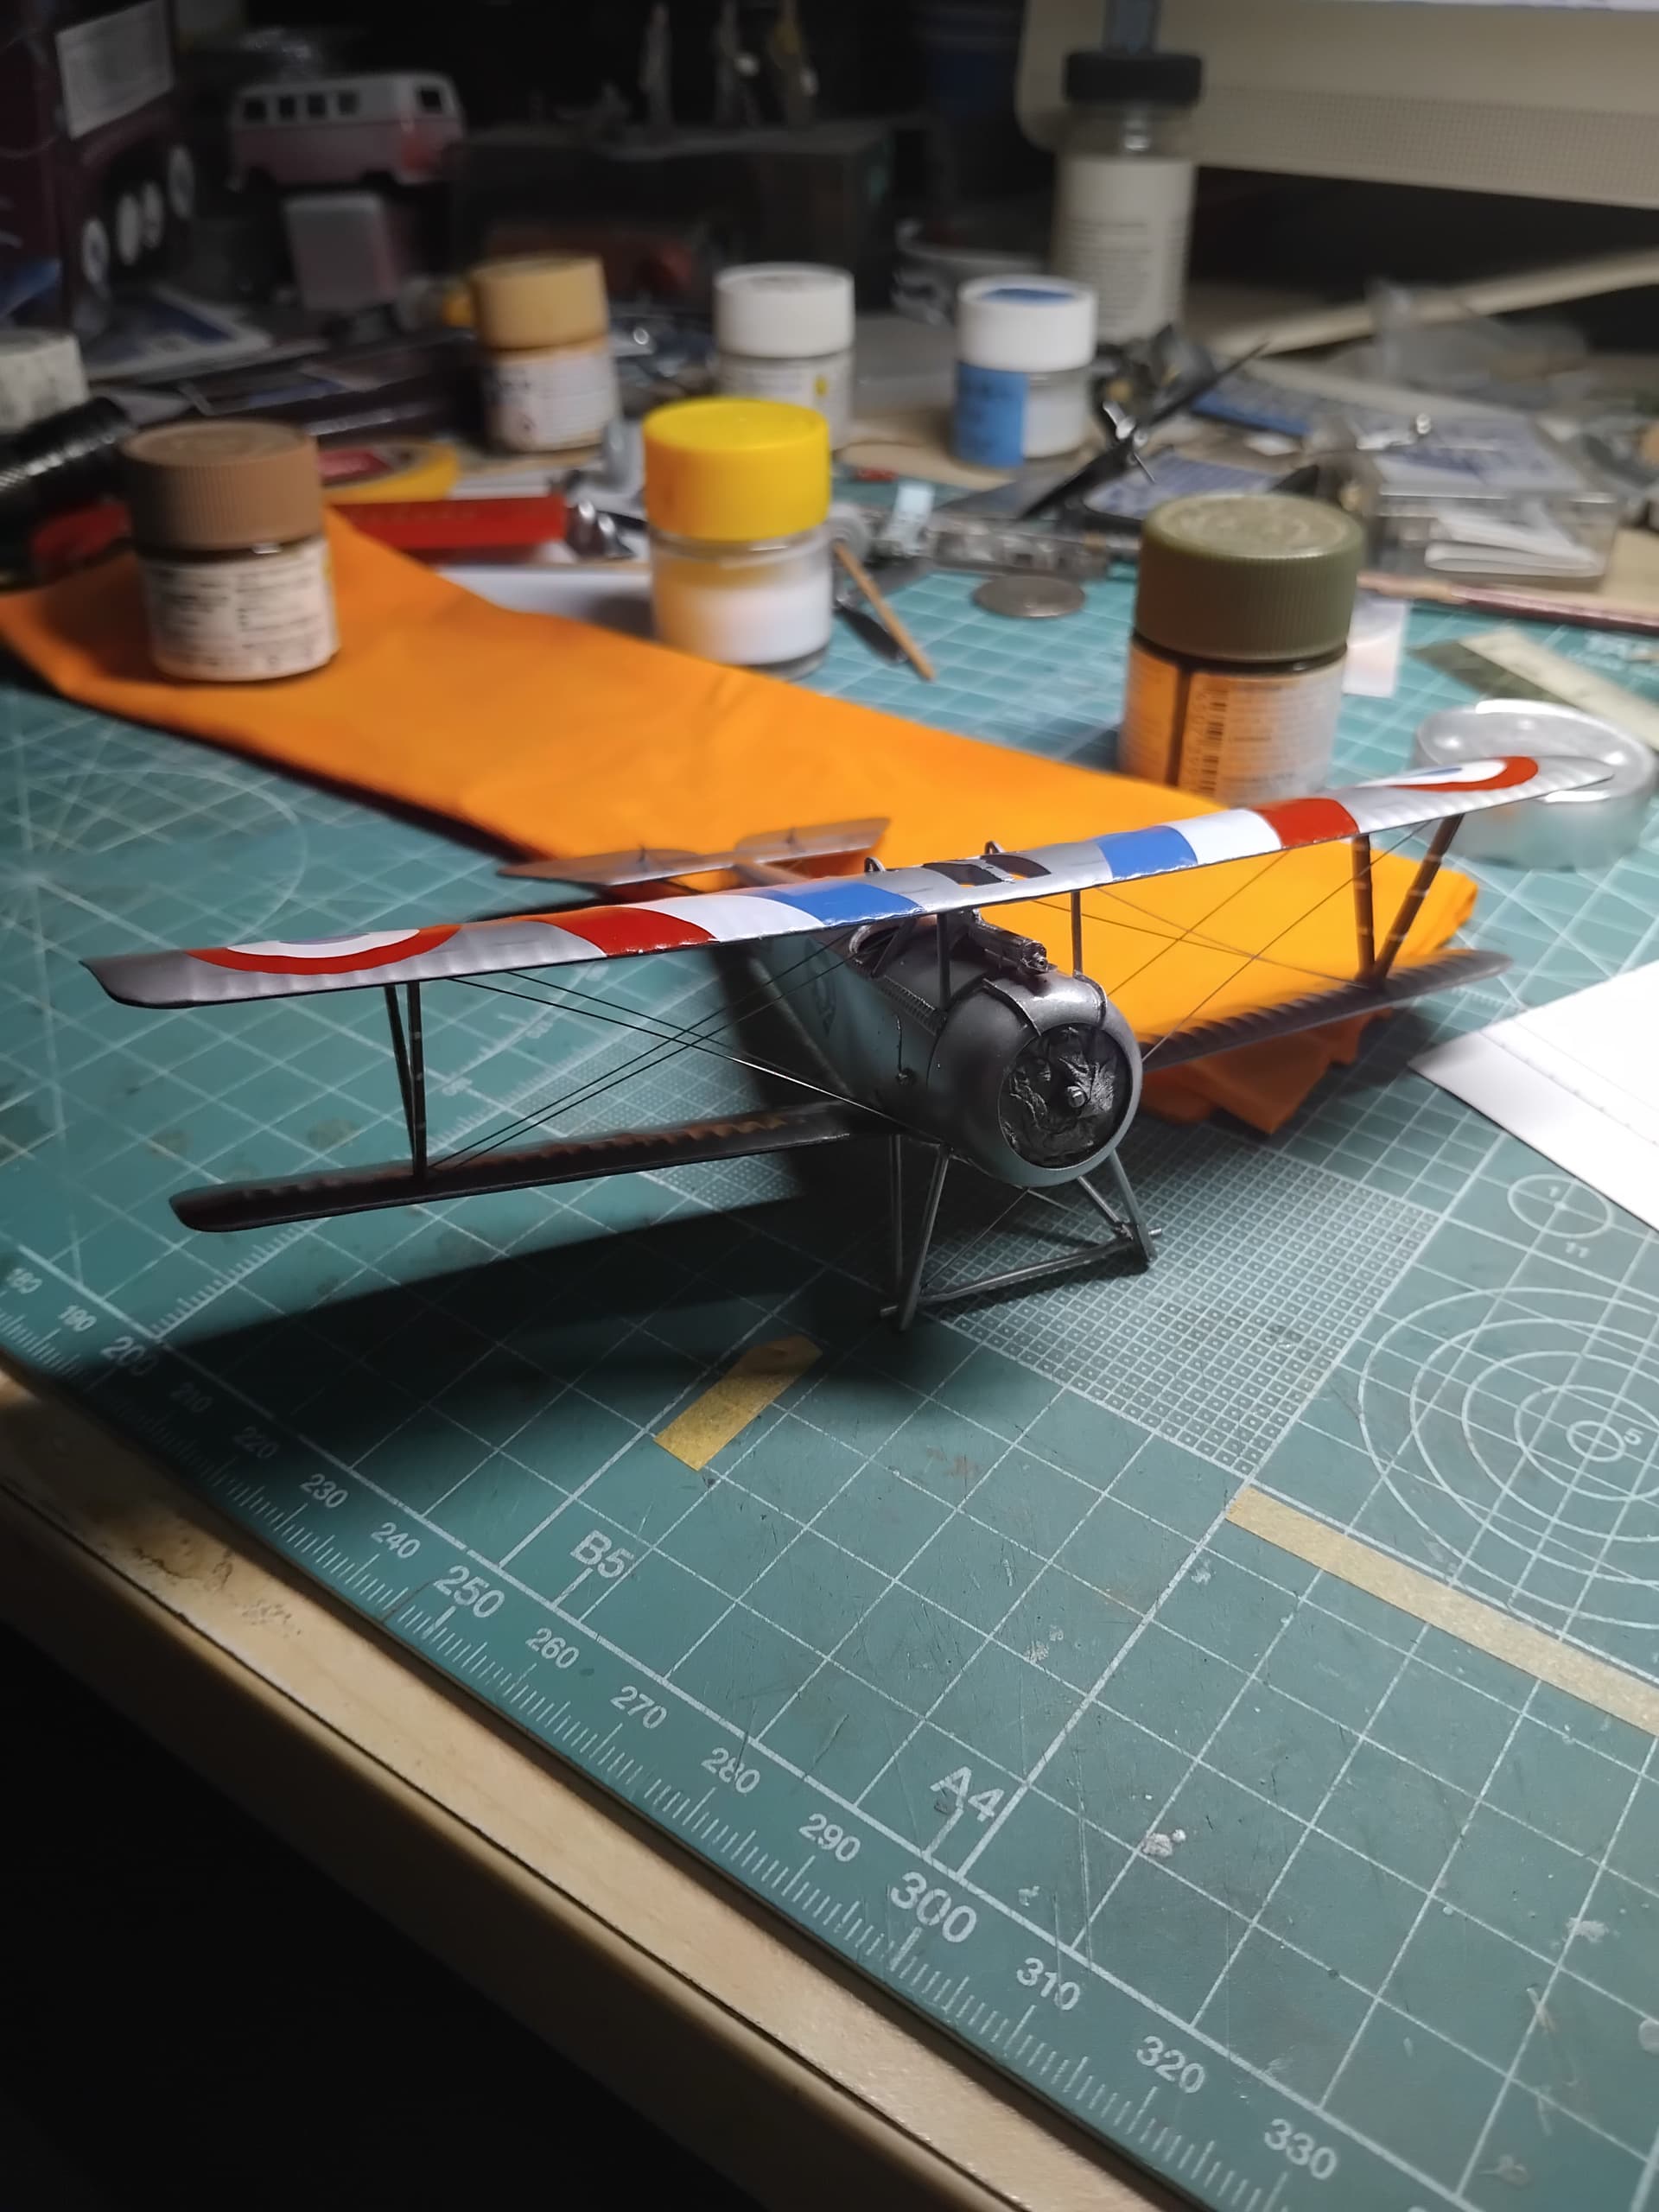
And this is when I noticed my second error. Guitar strings come all wound up, and I had neglected to hang the string so as to take out the wind. Sigh, live and learn. Considering this is my fifth biplane, I figure it’s a good learning experience and will do so in the future. I added the rudder and upper Lewis gun to the wing and called this one done!
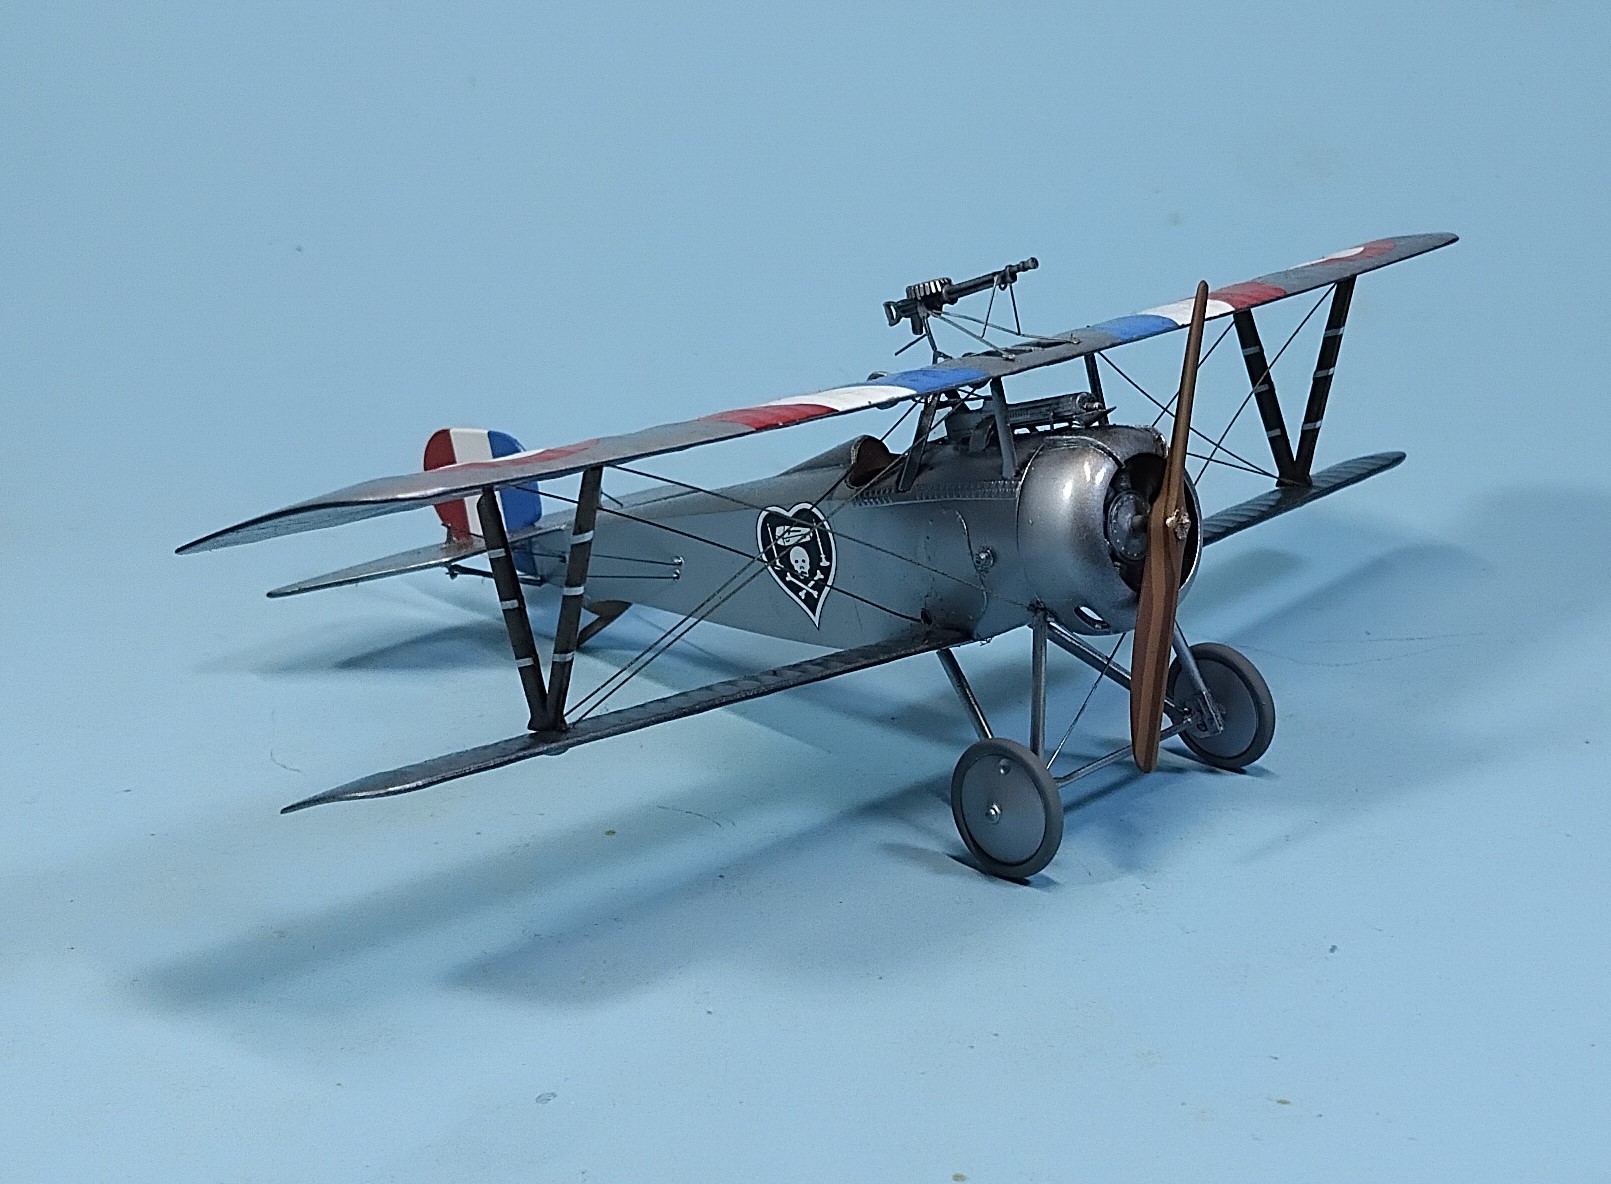

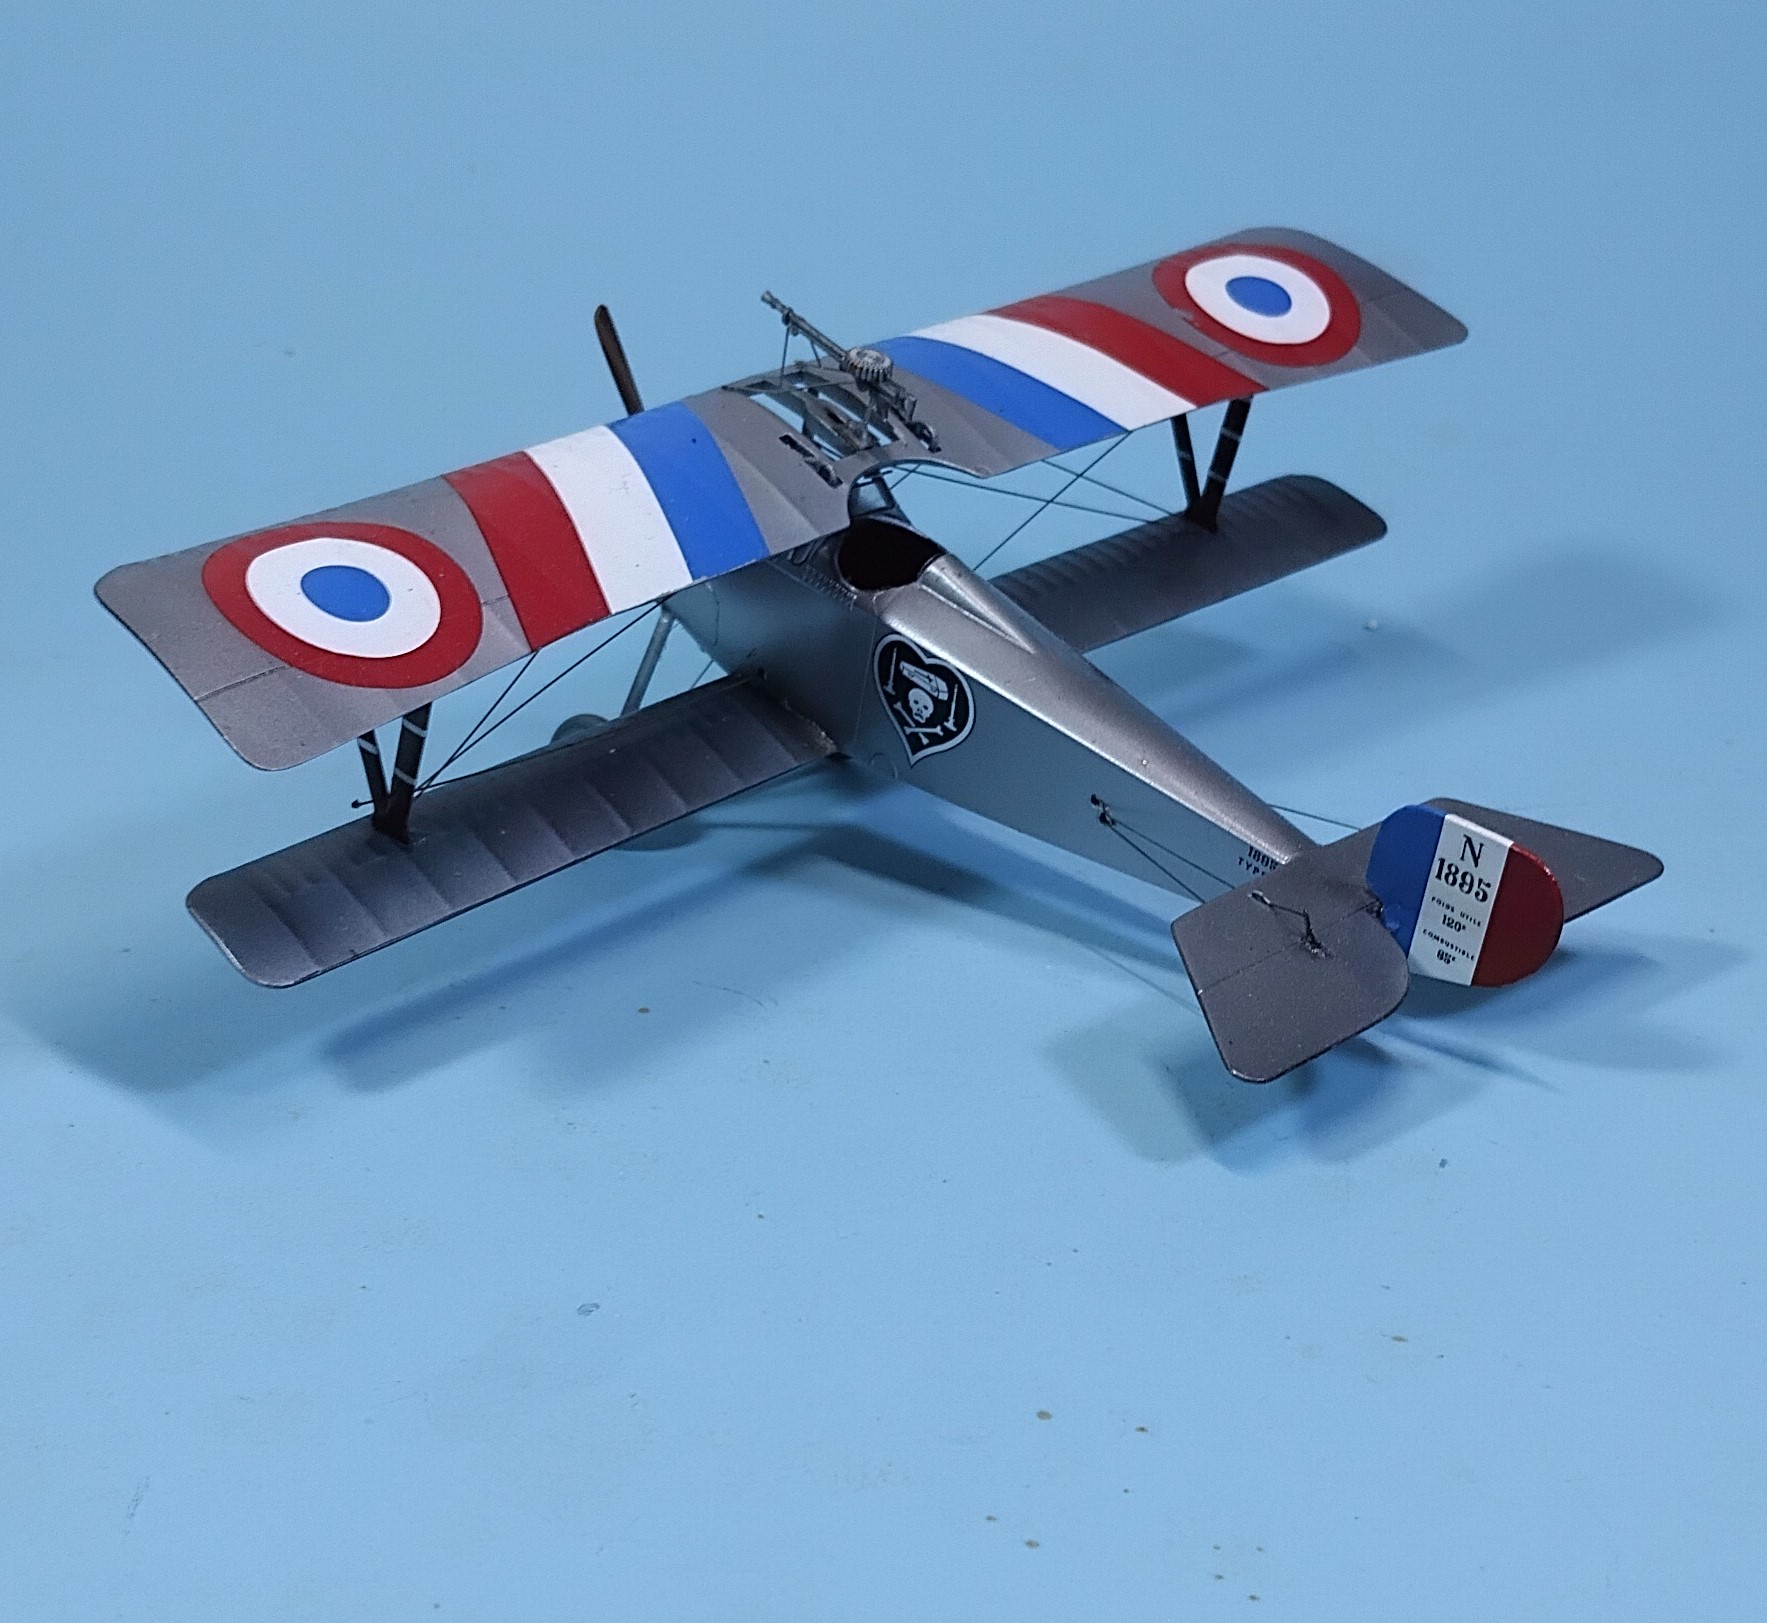
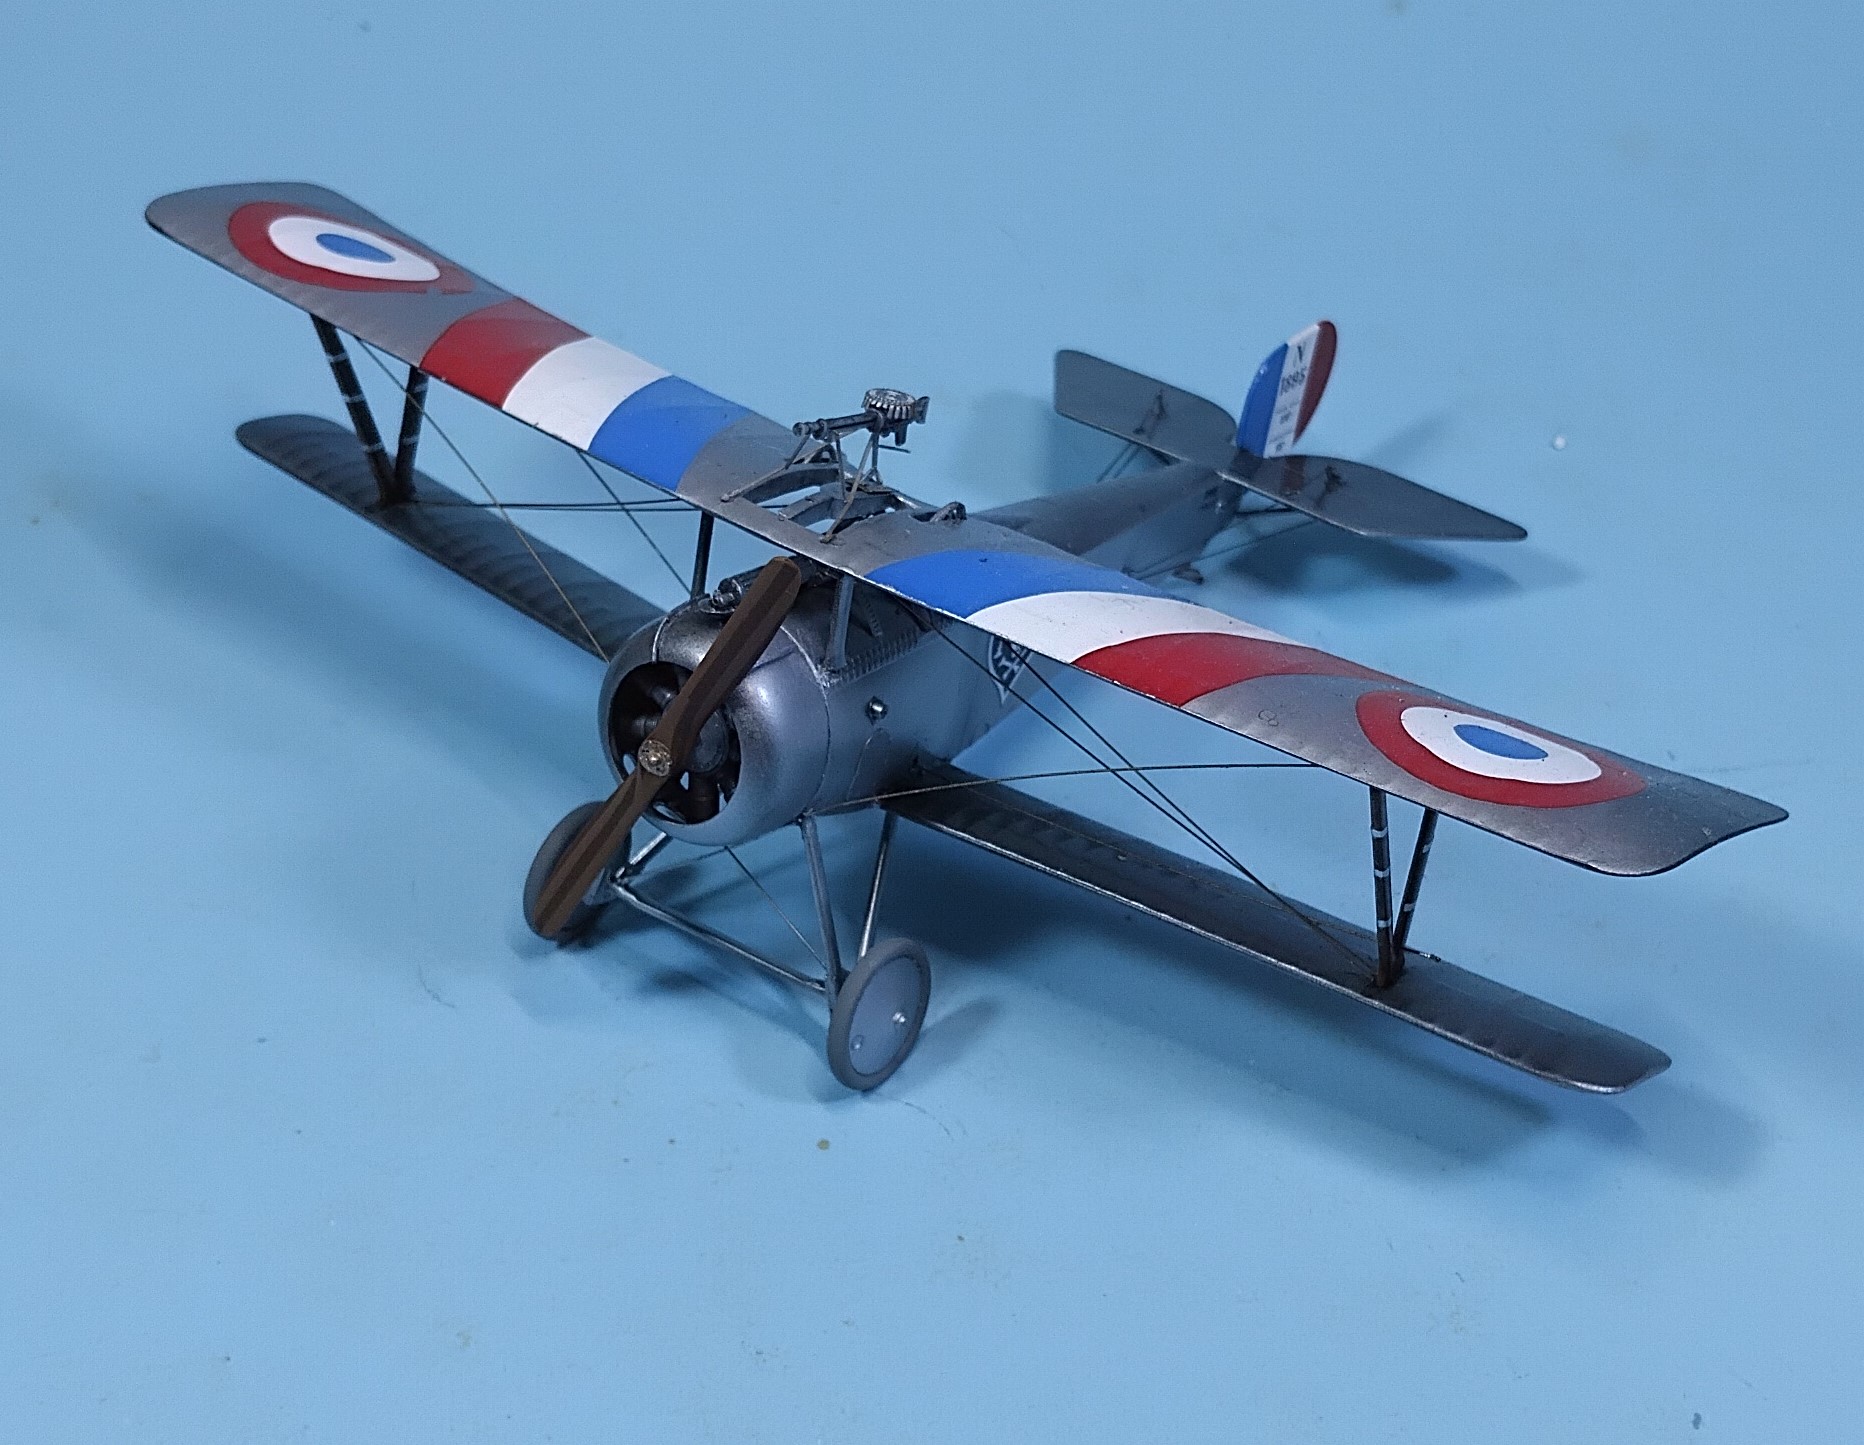
Overall, this is a great kit! I spent two weeks from start to finish, and I’m pretty pleased with the results. As I’m still new to biplanes, I would recommend it to those looking to conquer improved rigging skills as there isn’t that much, and it’s easily accessible. Hope you all enjoyed. While I didn’t make the deadline, this was a very pleasant group build, hopefully there will be a Great War 2025.
Till next time, be safe, wash your hands with soap and water, and have fun!
9 Likes
Sharp Build looks really good.
TinyDog01
2 Likes
I really like the Eduard Nieuports, I built both 11 and 16 (basically the same kit and enjoyed both. Yours looks good, well done
1 Like
That’s beautiful work. And great work on the rigging. I’ve often wondered if guitar strings would work, so might give it a try.
1 Like
I have an Eduard Nieuport too. Very nice result!
If someone else sets up a Great War 2025 I will contribute something.
1 Like
I am hoping to add a Plane to the stash but kind of nervous have never done rigging of any kind are there any user-friendly types of kits that are rigging friendly.
So how do the completion awards show up or where do they show up.