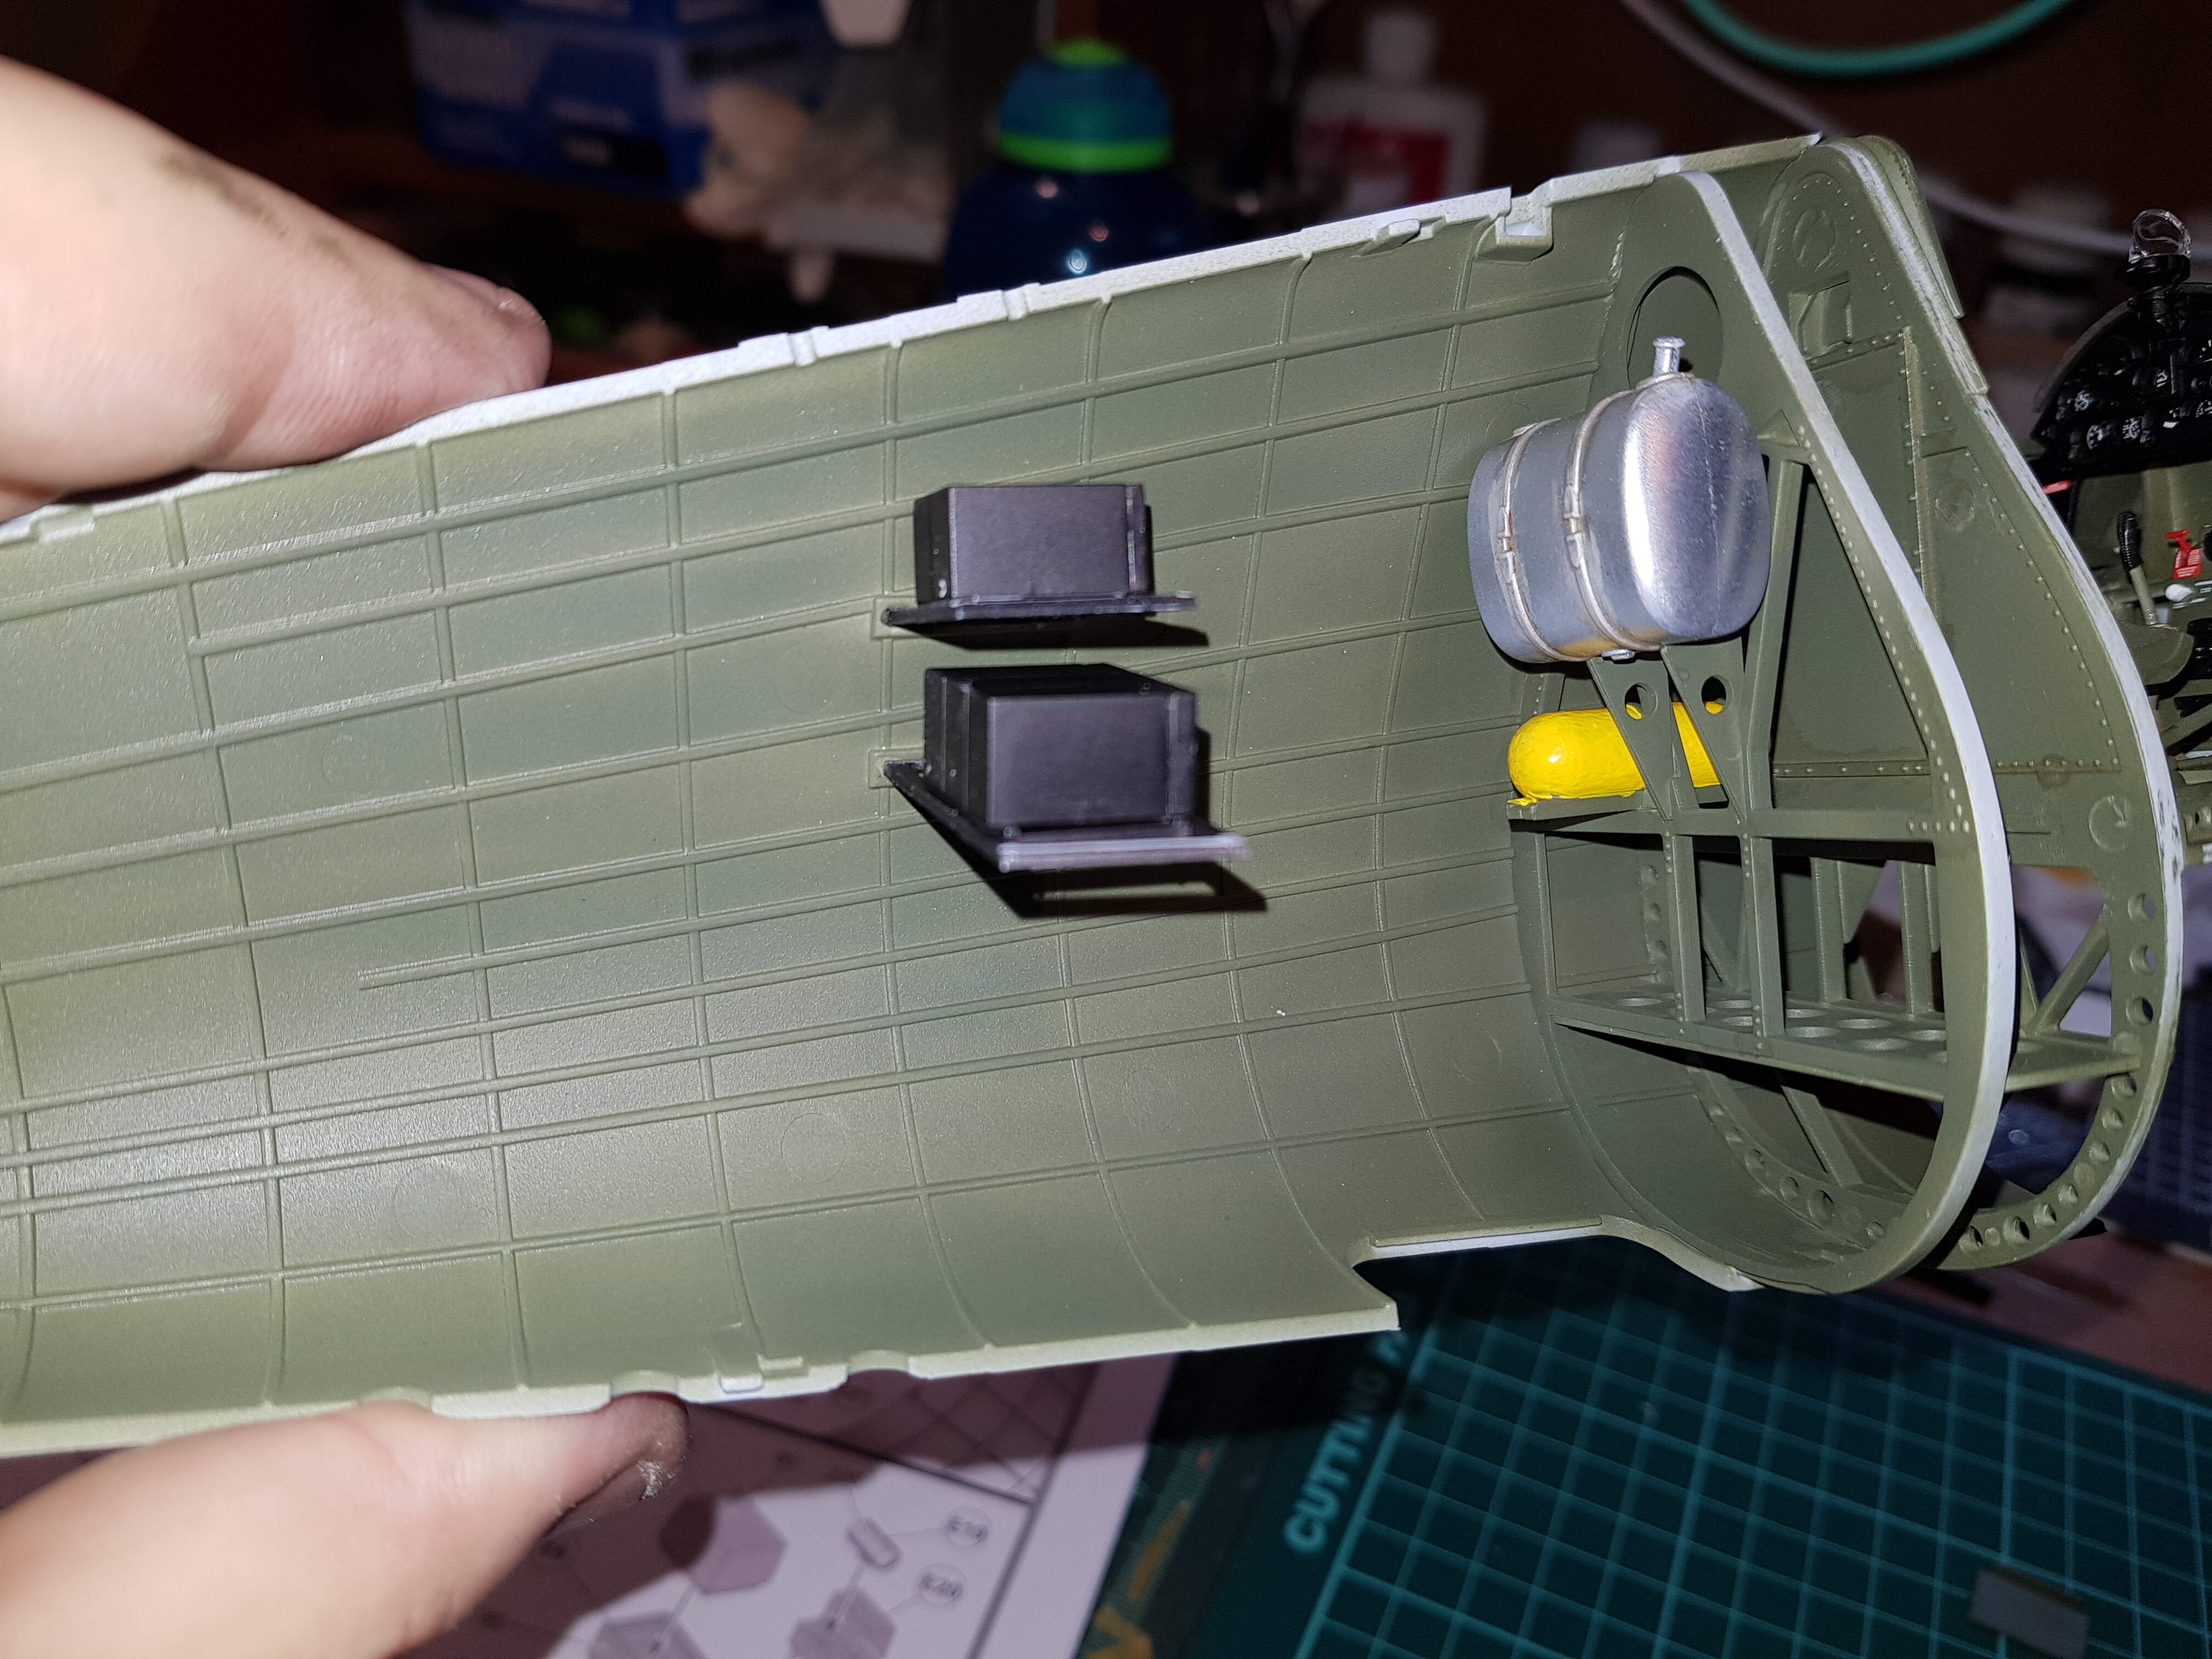
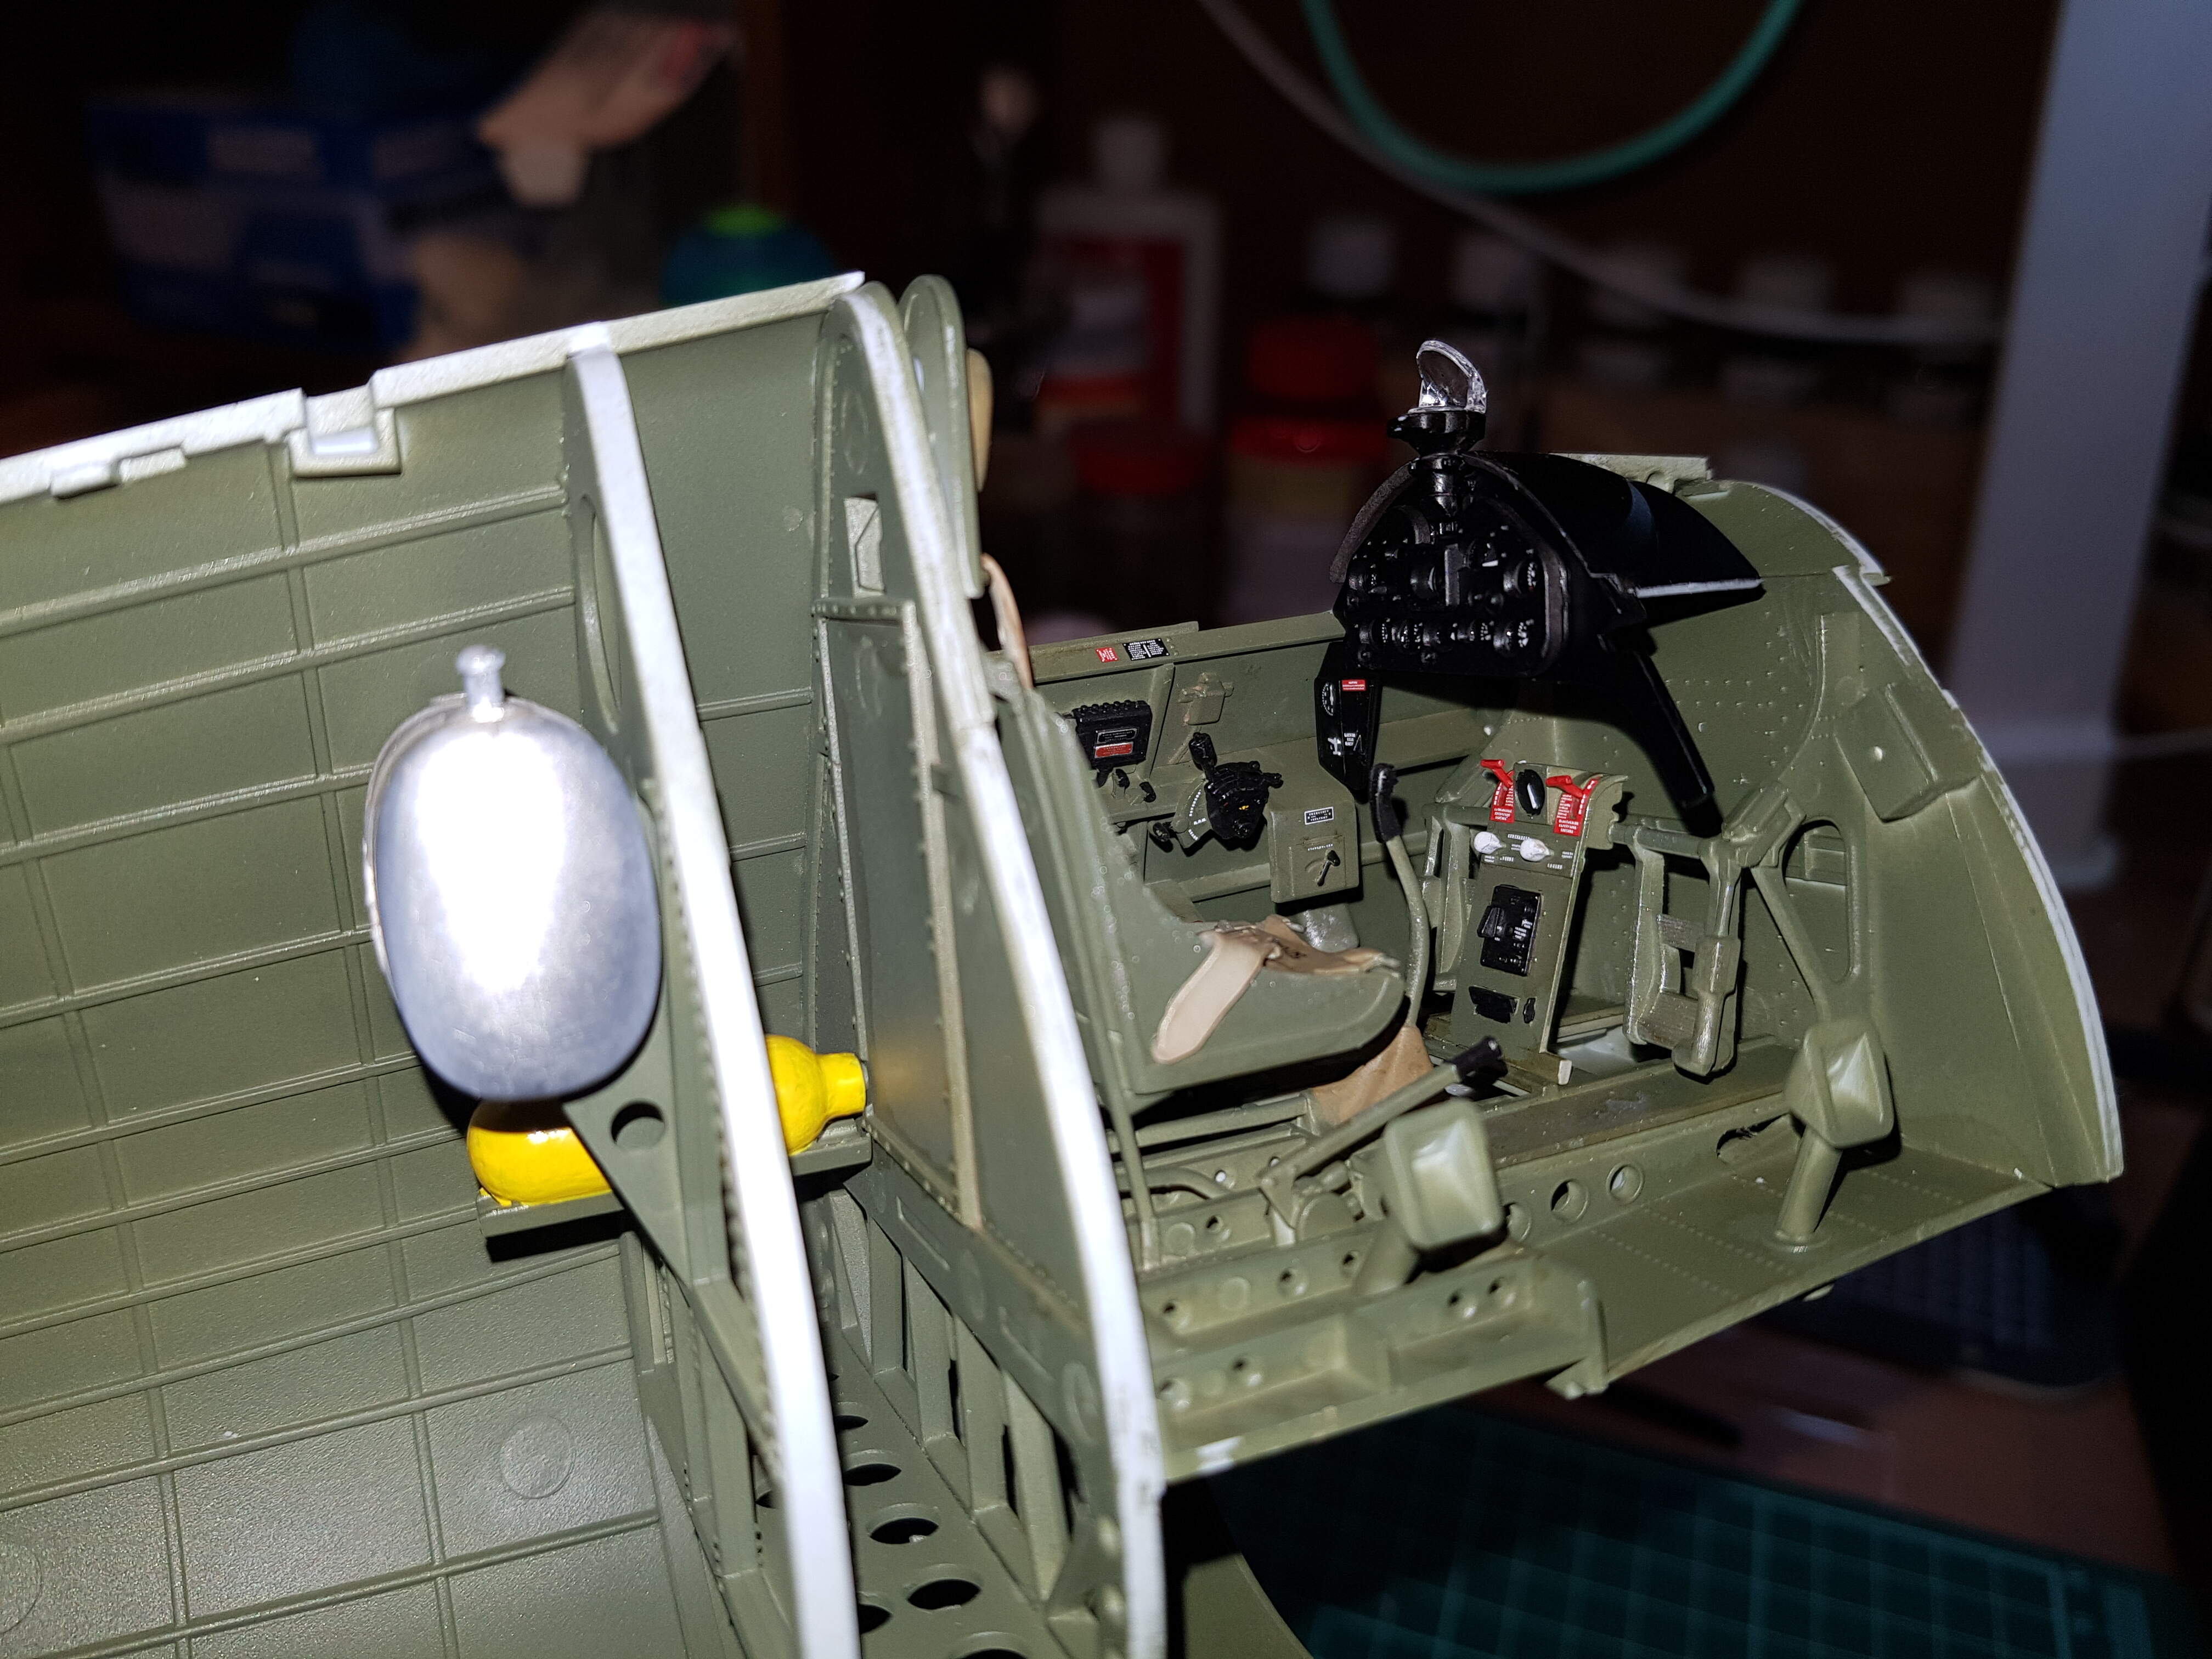
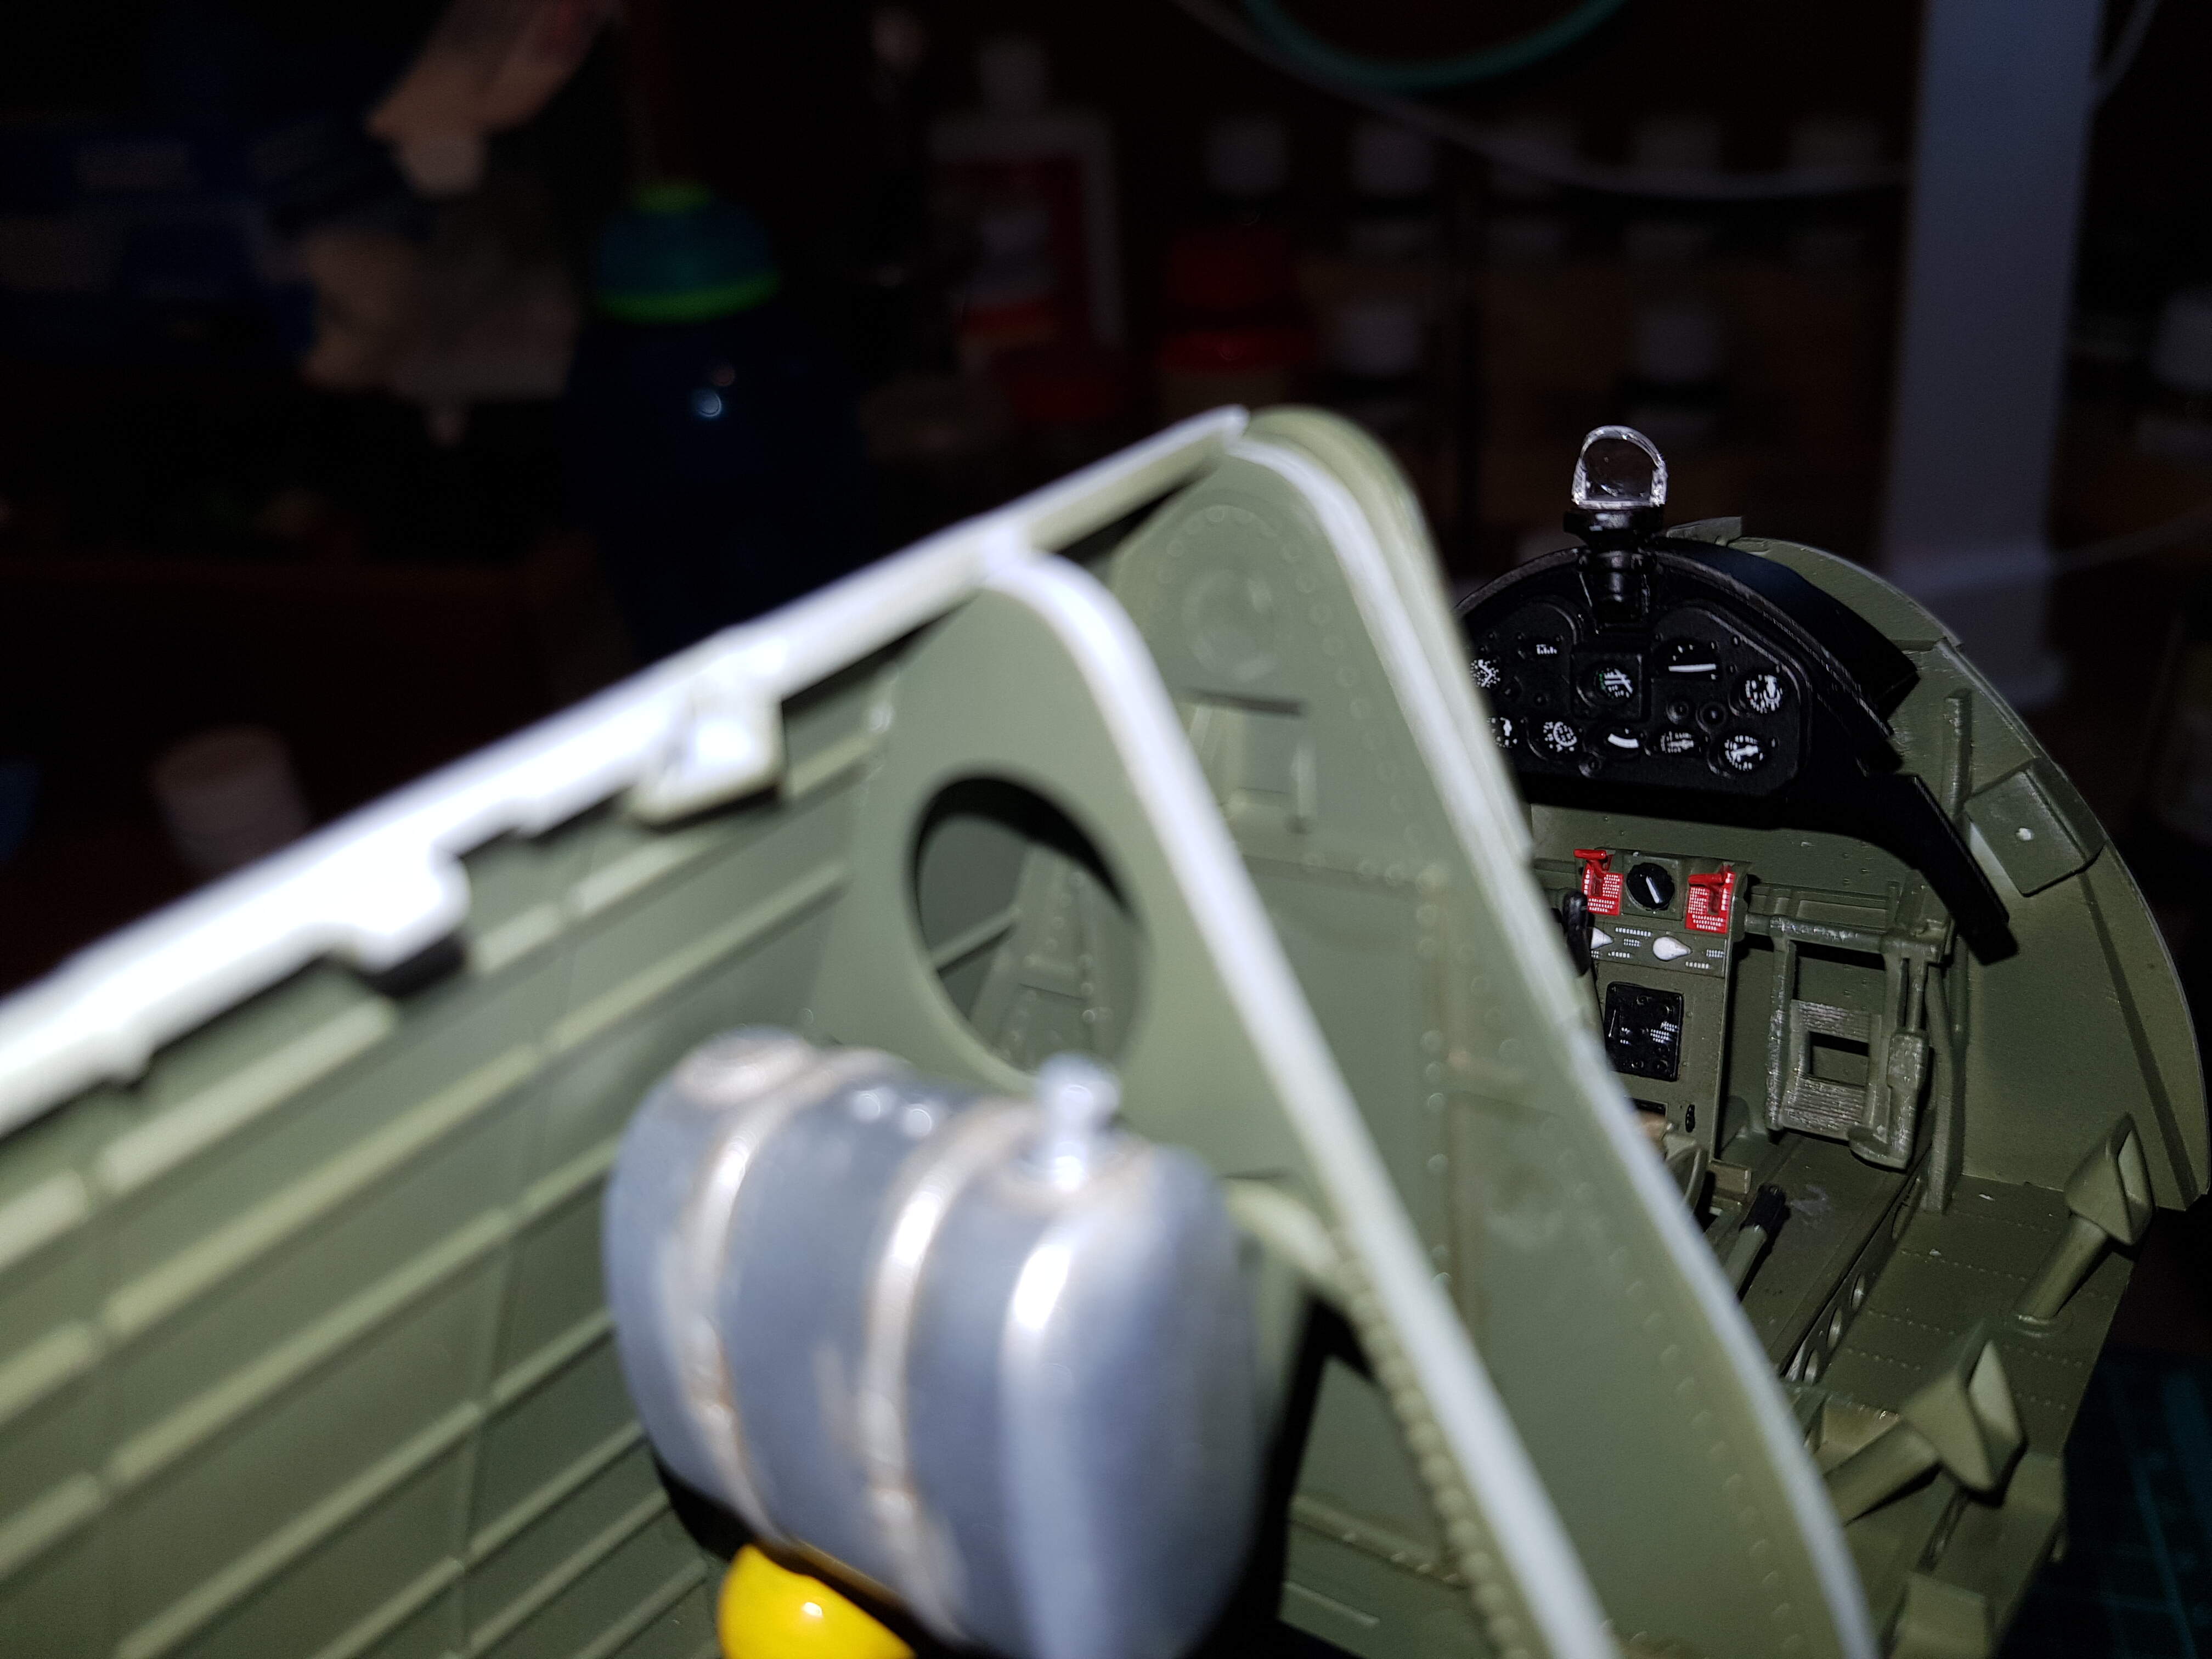
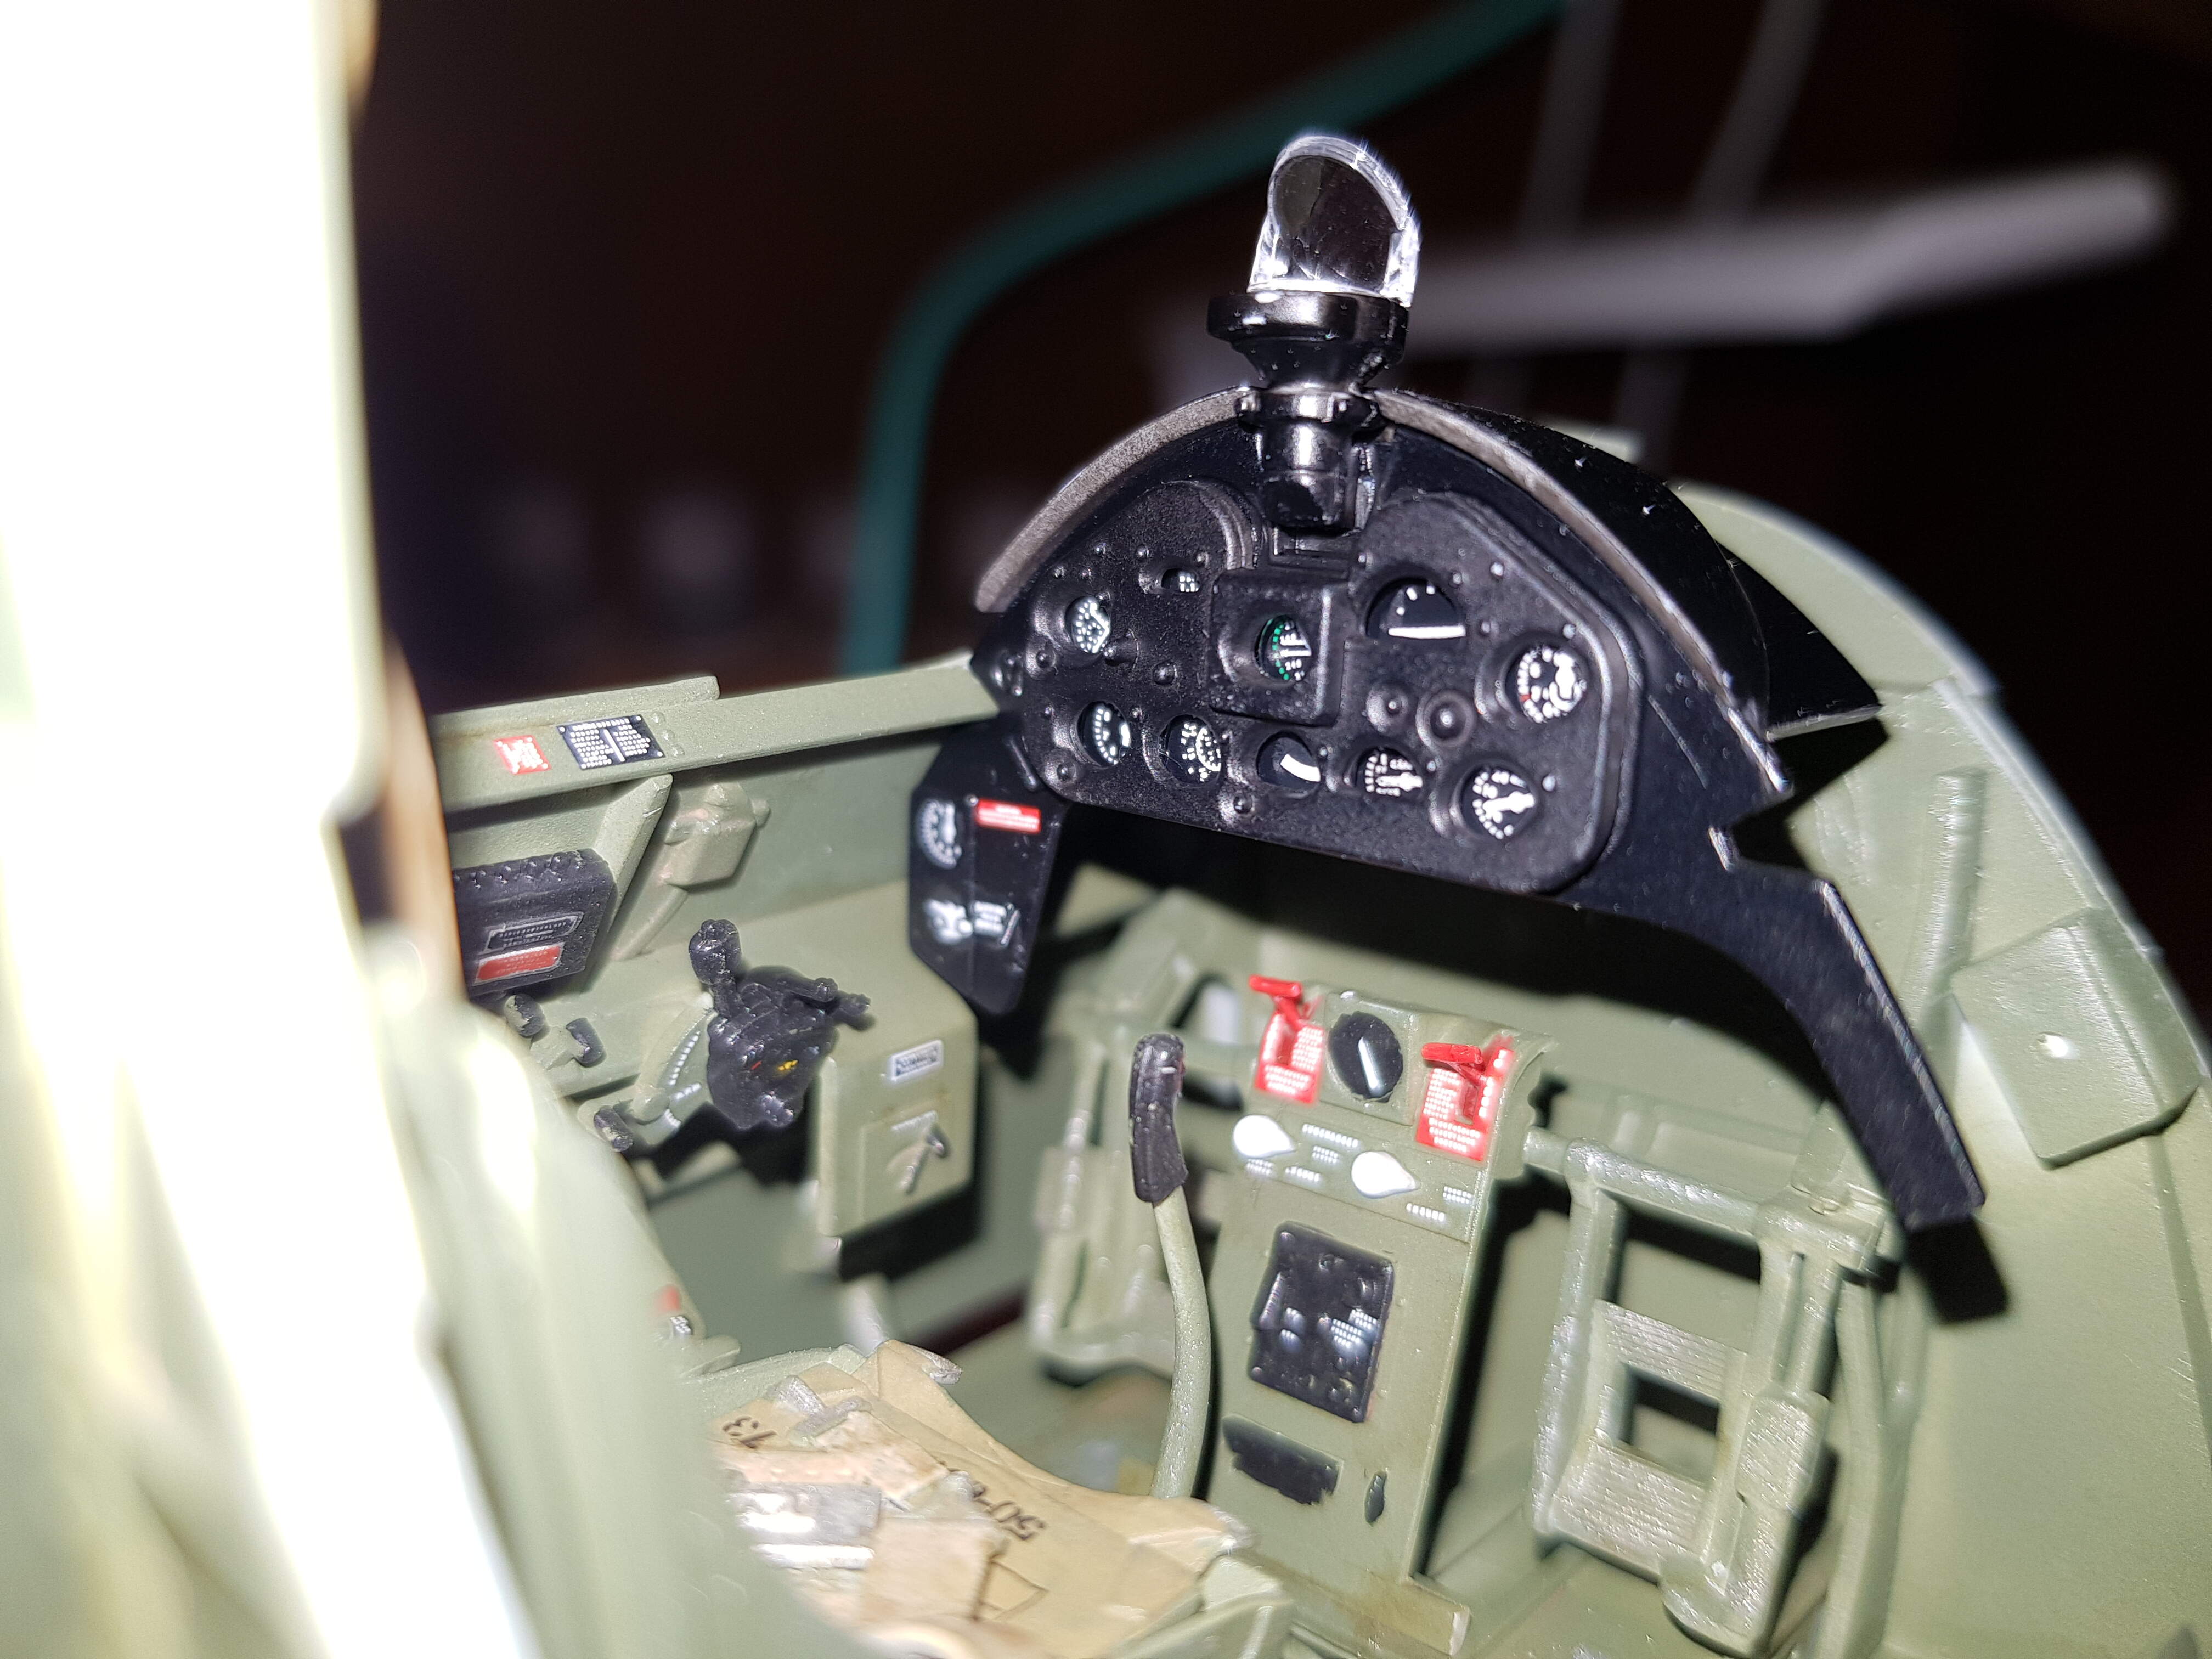
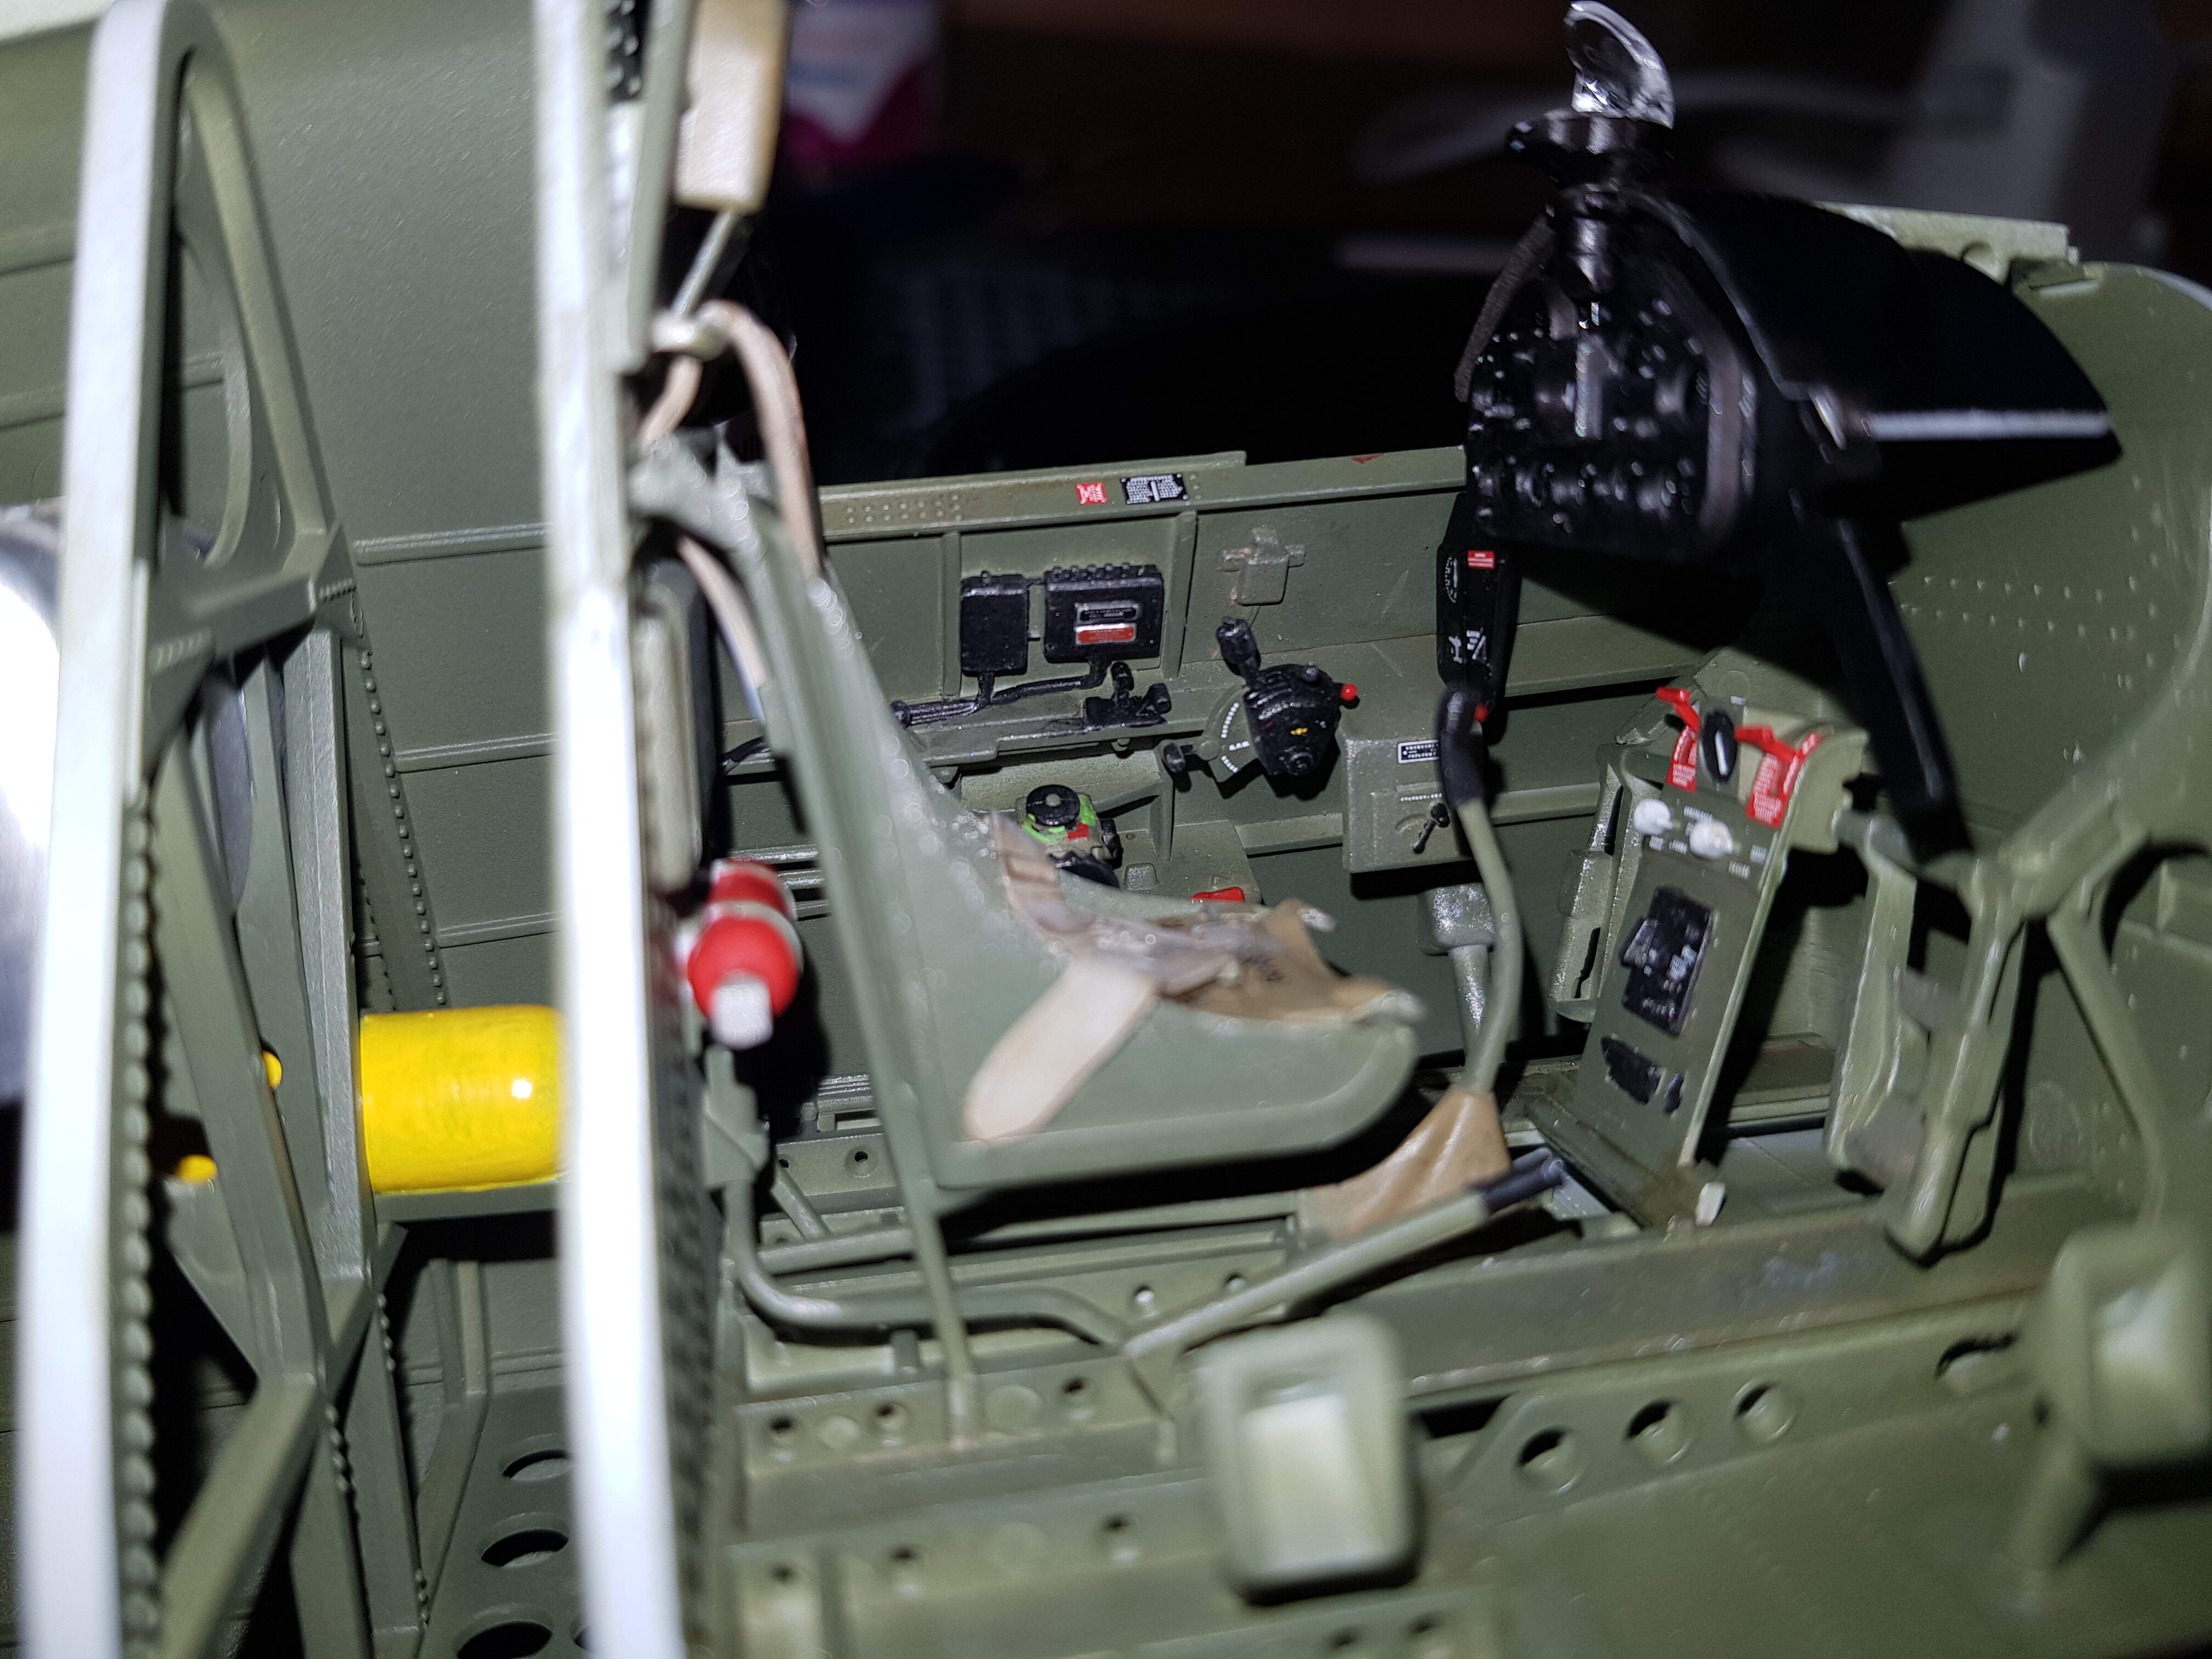
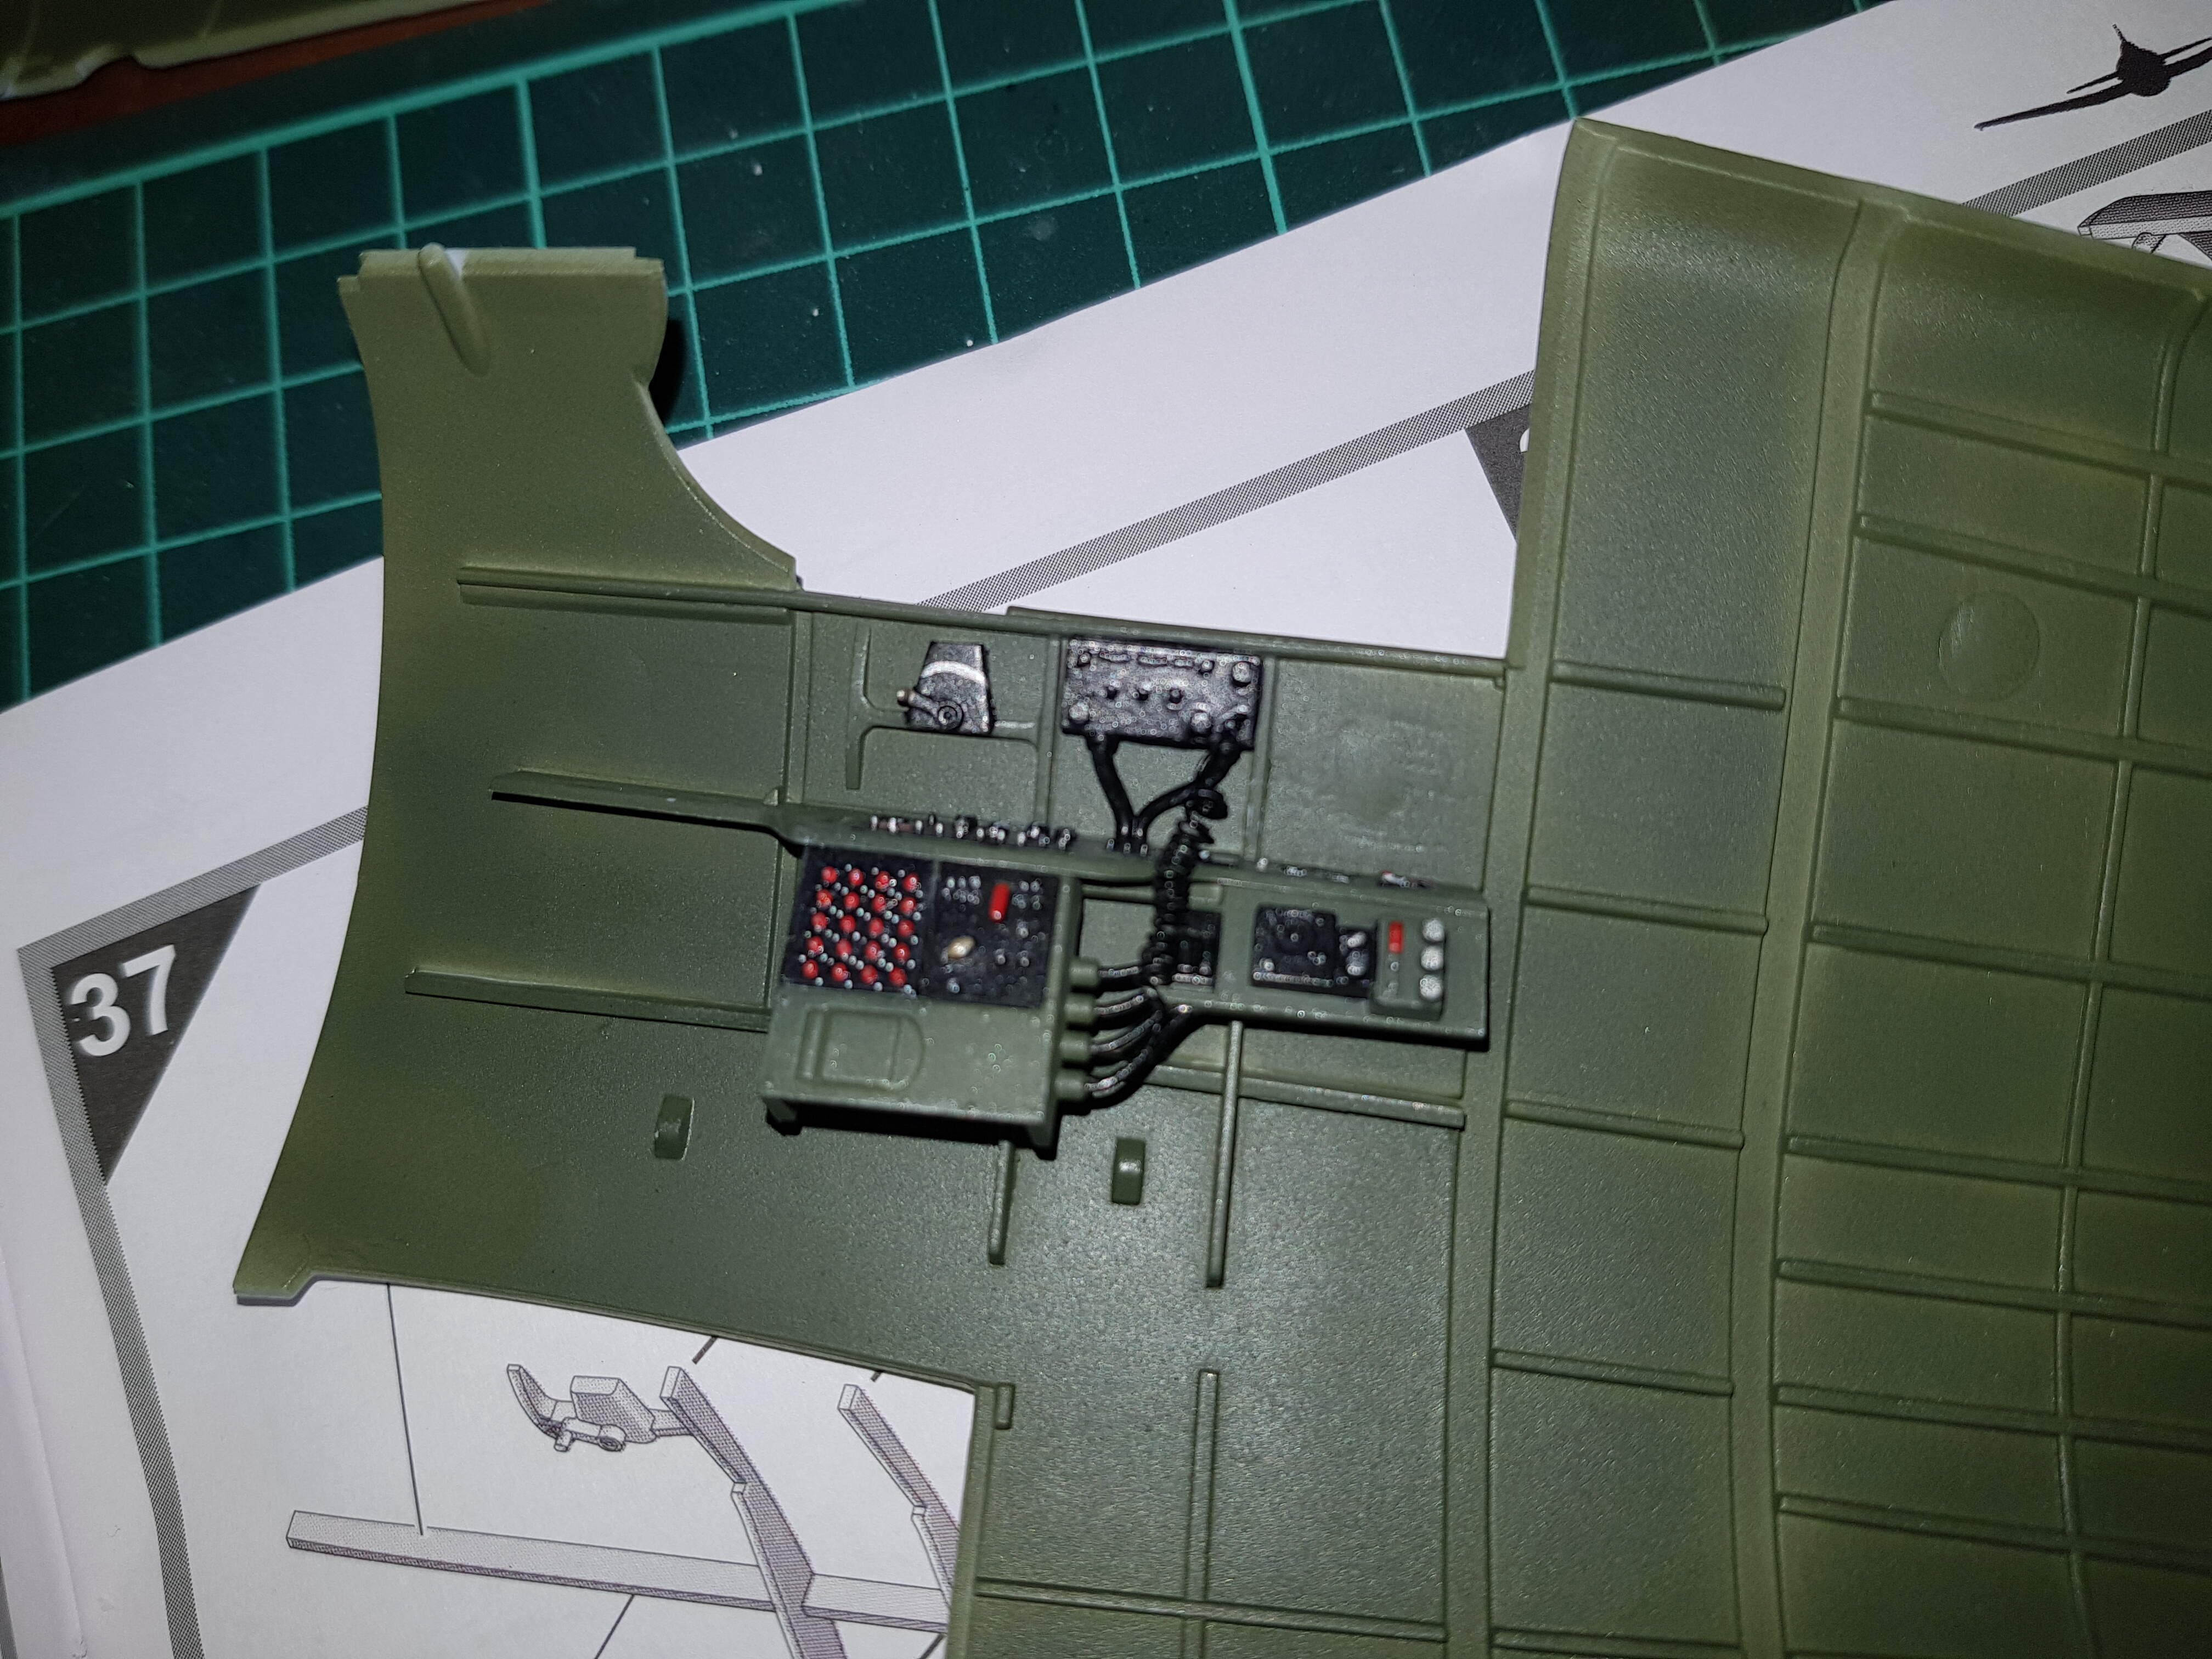
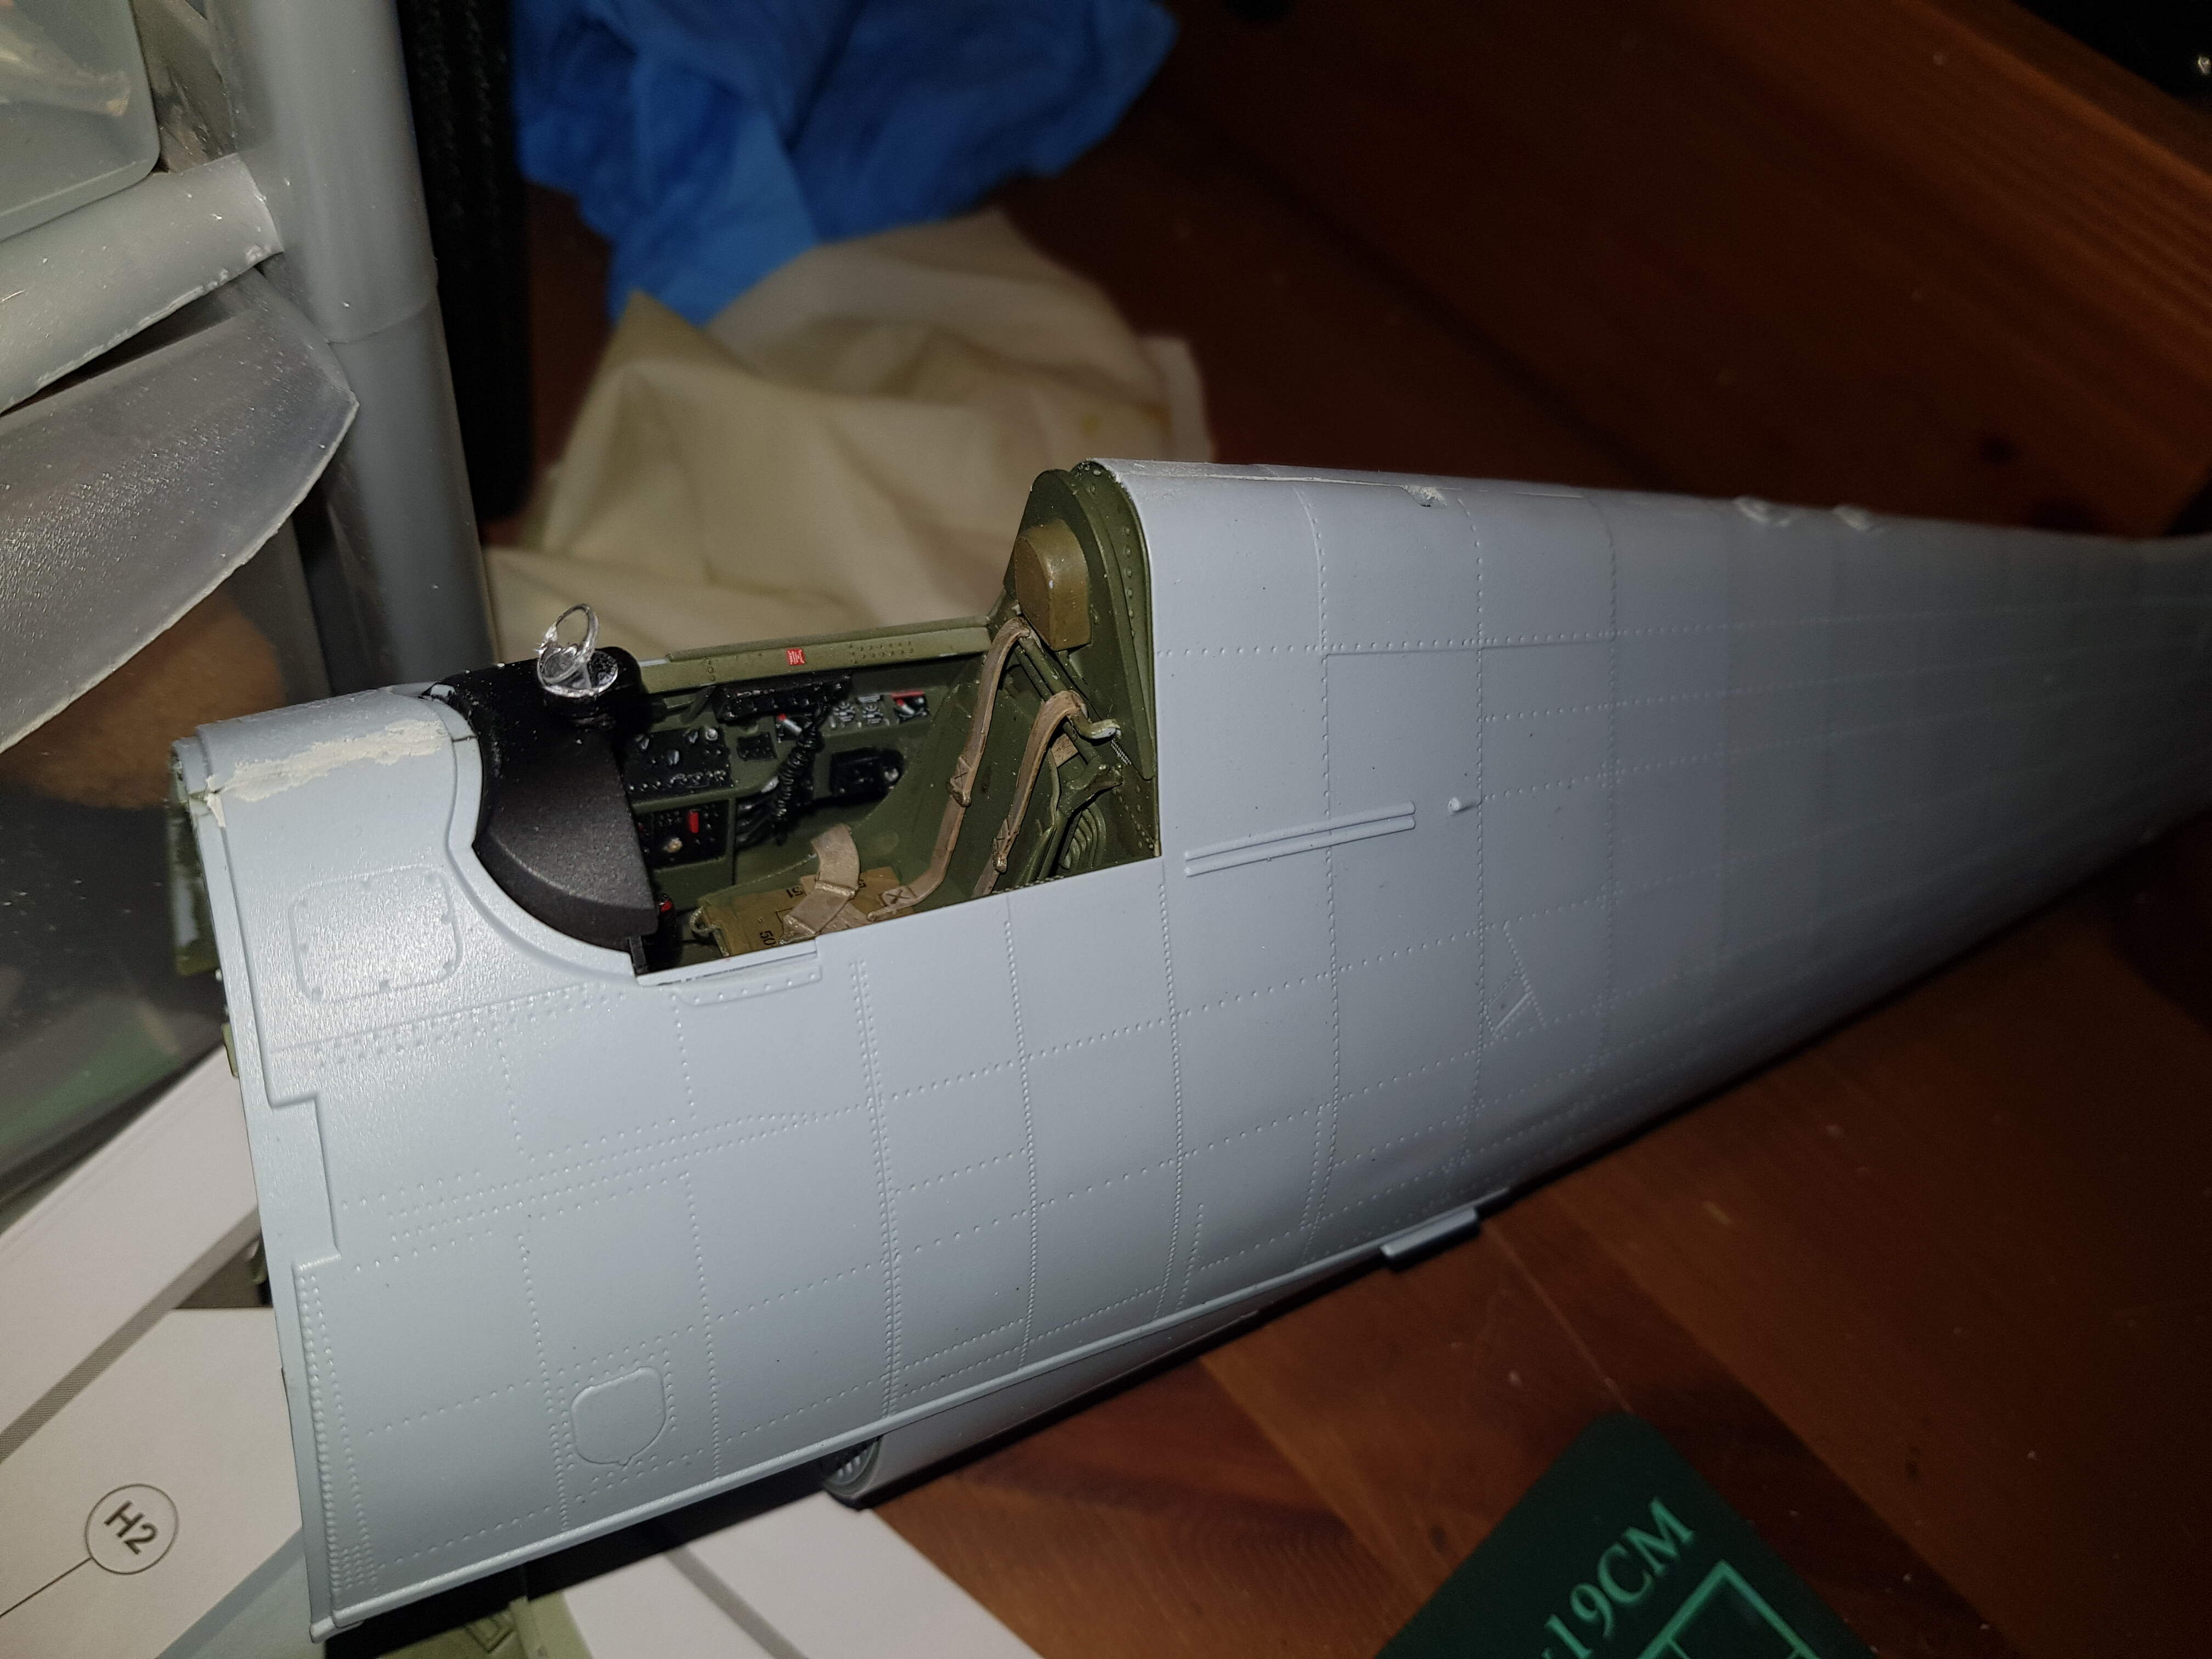
Completed the console and dials and they are in place. The Port side of the fuselage is complete, have started the starboard side and it is ready for some paint.
Thanks Russ. Always been pretty rapid at building. Mind you I still have my F3 sitting with the undercarriage and a few more decals waiting on my other bench. This kit goes together really well which helps.
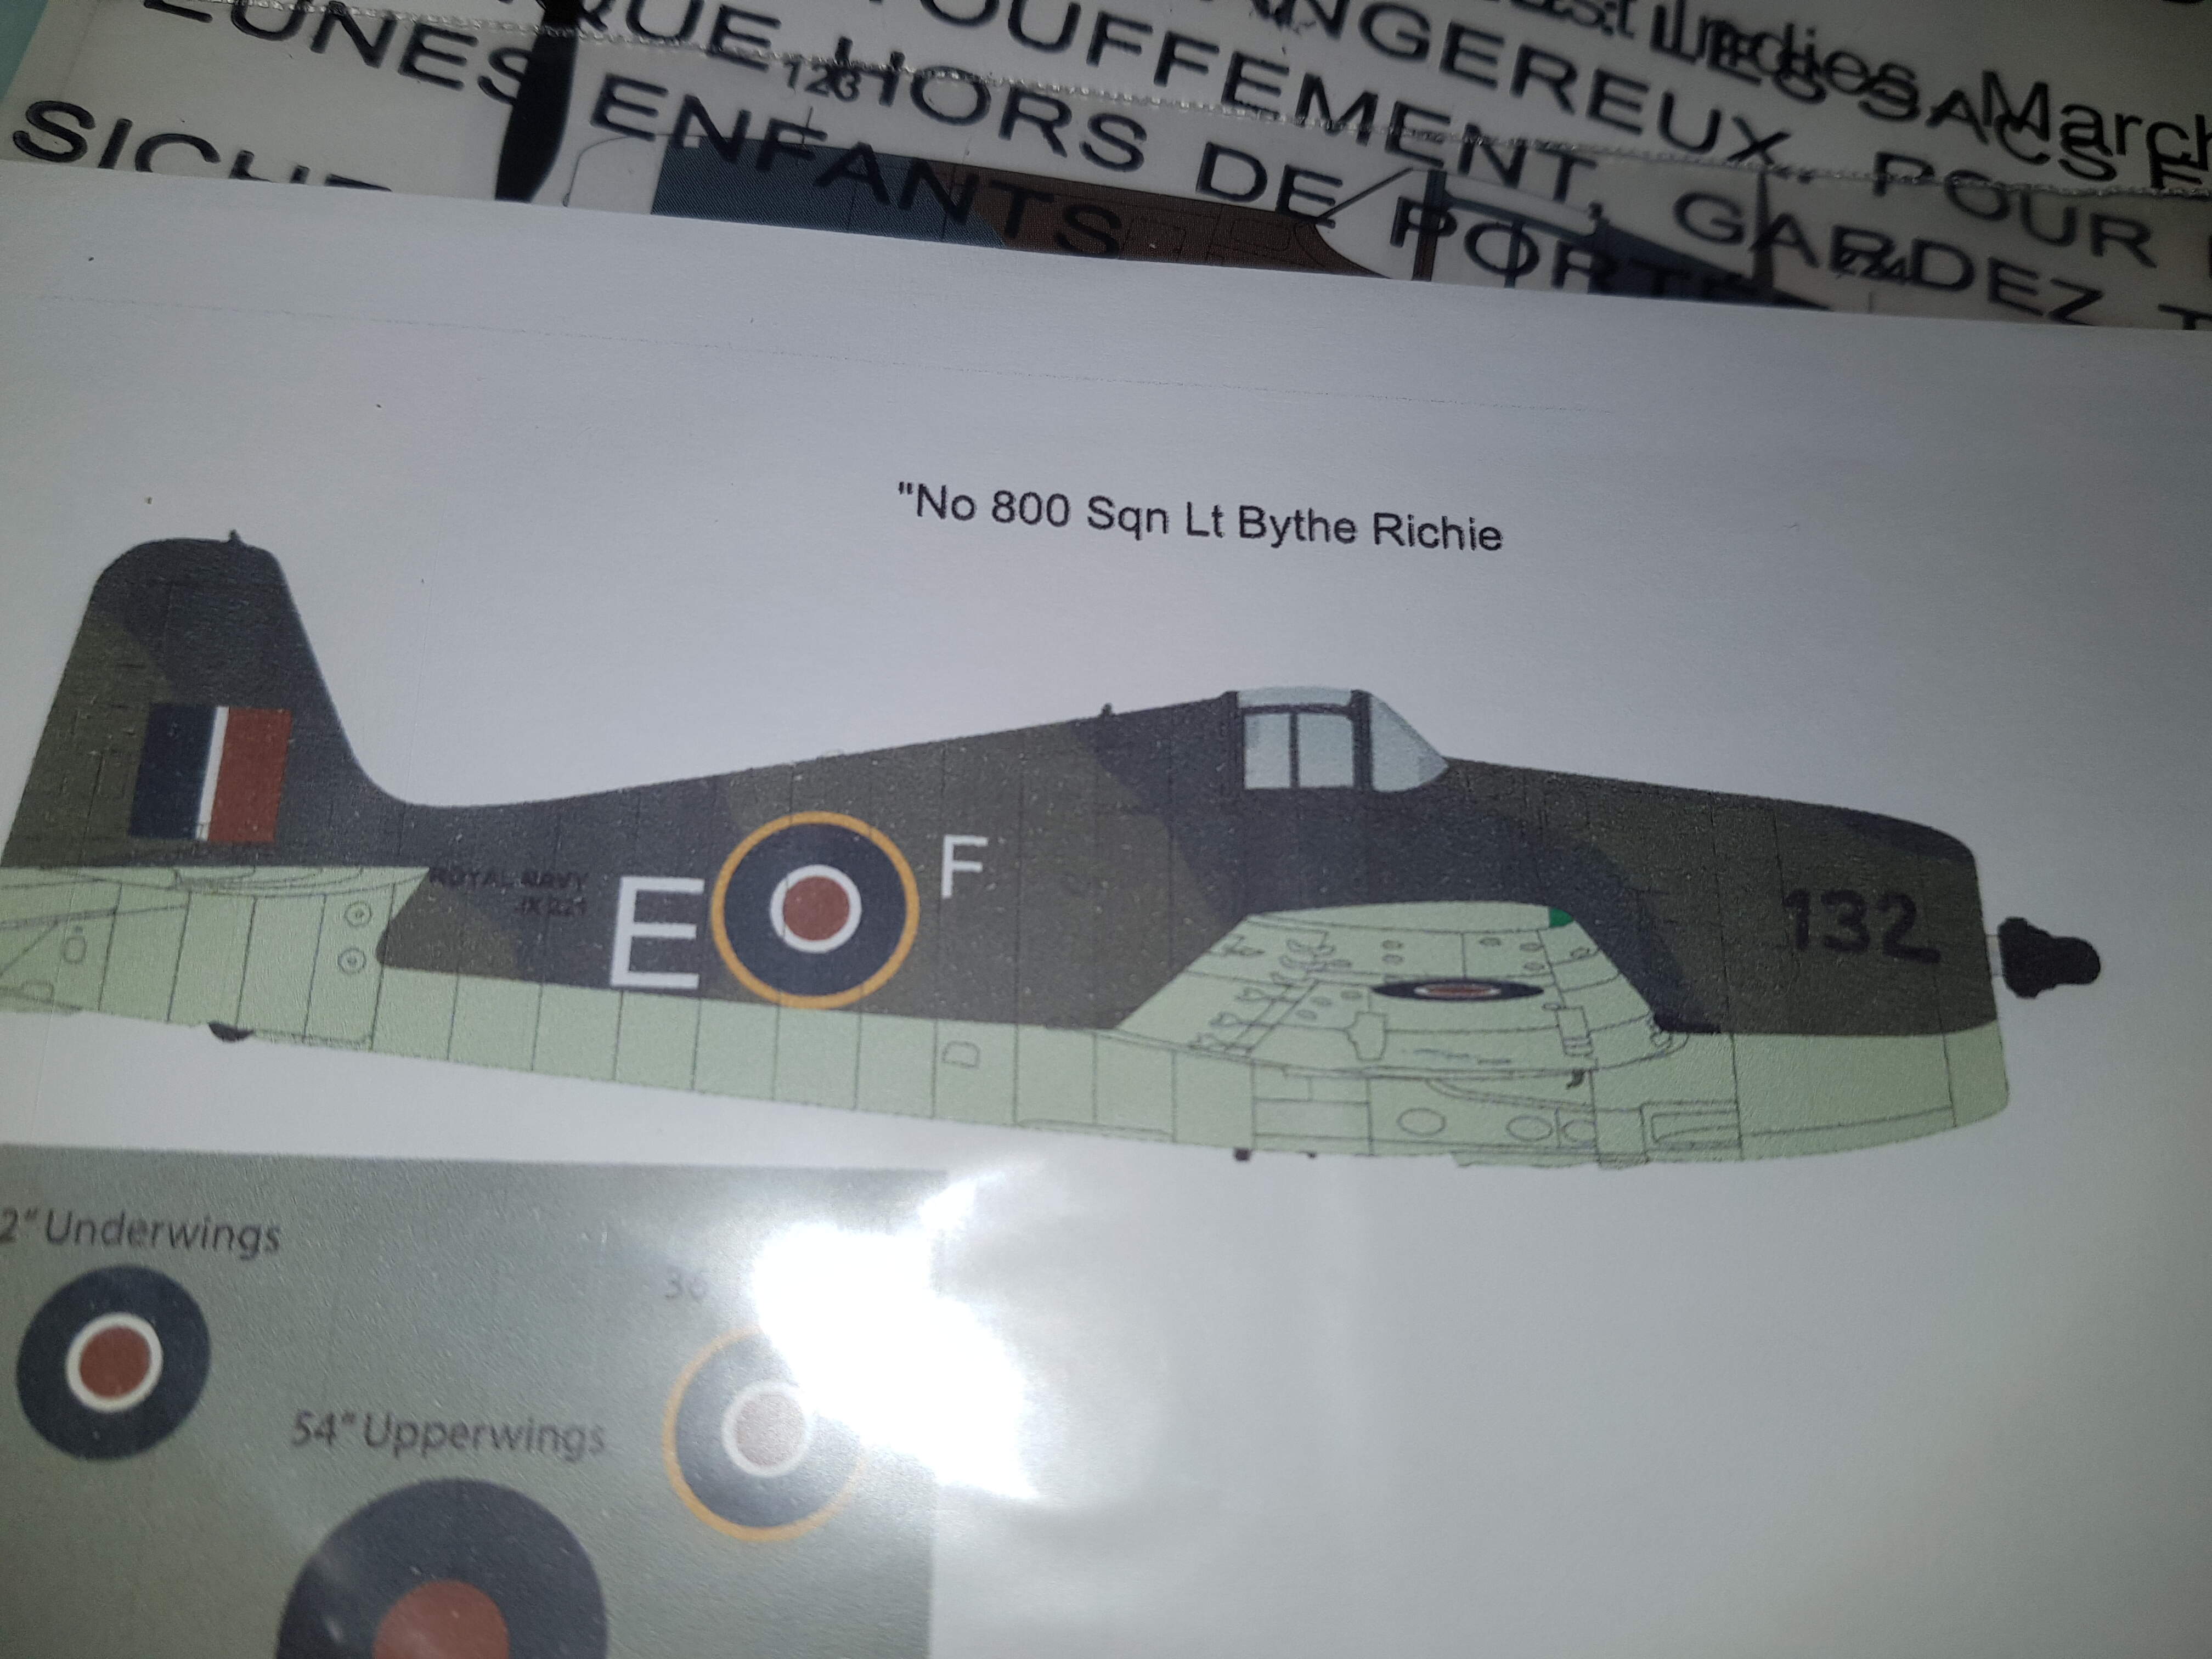
The colour scheme is one I picked up at Telford and is a Scottish Navy Pilot which appeals as I live in Scotland.pretty sad story really as he got his Ace kills in Norway having transferred to the Hellcat, being the 1st to achieve a kill of a FW190 with the Hellcat. A few days later helping to confirm kills on some Luftwaffe sea planes. Then months later he transferred to another Sqn and was killed in a training flight having received the DFC weeks before. So a tribute to one of many many brave pilots who lost their lives during WW2
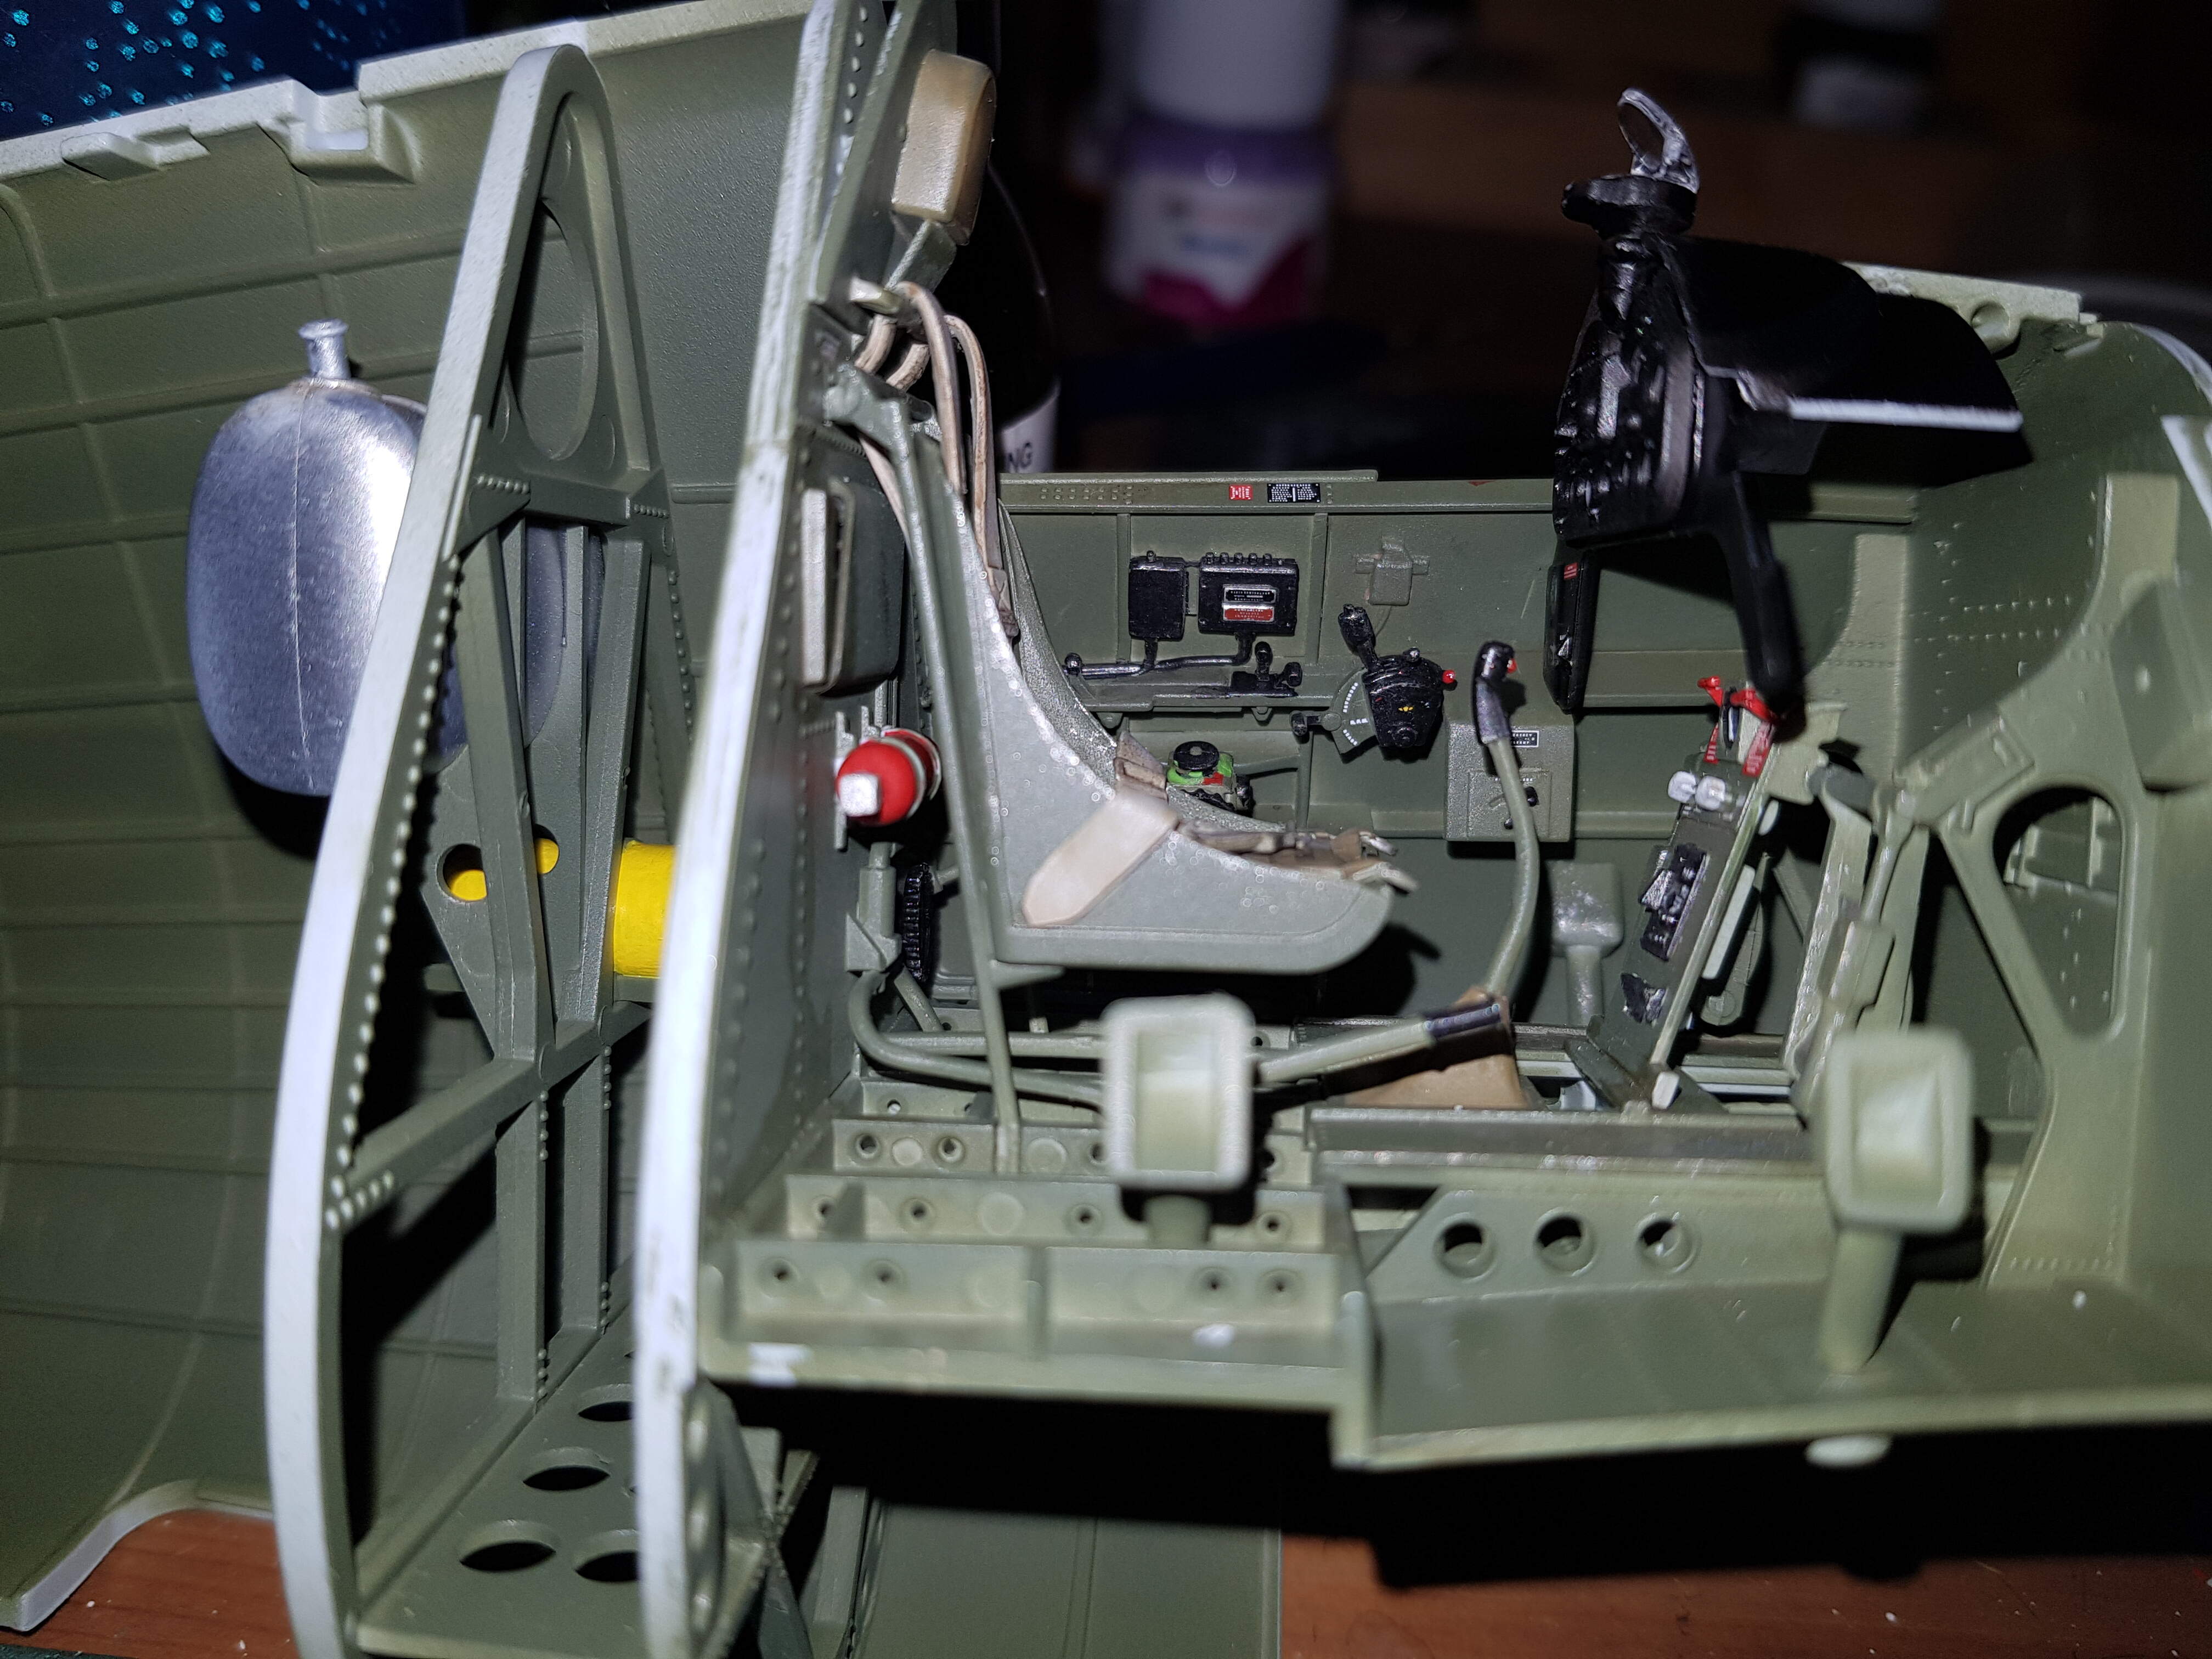
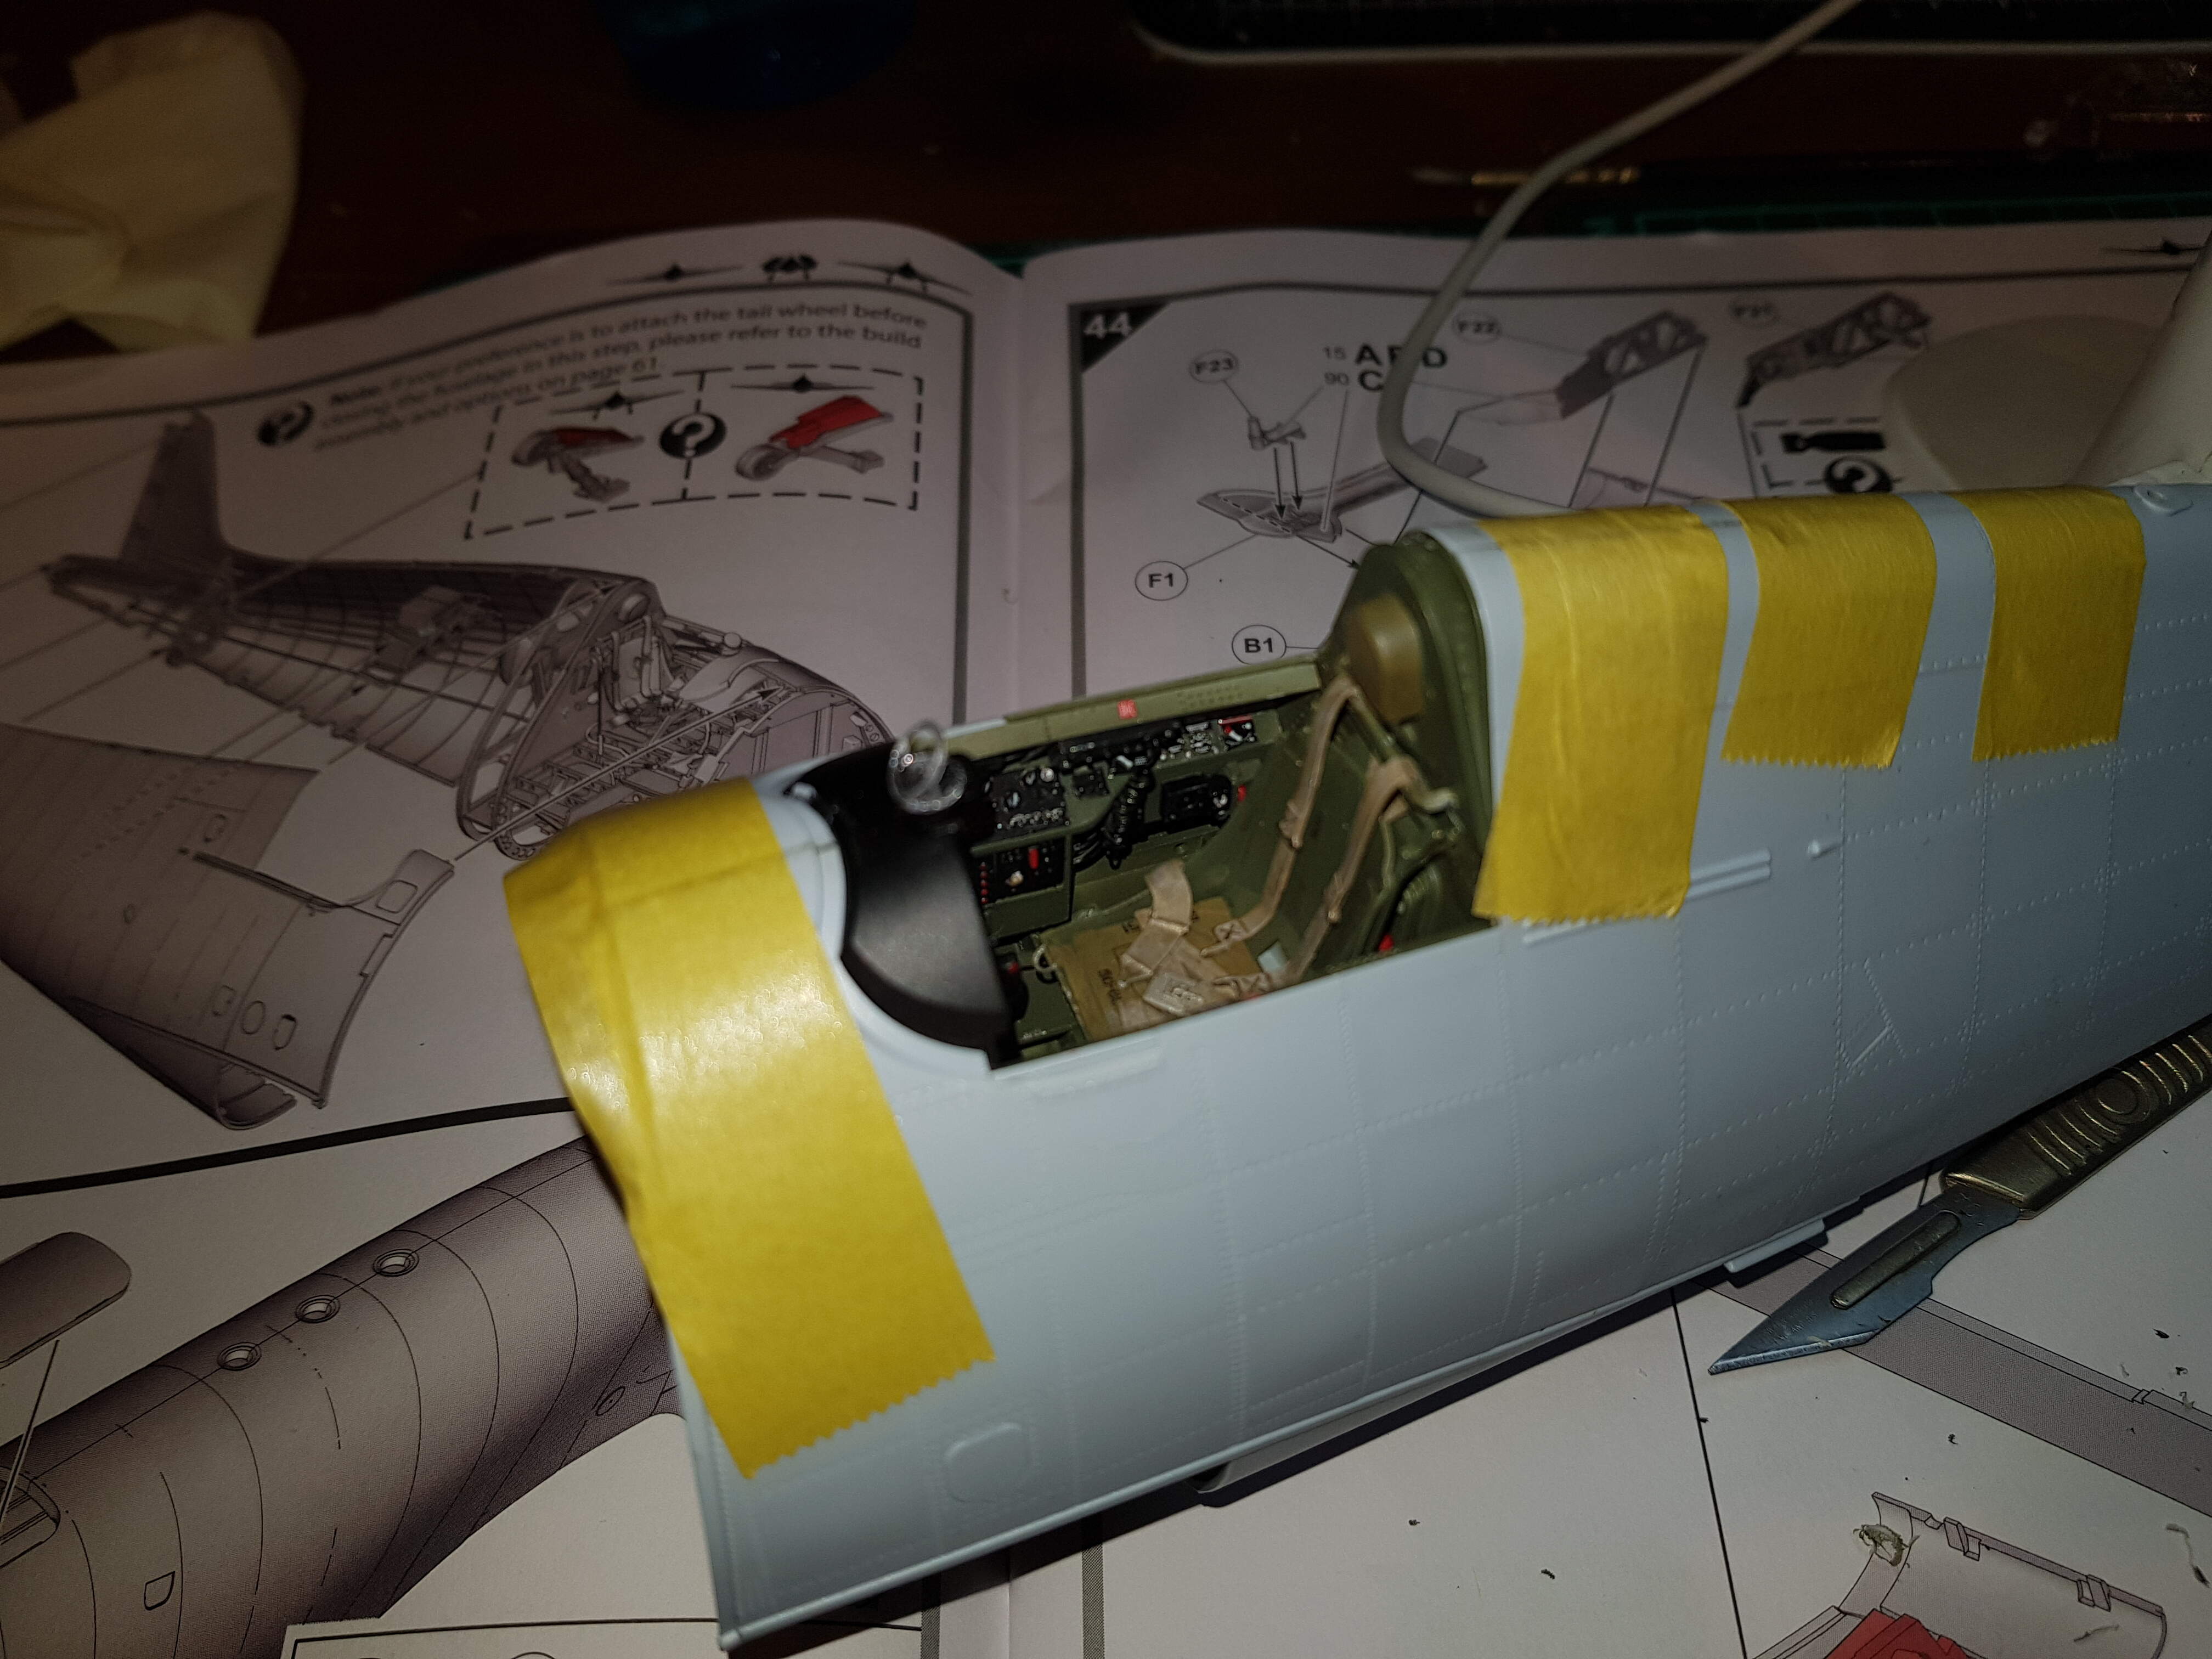
I followed the instructions and this is a bitch to get to join up. A very slight gap at the cockpit windscreen area. Underneath was a mission to keep a join. Rechecked the internal areas for anything obstructing the 2 halves going together. It was all good. I shaved a bit off joining areas inside. Eventually with some jiggery pokery and a small amount of brute force I got a join. Small gap behind the cockpit and slight gap underneath in the middle. Just hope it holds lol.
Left overnight with the tape holding the joins, I will check it later to see how it has gone.
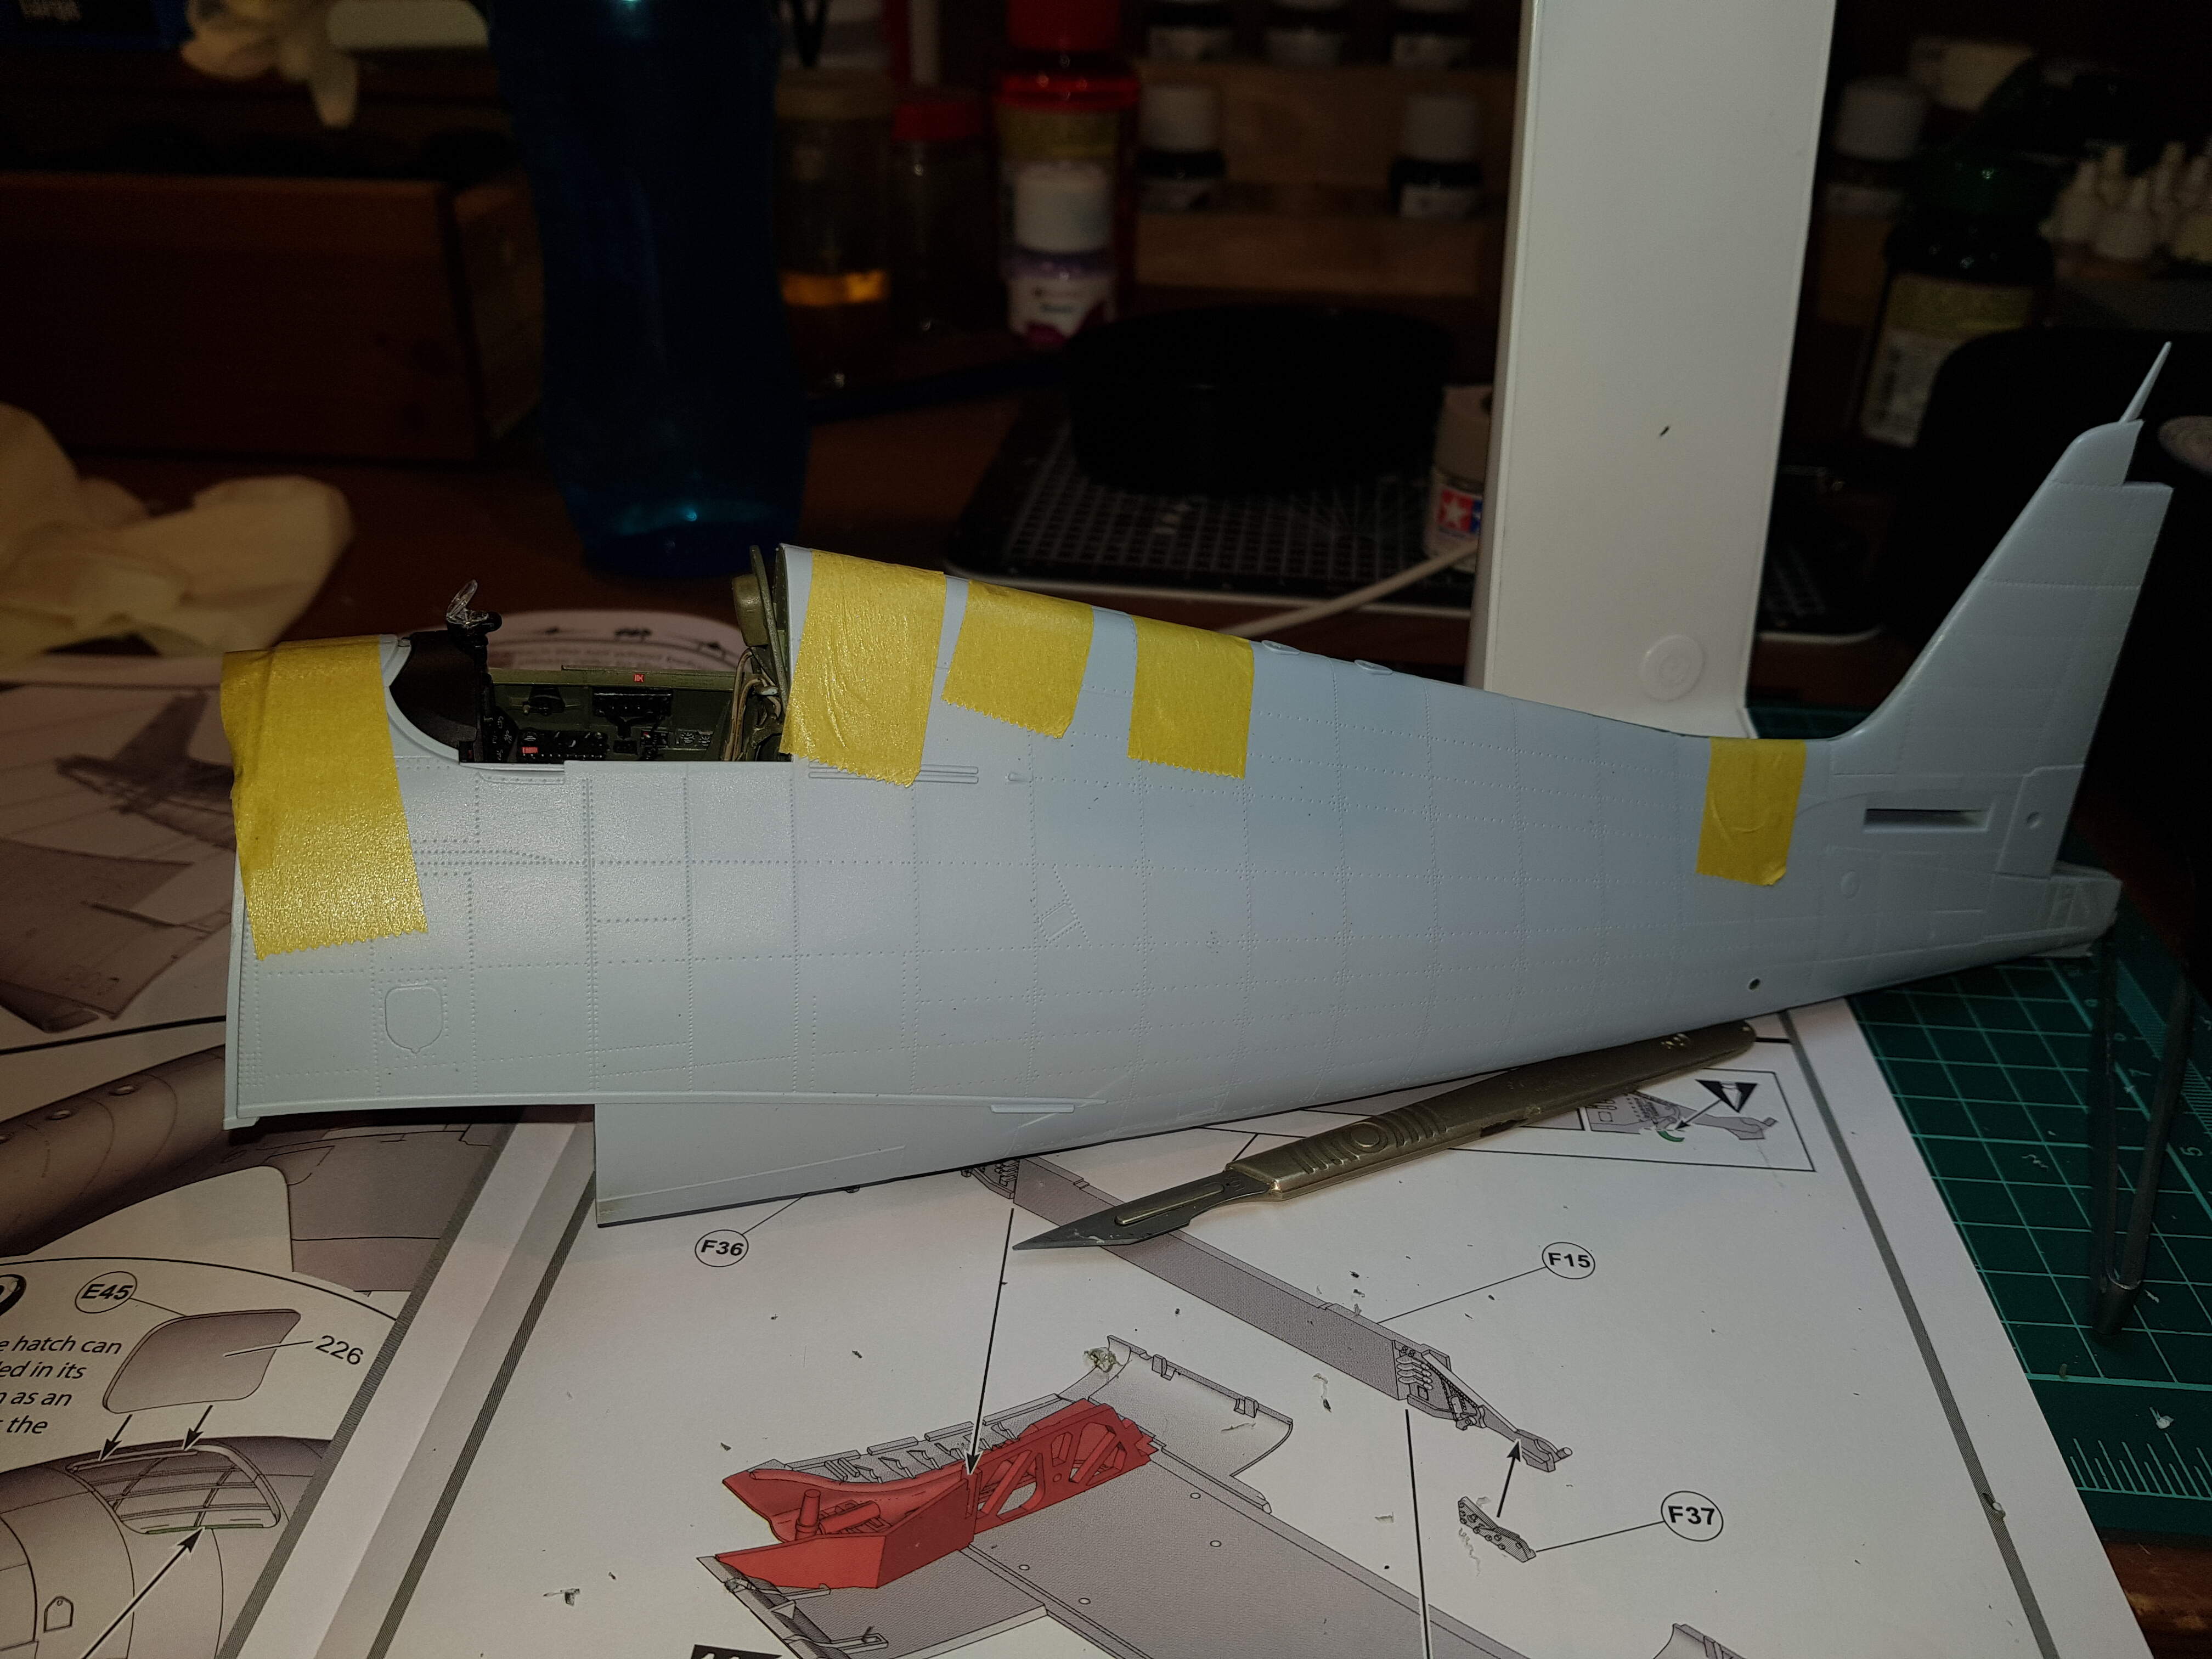
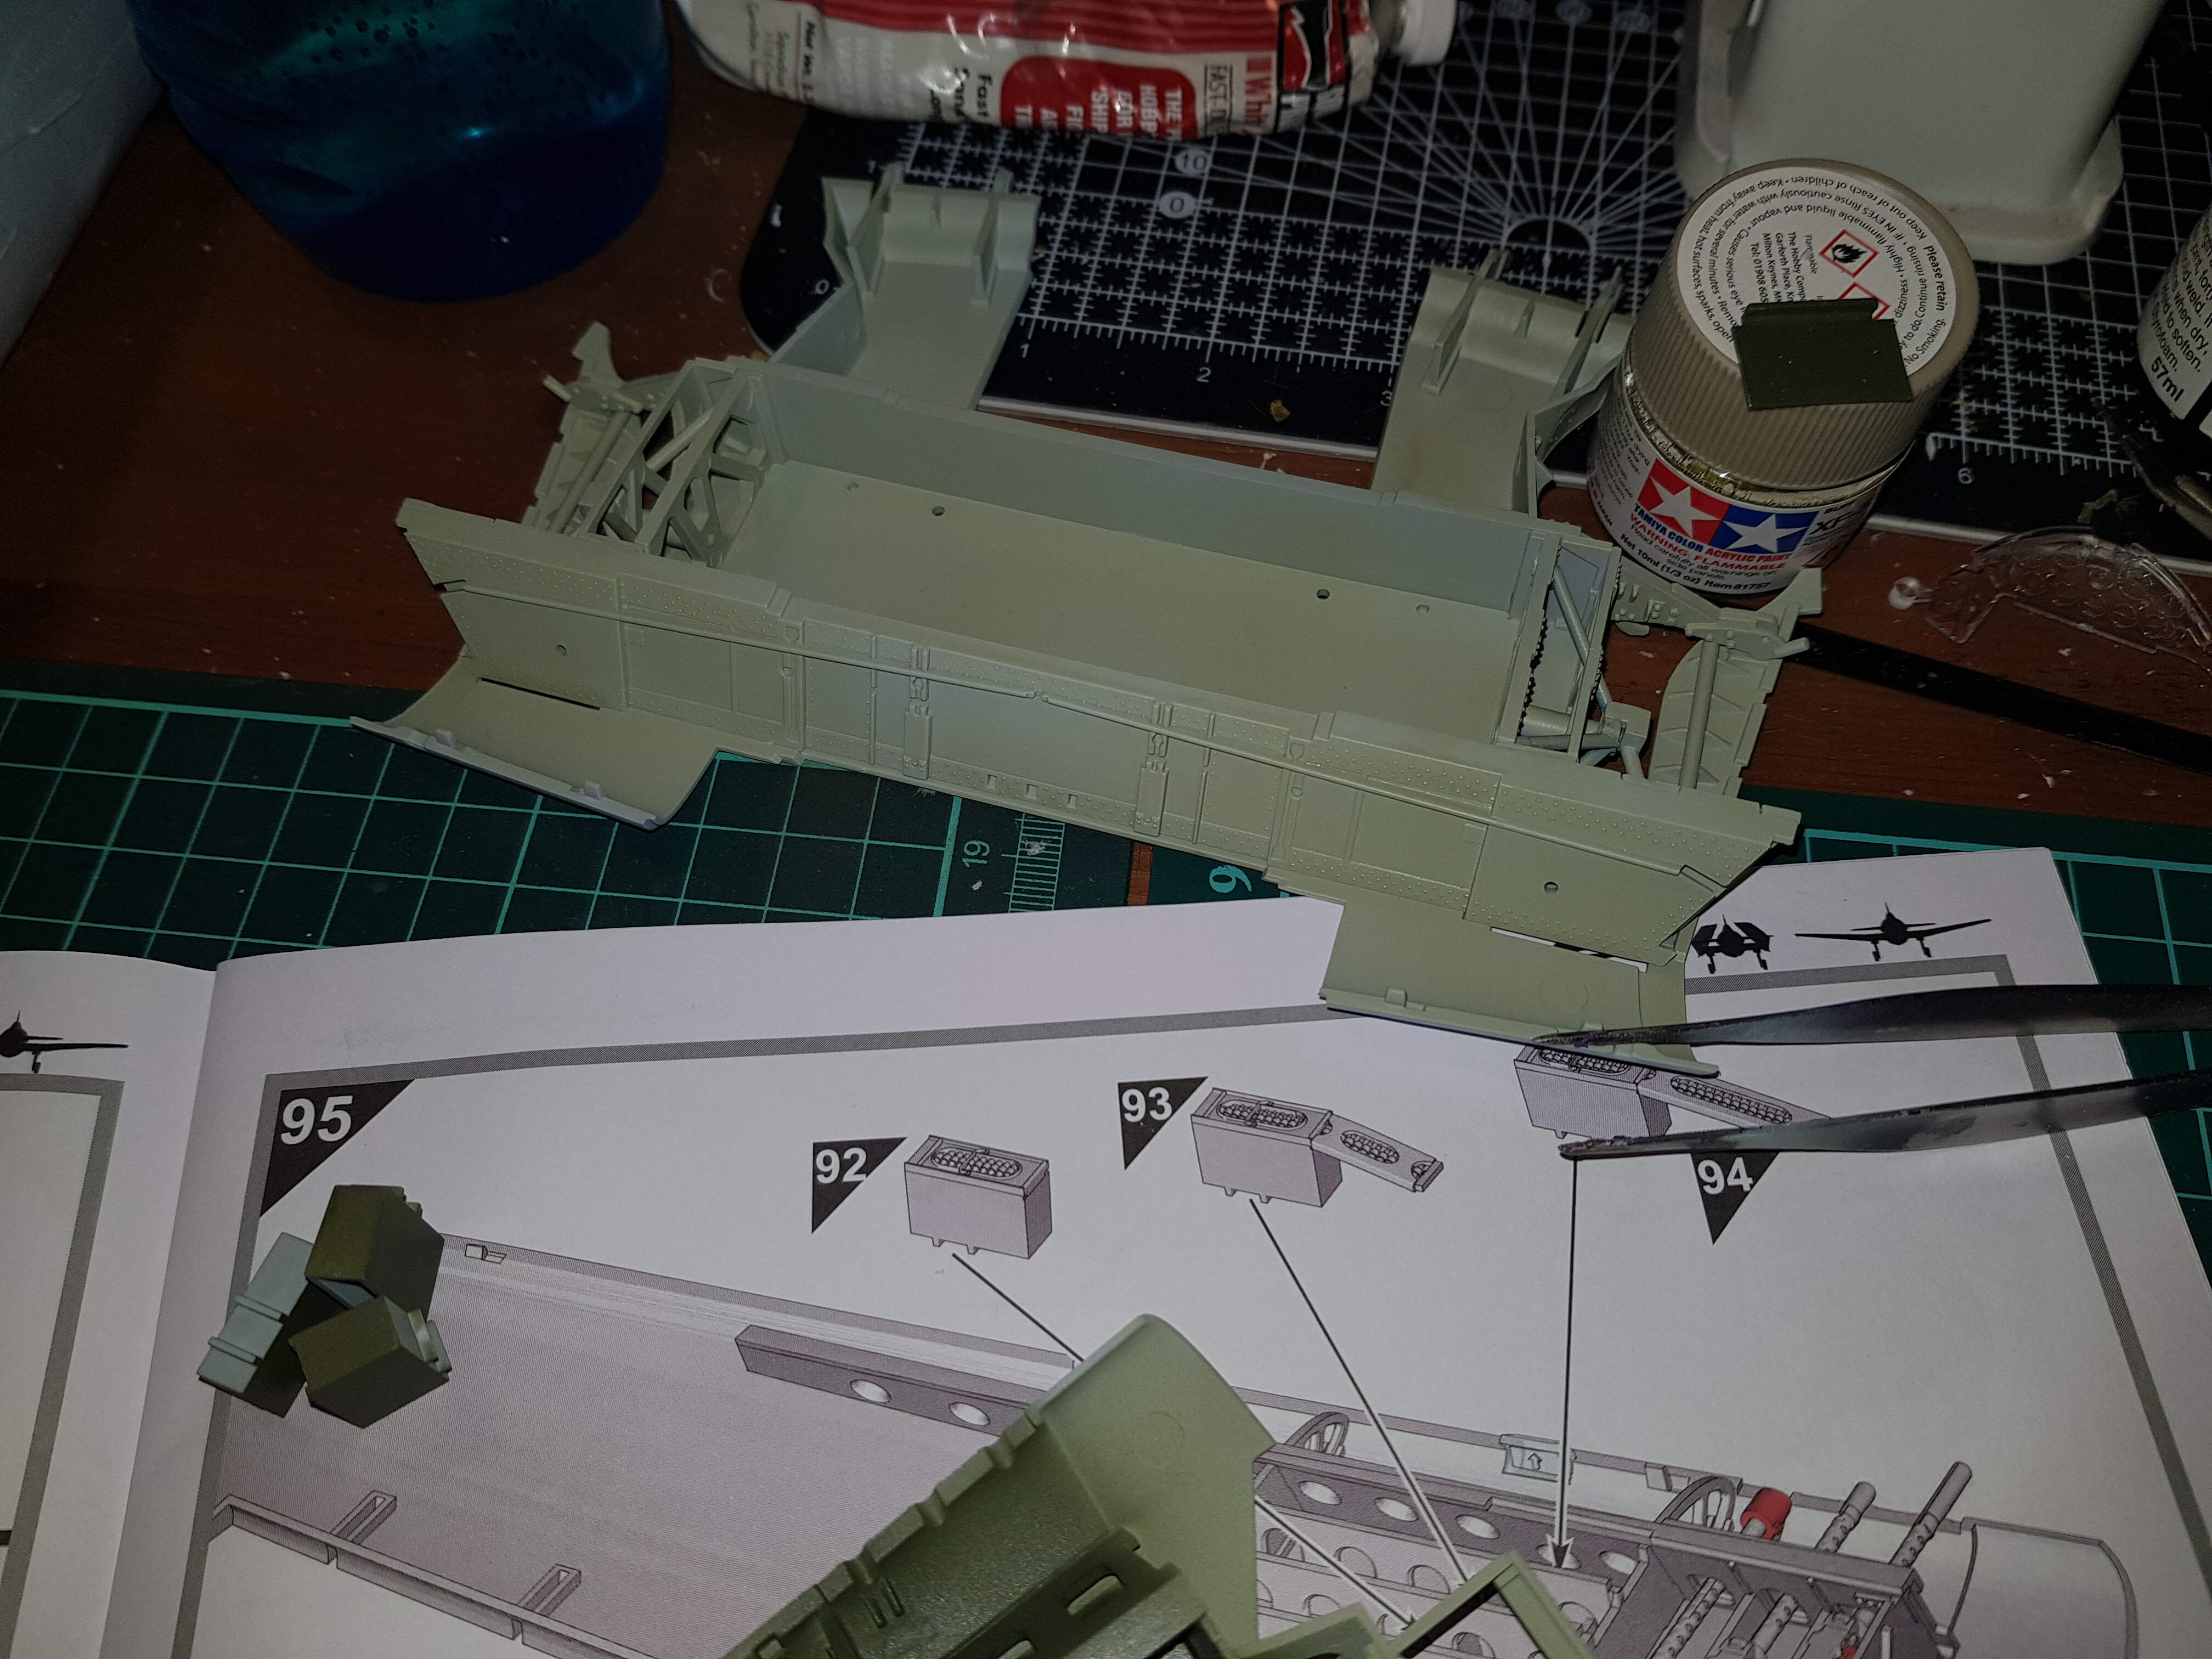
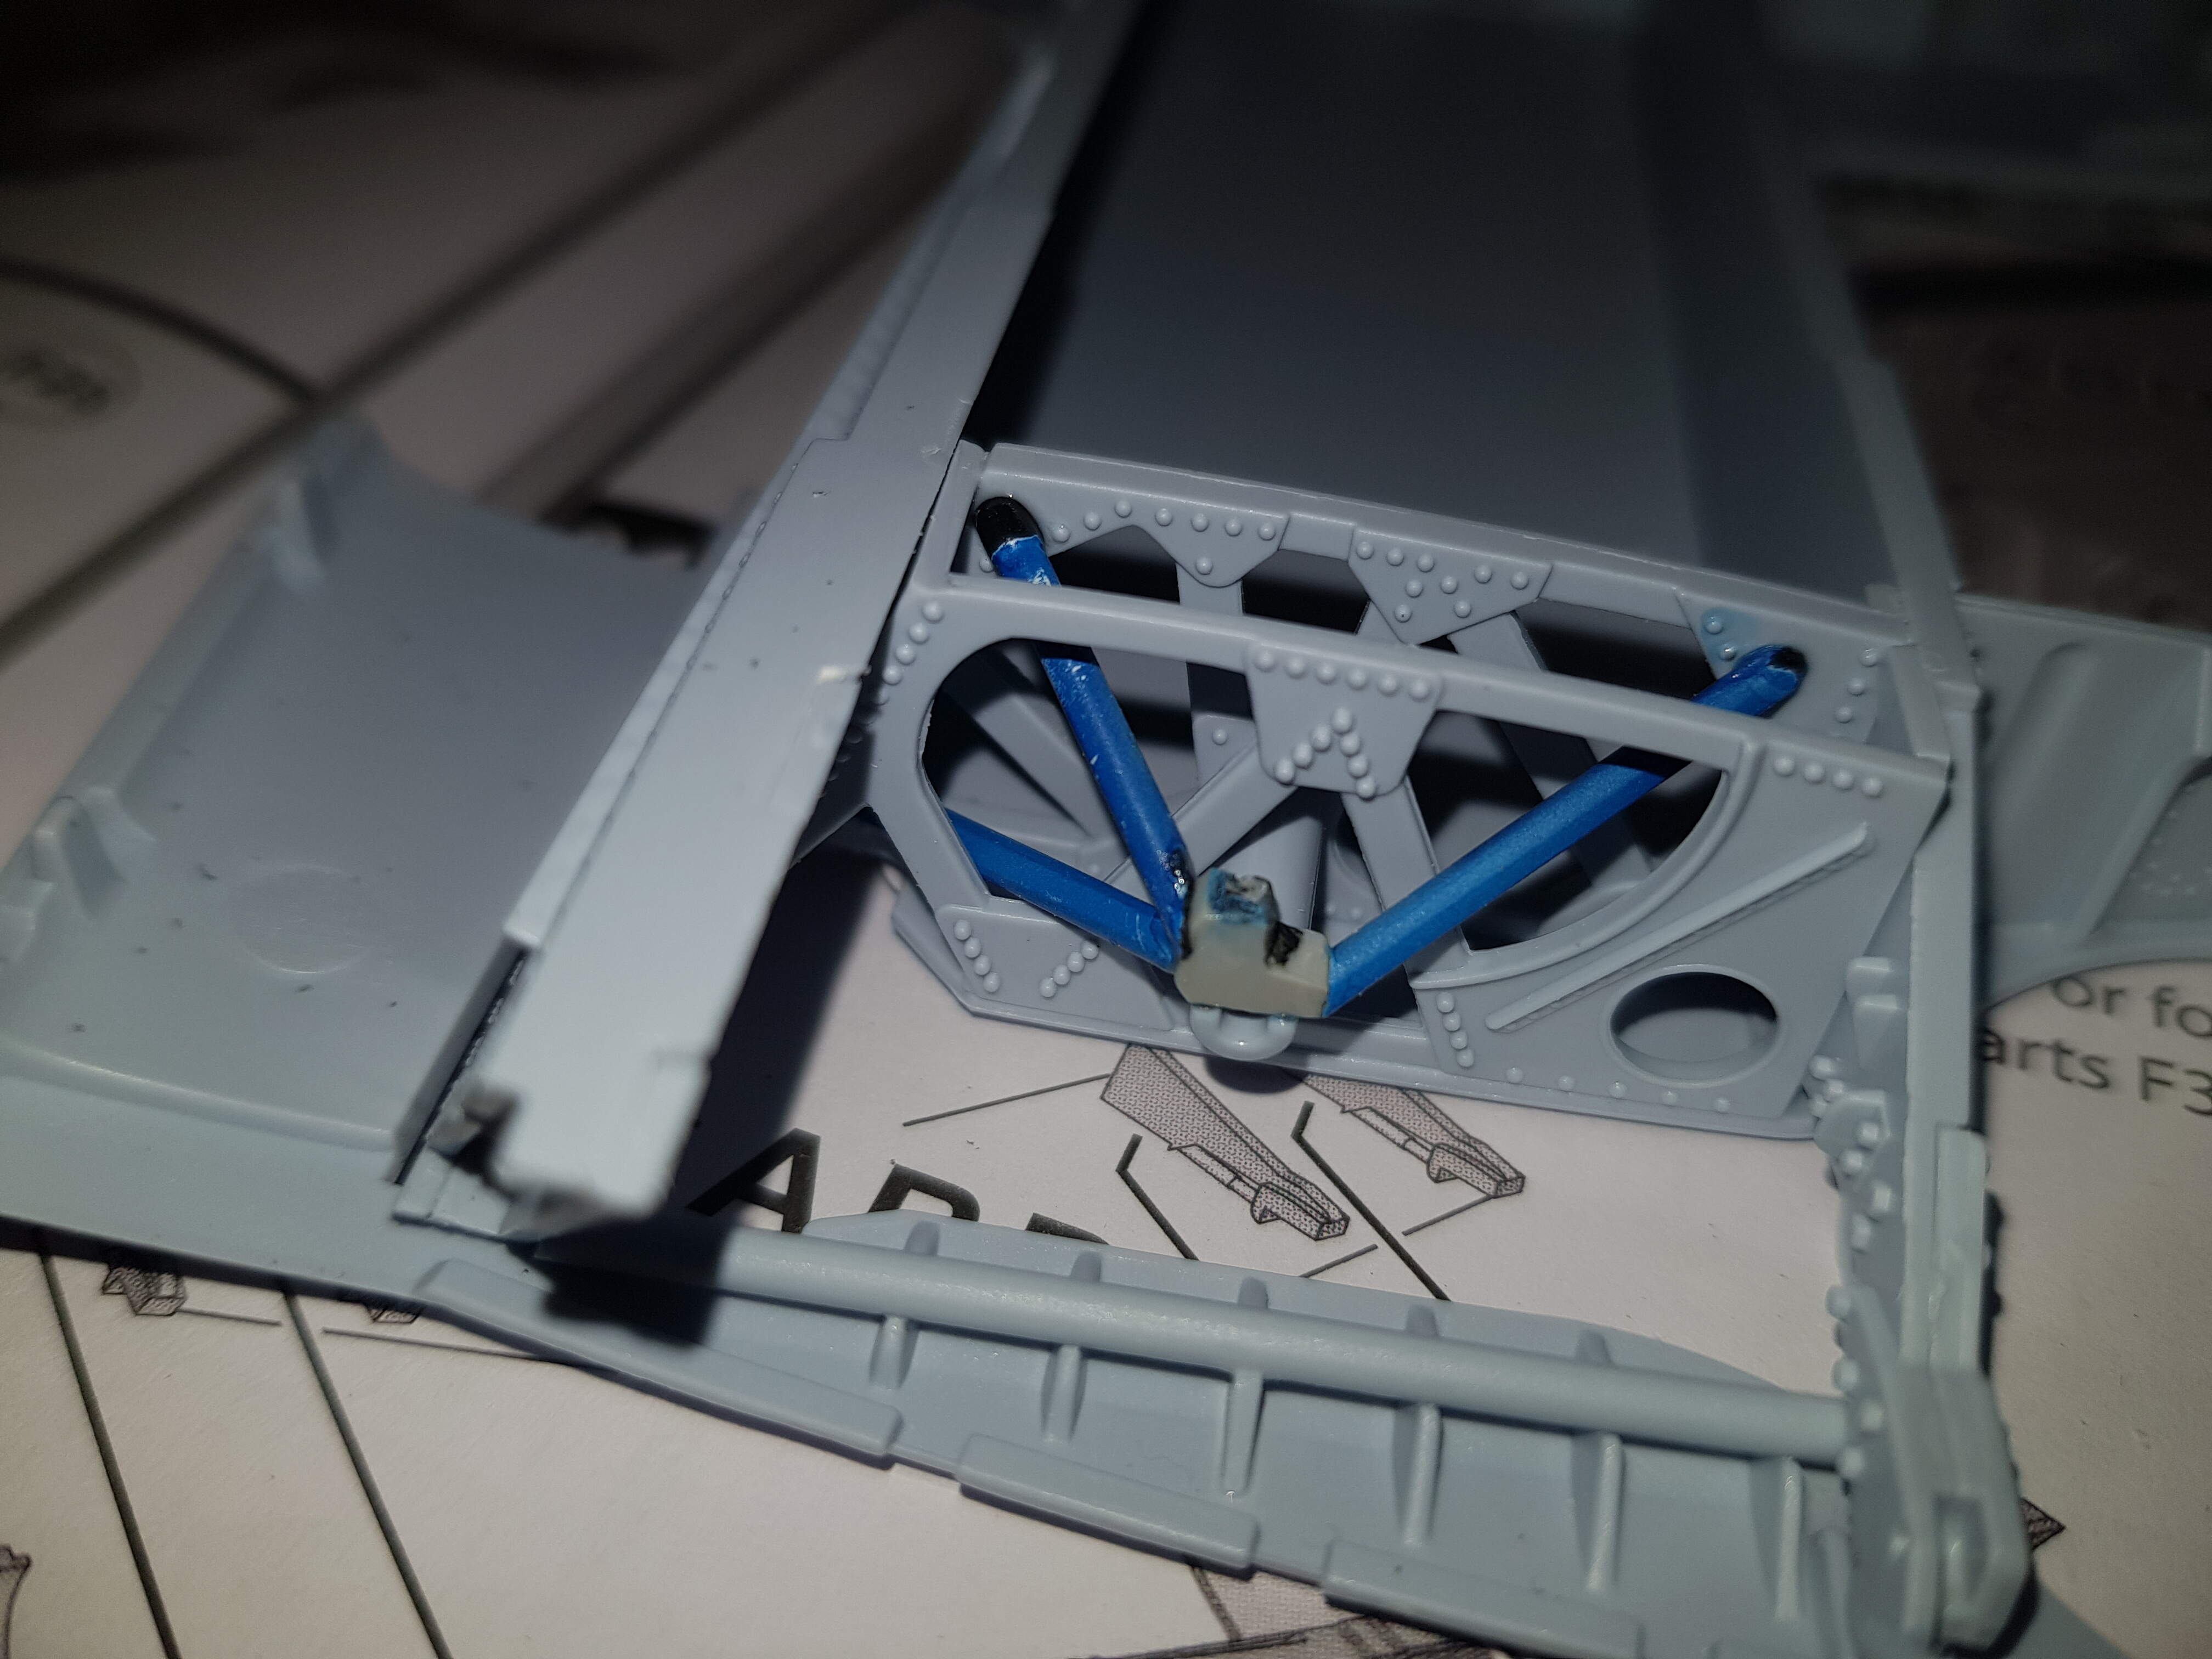
Lol yeah suppose so Russ. I know the tolerances are tight on this kit but not expecting that much of a fight. Started work on the wheel well area
and hope to get some more done tomorrow.
I guess it depends on how much of a “fight” the kit puts up and how big of a build it is.
Some years back I built Trumpeters Prinz Eugen and it fought me every step of the way: every part required cleaning/sanding and filling and sanding prior to fitting; needles to say I was somewhat burnt out by the finish line
Yeah sometimes you get a kit and it’s a fight all the way. This one has been pretty good, until joining the fuselage. However I have sorted the small gaps and filed the areas. Need to rescribe some of the panel lines.
But things didnt go totallt according to plan lol
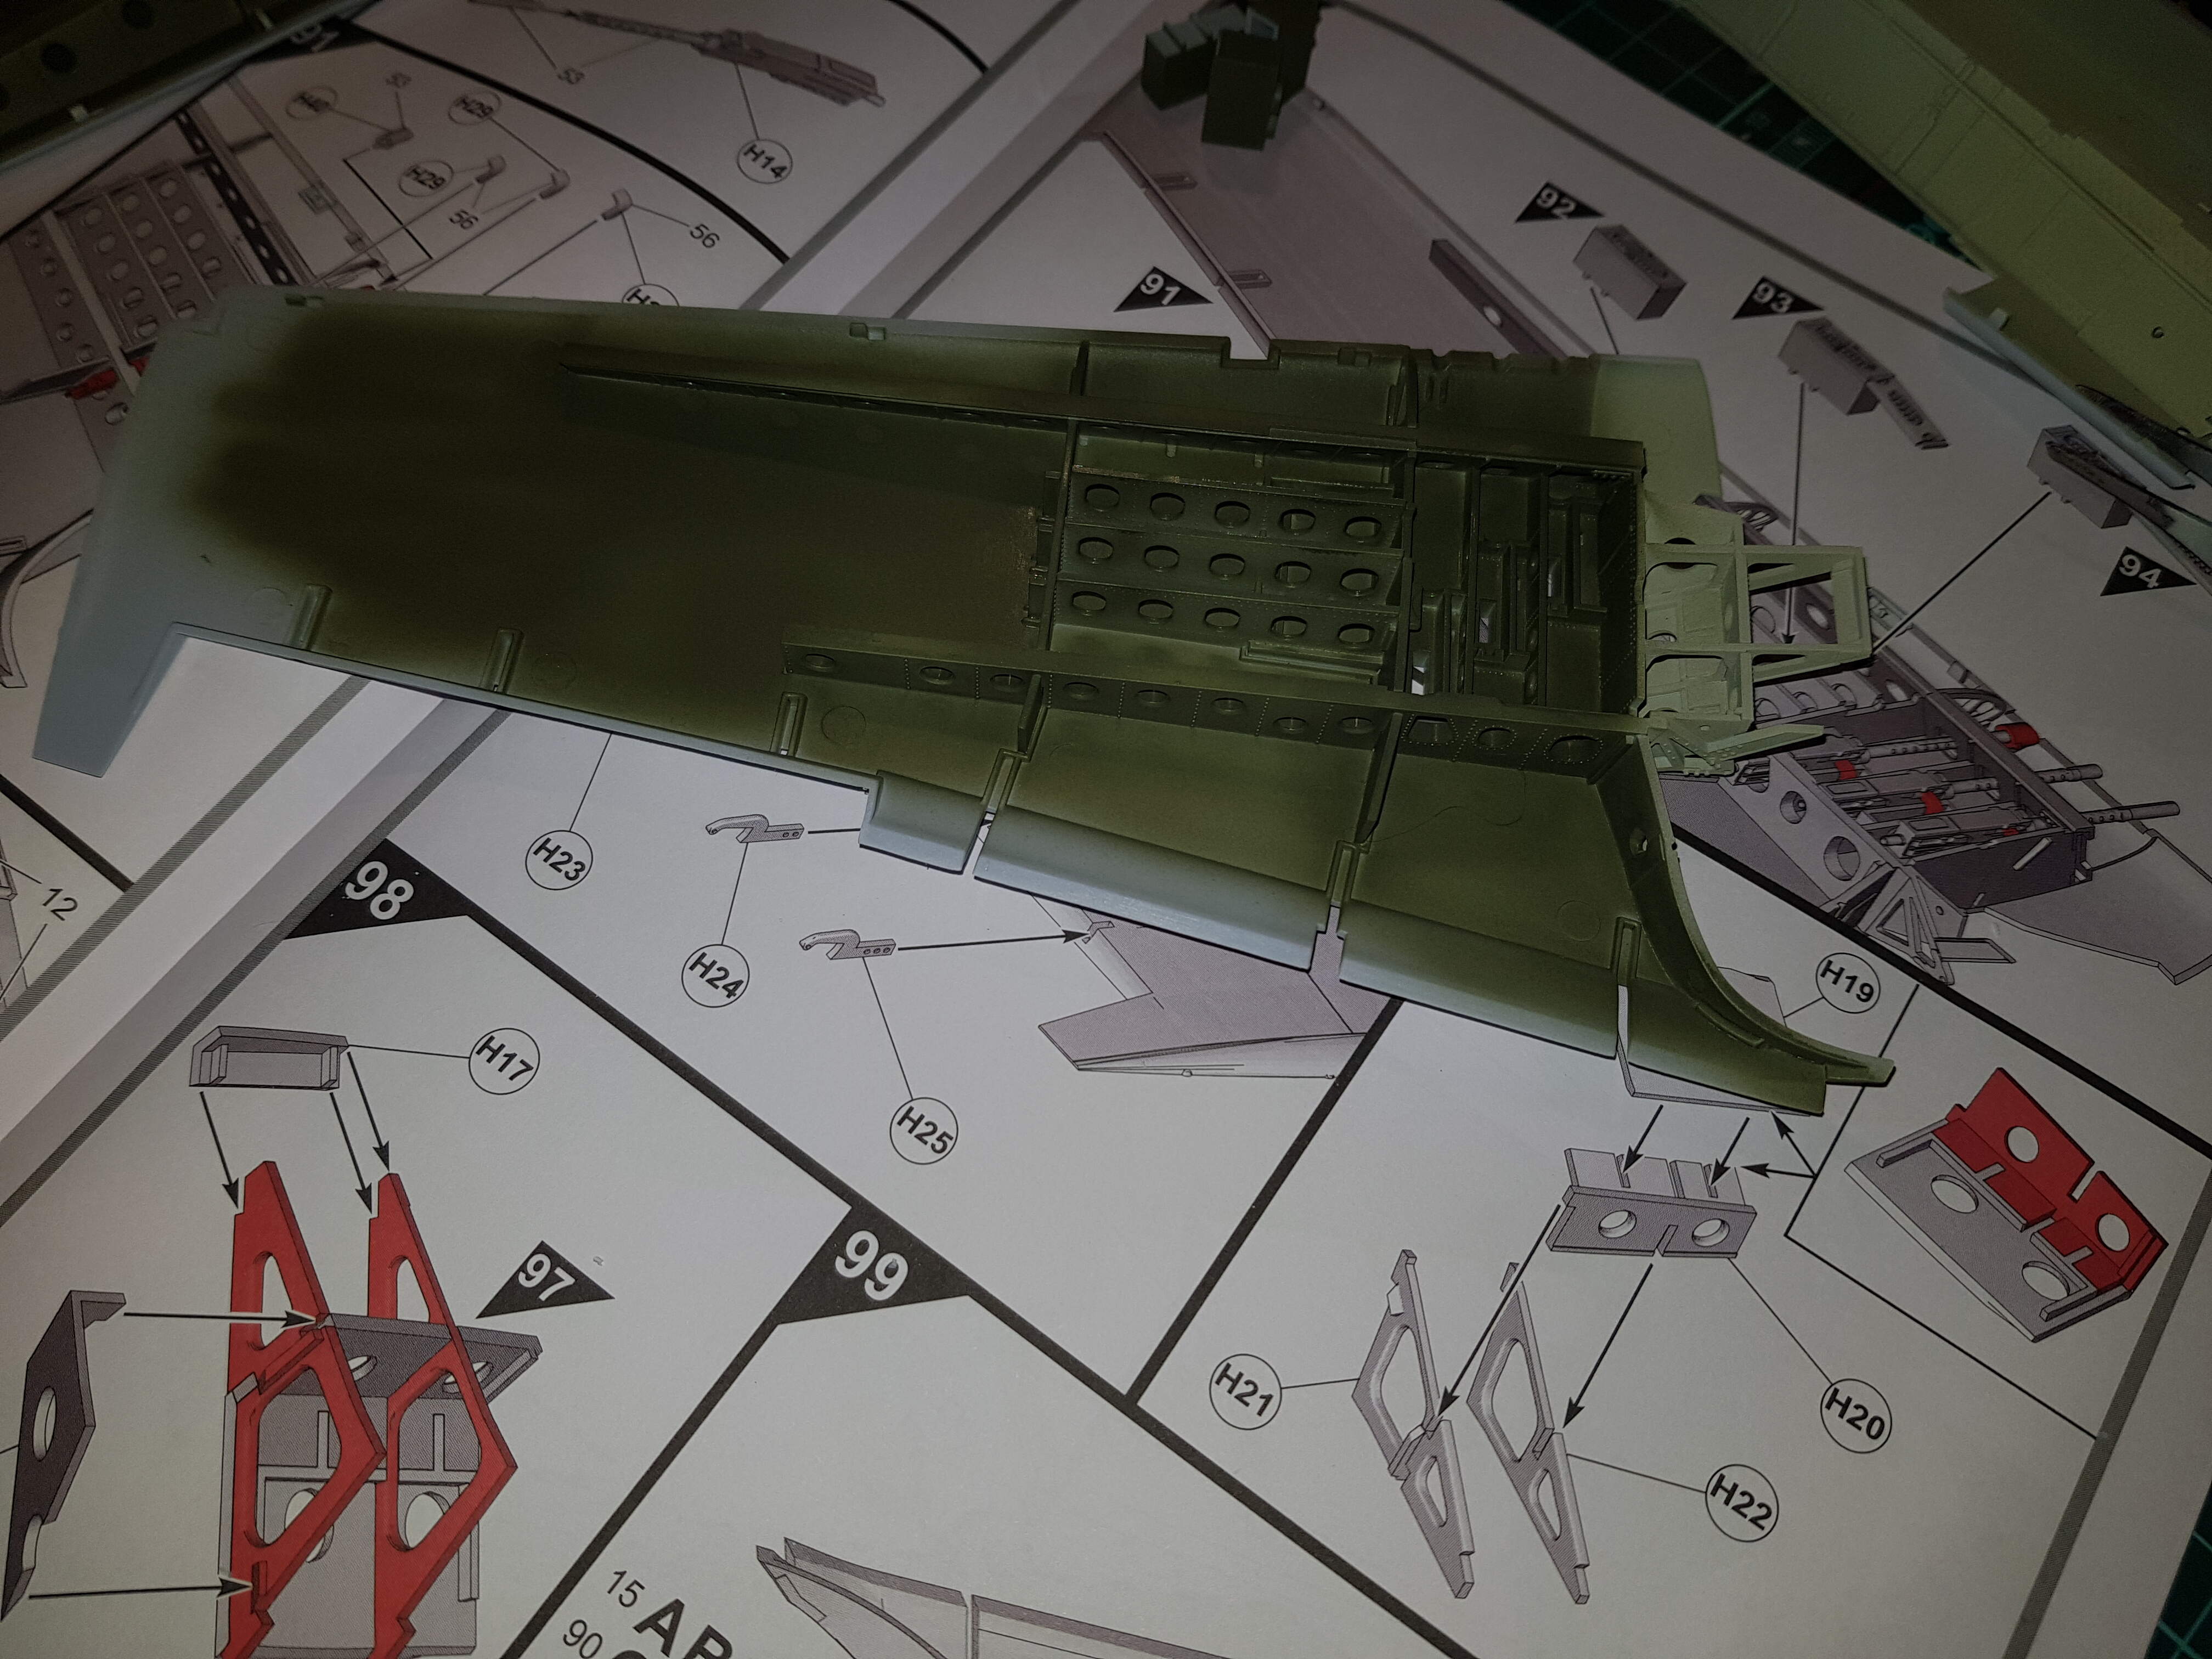
The struts you see in the pic that are blue…missing from the sprue so these are scratch built . The other side was on the sprue so that went on ok.