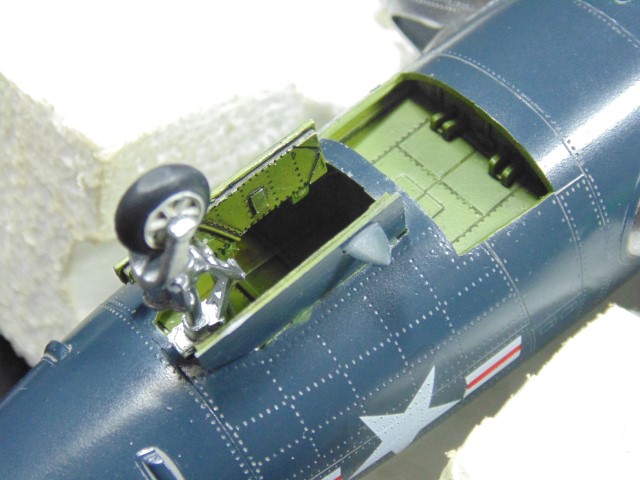
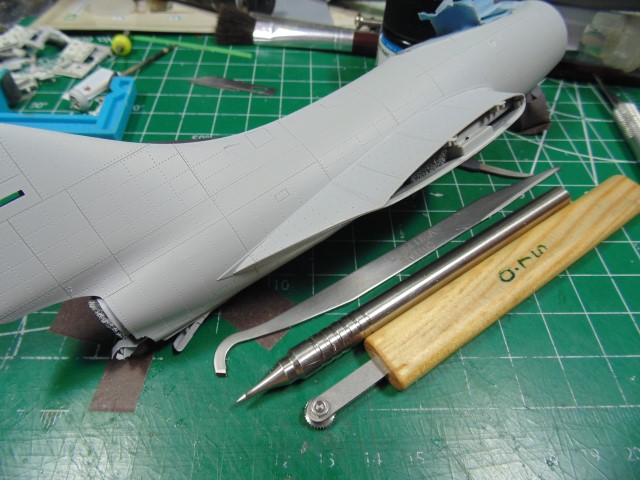
Now don’t freak out with the color of the wheel bays. They will be resprayed once the paint gets here. Remember, this project has been 90% complete for almost a year.
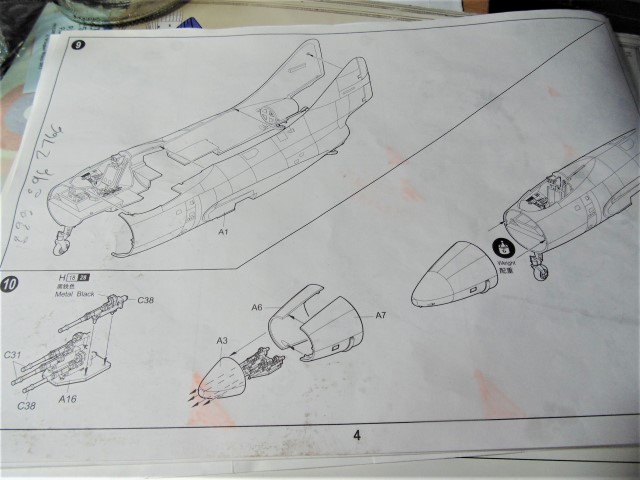
Page 4.
Definitely walk your cement around slowly.
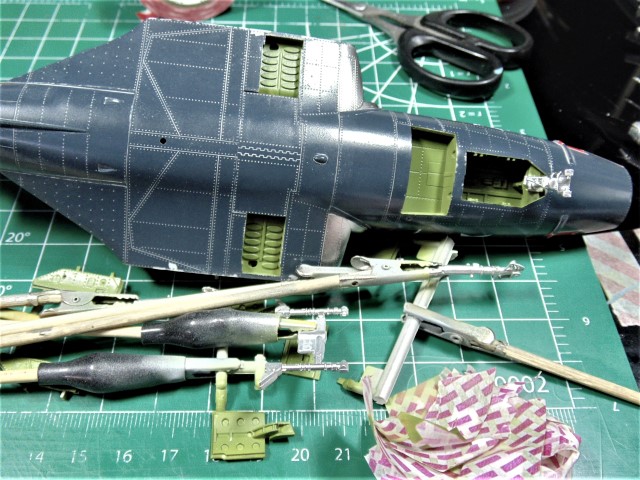
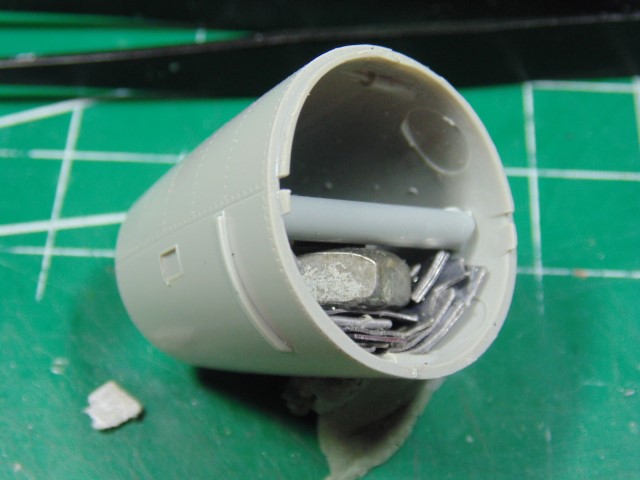
Plenty of weight… well maybe a lil too much, LOL.
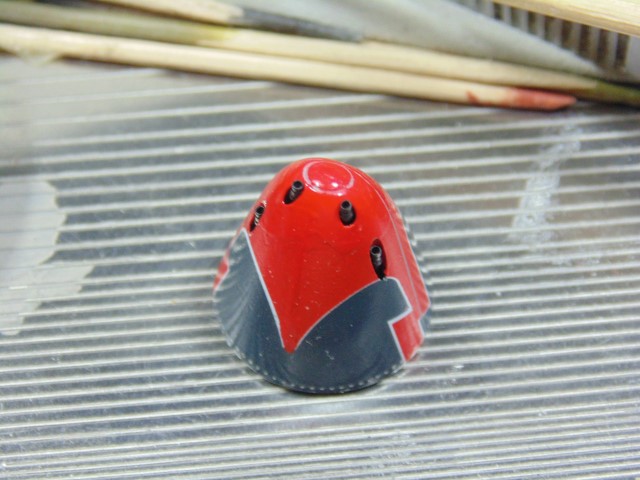
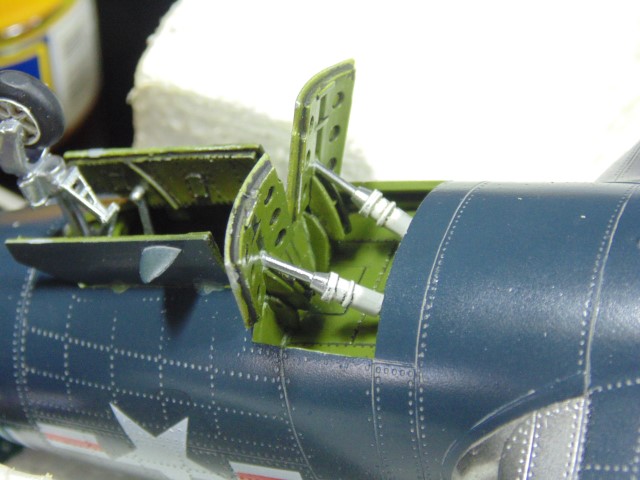
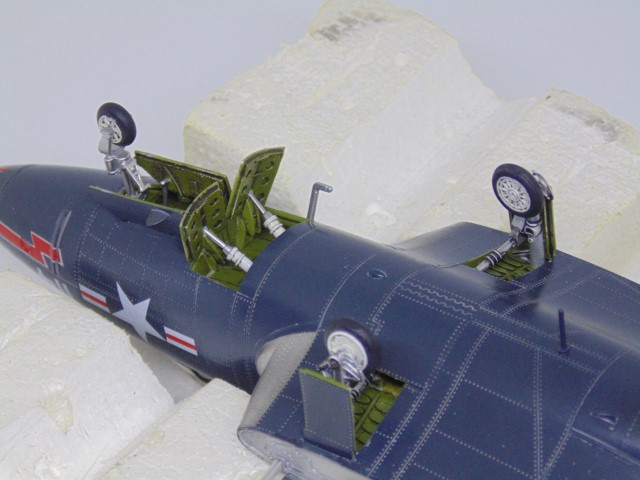
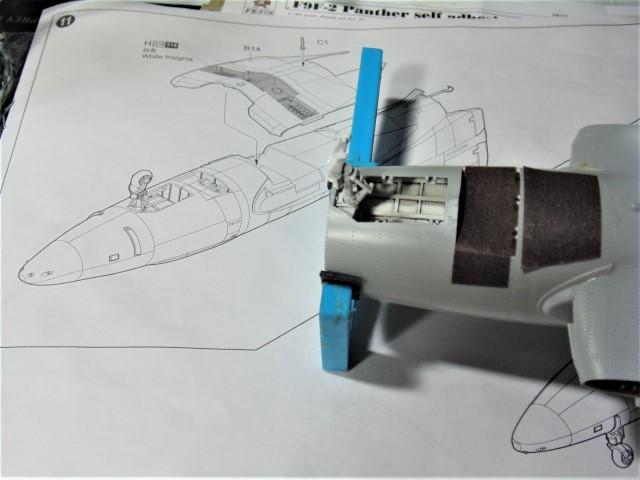
The resin guns are great and fit like a glove. The holes do need a touch of reaming out the flash though.
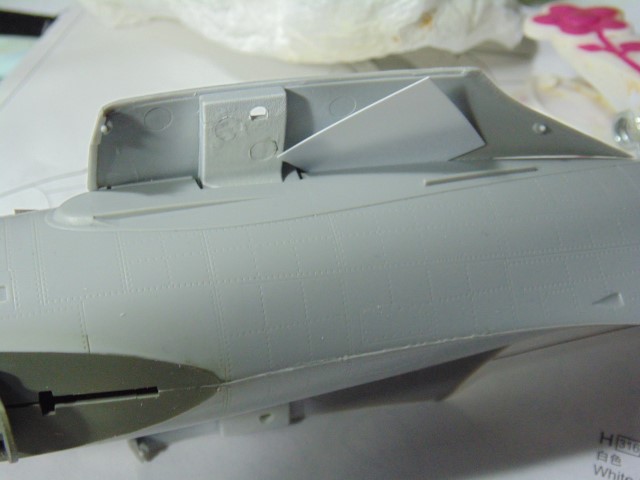
Finish the fuselage and test fit the main gear bay part.
One side needs to be lifted.
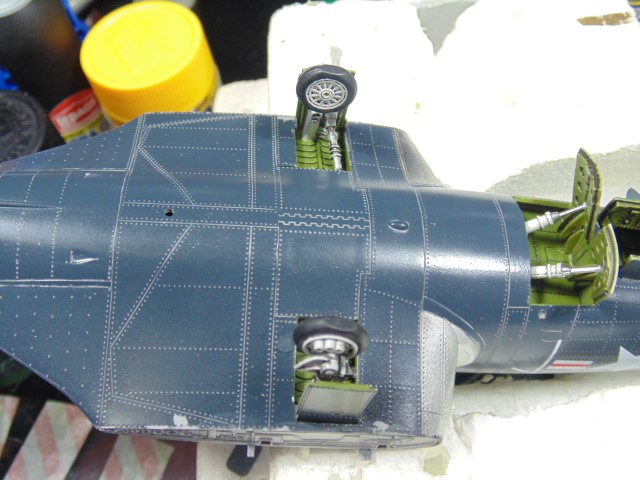
Here’s the step fixed up.
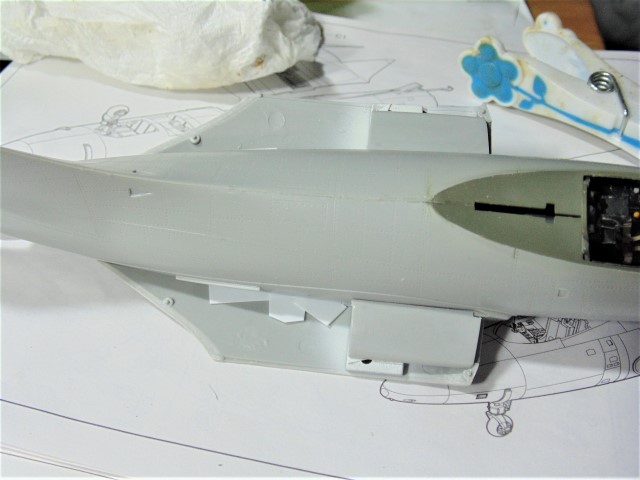
And the final support trail.
That’s it for now. Next up, exterior finish. Thanks Everyone.
Time for another update. No the paint has not yet arrived for the wheel bays.
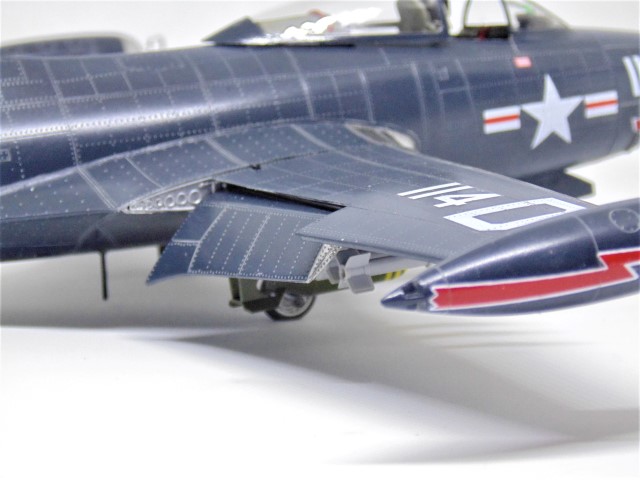
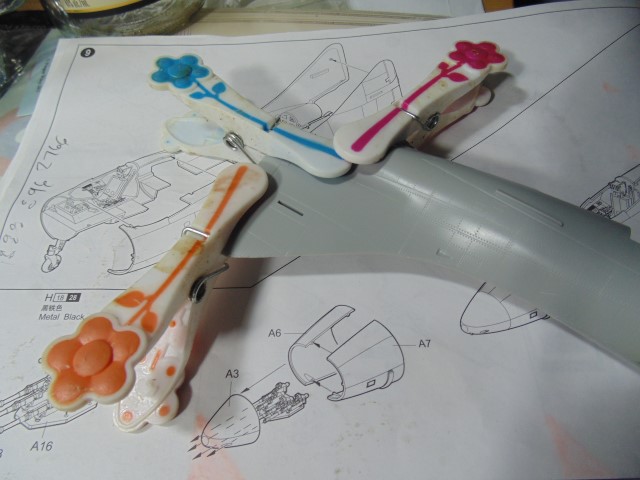
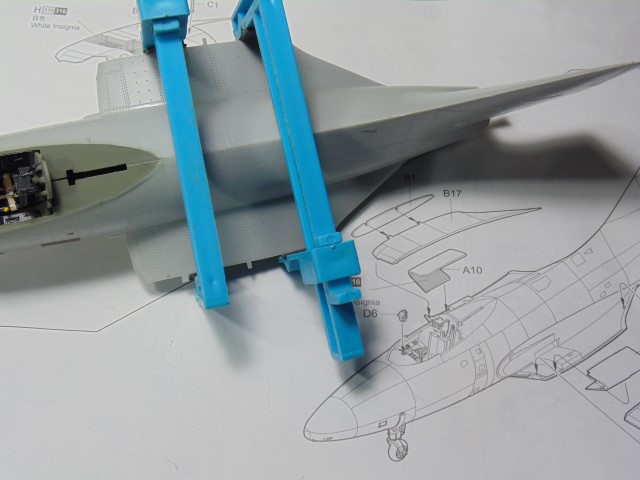
Upper wing roots done with these super handy flex-I-file/Excel “F” clamps.
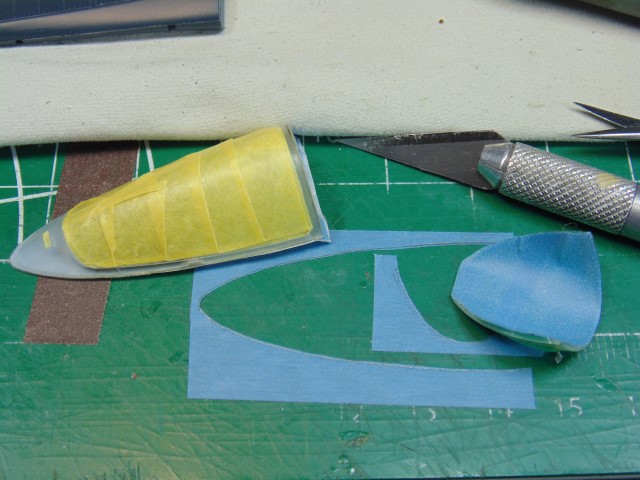
Retailers are asking around ten bucks for the Eduard dye cut masks… (insert expletives!)
Not a huge amount of sanding was needed and no filler. Then she got some panel line and rivet care before priming.
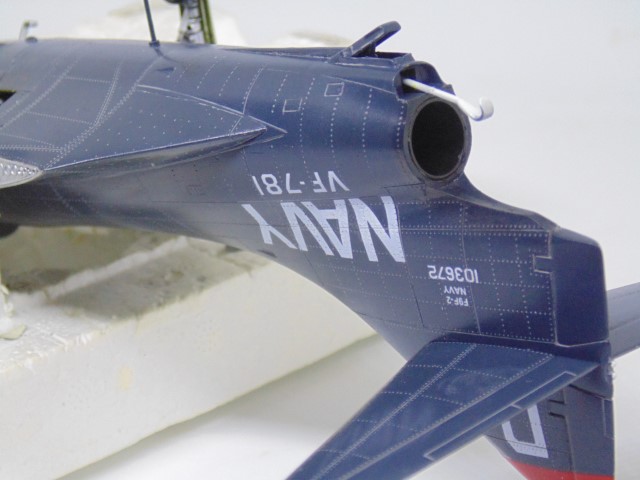
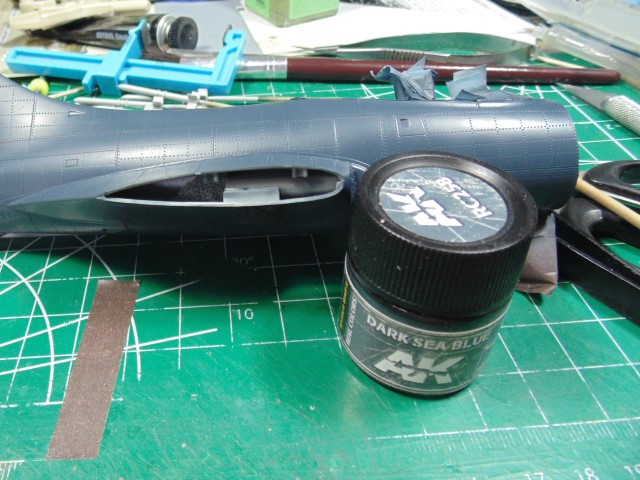
Color looks great. This paint is lacquer based and works even with store bought thinner. I used self leveling to get a smooth finish for the decals.
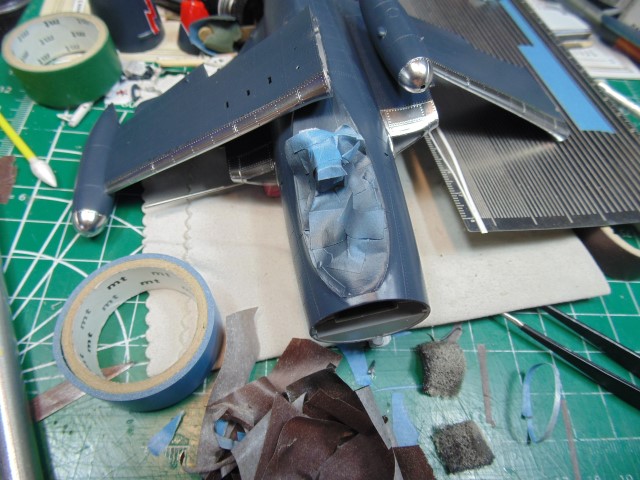
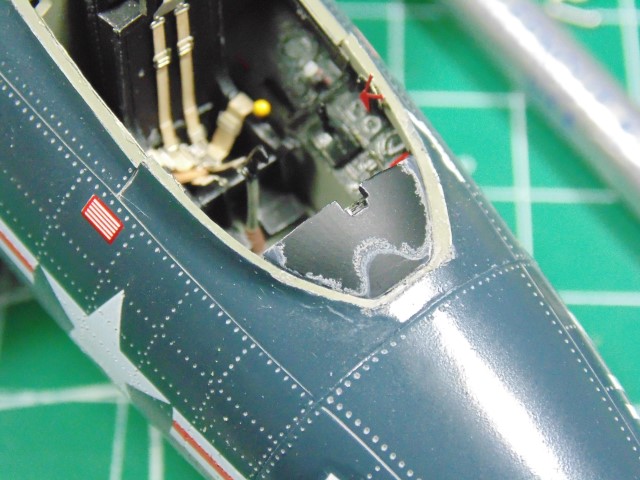
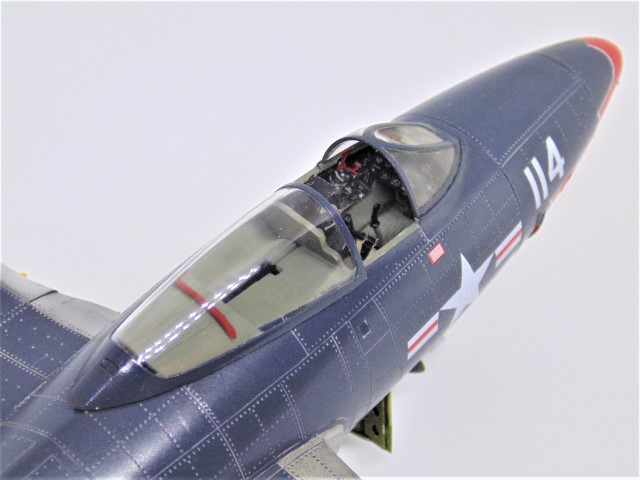
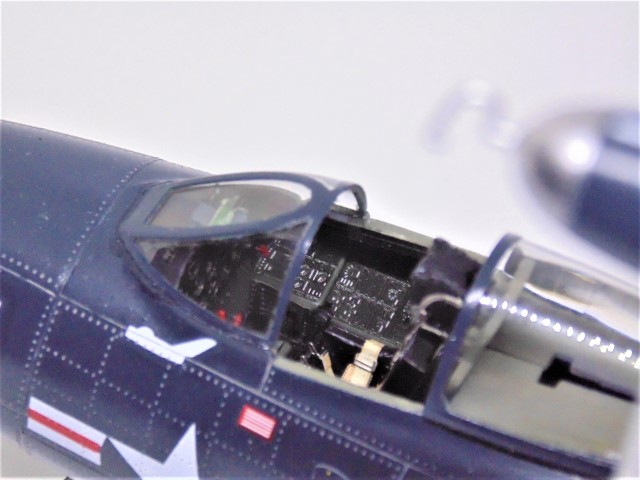
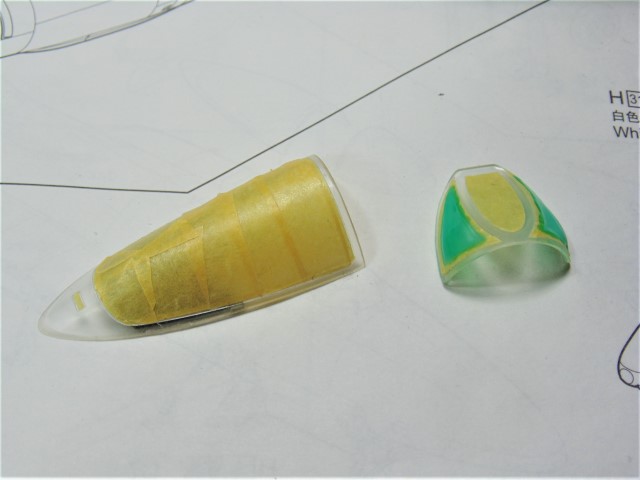
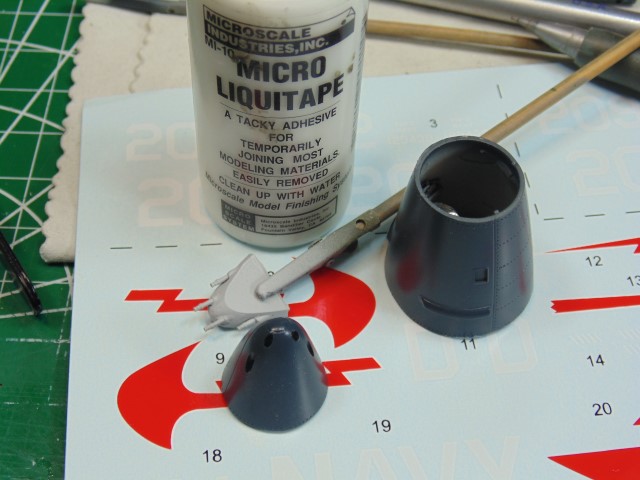
Have you ever forgot to put in the nose weight? Yeah, happened to me once too. Therefor, getting that out of the way asap is high on my best practices list. However, it made the sequence of decaling a bit odd. These nose parts were painted then temporarily attached with Liquitape then decaled. Those were cut to allow the resin guns to be added and this assembly attached later.
Looking better with each update! And I see that we both feel the same about pre cut masks, as well as use for Micro Liquid Tape… good useful stuff it is!
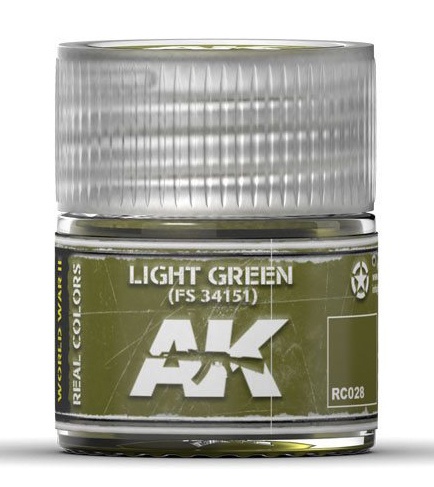
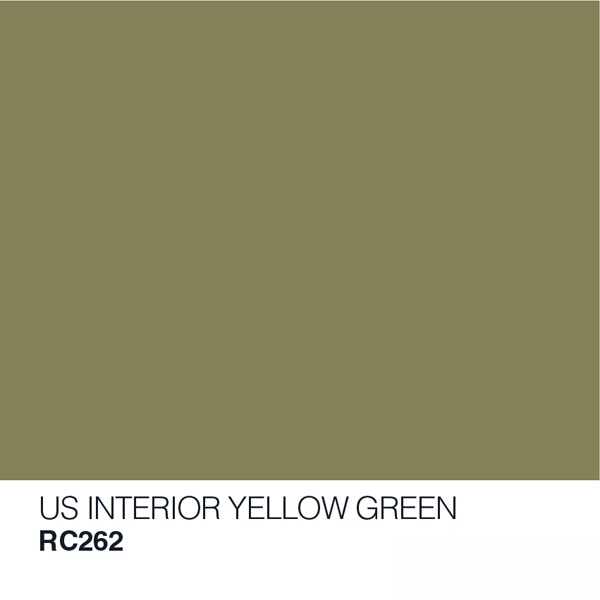
Here’s a question for you Sir. AK Real Colors have a Cockpit green color FS-34151 and a US Interior Yellow Green. The Interior green is a darker bolder color than the slightly paler look if the FS-34151. Any thoughts about which would be more accurate? It’s slightly confusing.
The Interior Green should be matched to the same standard as the Light Green. Both are FS 34151, but the Air Force and Navy called it Interior Green, based off of its usage, while the Army called it Light Green and used it as an exterior camouflage color. If AK matched them to the same standard, they should be identical.
The paint recently arrived for the wheel bays, so this project should be wrapped up relatively soon.
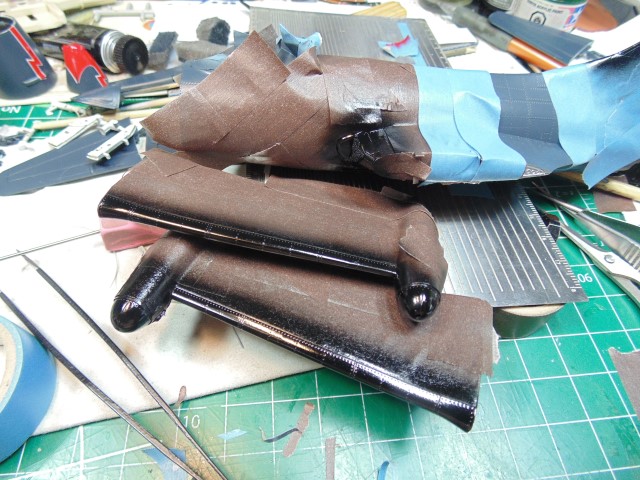
That said, some work has to be done on key areas. I used Tamiya gloss black for the base.
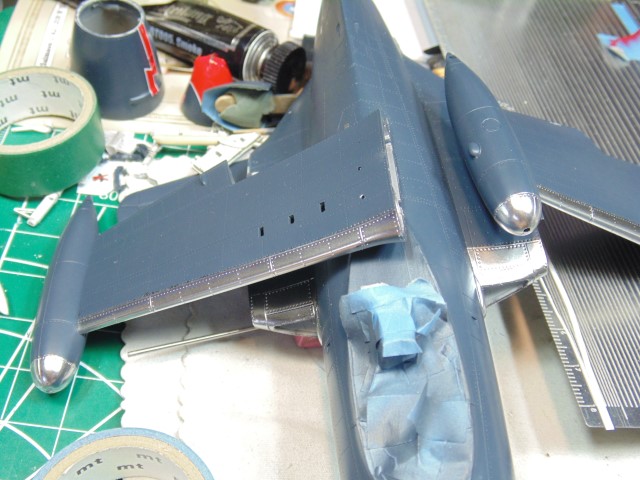
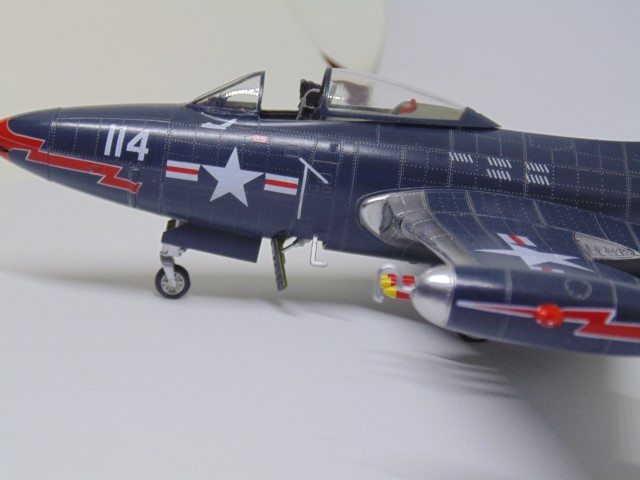
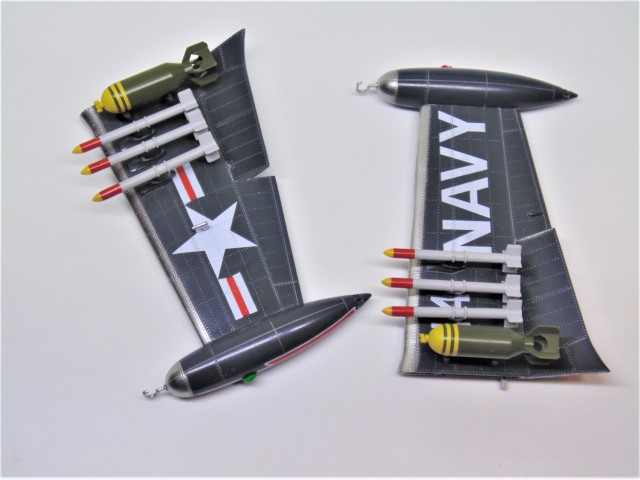
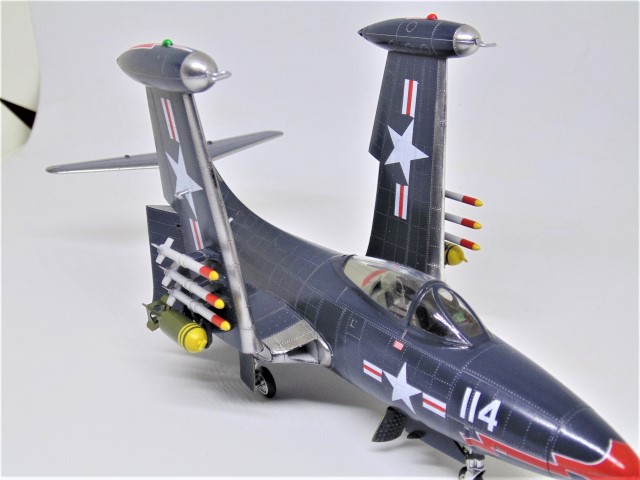
AK Interactive Xtreme polished aluminum went on the wing tips.
It was a judgement call since I’ve seen white, silver and polished on a variety of aircraft. I think it looks great.
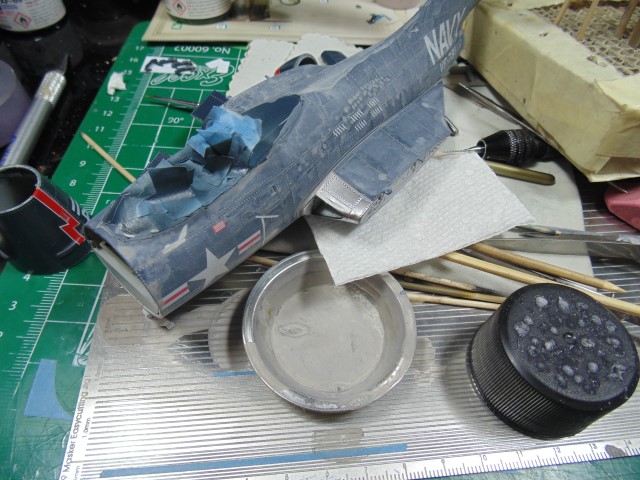
The clay wash is a blend of dark and white. Still on the fence if it should be darker.
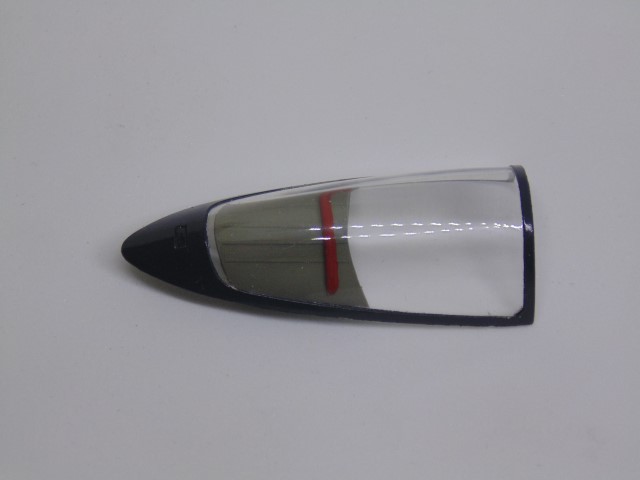
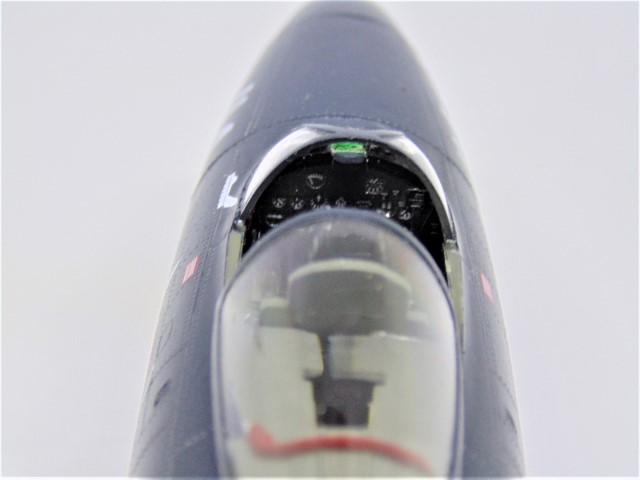
Next came finishing the resin guns. The decal was brutal and in the end I had to paint the very edge of the nose. It’ll pass, I guess. Thankfully, the AK rich red is the exact color.
Here you can see three stages of wash clean-up. The fuselage is in the middle and needs another wipe. I’m certainly open to your thoughts about darkening it up some. The clay will absorb the deeper tone, yet I still want a grey to contrast with the blue.
As requested, looks much better in fact. Thanks for the suggestion!!! Think I’ll assemble this and wait on thoughts about the rivets and lines. One week after she goes to charity.
Time to call it on this one. I’ll still add some hydraulic oil leaks here and there and maybe a mist coat of dull to knock back the shine. Not sure, but one thing is… she’s done enough to begin a new article.
Semi-gloss clear crept in on me.
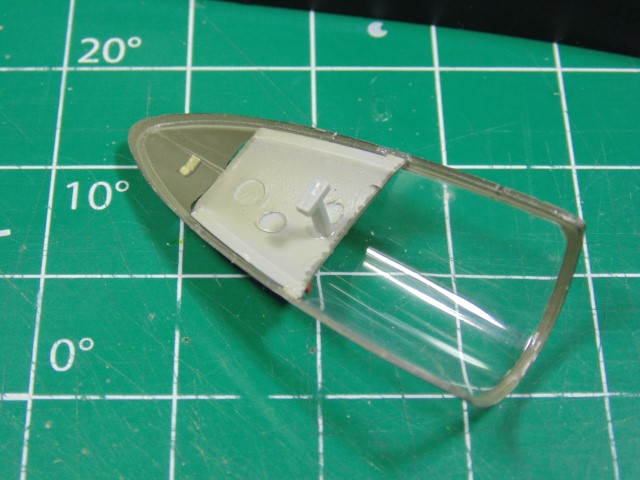
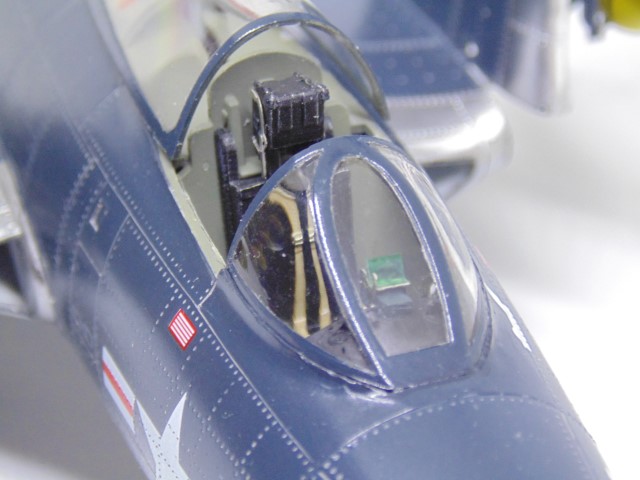
Forgive the out of focus dash work. These bits needed a lot of work for the wind screen to lay down. Used a bit of the clear acetate from the kit to make the targeting sight.
slide “T” bar. A gimmick… 6 in one…
Some touch-ups needed around the edge.
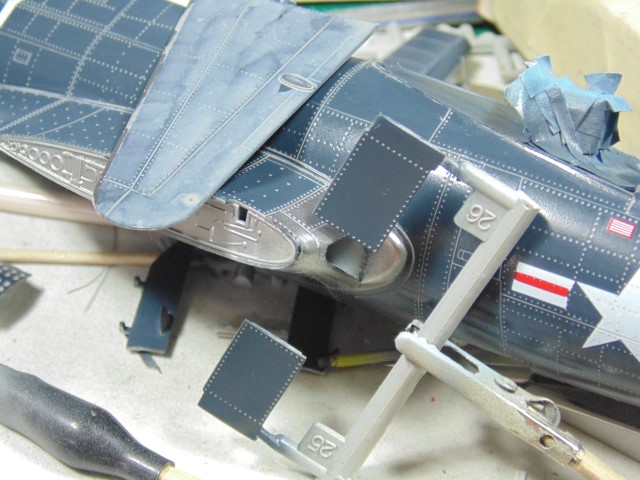
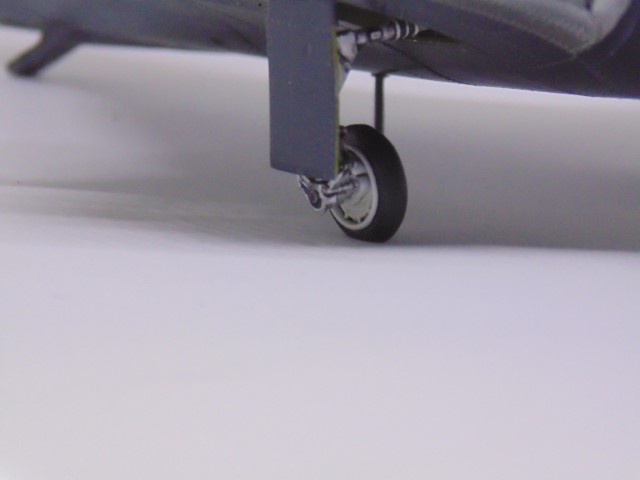
More touch-ups and nice strong landing gear. Good thing too with pounds of weight in the nose.
I know, I know, these pistons should be green… forgot, well sorta LOL.
Serious lack of positive connection on the main gear. Had to let it set up for a few hours before adding more parts.
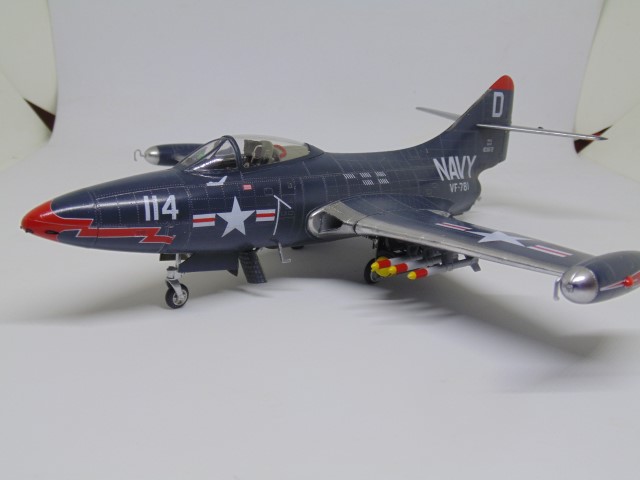
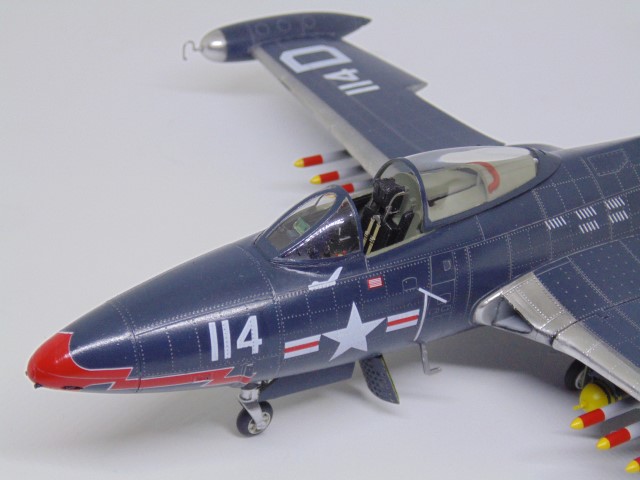
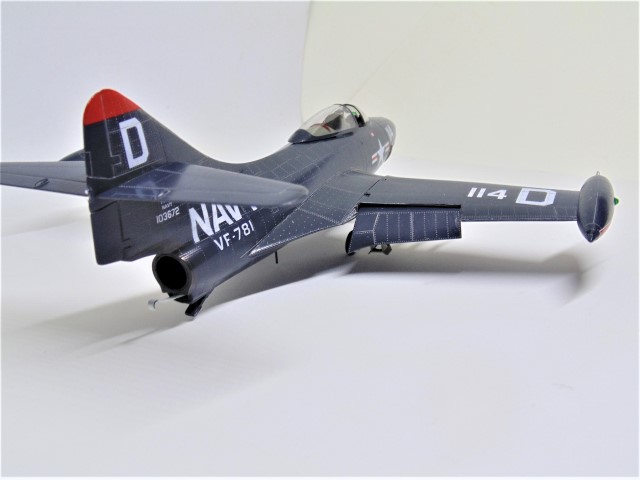
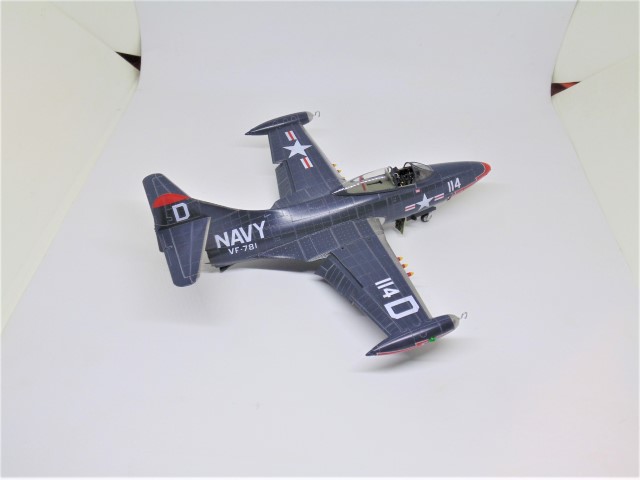
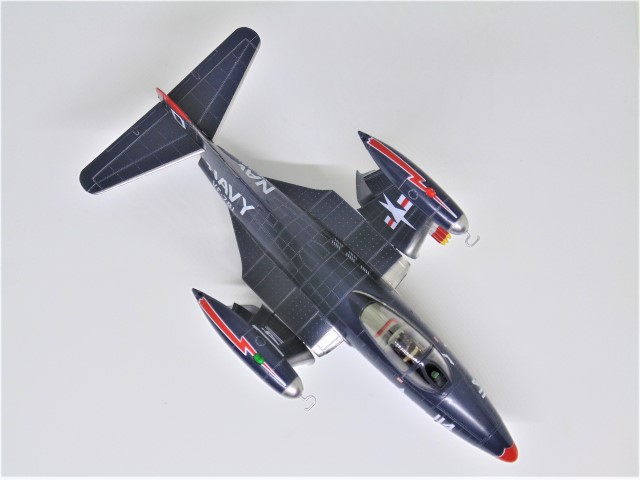
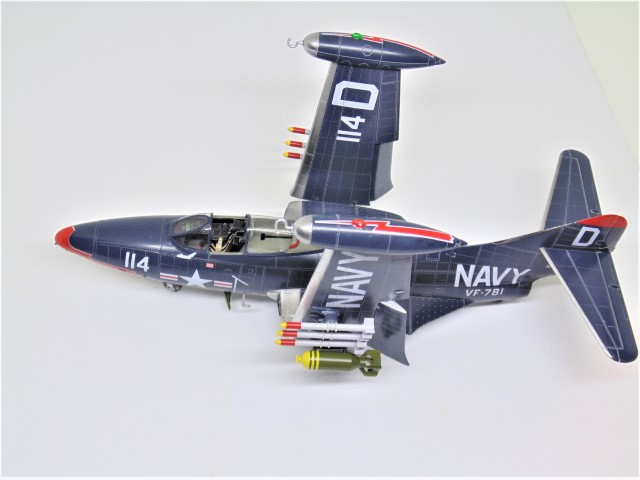
And now the obligatory finished shots.
Yup, messed up where I flattened the tire.
If you find one of these kits buy it and built! It went together great, unlike the Sea Fury of the same year or close. The pins/bars for the wings can be used and reused, so it isn’t a problem to have the wings up or down and then changed when you desire. Sure makes transporting it a breeze too. The PE cockpit was a definite improvement as are the gun barrels, but you can still have a decent looking model without them. Shame there wasn’t more stencil data though.
She’s off to charity and soon a new home. Thanks for taking the time to follow along and to Carlos for the proper paint call out. Please give me a heart if you liked this and leave a comment if you wish. Helps boost the mojo. Be safe Everyone.
Beautiful job HG - I’m curious about the charity bit - will it be auctioned ? I just re read your blog and could not find any further info - forgive me if I missed it …
Thanks for asking and the kind words. All the models I do go to help disabled senior mobility. The money raised helps buy things like batteries, bearings, tires, etc. Power chairs are really expensive to keep going. Some things are cover by medical insurance, yet most are not. It is not a registered charity and I have ZERO control of the money raised. Just something I love to do.
For sure the expenses are recovered making the models, but ALL the rest goes to the cause. You can take a wild guess as to which major on-line auction site they can be found.
Really appreciate the consideration as does the end benefactor.


 And I see that we both feel the same about pre cut masks, as well as use for Micro Liquid Tape… good useful stuff it is!