After a LONG time (well over a decade) I have started building again. Why? Can’t work on the race car due to rotator cuff surgery !! Started with a couple of plastic kits. The Polar Lights Petty Talladega is almost done (without an engine — as it DOESN’T FIT). A Revell Willys drag car wound up in the trash. Both have there own issues that make them impossible to do well. And internet reviews hinted as much. These are two brands to avoid.
So, I decided to crack open the Gunze Sangyo Daytona. What a surprise.
Initial impressions;
Multi media.
Can’t read Japanese, so I am sure lots of info will be missed.
Very few color call outs.
Very orderly info (that I can read!!)
Nicely bagged parts. Lots of little bags instead of everything in one.
Had to order a few metric drill bits. (Yeah Amazon, I will have them tomorrow.)
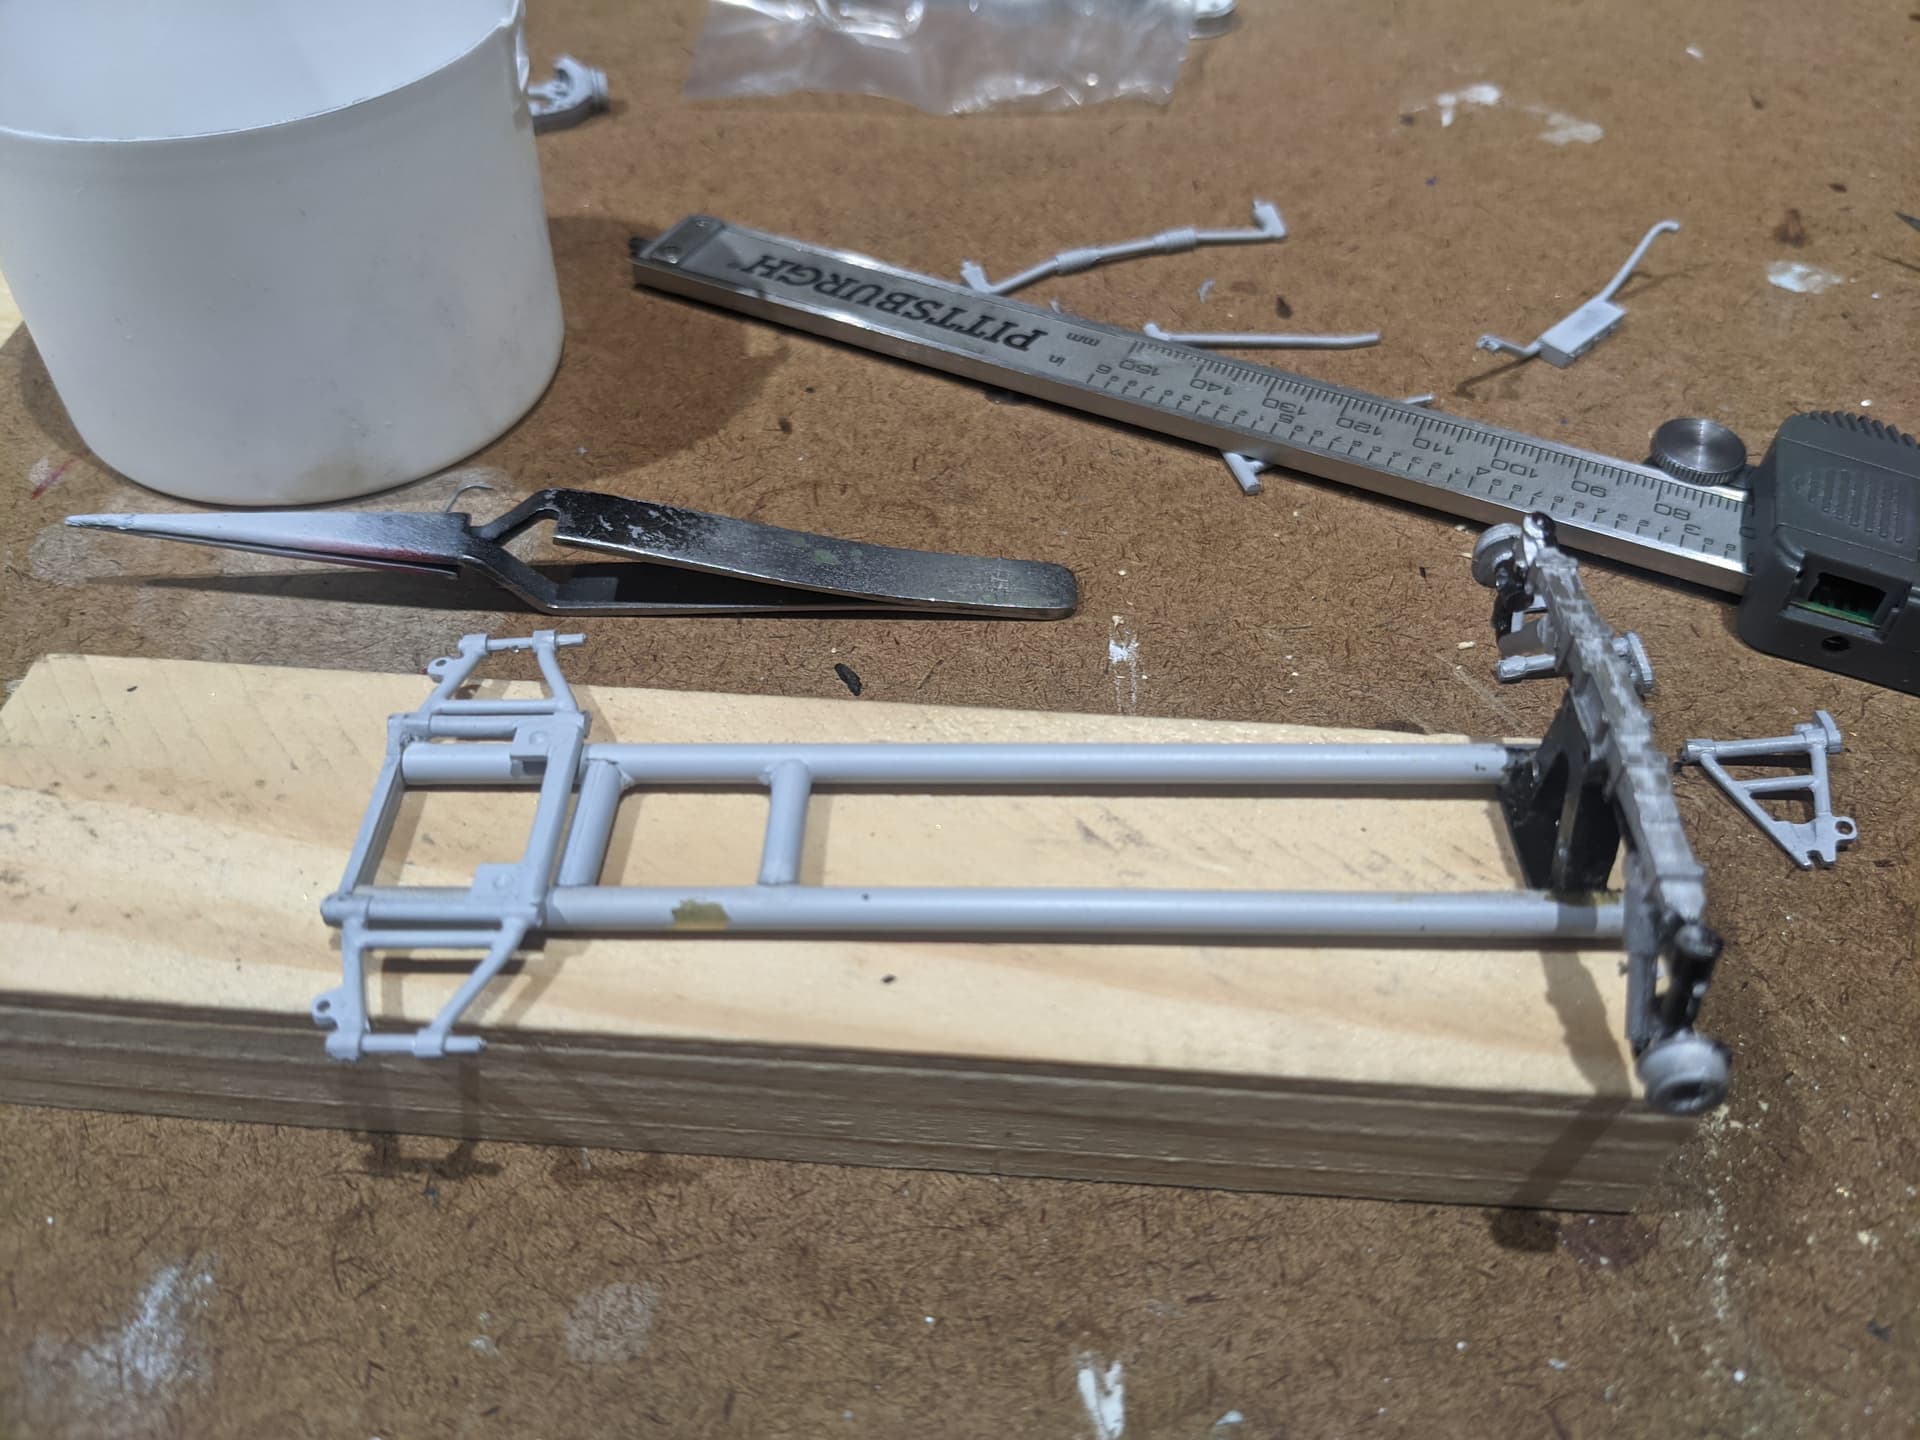
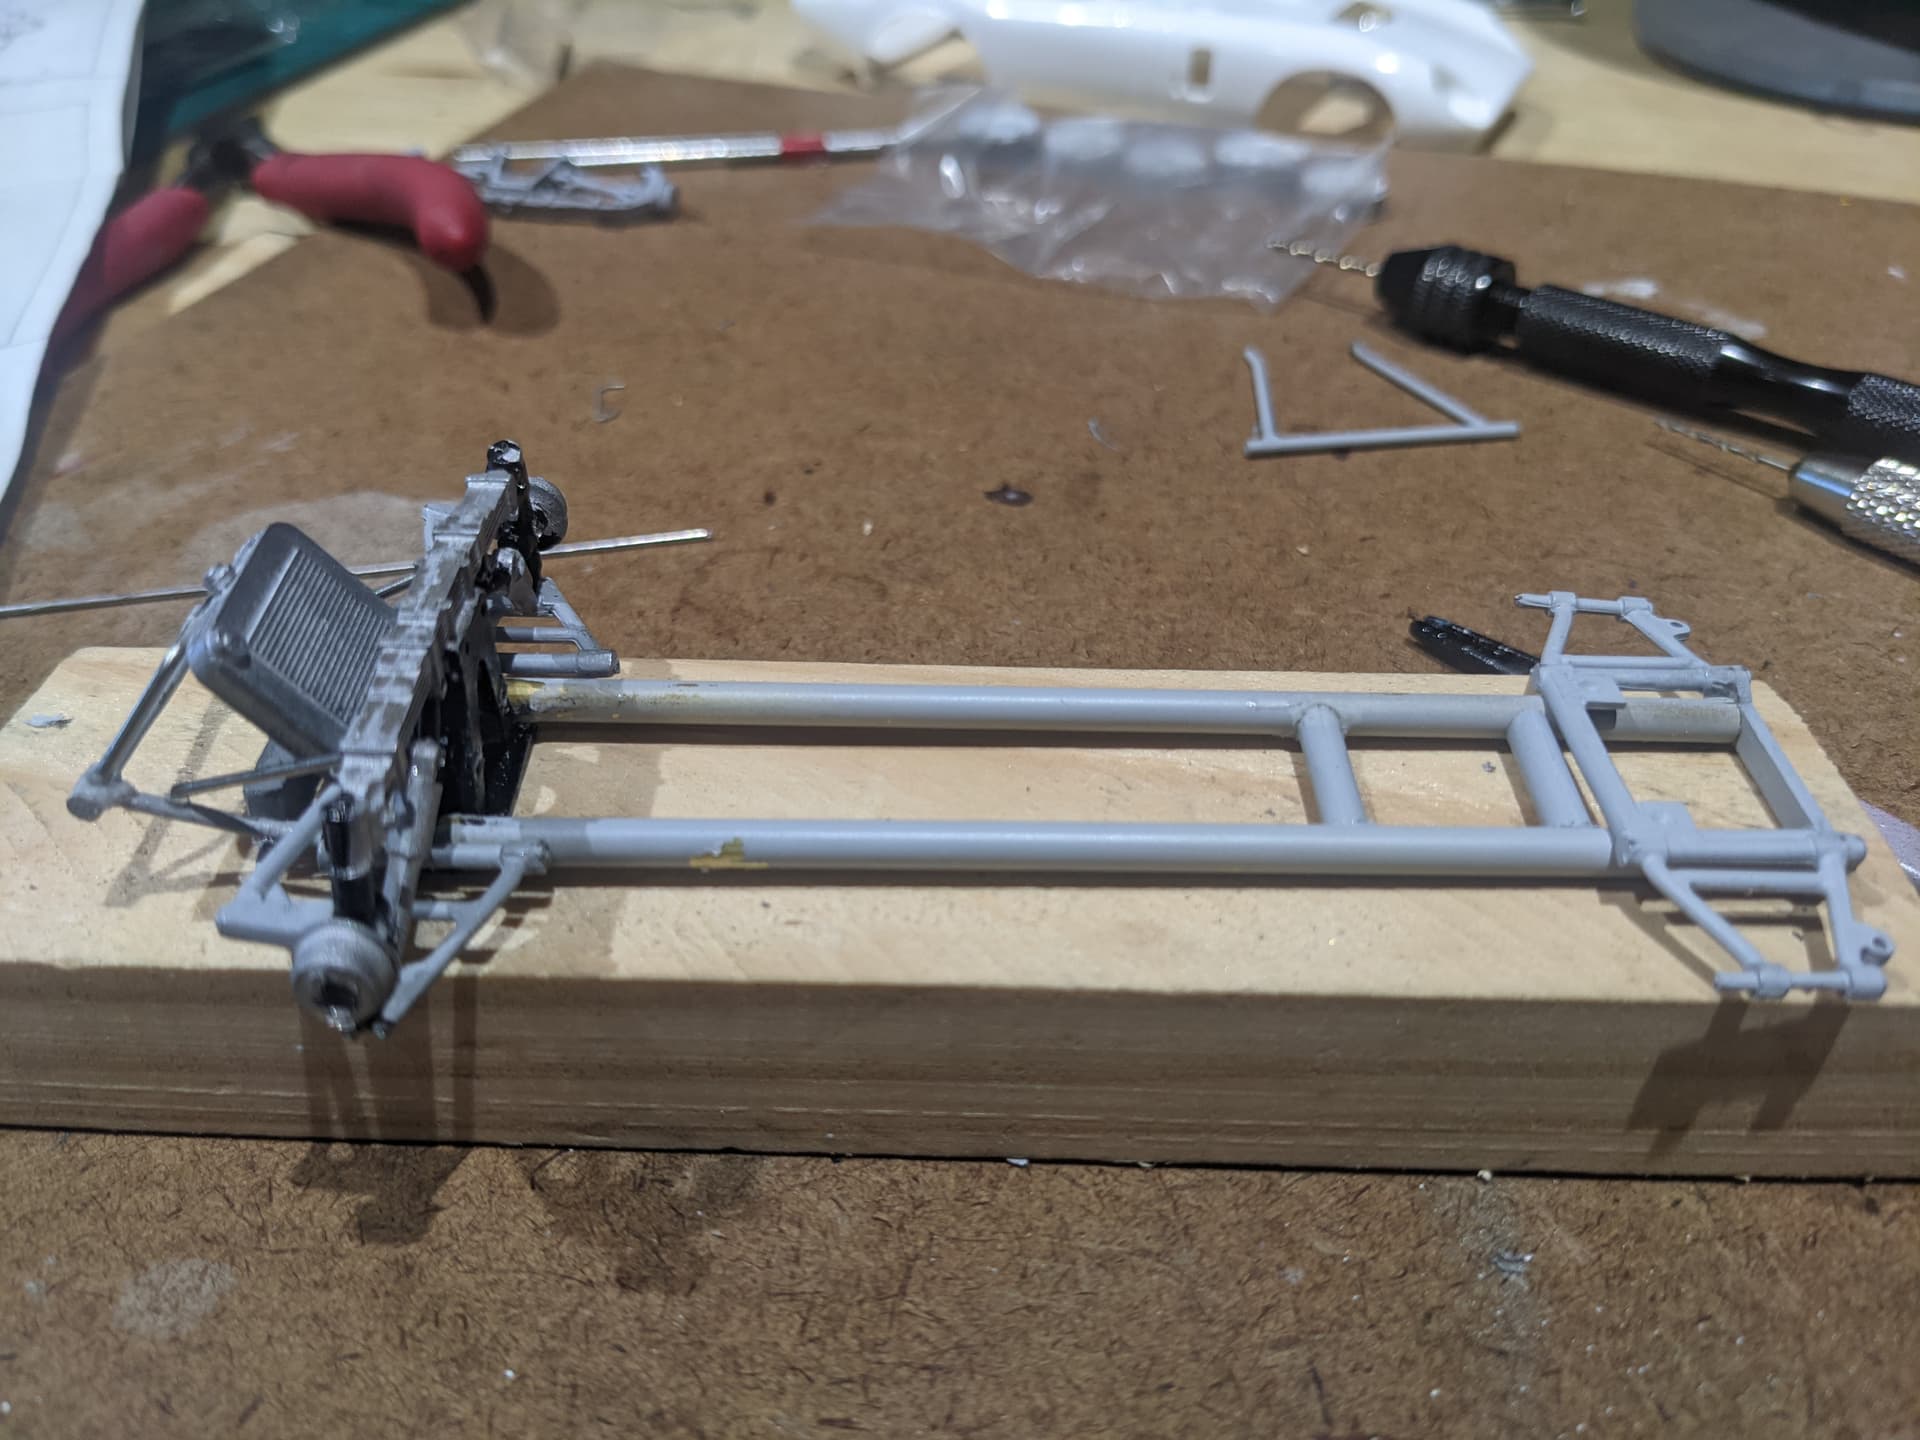
Started with the frame rails. My digital vernier caliper came in hand for that. After putting those four pieces together with drops of super glue, I had to stop. (see above comment about drill bits!!)
So, that’s it for the moment. More Sunday or Monday.
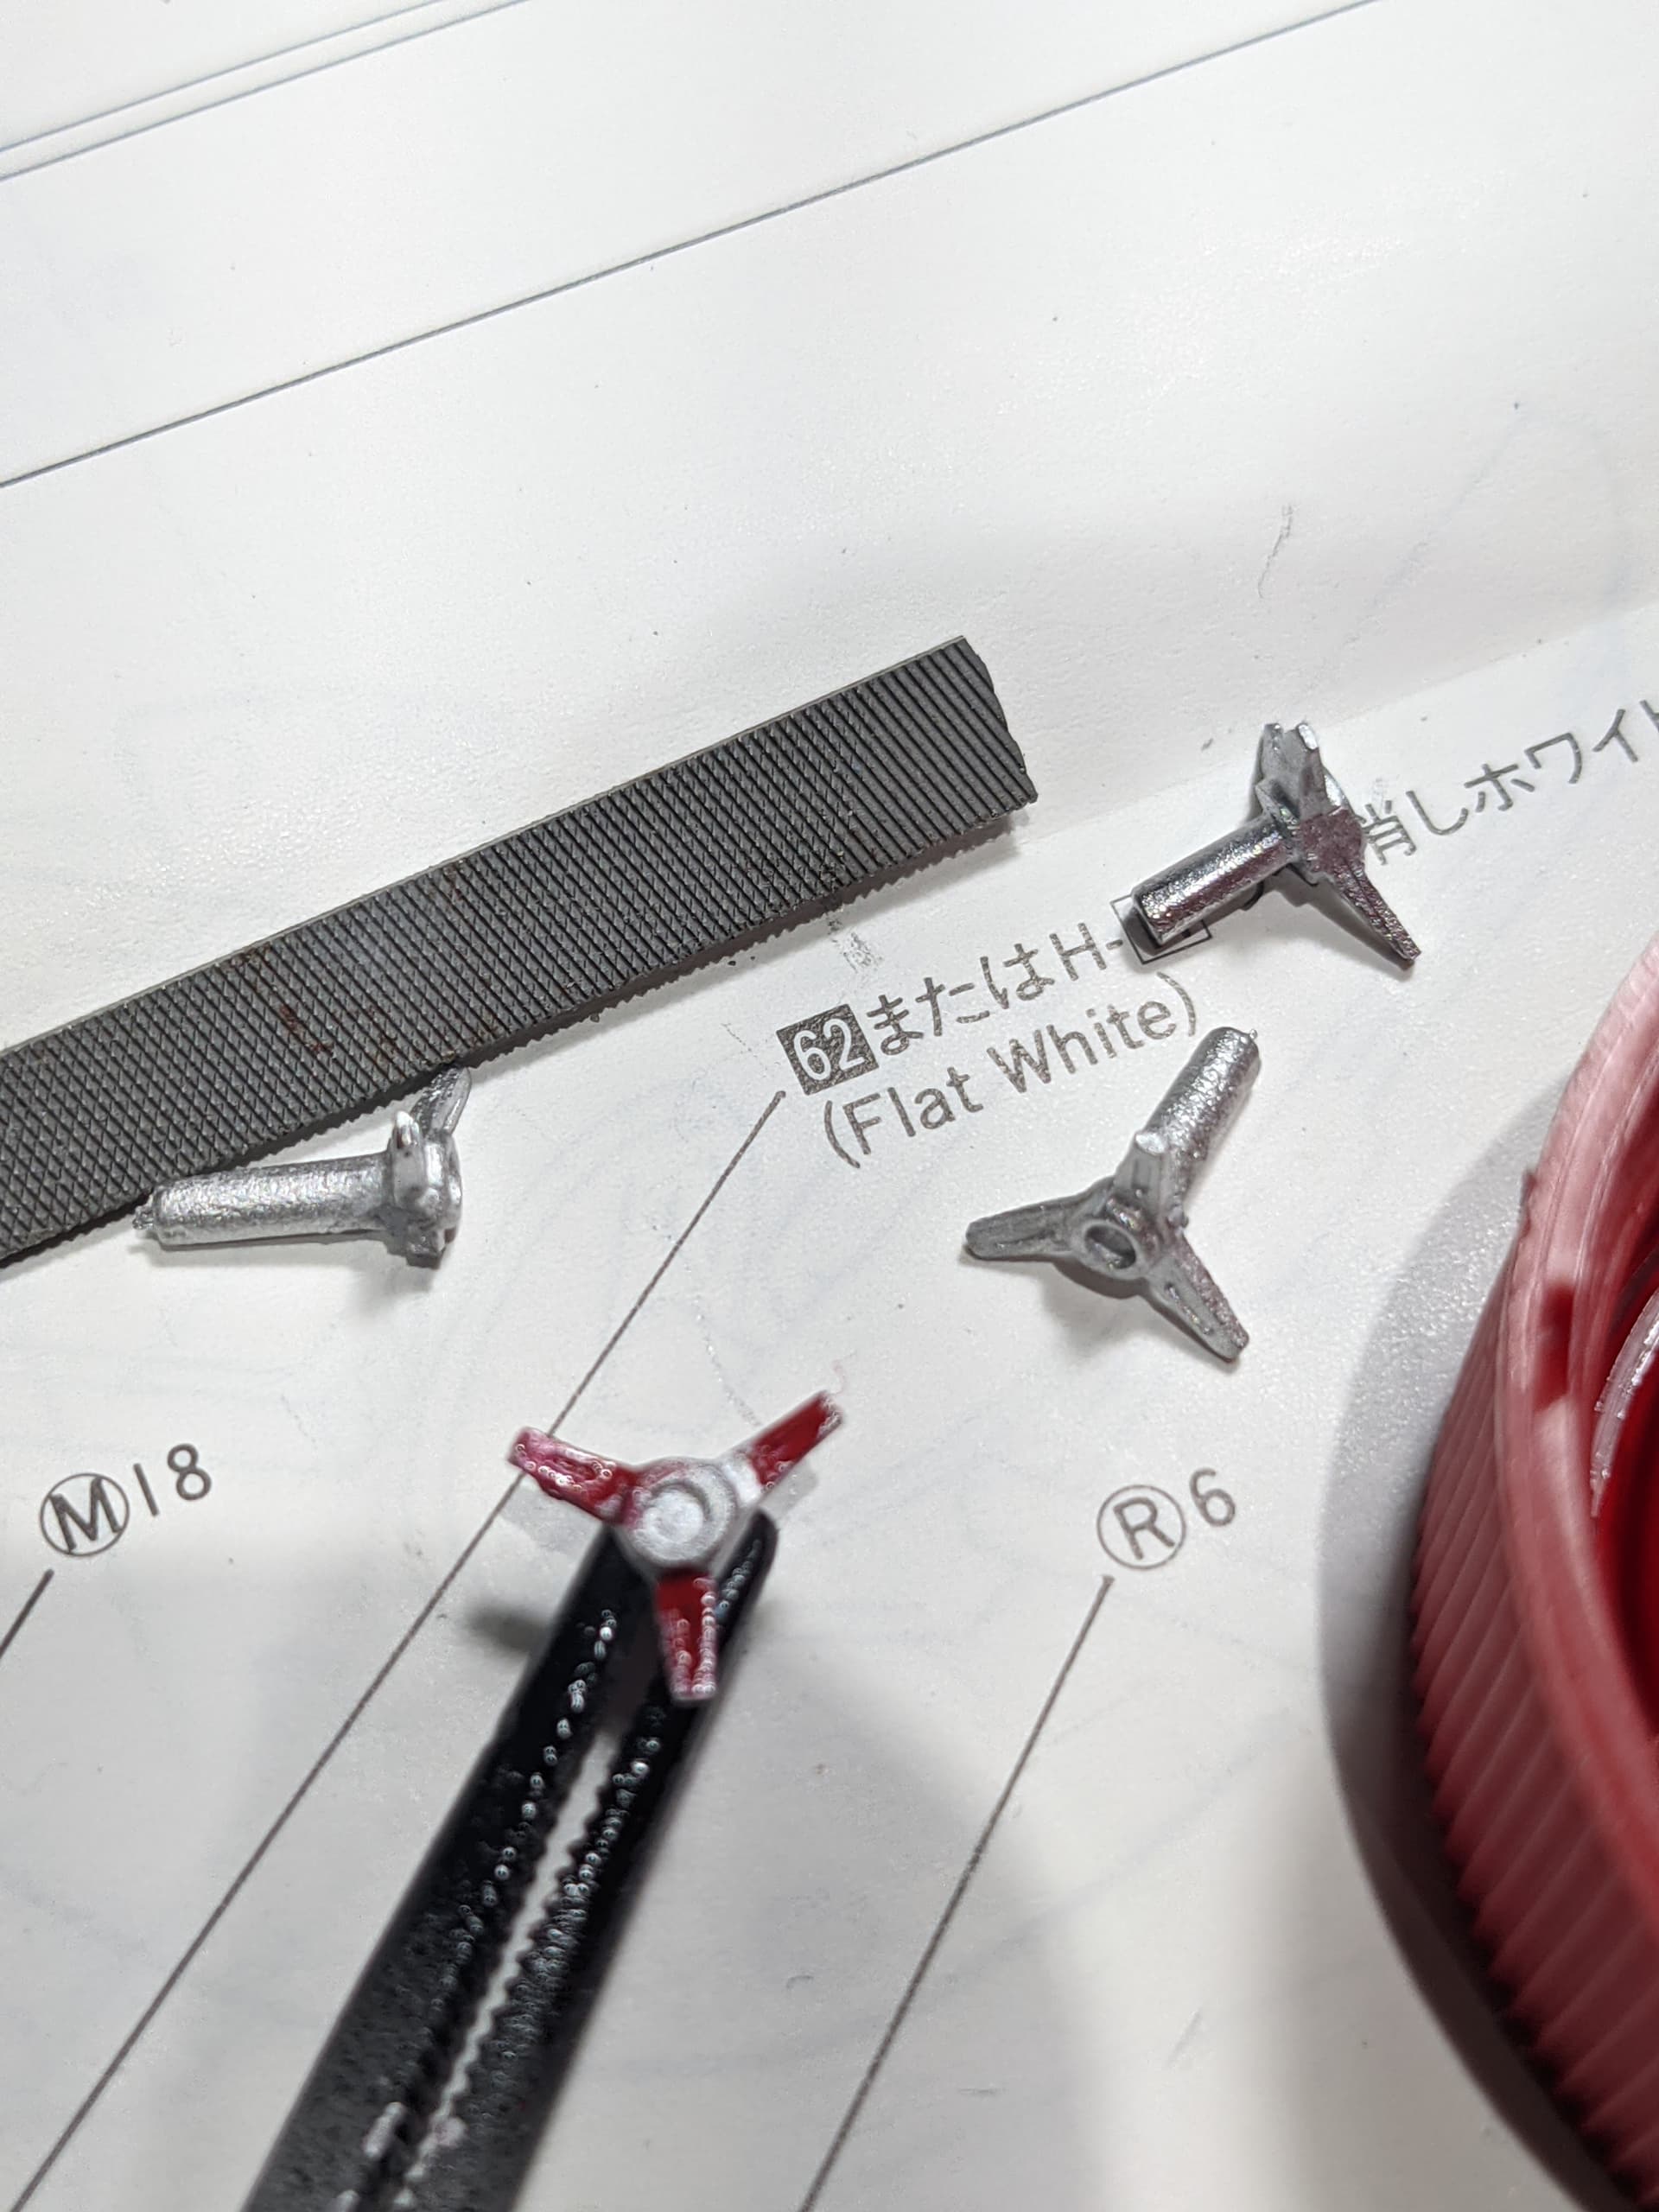
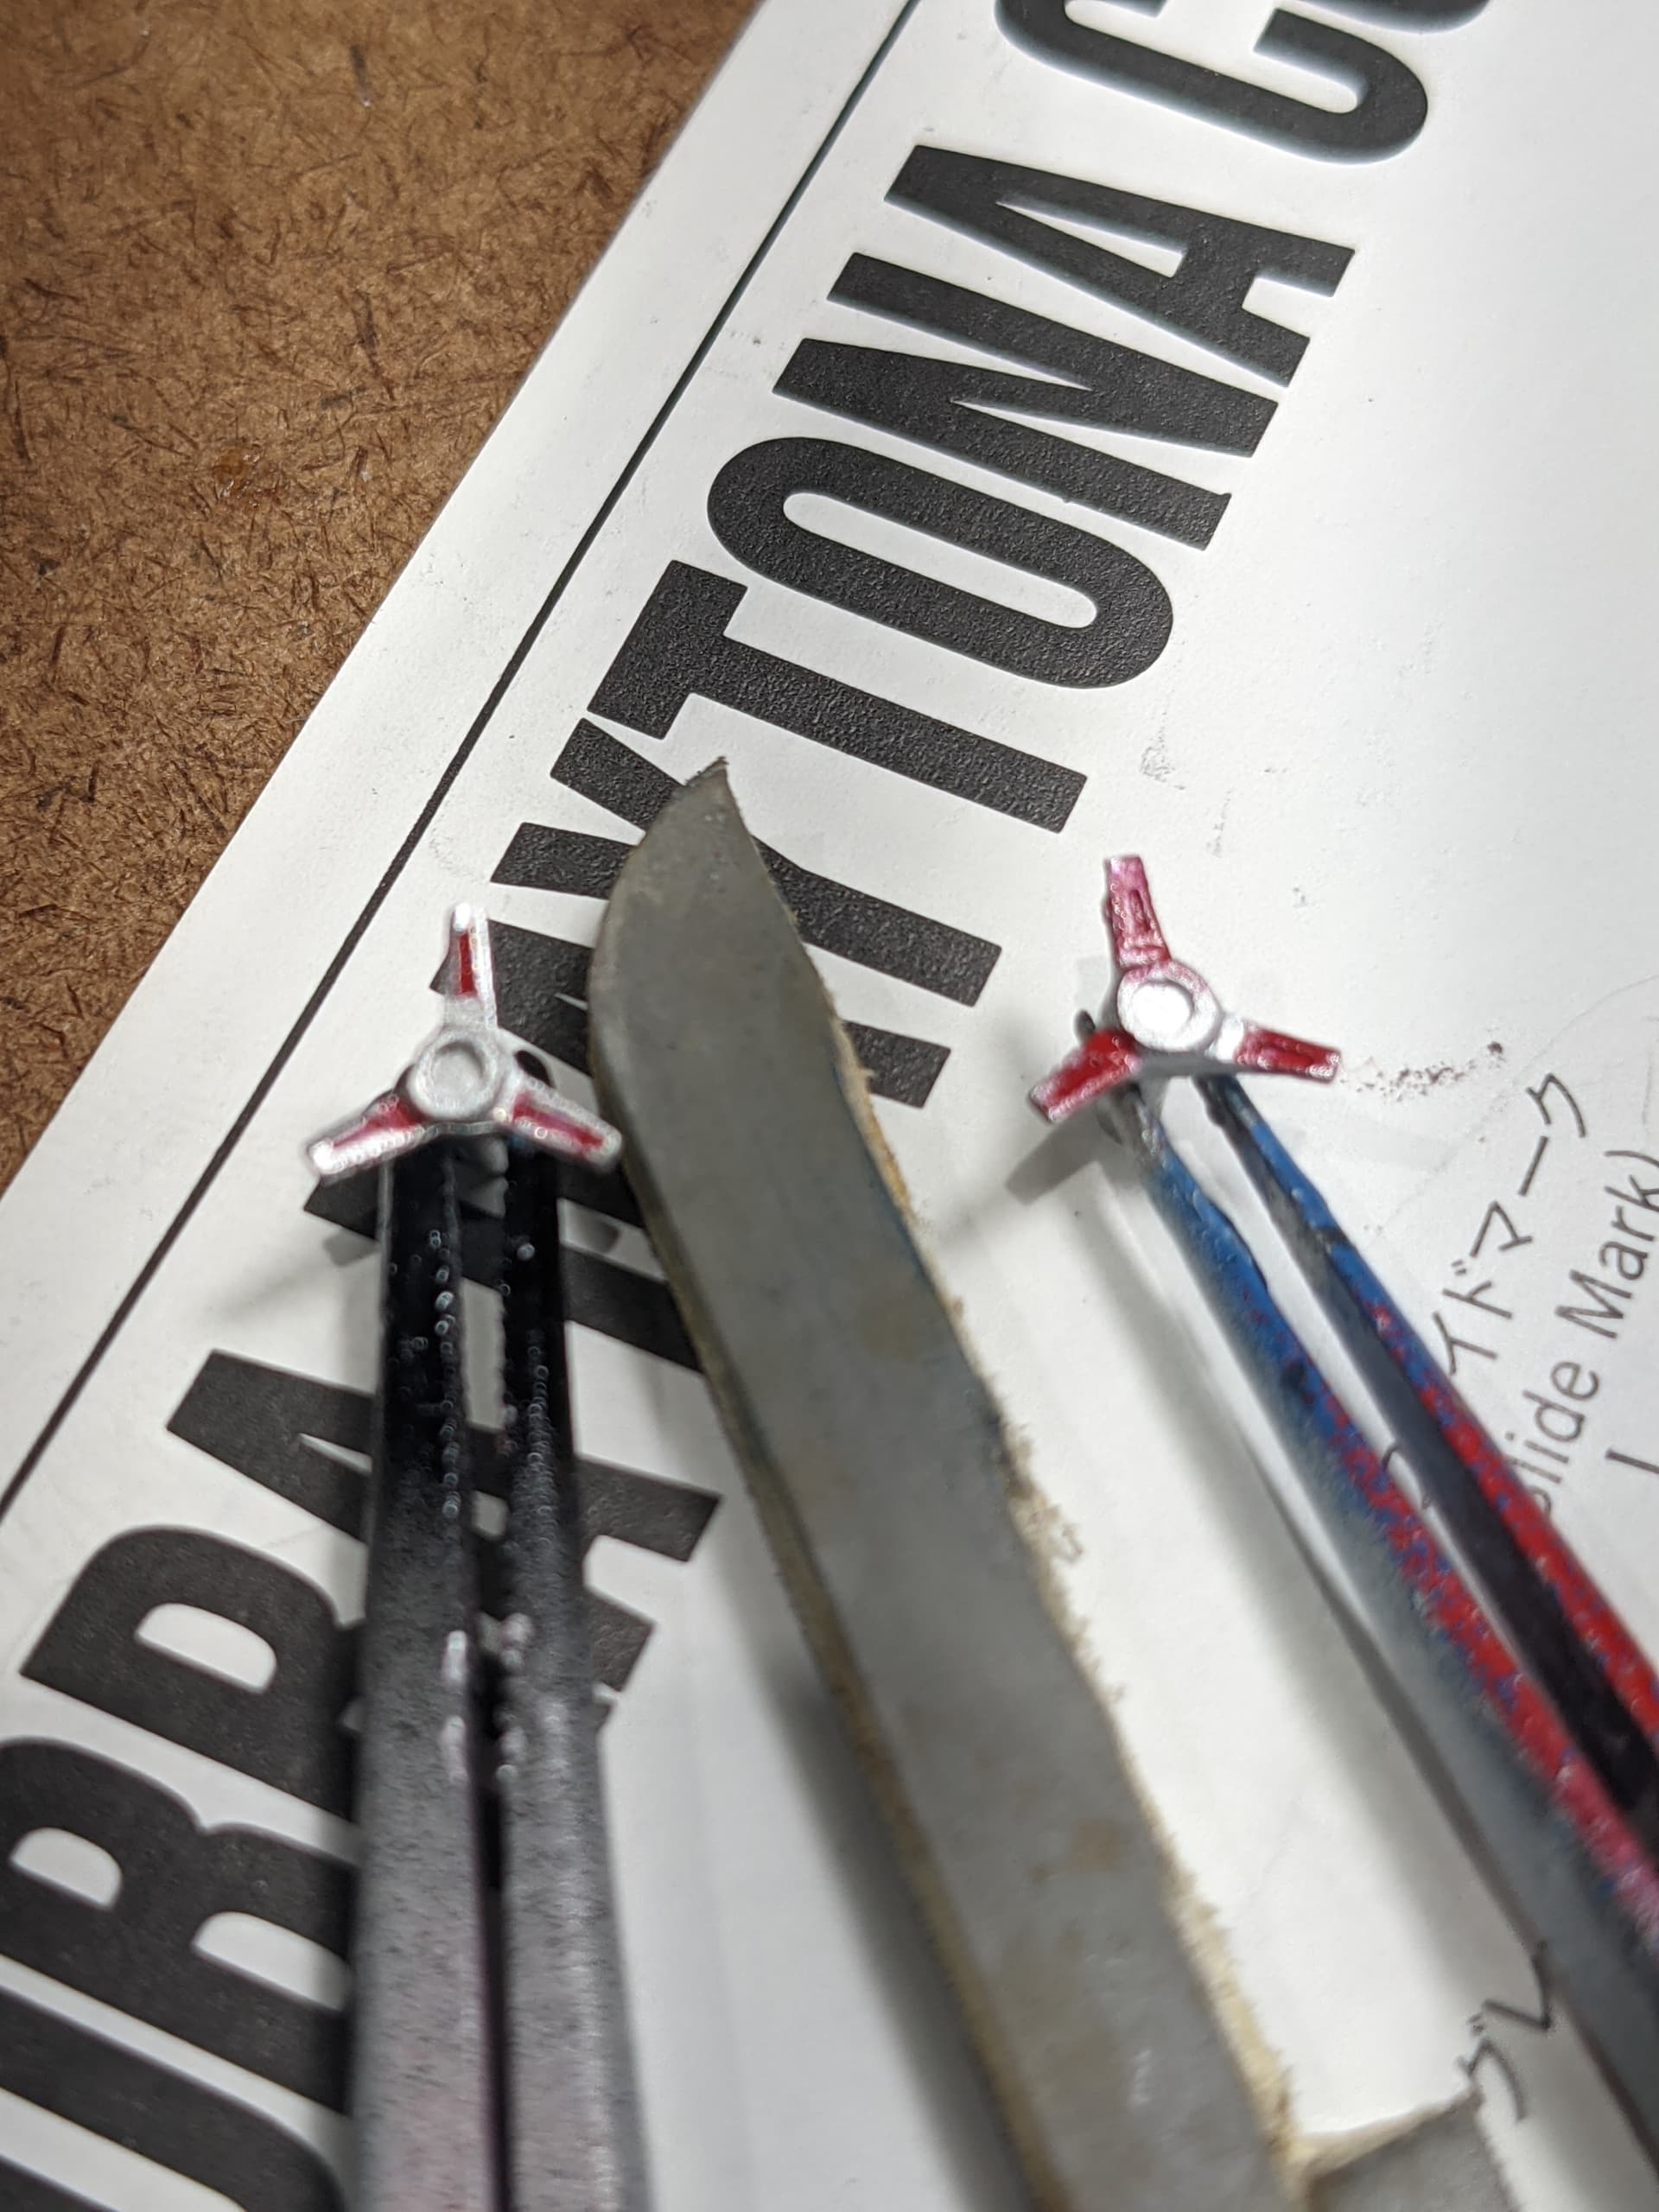
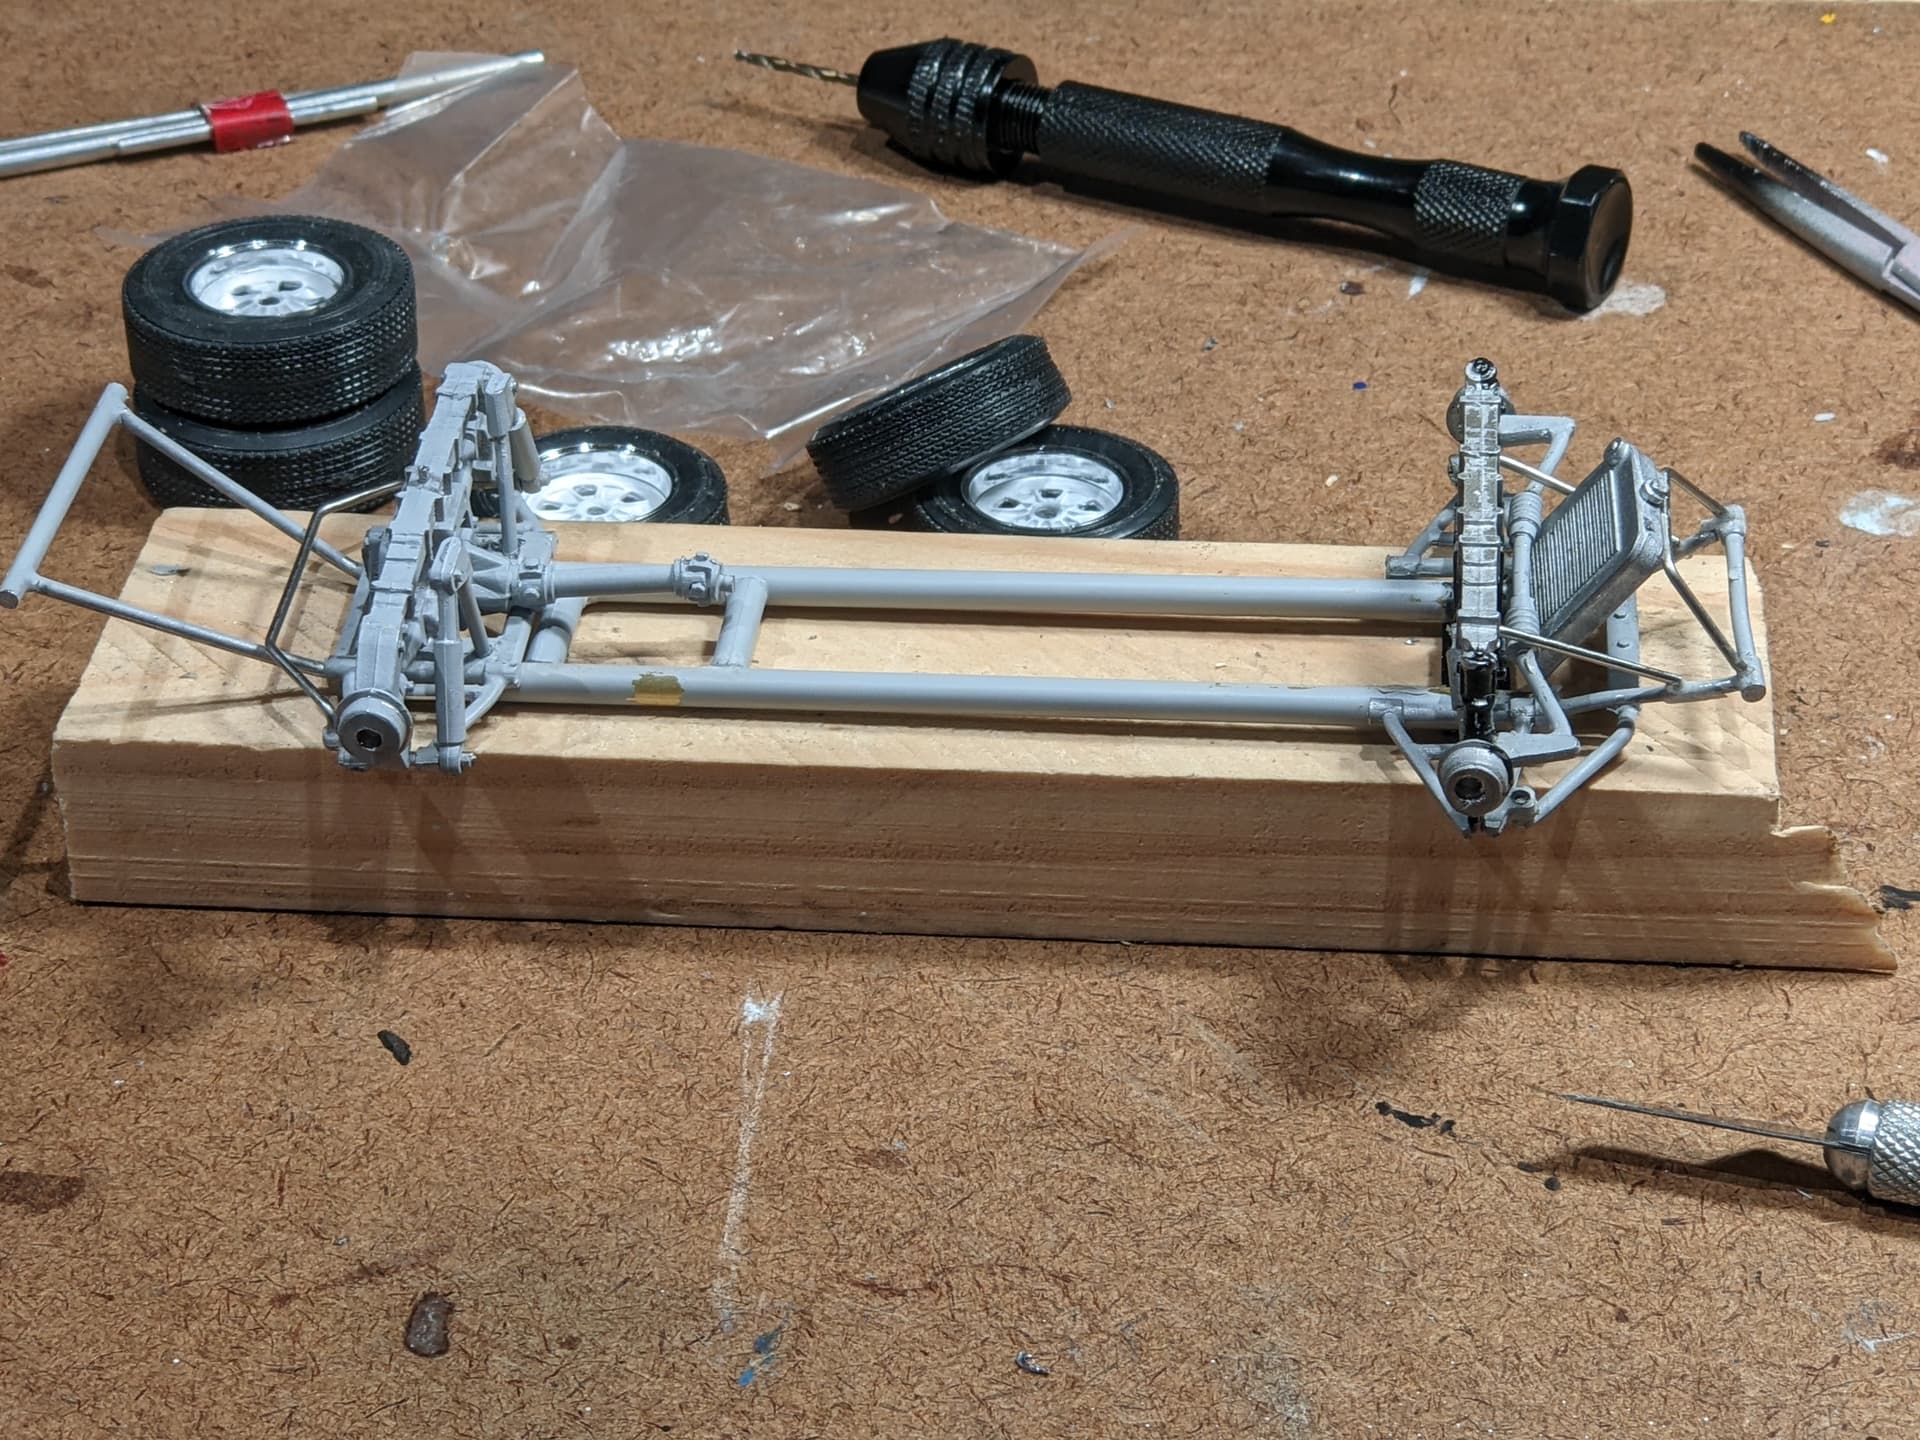
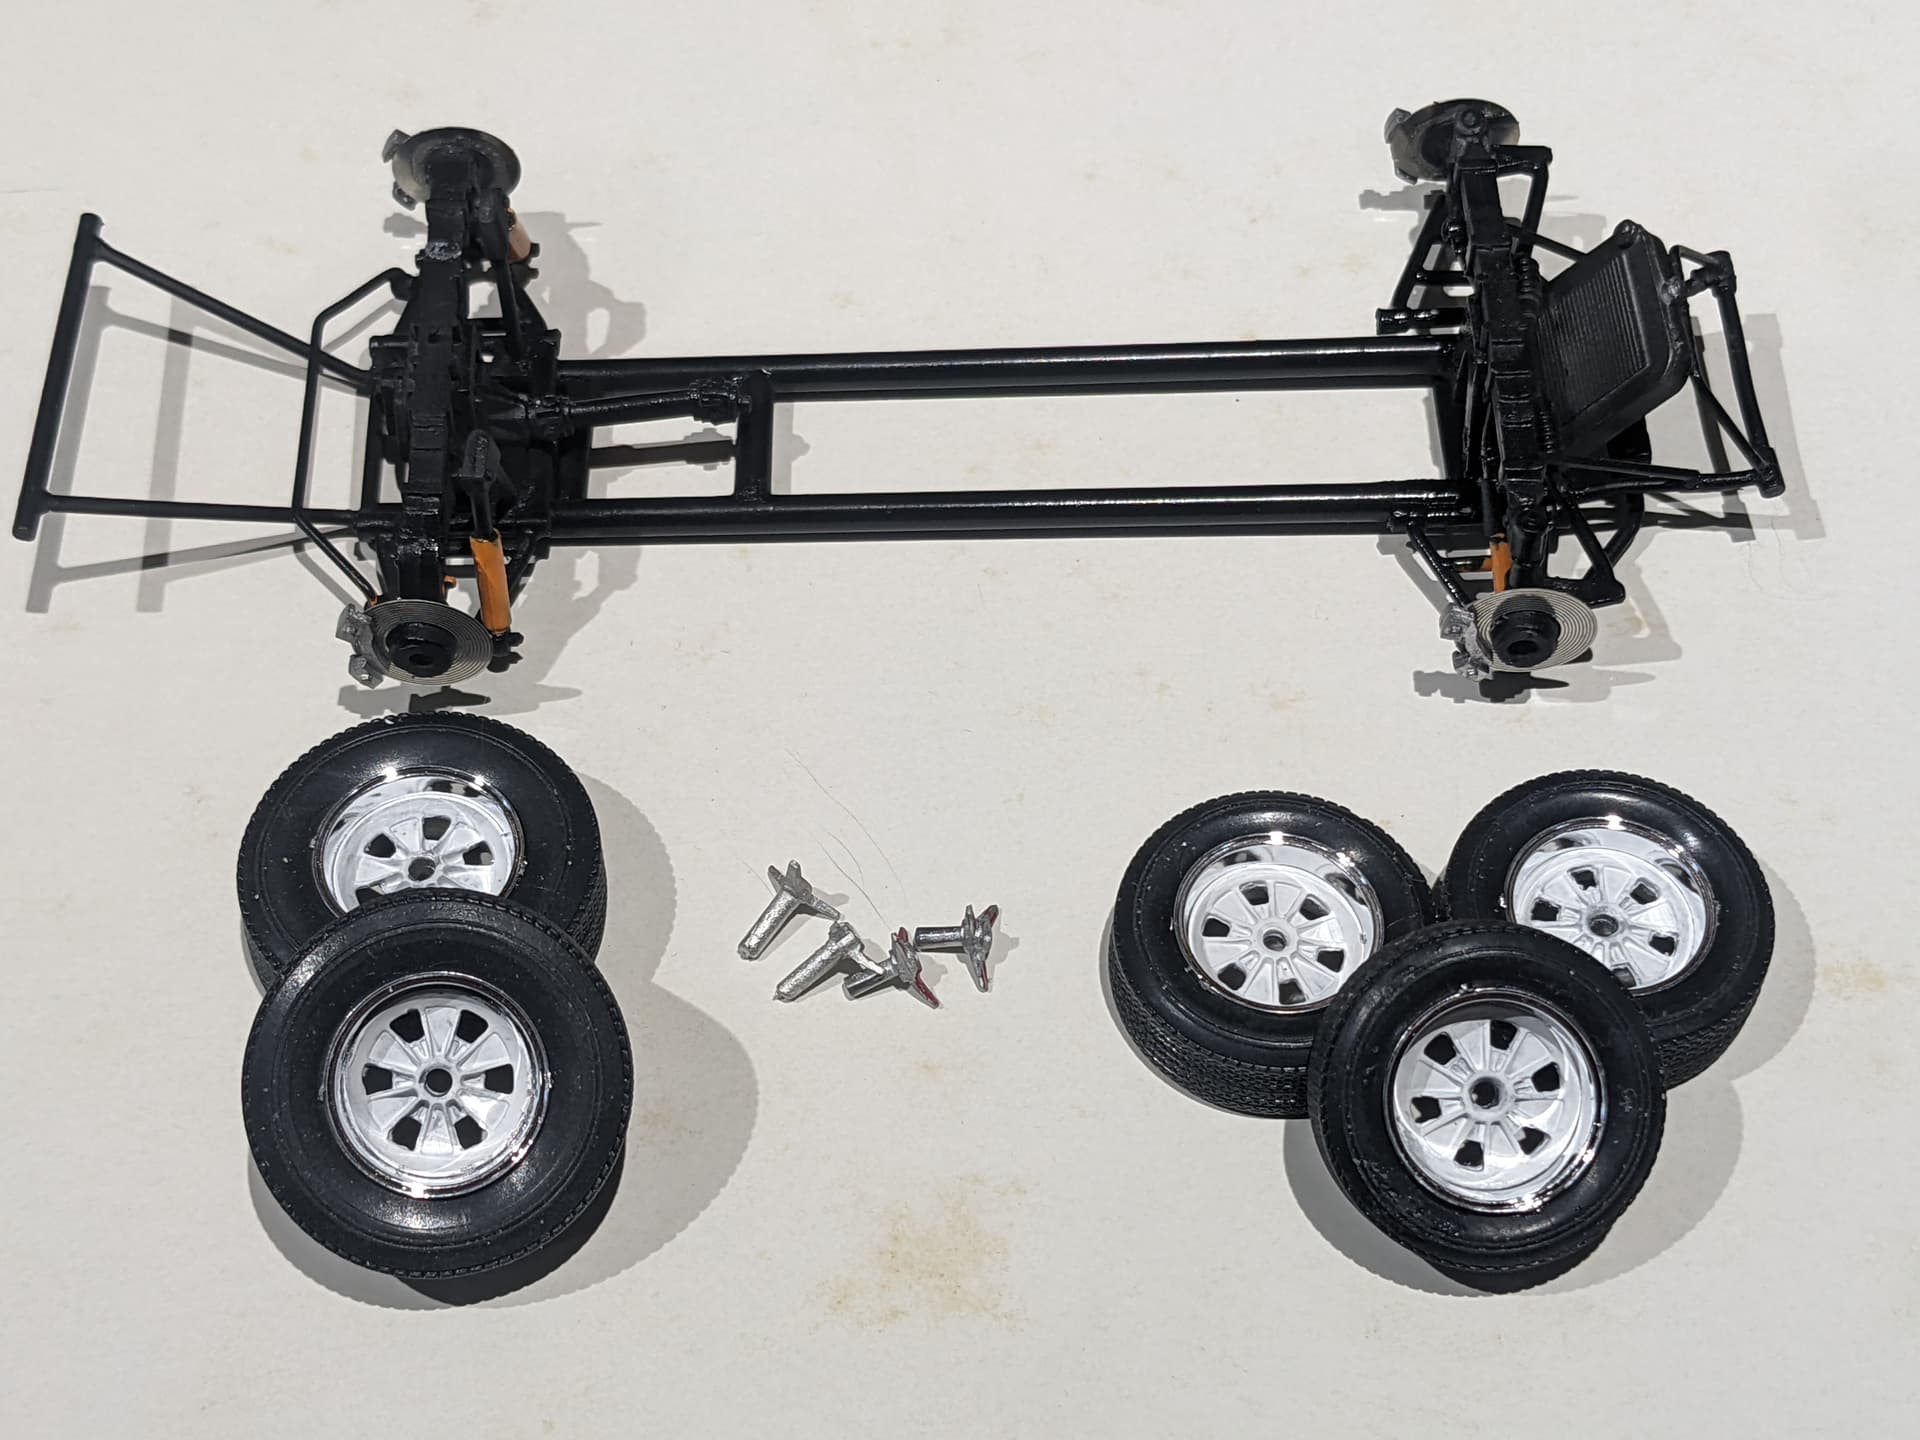
Eh. I decided to do a bit of stuff. Wheels are painted flat white. Using Tamiya acrylic flat white, it took two applications. There is a pic of two with the first coat, and three with a second coat. Had to use an Exacto knife to clean up the holes in the rims. Knock offs call for red in the wings, so applied some paint and then lightly sanded off the excess.
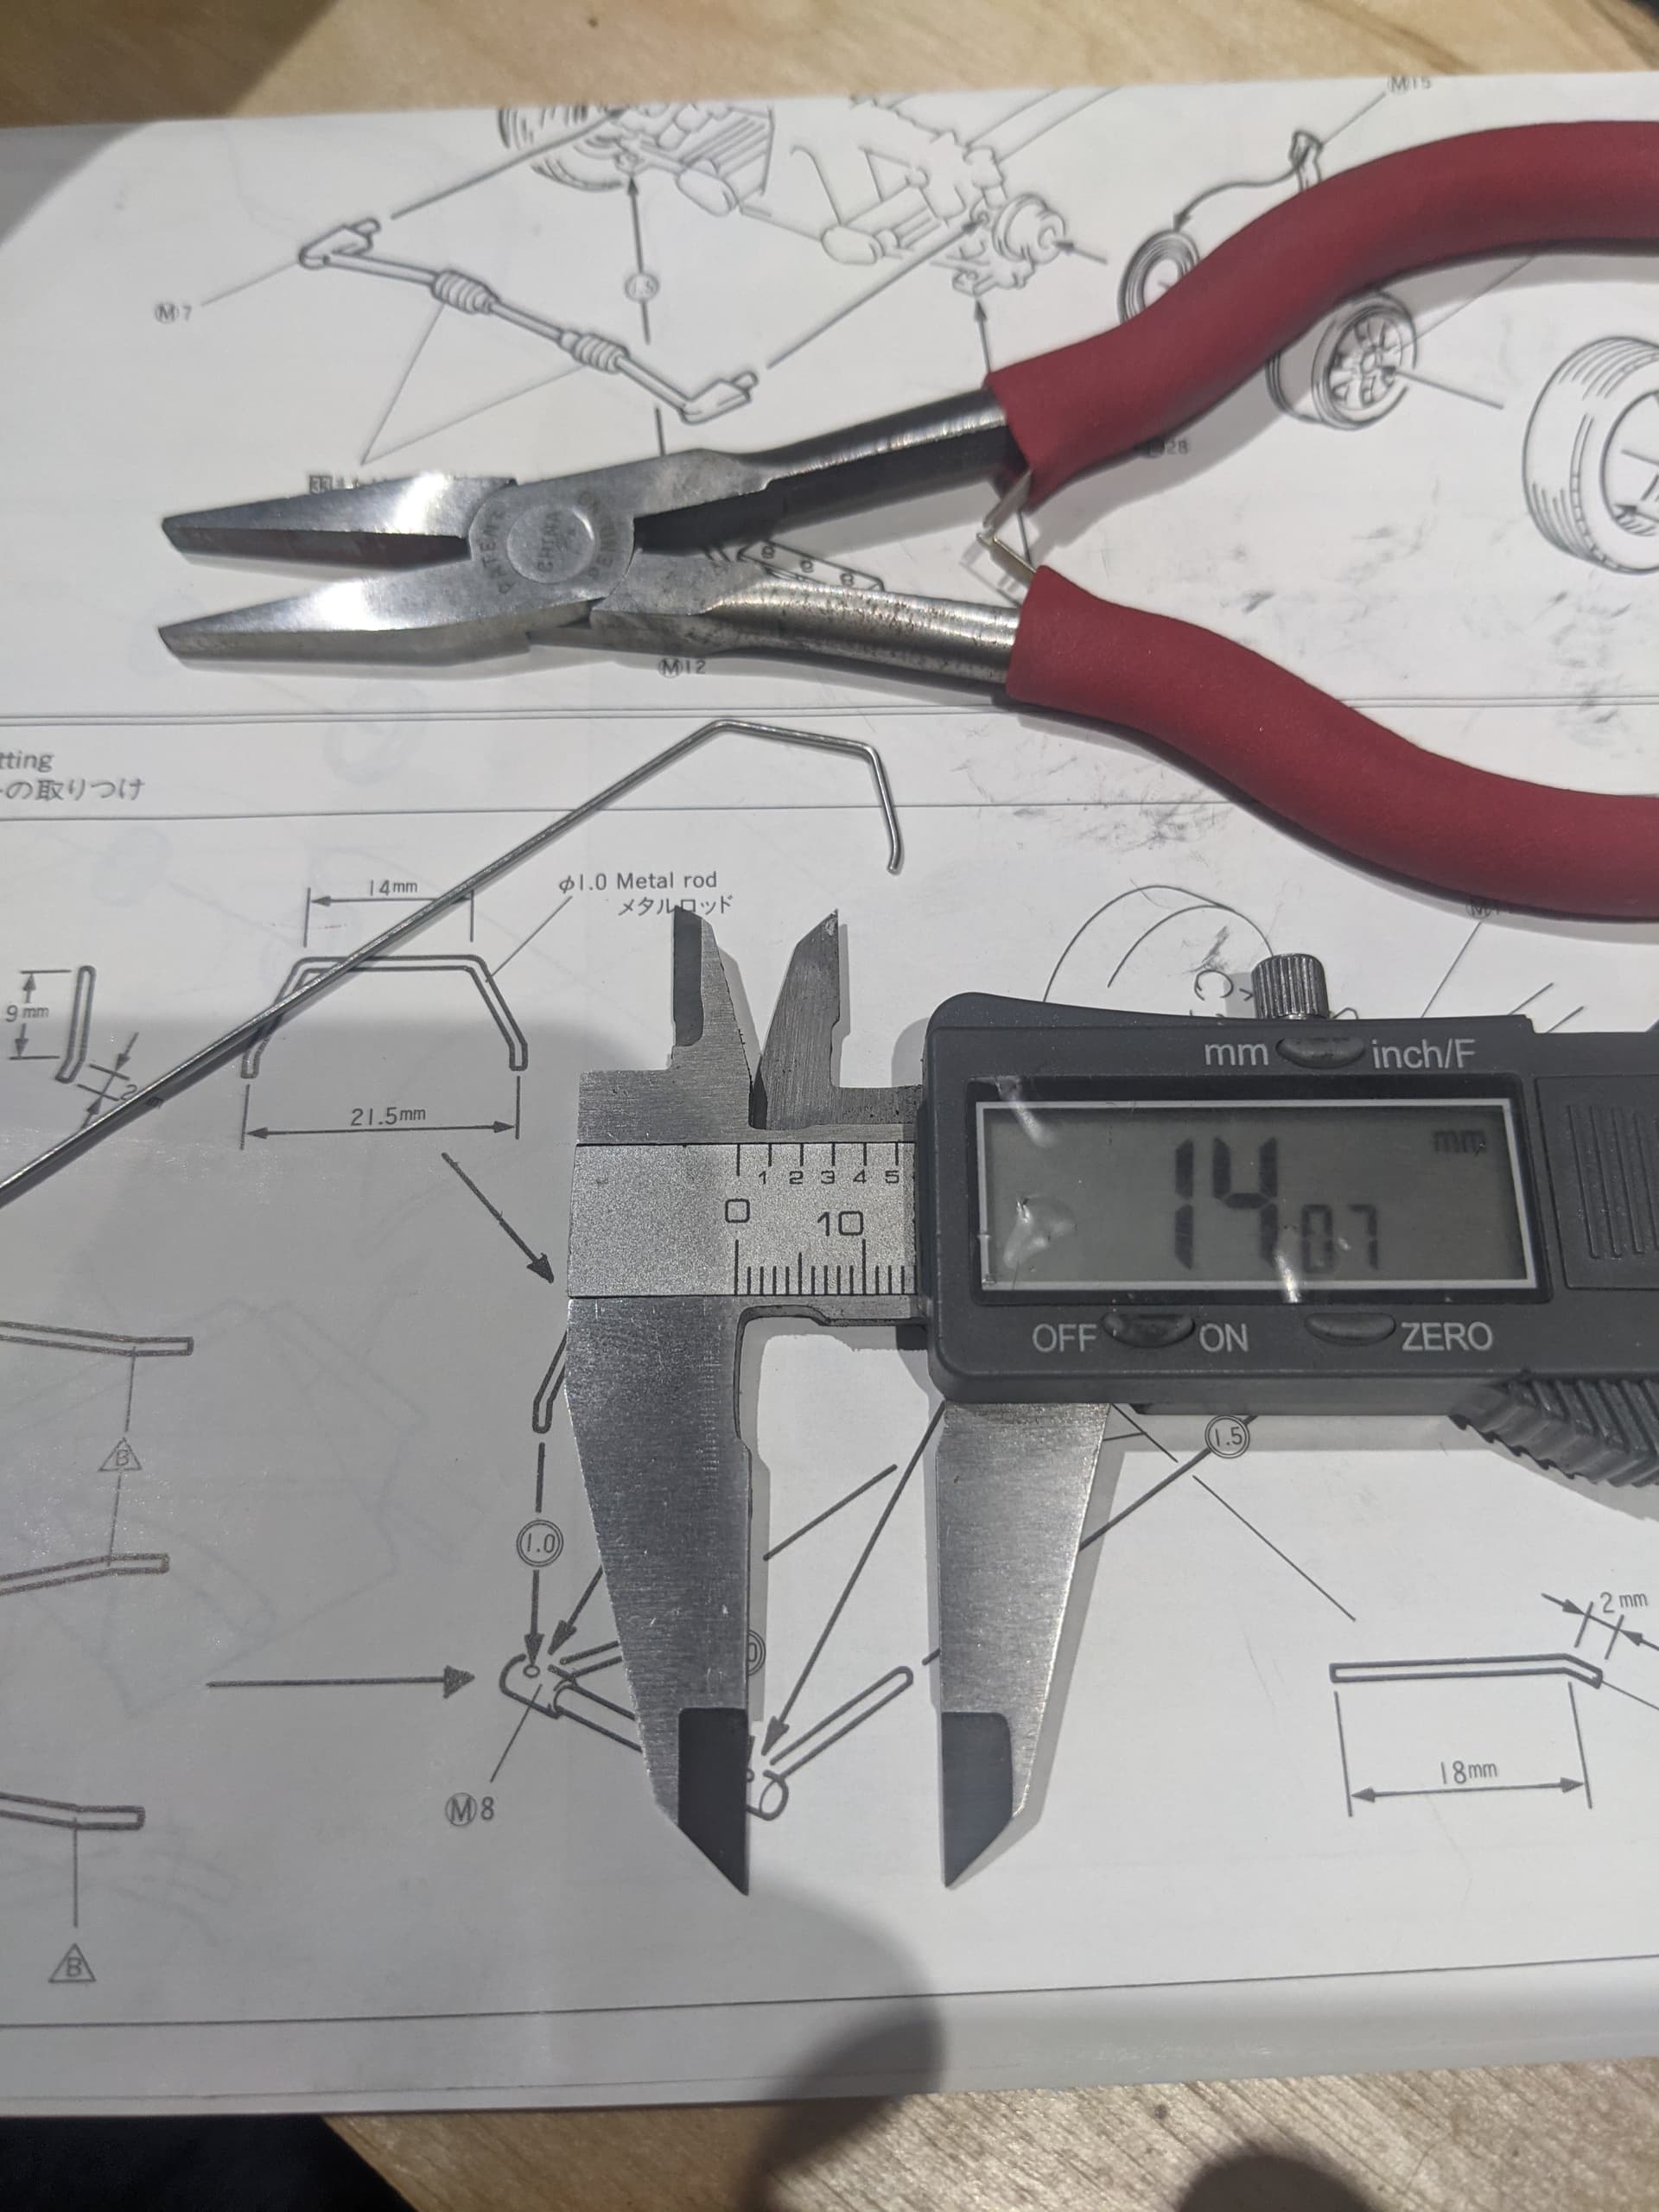
Working on the chassis. This where the digital vernier caliper becomes handy. (Mine came from Harbor Freight for about $25.) The instructions are very specific about the dimensions of the pieces of metal rods that have to be cut to length. I found out the hard way that it is wise to “go long” on these cuts as you can’t make them longer AFTER the cut !!! I had trouble with a couple pieces that are forward of the radiator. Since I have multiples of this kit to build different (paint) versions, I will know this for the next ones.
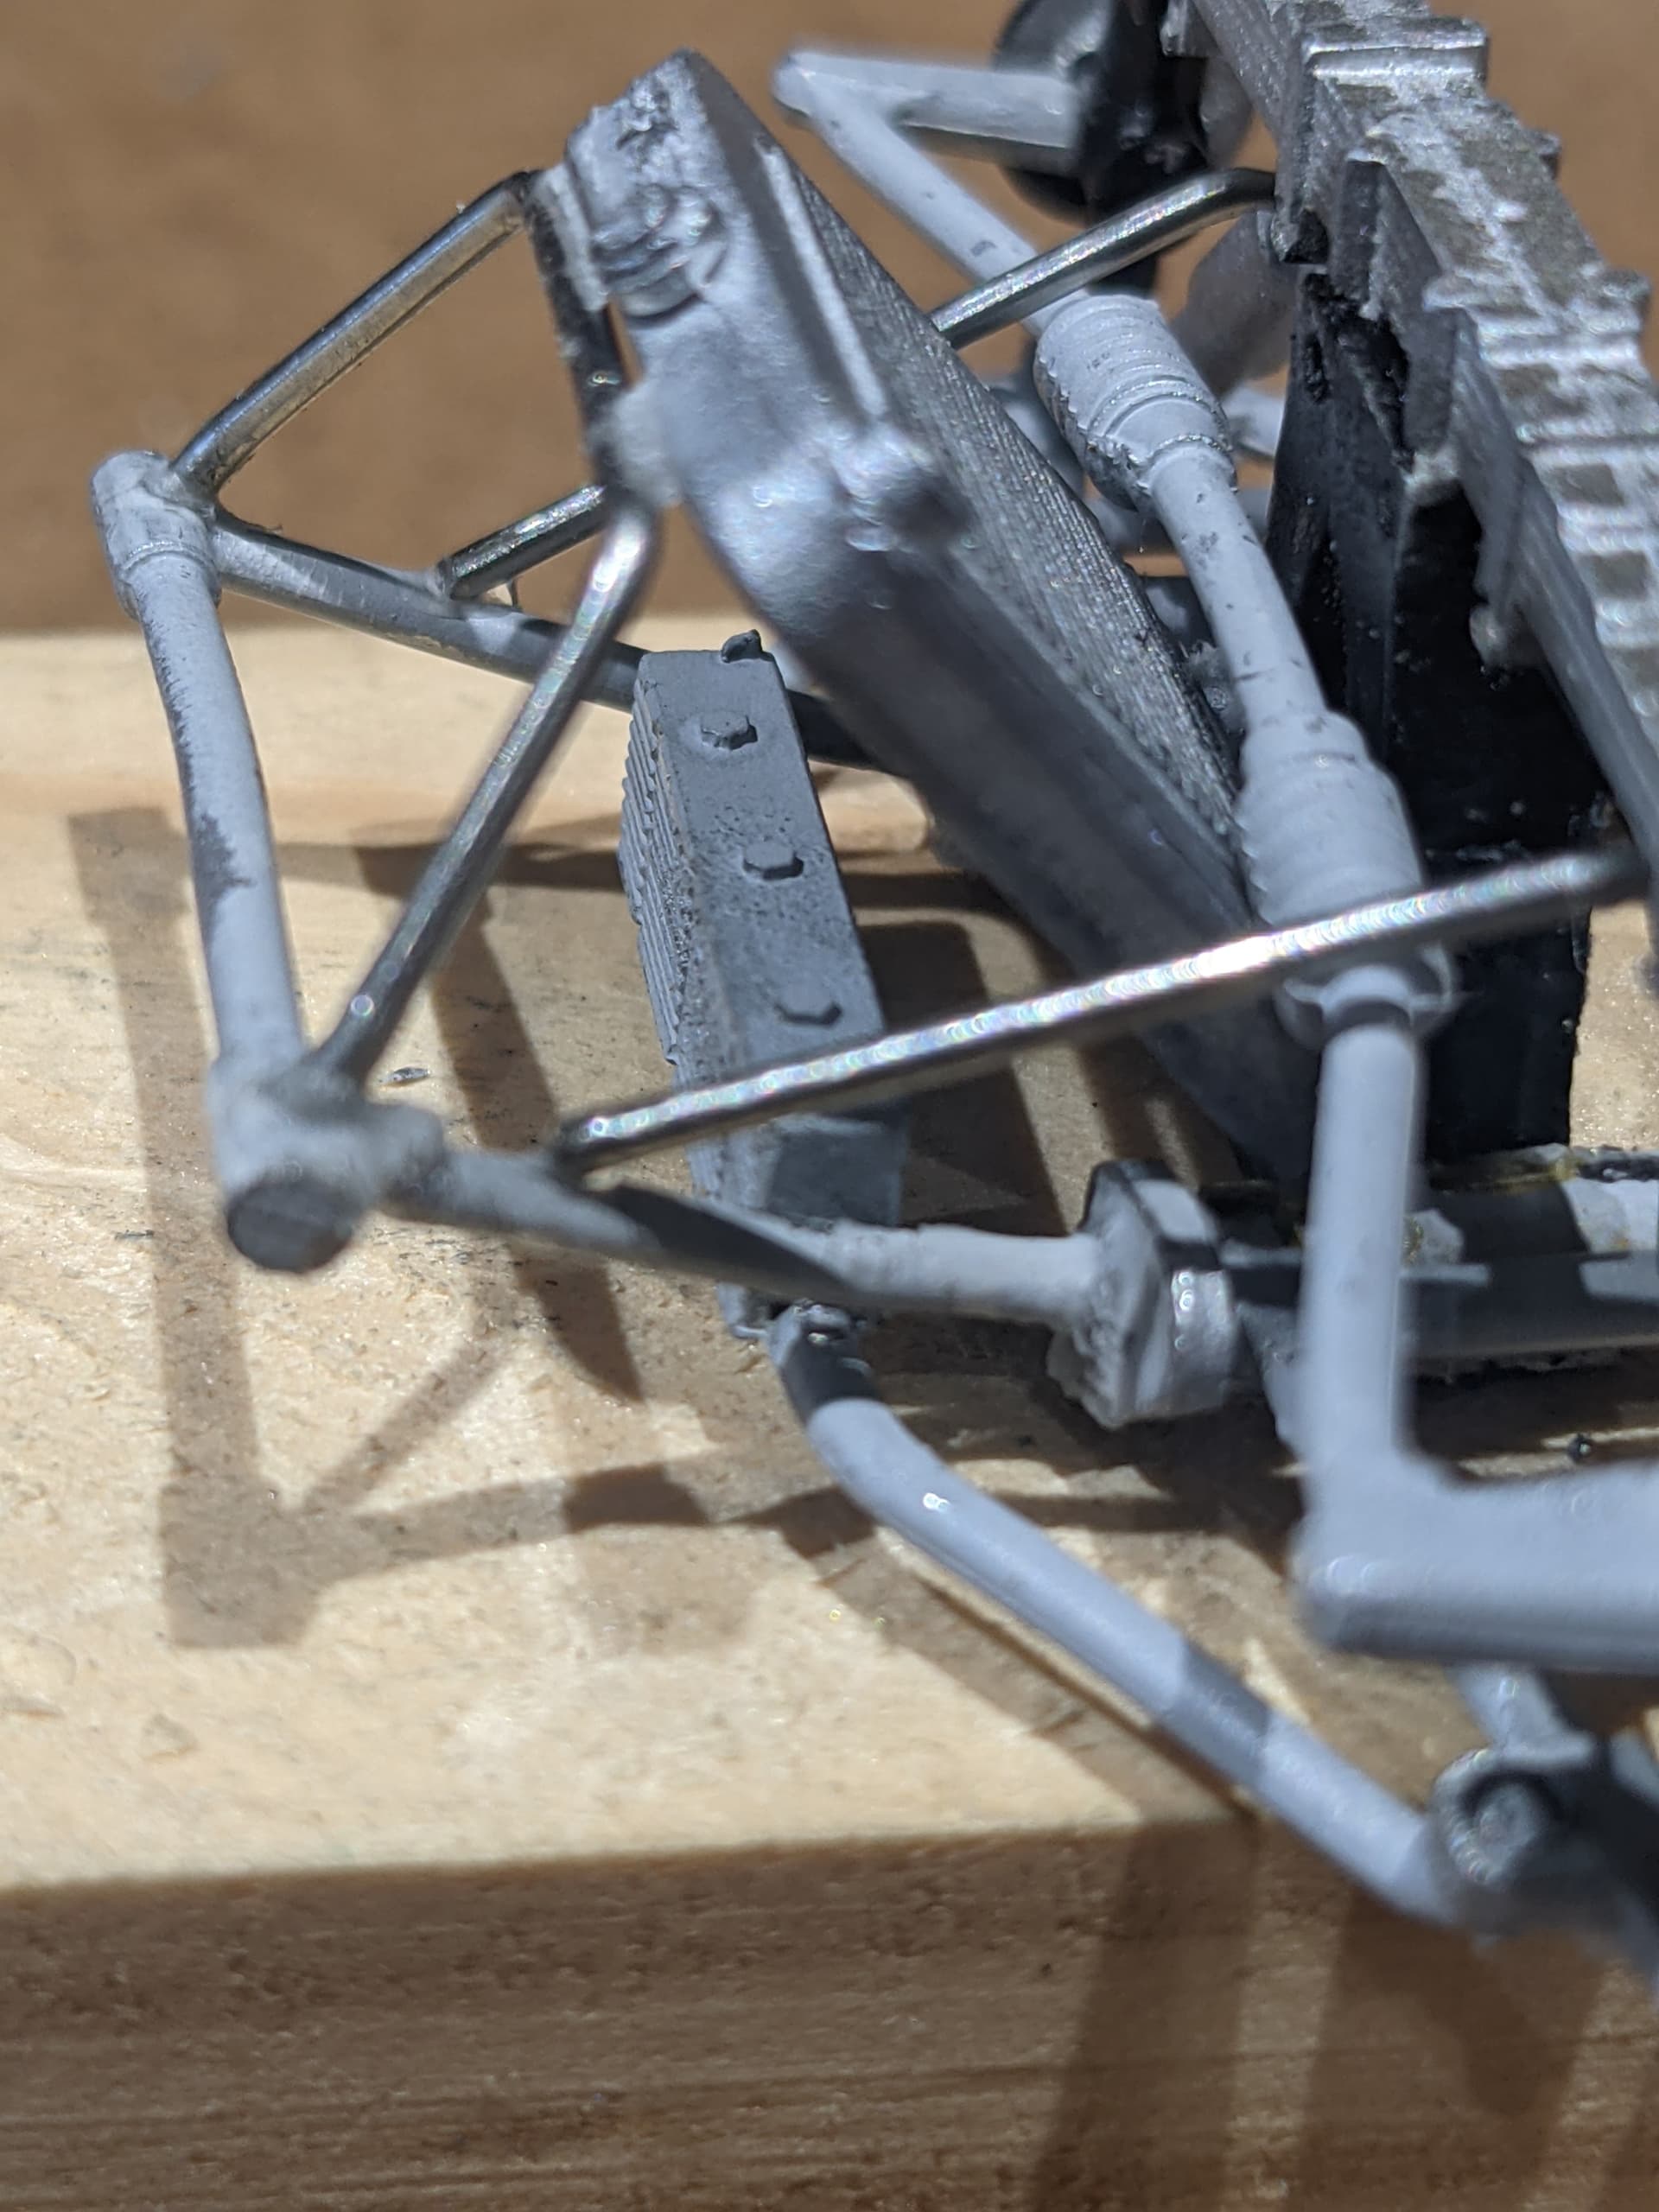
Here is where I ran into trouble. No idea what I did wrong, but those angled pieces along side the radiator were cut exactly to dimension and matched the drawing in the instructions as seen in the previous post. The left ends were short of the junction points by about 2 mm or so.
So, don’t do what I did. Build the chassis FIRST, and then prime it for paint.
Here we are at this point and will be air brushing it gloss black. Then will do some detail work to show the shocks and few other details. When I build the second one, I’ll correct some minor mistakes.
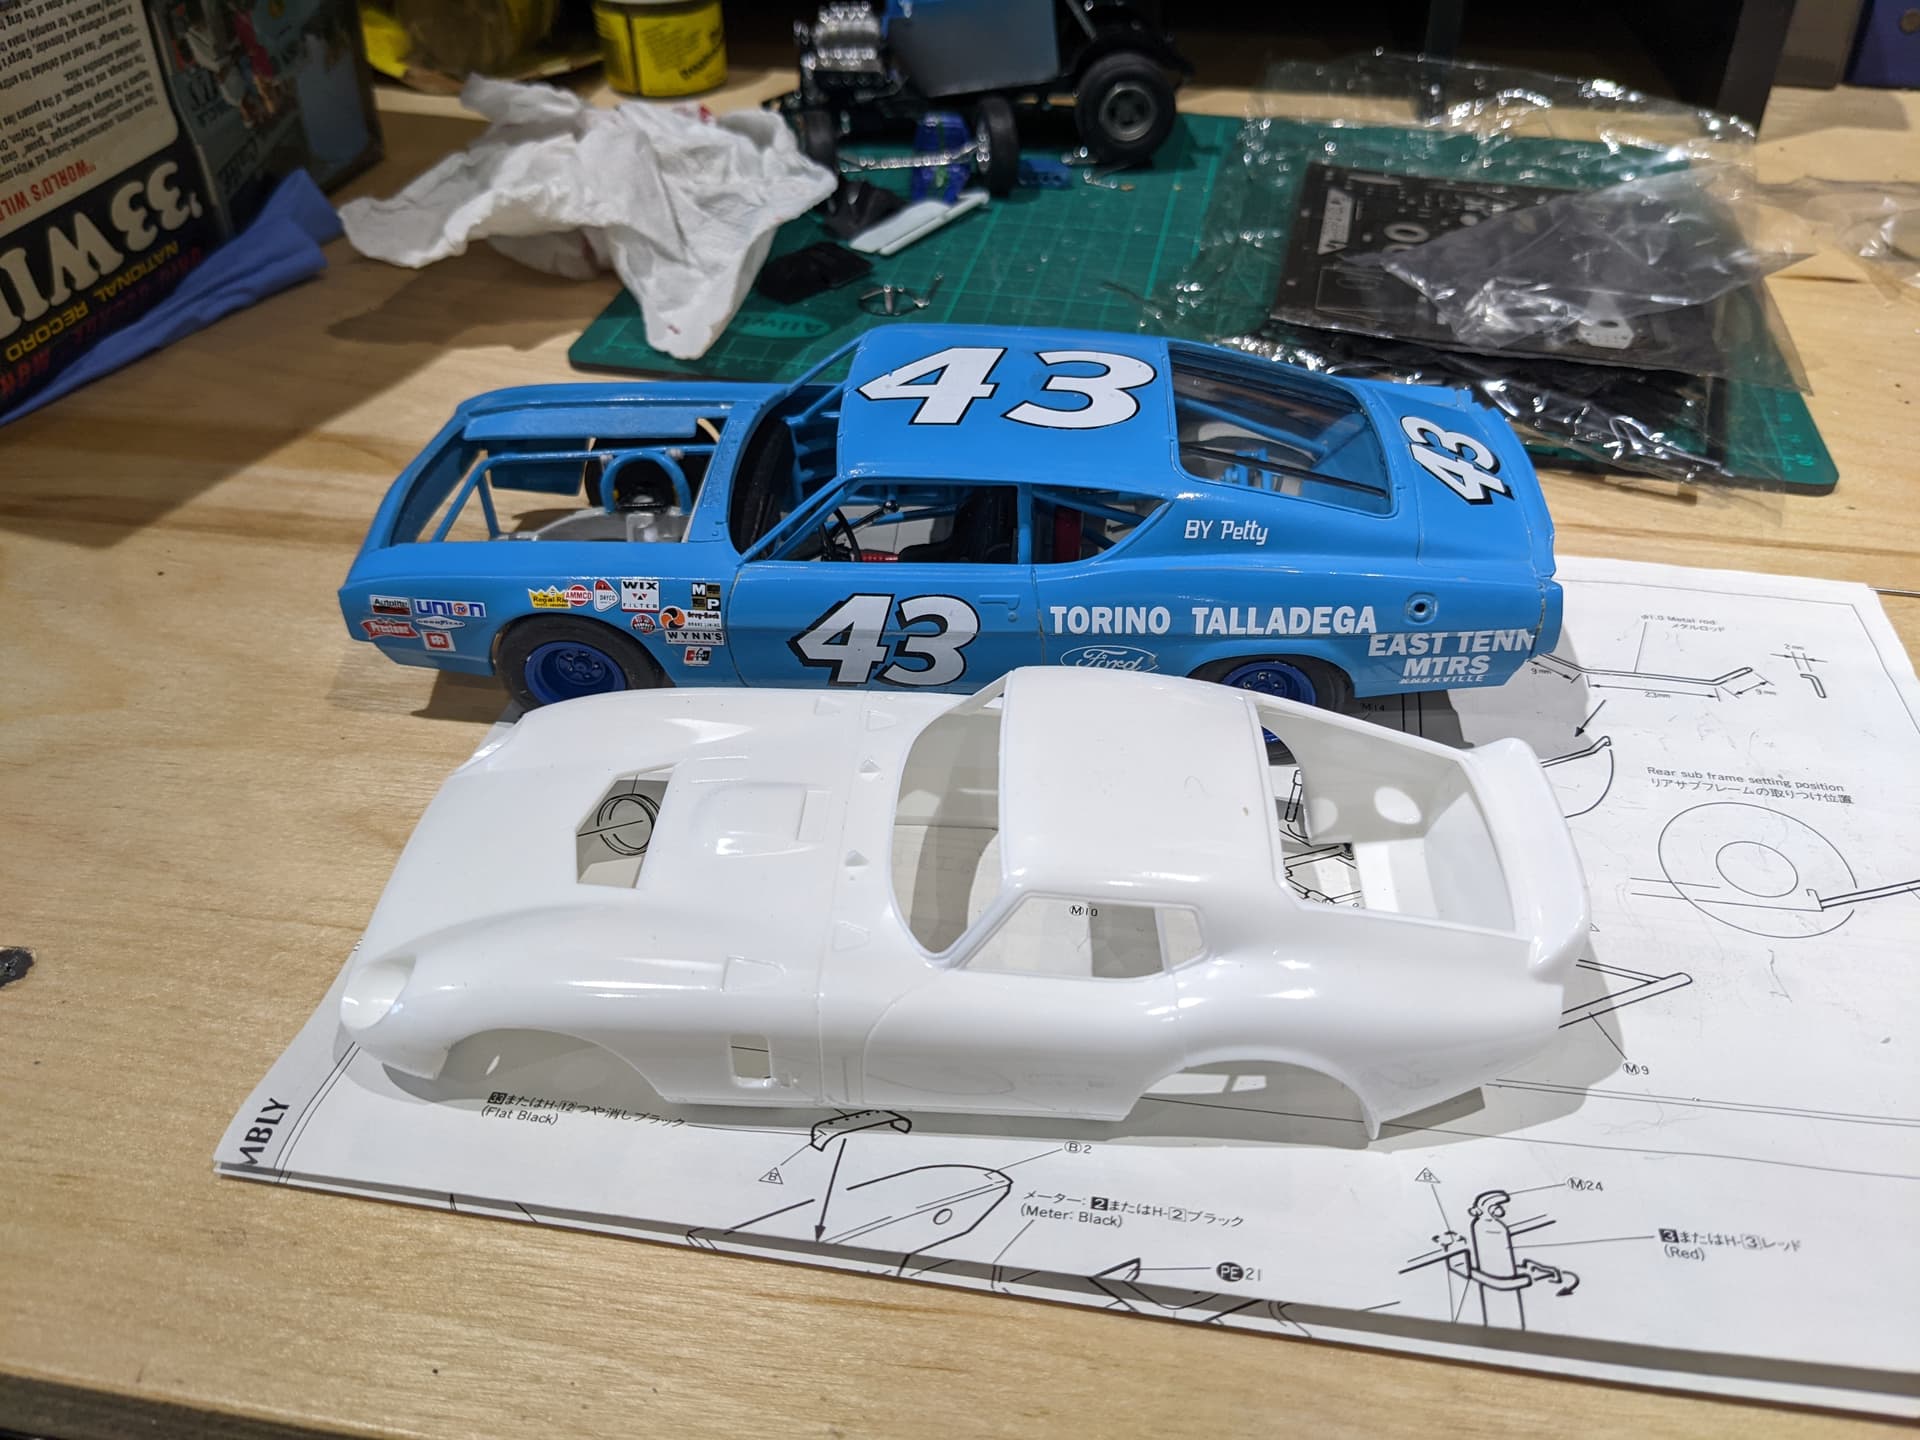
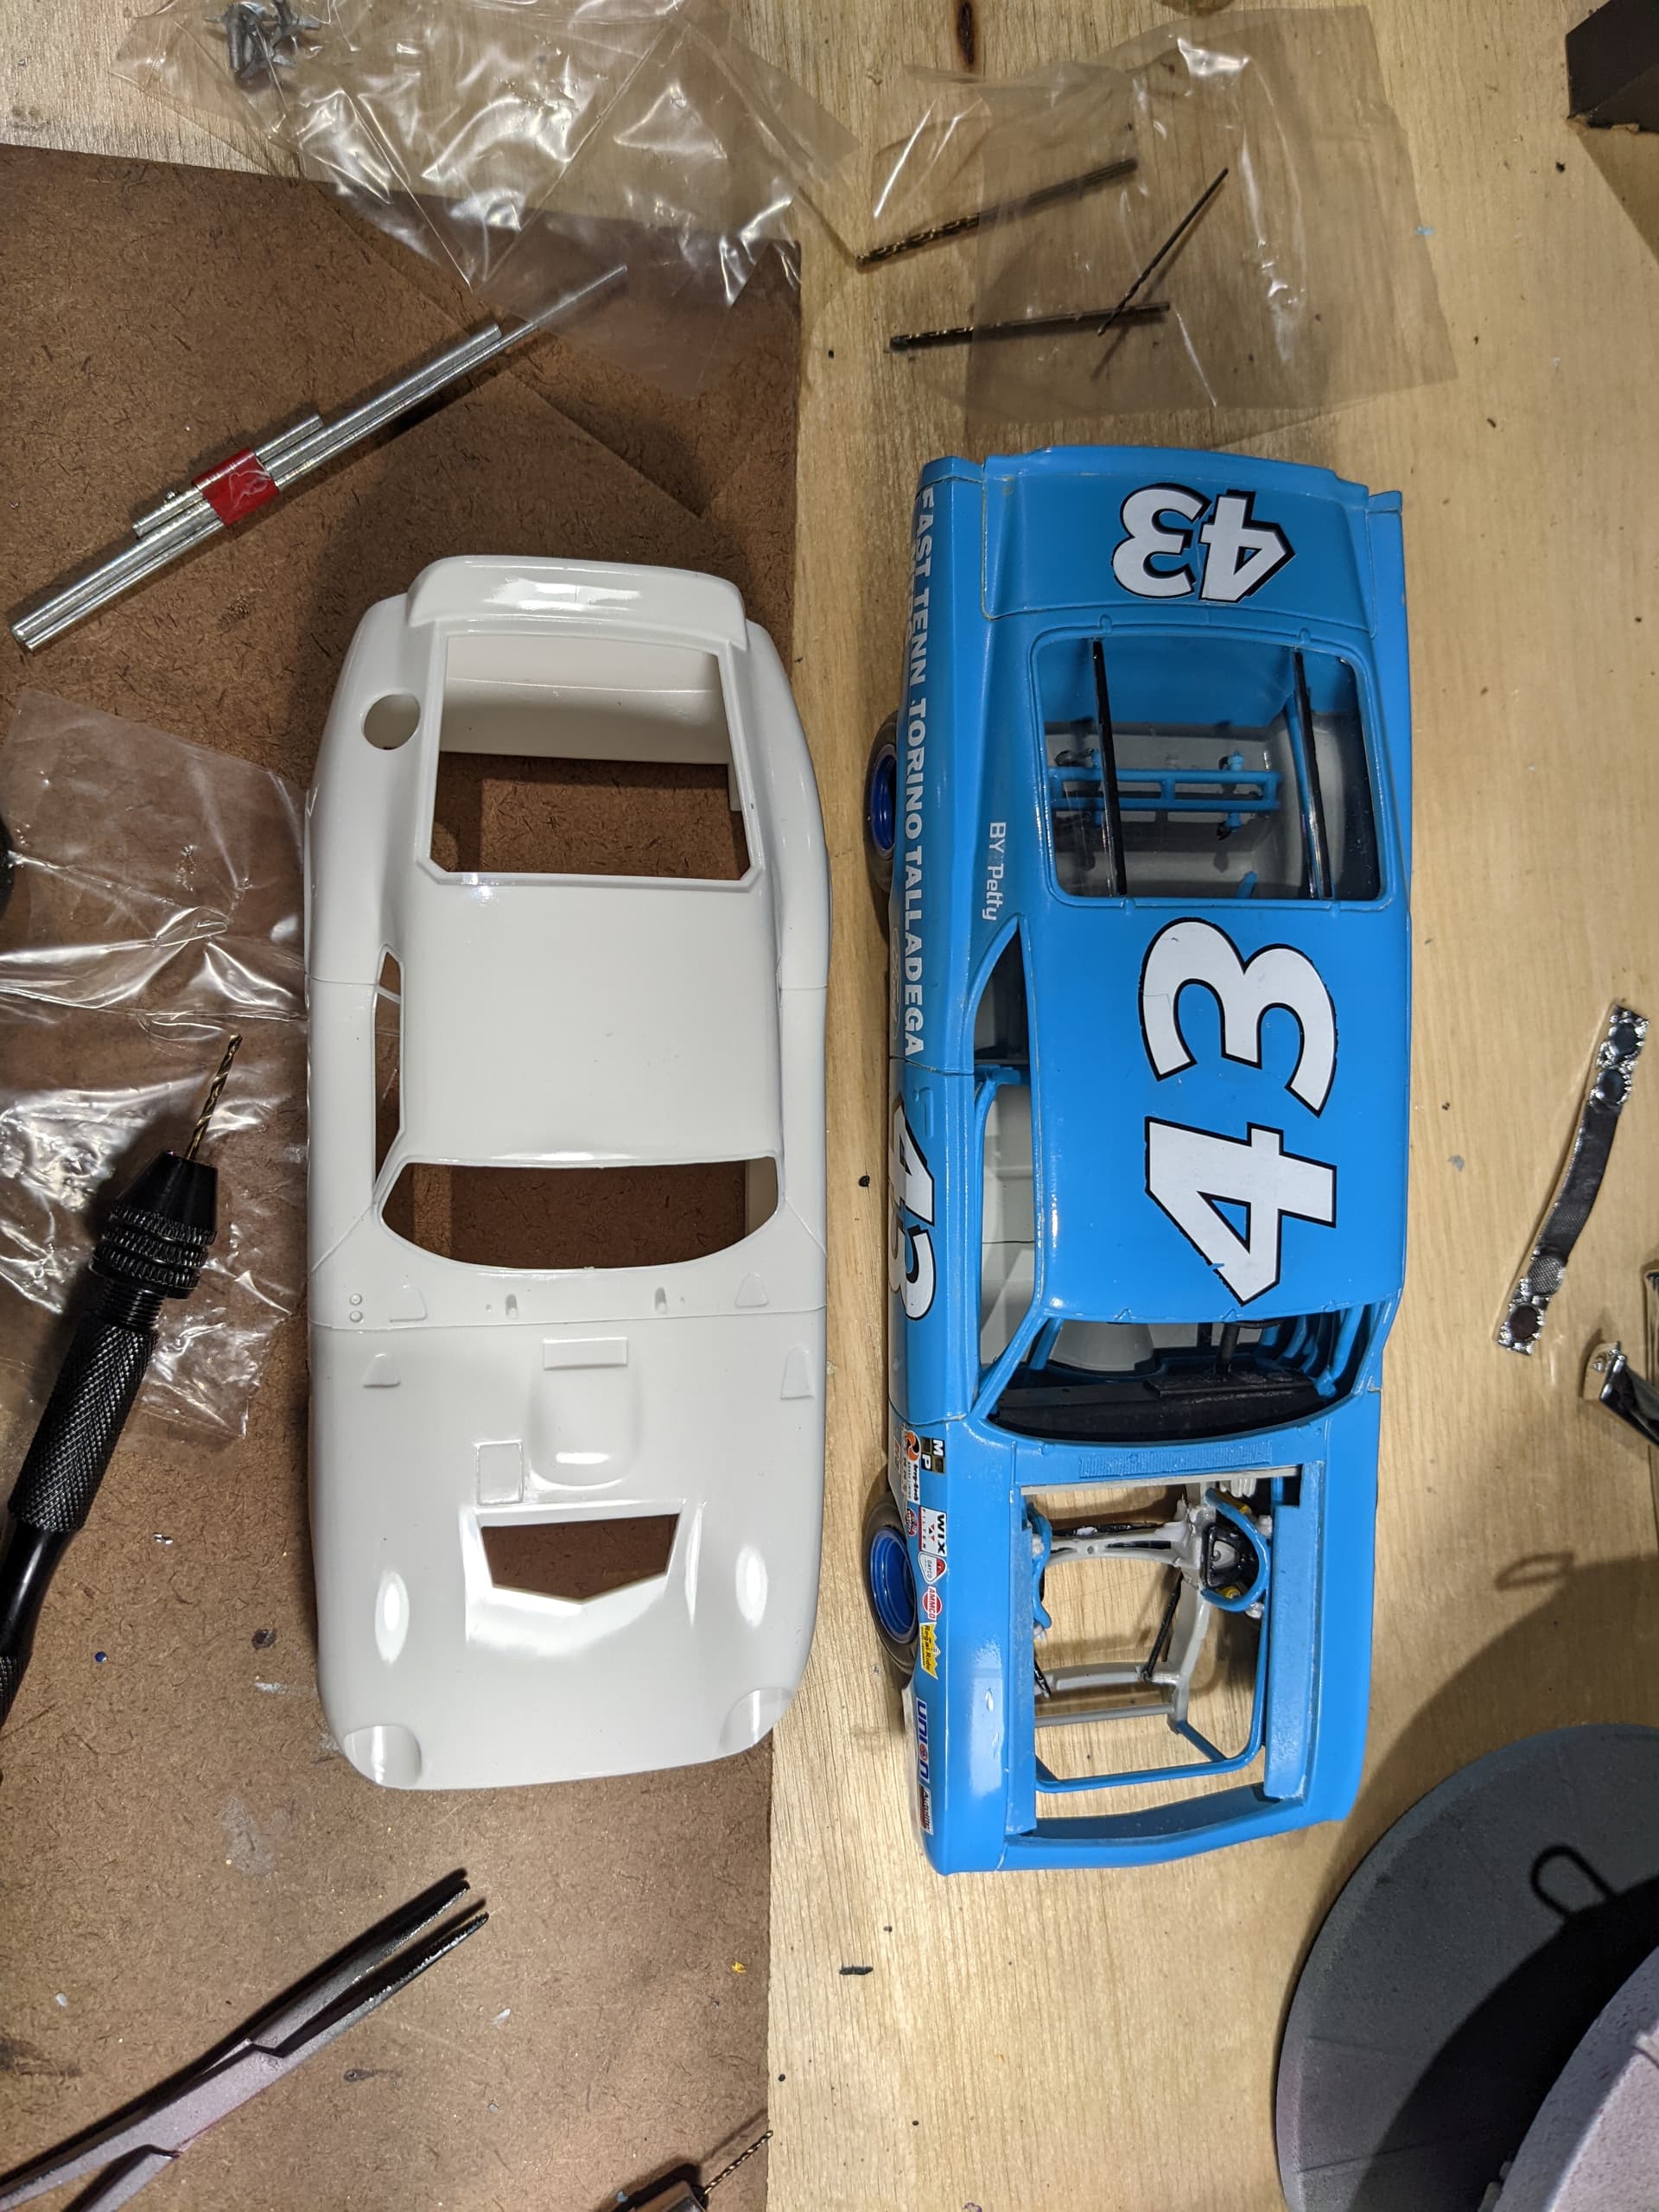
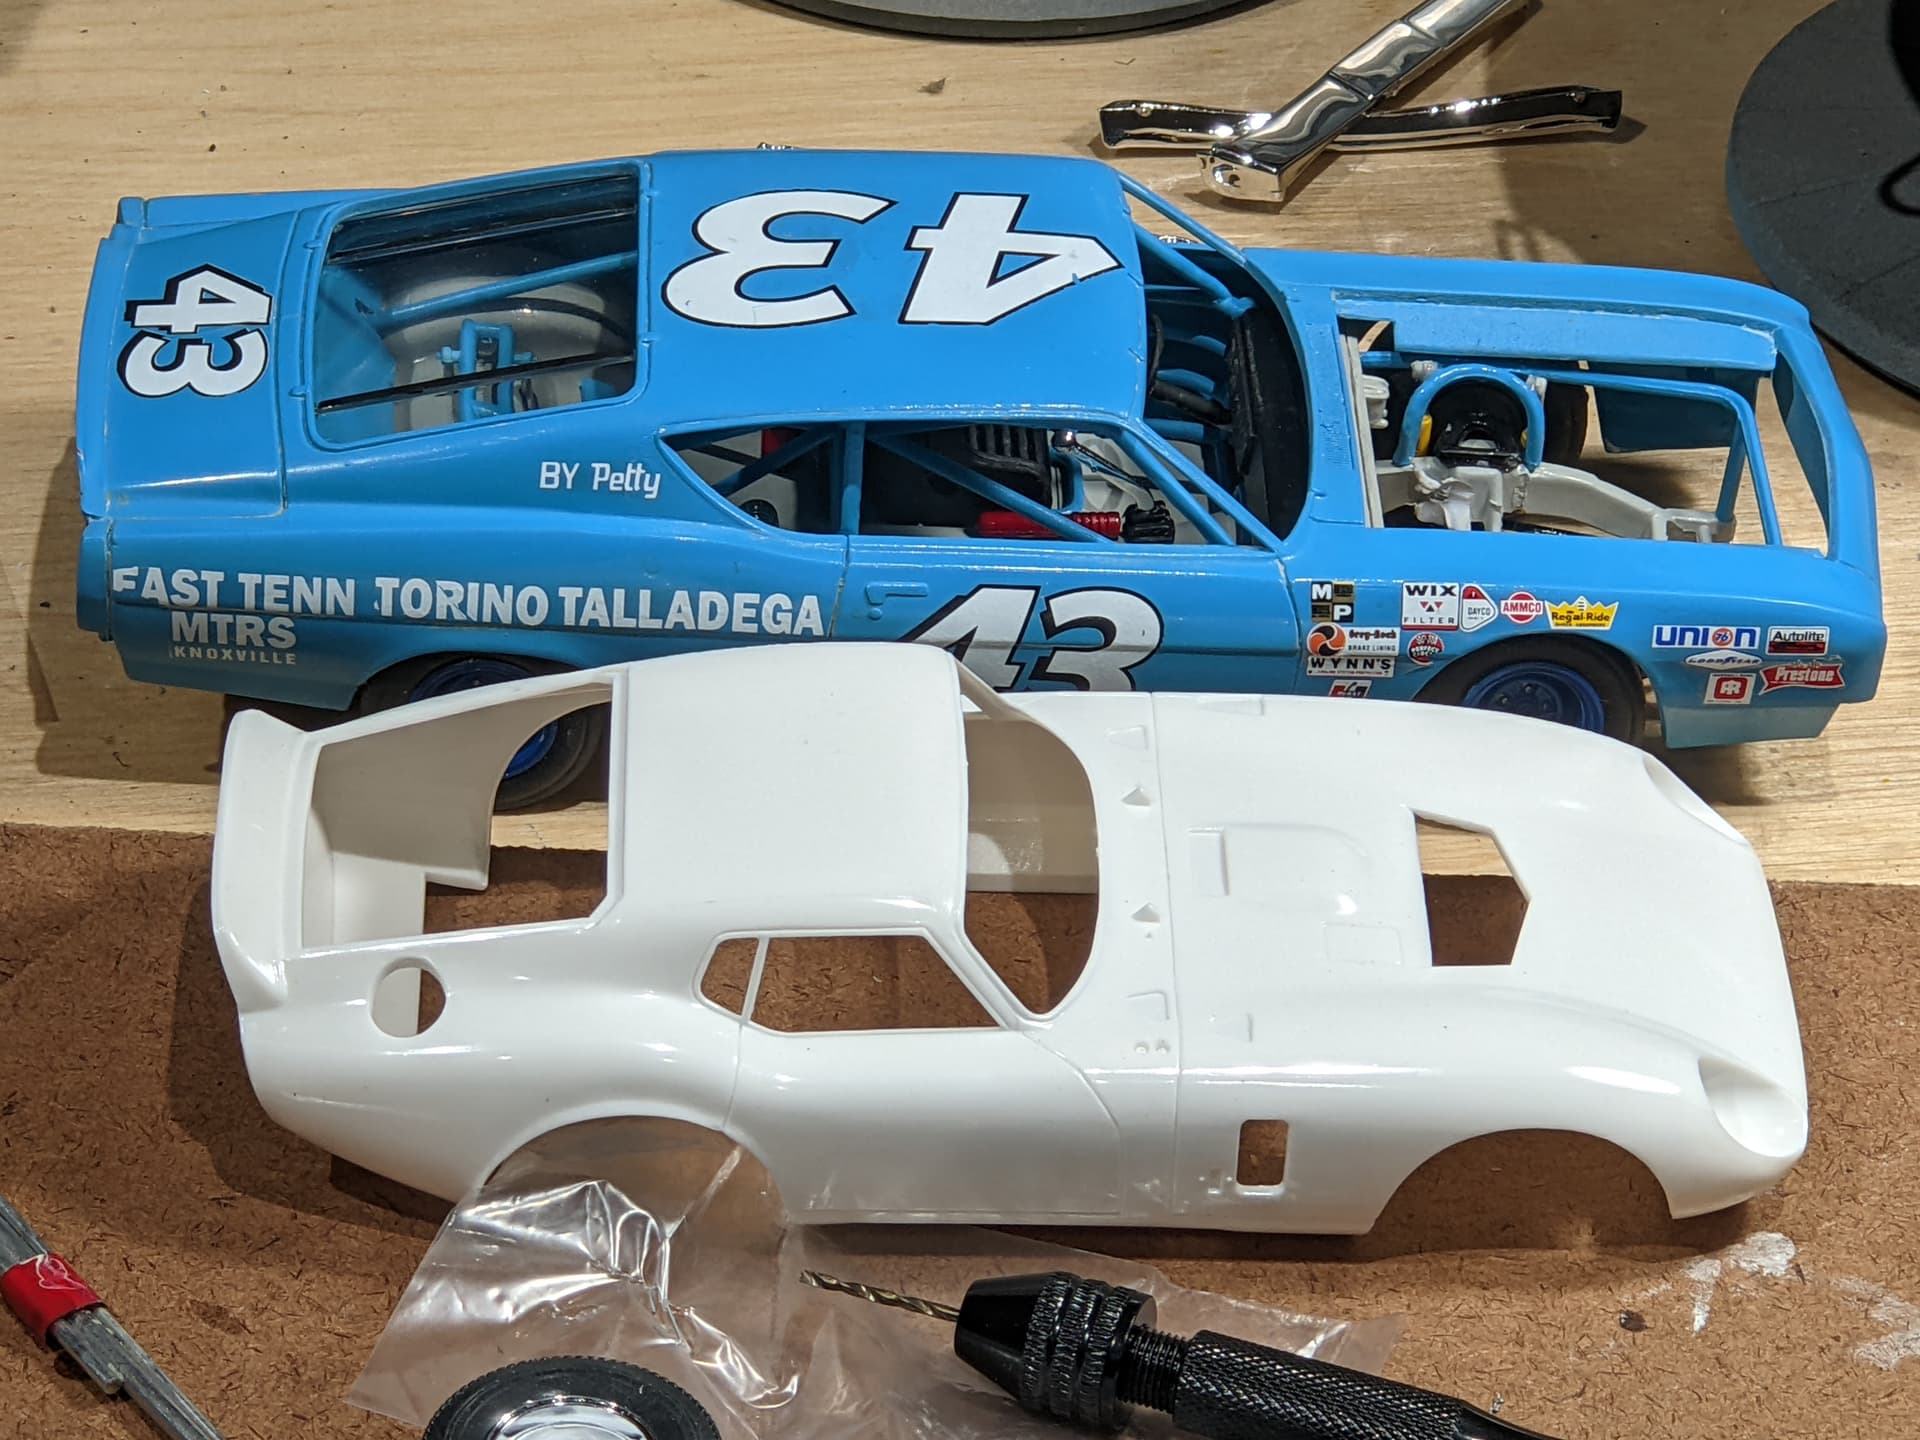
Behind is a 1/25 scale Petty Talladega, in front is the 1/24 Daytona body. I have stood next to a real Daytona coupe and don’t recall it being small. Maybe I was thinking GREATNESS is BIGGER !!!
The Coupe looks bigger than it actually is. I’ll try to get a better shot.
Lots of other things going on, so I’ll get up to date.
Chassis is assembled and painted. Wheels will go on today. Then, on to starting the interior.
While gloss black is apparently the correct chassis color, I have seen some Coupes with white paint. Likely, these are continuation or Factory Five editions. I am going to build a couple more, and may take some “liberties” with colors on the chassis on one of them.
BTW, the instructions call for drilling out holes in various locations of the chassis. One of the points are the holes in the four hubs for the wheel knockoffs. The pins are longer on the front ones than the rears. To drill deeply enough for their length may not be safe, so trimming them is needed. They will be done today, and I will provide a shot of that.
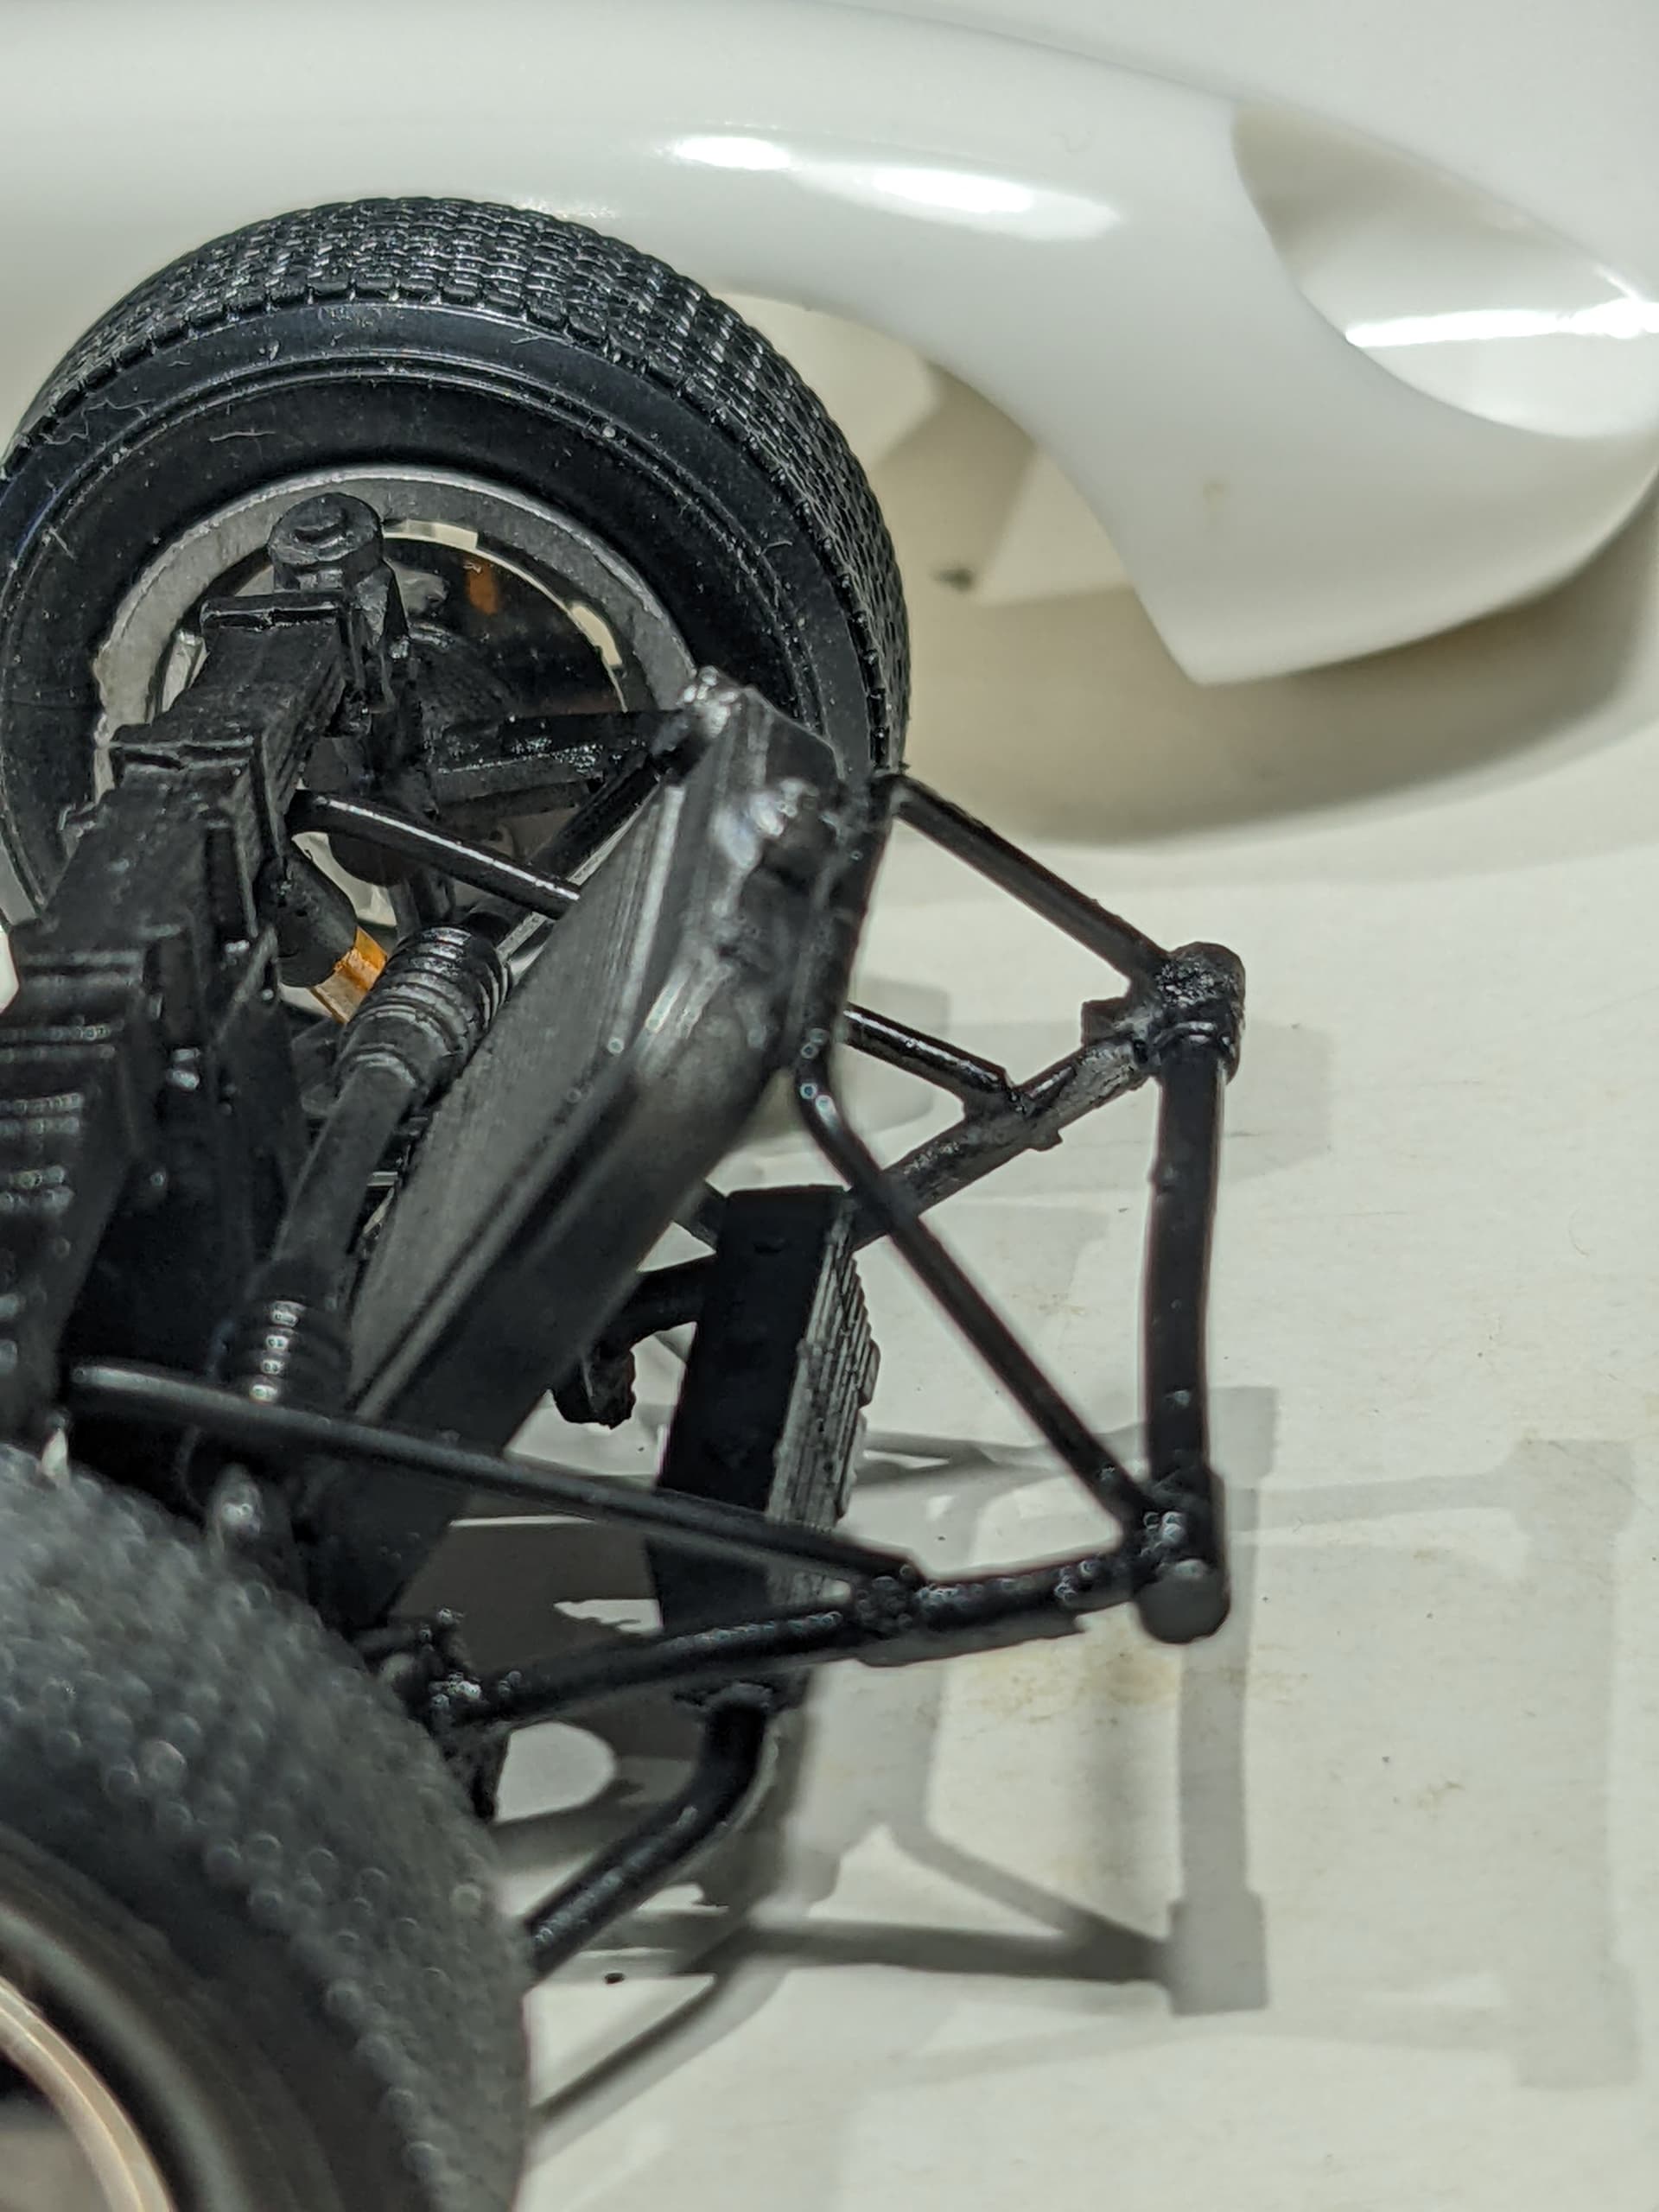
Well — CRAP. I thought I had followed instruction well. But, one I had the chassis done, the body won’t drop down on it. Now I know the instructions were a bit “off” or I missed something. The frame section in front of the radiator does not angle up enough. But, a) I’ll know for the next ones, and 2) I can fix it. Everything was measured to the exact dimensions in the instructions, but clearly either there’s an error, or I screwed up. We’ll see.
Well, I correct the area in front of the radiator. STILL can’t slide the chassis into the body. Seems the wheels go on AFTER that. NO mention in the instructions.
Bob,
One issue is that this is one tough Multi Media kit which is also showing its age. Not an easy build for sure.
I can’t offer any suggestions which is why I haven’t posted much of late since I’ve never built this kit nor any multi media kits. So honestly, I’d just be guessing. But the Golden rule of test/dry fitting every step of they is really needed from what you’ve posted to date.
As far as the Willy’s drag car goes…there’s is an older kit that has been around for decades and I believe that’s the one you’re referring to. I had the old Willys Street Demons kit in my stash and while I built it as a kid and had alot of fun with it…things changed when I took a second look at the kit when I bought it a few years ago. Terrible kit on all fronts. With some love it could be built into a respectable build…but not from me. lol. So…I sold it off.
There is, however, a much newer Willys kit that looks much better and is worlds easier to work with if you ever get the hankerin’ to give a Willys a go.
The old one with the original molds being from 1963
and the newer one with the new mold from 2005/06 time frame:
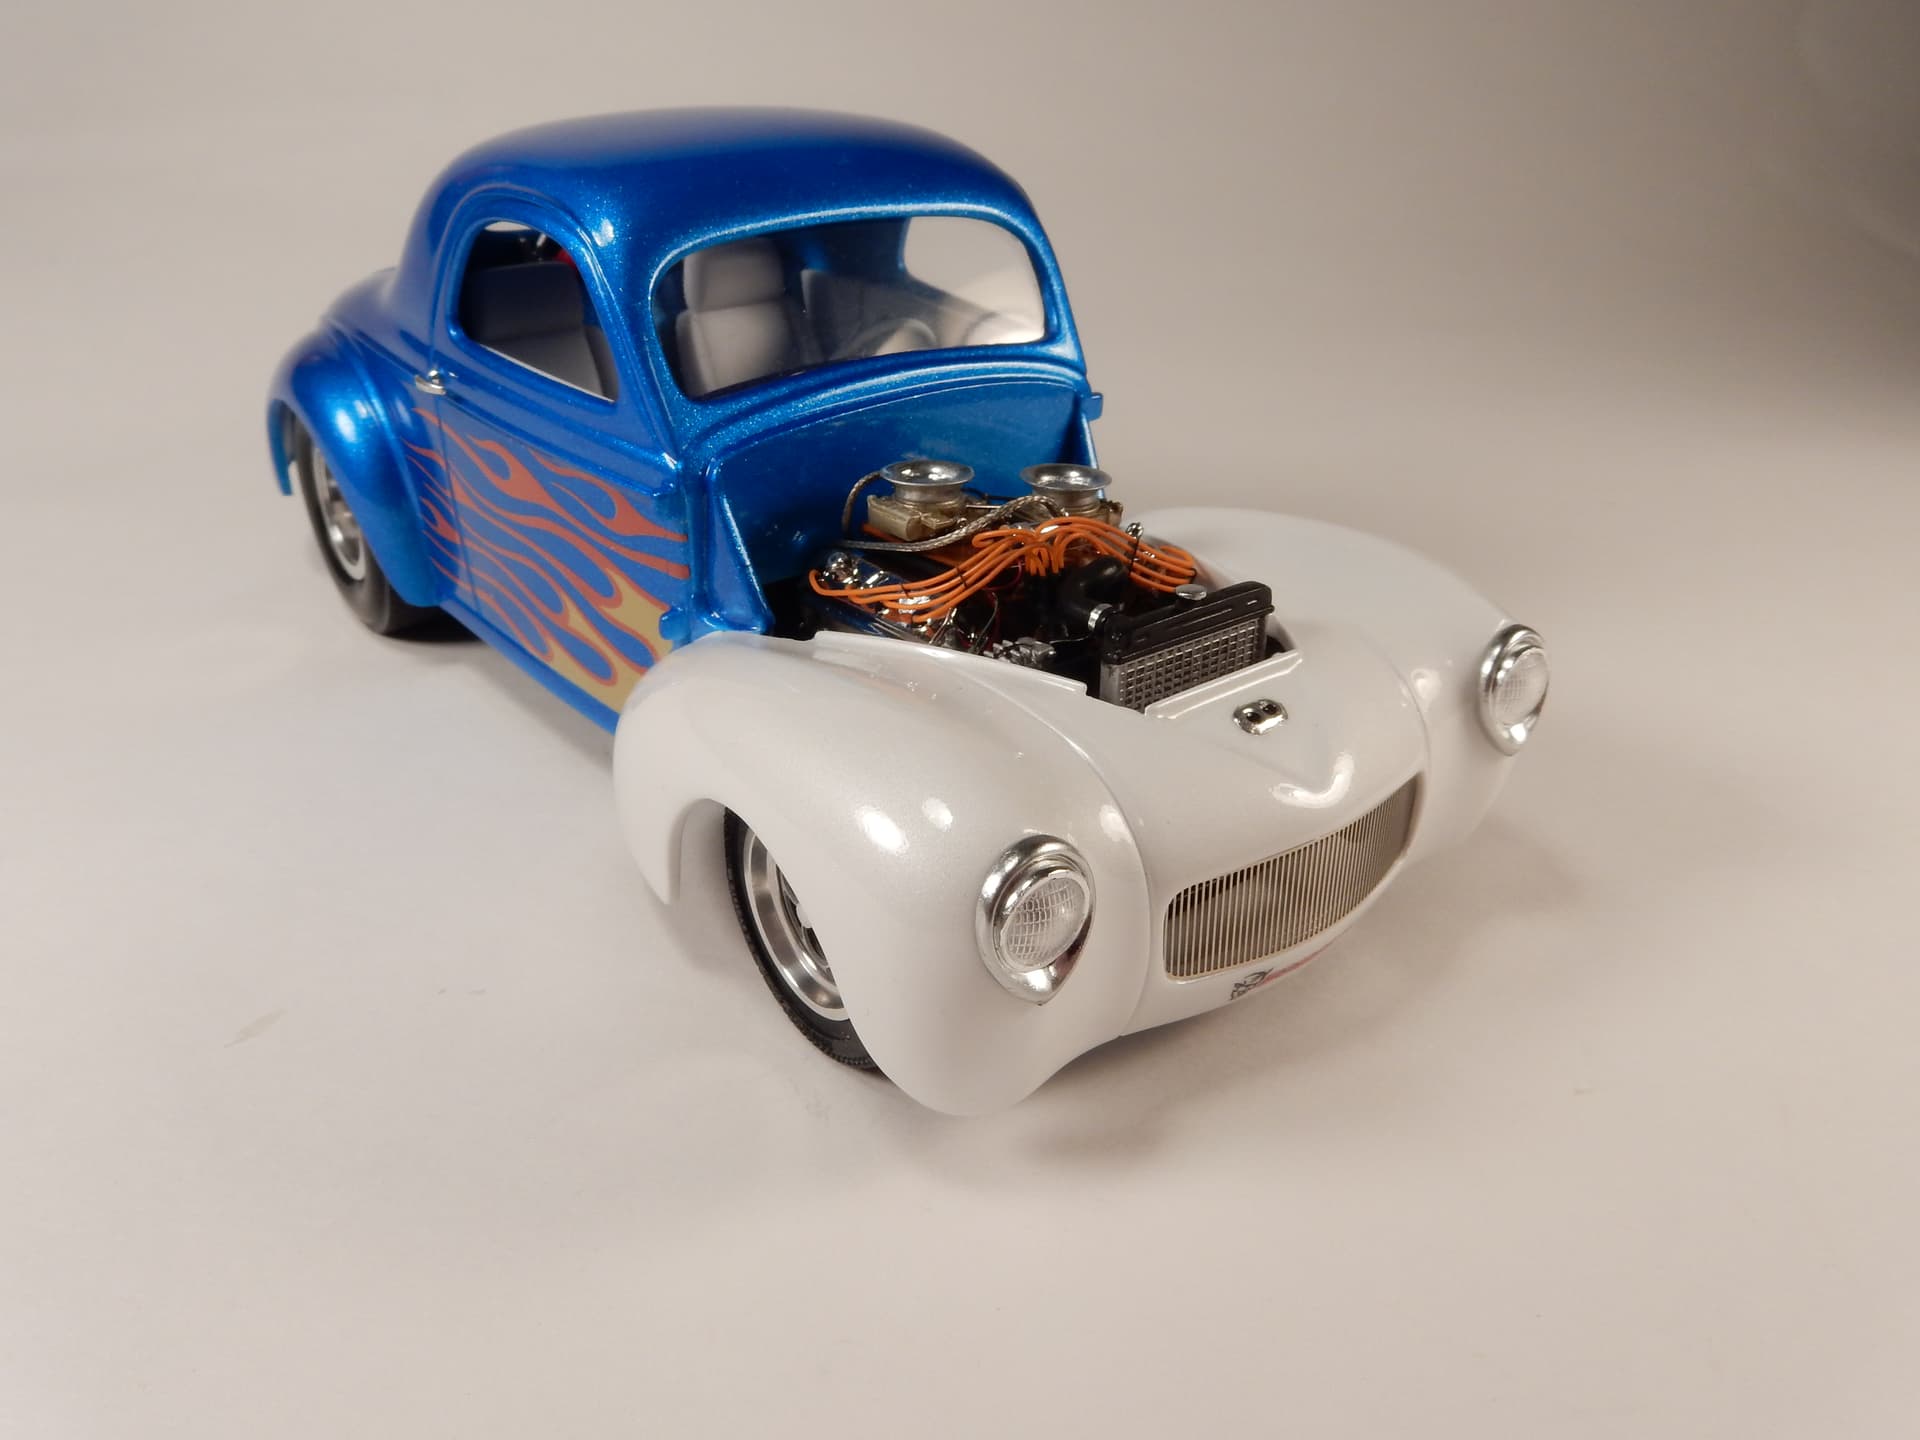
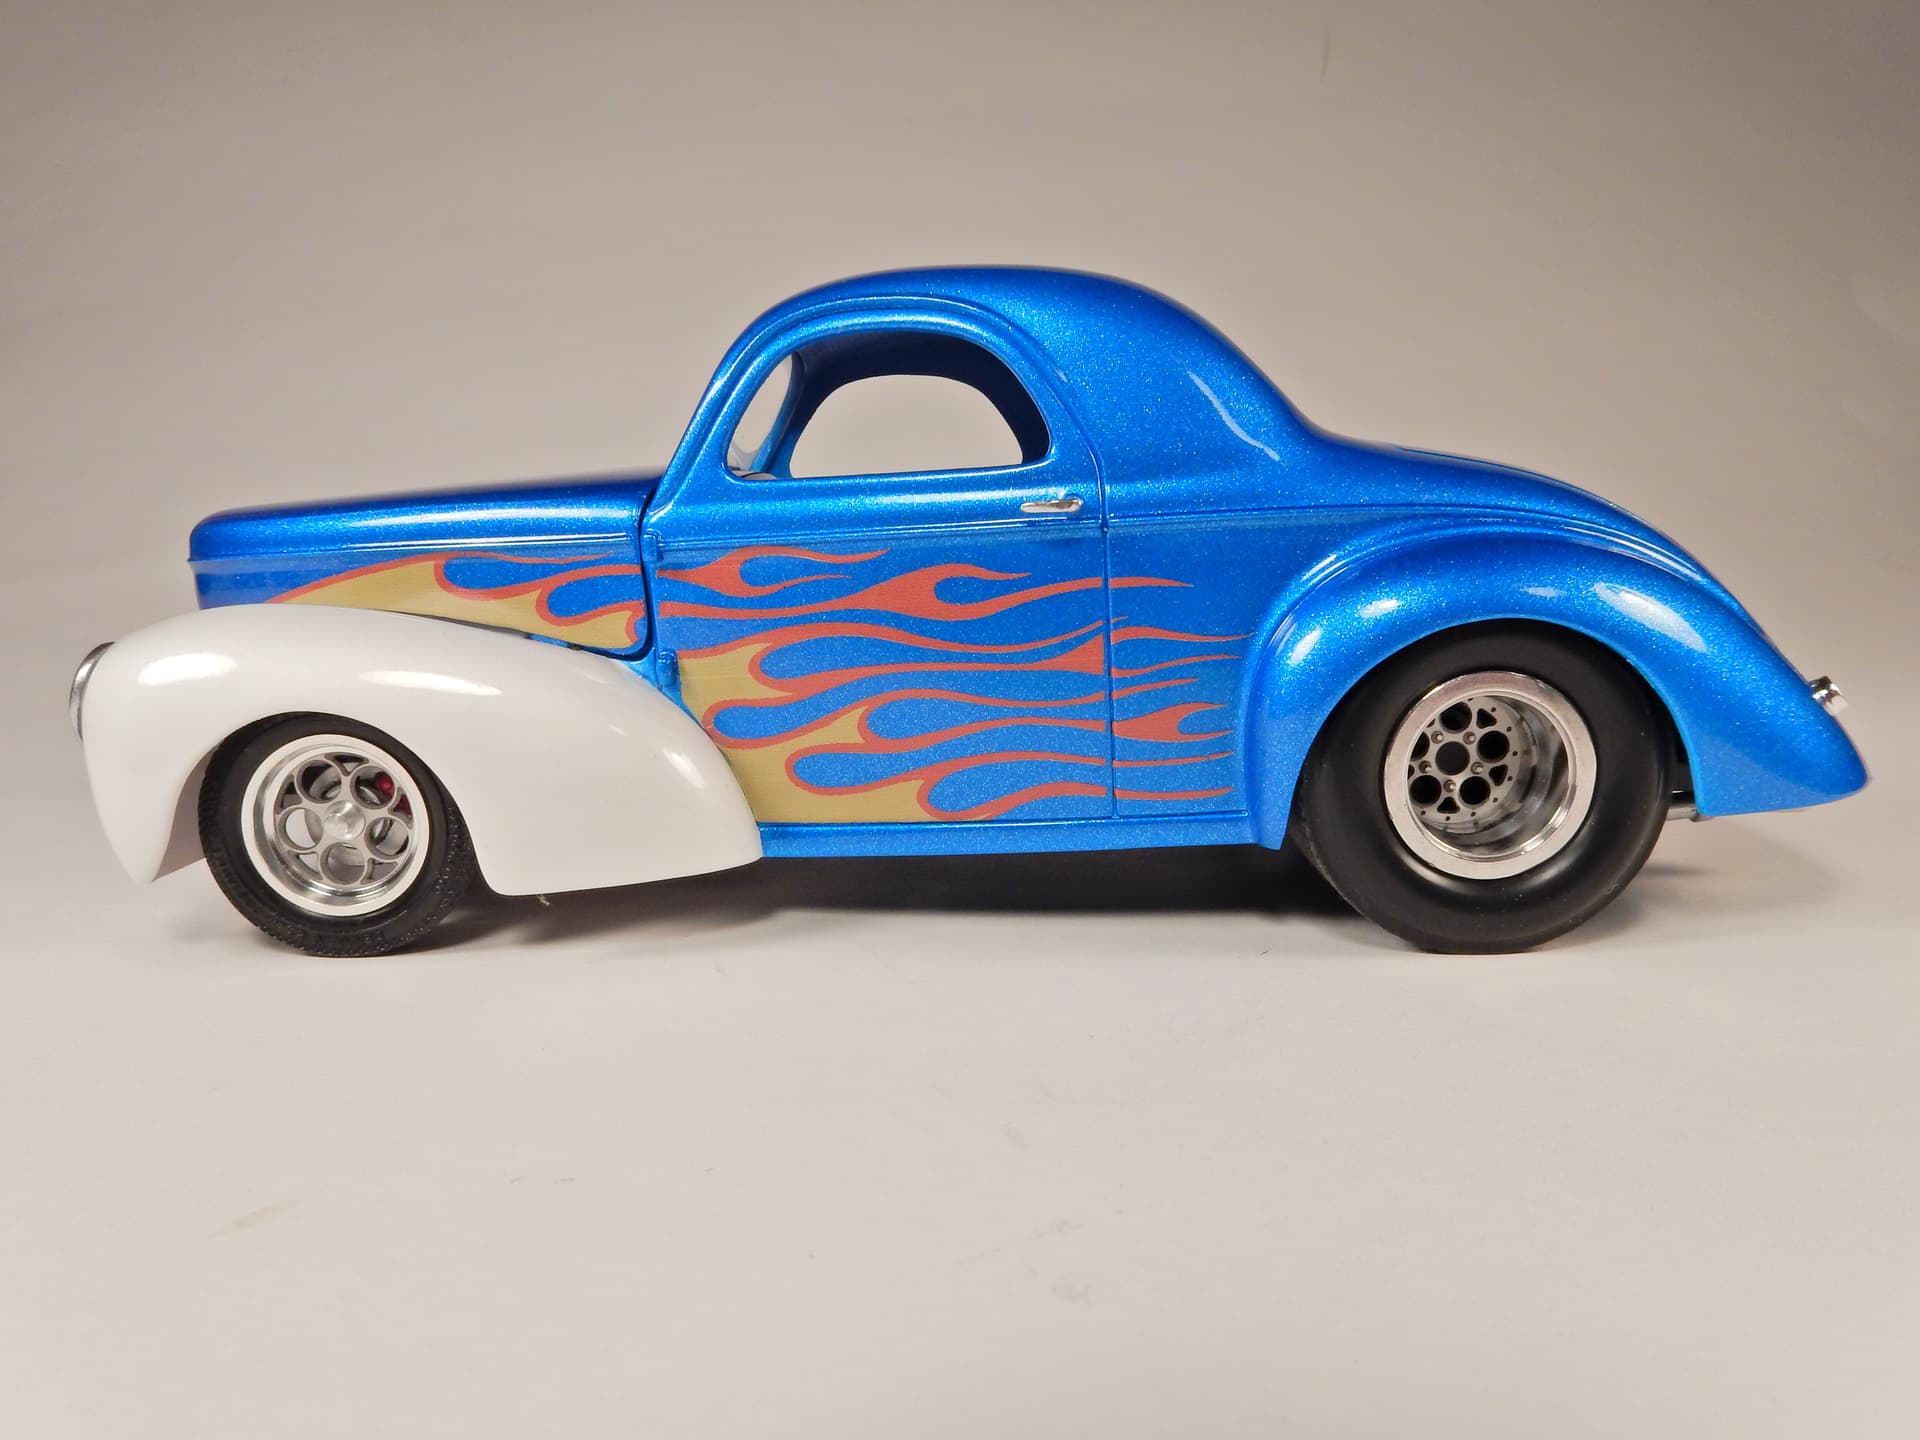
I built a Pro-Street Willys out of the later kit which was EONS easier (and a whole lot more fun) to build.
Great thread Bob, definitely a challenging kit by the work you have put in so far!
As Joel said, dry-fit and test-fit is the key, I try to look several steps ahead to identify potential snags especially with some of the older and crappier kits that I build.
Looking forward to more progress reports, it’s a beautiful looking car and will sit very nicely on display with the other speed demons!
I did that. But, positioning wheels on axles is called out very early, and dropping the body is WELL down the road. I get this one together and apply what I learned will apply on the other two kits I have.
I have other Gunze kits of the same vintage, and when I do them, I will have my antennas up !!!