Here is my latest selection from the proverbial “shelf of doom”. It’s the old early 80’s 1/48 Hasegawa A6M5 Zero. Anyways, I started this one, barely, several years back, then sidelined it for some unknown reason. In the summer I pulled it out and resumed work, primarily in the cockpit. Anyways, seeing how this is a simple kit and that the end of the year is approaching, I decided that I wanted to try and get it finished by the end of the year, so after all the hustle and bustle of the Thanksgiving weekend was over, I got back to work on it.
Yesterday I finished up the cockpit
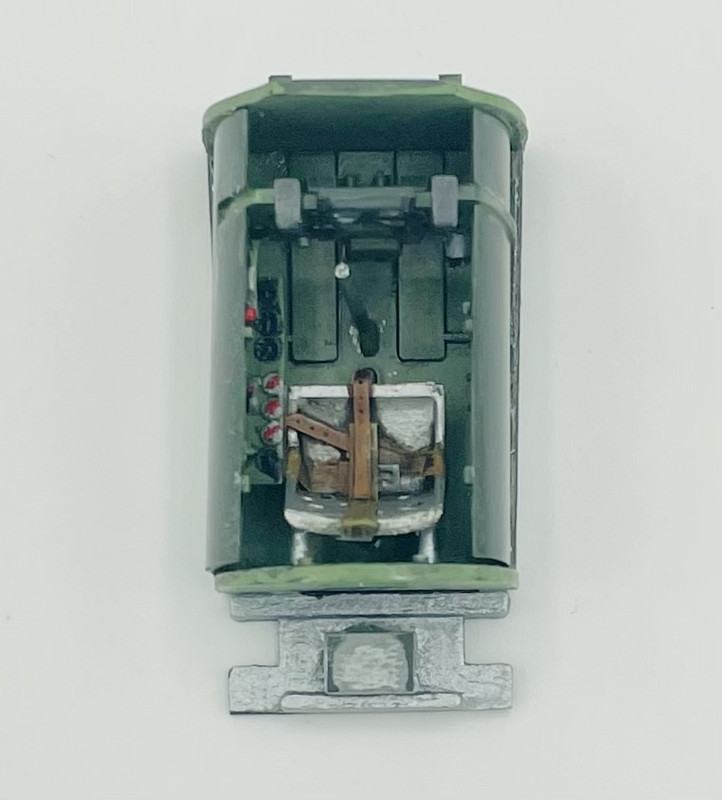
Then I assembled it into the fuselage
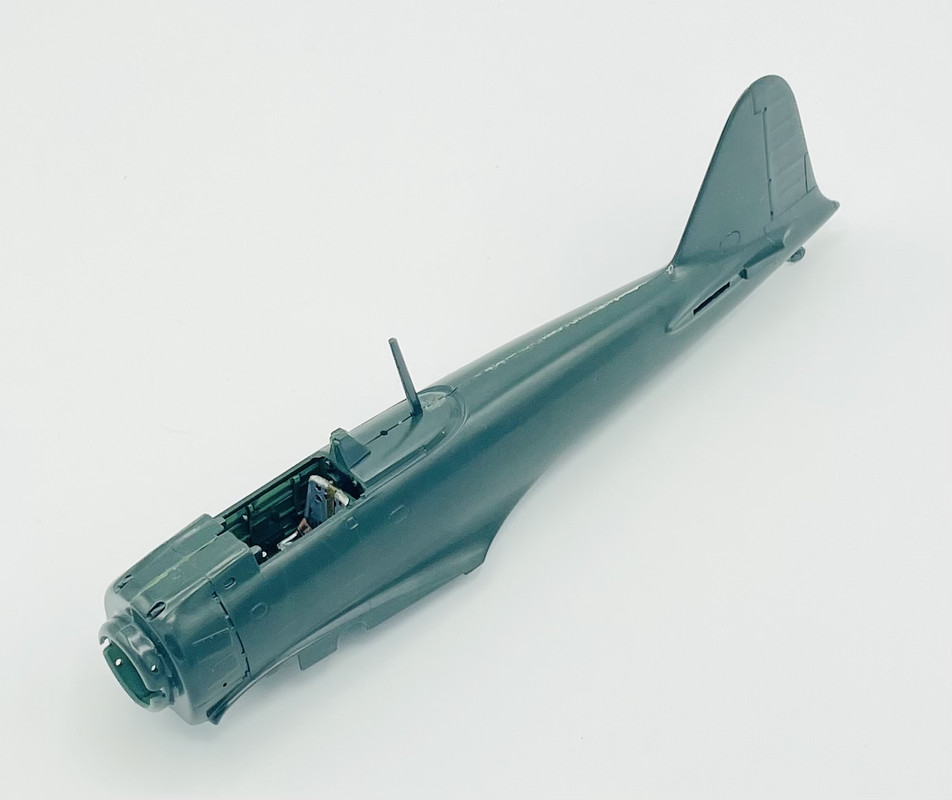
Today so far I did seam clean up on the fuselage, then added the wings
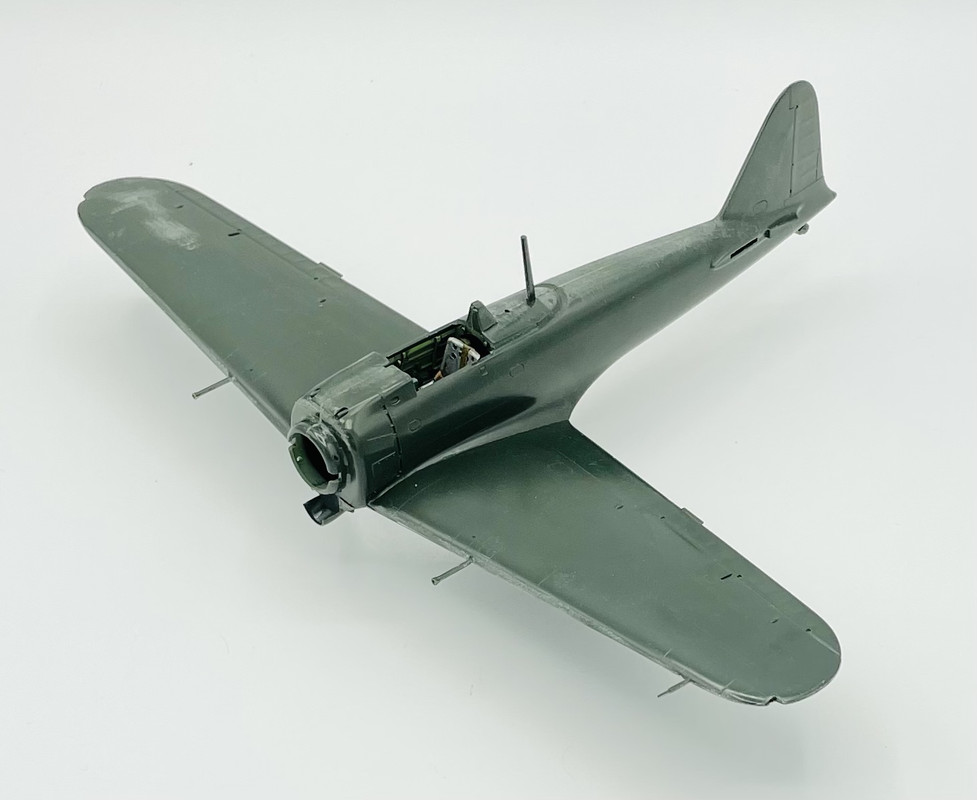
Then I added the horizontal stabilizers
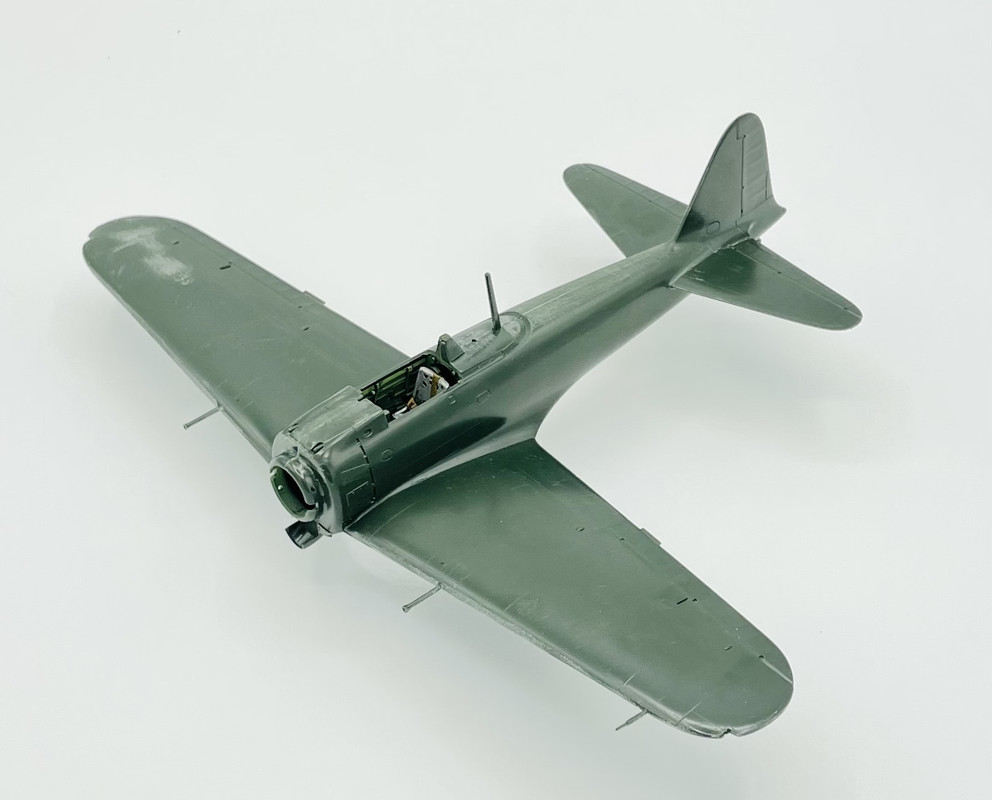
and test fitted the engine and cowling
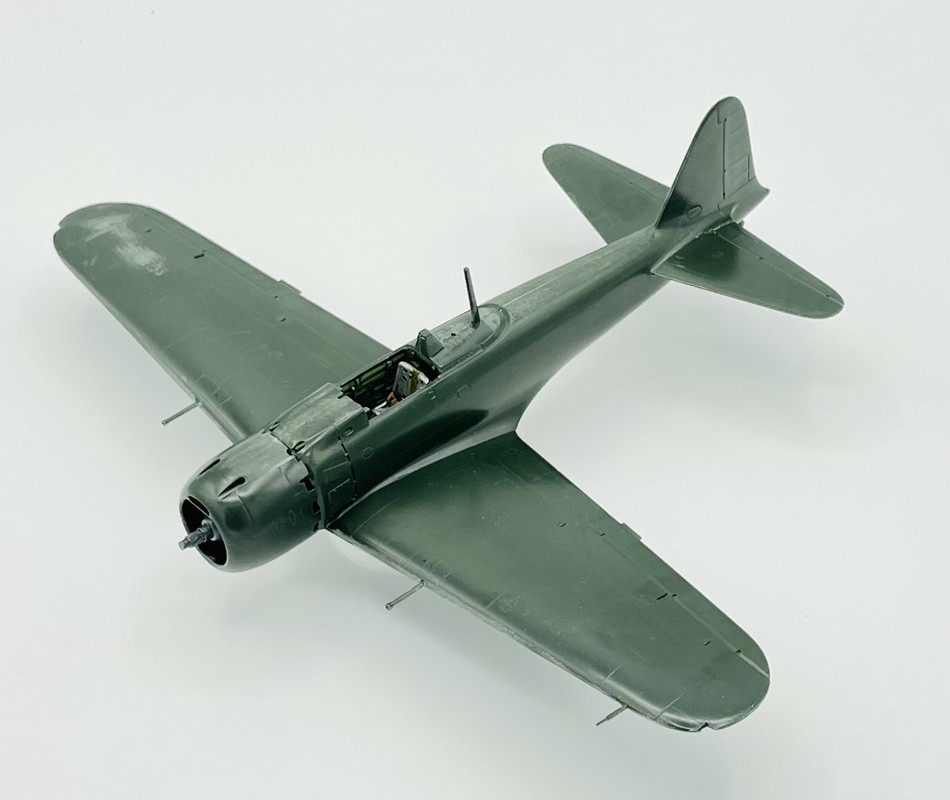
So far, so good… I love these old kits that take shape practically overnight.
9 Likes
Canopy masked off and glued into place
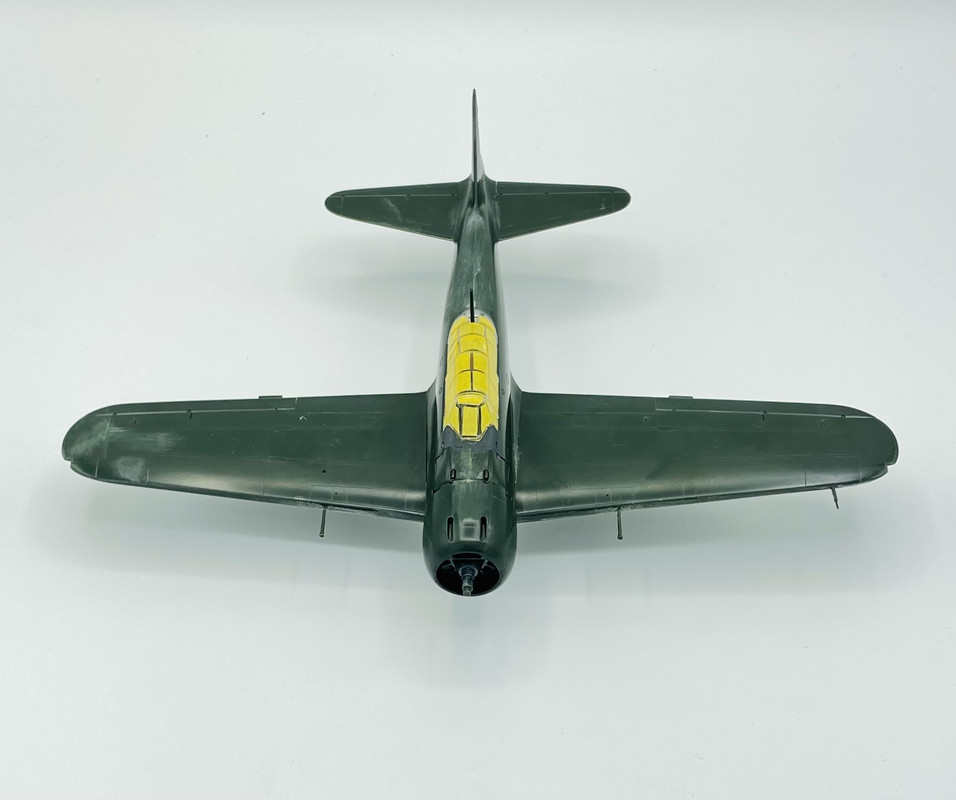
Now it’s ready for paint….
4 Likes
Love things with red circles…
Yes, they do have a particular sort of charm. 
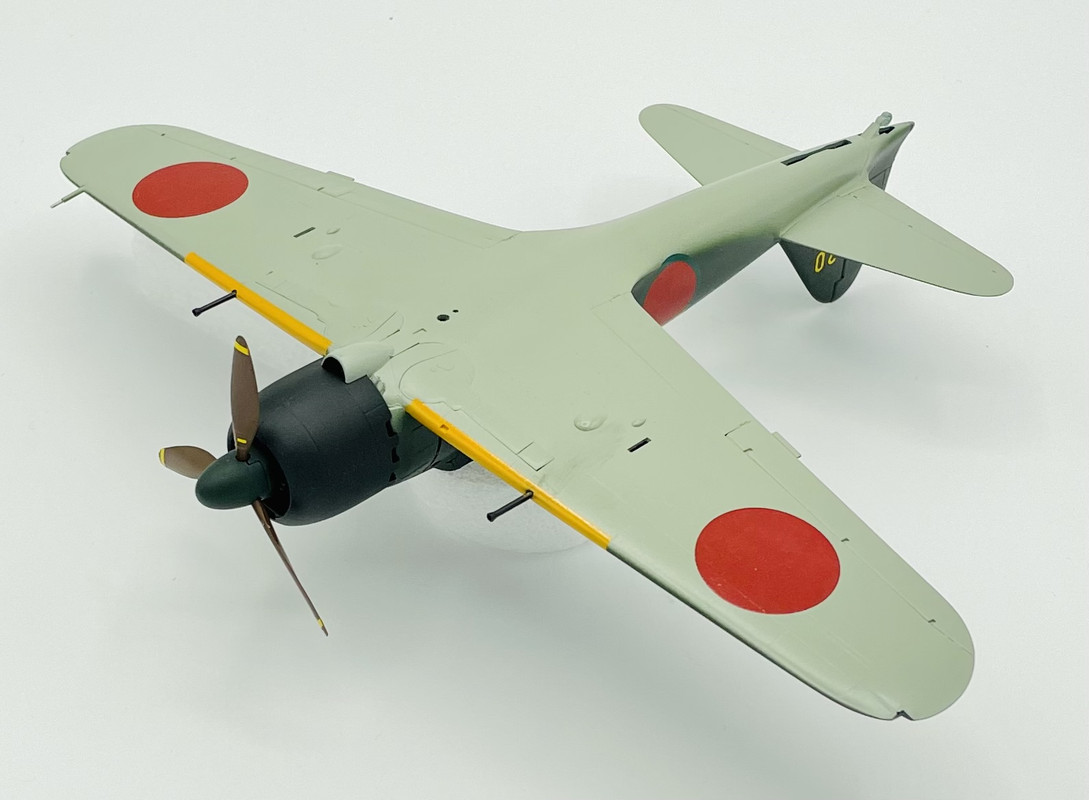
Well, today I got in a good airbrush session and got the base colors applied. Tamiya XF-11 JN Green and XF-12 JN Gray thinned with Mr Levelling Thinner. And then I used Testors Enamel square bottle black on the cowling.

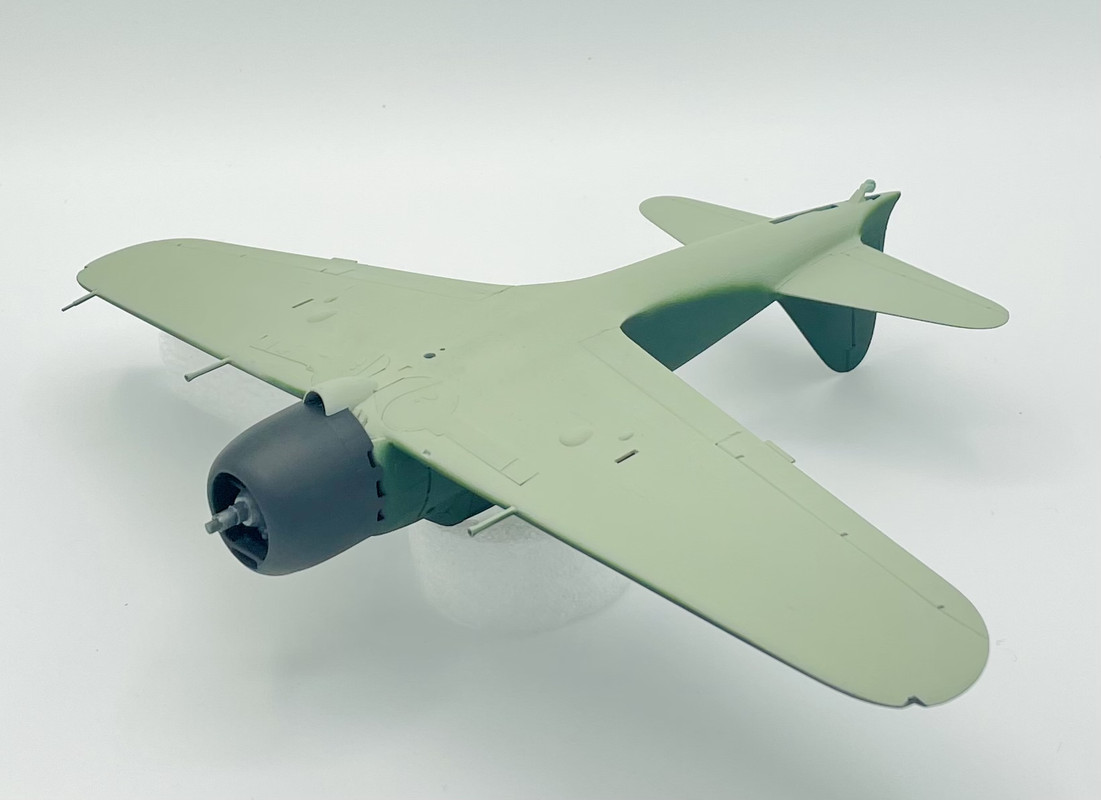
I’m gonna let it dry overnite, then I’ll mask off the wings to do the yellow leading edge ID stripe
6 Likes
Finished up the base colors this morning. Added the wing leading edge Yellow ID stripes, and painted the propellor blades. Then I had to go back and do a little touch upon the IJN Green. So then I did a bit of mottling to give a nice blotchy appearance.
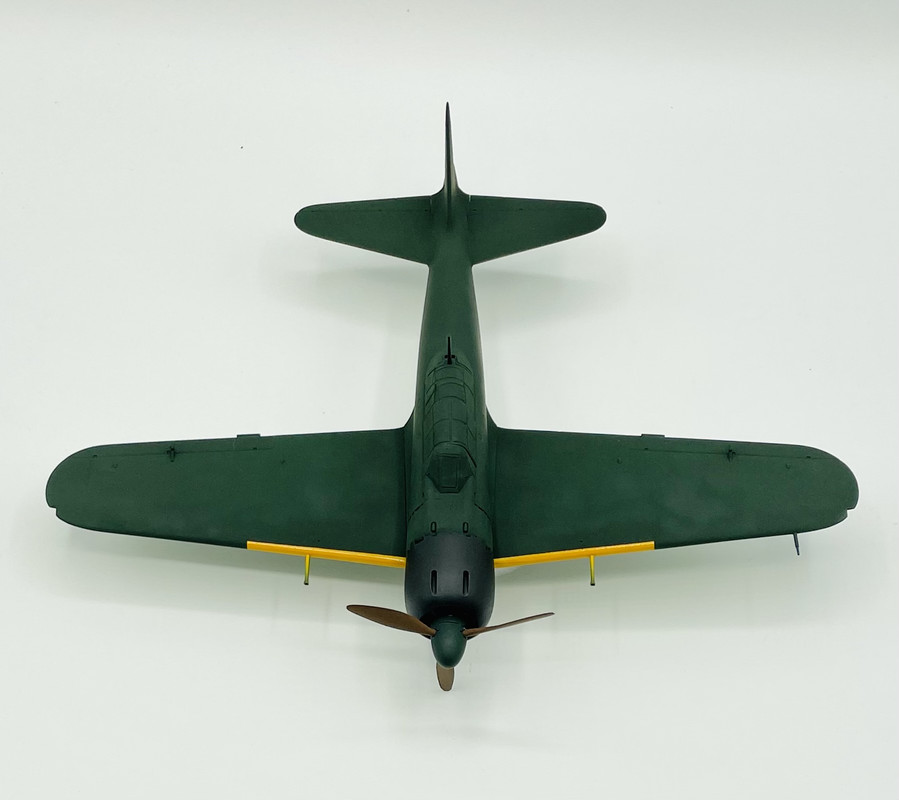
Next up, gloss coat, then decals…
7 Likes
Don’t forget the red circles… 
How could I forget the meatballs?
Nice looking plane so far Carlos, I see this is a wheels up build, what’s your plan for display?
Cajun 
Terry and Chris, thank you.
@agincajun, actually this will be a wheels down build. But the kit also provides a closed set of landing gear doors for a wheels up option, so I used those to mask off the pre painted wheel wells. I have them held in place with Micro Scale Liquid Tape and will be removing them soon.
1 Like
Ah, smart thinking there, I was envisioning a dogfight with (enter favorite in theater plane). 
Great looking model, almost in time for Pearl Harbor Day!
Cajun
Thanks. I’ve used that trick on a few kits that have included separate close landing gear doors. For some reason, most tend to be older Japanese kits like this one.
And while this does in a roundabout way fit the December 7th motif, this kit is actually going to be built as veteran of a fight from a couple of years later. One of the Zeros that survived the “Turkey Shoot” but was then captured on the ground at Saipan, and later brought over to the US and exists to this day.
1 Like
Been working on my Zero some more over the past couple of days. First I applied a gloss coat, allowed that to dry overnite, then today was decals. Since the kit decals were probably at least 35 years old, so I hit them with a dose of Micro Decal Film. Unfortunately the red stripes for the wing no step areas did not survive, in spite of the coat. But all the other kit decals came out ok. And I used some Aeromaster Hinomarus instead of the kit decals, since the real aircraft had the white borders overpainted with green, while the kit decals had the white edging. Anyways…
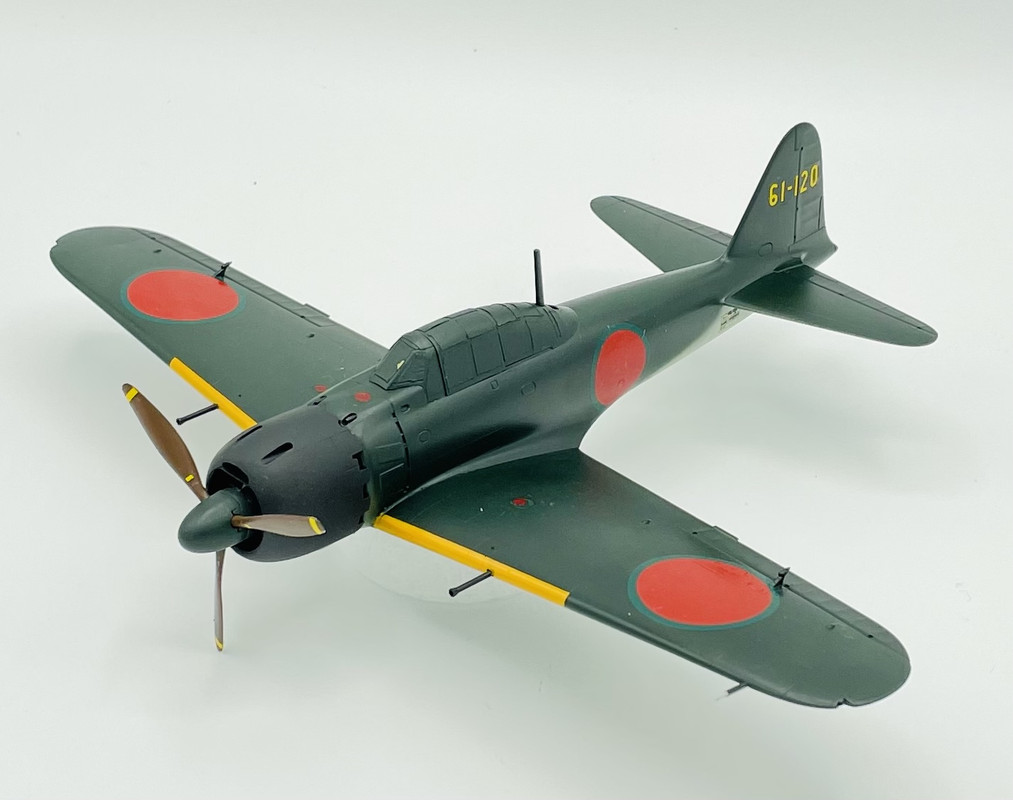
just a bit more of a ways to go now on this one…
6 Likes
Man, you put as much work into the model as you do taking those great photos.
Looks great, Carlos! Have also a shipload of Hasegawa Zeros in my stash. Really an inspiration for me to build one … 
Thanks guys!
@HGBARNES, the photos are fairly easy to do between my light box and my phone. The build takes a bit more effort and finesse…
@BlackWidow, yeah, I’m with you on having a shipload of more Zeros in my stash. Between Hasegawa, Tamiya, and Fujimi I have most of the variants covered. But the new Eduard ones are soooooo tempting! I can’t wait until the Weekend Editions of those are released.
2 Likes
For next year I have the plan to do a comparison build between the new Eduard A6M2 and the 90’s Hasegawa A6M2. Should be interesting. I just have to order the Profi Pack which comes out in January.
I look forward to seeing that build. Ive build the old 70’s era Tamiya A6M2, and I have the equally old Fujimi A6M2 in my stash to do one day.
1 Like
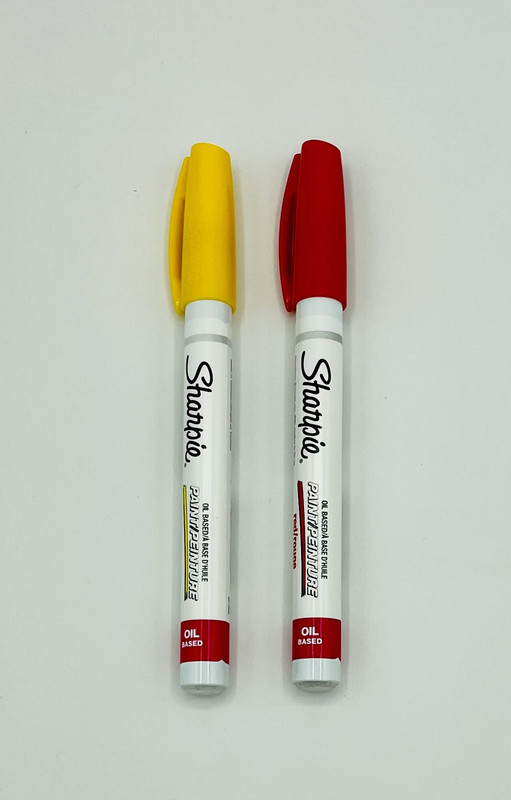
Since the kit’s stripe decals gave me some problems last week, I picked up these two extra fine point paint pens on Friday to deal with the problems
Today I touched up the propeller stripes where needed with the yellow pen
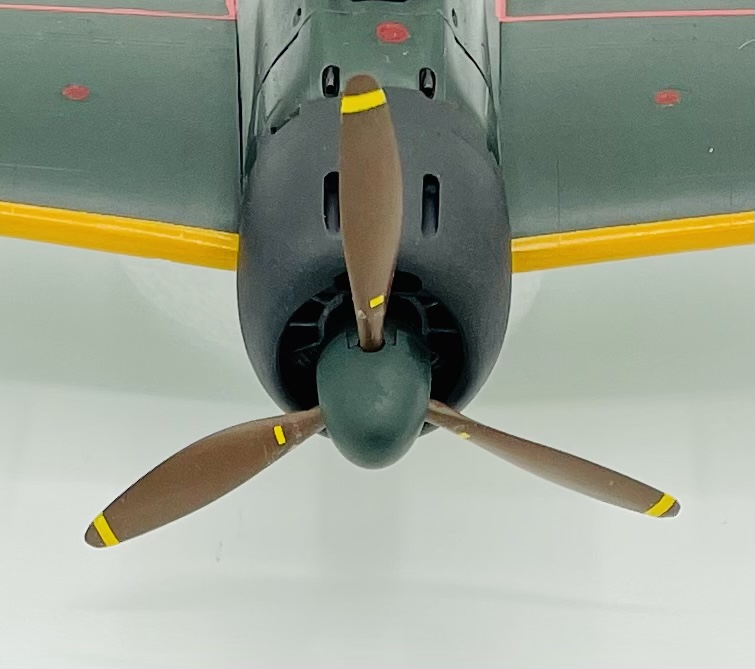
and then I added the no step wing area red stripes, since those decals had self destructed during the decalling session. The red is not a 100% match, but it’s better than nothing.

Now on to the next steps…
1 Like