In addition to my Panzer IV, I will be working on this “Child of Doom”.


I would guestimate that I started this one at least 14-15 years ago if not longer, and stalled out due to some warpage where the lower forward fuselage meets the bottom part of the wing. Before that point I had finished the cockpit and engine.


I’m converting this to a P-47C using an AM resin cowling from Cutting Edge


I’m planning on building USAAF ace Robert Johnson’s P-47C “Half Pint”, in which he nearly was shot down during one of his early combat missions…


This particular Jug never flew again after that mission, but Johnson did and eventually became the first USAAF pilot in the ETO to break Eddie Rickenbacker’s 26 kills score, and also one of the top scoring USAAF aces in the ETO with 28 kills before rotating back stateside at the end of his combat tour.

I’ll be using this set of decals

So after all that preamble, fast forward to the past couple of days, as I resumed work. Yesterday I airbrushed on a coat of primer onto the resin cowling

Then after looking at several color and B&W photos of the fuselage spine under the canopy hood, I decided to go with OD under there and repainted that area, in addition to painting black under where the windscreen will go

Today I glued the cockpit tub in place

Next update in a day or two…
8 Likes
Last night I glued the wings in place


And here is the gap on the lower fuselage at the lower wing

But… it’s Hasegawa… I don’t want to hear anyone talking smack about the fit on Monogram kits… but no worries, I attacked the problem with strip styrene shims to fill that gap…


Some Tamiya Extra Thin to get them in place, then I trimmed them up and sanded them down a bit

Then an application of Mr Surfacer that’s going to dry overnight

More to come in a day or two…
5 Likes
Looking good. You handled that gap nicely.
1 Like
Nice recovery on that one.
1 Like
@Spitfire, @Tojo72,
Thanks guys! For a gap that long, deep, and wide, I’ve found that putty fillers don’t hold up well, so strip styrene shims are a great fixer.
3 Likes
I had a better fit with their ki 44 so I guess the fit can vary between kits
1 Like
@sgeorges4
I’ve only built a few Hasegawa kits in the last decade or so, and those were mostly older kits of theirs. No complaints from me on the fit on those.
Today was good progress on my Johnson Jug… I got the seam filling all cleaned up and sanded smooth


Then after that I added the horizontal stabilizers and a few other small bits to finish up the main airframe construction


I have the cowling almost wrapped up and ready to add to the airframe. Next week, more progress… 
6 Likes
Finally some progress worth posting… I had dipped the clear parts in Future a couple of days ago. Today I masked them up then glued the windscreen in place and tacked the canopy hood in place. I also added the cowling.

This evening I primered it all up… black in the wheel wells and on the canopy framing, then a coat of gray primer over everything.


Next up will be some white primer for the cowling front and tail ID stripes…
3 Likes
Here is my latest bits of progress on this one…
First I airbrushed on white primer where the white ETO ID markings will be applied on the tail and cowling. The next day I airbrushed on Tamiya Gloss white to those areas
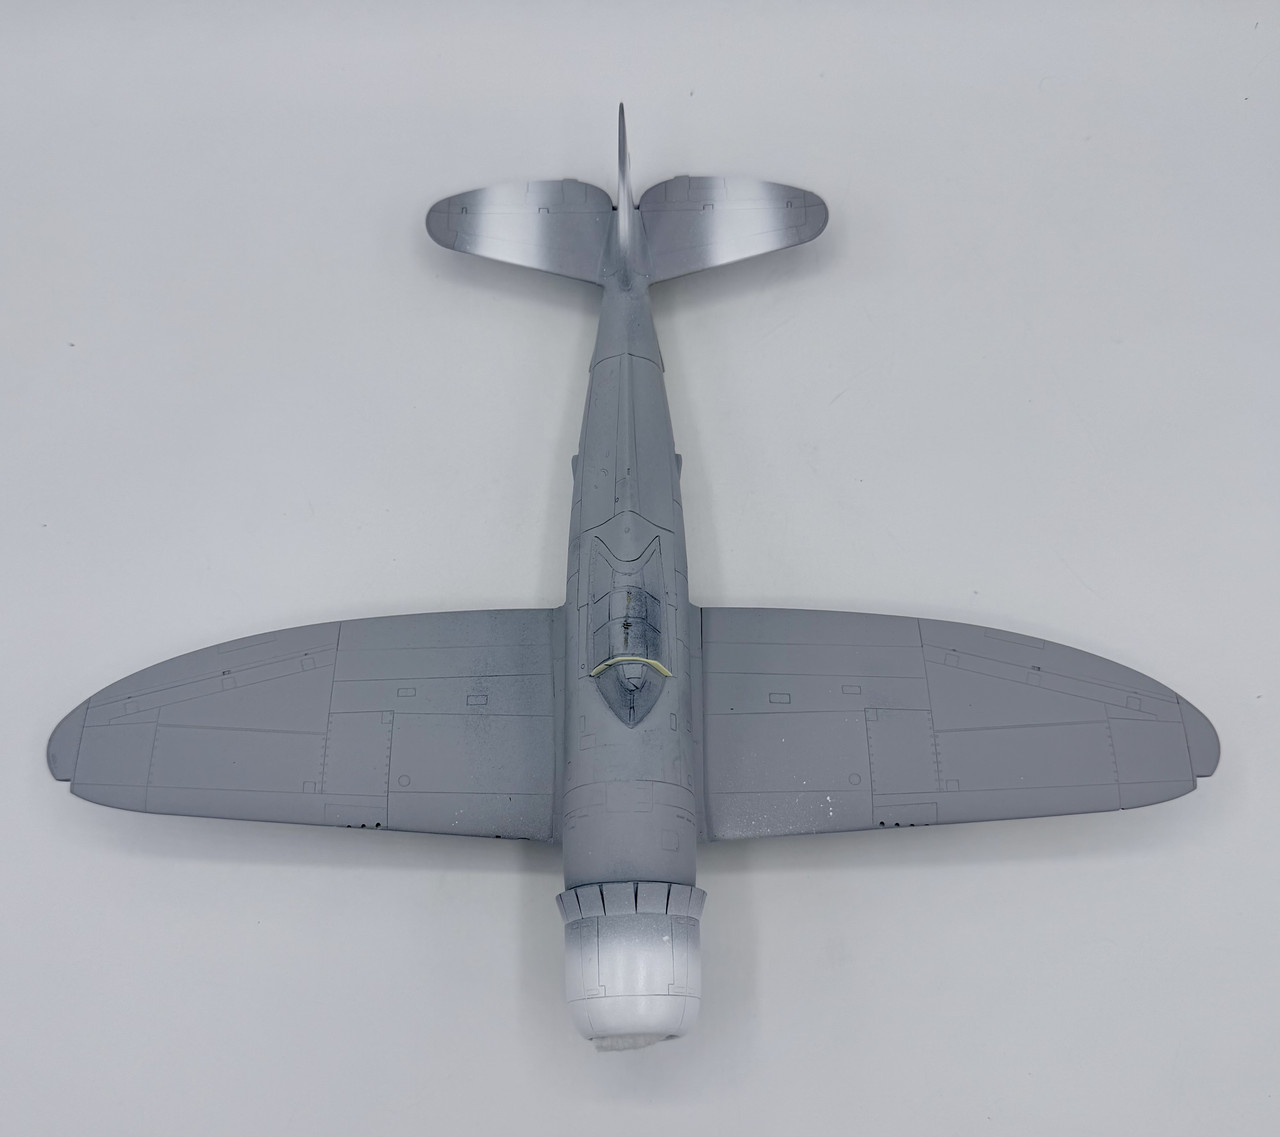
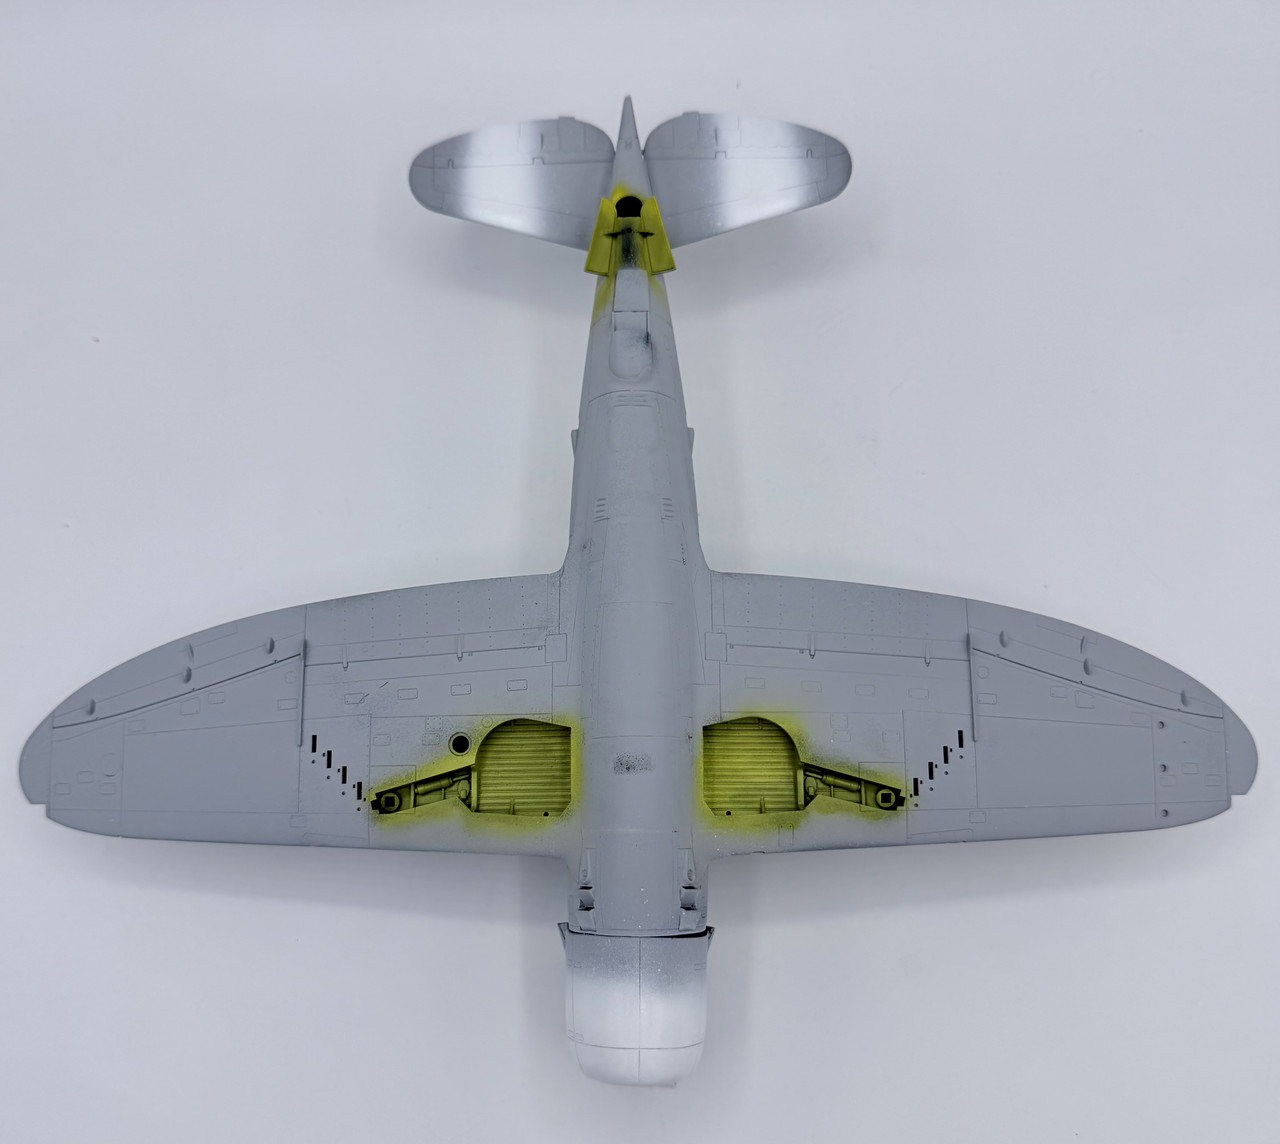
Yesterday in the morning I masked off the white ID markings will be areas, and also the wheel wells
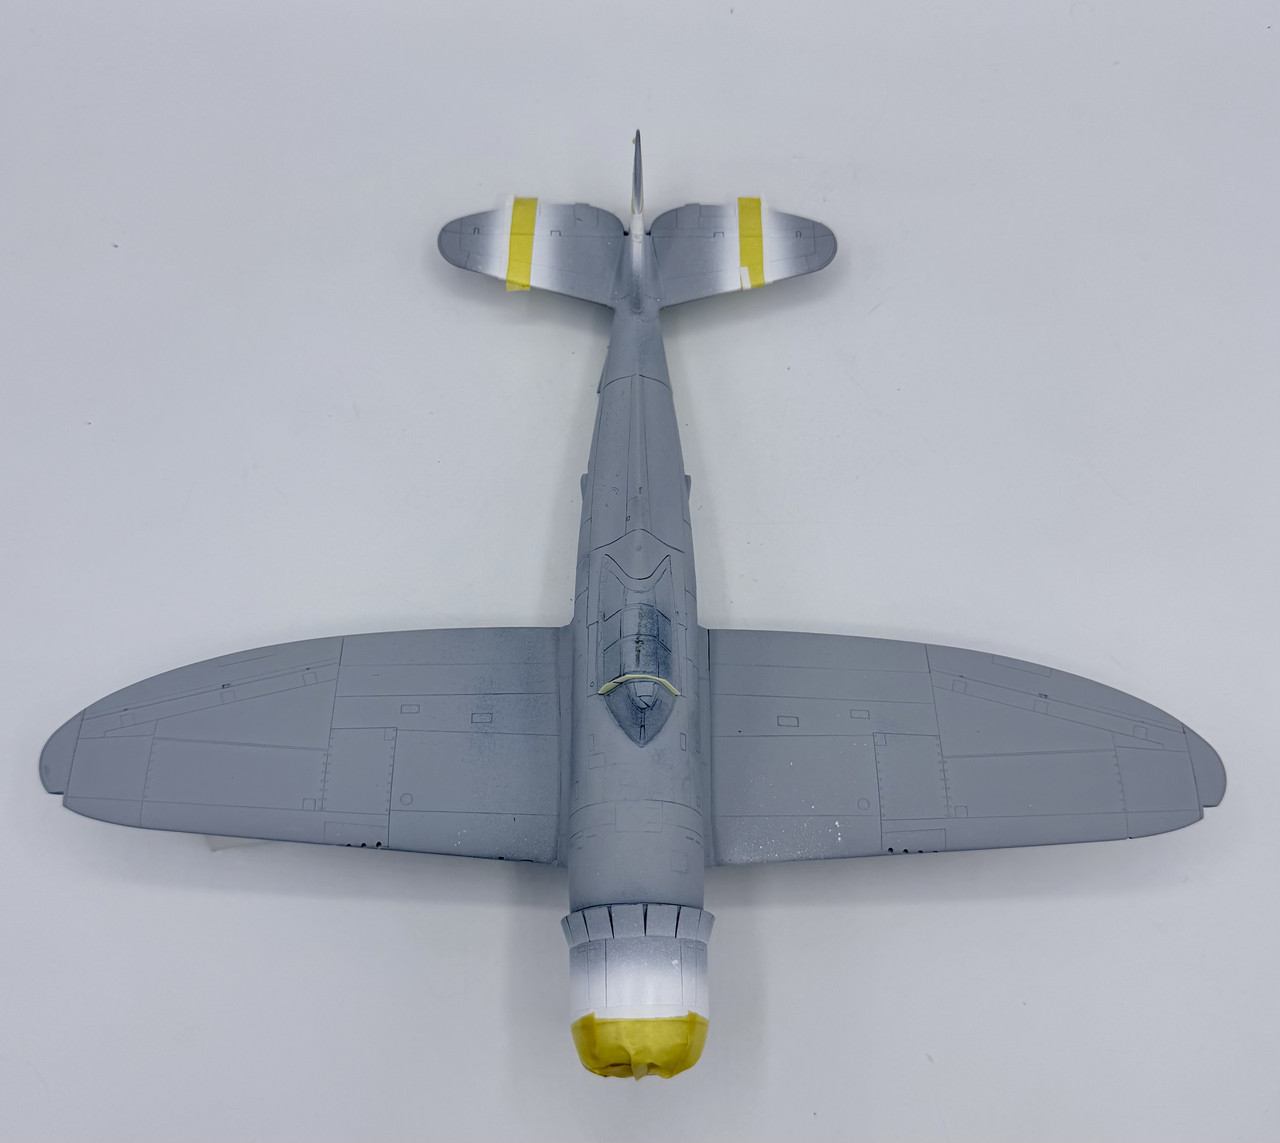
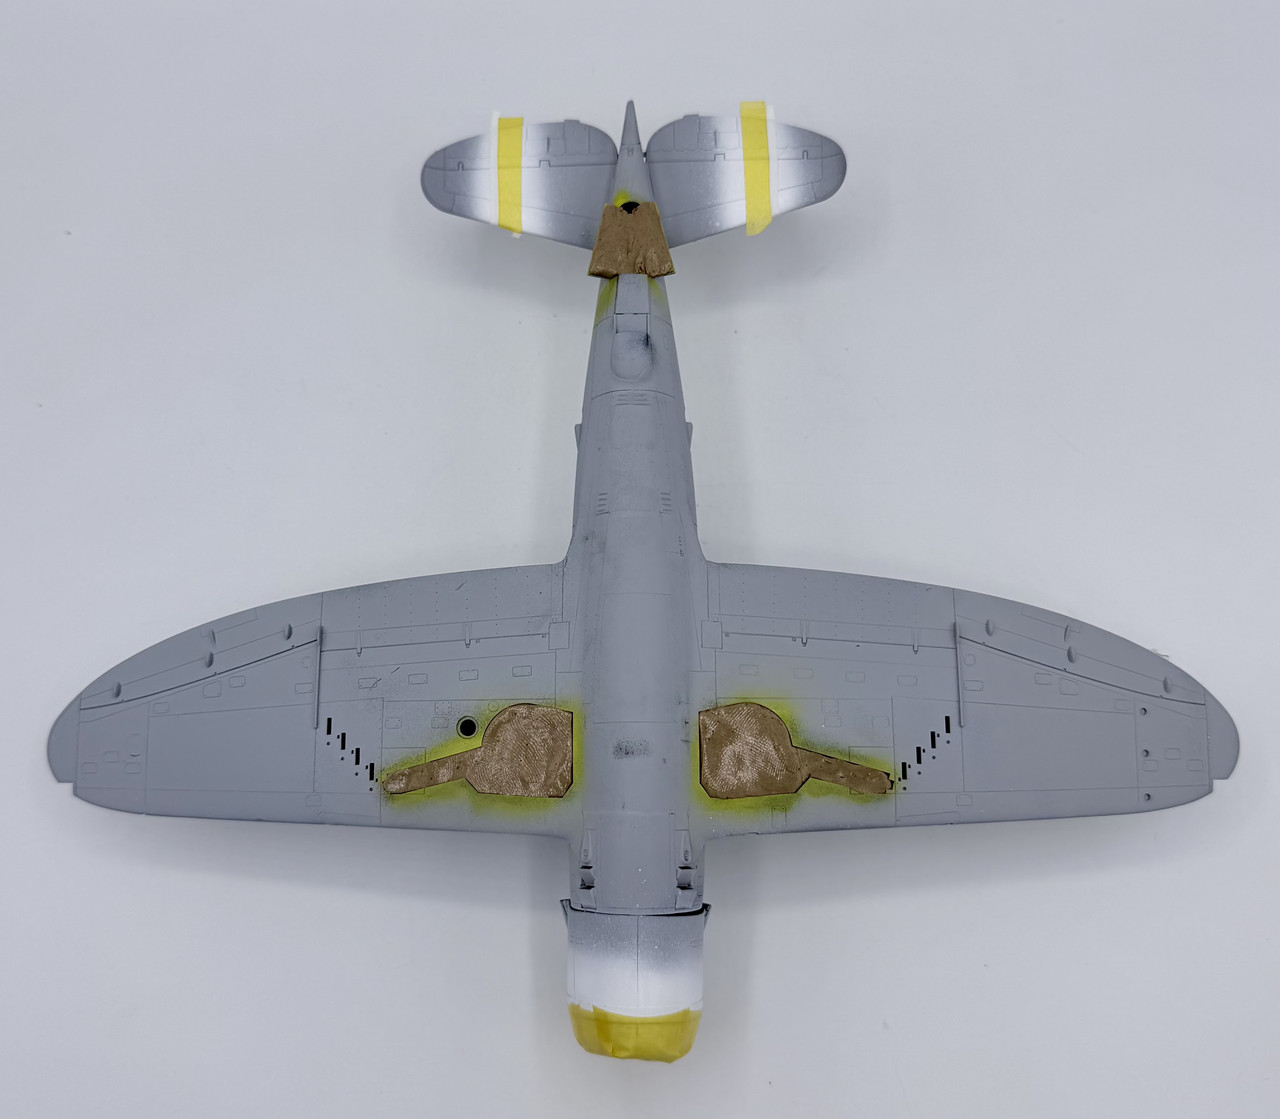
Then in the afternoon I airbrushed on the Olive Drab 41 and Neutral Gray 43 using AK Real Colors
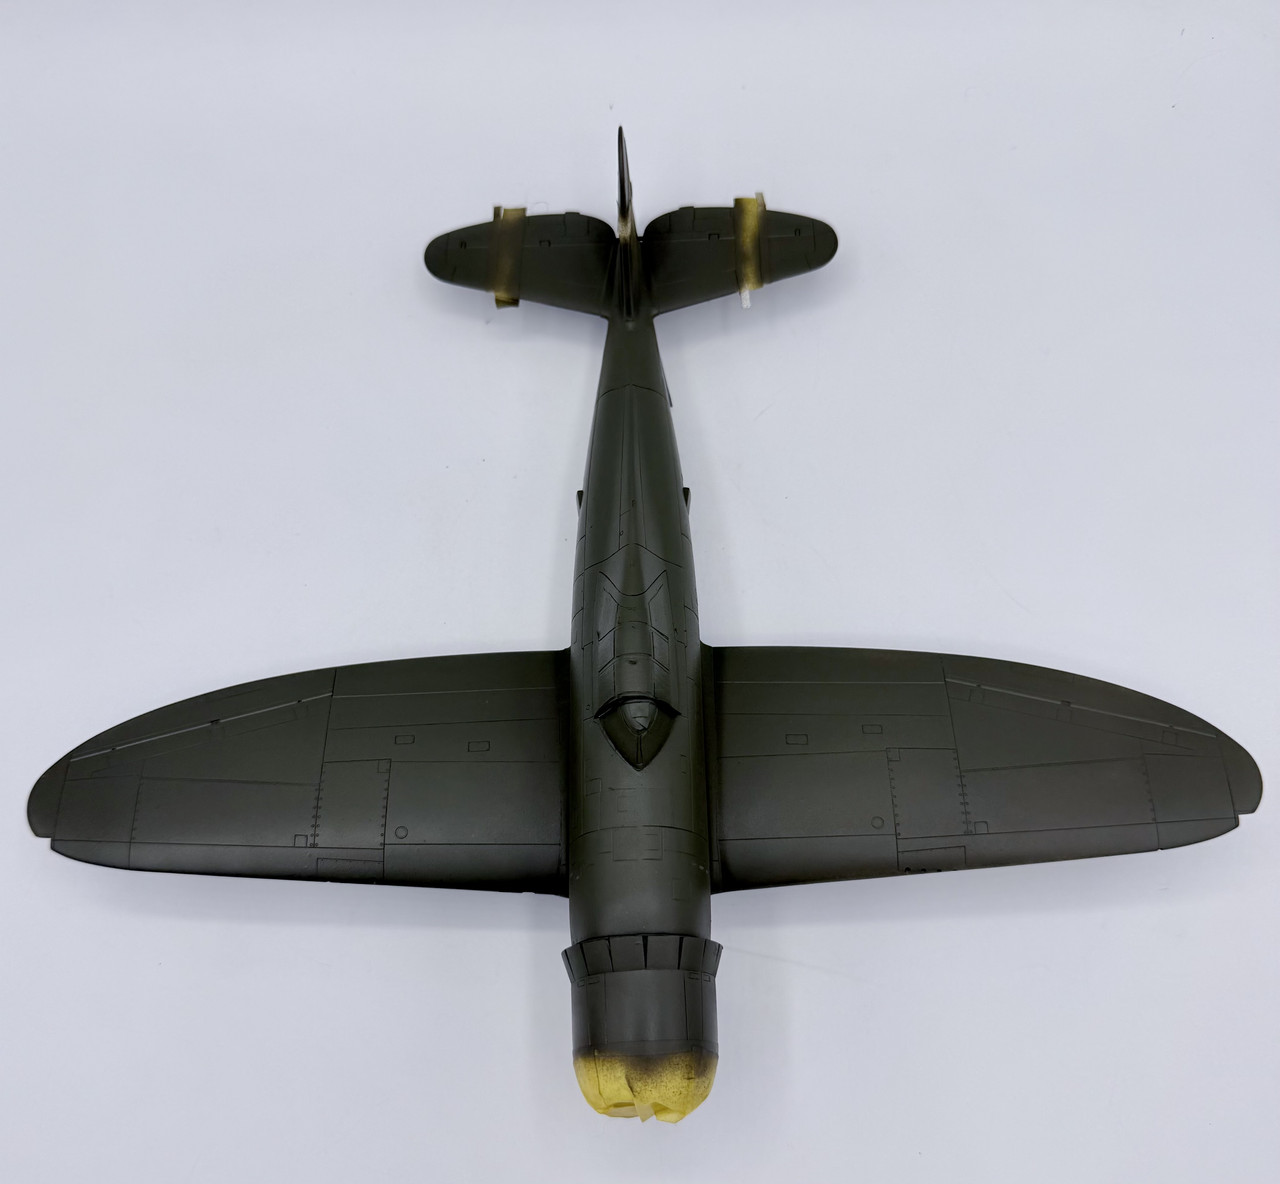
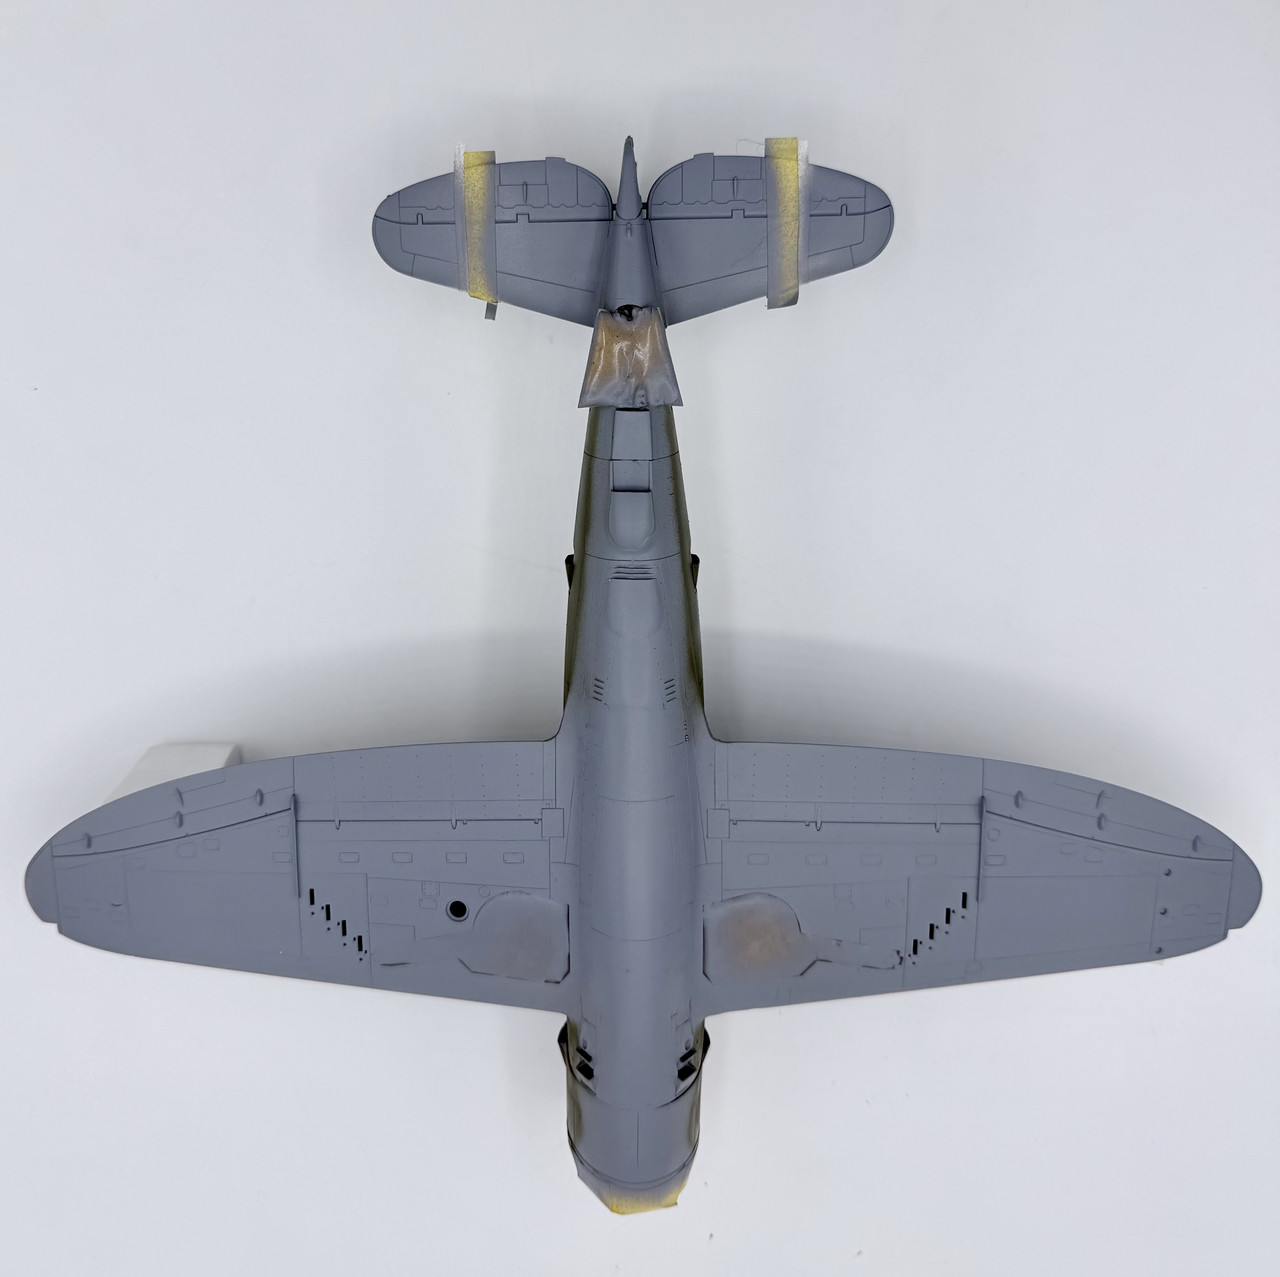
I need to go back and do some touch up on the OD and NG, then I can get the gloss coat on for decals… more to come in a few days
5 Likes
Today’s progress report: I went and did touch ups on the OD/Neutral Gray demarcation line, then removed the masking from the white theater ID marking areas
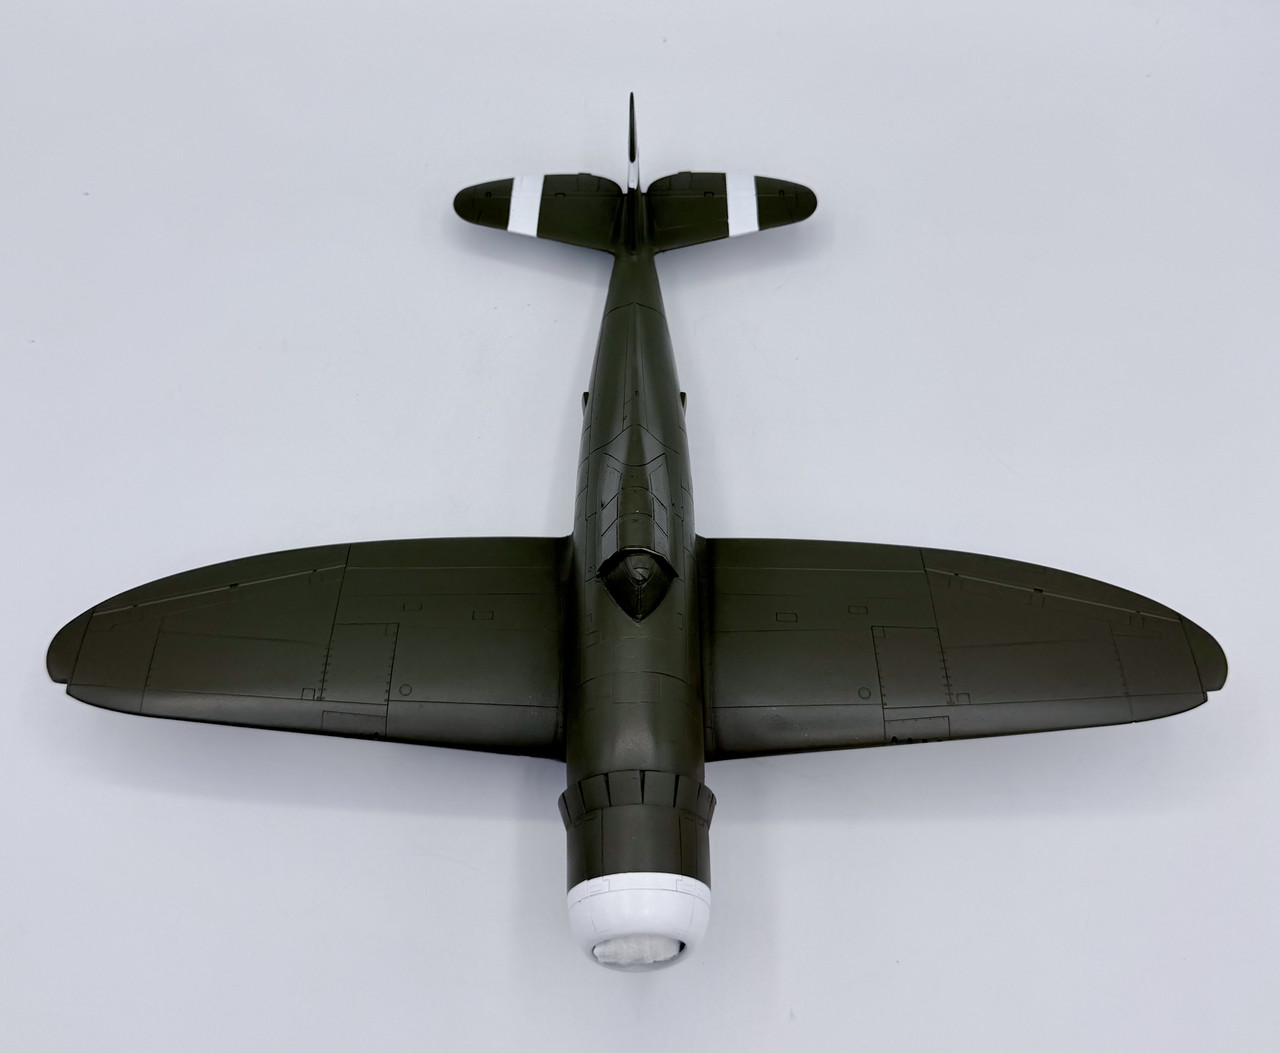
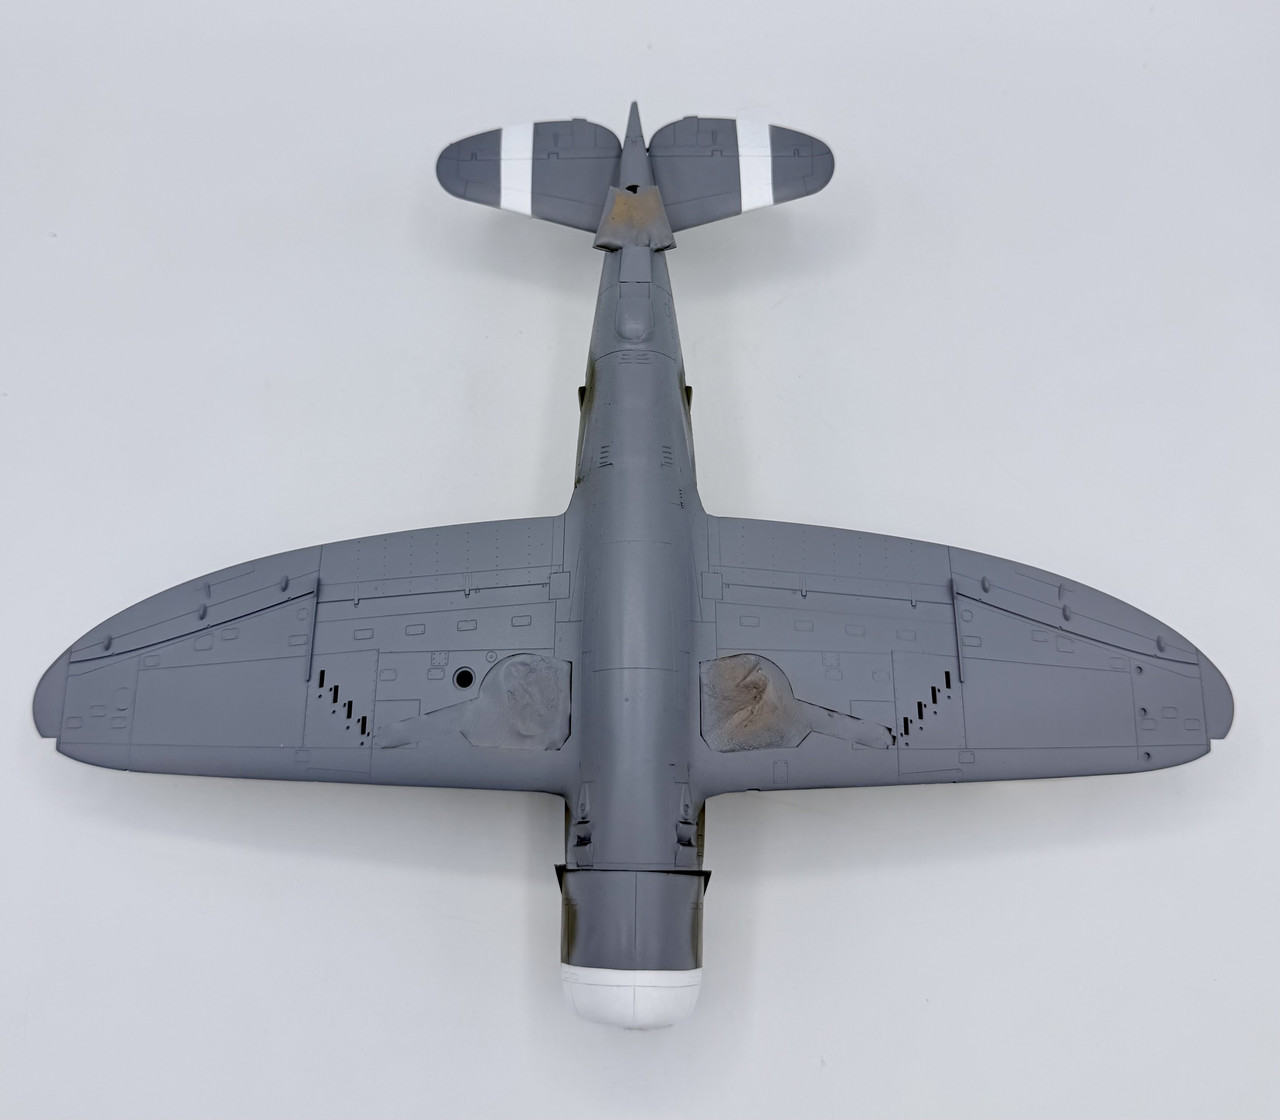
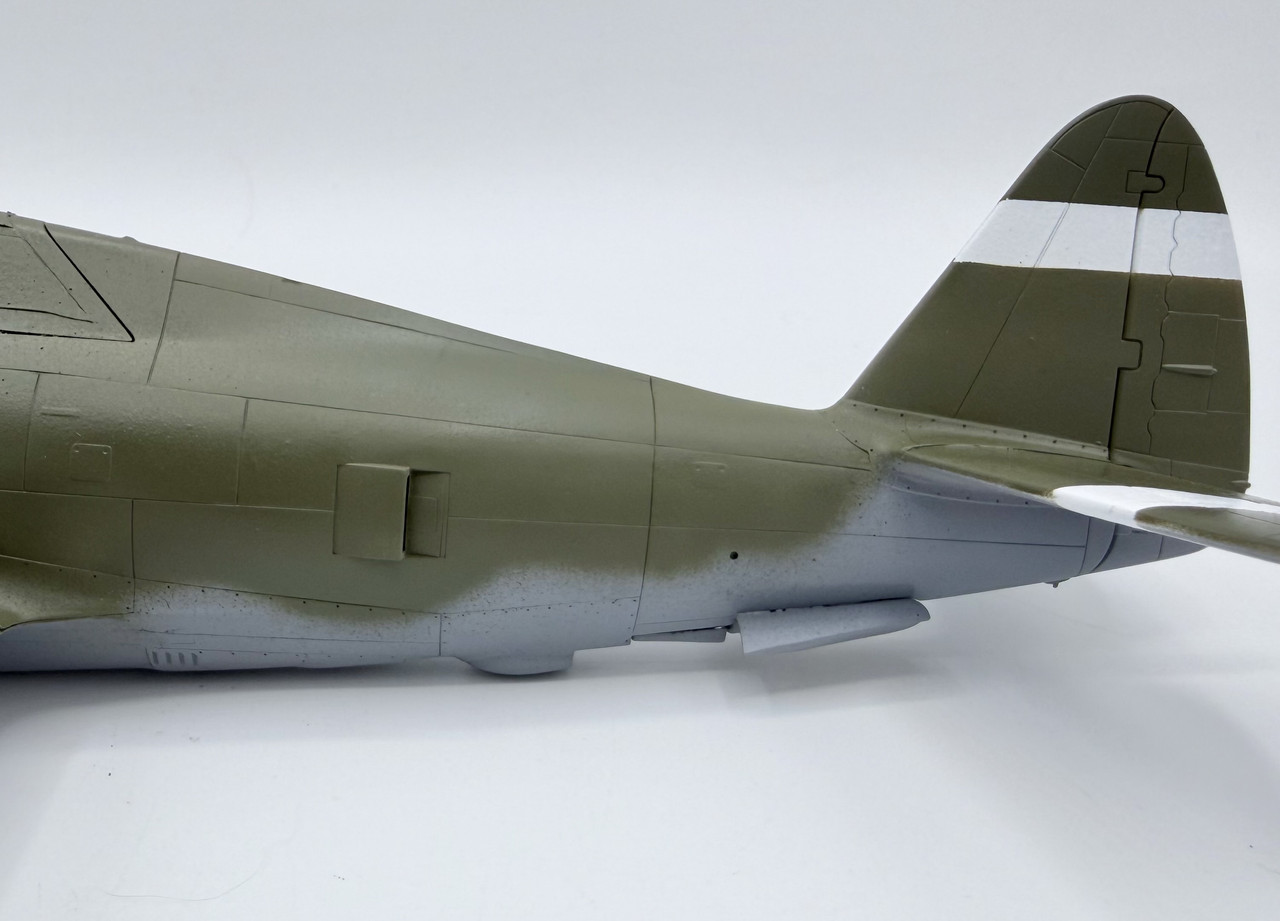
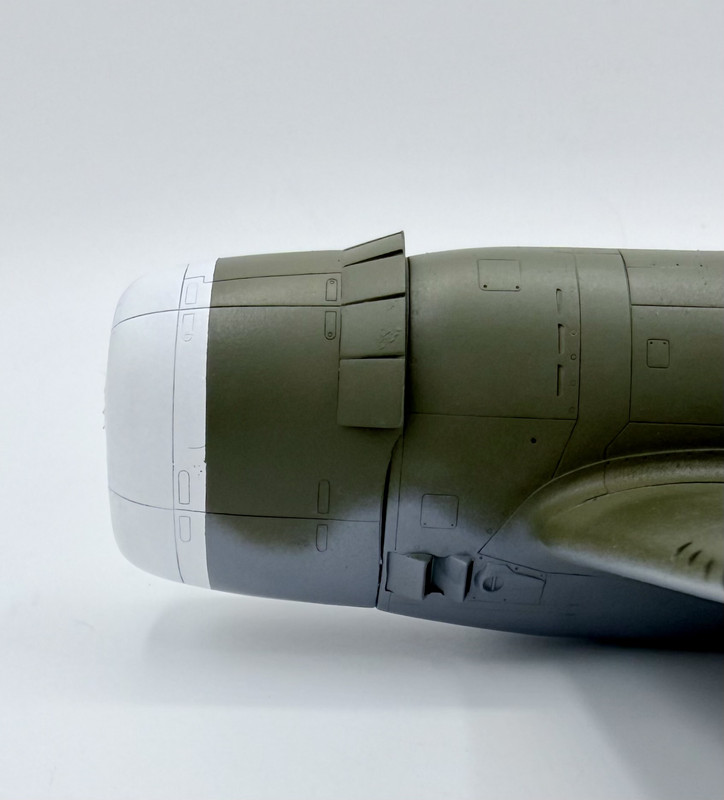
Next up is a gloss coat on and then getting it ready for decals…
4 Likes
Gloss coat applied a couple of days ago, and main decals yesterday…
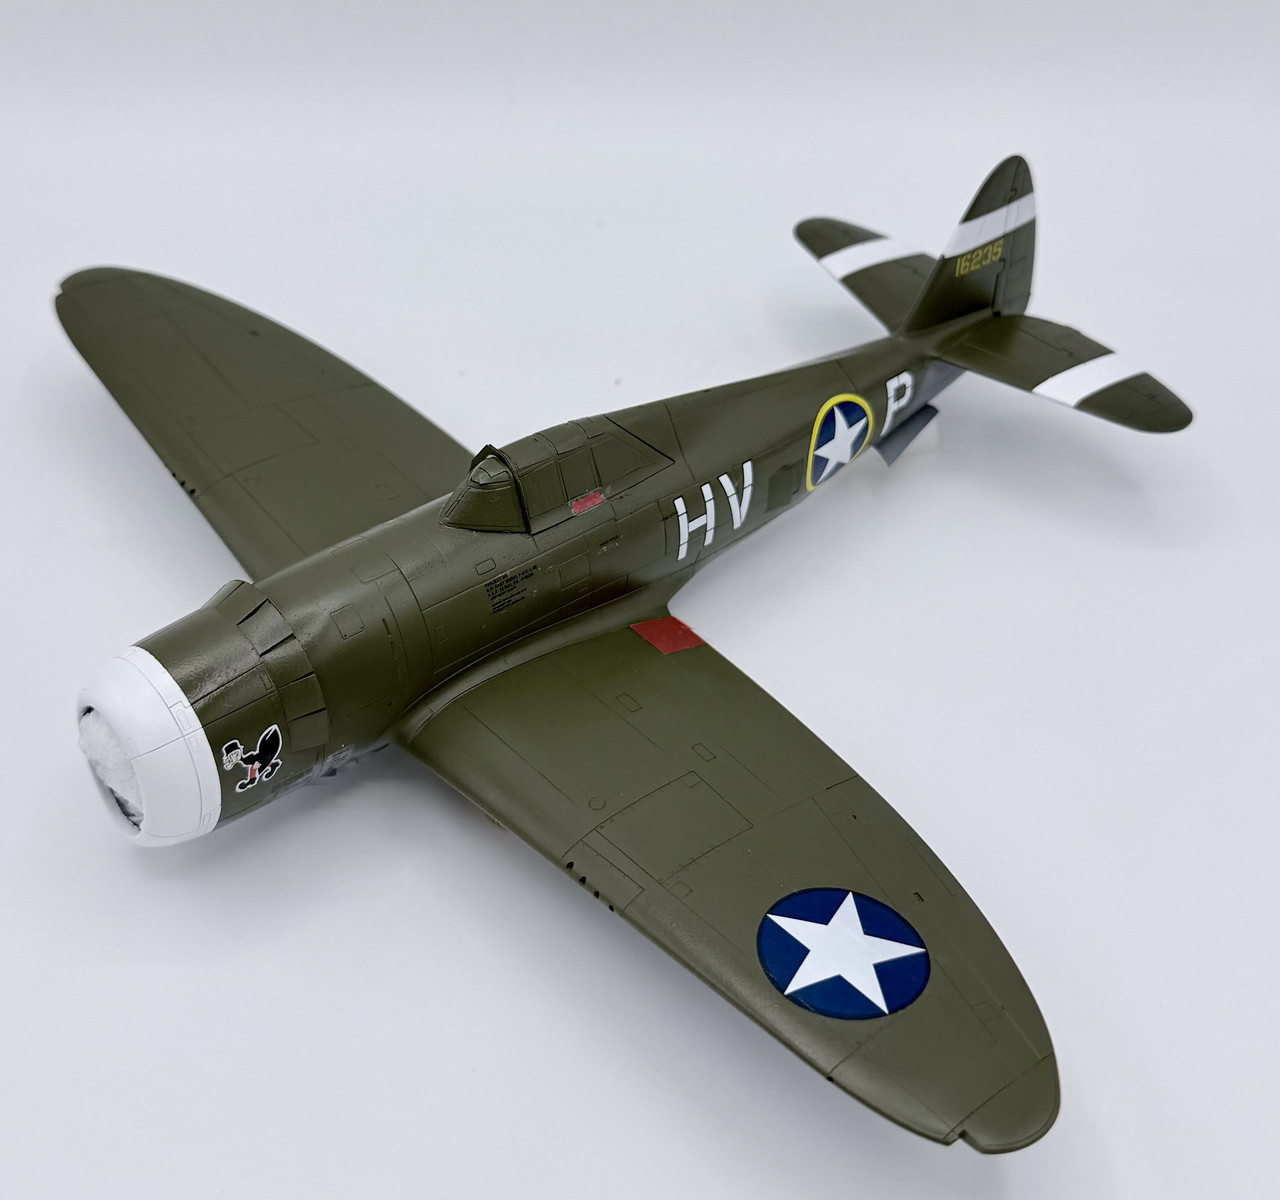
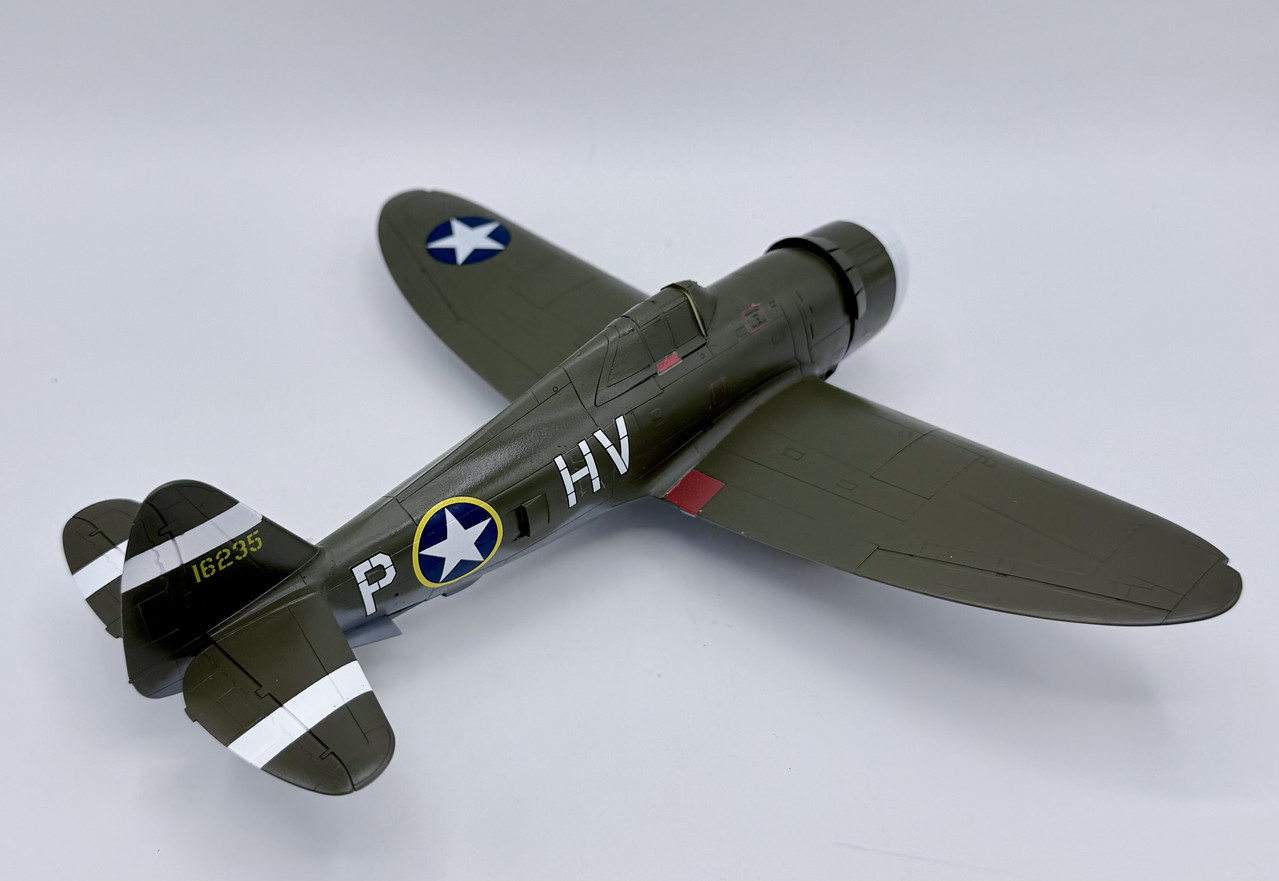
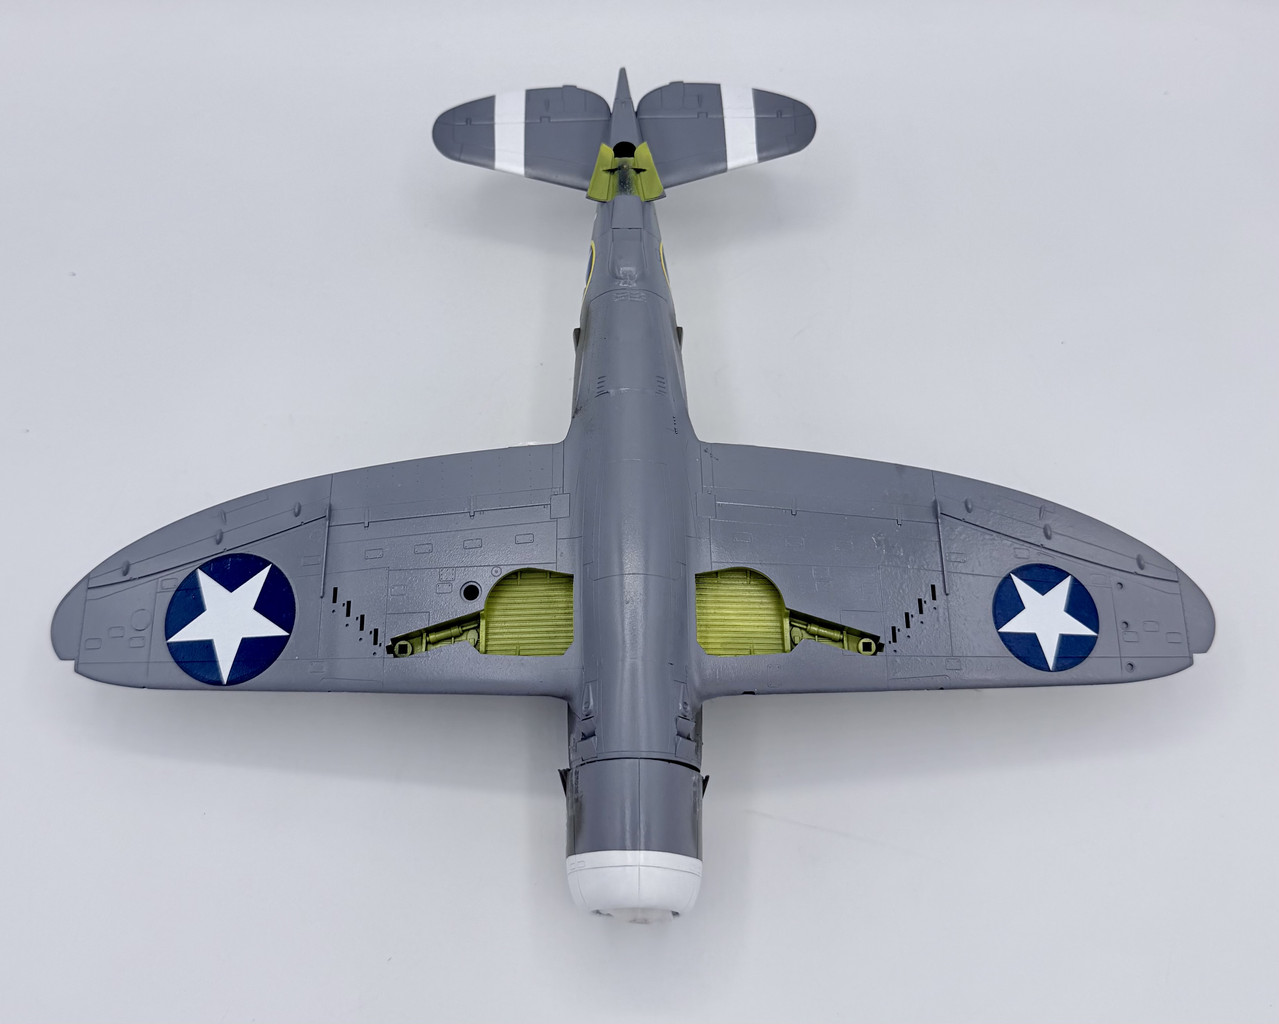
I still need to finish up all the stenciling….
9 Likes
That’s looking really sharp.
Thank you sir. One step at a time on this Jug.
1 Like
So my latest batch of progress photos…
During the week I applied Tamiya Liquid Panel Liner then cleaned it up. Afterwards I then airbrushed on a flat clear coat
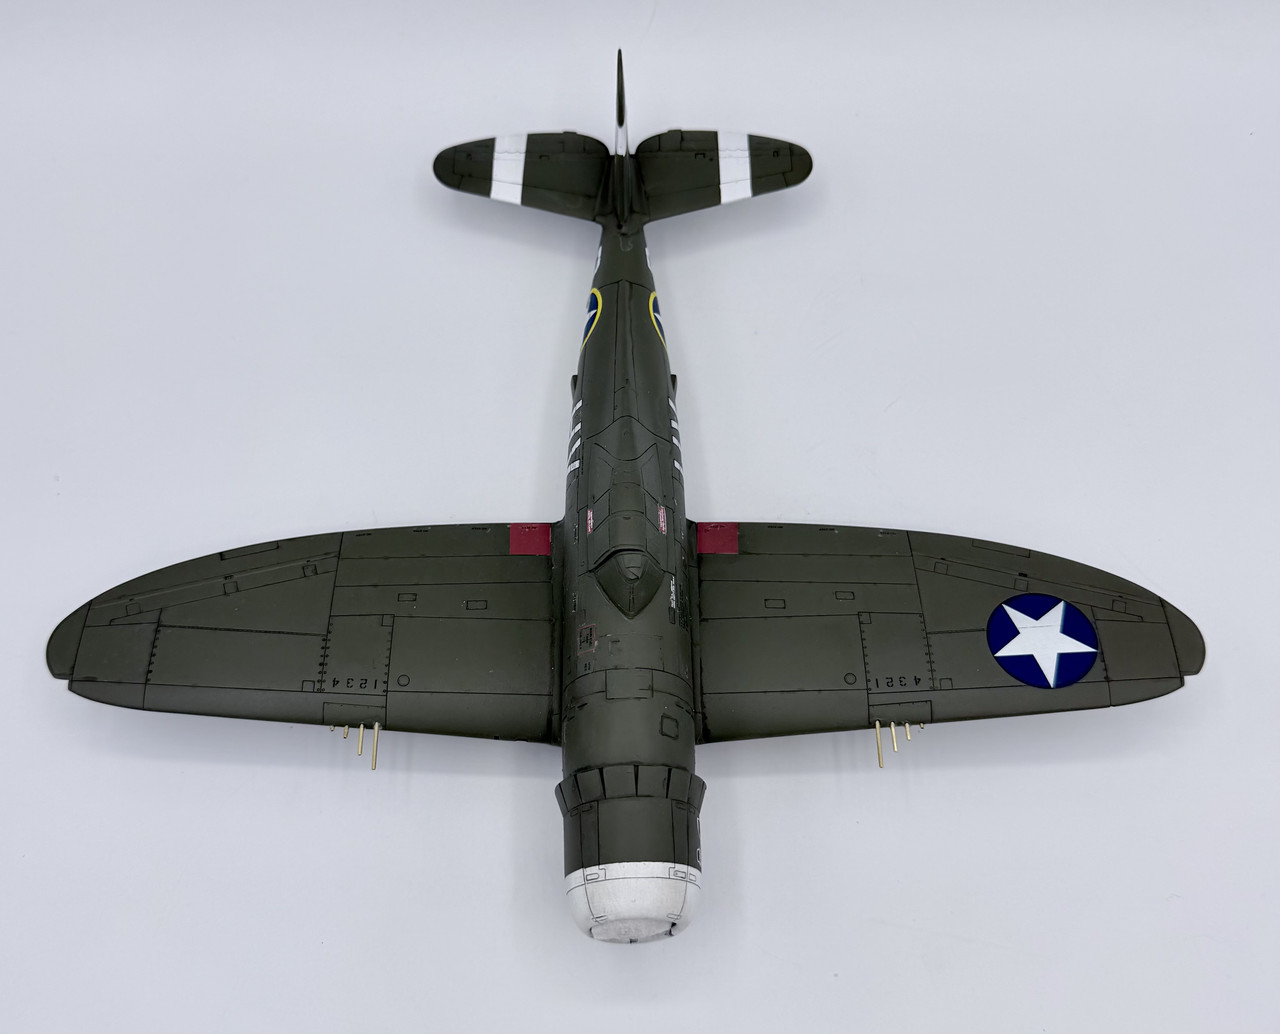
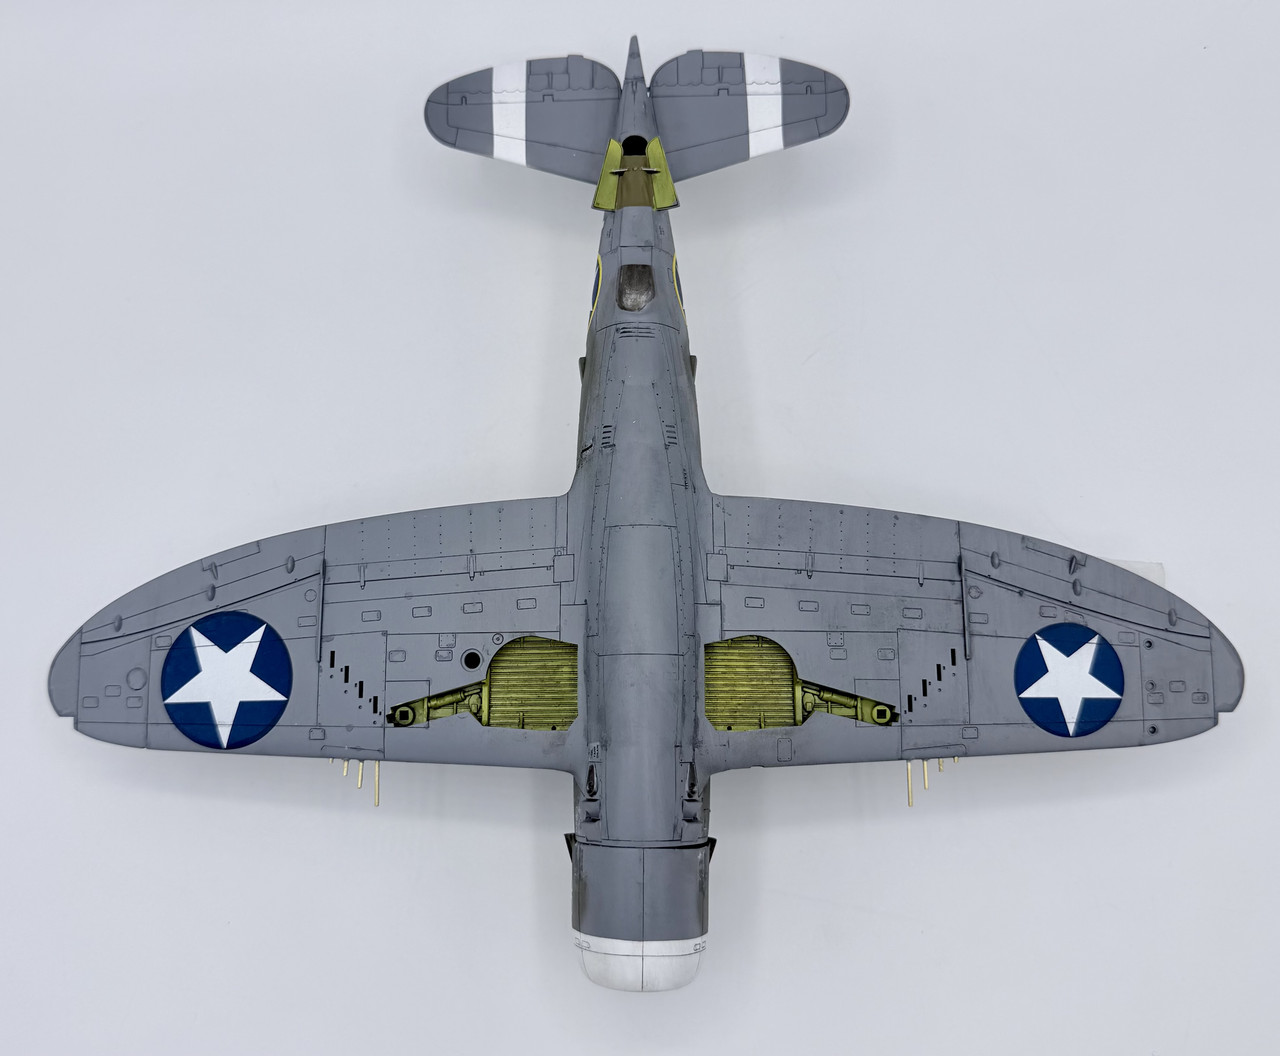
A couple of days ago I replaced the kit gun barrels with some Albion brass tubing of an appropriate diameter and cut to the proper lengths, and then glued them in place.
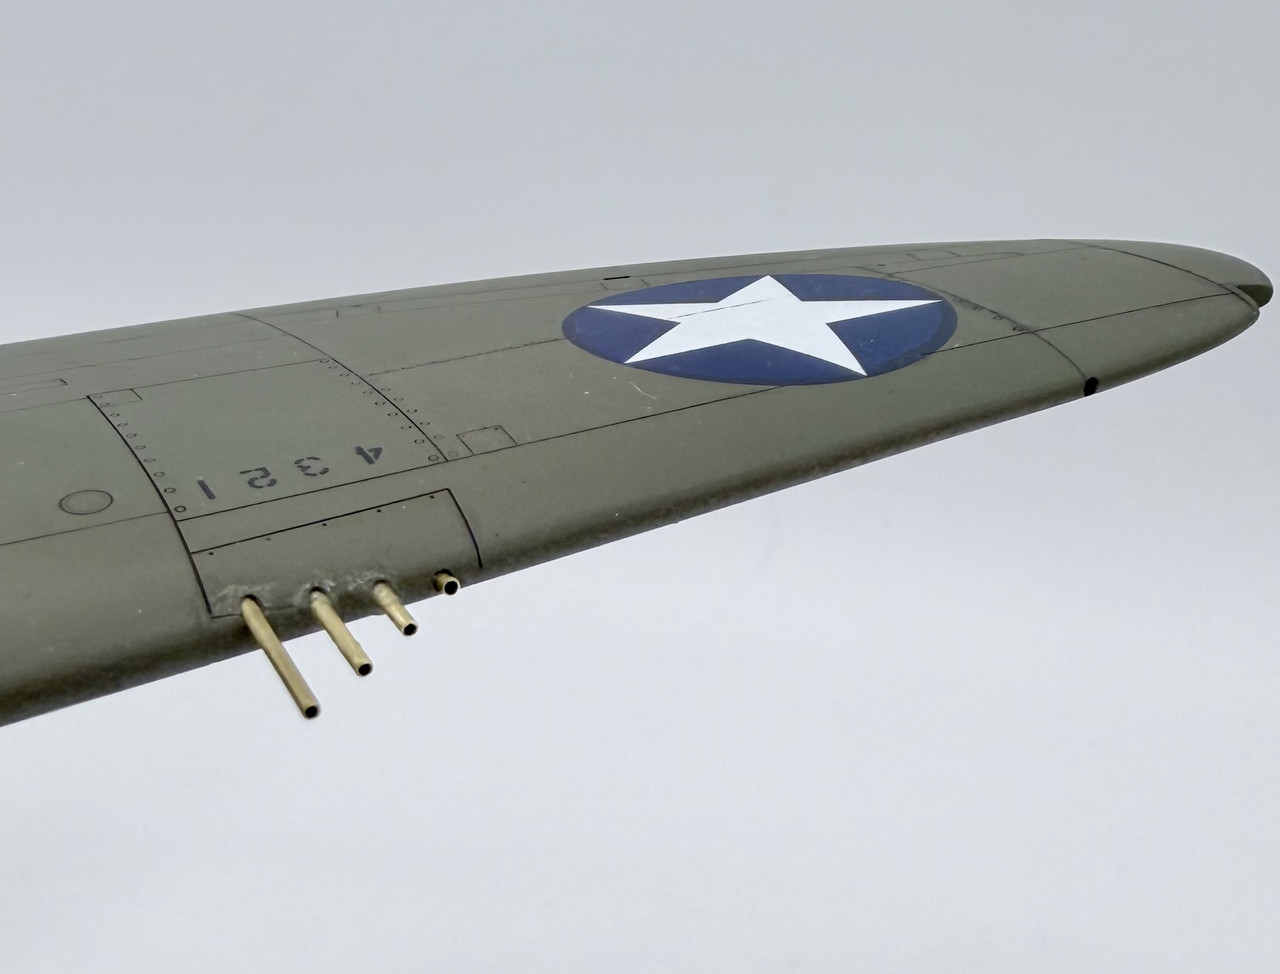
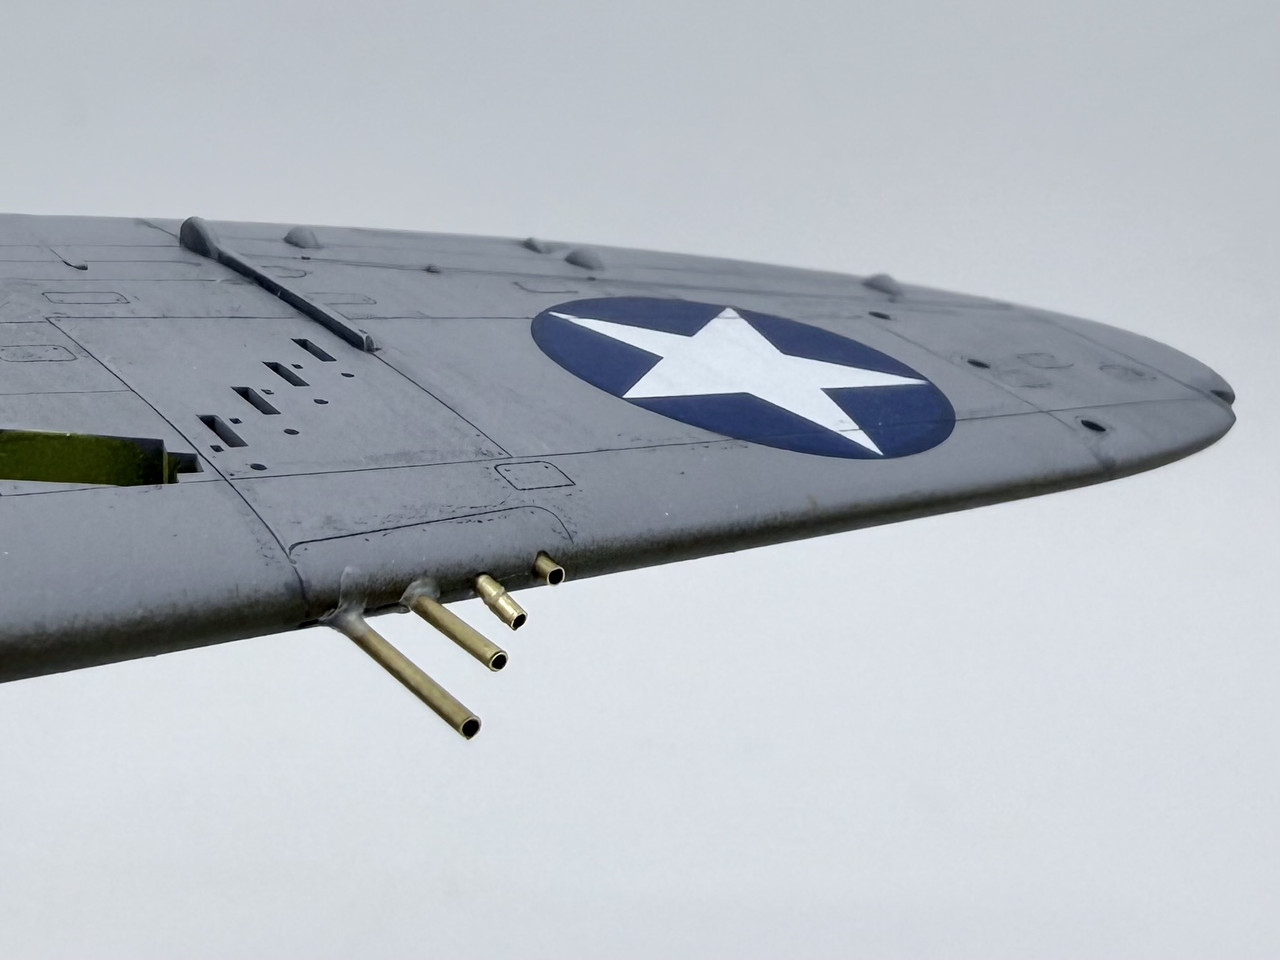
Today I painted the gun barrels with Metalizer Steel
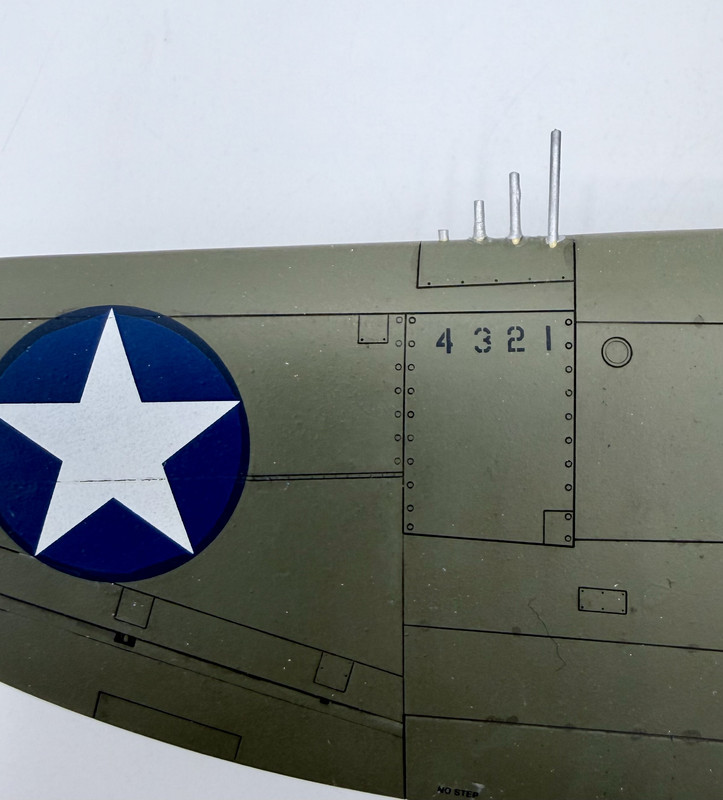
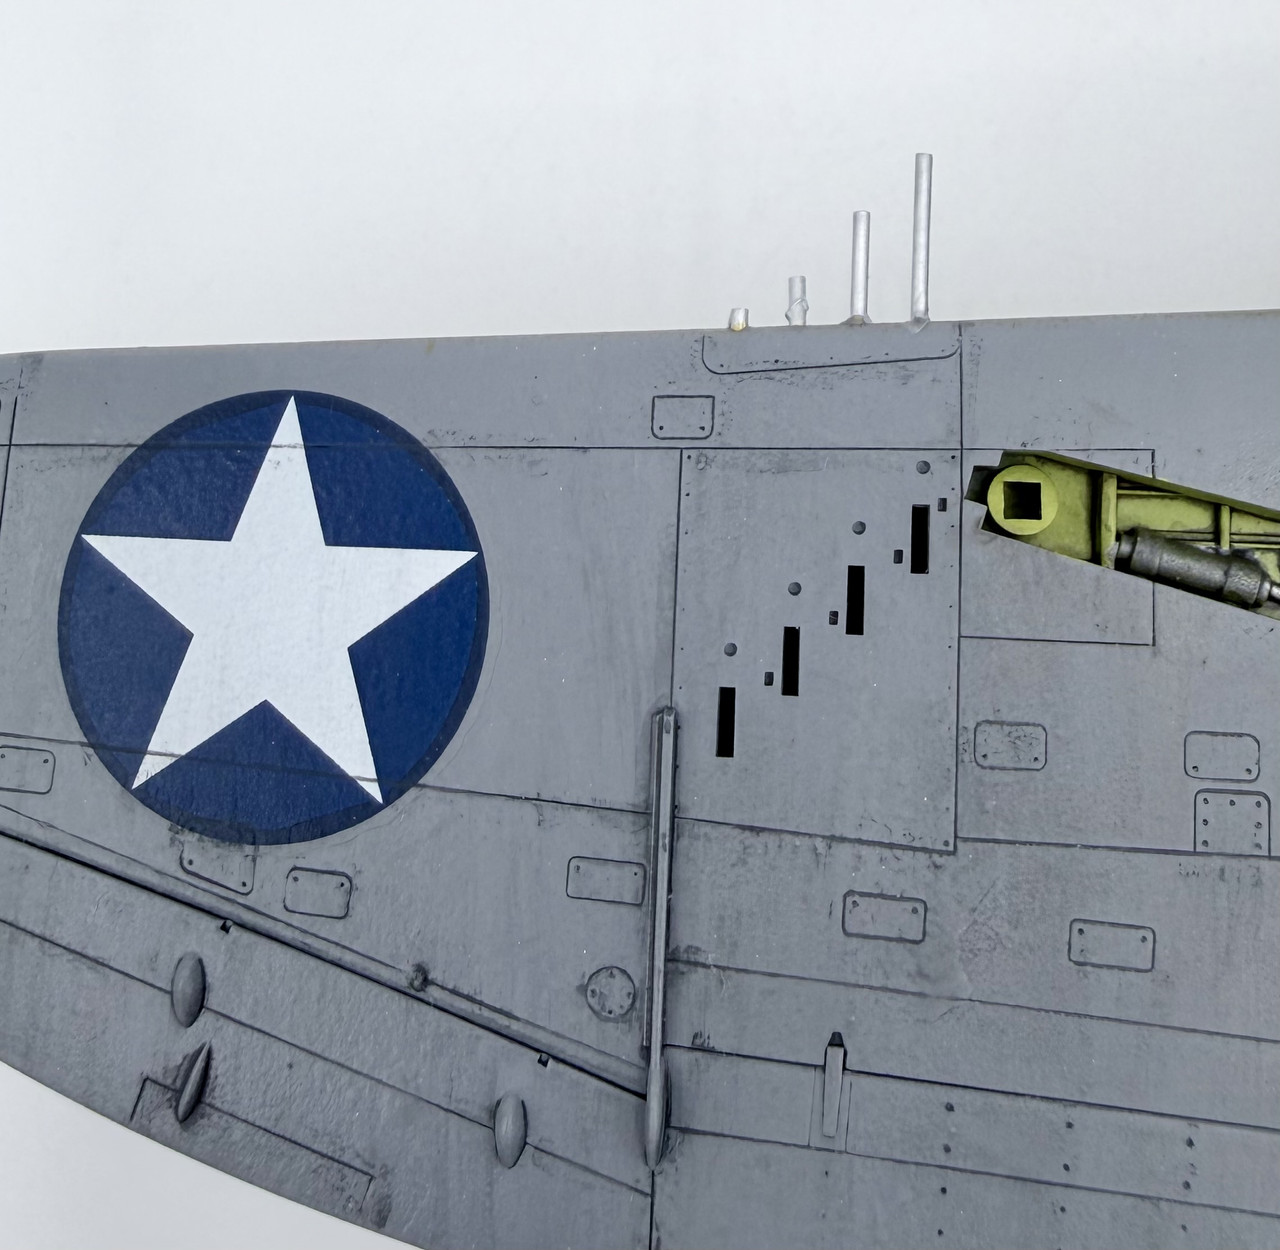
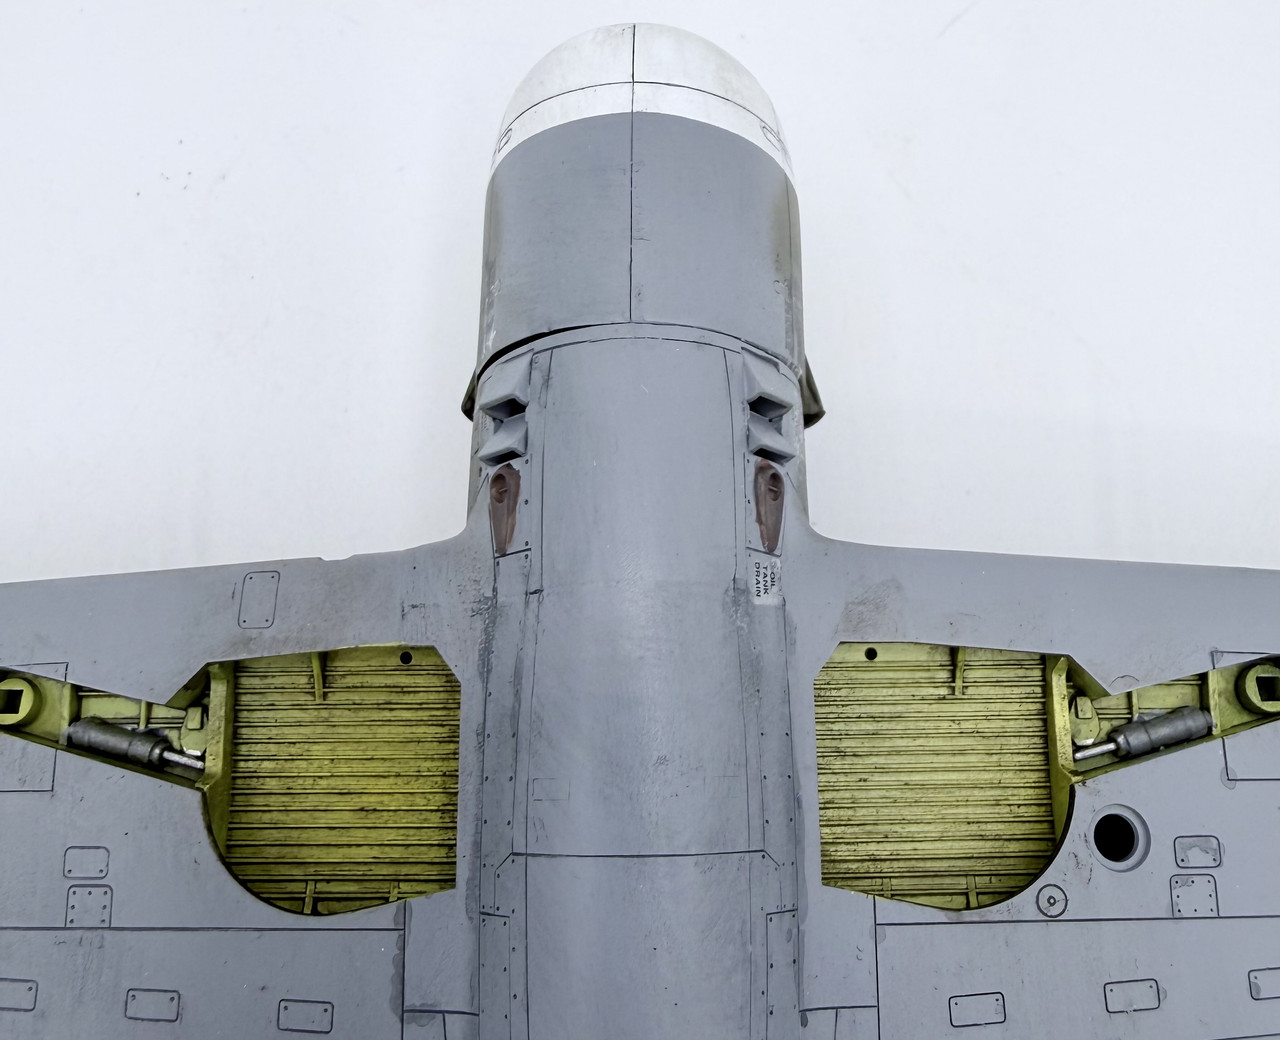
I also today finished painting the exhaust stacks and turbocharger exhaust shroud, among other small details
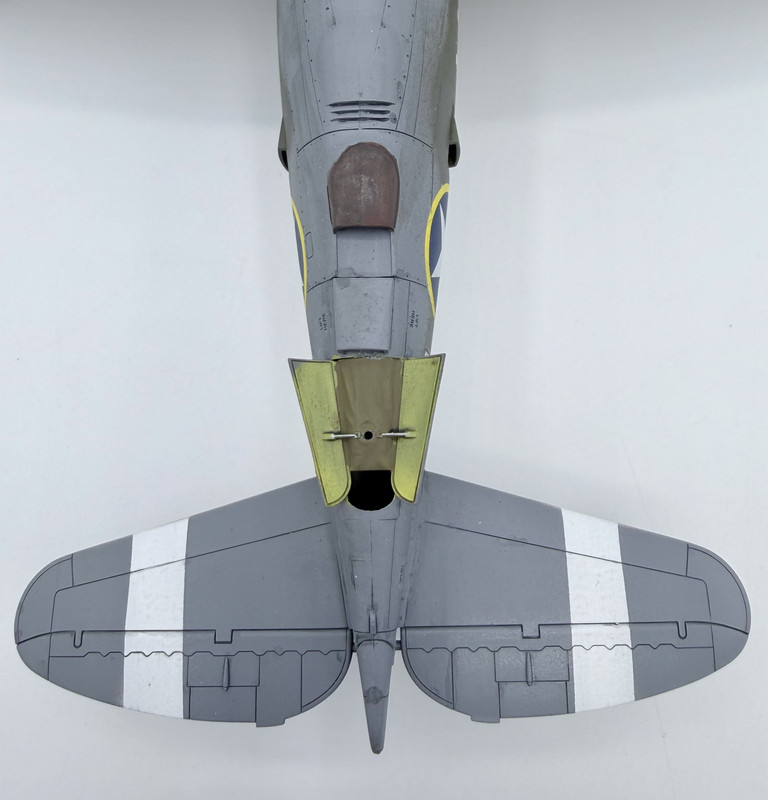
That’s all for today… finish line is approaching rapidly!!!
5 Likes
Nice work recovering that Jug from your Shelf of Doom. The build is looking great as you approach that final finish line 
1 Like
Thanks! I am so looking forward to wrapping this one up.
1 Like
My latest update on this P-47 project…
I’ve added more weathering such as exhaust and gunpowder stains, dirt stains onto the tires and areas on the airframe that would get such stains kicked up by the tires… I also glued the navigation, ID, and landing light in place, removed the canopy masking… and added a bit of bare metal wear in appropriate areas…
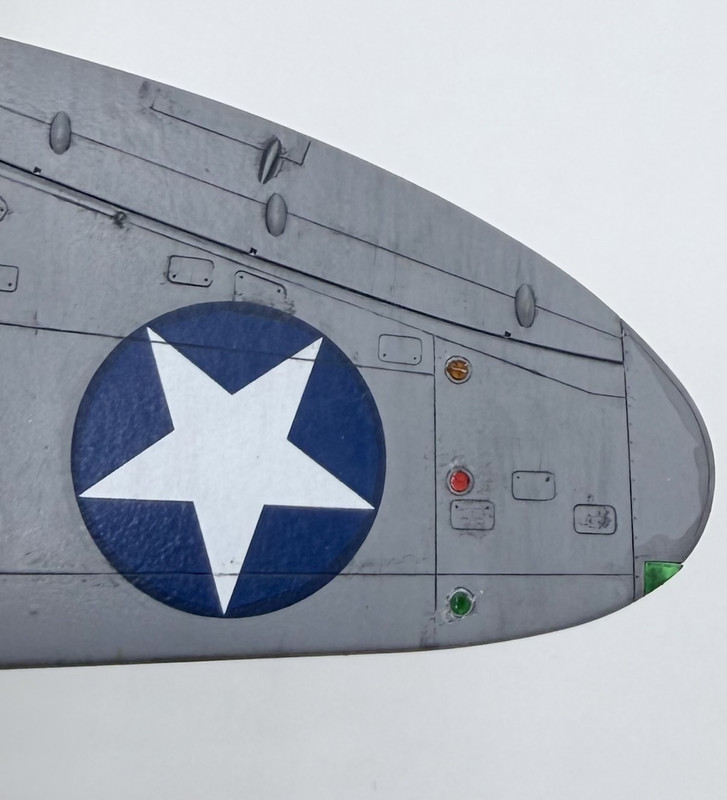
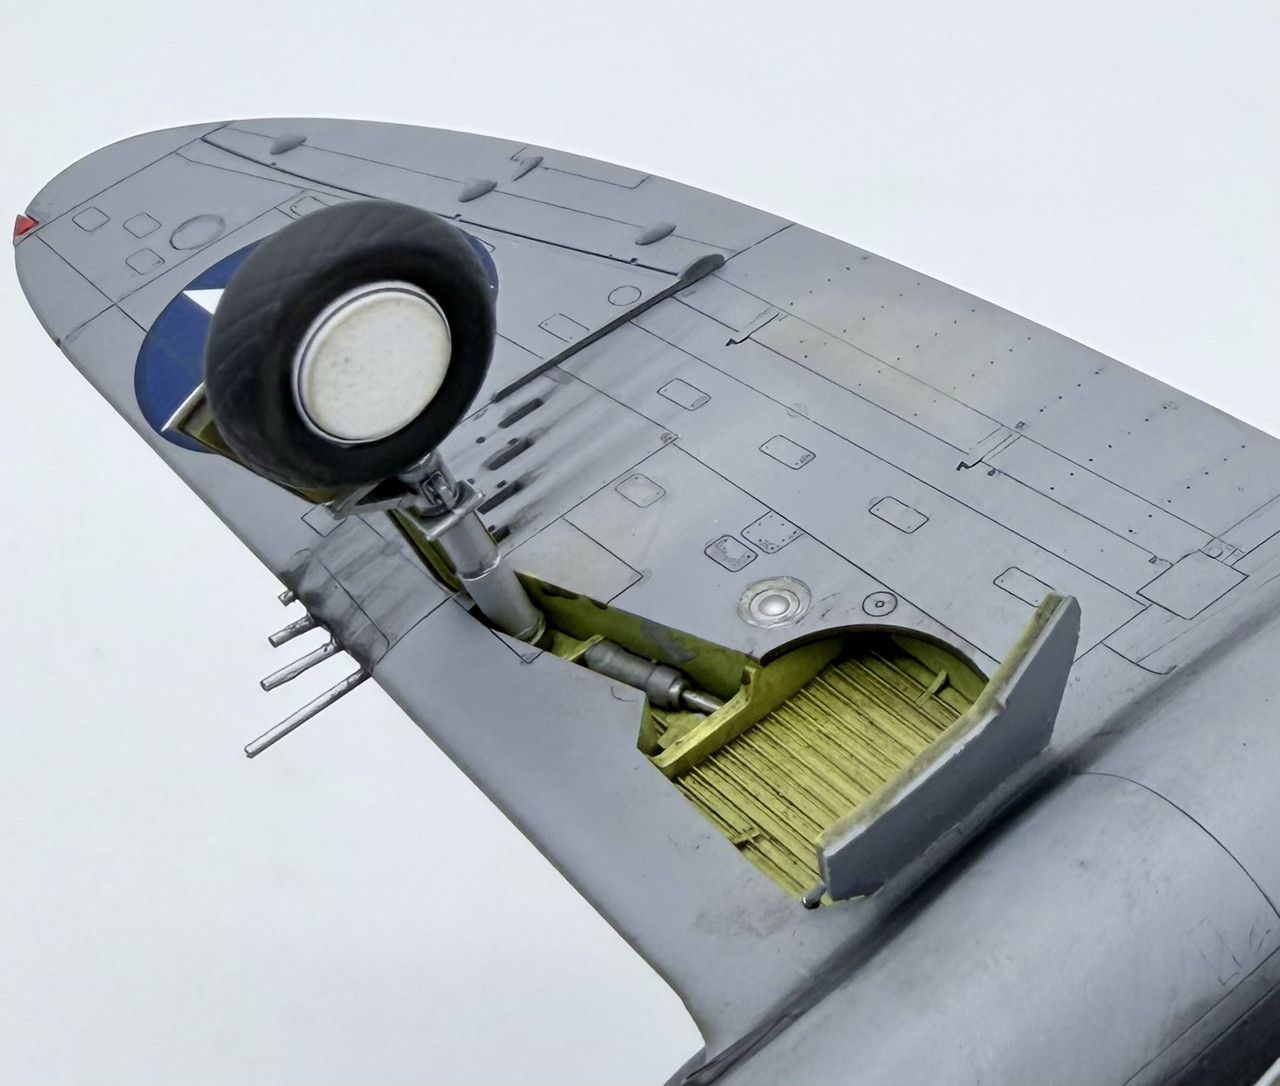
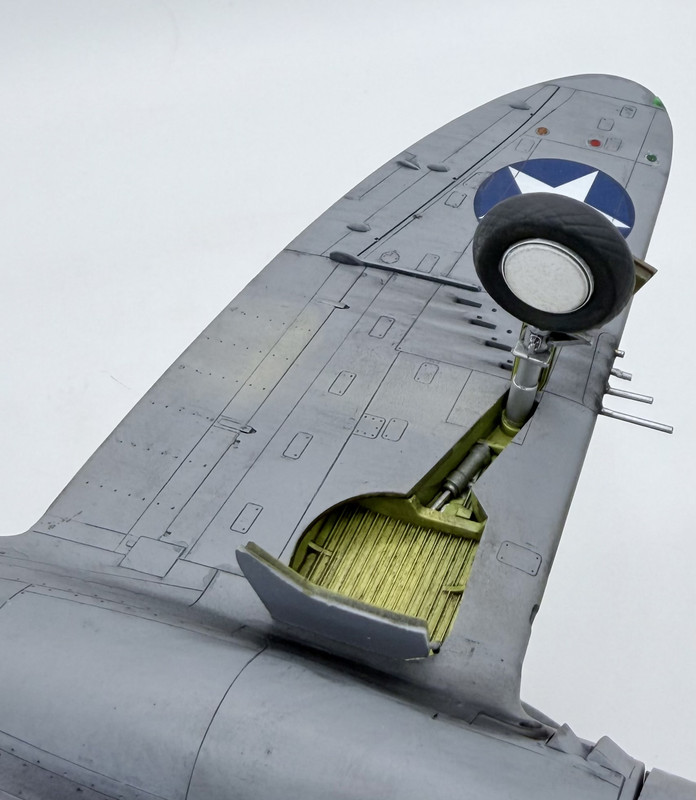
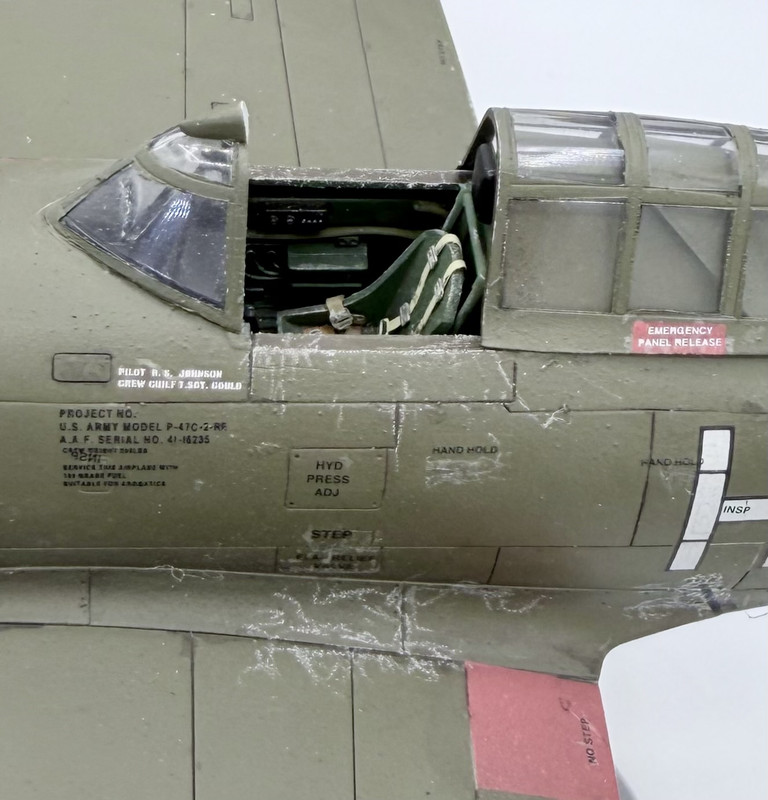
Just about done now… got a busy next few days ahead with family stuff, so it will hopefully be wrapped up by the end of the weekend.
5 Likes
As of this evening, I’m calling this one complete! My Hasegawa 1/48 P-47D, backdated to a P-47C, started 15+ years and 4 houses ago…
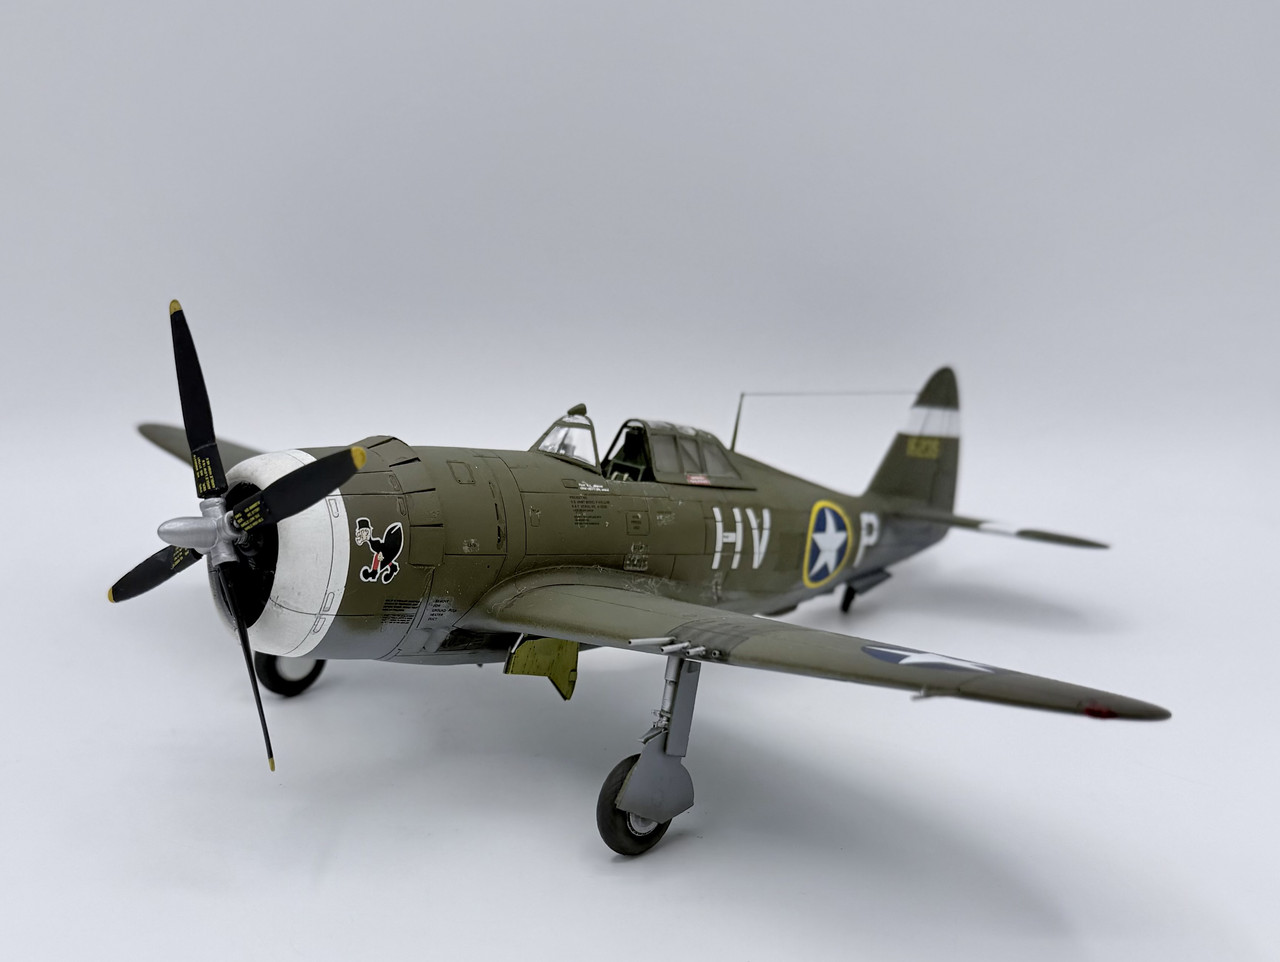
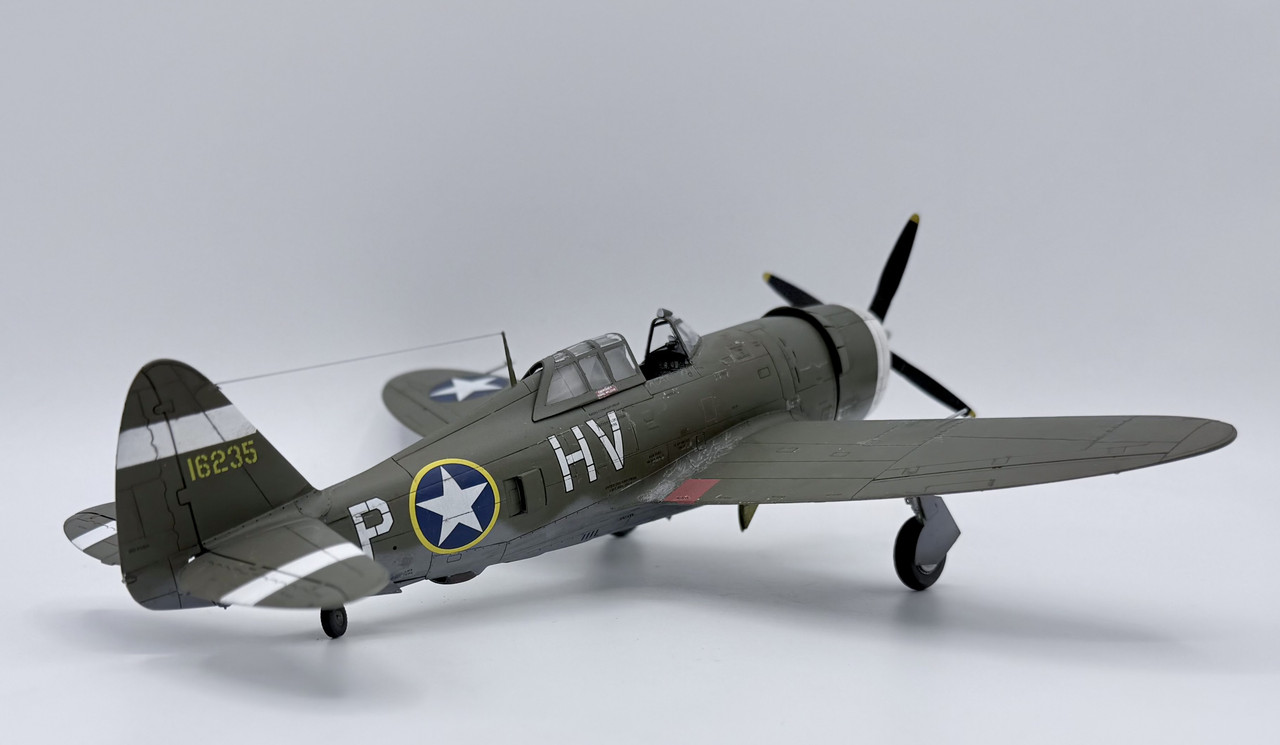
Proper multi angle view photos to come in a few days…
4 Likes
I first read Robert Johnson’s autobiography when I was in grade school, probably when I was around 9 or 10 years old. One incident in his story always stuck in my mind and that was his near fatal mission of June 26 1943. On that sortie his aircraft “Half Pint” was badly shot up by FW-190s of JG-26 during a bomber escort mission. His description of the ordeal in the book has had me wanting to build a model that P-47 of his one day, but it was a P-47C, and nobody at the time was making kits of the P-47C, only D’s, M’s, & N’s. But then SuperScale Decals released a set of decals for all of Johnson’s P-47s, and Cutting Edge released a P-47C conversion cowling for the Hasegawa P-47D Razorback. I bought all of the above and eventually started the project, but then it was sidelined when I encountered some warping on the fuselage where it connected to the lower wing behind the engine. So it sat for many years on the shelf of doom until I recently decided to do knuckle down and finish this one up, no matter what.
Without further elaboration, here is my build of “Half Pint”, as it would have looked, before setting out on that June B-17 escort mission.
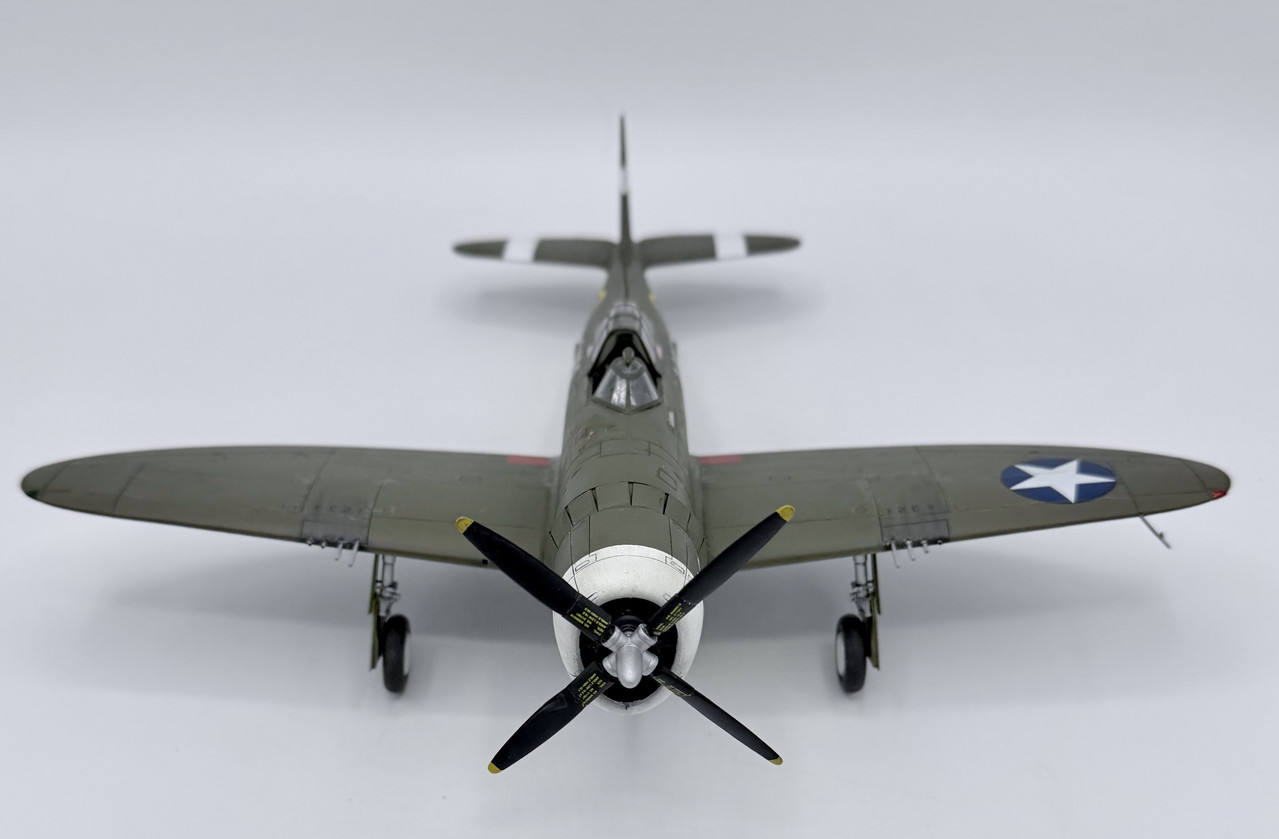
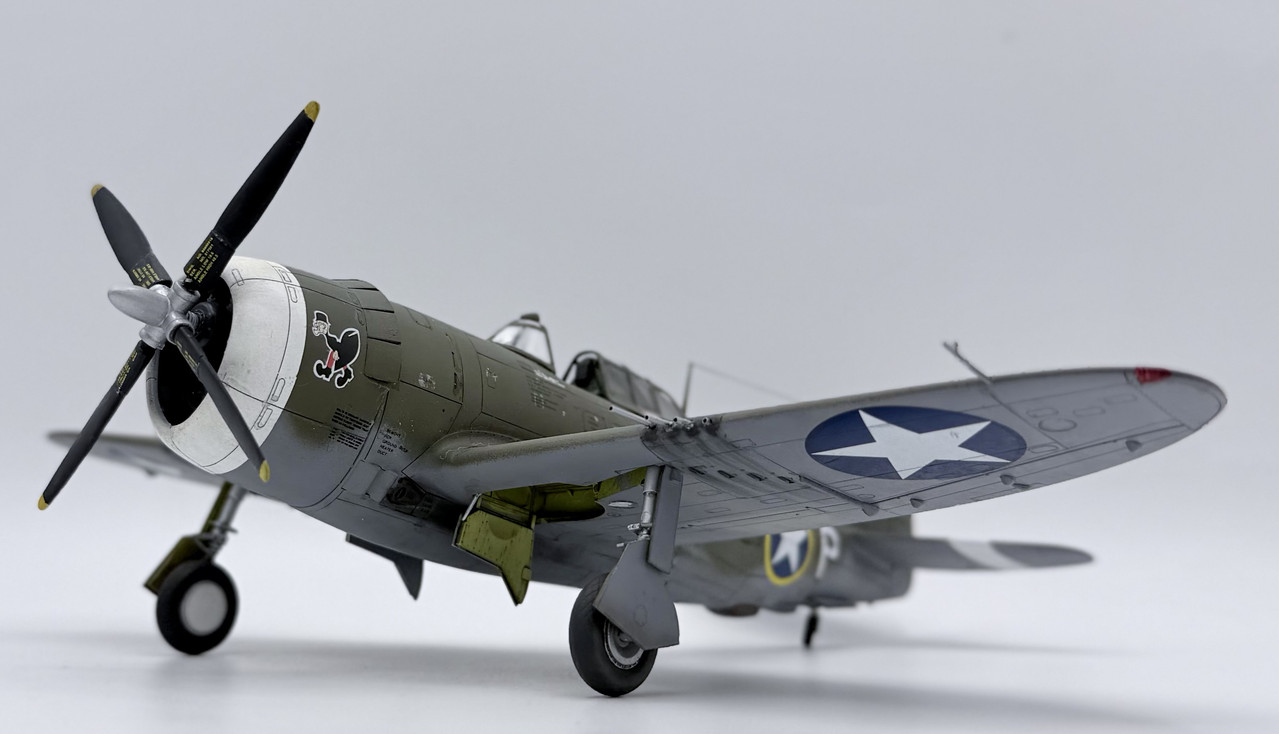
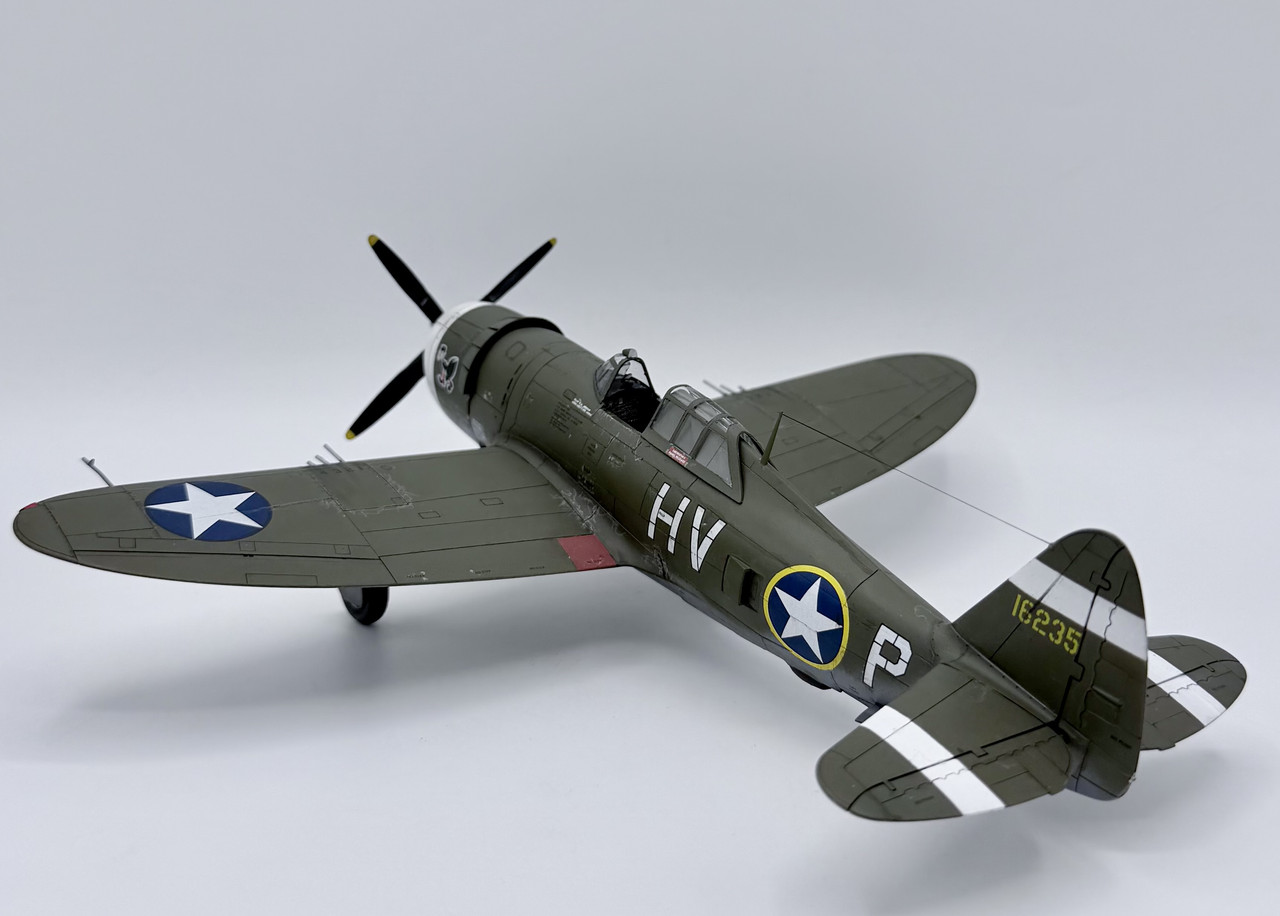
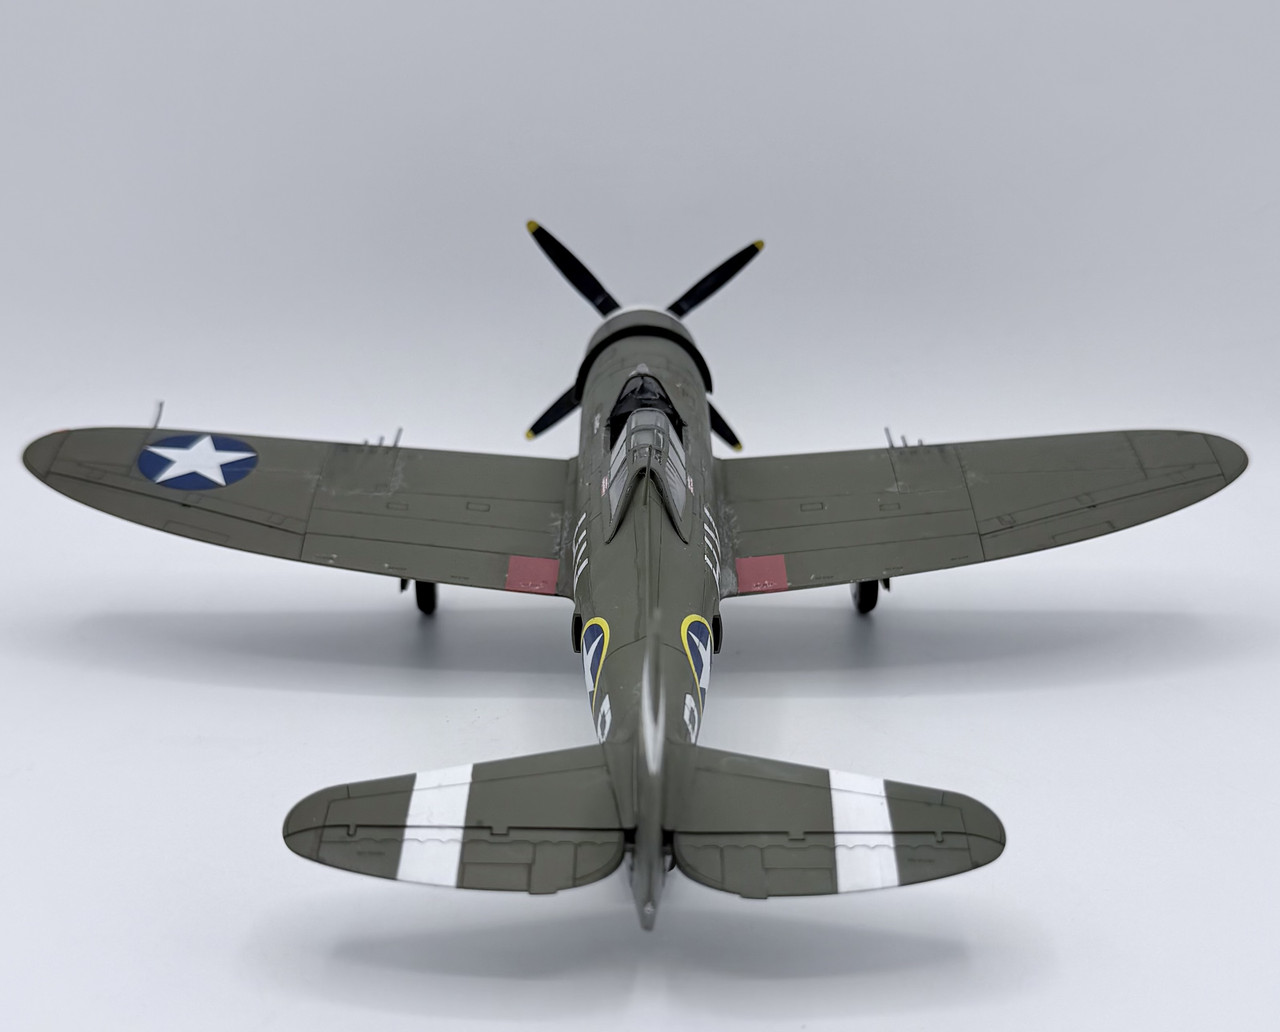
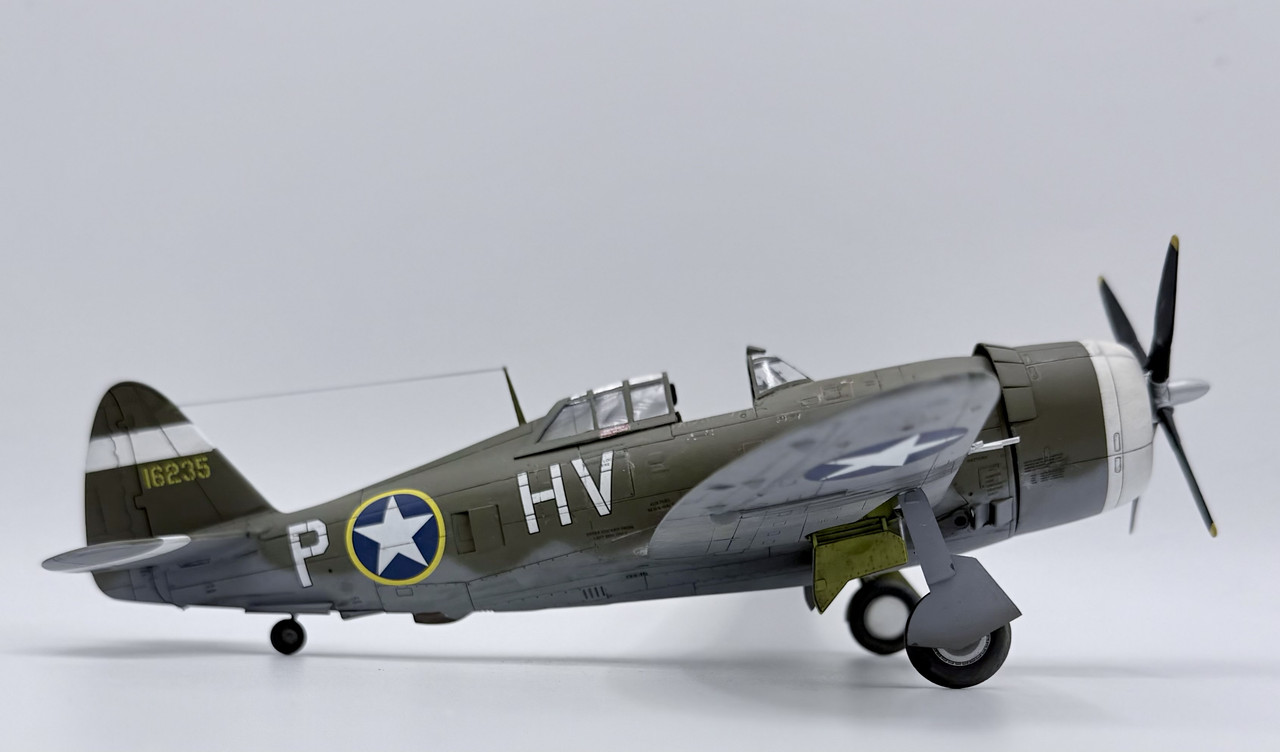
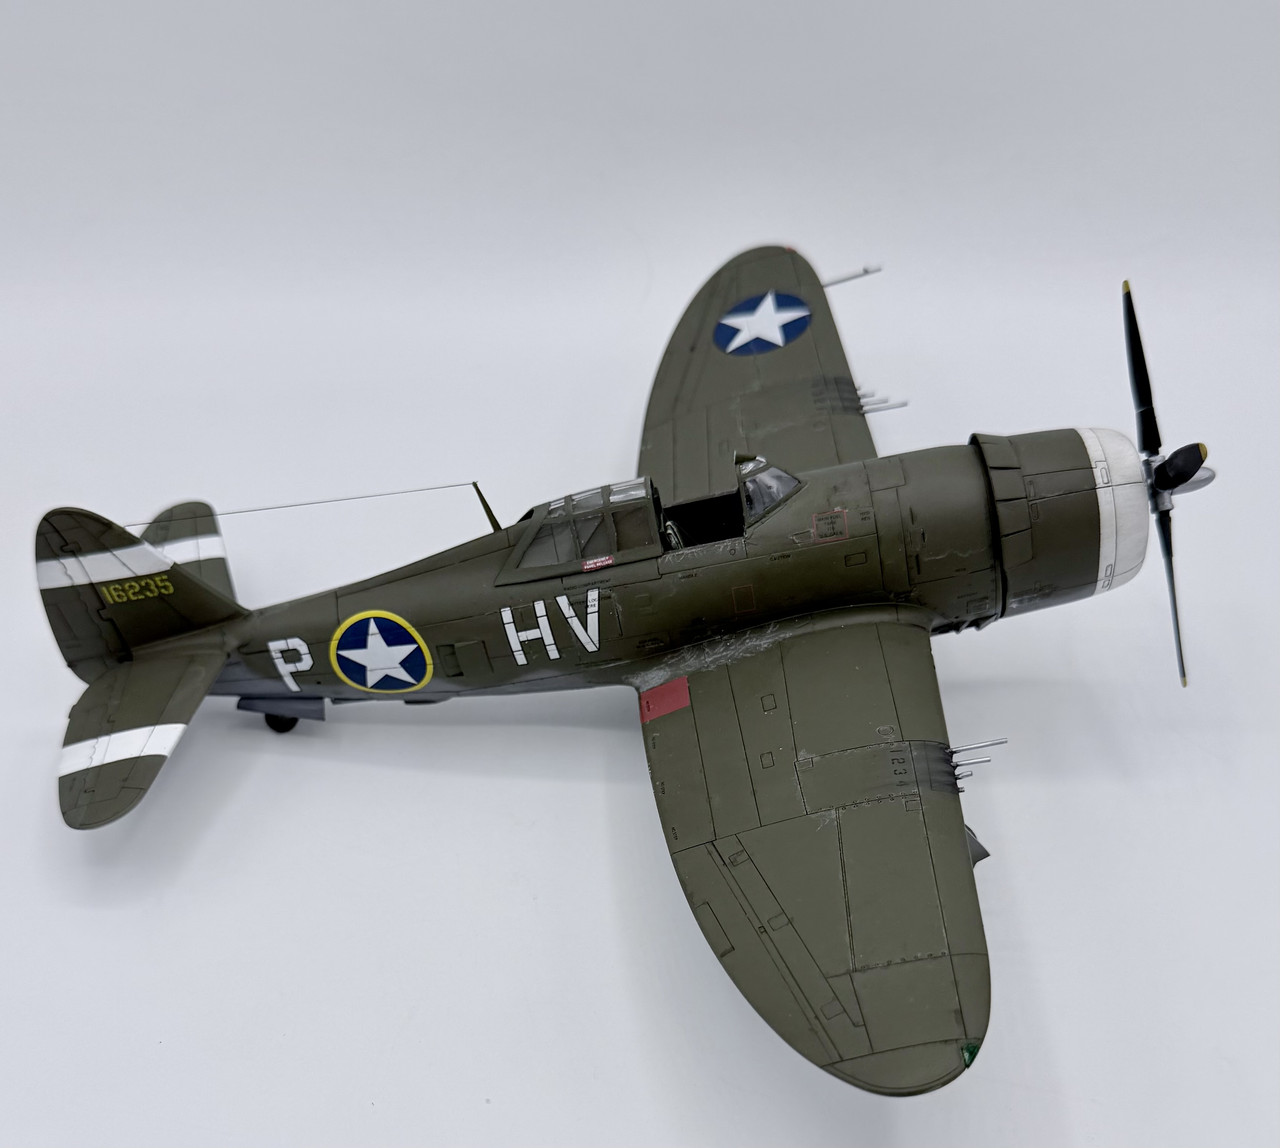
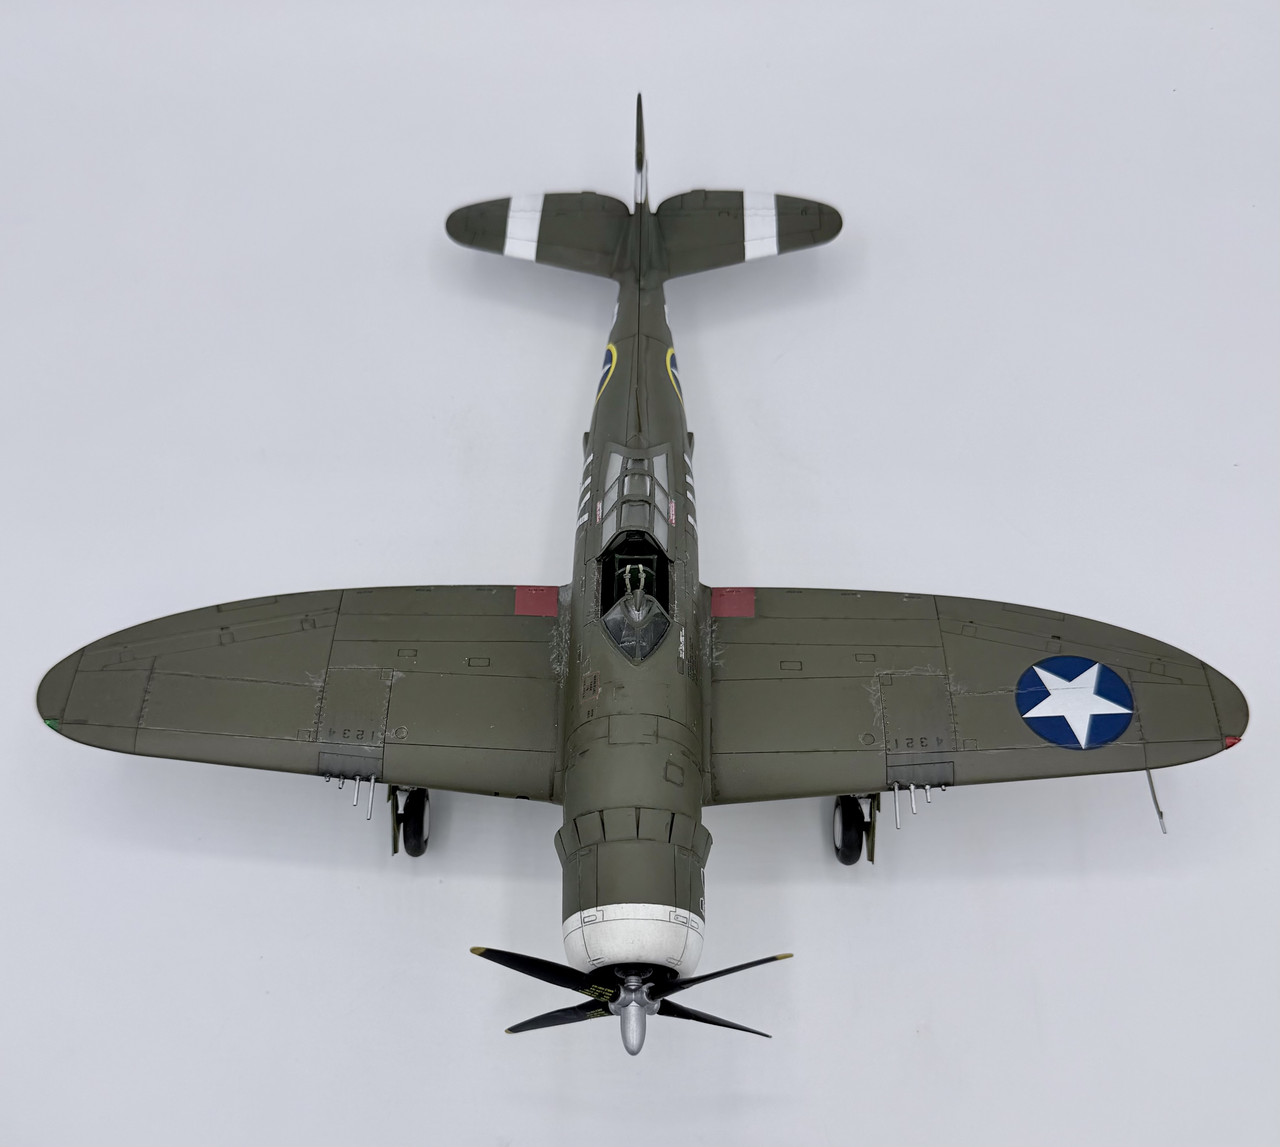
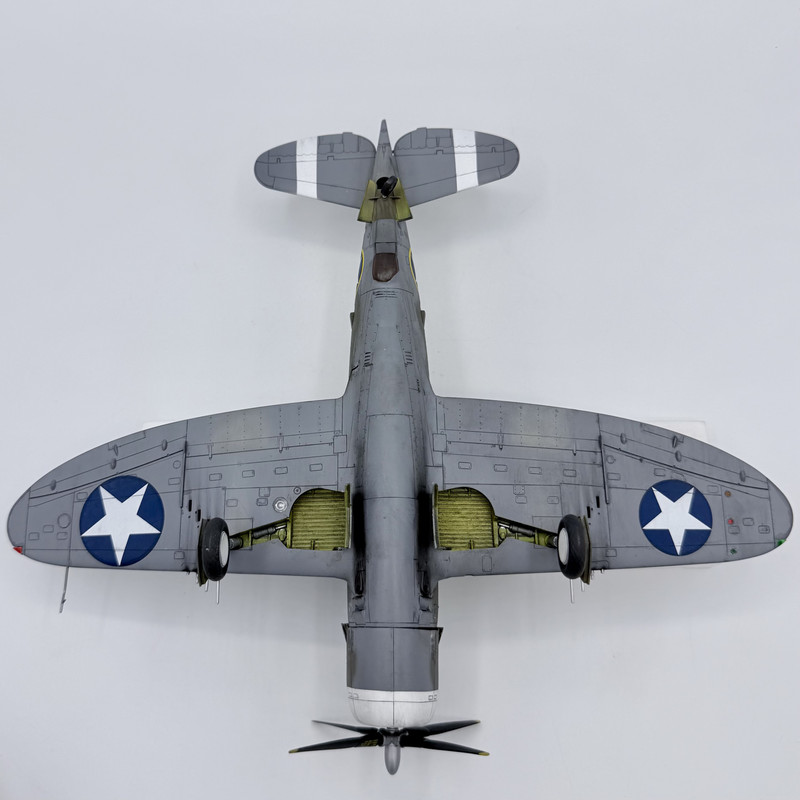
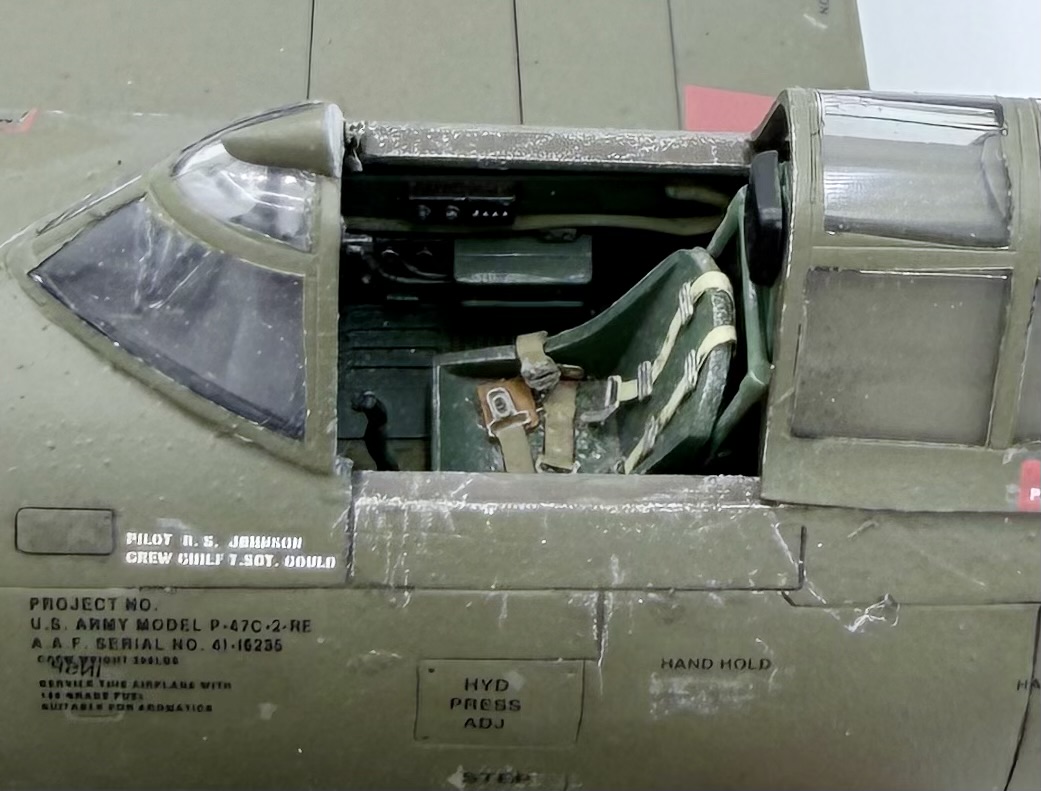
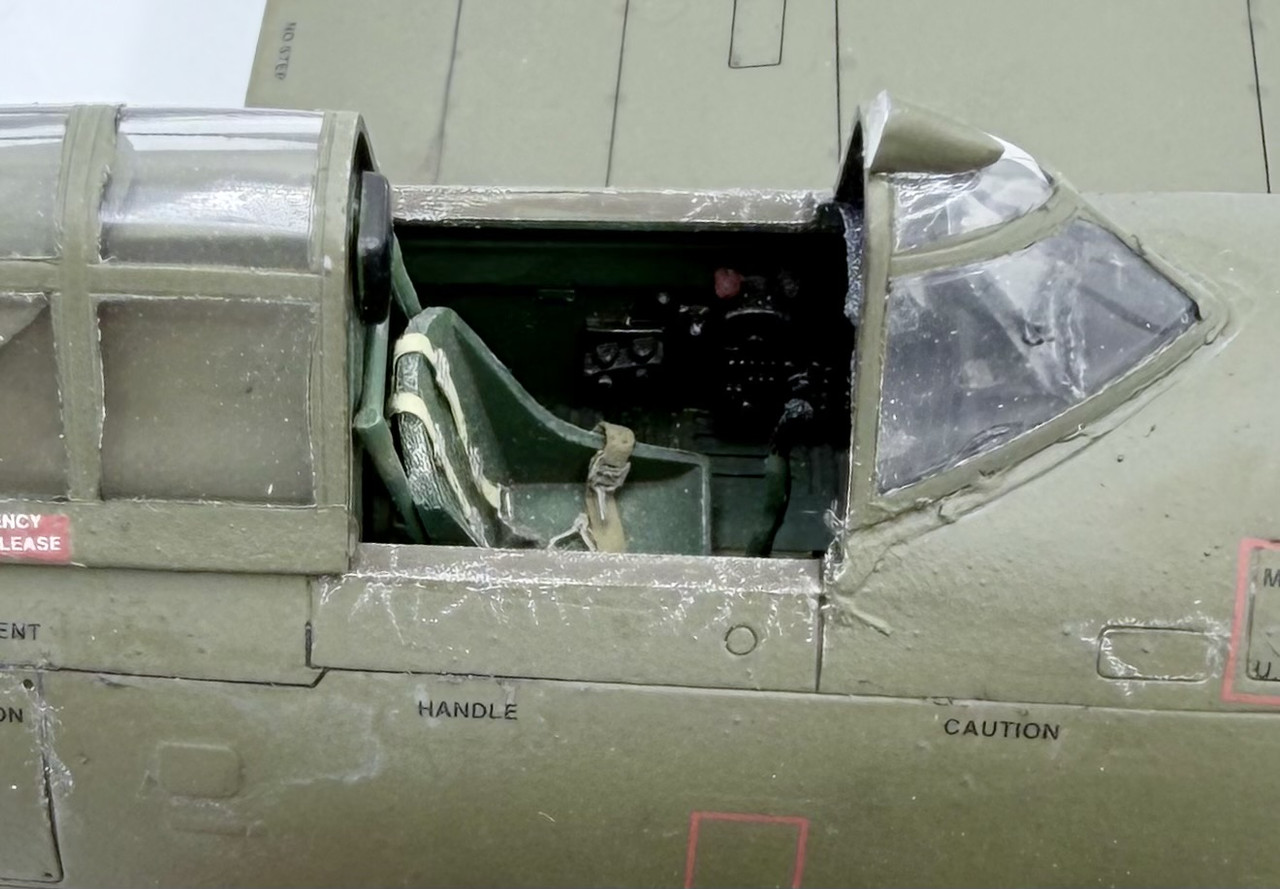
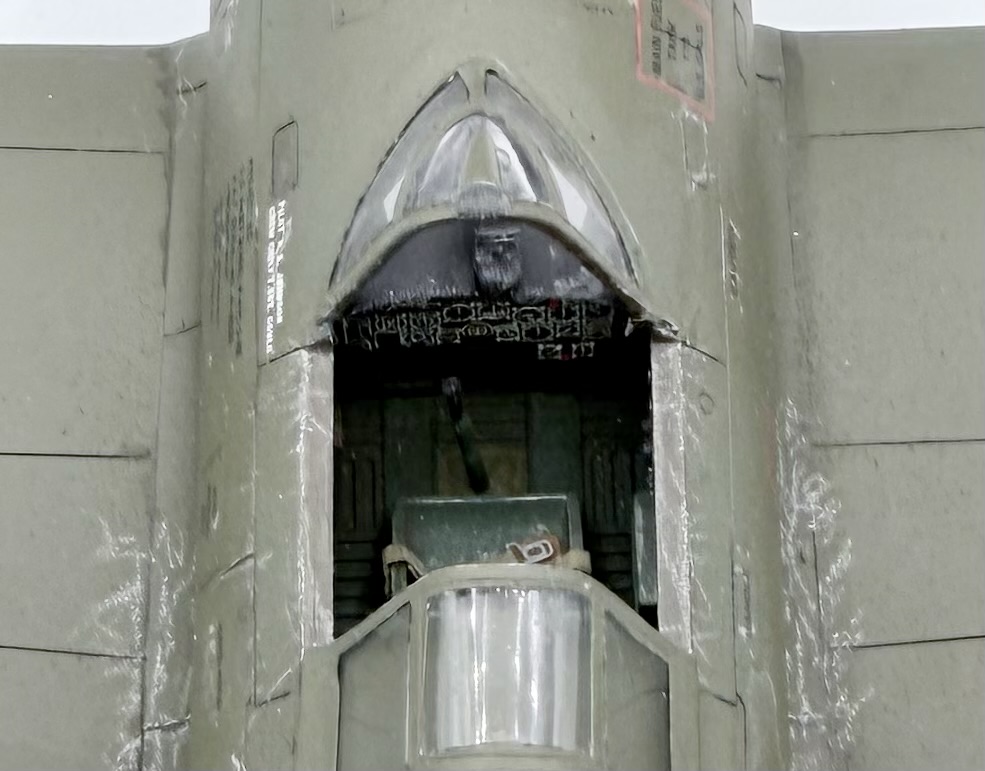
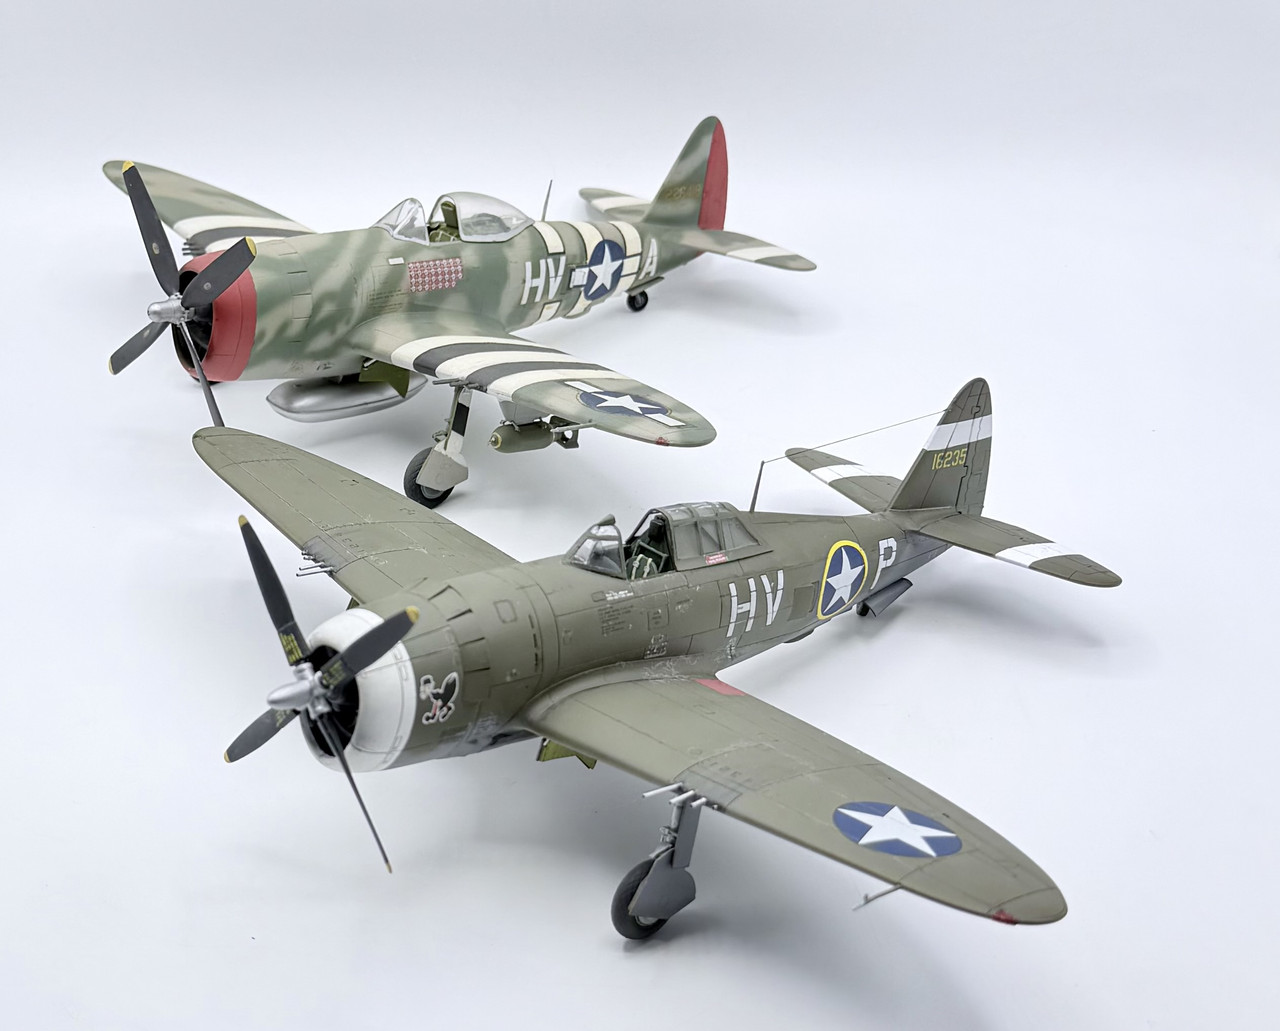
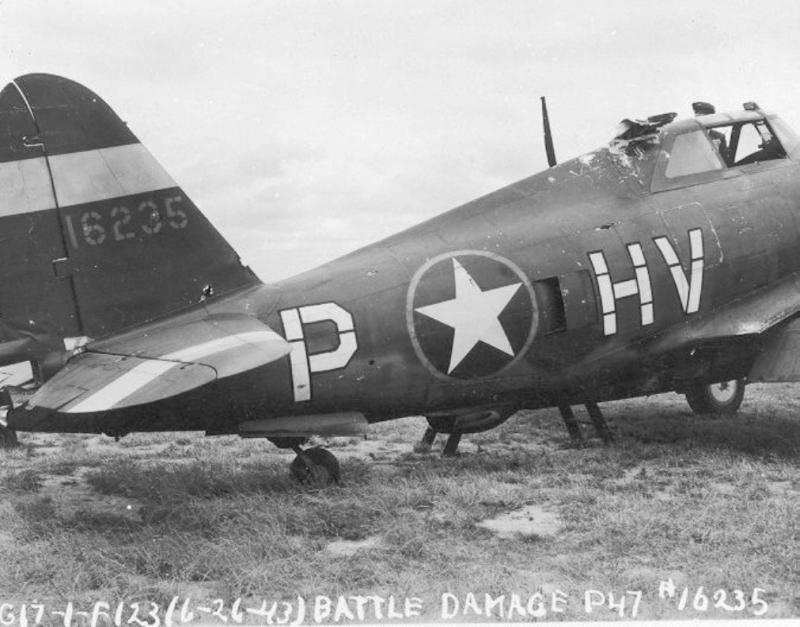
Decals are SuperScale, paints used are primarily AK Real Colors and Tamiya Acrylics.
Thanks for looking, comments and critiques are welcome.
5 Likes