Had a spare bit of time today to make a start on this one. It’s been around a few years so I won’t spend much time talking about it. Suffice to say it’s well detailed, has a decent interior and being Hasegawa, should be a trouble free build.
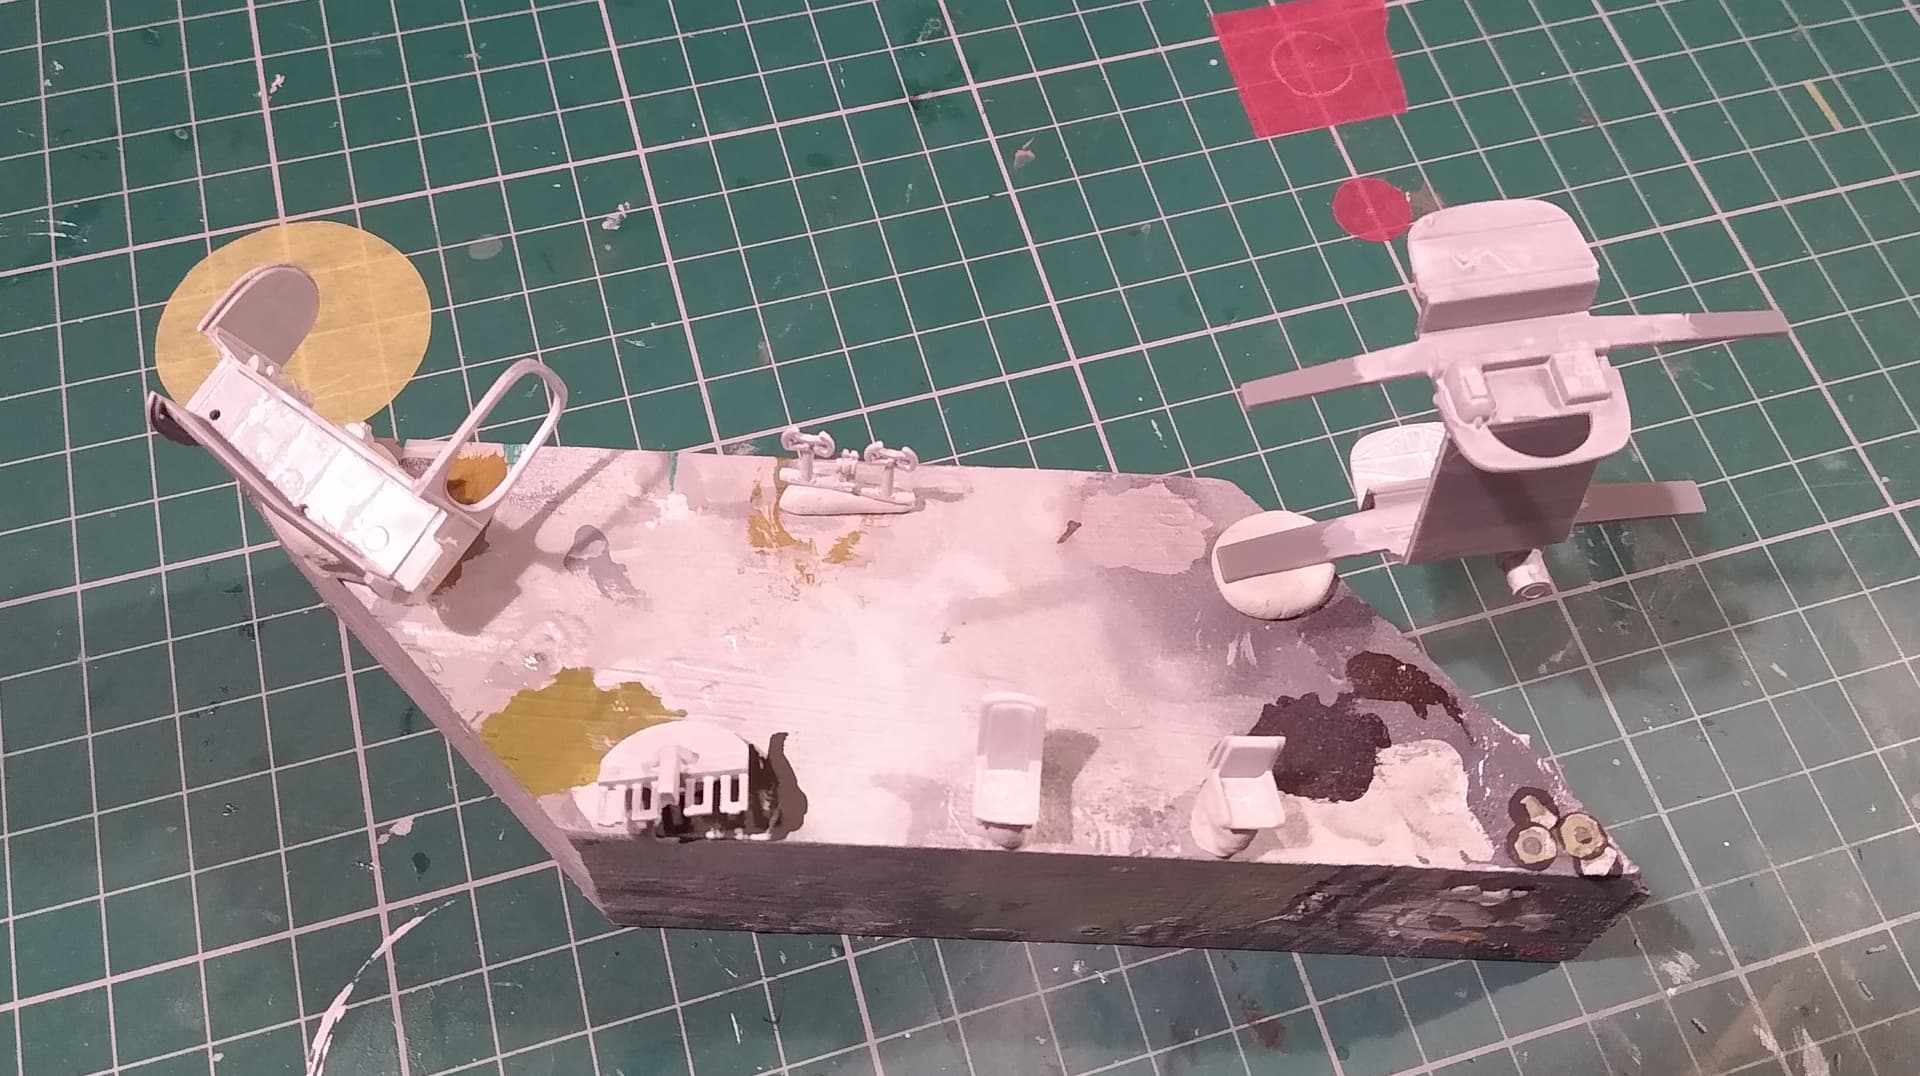
Started with putting the interior together and gave it a quick brush coat of Vallejos Modelair white primer. Just to give the paint something to grip to.
This should be a fun build. I’ve got little in the way of references, so I’ll be doing the research as I go along. With any luck I’ll be better armed for the upcoming B-25 campaign when I do the Airfix C.
8 Likes
Looks like a fun one. Will be following.
1 Like
Thanks and welcome aboard.
I’ve got a couple of books on their way to me right now and I’m gathering together a few things from around the internet. I added a couple of boxes from scrap plastic strip to the cockpit sides. Radio boxes and the such that Hasegawa missed out. The cockpit layout picture in Ospreys B-25 Vs IJN Destroyer helped out a lot there.
Watching with interest, Stephen 
1 Like
Thanks.
Still trying to research the interior colours. I know the bombardier’s position is zinc chromate green, cockpit dark green, bombay and wheel wells are unpainted aluminium. But the entire rear section aft of the cockpit is still something of a mystery. It’s either ZC green or aluminium. I can work out some of the fittings, like the wooden ammunition boxes with bare metal frames etc… Modern restorations aren’t much help as they have to meet current flight safety requirements that dictate paint on all interior surfaces.
I’ve also got a plan to use off cuts from thin zip ties to make the ammunition tracks.
2 Likes
References arrived today.
The Warbird Tech book does confirm the aft fuselage being painted ZC Green. Also has some useful diagrams showing the ammunition tracks from the magazines. Don’t know how much will be visible, but if it’s something I can quickly and easily from cheap material, why not?
And the first bit of paint went down today. The aluminium bombay and green cockpit. I used Humbrol 30 here, seemed about the closest I had. Will need a second coat as Humbrol acrylics don’t cover well.
While this is a great kit, Hasegawa did forget to include the magazines for the port side machine guns. So, as you will just about be able to see this area through the cockpit, I made them up from scrap plastic. I’ll probably use thick foil to make the belts from these as they need some tight curves. Doing a bit of experimenting I found the cable ties are great for straight runs (like the aft guns will need), but not so for curves. I wonder if softening in boiling water would help?
3 Likes
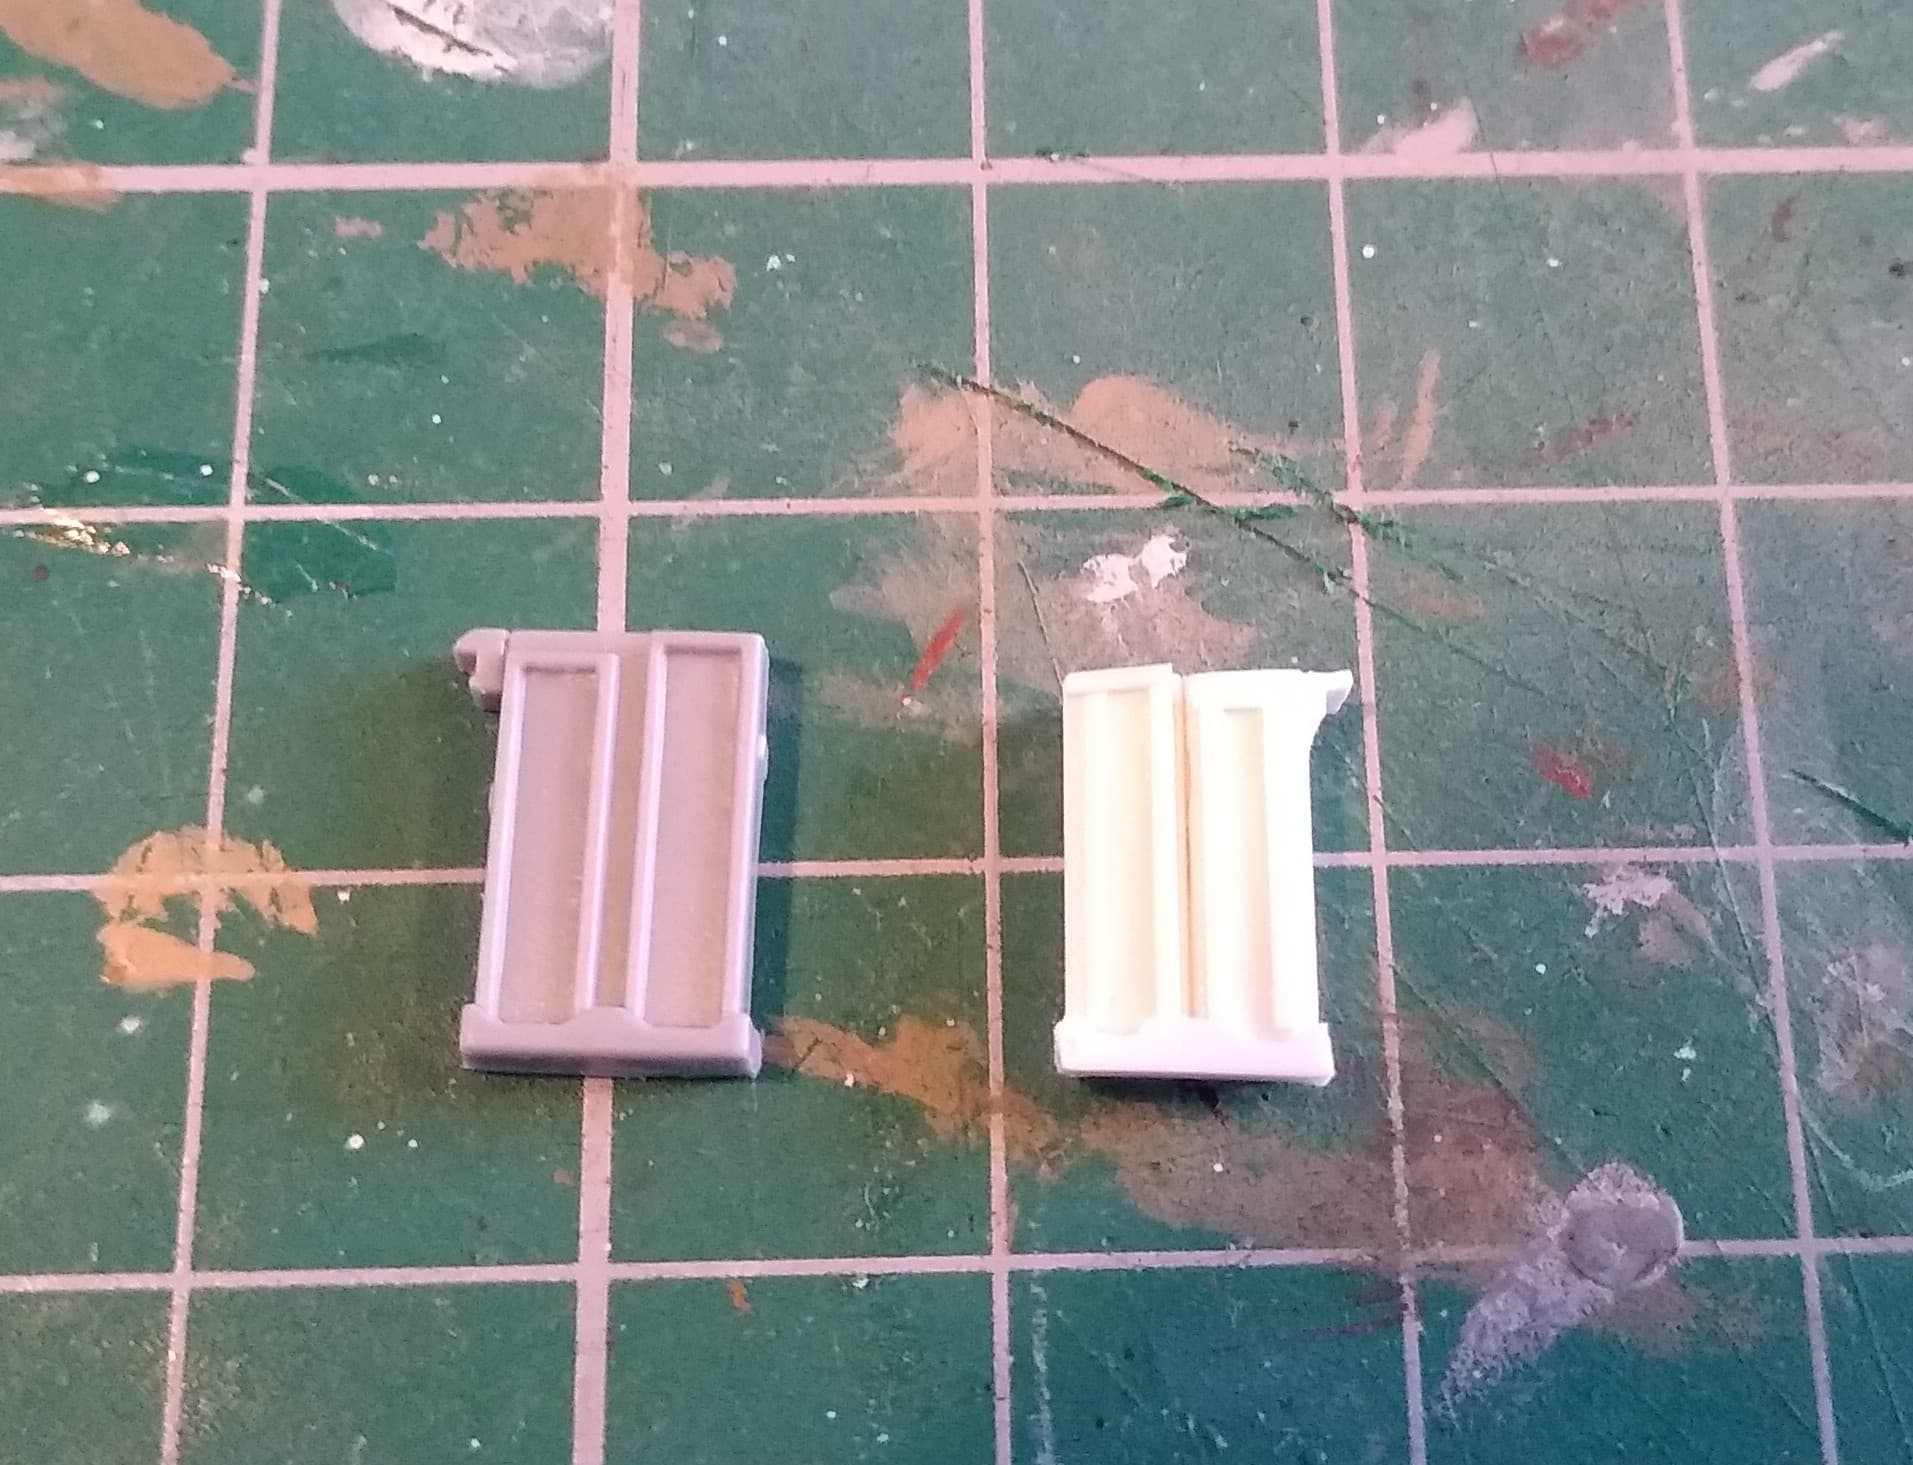
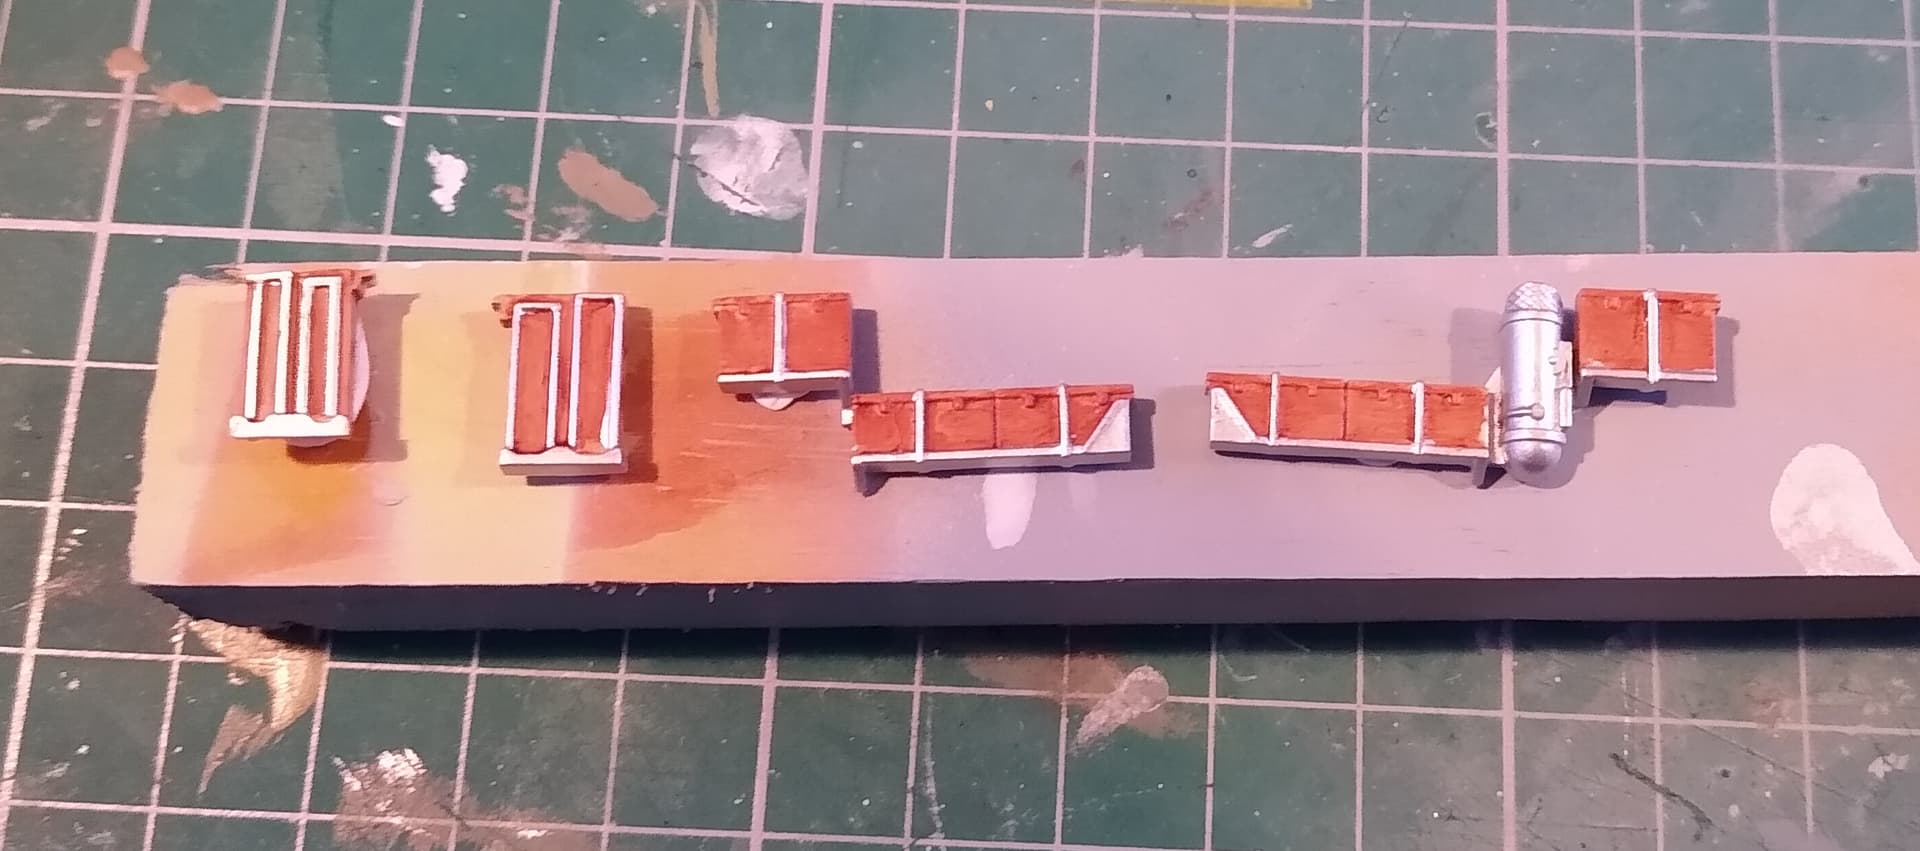
50cal ammunition boxes painted. I used a base coat of beige and then a thinned coat of Vallejos mahogany woodgrain. Think I need to touch up a couple of spots.
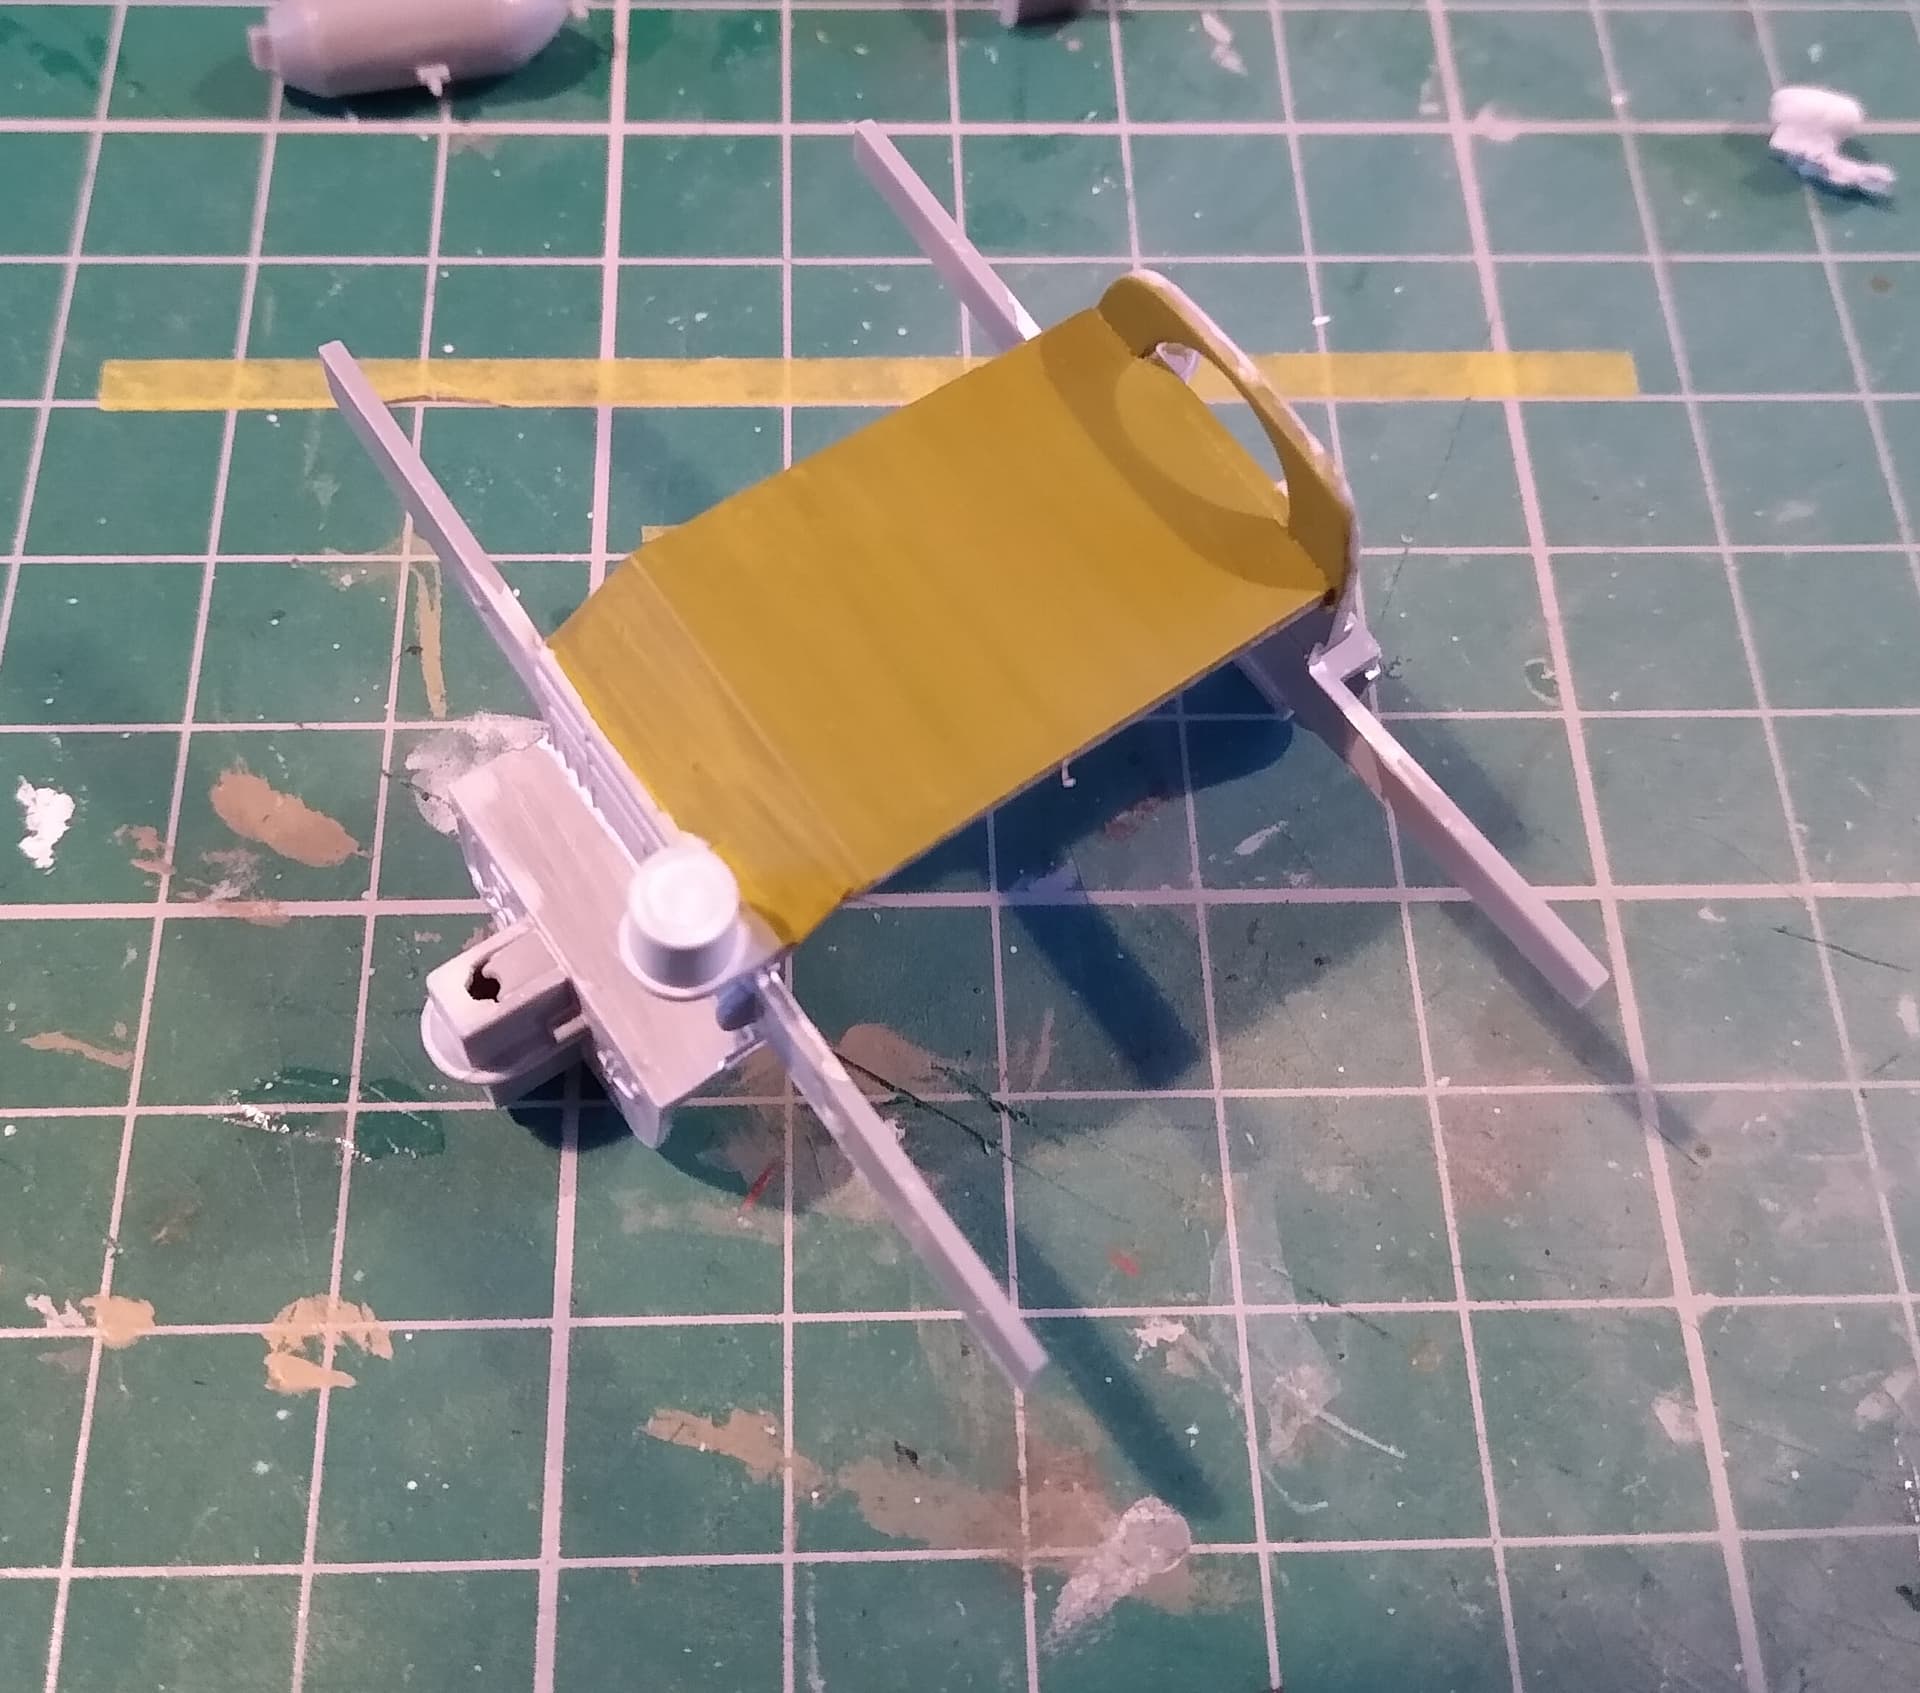
And does this look about right for interior green? It’s Vallejos Yellow-Green straight out of the bottle.
3 Likes
@phantom_phanatic Another kit from Hasegawa that I’ve seldom seen, neither built nor in a shop shelf! I don’t know why since it seems to be a nice kit.
I’ll follow with interest!

Magnus
1 Like
Thanks Magnus, yes you don’t see it done often. Revell reboxed it as the solid nose strafer a few years back. Got that one somewhere that would be a good companion to this one.
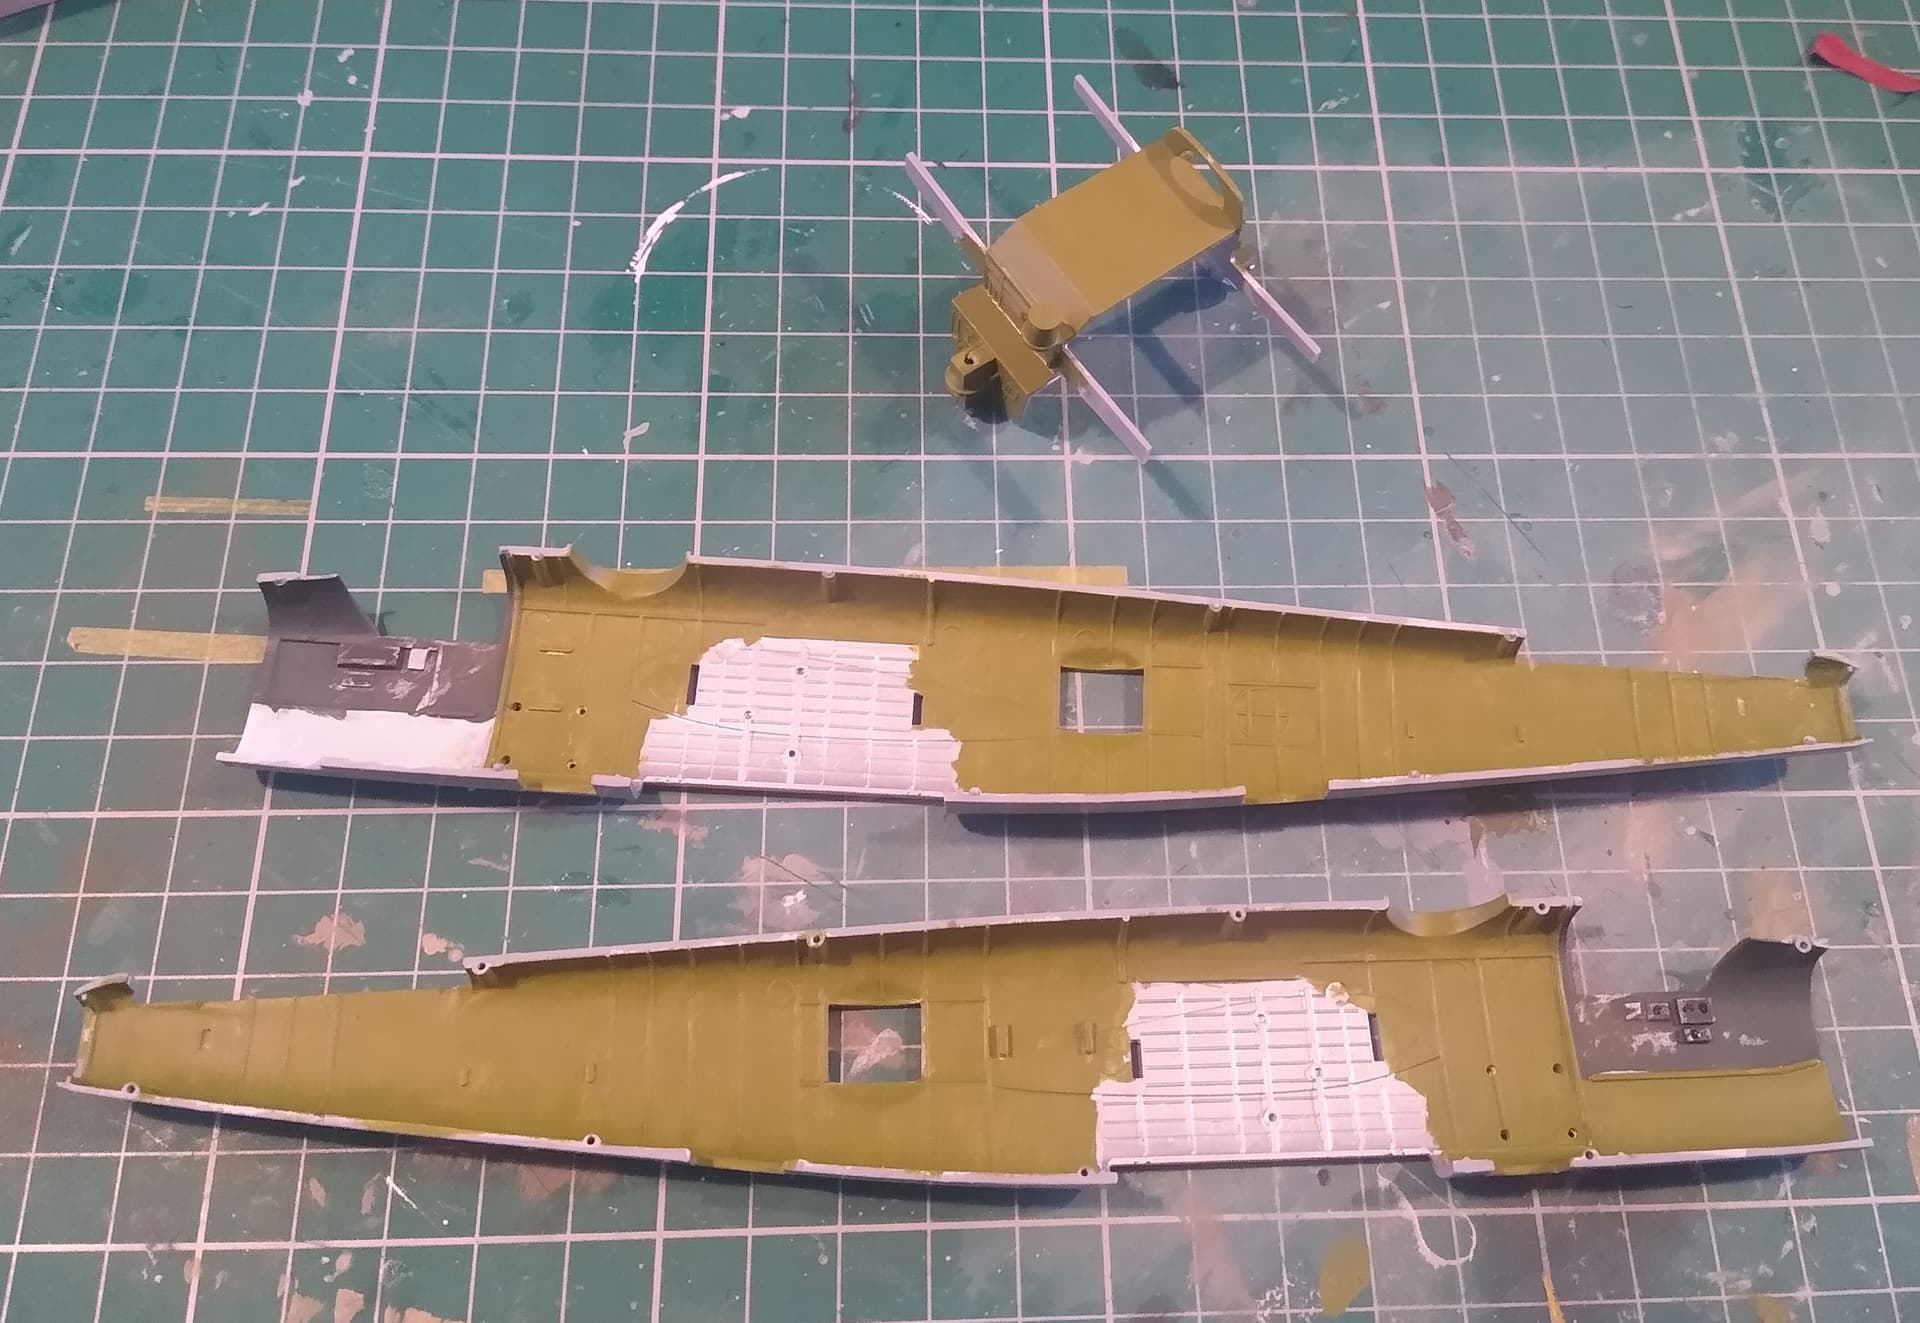
Base coat for the fuselage interior done. I used Vallejo’s Model Colour 70881 Green Yellow, looks like a good match for US Interior Green.
Just a few of the boxes etc to paint up with blacks and then a wash and weathering.
6 Likes