I’m on a mission this year to clear the decks of a bunch of shelved projects (they will either be completed or binned).
This build was started on the old forums back in September 2019 and I got as far as completing the main assembly, so I will post a link to the original thread here and also copy the main posts across to make this thread as comprehensive as I can.
Link to old Aeroscale Forums thread
AeroScale :: Hasegawa 1/72 P-3C Orion - RAAF A9-757
Opening post - September 13, 2019
Hi all.
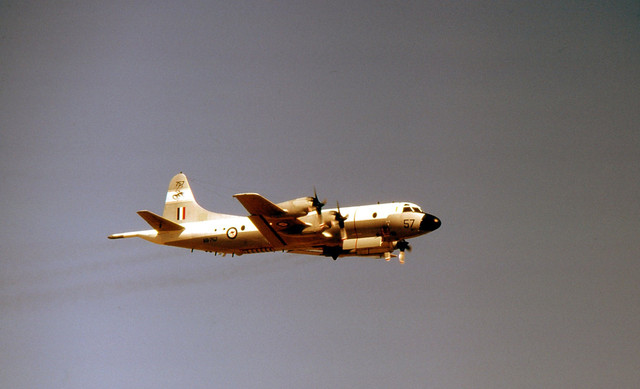
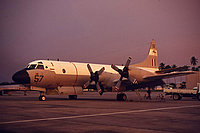
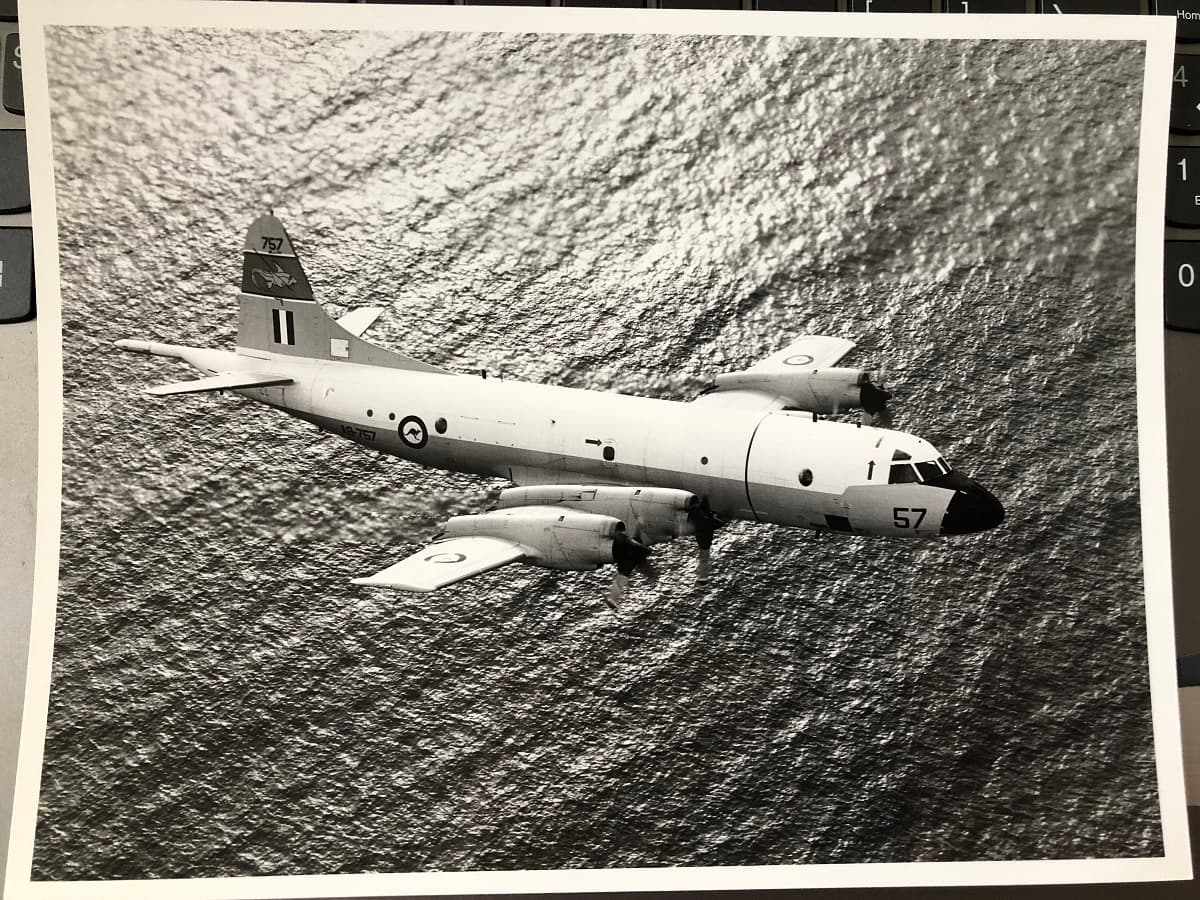
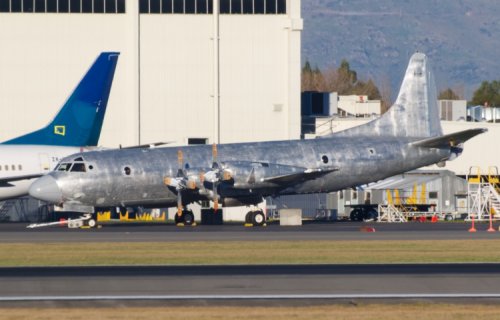
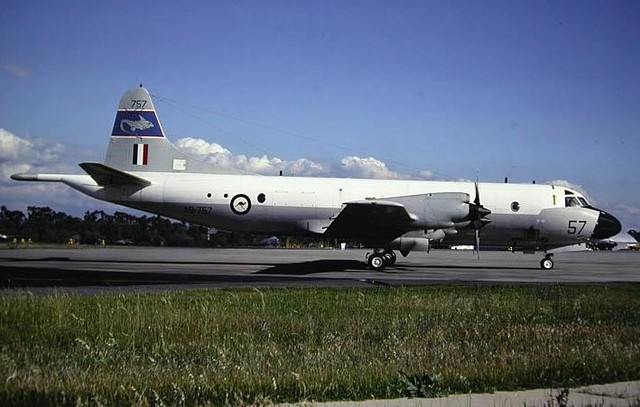
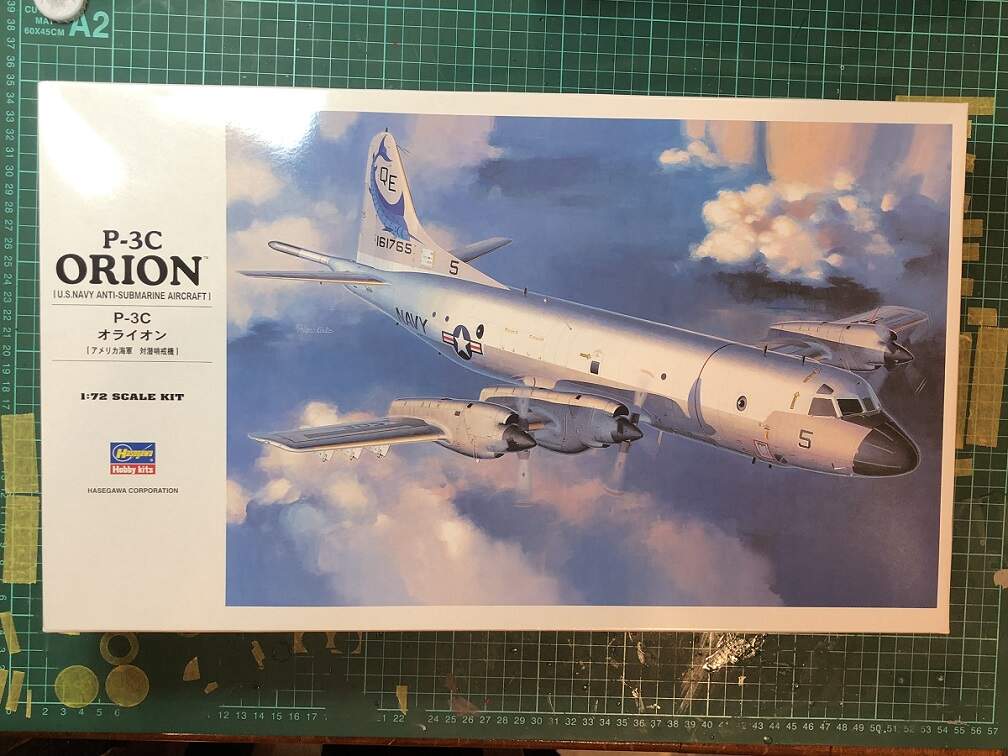
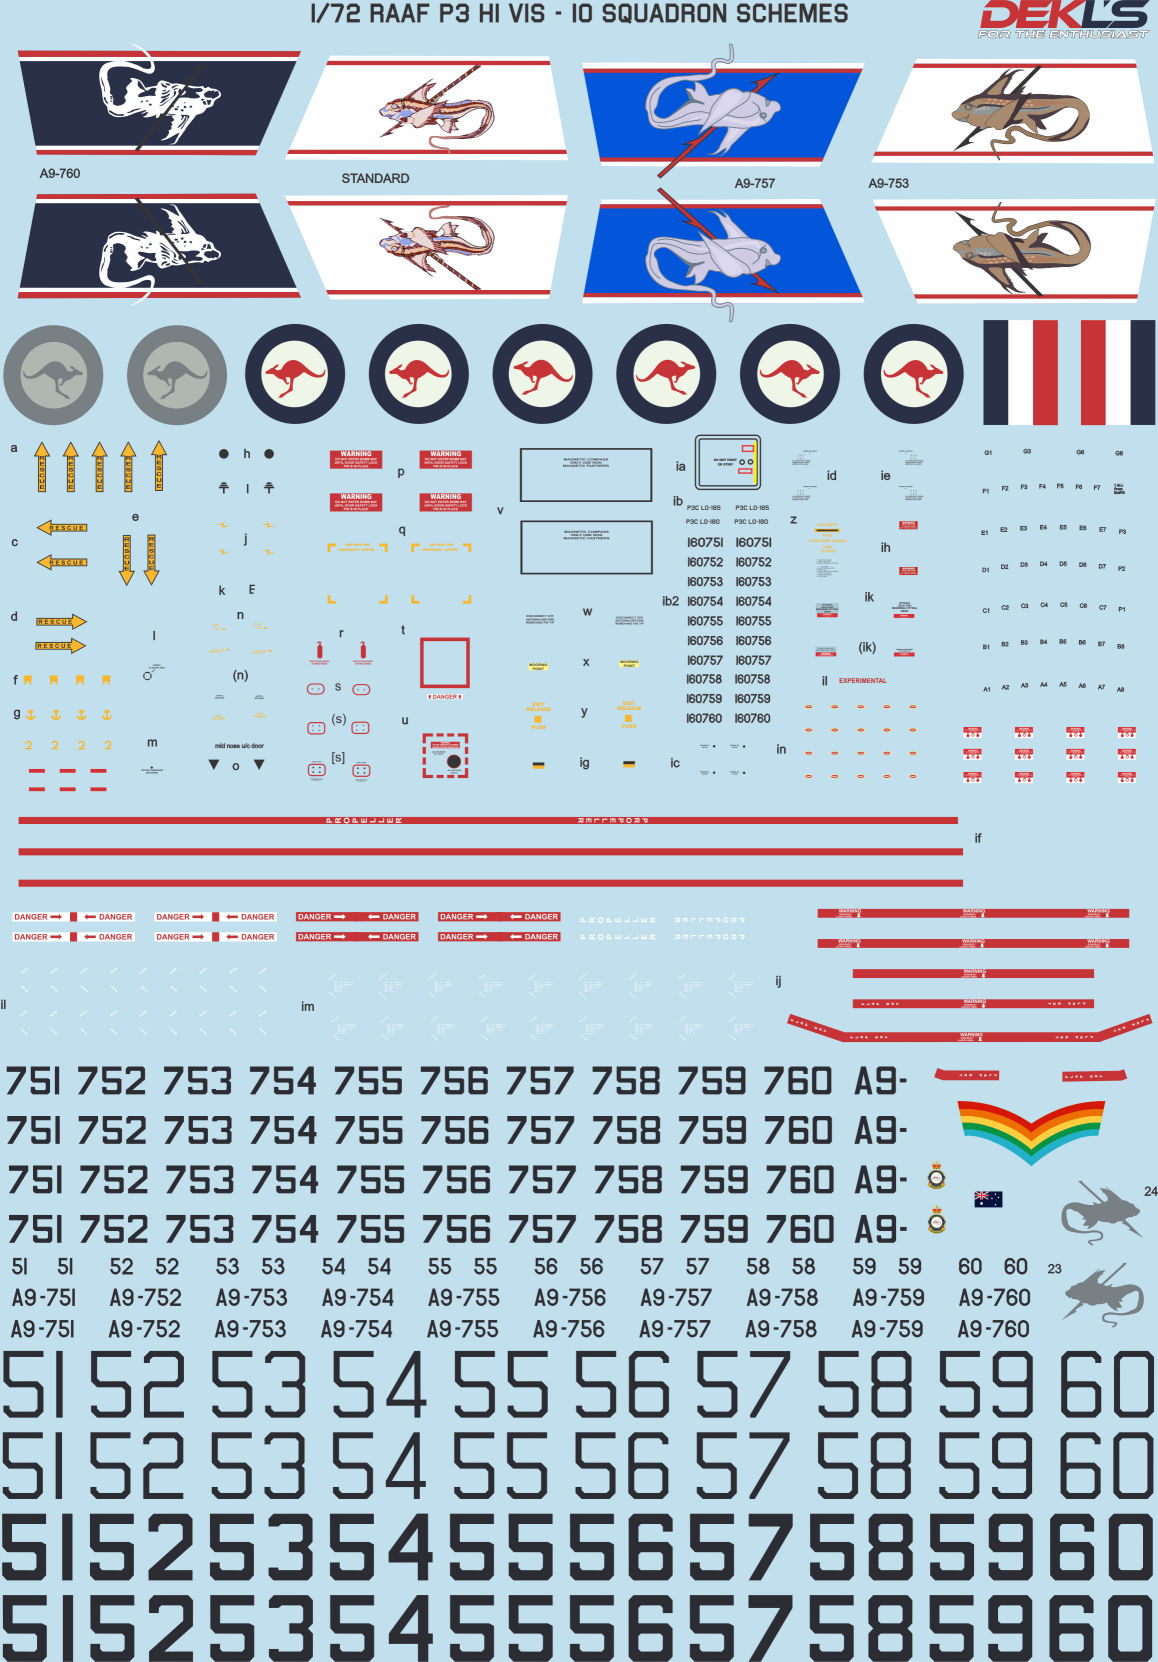
One of my best friends is an RAAF Squadron Leader, and in his early years in the service was an electronics engineer on the P-3C. He has asked me to build one of the aircraft that he worked on, Serial A9-757 from 10 Squadron RAAF.
He picked up the kit and gave it to me, and I have ordered the decal set from a local supplier.
I will post up progress as I make my way through this build, which is a bit outside my comfort zone of single engine WWII fighters and old Chevy cars !
He also worked on F/A-18A Hornets, and is moving to the USA on a 3 year contract to look after the EA-18G Growlers, and has asked me to build one of each of those as well !
Progress Update - September 14, 2019
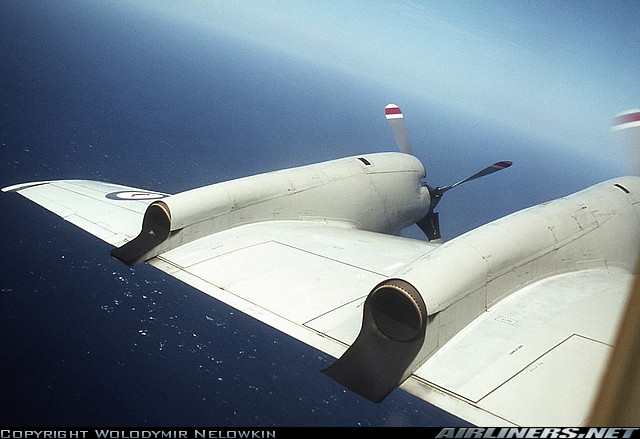
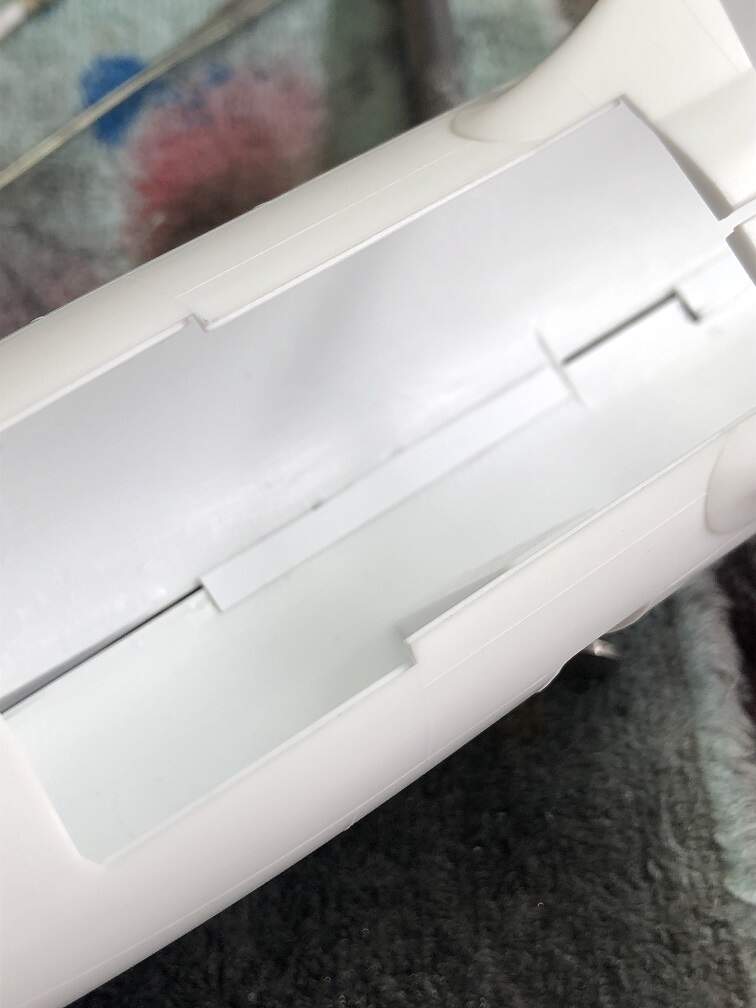
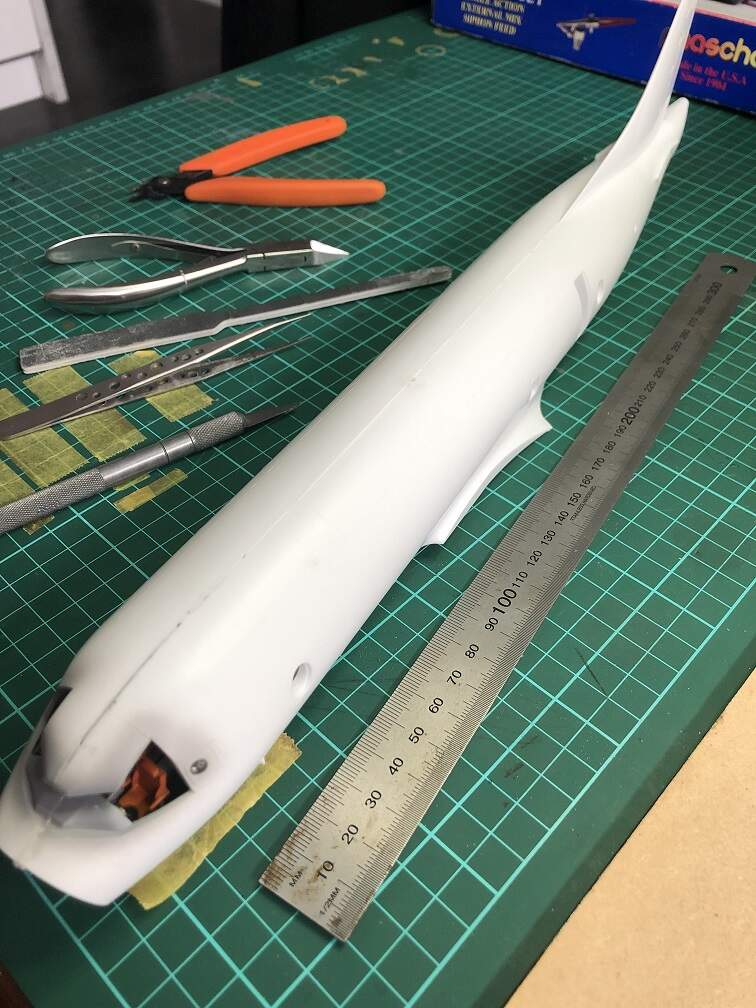
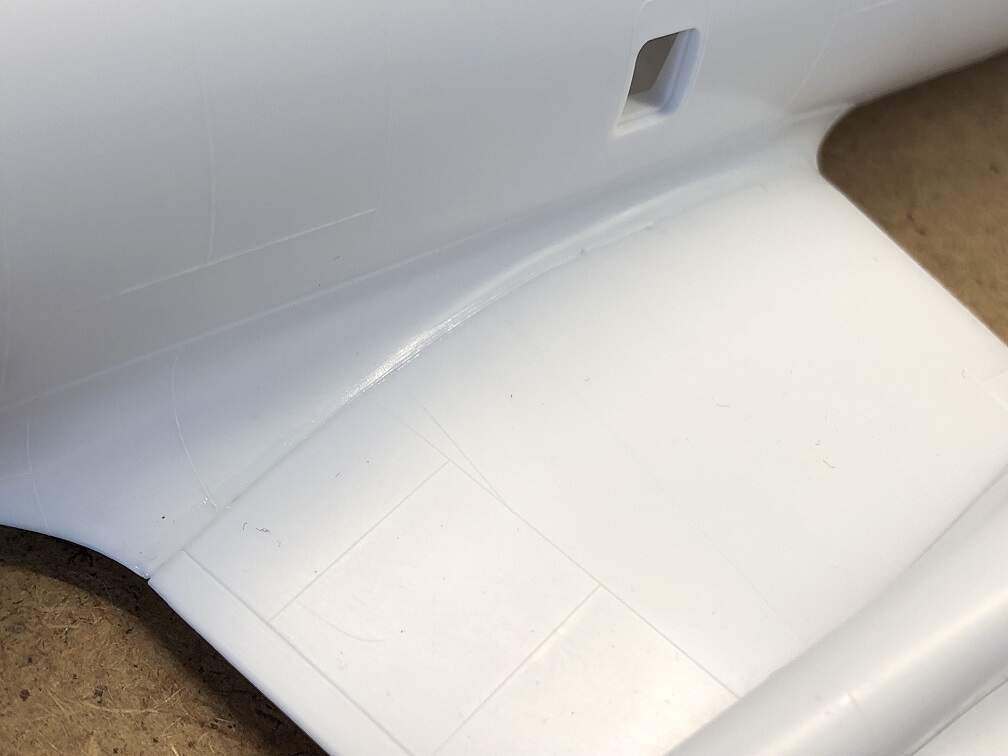
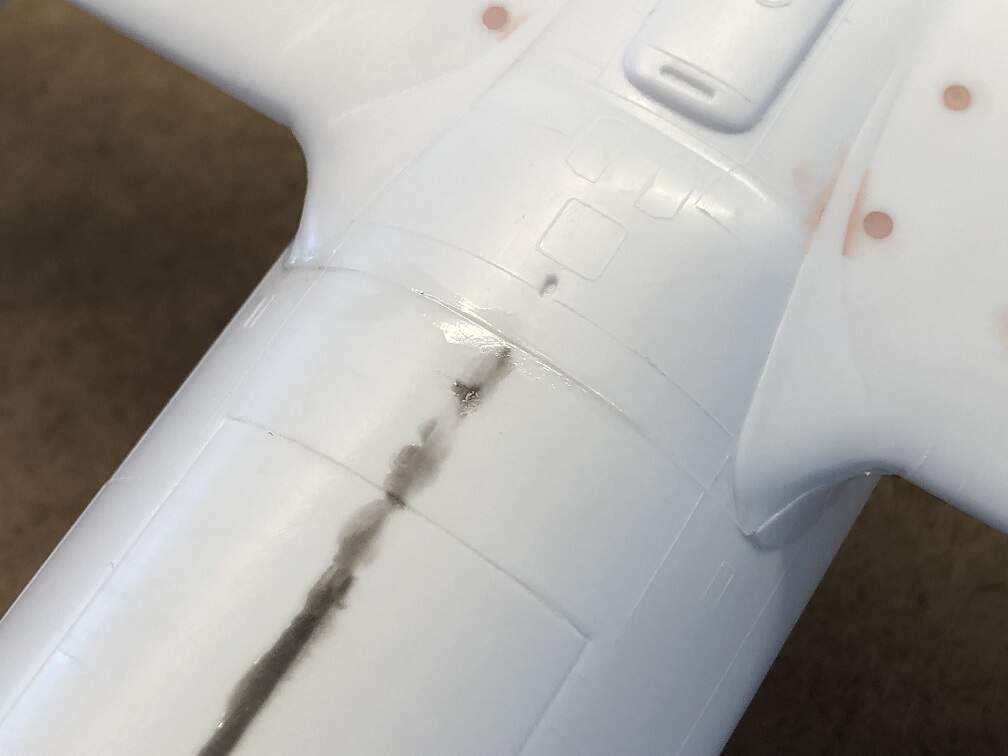
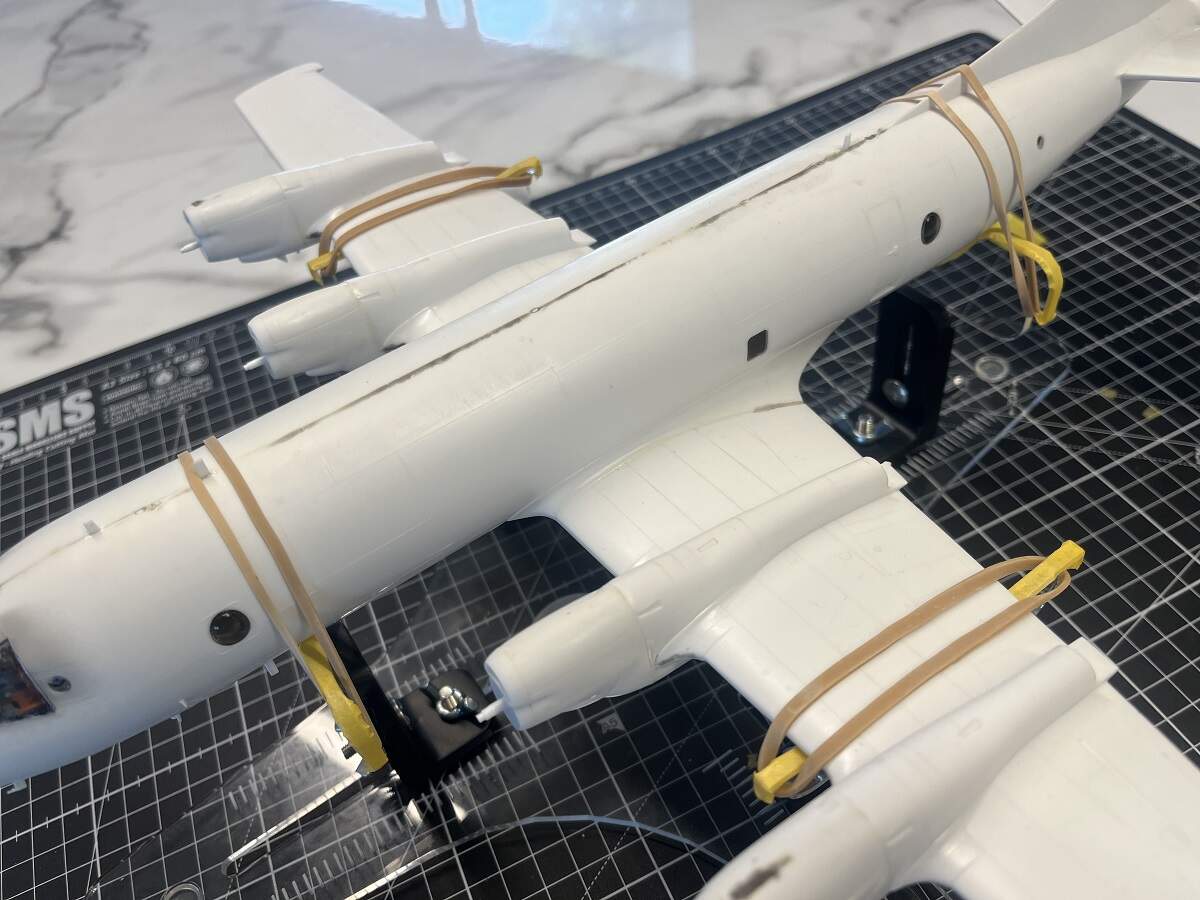
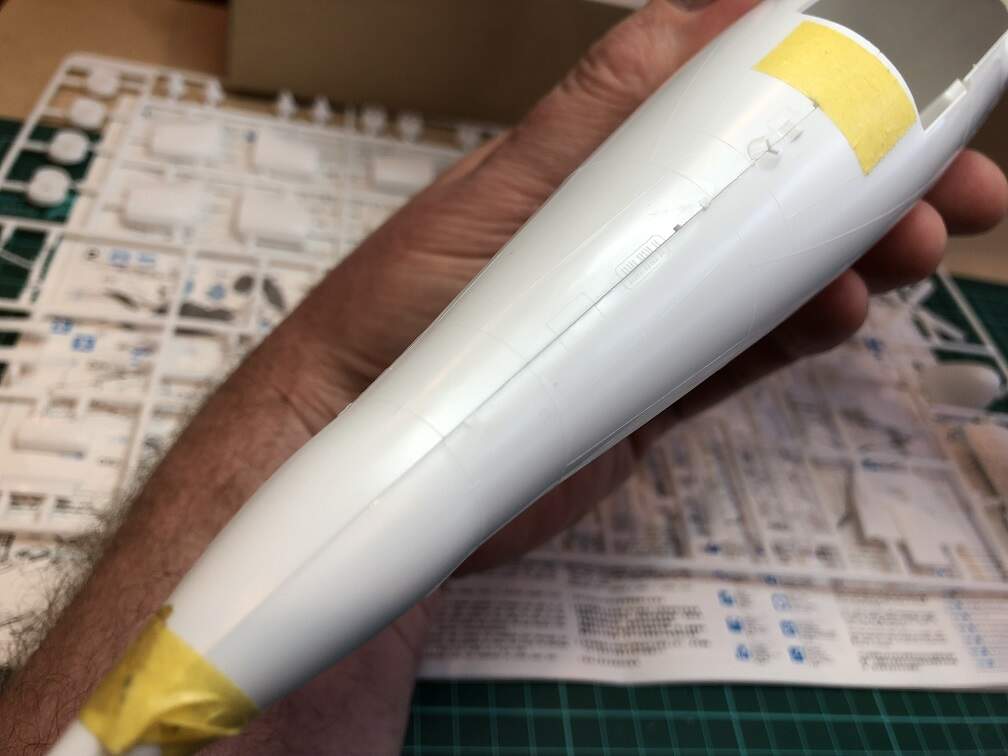
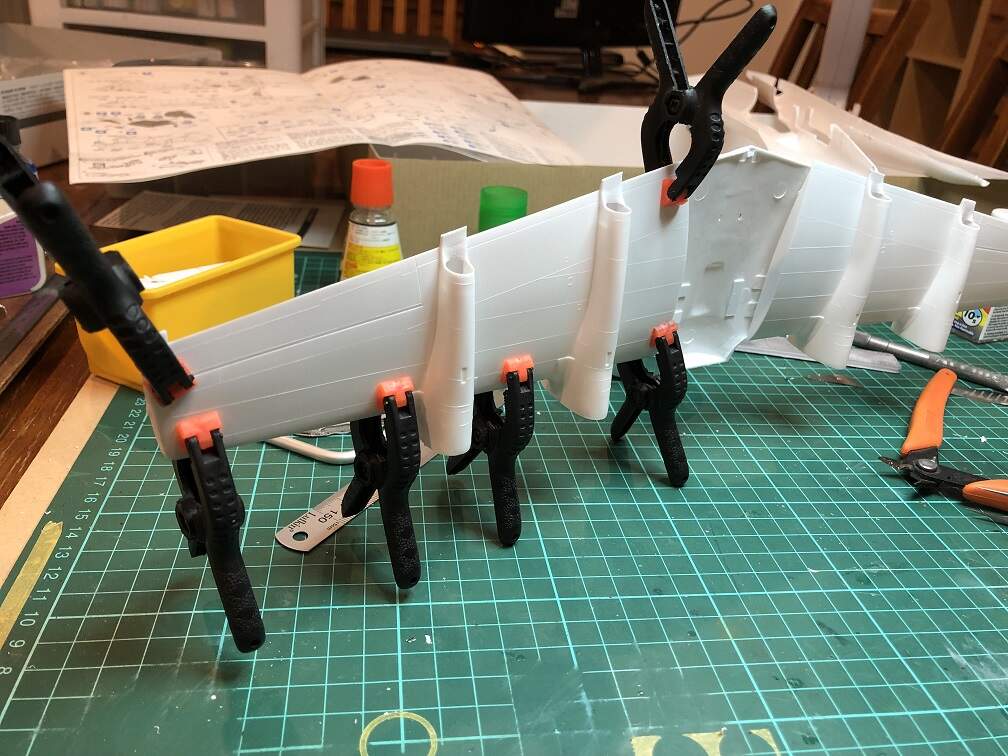
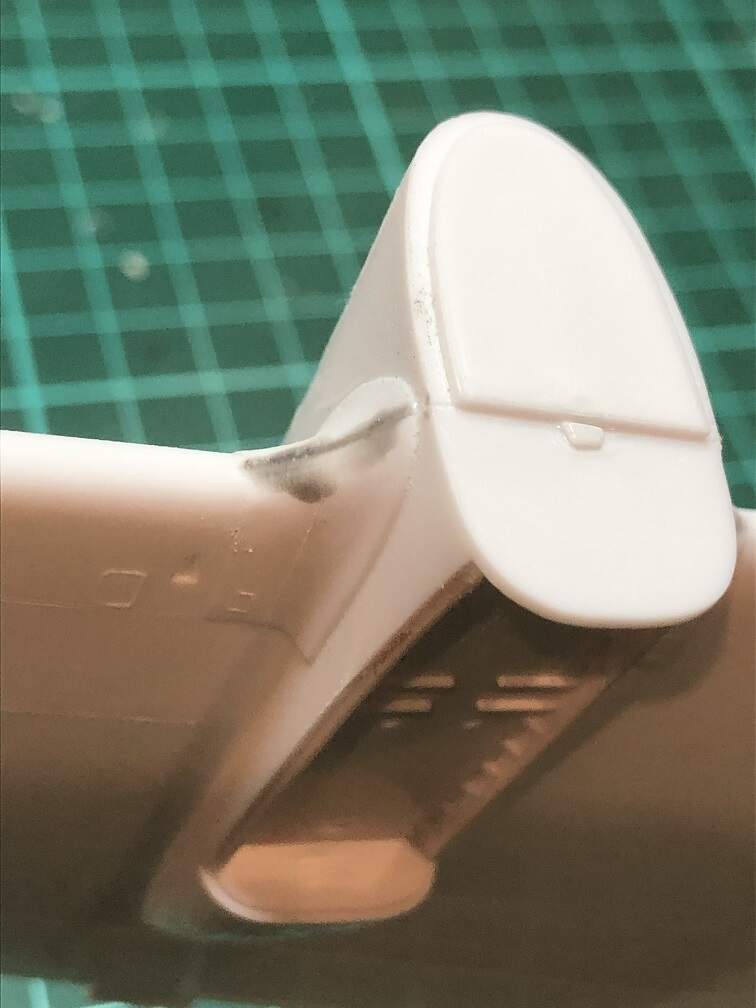
I started off today by trimming off the major parts and cleaning them up to do some test fitting. There is a mix of very fine raised panel lines over most of the parts, and heavier recessed panel lines around the moving parts (flaps, ailerons, vertical stabiliser, gear doors). The fuselage halve join lines up very nicely, but there are only a couple of tiny locating pins for the whole fuselage, so I will be cementing in some support strips to keep things solid as I go.

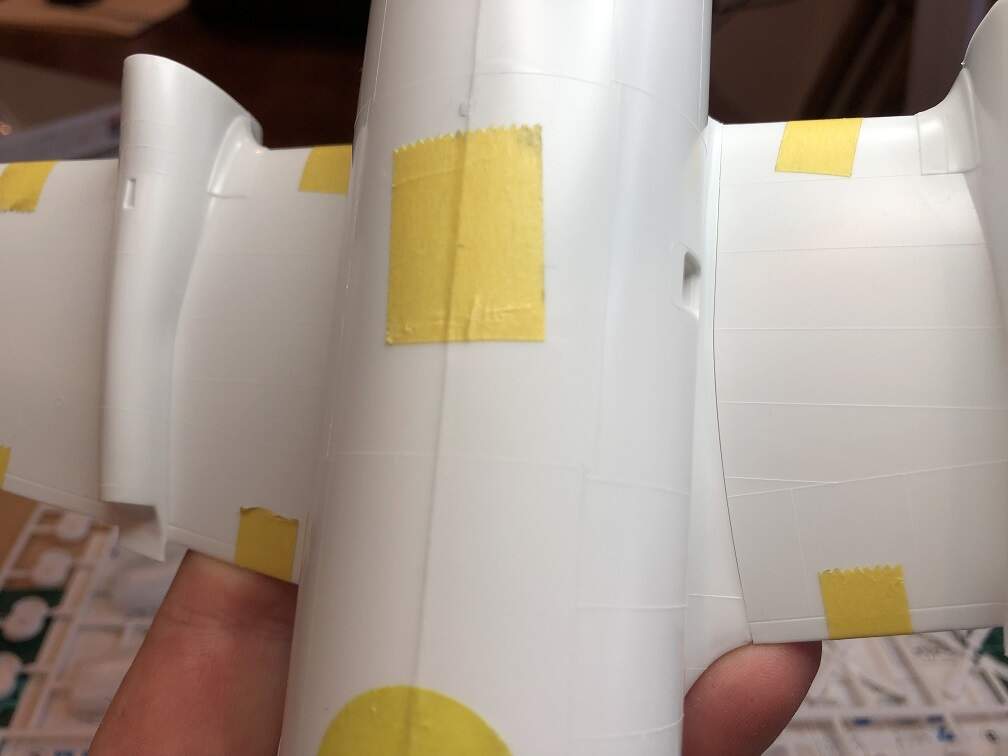
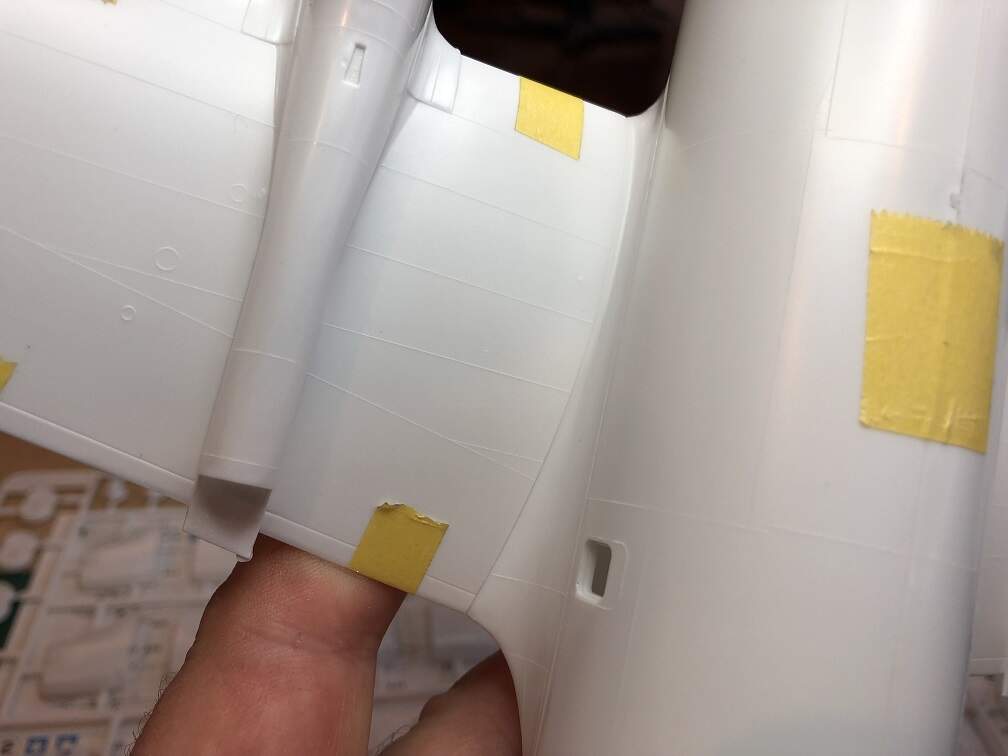
The wing halves fit together very well and the training edge is nice and thin, so not much cleaning up to be done there. The top wing root areas on each side don’t look like they will give me any troubles, and the front and rear joins of the lower wing on the underside fit very well also.

I also started on cleaning up parts and putting together a few of the smaller sub assemblies. Apart from the lack of locating pins or tabs, no issues so far.
Progress Update - September 15, 2019
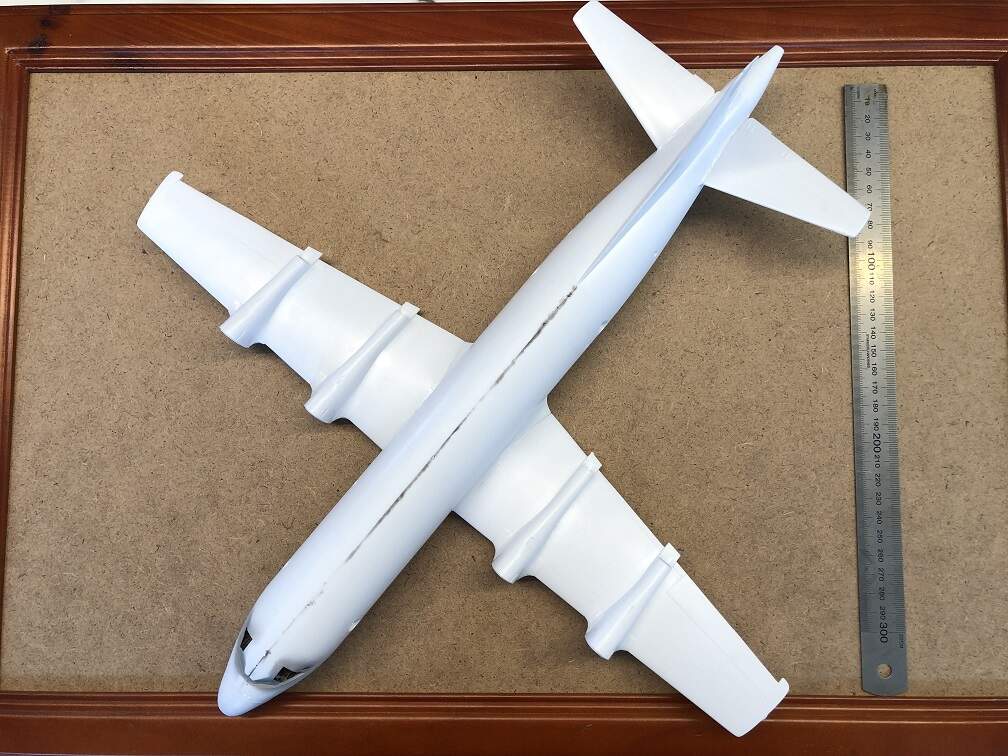
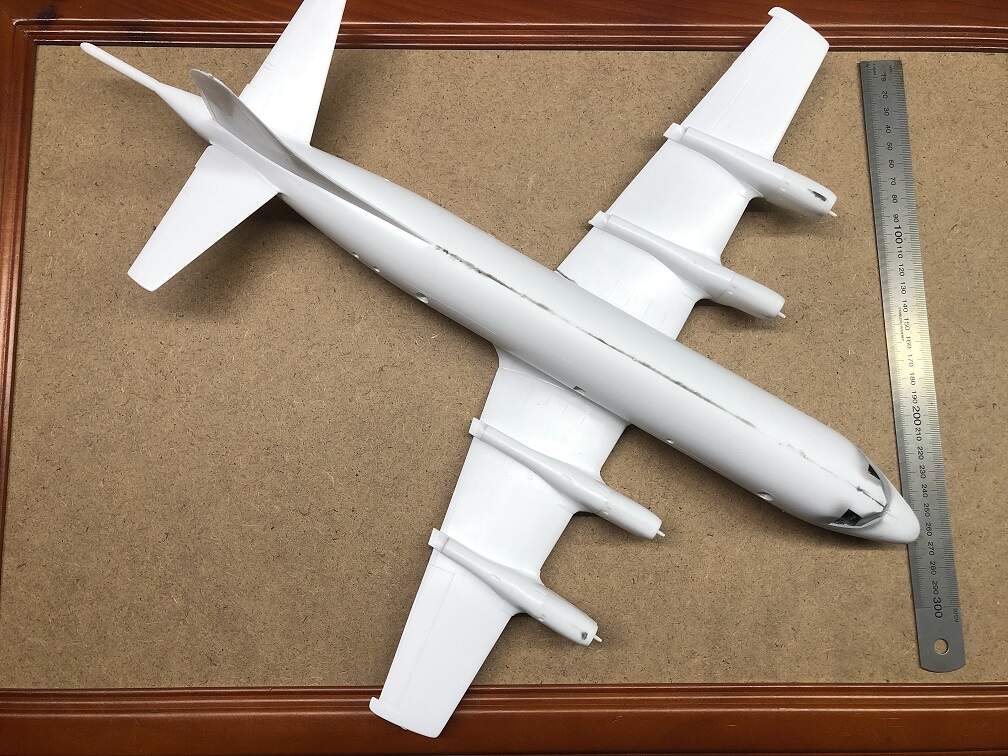
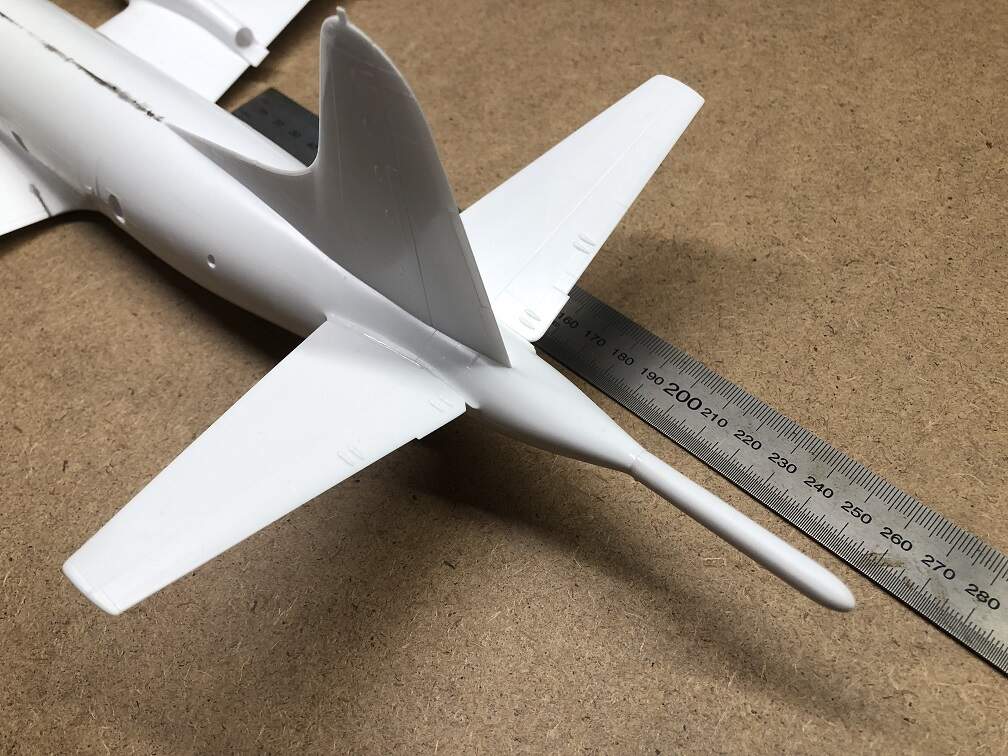
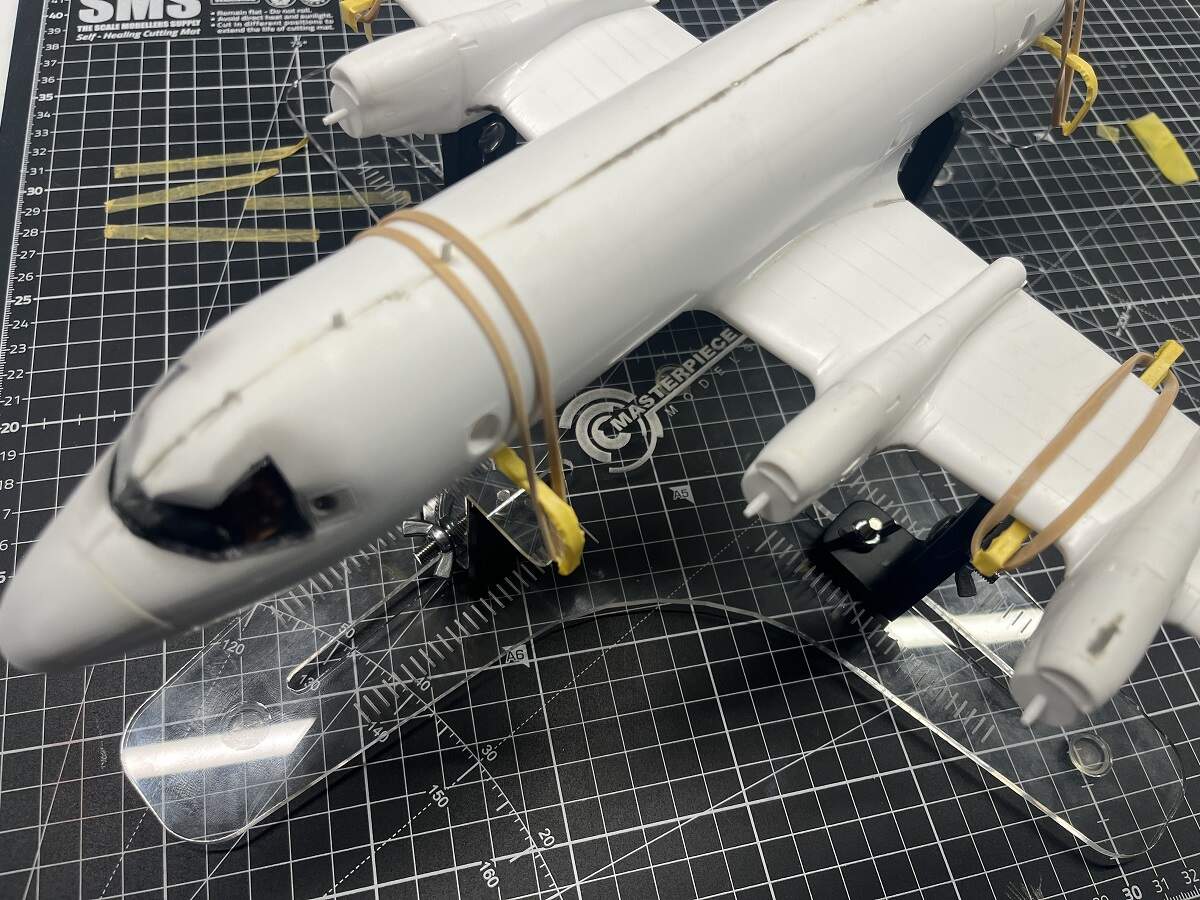
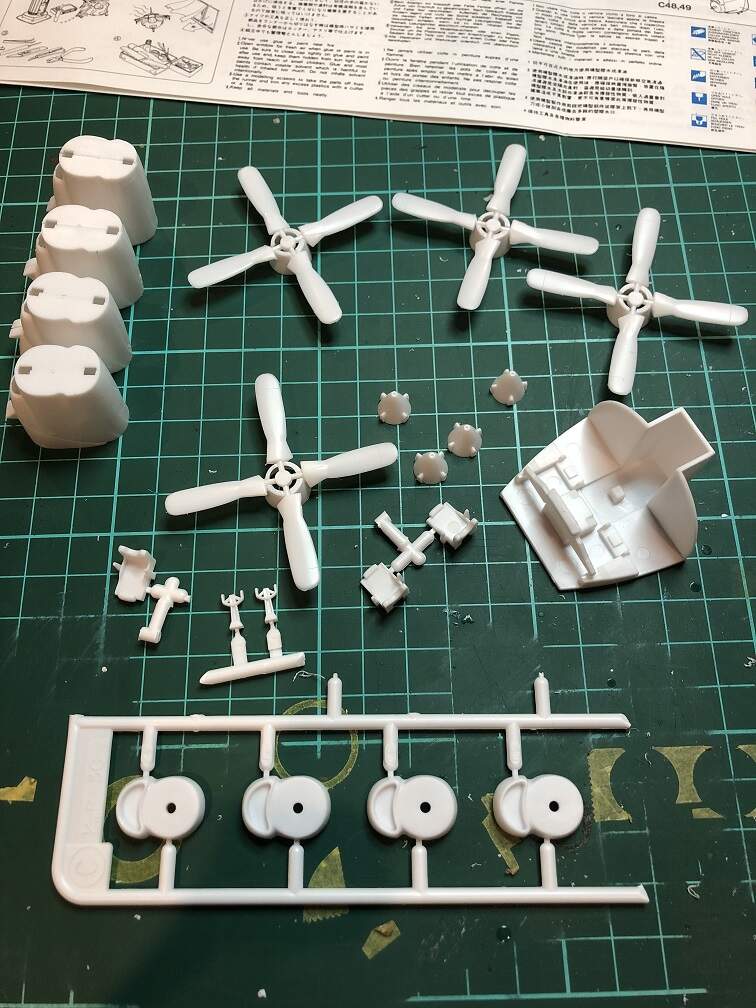
Final update for the moment, engine and spinner assemblies completed and 95% finished, just a little sprue goo to sand off once it has cured, and horizontal stabilizers built and cleaned up.
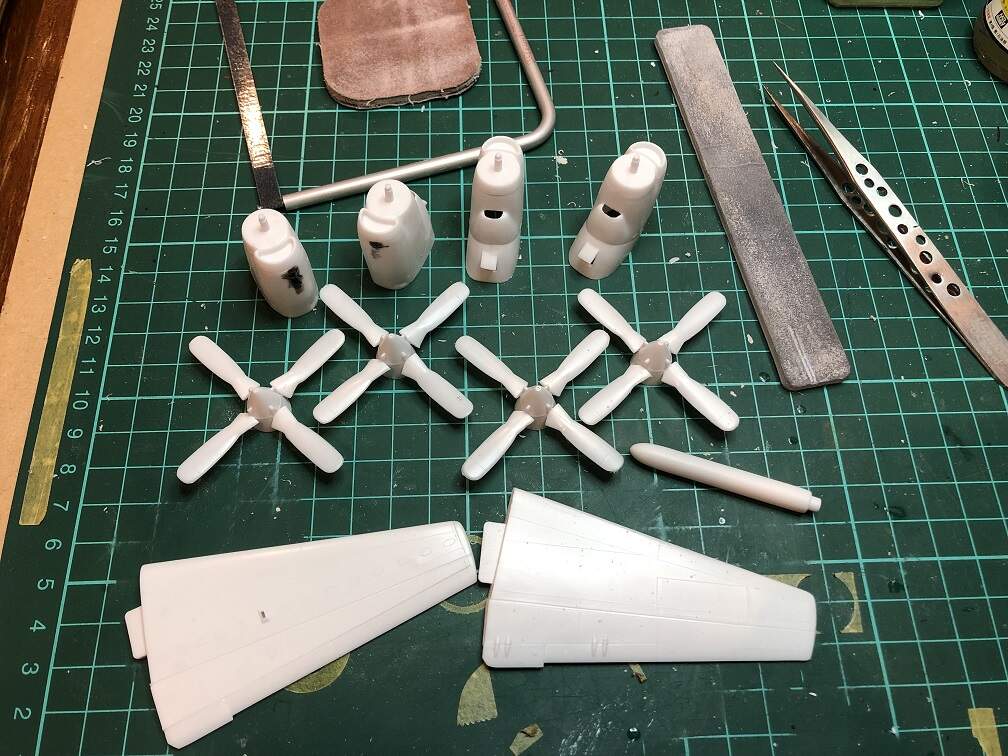
Upper and lower wings cleaned up and assembled as well.
No major issues to report so far, only a little flash here and there, but the lack of locating pins means a little more time and care needs to be taken when cementing “clamshell” assemblies. I haven’t found any ejector pin marks or sink marks in any visible locations so far.
Progress Update - September 19, 2019
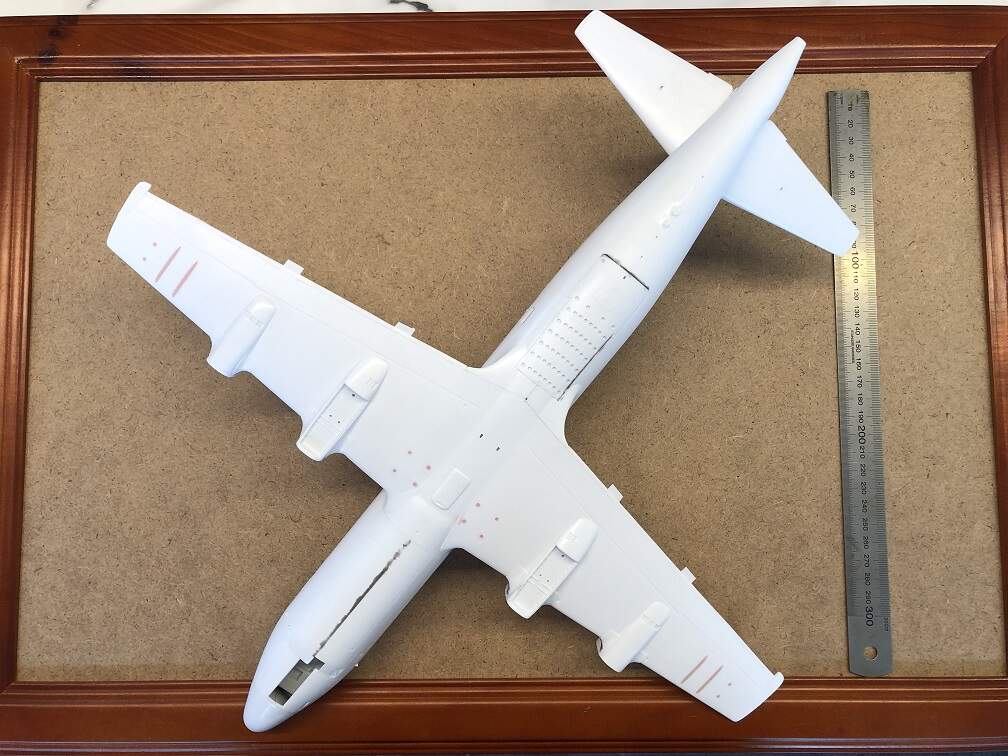
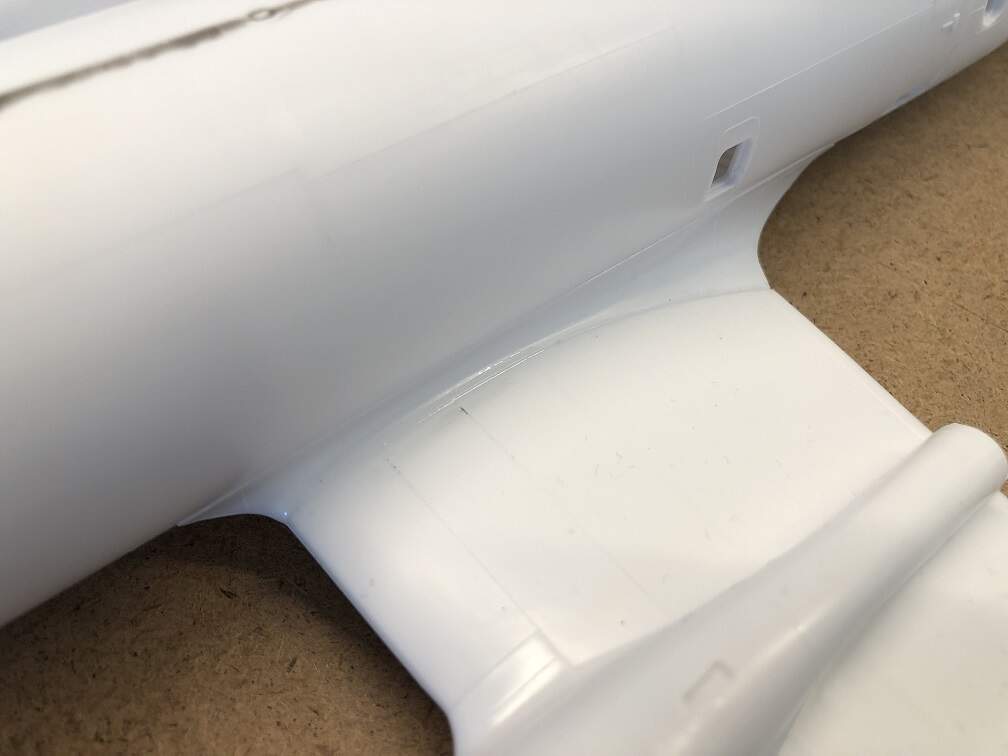
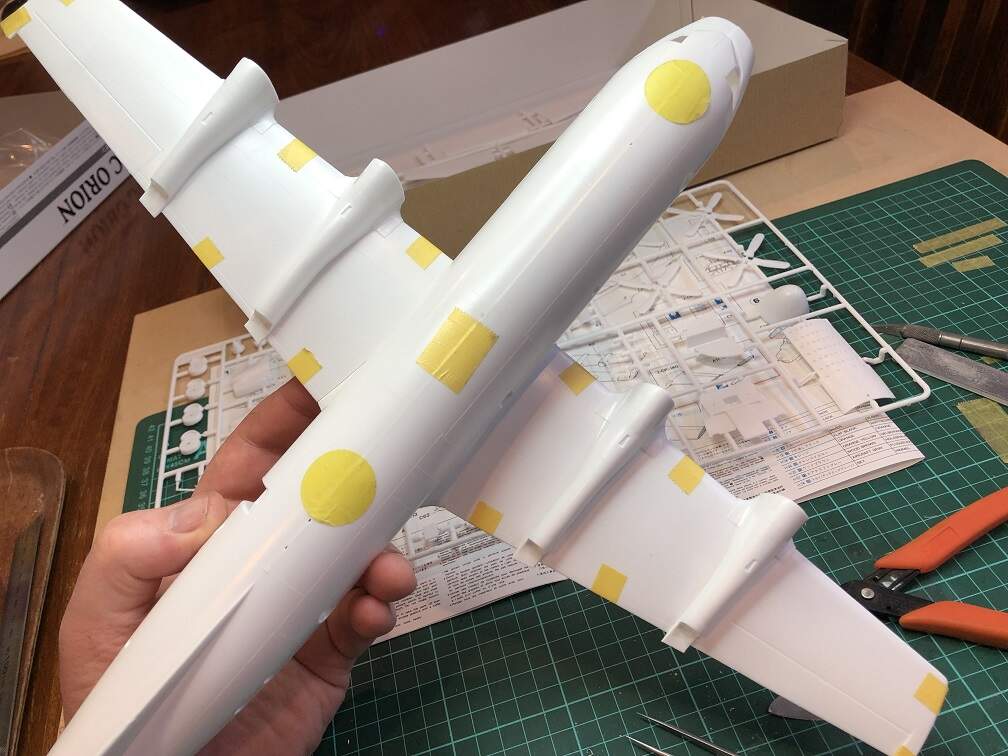
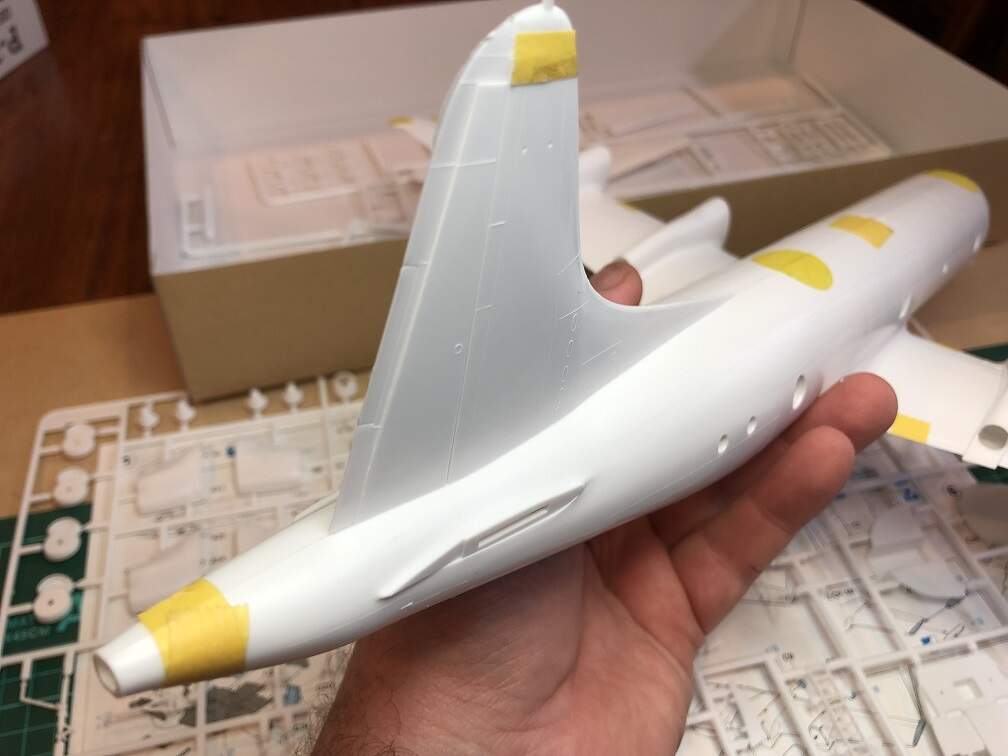
I spent some time on tidying up the leading edge joins on the wings, which were in general very good, just needed some “sprue-goo” on the compound curves of the shrouds between the engine covers and the wing itself.
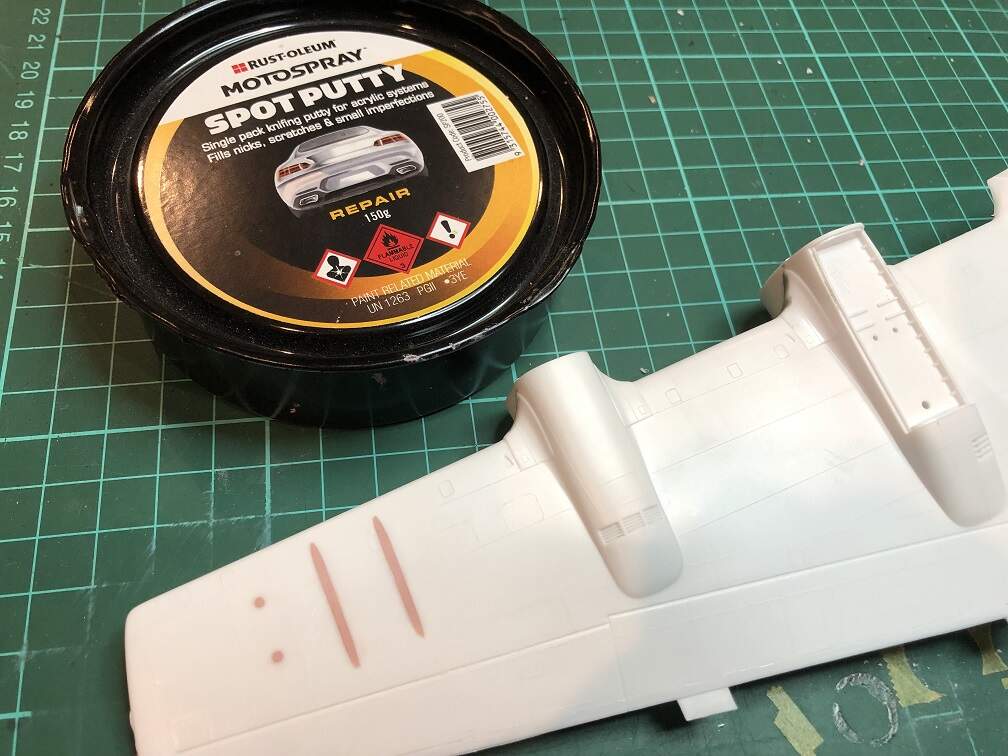
I also filled the locating points for the underwing stores using automotive spot putty thinned with MLT and applied with an old fine paintbrush to get it in place without spreading around all over the shop! This was applied in several thin layers as the recesses for the pylons were quite deep. This has all cured nicely now and been fine sanded.
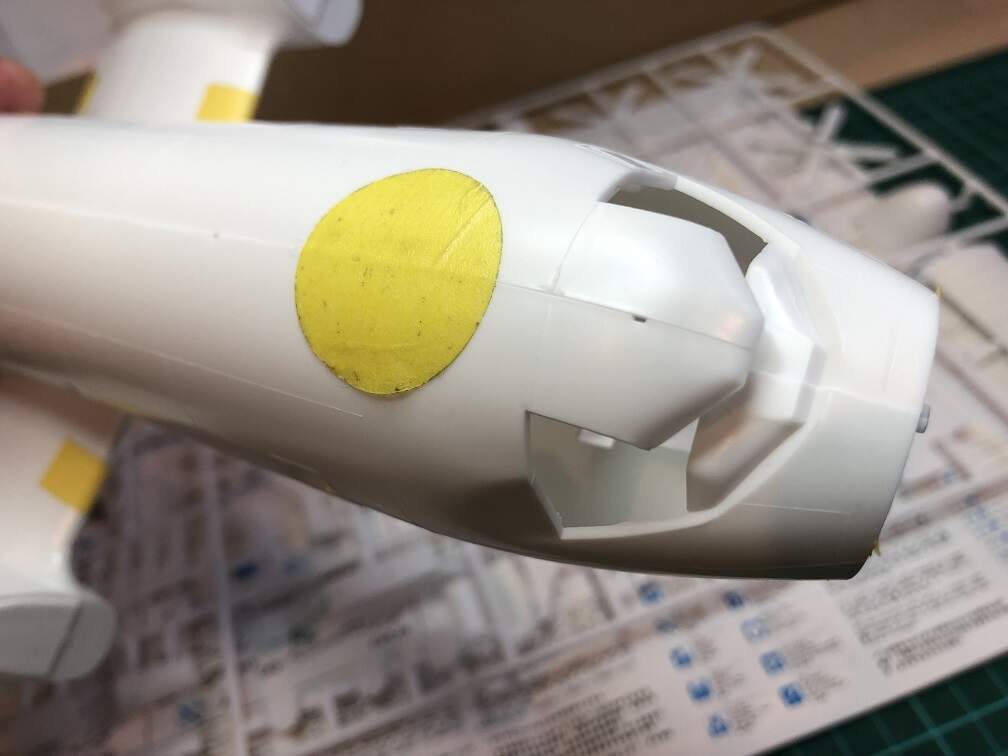
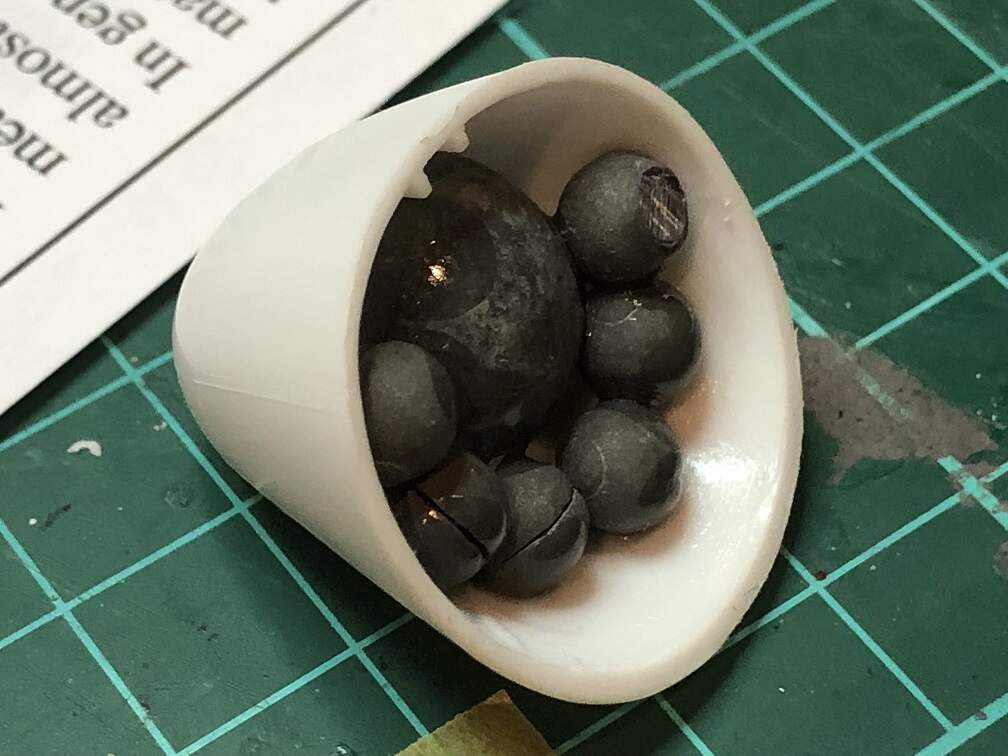
Instructions called for 30 grams of ballast in the nose, so out came the fishing tackle box and some lead weight was CA’d into place.
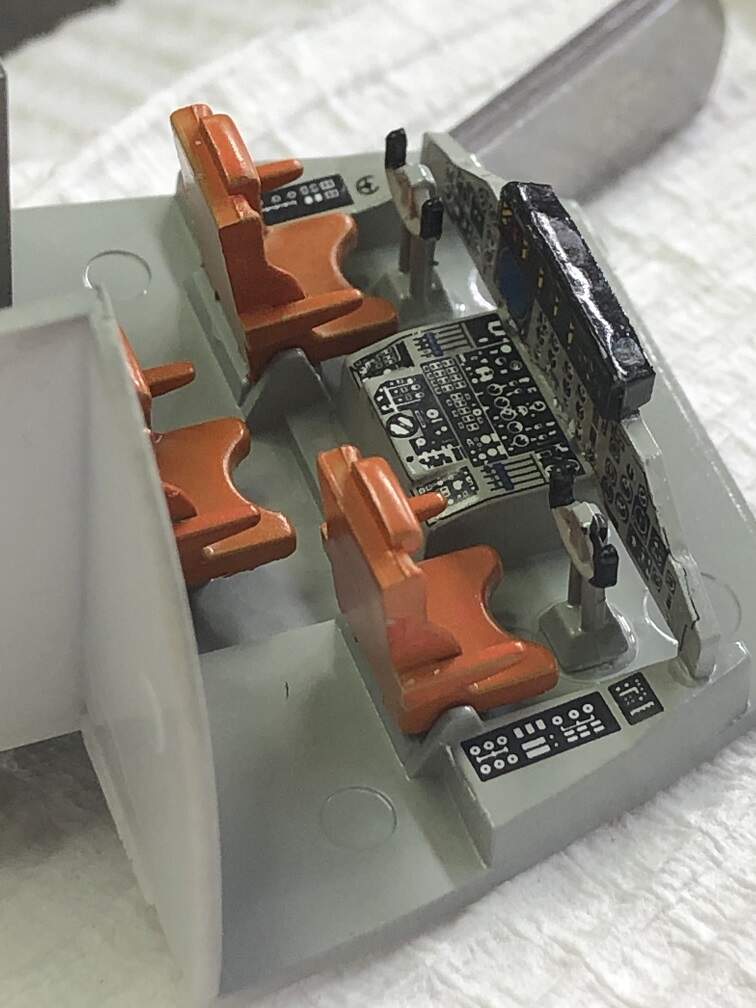
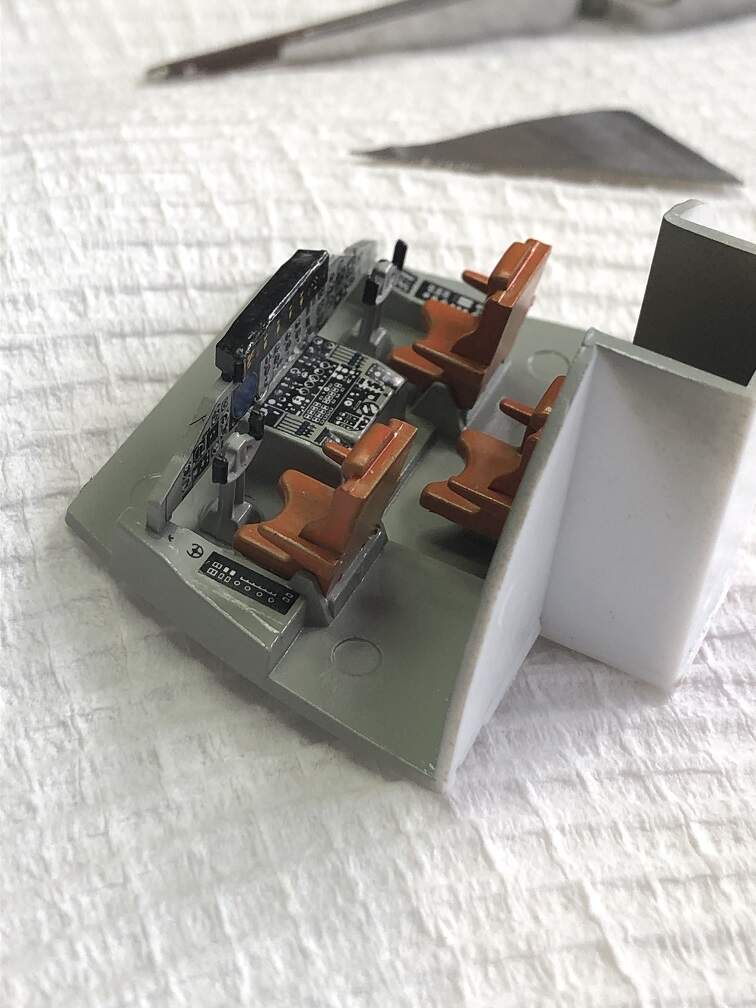
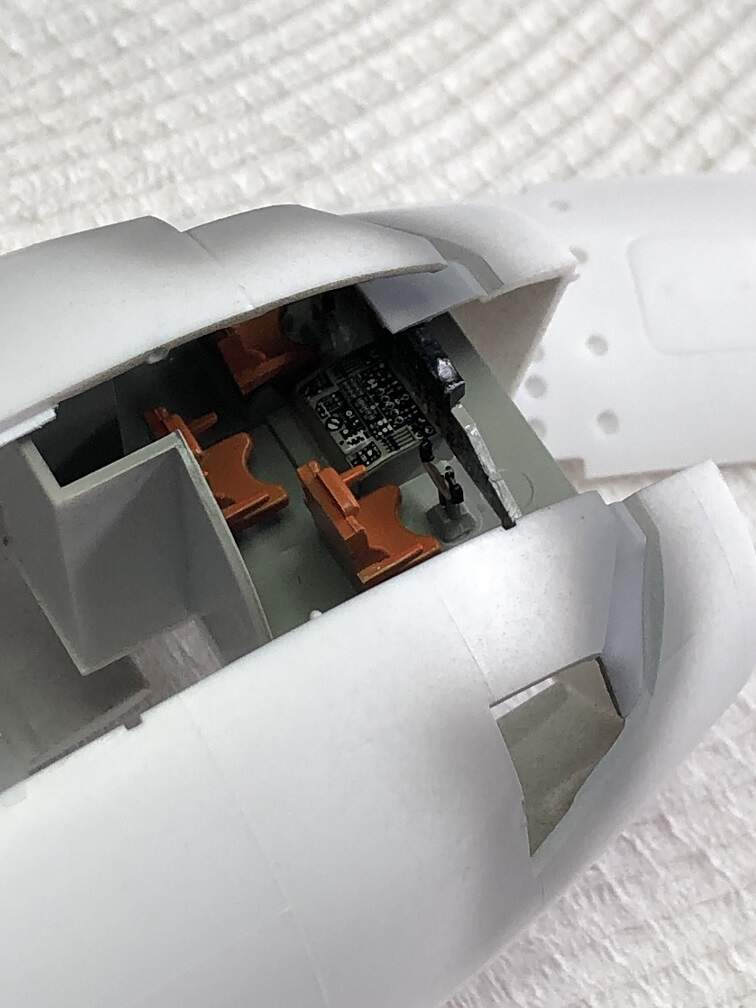
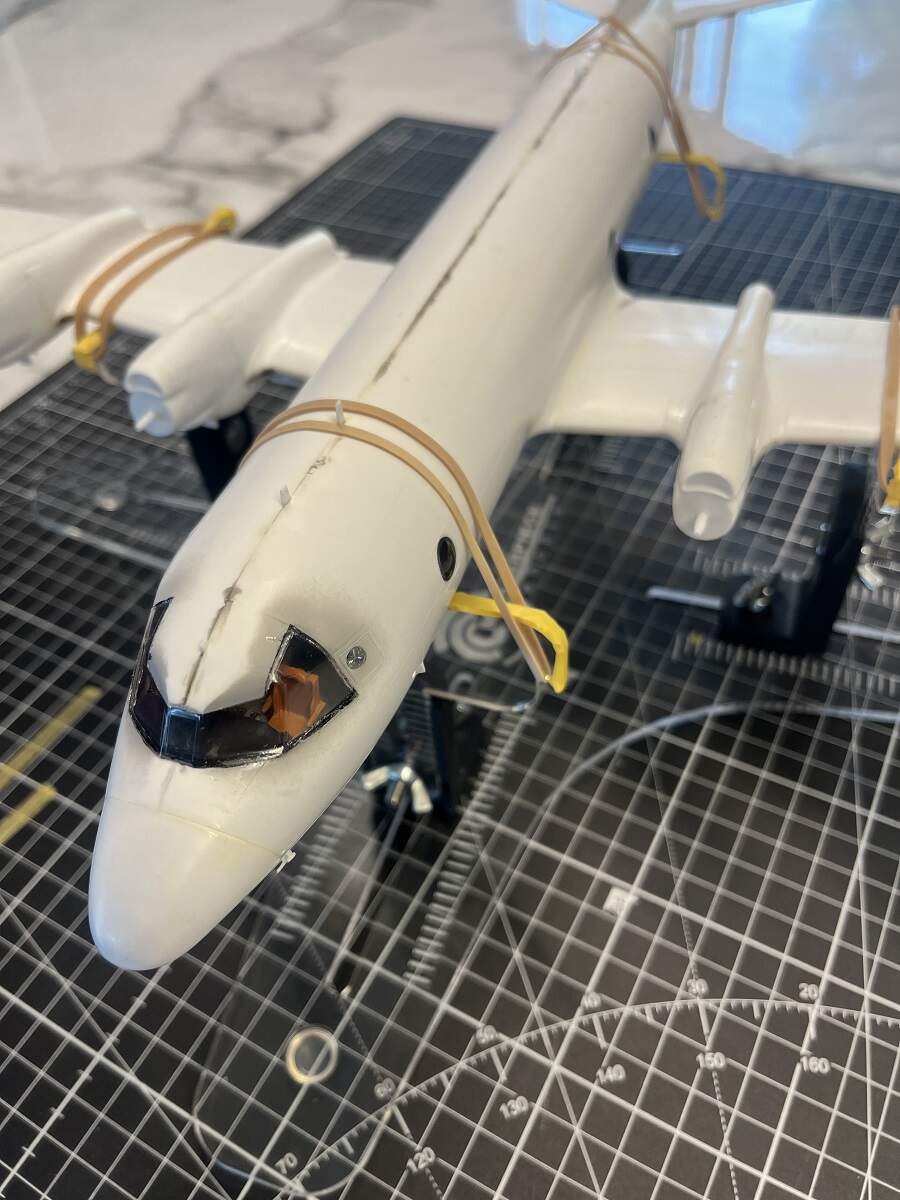
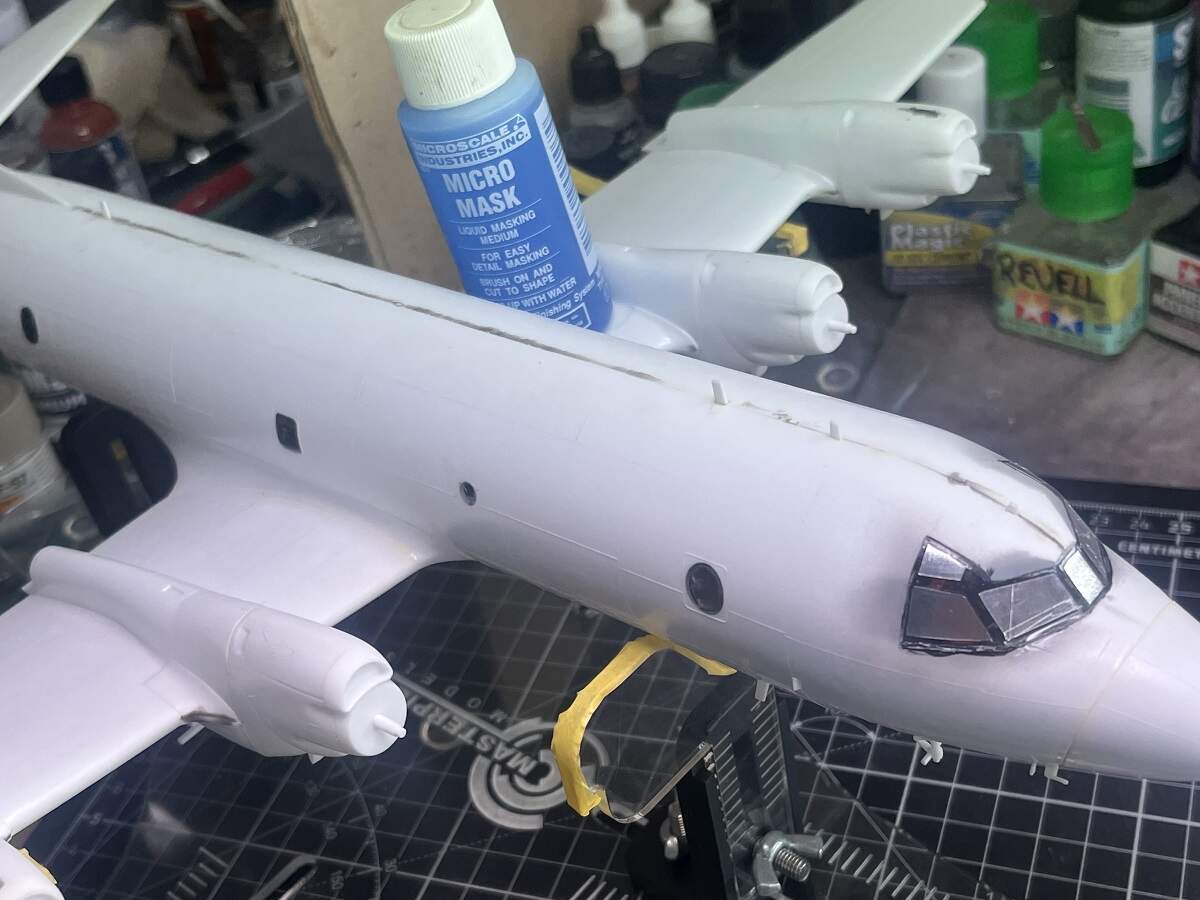
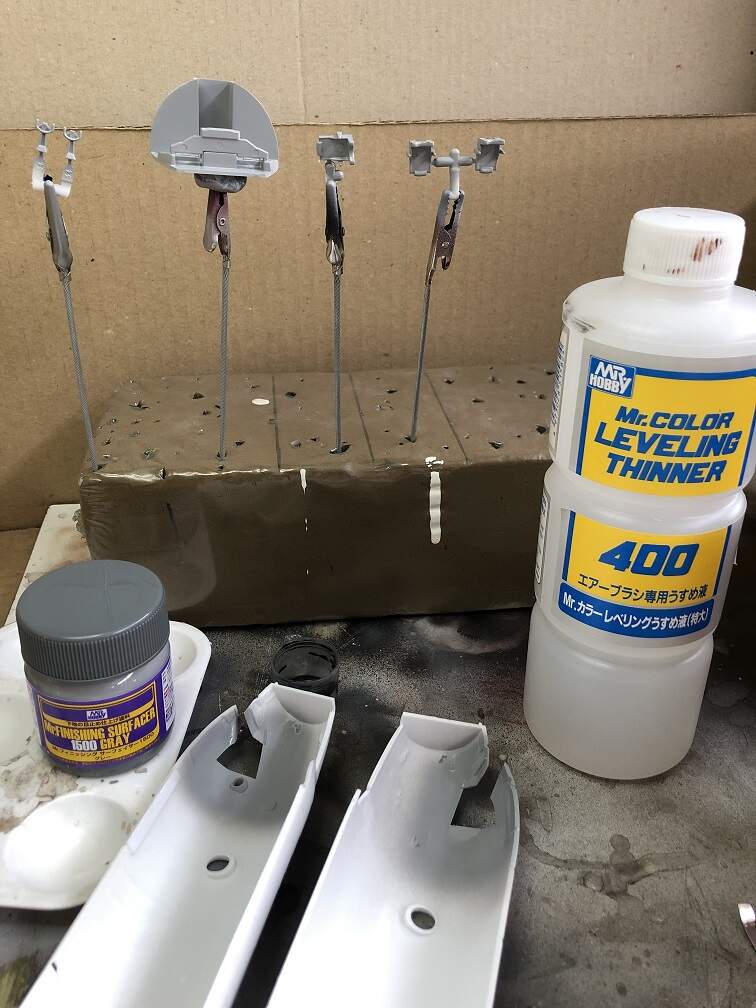
Next up is painting the cockpit and getting it installed.
Prime time for the P-3C office.
I also found another use for my Chevy engine orange!
Cheers, D