Hi Guys!
I need help with a diorama in 1/16, I’m basing it off of this photo.( which is from Mikes research) I have Andy’s m10 and Das Werks sdkfz 251/d. the halftrack is the variant with the anti-aircraft/ ground support.
Hi Guys!
I need help with a diorama in 1/16, I’m basing it off of this photo.( which is from Mikes research) I have Andy’s m10 and Das Werks sdkfz 251/d. the halftrack is the variant with the anti-aircraft/ ground support.
I’d probably need help for that too. But what exactly do you need help with?
Er, so what exactly is the question? What help do you require?
I need help trying to find figures and just help in general since this is going to be my biggest diorama.
Maybe some tips aswell. But mostly figures.
Well, regarding the half-track, that appears to be the Drilling variant and I believe there’s a conversion kit available, but at an eye-watering price.
Beyond that I’m afraid I’ve nothing much to offer as this is planned to be in 1/16 scale; personally, I’d probably go for 1/35 as it’s just a bit more manageable, yet would still have impact on the display tables, however, that’s just me.
Good luck with it all.
Thank you! i would do it in 1/35 if i had the models but i have them in 1/16 and i will probably entering it into the modelzona either next year or the year after.
You also have an M24 Chaffee on the left in the photo, or are you just focusing on the M10 and the 251? How many of those figures are you going to include? How much detail are you going to add, since these are both open topped vehicles? Are you going to scratchbuild all of that detail? These are questions you have to ask yourself. And where are you going to put this diorama when it’s done? It’s going to be huge. And with all the detailing work, this is going to be a years long project.
There aren’t that many WWII 1\16 infantry figures available, and they are expensive. You’re going to have a real problem finding and modifying those.
If you’re determined to model this photo, I would take Brian’s advice and do it in 1\35. If you just want to build your 1\16 vehicles, I would build them separately and concentrate on each one individually. YMMV.
Ok, thank you guys for the help. I will probably just do it in 1/35 ( which will keep me sane ![]() ). I might just build the 2 by themselves but make them look like the photo. (Just not a diorama). The 251 will be a diorama in itself because its a full interior kit. But thank you guys again for the help.
). I might just build the 2 by themselves but make them look like the photo. (Just not a diorama). The 251 will be a diorama in itself because its a full interior kit. But thank you guys again for the help.
Jack
There is a Chaffee in 1/16th on the way from Gecko but when thats the question
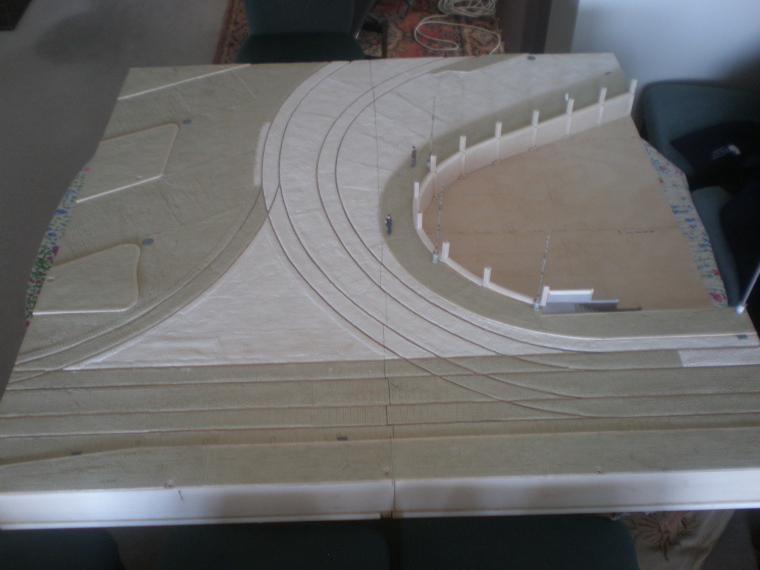
Whatever you decide to do, going back to your point about the size of diorama. The base doesn’t need to be one big platform, you could do it in interlocking modules so each vehicle could be both displayed on its own section of base, and assembled for a larger one. Of course all part-bases would need to be made at the same time to ensure continuity (of height/mud/mud-shades etc.), and the joins would need to be cunningly hidden but that’s fairly easy to do.
Yup… 1/35 makes more sense financially, size wise and availability of figures to use.
For figs you can also search on scalemates, but a quick count shows at least 10 figs needed.
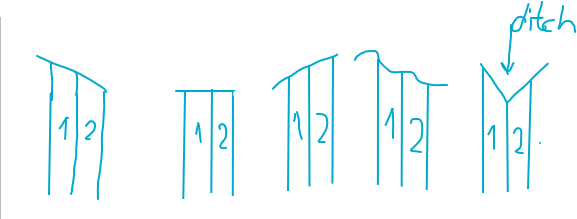
How would one go about making those joints? I eventually would like to do such a diorama on a huge scale and piece it together.
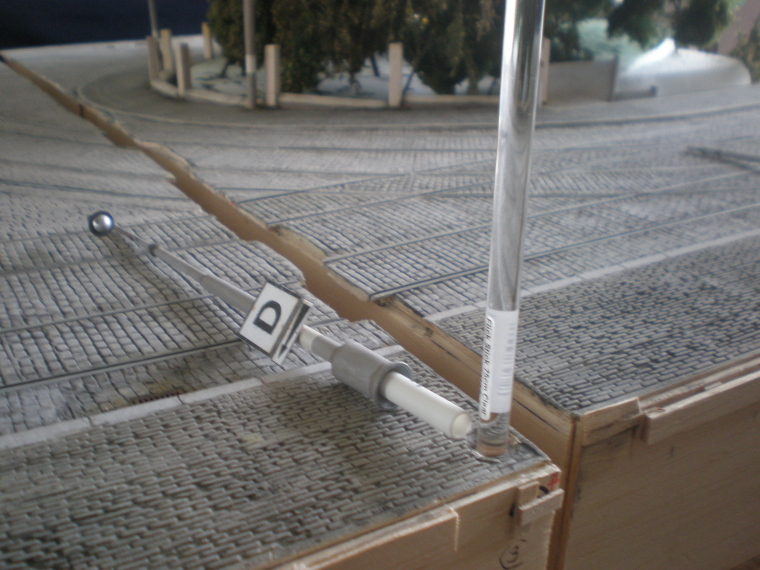
I used vertical edges sawn/filed/sanded from acrylic (plexiglass) sheet.
Any hard plastic will do.
Sand the two sections when they are firmly fixed in position against each other.
The angles at the joind depends on how the “terrain” is supposed to behave:
flat/level, sloping, irregular.
Vegetation by the joint will help to hide it, a joint crossing a gravel road is the most difficult to hide, there will always be a hairline crack. A crack/joint across a tarmac/asphalt or concrete road can look natural.
Find books or YouTube videos on modular layouts. I have done small ones years ago, and hiding the joints is an art form in itself. If you do a chicken wire and plaster terrain, you can have parts of the terrain overlaps the joints and you’ll never see them.
What those guys have said.
Also, it also depends what’s intended as the final result – solely photography, or public display.
I did a 1.3 metre square dio intended only for photography, built in two halves…
…and because all photos would be taken at ground level the join was invisible…provided I didn’t take any shots down the centreline of course. If I had intended the dio for display, I did notice that if I elevated both long-sides by a couple of inches the join narrowed to almost hairline. Over this size of base the dip into the middle was barely noticeable (bordering on believable) & I could have filled it by sprinkling some powdered concoction (e.g. talcum powder mixed with pigment) of the same colour along it, dry- brushed in with a stiffish paintbrush to compact it.
That would be my primary MO for any joins, and if the gap was more than hairline glue a thin strip of (say) card along one side just below surface level, so that the powder didn’t just drop through.
The point being that the component bases can be separated/assembled every time with no damage.
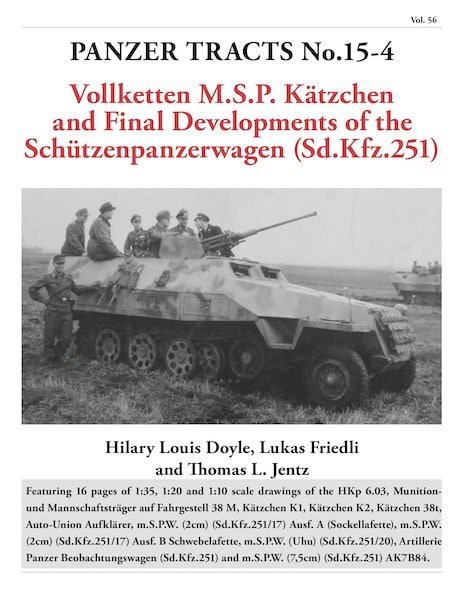
Actually, from looking in my copy of Panzer Tracts 15-4, the halftrack on the right appears to be the SdKfz 251/17 (the formally designated one, not the Luftwaffe-only version with the side bulges that folded down), which despite having flush storage compartments on each side was originally built on the ausf. B chassis (update: it appears that the usage of ‘ausführung’ is different for the 251/17, referring to variants within the 251/17 type — the 251/17 was entirely built on the 251 ausf D chassis, but had two versions, the first with a hängelafette gun mount, and the second with a schwebelafette mount, referred to as ausf. A and B respectively) :
Dragon has a kit of the 251/17 ausf D, but it’s in 1:35, not 1:16. I don’t think that the more obscure variants of the 251 have made it to kits in 1:16 yet.
I think this is a wise choice. Your selection of figures in 1/16 is very limited, and to reproduce that photo will require you to literally make custom ones in software and make them (probably print) in resin. If you have the skills to sculpt clay you could go that route or sculpt a form to cast resin, but again the effort level is off the charts compared to cutting up the thousand or more 1/35 figures that are available in styrene.
There are some amazing artists out there that might be able to help with creating something you can print in resin. I suspect the costs are insurmountable for so many custom needs but take a look at this guys product for ideas…