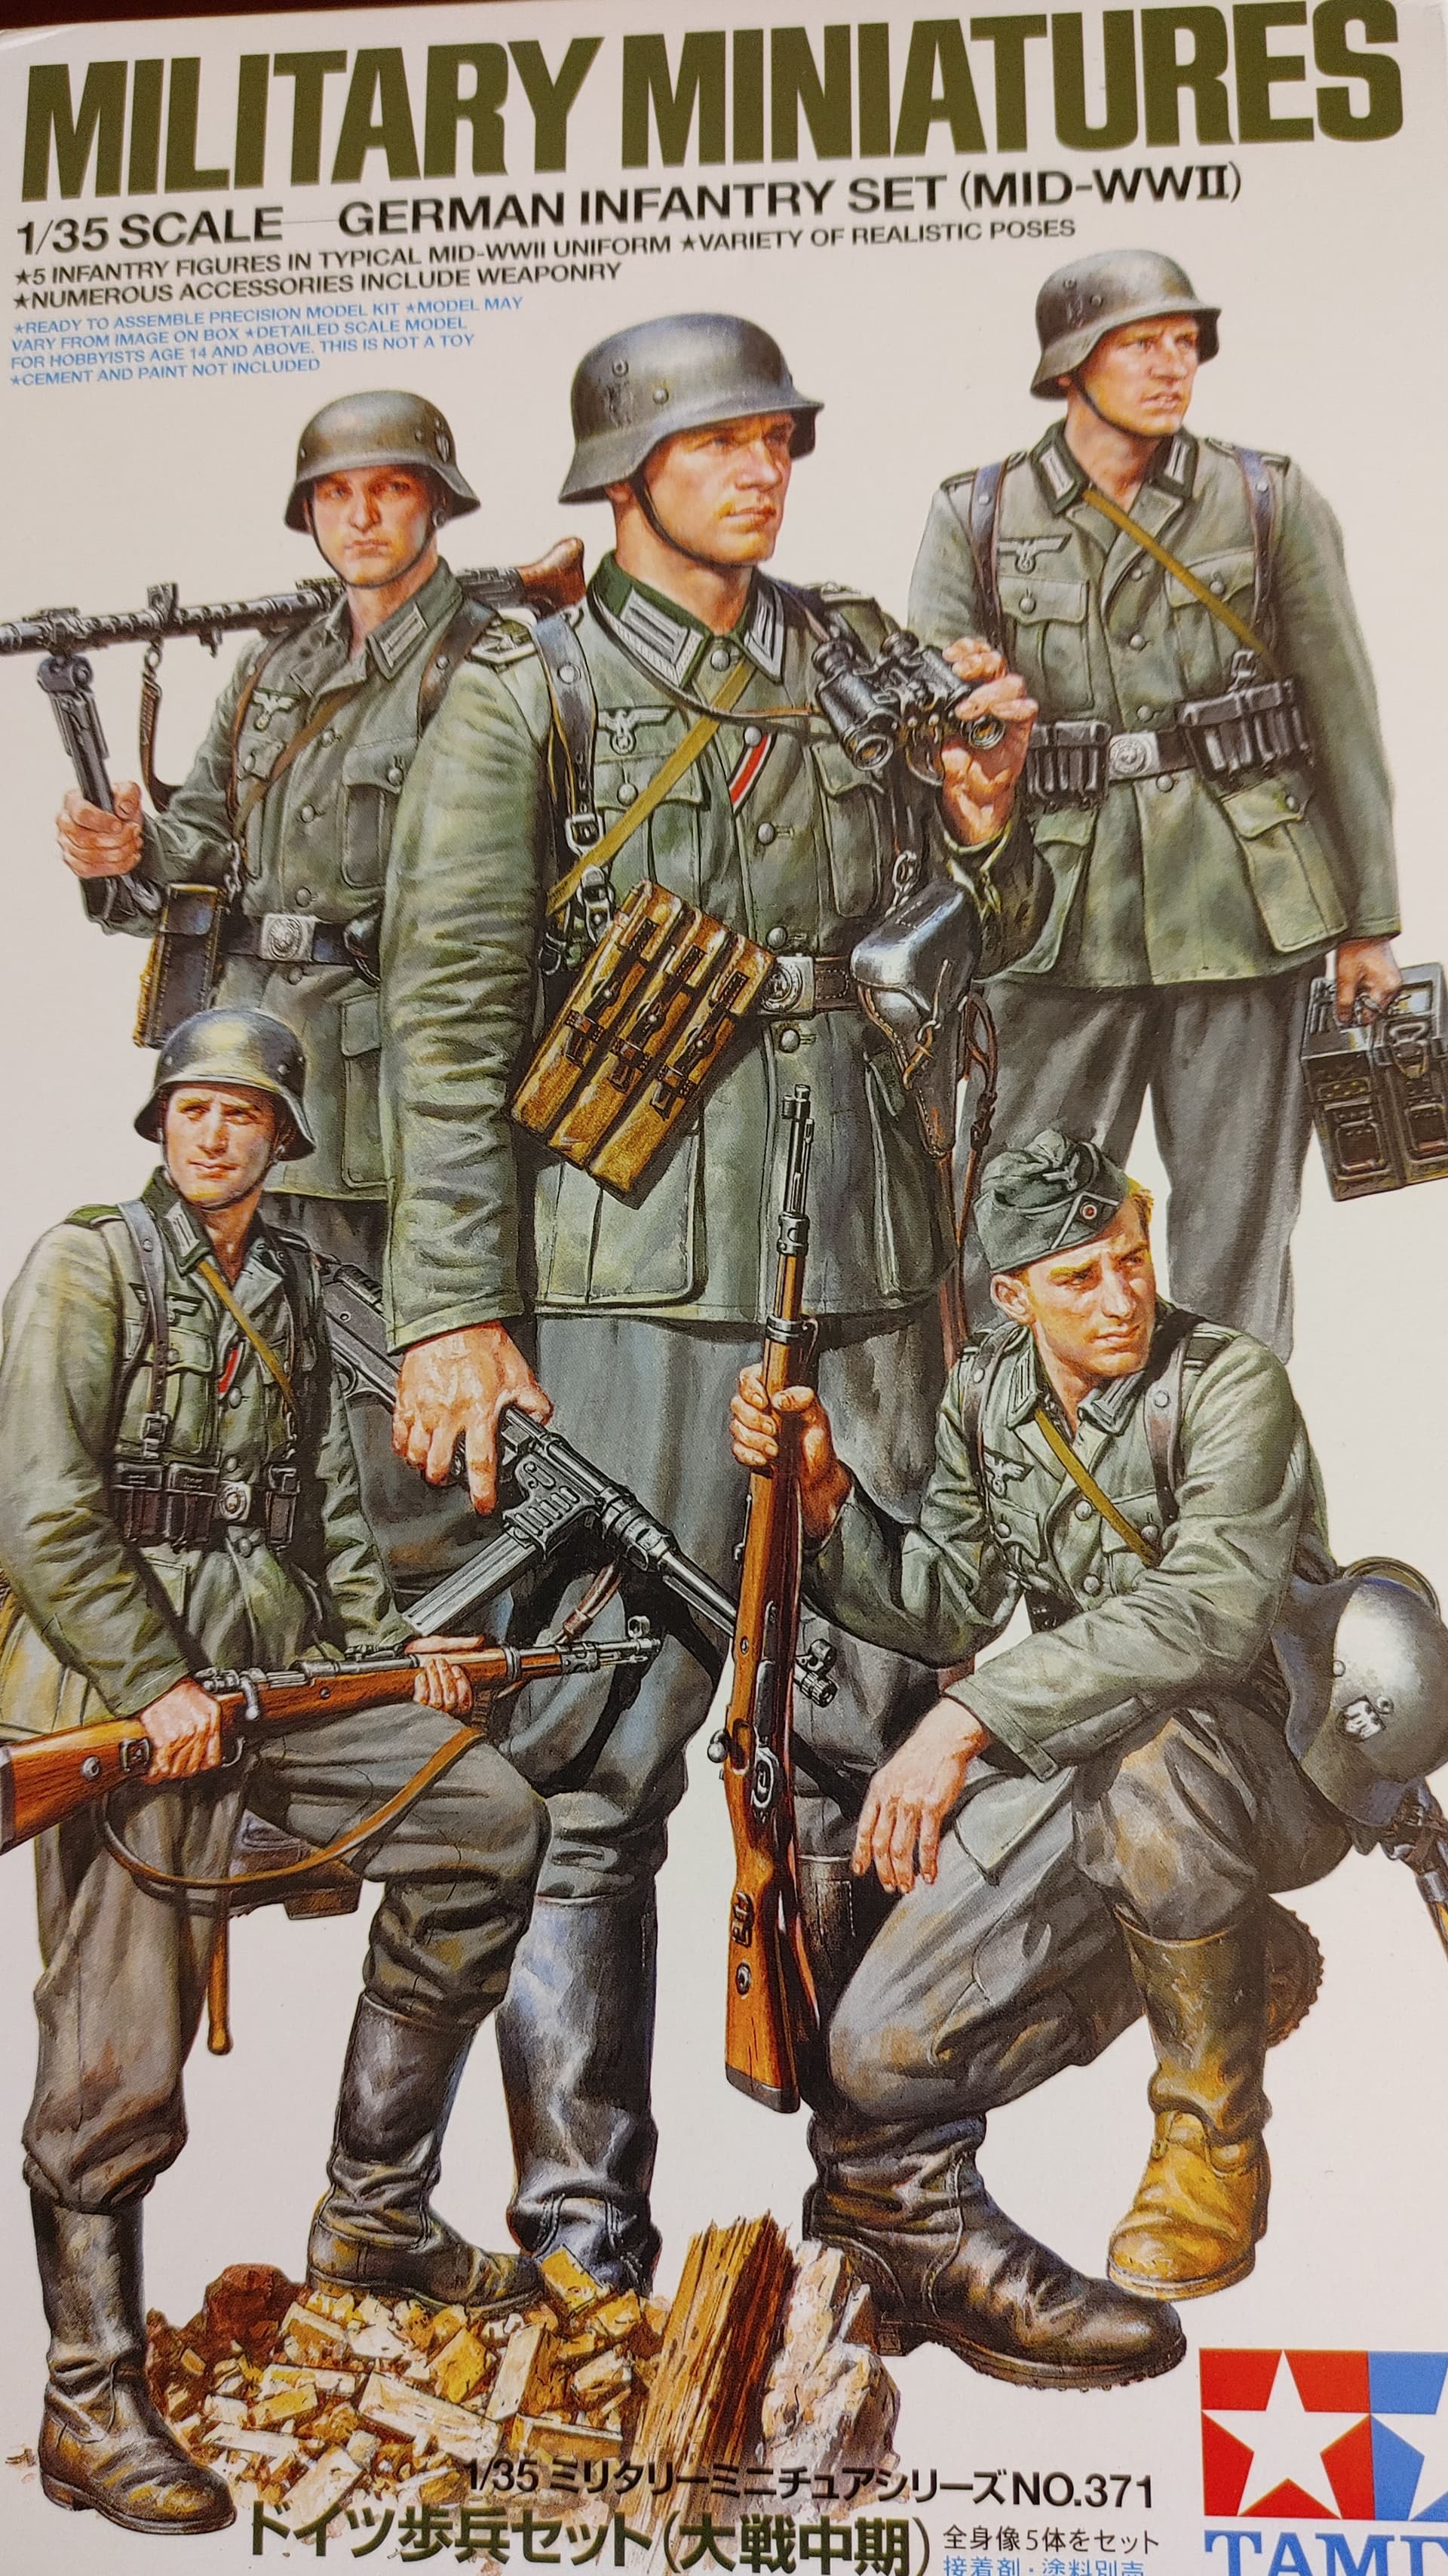
Hi there, I’m nearing the finish line with Tamiya’s 1:35 mid-war German infantry set. I’m at the confounding bit regarding the Schulterklappen (shoulder boards/epaulettes) and sleeve badge decals.
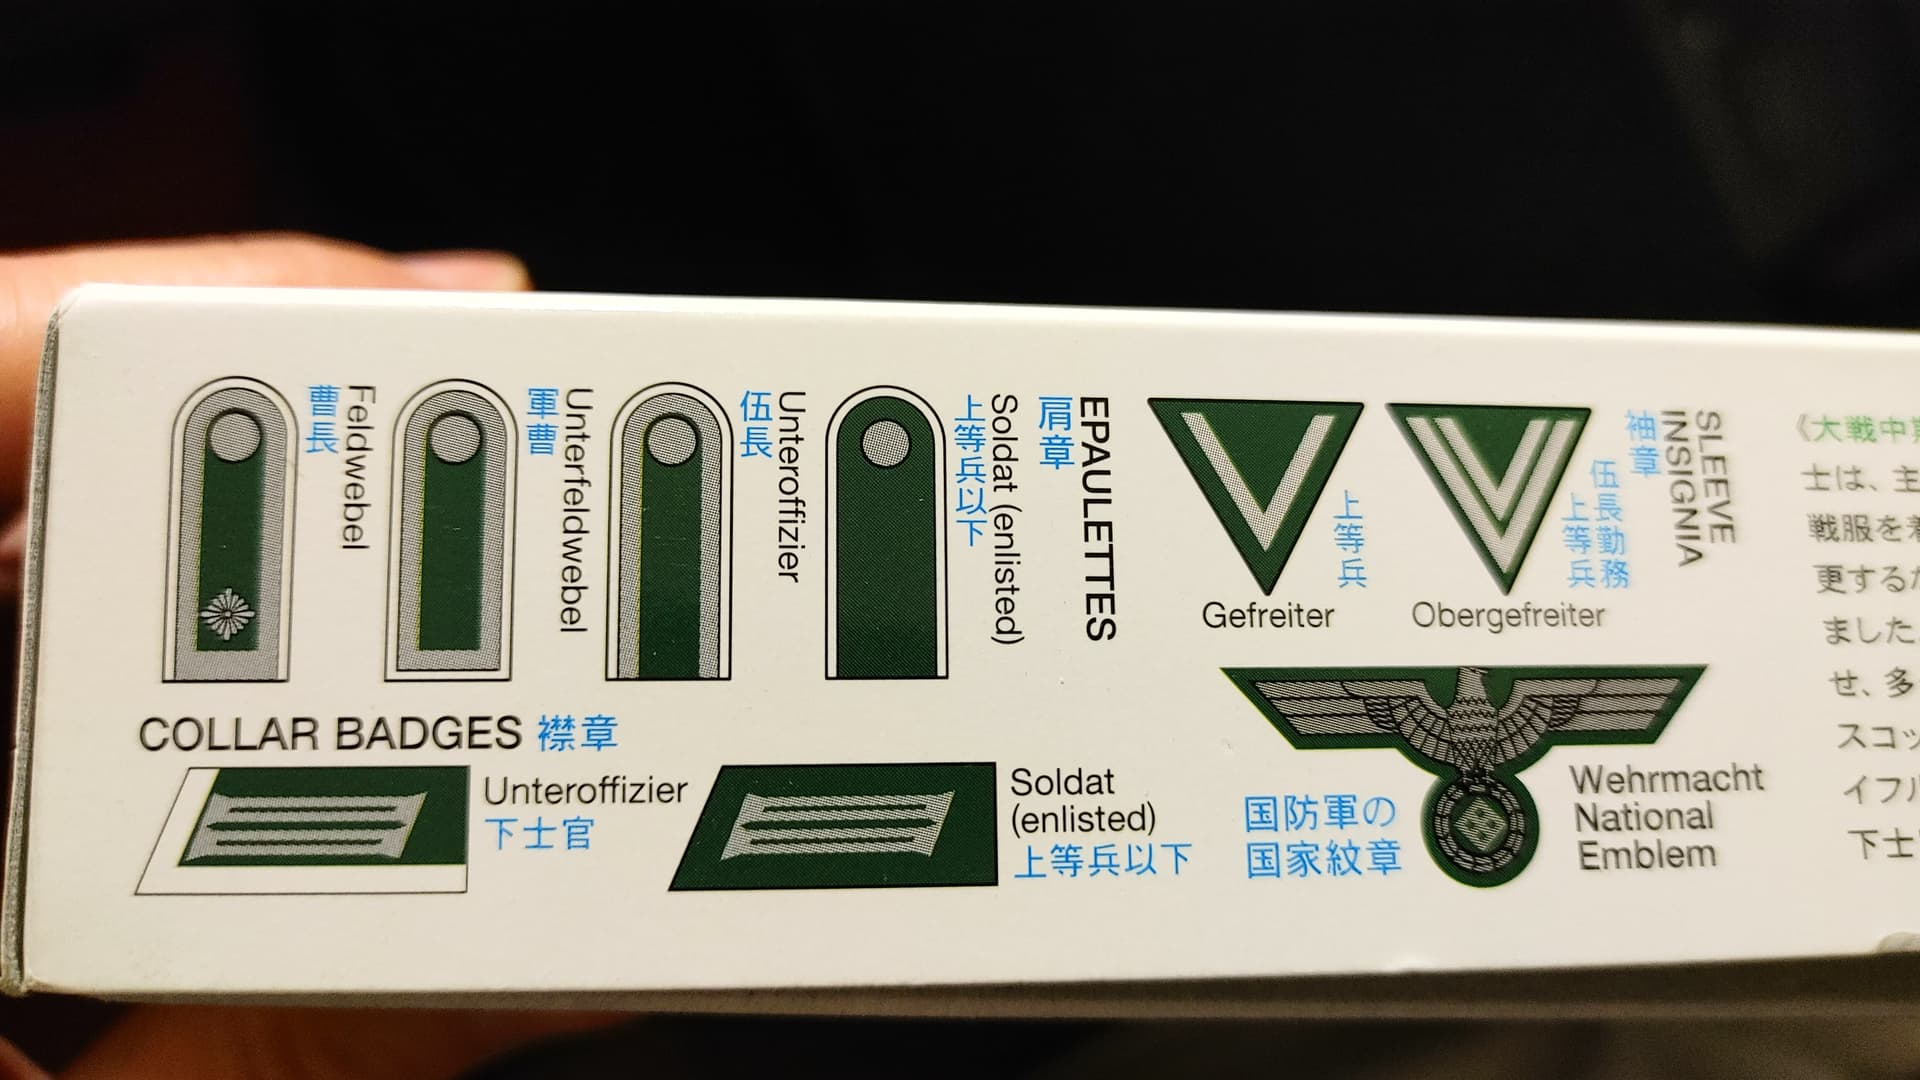
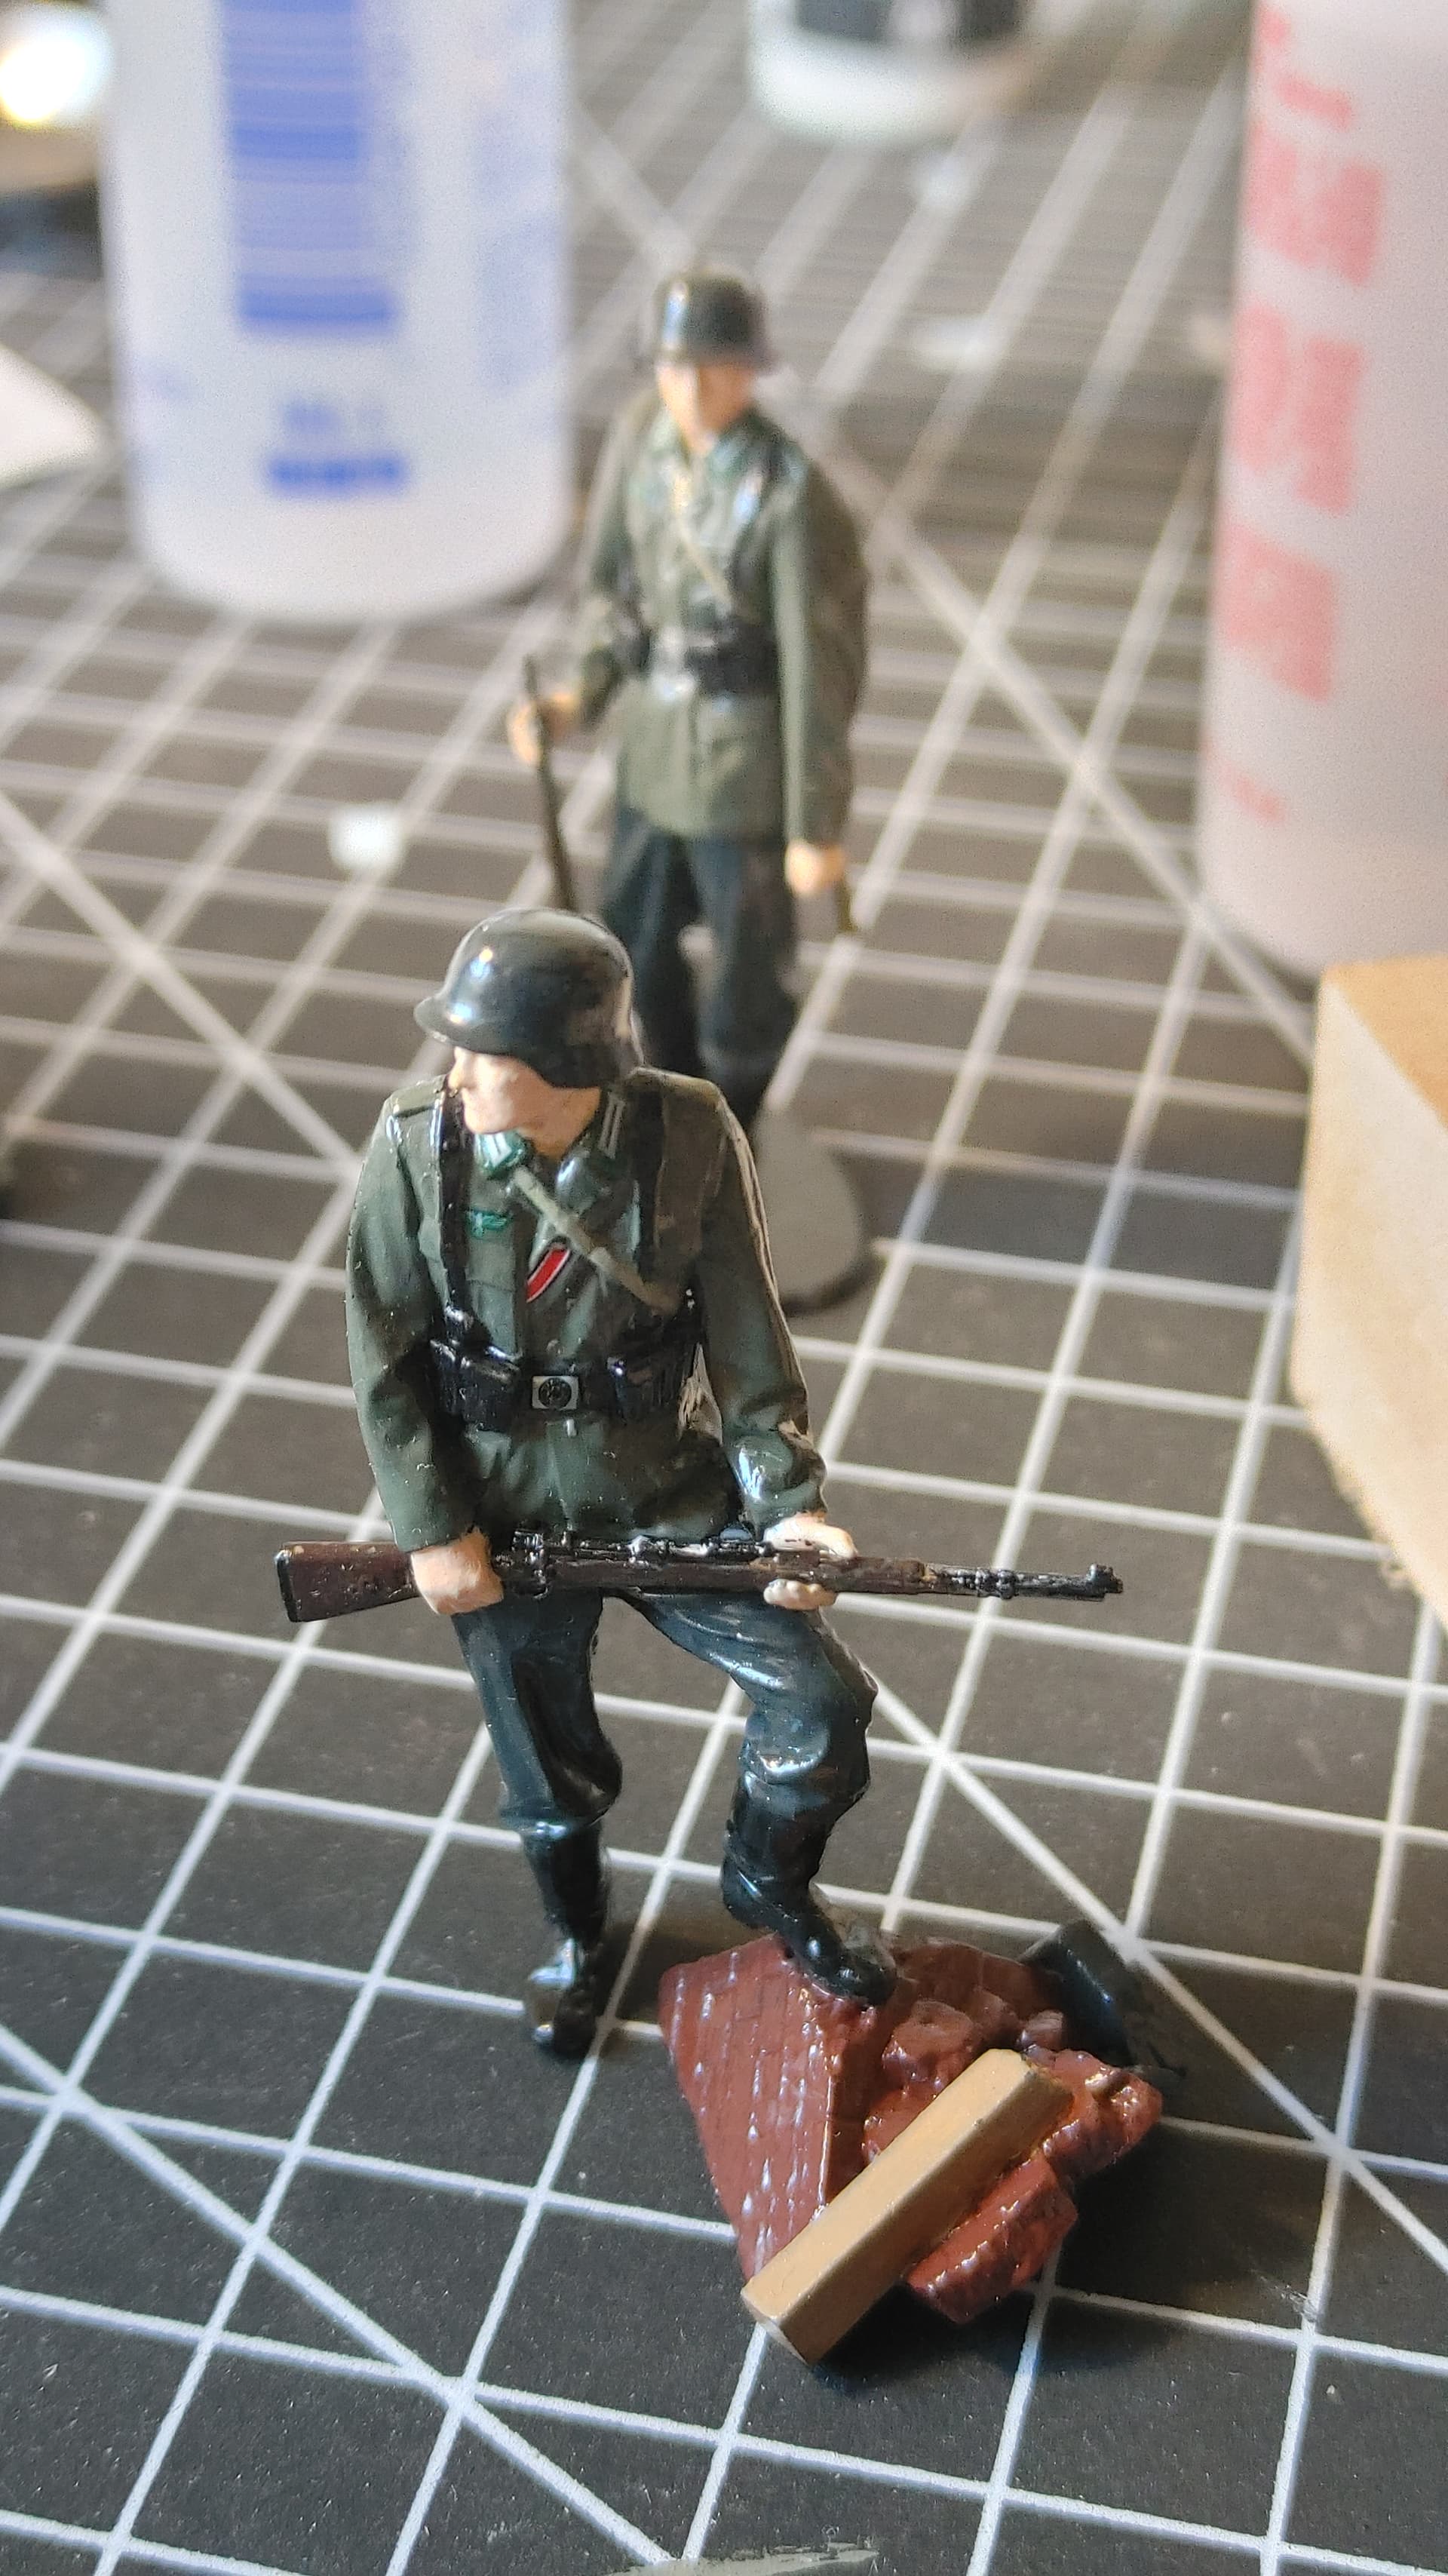
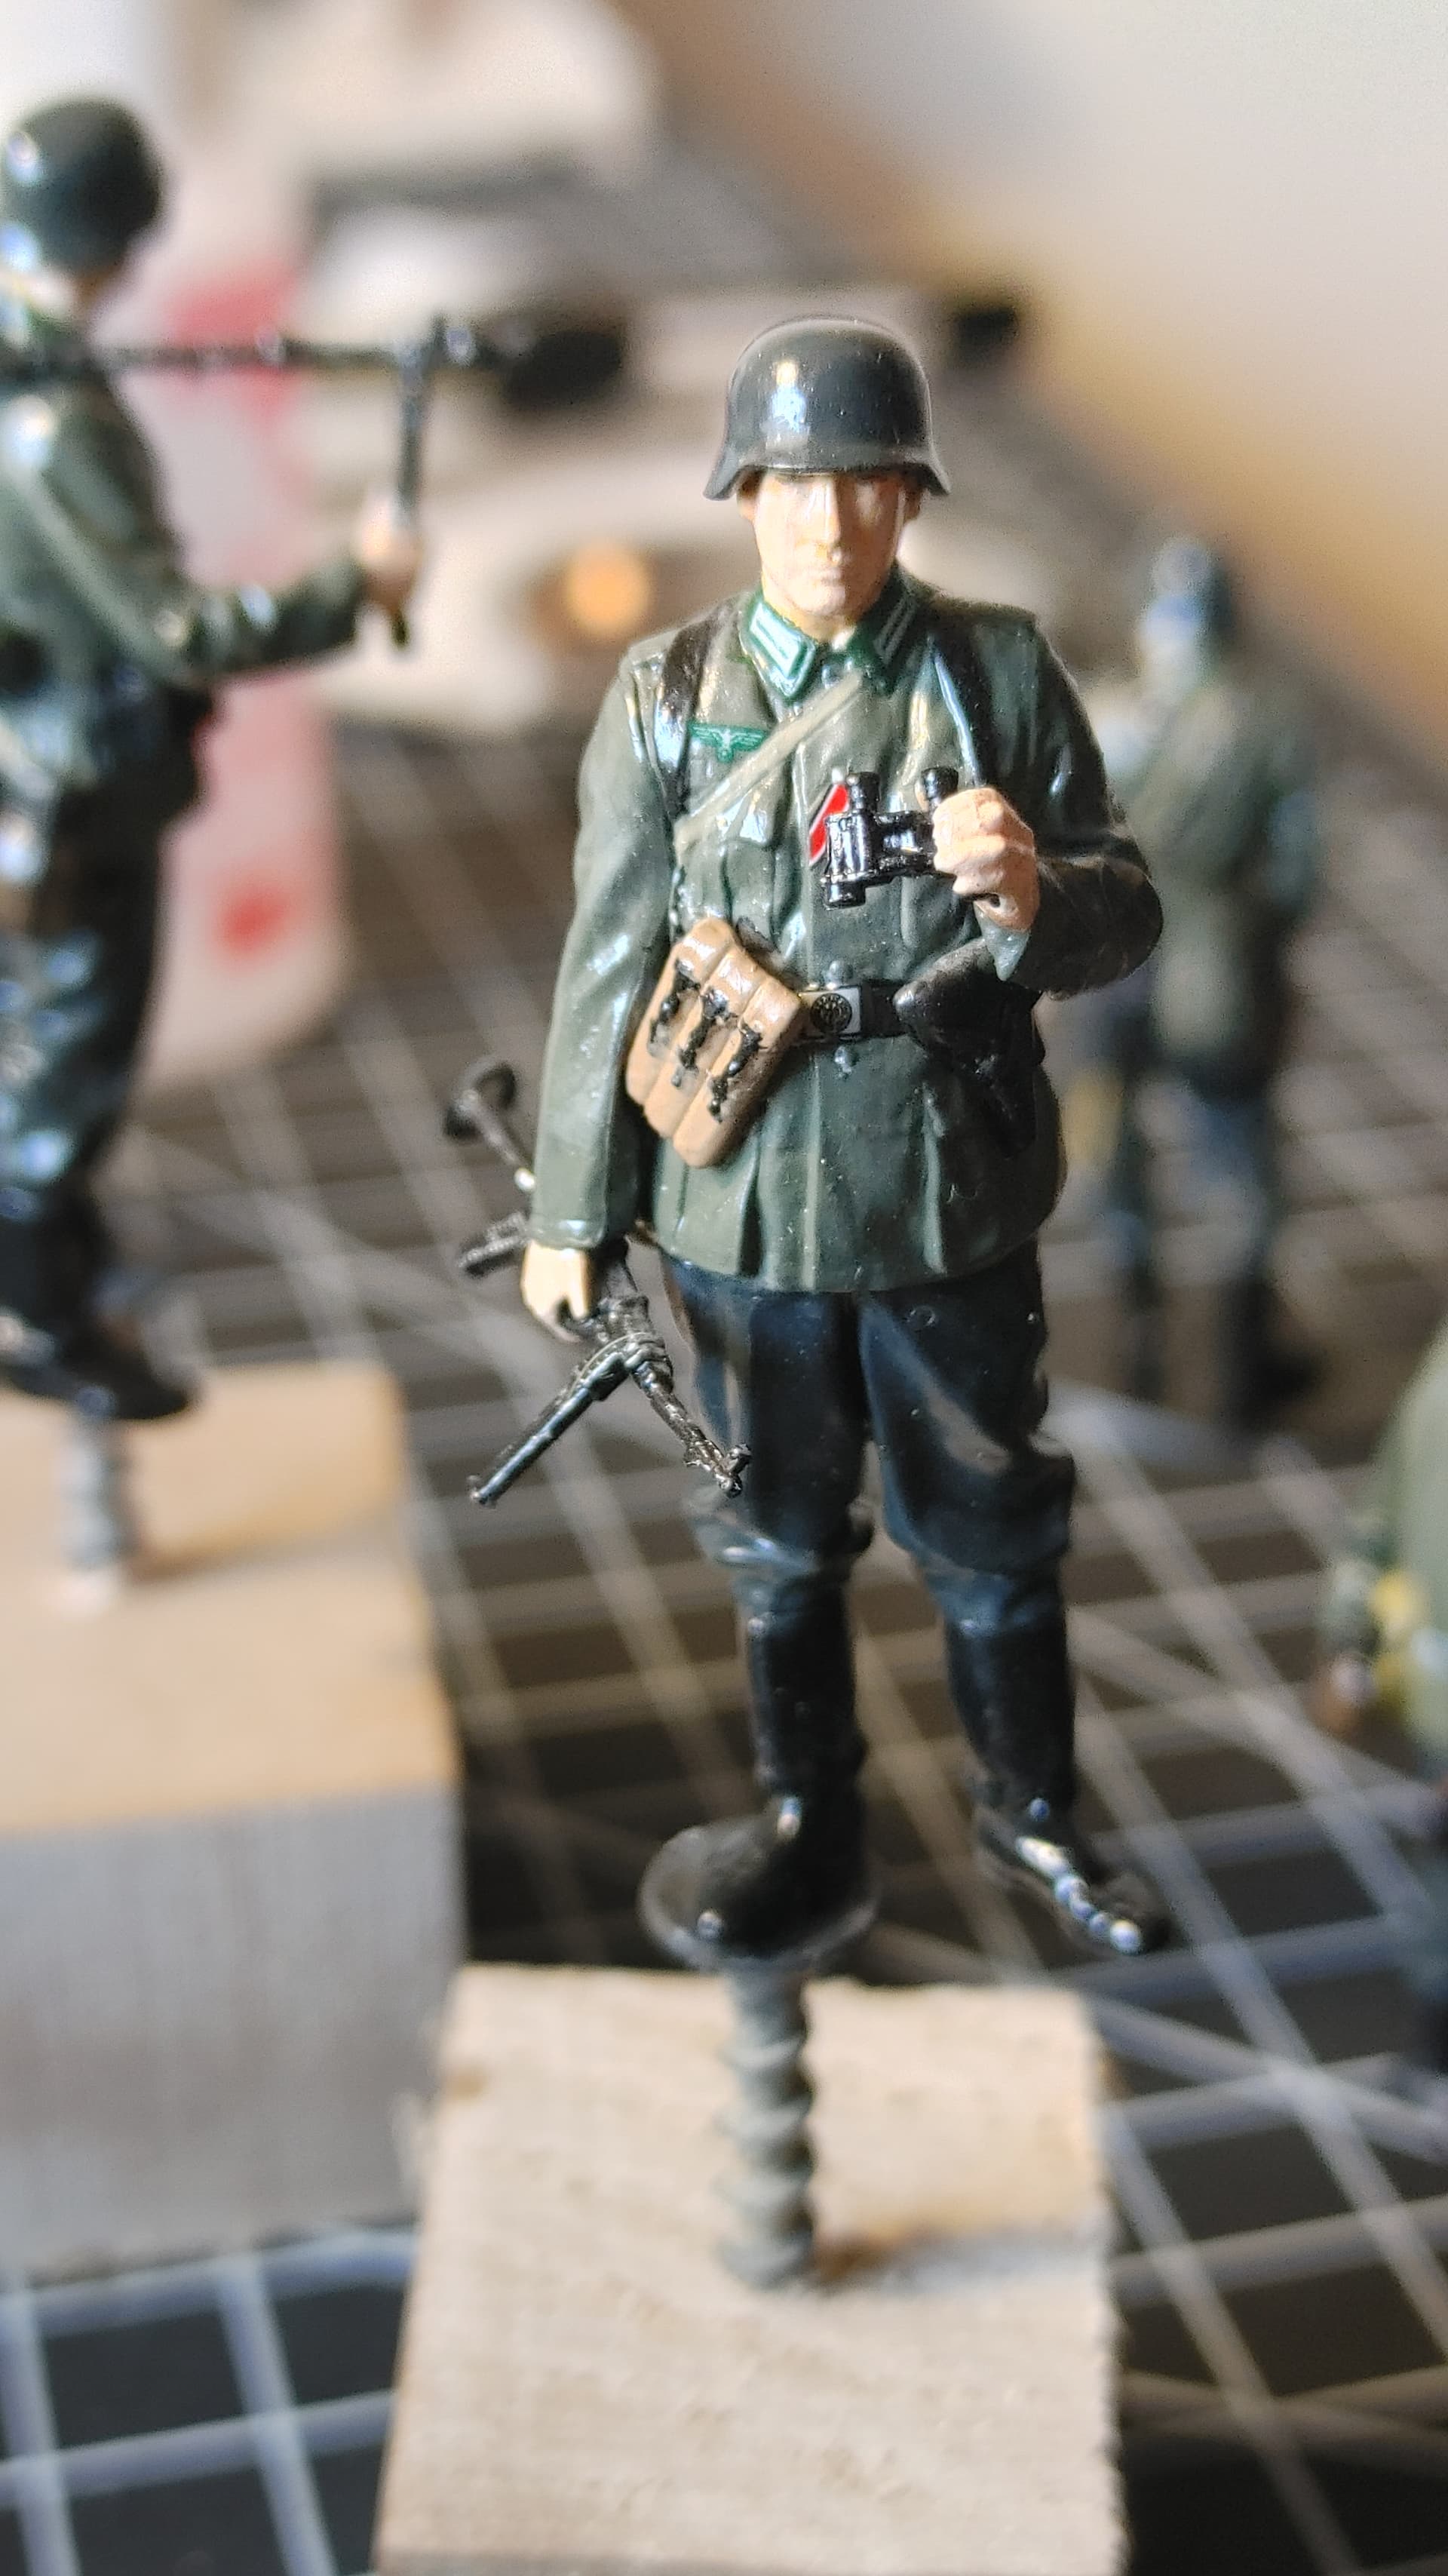
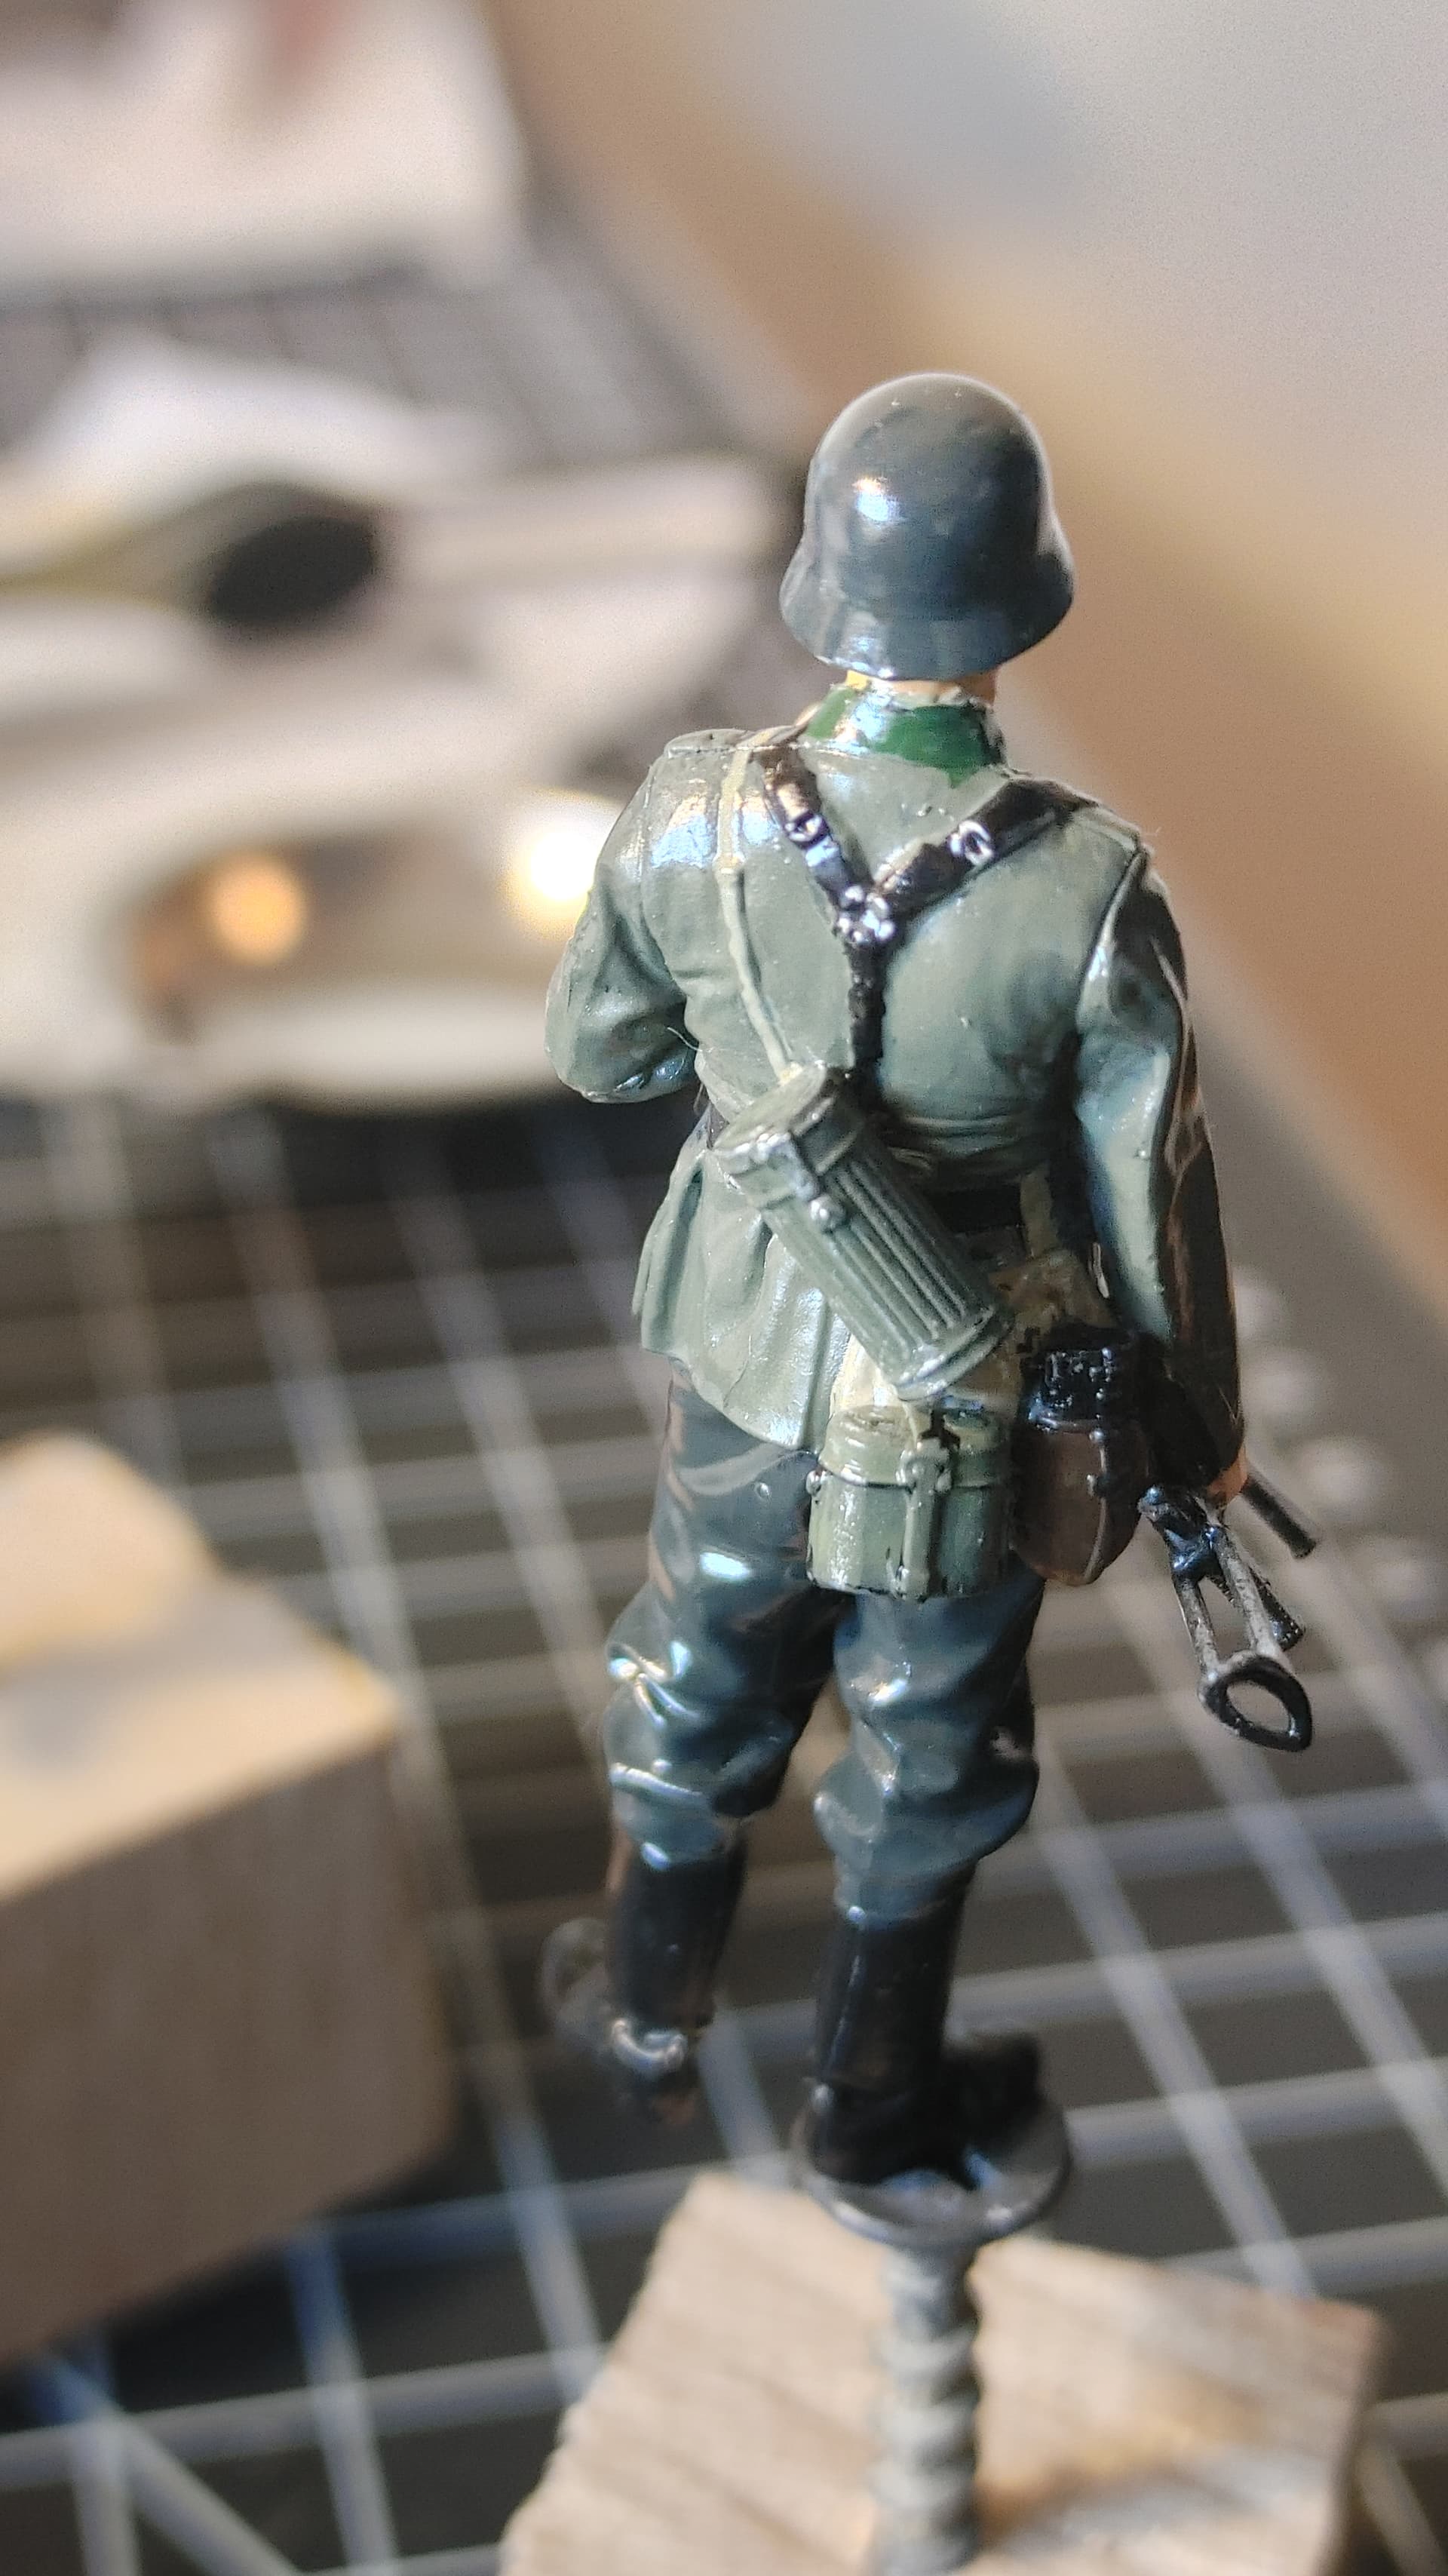
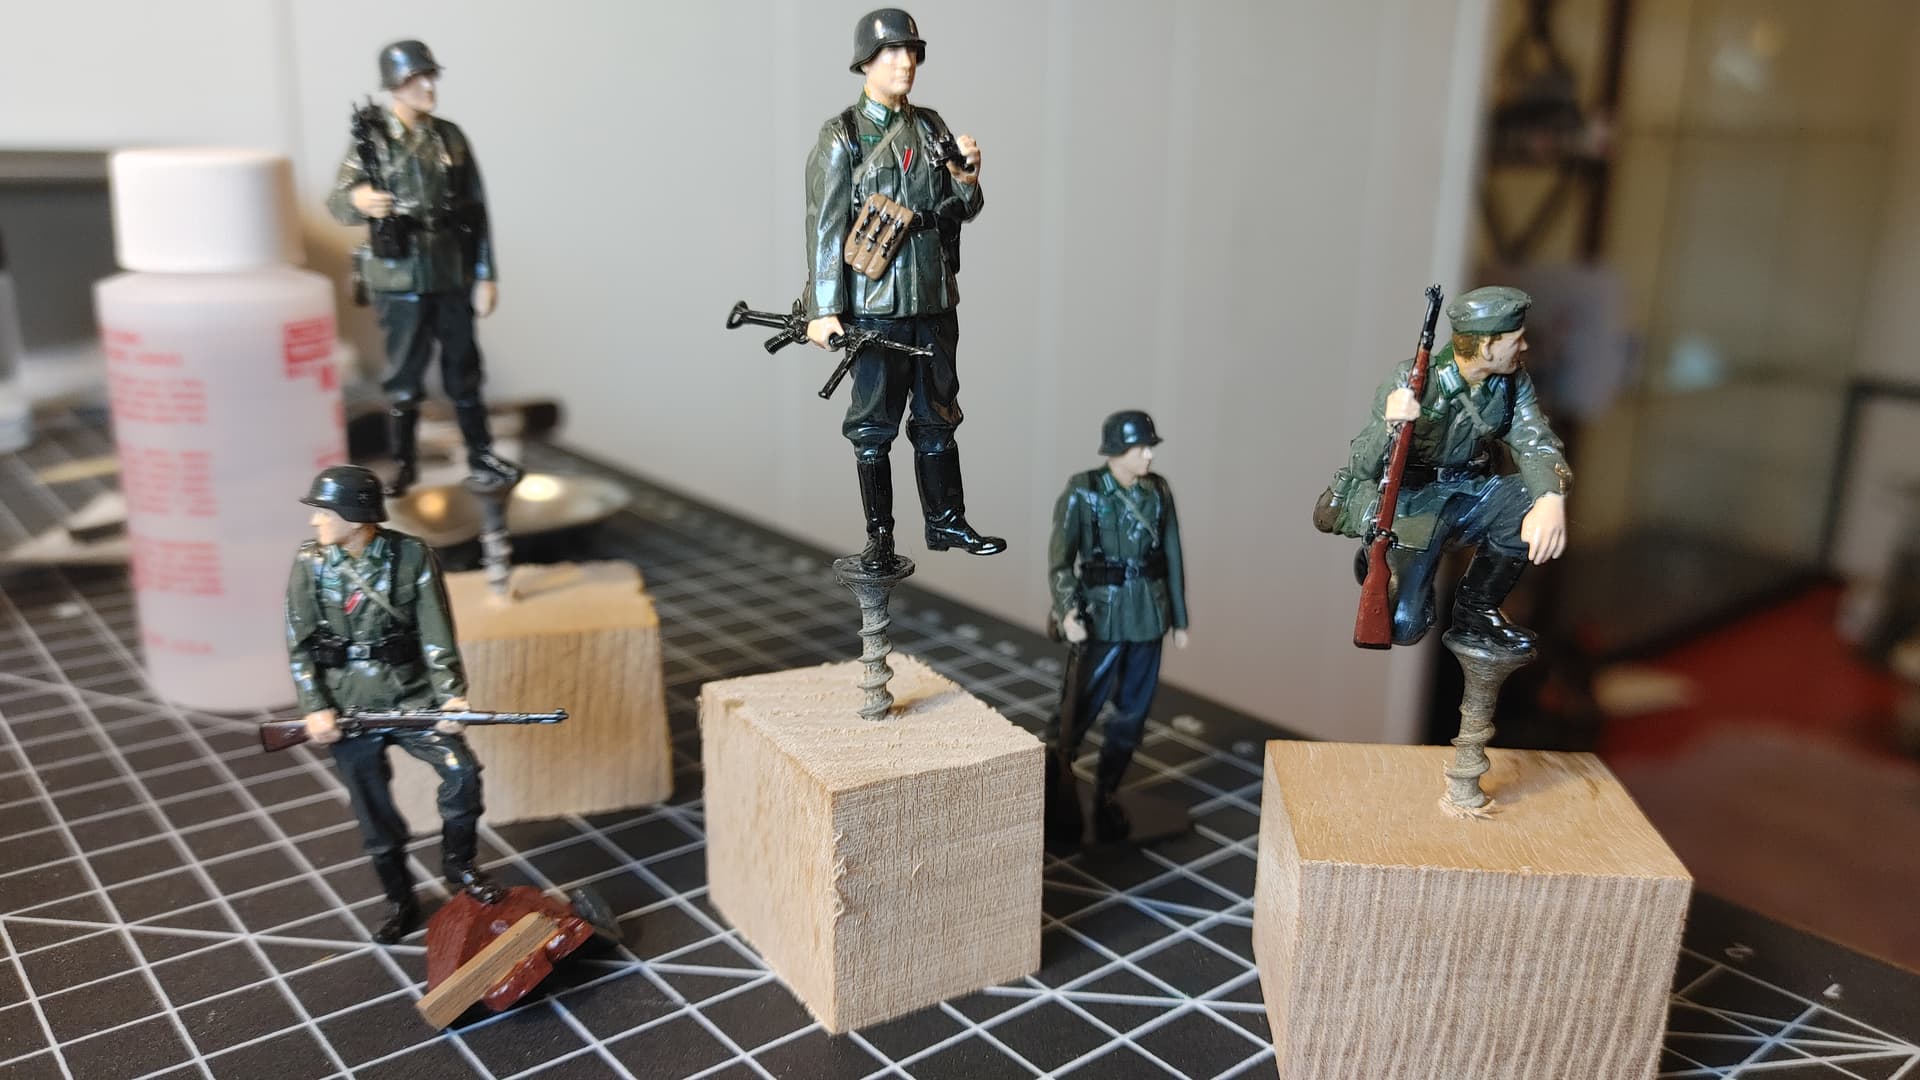
Referencing the box art, I think we have an NCO/Feldwebel (center) that will get the bordered Schulterklappen with the ‘dot’ at the shoulder. My understanding is an NCO Feldwebel was a squad leader established based on merit or need.
Not sure how to combine the other Schulterklappen (Soldat, Unteroffizier, Unterfeldwebel) with the sleeves (Gefreiter, Obergefreiter).
What would be likely? Gefreiter Soldat? Obergefreiter Unteroffizier? Obergefreiter Unterfeldwebel? The box art doesn’t show the sleeves badges. Would having a Knight’s Cross of the Iron Cross be more likely with any of these ranks? I’ve read a couple articles but thought I’d check here also. THANK YOU
This wikipedia in German could give some insights.
The variants of Feldwebel were a higher rank than variants of Gefreiter.
Note that the Feldwebel ranks came in two variants, those destined to stay non-commisioned officers and those on the career path to become officers (Offizieranwärter) The Offizieranwärters had Fahnenjunker added to their rank, from Fahnenjunker-Gefreiter up to Fahnenjunker-Stabsfeldwebel.
Great, thank you! I’ll pour over this info, may have a specific question or two later
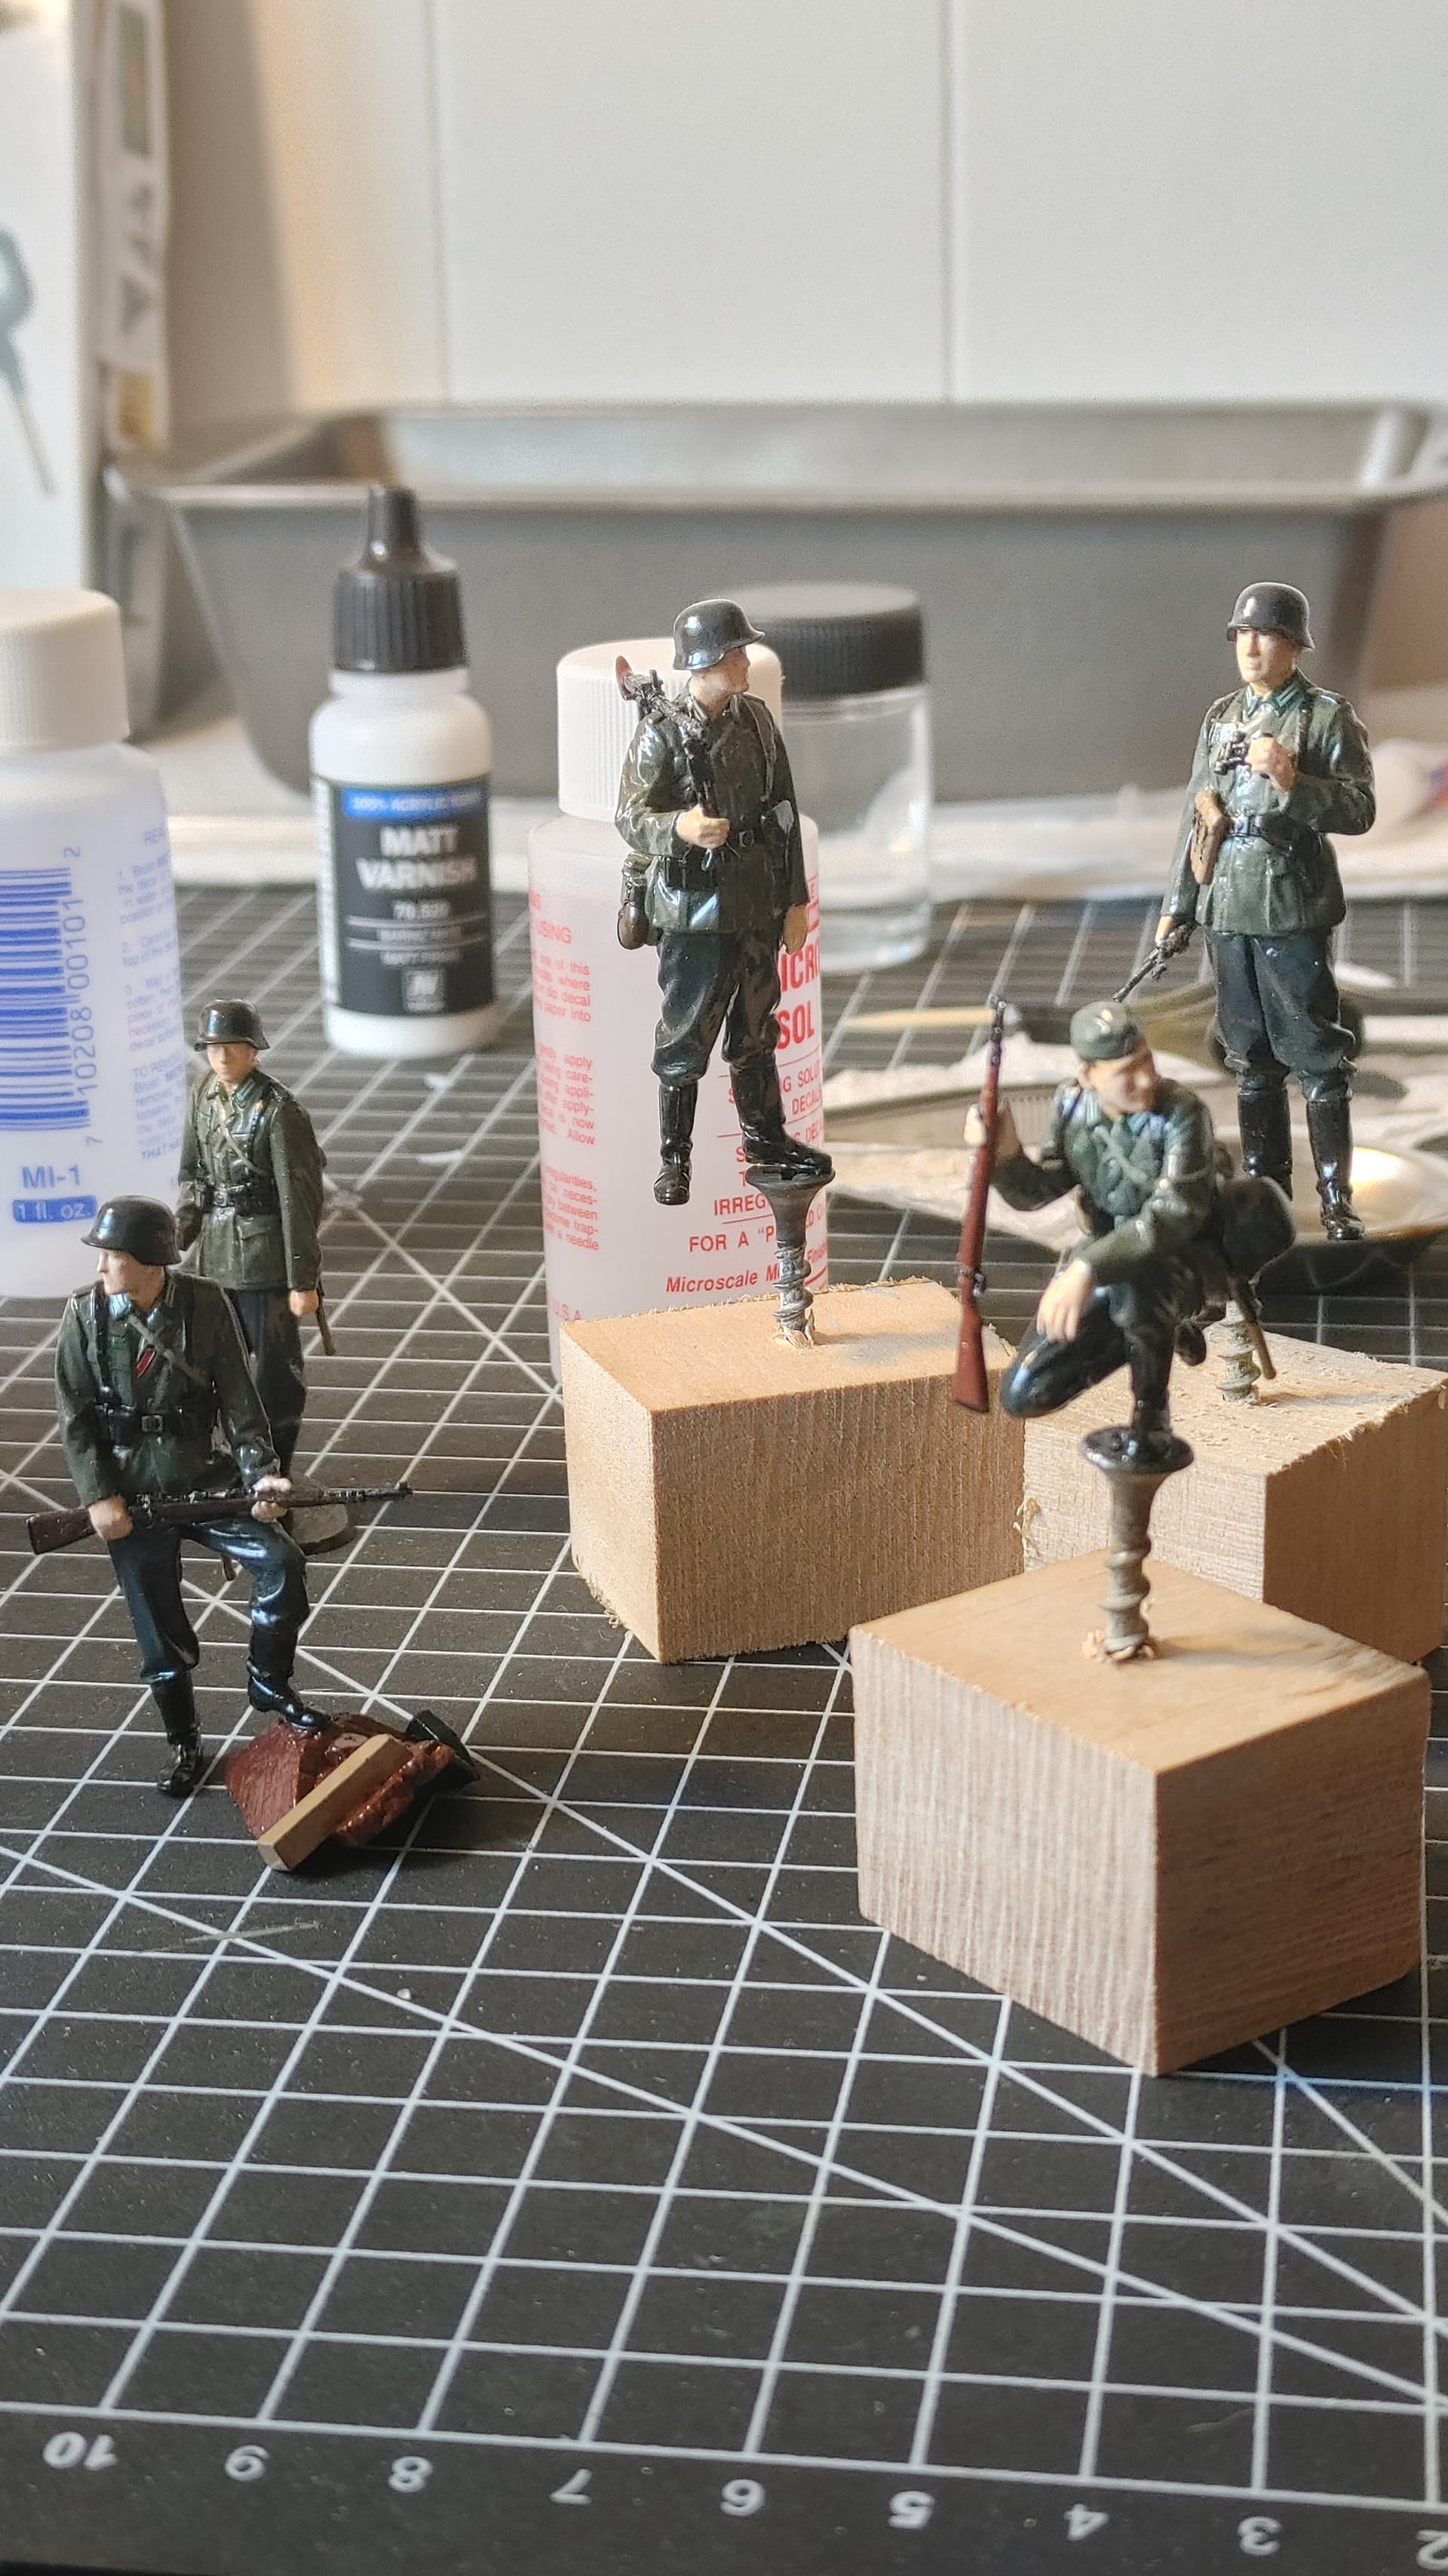
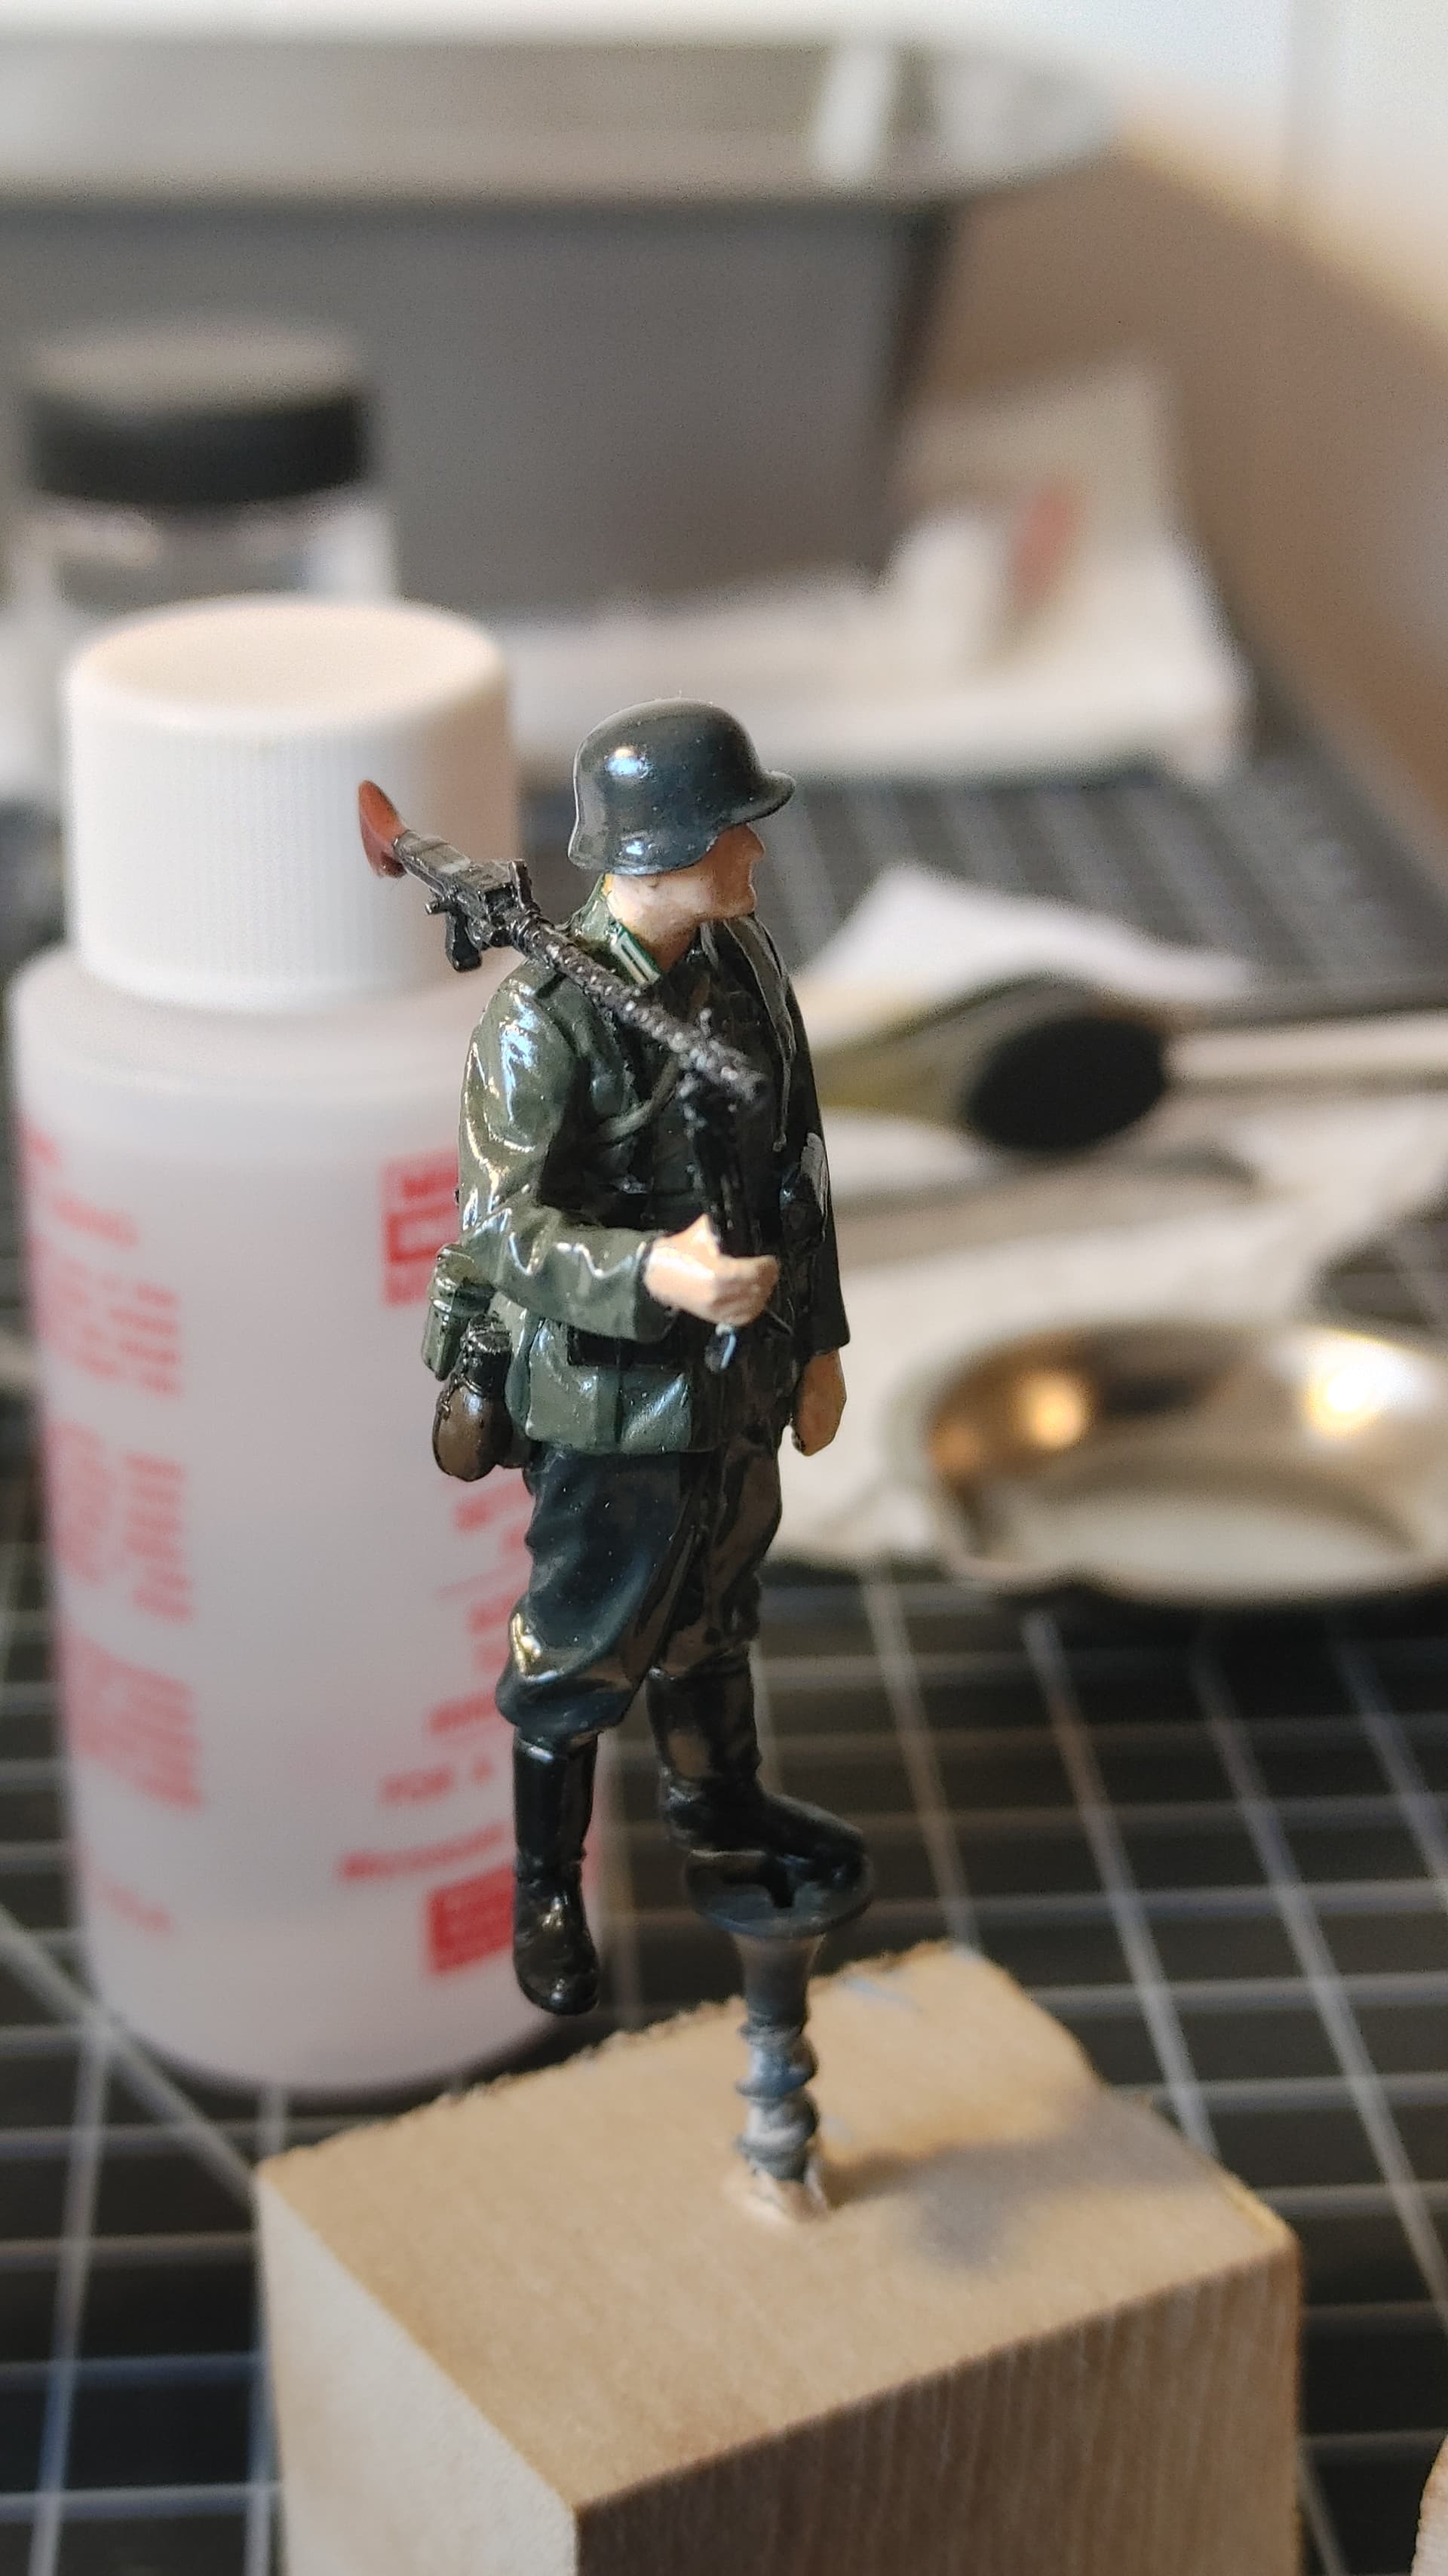
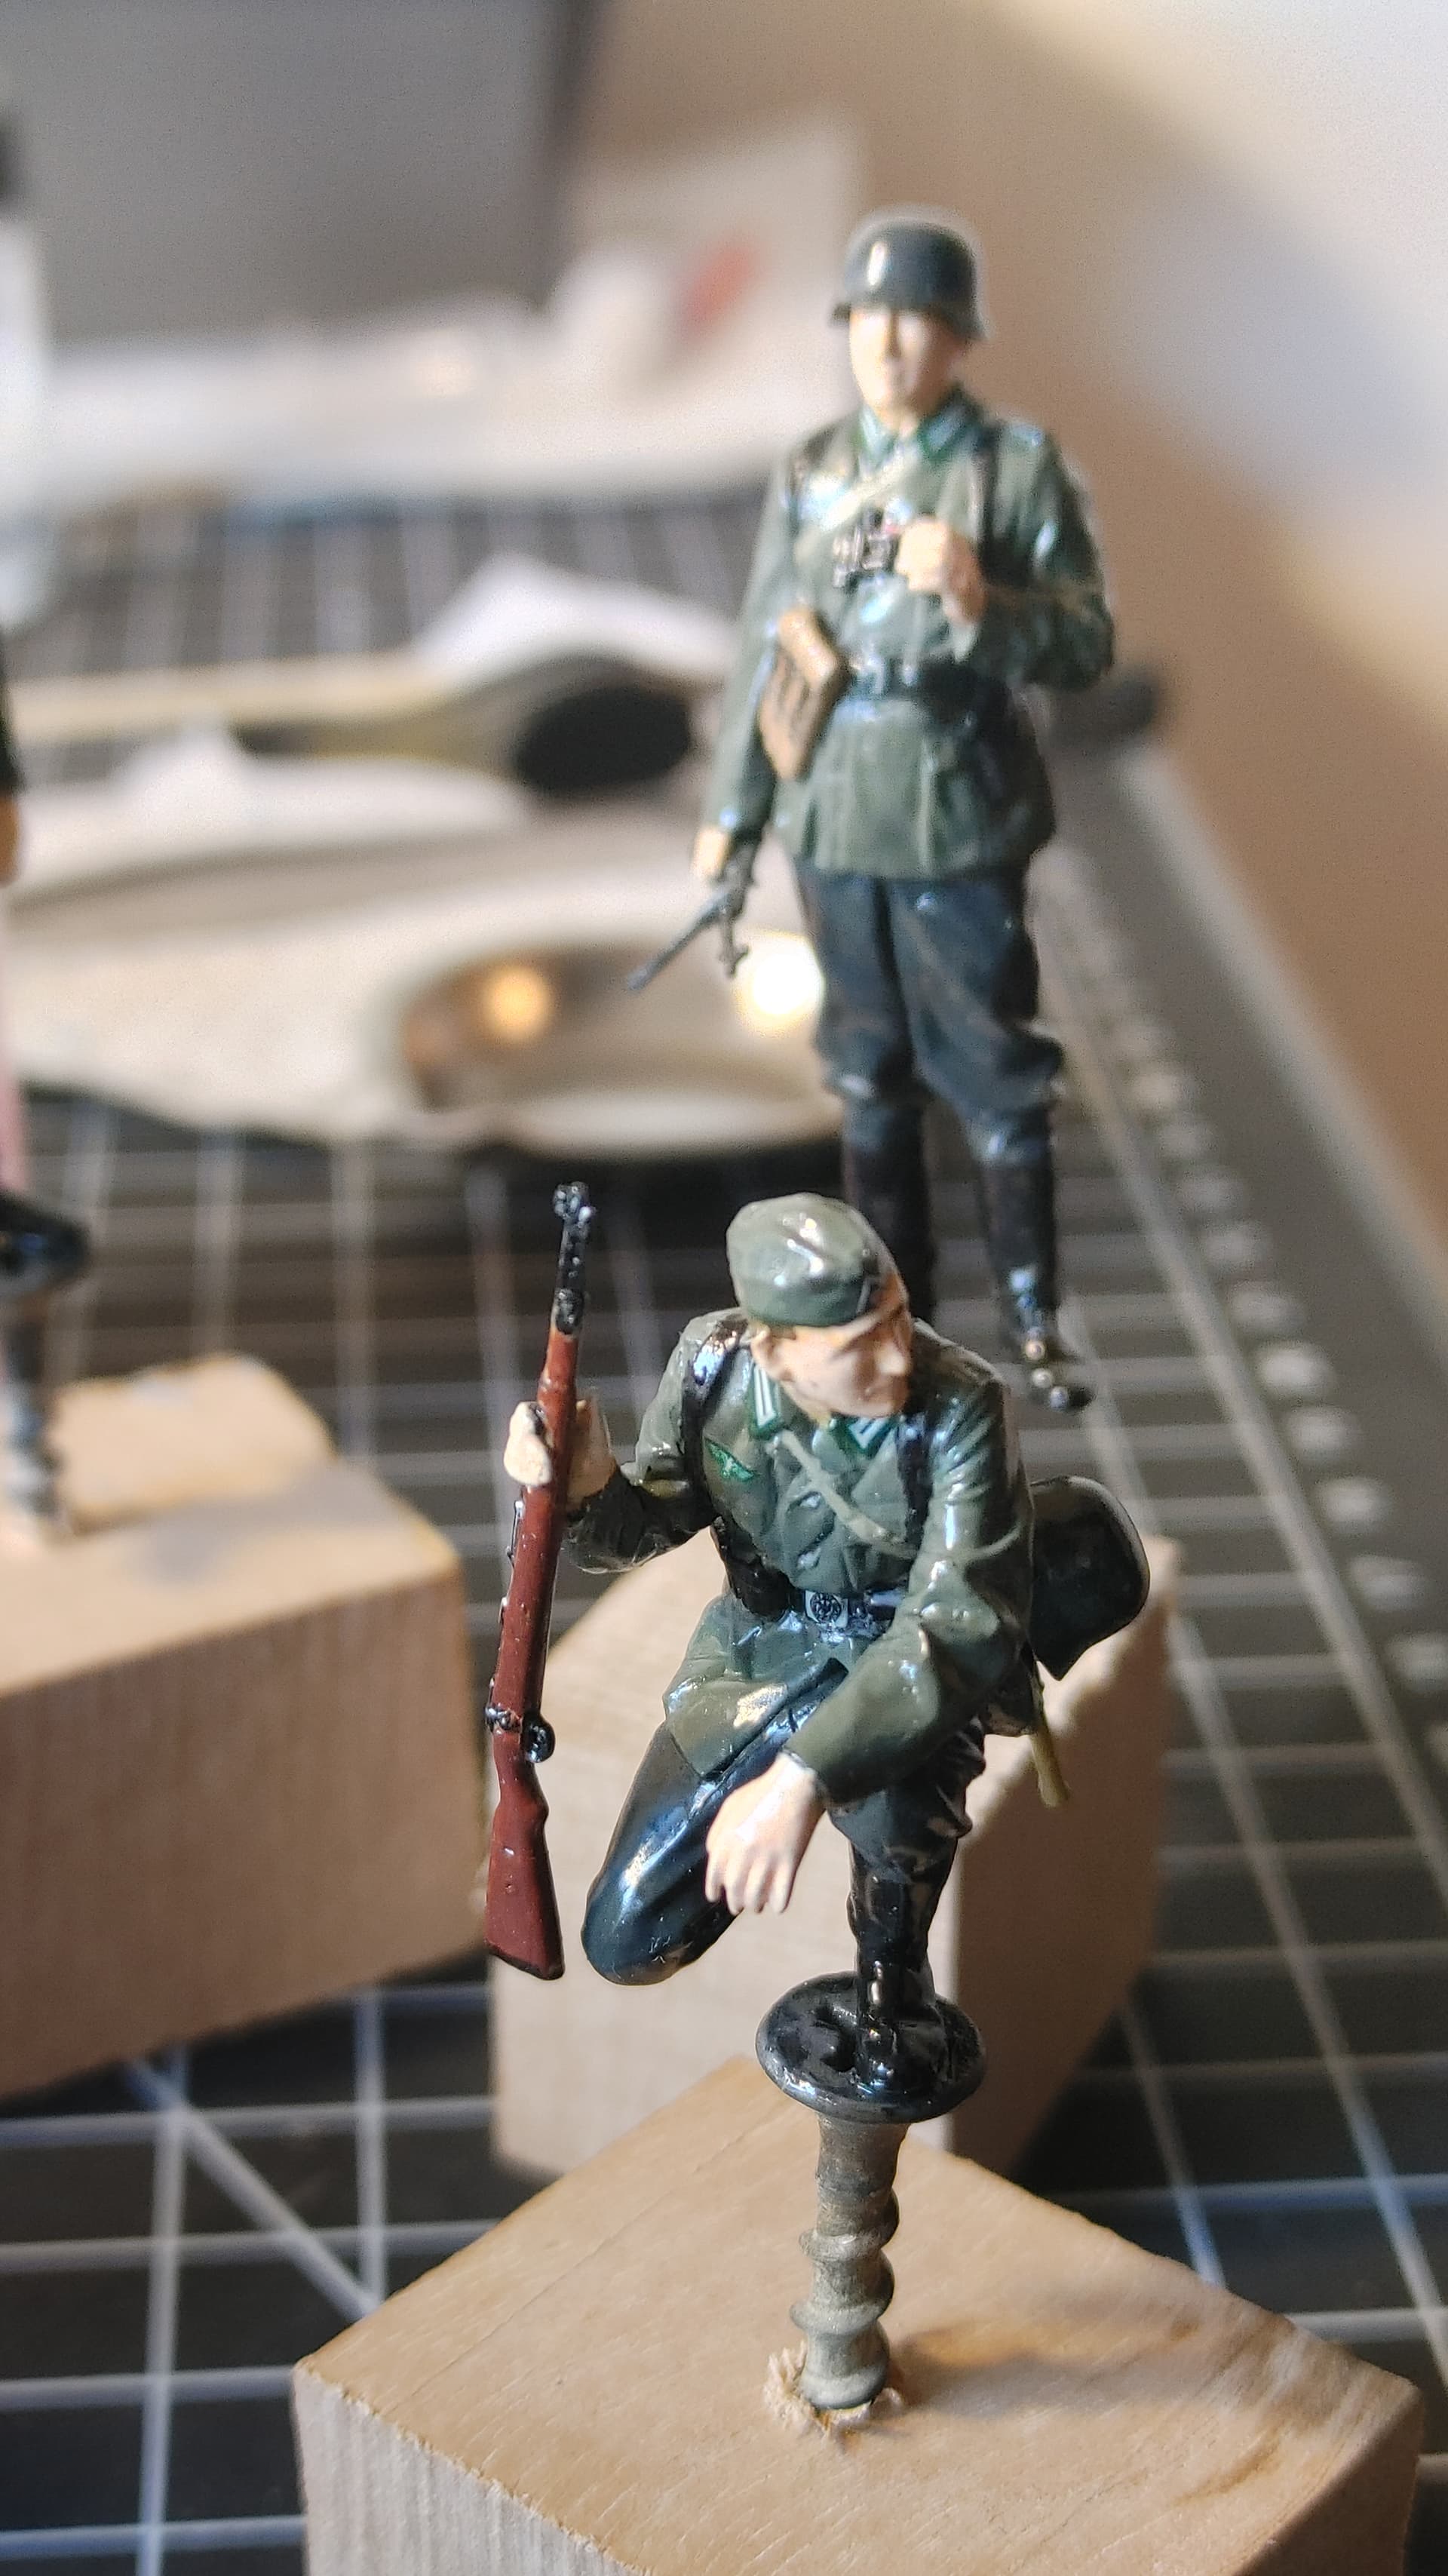
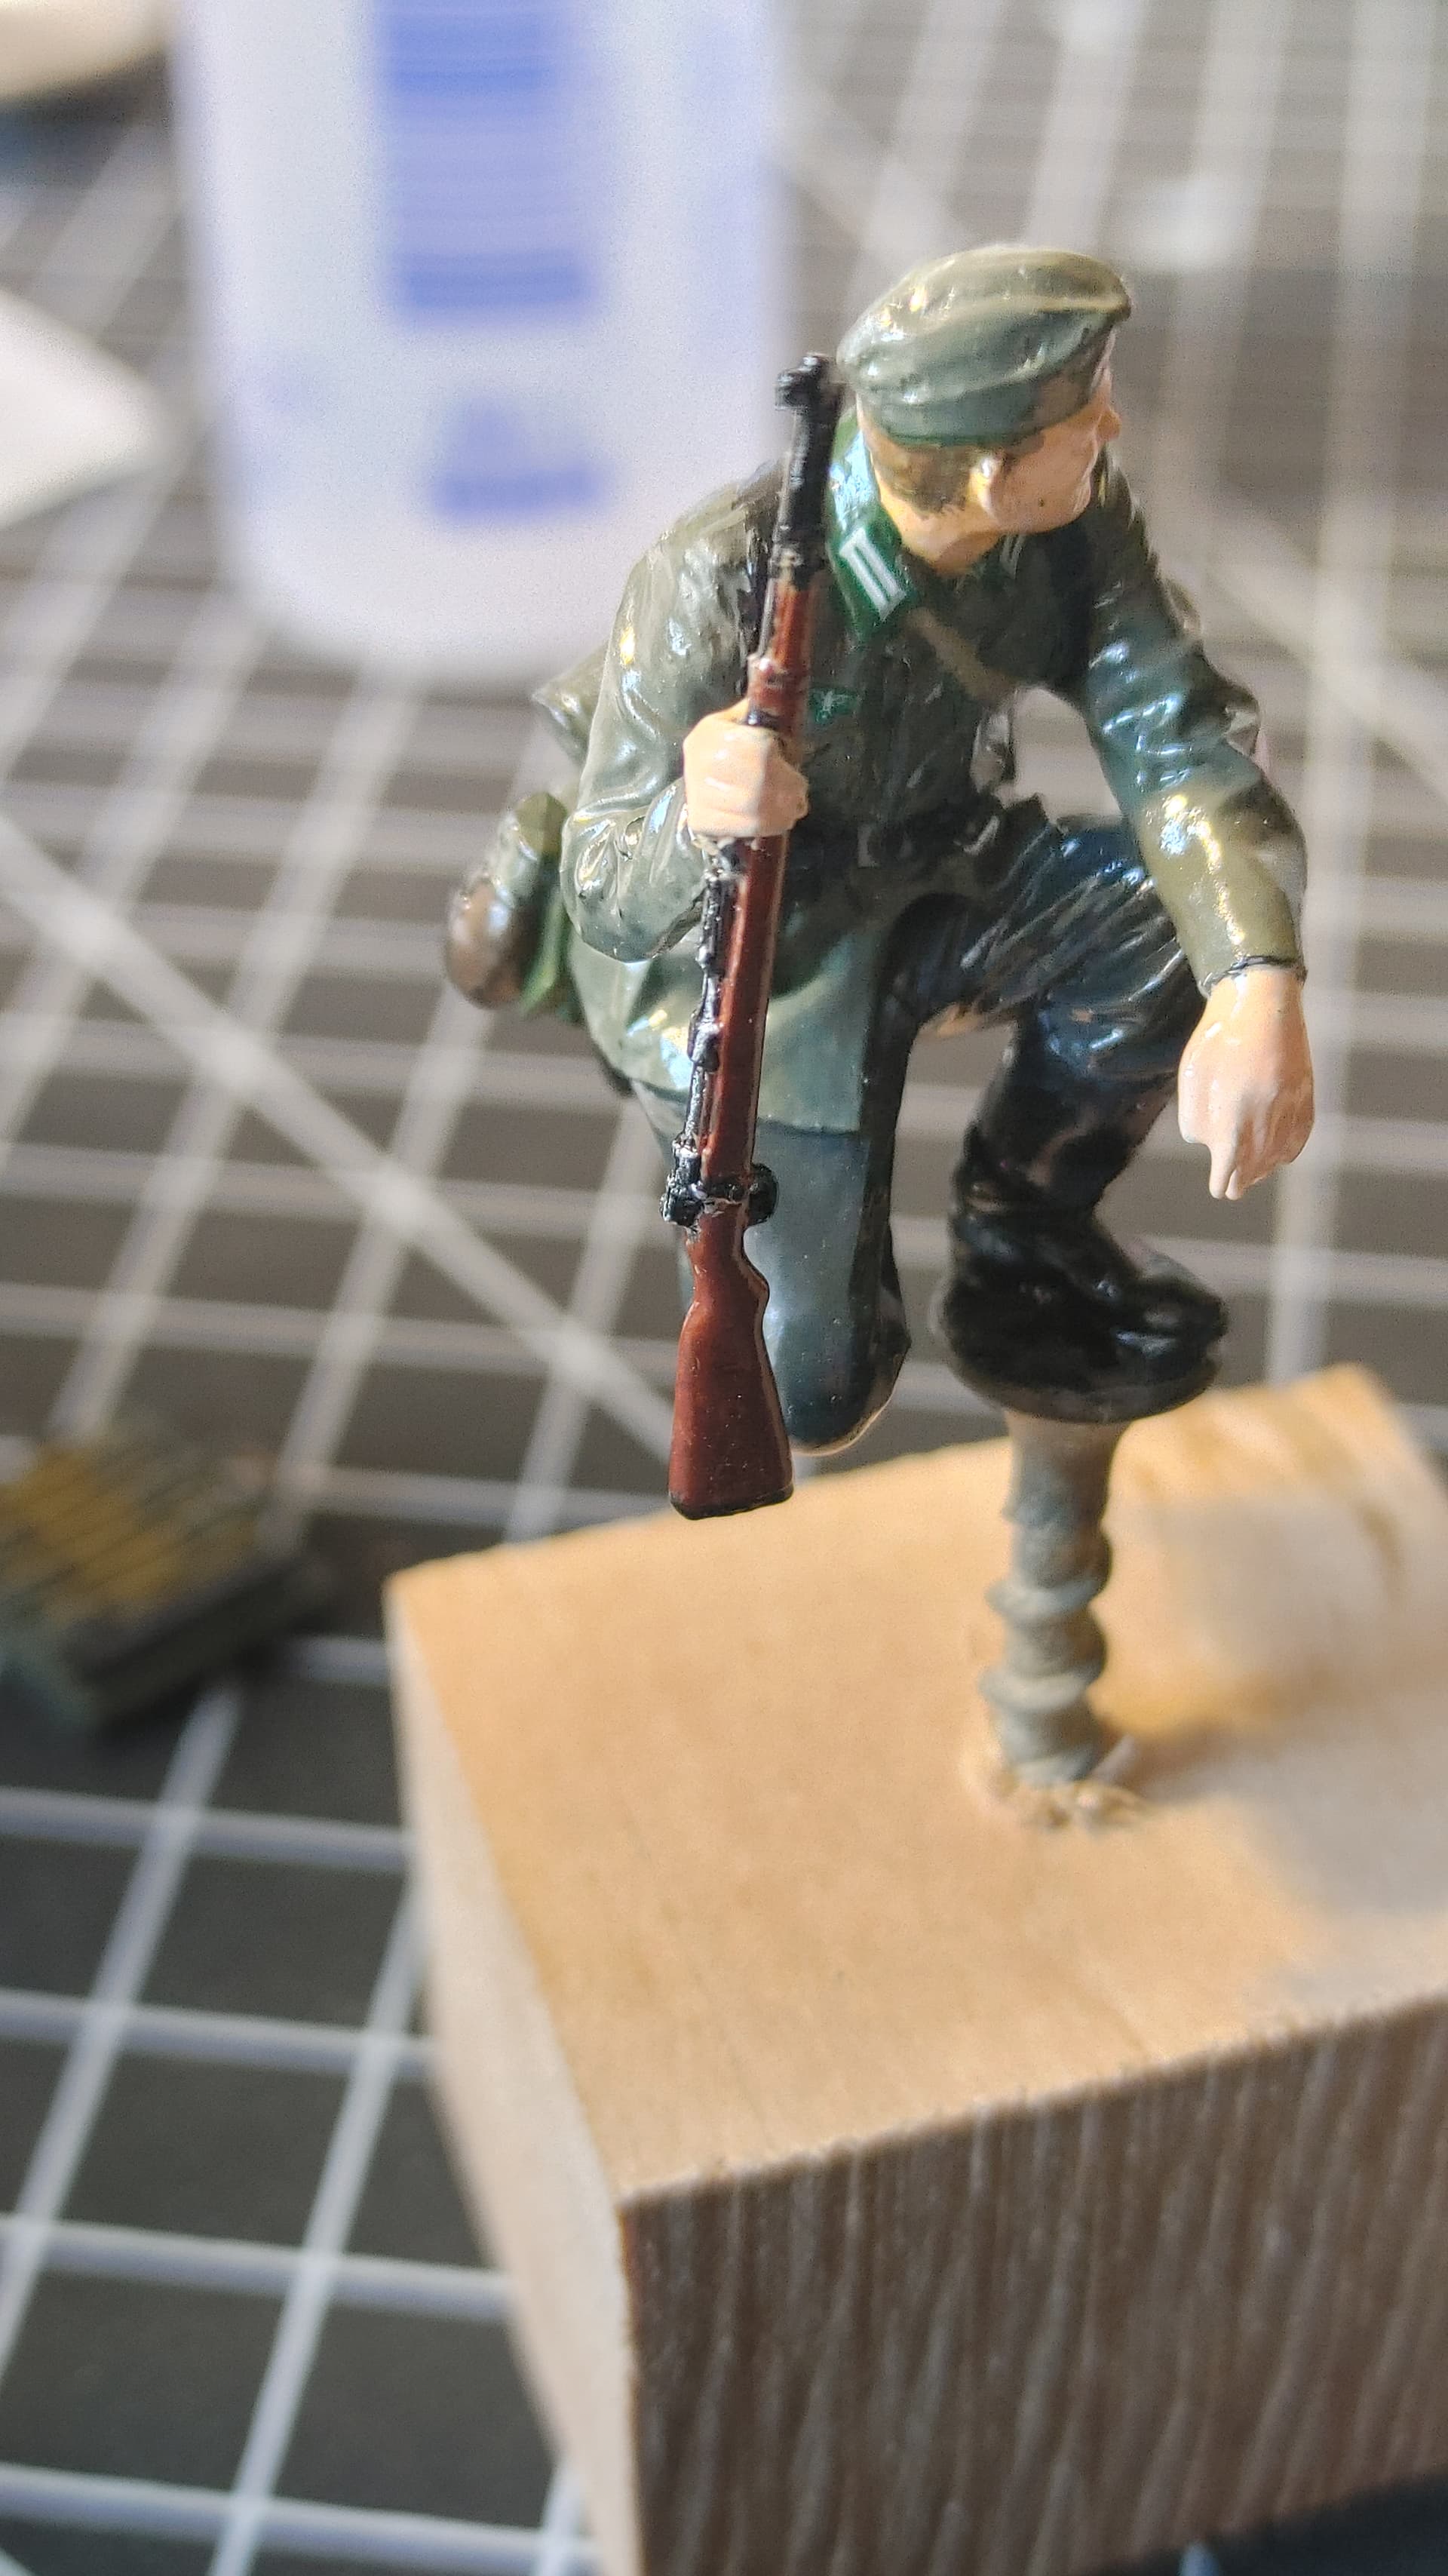
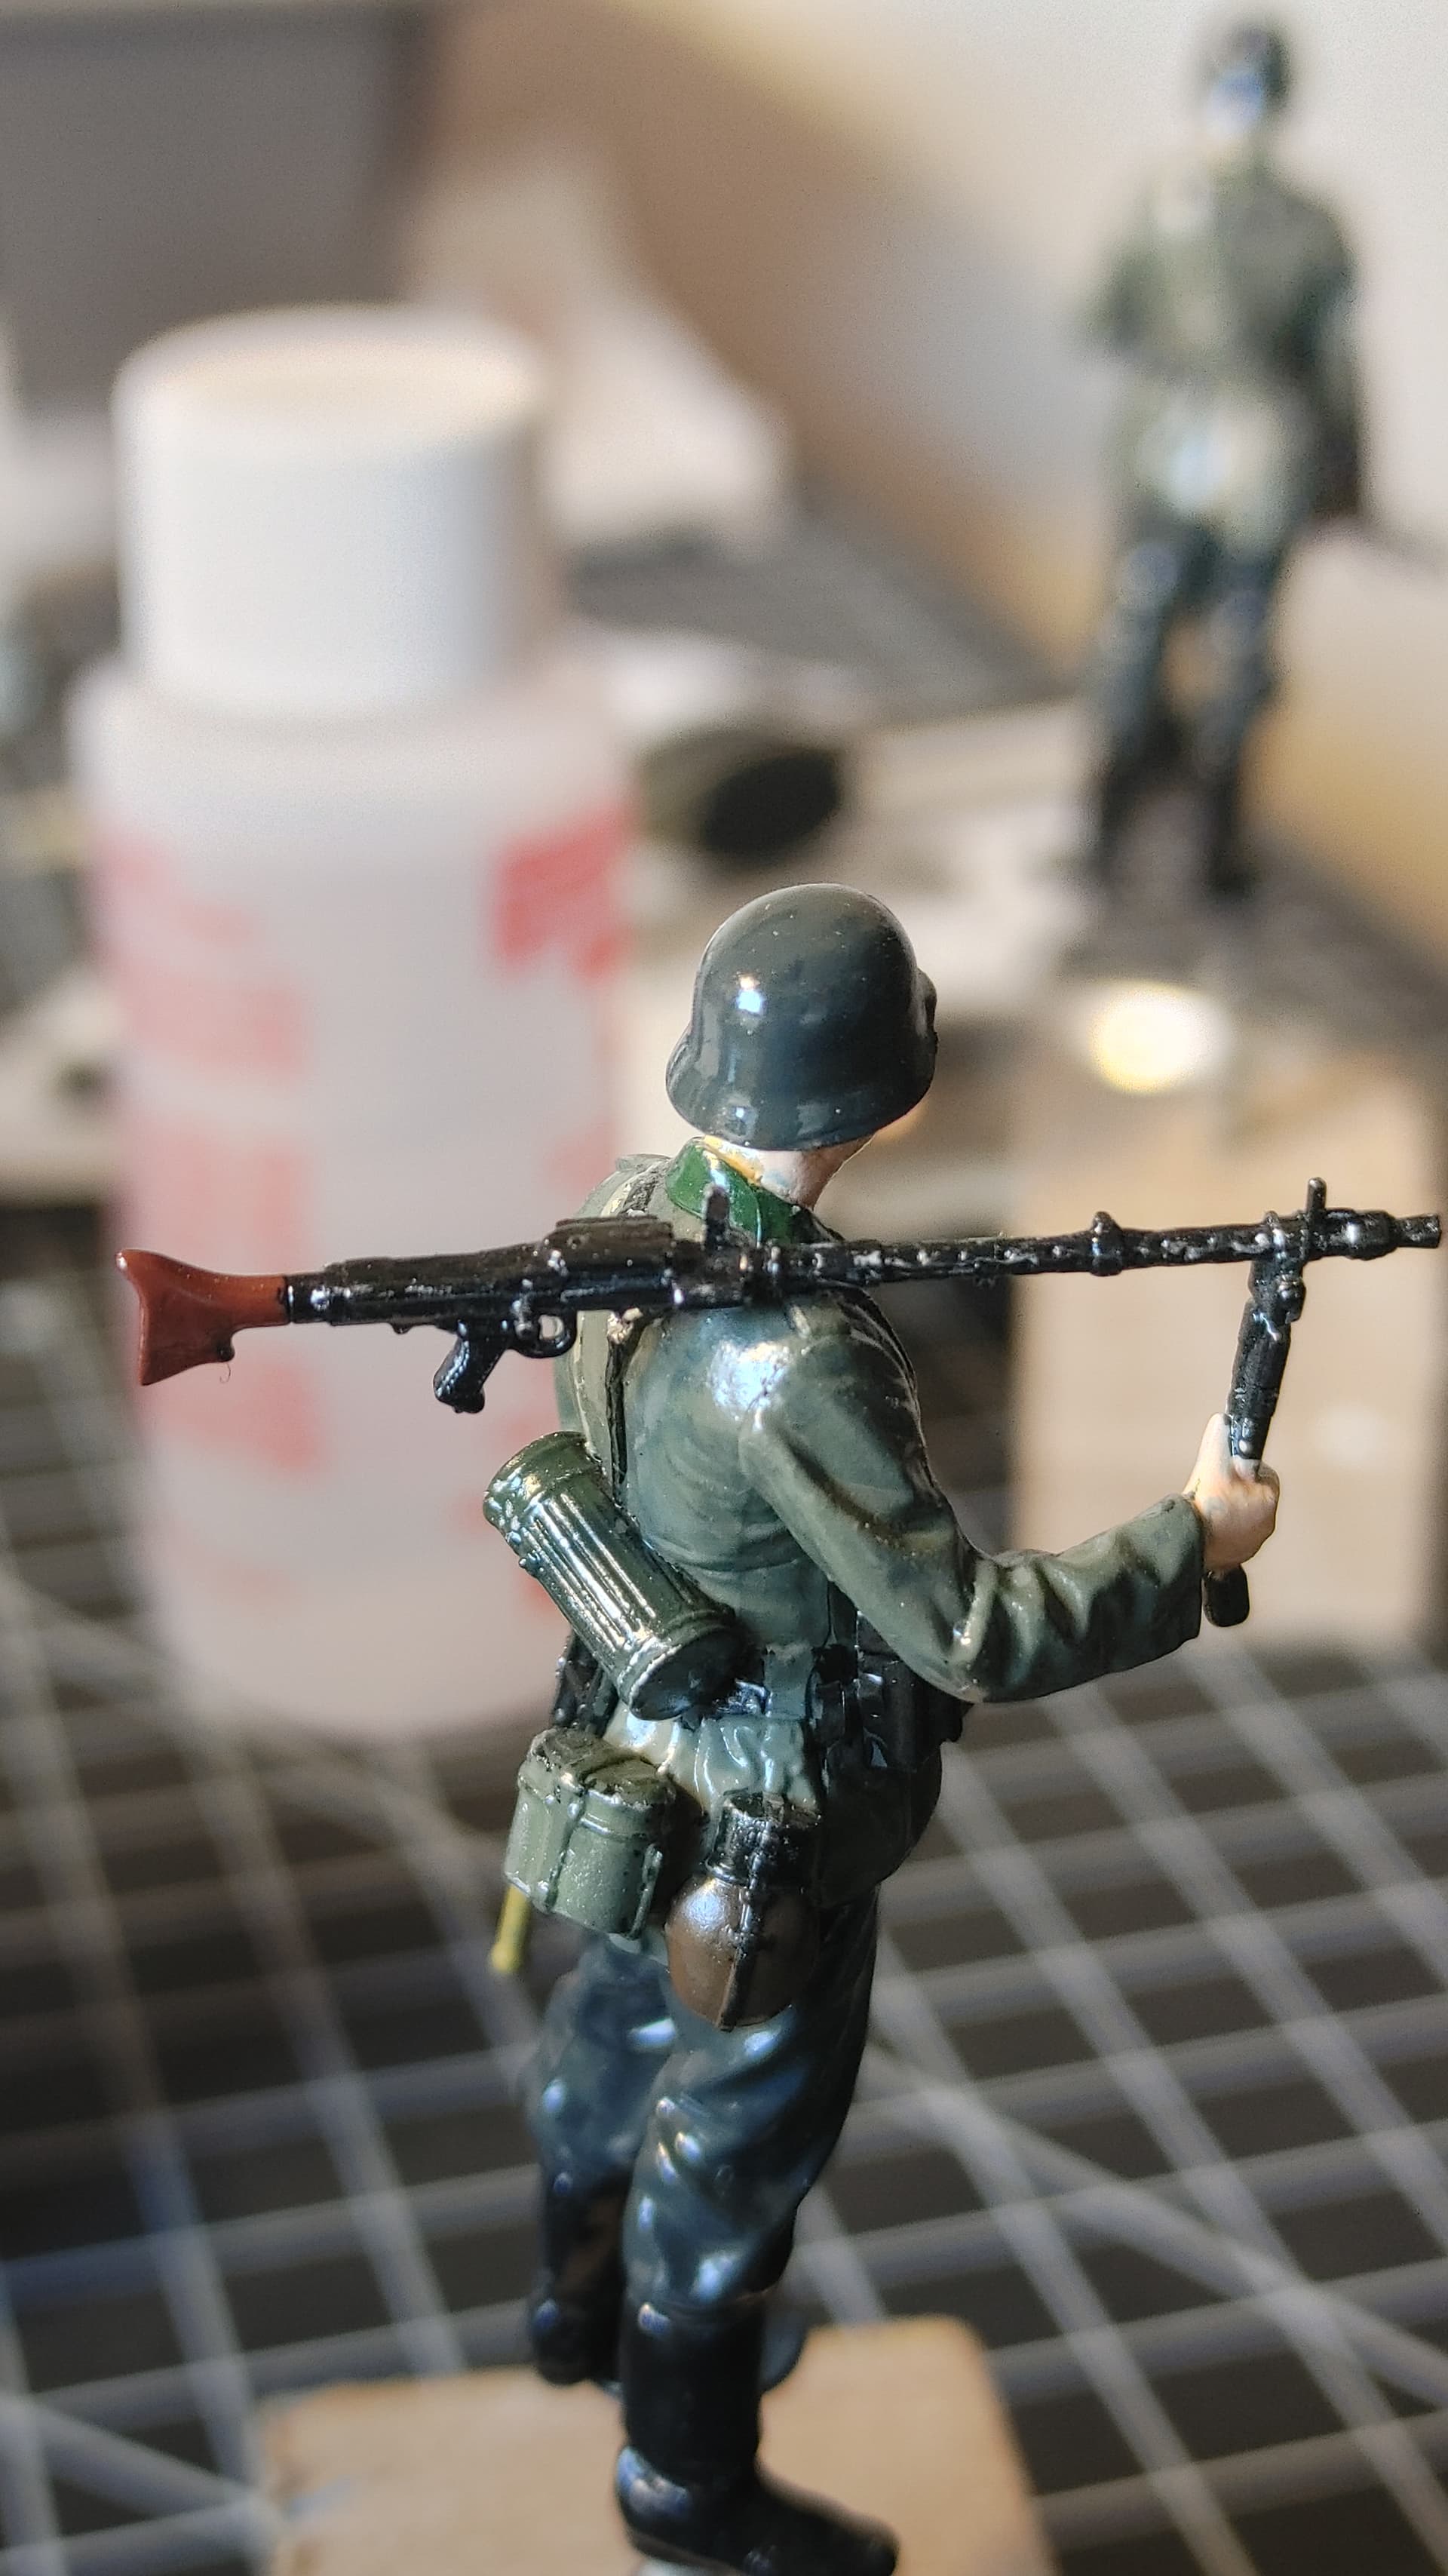
In the meantime here is my current progress. First time ever doing figures. This is during decaling right after gauzy agent (never used this before). After decaling I plan to dark enamel wash and thin/touch up with white spirit, then matt varnish. First time trying techniques like dry brushing metallic paints also. This has been very tedious Overpaint, correct, correct overpainting during correction, etc. lol. Some of the smallest decals I’ve worked with also… obviously these have been sitting out also, that zoom lens really picks up every dust spec. Oh and I chose to leave out eyes this time around after trying - too wacky looking. Also saw another discussion where folks were omitting eyes, saying that their visible portion only takes up like 6% of the face, and some folks focus on facial ‘color zones’ (yellowish up top, red/pink mid, bluish grey lower/chin areas). I just went with Vallejo’s Basic Skin Tone in the end. Might avoid black priming skin areas in the future also, too much work covering up the black.