Forget what you’ve seen on YouTube. Well, okay, I only watched two (after the fact) but I found neither of them yielded the same results I want.
Your first option for a small vignette -Go to accurate-armour.com. Yes, for a small number this set is worth the price:
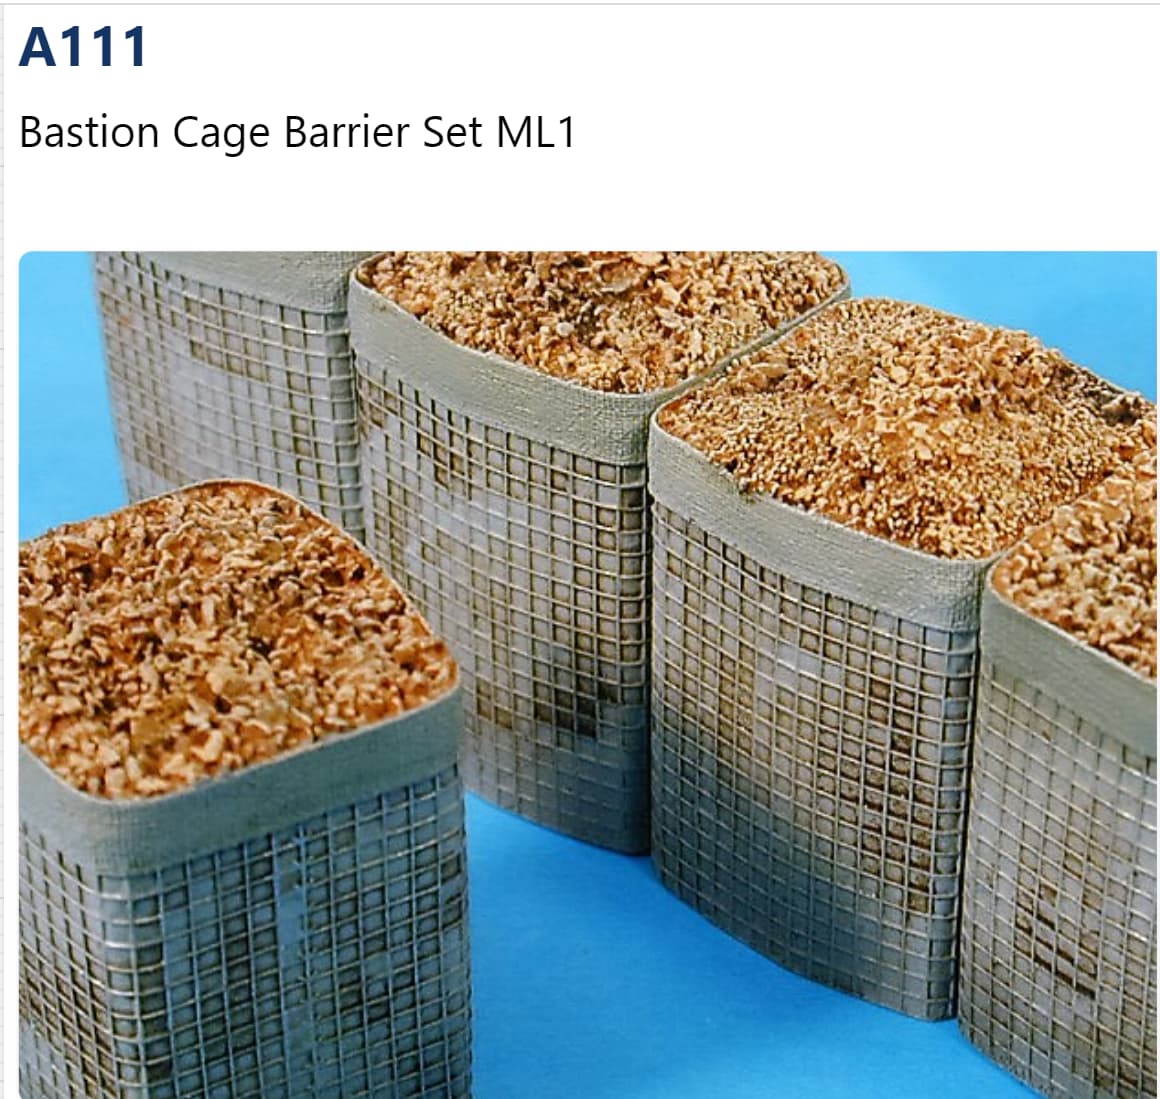
There are other commercially ones available, but I’ve seen them, and they are horrible.
If you need more, as I did, (roughly three hundred) your second option is the same as option one, along with an Alumilite Casting kit from someplace like Hobby Lobby.
Make yourself a couple of these:
You can see where I used Legos for forms, but that’s covered in someone else’s tutorial somewhere.
Now you can make as many as you want:
I did this not so much as a cost saving measure, but more as a way to reproduce more variation in the Hescos. Although Accurate - Armour advertised six different bastions, I actually received two sets of three. I’m not complaining though. You can always add more sand, gravel, detritus, etc. to vary the tops as much as you want. No, I cast them because I discovered when reproducing the Verlinden 500 gallon fuel bladders that if I hollow cast them I could heat them up, collapse them, partially collapse them, or leave them as is.
With the Hesco Bastion molds all I have to do is squeeze the mold as the casting is curing to bulge it out more, or heat it after it’s cured to cave it in to look as if it got hit by a vehicle, or rocket if you spent any time on my team. Thinking back, during moments of jackassery, we did indeed crash vehicles into them as well. I even have a video of me shooting one with an M203 from way too close.
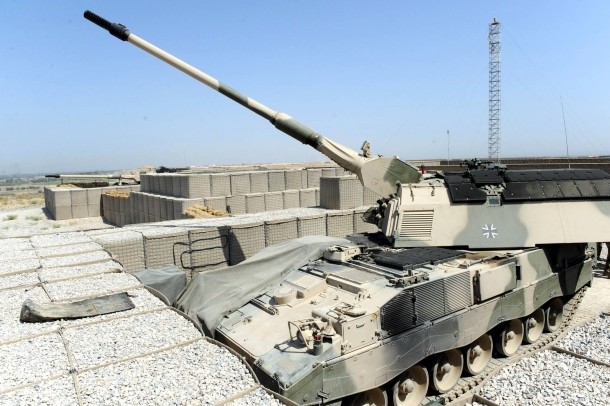
Now suppose you want a different size? That brings us to option three, which I find the most rewarding - making them yourself. One of those YouTube videos I watched actually covered a method I originally tried. I was doing some renovating when I discovered the plastic mesh, complete with its own stickum. If you want quick, easy Hescos but aren’t necessarily concerned with accuracy, this is for you. Wrap them around a cube and call it good. These are the small 1 meter cubed Hescos:

The problem for me is that the mesh has a distinct flat profile, but the bigger problem is the size of the mesh. Far too large. But still not bad. I tossed mine and found better mesh.
This is when having a table saw comes in handy. Rip the wood to the size you want. And I say wood because if you use foam as recommended in another video, you probably won’t be pleased with the texture unless you hide it first.
Wrap with screen, then add a border at the top. I made a mistake, as did Accurate Armour, by using bandage tape. It looks great, but the Hesco site clearly states they use a non woven polymer. You can definitely see the woven look to the border:

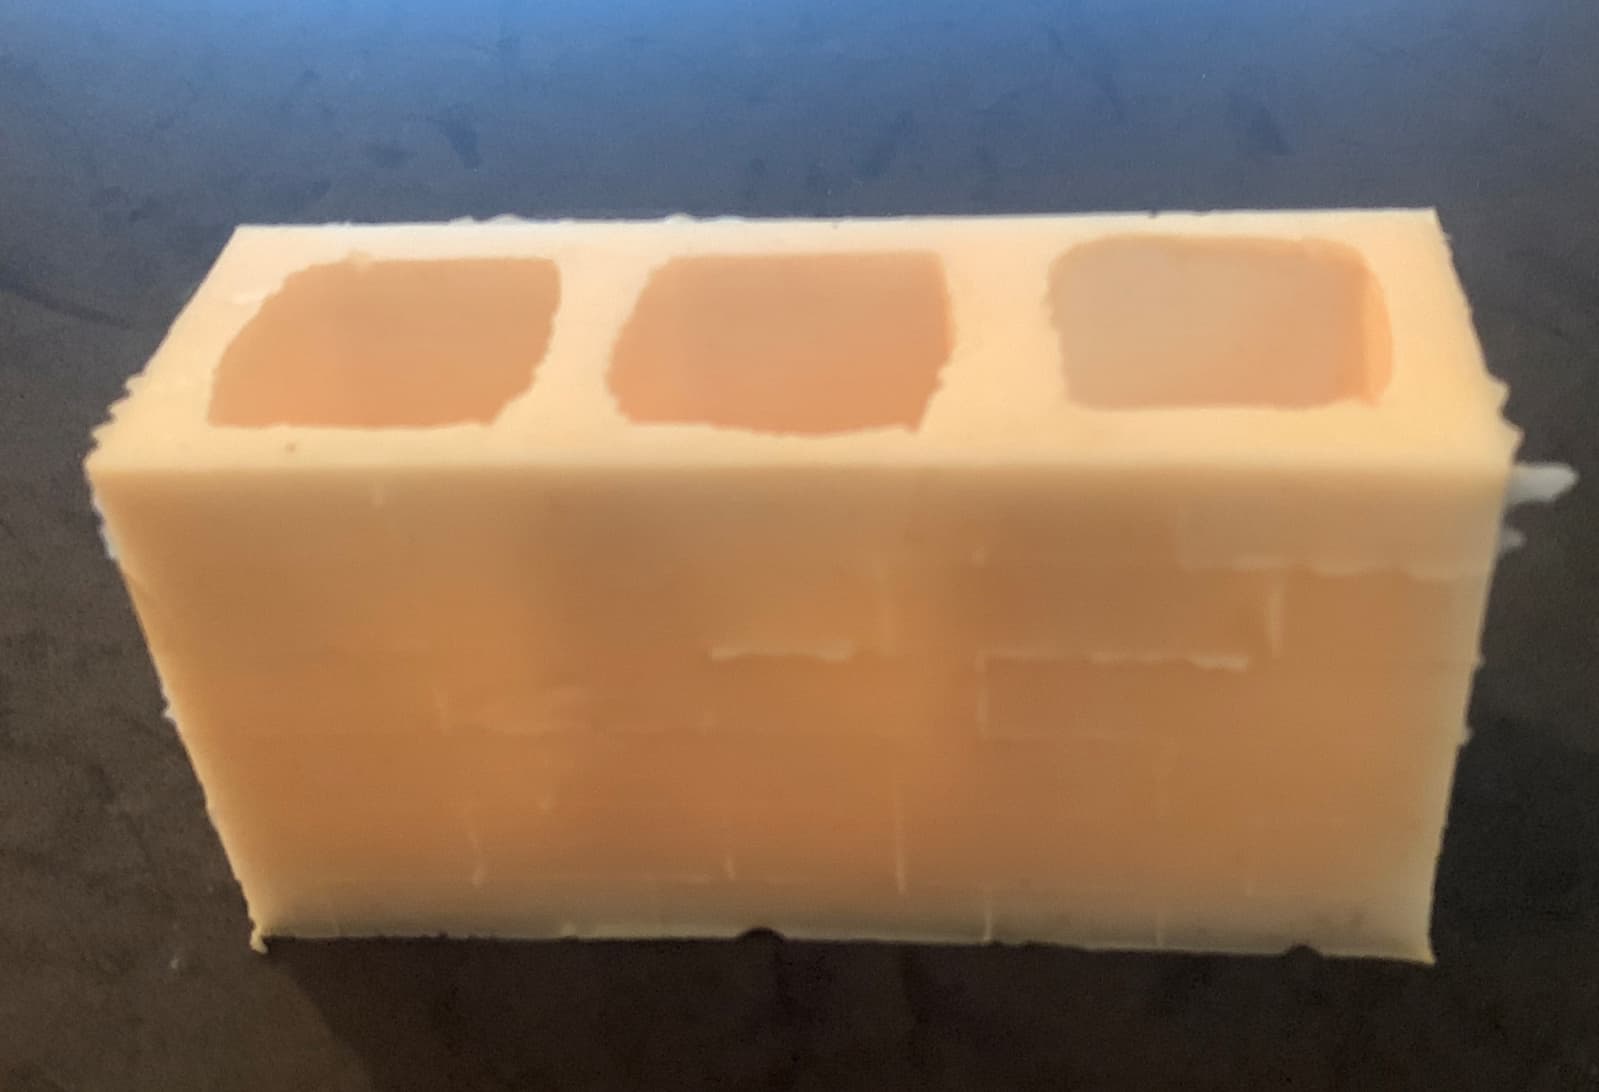
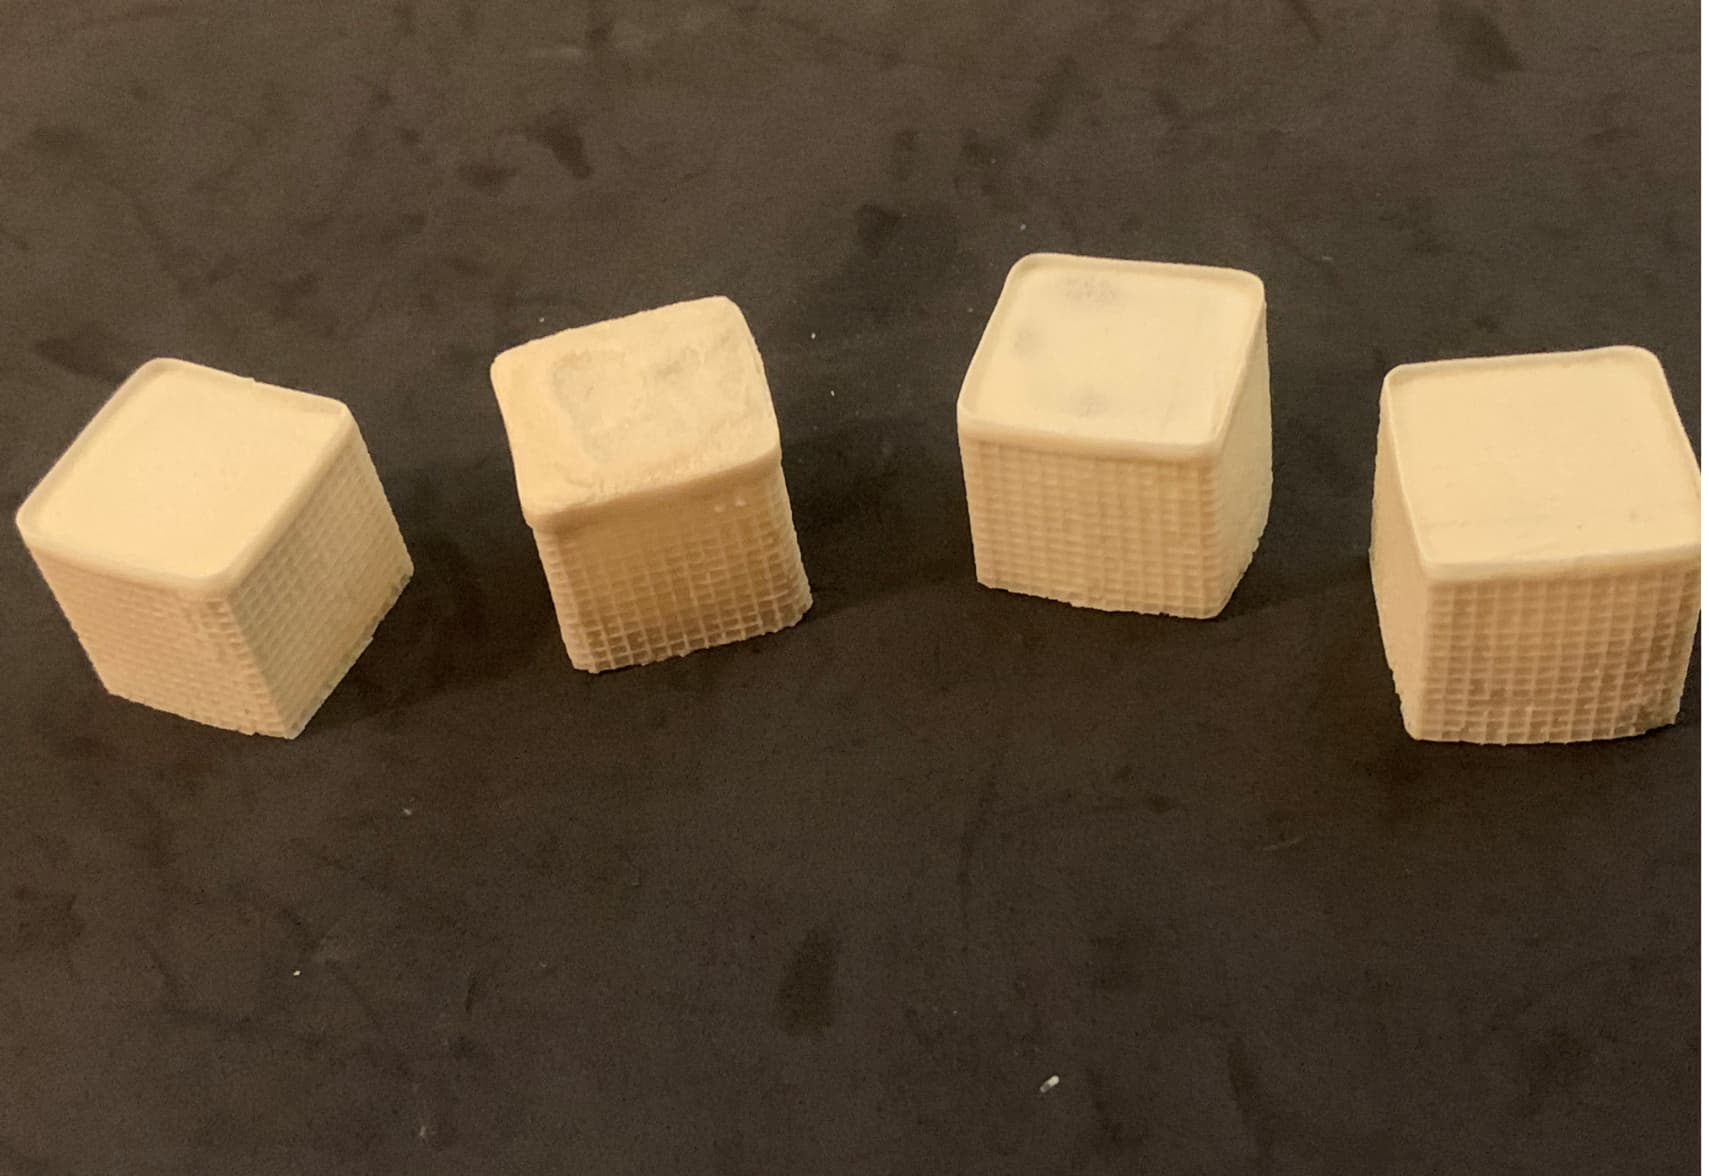
In the future I’ll use something else. My main concern however was insuring the border was higher than the fill. I cast a few with fill, but from now on will just cast them like the one on the left.
You can see that careful casting techniques will yield a very nice, crisp, unbroken border along the top:
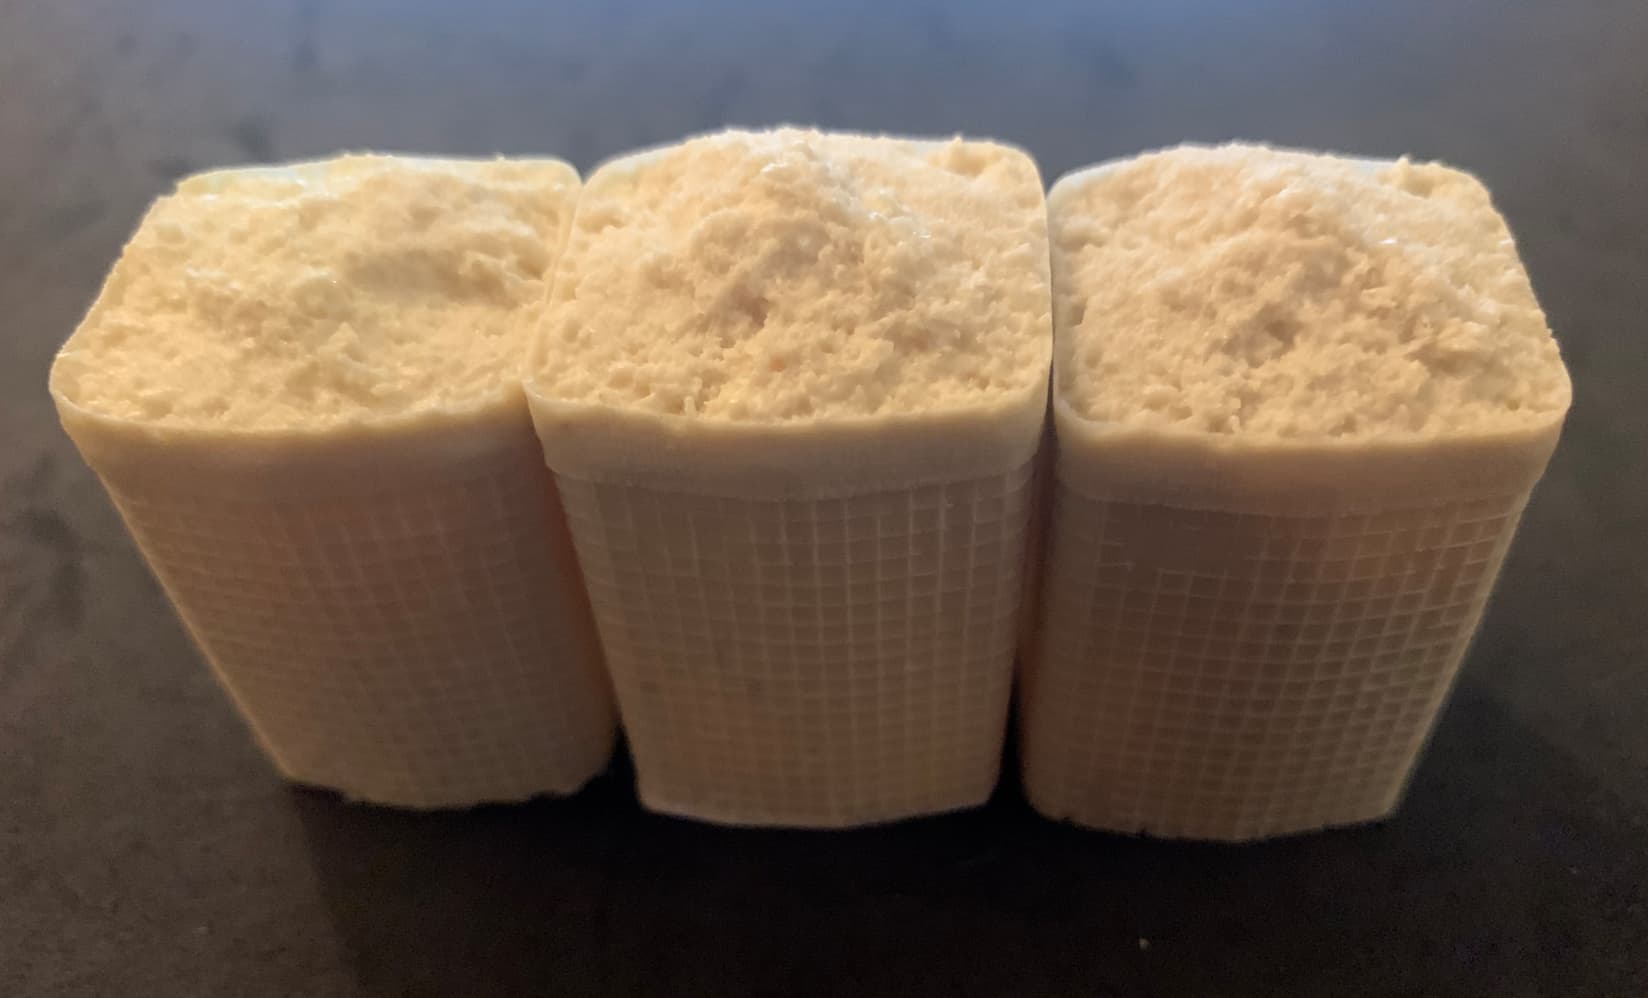
And of course you can group them together in a mold to save time.

The mold in the above example was starting to deteriorate, but that’s not always a bad thing.
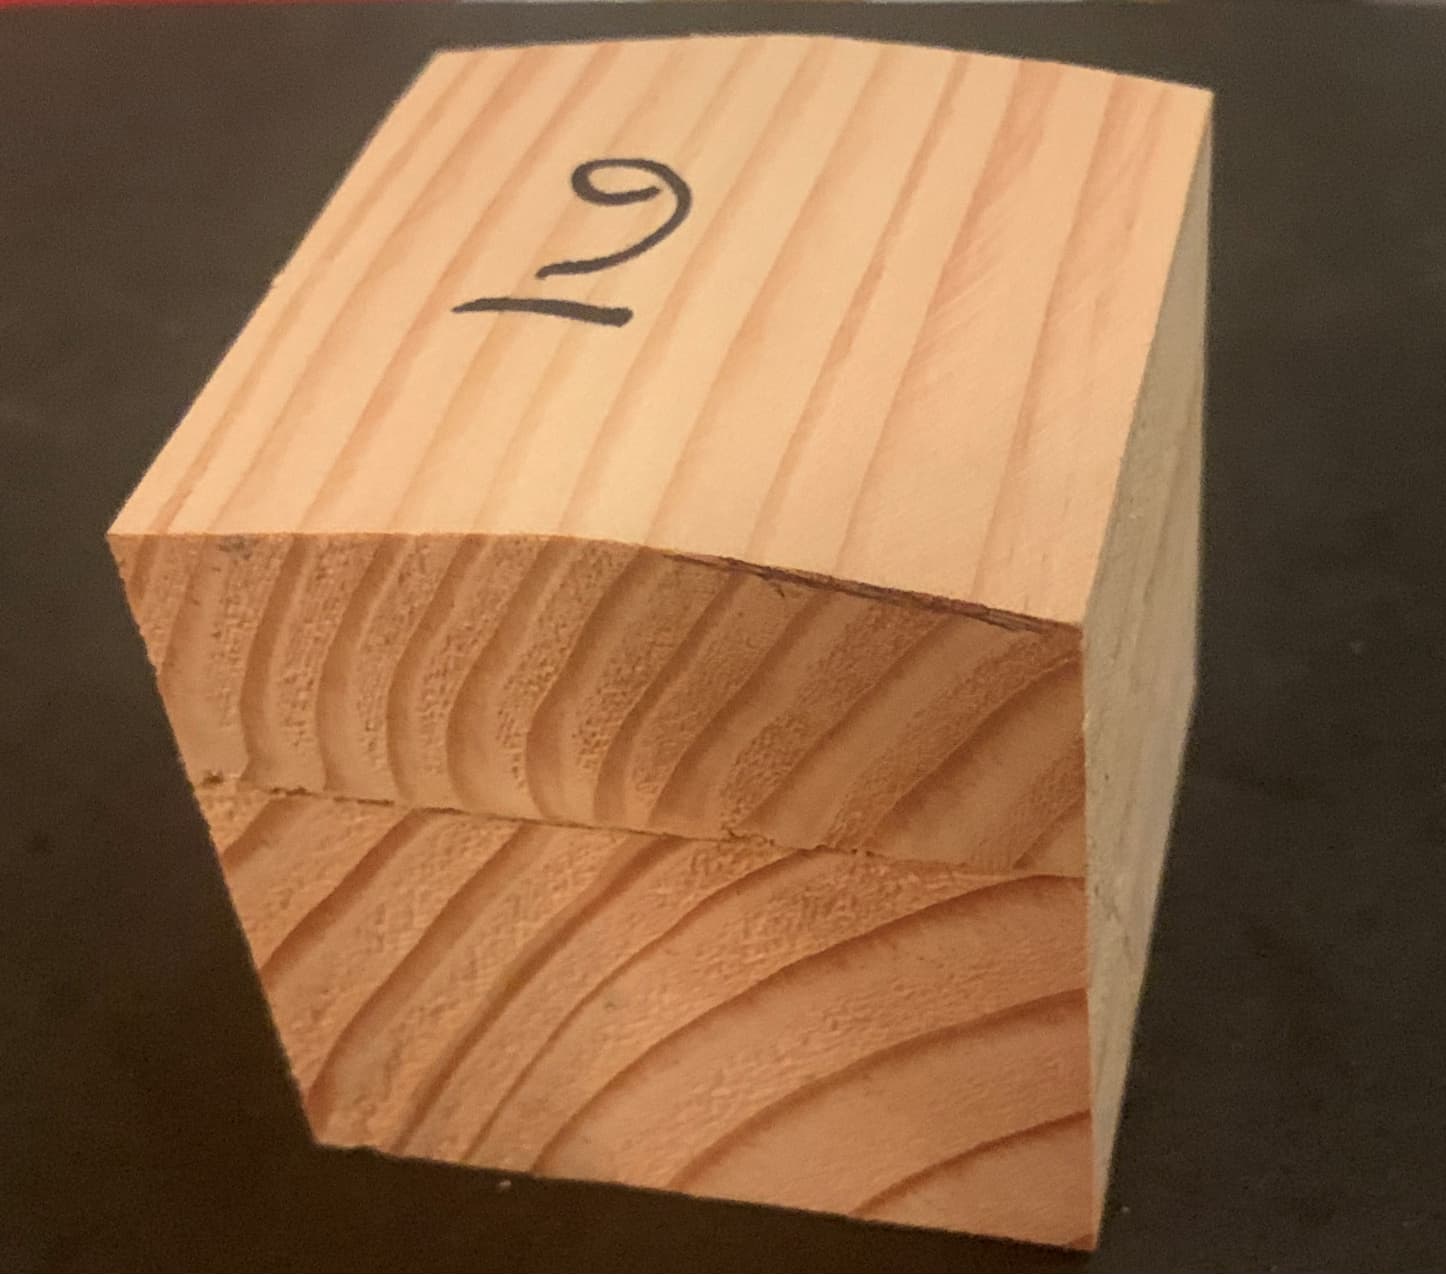
I decided to go back and make more accurate castings of the A-A sized bastions without the weave on top. Same technique as above, but with the bulge added by hitting the block with a belt sander:
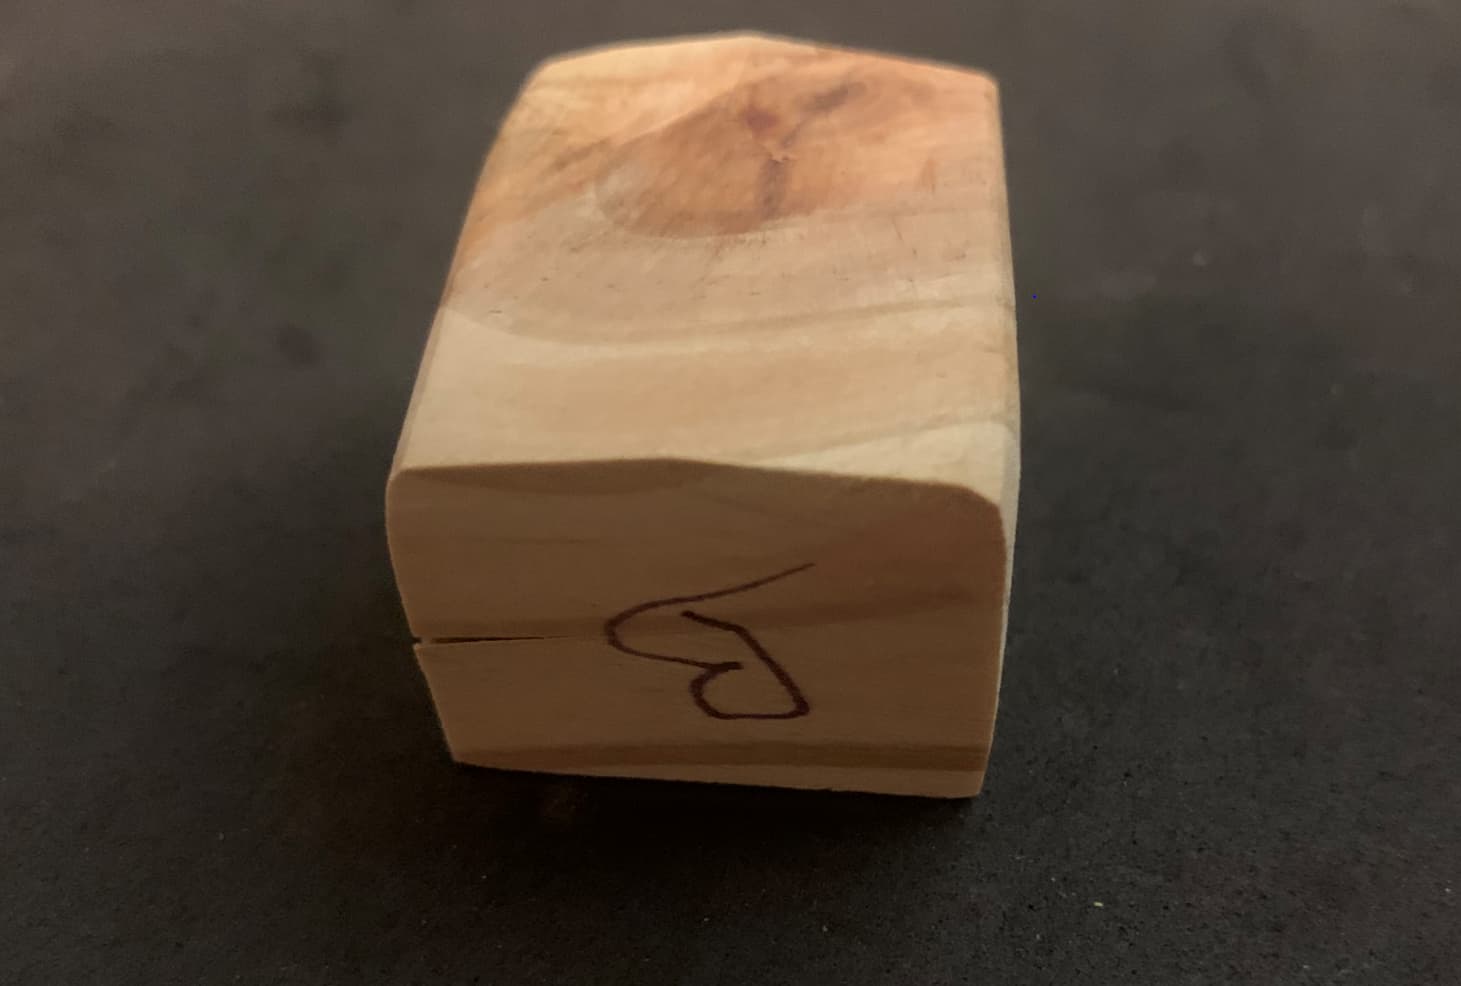
You can add bulges to one, two, or even three sides, depending on where the bastion fits in with its neighbors.
And that brings us to the granddaddy of Hesco Bastions - the large eighty-seven inch tall ones.
I had some old wood, so rather than waste 4x4’s, I laminated a couple of 2x4’s together and then ripped them to the appropriate size. I think these worked out to just under 2.5 inches high. No need to even be that careful as long as the mesh is 2.5 inches high. You can see where I’ve added a bulge - actually a fold from how the Hescos are shipped:
This final photo shows a nearly completed Large Hesco. I’ve rounded the top edges with a belt sander. I can add as much or as little fill on top as I like. I wrapped it with masking tape first because I intend to show several partially destroyed on top. It lacks is a border, this time from it’ll be from something other than bandage tape - I’m thinking Tamiya masking tape.

The last thing it needs is the hinges. I’ll make those from thin brass wire with even finer armature wire coiled around it. Then it’s a simple matter of adding one at each joint.