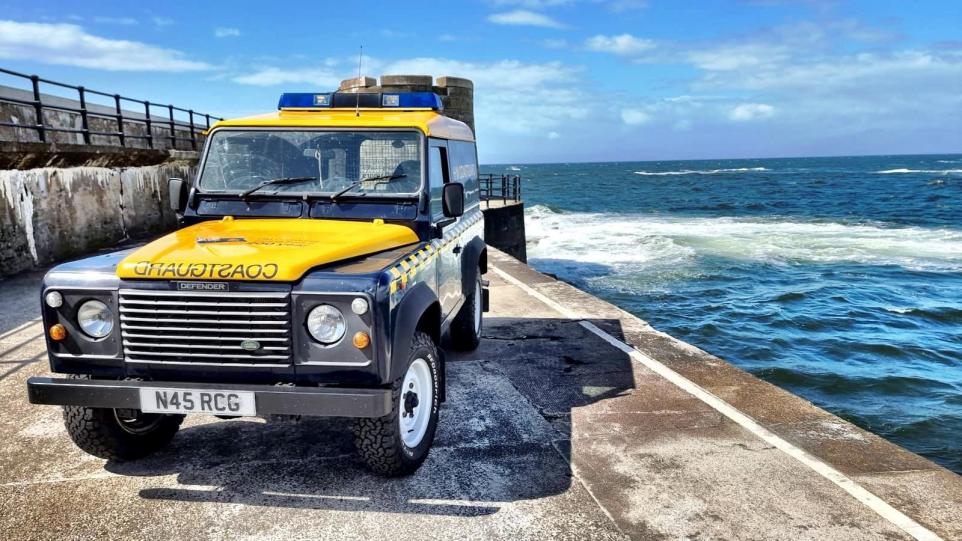
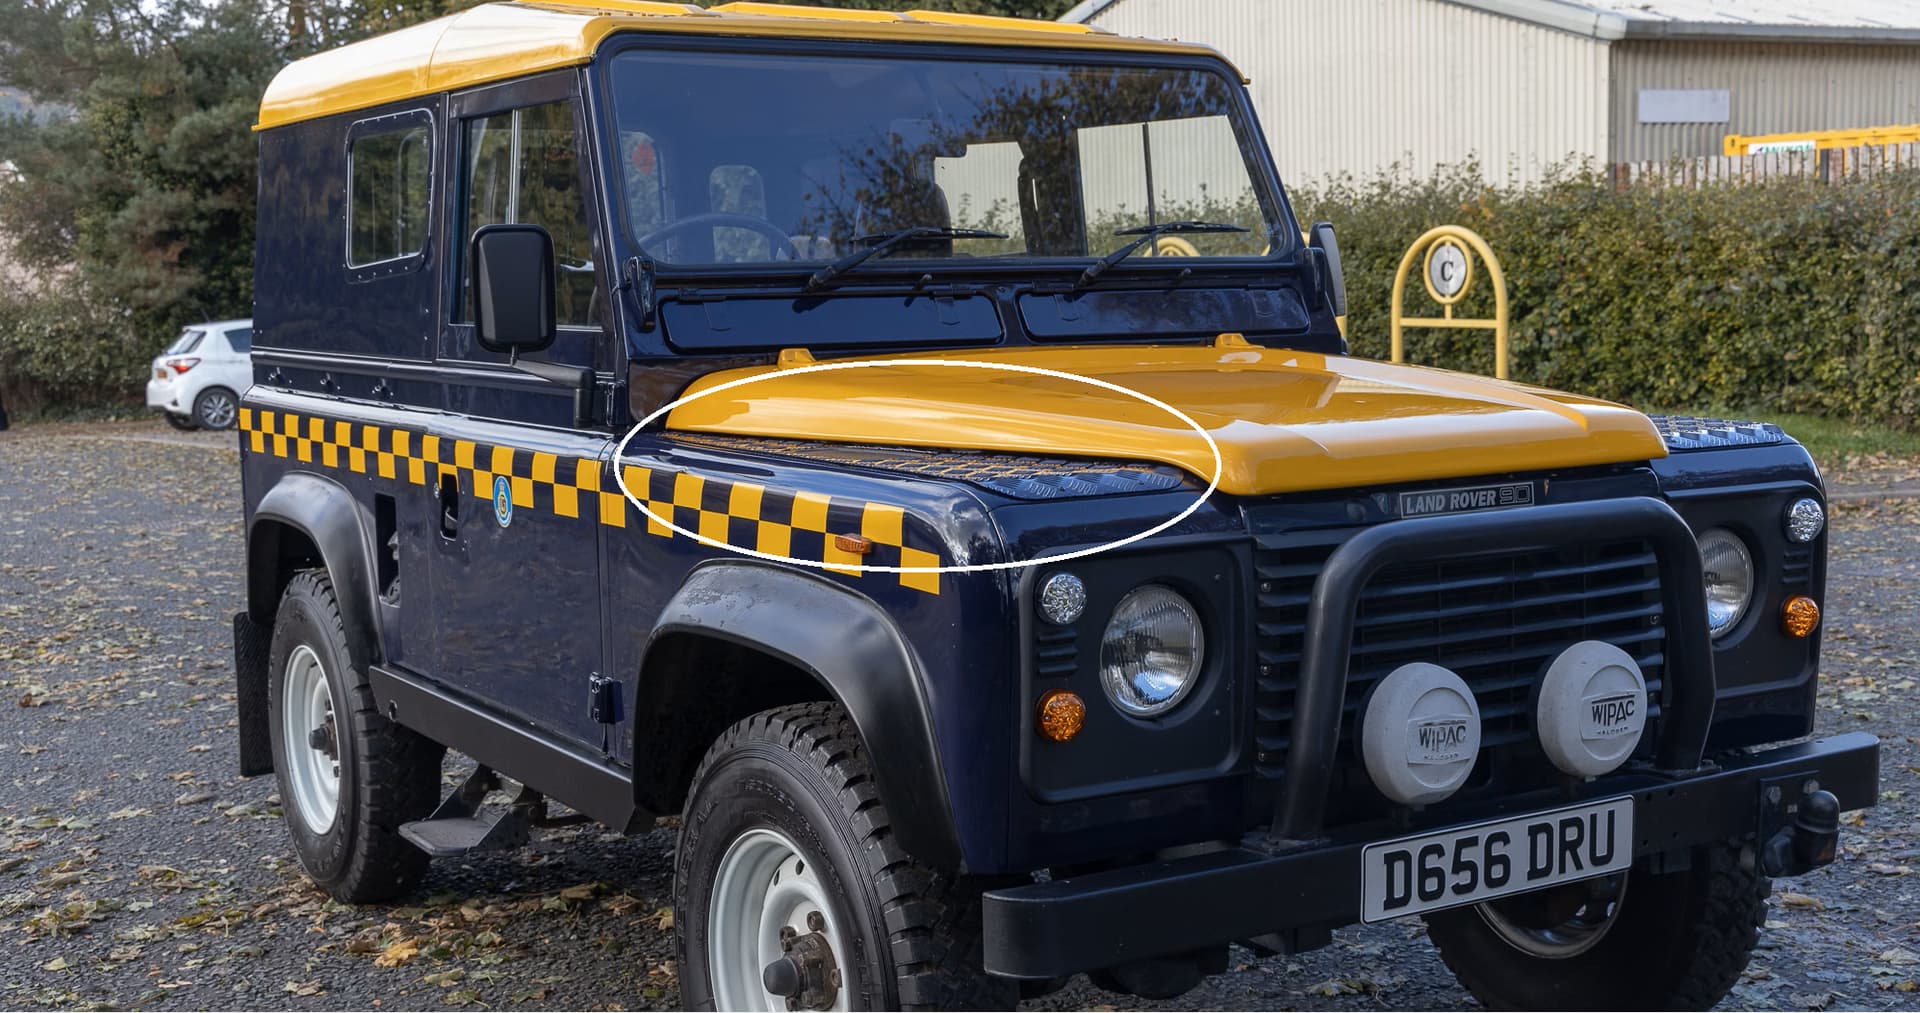
And here I am, sharing my first project on this forum: a Land Rover Defender of His Majesty Coastguard. I recently came across some pictures and loved the livery. I’m planning a small vignette inspired by the picture below.
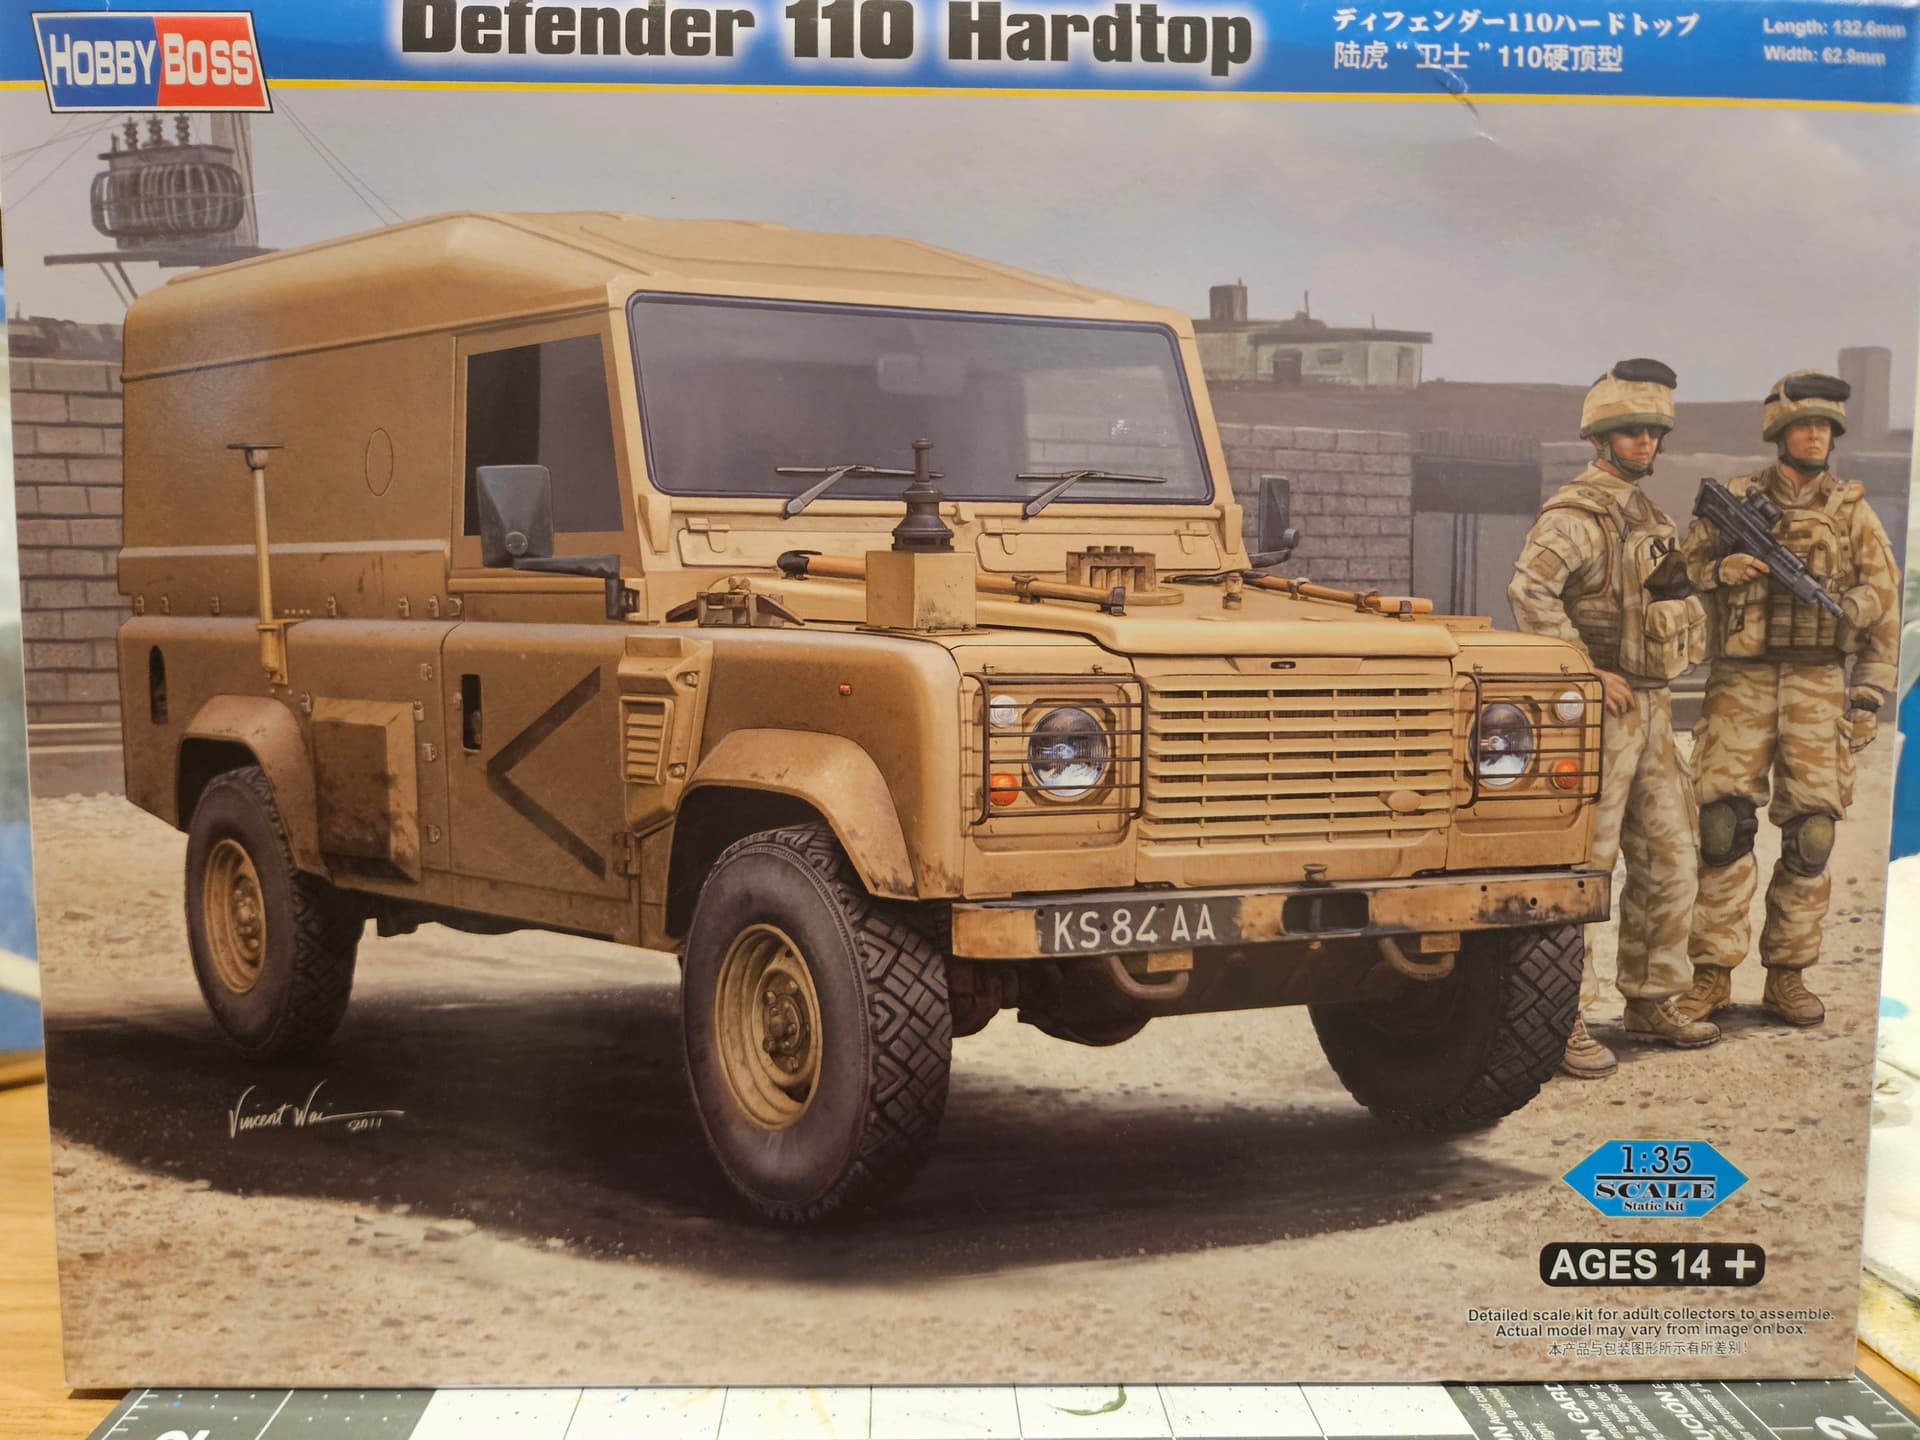
Given the limited number of Defender kits available, I will be using the 1/35 Hobby Boss kit, straight OOB. Obviously not the right version, but I care more about the livery, and the kit is the closest to the ones in use, from what I’ve seen online. The only element I’d like to add is the emergency lights at the top; if anybody has a suggestion for an aftermarket option, I’ll take it!
I will have to create the decals myself, which should be fun (?).
The vignette will be more or less what you see in the picture above, which will give me a first chance to work with water as well.
Bear with me, since I’m not the fastest builder; I’m hoping to be done within the next 6 months so it’s ready for the next IPMS contest in my city.
14 Likes
Should make for a very interesting project- best of luck with it  !
!
3 Likes
Ask makes some 1/35 light bars but they are a different style.
2 Likes
Thanks! That would work.
I also found one from DEF Model.
2 Likes
That might be easier to acquire than ASK.
2 Likes
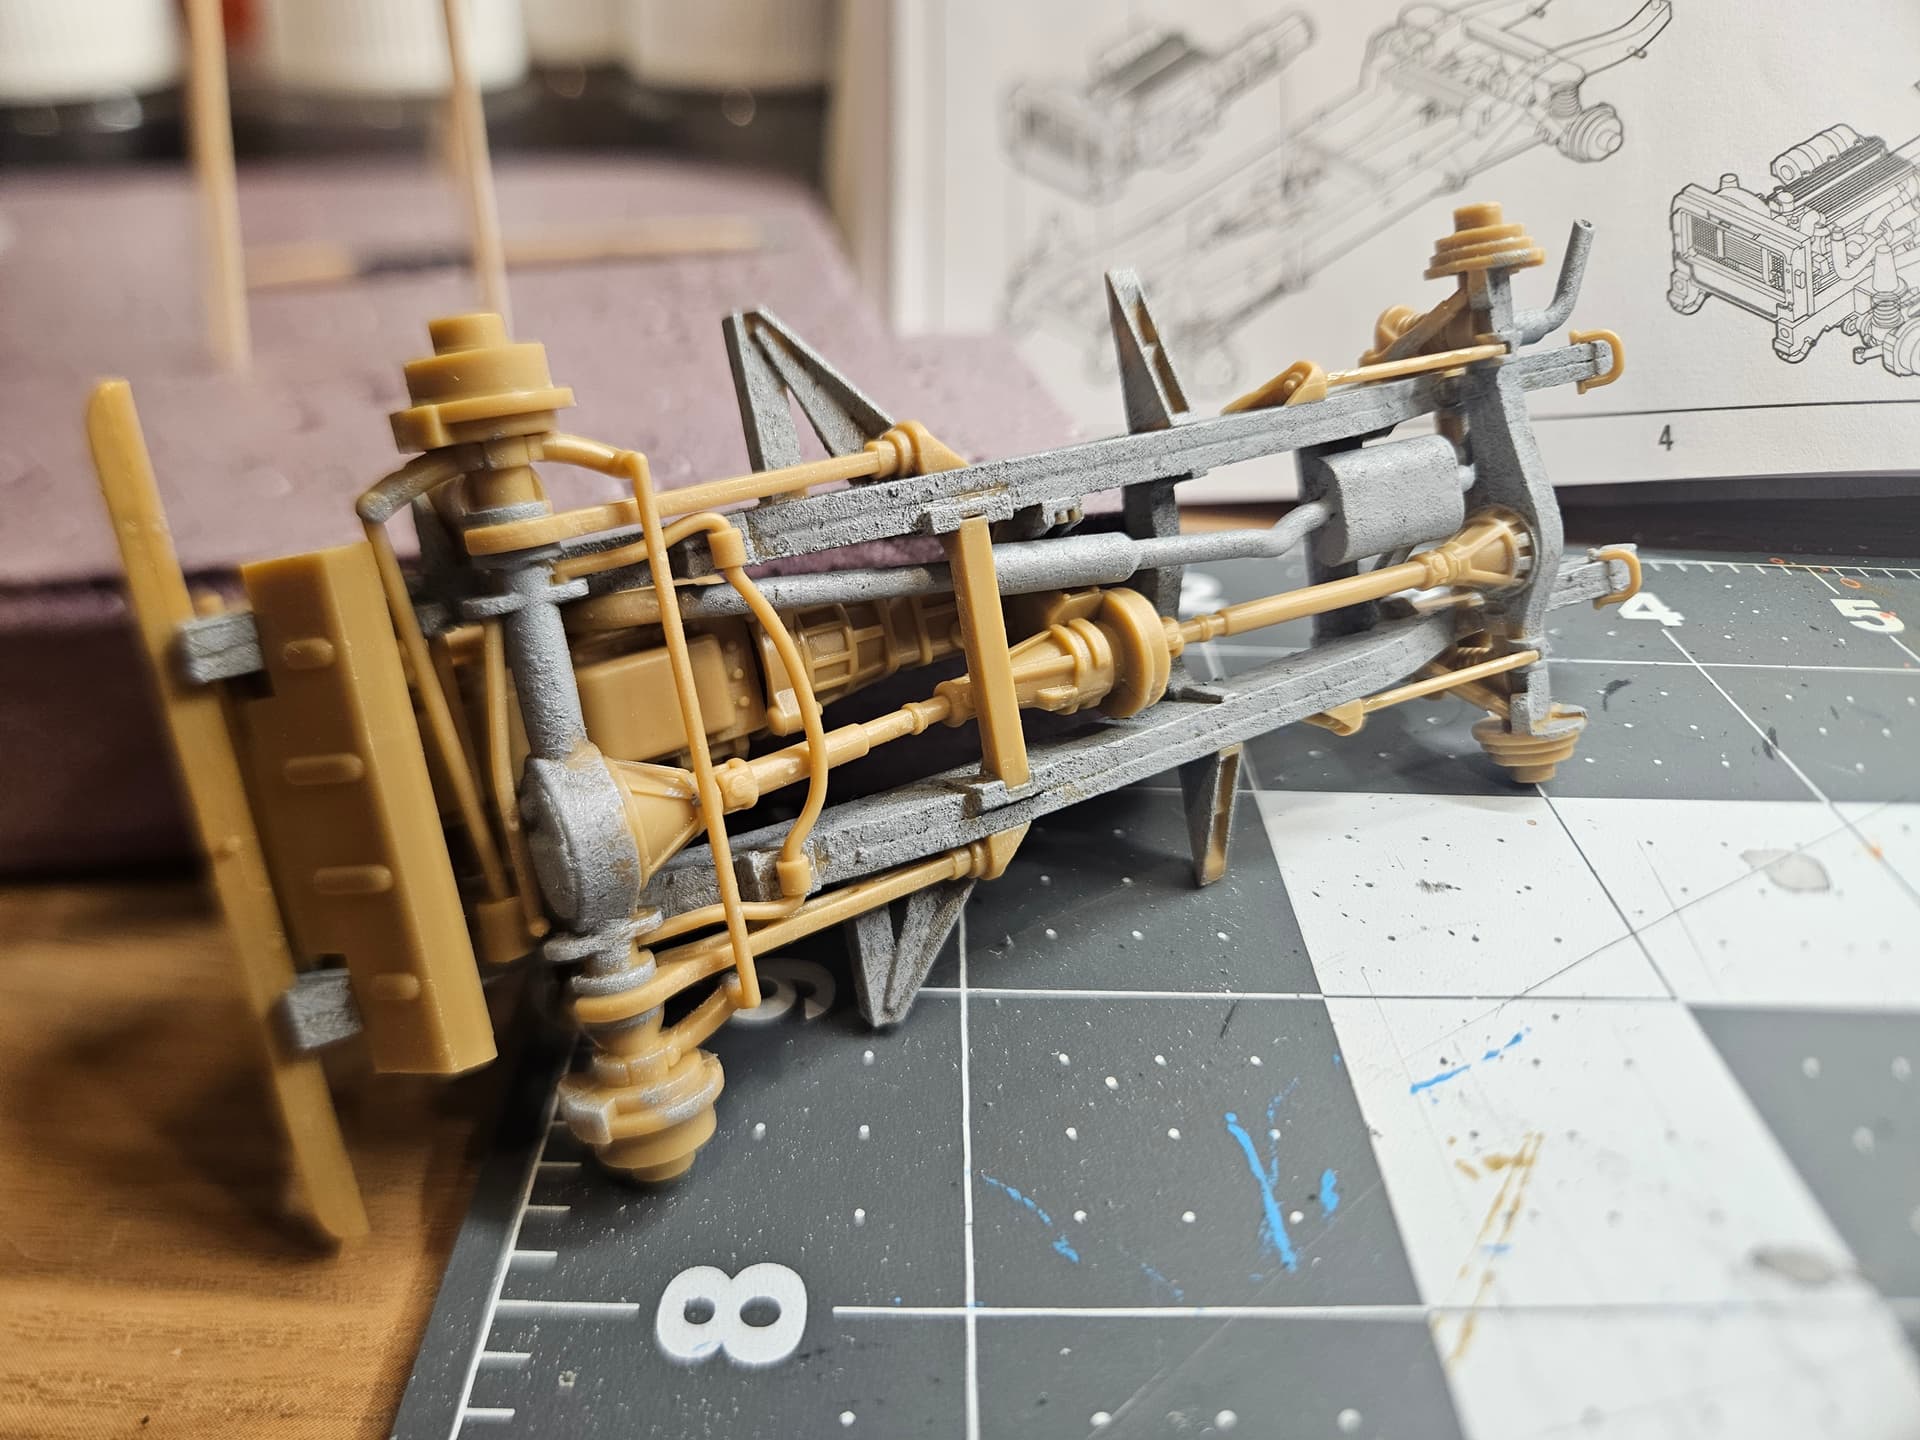
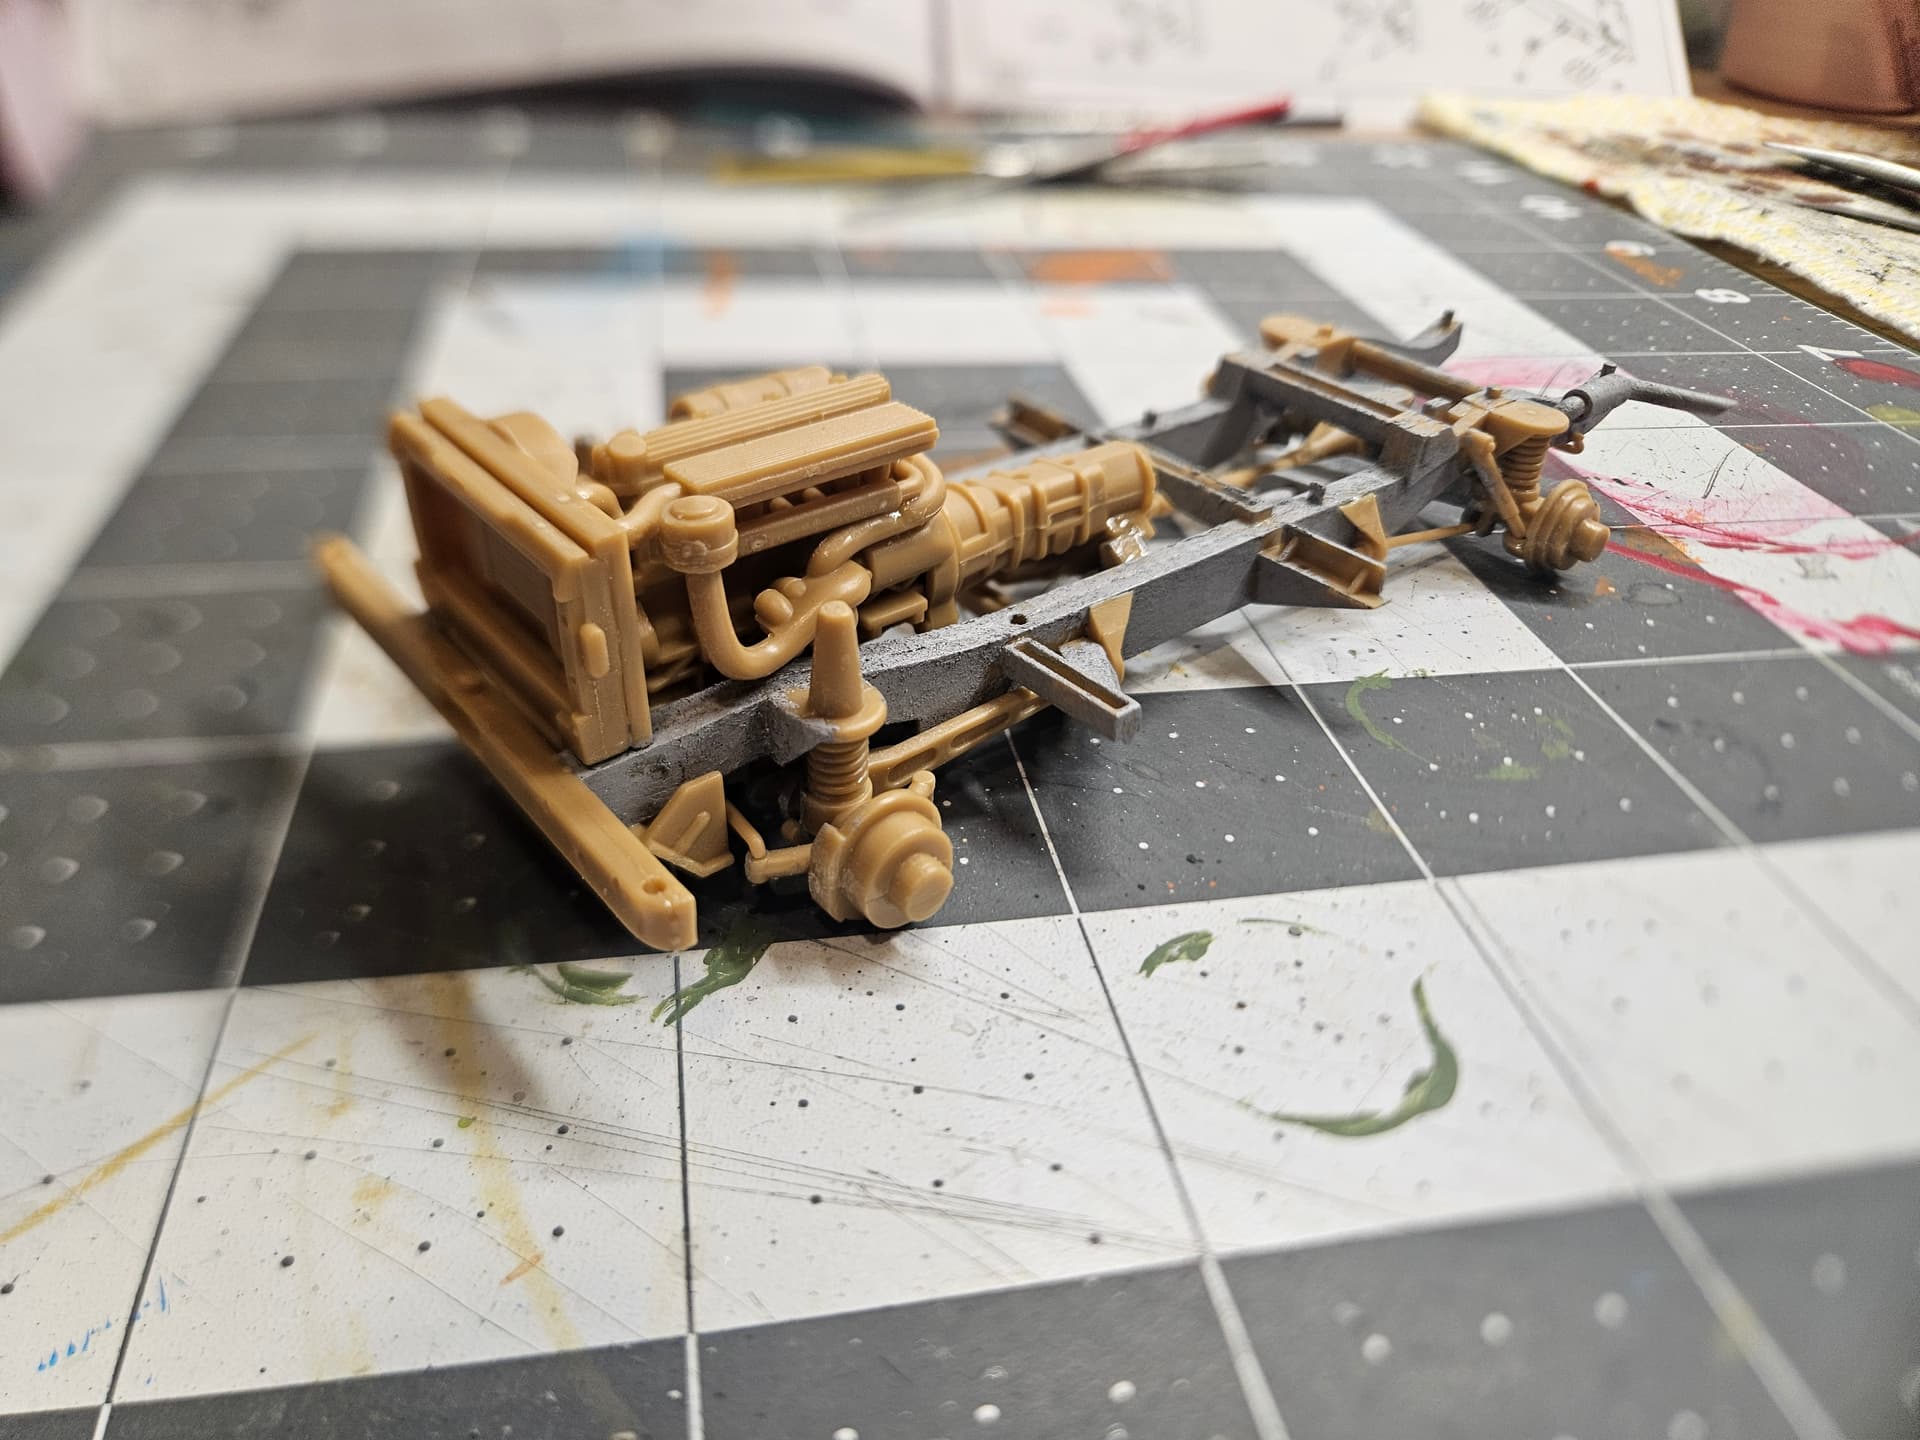
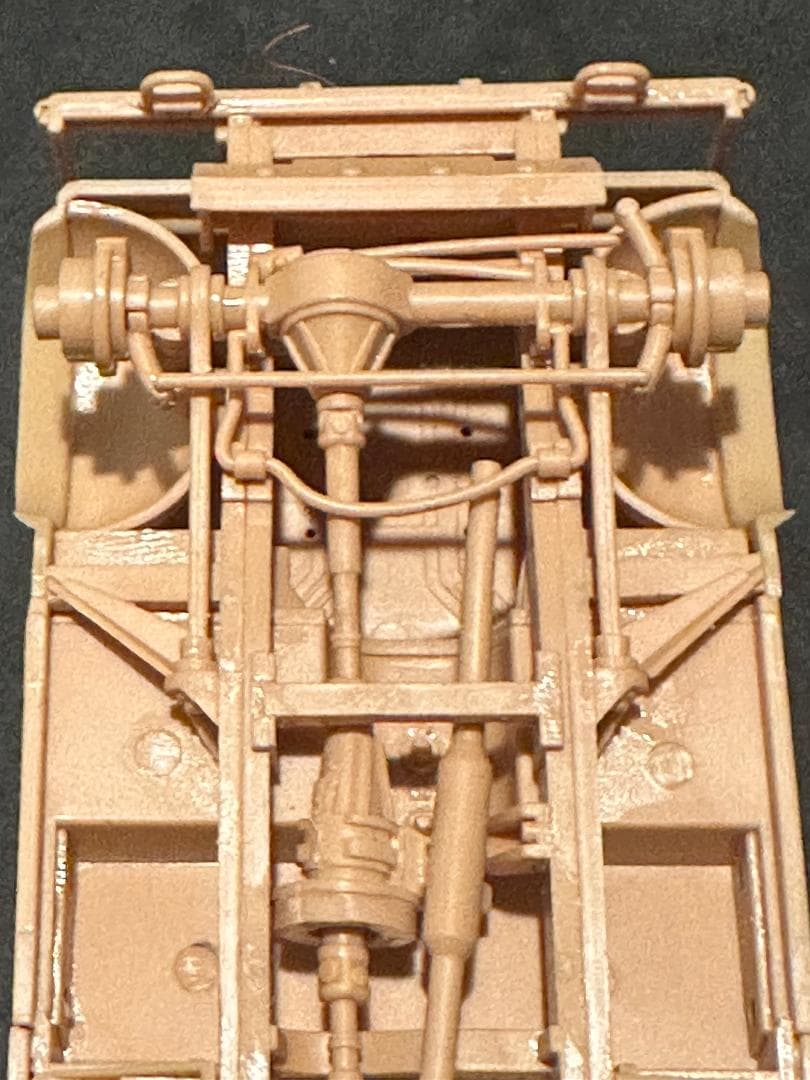
Some progress here! I’m done with the underbody. Putting together the transmission shafts was a bit finicky, so I changed the order of a couple steps to make sure the engine lined up well with the parts of the transmission.
I dabbed Tamiya Putty on the châssis to give it some texture, based on an idea by Nighshift on YouTube. I like the result, although it’s admittedly a bit messy.
I didn’t spend time detailing the engine since it will be hidden.
6 Likes
You can achieve similar results with just Tamiya glue/airbrush cleaner. Apply and stipple with an old brush just like the putty. I have had good success on 1/35 kits might be a “cleaner” method for you.
3 Likes
Nice work so far.
What’s more important is getting the engine and radiator to line up with the fenders. (wings)
I‘ve built several of these and usually leave the engine a little loose. As the radiator connects to the engine, and also the fenders, it is the most critical piece in mounting correctly, otherwise the rear of the fenders may not fit against the door frame well. There have been a few complaints online about the fit in that area, but if you’re carful, it’s not an issue. I have even built several with no engine just to save time.
For $5.00 you can get any number of 1/32 police cars, usually in some sort of Asian livery, with excellent light bars. I’ve used them for Iraqi police vehicles.
3 Likes
Thank you for sharing your experience. I did consider not putting the engine in, and I should have gone with my gut feeling! I’m considering buying a couple more boxes of this model since I have several ideas, and what I’m learning with this one will be beneficial! (I’ve also been out of the modeling business for a while, so a learning curve it is!)
1 Like
It crossed my mind as well. I will check online or stop by a toy store.
1 Like
I got lucky and found the ultimate photo reference website for this vehicle in this livery: https://collectingcars.com/for-sale/1986-land-rover-90
2 Likes
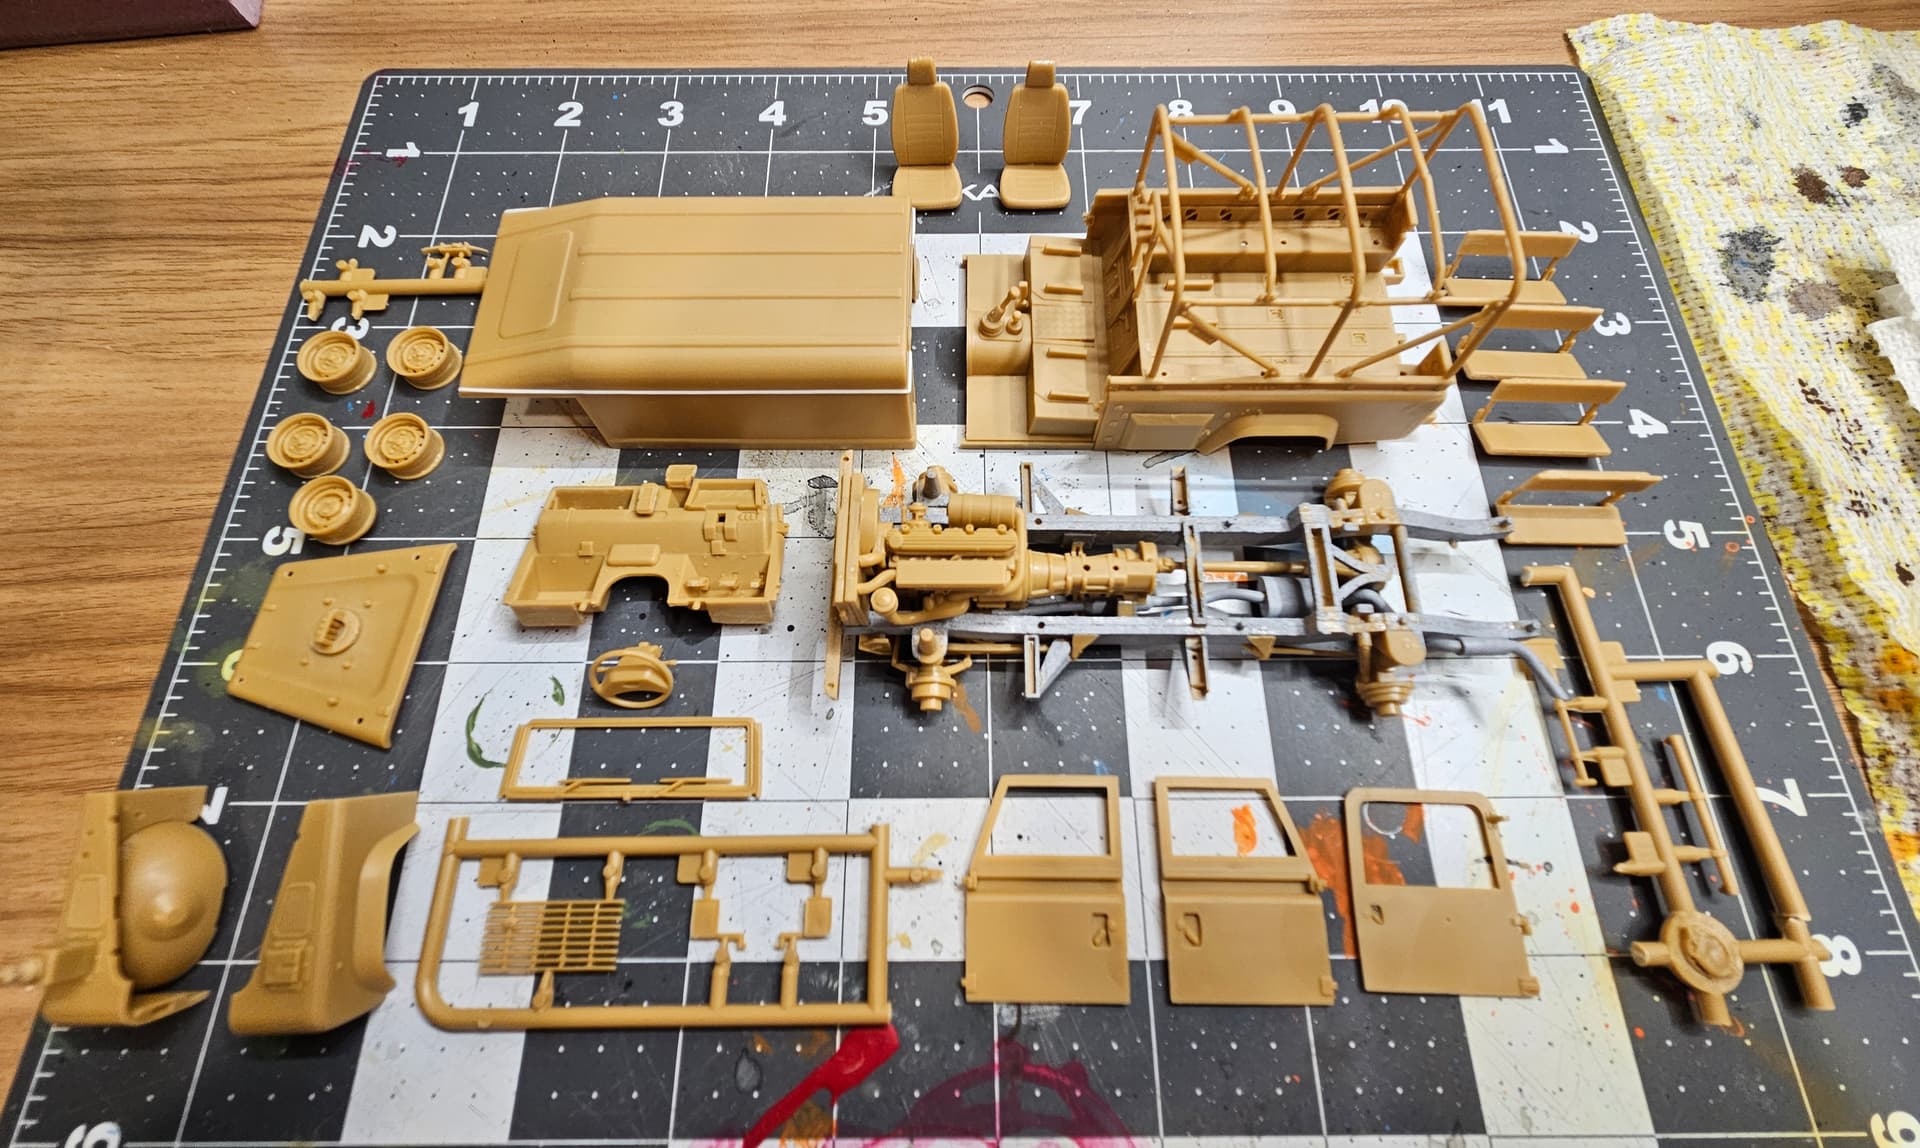
All the sub-assemblies are done! There are many, for I’m a hand brush painter and the kit was engineered in such a way that I felt many parts would become inaccessible if I had assembled more elements together. Some small elements and tools will be painted on the sprue.
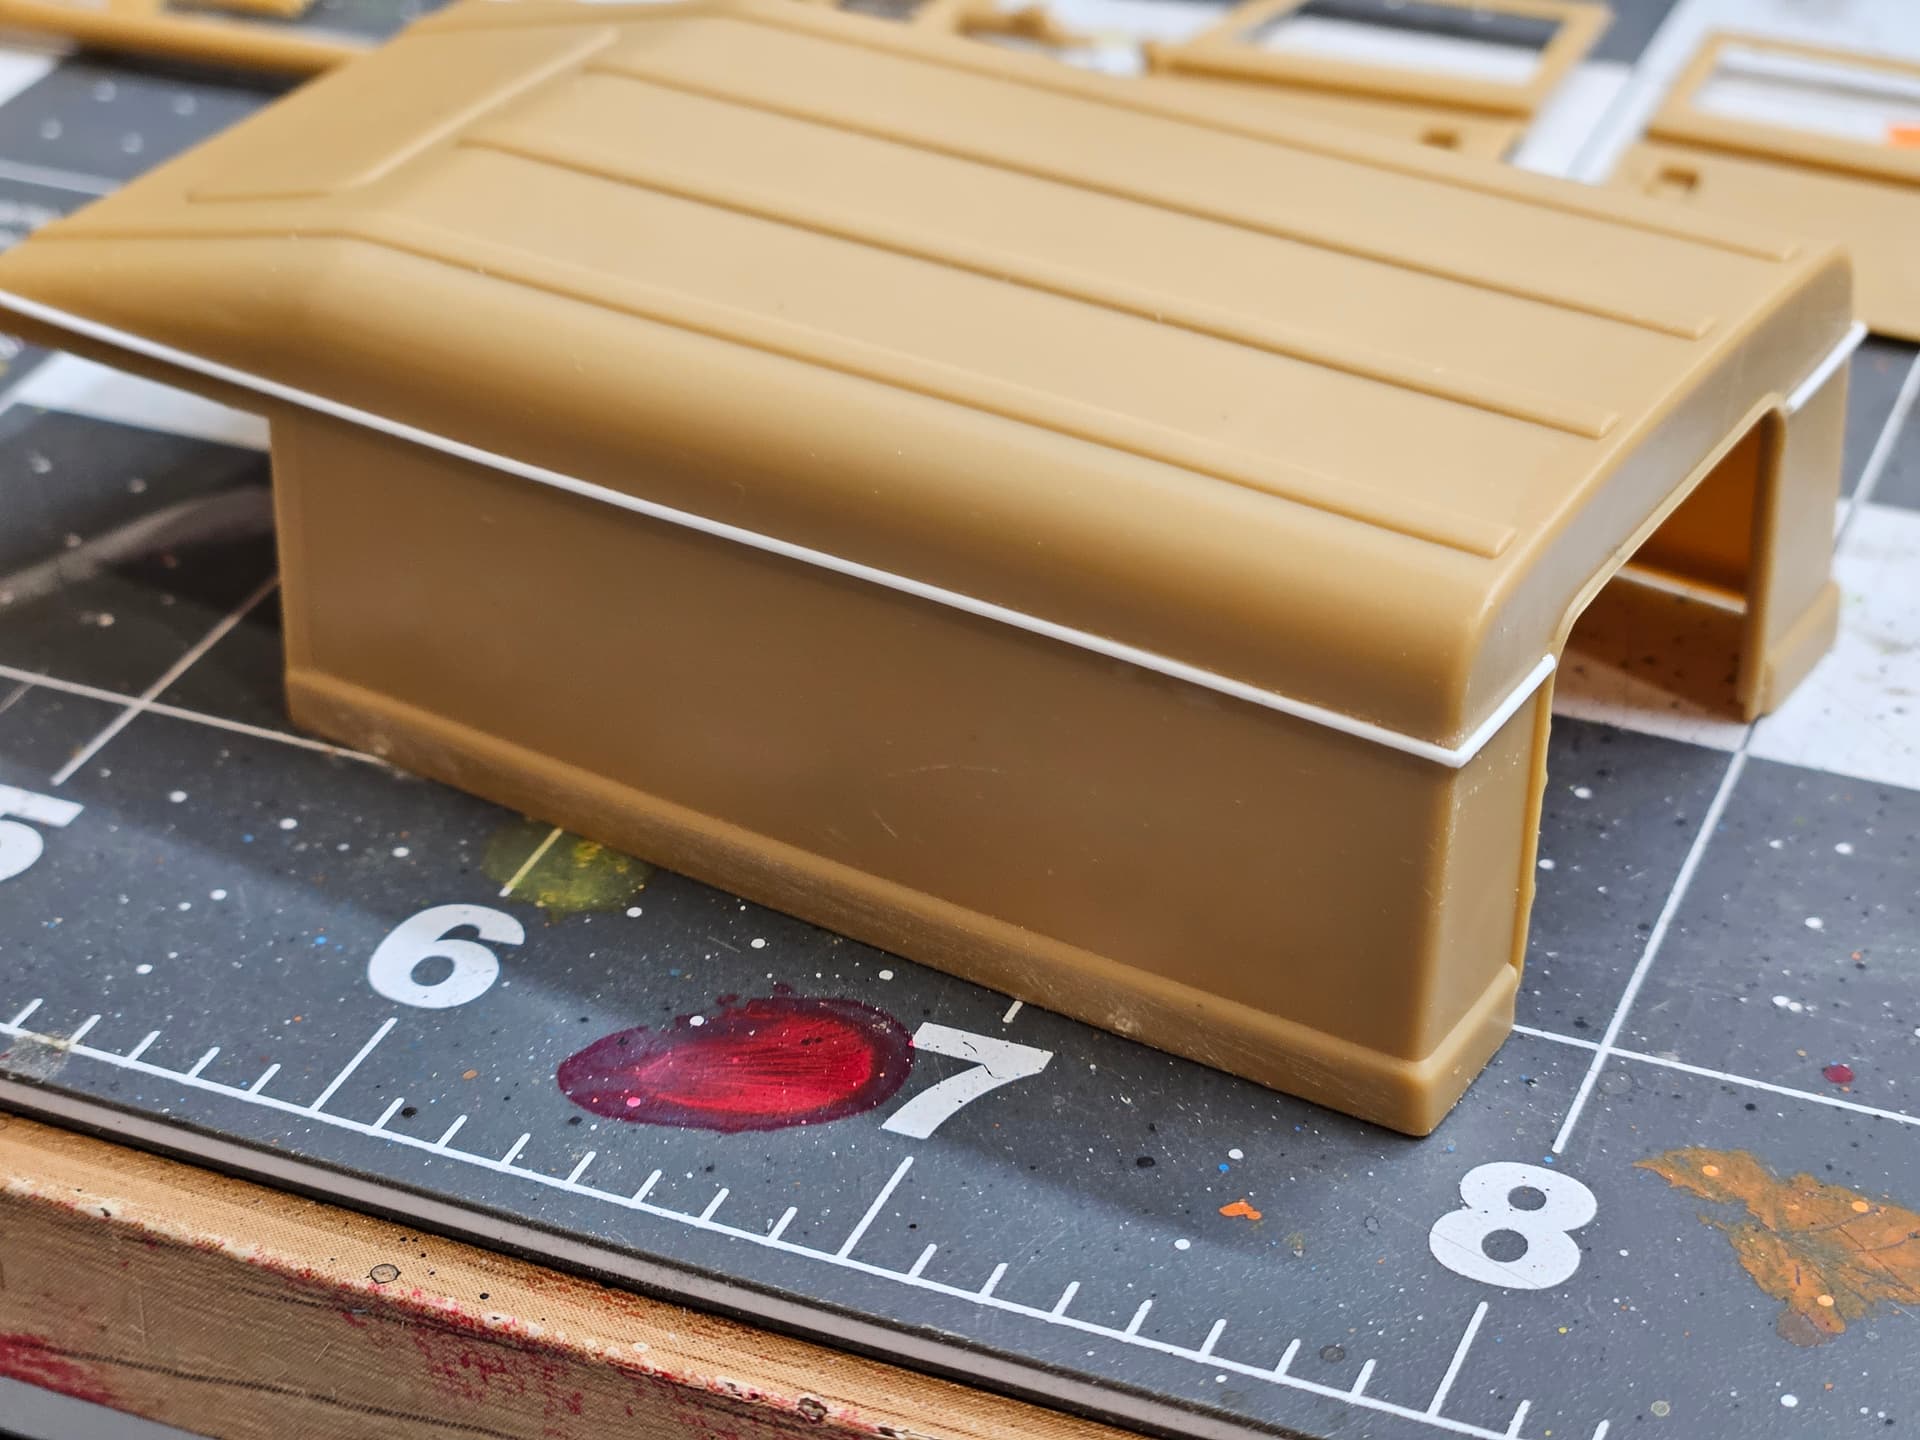
I only added a couple upgrades. The first is a panel line between the roof and the rest of the body, made out of 0.5 mm plastic rod from Evergreen. While the British Army Wolf didn’t have one, most other hard top variants did, making it a characteristic feature; the illustration on the box even shows one!
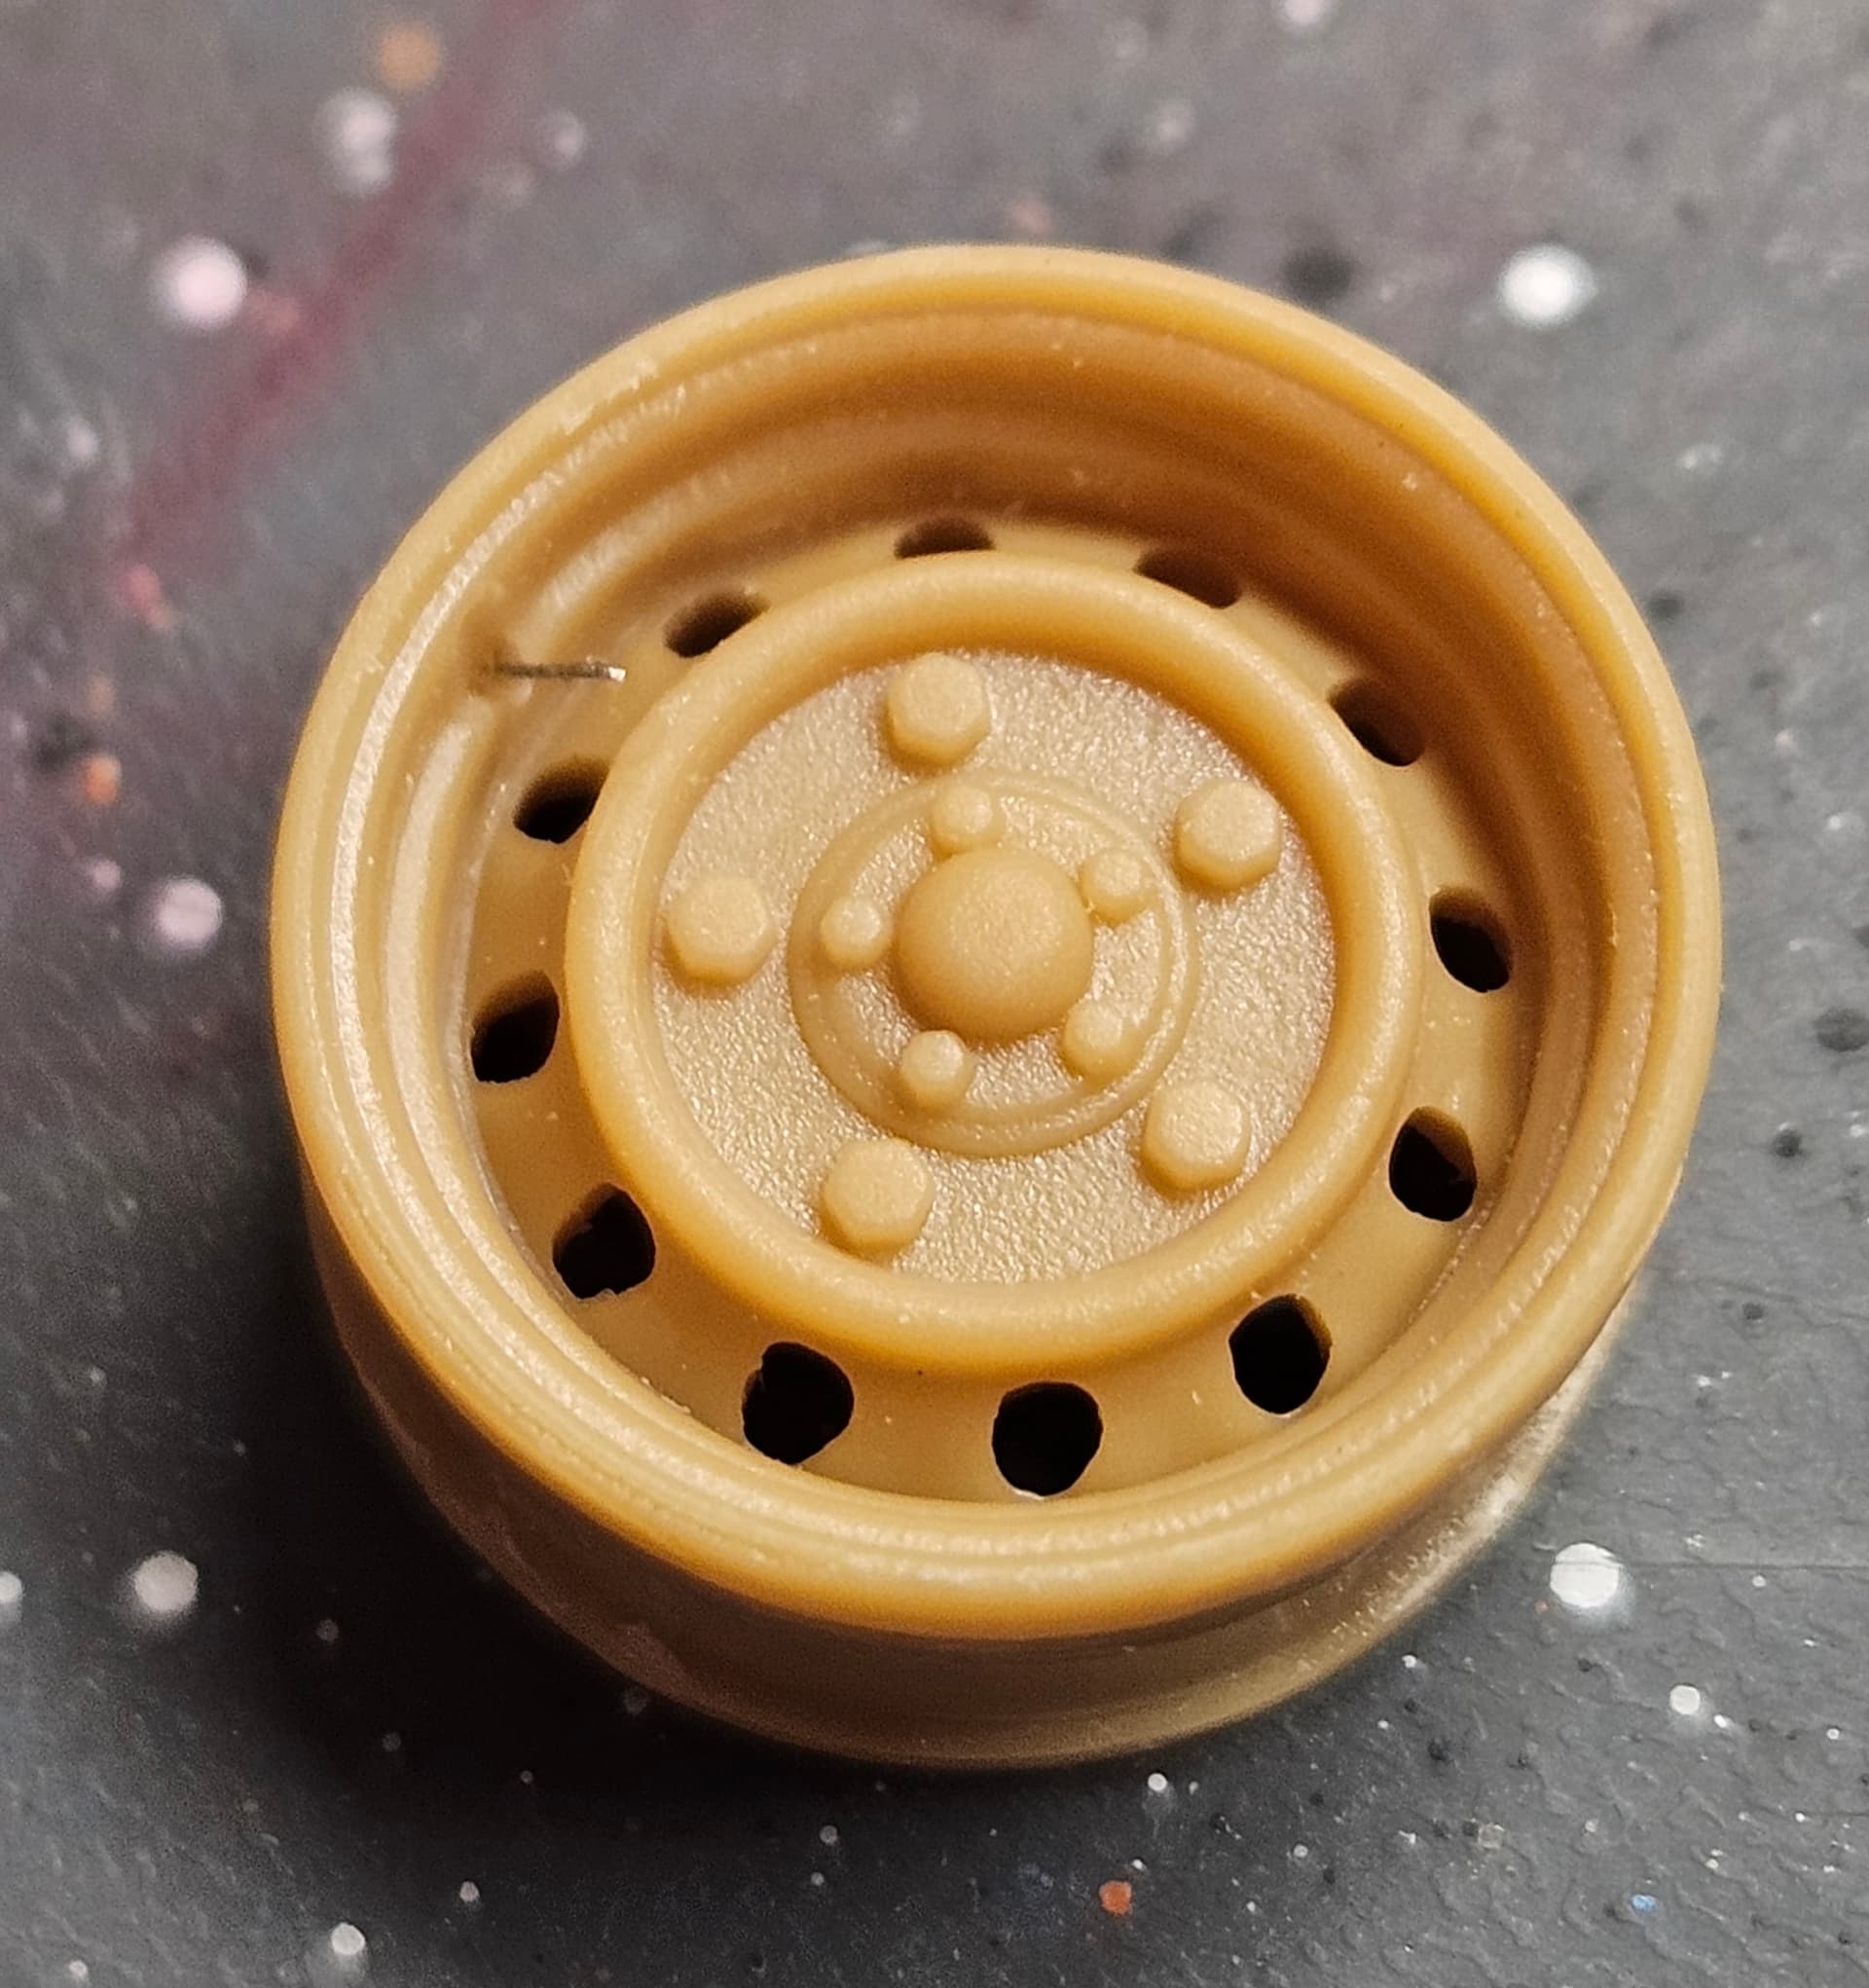
The second one is the tire valve stem added to each rim using a small piece of electrical wire. Hardly visible, but simple add-on!
Now is time for painting!
4 Likes
I’m liking it.
A few questions:
Do you have four bar tread plate? Accurate - Armour used to sell it, but I don’t know who else might.
And are you feeling the mojo to shorten the body? It should be relatively simple.
2 Likes
Thank you!
No, I don’t, and I can’t figure what you’re talking about.
Would you care to elaborate on this? I don’t think I want to modify the model at this point, but I’m curious.
Thank you again.
There are pieces of four bar tread plate on top of the front fenders.
I have some of this stashed somewhere if you can’t find it.
Behind the rear wheel well - the body looks to be about a foot shorter. There’s a Landy expert on here who can tell you more than I can.
2 Likes
Oh, I see now, thank you very much for your explanations.
I think I should say that the reference photos from the website I shared are more for general guidance. I’m not trying to go for a replica, but more so for an “inspired by”. I don’t feel confident enough yet to get my hands dirty with what I feel is too advanced for me.
So, for the tread plates, while the car in the picture does have them, it’s not standard. I’ve been looking at many pictures of those LR used by the coastguard, and there are many variations around a central theme. I considered adding them, but didn’t want to scrape all the details on the front of the car, which I really like since it makes it visually more interesting.
As for the body, I see what you mean, and while I think it wouldn’t be too hard, I like the 110 version as it is, even though the 90 chassis seems more common in the Coastguard.
Again, thanks a lot for your suggestions. It’s really appreciated.
1 Like
That’s a trick looking Rover . . .
Cajun 
3 Likes
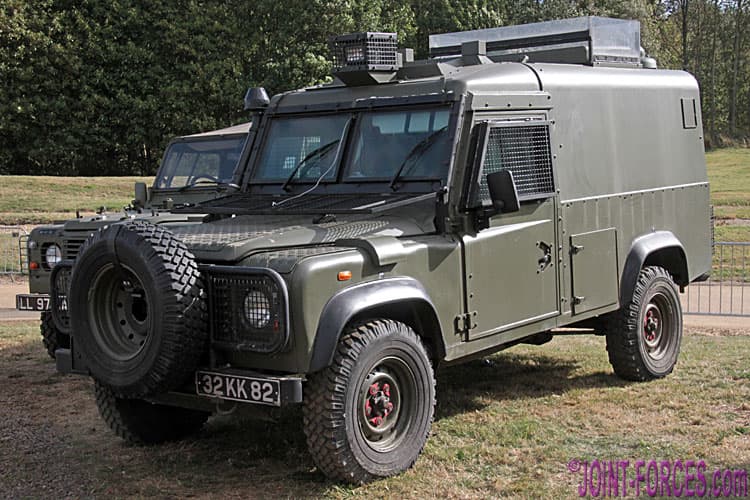
No, it’s not. I just didn’t know if you noticed it. It’s been used on other variants as well. I bought the Accurate - Armour tread plate to make a Snatch Rover from the same base vehicle you’re using. It has the tread plate on the hood as well.
4 Likes