HOBBYBOSS MERKAVA IV (w/CORRECTIONS!)

Well howdy ever-buddy! I saw the Hobbyboss and wanted to try it, partly because it comes with great aftermarket items, consisting of a battering ram and the rear hull mount storage.
PARAA

However, it wasn’t until I had the kit in paw (OK, hand) that I realized that Hobbyboss had made a pair of major errors. One ease to solve (skirt armor), the other, not so much. Hobby boss made a slightly modified version of thier Mk.IV M, simply adding the trophy armor. the issue here is that the early Mk IV M that H-B depicts lacks the loaders turret! Now I basically have two ways to work this animal; build as-is and don’t worry about it, but some of forum has rubbed off on me, so it looks like I’ll be doing the other/harder way and cut the turret and make the corrections. At this time I should also mention that i really had thought I had already posted started this thread here. Seeing that i had not, i dee-cided to post, as I think iti is a pretty decent ‘fix’ of this kit.

3 Likes

OK so decided to start with the hard stuff, that being the turret. Here as you can see, I am using my surgery pointing dee-vice to mark the area to be removed:


At first I was SUPER concerned about scratch building the hatch and decking, and then by chance I found these parts from Legend, designed for the Academy kit, and they looked like they’d do:

So with the patient prepped and readied for surgery, the area to be cut was marked, and the prosthetic was tested for fit


Next it was time for good ol’ Mr. Dremel, along with some micro drill bits

The surgery was a bit too graphic for this site, but as you can see, the finished prosthetic fit really well, and will require a very minimum of styrene (plastic card, as I hear you blokes on the other side of the pond call it) to make the final bits required

More in a bit!

12 Likes

Nice start to your build Bruce. Looks like a nice kit; very sci-fi looking turret!

1 Like

yes it is! Please bear in mind I actually did & posted this on a much smaller site several months ago, and just now posting here…shame on me!

So at this point, for some odd reason i just decided I simply had to do something about the anti-slip. the kit anti-slip just didn’t work for the old man, so I selected this


and the results were quite good as you can see. I like this much better than other anti-slip products i have tried, the only caveat i will say is that it does require two coats

2 Likes

Now that I got the anti-slip out of my system, I got the styrene out and cut a flat bit to fit against the bottom of the prosthetic (note the notches cut to make it lie perfectly flat)


Here the patient has the prosthetic in and the plastic card (:wink: )ready to be prepped for the hatch, and also the hatch PE from the legend kit laid in


Here you can see the hatch-hole cut and the prosthetic finished, save the hatch assembly. The smooth transition was made by using the plastic putty product shown. Cannot say enough good things about this item


Just a bit of tough up with some of the anti-slip, and she will be GTG!

8 Likes

That’s some nice surgery to get it back to the spec you wanted… Very neat, clean work… Will look seamless once it’s all painted up :+1:

2 Likes

Looks great, there is currently a IDF campaign build going on, maybe you would like to post it there?

Very fine corrective surgery going on here. I know nothing about the Merkava IV. Do any of the M.IV turrets have only one hatch which I assume is the TC hatch? Or why did HB make their kit with only one hatch?

The vehicle was originally produced with only one turret hatch as it is a weak point in the armour. Then concerns about the crew being able to escape a vehicle should it be disabled or the commander injured and be unable to get out prompted a change.

1 Like

In fact the turret with one hatch isn’t an error. Some MK4 have 2 hatchs, some just 1.
I have their early MK4 and the major error was the hull with totally wrong positionning of the wheels on one side.
I don’t know if they corrected it on your kit.
The turret too was looking too flat for me.
The Academy kit was far more accurate and the Meng kit is better than both.
Anyway have fun on it.

1 Like

@Maximus8425 and @StephaneHERVE, Thanks for the info

1 Like

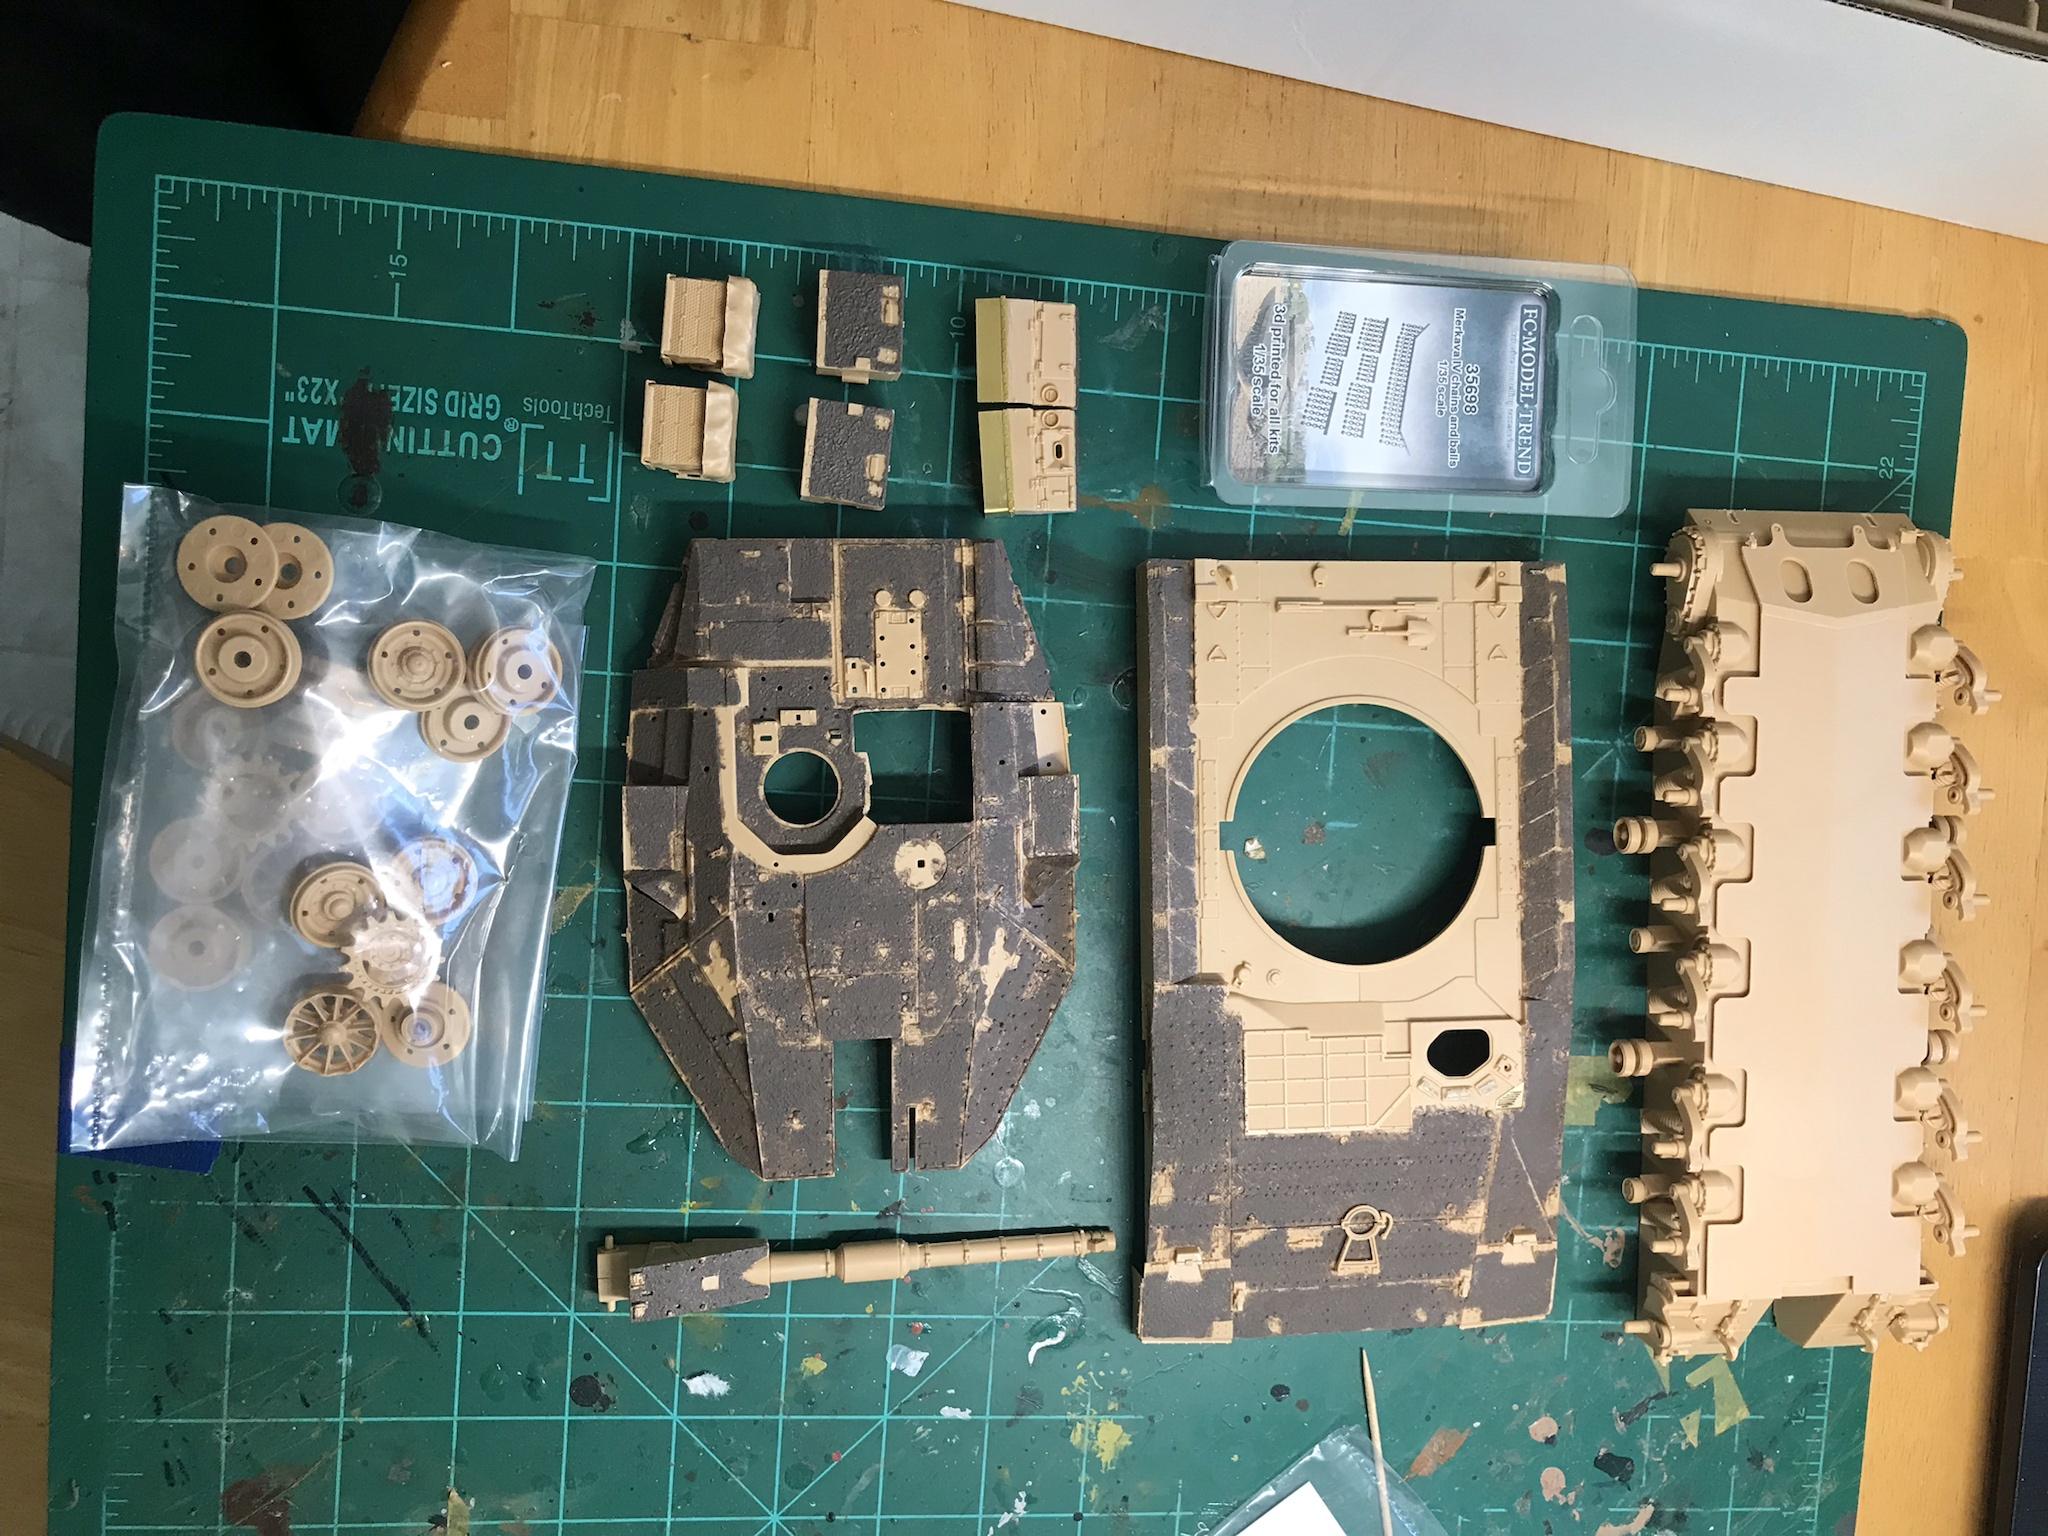
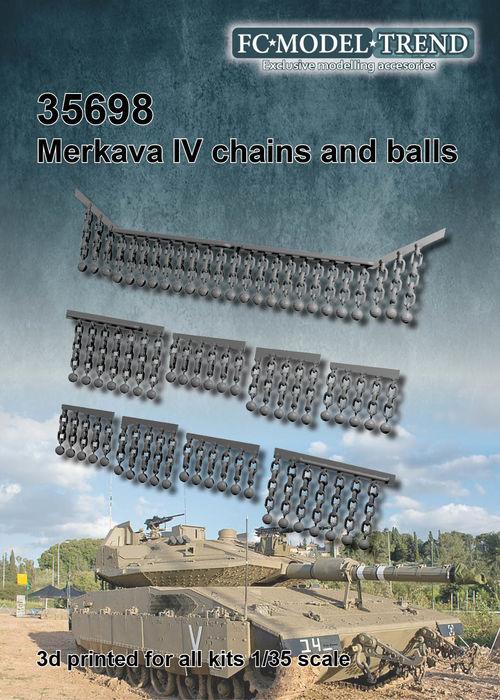
Ok so now it was on to the ball chain armor. The kit provides you with chain and little metal balls (no jokes…) But that looked to be more pain than it was worth. So with only a bit of digging, I came up with this product from FC Model Trend in Spain


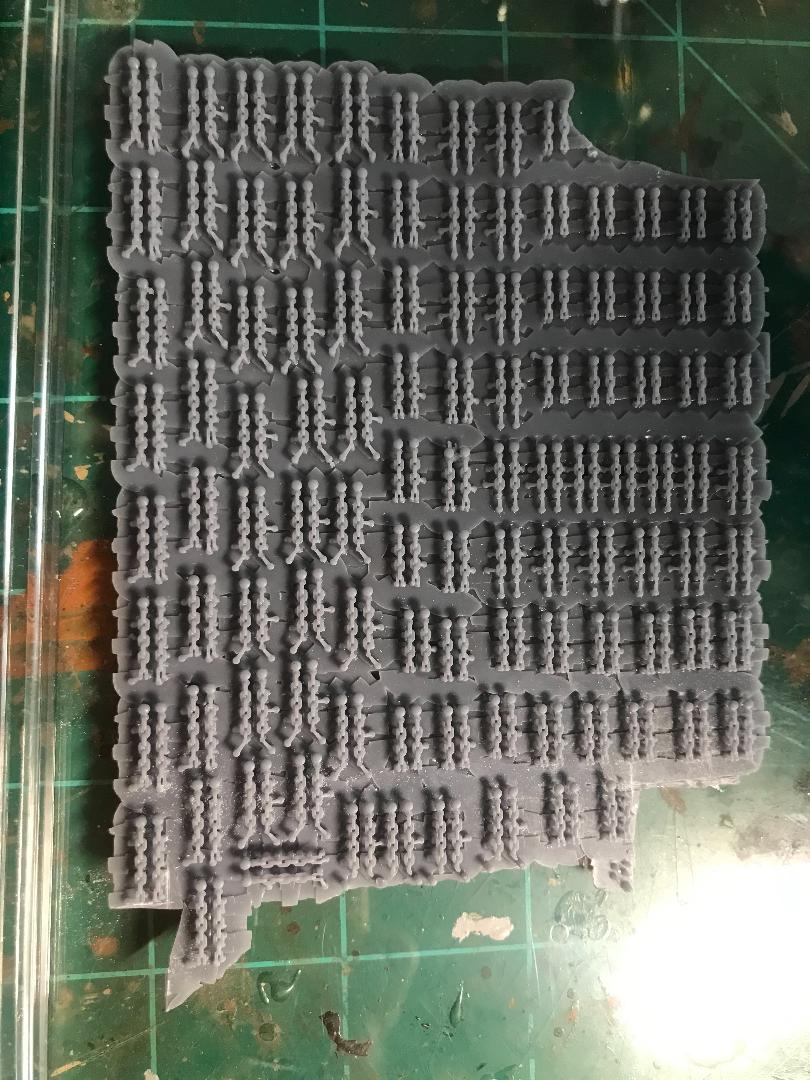
I ordered it and was very un-nerved that there was no tracking. Granted it was coming to the US and it took nearly 8 weeks to get it…but I got it. in looking it over I saw it was well printed, but this product is VERY fragile, and right away I realized there was not enough to cover the tank, so I ordered another set. FC had NO problem charging my Paypal, but after 12 weeks, with the model shelved waiting, I never got it. FC was unresponsive to the point that I had to contact Paypal in order to get a refund, so REALLY think twice before doing business with them
This however prompted me to post on here regarding 3D printing, and enter one Mr. James Lee, located right here in the US, and at a very moderate cost he printed a set of ball chain armor for me, and I got it in less than two weeks (bear in mind I ordered this during a holiday)

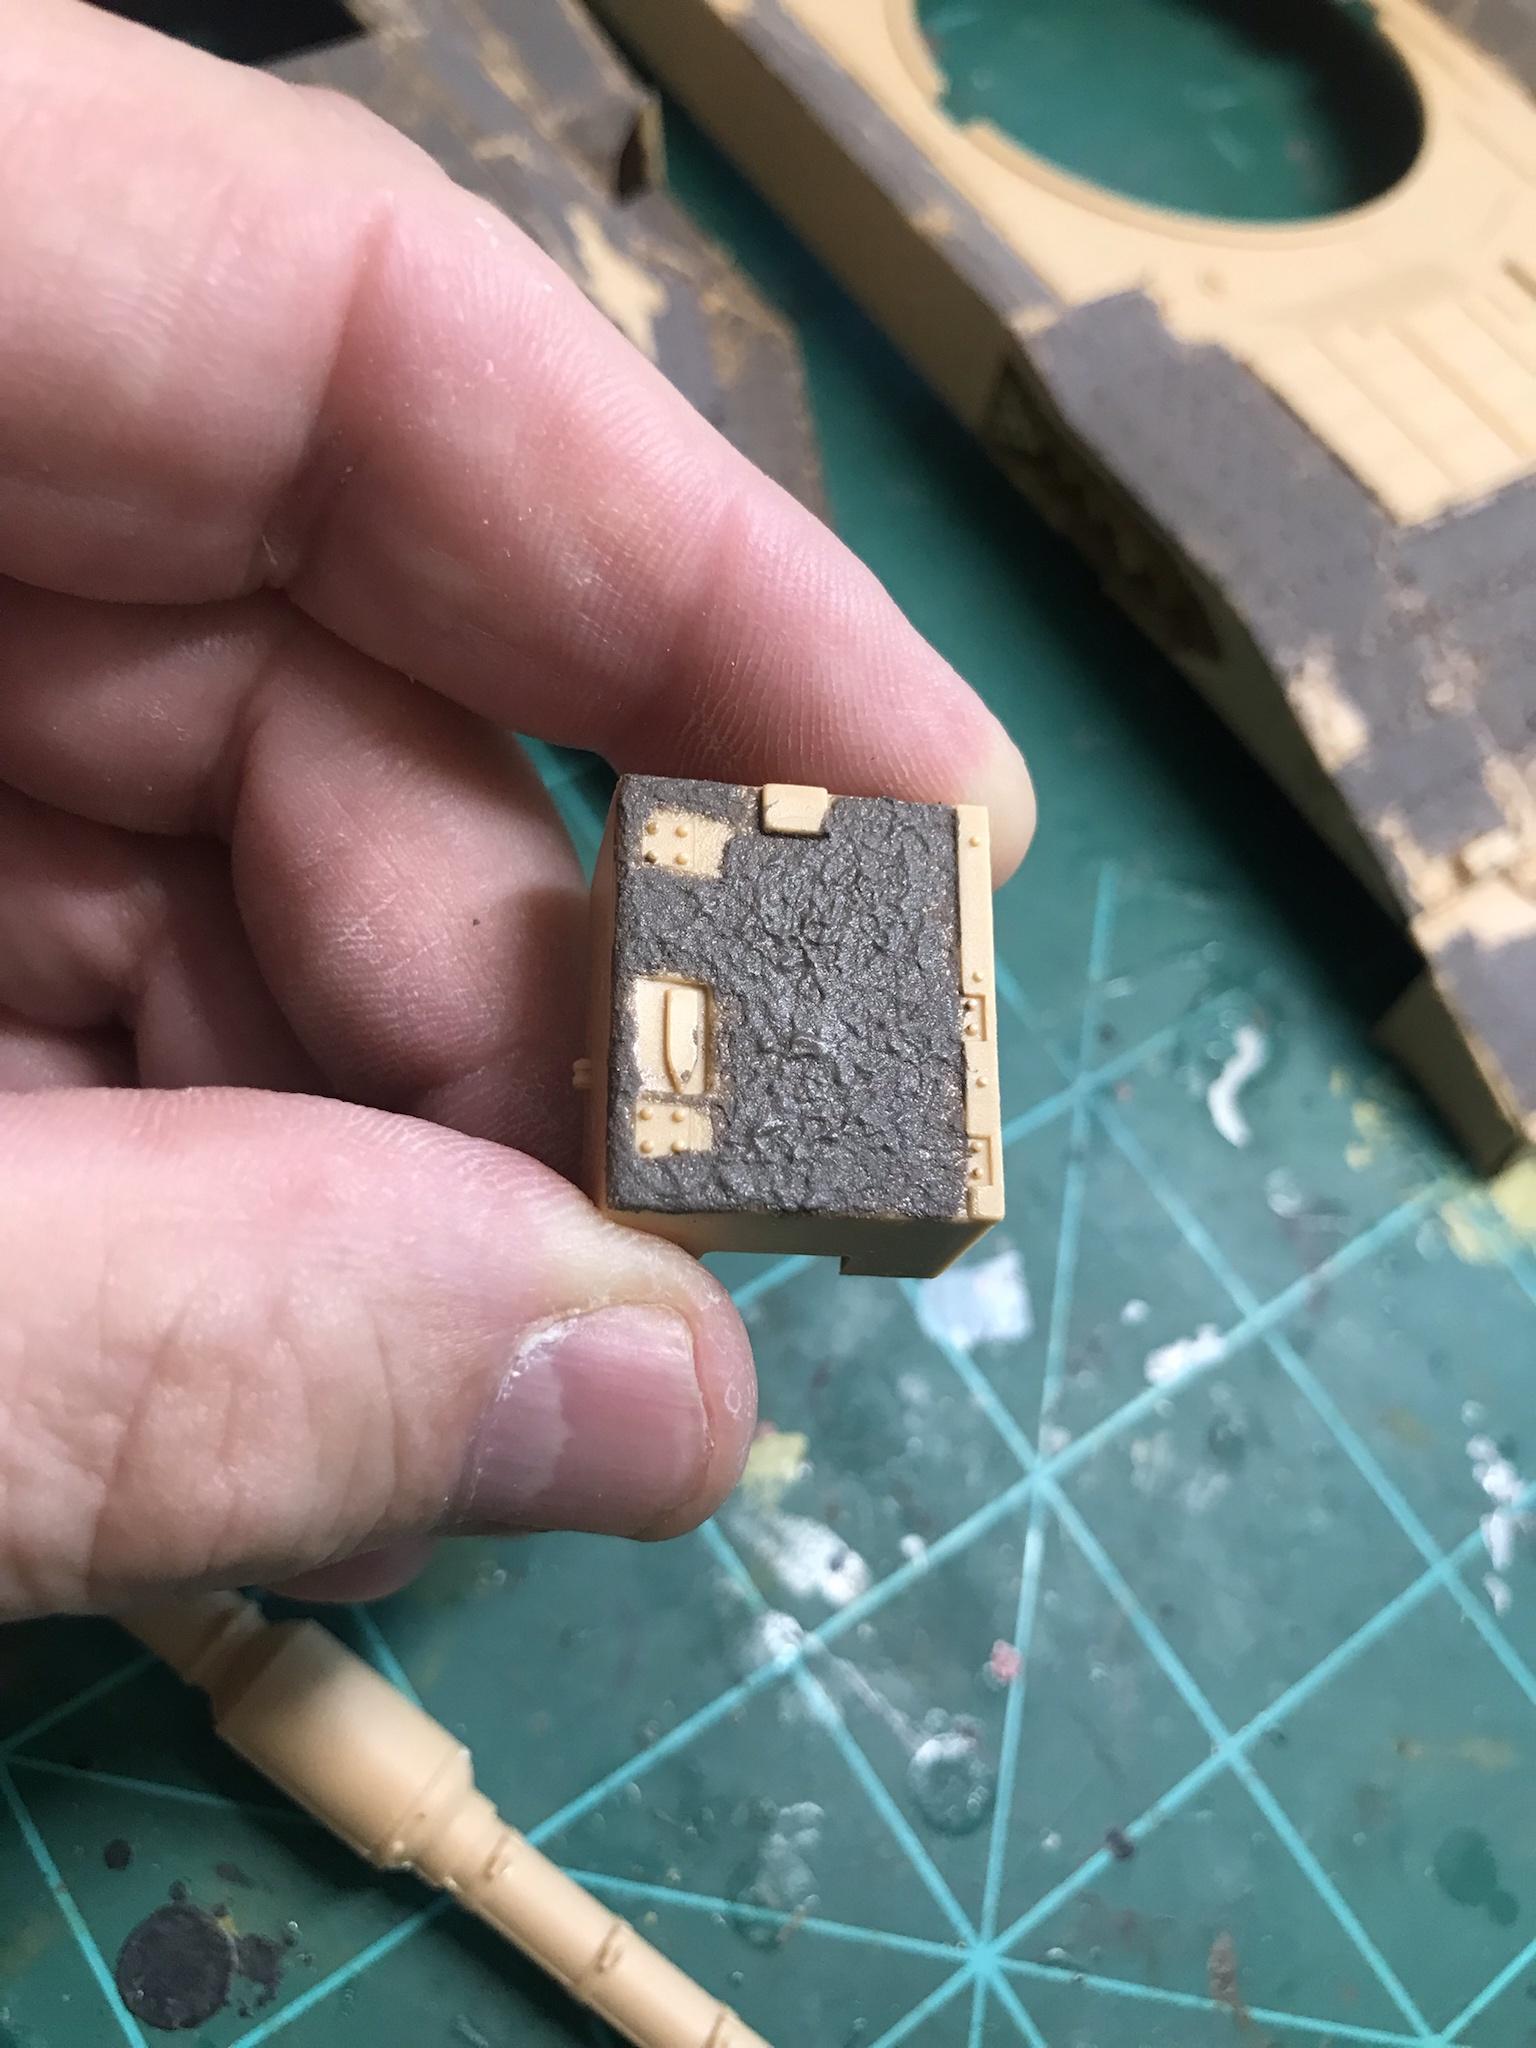
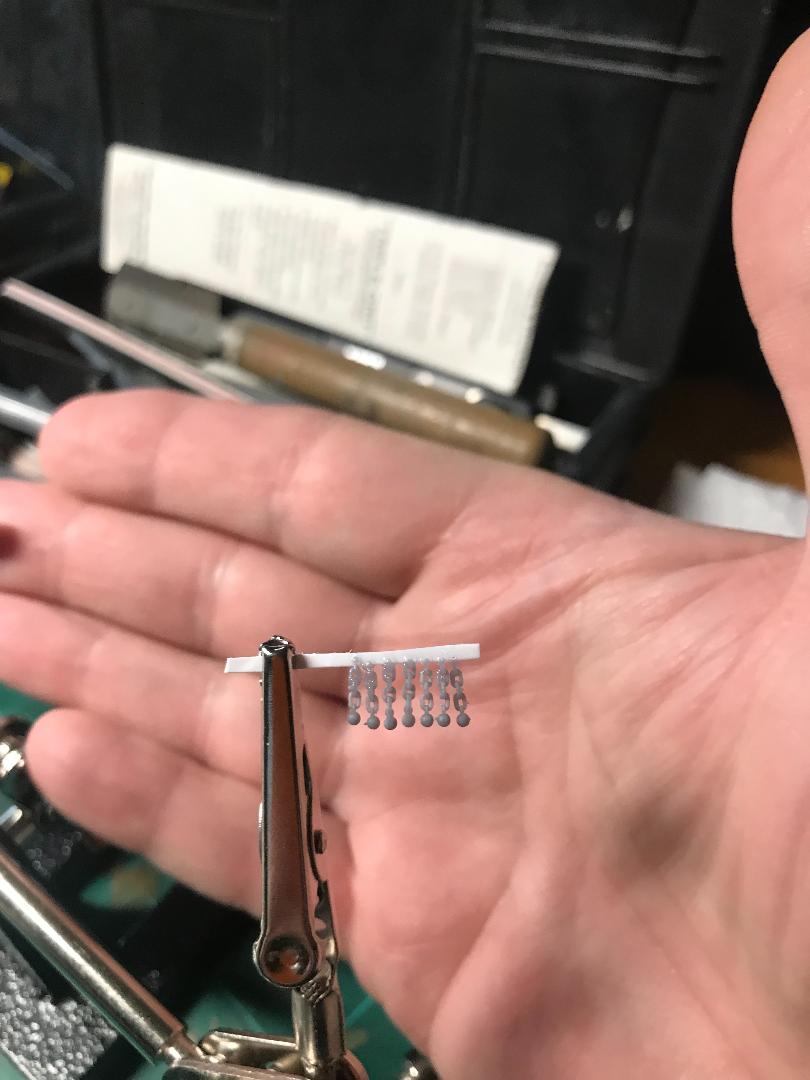
Made from some different type of resin, these are not as fragile as the FC product, but you still must be careful removing them. Here are four, removed and ready for clean sp, alongside a US Dime/10 cent piece as size comparison

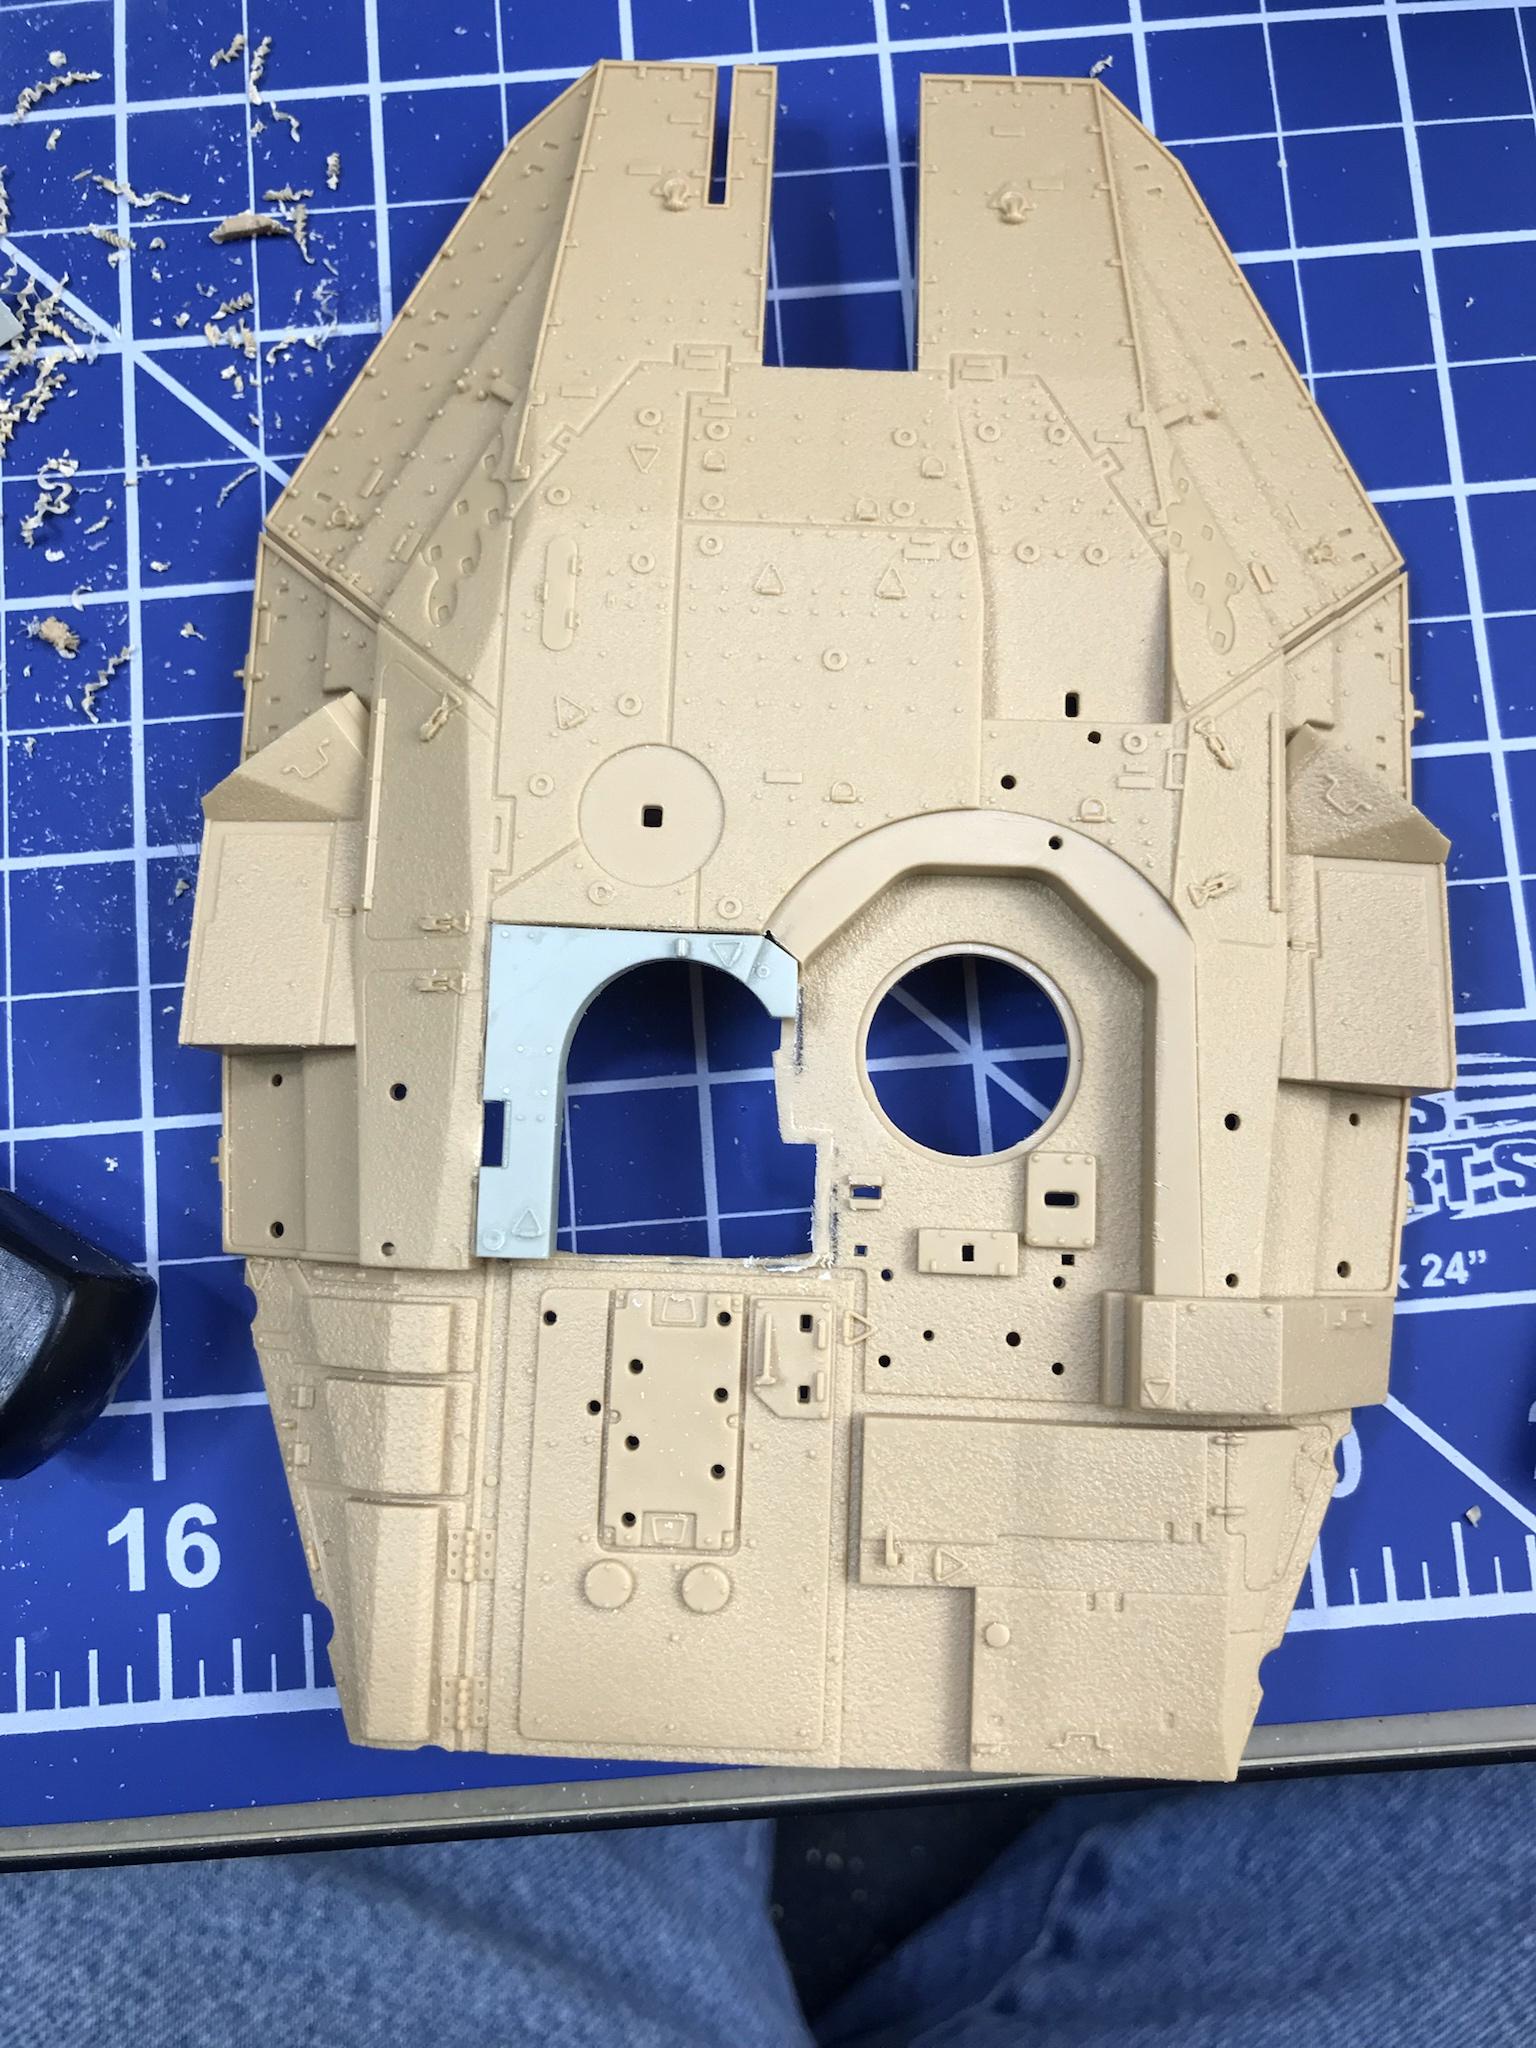
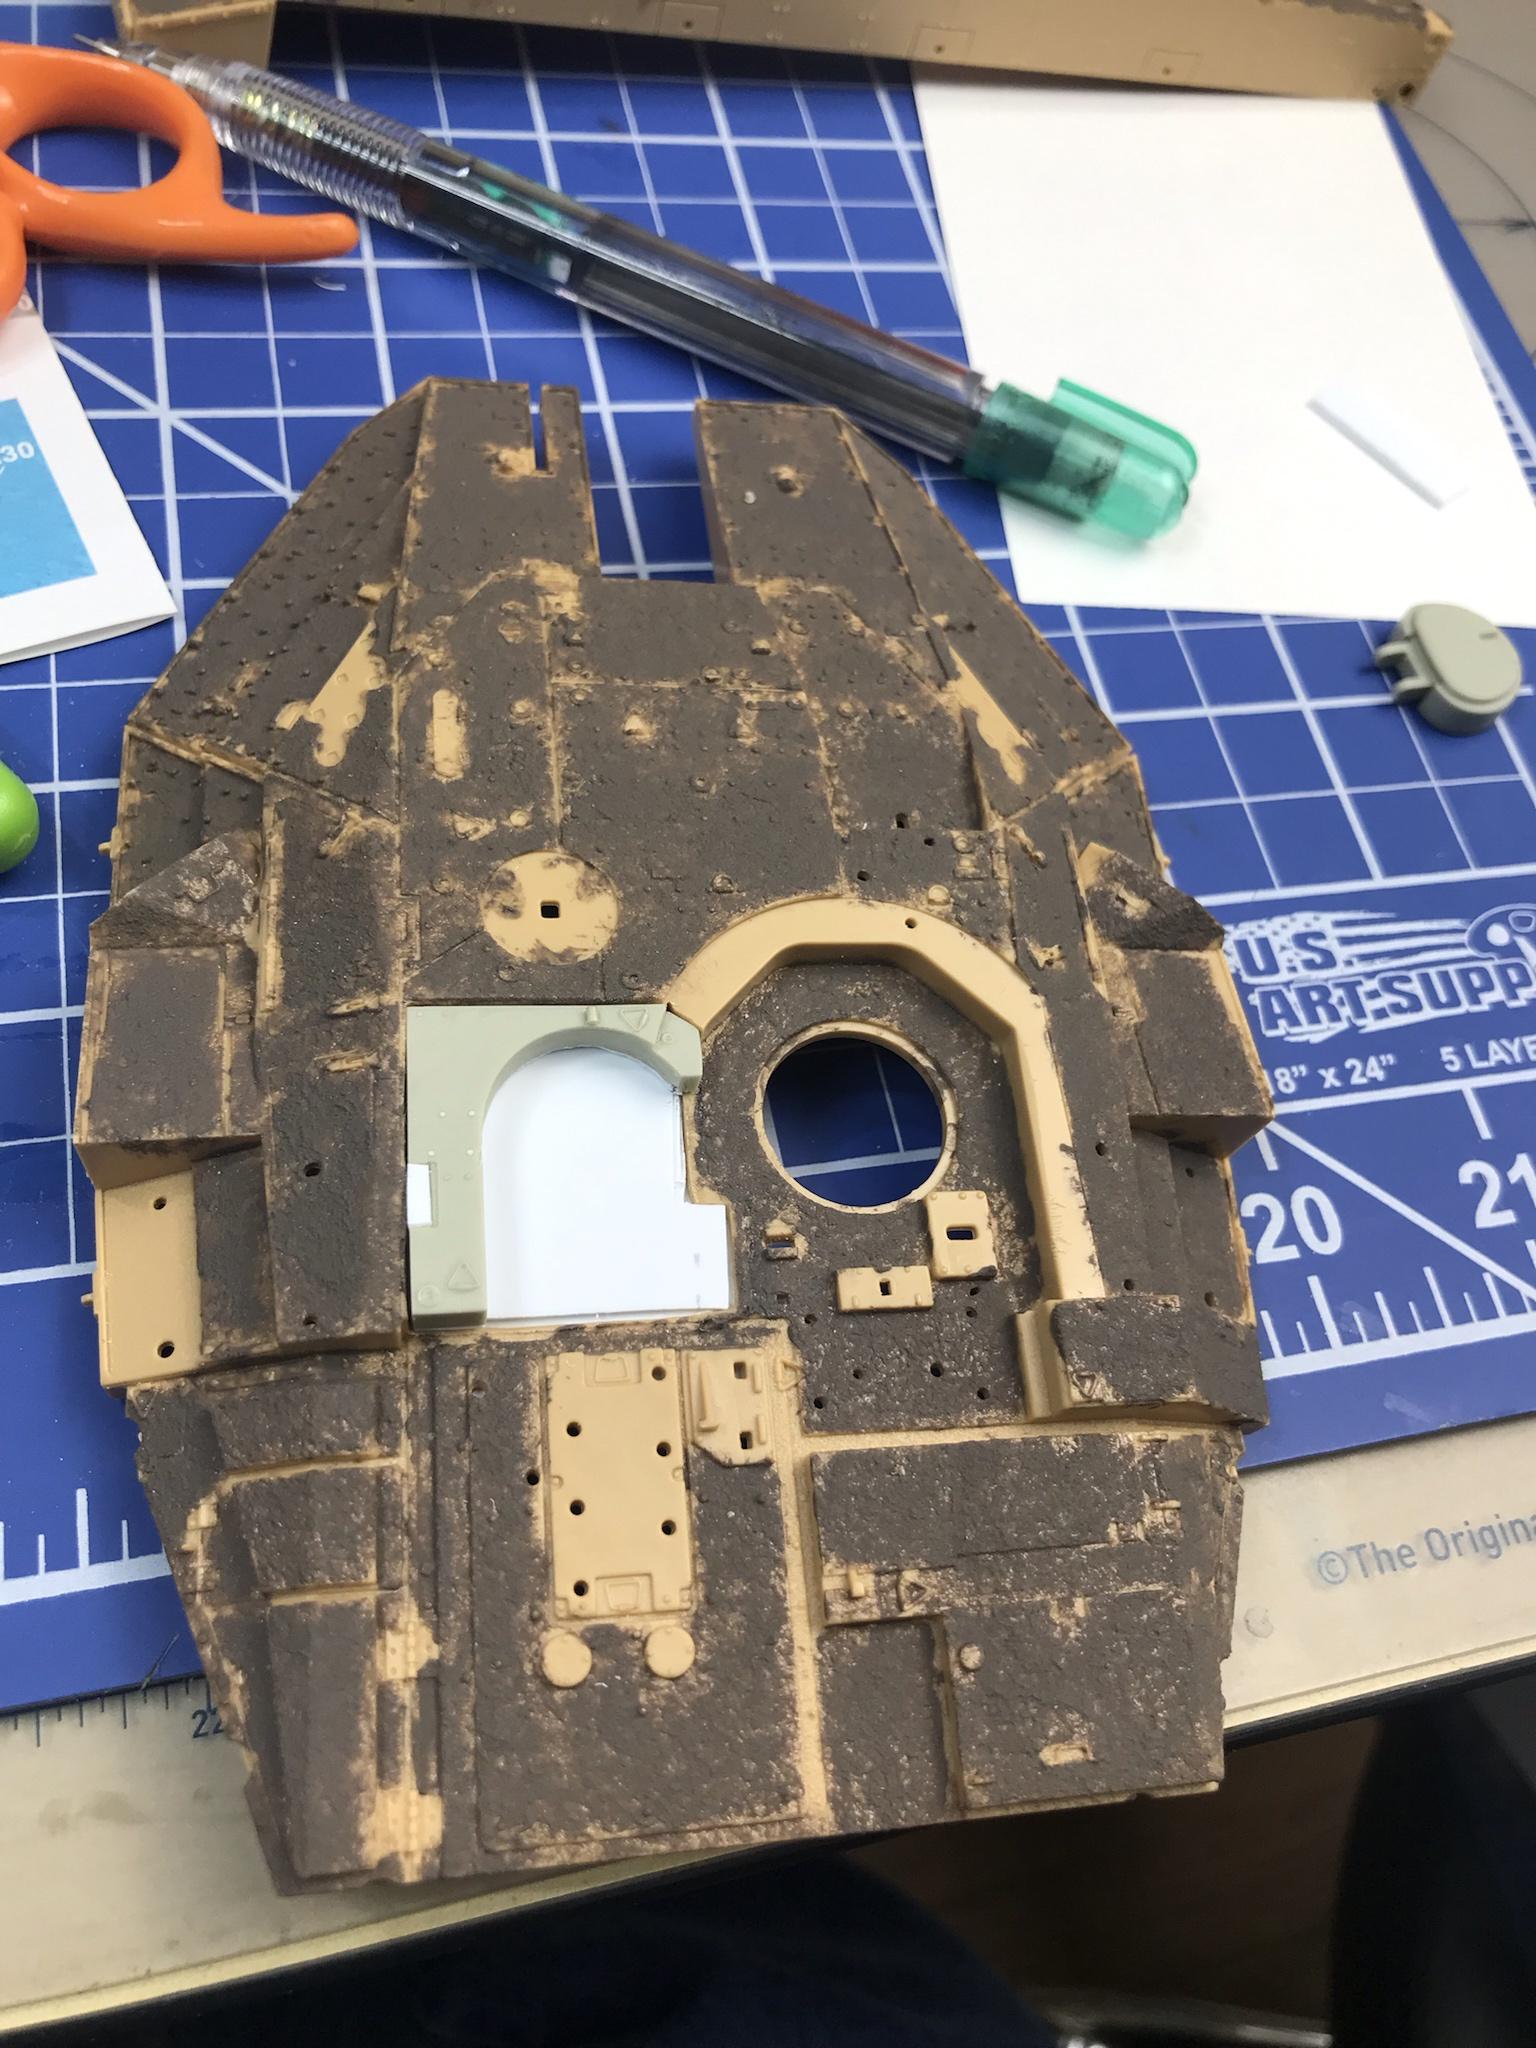
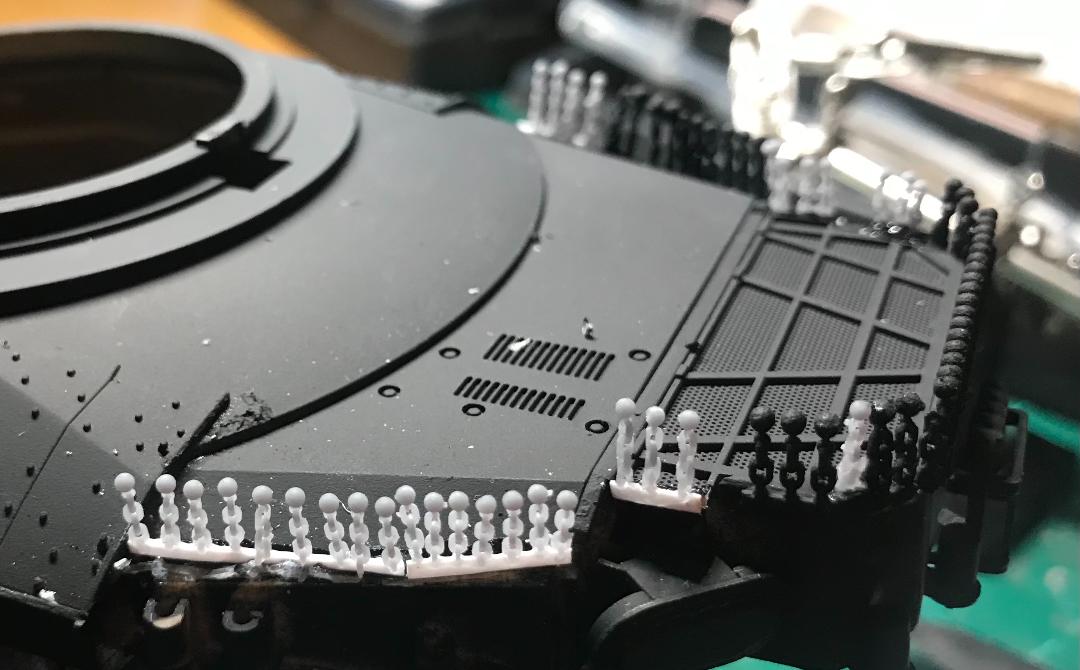
I found that it was easiest to cut a “half-link” off the chain, as you can see in some of these, then cut a small strip of styrene and apply CA to it, then seat the chain over the strip. hardens quickly and several in a row are easy to maneuver and glue in place. In this last pic you can see where I I have the FC product (Primed in black) along with the attached strip.

Hope James sees this, as I think his only possible improvement is to print 2-4 on a strip as shown. His product is really well made, and holds up better than the FC product.

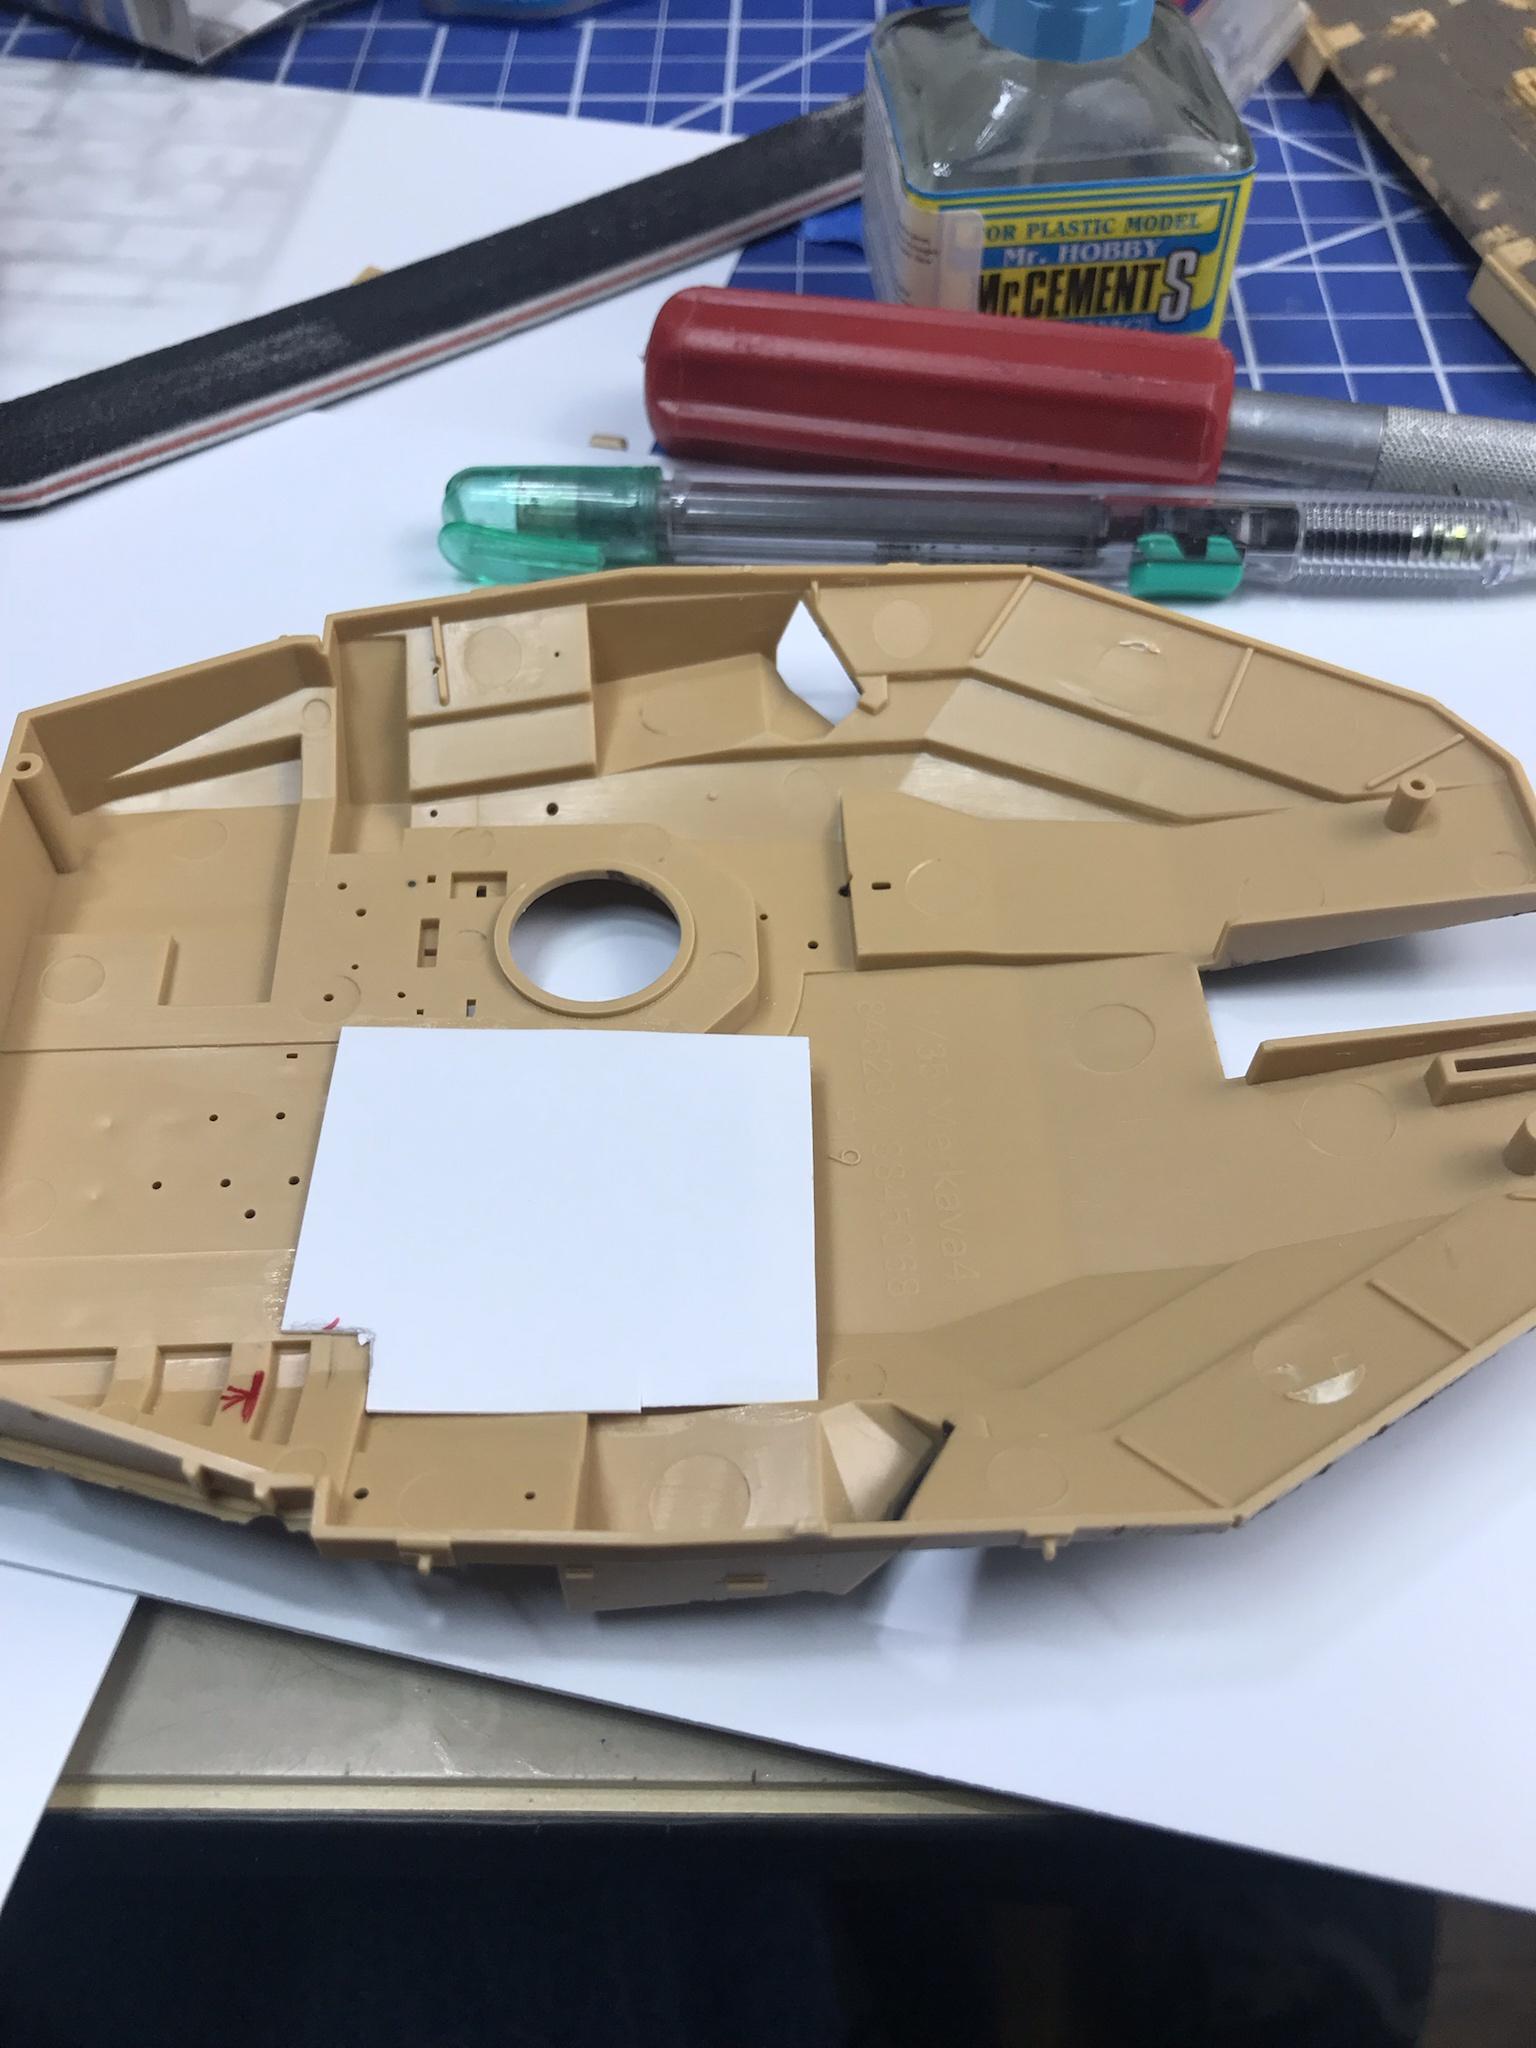
As you can see I still have a few more stirps to add, but here in South Carolina USA it is 14F/-10C & I have to paint outside, so it will be several days until I can even think about that!

4 Likes

James makes quality

2 Likes

Coming along nicely Bruce, looks nice and detailed. Surprised about the FCM Trend issue. I have ordered a few bits from them and they were very user friendly in the times I contacted them. Good to know though - maybe it was glitch but they should be following up on customer issues especially if you have been emailing them and you were a repeat customer …

Well I think I may give FC one more shot, simply cause they make some neat IDF-Opfor stuff no-one else seems to offer, we’ll see

Maybe use an internet shop as middleman?
I get my FC Model Trend stuff from Modellbau König.
https://www.modellbau-koenig.de/en/Manufacturers/FCModel

Postage across the Atlantic should be roughly the same …

I get it through BnA Model World in Australia.
Ken