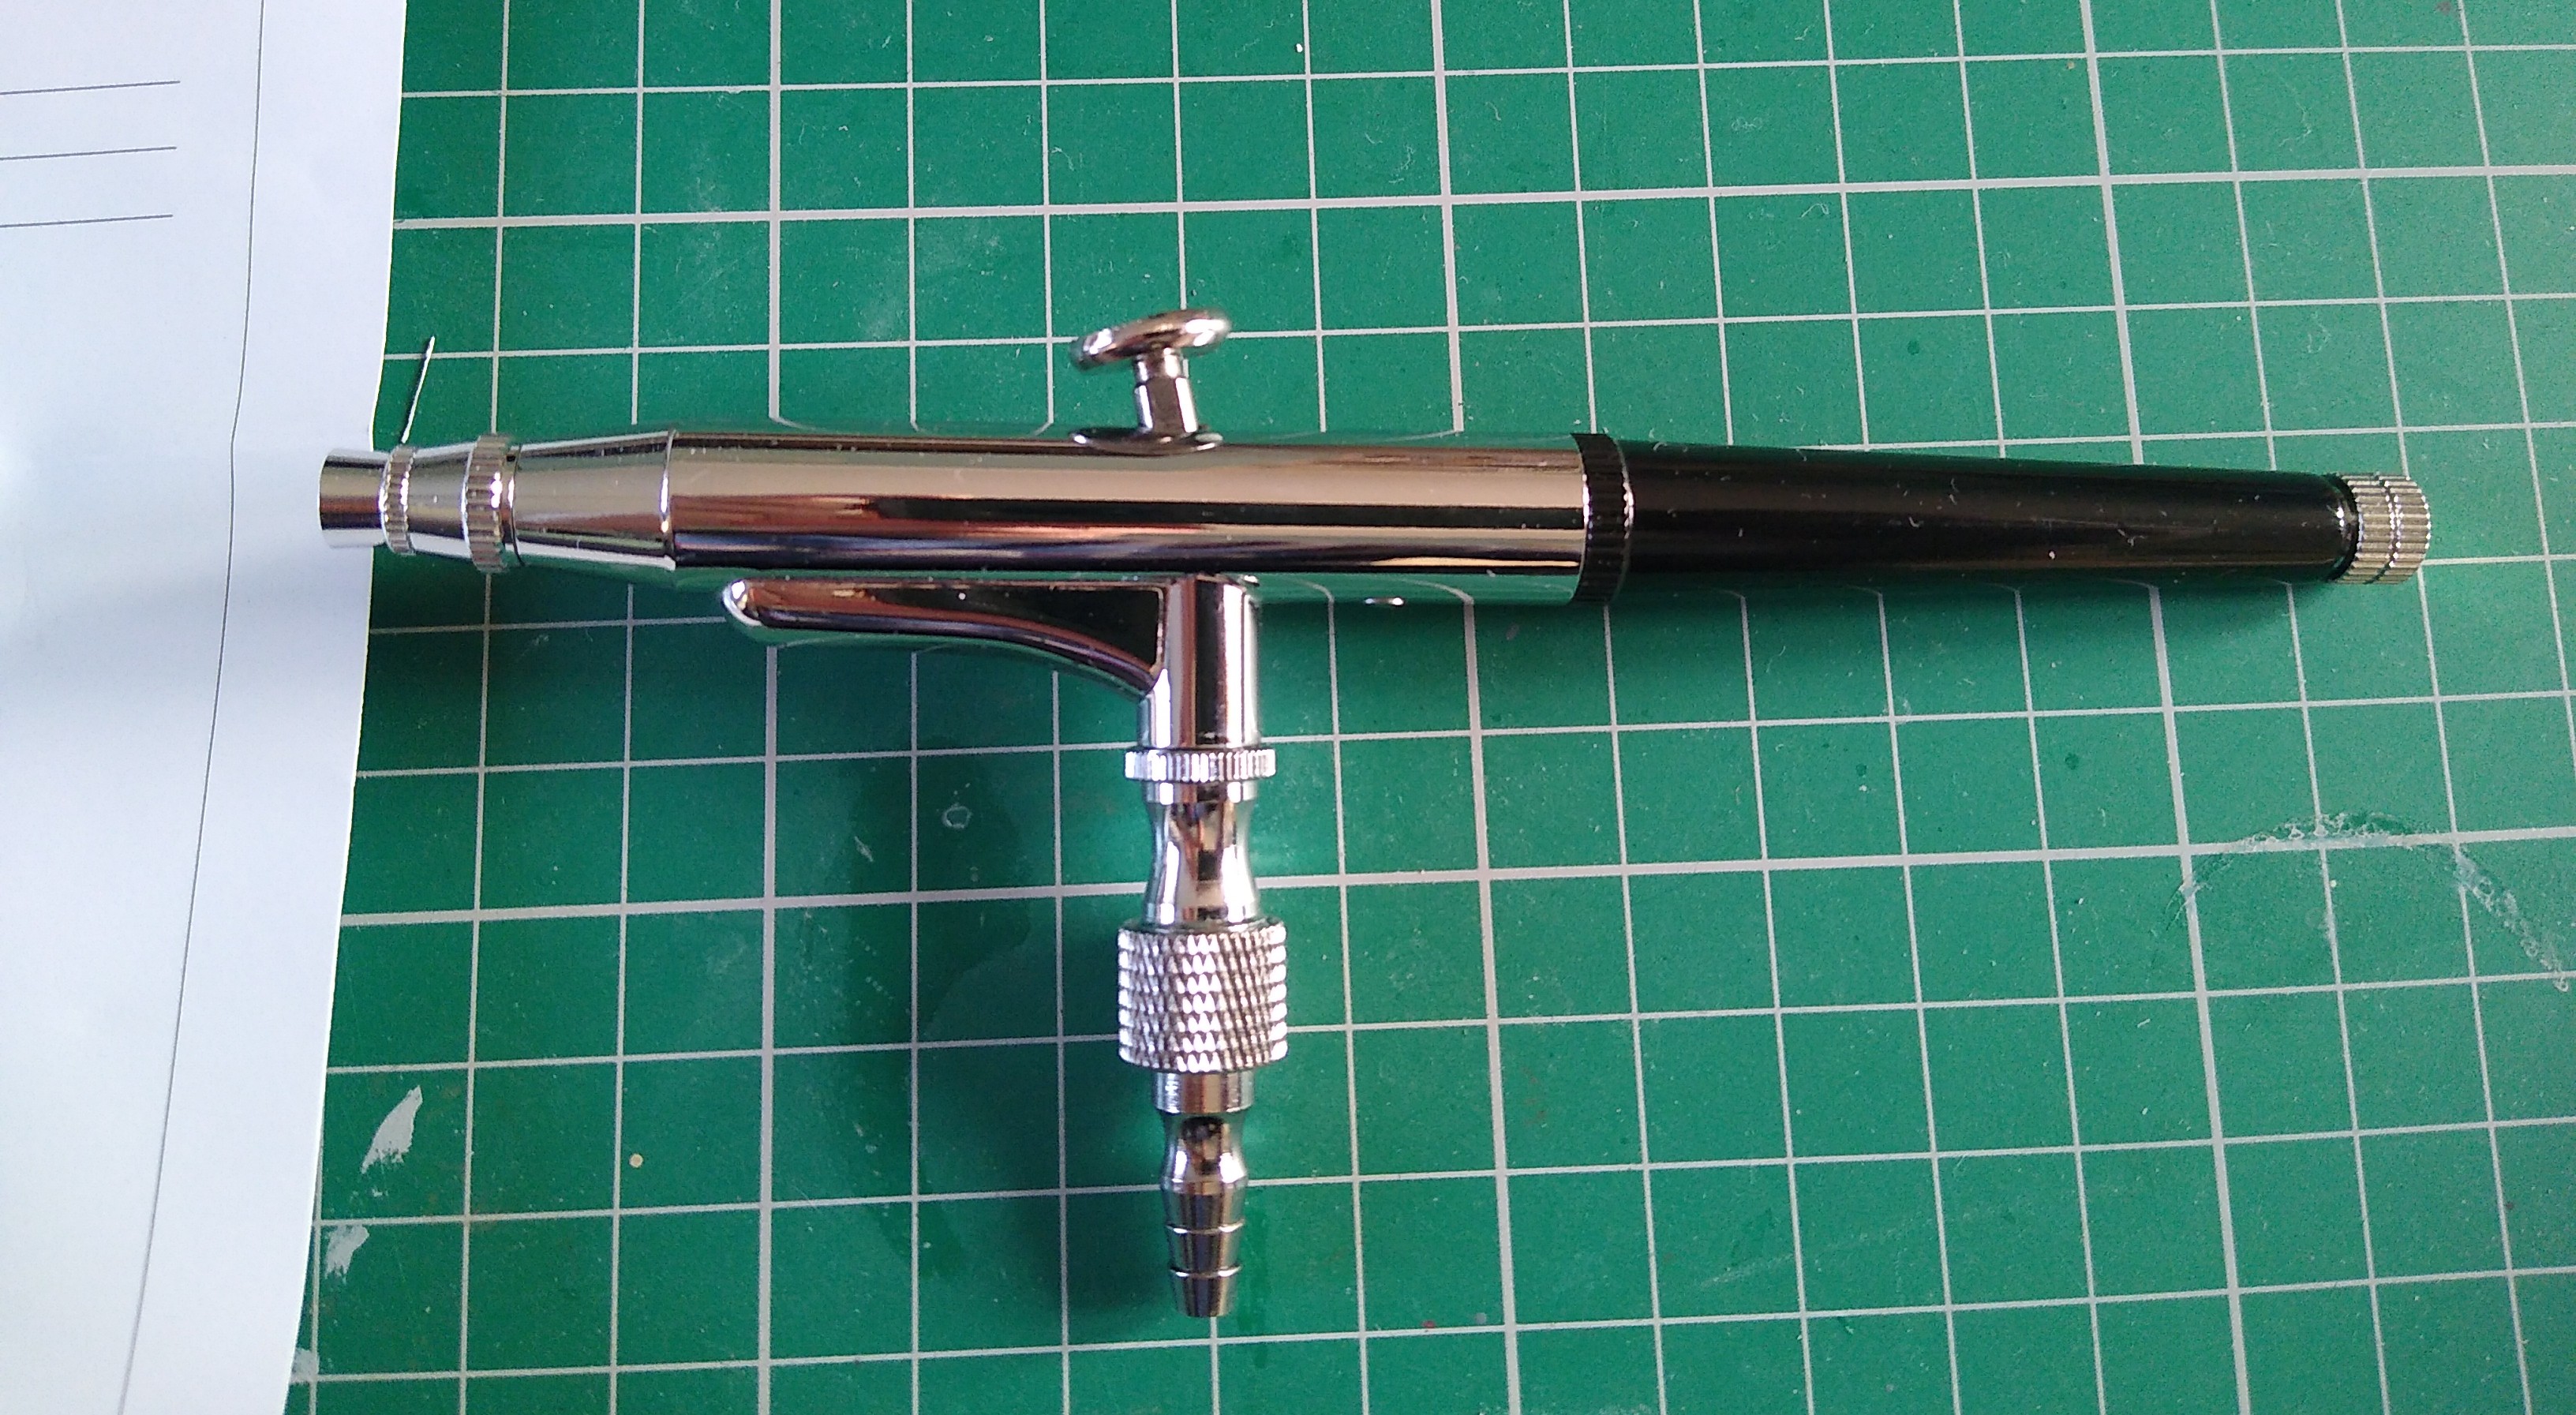
I’ve been airbrushing since '74, and of the many, many lessons that I have learned over the years, keeping it clean is #1.
I don’t know how many modelers I’ve known who have thrown their hands up in frustration pronouncing that this or that airbrush is “total kwrap!” because it has stopped spraying or is sputtering and spattering or bubbling and frothing. Their next questions are usually, “What airbrush do you use?” or “I need a new airbrush! What do you recommend?”
In the end, their problem is almost always because they’ve followed the Siren song onto the rocks of the “All you need to do is shoot a little thinner through it shoals.” Sure, you can do that between colors during the same painting session. You can even get away with it for some time if you’re spraying lacquers that will dissolve in fresh lacquer thinners.
However, sooner or later, your airbrush’s performance is going to start to degrade and before you know it, it will stop working because it’s become clogged with dried paint. This is almost inevitable if you paint with acrylics. Shooting a little (or even a lot) of thinners through the airbrush to clean acrylics out will always leave a little paint behind, and this builds up over time. When that finally happens, you may well find that you can’t even disassemble it for cleaning without using excessive force which then causes some other mechanical damage (bunged up threads, bent needles, split tips, etc.).
In the mean time, that dried paint will act as an abrasive on the air-needle seal every time you adjust the needle (i.e. every time you open or close the need using either the adjuster screw or the trigger). This seal will eventually start to fail causing bubbling and frothing in the paint cup, not to mention allowing paint to leak through into the air valve / trigger area (which can then cause more problems there).
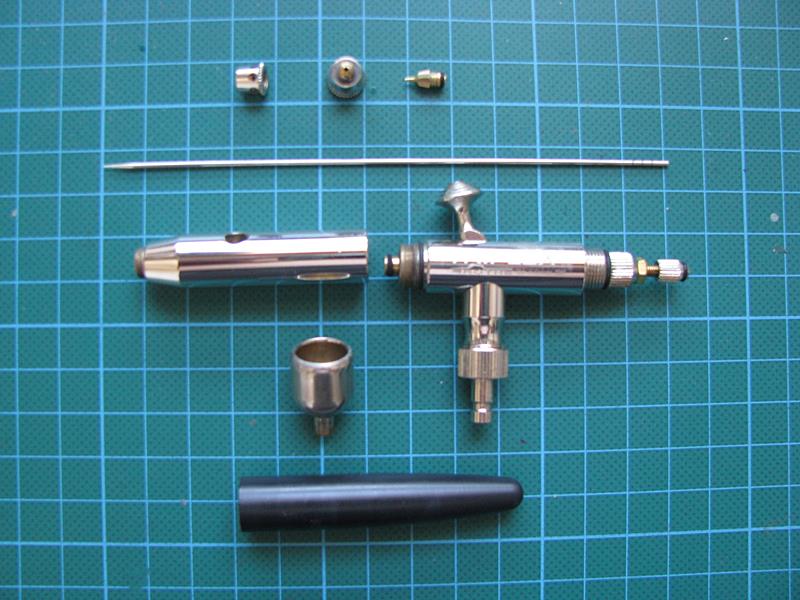
My best advice is to learn how to take your airbrush apart for cleaning, and then clean it after every painting session. With practice and experience, you’ll find that this only takes a couple of minutes. The more you do it, the faster and easier it becomes. Set up your painting area with the materials you need to clean your airbrush. If it came with a small wrench to remove the paint tip, keep that handy and use it. Those tiny inter-dental brushes (they look like micro bottle brushes that are small enough to floss your teeth) are good to reach into the channel between the paint tip and color cup / bowl. You might need to “whittle” down a toothpick to a very fine, long tip to reach into the paint tip. (If you have to do this, wipe the toothpick off with thinners to save it for next time.) Obviously, paper towels and thinners are needed.
I’ve found that the absolute best solvent / thinner to use to clean an airbrush is ordinary hardware store lacquer thinners. Cheap and easy to find, you won’t feel bad about using as much as you need. It will also remove every type of paint residue that you might encounter - lacquers, enamels and acrylics (water based and cellulose based). An eyedropper or pipette is a good way to meter out the thinners from a larger container. I can totally an thoroughly clean any of my airbrushes with about two full eyedroppers full of lacquer thinners (less than 10 ml total).
Use an eyedropper or pipette to suck out the left over paint from the cup. Spray out the excess paint, and then add some fresh thinners and spray those out. Add a few more drops of thinners, then wipe out the cup / bowl. Pull the needle out. Unscrew the air and paint tips. Wipe the needle off. Wipe and clean the inside and outside of the air and paint tips. Wipe out the cup and bowl again. Use one of those little dental brushes to clean out the channel from the paint tip to the bowl (where the needle runs through). Keep at it until all these areas are clean.
If you do this regularly, the only paint residue will be from what you were just spraying, and it will come off quickly and easily. If you’ve put off a good clean for a couple of sessions, you’ll find that you need more time and effort to get all the residue off.
Finish up by putting a very (VERY!) small amount of needle lube on the needle before inserting it and then shoot a few drops of straight thinners through it as a quick function test.
Keep your airbrush clean, and it will work every time you pick it up. It’ll also keep on working year after year after year. I have a Badger Model 200 that I still use that’s over 40 years old. It was the only airbrush I used for over 20 of those years. I’ve painted dozens and dozens of models with it, to include a number of IPMS and AMPS national winners. That ol’ Badger still paints as well today as when it was brand new. (Unlike the one I owned before it which I abused and had to finally toss after only a couple of years - after I had repeatedly repaired and replaced part after part.)