Is there an easier way to paint the rubber part on a Sherman road wheel or other similar type of suspension?
My normal way is to paint the whole wheel OD then come back and paint the rubber part a grey/black color. The arms, springs, return rollers and ect that make up the rest of the running gear I paint unassembled then scrape off all the paint on the mating surfaces, assemble the parts after the road wheel’s been painted. Then I touch up with a brush where needed and mount to the hull.
This is a lot of dickin’ around. Just wondering if there’s a better way to do it.
many thanks in advance !

I assemble the suspension and glue to hull and paint along with the hull. The road wheels are sprayed the base color then I paint the rubber with a brush or use a wheel mask and spray the rubber.
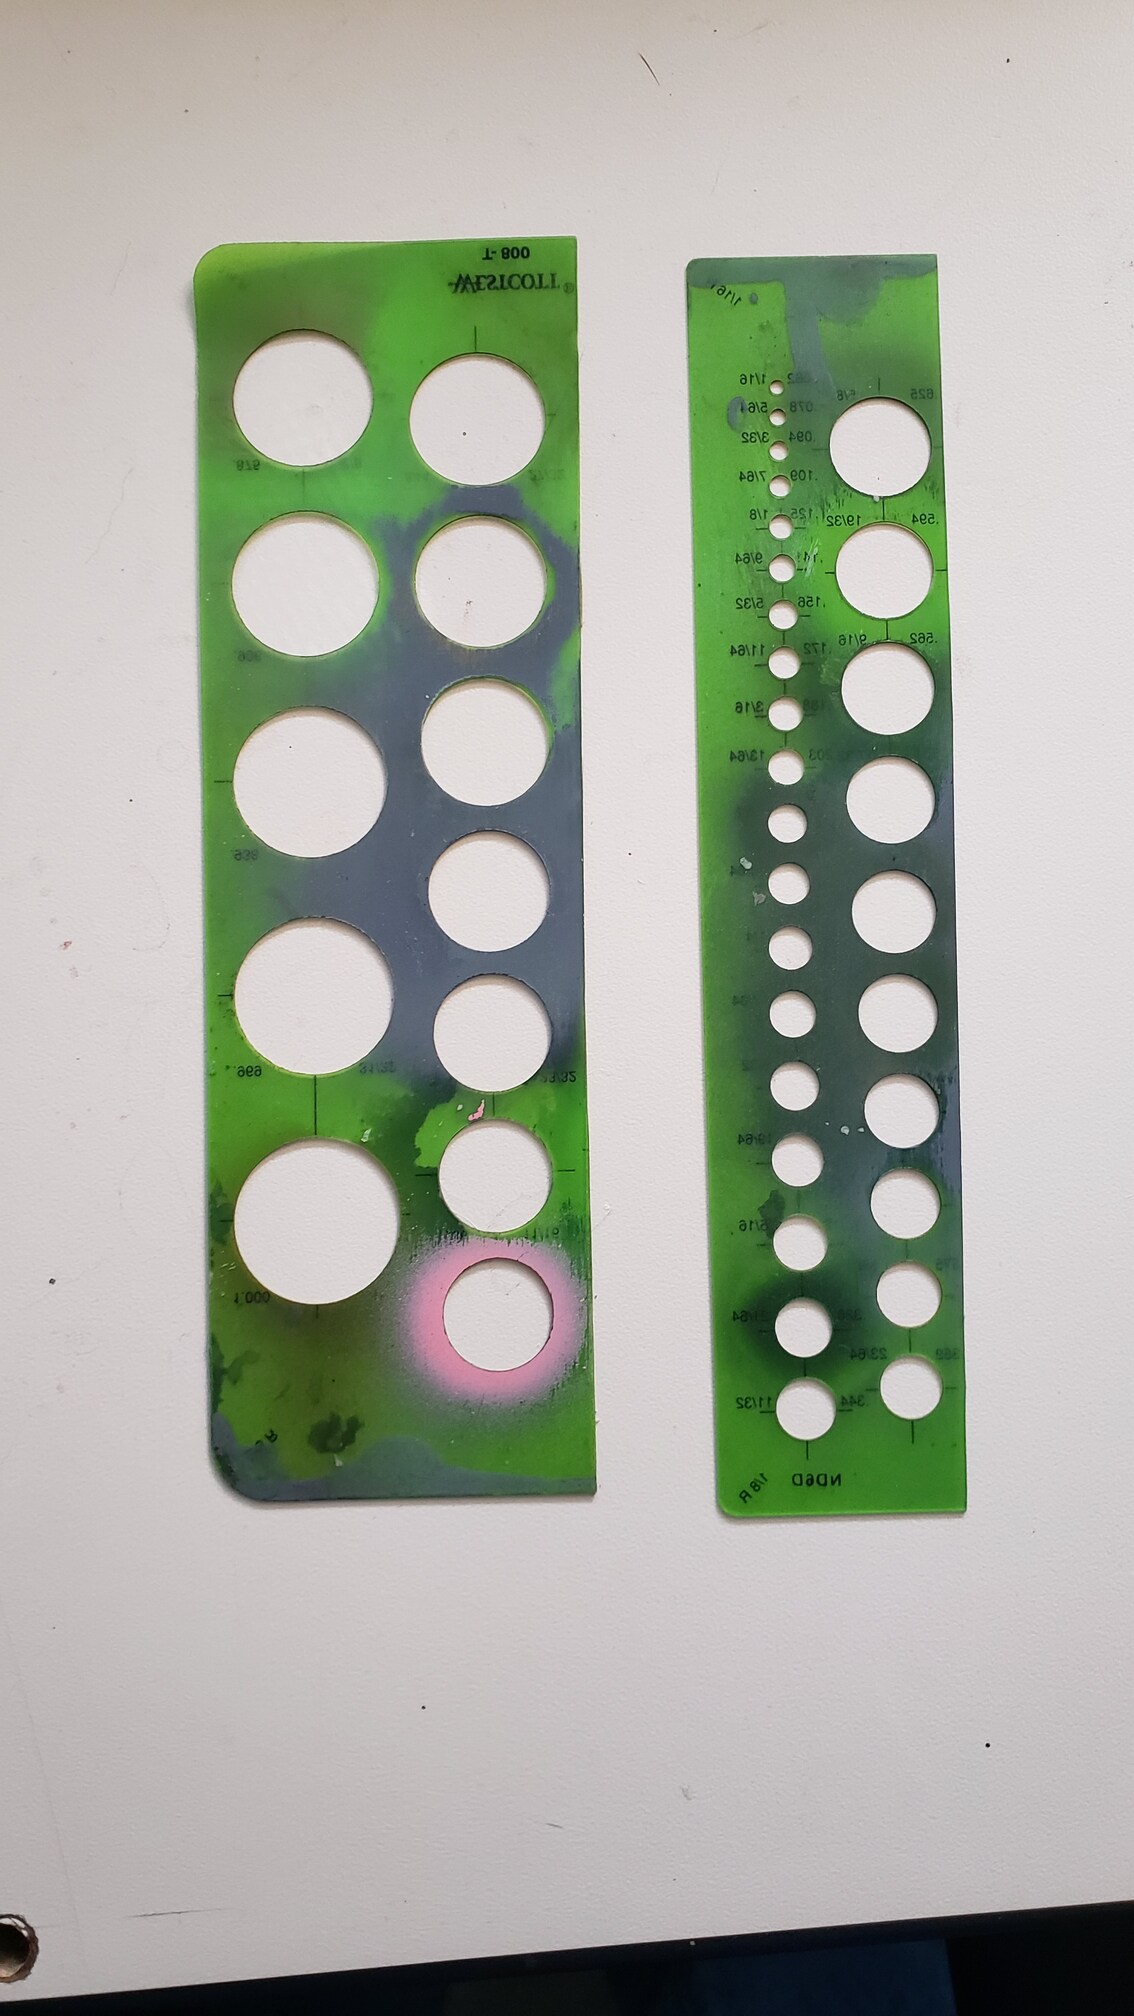
I do the opposite, I spray the wheels Tamiya tire black first. Then use a circle template to shoot the middle OD. I also spray the rest of the boggie parts on sprue OD. Assembly and touch up as needed. Usually the weathering and pigments hides any flaws.
I second Tank_1812’s method. A regular architects circle template or you can purchase photoetch metal templates for that specific purpose.
I airbrush the rubber portion of the wheel first. When it’s dry, I use the circular template to cut a hole in some low tack drafting tape. I then put it on the road wheel covering the painted portion and airbrush the wheel. The tape “template” can be used several times before you replace it.
The reason I use the tape is (1) I hate having to clean up the metal template and (2) the tape sticks securely to the kit piece so there is no chance that it will slide out of place while you are painting.
Cheers,
C.
1 Like
Sherman’s are pretty easy with the raised hub,I spray the OD and hand paint the rubber
Same as Tojo, and Kenaicop. Any wheels with a raised, or definite engraved line between rubber and rim, I brush paint. I usually clean them up and airbrush them body color while on the sprue, then brush paint the tires. After clipping from the sprue I can either touch up the connection point, or hide it at the bottom.

1 Like
With Shermans I build the full running gear and attach it to the hull, very carefully brush paint after mail hull is painted. For M1’s, M48/60 series I put the road wheels on wooden skewers that I’ve had for years, I’ll paint the wheel then again carefully brush paint the rubber part, half spinning the skewer and moving the brush along at the same time.
I guess for each person there way is the easiest for them. I feel its hard to beat using a template both for ease and appearance. Havent met a vehicle yet that hasnt fit in 1/35 and 1/25th.
3 Likes
Thanks guys ! I too normally brush paint the wheels. I’ve never used a template before and will have to give it a try. The Kenaicop posting has encouraged me to try a Sherman his way. While I thought about it I never tried it. Fear of breaking off something I guess.
In the past I’ve painted the wheels separately. Painted the running gear semi- disassembled, scraped the paint off the mating surfaces, glued it all together, touched up the paint where needed and then mounted it to the hull for Shermans that is. I was just trying to find a quicker way to do it.
Have a good (for those that celebrate it) Thanksgiving everybody!
FWIW, I just hand brush paint the ture/rim details (either rubber or bare metal) on road wheels. Been doing it so long I don’t even think about it anymore. If possible, I keep the wheels separate to paint, but if I have to, I always try to build the suspension so the wheels will turn for painting.
Suspension and tracks are just the armor modeler’s burden, like sailing ship rigging, or civil automotive gloss finishes and decals, or aircraft modeler’s canopies… Shift your mental gears, go to your “happy place” and just grind through.
For Sherman type suspensions, I do use a silver Prisma pencil to highlight the steel rims that protect the sides of the rubber tires from the track guide horns.
Depending on how I’m going to weather the tank, I’ll often mask the outside of the rubber tires on Sherman tanks so that I can weather and keep the look of the tire that has run some and worn off any dried mud. I also almost always finish the tracks separate from the model.
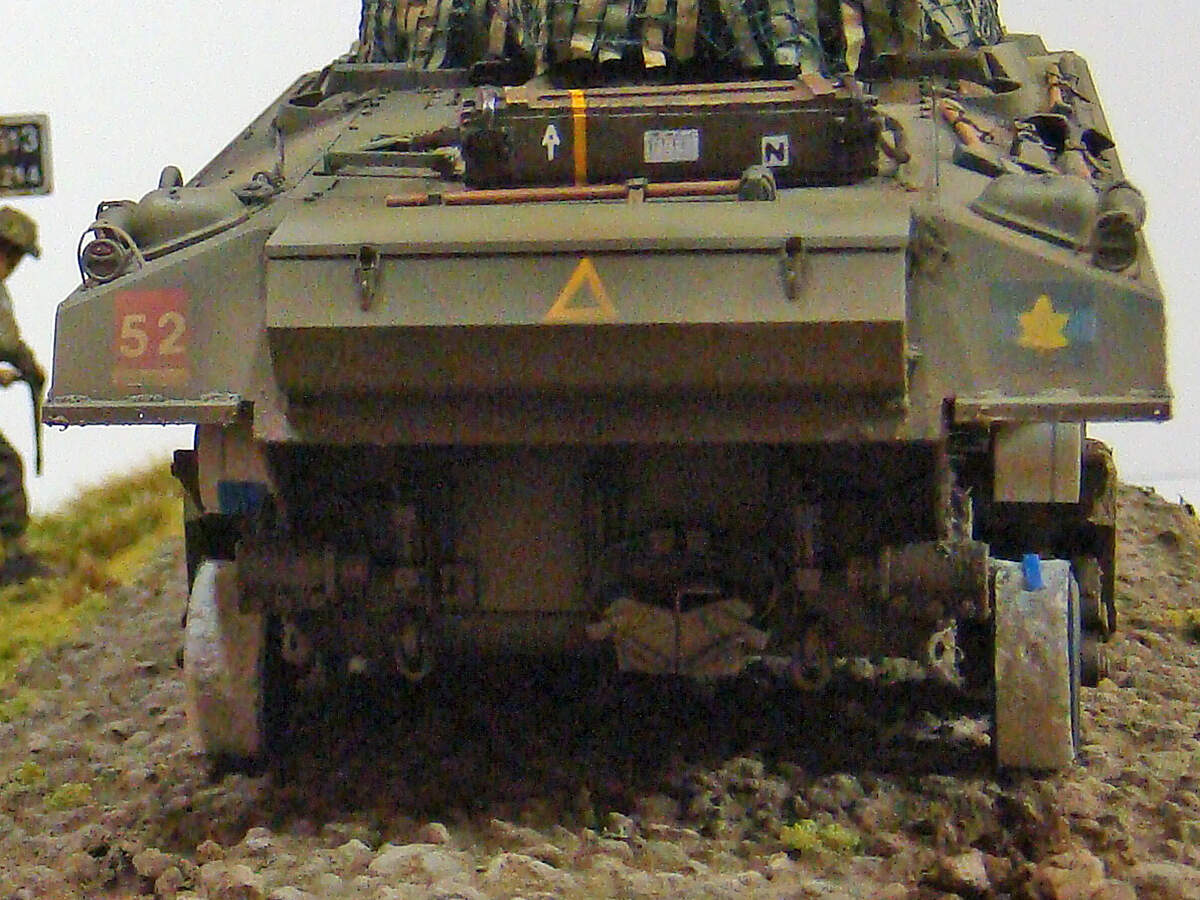
These wheels on these bogies were hand painted, the rims highlighted with silver pencil, then masked so I could finish the heavy, texture weathering.
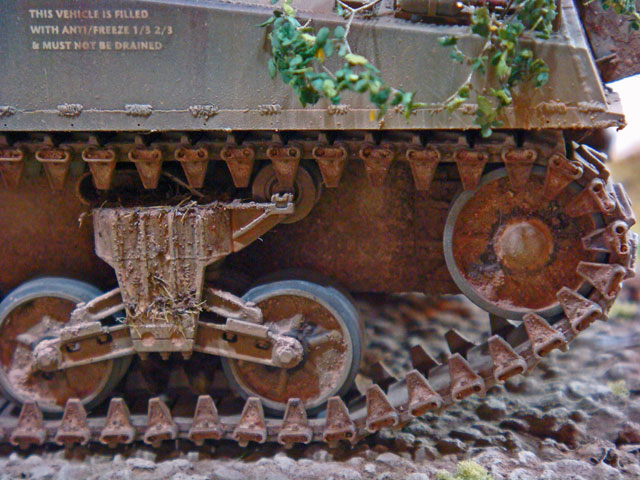
This shows the outsides of the tires and ideler wheels masked.
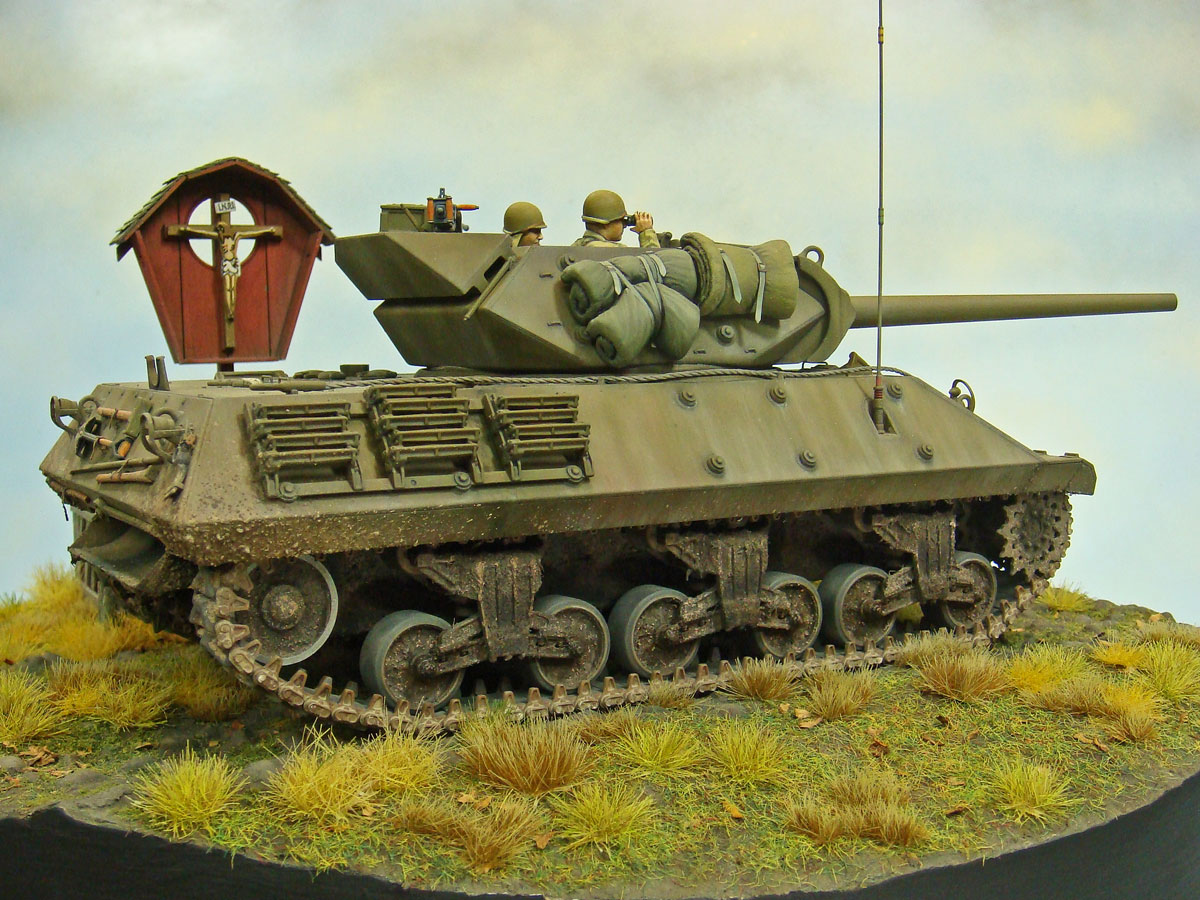
This is Tamiya’s M10 with the suspension completed. As with the examples above, the wheels were hand painted, silver pencil used on the bare metal rims, and then masked for the rest of the wathering. The tracks were finished separtely (here a set of DML indy link tracks assembled in two runs - tops and bottoms).
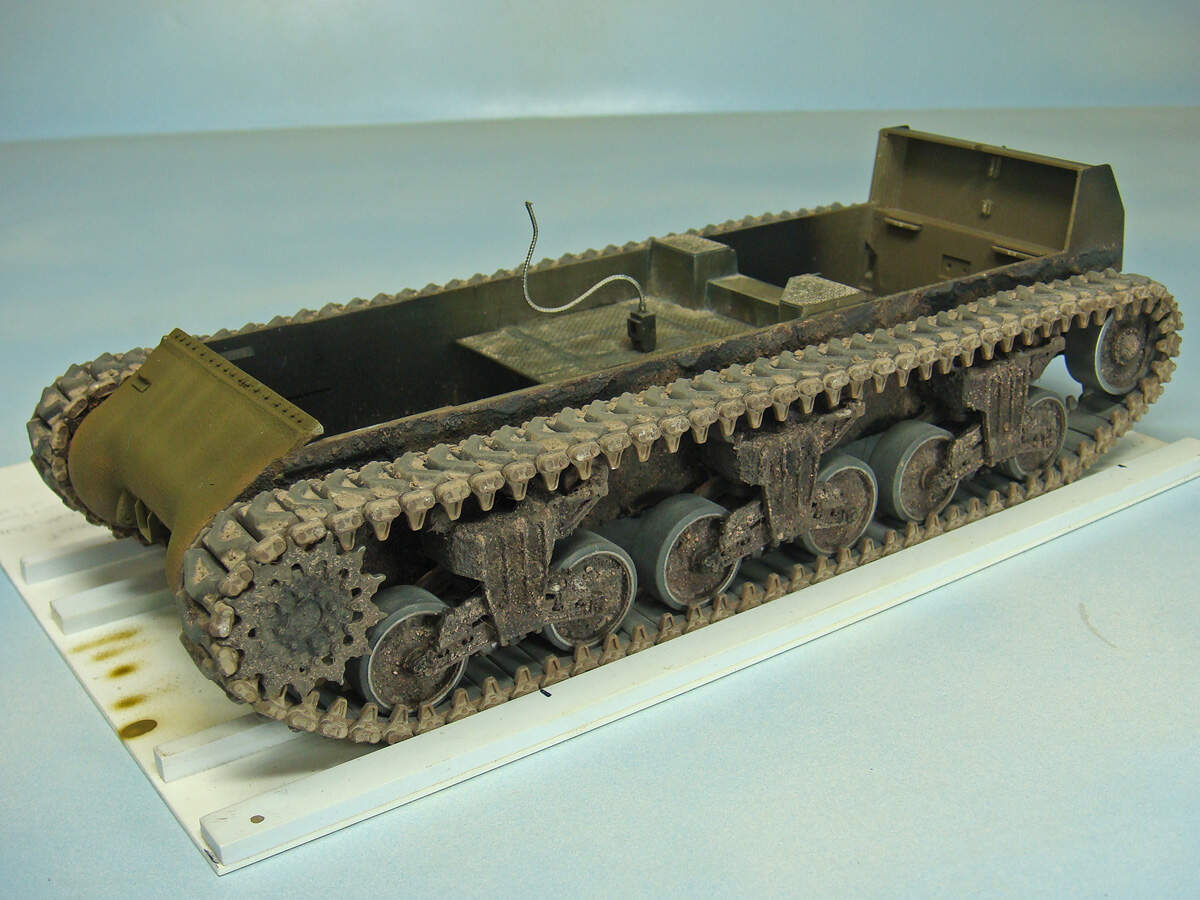
(The upper hull on the M10 kit fit so well that it could just be snapped on later and made finishing really easy.)
1 Like
What a great image of the rear bogie & idler wheel ! Mike, you are a true modeler while I’m just a gluer of parts ! In that one little corner you’ve packed more detail than I have in a whole kit!
A silver Prisma pencil is something I use also. A lot of people miss that detail and the weep holes near a Sherman’s gas cap areas.
Thanks for the input ! How about a picture of the whole Sherman PLEASE ?
1 Like
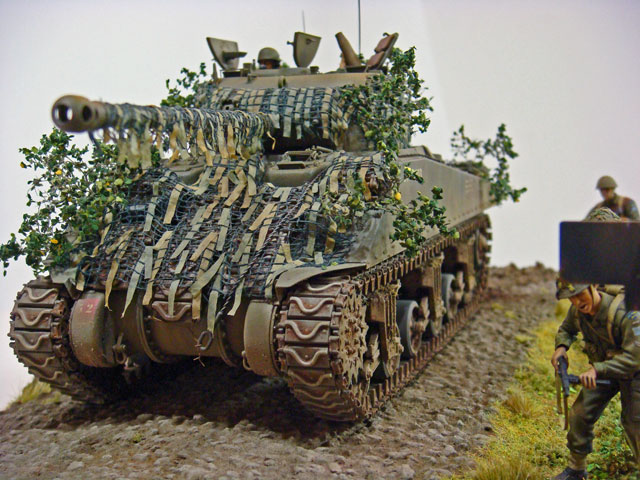
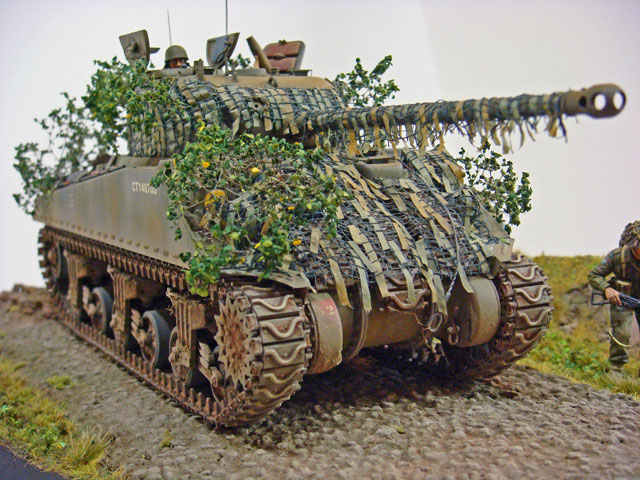
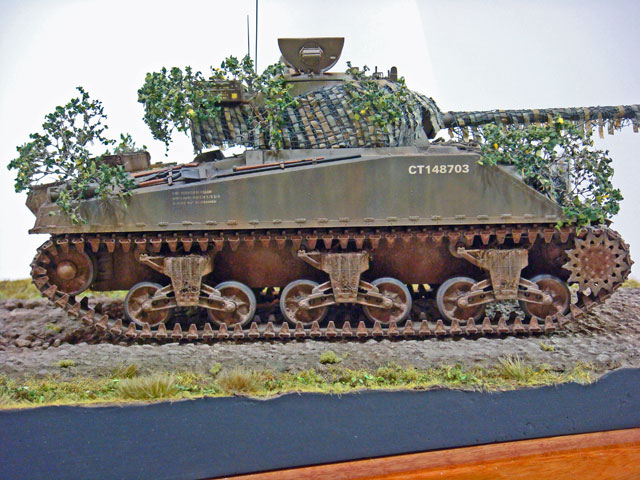
Thanks for the props! Here are a couple of happy snaps of the Firefly. It’s the Tasca kit with RHPS (now Panda) tracks and Voyager and Eduard PE (selected parts from each set, but mostly Voyager).
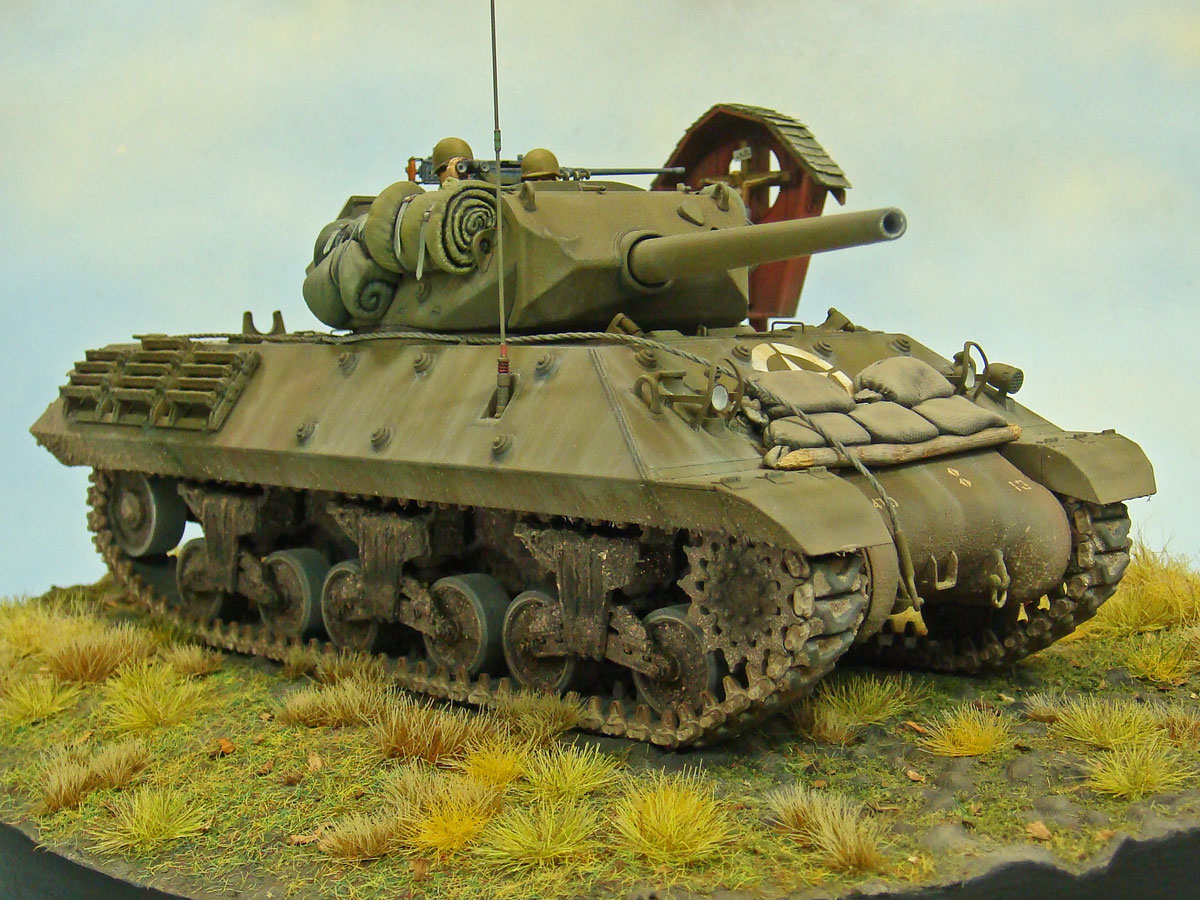
Here are a couple of shots of the M10. It’s the Tamiya kit built mostly out of the box. I did add scratch-built footman loops, straps (with PE buckles) and stowage made from epoxy putty. The .50 cal MG has been detailed with the RB Models detail set. I also added some punched styrene bolt details to the grousers.

4 Likes
Thanks Mike for posting these images, much appreciated and admired ! Also, great work on those Tamiya M-10 figs. They sure have come a long, long way with their “little dudes”.
Have a great Thanksgiving !
1 Like