How I paint and weather s.b.s. tutorial

Now the entire vehicle has received 2 kiss coats and a final wet coat . The wet coat drying time is accelerated with a hair dryer set on low . The trick is to keep the hair dryer moving and not to close.
Upon close inspection the paint is darker where thw flat black was applied . This begins the first step of the weathering process and we are not even done painting yet.


With the color on and dry we could go to the filter and wash stage to keep this more pristine and factory fresh , but where is the fun in that … Next up fades.

4 Likes

Interesting, figure painters do something similar but opposite, dark first then light later to help with color transitions.

2 Likes

Yay knowledge! Keep it coming Chris.

I just got all fired up for that Shadow painting primer that @Armor_Buff is doing and now this gem. Guess I’ll need to have a dueling techniques session.

2 Likes

I like to do things in a manner that light would have a effect at any given time on the vehicle . Thats where the fades come in . What im doing here is emphasizing natural shadow areas.
The other way does much the same thing just a different style . They both work .
Also dont make me go toe to toe with @Armor_Buff , he will be a difficult one to face. A tough nut to crack so to speak , might need to deploy tactical nukes on him…lol. He is a amazing builder . We have two different styles and thats what makes this so awesome .

2 Likes

Now for the fades , this is where the fun really begins . We take the original green and add aprox. 10% of the buff color ( never use white). Then each panel gets a random painting with the first lightened color . For most of it I am working very close aprox. 1 inch away from the model.


Once the entire model has received this treatment, add another 10% to the lightened paint mix and repeat the process . This requires some patience and trigger control
I cant stress enough trigger control is 90% of the battle.
Now once again once the entire vehicle is done, add more fade to select areas same the same 20% mix. The paint that is going on the model is layered so thin that a additional layer of thw same fade color will lighten it more.


2 Likes

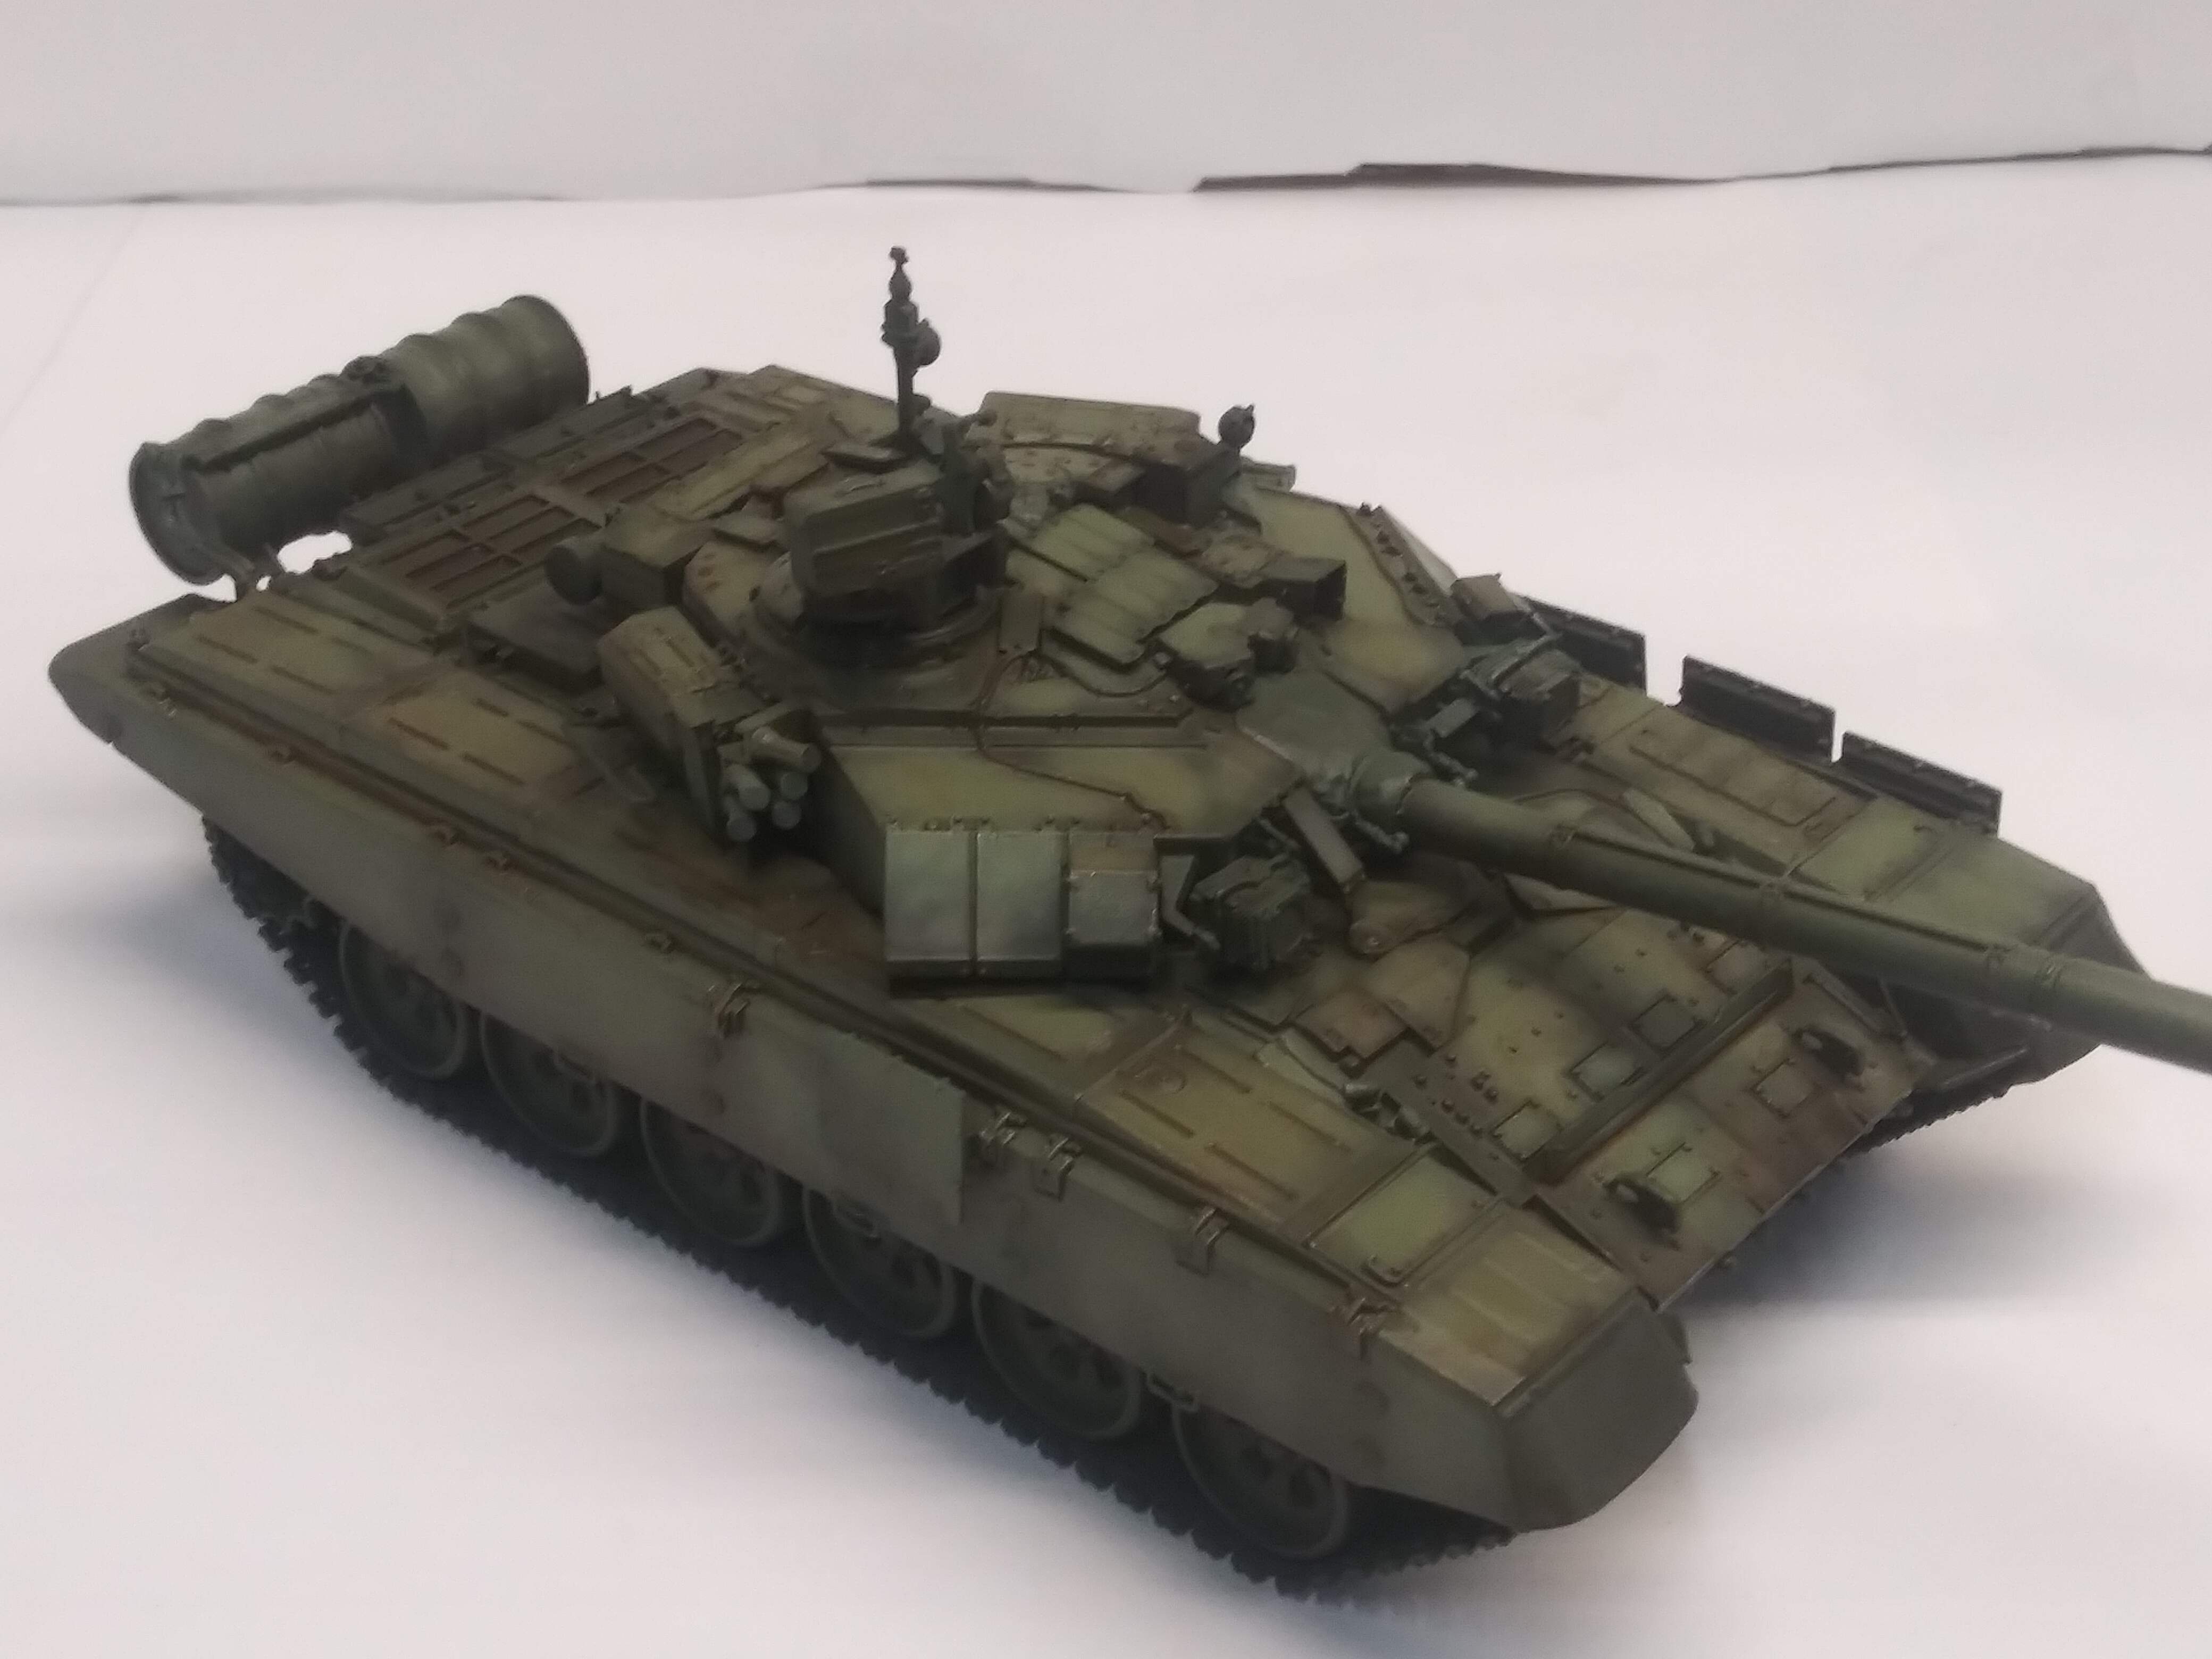
Filters . What are they and what do they do?
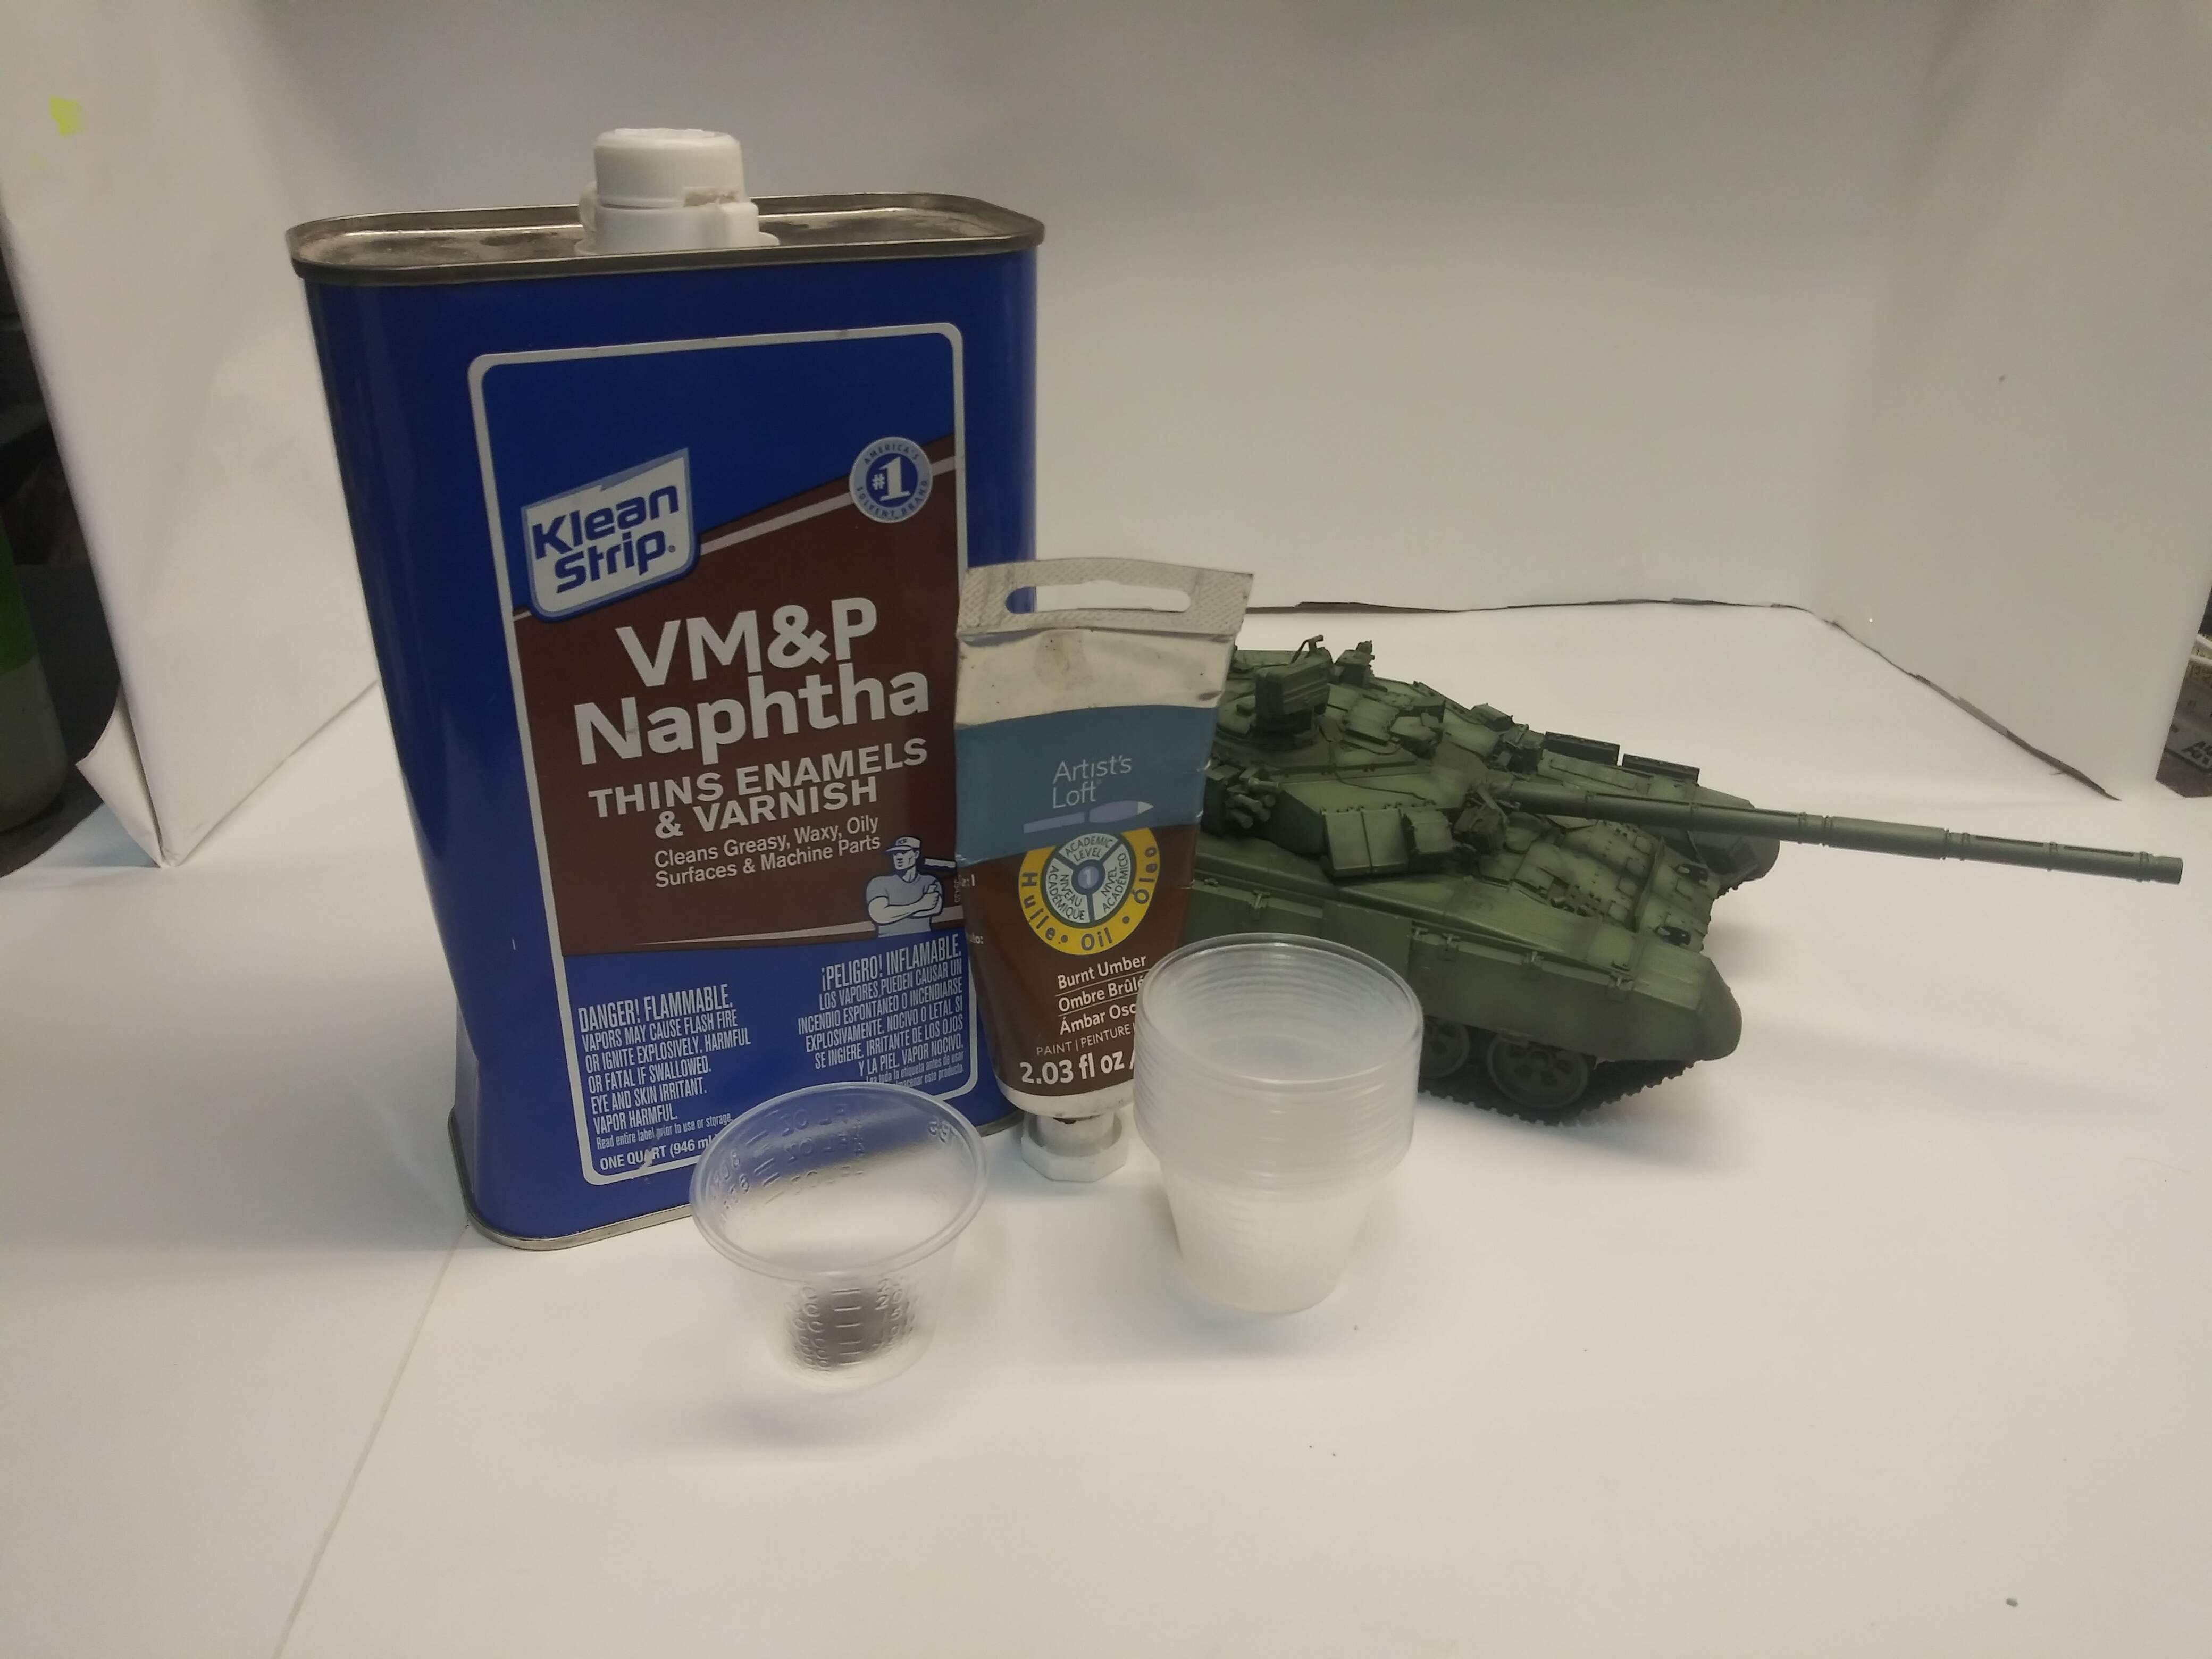
A filter is a ultra form of paint. The carrier can be acrylic , water , or chemical based. I prefer the chemical option. In this case the chemical option is VM&P Naphtha. ( its zippo lighter fluid essentially). The filter when applied changes the tone of the color it is applied over . It is similar to use those red and blue paper glasses to watch a early 3d movie . It fools the eye into seeing the color as a blended and softened color while still retaining the color fade transitions.
For this build I am using Artists Loft Burnt Umber oil paint.
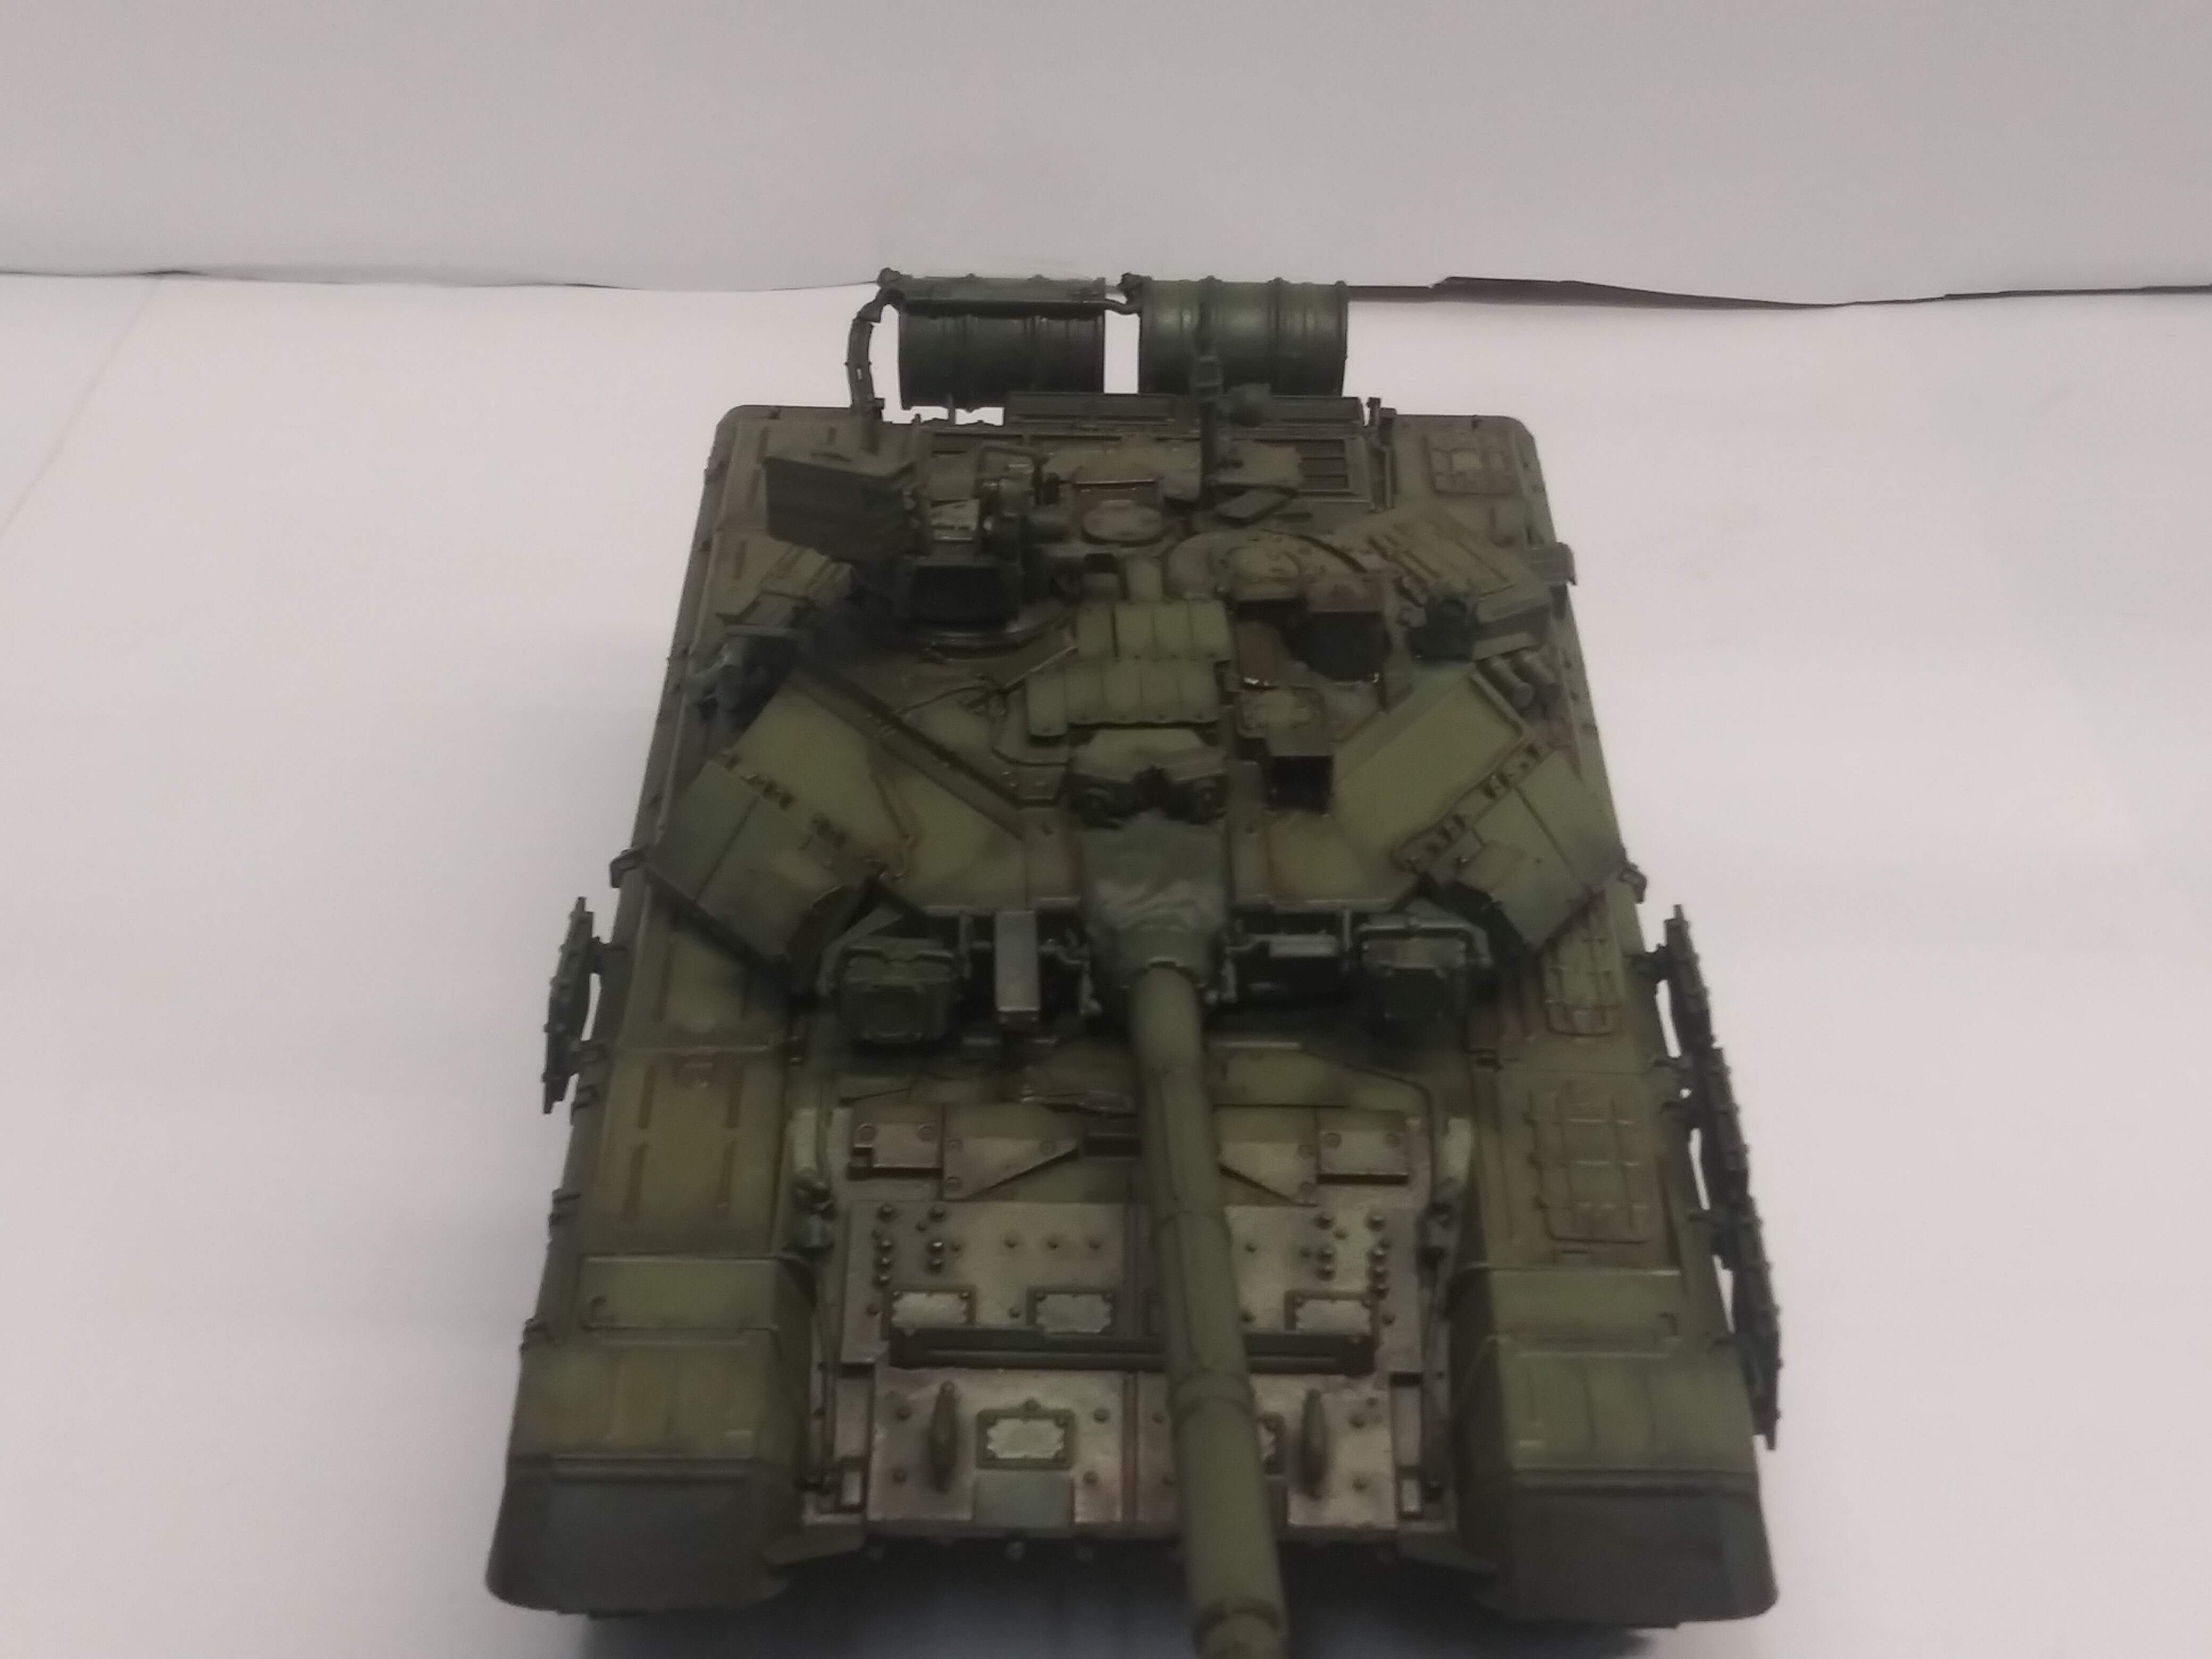
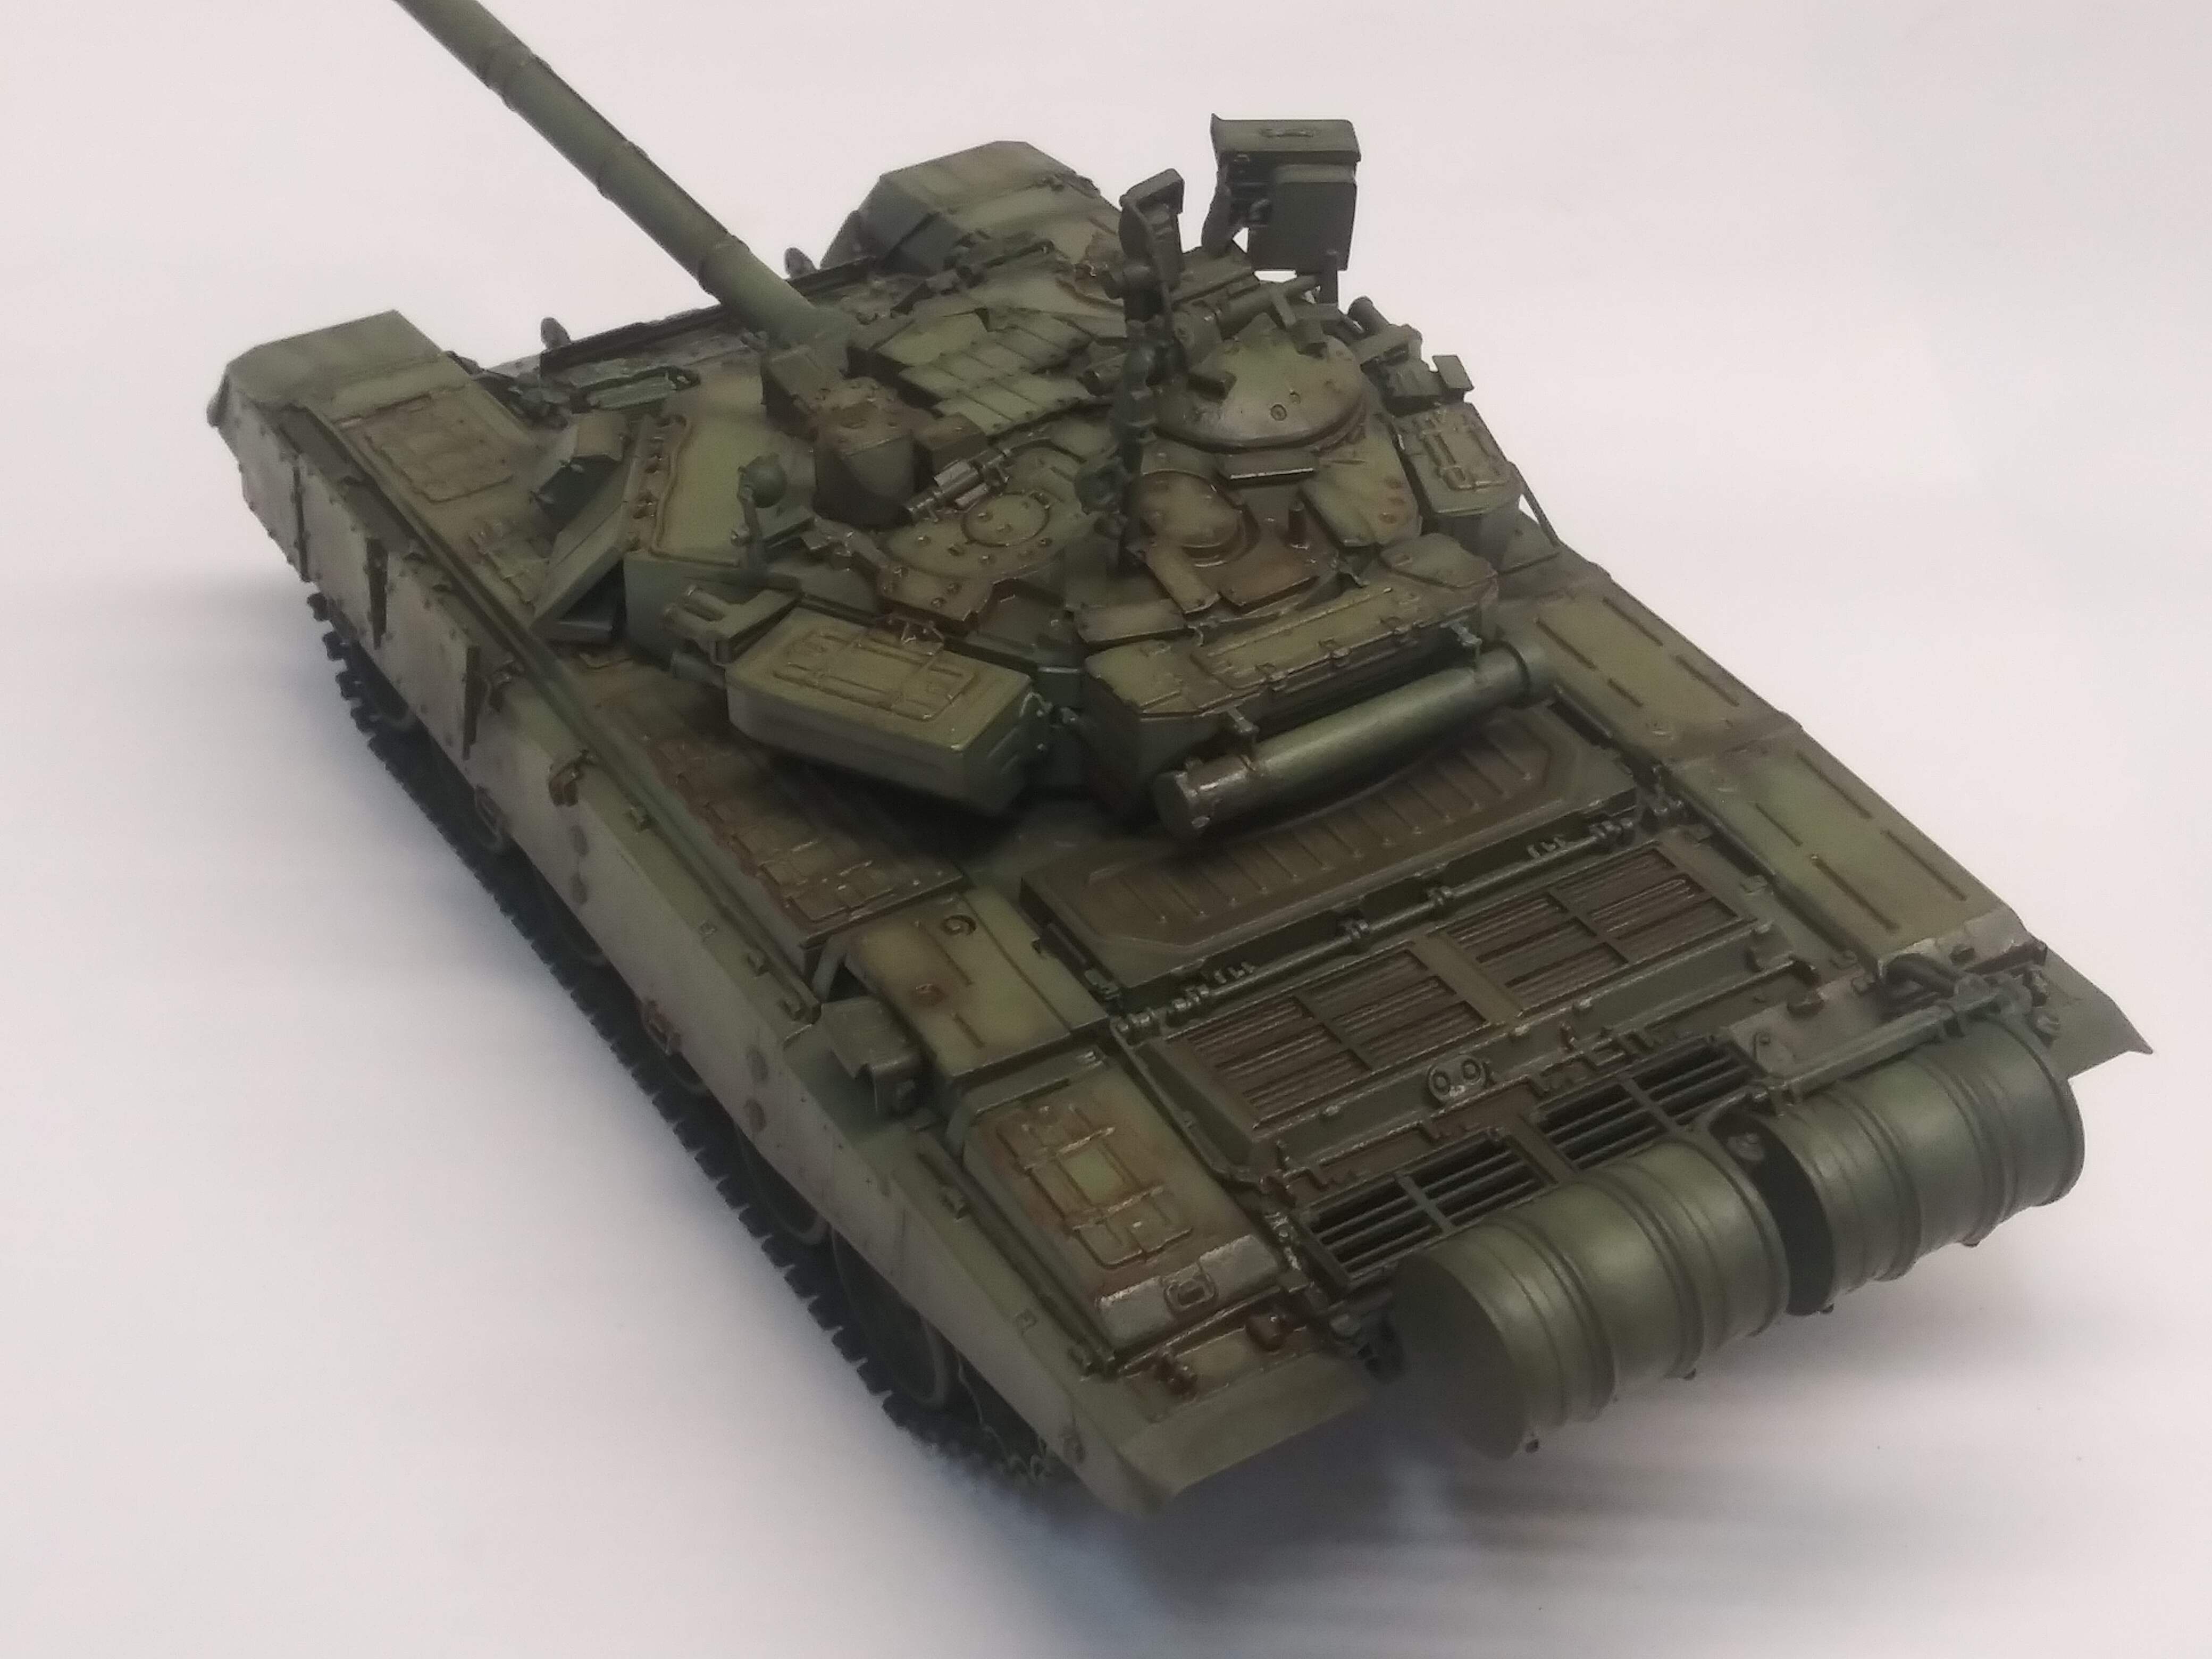
Once the filter is mixed it is applied with a soft brush in a dabbing motion ( never brush it on , it will leave tide marks).
This particular mix is a heavy filter , and will double as a pin wash for much of the vehicle .
It can be left as is or can be refined with a cotton bud by wiping away excess filter once dry also a damp cotton bud will work in certain areas to remove more.


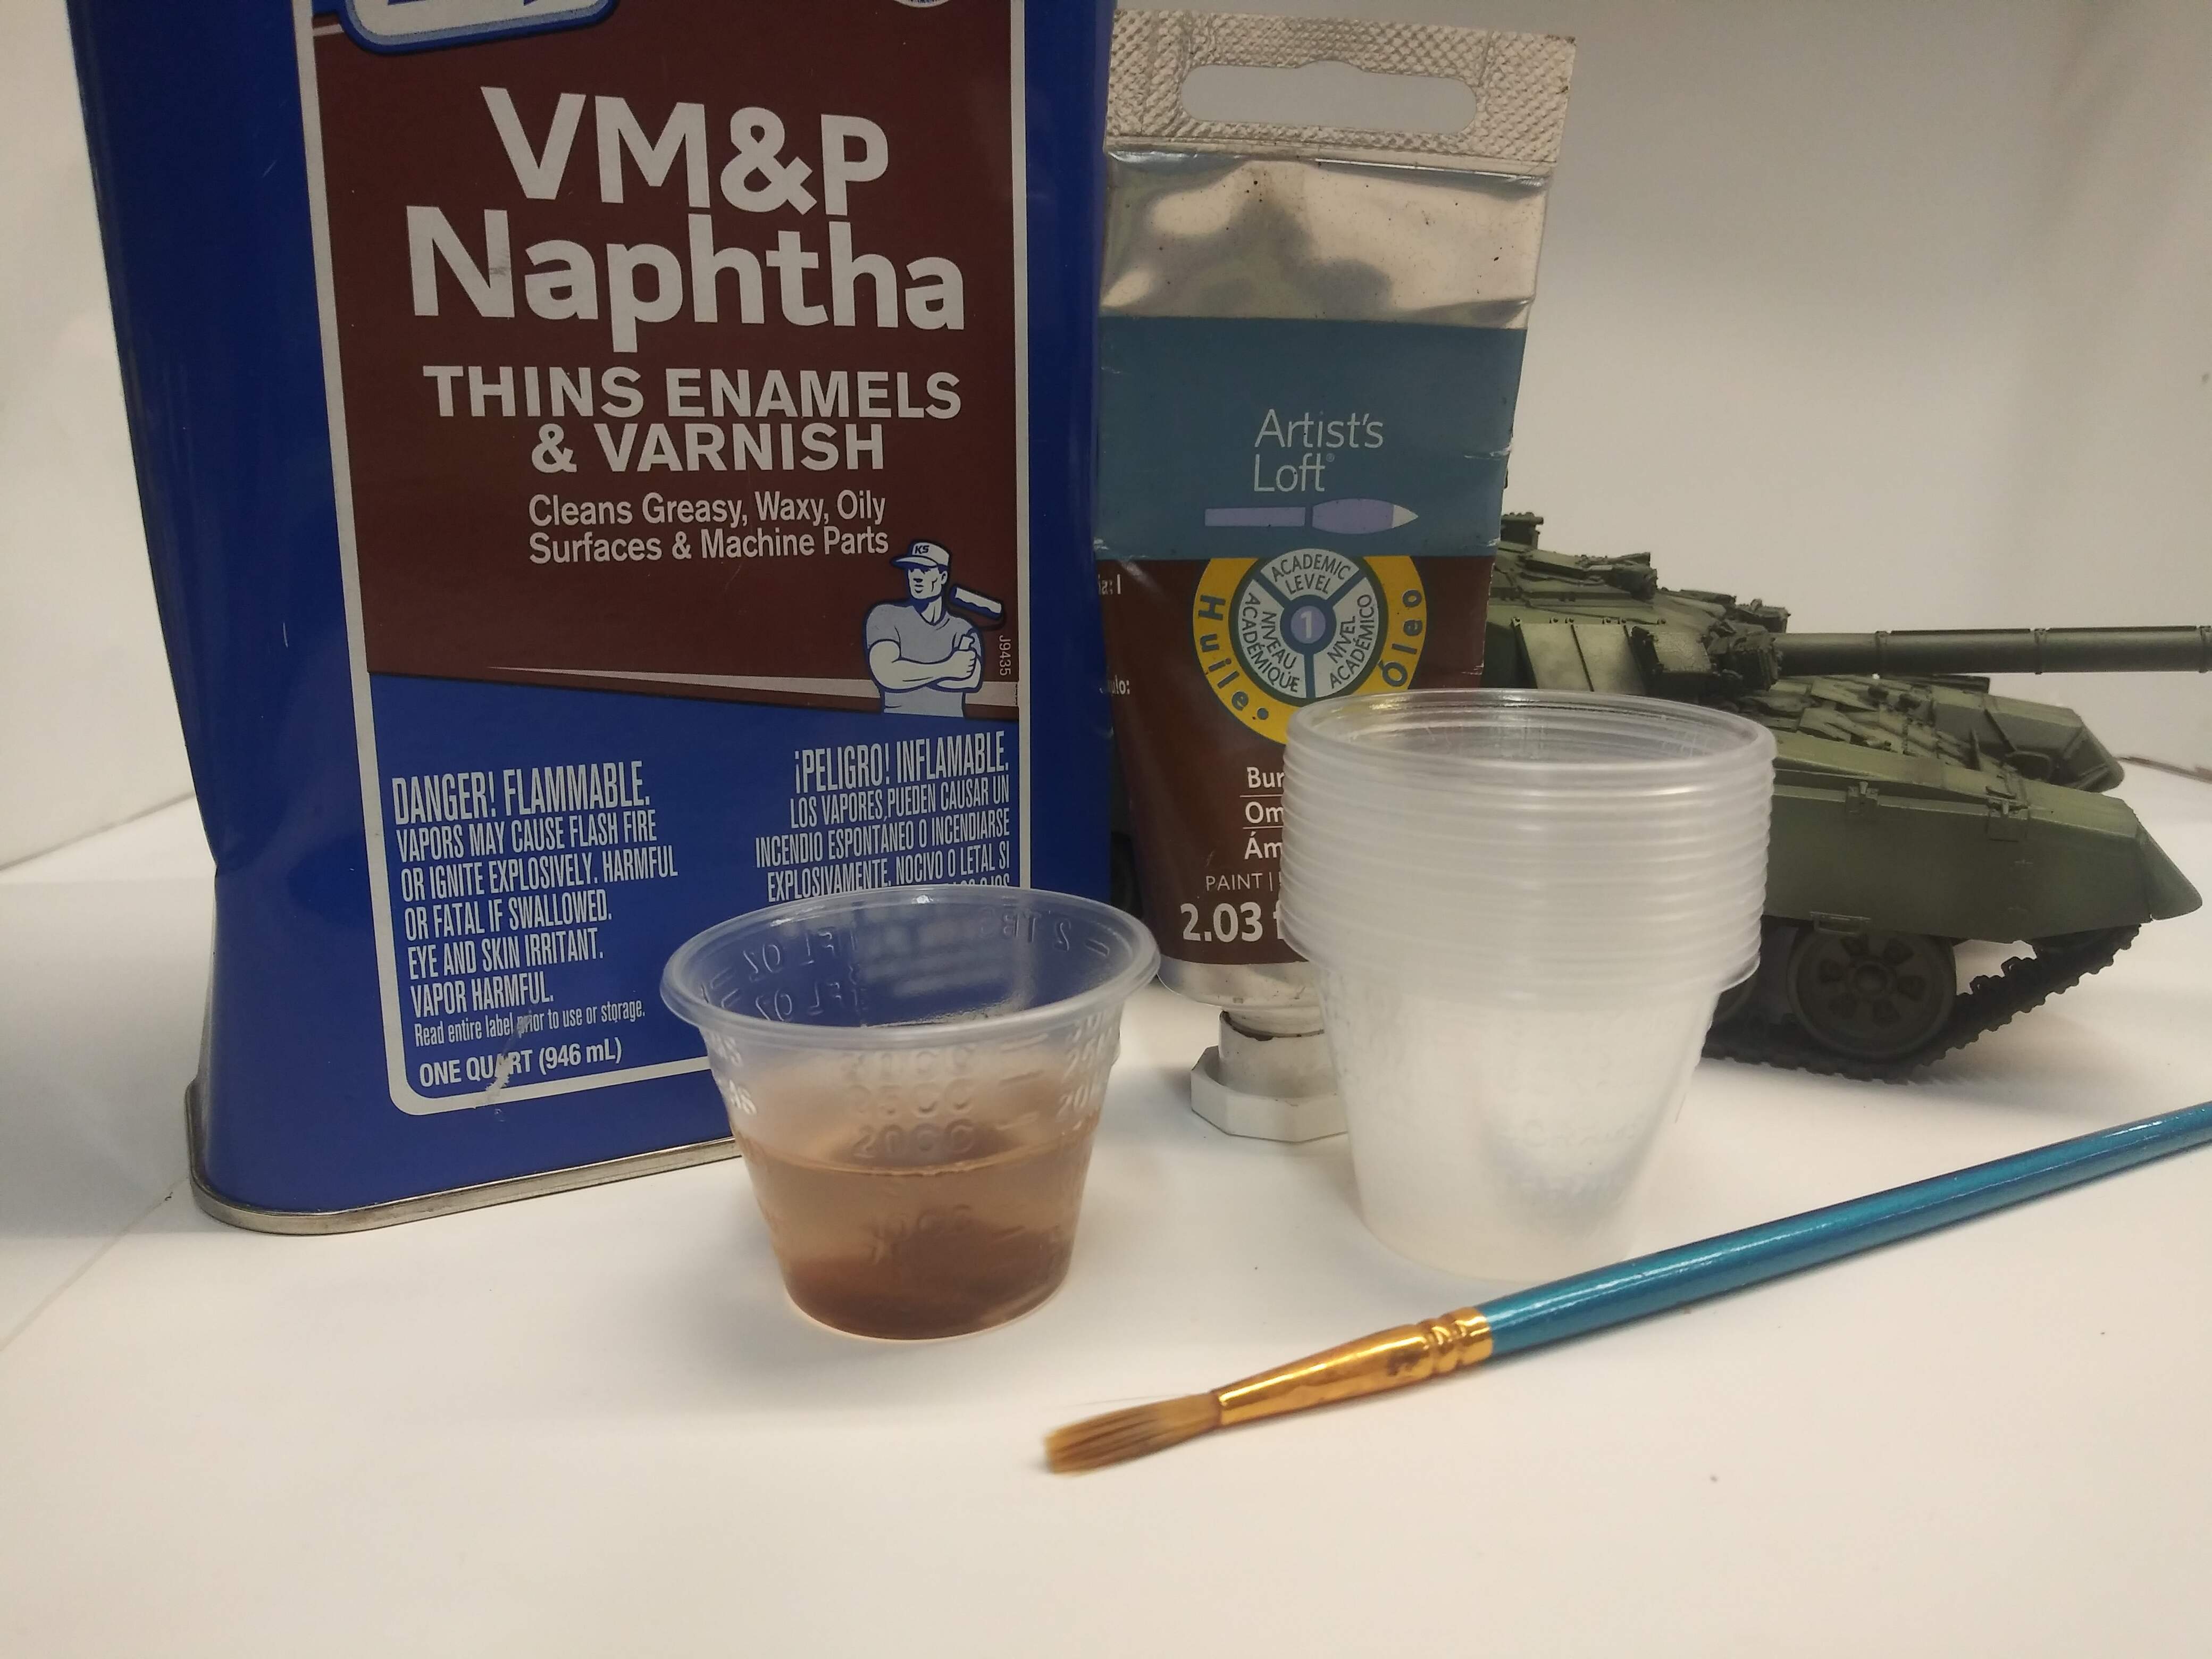
The above images demonstrate how much was used.


5 Likes

I have to say I almost feel depressed that I don’t have not even a shred of your talent, that’s some real art work I see!

2 Likes

The filter has now been refined a bit . This is done over the flat paint with no clear coat applied.
I decided to get some proper pics in the photo booth , instead of the impromptu booth I made to use at the bench for the purpose of this demo.


6 Likes

@Canmedic Don & @Chris_Bryan Chris, this is an excellent thread! Thank you for the kind comments.

I’m definitely enjoying following along and seeing another way of thinking about the weathering process. Chris, you’re providing an excellent step by step plus thoughts on the process :clap: A++

The real beauty of seeing various methods allows us to tweak and tune our own process. Plus it’s always fun if one build two of the same sort of model to finish them in different with different methods:)

Back to the regular scheduled programming :slight_smile:

2 Likes

Weren’t most of the T-90’s in a camouflage scheme?

1 Like

Yes most were in a camo , im doing this in green for the purpose of the sbs.

Here are several in green , so it is normal .


Screenshot_20210713-154349(2)


Screenshot_20210713-154236(2)

1 Like

@Armor_Buff / Wade. I am glad you saw the humor im that. Believe me I analyse your builds and see things I can do different or add to the bag of tricks… Just a thought as a future s.b.s. what about a joint effort where we show both techniques.

2 Likes

@Nightgaunt . Thank you for the kind words . Hang around and we will help you get where you want to be with models … Ideally you will learn this and see something that we dont and then you teach us
Also feel free to ask any questions. Post your work and tag me and wade . We can help you my friend.

Great tutorial Chis!
I will be following this like the bible when I weather my STRV-103!

Exra its not done yet . this is just the paint part

Sorry Chris, this may seem like a stupid question but did you apply the filter before painting any external details needing a different color?

1 Like

Ezra there are no stupid questions. Yes the filter is applied before any detail paint .
The next steps will be chips , scratches etc . Followed by streaks and stains. Select pin washes. Then on to primary detail paint , pigment weathering . Secondary detail paint if necessary.
Sometimes this order will varie a bit. So basically those are the next steps.

2 Likes

Thanks Chris! I just applied the filter on the S-tank, it looks awesome!
Thank you for this great play by play. :grin:

1 Like

This is awesome. Modeling aircrafts I have used similar technique to apply wash to bring out panel lines, similar to what you are showing with filter, but the excess is wiped clean and it’s always, well most of the time, applied on gloss coat that protects the main paint job. So, it’s easier to whip off. From what you are showing in your filter prep sequence pics that cup, looks like 3oz clear cup, is half full of thinner with only dap on paint. So, basically it’s like a colored thinner?

Btw, applying your filter on flat coat paint…would n’t that make it hard to clean up and hard marks/stains on the paint even after cleaned? I figured that out by making a mistake of doing such on a bottom of an A-10 wing where I forgot to seal the main color and the wash left hard stains. In the end I just had to repaint that area and start over.

Anyway, great bit of information. Keep of the good work.

Mike

1 Like