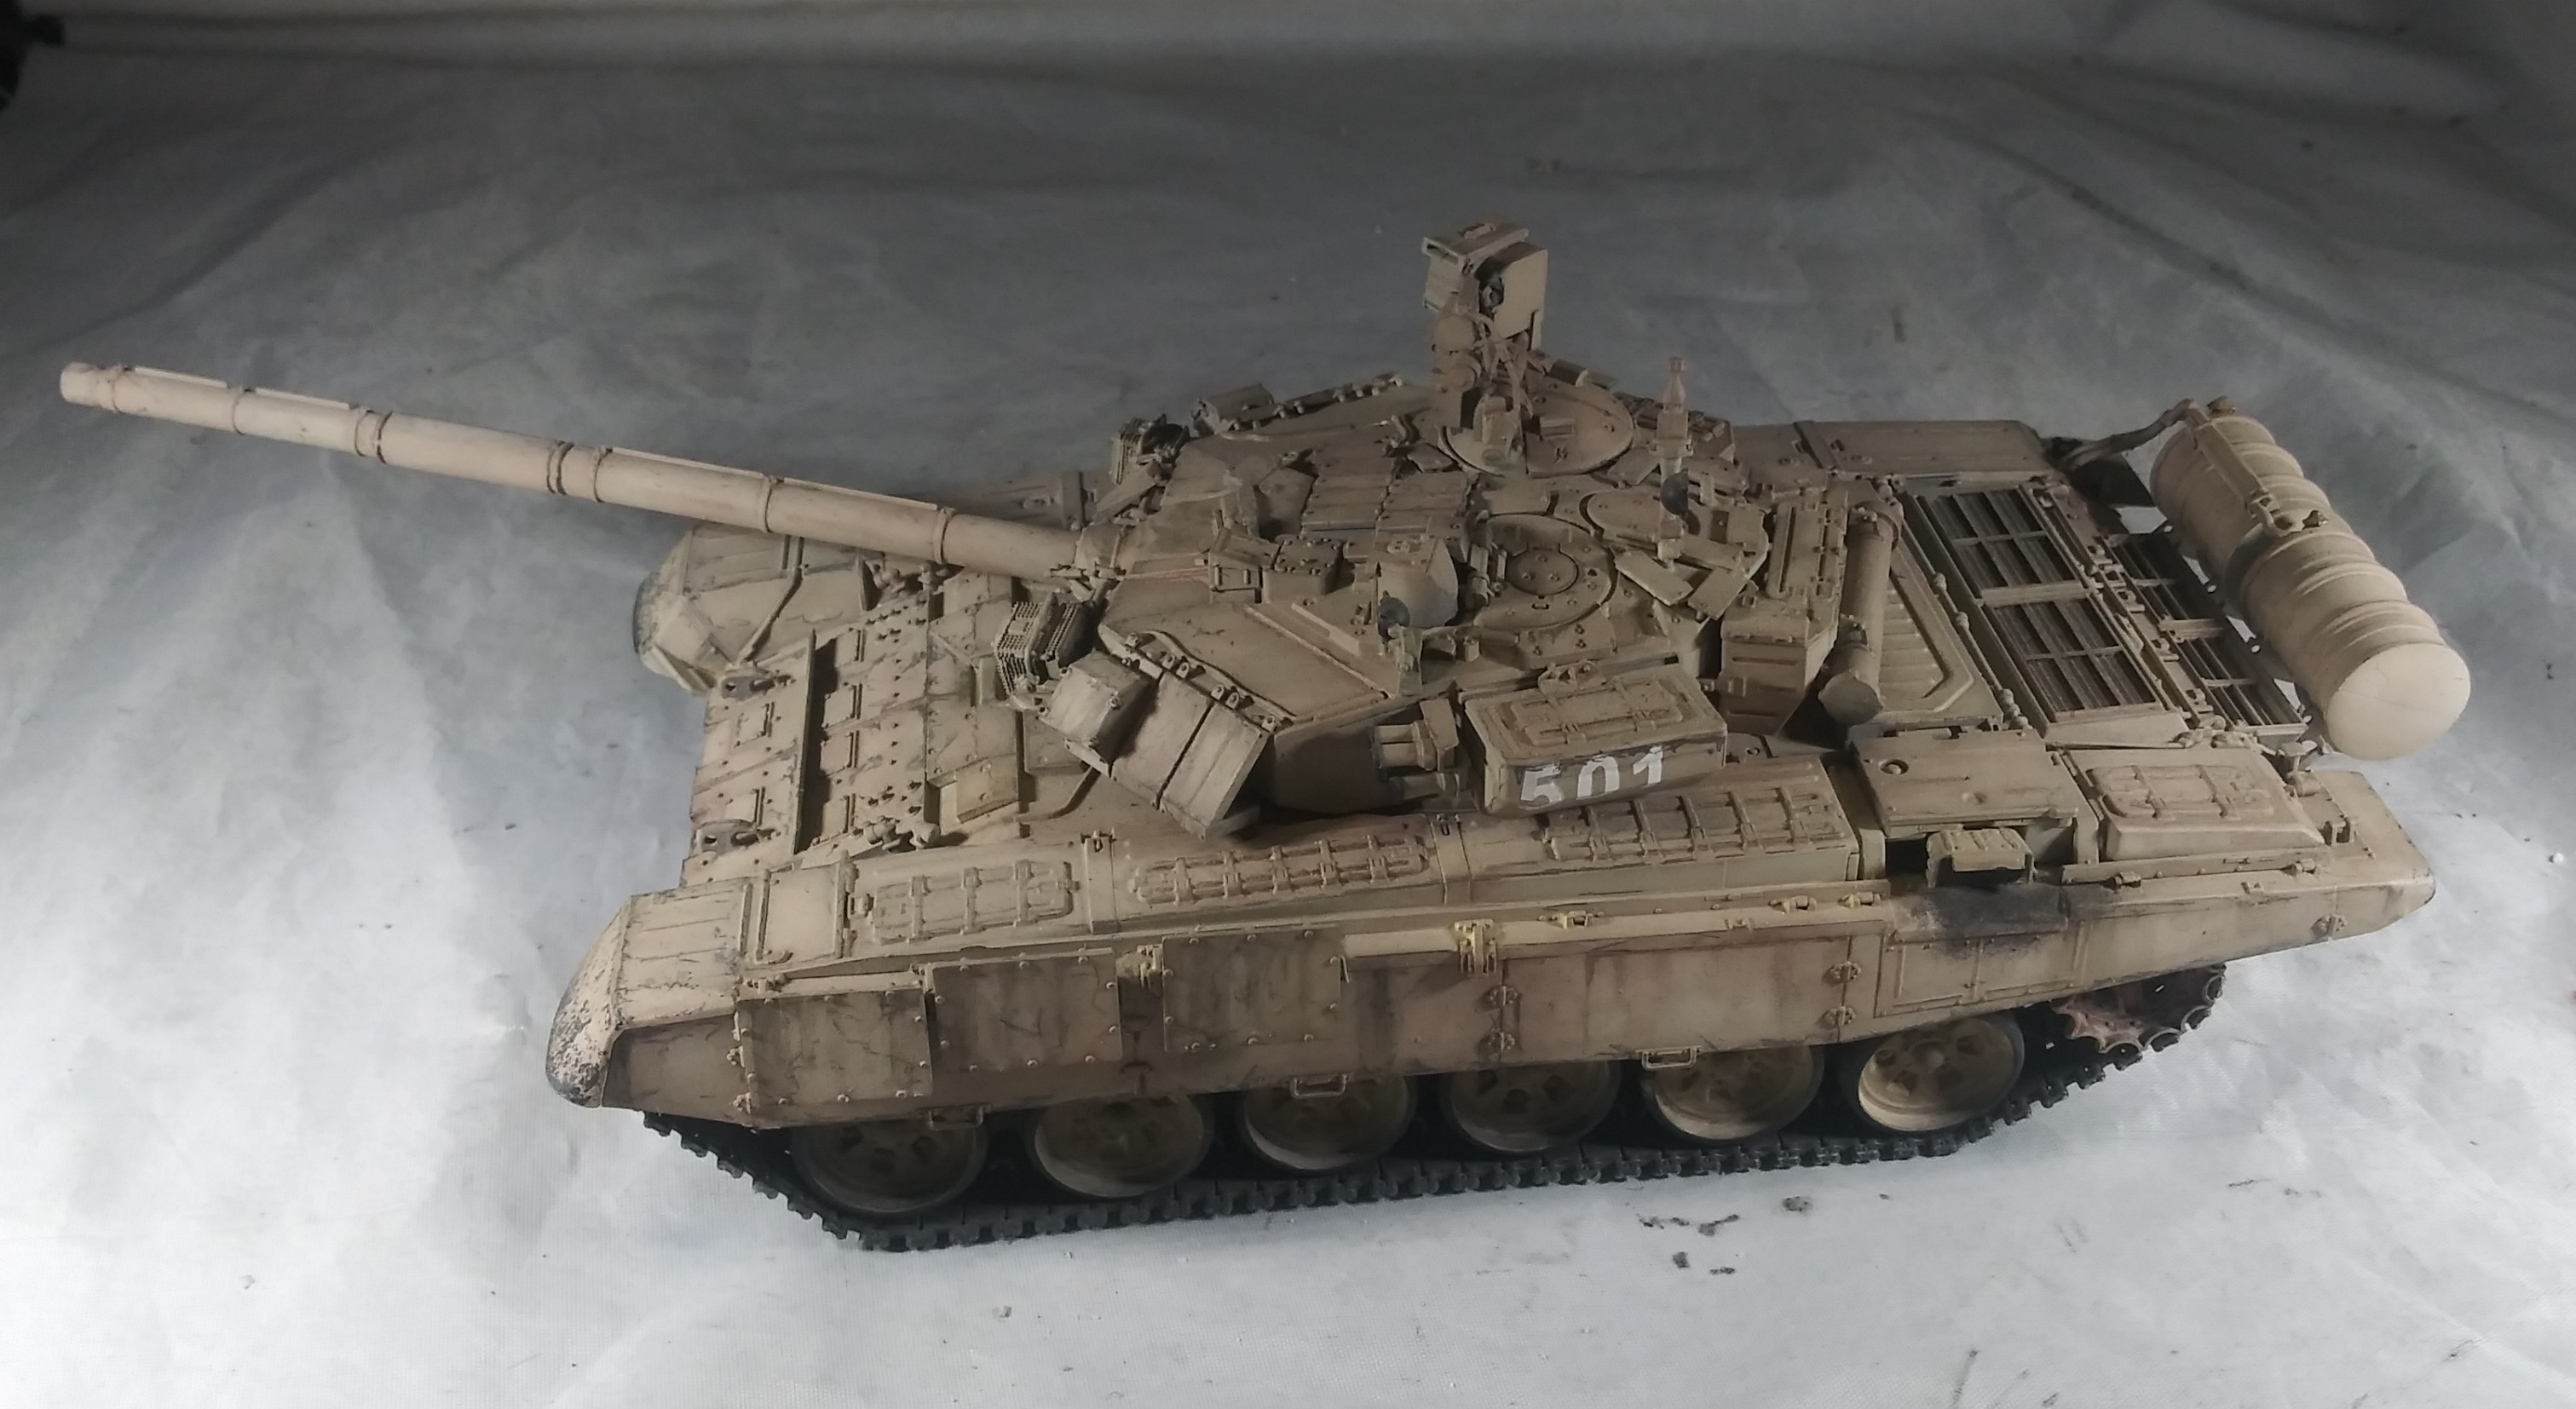
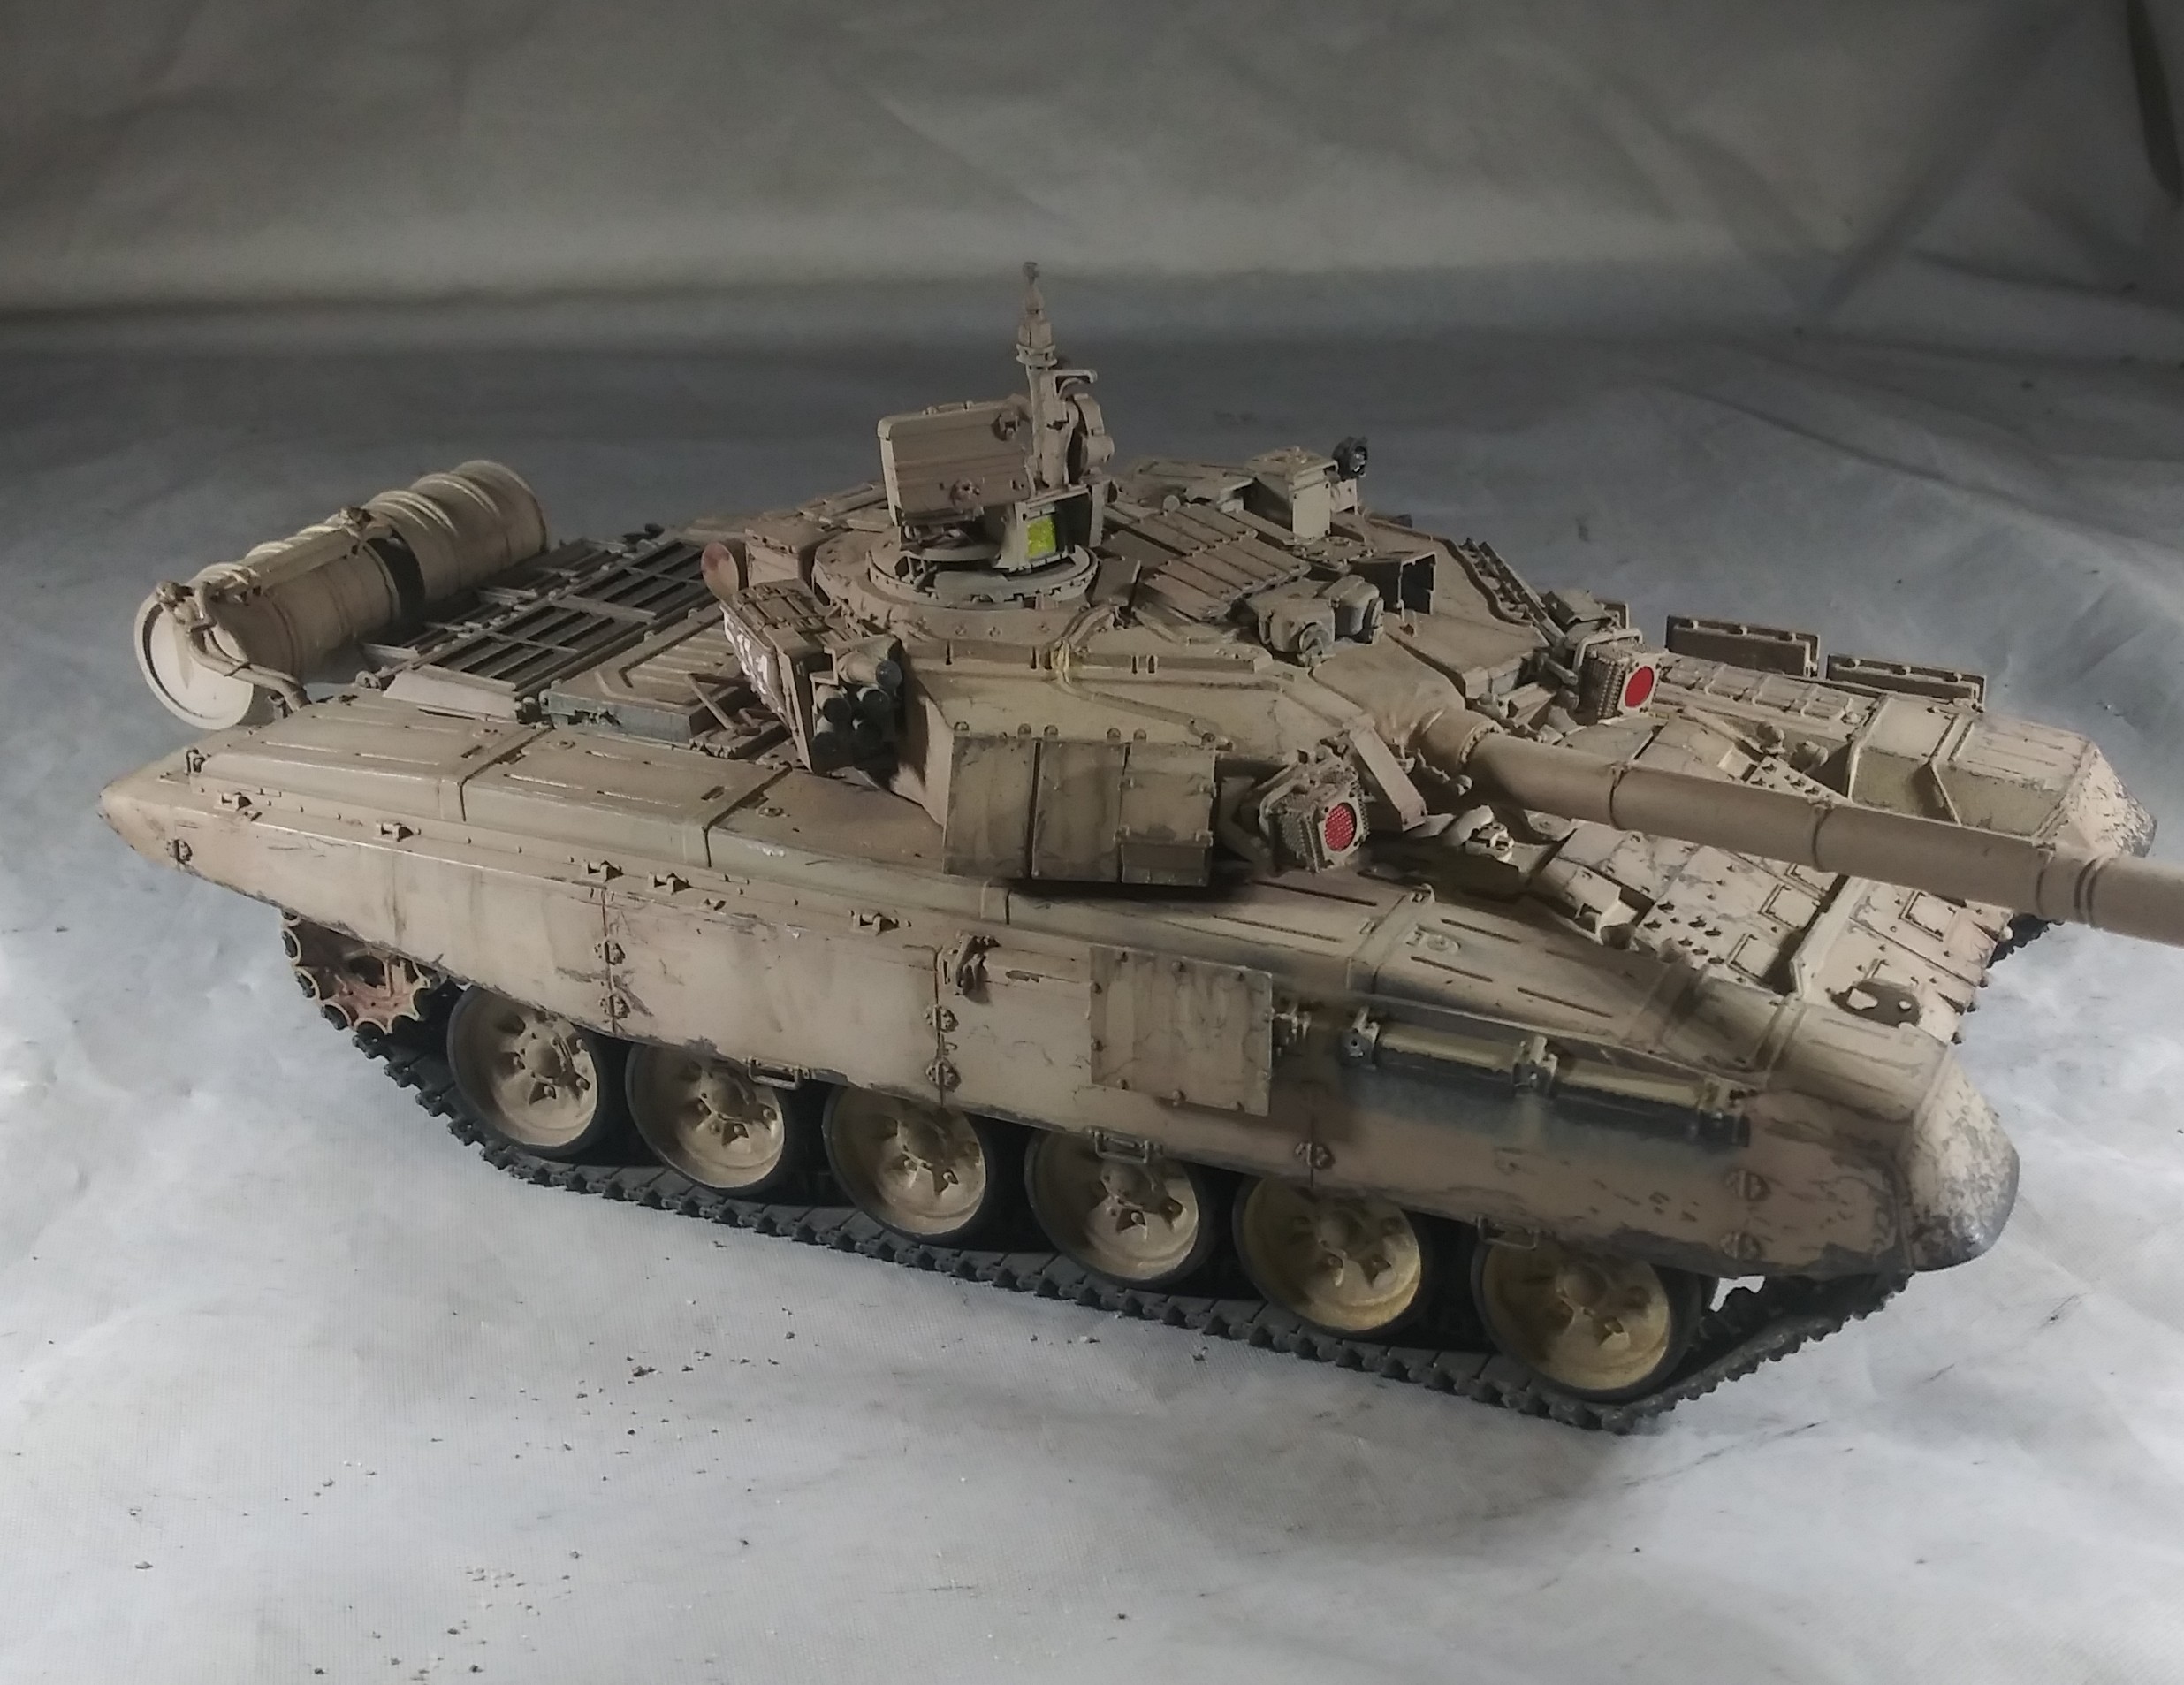
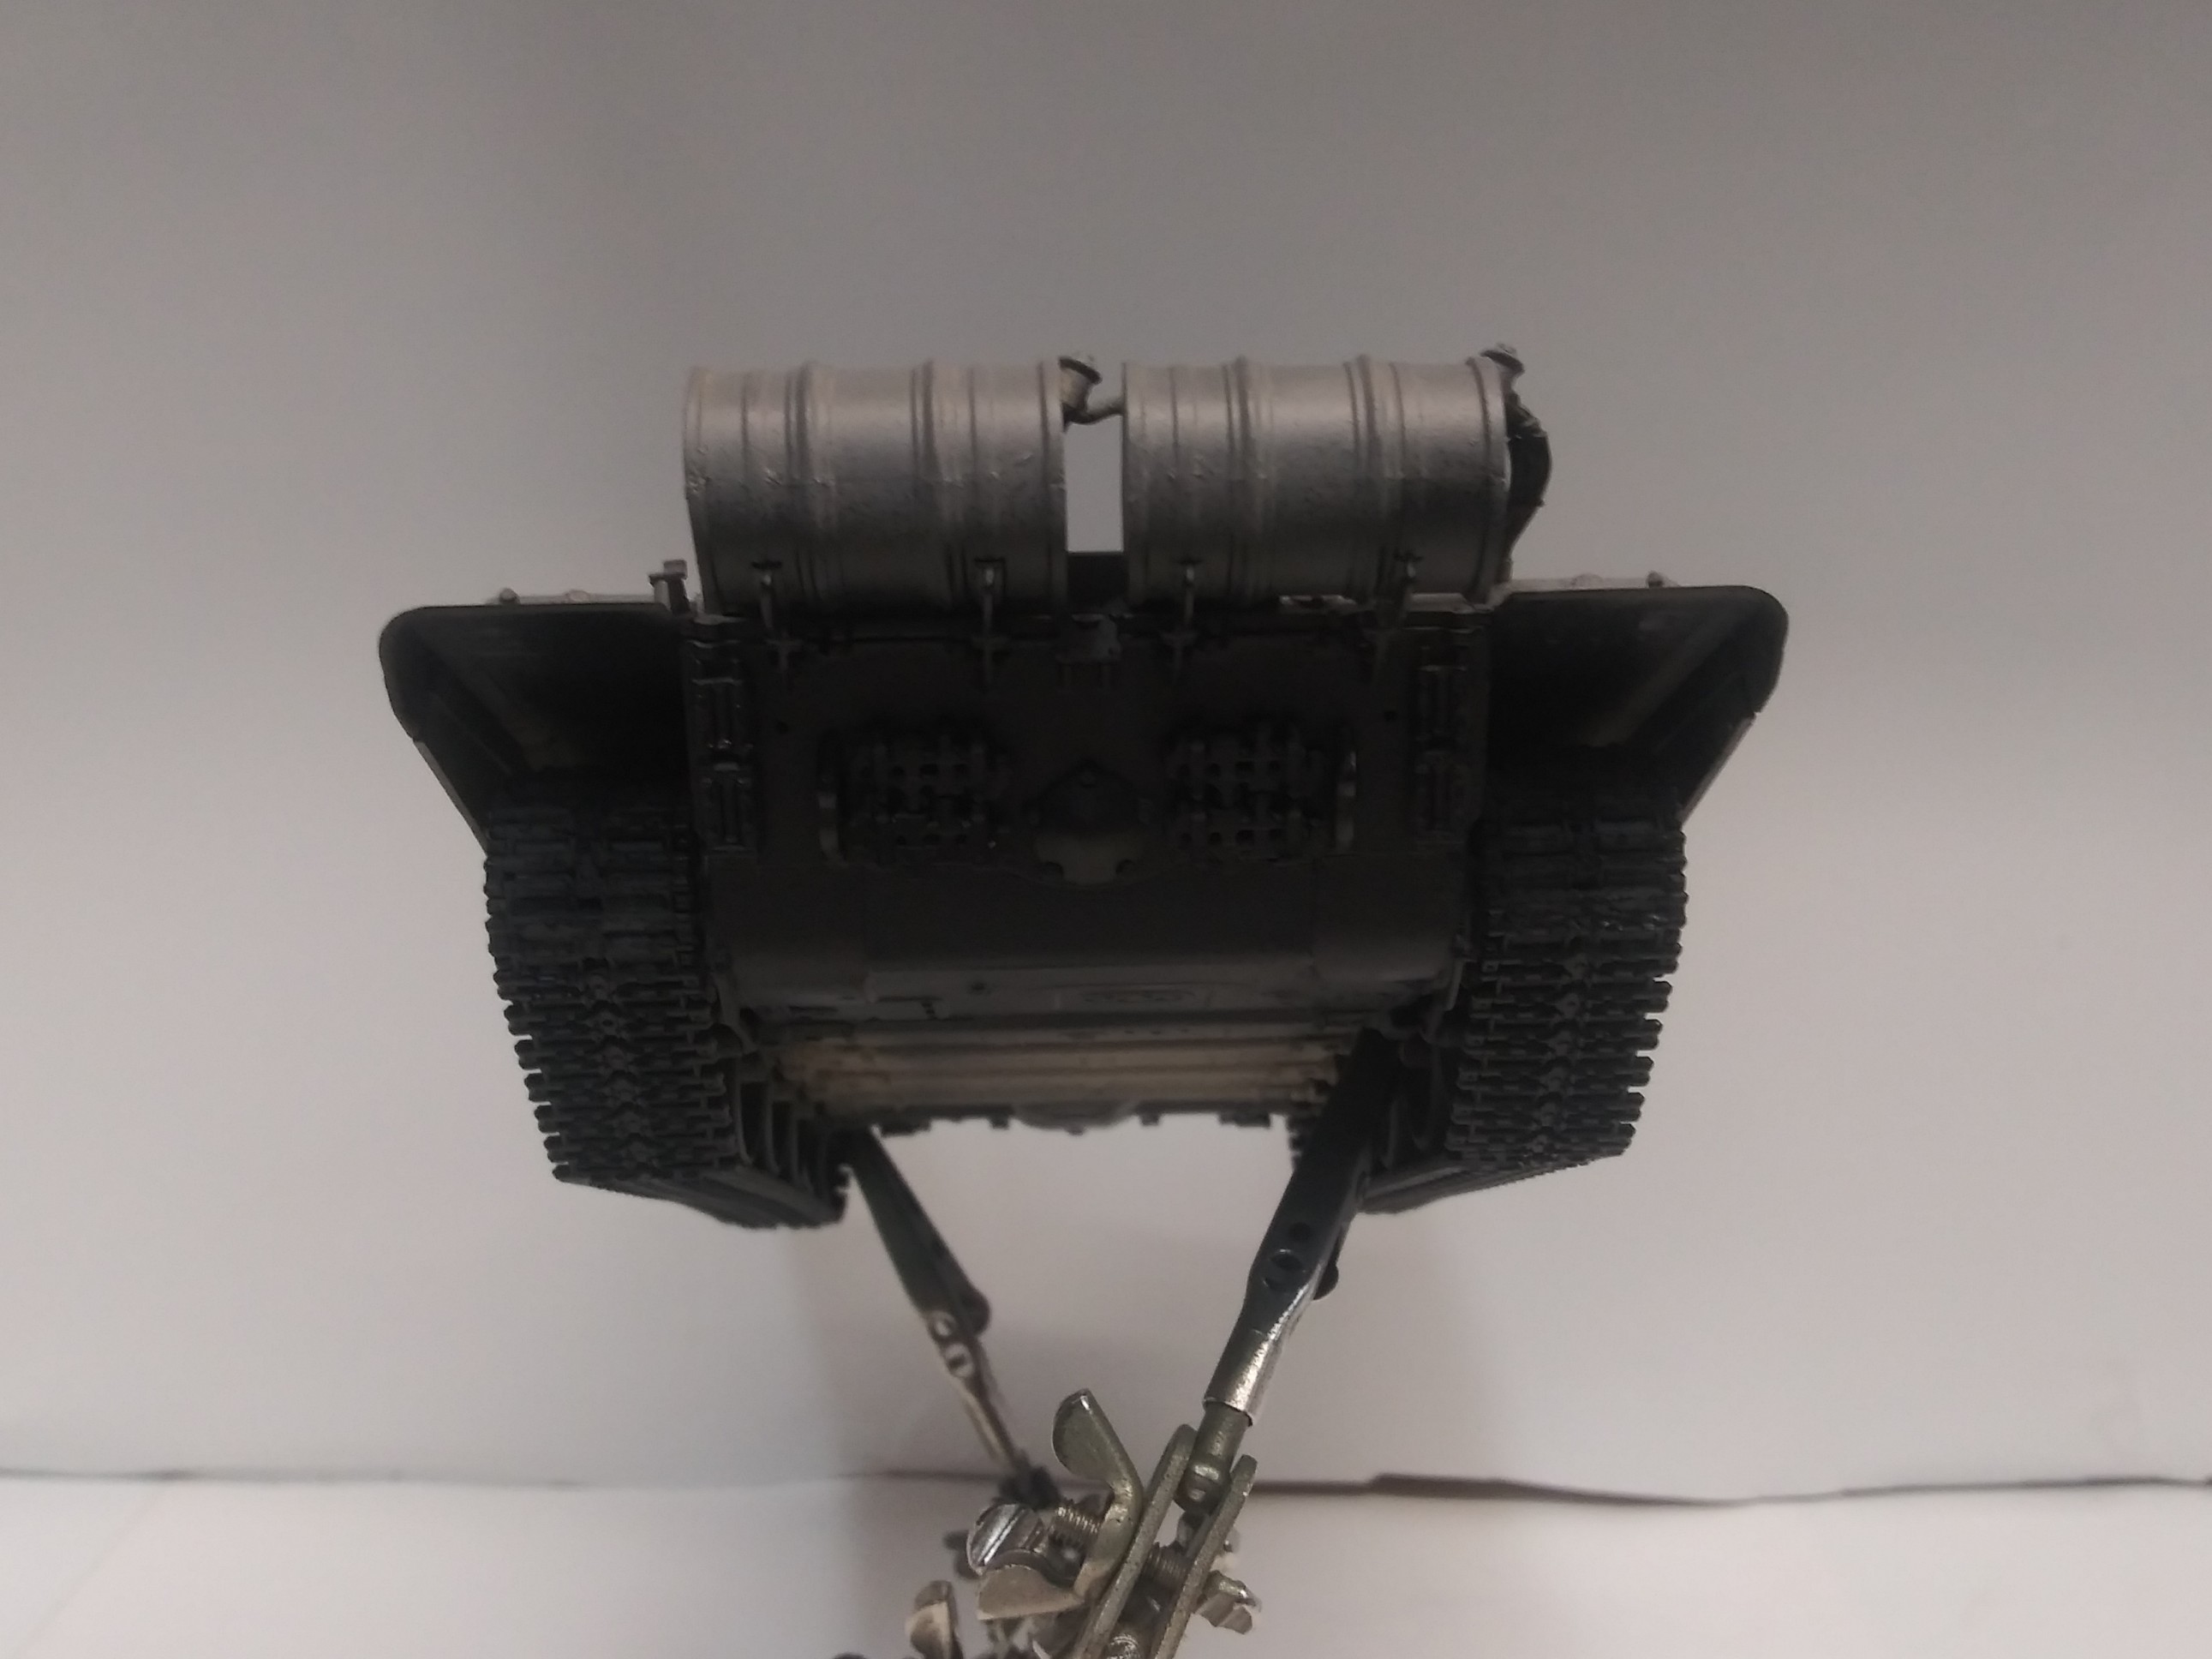
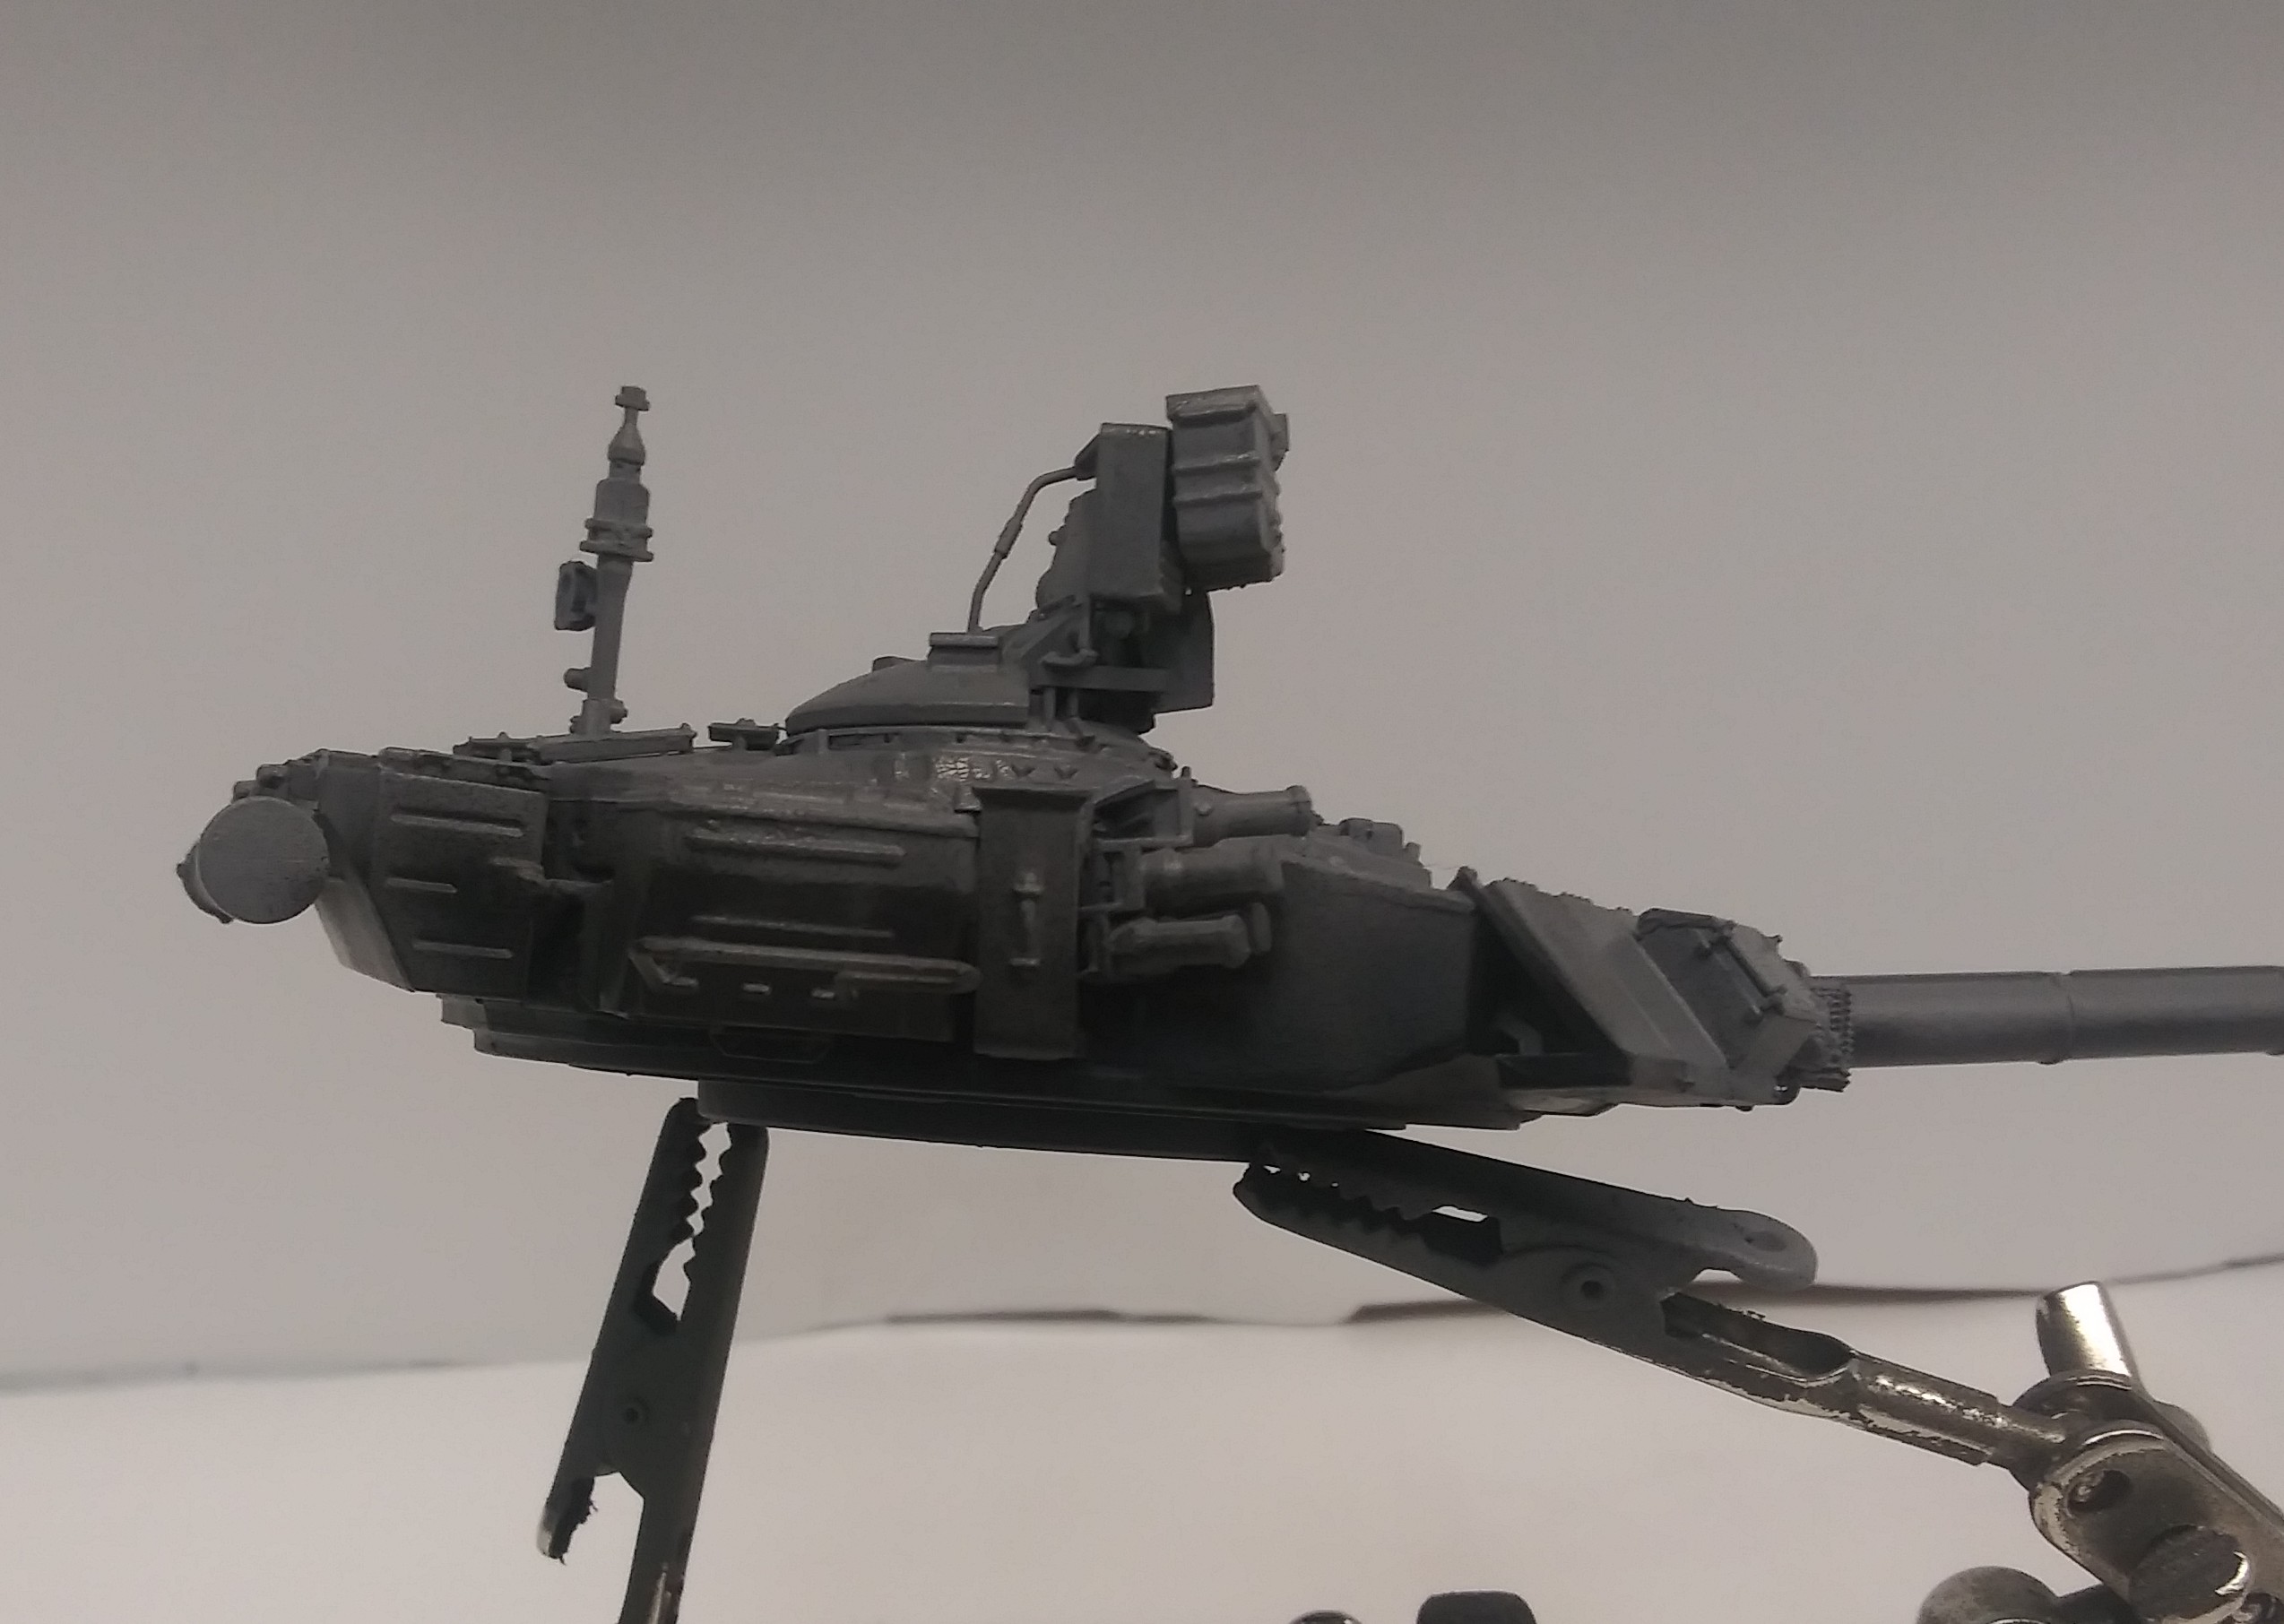
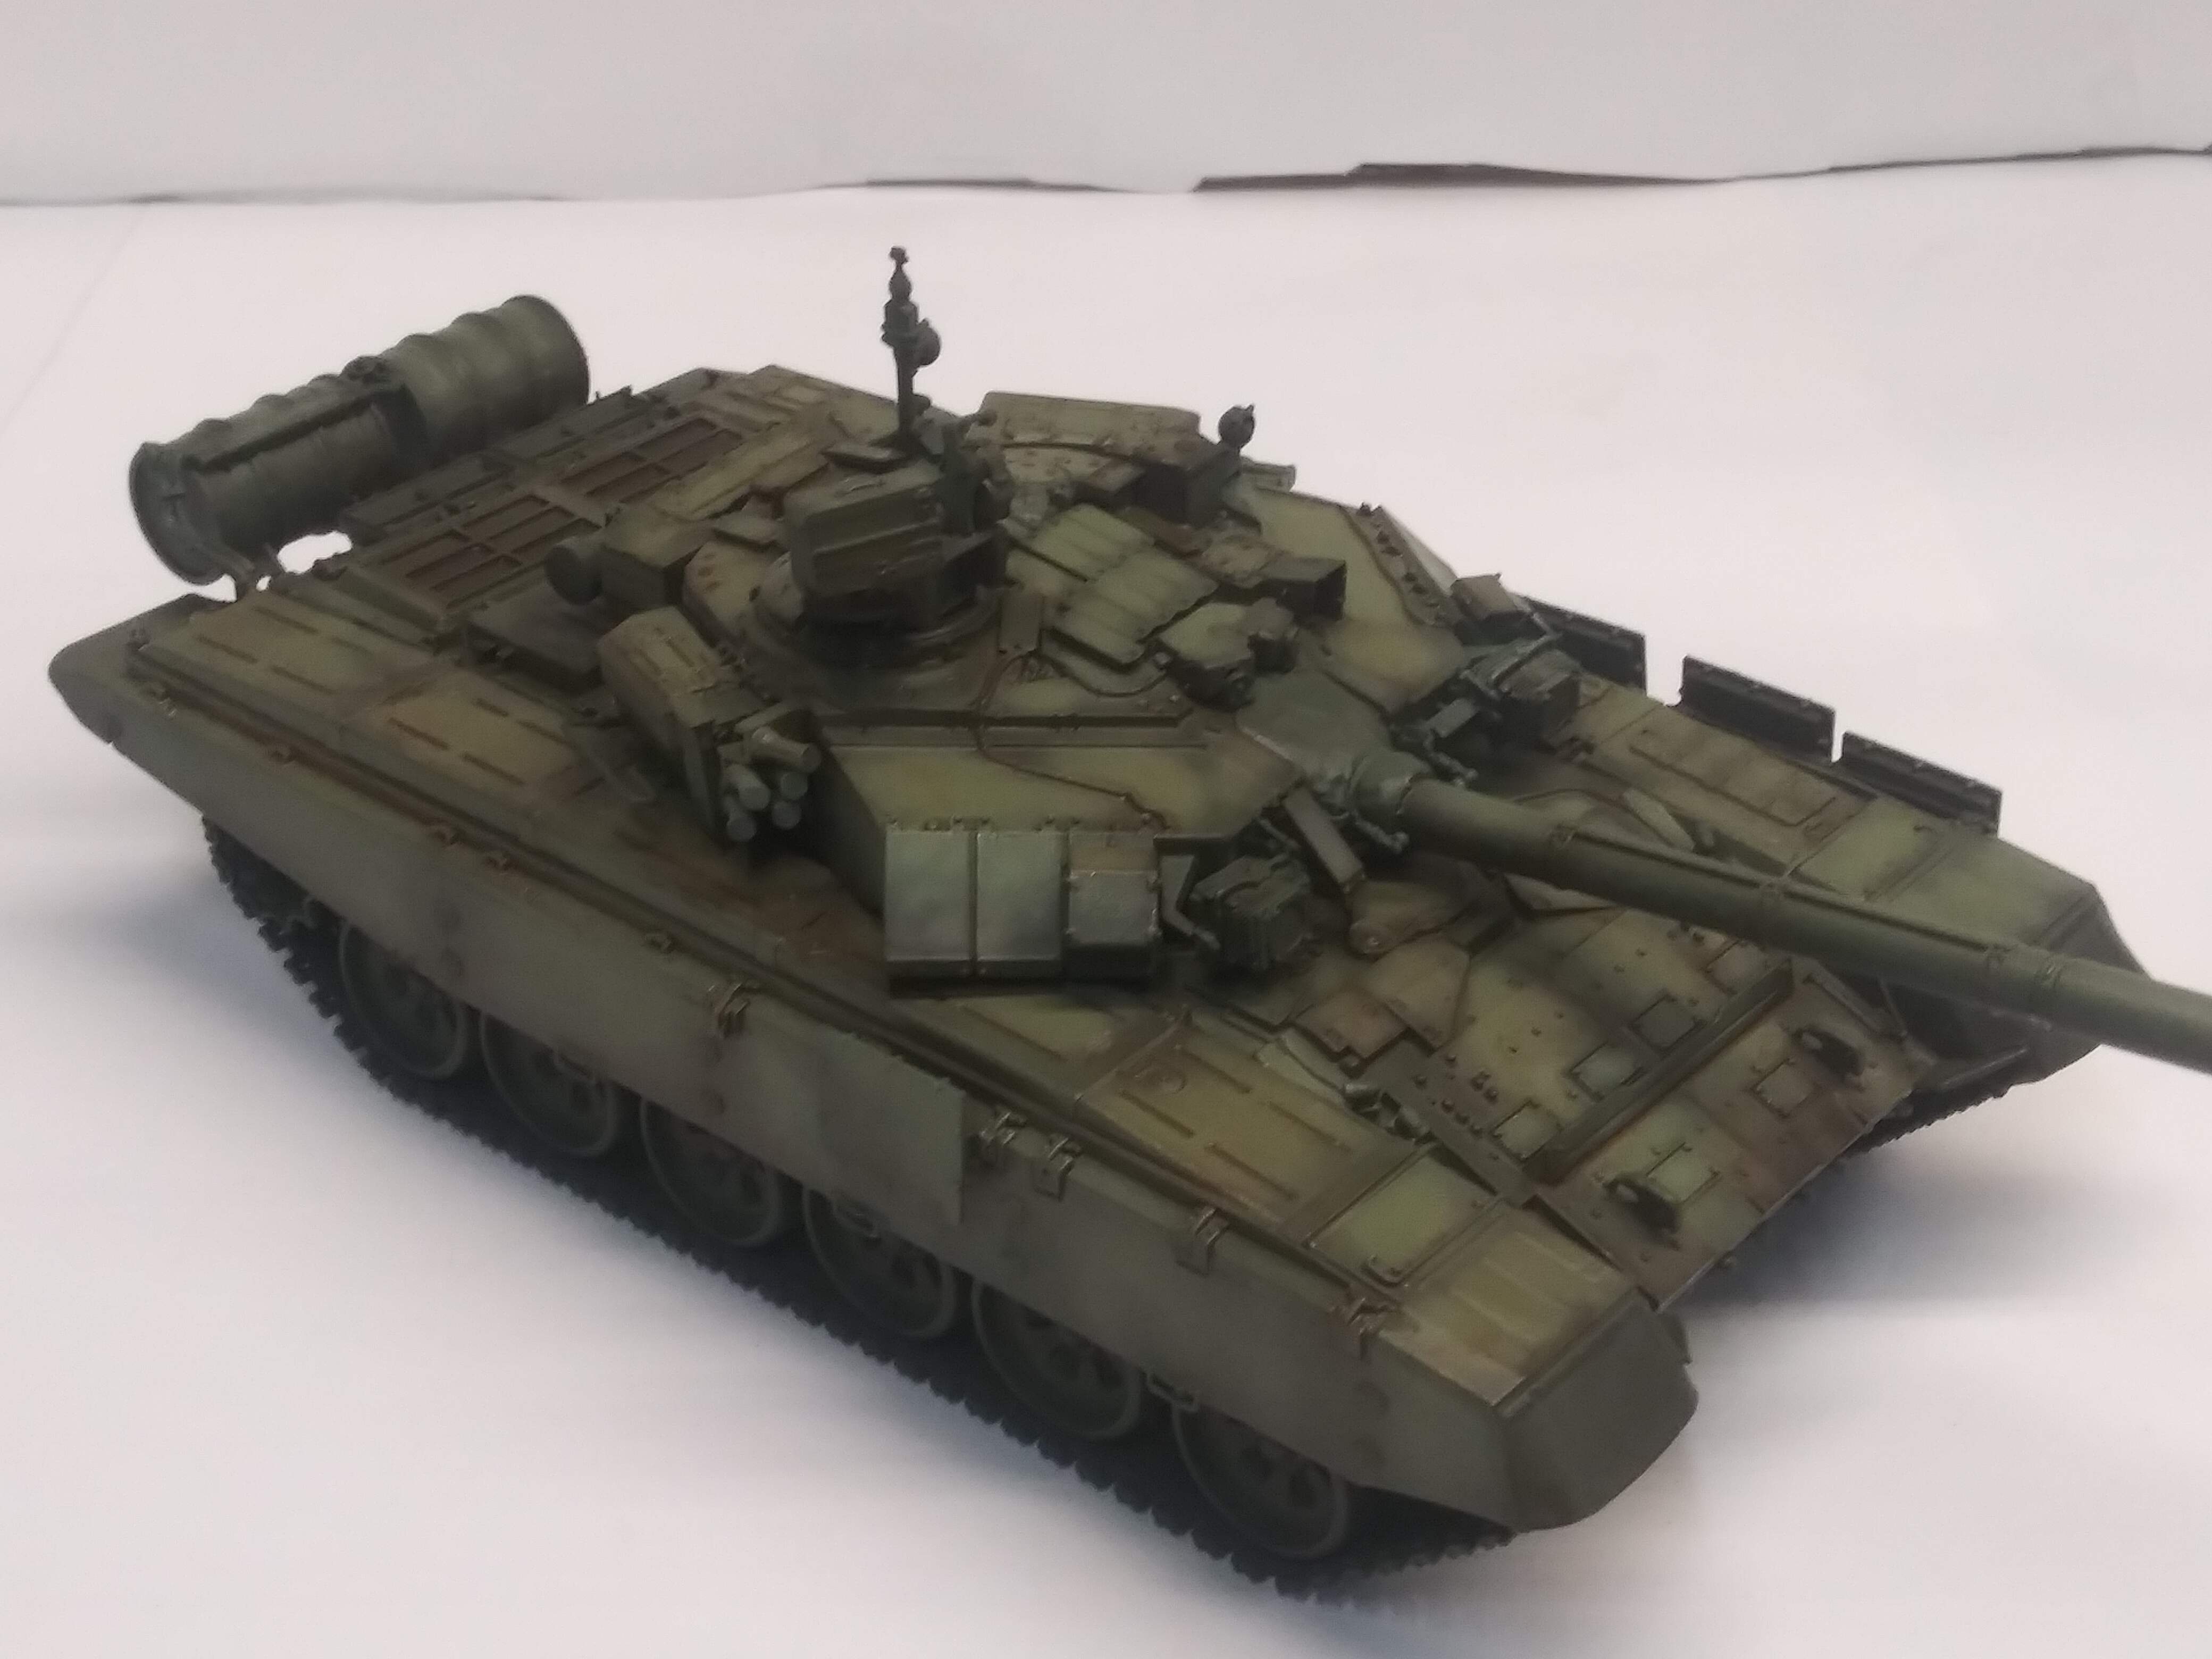
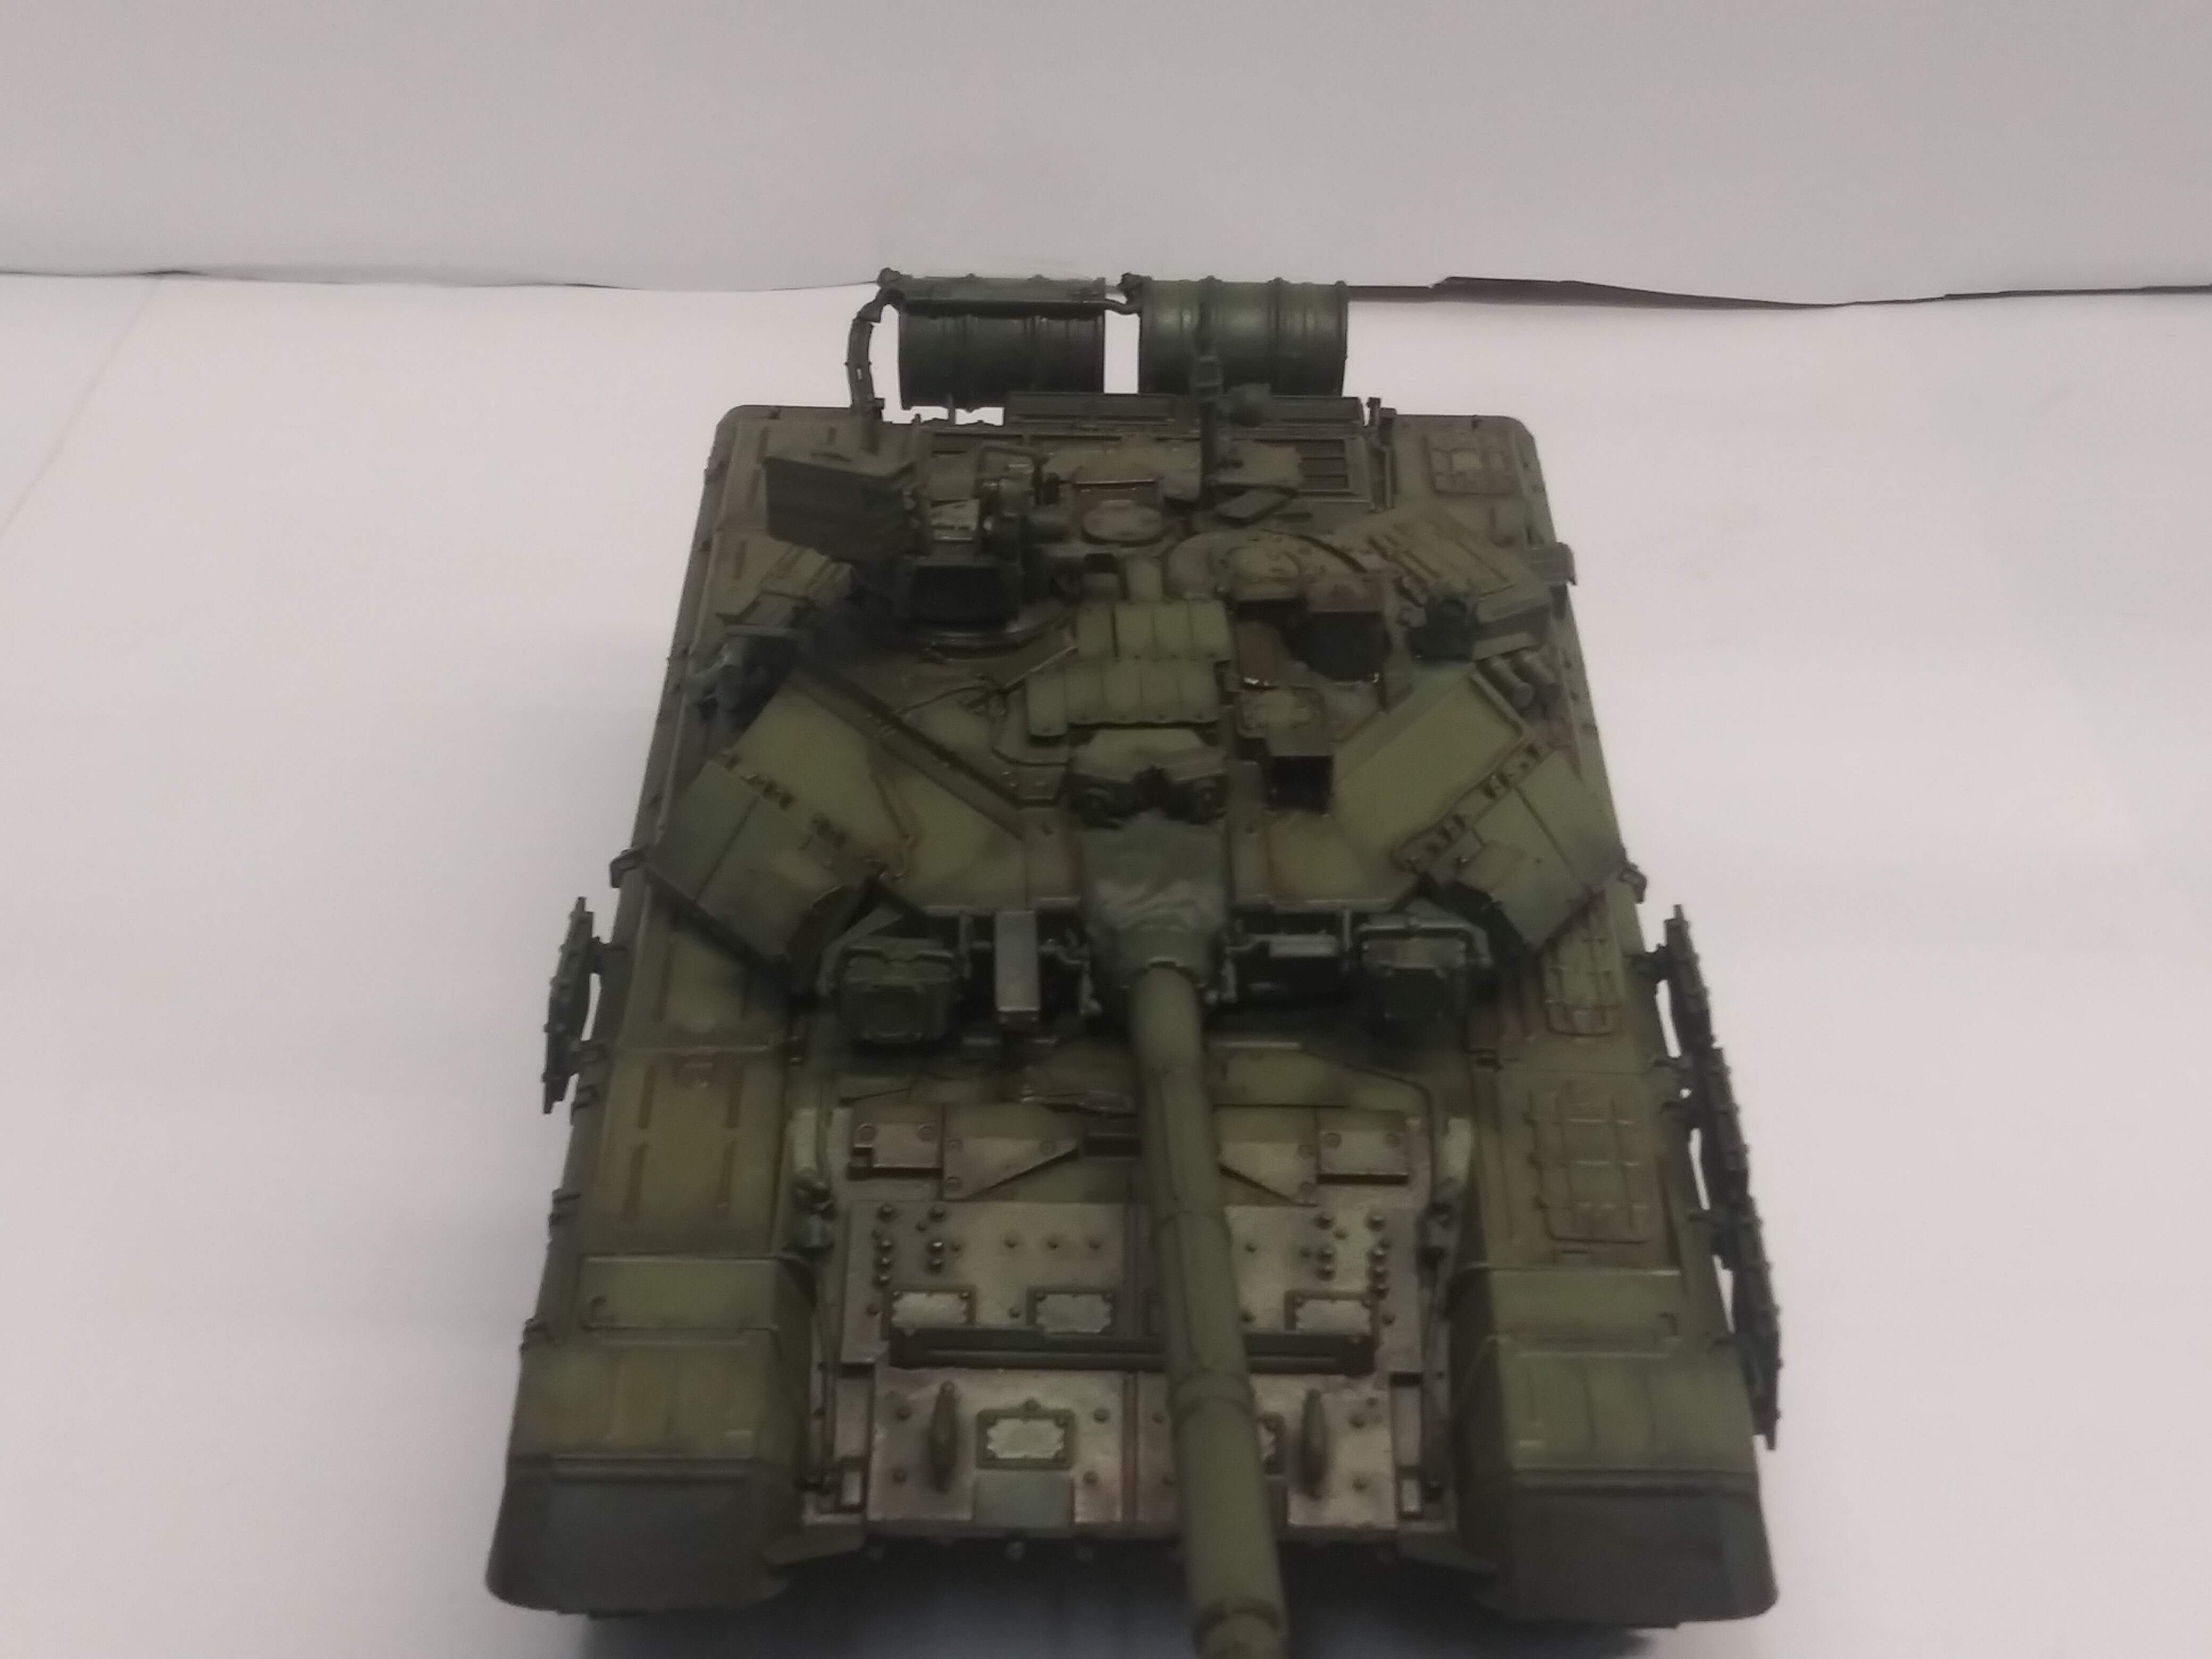
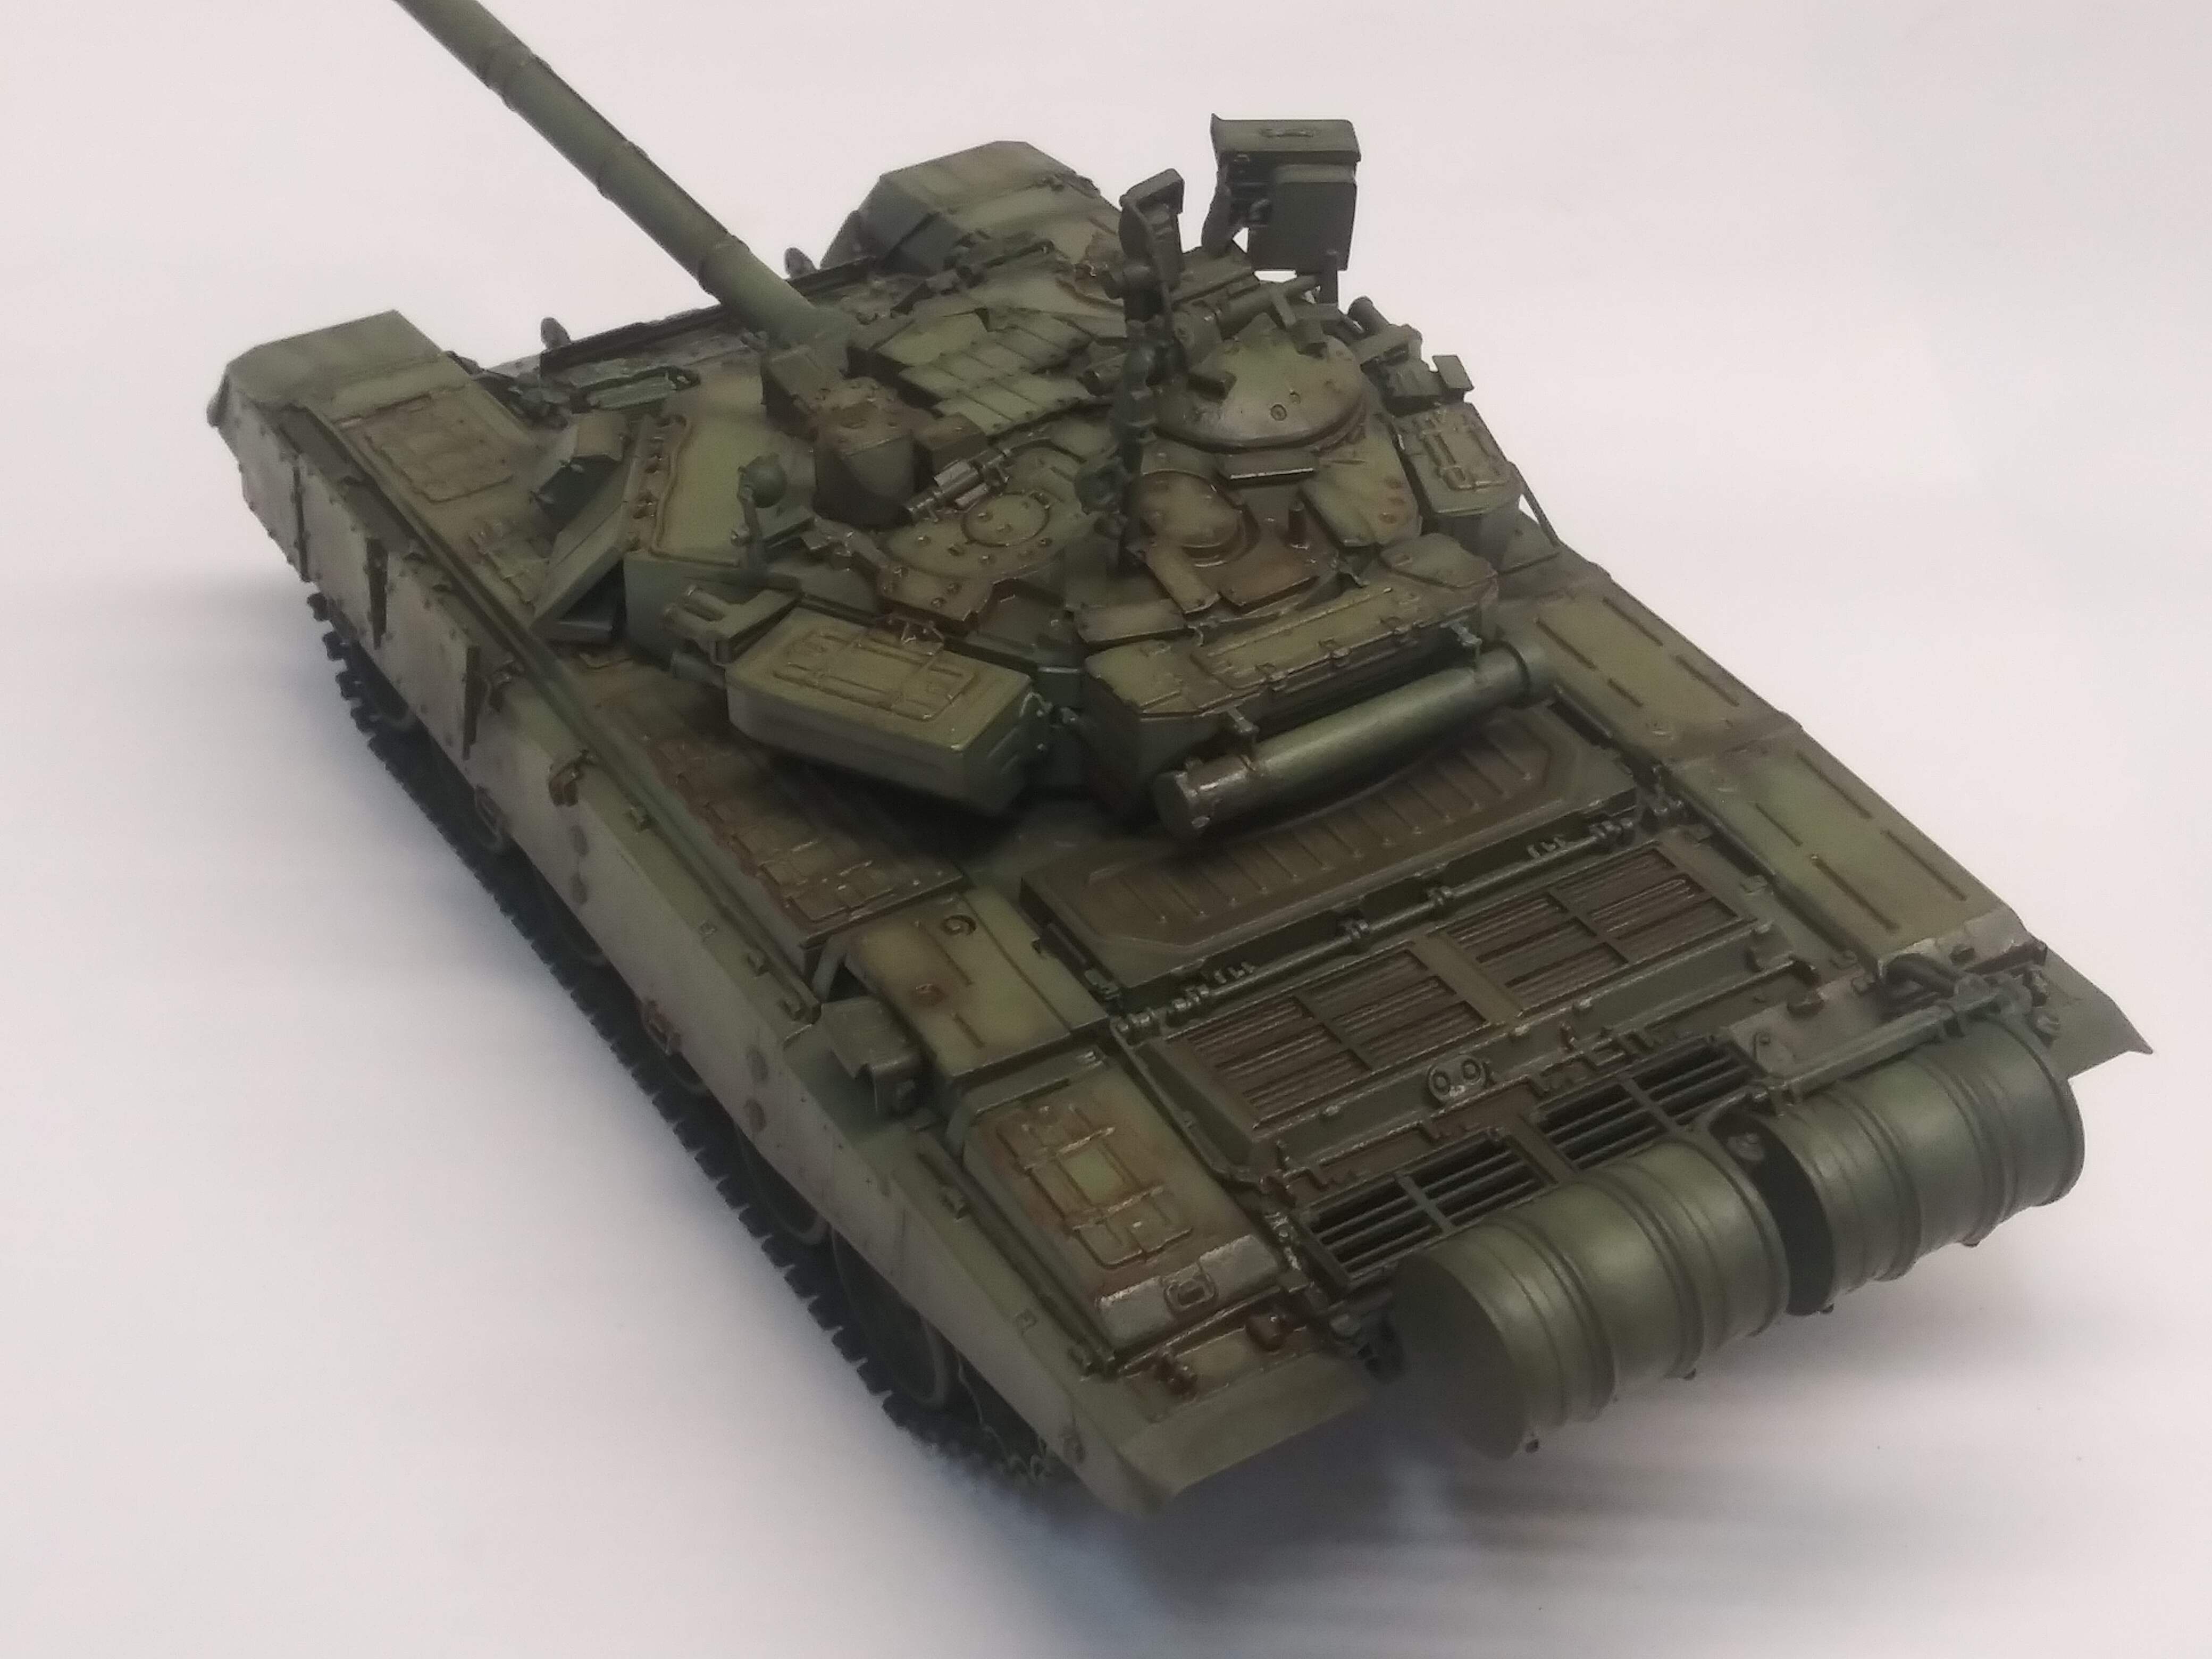
To get started , I pulled this old Zvezda T-90 out of a box where I put models away that no longer want to live with the rest of my shelf queens . This was originally done as a build review.
The plan is to show what this looks like now and to correct a few things that need fixing and go step by step with the process I use.
Warning it will be picture heavy.
Also there are a couple things that may surprise you and go against what you have seen before .
Tagging a couple people for this and yall feel free to tag anyone else you think may want to come along on this crazy adventure.
@Mead93 @Panzer_modeler .
10 Likes
Look forward to seeing your madness. 
1 Like
Ryan it slipped my mind to. Tag you. I know there are more people I wanted to tag but my grey matter is acting up.
It is sure to be madness my friend. It is simply my interpretation of how to do things . Most of the images will probably be bench top and not photo booth…lol
1 Like
Wow that looks awesome! I really love the look you give your builds.
1 Like
Thank you . That is destined to go back into primer and be used as the demo piece .
This is actually a older build I pulled out of a box where I keep older builds to part out for other stuff.
1 Like
As I am still learning how to weather armor vehicles then this is a good thread for me. Please, share the product you use as well. It’s been a long time since I build an armor and then got into aircrafts. Now, looking back in this side of hobby it seems like a bomb went off. There is so much to see and try to learn is mind boggling.
So yeah, bring it on!!
Mike
1 Like
I’m watching and learning…
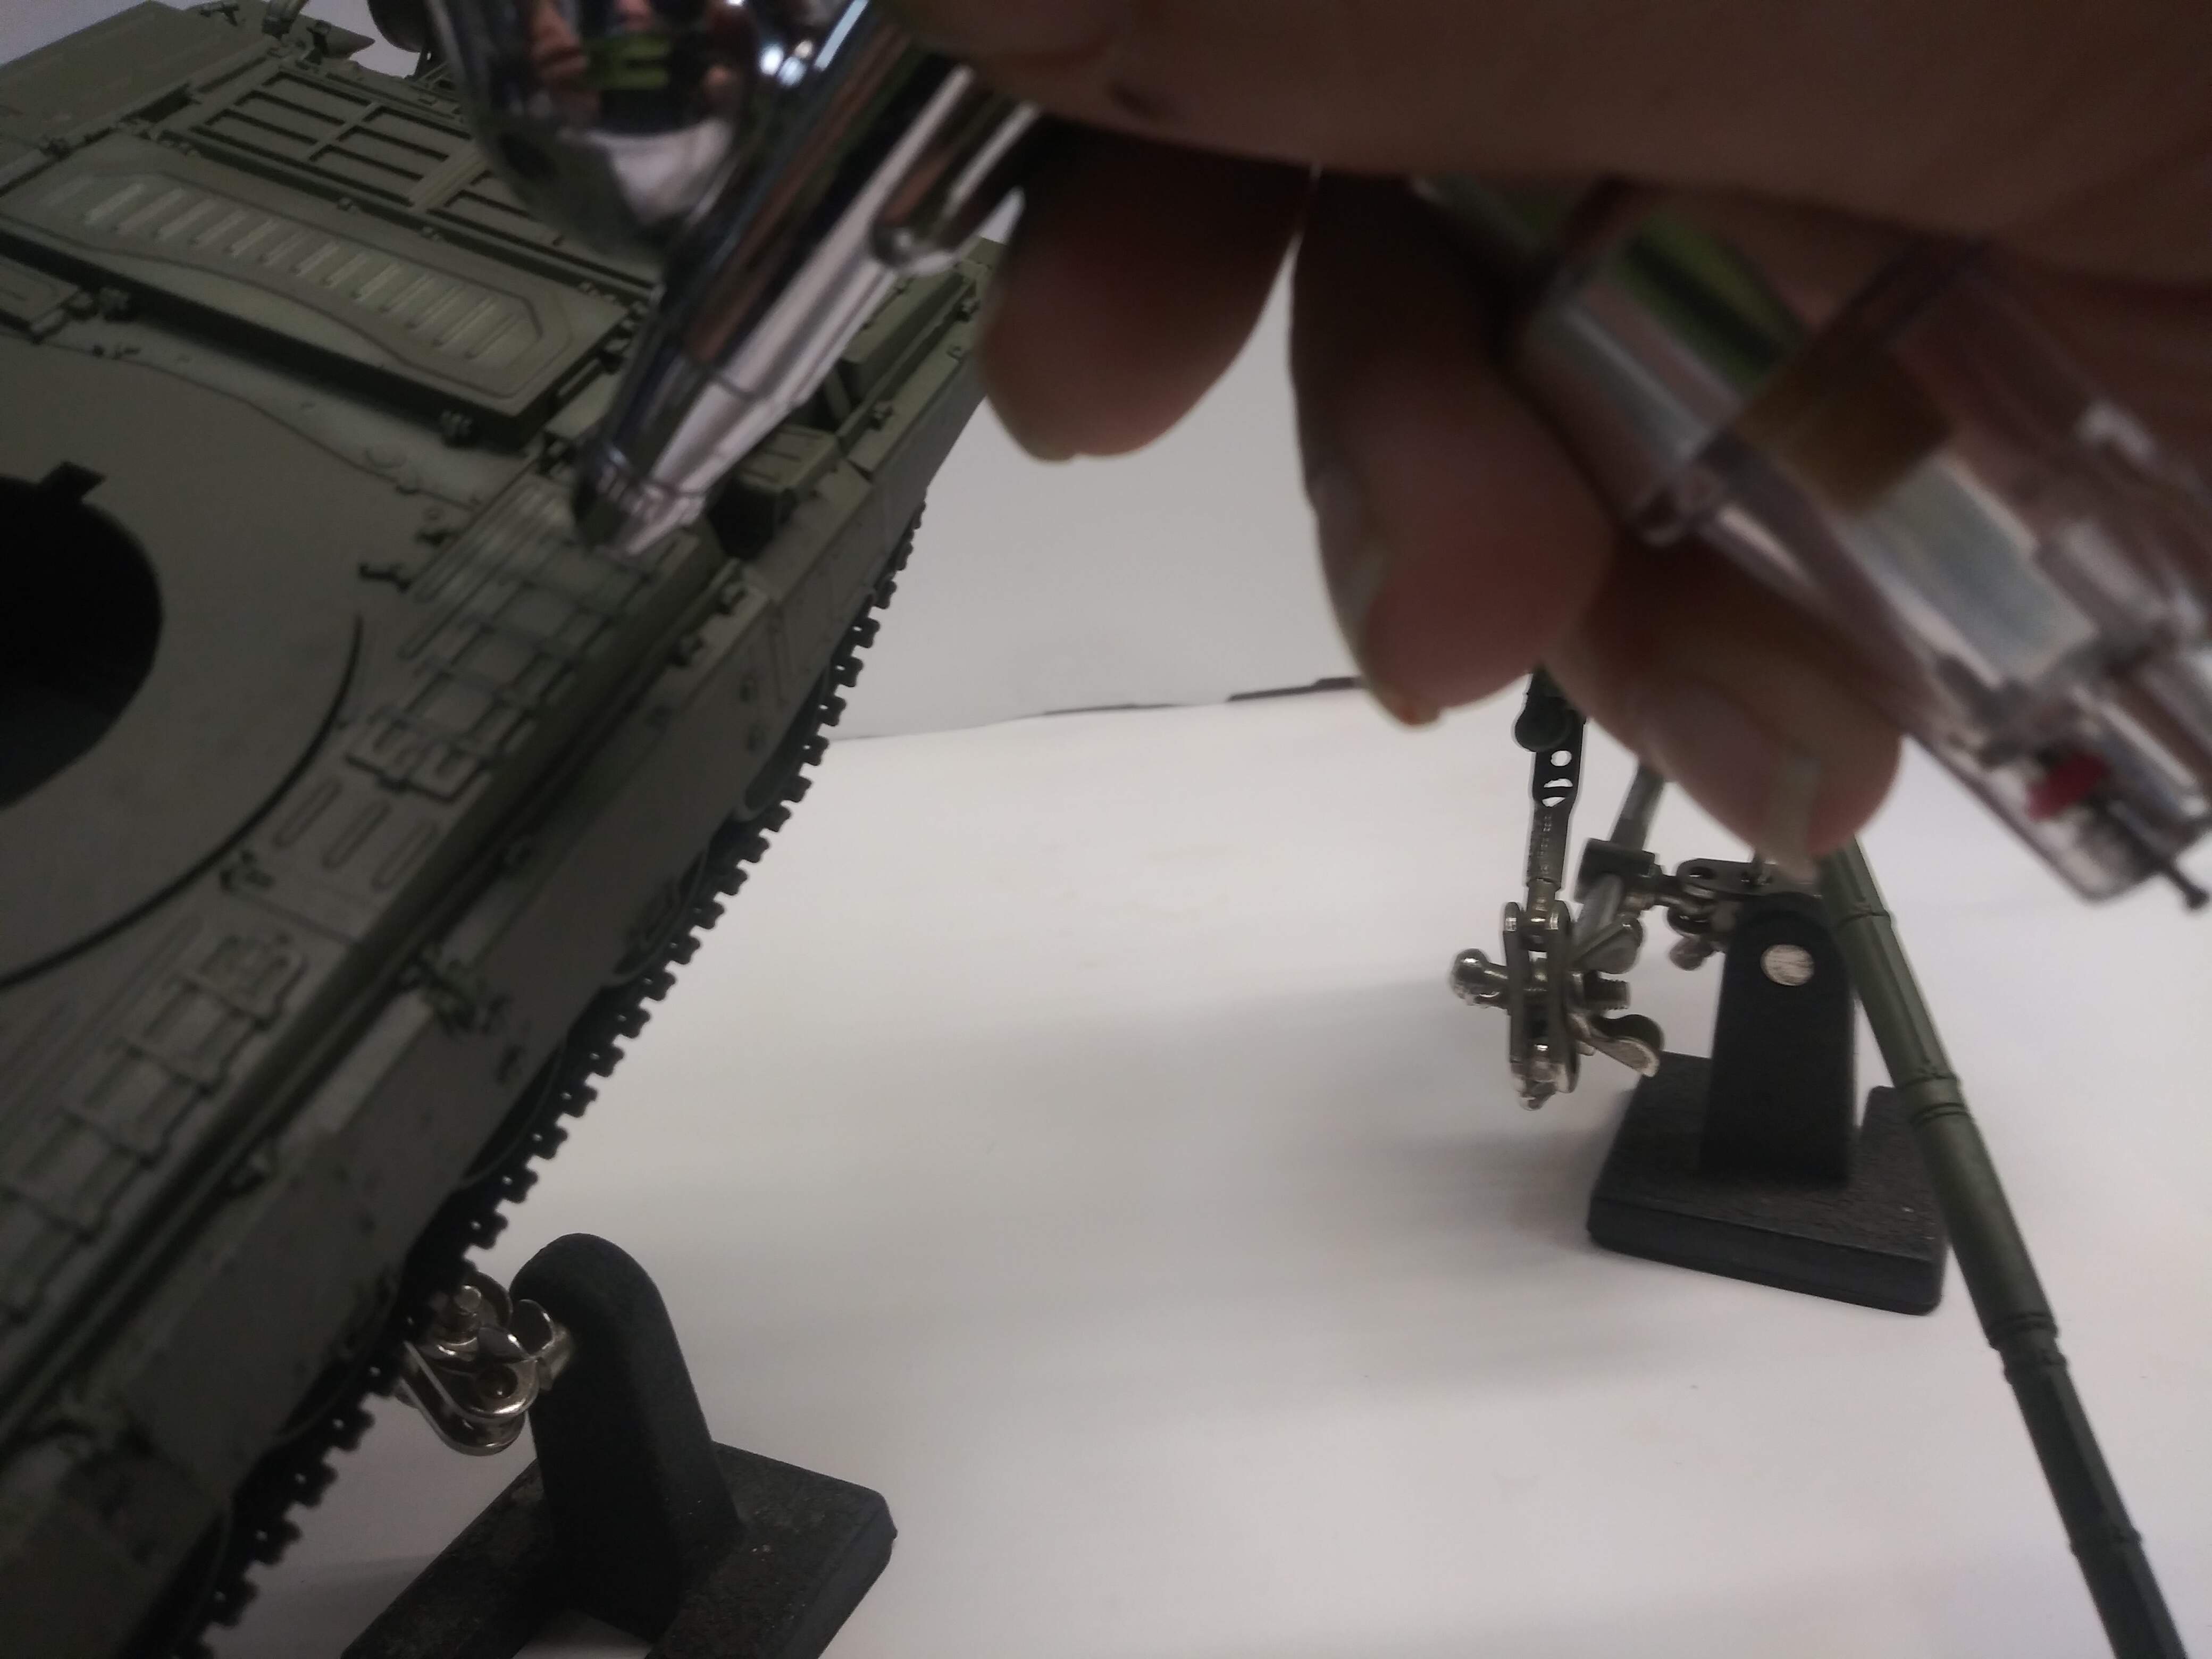
Just got home from therapy and it was a rough one … I will share the first bit in a while … Need some plastic therapy now .
Some of the products are a bit different , but stay tuned
2 Likes
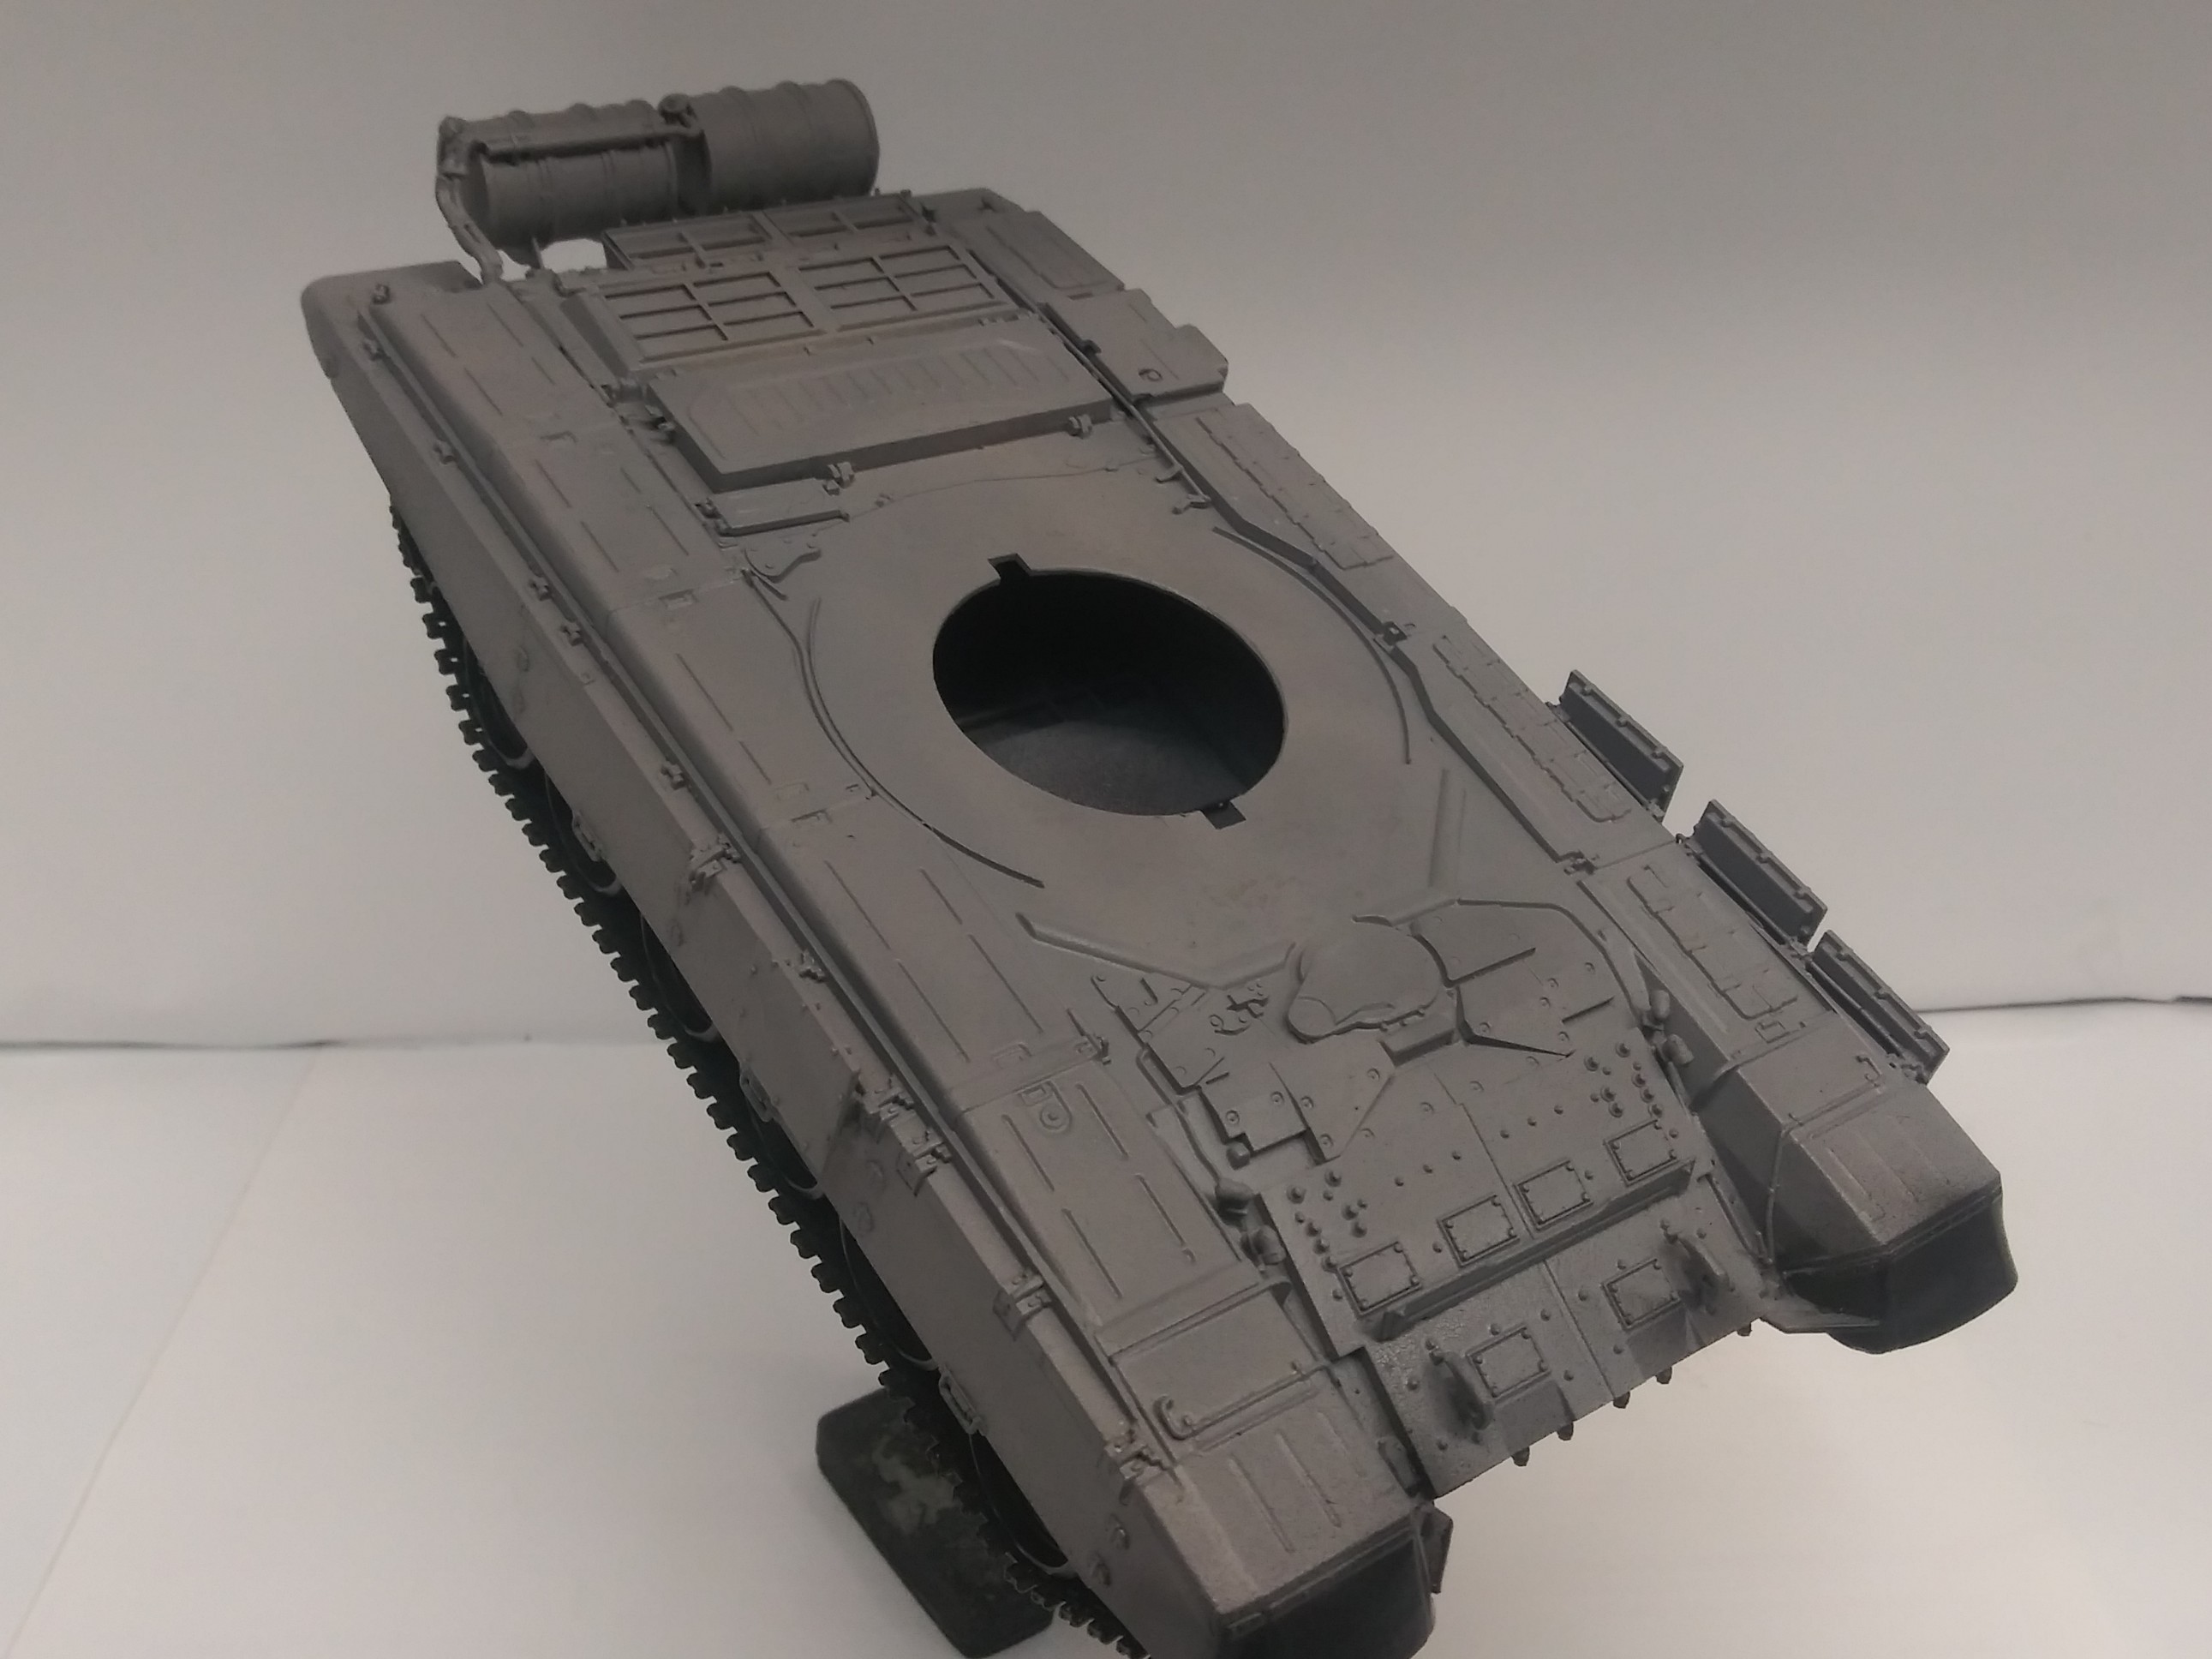
Ok . Back at the bench and the brain fog has rolled back out to sea for a bit … So lets do this .
-
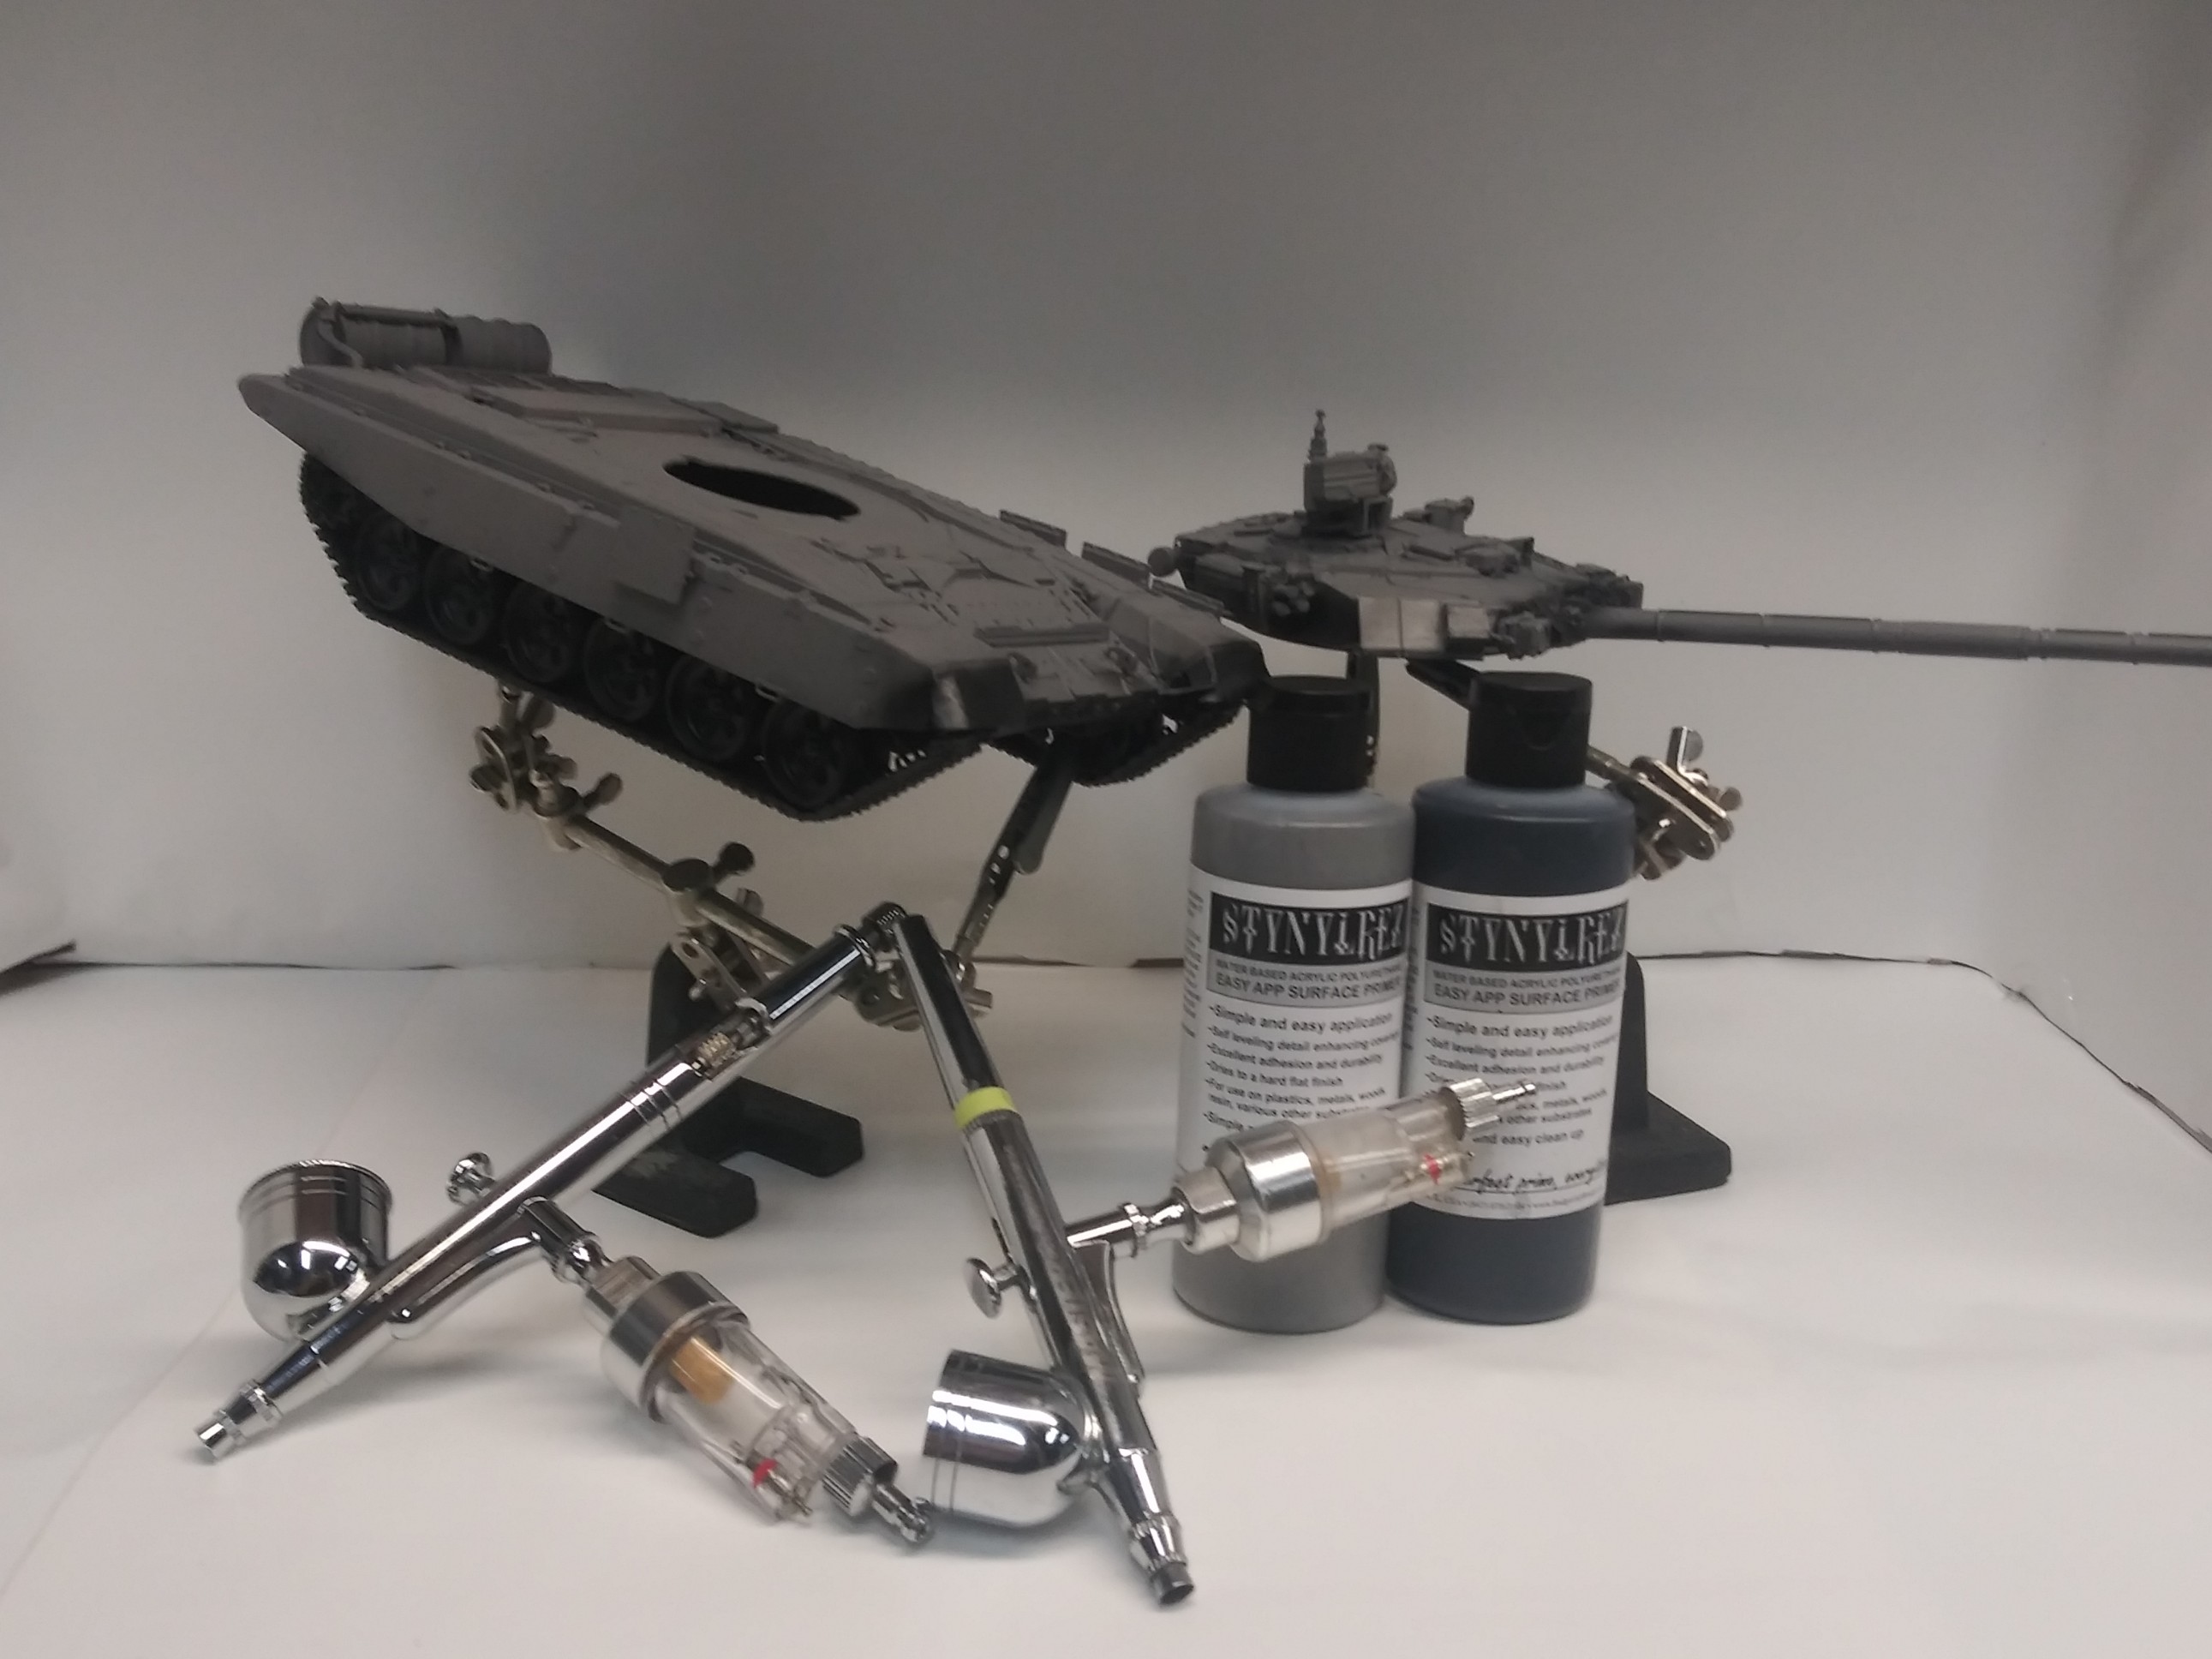
The vehicle is first primed in the gray primer all over.
-
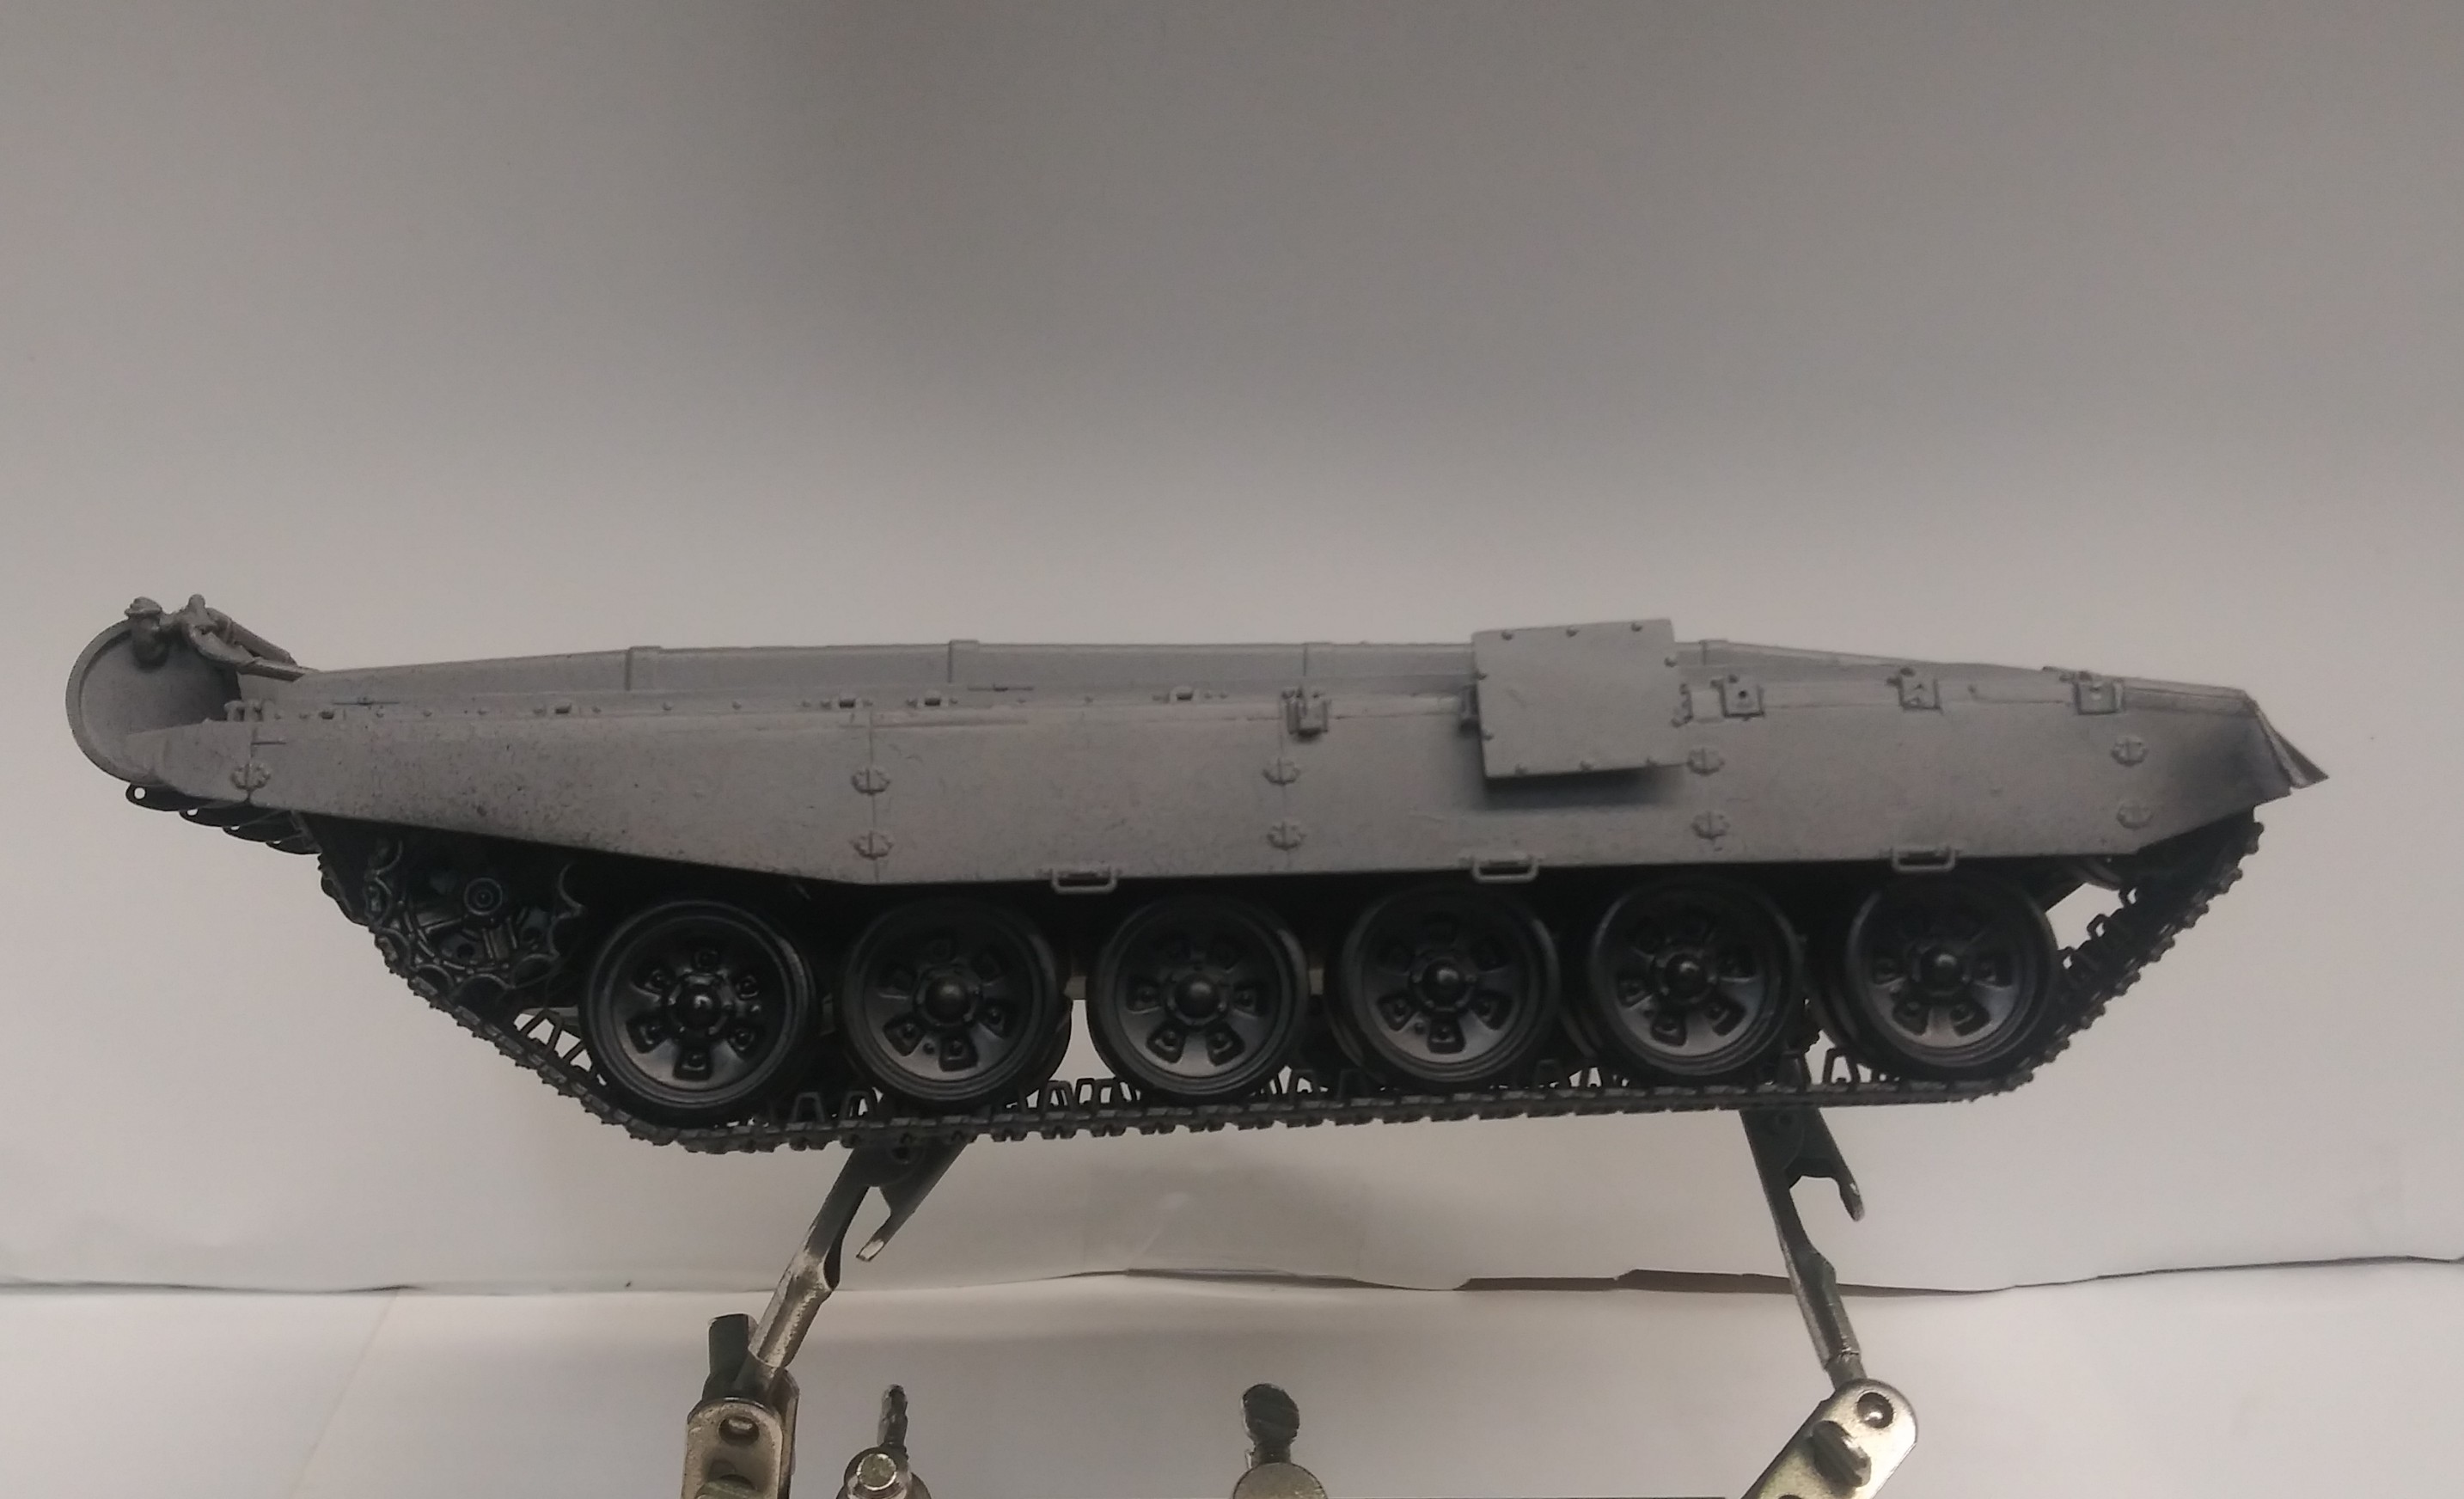
Next the lower areas are sprayed in flat black . This will automatically help in the color transitions .
-
The lower sides of the turret are also sprayed black coming from the turret ring to just past the edge allowing for " over spray " to get on the lower sides. Once again this aids in color transition later.
-
Use whatever primer works for you. I really like stylenrez and by the time I finish typing this the primer will be dry.
-
Airbrushes are something that can be a very personal choice , many of the choices are driven by magazine adds or what the guy on youtube is using.
I use a Master airbrush , double action gravity . Both of them shown are that brush, the one with the tape around the center is a older one and used just for primer. Both have a moisture trap and quick release . The hose has a mac valve on it to rapidly adjust pressure at the brush.
Both brushes have a 0.3 needle .
Now for the fun part . They cost about $25 for one. I have used the high-end brushes from Thayer and Chandler the expensive German brushes that everybody love so much because they can say look at me I paid $400 for my airbrush. Rant over.
These do the same exact job , its not about the brush , its about the hand driving it and a few simple tricks.
Airbrush trick 1. Polish the needle . -
Compressor pressures and brush pressure are different.
-
Its only paint… It can be redone.
-
Keep the brush clean.
-
Have confidence in yourself.
-
Practice , practice , practice.
-
Learn color theory or get a color wheel.


6 Likes
The next step is the color and I will break this down into a few posts to keep the correct pictures with the explanation.
- Craft paint is acrylic paint with a heavy pigment base and needs to be thinned a bit differently than traditional acrylic model paint.
- Each one of these 2.0 oz bottles was .50 cent. There is a huge cost savings there , dont look at the name of the color , look at the color itself for what you need to do for a particular build. The main color here is English Ivy , it is a great base for Soviet , American , British and canadian as well as German vehicles. The second bottle is beach comber beige and will be used in the next step.
The paint is added to a mix cup, and the thinner is then added to make a 70 to 30 mix . 70% paint.
The thinner is simply the Pledge / future mix 50/50.
I use the small powered mixer to mix the paint.

2 Likes
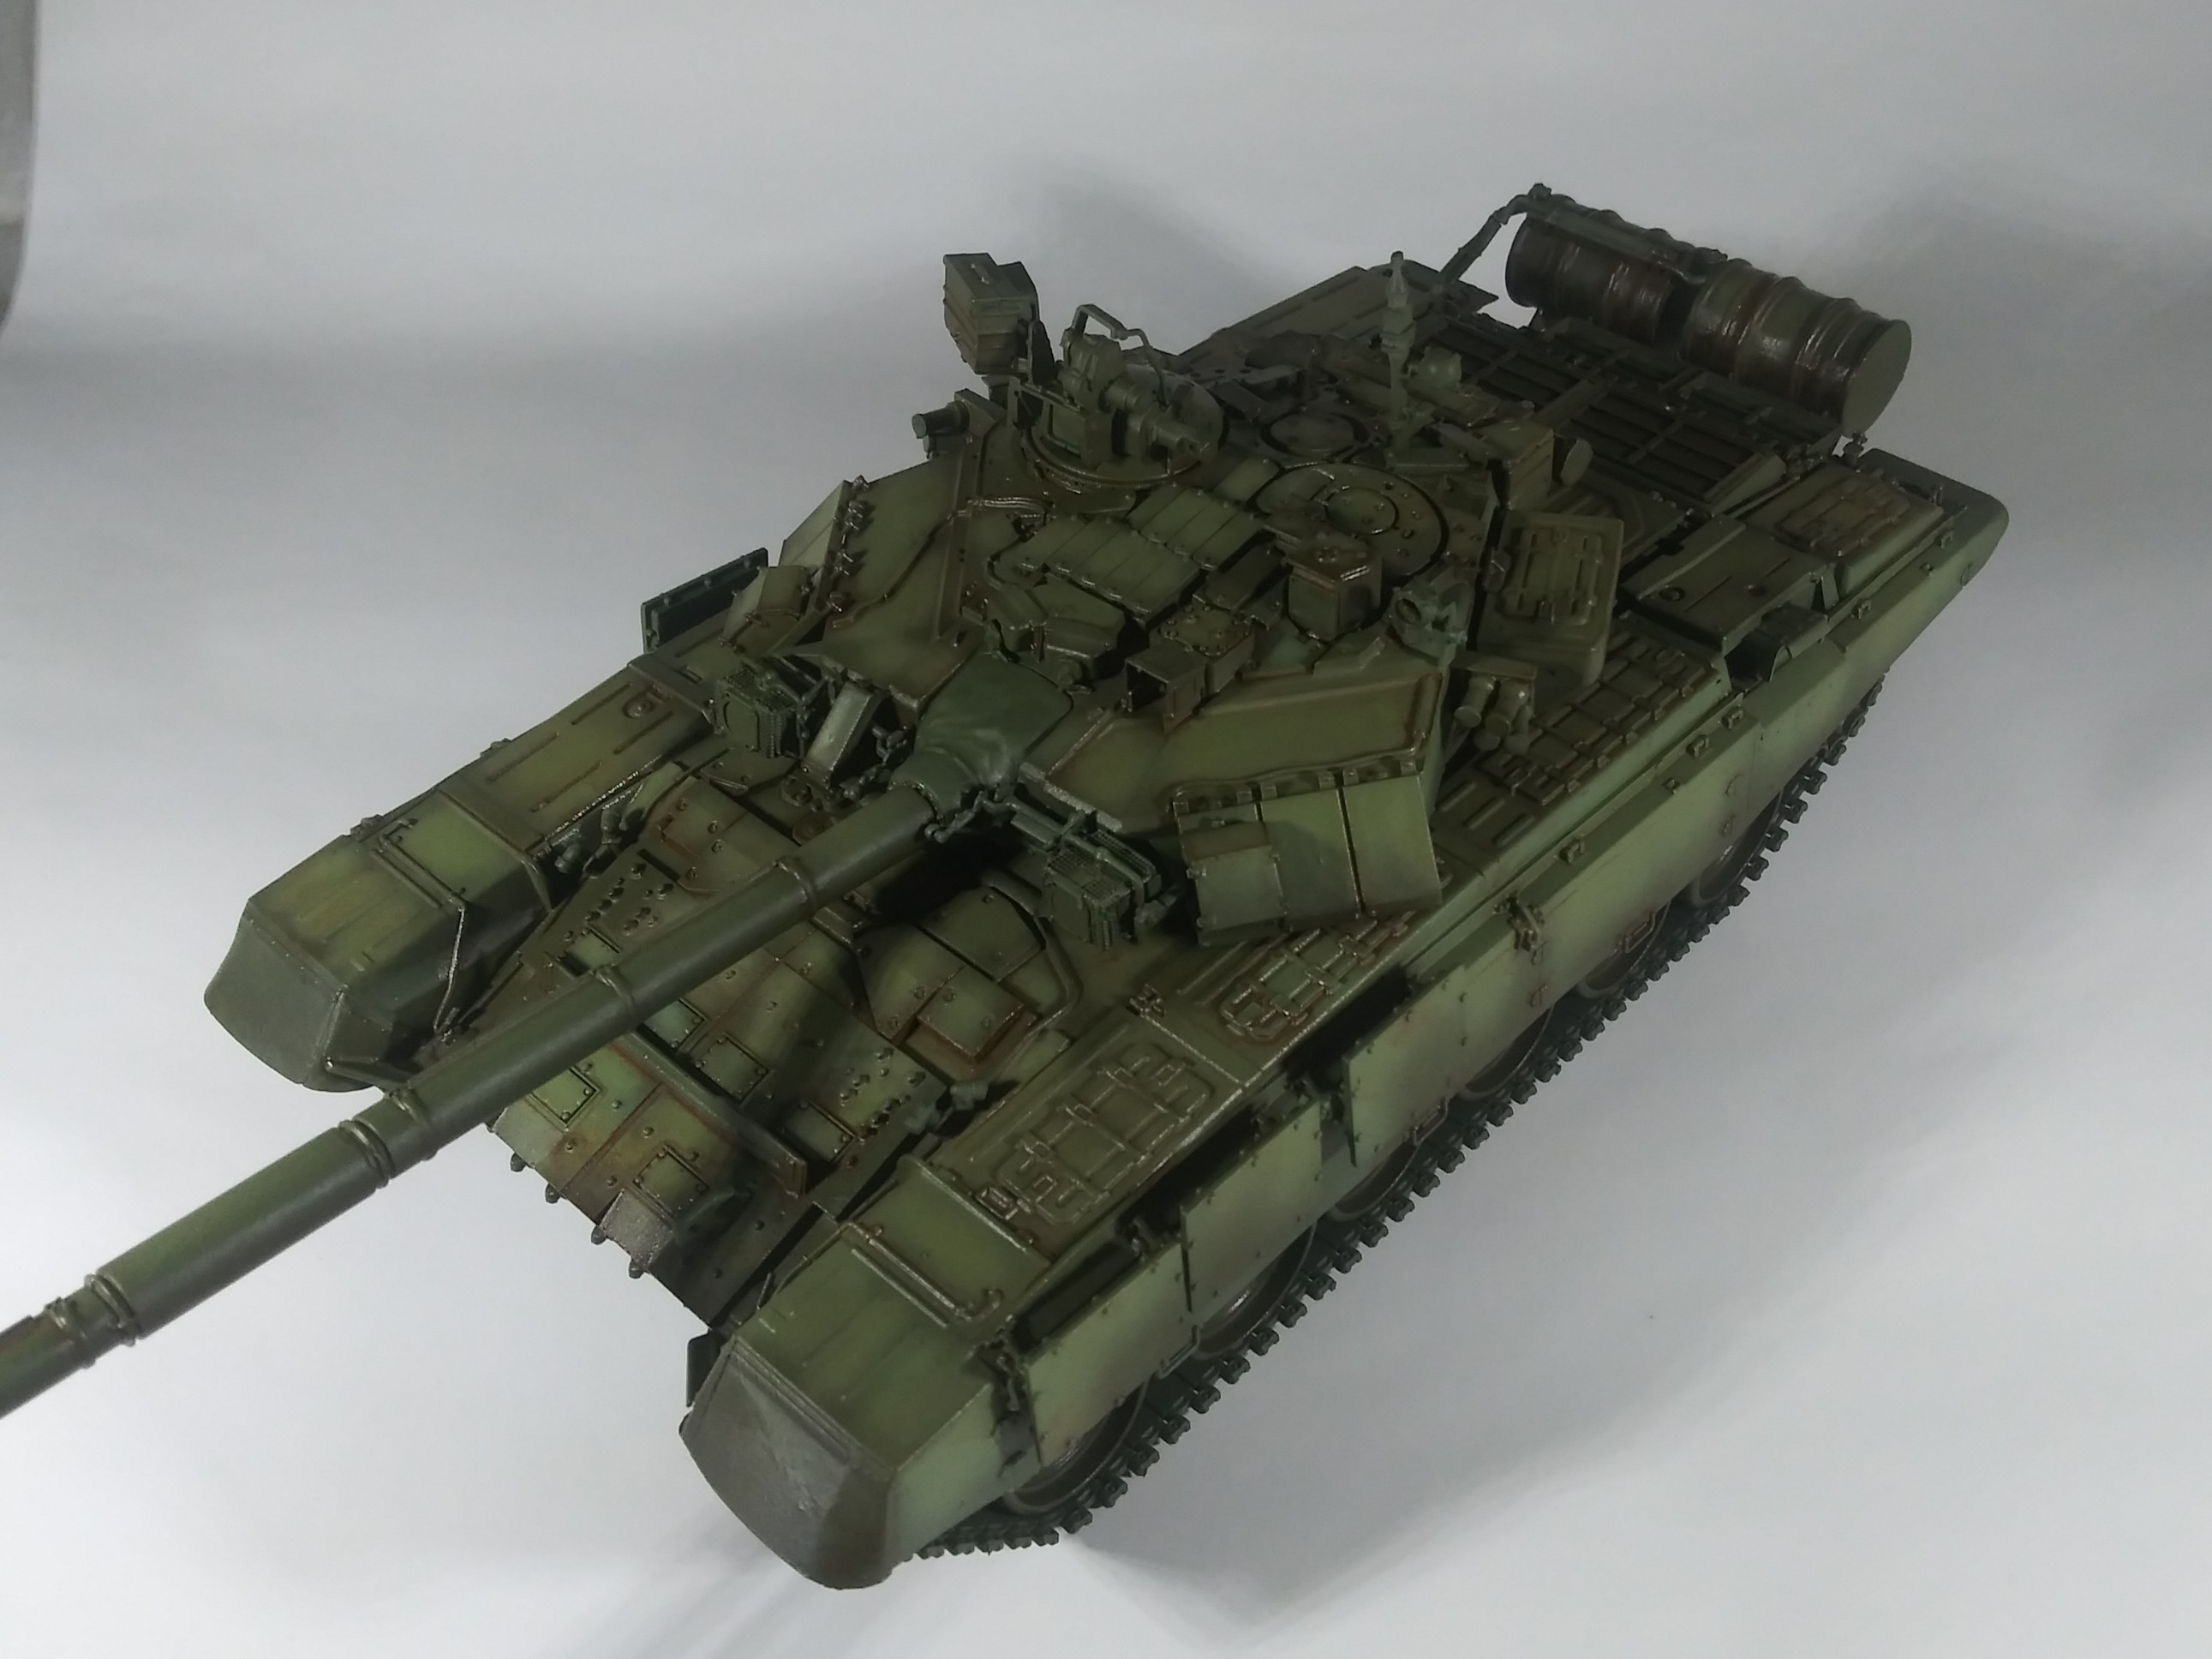
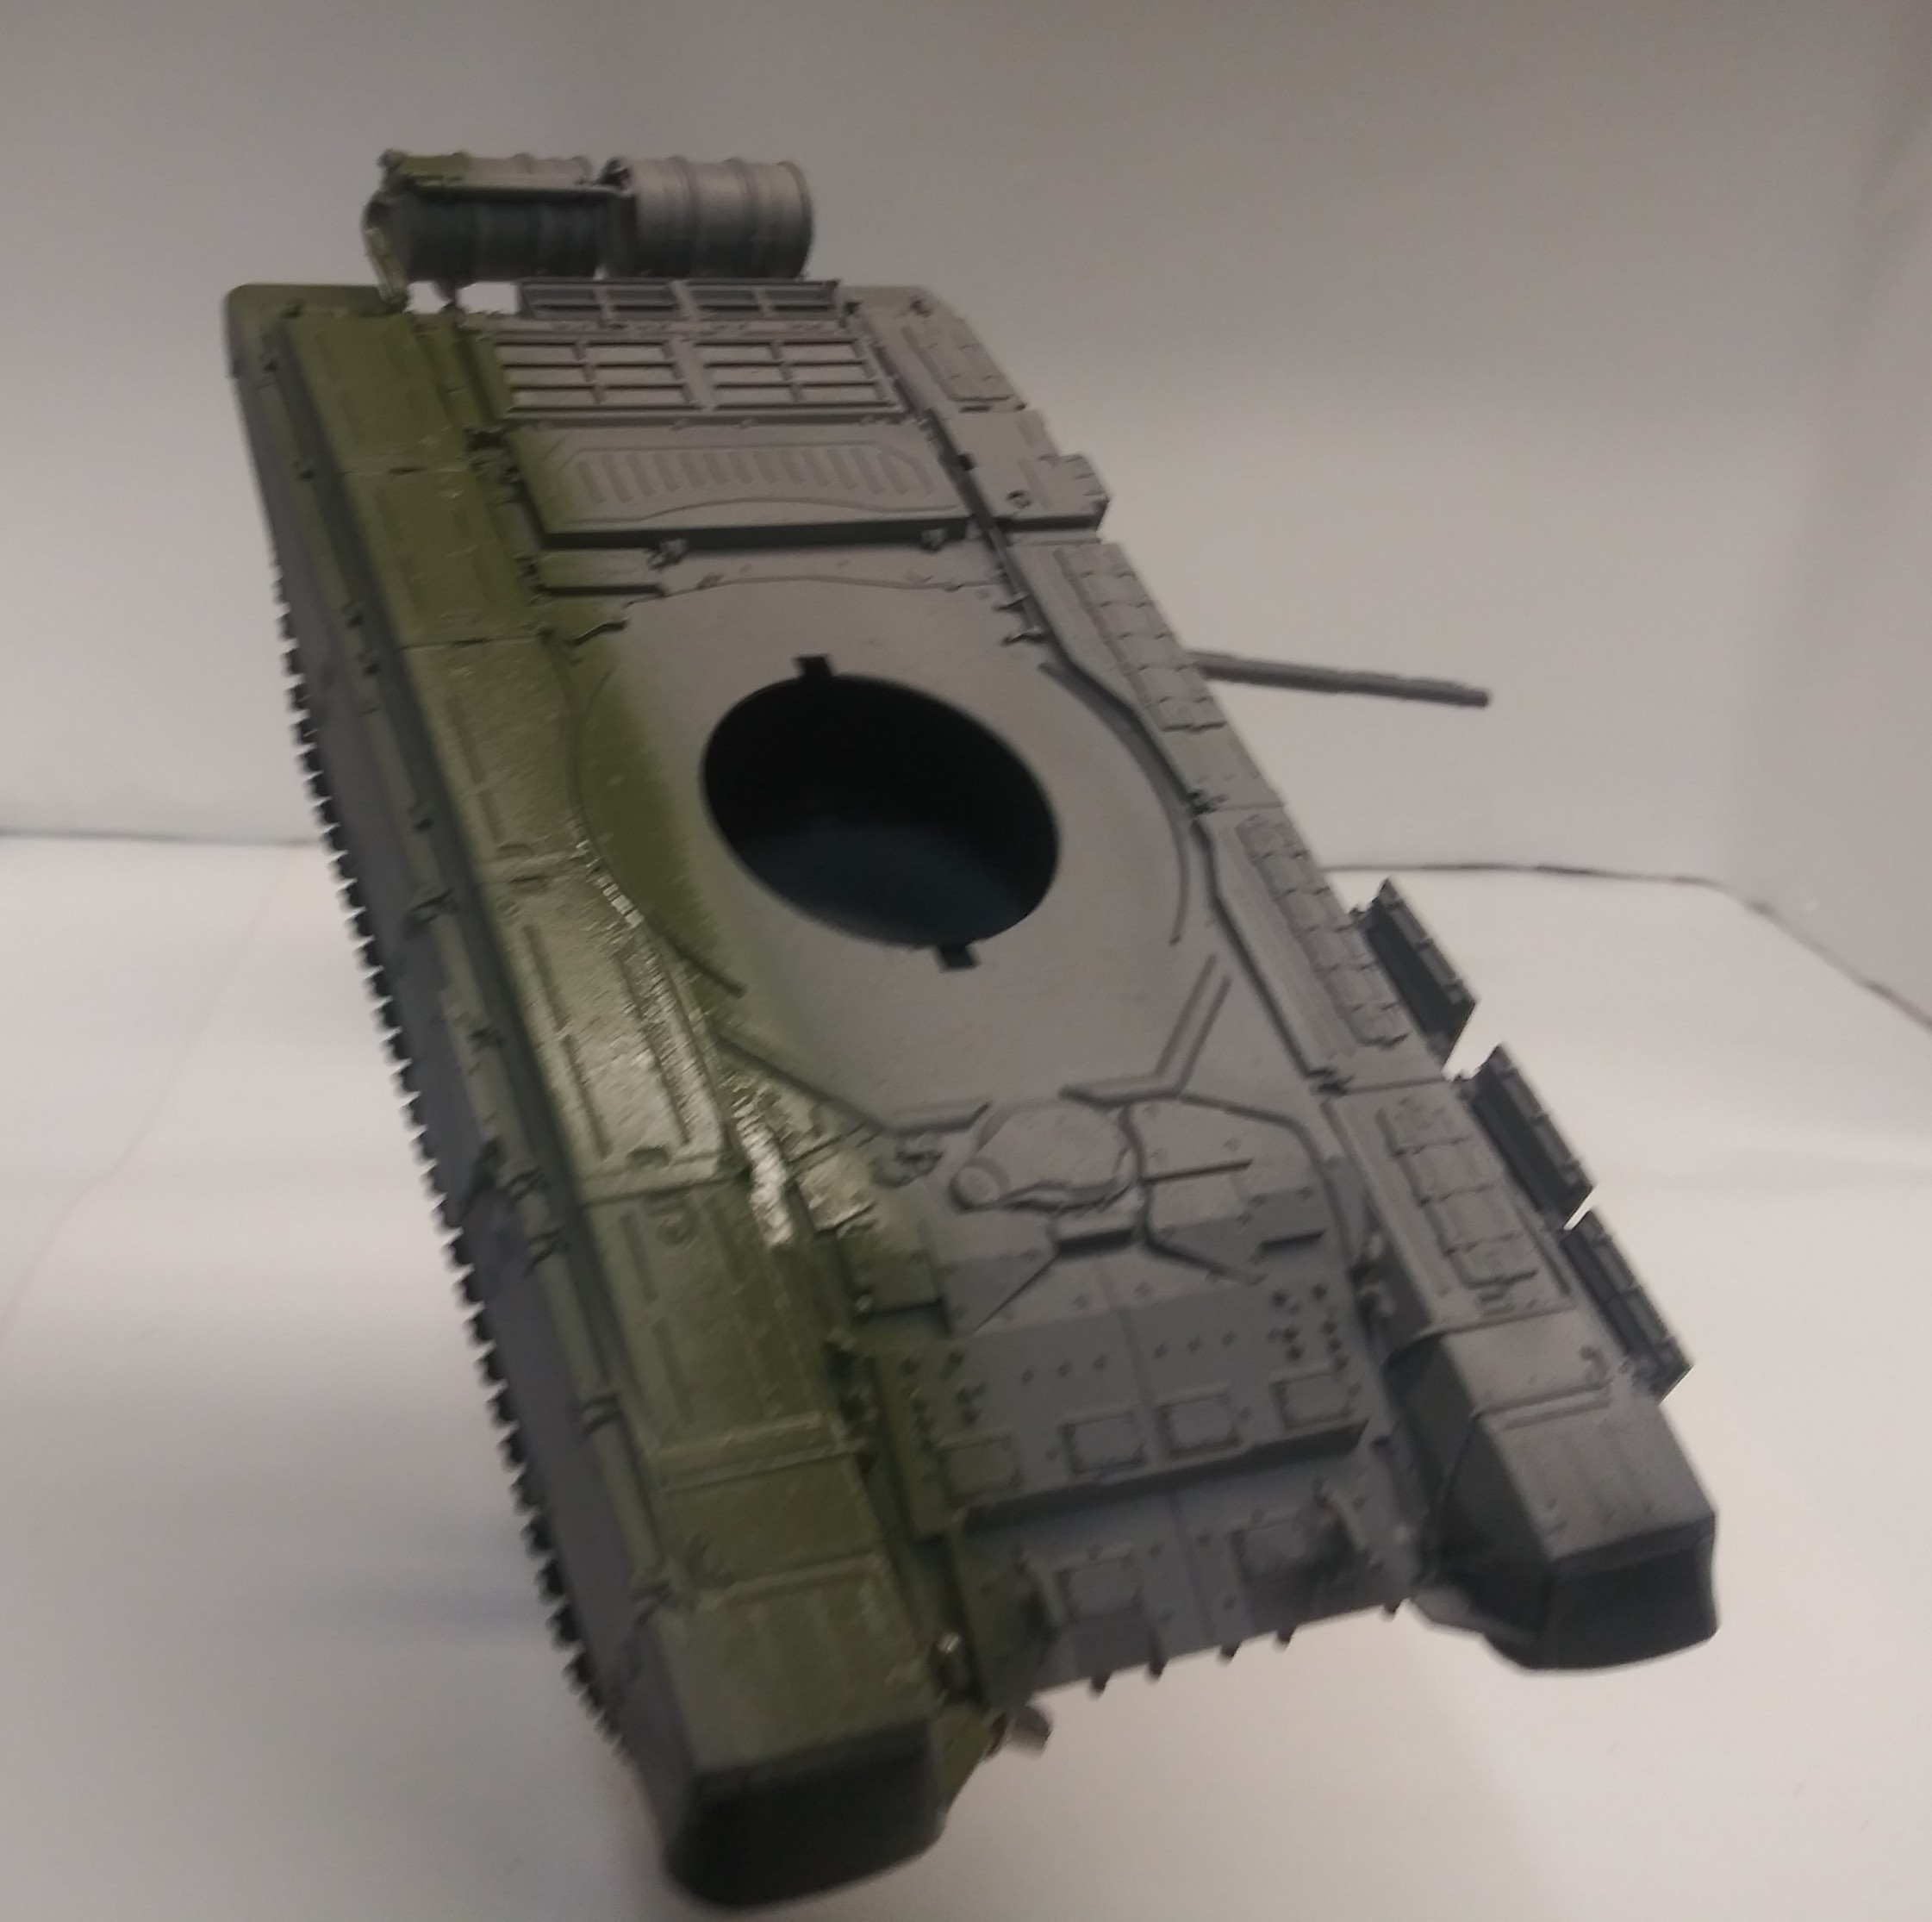
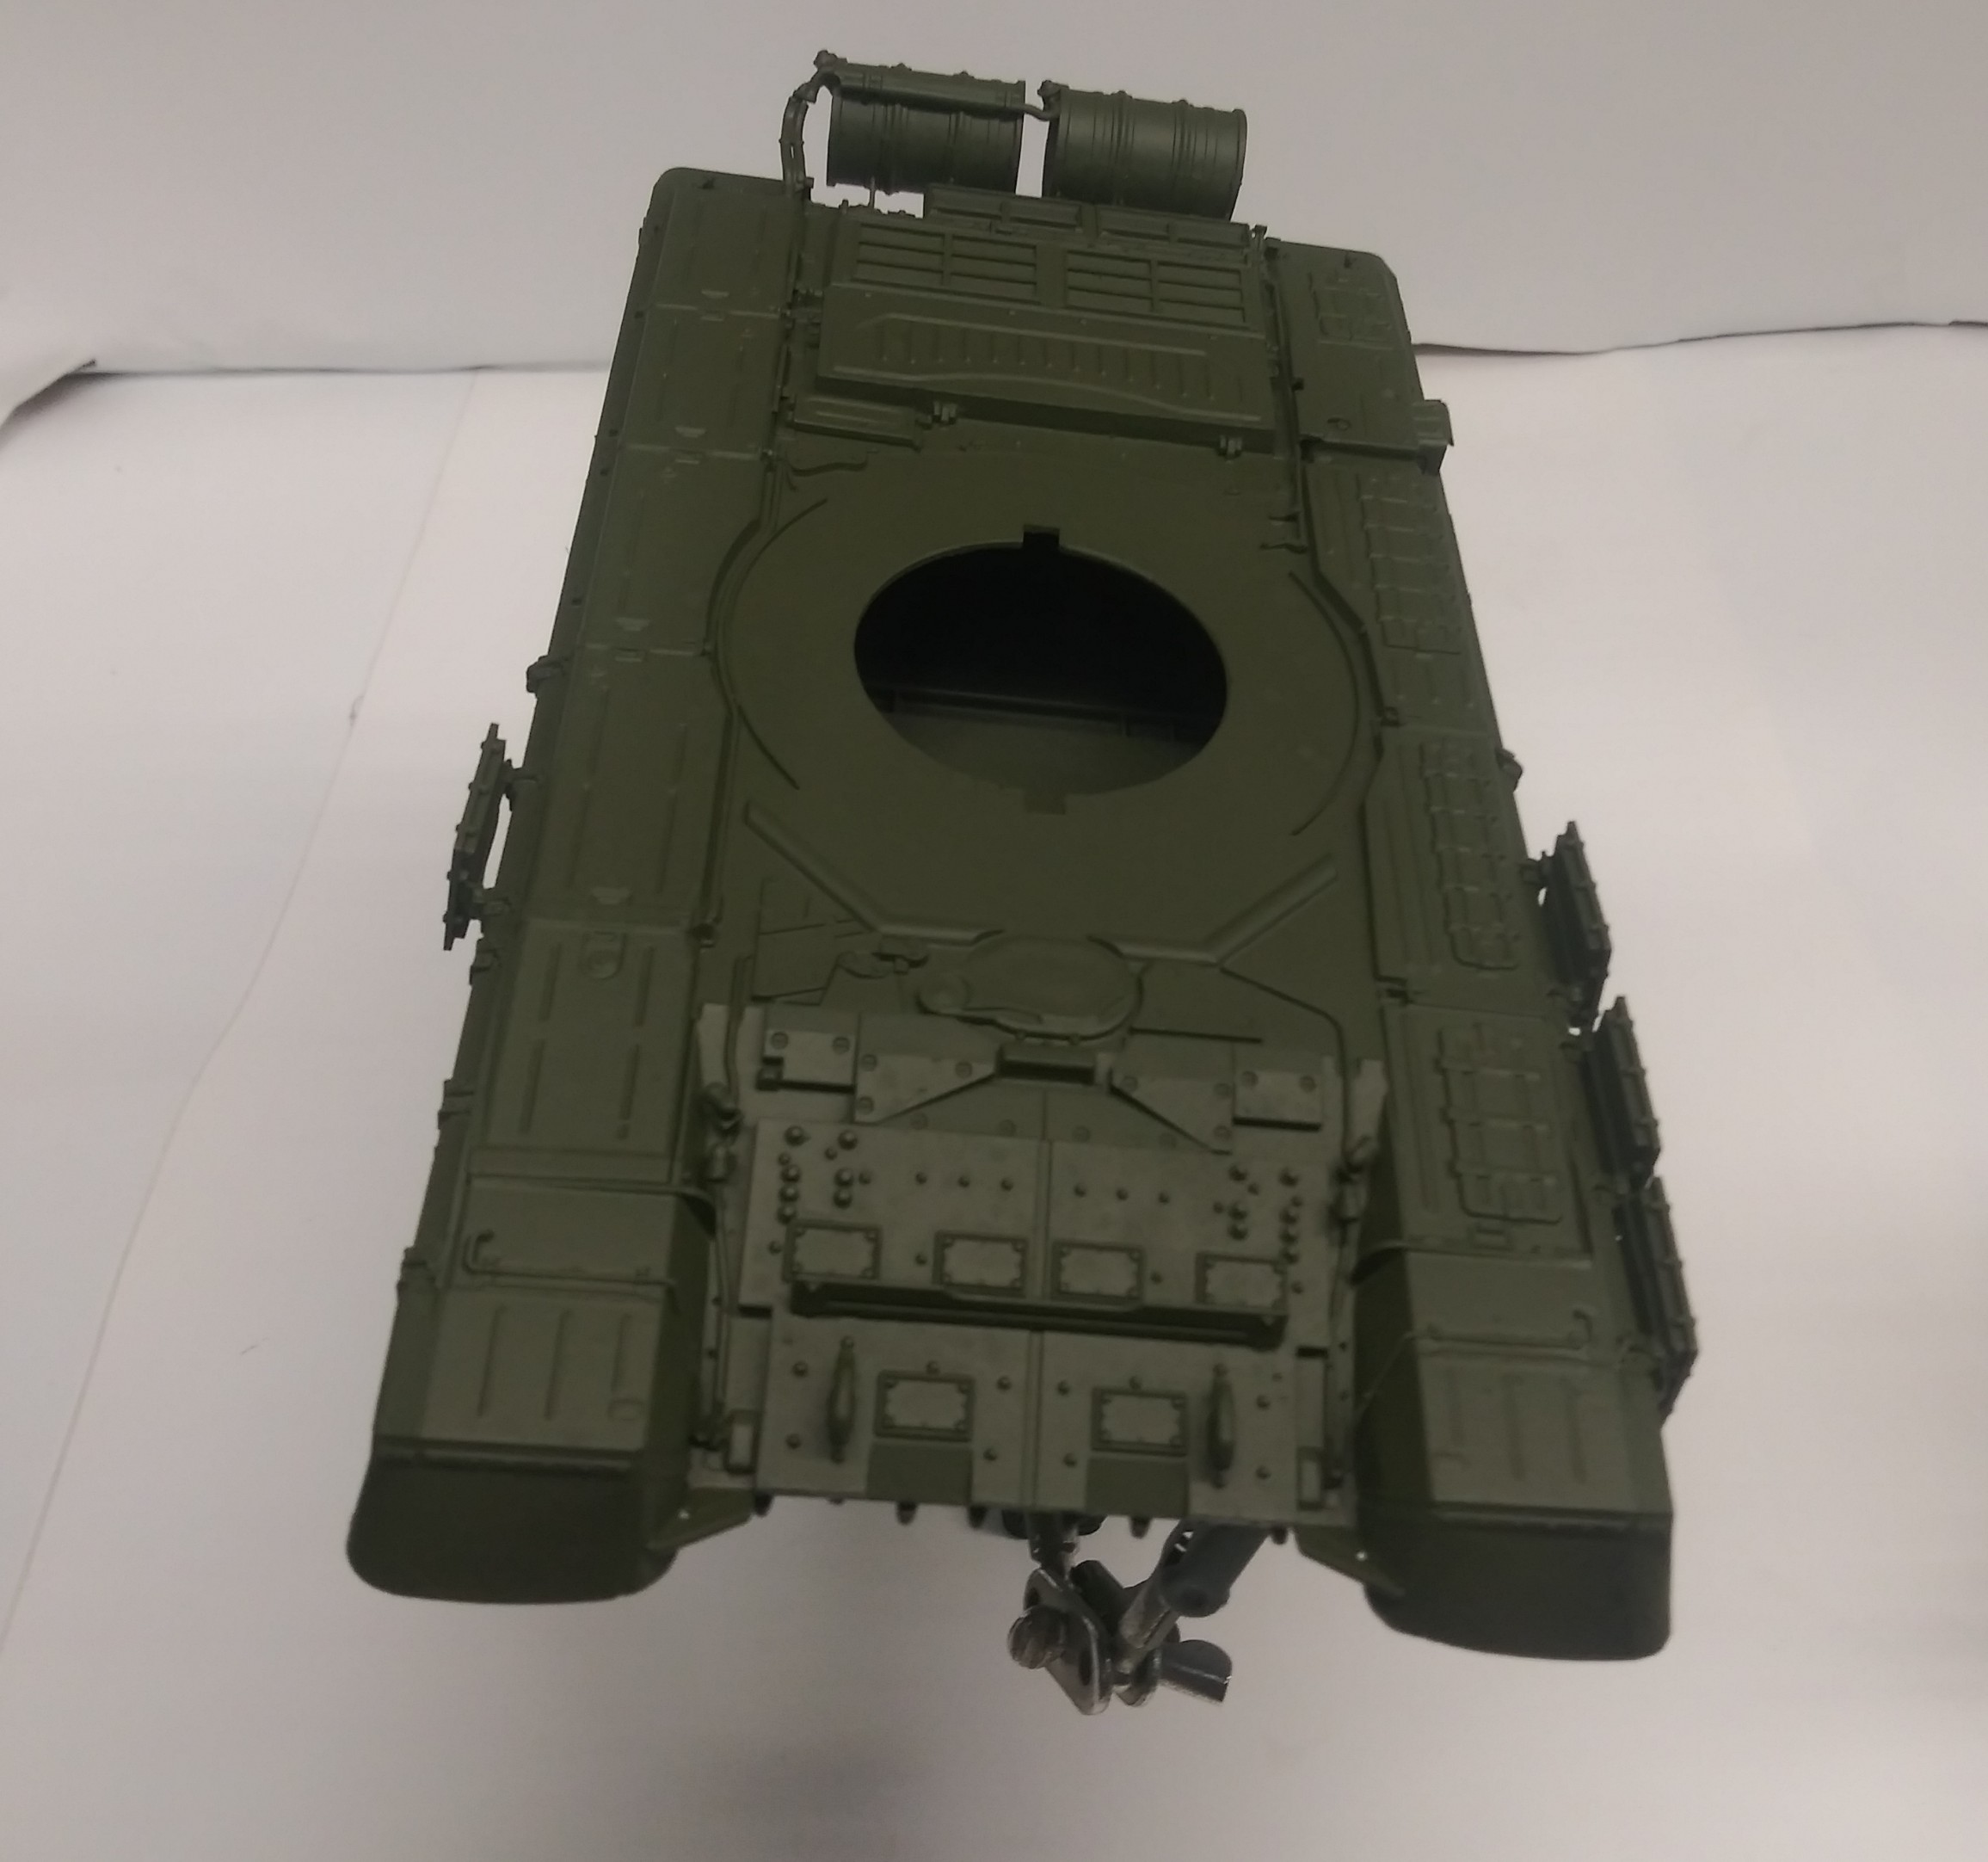
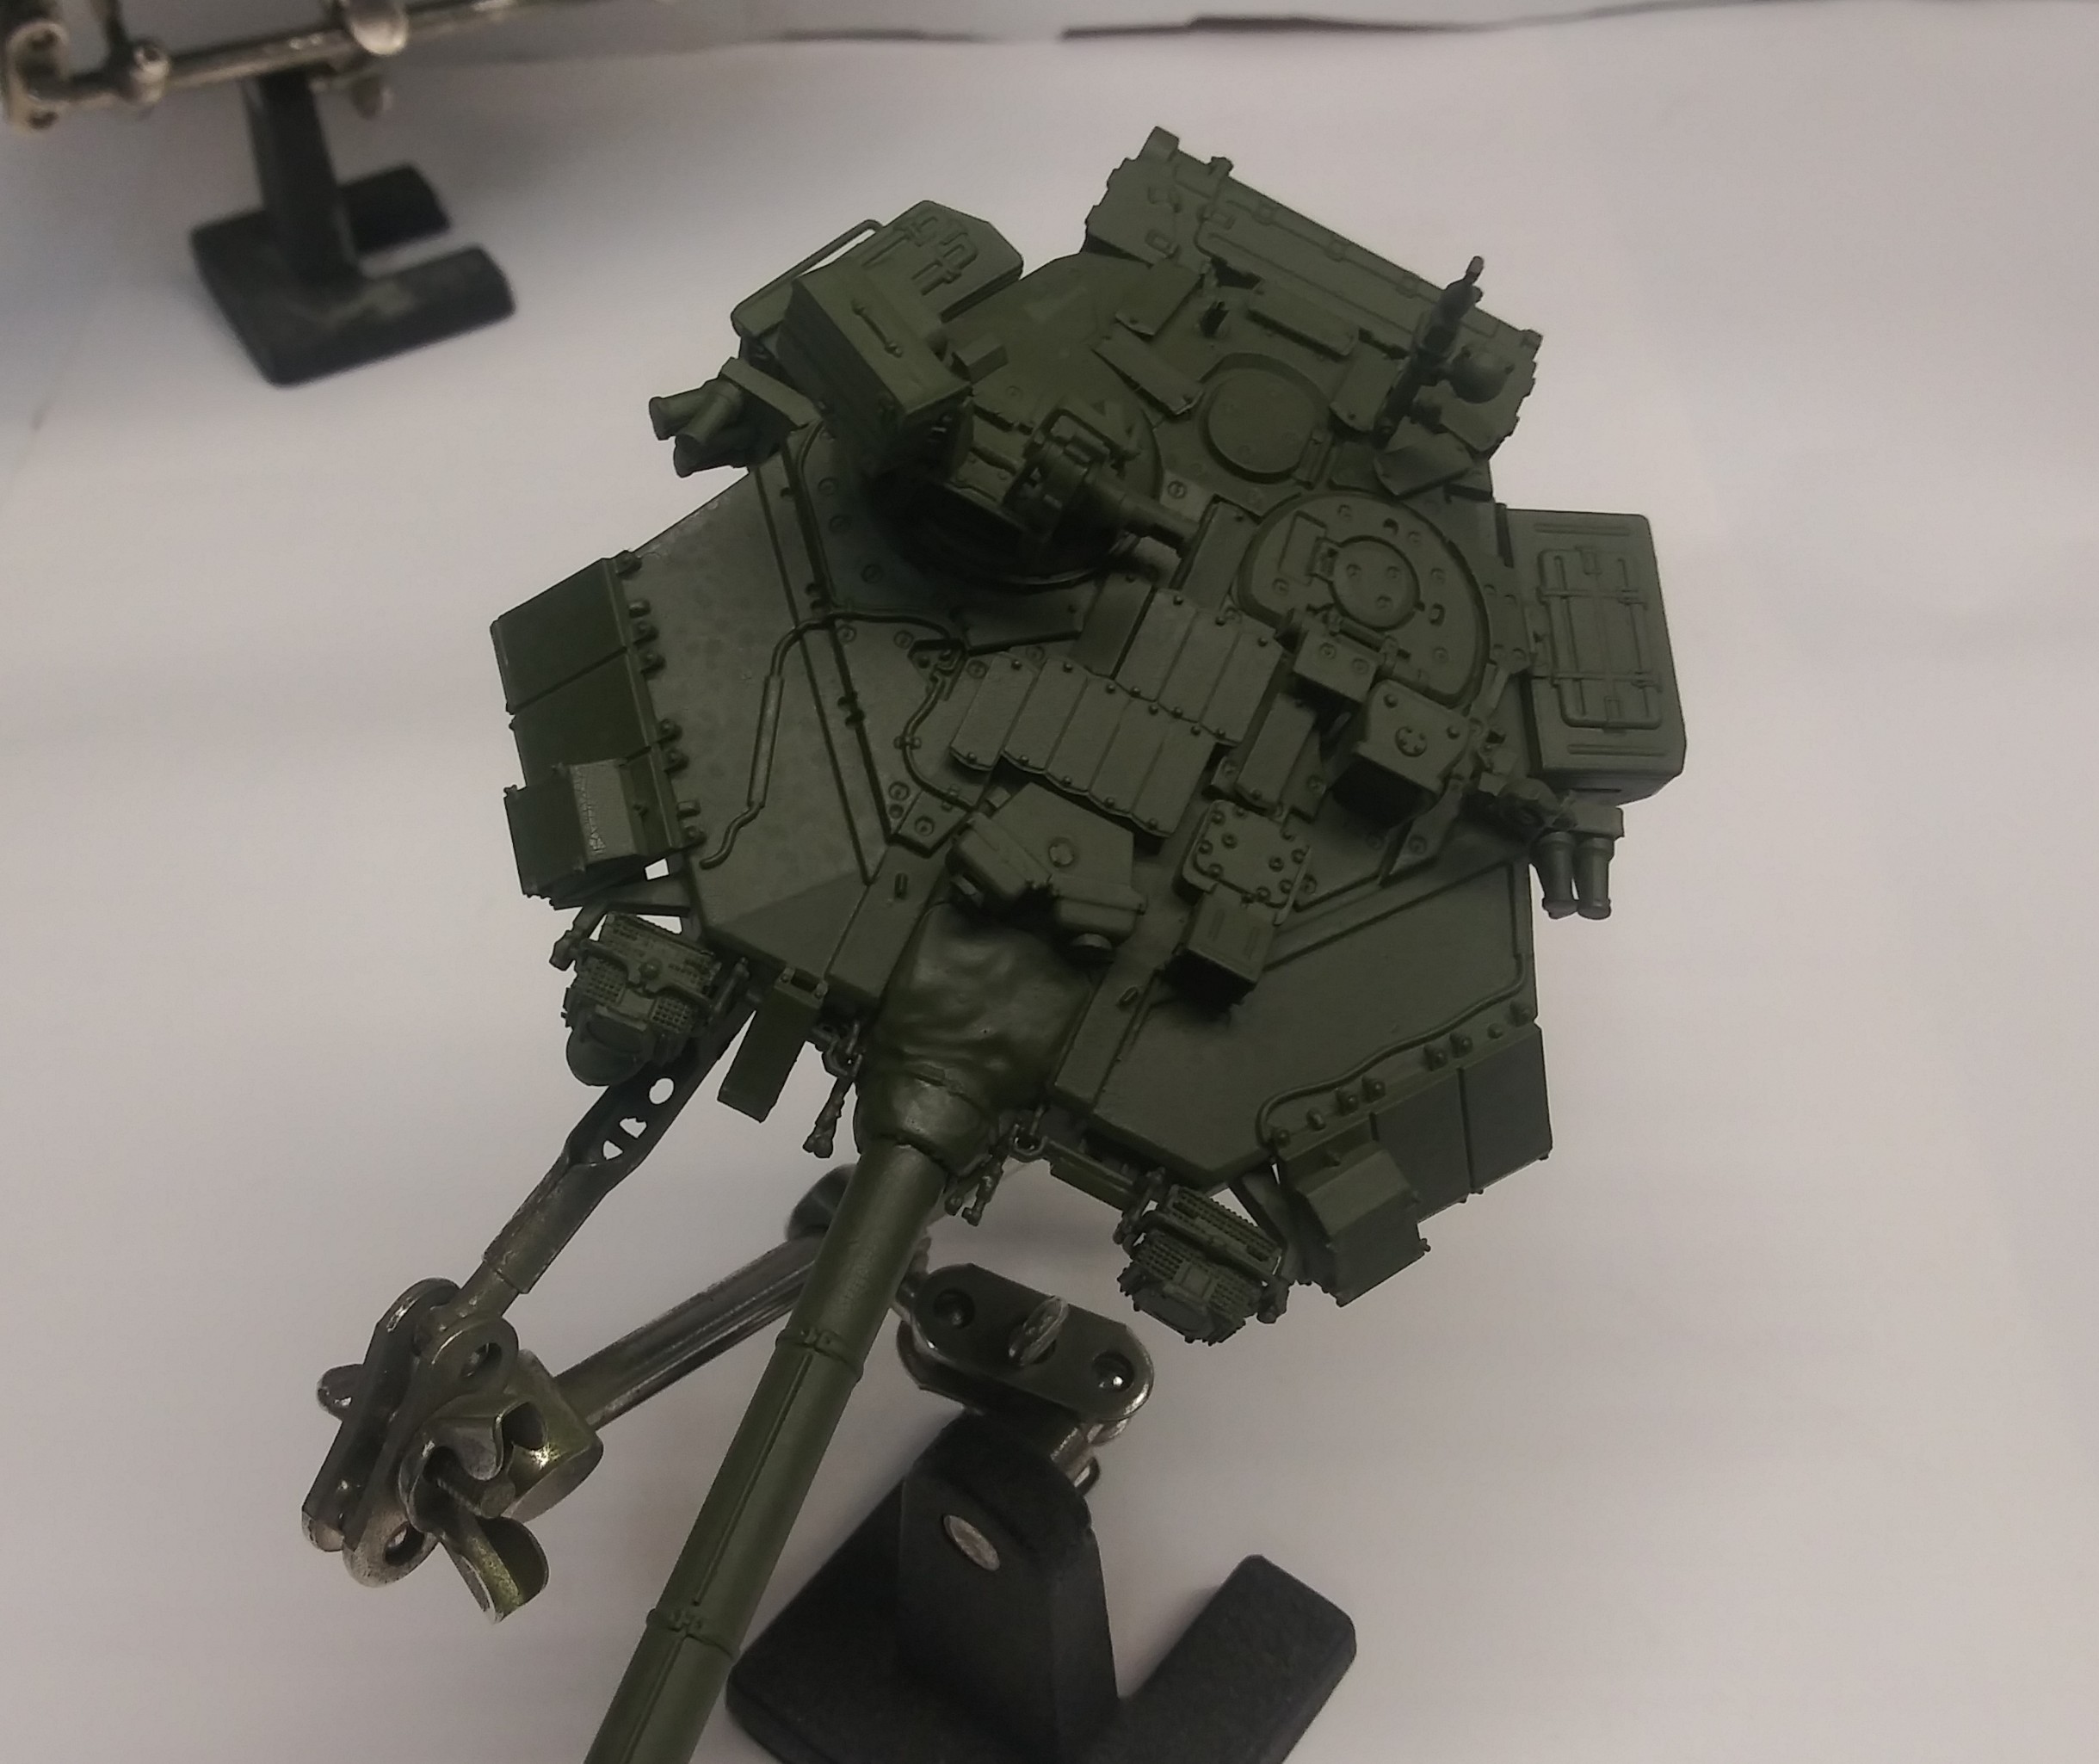
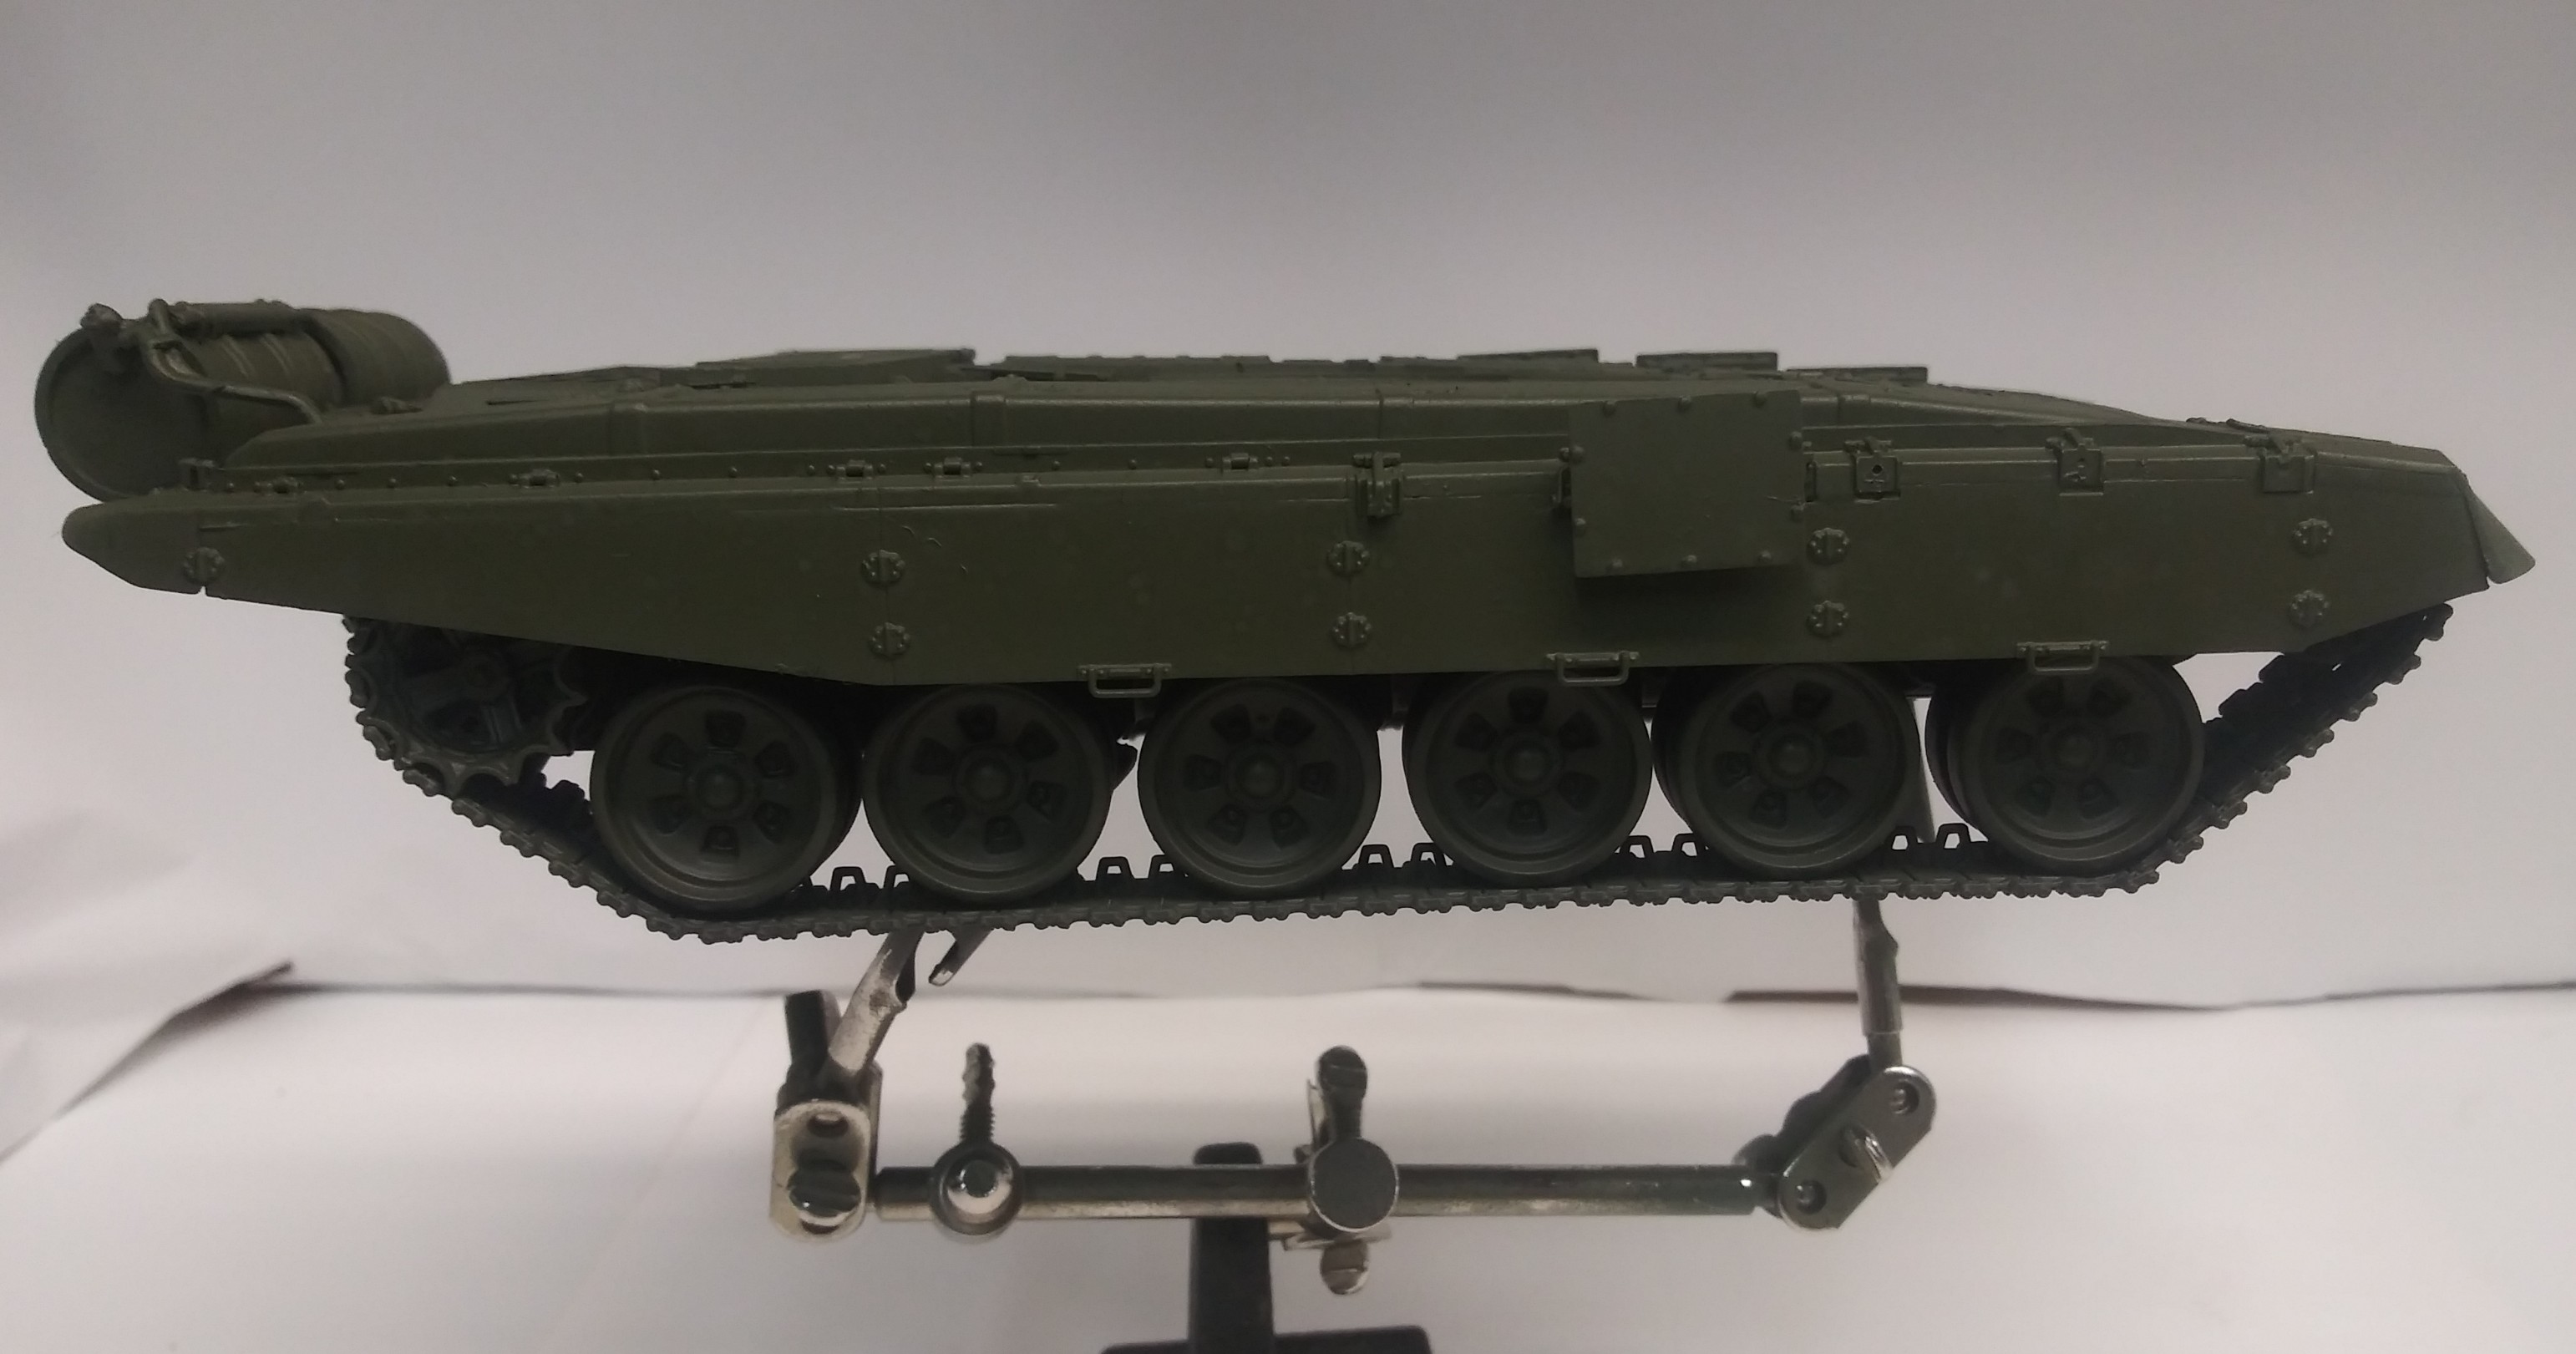
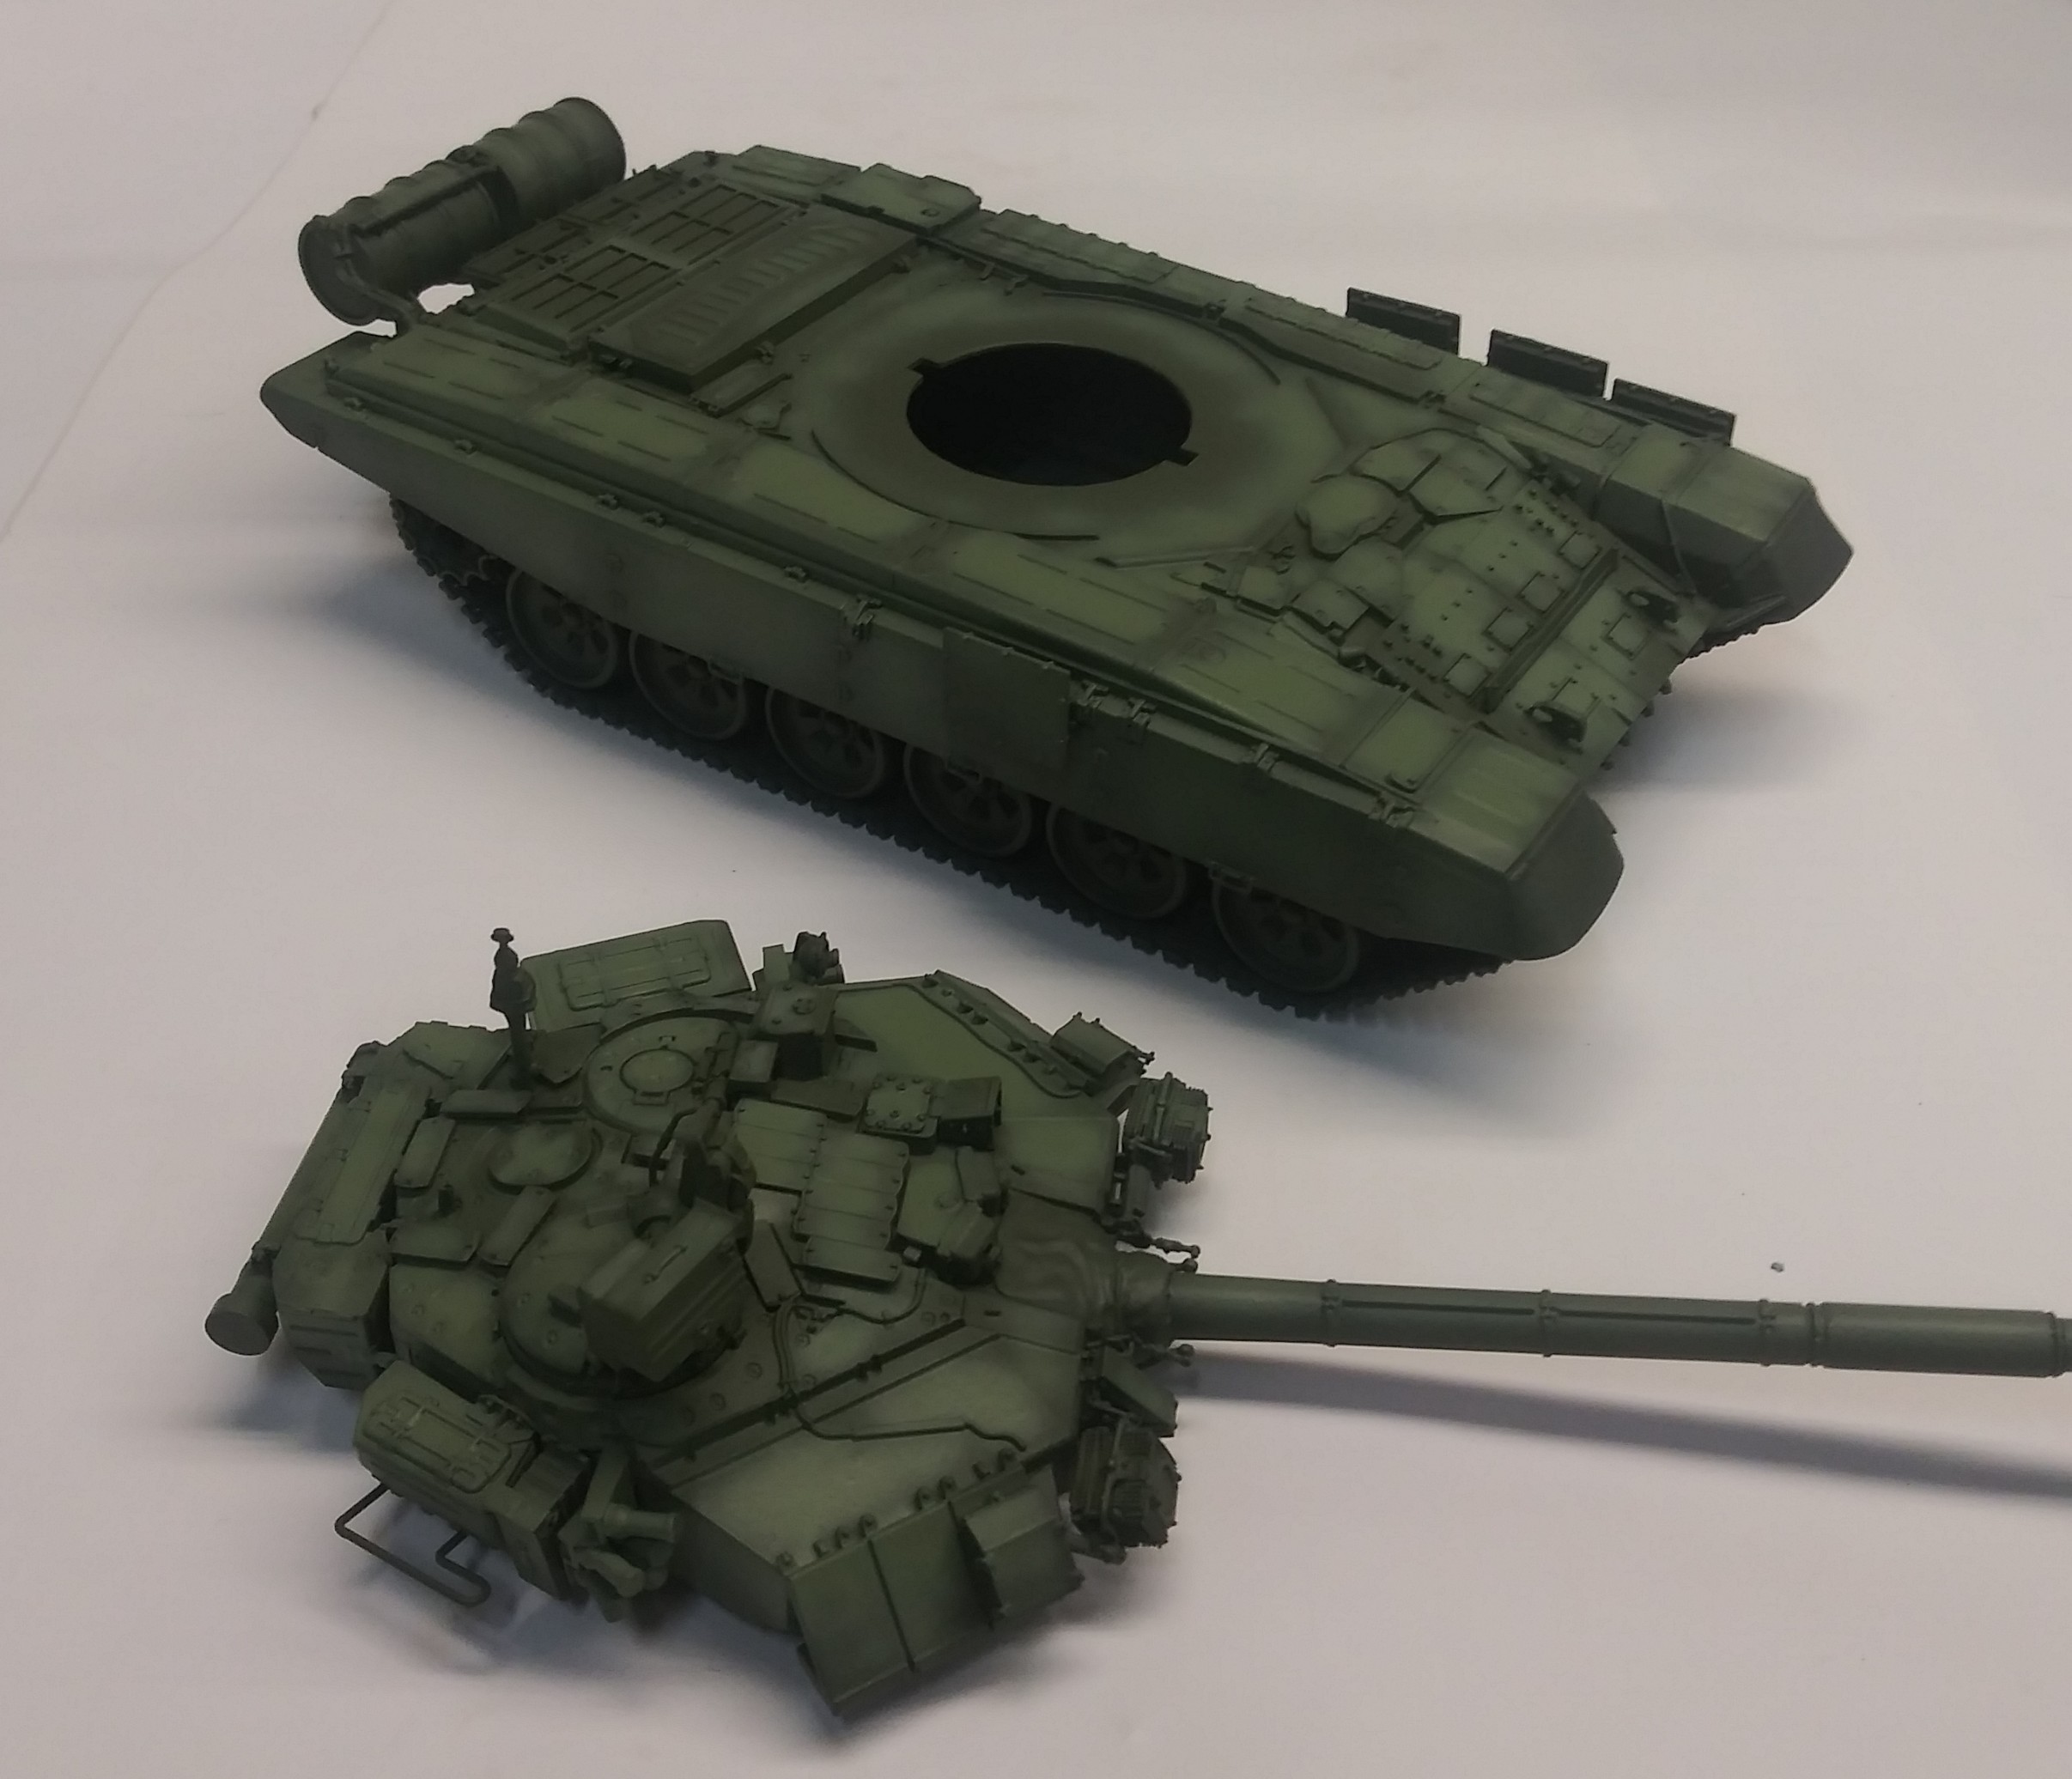
The hull has been primed and dry ready to paint.
The green you see here is 2 kiss coats to show what they look like against the primer .
3 Likes
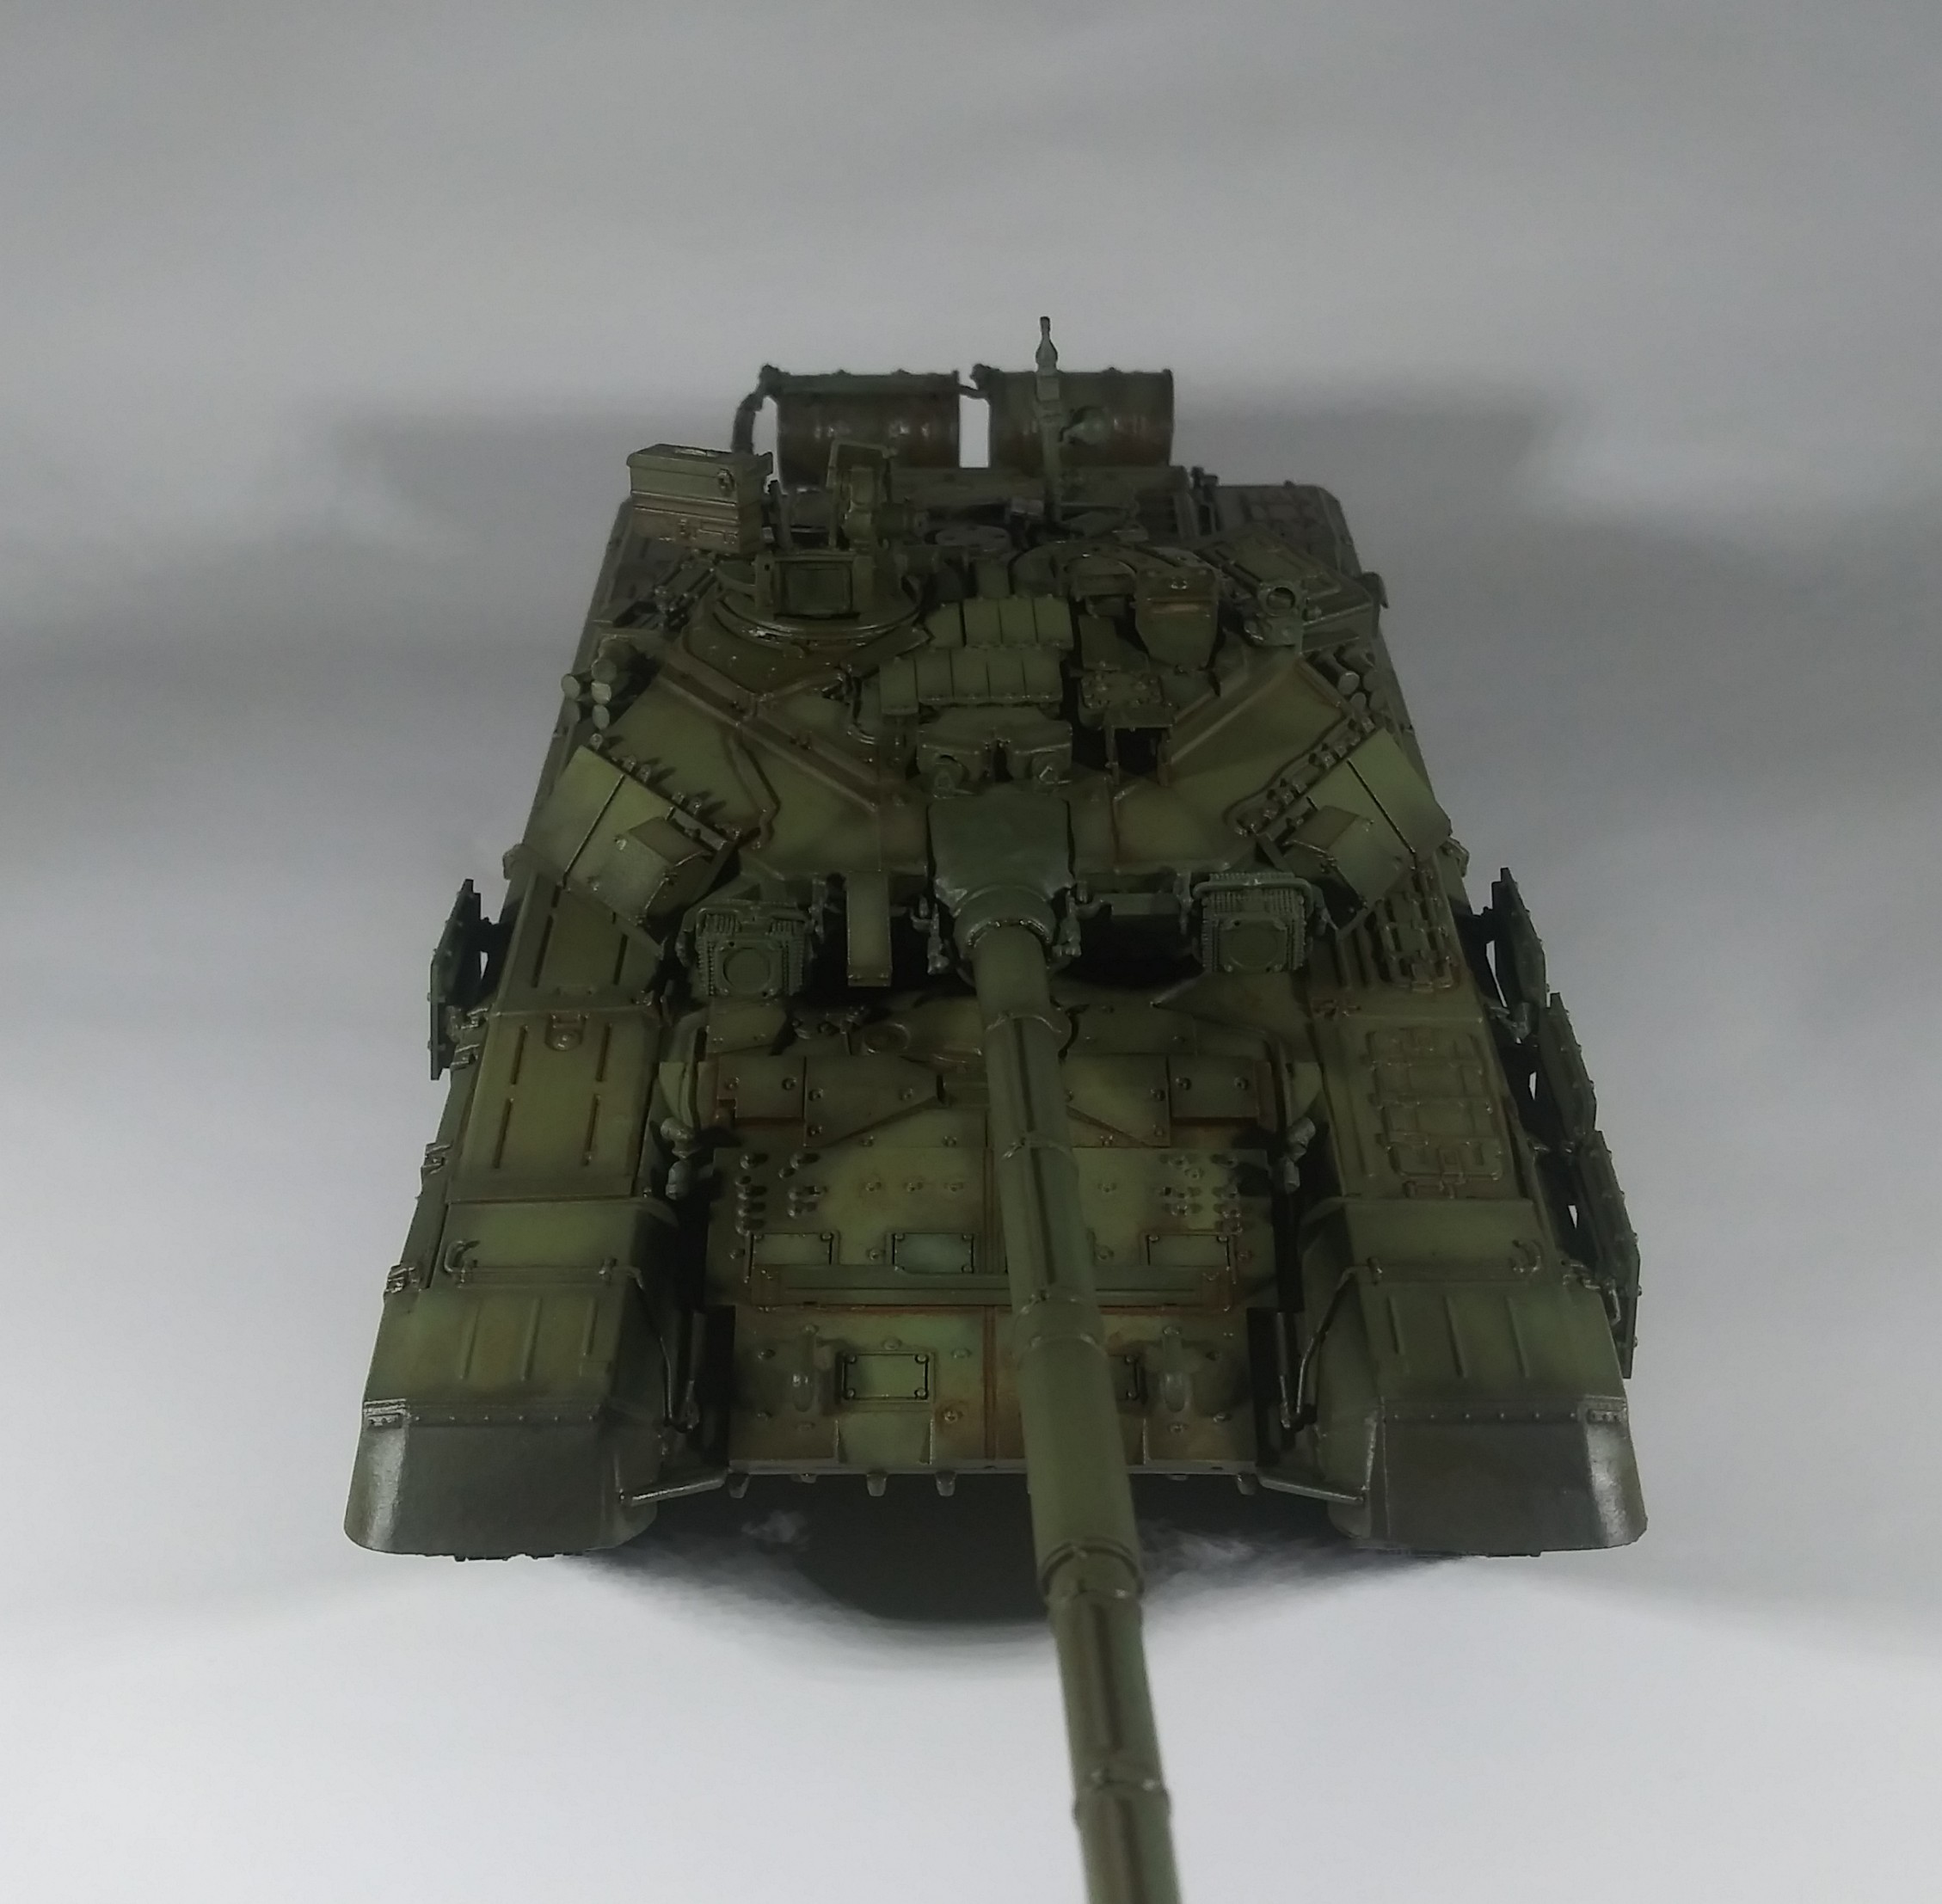
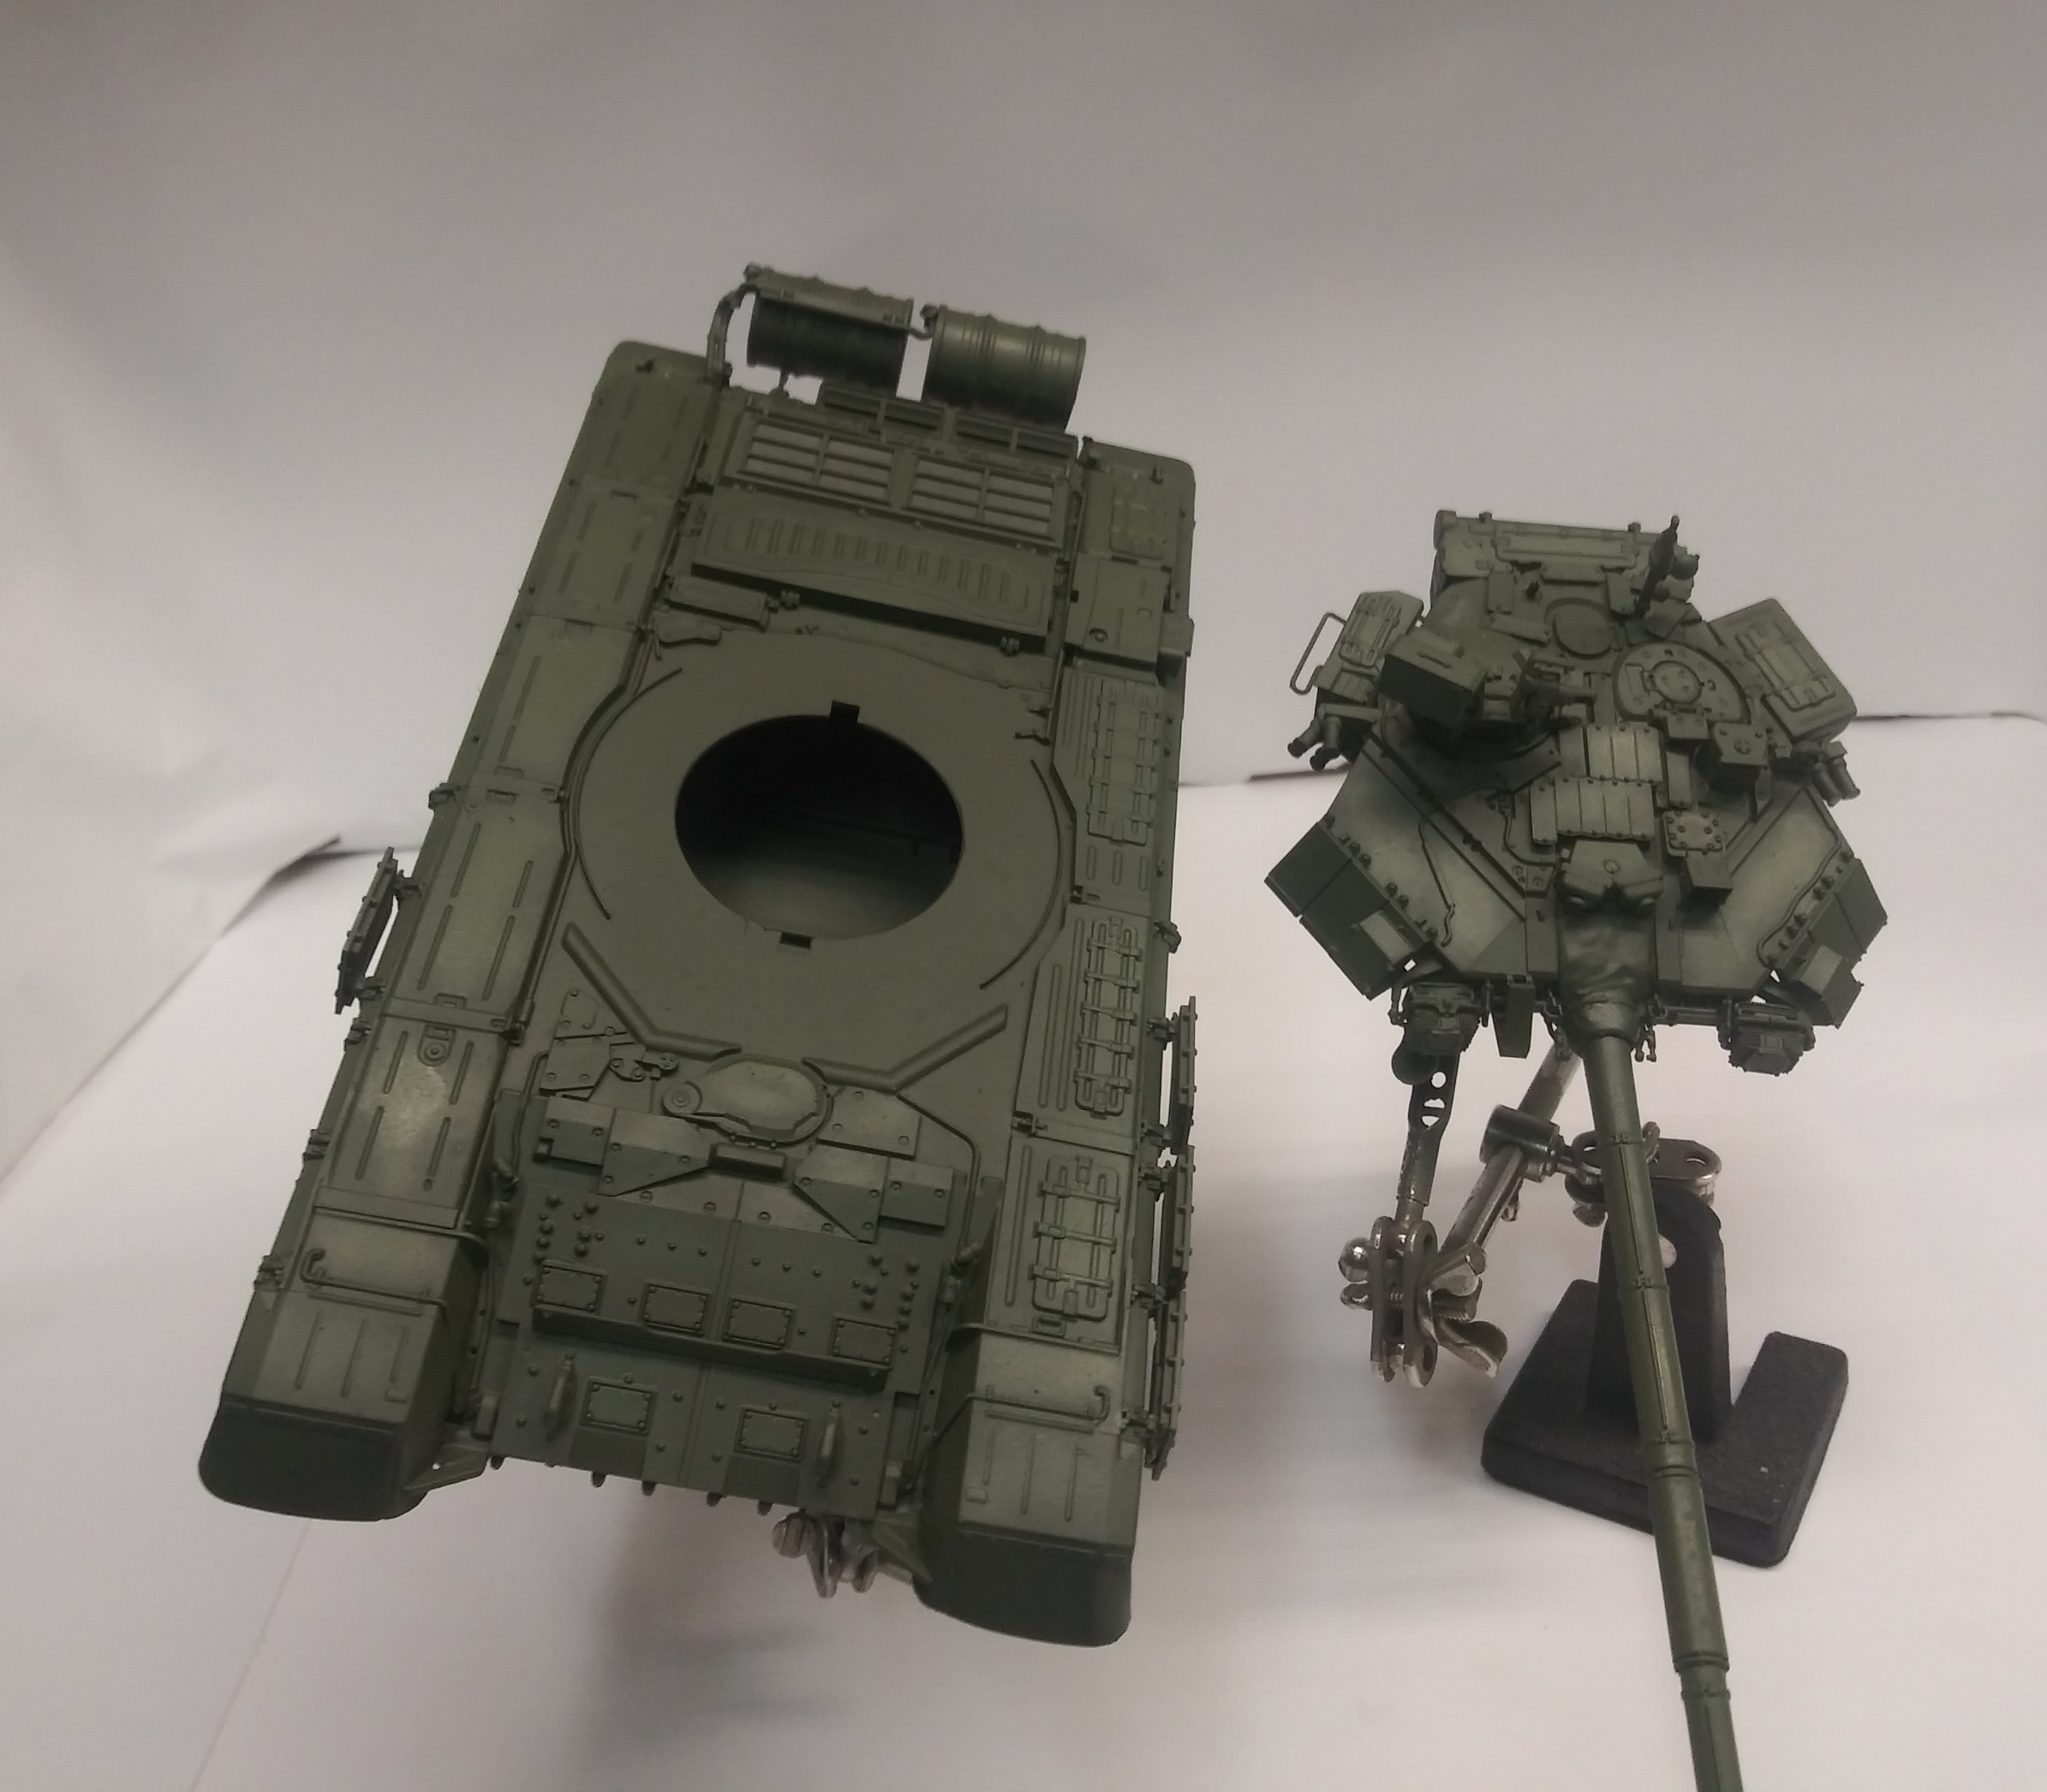
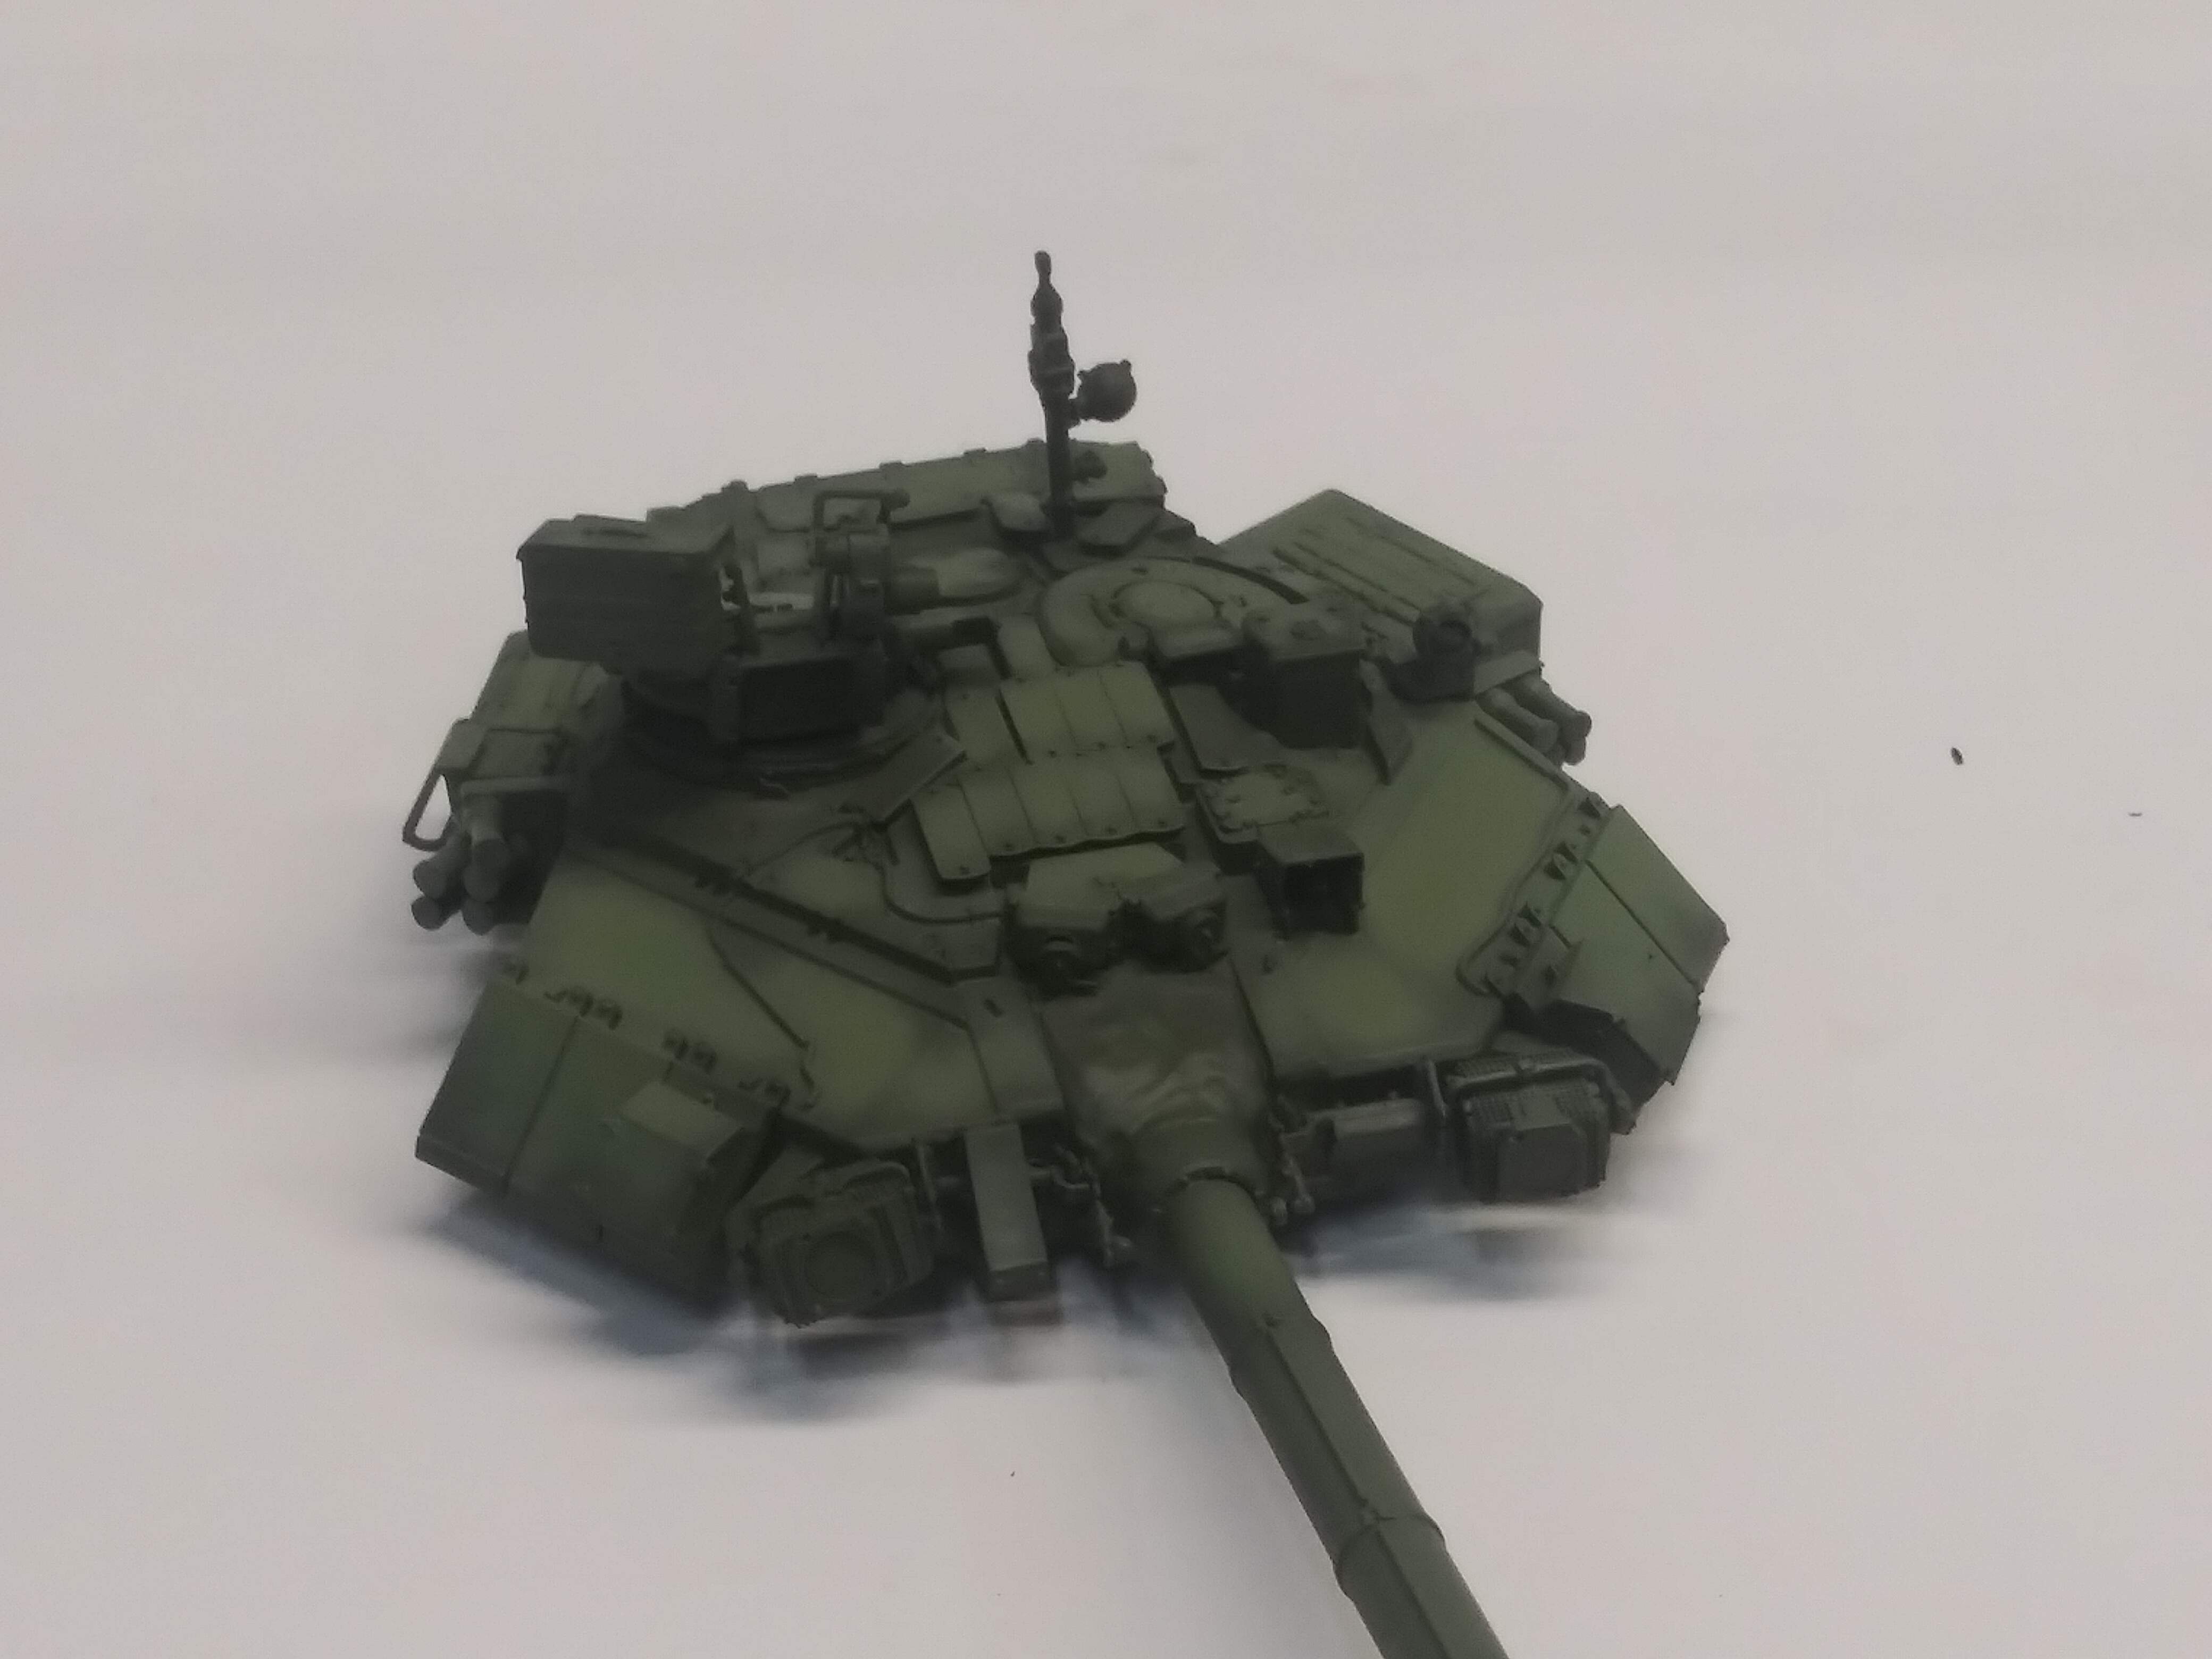
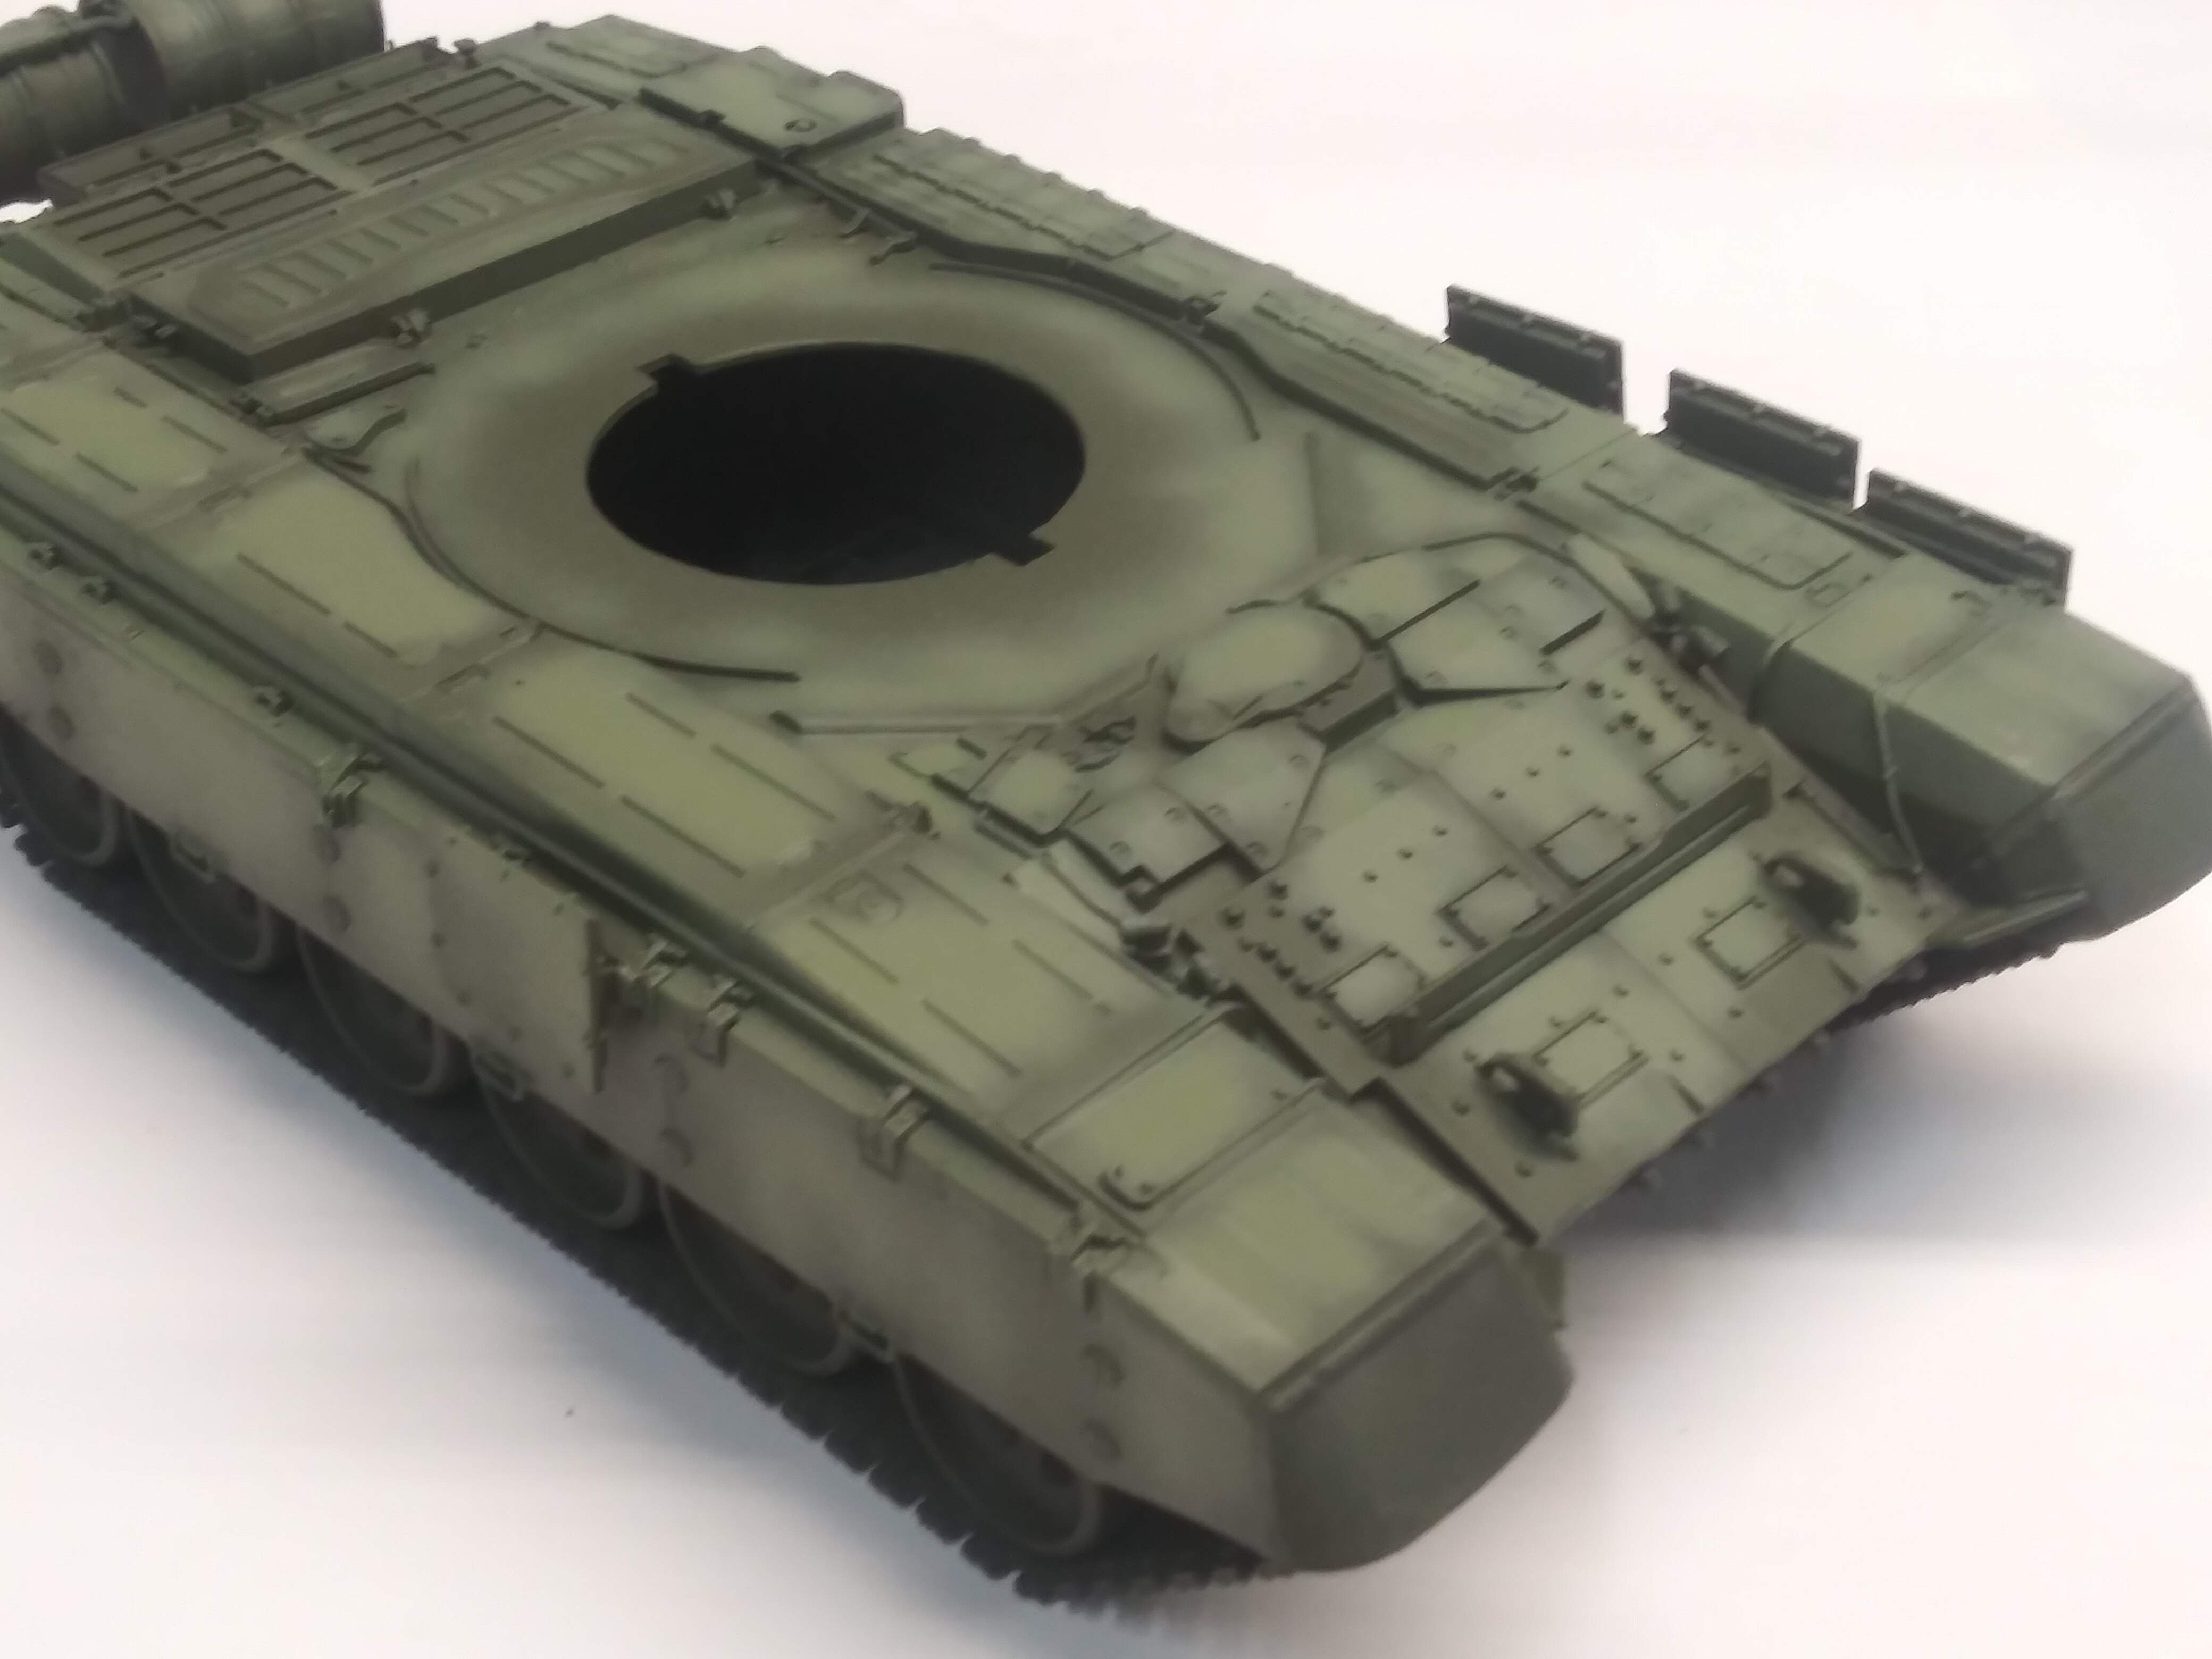
Now the entire vehicle has received 2 kiss coats and a final wet coat . The wet coat drying time is accelerated with a hair dryer set on low . The trick is to keep the hair dryer moving and not to close.
Upon close inspection the paint is darker where thw flat black was applied . This begins the first step of the weathering process and we are not even done painting yet.

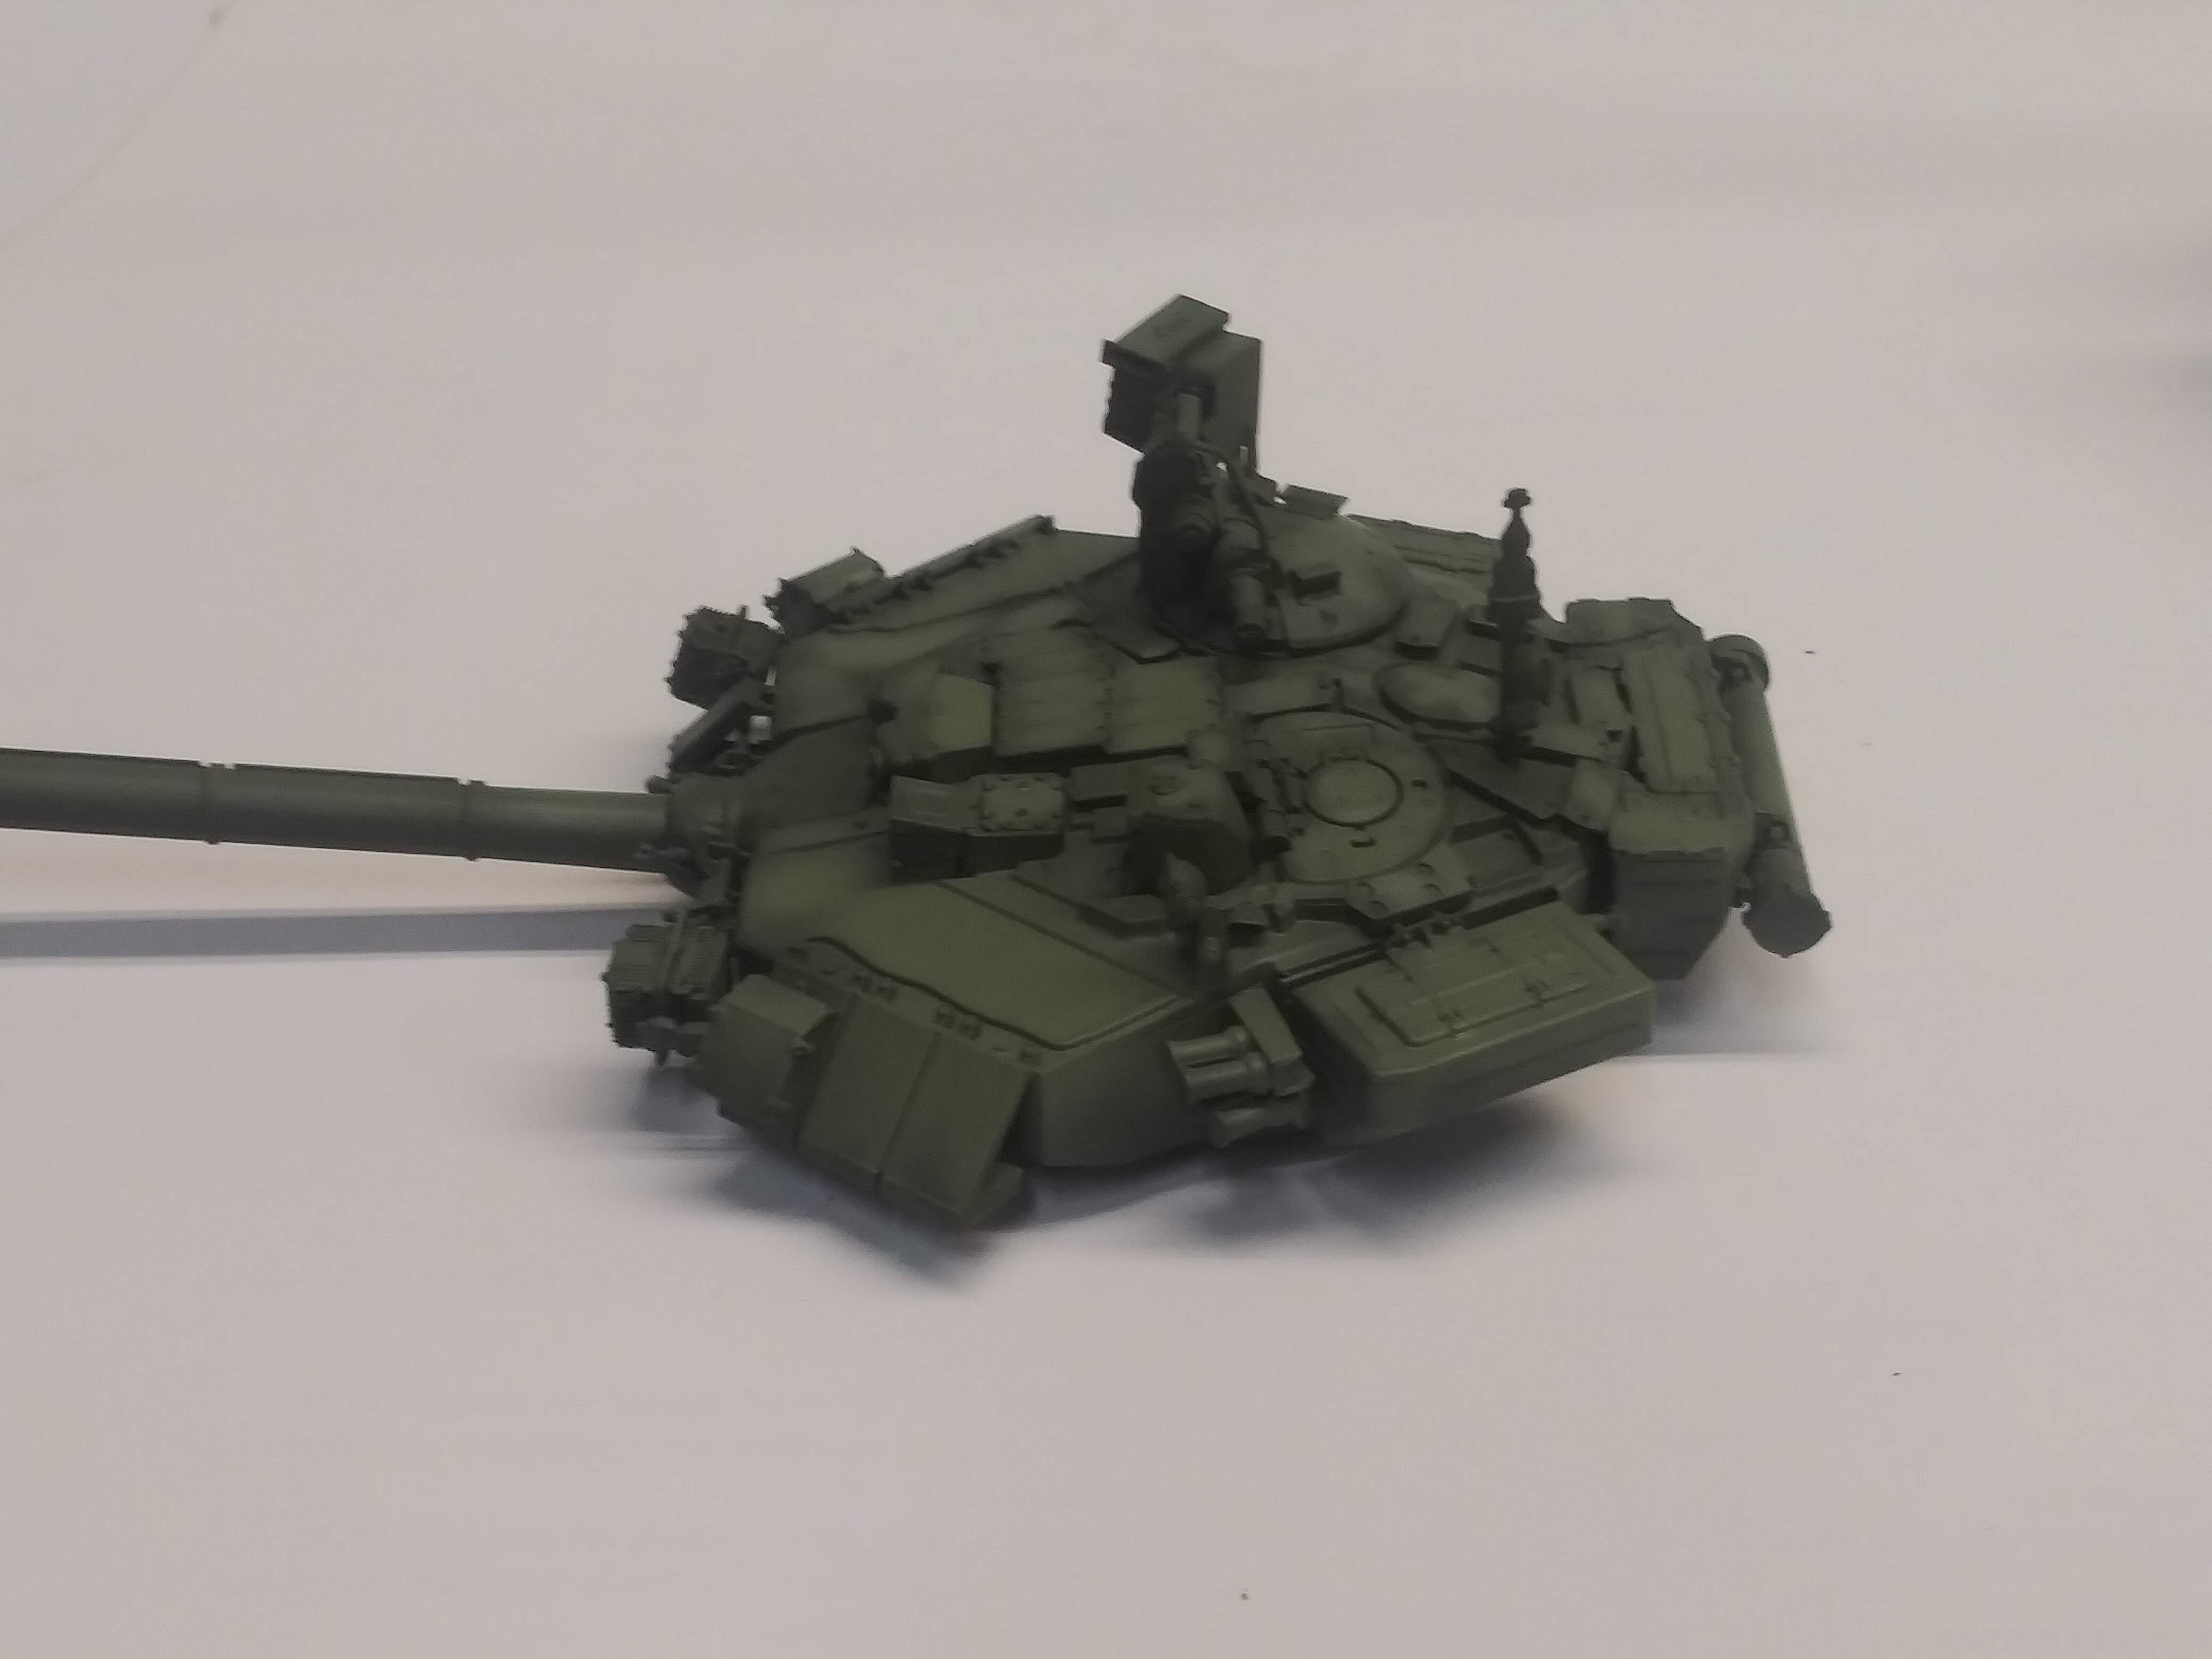
With the color on and dry we could go to the filter and wash stage to keep this more pristine and factory fresh , but where is the fun in that … Next up fades.
4 Likes
Interesting, figure painters do something similar but opposite, dark first then light later to help with color transitions.
2 Likes
Yay knowledge! Keep it coming Chris.
I just got all fired up for that Shadow painting primer that @Armor_Buff is doing and now this gem. Guess I’ll need to have a dueling techniques session.
2 Likes
I like to do things in a manner that light would have a effect at any given time on the vehicle . Thats where the fades come in . What im doing here is emphasizing natural shadow areas.
The other way does much the same thing just a different style . They both work .
Also dont make me go toe to toe with @Armor_Buff , he will be a difficult one to face. A tough nut to crack so to speak , might need to deploy tactical nukes on him…lol. He is a amazing builder . We have two different styles and thats what makes this so awesome .
2 Likes
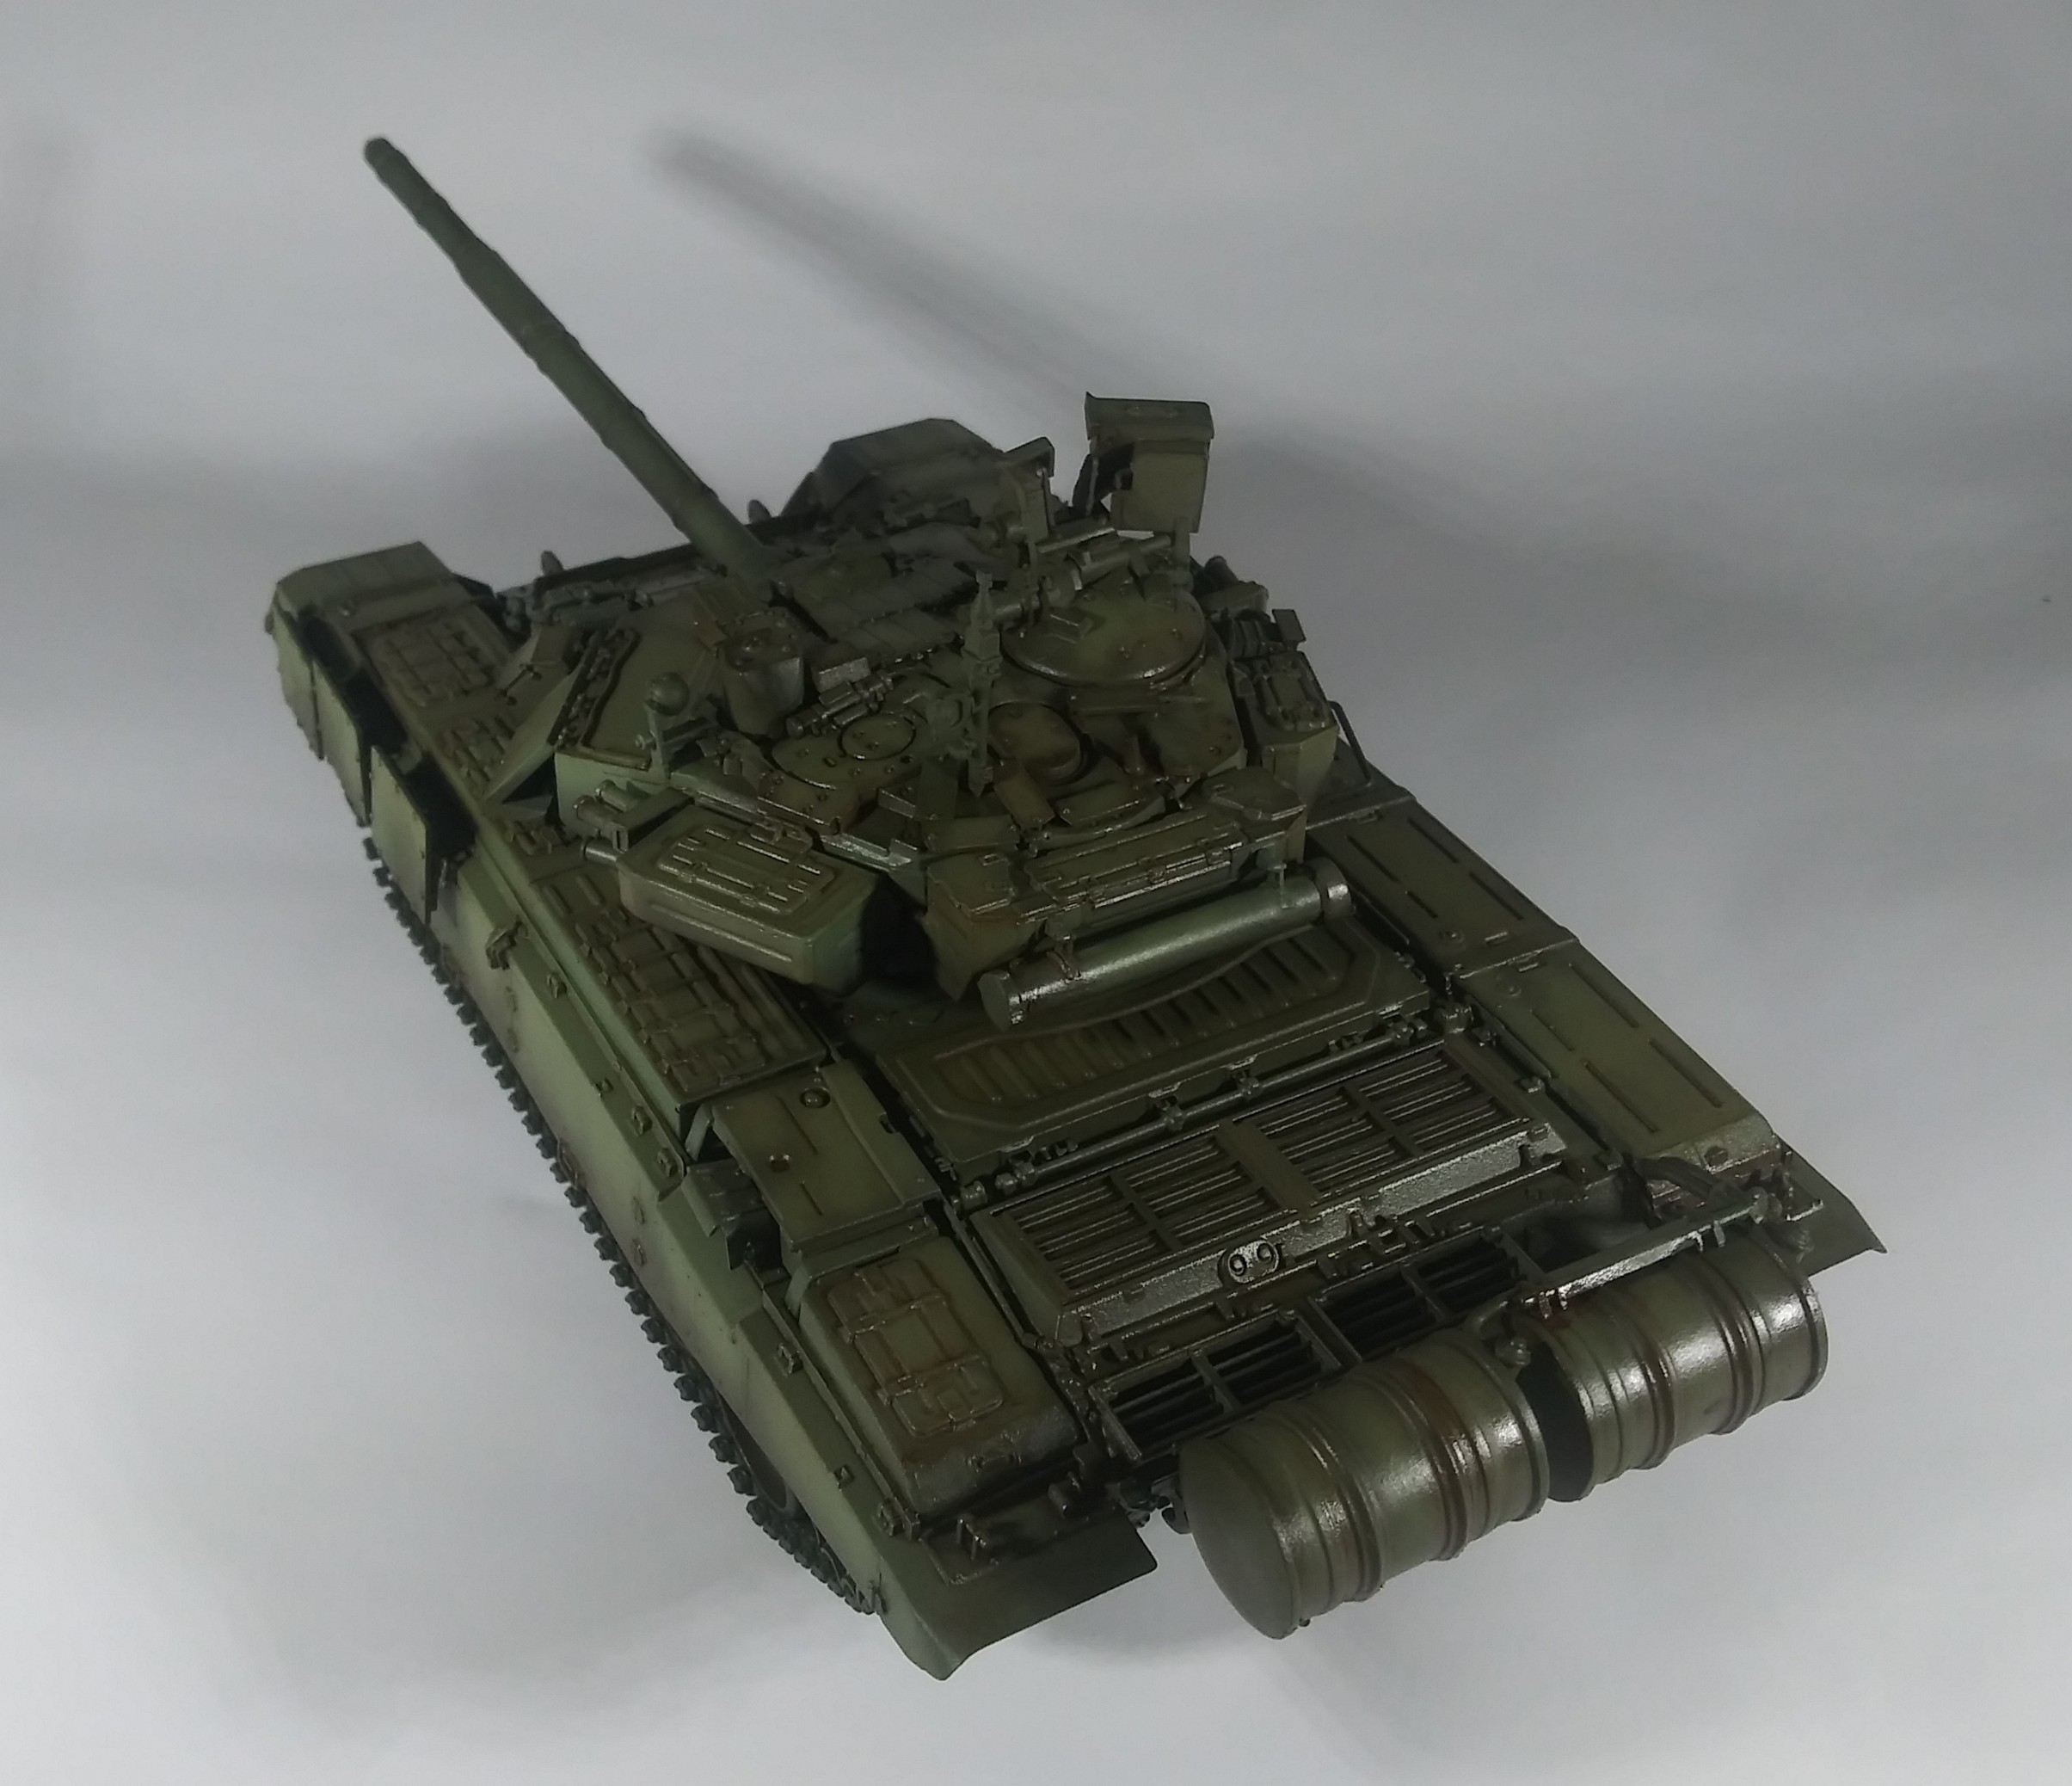
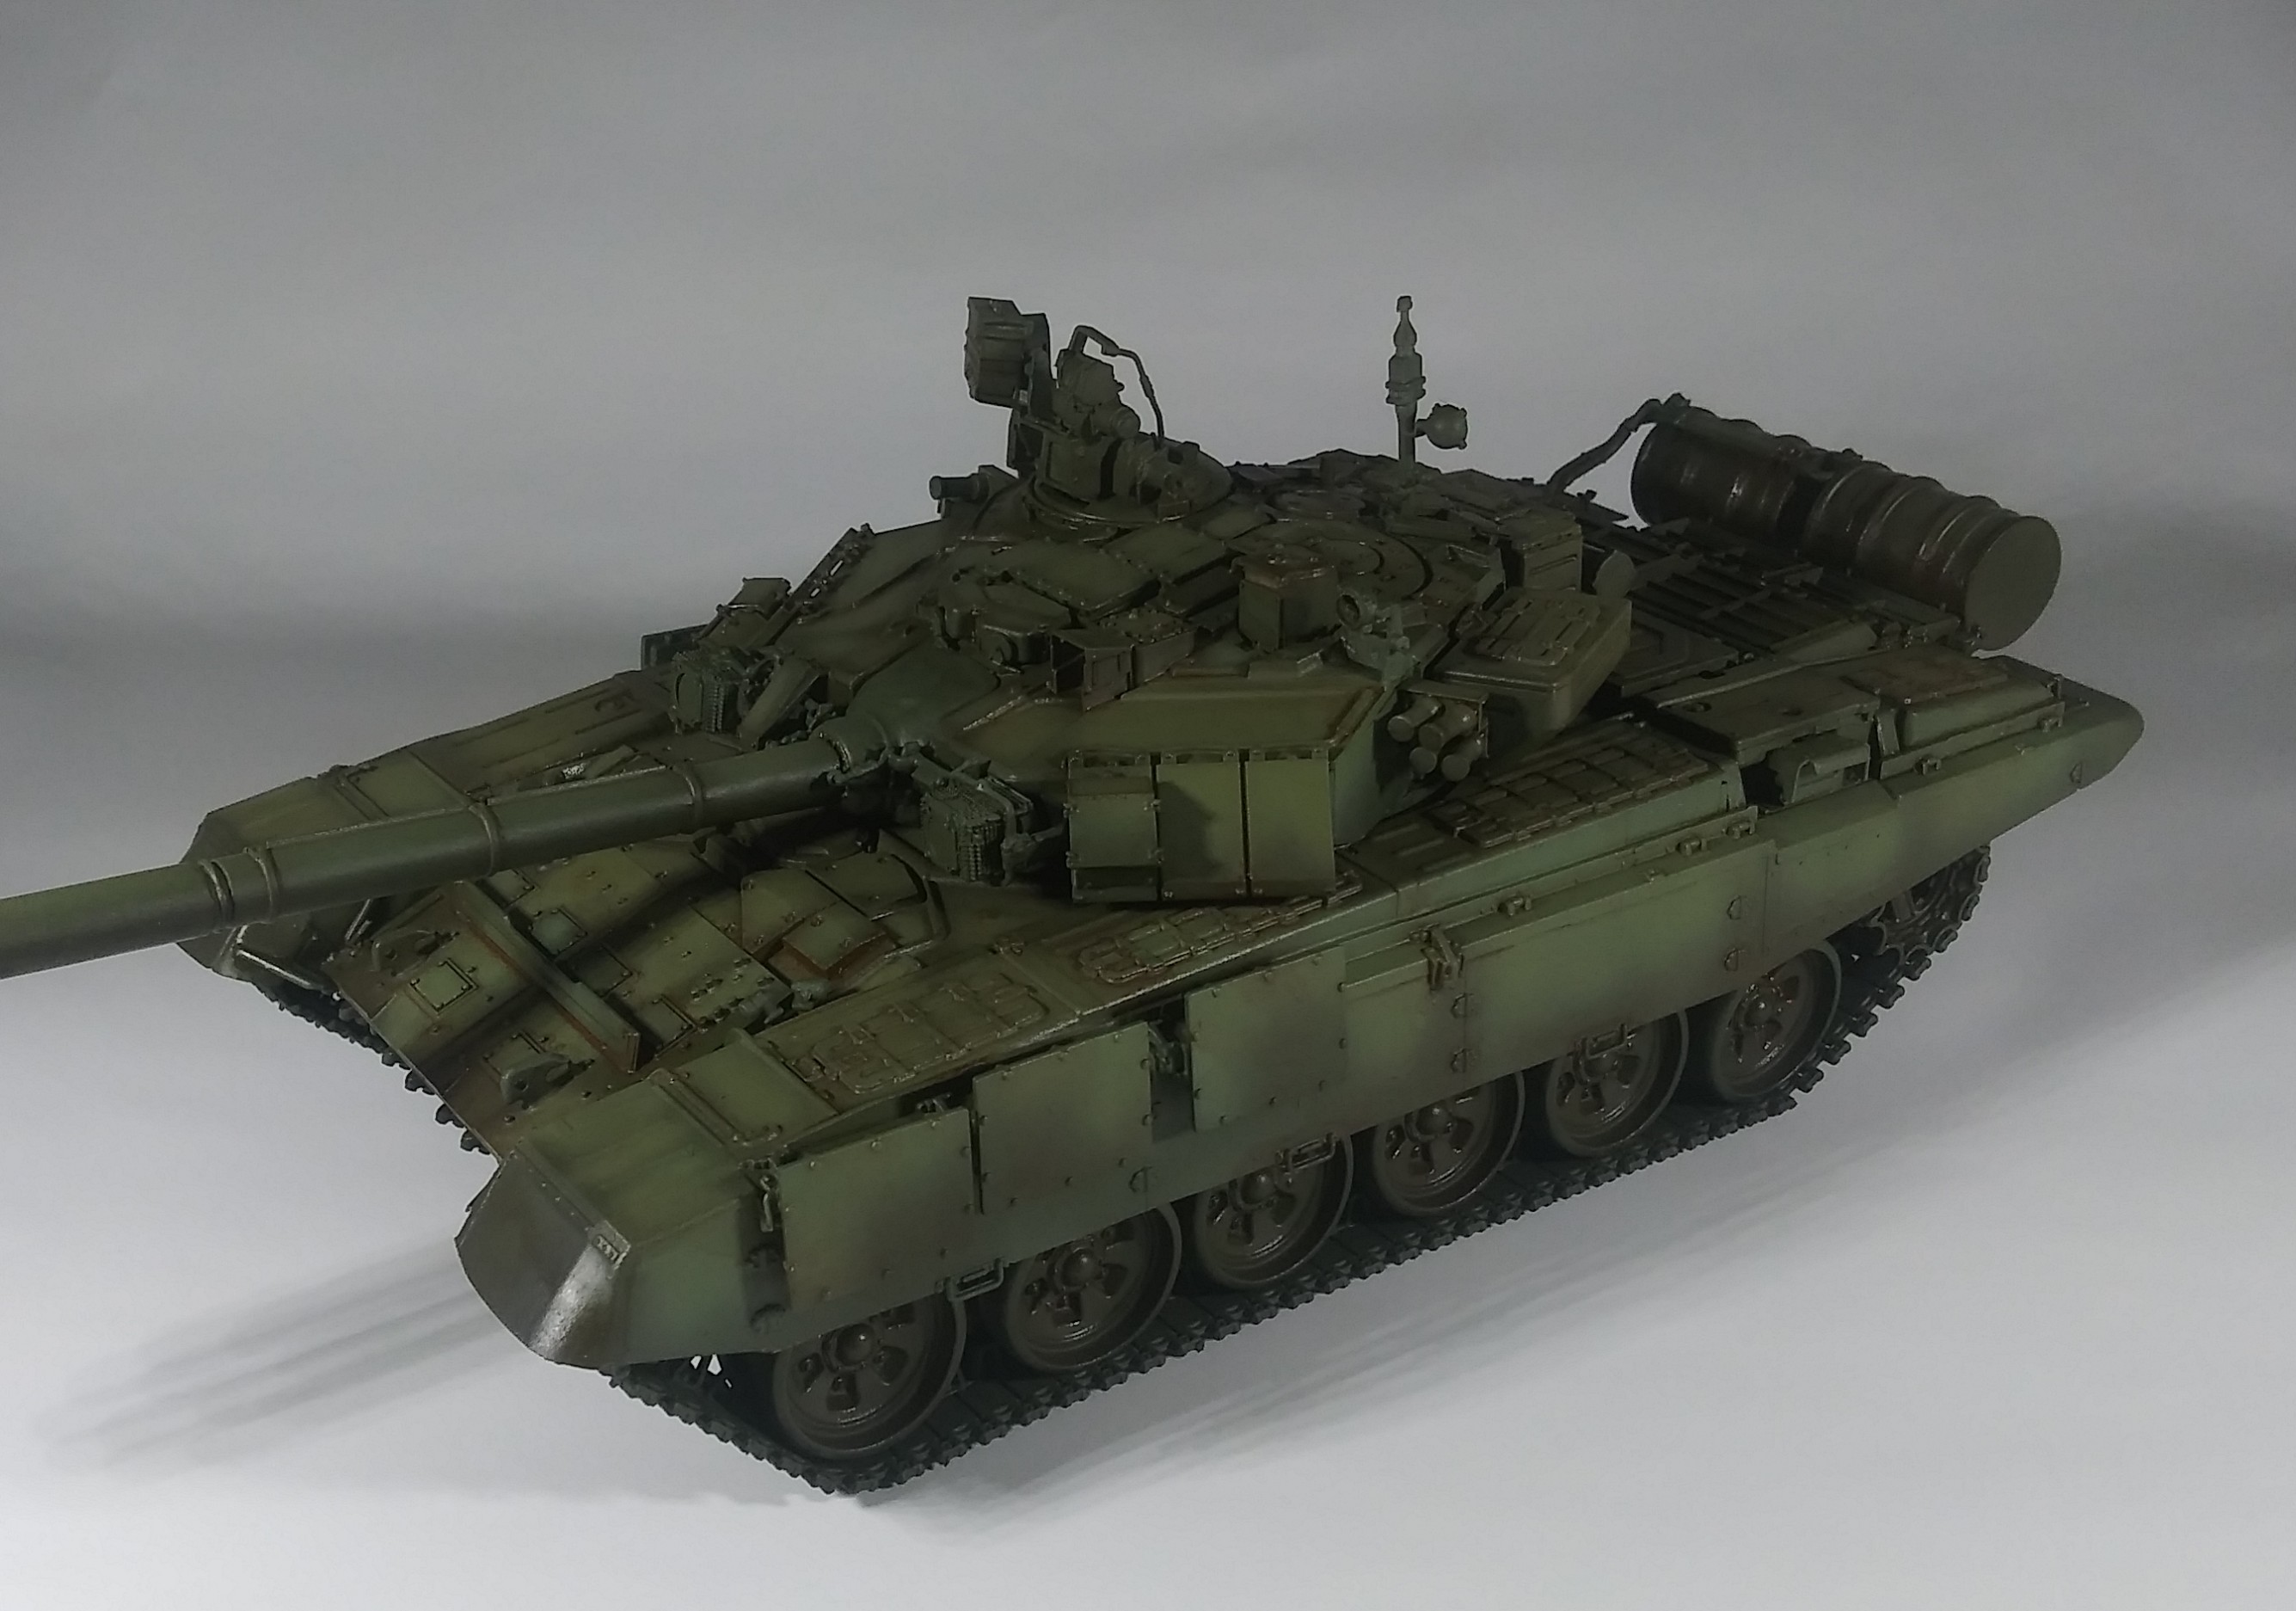
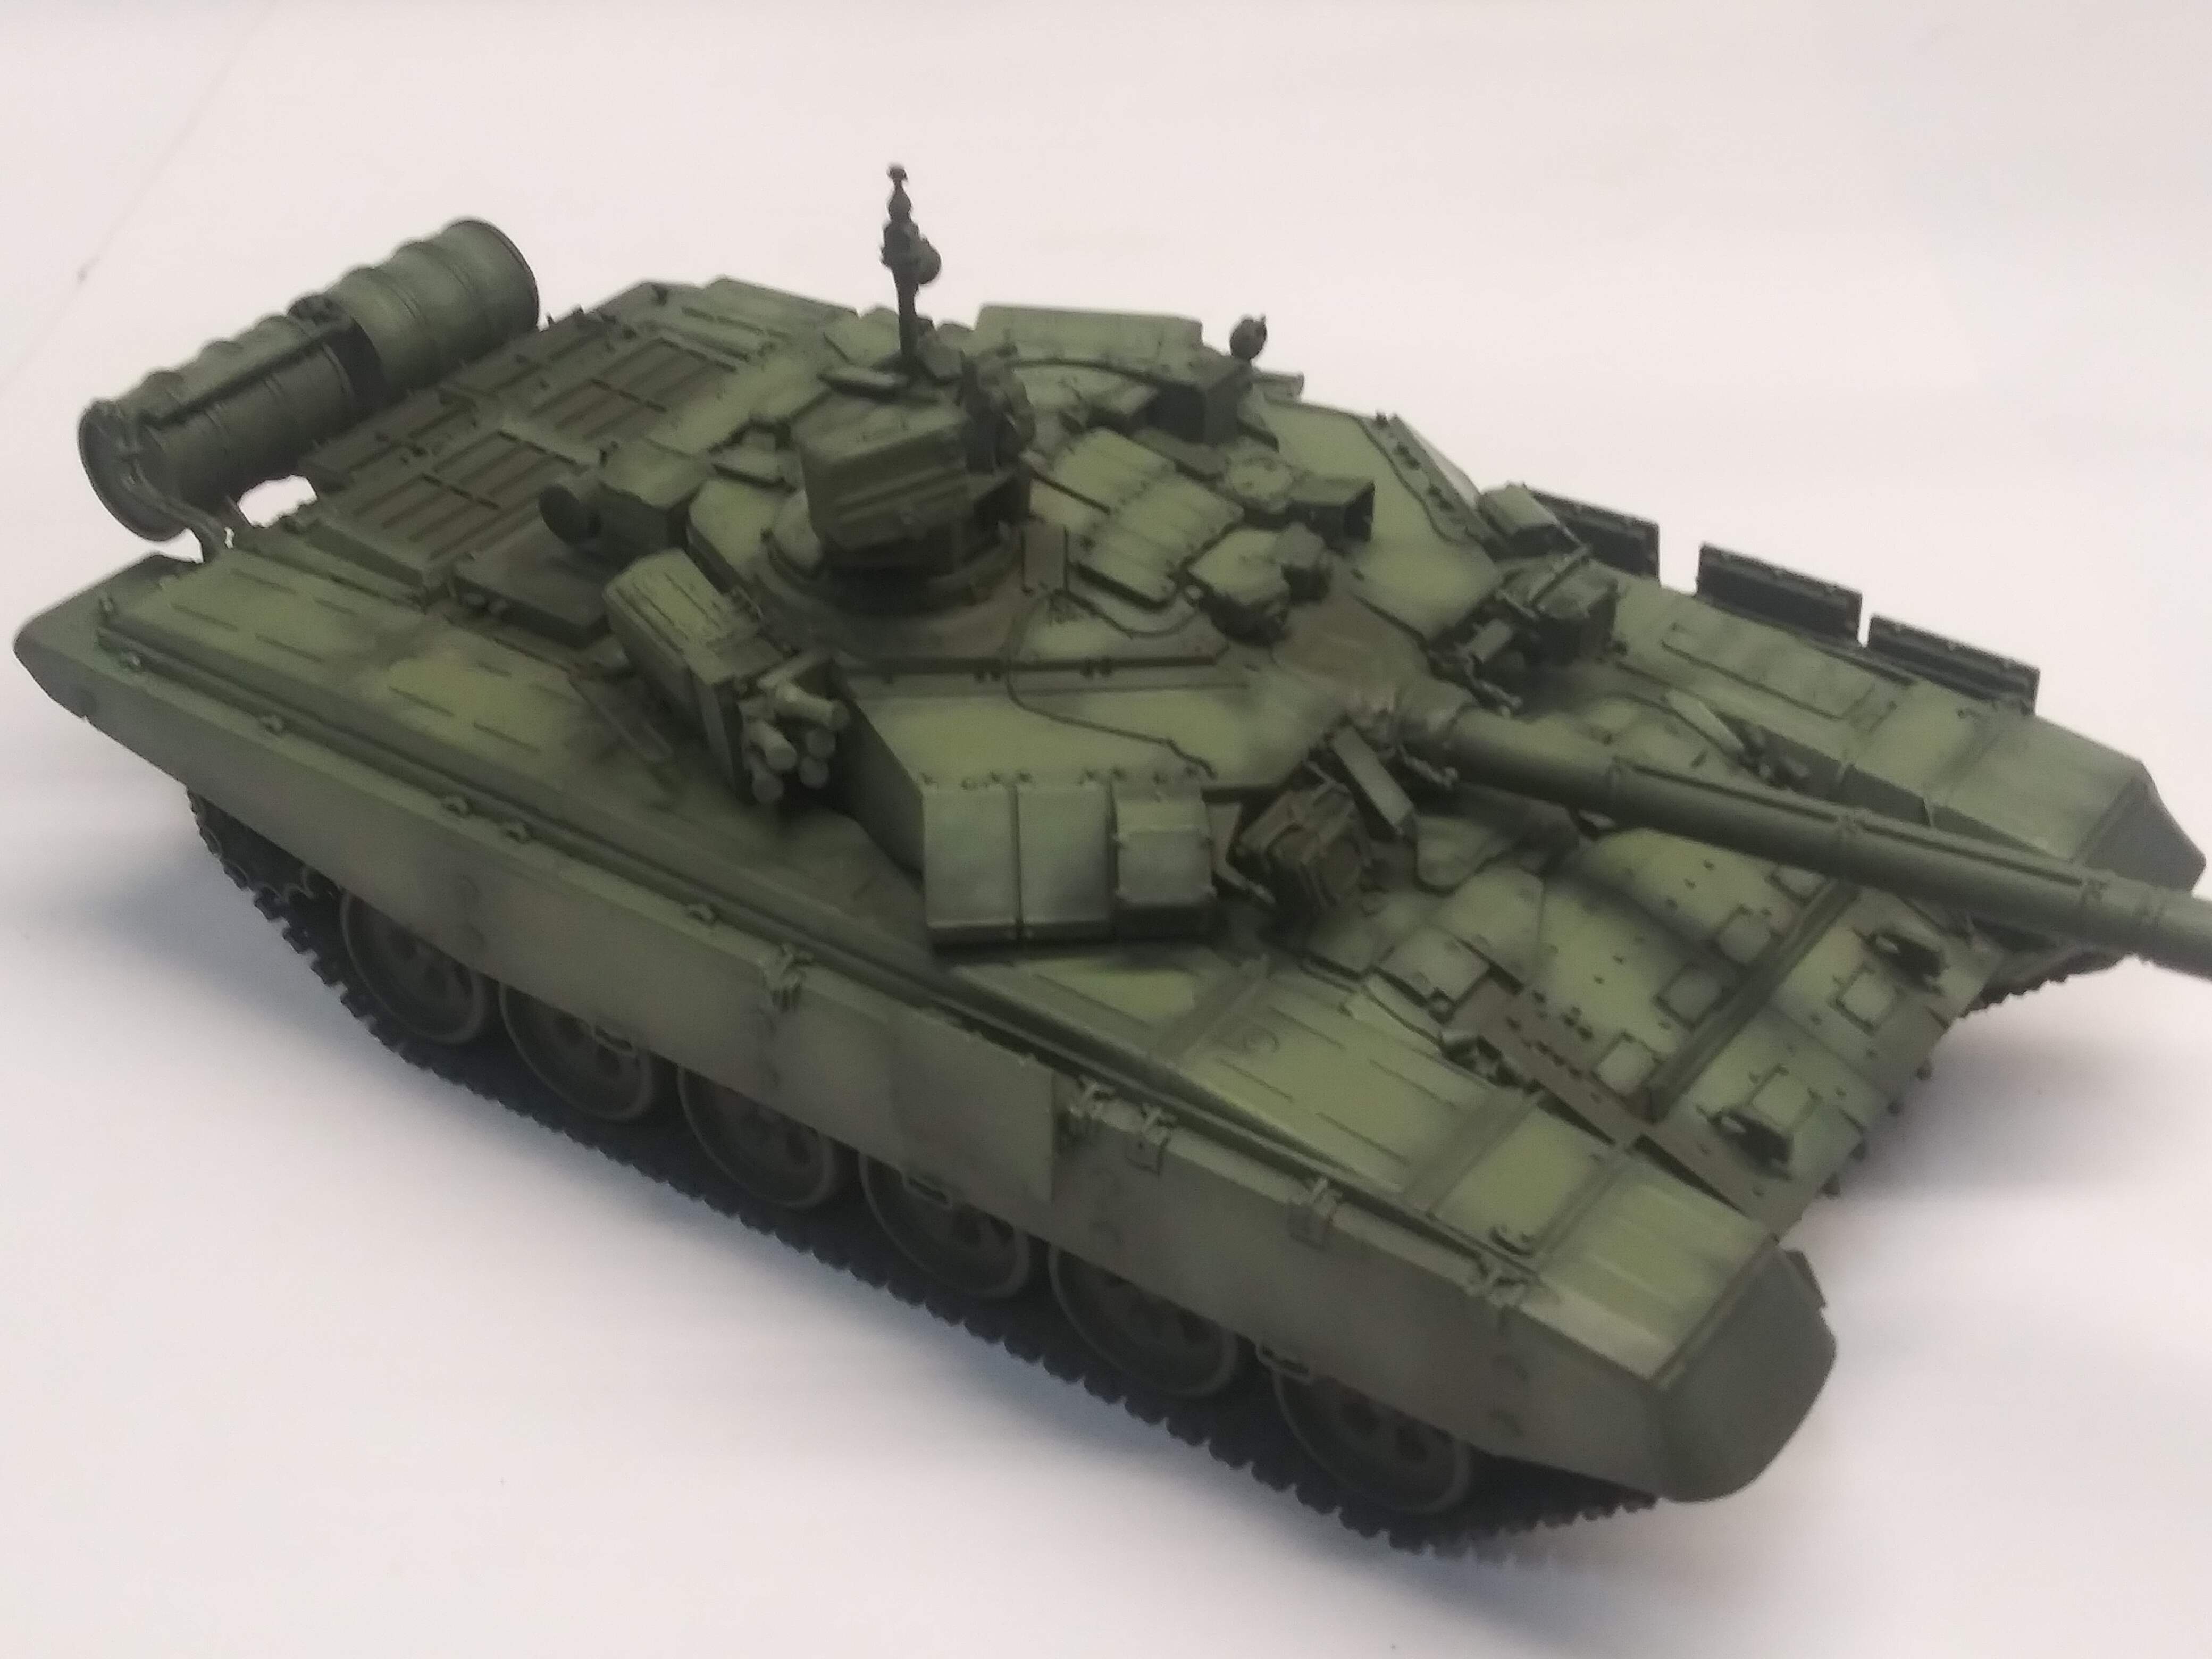
Now for the fades , this is where the fun really begins . We take the original green and add aprox. 10% of the buff color ( never use white). Then each panel gets a random painting with the first lightened color . For most of it I am working very close aprox. 1 inch away from the model.
Once the entire model has received this treatment, add another 10% to the lightened paint mix and repeat the process . This requires some patience and trigger control
I cant stress enough trigger control is 90% of the battle.
Now once again once the entire vehicle is done, add more fade to select areas same the same 20% mix. The paint that is going on the model is layered so thin that a additional layer of thw same fade color will lighten it more.

2 Likes
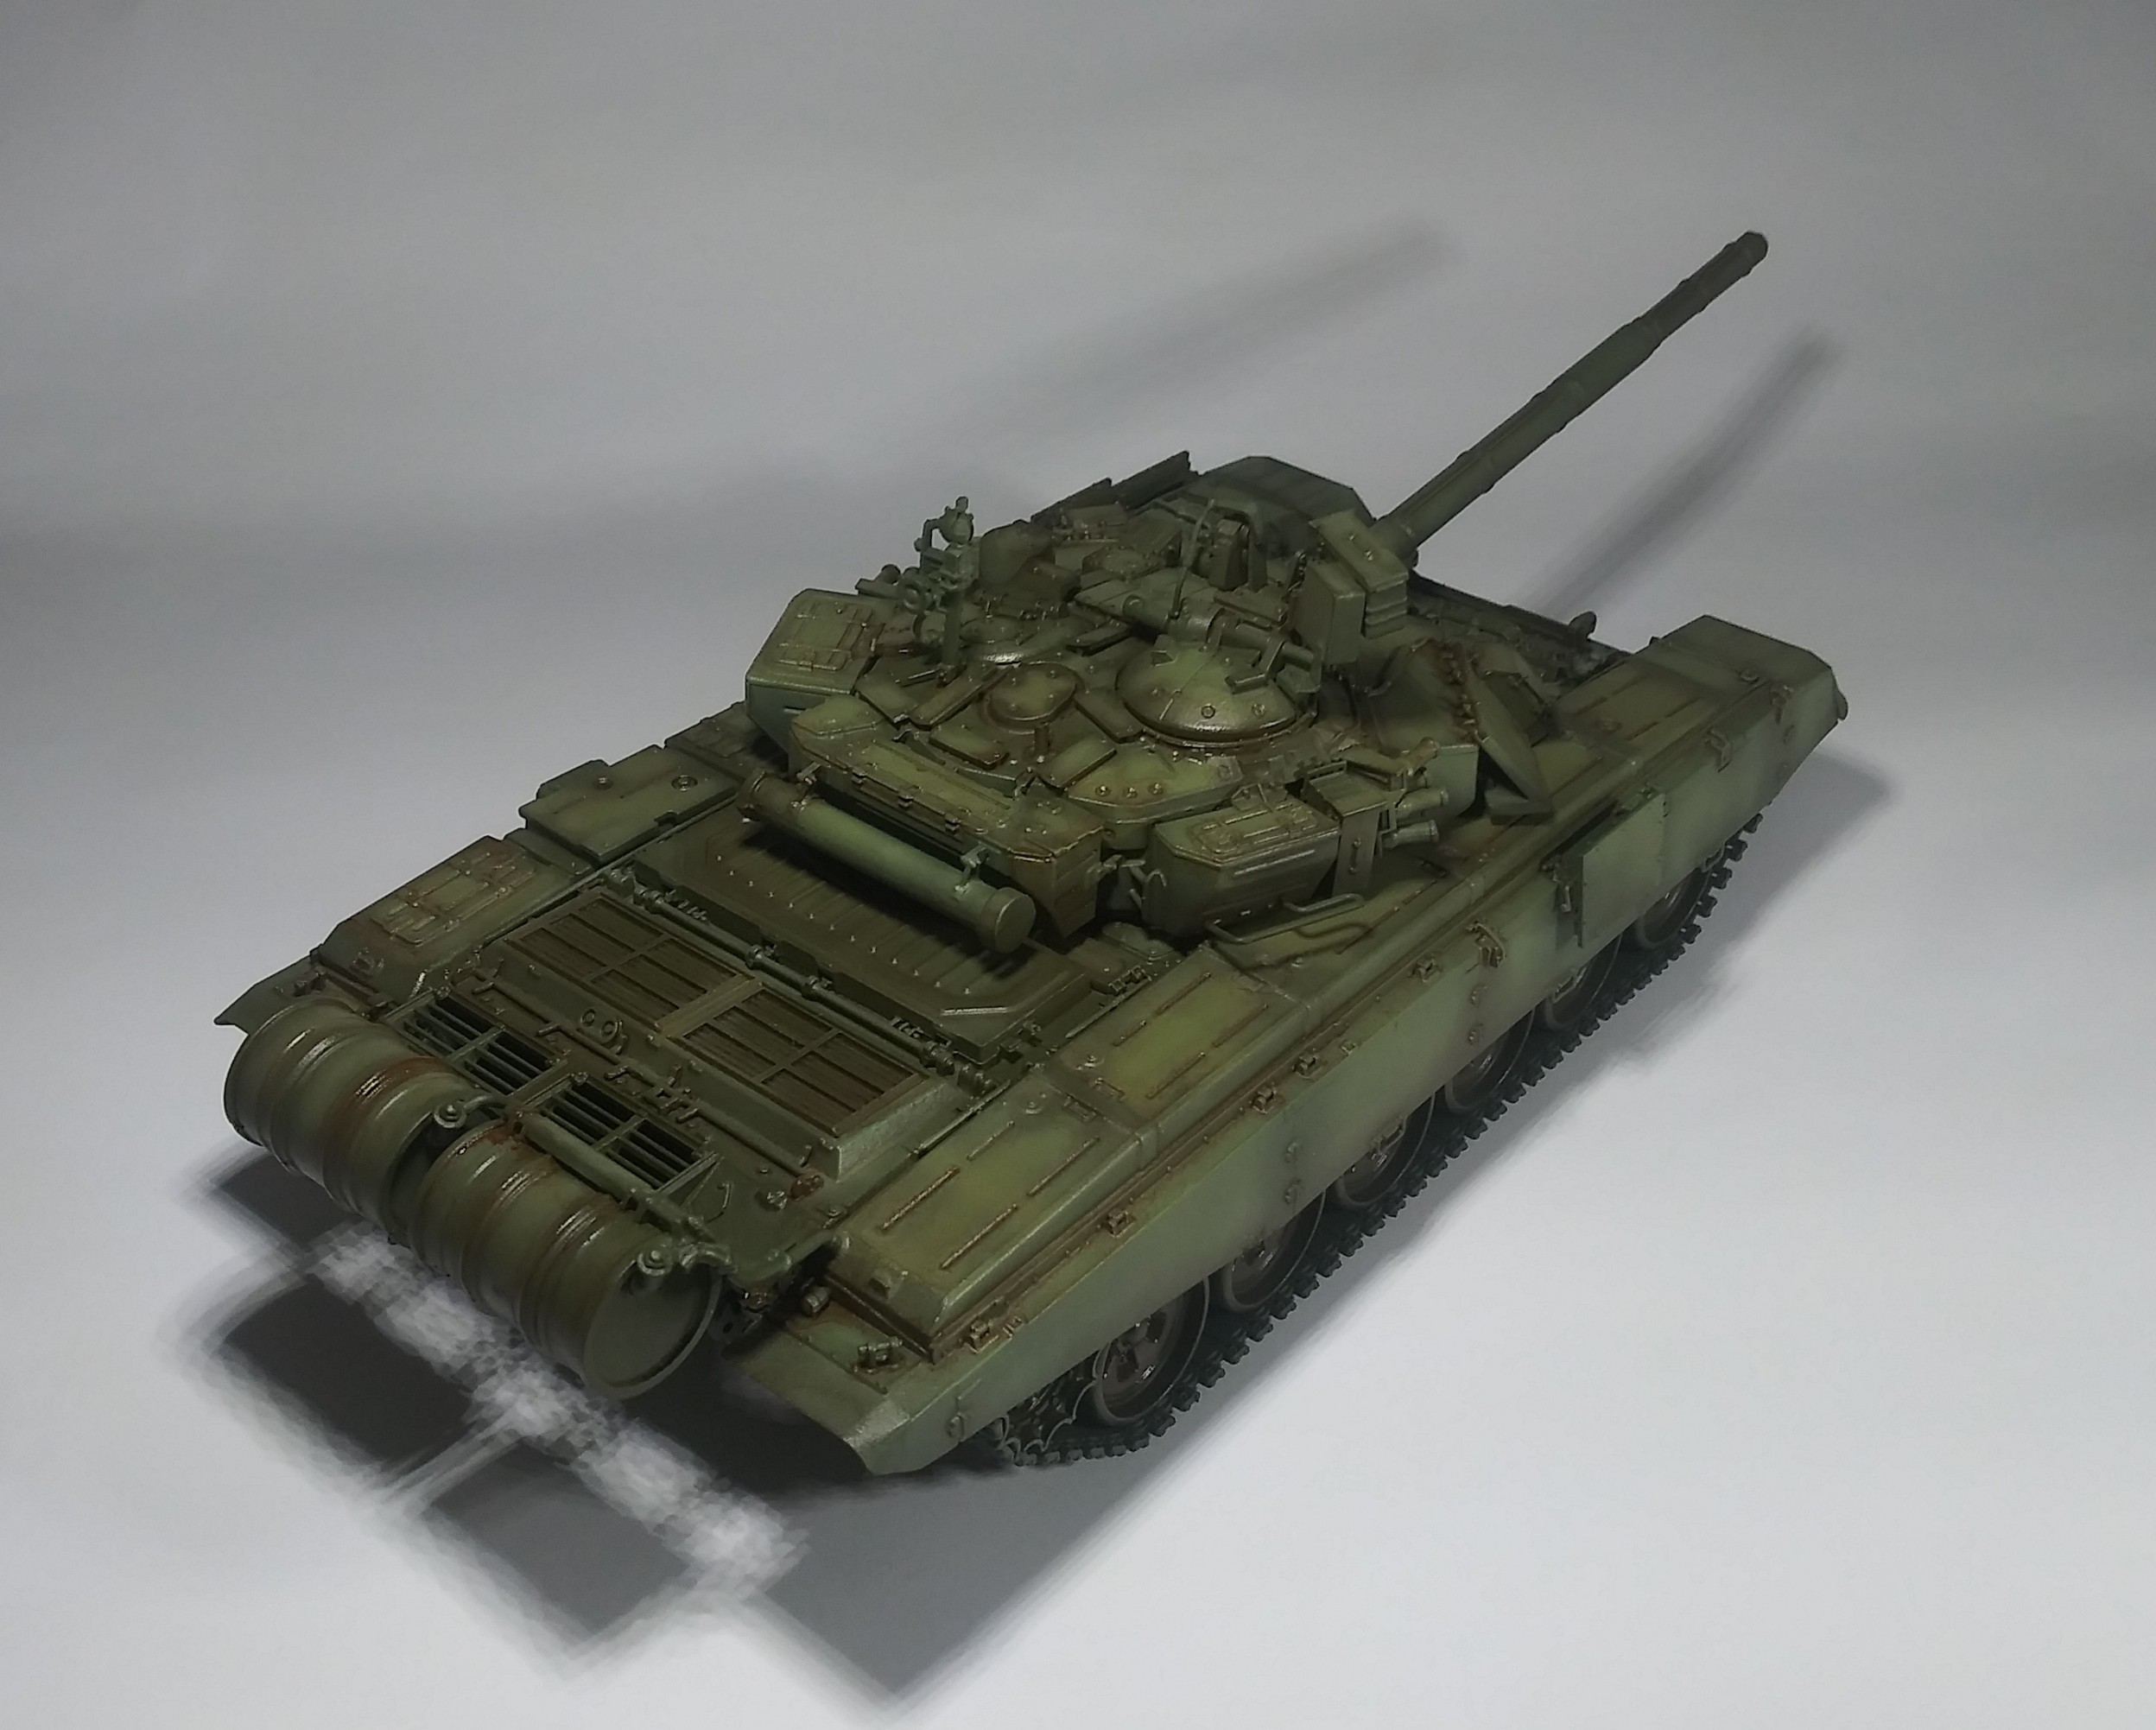
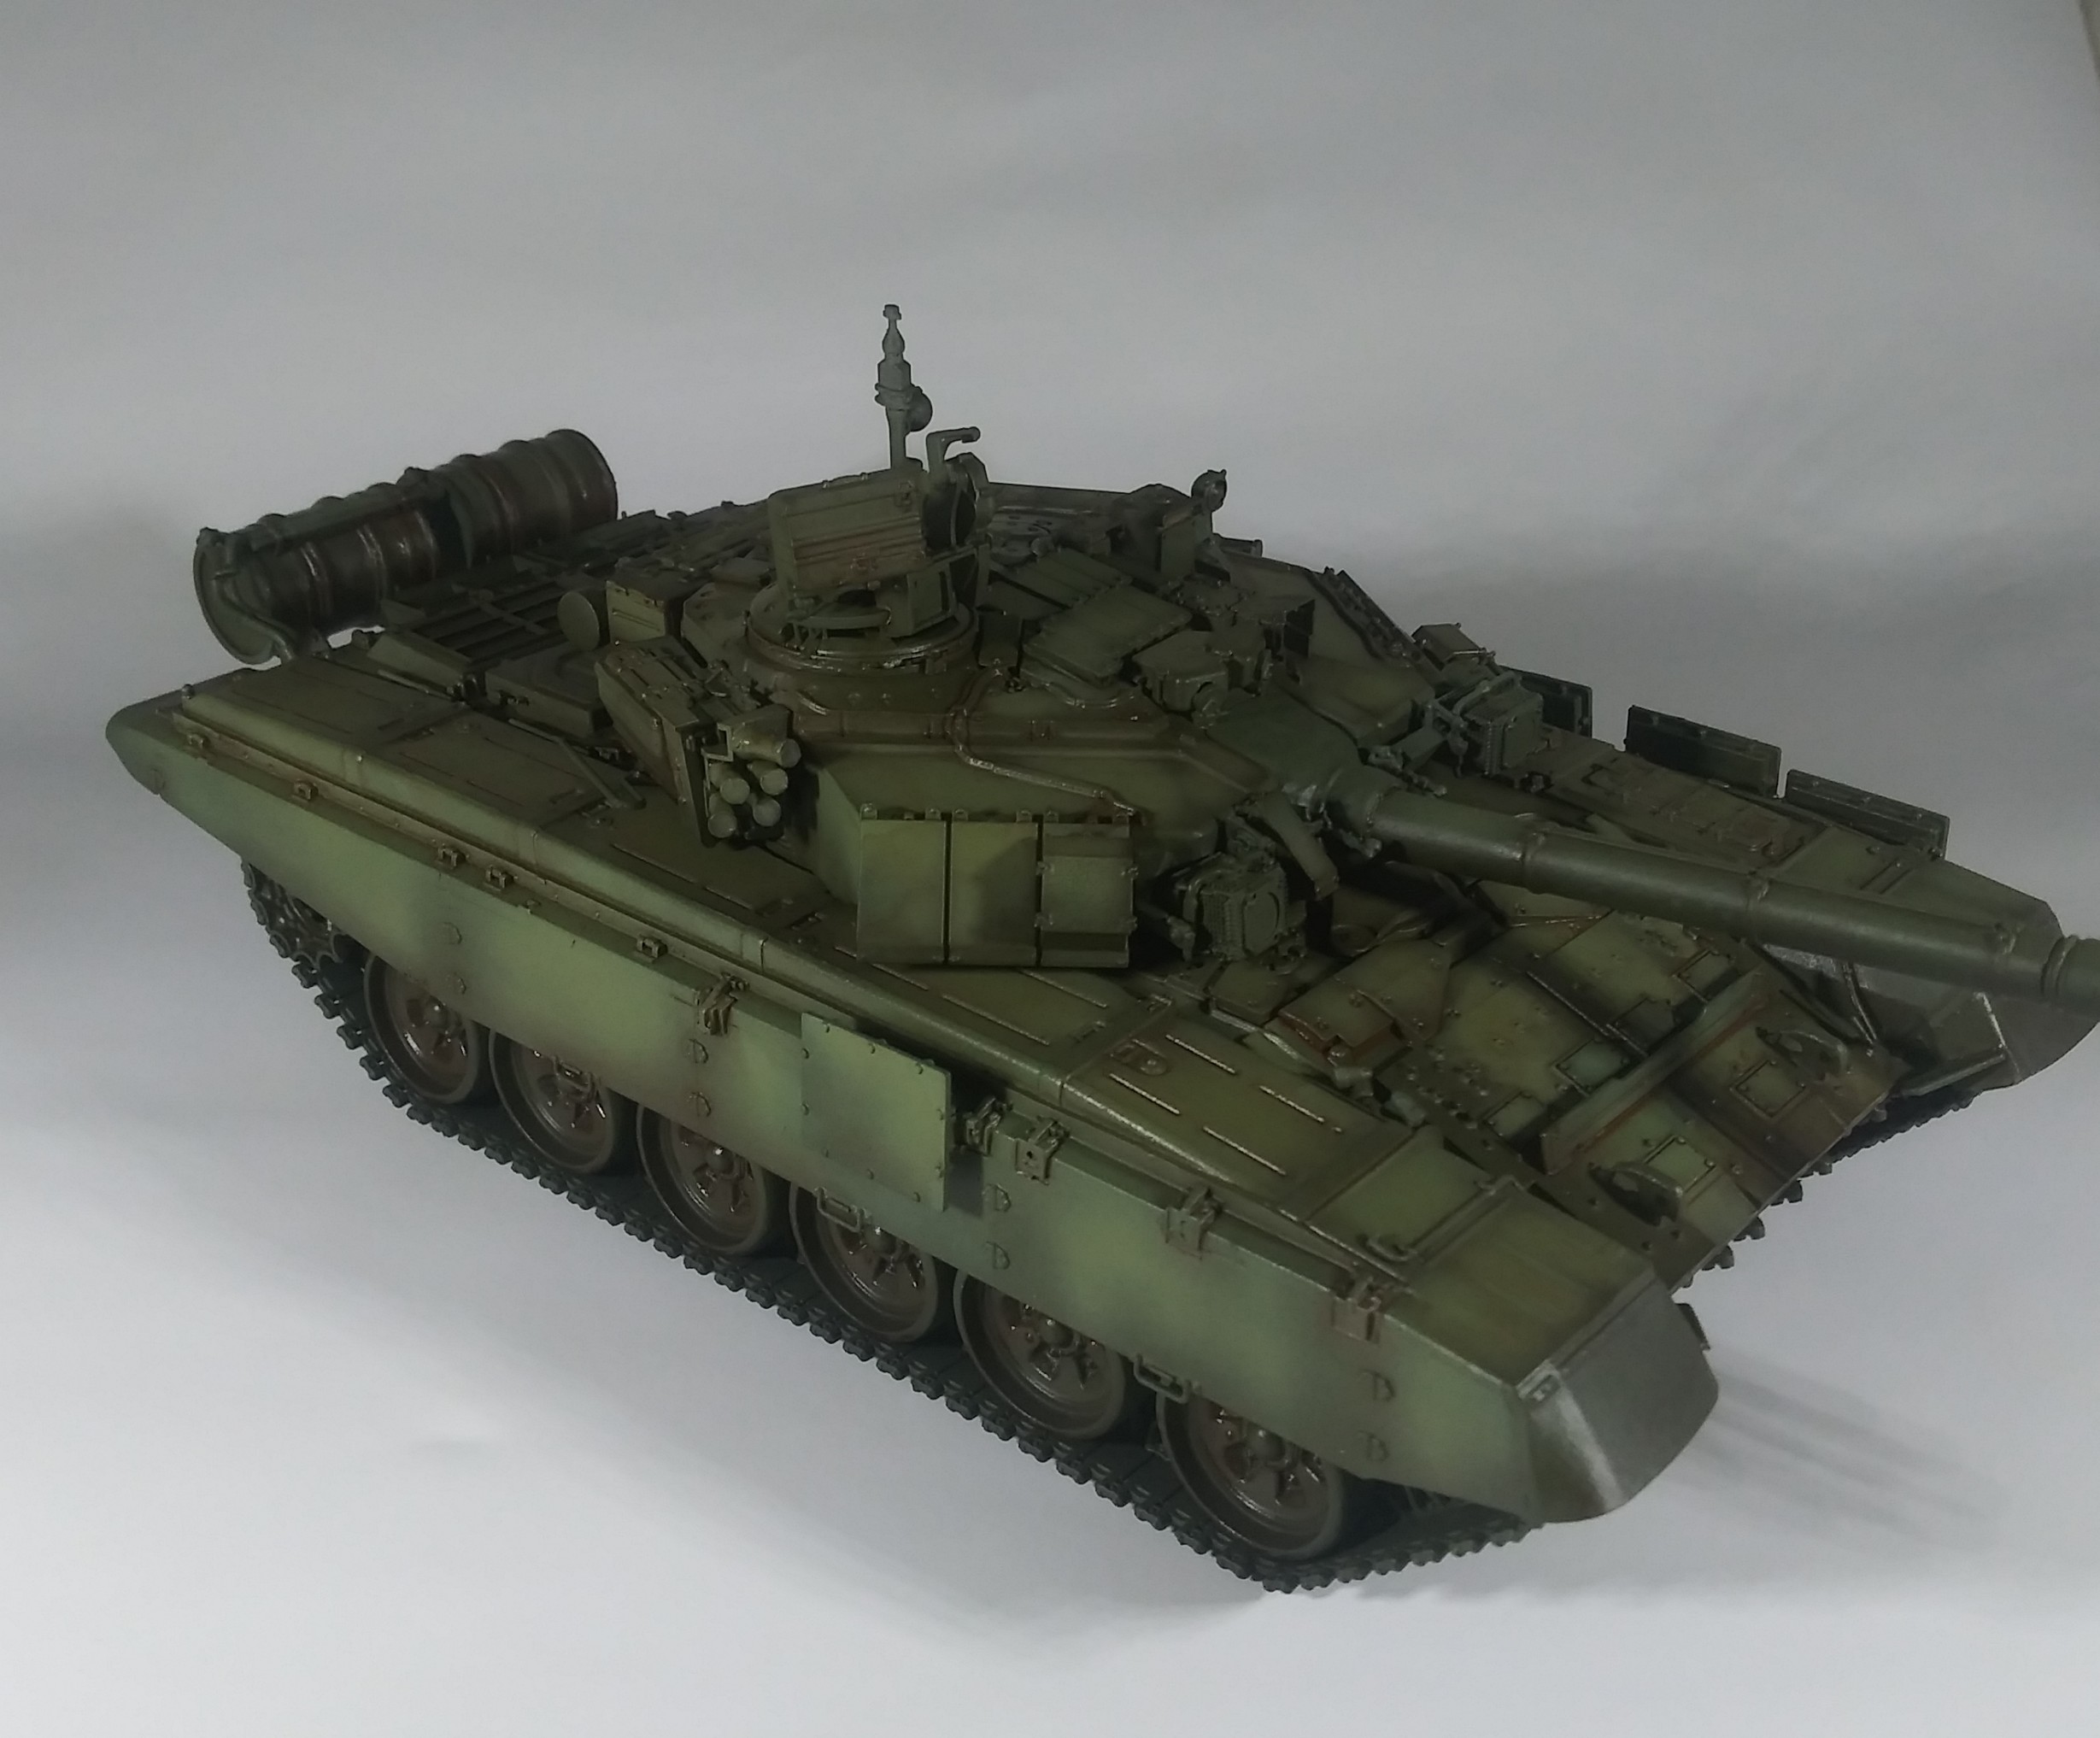
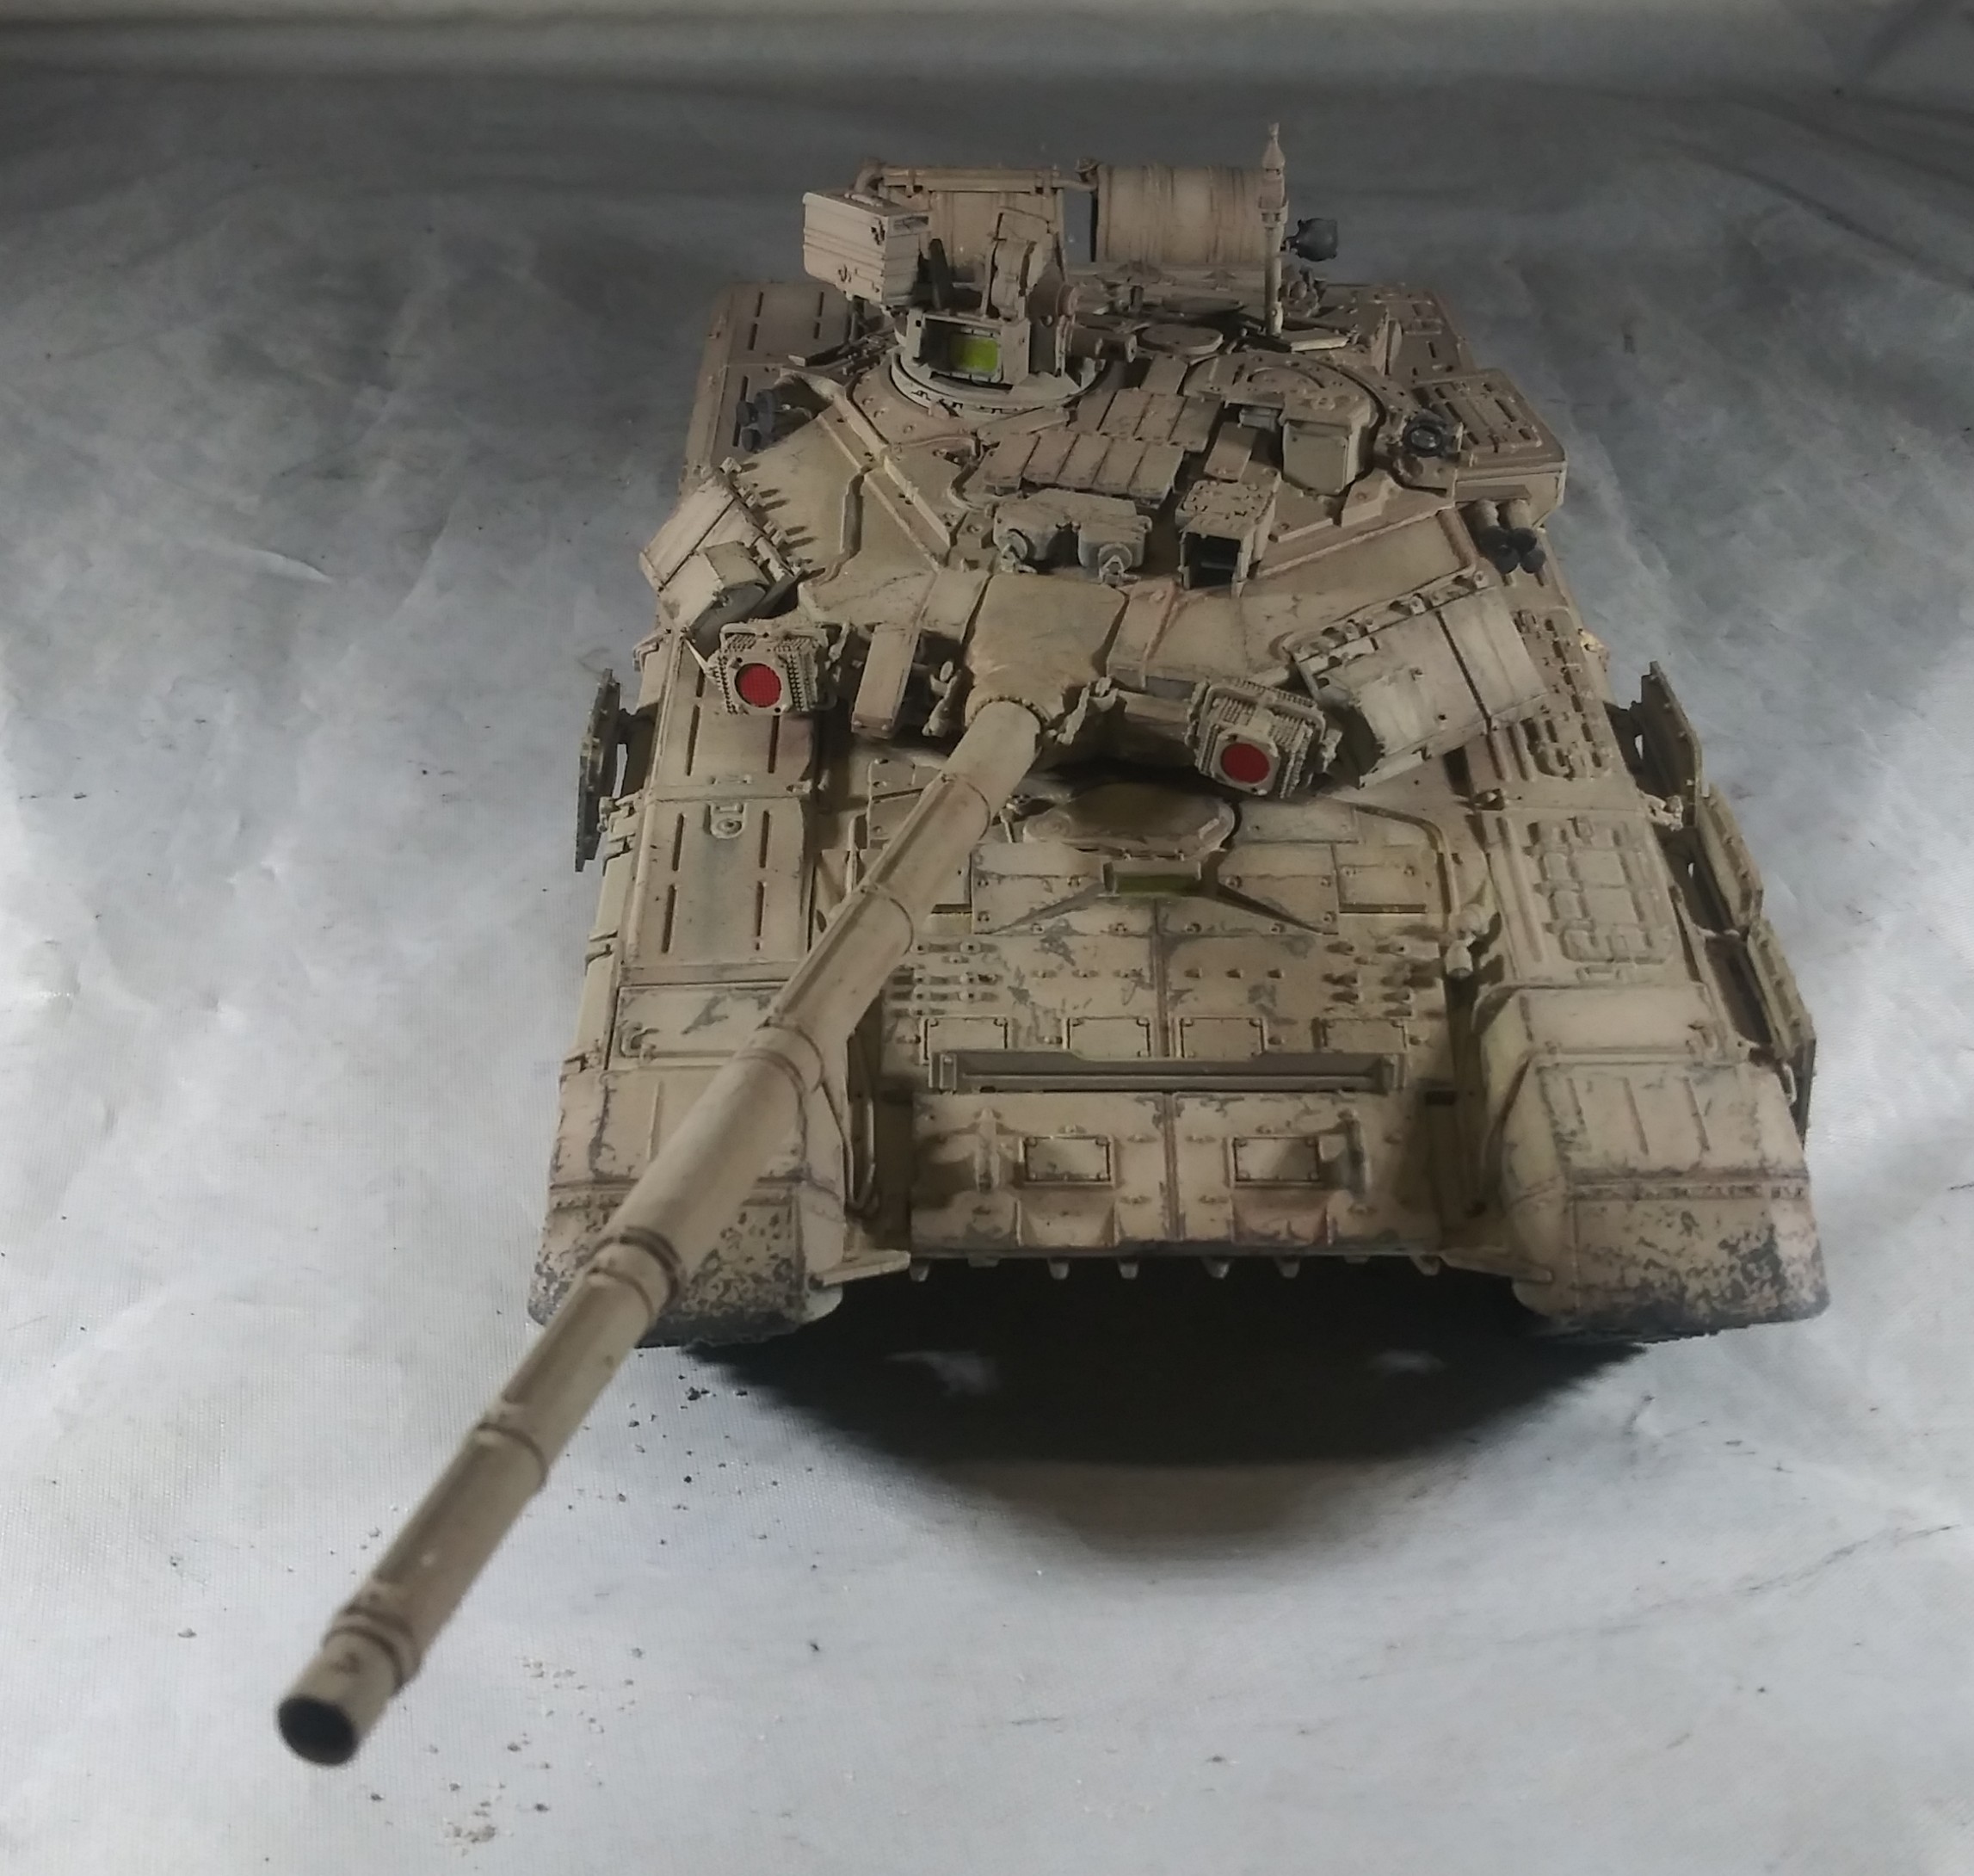
Filters . What are they and what do they do?
A filter is a ultra form of paint. The carrier can be acrylic , water , or chemical based. I prefer the chemical option. In this case the chemical option is VM&P Naphtha. ( its zippo lighter fluid essentially). The filter when applied changes the tone of the color it is applied over . It is similar to use those red and blue paper glasses to watch a early 3d movie . It fools the eye into seeing the color as a blended and softened color while still retaining the color fade transitions.
For this build I am using Artists Loft Burnt Umber oil paint.
Once the filter is mixed it is applied with a soft brush in a dabbing motion ( never brush it on , it will leave tide marks).
This particular mix is a heavy filter , and will double as a pin wash for much of the vehicle .
It can be left as is or can be refined with a cotton bud by wiping away excess filter once dry also a damp cotton bud will work in certain areas to remove more.
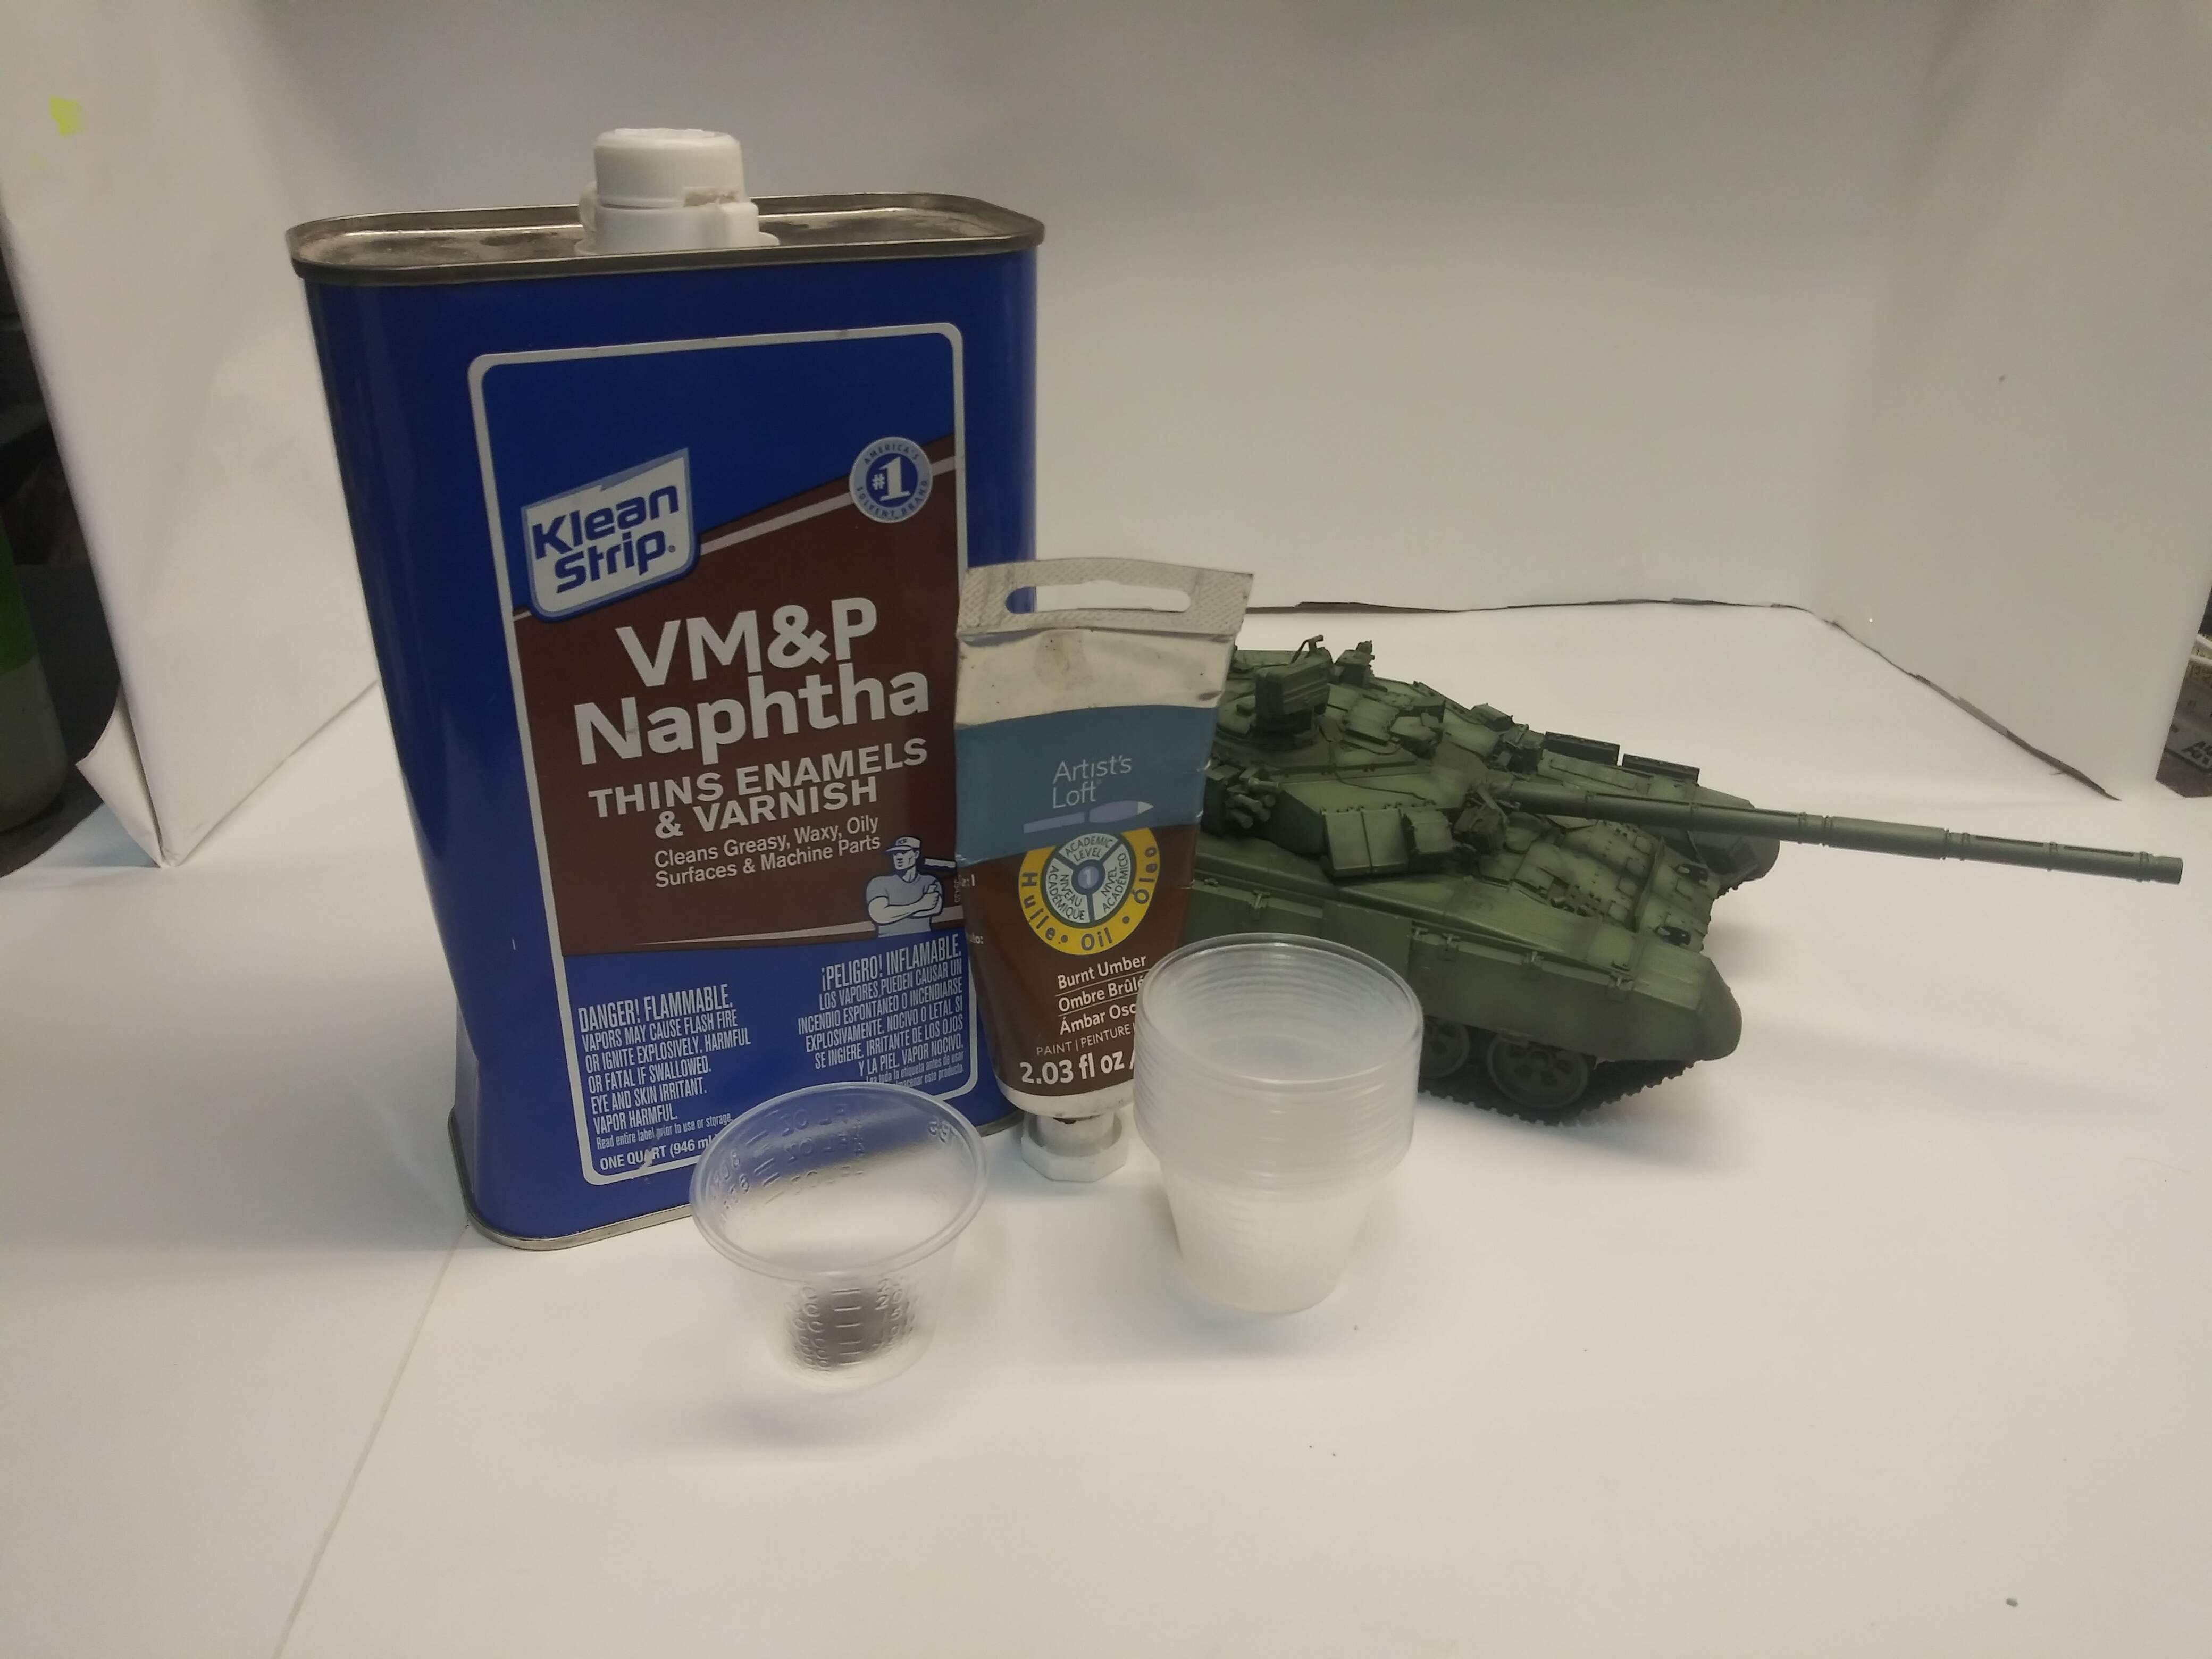

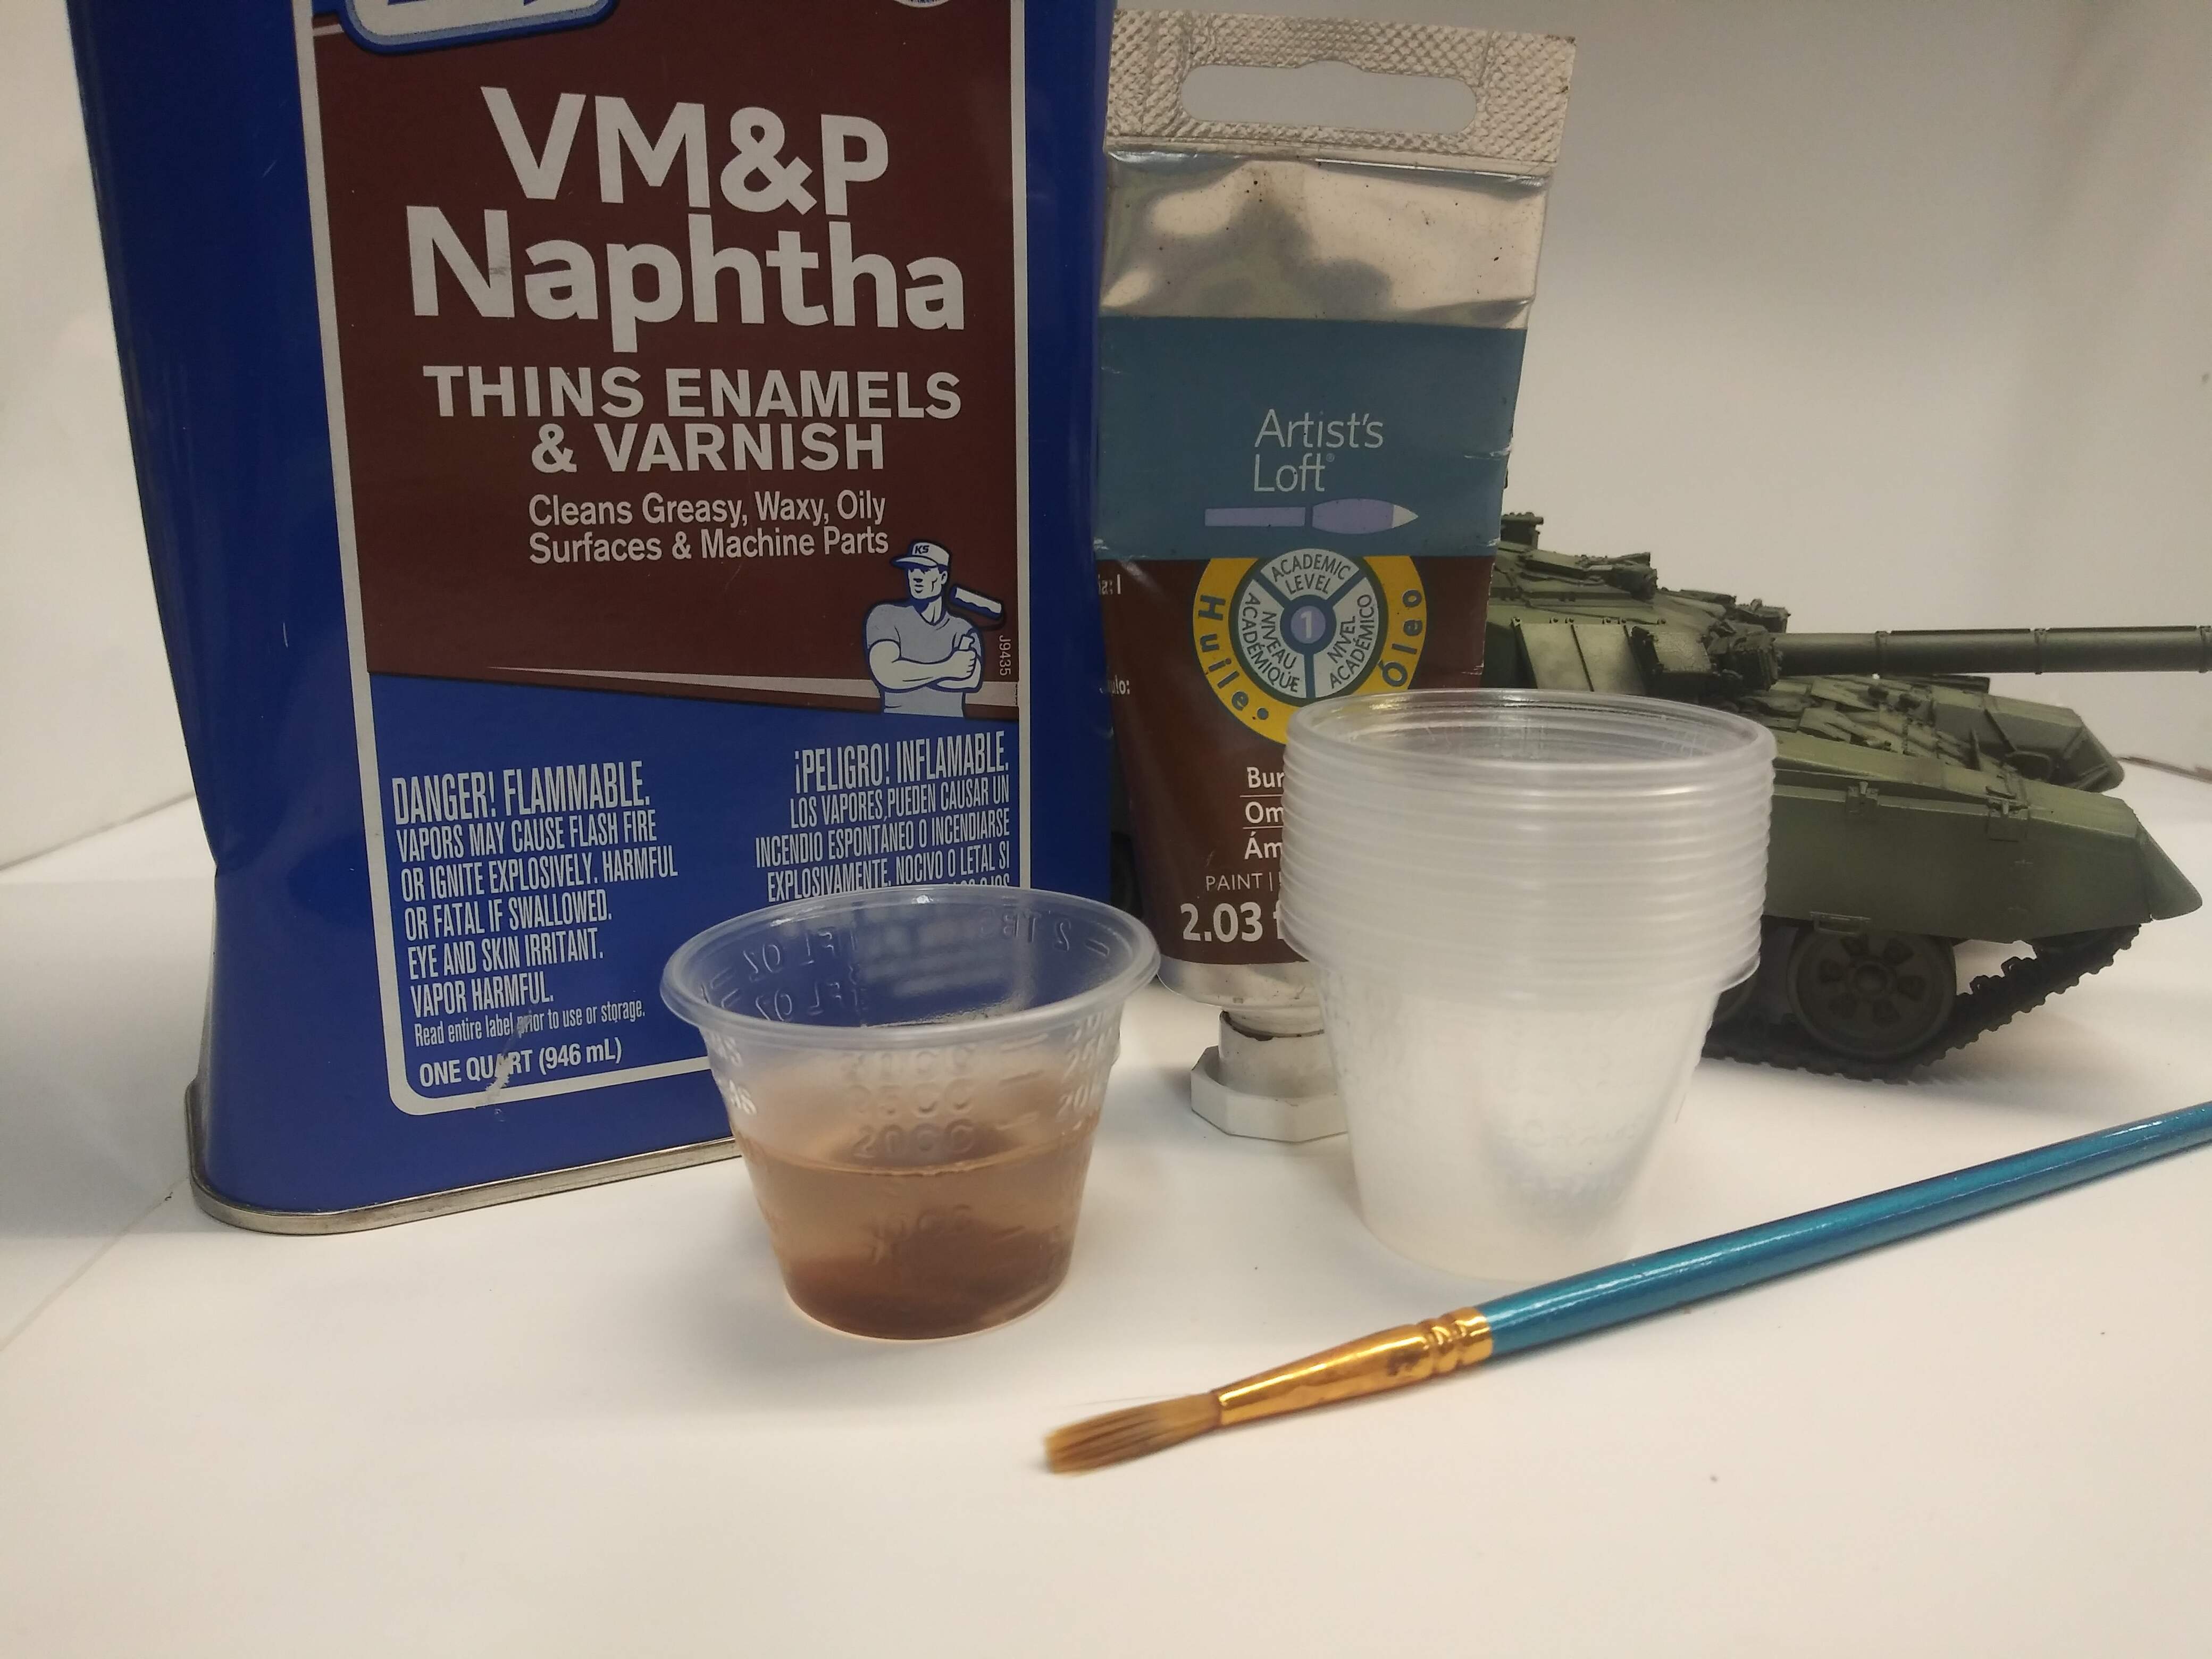
The above images demonstrate how much was used.

5 Likes
I have to say I almost feel depressed that I don’t have not even a shred of your talent, that’s some real art work I see!
2 Likes