In this example, I put down a layer of white in preparation for a layer of Tamiya clear green, followed by the hull base color. The white washes out everything, making it impossible to see the 4 very small recesses that require painting.
Paint the inside lenses first, and then the outer detail. I see folks painting AFV Fire extinguishers all the time - first red, and then the silver bands bleed all ofer the red, Much simpler to paint the bands silver first, then creep the red paint up to them.
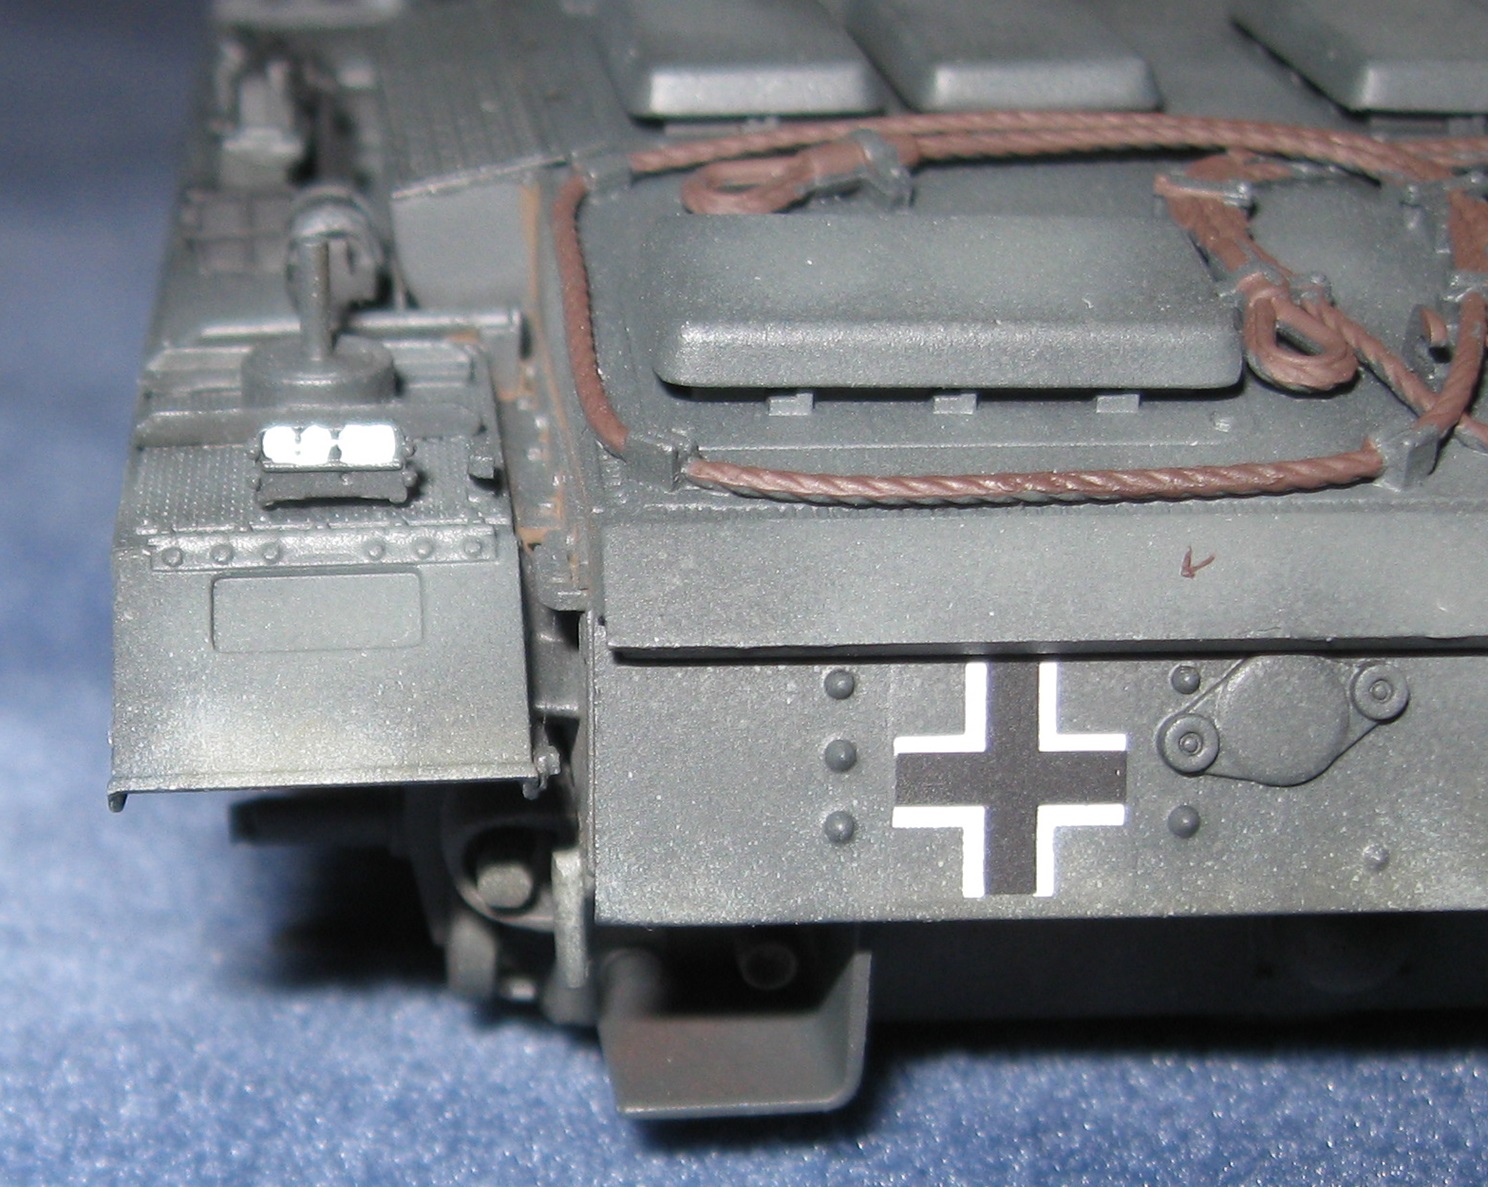
Regarding the Mk IV port-side lights they’re barely there – I did drop some dark red (edit - oops or maybe it was green ) in the 4 recesses (believe it or not) but who’d know?
As for the starboard light, I think I just dropped some red into the two recesses to fill them, wiped off any excess, then re-touched the frame with dark yellow (both using a fine brush) - if there’s any trick, I rested the tank vertically so gravity would evenly fill the two recesses…
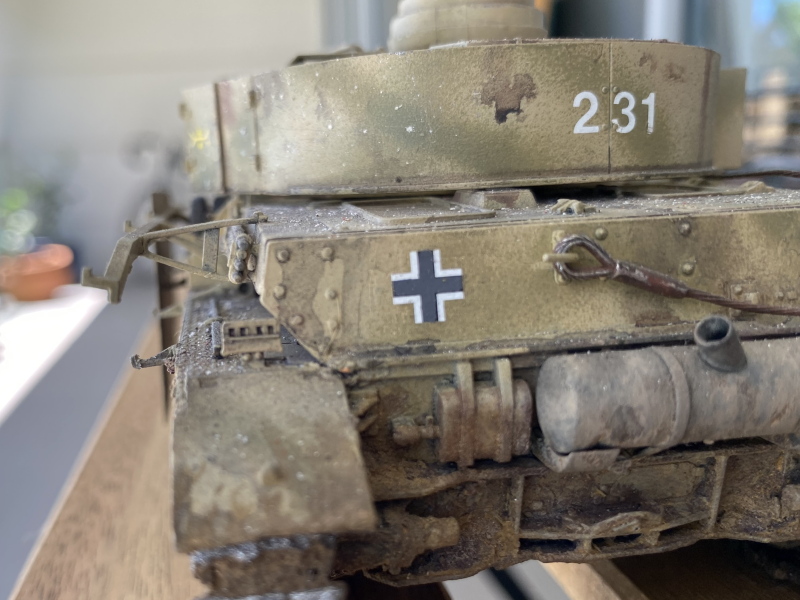
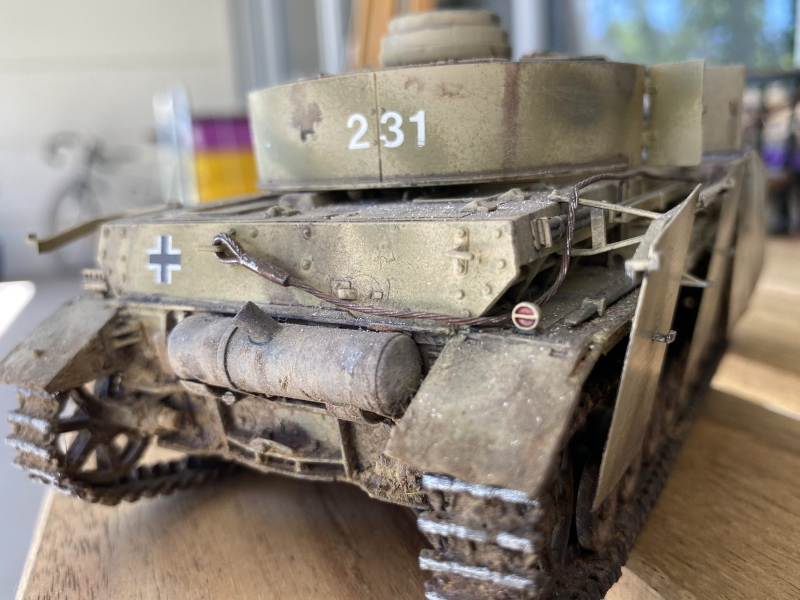
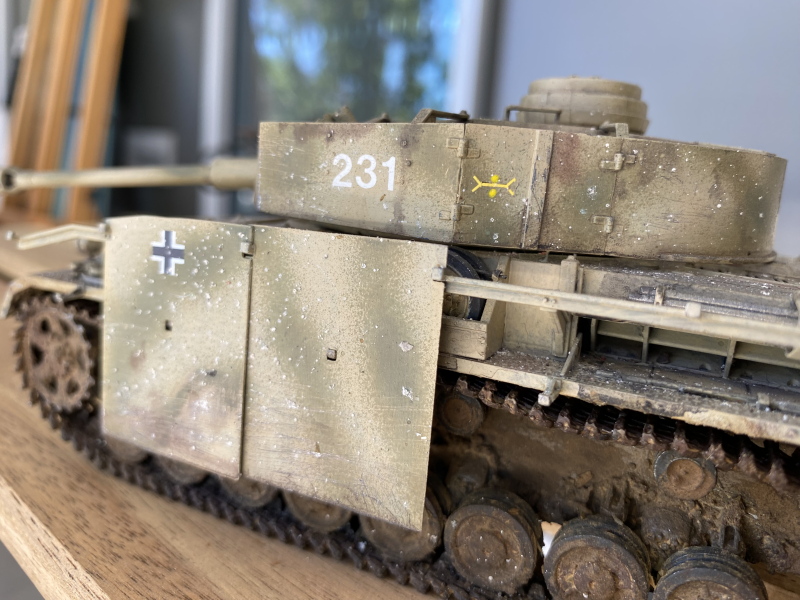
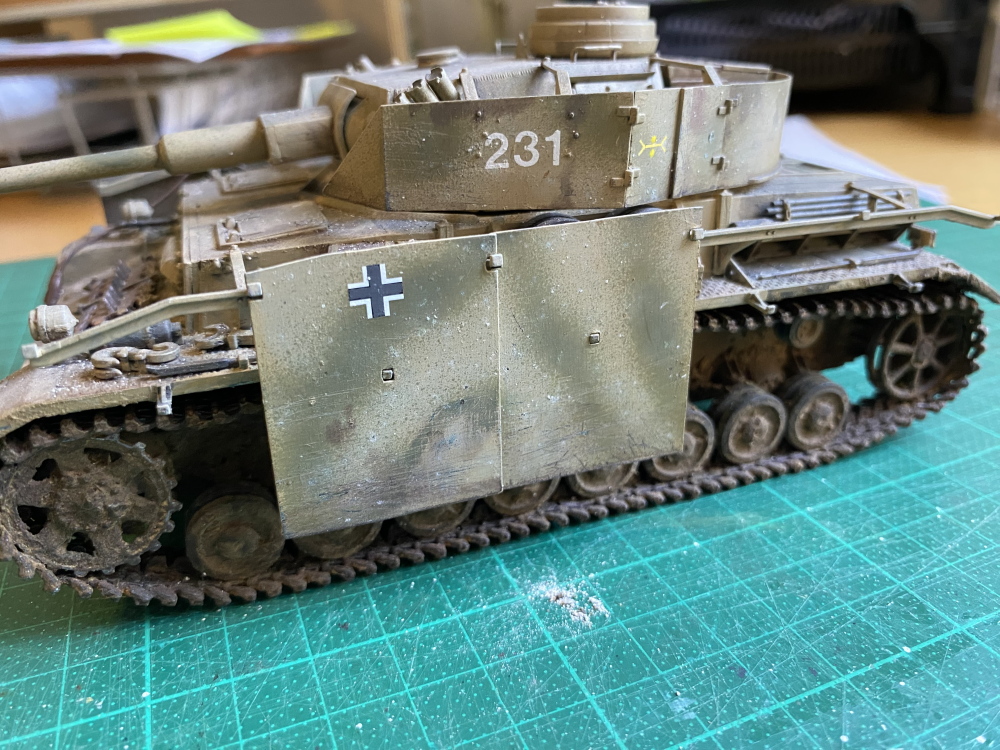
WTF is that? I don’t think it’s mo*ld, it’s like crystalline…salt? Anyone else seen this on older (8+ years old) models? (Paints used were artists’ acrylic paint sprayed over Humbrol Steel enamel base)
The biggest issue modellers have is not having the lens colour bleed up the side of the lens opening. Paint over the face can be rectified easily. What I do to avoid this, is moisten the inner lens area first with whatever thinner is compatible to my lens colour (e.g. X20 for Tamiya colours. Don’t use their lacquer type as it can ‘melt’ the base paint before you brush in the colour). The amount of thinner should be just enough to creep out to the edge of the lens frame, but not up the sides. Then with a fine tip brush and thinned translucent colour, I dab the brush tip inside the frame and let capillary action draw the colour to the edges over the moistened area.
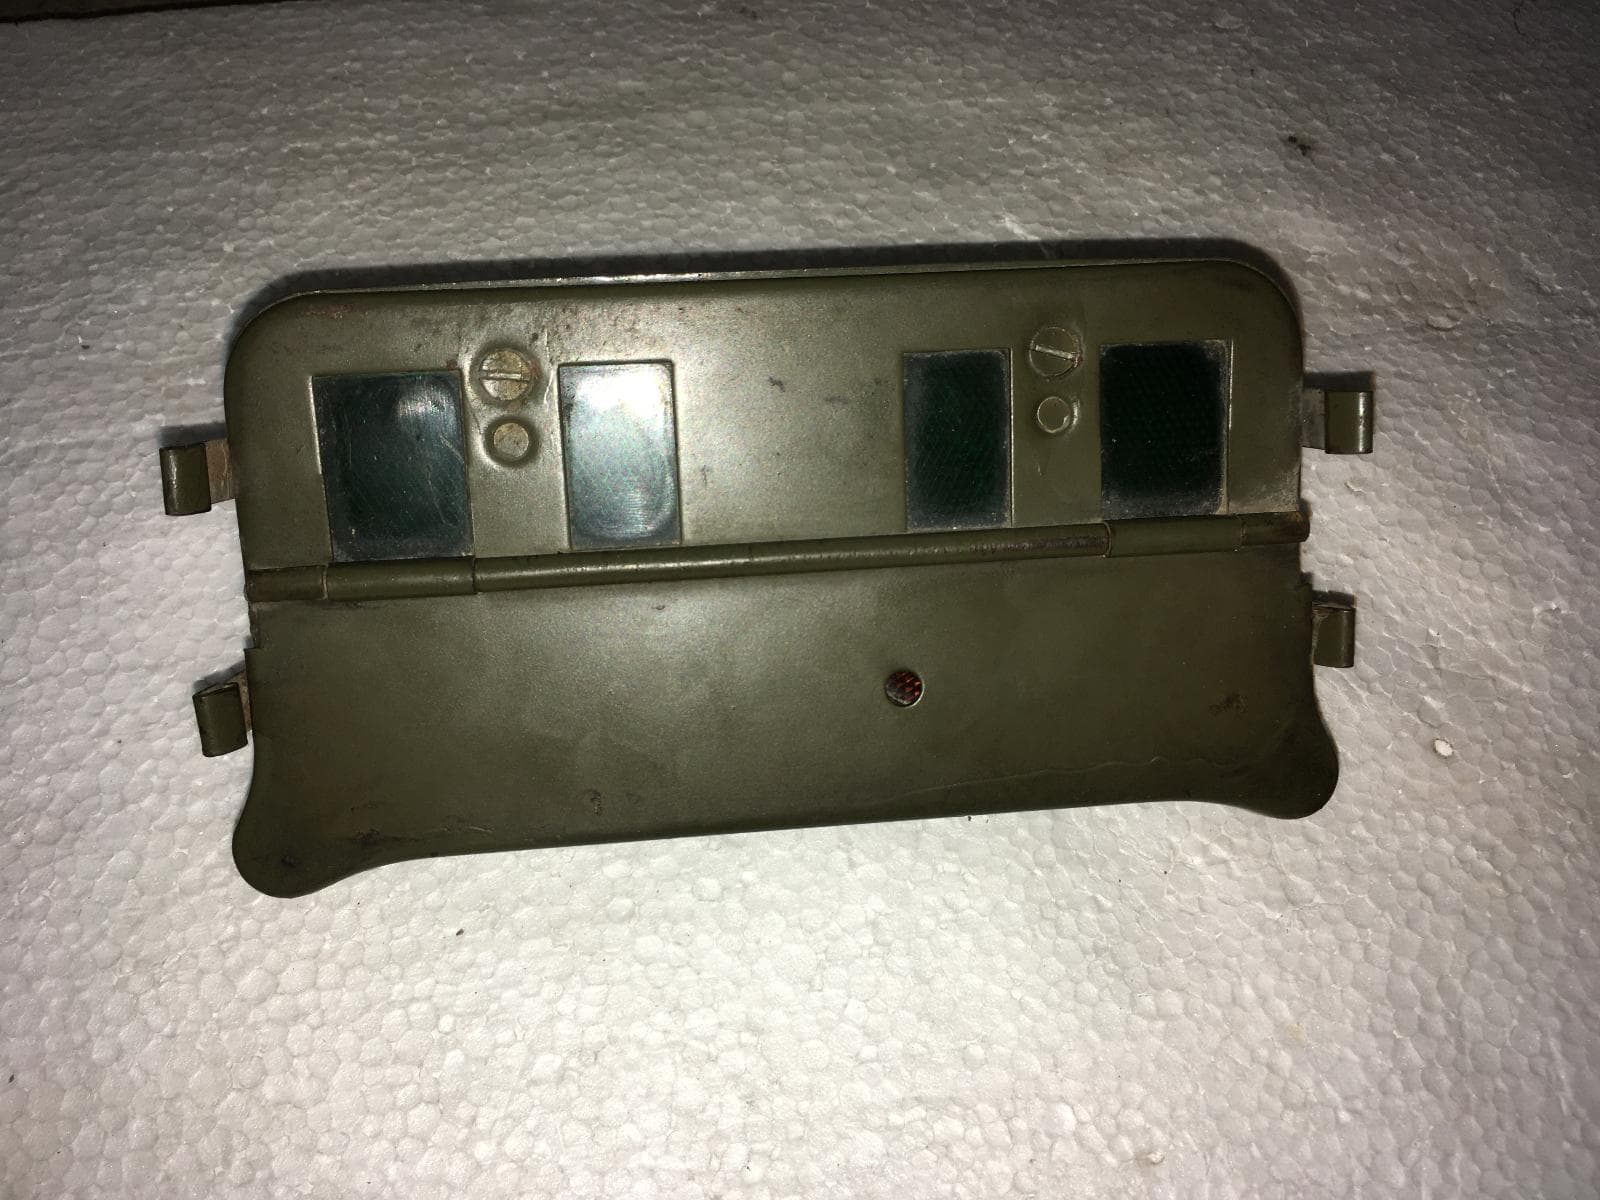
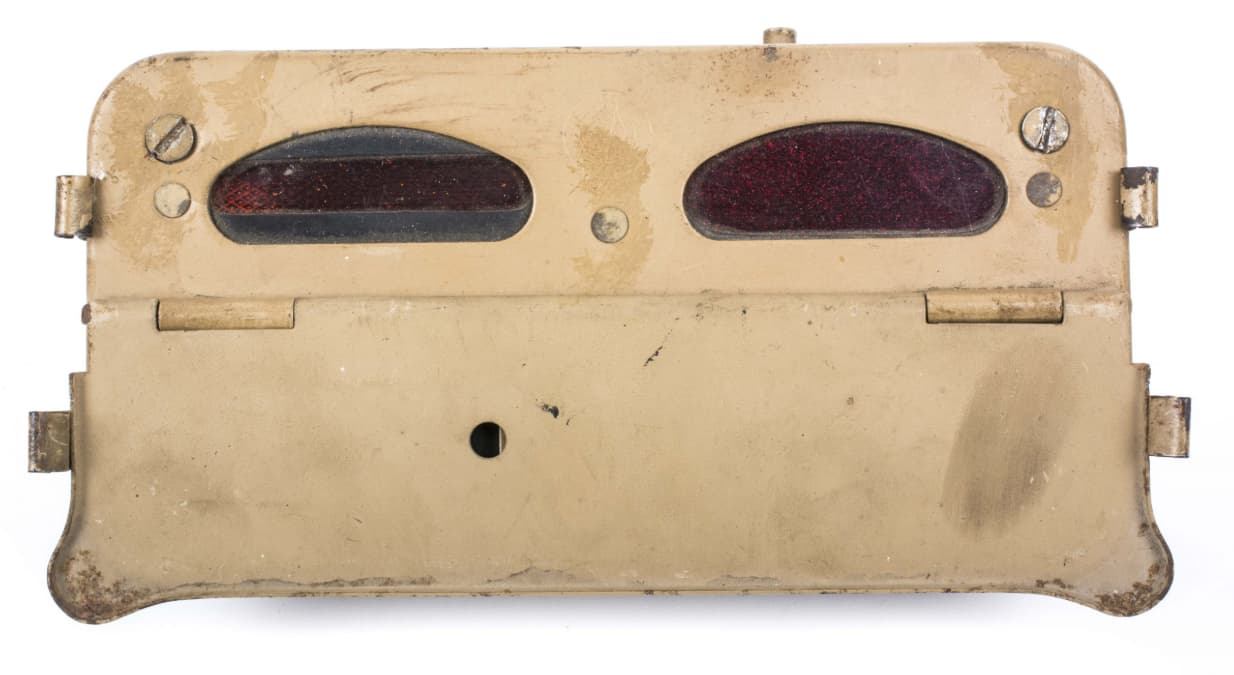
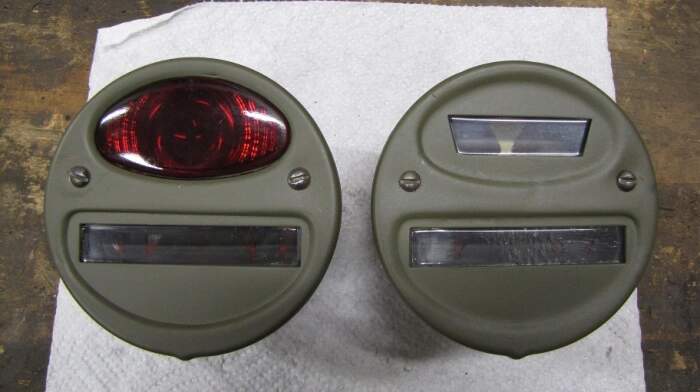
As Tim says Doug, the common misconception is they are bright green and red but he Notek convoy light lenses are very dark unless the lights are on, or someone is using a flash to take a picture of the light.
Here is a pic of a non-original Notek, but I am posting this to demonstrate how the photographer’s ambient light on the right side of the part brightens the lens colour:
So painting the Notek lenses white first will look odd unless you are depicting a nighttime running/braking vehicle, but even then, the bulbs are small and the bright light is in the centre, not even density all the way across the lens…
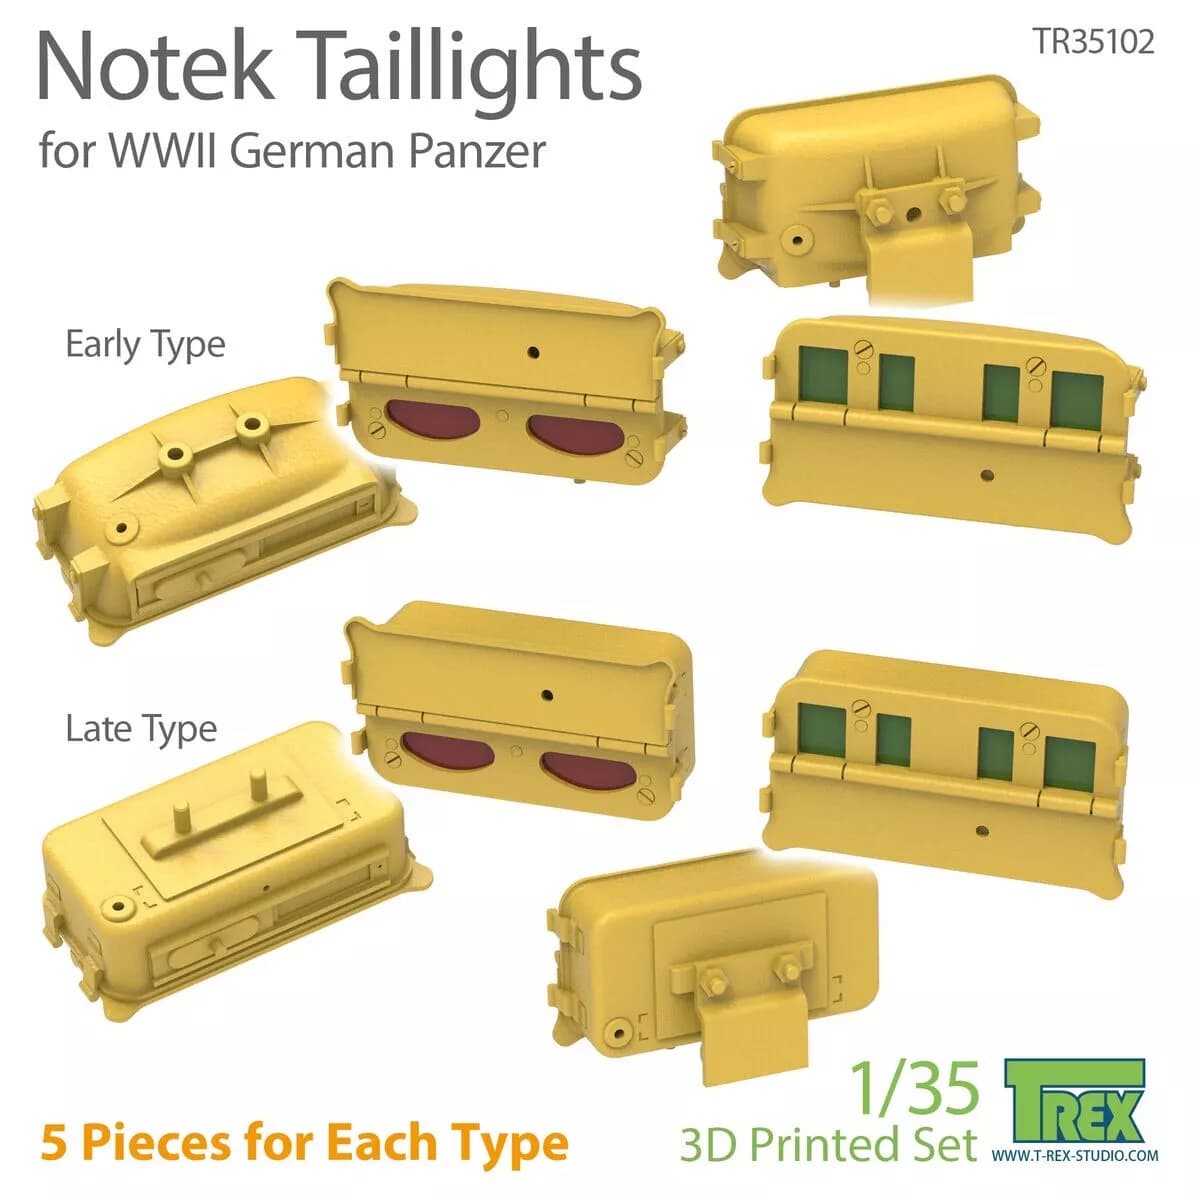
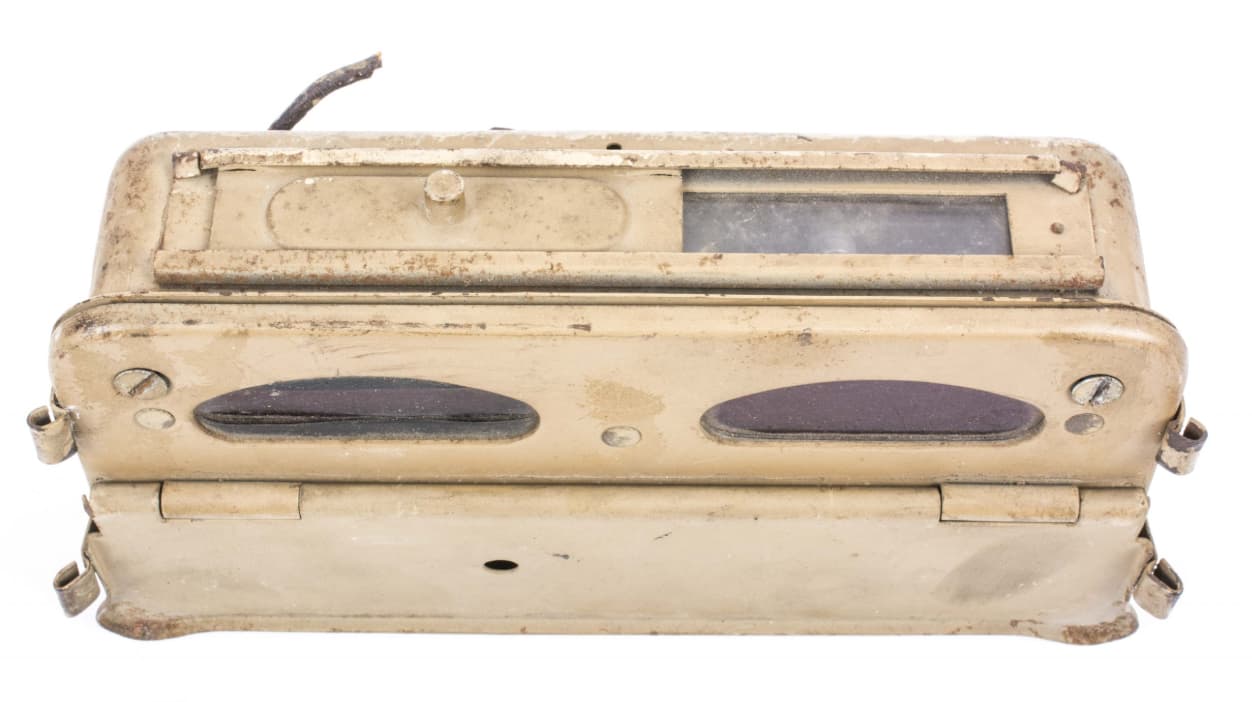
The bottom of the light with a sliding panel which most manufacturers do not depict (although T-Rex does them as per image above).
There was also an interesting post on the old, now archived, site about the tube lights used later in the war. Model manufacturers said to paint them blue and people did, but when unlit they are black, and when lit they are green!
Just had a “duh” moment about the snow effect – it can only be Tamiya Flat Base. I used to use it a lot, mixed into the paint to get ultra-dull effect. Too much, it would seem. Although given acrylic paint forms a plastic skin I’d like a chemist to explain how the chalky Flat Base has (apparently) separated from and broken through it.
In that particular case, sure: “don’t” The only taillight on a Sherman that had any apparent colour to it was the one at upper left, which was red. The lower ones on both are night-driving lights, while the upper right one was the blackout stop light. All three of the blackout lights had clear glass in them, which usually looks much the same colour as the rest of the tank, except from certain angles when it looks lighter than that.
But as more generic advice: you can always touch up the rims around the recesses if you overpaint by accident. Though I do try to paint only inside a recess, I generally find it easier to touch up a little than to make sure I absolutely never go outside of it.
@18Bravo Thank you. What you describe is how I currently approach the problem but I am not achieving good results.
@Dioramartin Thank you. My better results are comparable to what you achieved on that model. I also prop up models while paint is drying on a specific plane.
@petbat Thank you for the painting method and all the tail light information. I saved all of those pictures for future reference.
I am not skilled enough to drop a tiny amount of thinner in a 1mm by 1mm hole, followed by a tiny amount of paint, while avoiding paint splash on the side walls. I cannot pull that off even when the opening is significantly larger. Recent attempts to pull off this procedure all failed.
Another problem I have is that follow up paint for the top layer drops into the holes. Not even dry brushing prevents this.
Maybe I need to toss all kit tail lights, fabricate new ones without holes, make custom decals, and apply them for precise results. Painting such things seems hopeless.
The trick is the brush must be very small and the paint must be thin enough so it flows off the brush tip. The paint should not drop off the brush by itself - that is too much paint on the tip. You should not need to wipe the brush to get the paint to release. You may need to do a few applications to get enough paint to flow. If you have to touch the side walls to get the paint off, then your brush is probably too big or the paint is too thick.
If dry brushing results in paint on the lens, then you are either/and:
wiping the brush tip over the part,
using paint that is too wet,
using too much pressure.
Use the face of a long wide brush making sure the bristle ends are always over the edge of the part. Gently wipe the almost dry brush sideways across the lens face.
If you paint the light before adding it to the model, it may help you. Use double sided tape to hold the part secure, that way you can use both hands to steady the brush as you align the brush tip with the centre of the lens.
Like everything in this hobby, it takes practice to get the right results.
That is all good advice. Unfortunately, I have tried all those things for years without success. I do not have certain physical abilities other people seem to have. Or more probably, I can only perform those abilities in less controlled fashion. I understand what needs to happen but cannot execute the commands. Therefore, I am looking for different ways to attack the problem.
You don’t even need to go that far. There are kit tail lights that are missing the “black” strips. One of our more prolific members loves to point them out. I use a tiny strip of black decal - it makes perfect rectangles. You can cut it from black decal sheet, but often kit decals will have little black stripes that are there solely to divide the decals. You can cut pieces of those to save work. And no need to fabricate the new taillights - just fill them in with CA and sand them smooth. It’s much easier if you can manage them while they’re still on the sprue.
Yeah. That is exactly the sort of thing I was thinking of. By turning the face of the tail light into a smooth surface, it should be easy to apply a decal. Filling is probably the right way to go–easier than scratch building. I can cut a small stripe of black decal, sure, but making 4 precise little green rectangles or the red ovals–there is no way. I try cutting little pieces like that all the time and fail.
In an art program I can make everything perfect. The only hardship is having to once again revive my gummed up printer.
For tiny, recessed spaces, I use hypodermic tubing to apply very small amounts of paint. Dip the appropriate sized tube in the paint. Wipe off the paint on the outside. Touch the tip of the tube with the paint into the recess. The paint’s surface tension will allow you to control where the paint goes.
After painting the light’s recessed area, and it’s well dry, dry-brush with the tank’s main color over the surface of the light housing. You’ll get a nice sharp demarcation between the edge of the housing and the recessed light.
As a matter of fact, I have seen this before, and it could very well be mold. Mold is one of the strangest, and least understood, life forms on this planet. Yes, some of them do look like crystalline growth (I’ve seen that, too.) A friend of mine (long gone, alas) who got me back into scale modeling, had exactly this sort of thing happen to one of his older builds. Similar paints, too.
The problem is the artist’s acrylics. Artist’s colors generally have a relatively porous surface compared to modeler’s acrylics, so both moisture and mold spores can penetrate the paint surface, and are in a surprisingly good growth environment when they do.
Assuming I’m right and this is mold: Brush off the visible stuff. Then treat the surface with a dilution of liquid Lysol™concentrate. Just mist it on in several light coats. I hope it won’t dissolve the acrylic, but Lysol has a chemical in it that is very effective on molds. The model will smell a bit odd, but that’s better than being moldy.
(With apologies for this digression from the thread subject)
Hmm – yes this “snow” effect is only on one side of the tank, which would indeed suggest some kind of mo*ld, especially as it was on the un-lit side of the display case. But arguments against are (a) I checked, no other AFV in the case has this problem, yet had similar paint treatment and of similar age (b) having scraped it off, it’s fairly resistant to a scalpel blade and feels very much chrystalline – you can see the little pile in the foreground…
I kept thinking I should taste it (for salty or chalky taste) but chickened out in case it is a toxic fungi, albeit apparently dead. So mysterious, but if it keeps on happening I guess this tank is just transitioning to a winter camo all by itself.
I had a model with some stinky Verliden resin parts. Our tomcat LOVED that model so much he sprayed it at some point. The result looked very similar crystals and all
Don’t hold it against me mate, but no cat has survived within a 20 yard radius of me or my wife, ever. We’re of the Canine persuasion but our last pooch died of old age long before I built that tank. Nope, if it isn’t Tamiya FB I’m baffled – even an alien Australian insect couldn’t have got in there.
It’s an old joke I’ve had with some of my American friends – they don’t like English spelling and I don’t like theirs. So the compromise is a “*” so nobody’s annoyed. The real joke is that the American way (no “u”) is arguably the older/original spelling…not that spelling was standardised in the 1700’s, but in England lexicographer Dr. Johnson attempted to standardise pronunciation of those words by adding the “u”, hence all those words have (in England) been spelled that way ever since he compiled his Dictionary. Anyway, we were really talking about painting small recesses