Dear All, I am reasonably new to ships, and just realized I never actually used the flags you get as decals. How do you use them, anyway? Put them on something hard and thin and cut around?
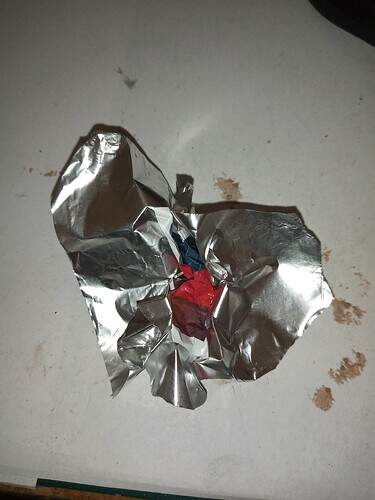
I use very thin foil (generally the stuff wrapped around premium chocolate) I then cut around it and fold it together. Being attached to the foil means its flexible so I can bend and move the flag into any position I want. The added width also make it a little easier to attach to the rigging line.
3 Likes
I do the same as Rory but with the difference of using lead foil of better whine bottles. The width is a tad more than of a chocolade bar foil and the taste of the whine is more inspiring for the build, too ![]()
![]()
3 Likes
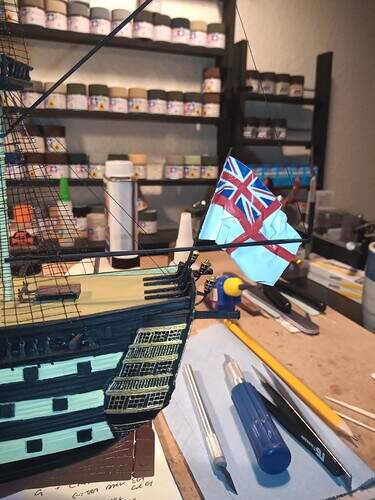
When I built Victory and the then the RTR Challenger 2, I used kitchen silver foil . … I found it was great folding into realistic shapes.
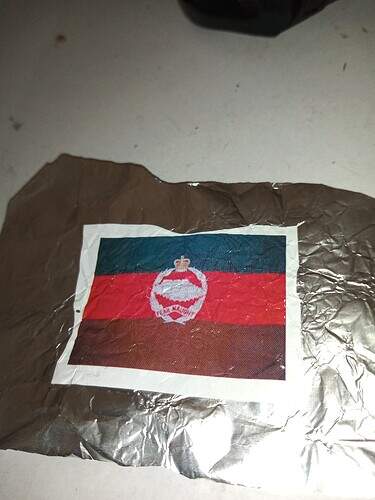
On the foil with Micro sol & set and crunched up.
unfolded flat again
and hanging from the flag pole.
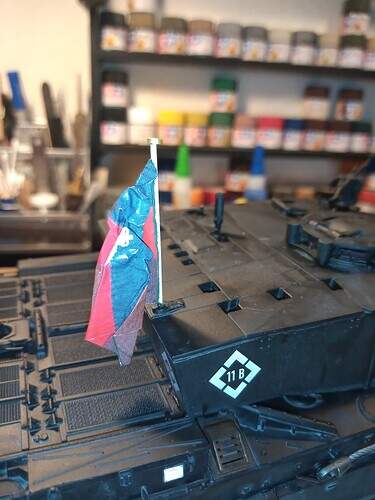
Also, the actual RTR flags were ones I printed onto decal paper.
And the Victory Ensign.
3 Likes
Hi Andras,
Making flags is a simple but fiddly process. For my USS Constellation museum ship build I used decals from Microscale’s US 50 Star Flags (MC-4202) intended for HO scale trains.


The process is common for any flag. To enable a “waving in the breeze” presentation of the flag, I first apply the decals to both sides of a piece of heavy duty household aluminum foil. Then, after trimming off the excess foil around the flag (except for a bit left on one end to serve as a handle), I gently form undulations with a toothpick.

With the shape established, I cut off the excess foil, touch up the edges with blue and red enamels, and attach the ensign to its halliard. The process is not really complicated, but it is still easier said than done!
5 Likes