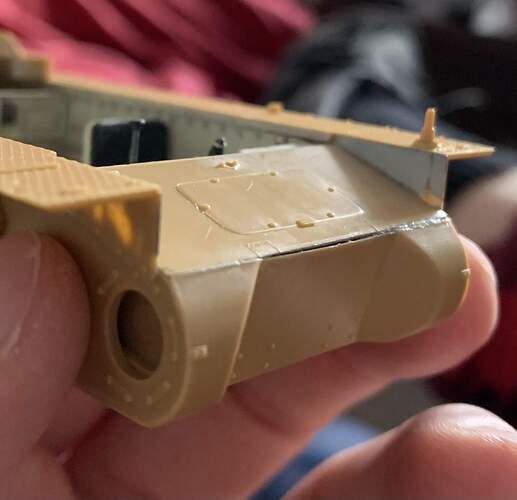
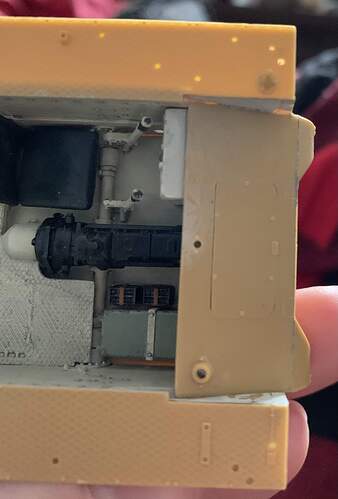
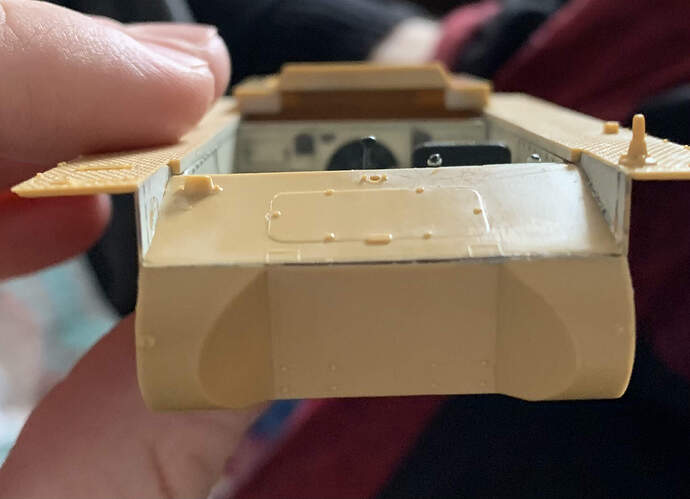
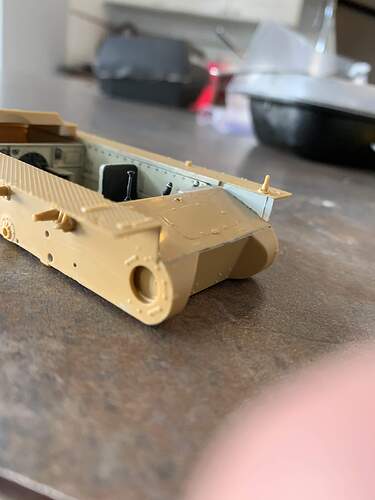
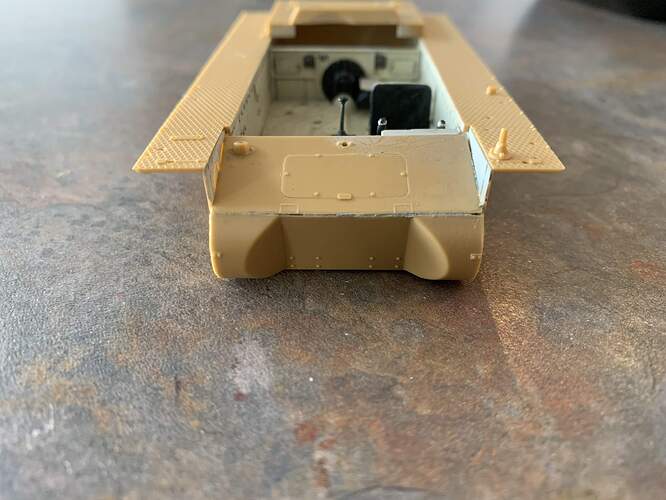
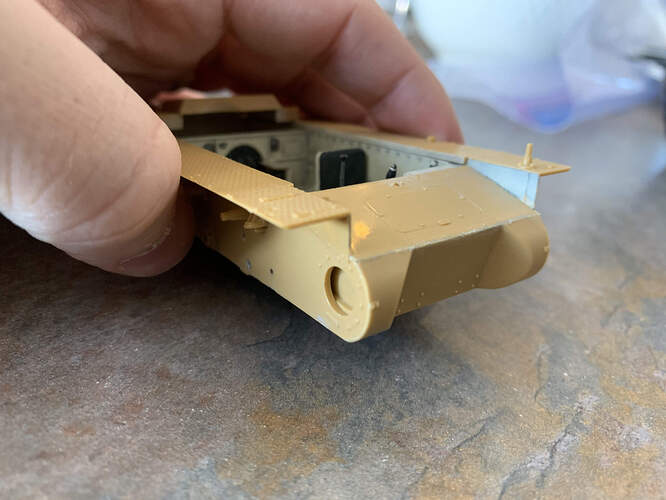
I am building the tristar flakpanzer IA. It’s going together pretty well but I have a gap I can’t figure out how to handle. It’s between the front transmission housing and the top plate. I think the transmission housing was slightly bowed as it fits perfect where it meets the hull sides and bottom but there is a small gap at the top. I have tried elastics but they didn’t provide enough force to close the gap and I worried adding more would break something else. I also find this area hard to clamp due to the weird angles. I thinking of just filling it will Mr surfacer 500 and sanding flush. Anyone have any other ideas?
Could you use some putty like Squadren or Tamiyas?
If you can carefully surgically remove the top plate, manually bend the front plate straight, then replace the top plate and apply pressure with your fingers until the glue sets, and the pieces are lined up. Neaten up the joint with sandpaper. Otherwise, weld/glue a substantial piece of plastic strip on the INSIDE of the gap. When it’s all firmly set (like overnight) go to work with files and sandpaper to reduce the bulge. If all else fails, hide the mess with stowage, spare track, etc.

I have access to milliput, and mr surfacer 500 for putties.
Perhaps bulge isn’t the right word, it is just very slightly bowed enough to produce the small gap. I did consider removing the top plate but I think that might make more of a mess in the end.
try and get some plastic card behind the gap and once that has set I would place thin pieces of plastic card in the hole and back fill the remaining gap with putty/filler
I try and NOT use any putties whenever possible. I stretchy some sprue of different thickness and fill gap using that and good ol liquid glue. Trim and sand to finish. 
Thanks for the tips everyone. I was able to partially close it using some bsi maxi-cure super glue and finger pressure. I think now that it’s more manageable I may try stretching some sprue to fill the rest
There’s a lot of ways to approach fixing that little gap.
I would take a piece of thin square .010 Plastistruct rod and see if it fits the gap
If so glue in place then trim accordingly.
There would probably still be a hairline but a thin coat or two of thinned Tamiya Basic should fill that. I’d do,the sanding with 600 or 800 and polish with a Squadron Tri-Grit sanding stick. Mr Surfacer should work too.
BTW - Tamiya Basic or Molak Stucco Putty thinned with Testor’s Liquid Cement is an excellent hair line filler. It can go on thin as paint.
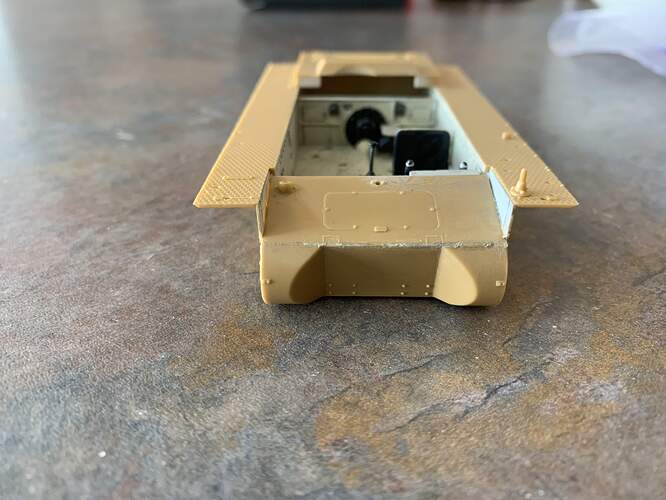
Here is where I have gotten it to with finger pressure and super glue. Followed by finger pressure and extra thin. I may now tackle the remaining gaps with stretched sprue and thin putty. Thanks everyone.
Hard not get discouraged with this kit. It’s had a few small gaps to fill but perhaps I am too used to Tamiya where everything fits flawlessly. Overall I think this kit will look great it’s got lots of detail but the construction is a bit more of a headache
Wow stretched sprue works wonders. Melted right into the gap with a little extra thin. Much more confident in this than milliput which I’ve had shrink and crack before.
Thanks for the tips everyone. Think I used a combo of all of them.
Glad to see you have fixed the problem. I am also a big fan of the sprue method, although I don’t actually use stretched sprue.
I do a TON of scratch building so I have just about every size and thickness of the Evergreen plastic stock in my workshop.
I’ve actually fond that the thin rods usually .010, or .020 work very well and I use the plastic weld liquid to soften it and is blends right in. It’s a method that I discovered on the Model Shipwrights site for closing the seams on deck sections.
I find it much more precise and much less messy than any sort of putty filling.
Mead93 taming the seam - well done 
Thanks! Good skill to learn. Like I said I’m used to not filling gaps on Tamiya kits so I’ve never really had to tackle it. Here is now. A little more sanding but it’s pretty good now I think. It’s a little unsightly right now, waiting for the extra thin to set up a bit, but should clean up fine
Looks much better!
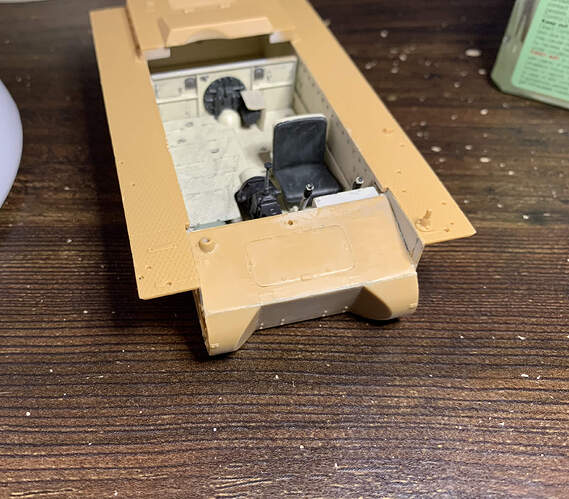
Here it is mostly cleaned up. May have to touch a few very small spots with both mr surfacer. I love the wealth of knowledge on this site. Every question I have is answered with lots of advice almost instantly
Maybe hit it with some primer so you can be sure its fixed properly when you finish with Mr. Surfacer.
