Hi folks, I finally finished this unusually large project, at least for me. I spent a huge amount of time on the base, and with four kits, and seven figures, it seemed like it took forever. But all fun…
A common malady in the US Army, and I assume all militaries – troops waiting for movements.
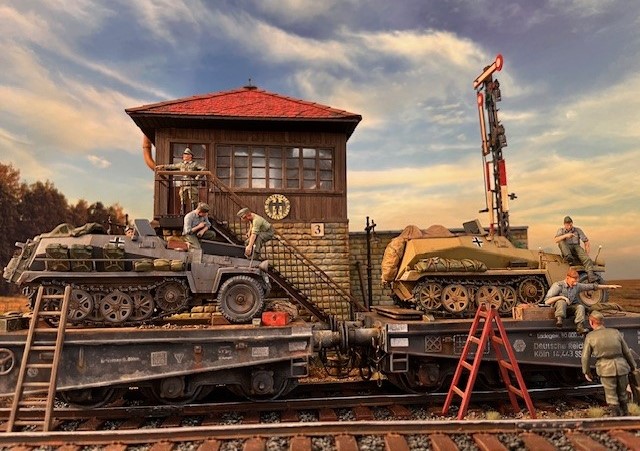
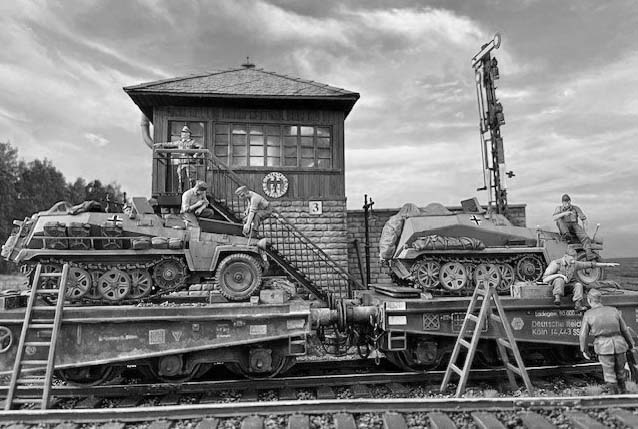
The Wehrmacht constantly moved their Panzer Divisions around by rail. Shifting them to meet the demands of schwerpunkt attack or fire-brigade defense. A division would be in one area one day, and just a few days later, moving by rail, wind up a thousand Kilometers away.
In the Spring of 1943 after the Stalingrad disaster, they were particularly busy; with units being hastily moved either from rehabilitation In Germany, or simply relocated South.
Also, that February, the Inspectorate ordered a general switch from painting armored vehicles from Dunkelgrau to Dunkelgelb. Older vehicles would be repainted as time and paint supplies allowed, while new vehicles would be painted in the new color.
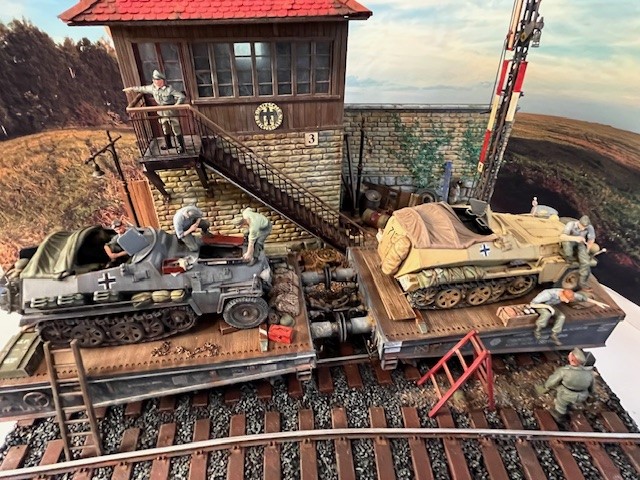
This diorama depicts that timeframe, action and color scheme situation. With a pair of half-tracks of the 7th Panzer Division awaiting movement to the front. One older Sd Kfz 250 (with a fetish for spare fuel cans) and one newer and cleaner, replacement vehicle in the new paint color.
We have a bunch of troopers, waiting for their train to roll. Casually making final preparations.
Note how none or them are paying attention to the officer pointing toward something he thinks is important. Hah!
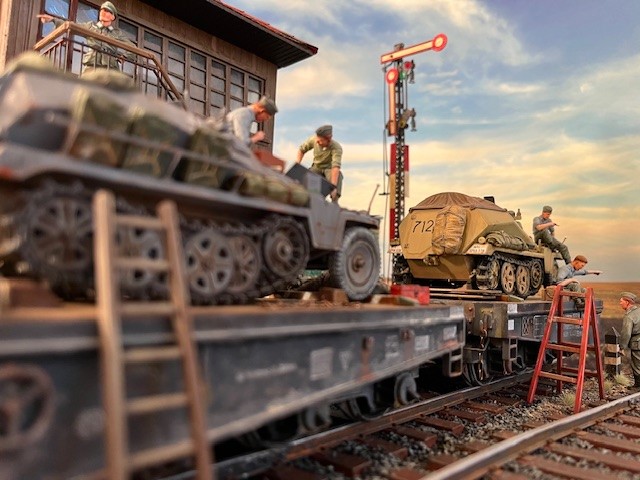

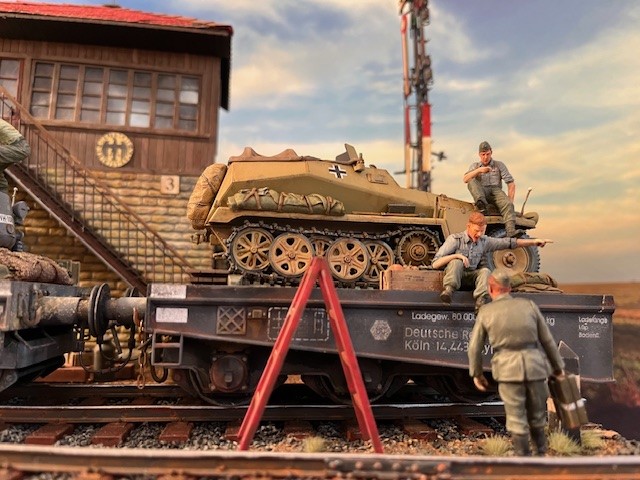
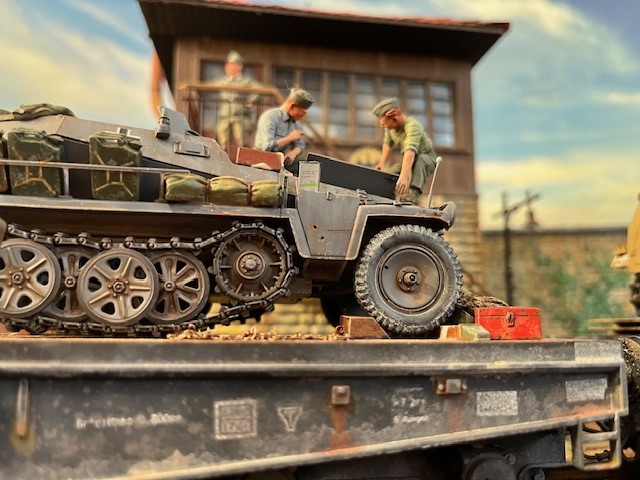
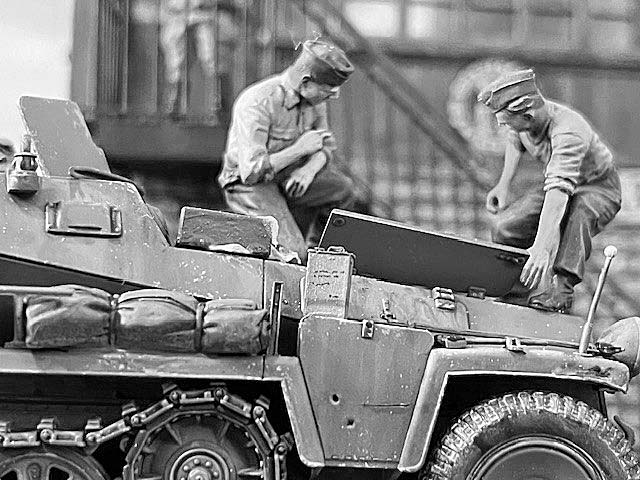
As always, I like the black-and-white photos. Compare them to real period pics.
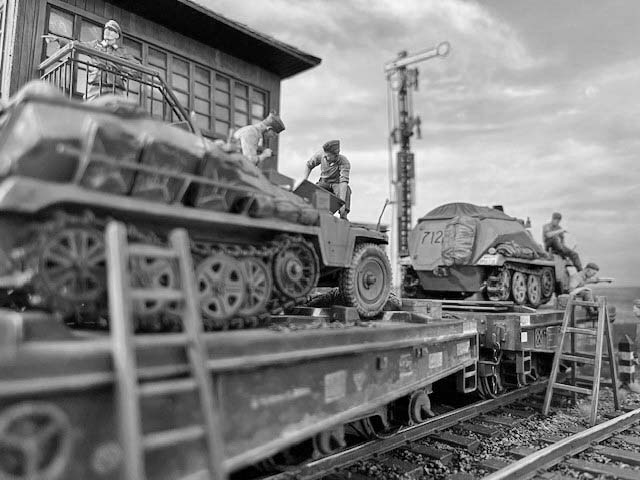
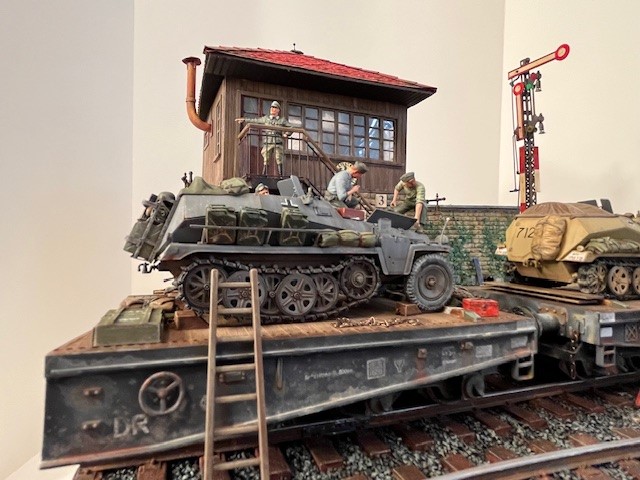
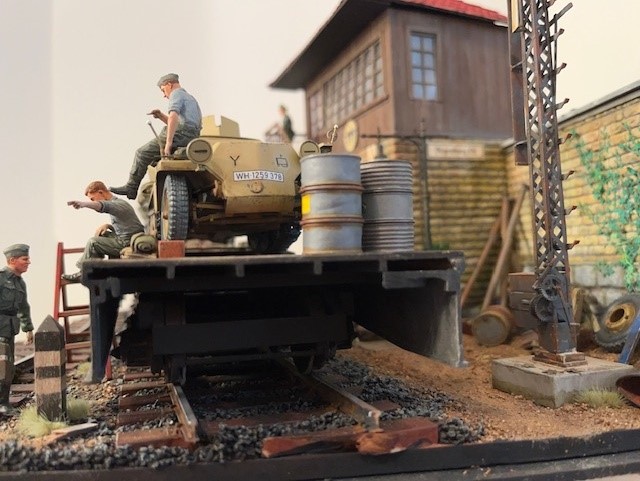
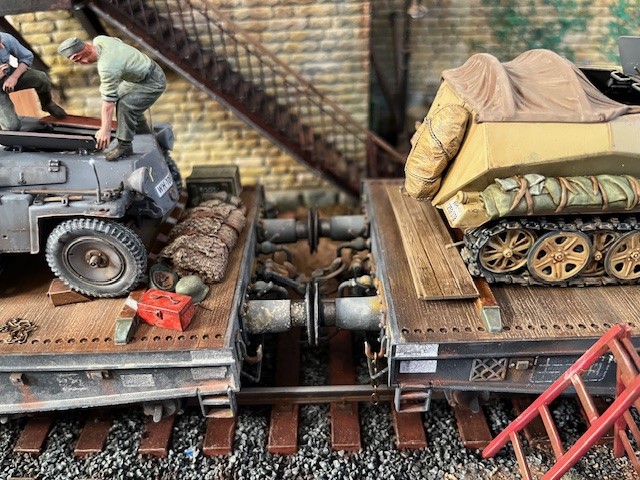
The new Takom Sd Kfz 250/1 kit demanded employment and I needed some way to build a diorama around it. I wound up with two of them loading up on a pair of railcars.
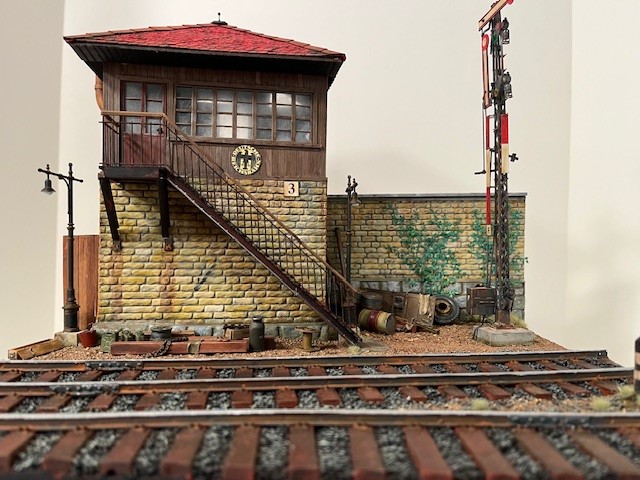
It gave me the opportunity to build a station setting. Great fun!

Actually, the rail cars are a single Trumpeter heavy flatcar, cut in half, made to look like a coupled pair.

One rail car is nice, but two is much more interesting.
(And I know the use of heavy lift cars would be a waste of capability, but we don’t know what’s sitting on the other, unseen halves. And I had that kit in my stash…)
The same goes for the 250s – the more the merrier. After Panthers (you may remember, I’ve admitted to being a Panther addict), I’ve always admired those sporty little half-tracks.
The railroad control office is scratch built. Rather than employ insulation foam with brickwork impressed into the surface, as I have been doing, I reverted to one of my older techniques, and used vacu-formed sheets from Model Builders Supply (MBS) for both the wall and the building’s foundation. The building itself is made of plastic sheets.
The MiniArt industrial stairway worked pretty well, as did the window-frames from their building accessories set.
BTW: I find the MiniArt gutters, provided in several of their kits to be too bulky – out of scale to my eye, so I avoid their use. And my past attempts at producing them myself have been dismal, so no gutters, although there probably should have been some.
Anyone know of a manufacturer of nicer gutters in 1/35th?
The rail cars required I build a larger footprint base that measures 36x32cm – violating my 30x30 norm.
The Trumpeter rail car went together perfectly, like a Tamiya kit. I was impressed. And it even came in two halves, making it easier to split, producing two (partial) cars, per my design for the scene. (More visual interest.)
It also came with plenty of rails & sleepers – more than I needed.
I painted the railcar’s wooden deck in artist’s oils as I find that paint much easier to blend to achieve a beautifully worn wood look. I used mostly acrylics for the more uniform building siding.
As I often do for signs, I printed them off on my ink-jet printer, coated them with a clear coat to seal the ink, and then mounted and weathered them.
I thought the Miniart Railway Semaphore would be a great addition, but the kit was so frustratingly bad – fiddly little parts, delicate control rods broken on the sprues and impossible instructions printed in tiny script on the back of the box, I almost lost my modeler’s mind! This kit deserved a decent set of printed instructions.
Don’t look too closely as I’m certain that some of the tiny components are wrong.
And to add to my frustrations, the signaling tower, as employed, sits perpendicular to the tracks – appropriate for signal train drivers. So, in most cases, from across the tracks we’re only seeing it side-on. Oh well…
The figures are from a combination of sets, MiniArt, MasterBox & Tamiya. All plastic with Hornet heads. As I envisioned a warm spring setting, I had a difficult time finding figures in only shirts.
Builder’s Notes:
I produced the roof’s shingles out of red card stock, cut to shape on a Silhouette Cameo CNC cutter (like a Cricut). I bought it years ago for similar tasks. It works (barely), but as I don’t use it often. I’m not sure if it was worth the money.
I use Woodand Scenics liquid glue to fix the dirt and gravel. It’s inexpensive, dries flat (no shine)
and rock hard. Both the liquid and the regular glue – much better than simple ‘white glue’ and less expensive than the official modeler’s ground fixers.
All comments and criticisms are welcome.
Hope you enjoy.
Ralph (Bravo36)