I did not plan to have my next project be another tank; but then someone had to go and post an announcement that Takom was producing a Tiger 1 in 1/48 with a full interior. So now I need to build this before we become completely obsolete. This is a hybrid tank, as used at the end of the war. I am building it using parts from at least three different kits; when I do this, I call it a “Frankentanken,” like Frankenstein. So, this is a Frankentanken.
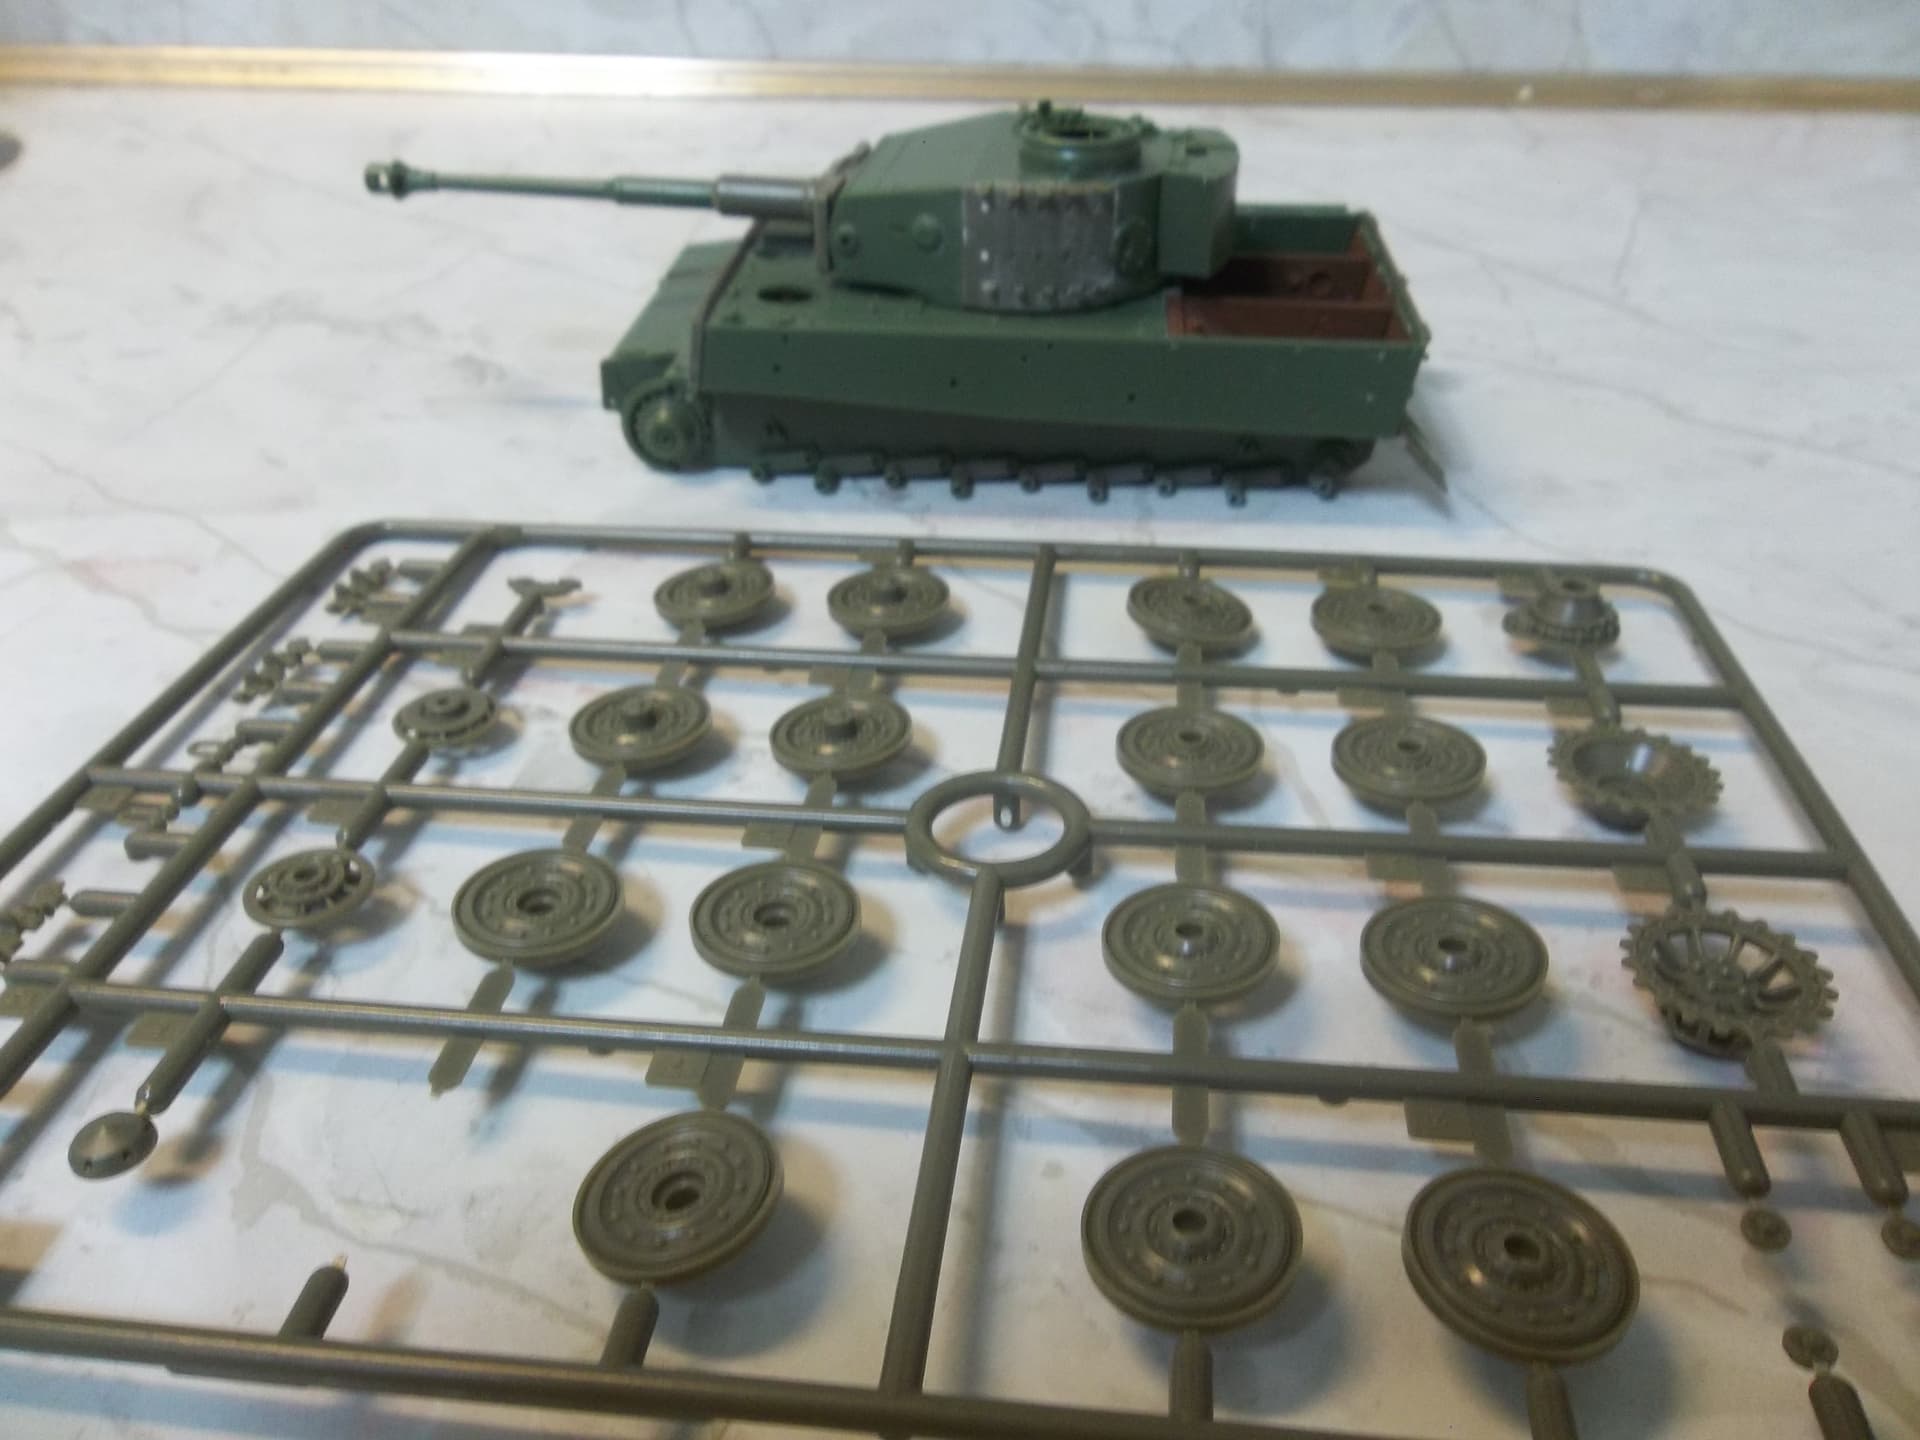
I started out building it a few years ago, using an Okuno and an AFV Club kit. Okuno, Skybow, and AFV Club Tigers are all the same plastic. The Okuno kit actually says Skybow on the sprues and uses the same “reverse” decals as Skybow. AFV Club sprues say AFV Club and their decals are normal. Also, the AFV Club kit comes with some PE intake screens. The tank came in two versions, early and late.
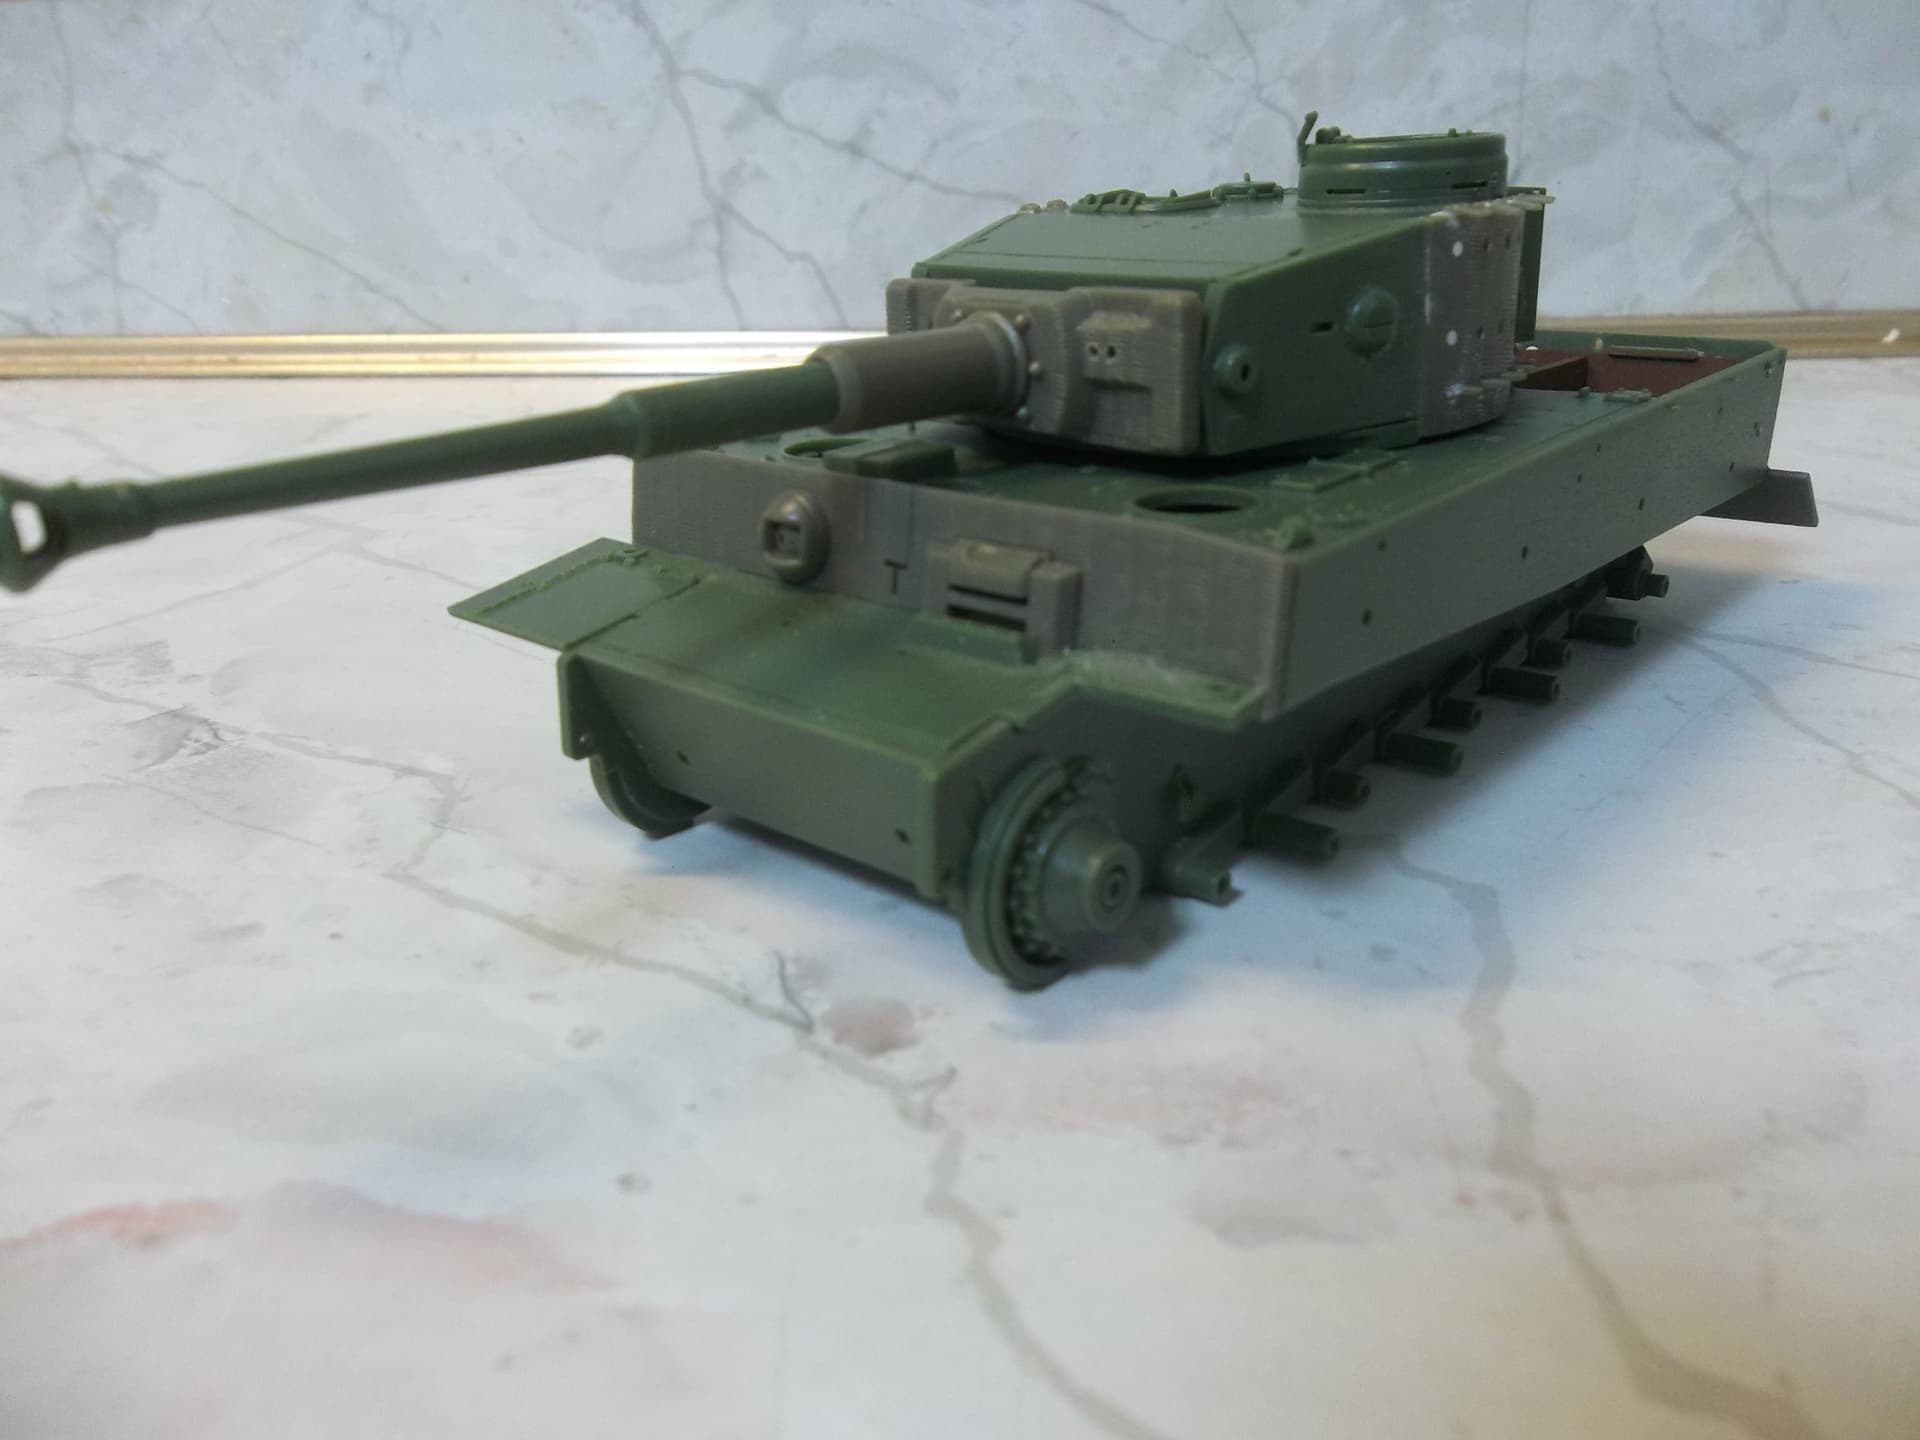
The dark green plastic is Okuno, and the olive plastic is AFV Club. To that I have added an engine compartment from Verlinden.
After my dad died, I inherited most of his old model kits, so I decided to add the interior parts from the old Bandai Tiger to this build. The Bandai parts are mostly OK, they just leave out a lot. So I am adding parts that come from the parts box or scratch built from styrene or whatever.
@Grauwolf -Thanks!
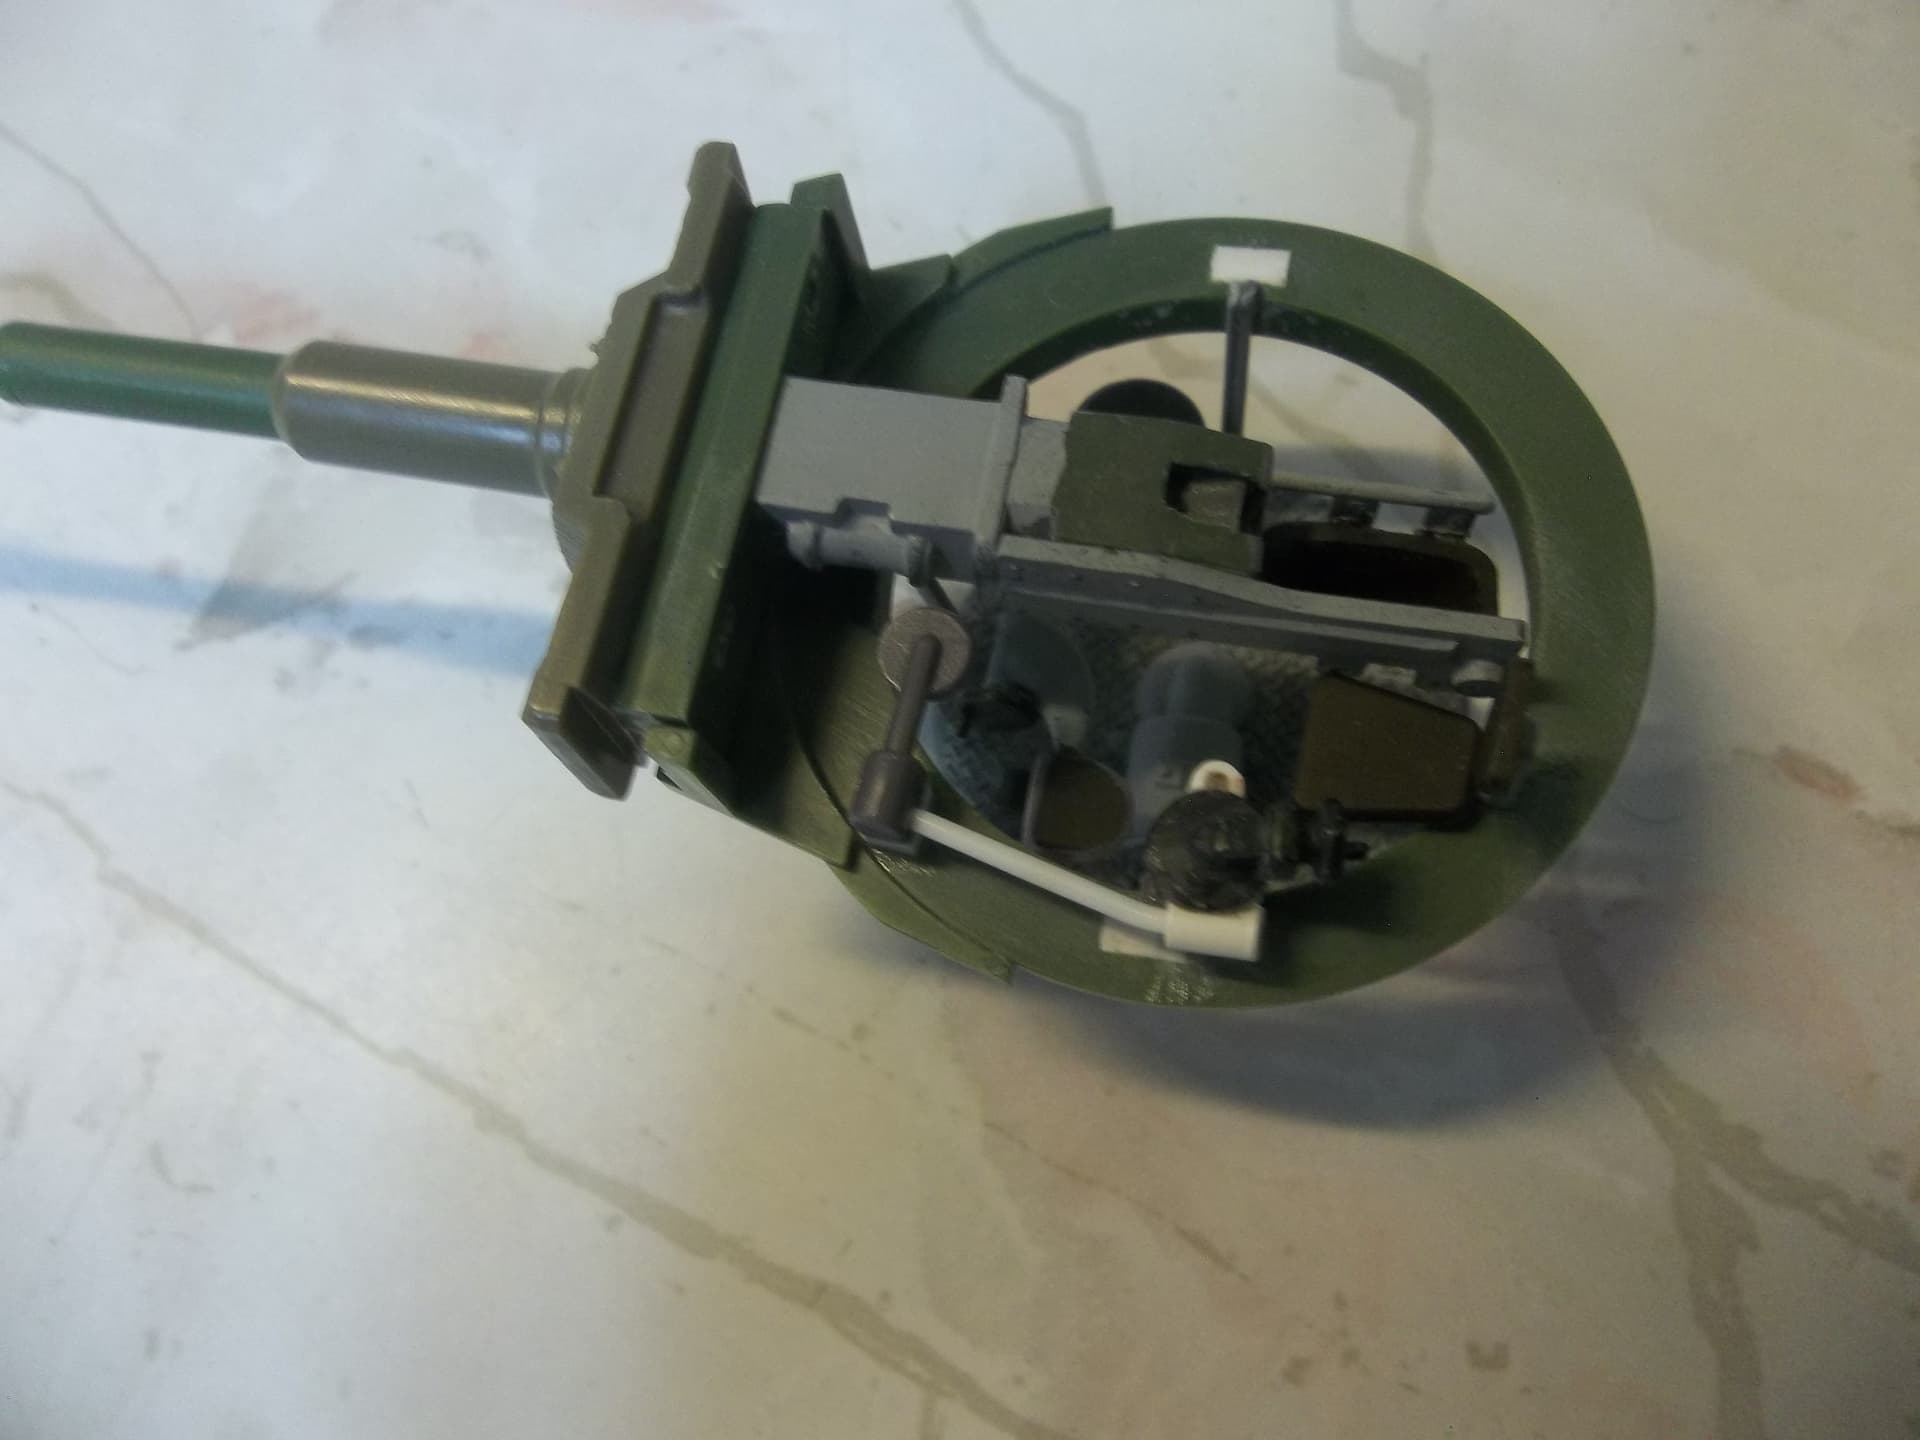
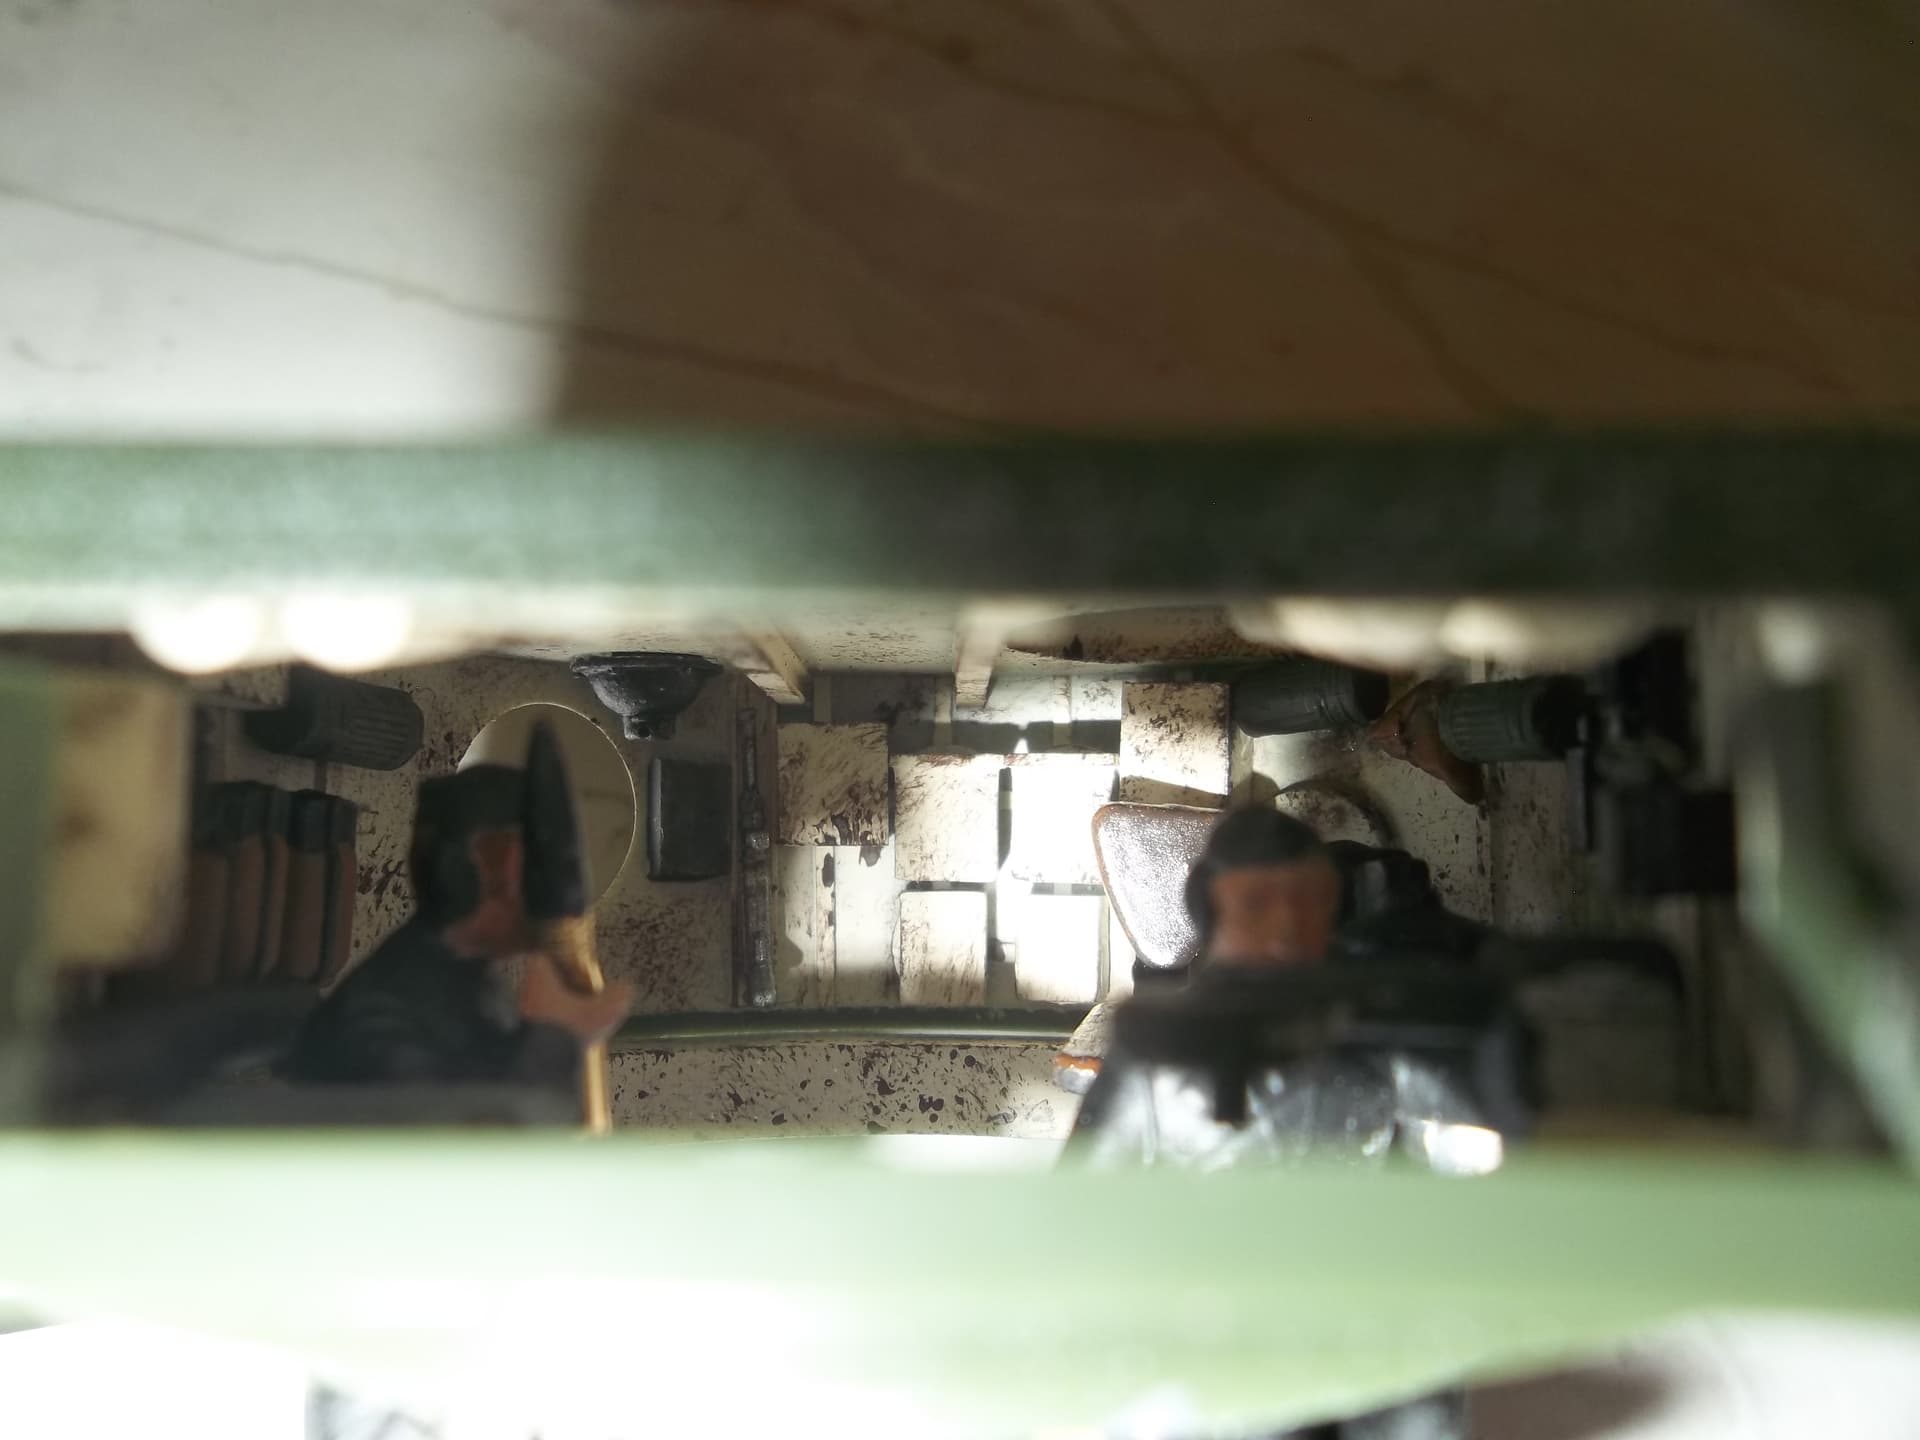
Unlike some other kits, the Skybow model does not allow the turret or superstructure roof to be removeable, which will greatly reduce visibility inside, so I am not going for super detail. Mostly I am going for shapes and colors you can see thru the hatches.
Ken
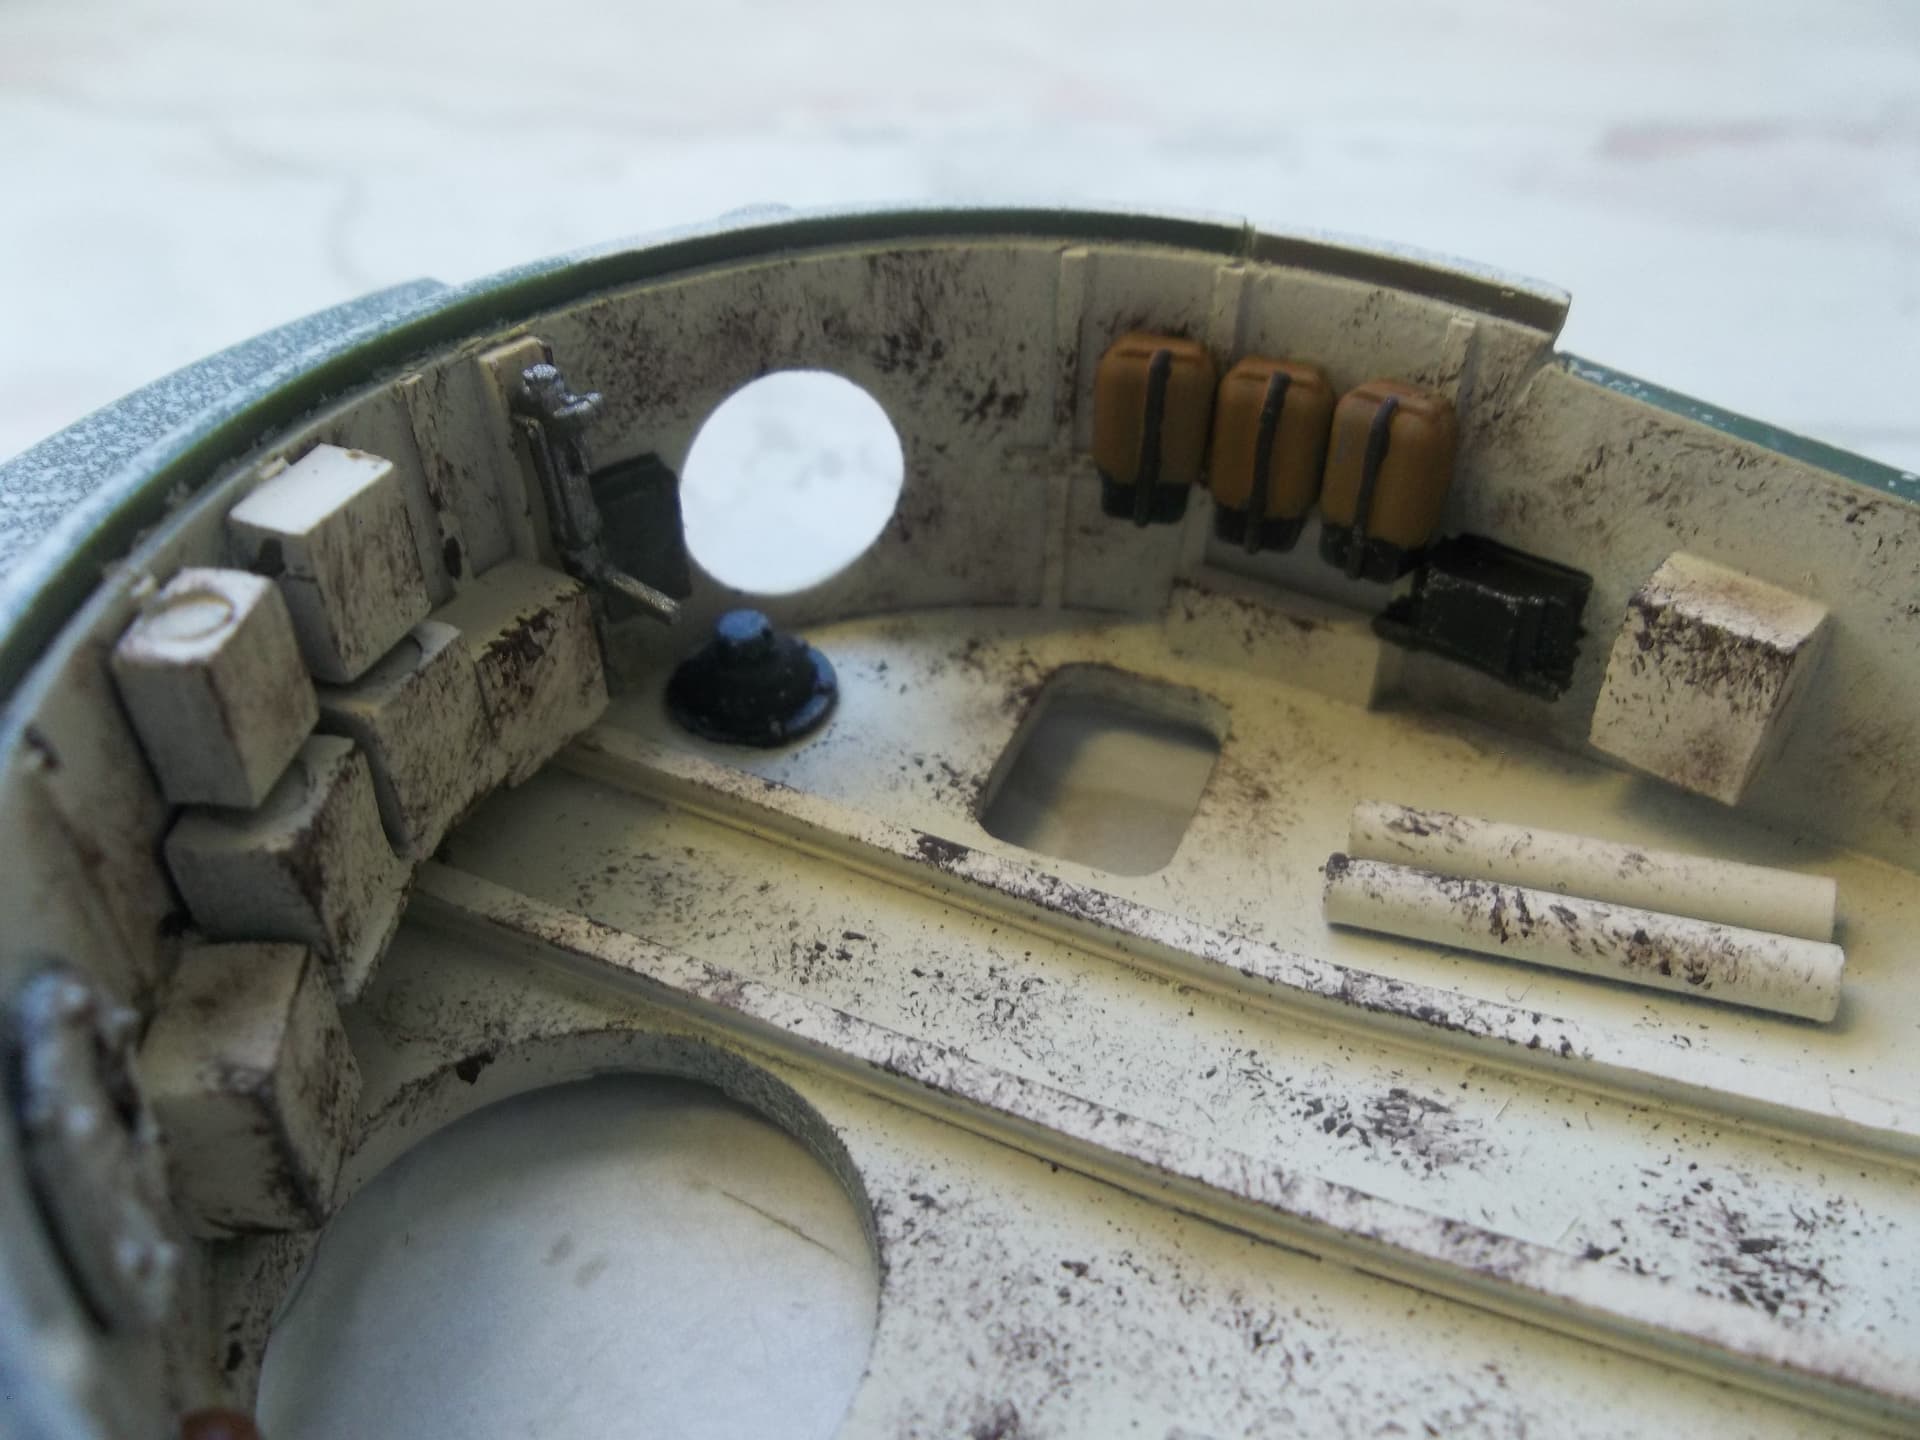
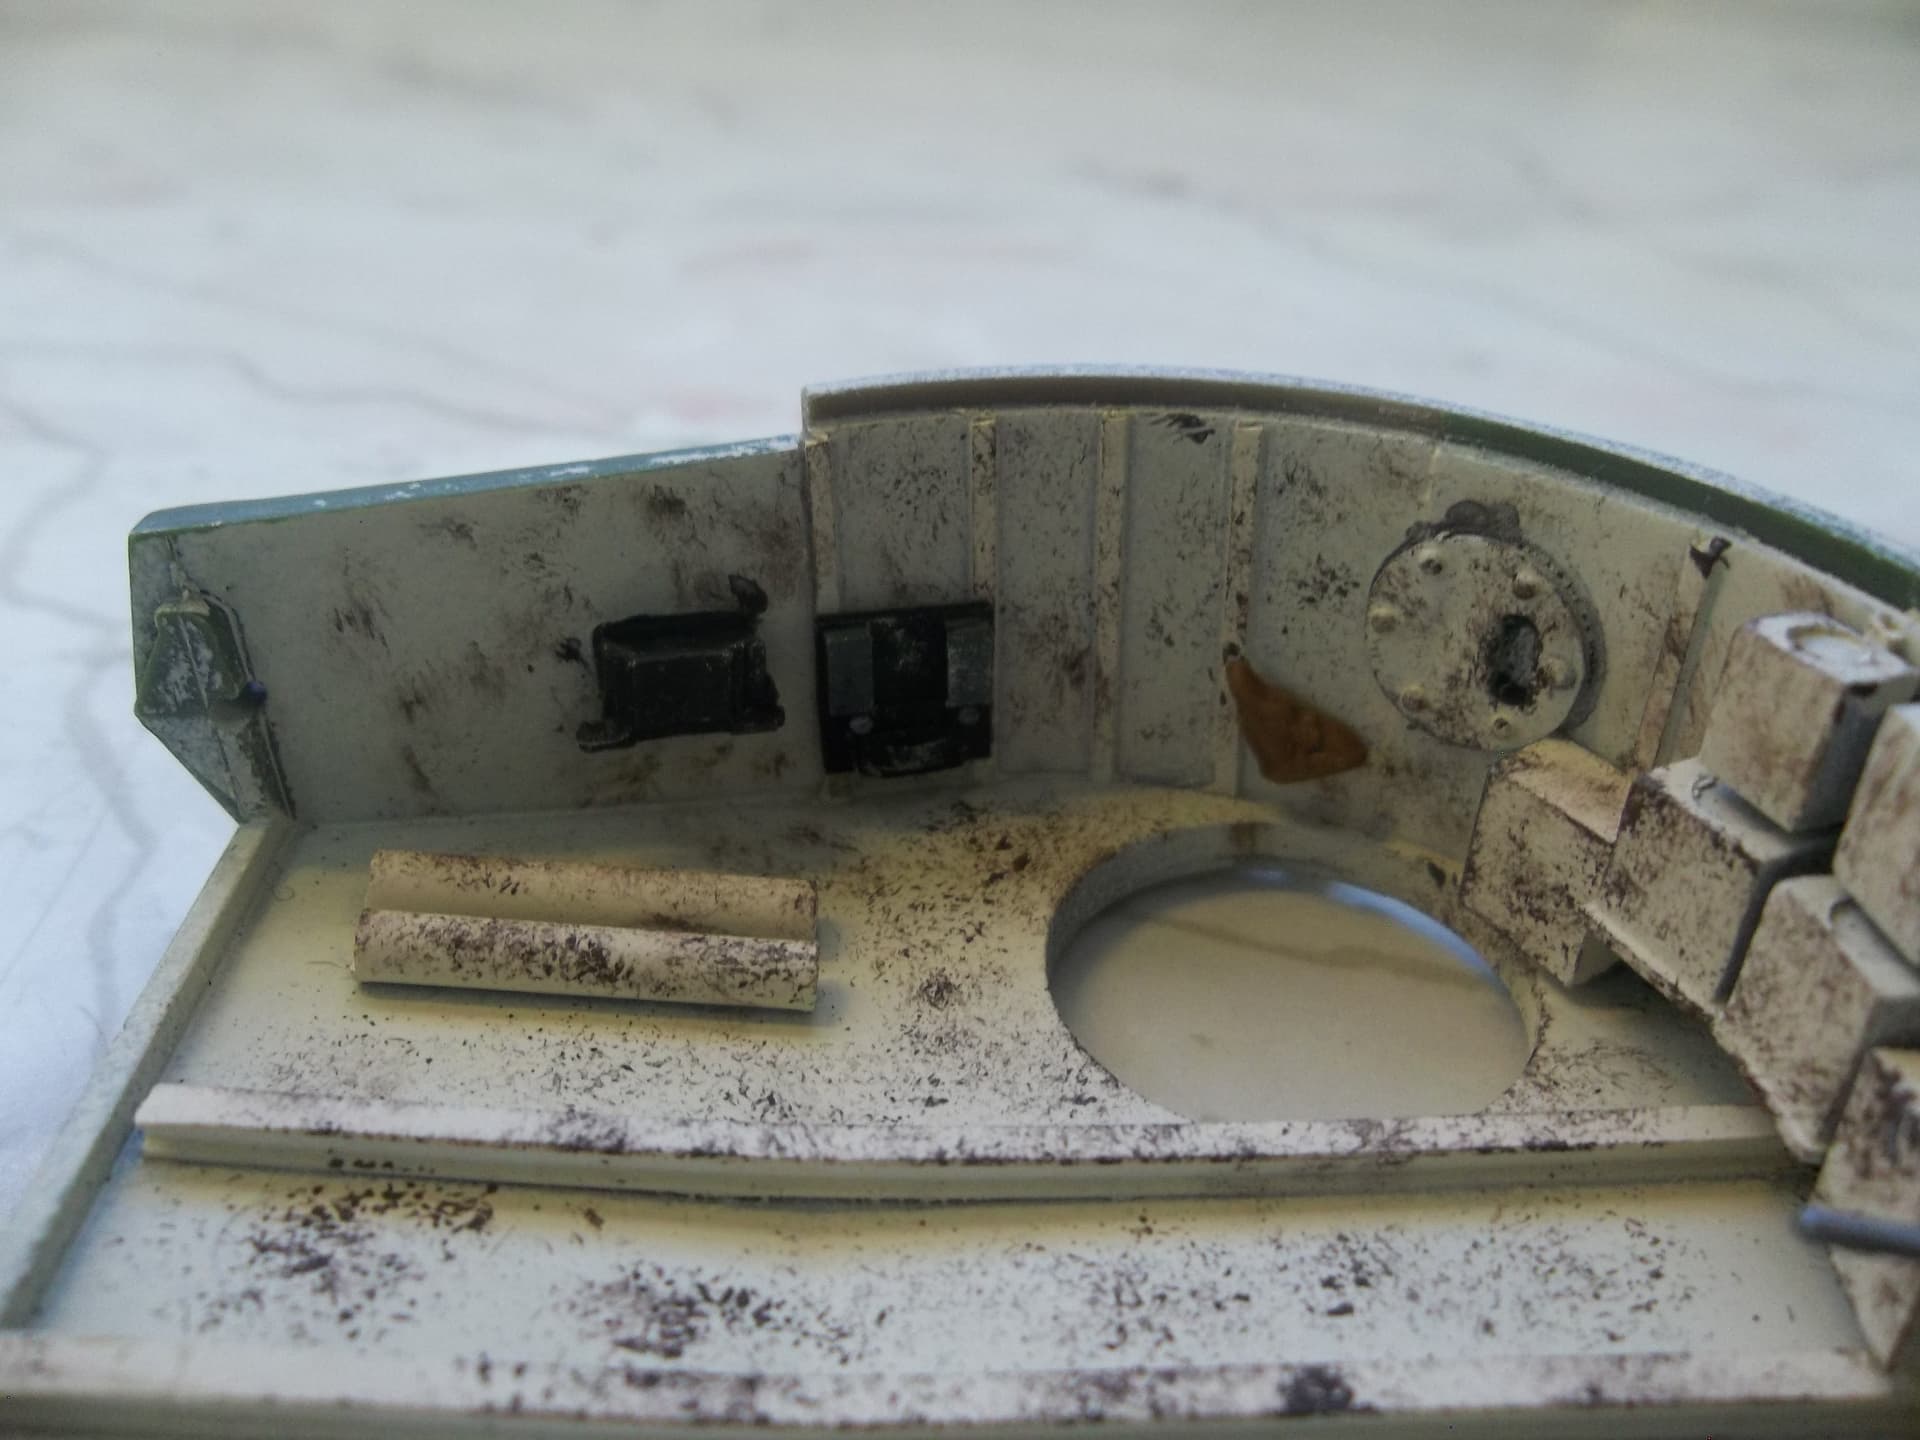
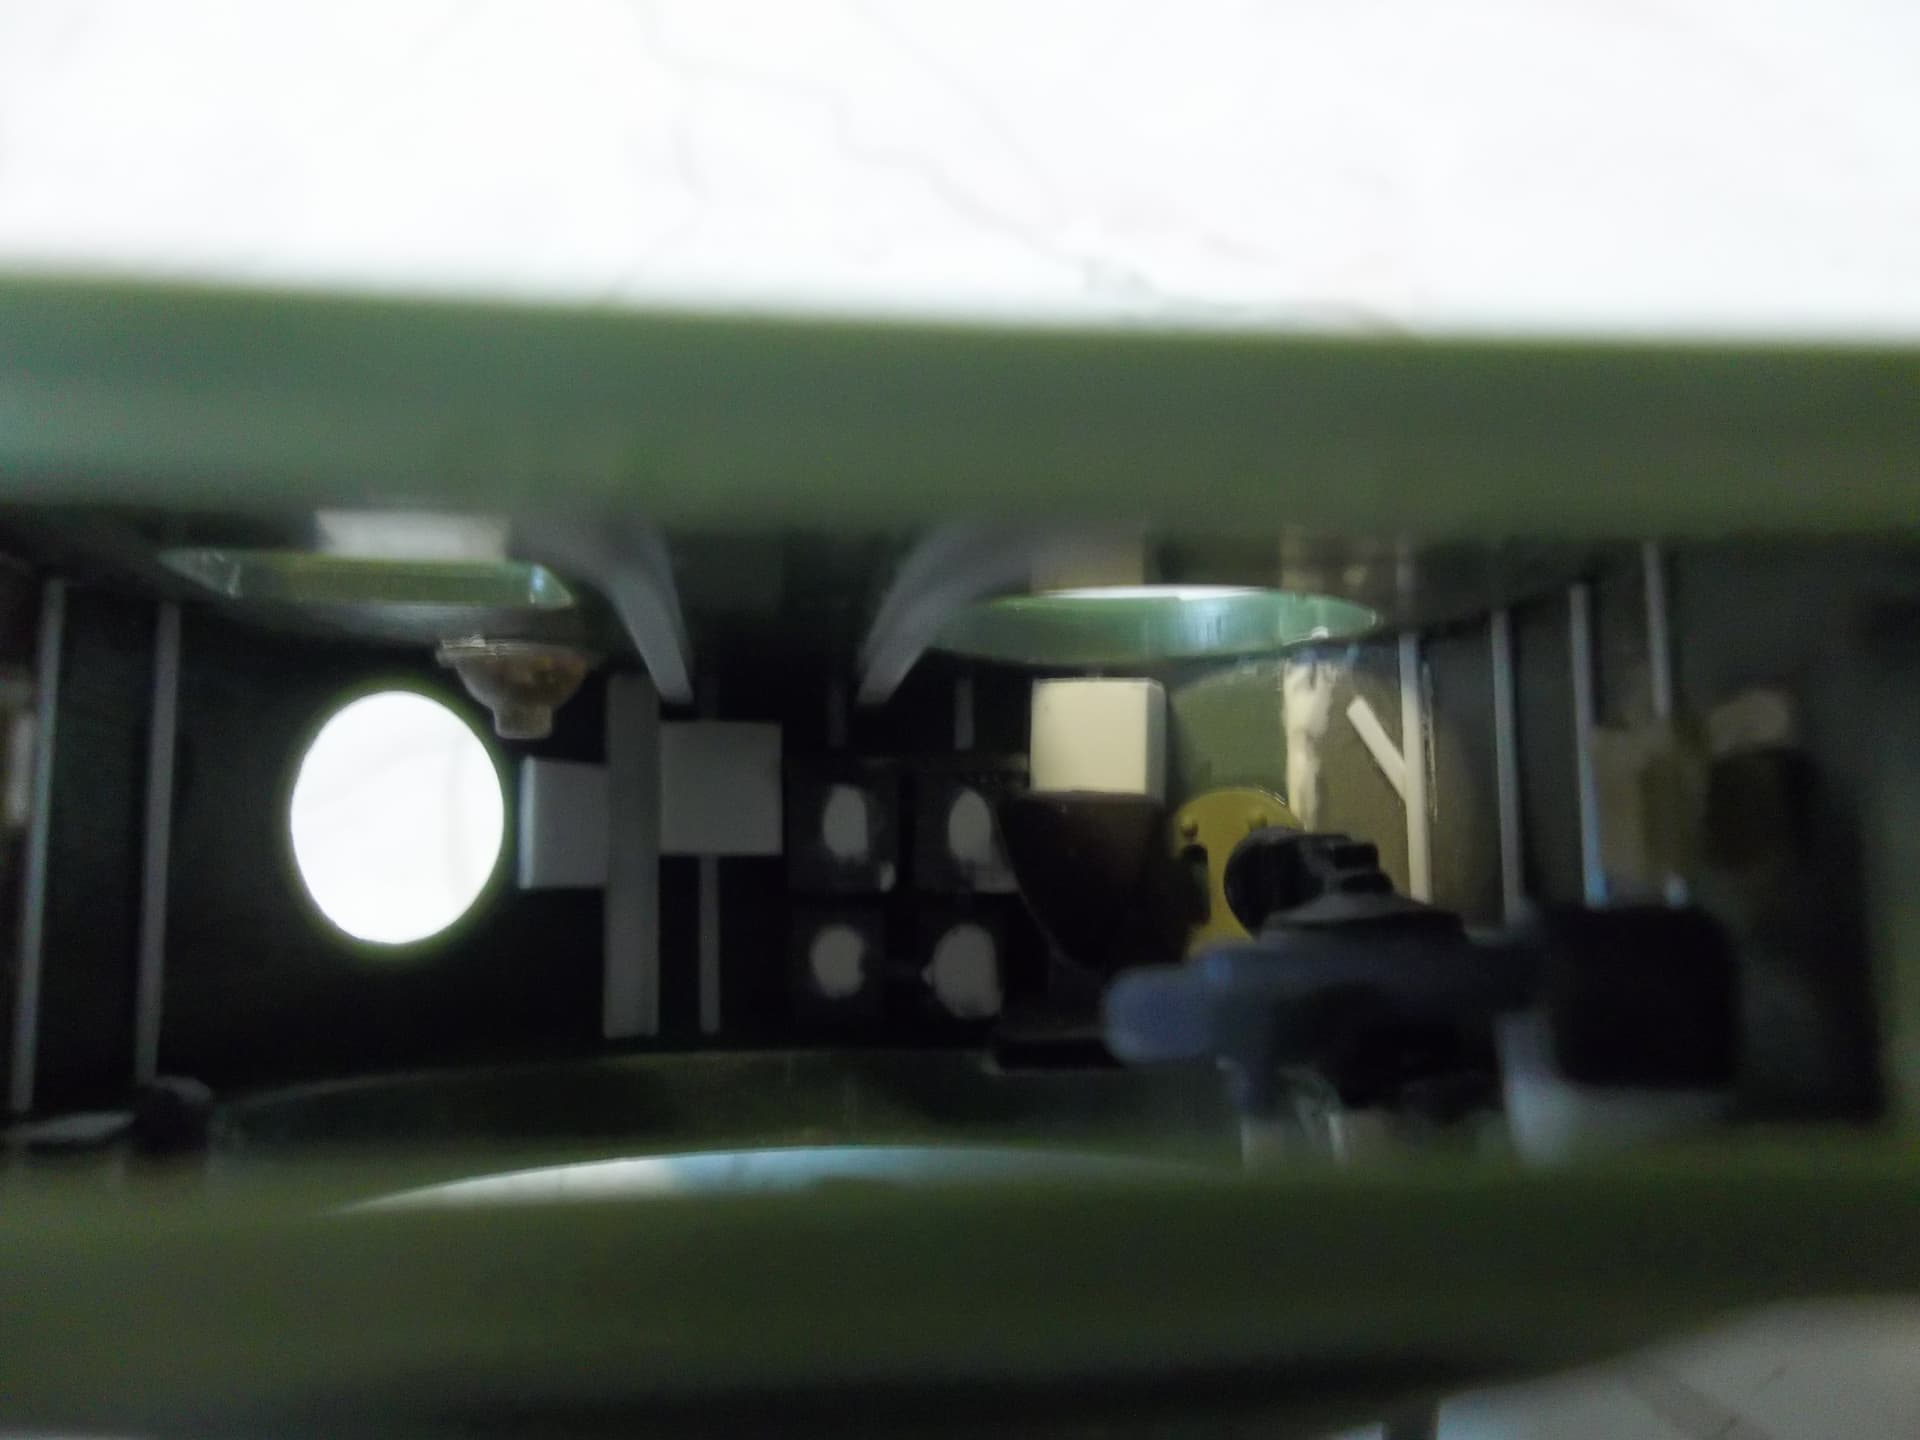
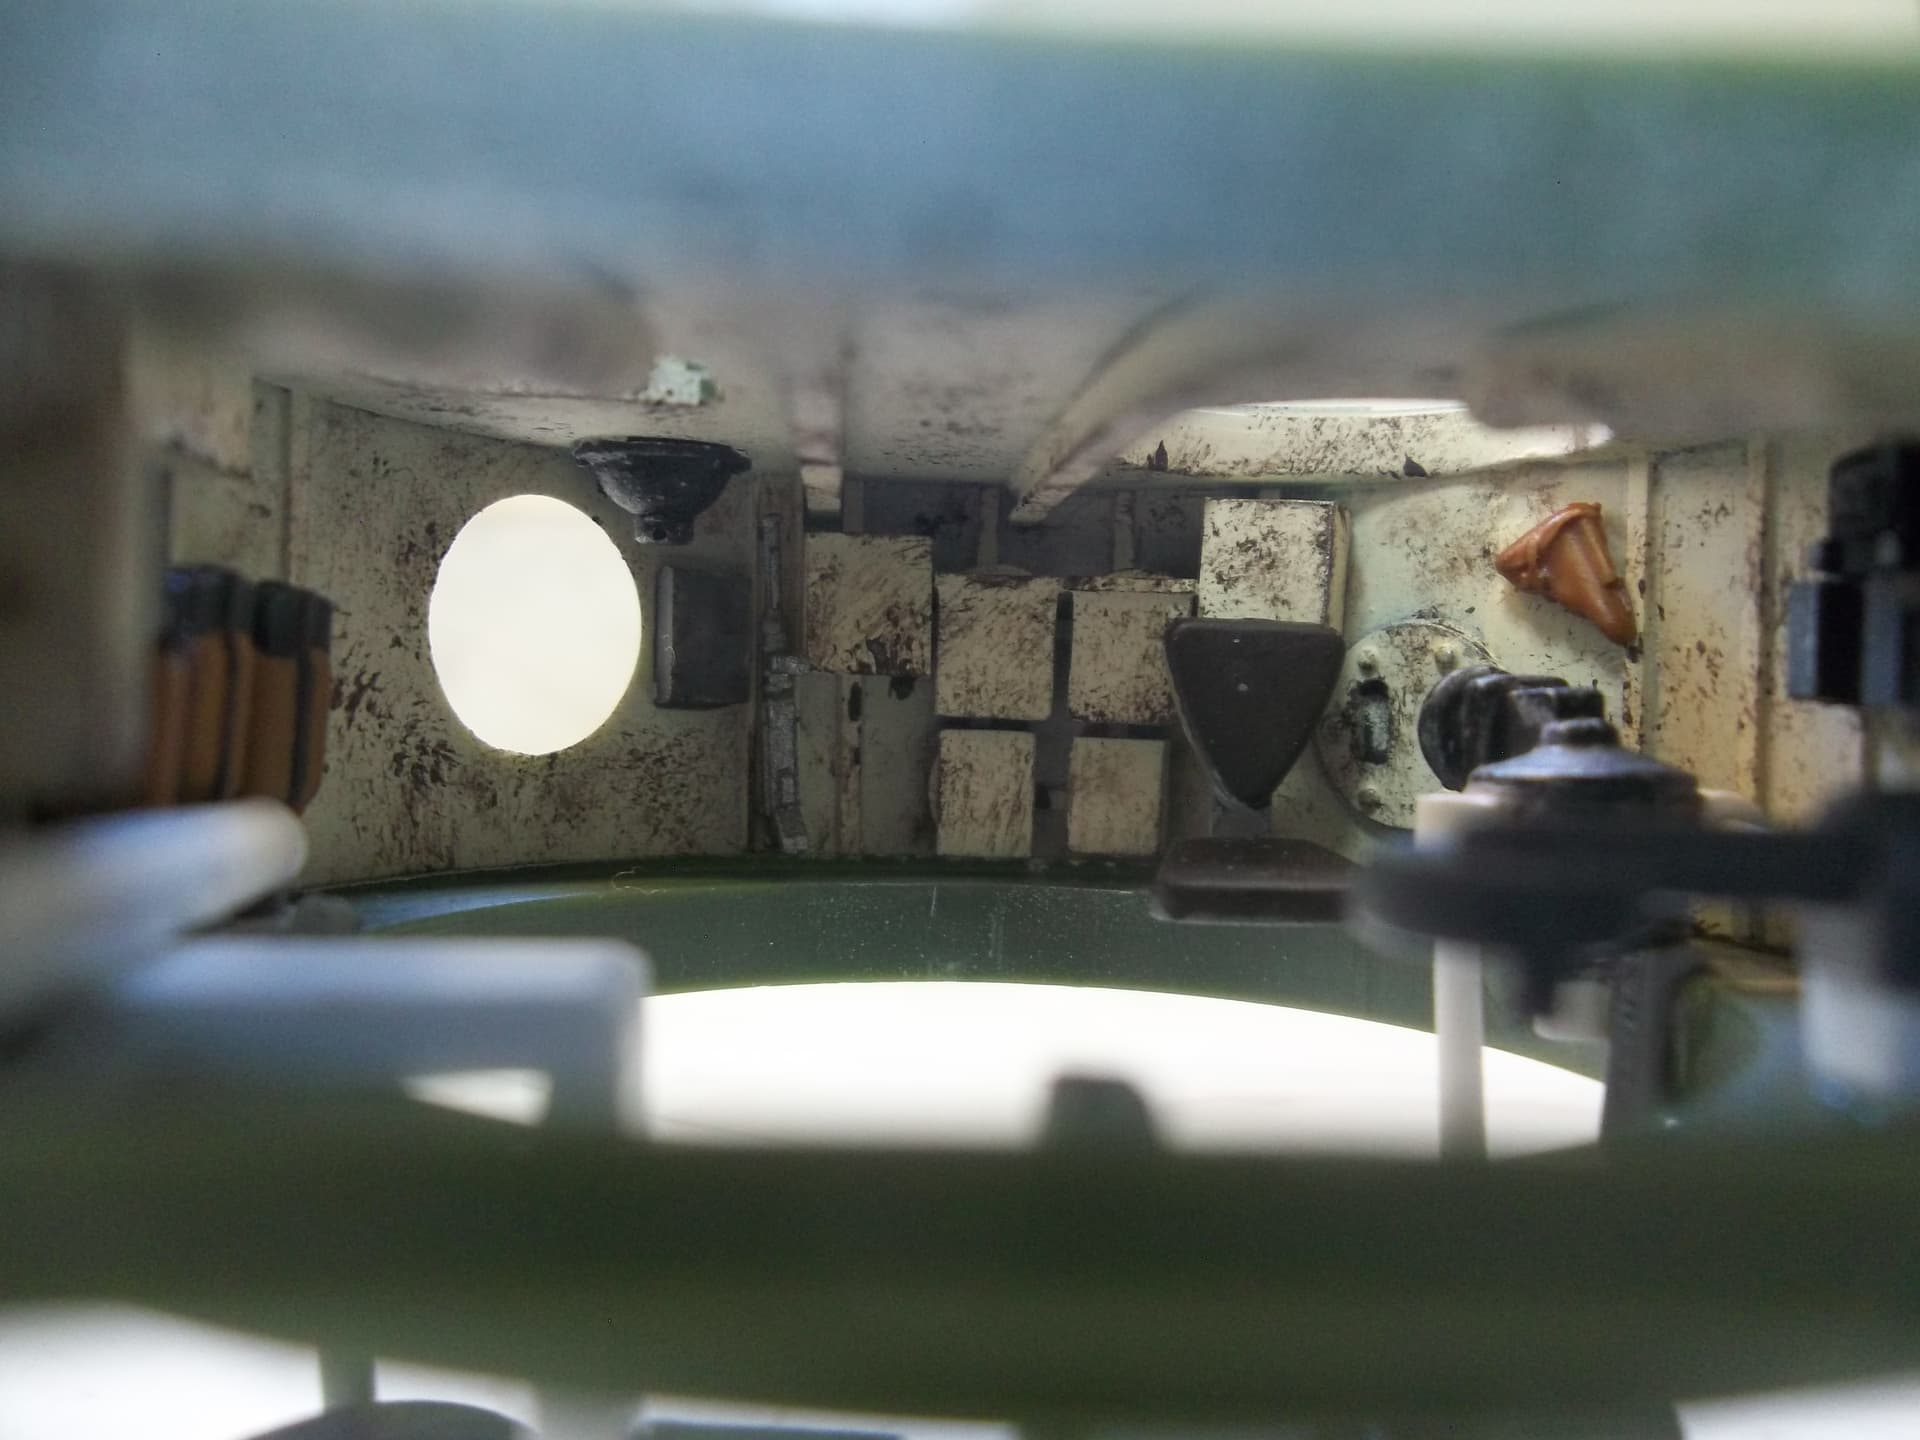
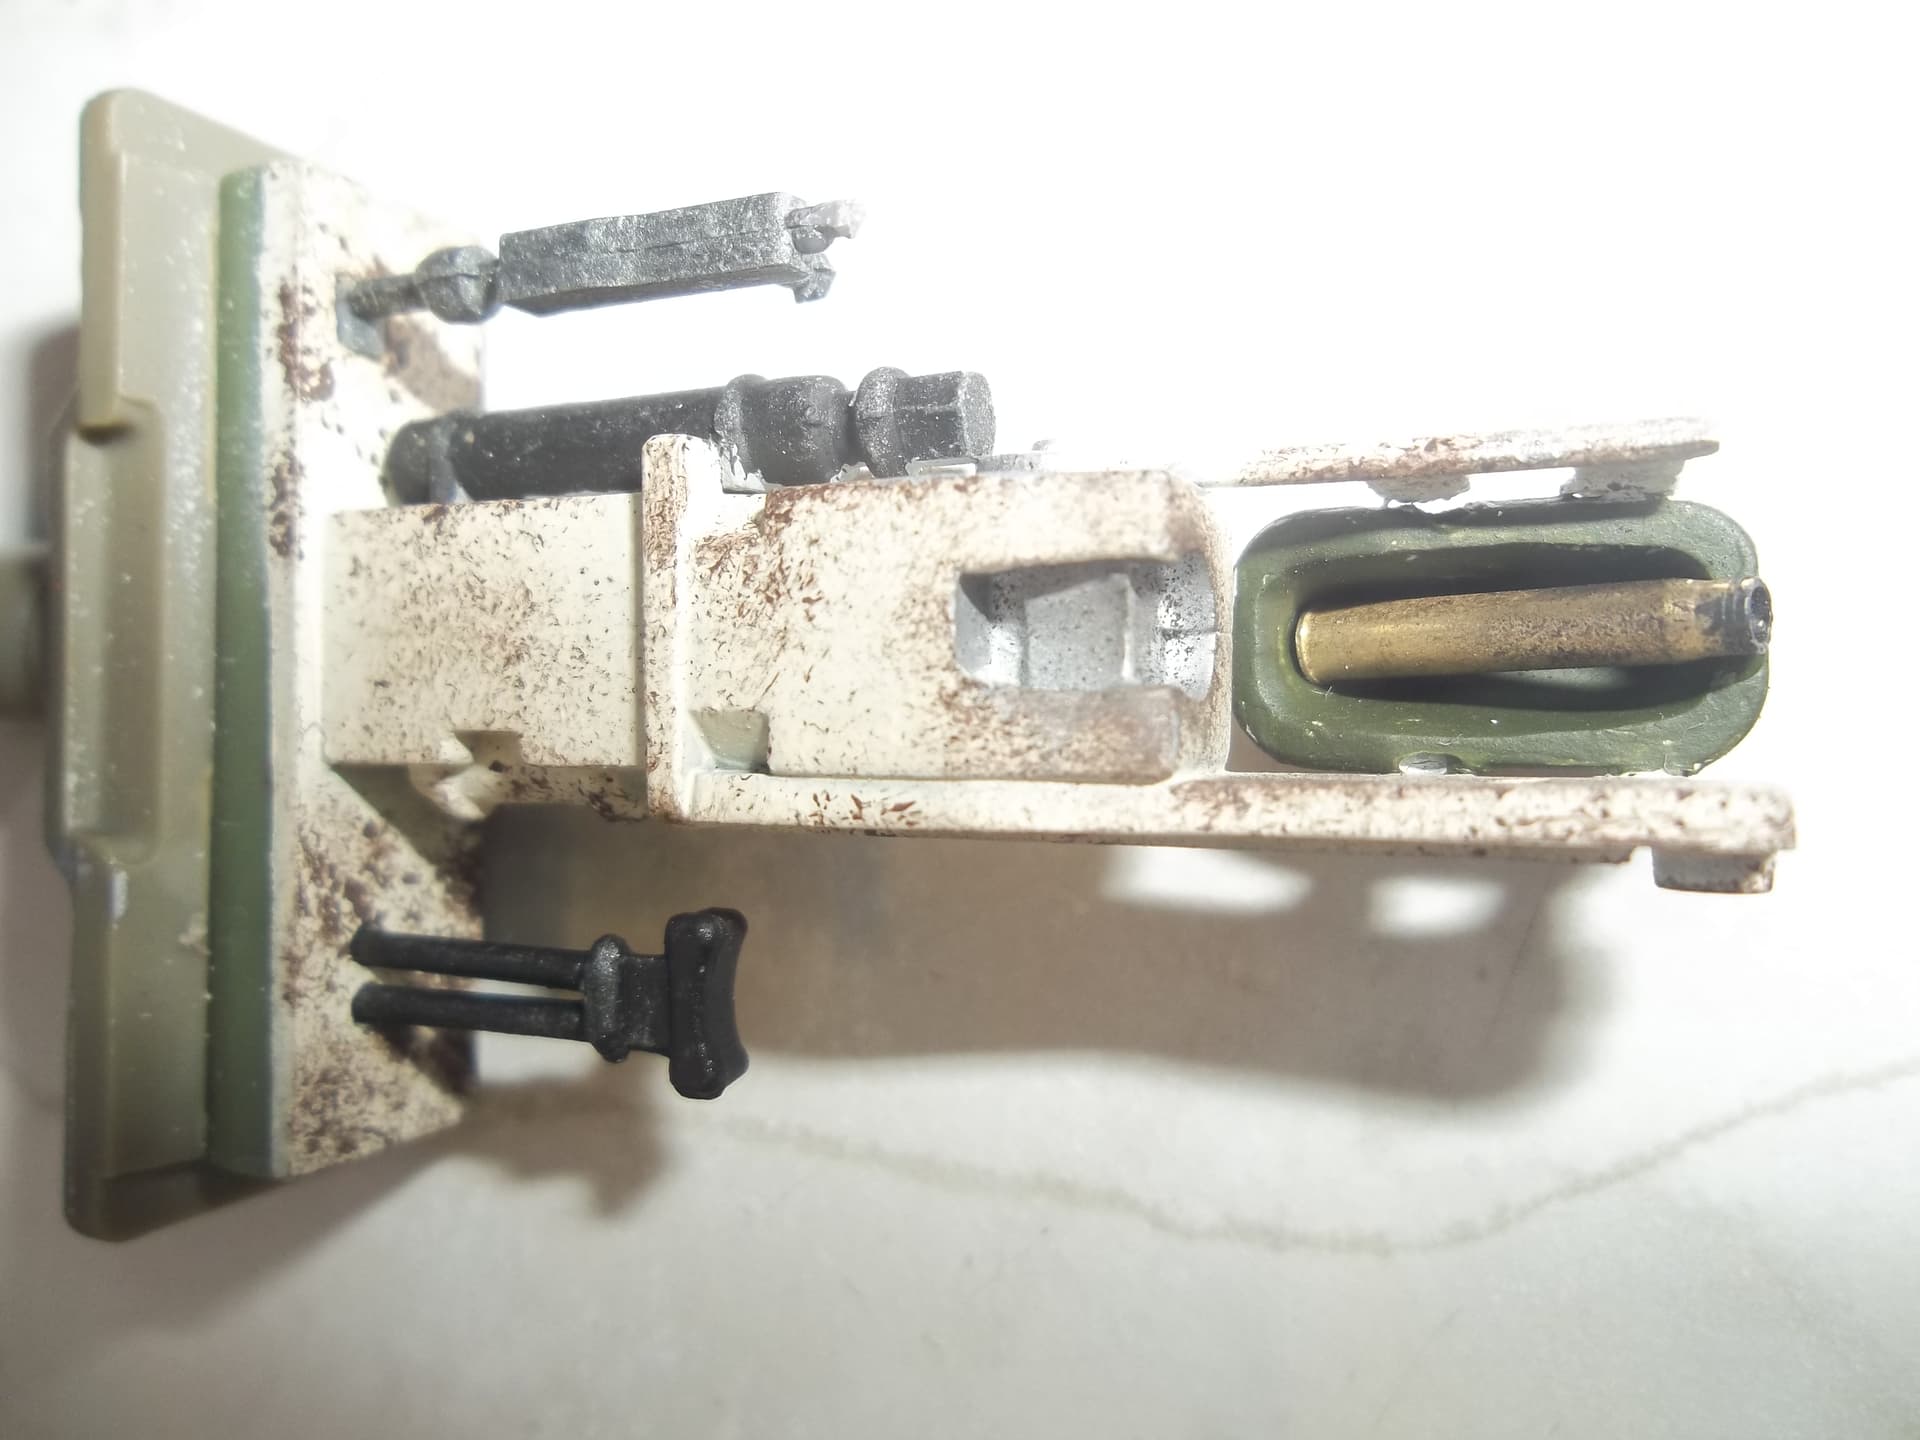
OK, I acknowledge that I am a bit slow when it comes to building models, but I can also be slow when it comes to taking photos and then to posting said photos. So here I am trying to catch up. Here is inside the turret with some paint on it.
It’s amazing how much a little paint can brighten up the interior of these things.
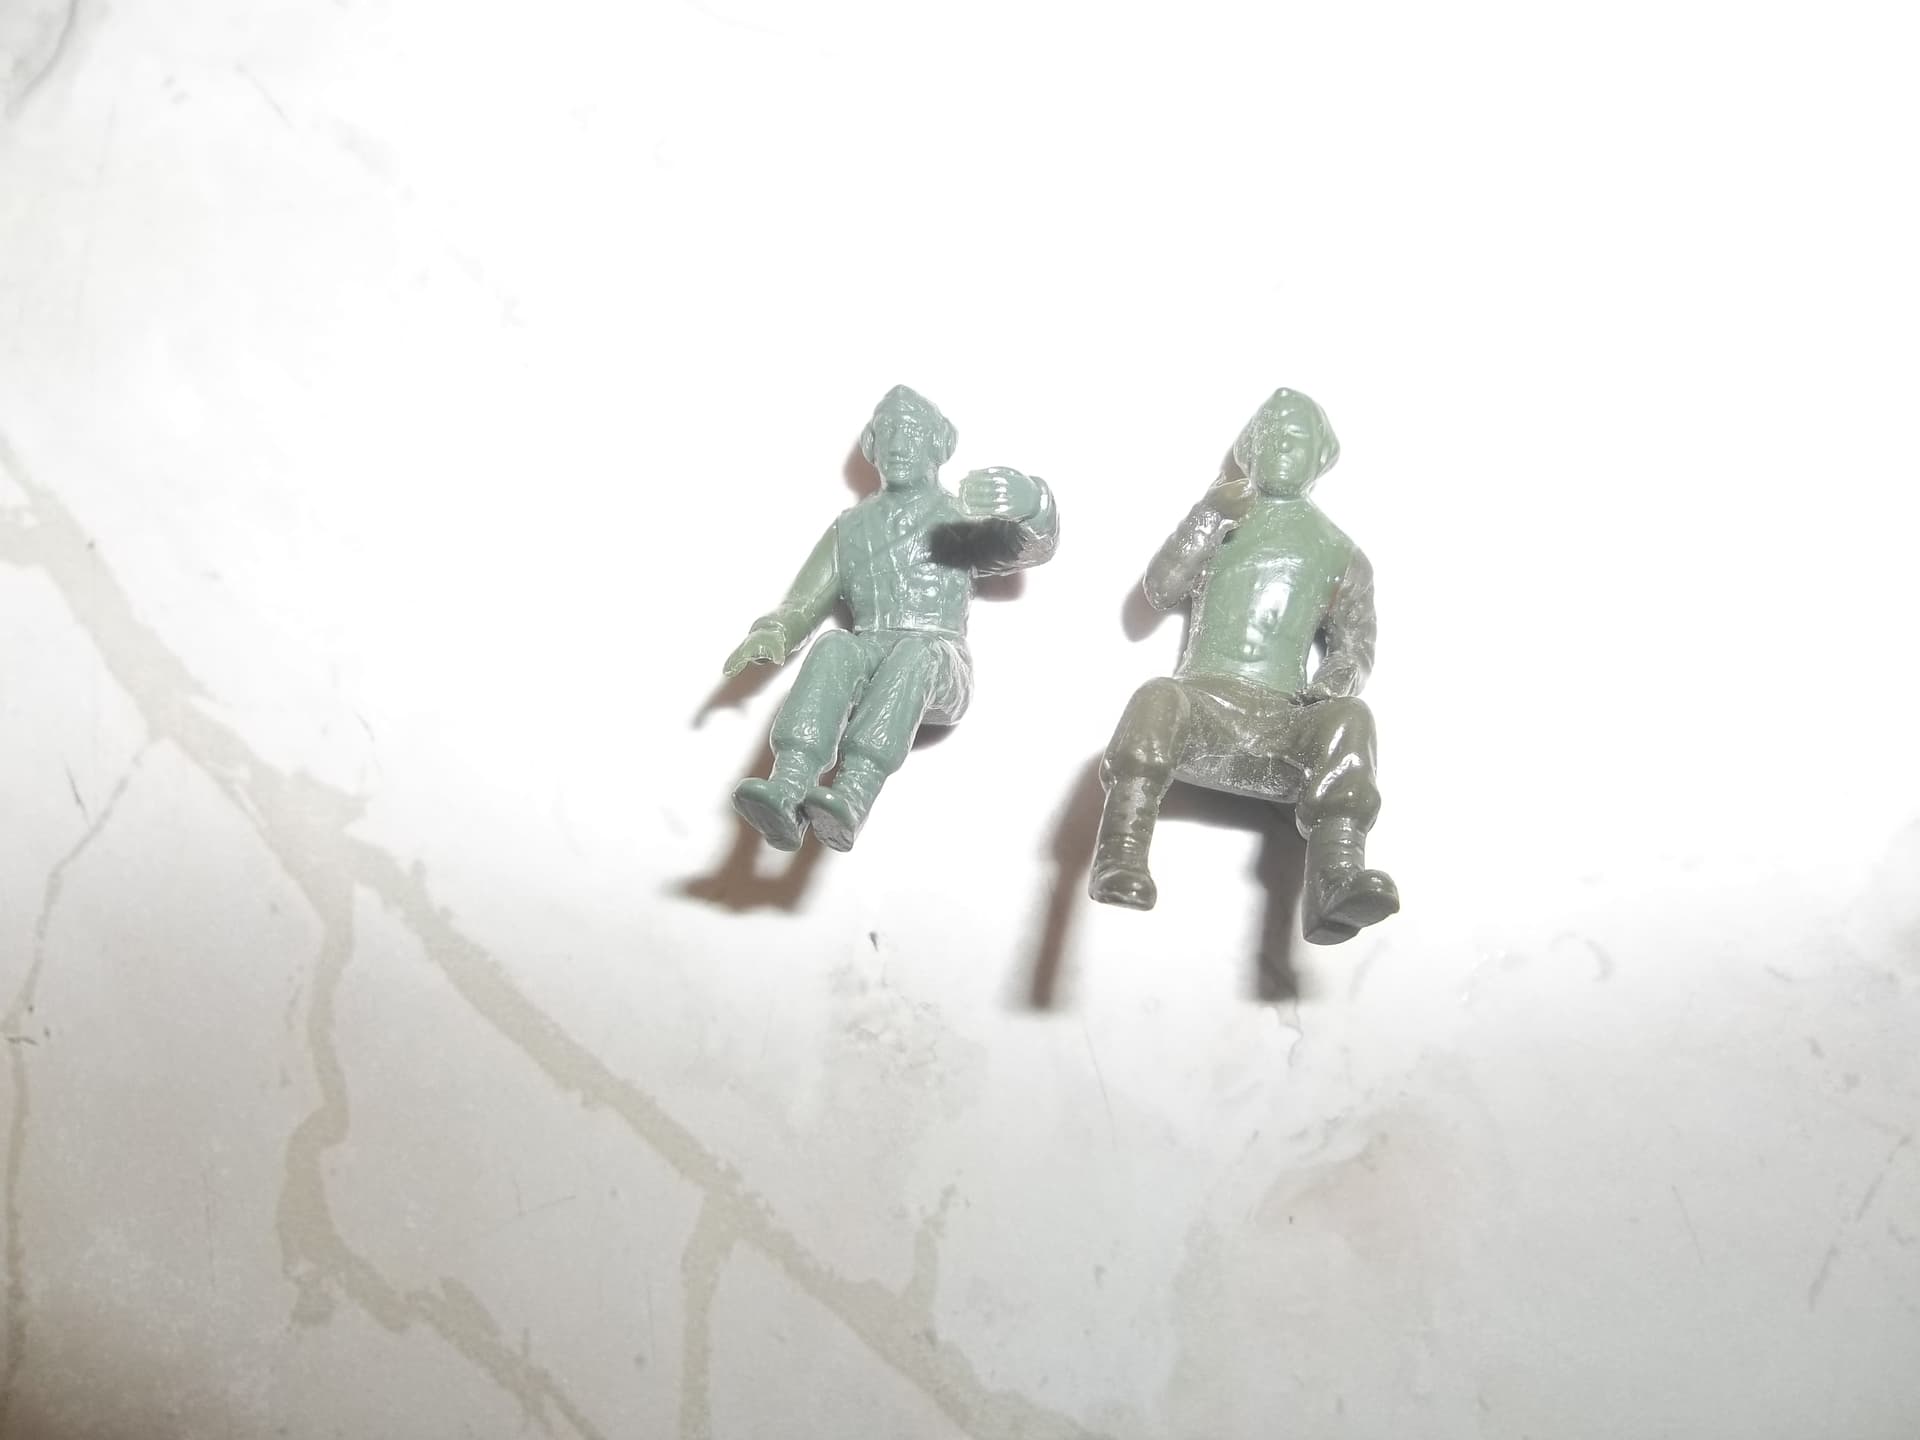
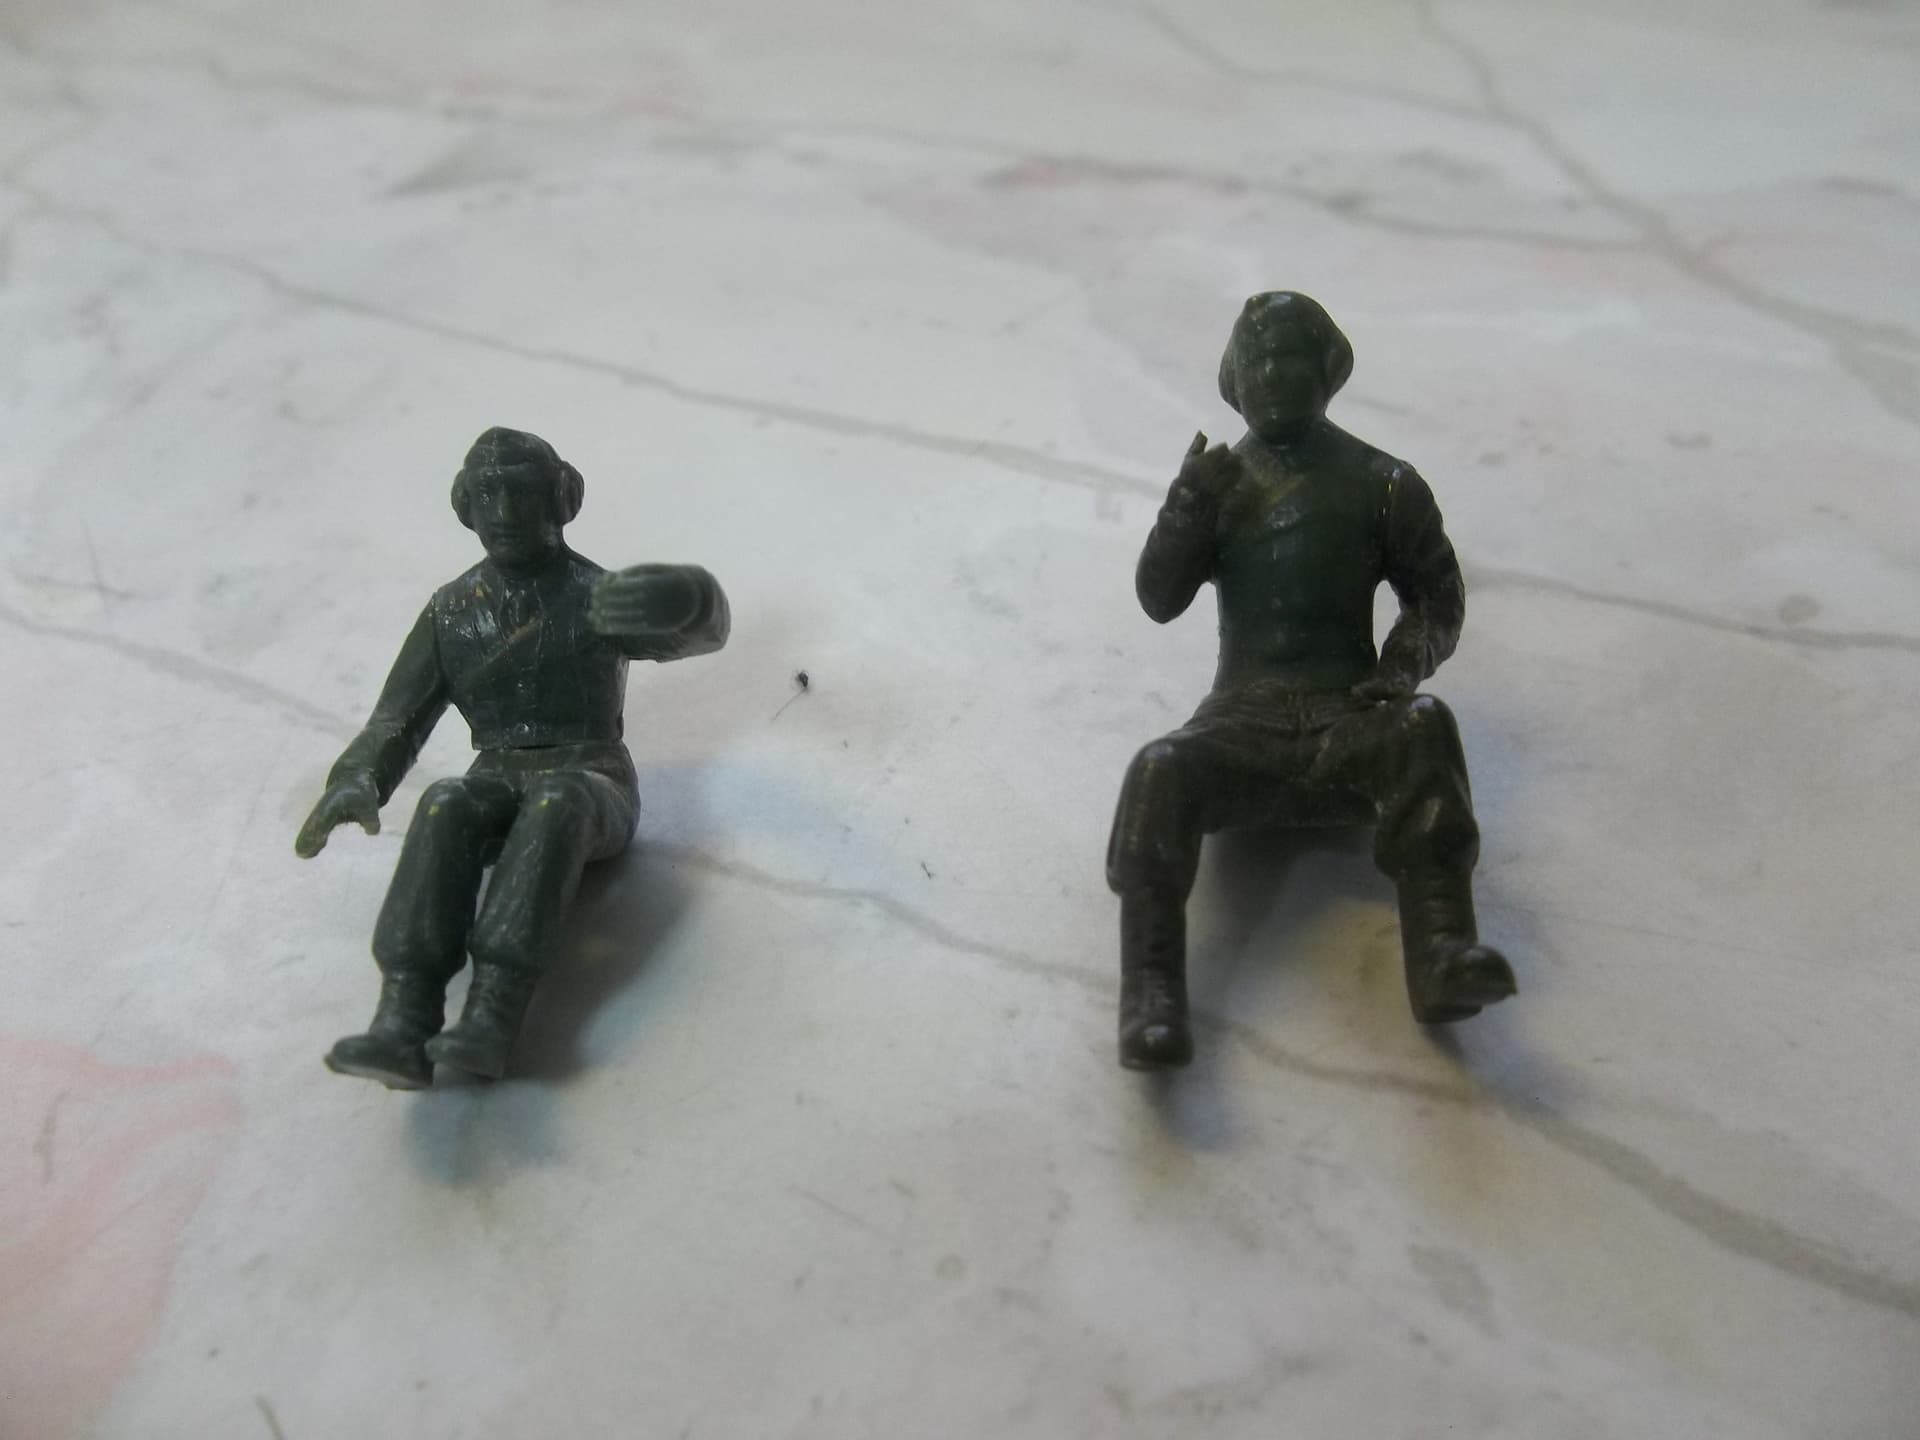
I have also been working on some crewmembers and the hull interior. Just need to get some photos.
Ken
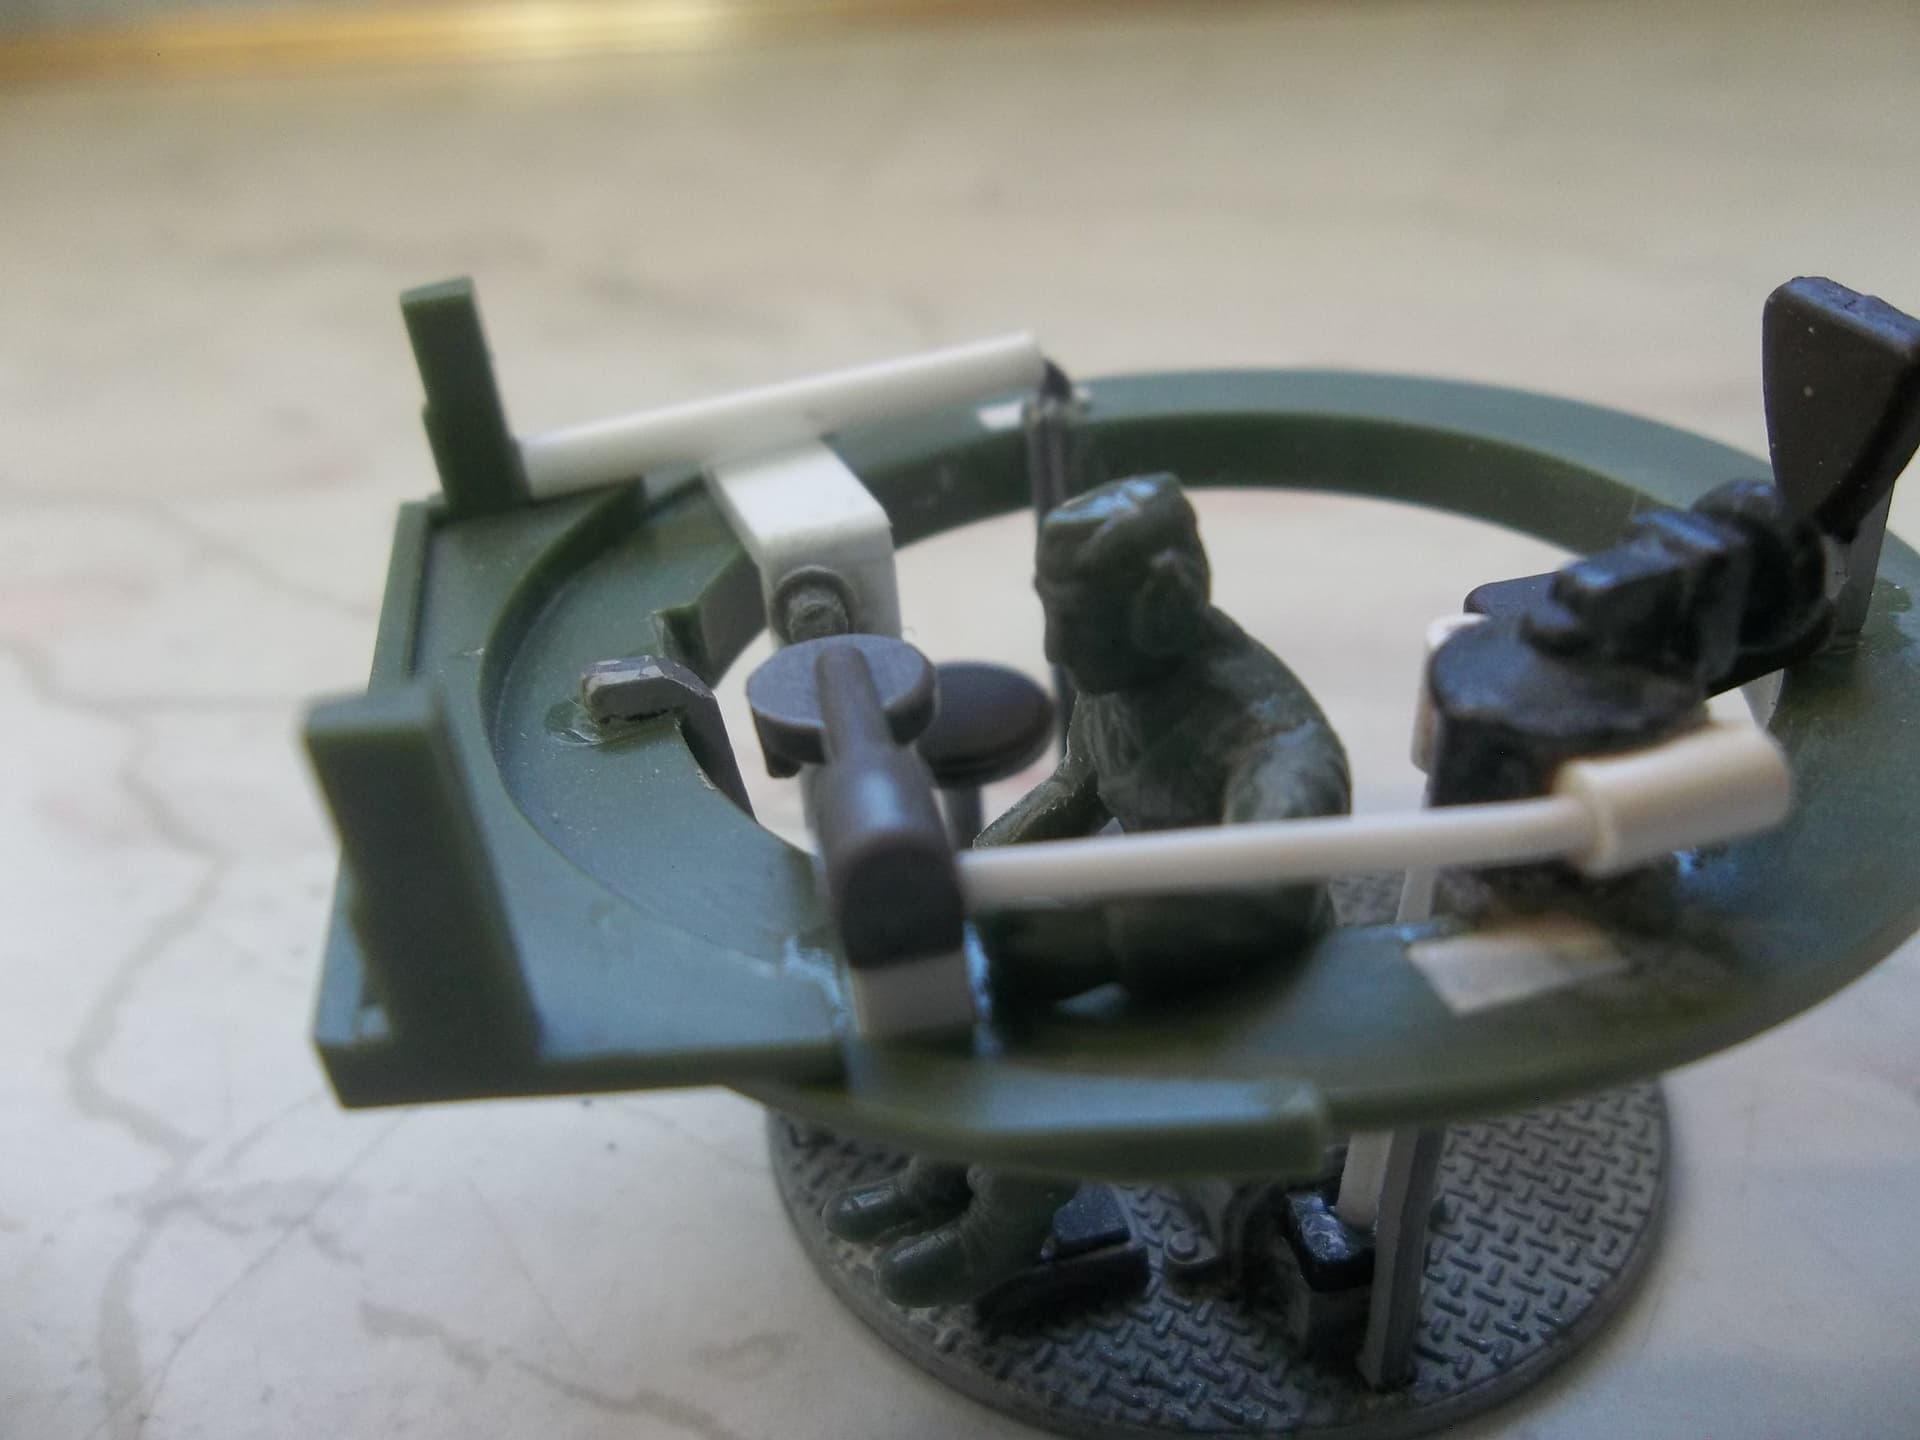
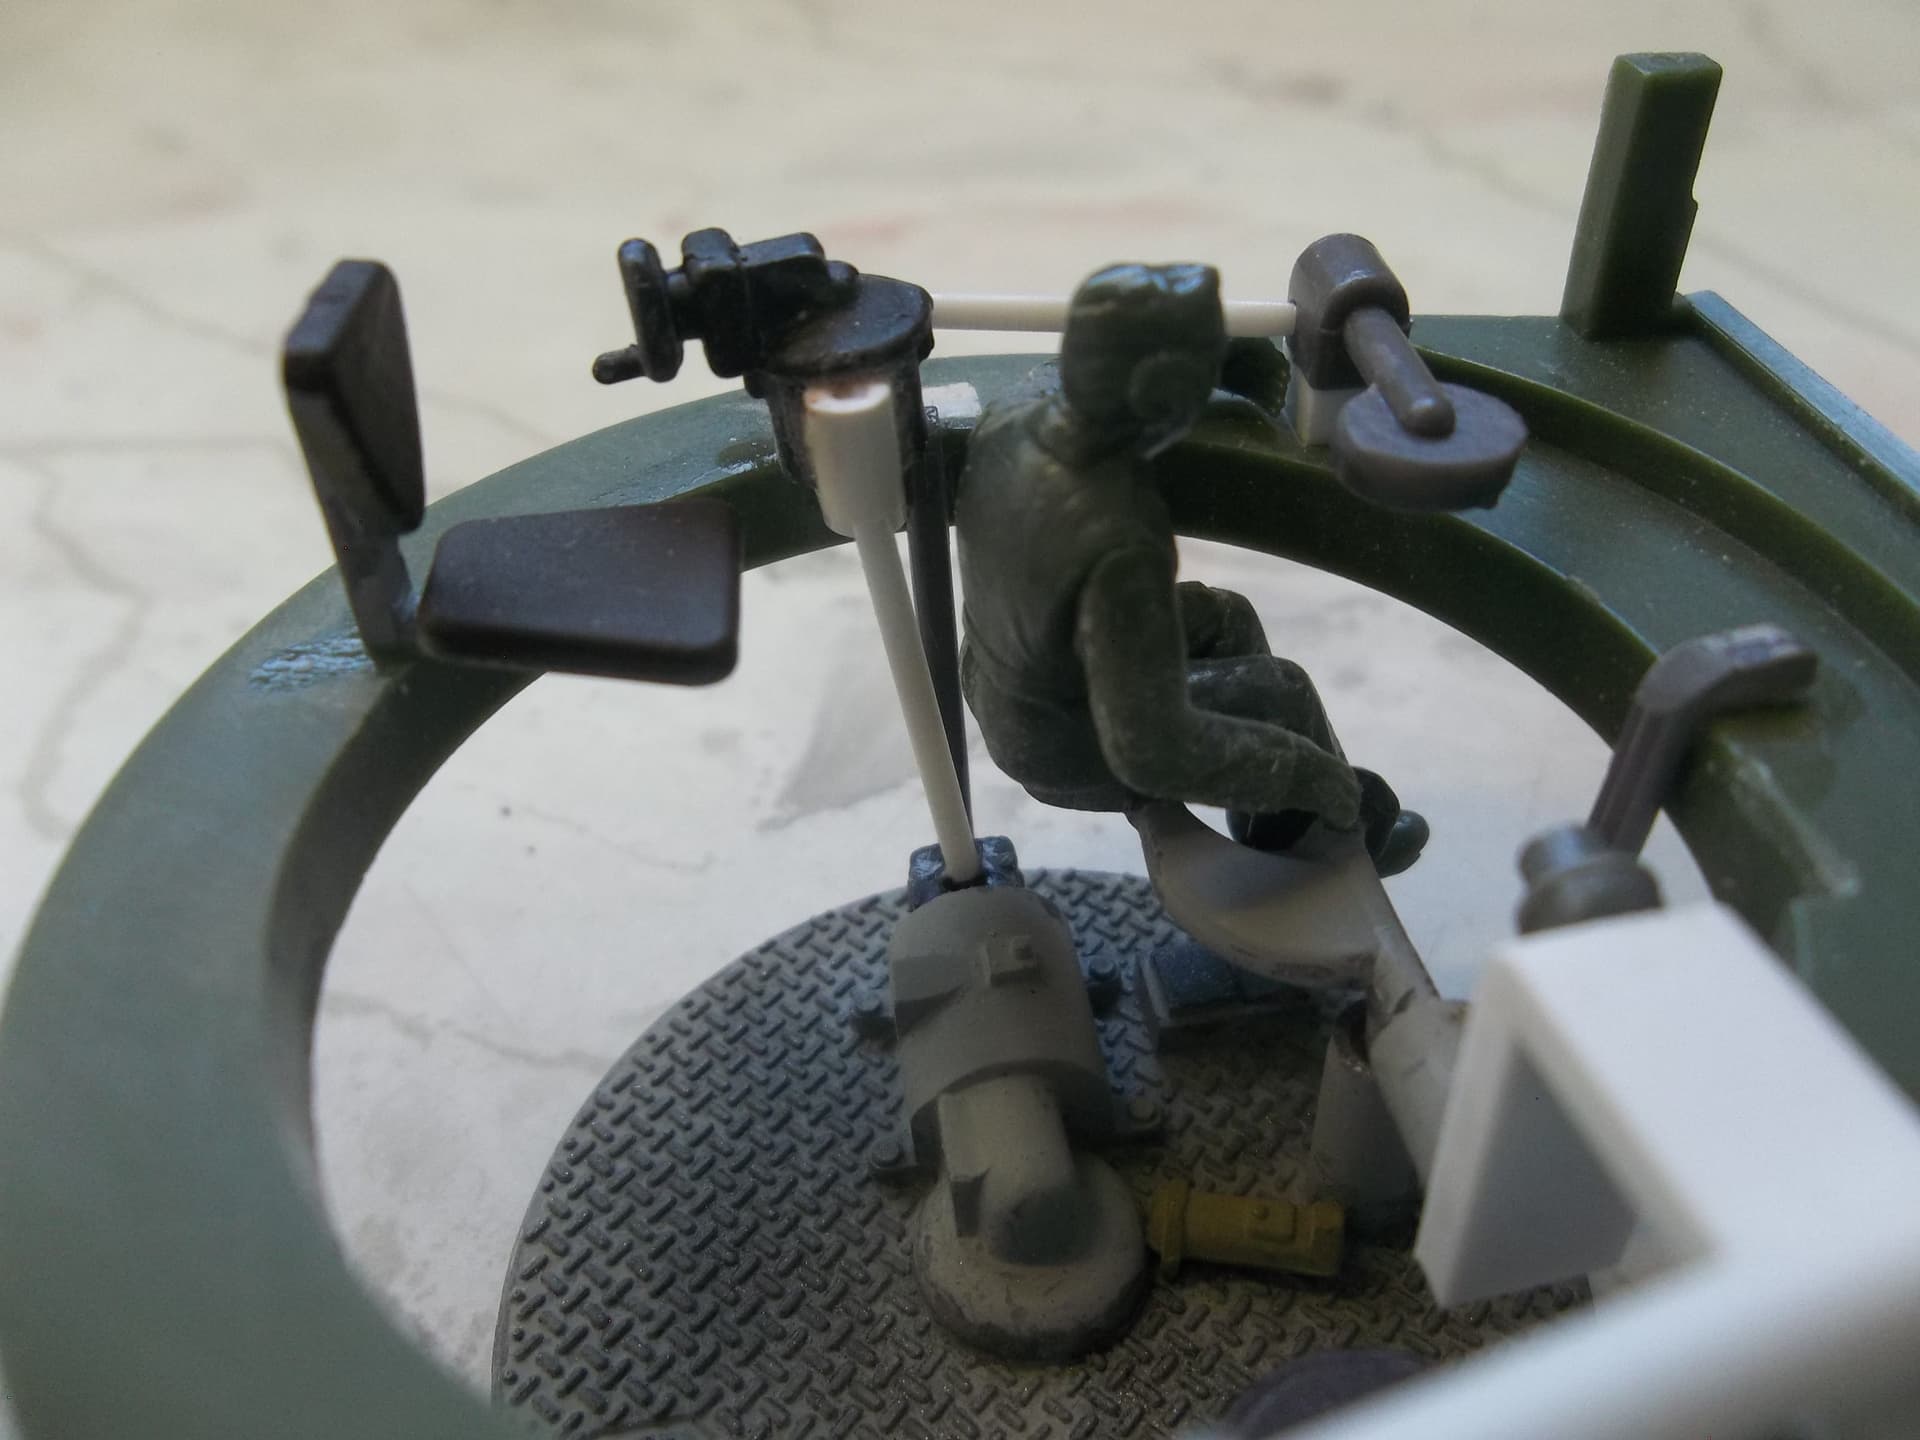
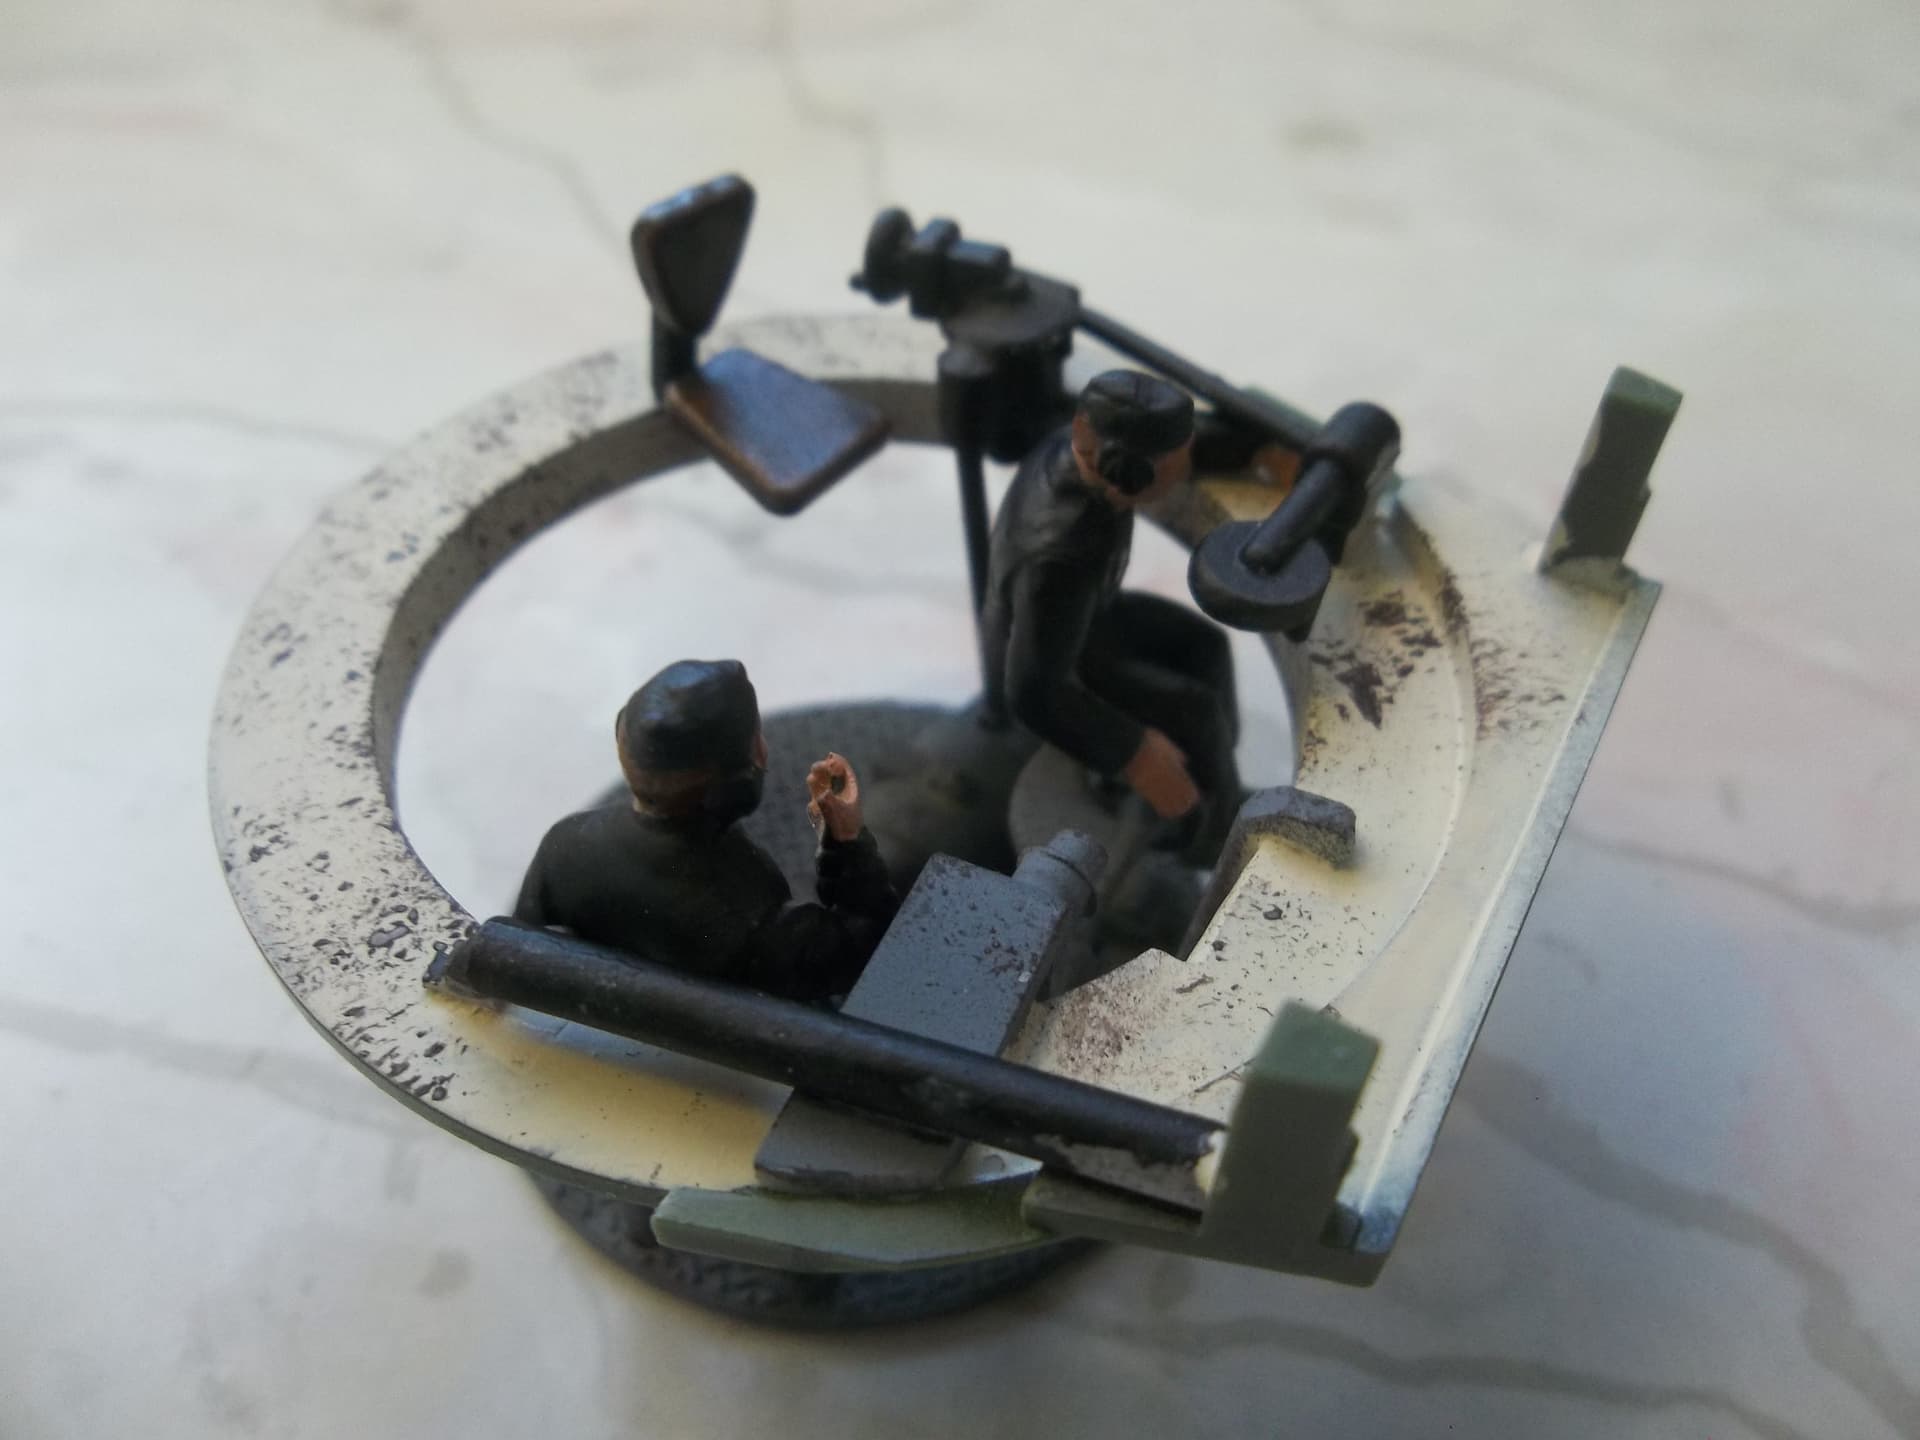
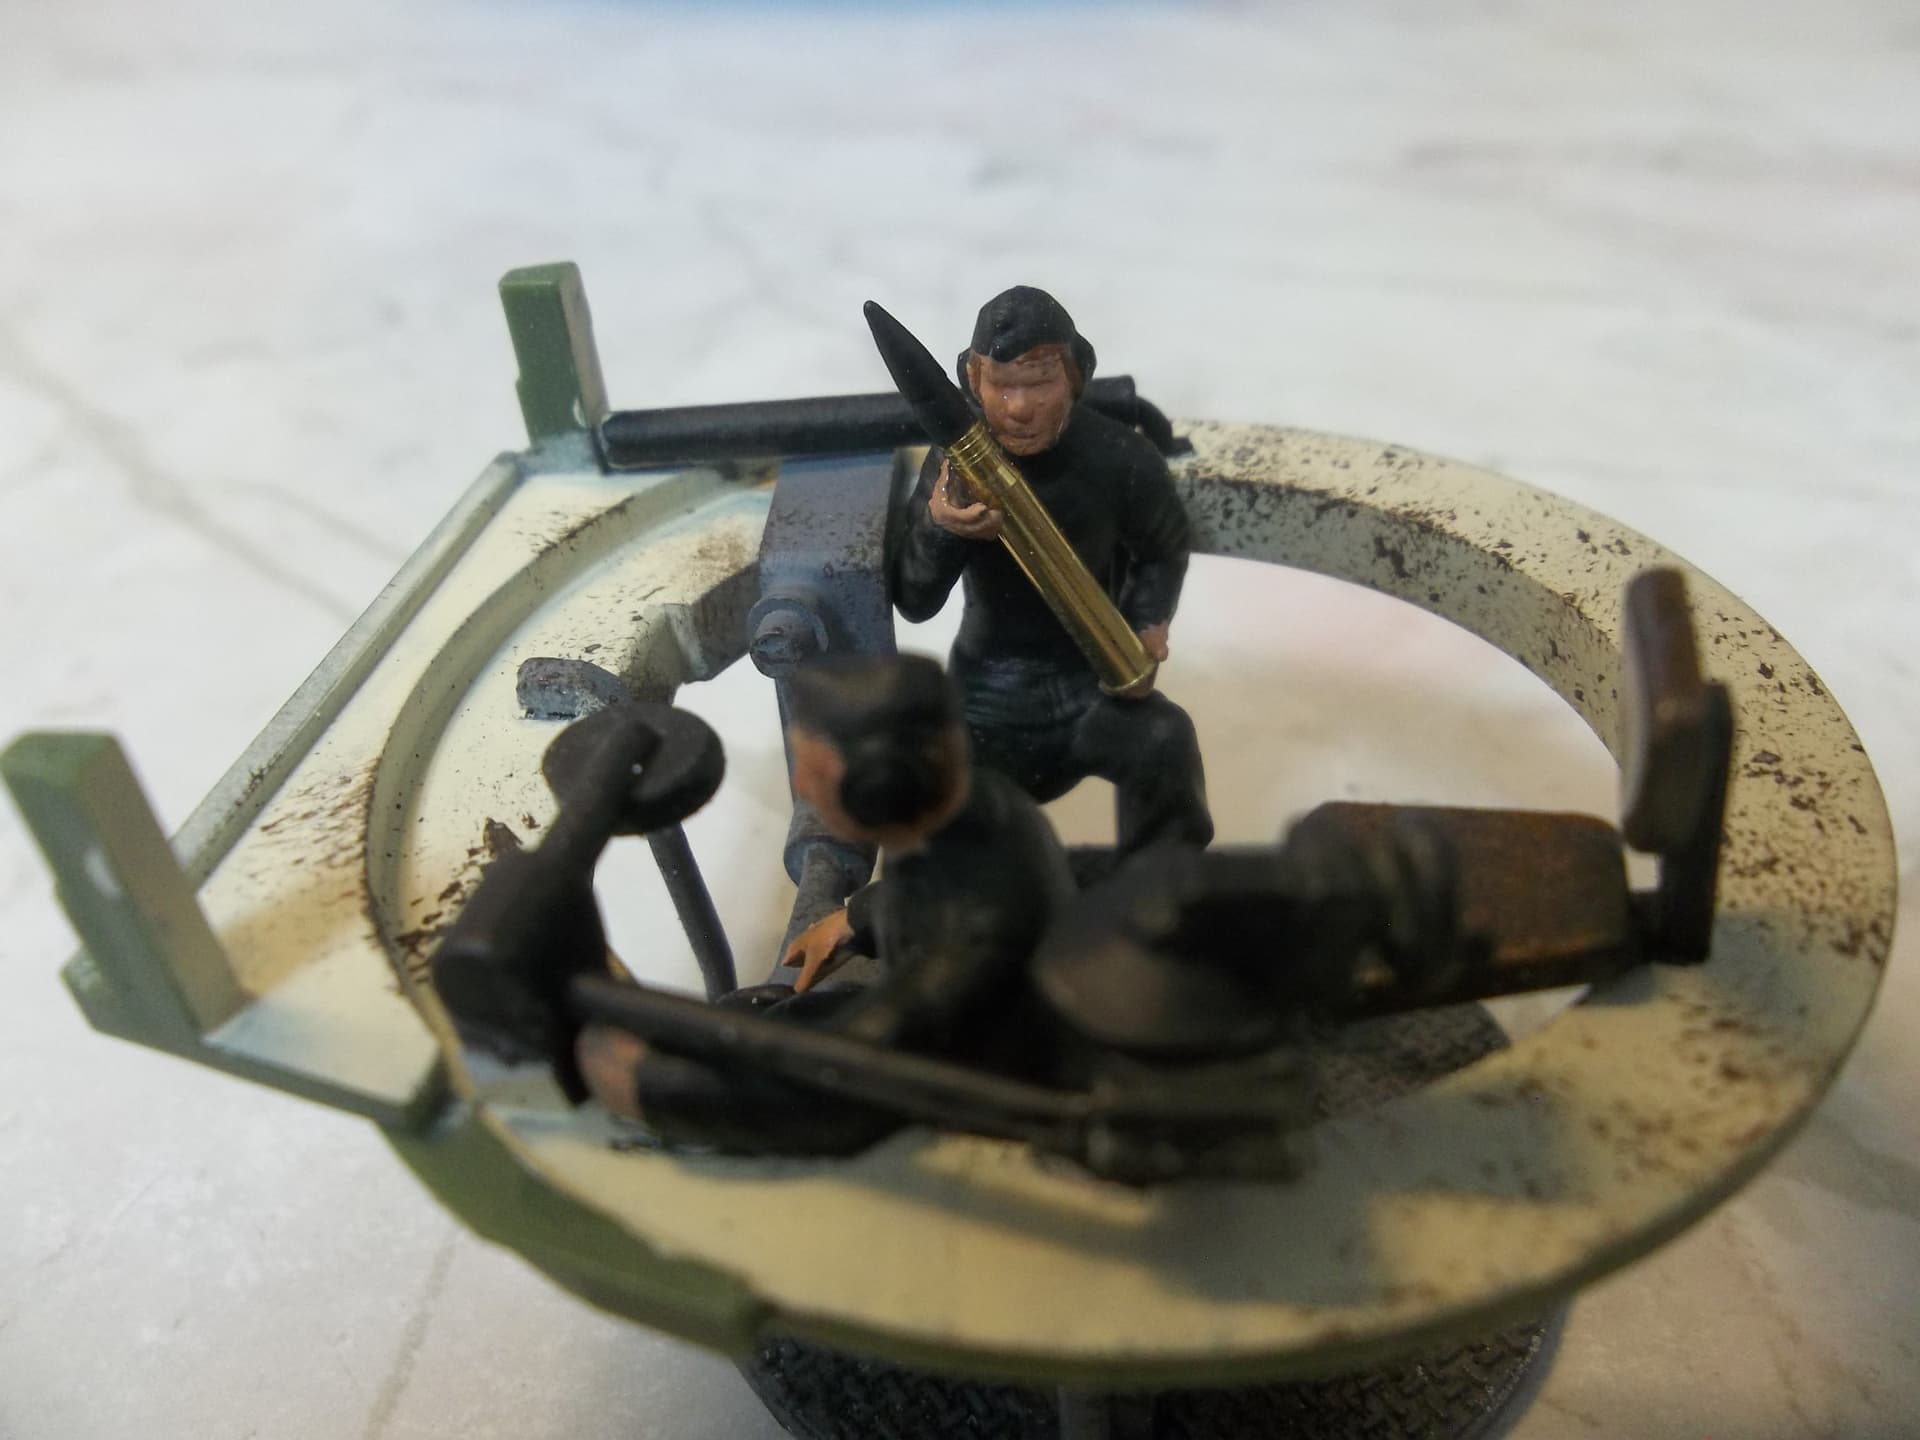
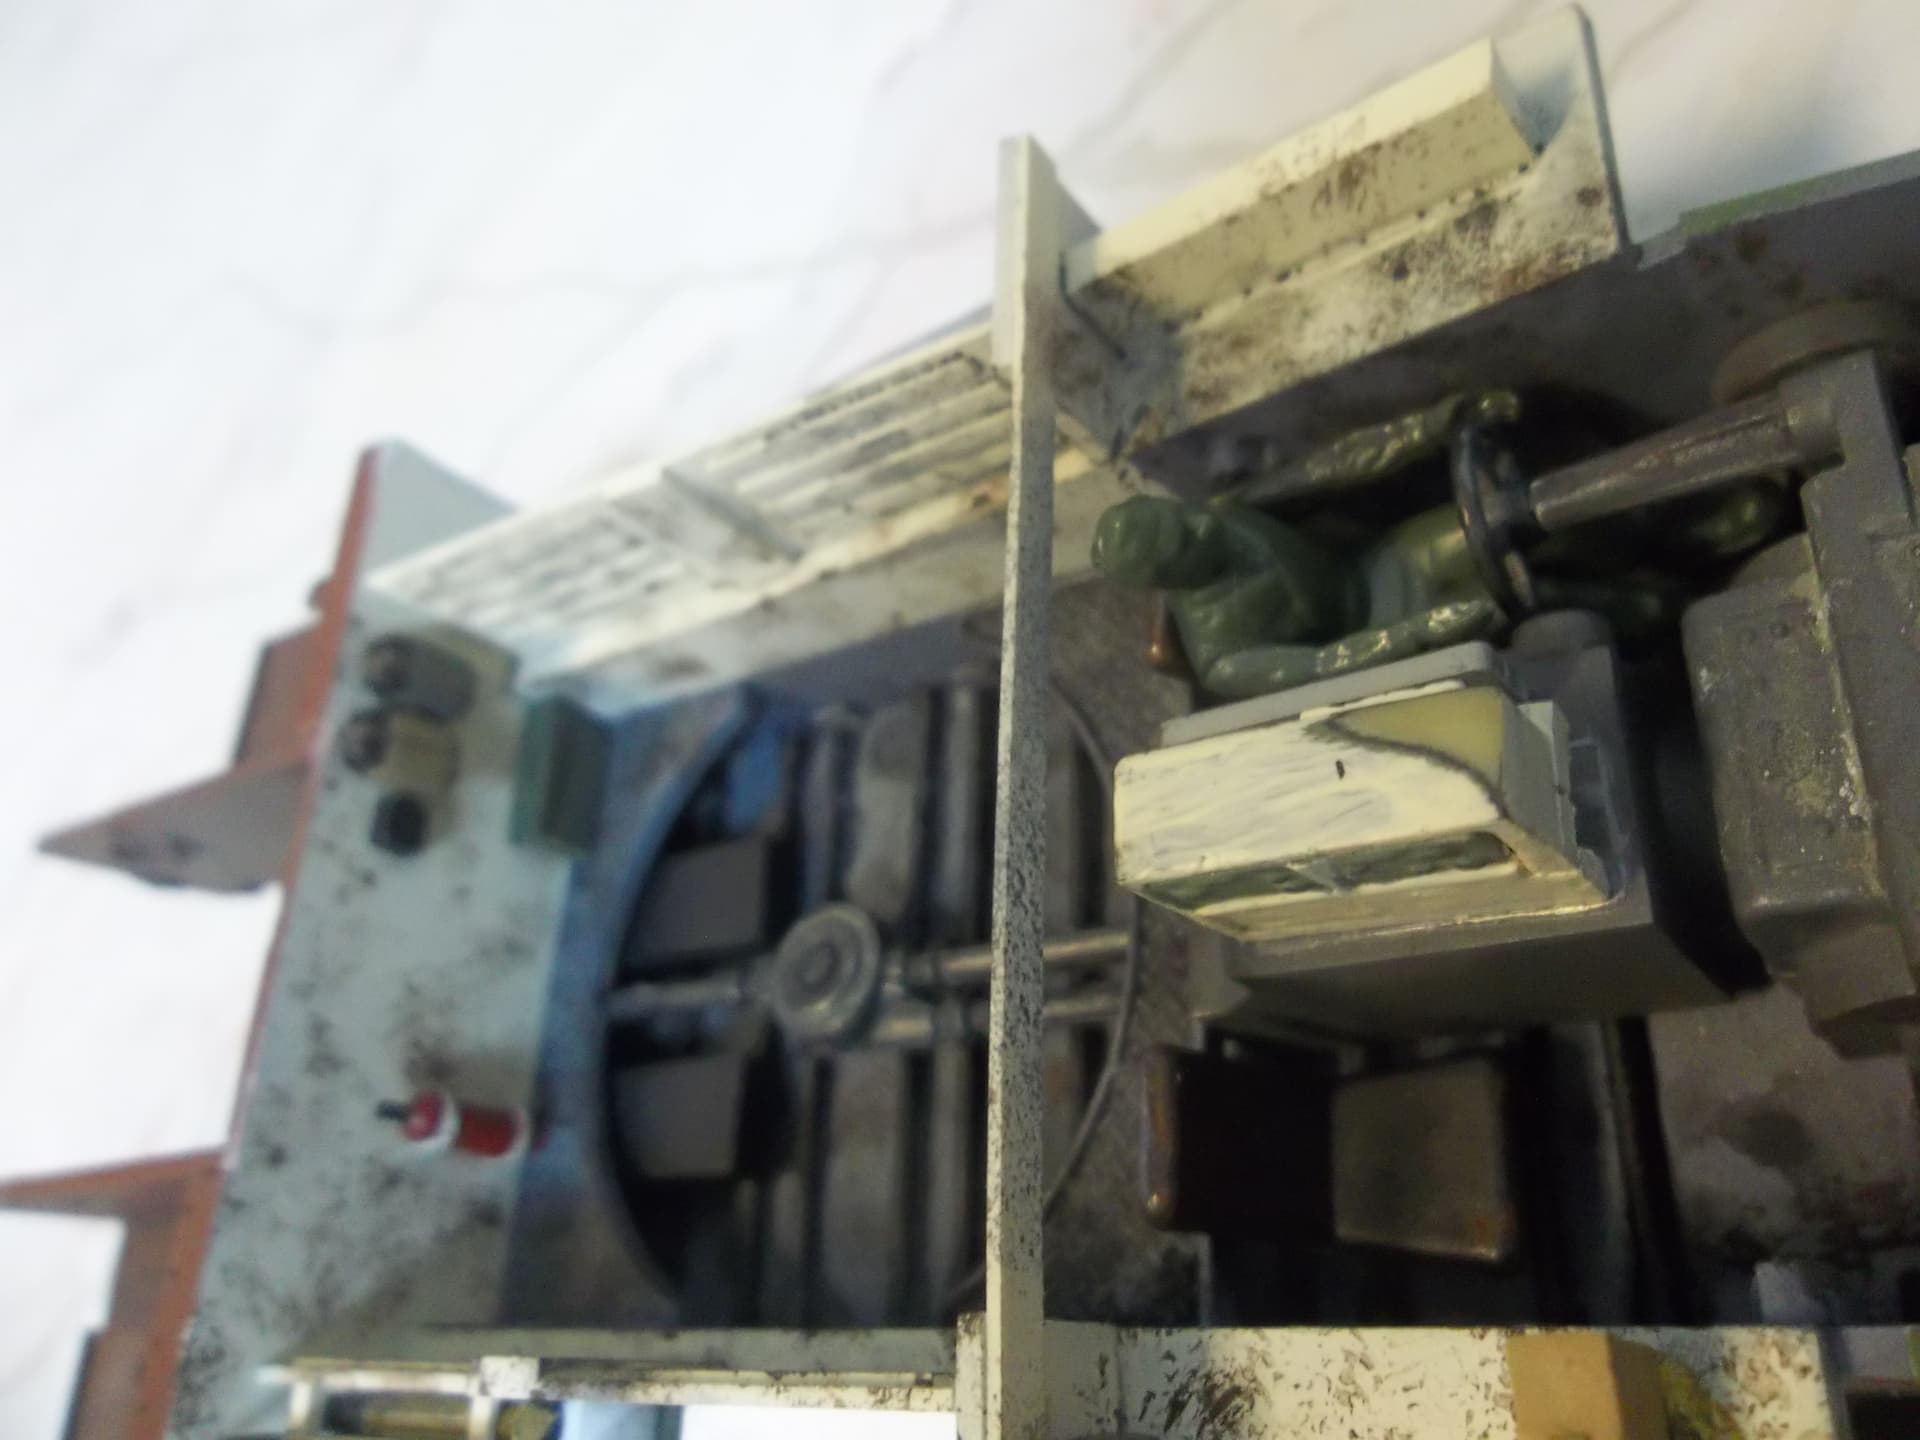
You have to twist and contort yourself to fit into the gunner’s seat in most life size tanks, getting hard, unmoving plastic into a small place is even worse! And I don’t even have the gun in yet. I tested; it should fit. If not, I can sand/trim his right arm a bit.
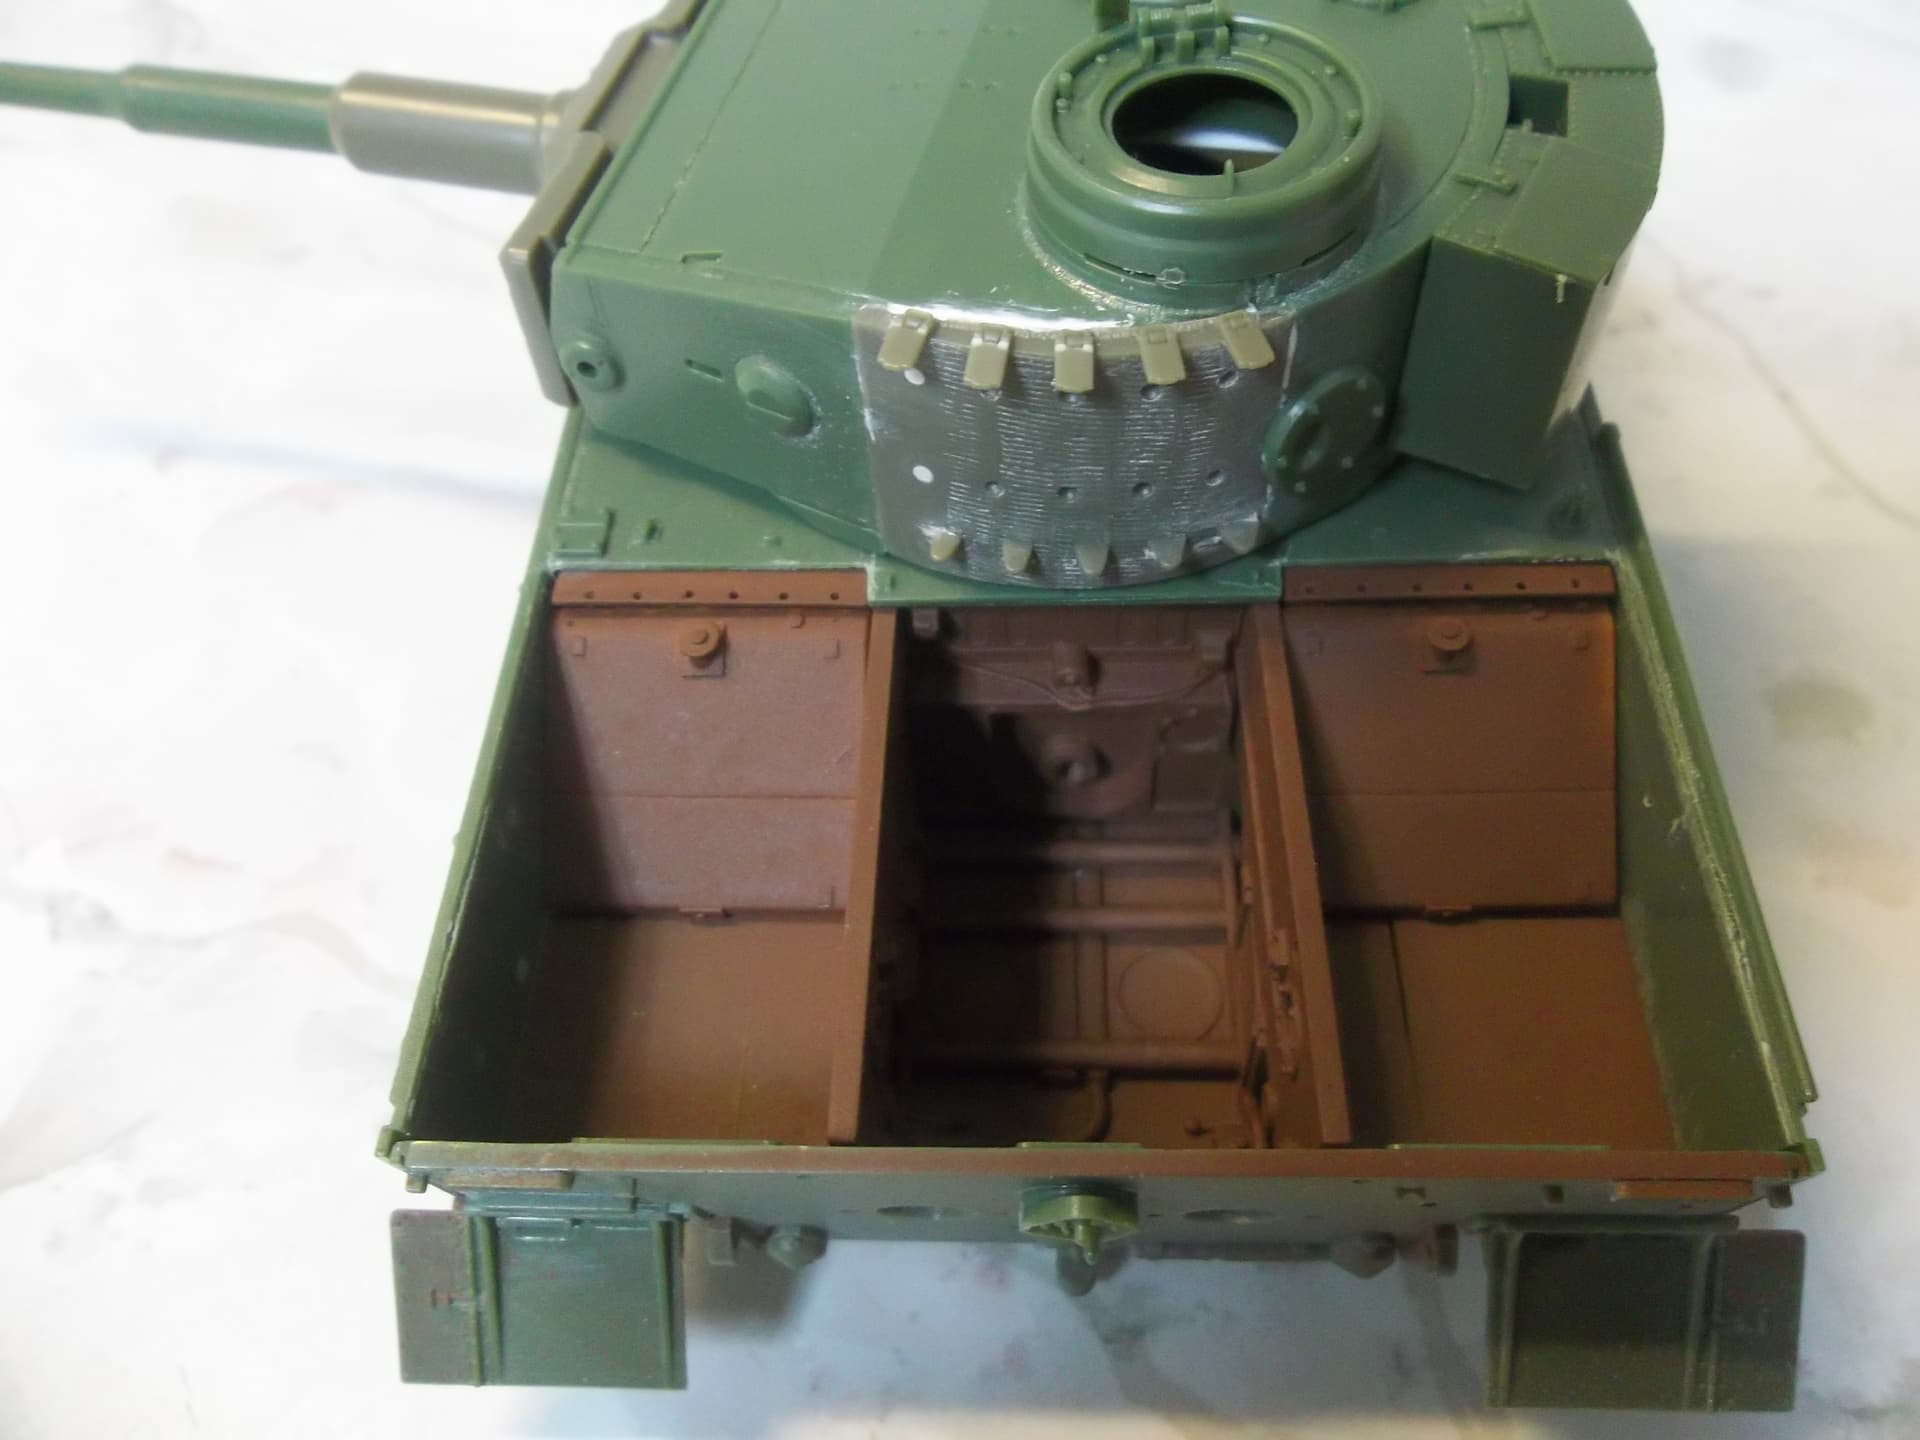
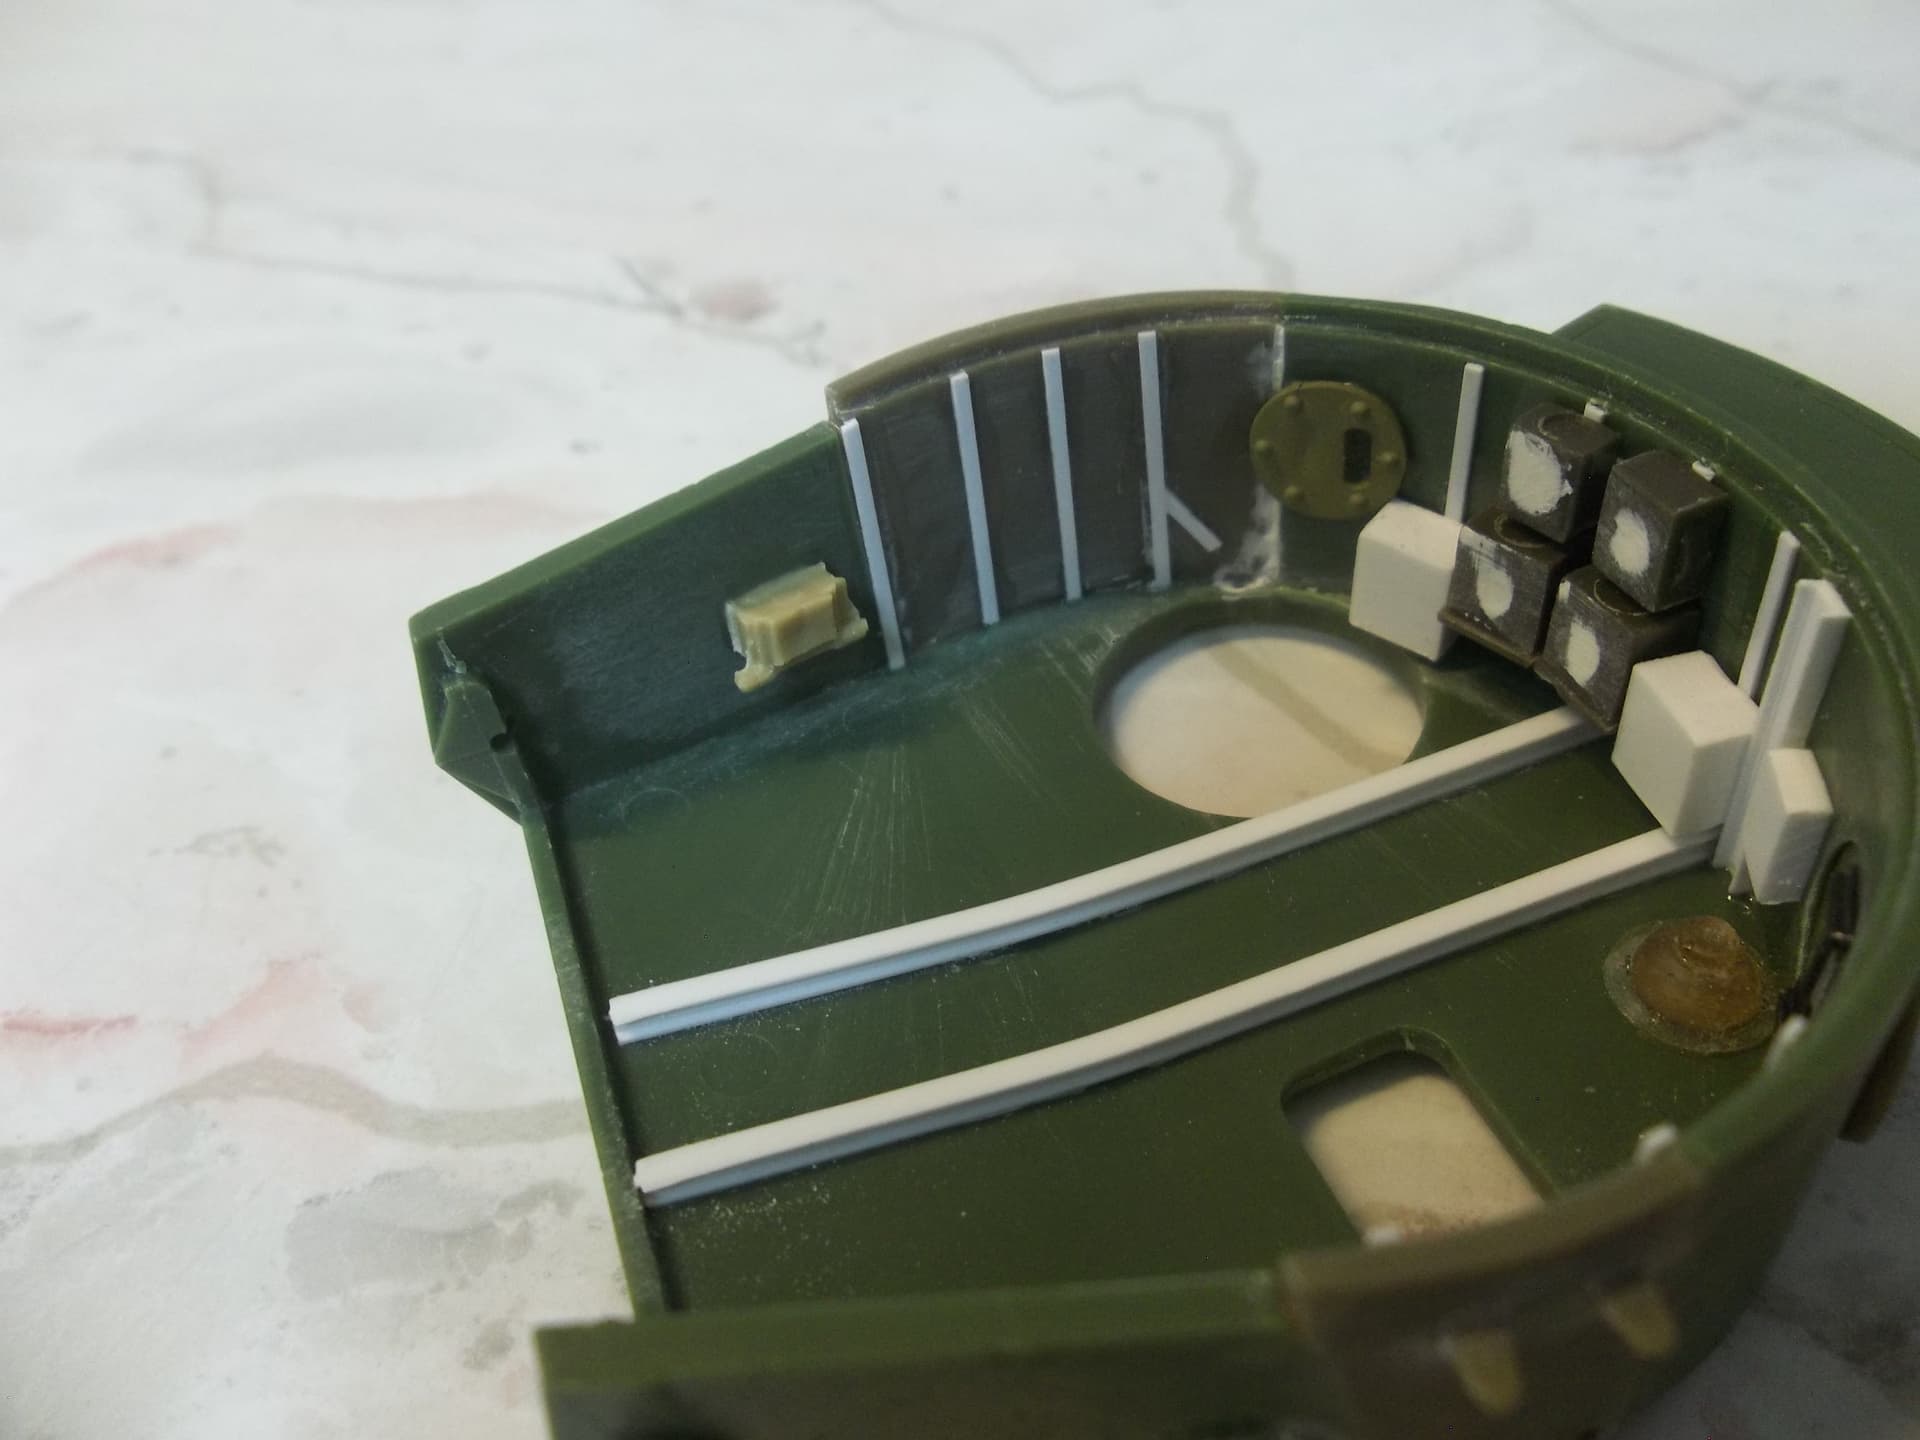
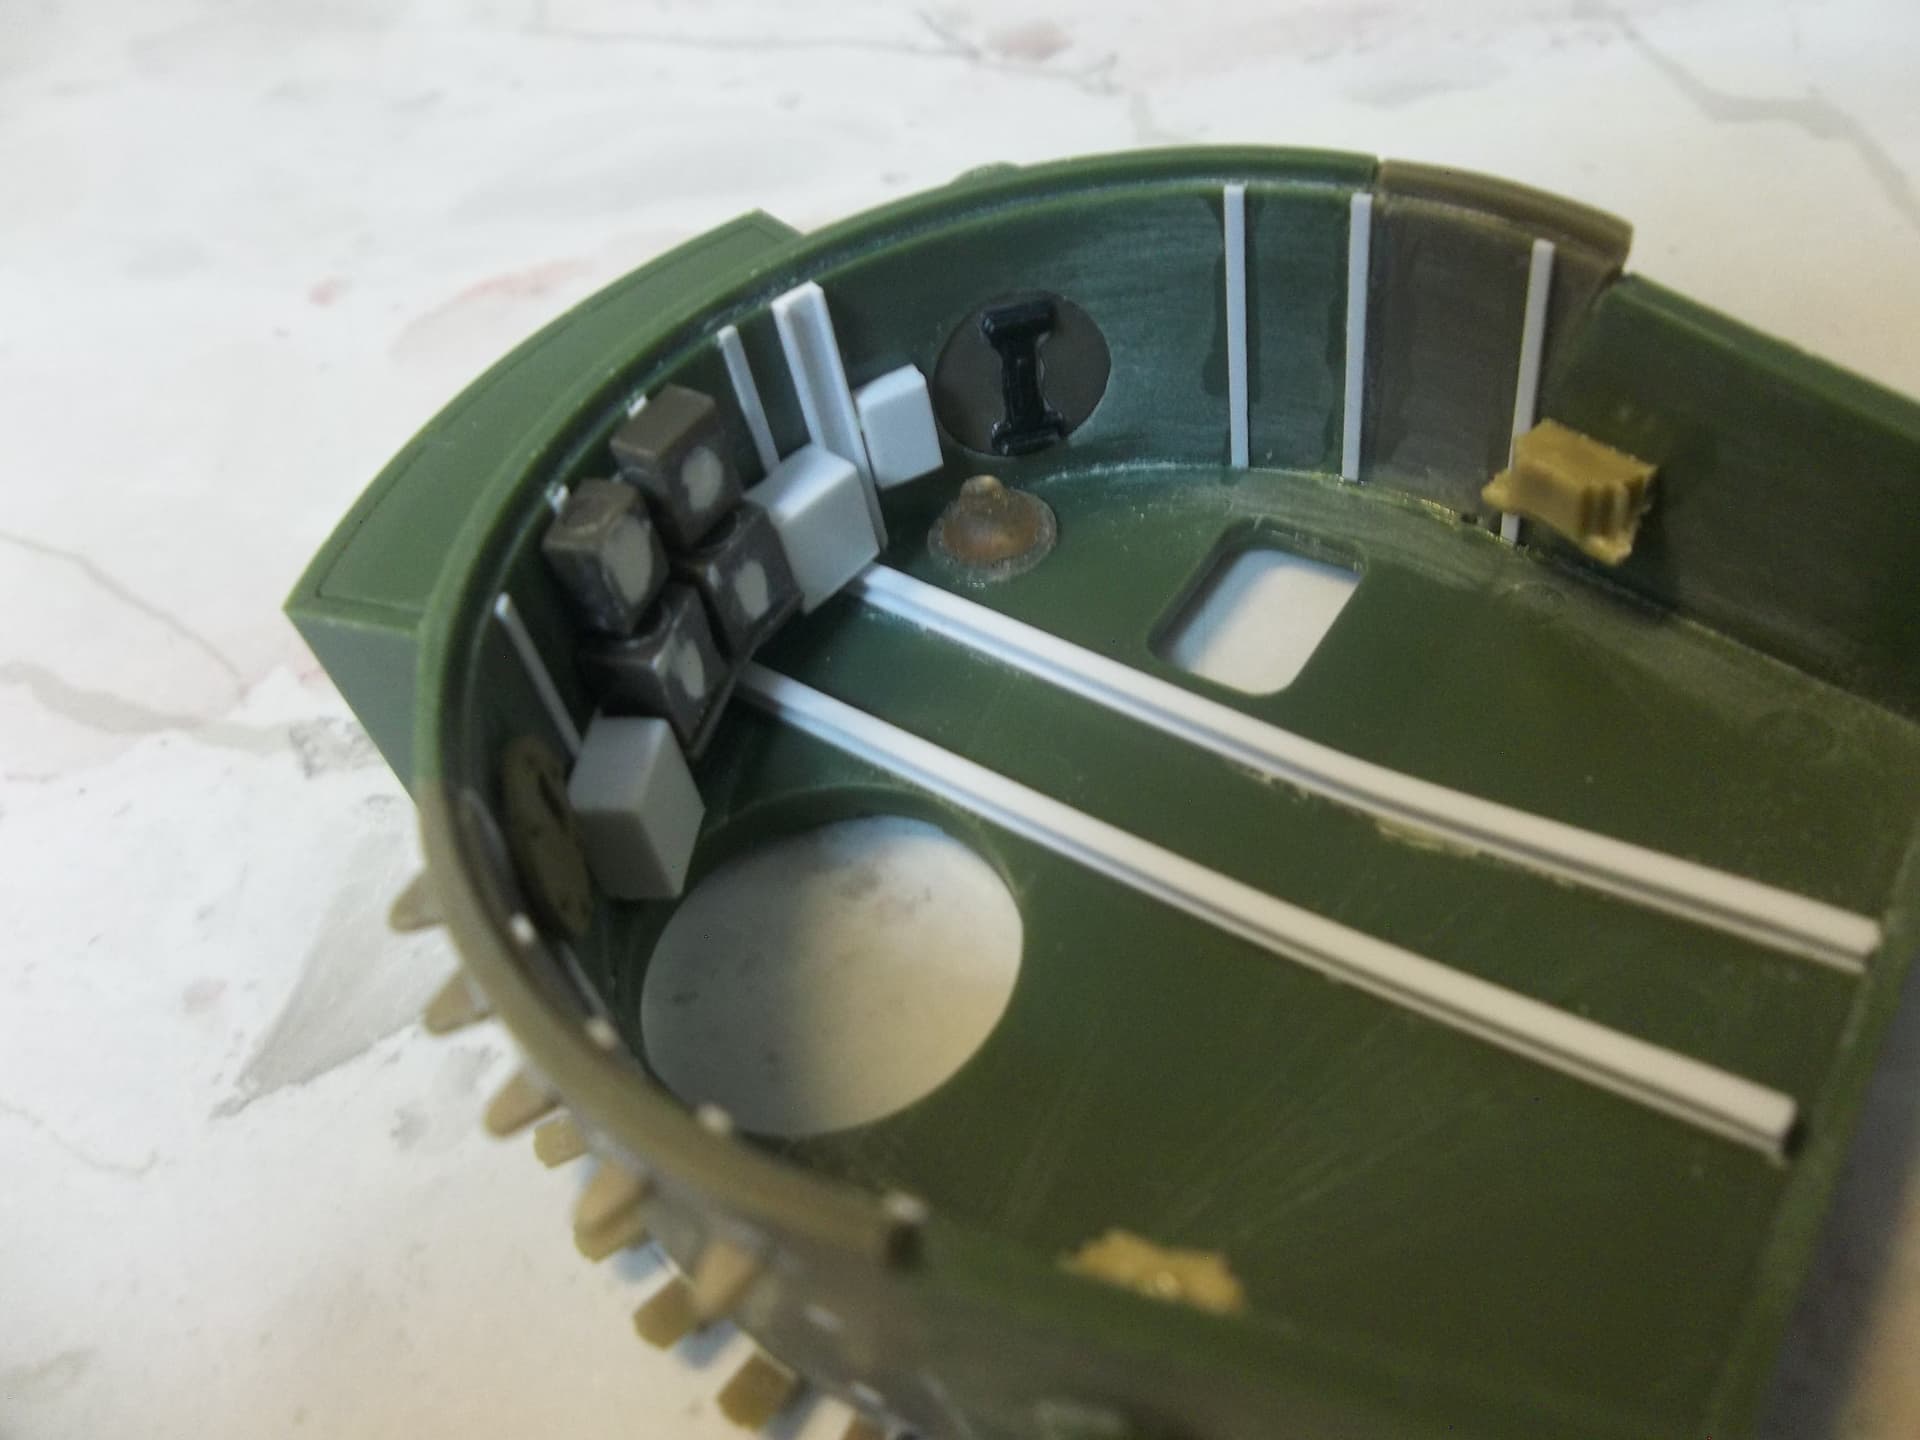
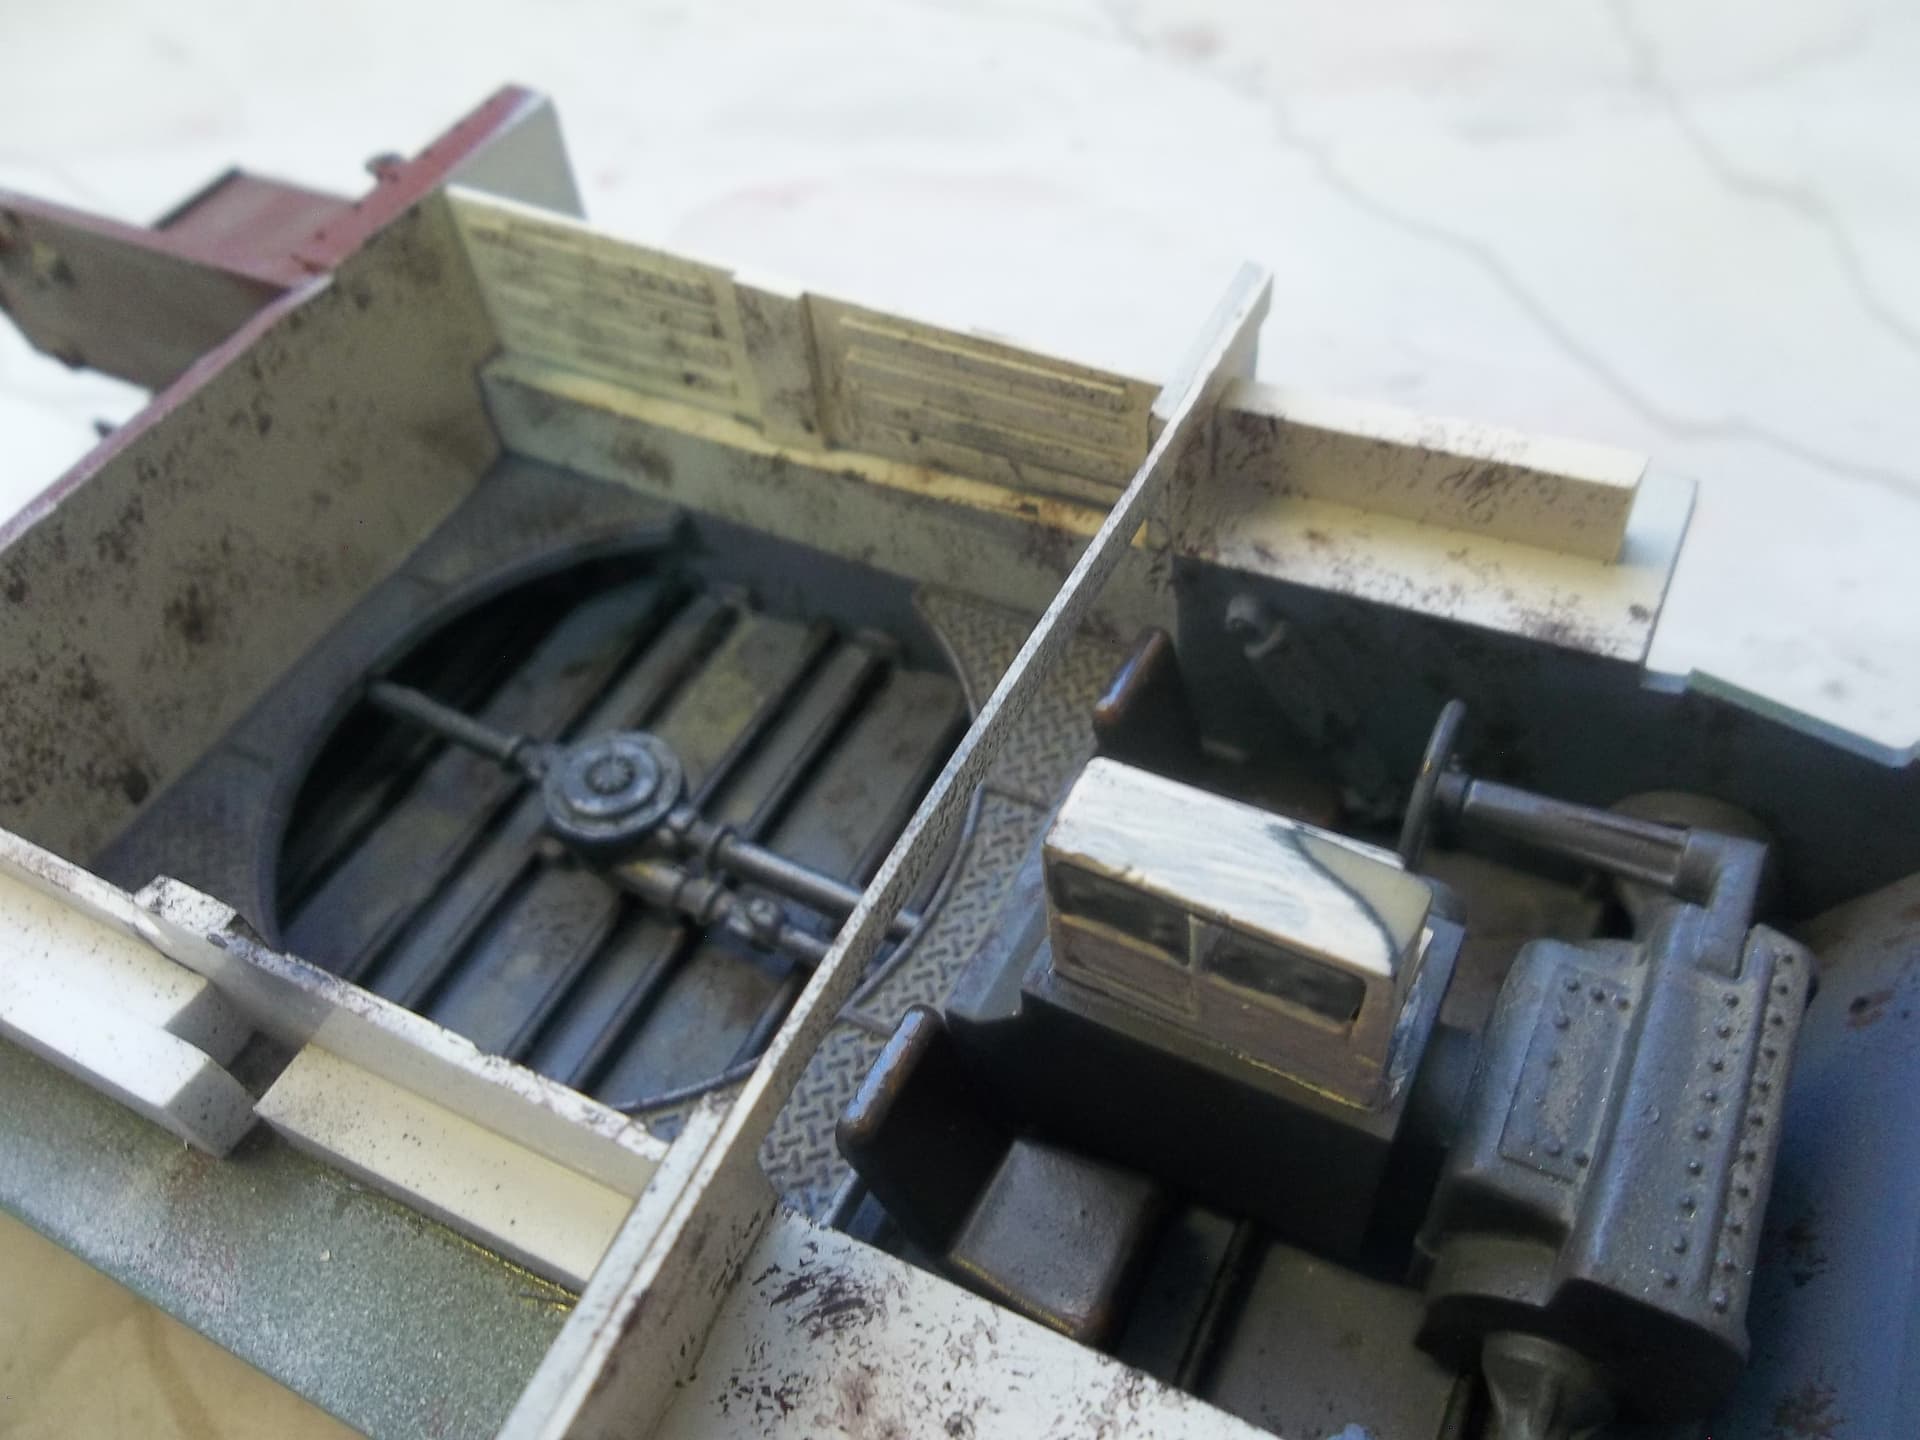
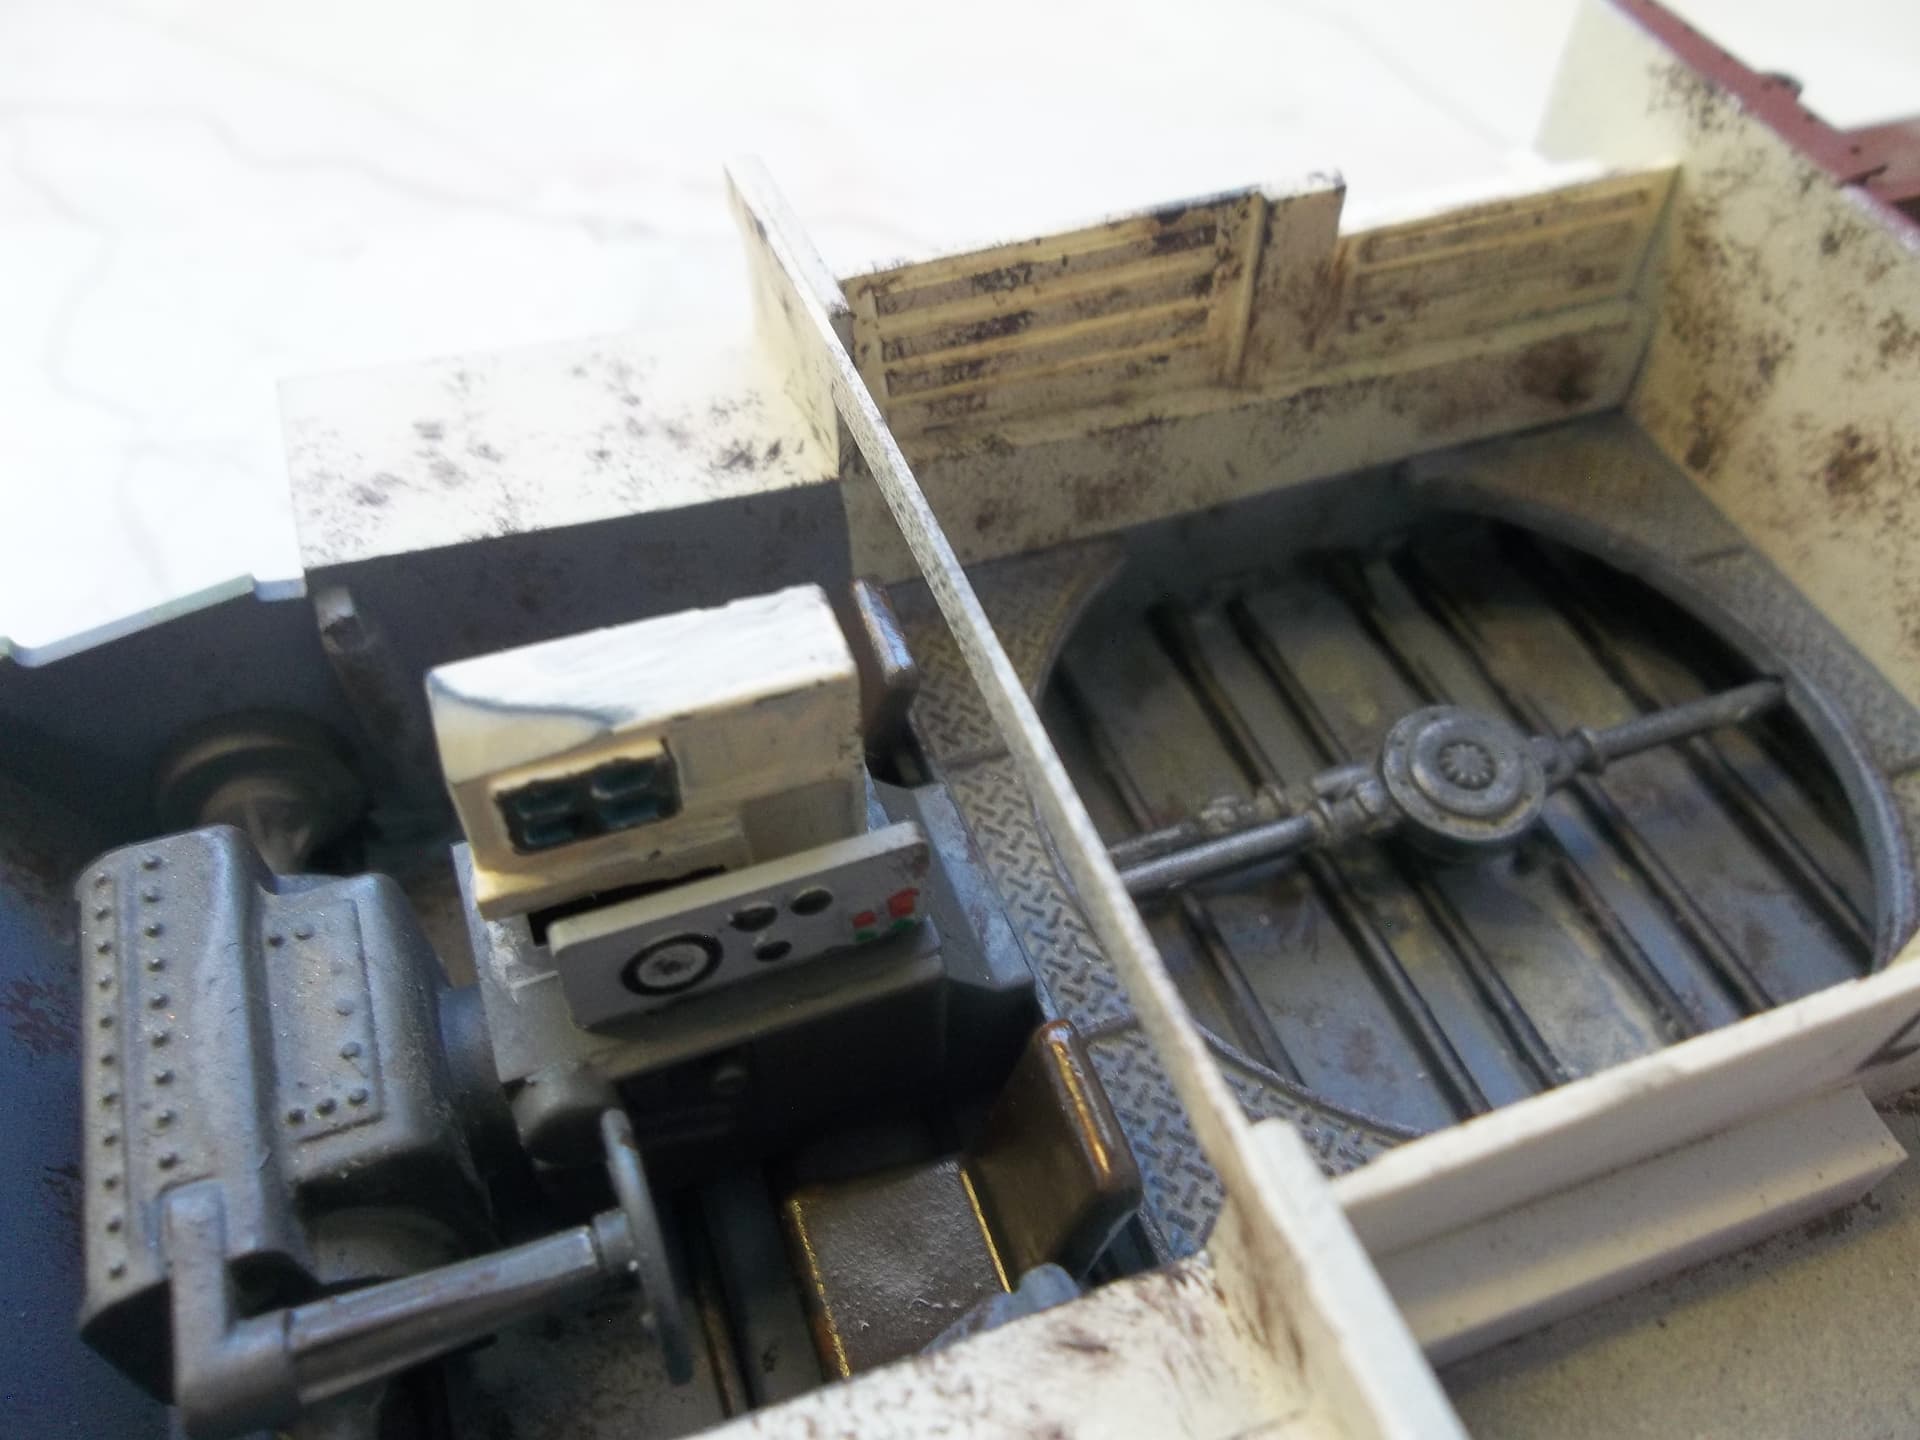
I have also started work on the hull interior. I added some shock absorbers and built up some ammo stowage racks.
I’ve also been working on the lower turret; sorry, no photos yet. The hold up with the turret is the crew figures. I pieced together a gunner and loader. The gunner is Bandai, with arms swapped out to fit in the gunner’s seat. I also had to modify his legs a bit. The loader started out as an old Lindberg figure. To get him to fit in the pose I wanted, I ended up using Bandai American tank crew arms and legs.
Here is a test fitting of the guys in the turret. Test fitting is important, otherwise they may interfere with the main gun breech, machine gun, sights, or other items mounted in the turret.
Once I close the hull up, most of this stuff will be just barely visible, and some will not be visible at all, so I am not putting too much work into it.
Ken