Hi All,
Some great progress.
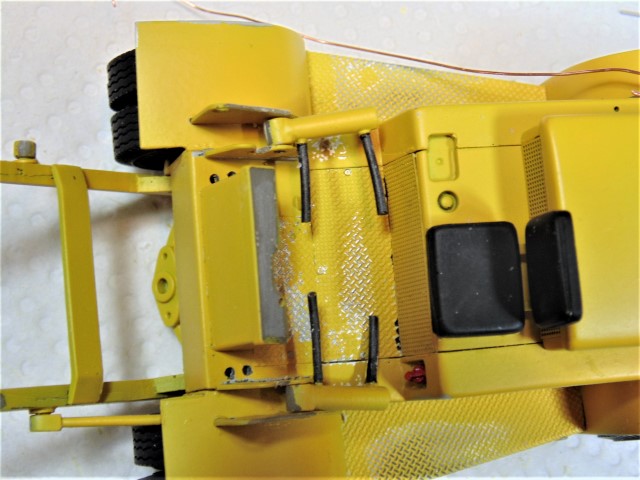
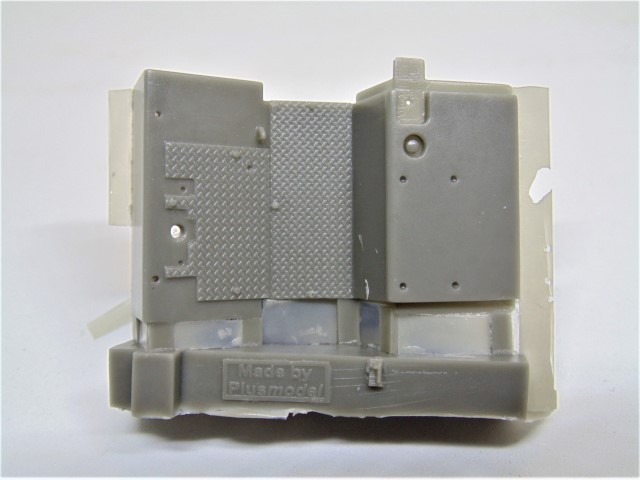
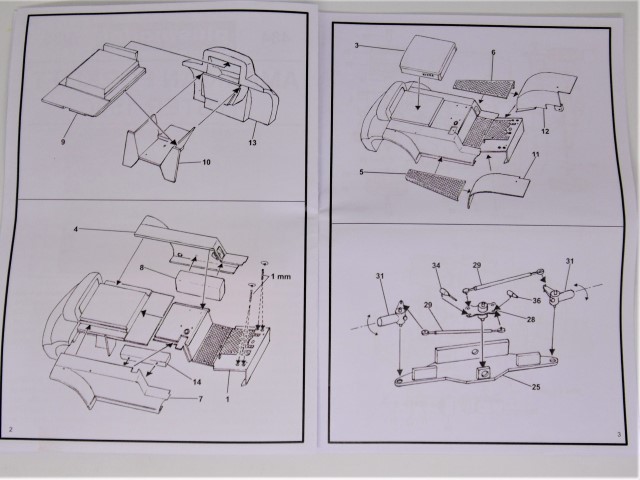
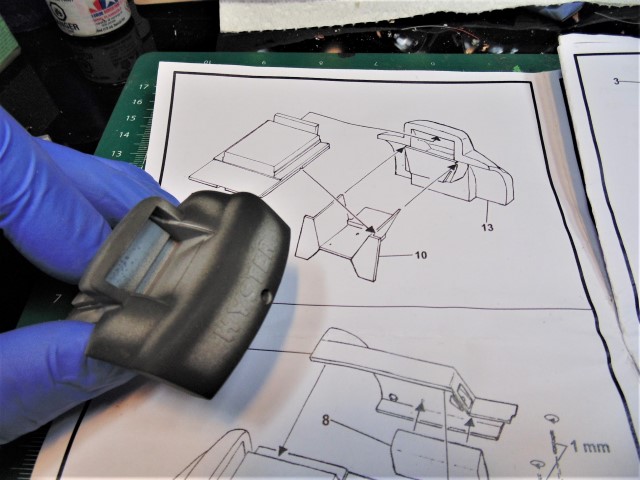
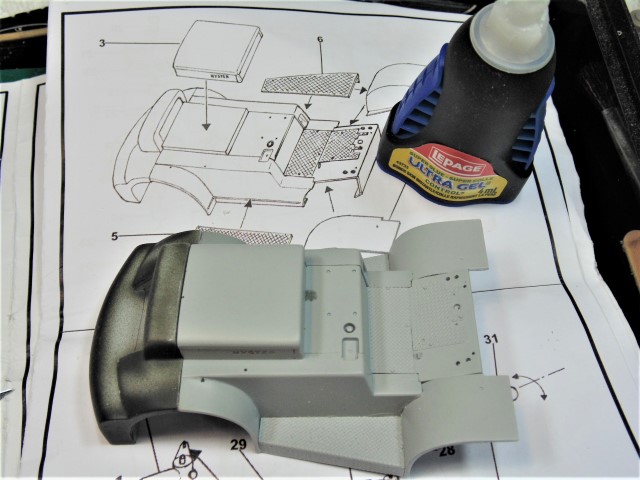
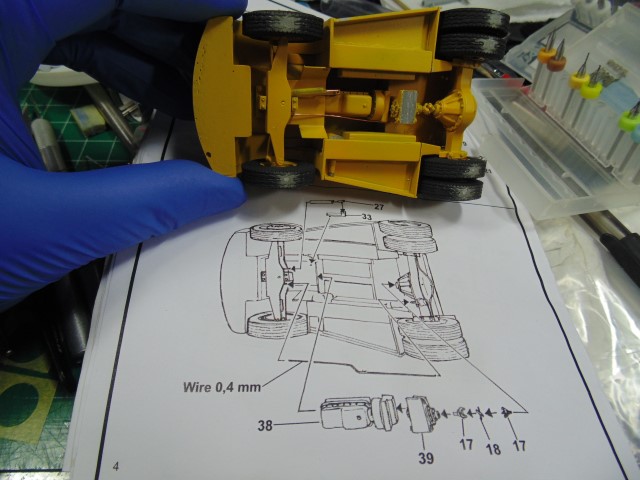
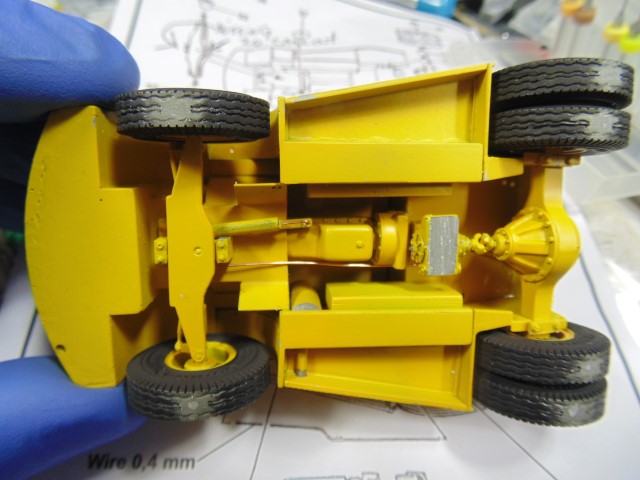
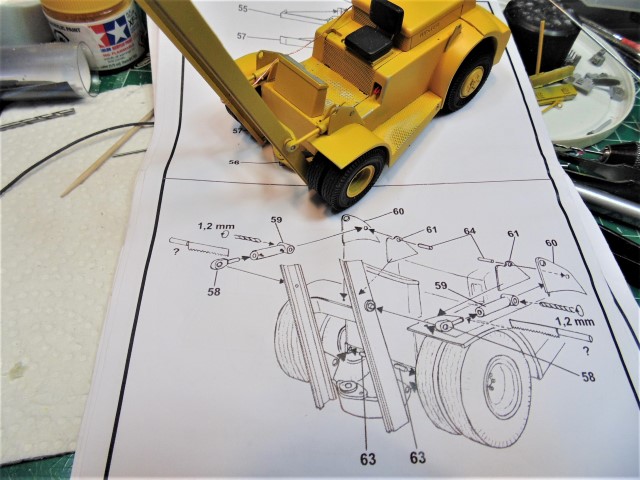
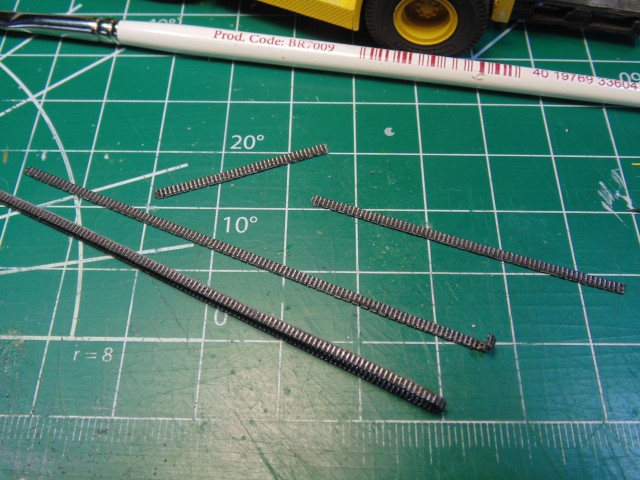
As mentioned in the previous post the valleys need to be deepened for the hoses to lay properly. CA worked well on the rubber and they slipped in the holes at the other end.
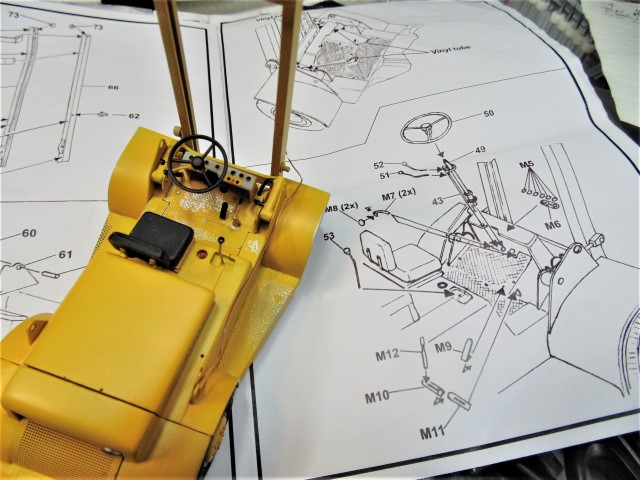
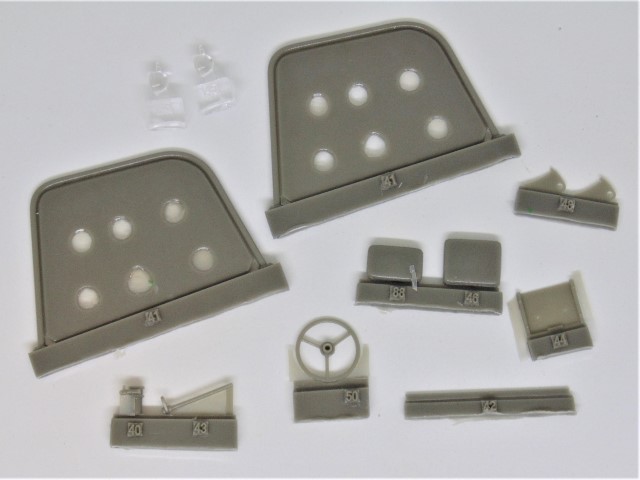
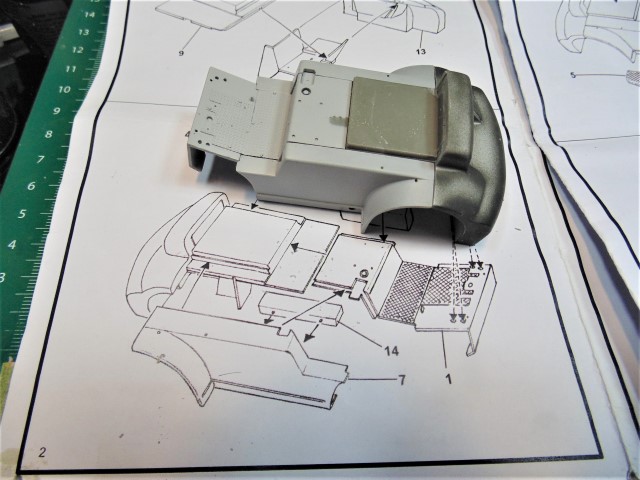
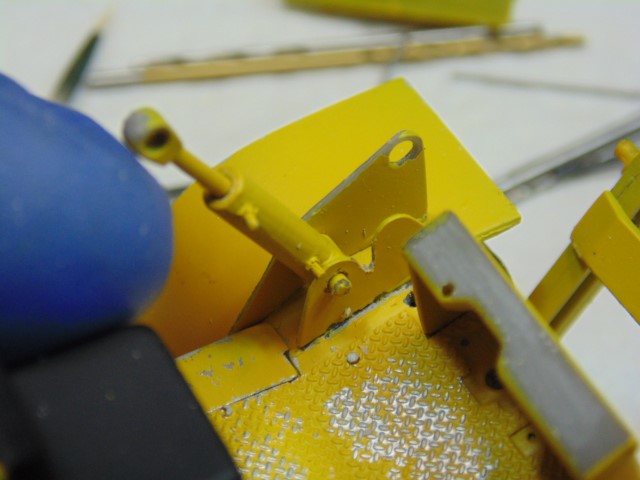
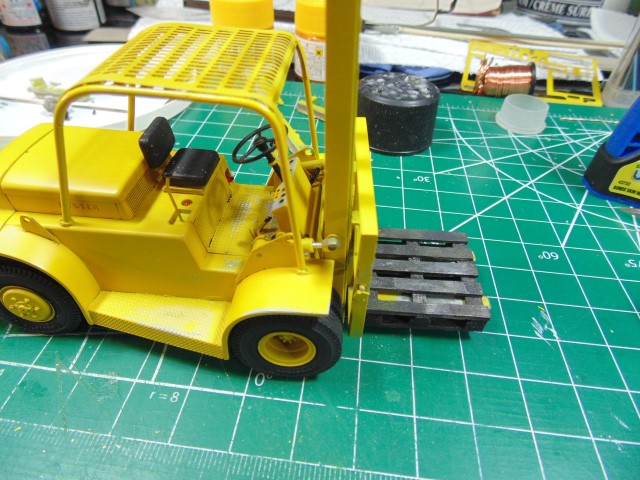
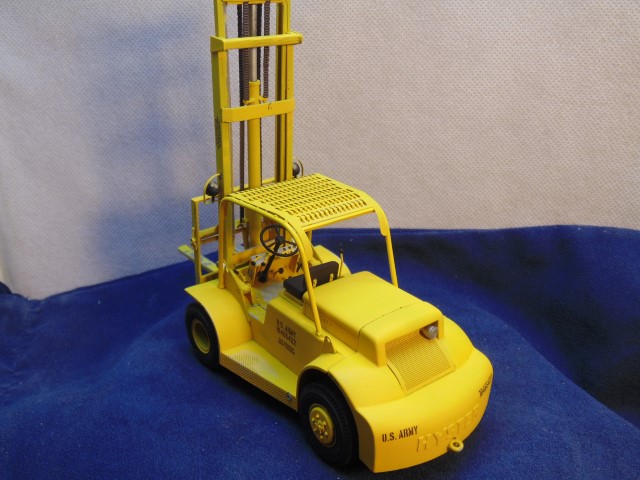
The controls went in with little fuss. If I did this over the seat would have been added later to help free up some room for the tweezers to place the peddles.
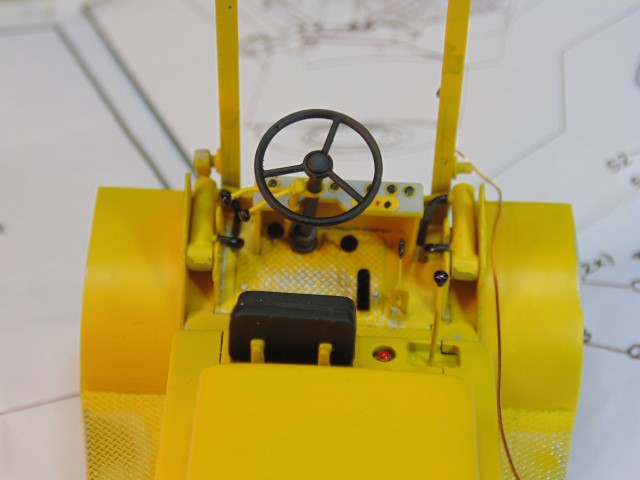
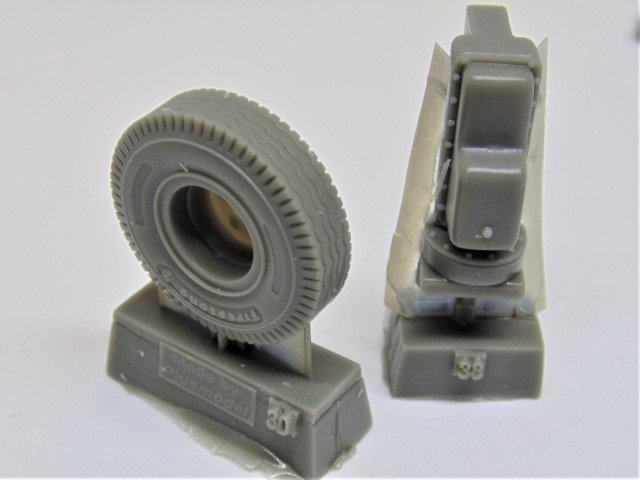
The wheel is slightly off but I don’t have any de-bonder left. Have a good length of hose cut since you’ll be moving those pistons up and down many times down the road.

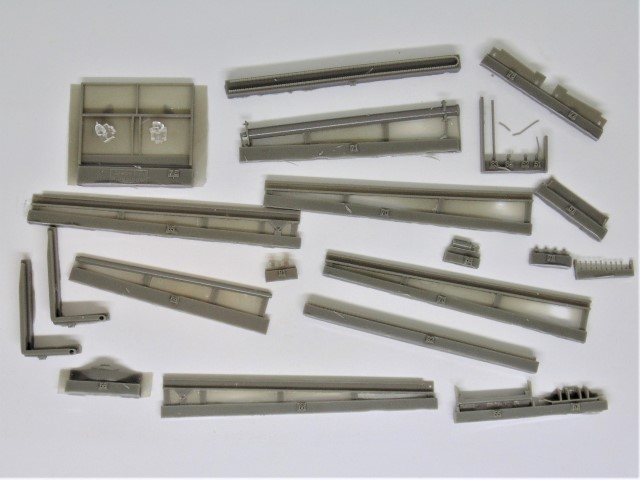
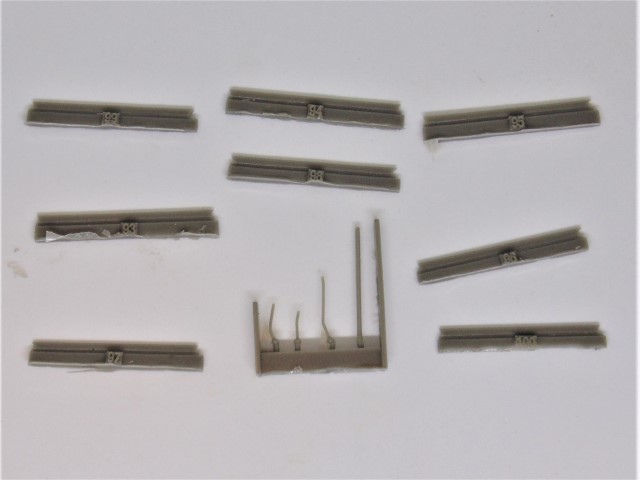
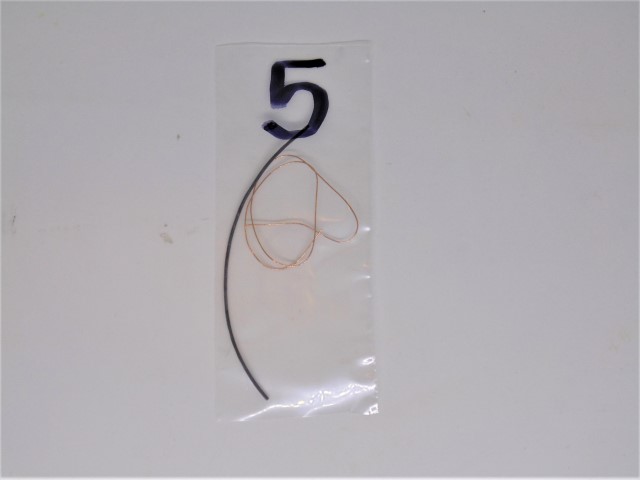
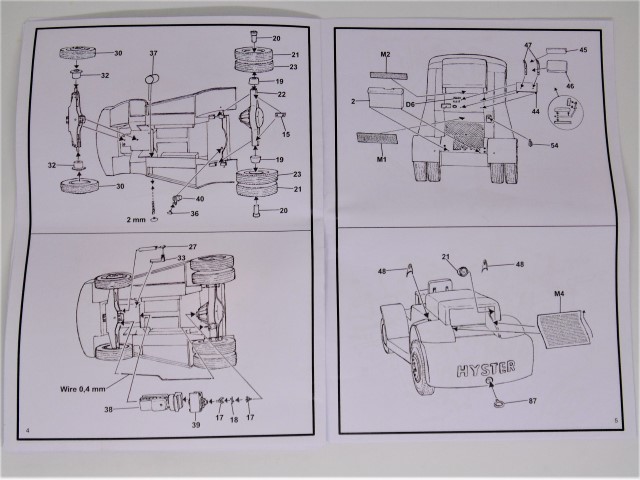
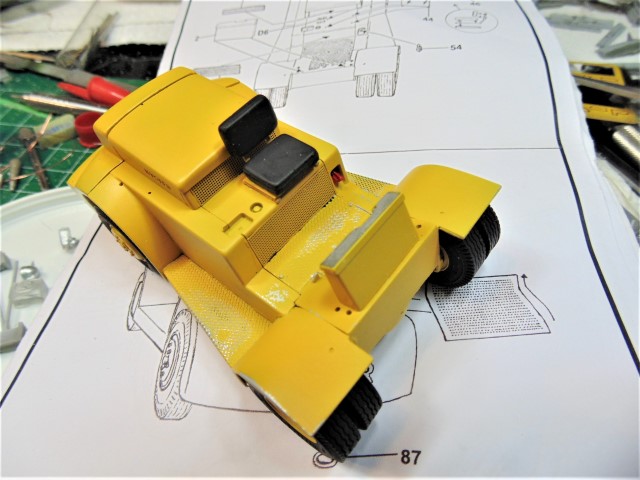
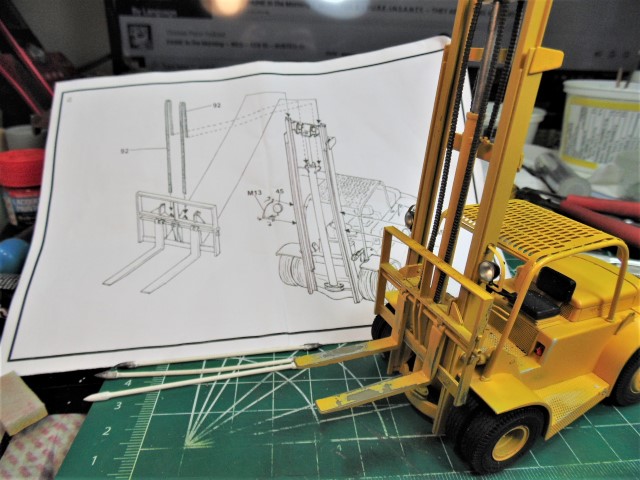
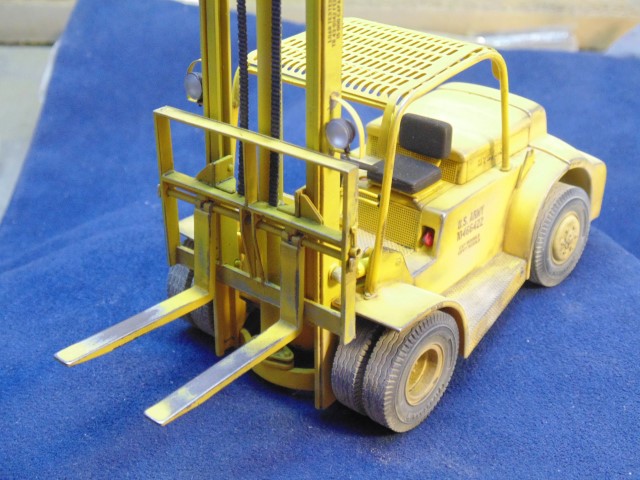
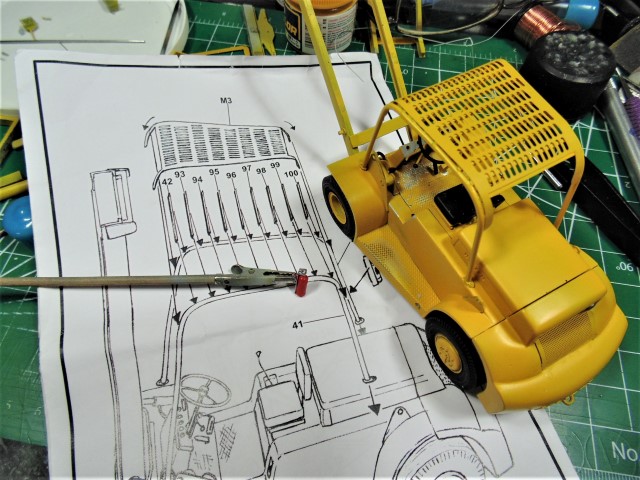
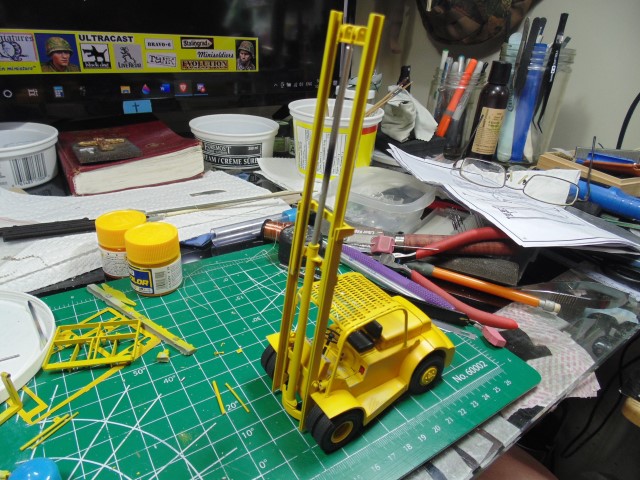
Now the fun part. There is no way you’ll link those cage rails to the connecting bars unless they’re on the body. Use a 0.6mm drill and the supplied wire to pin them in place. DO NOT attach them with CA though.
Get one end started then the other.
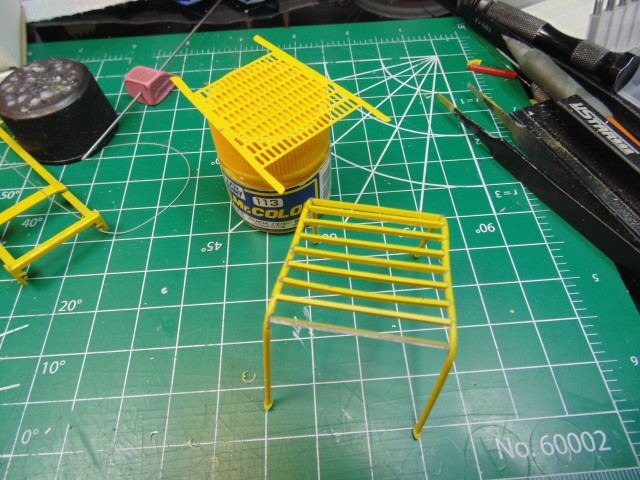
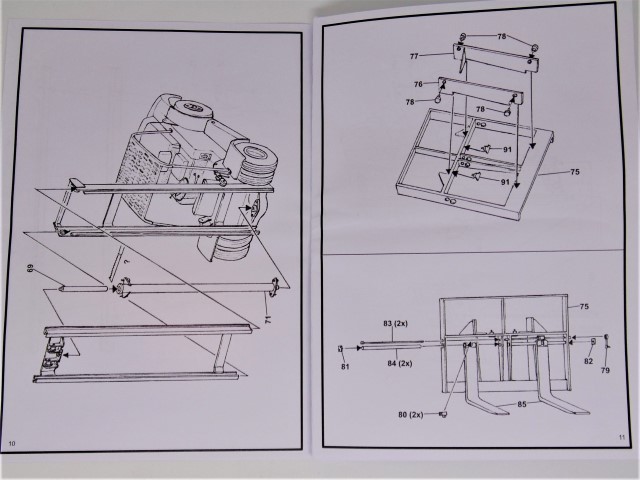
Use the roof to find where each bar will fit between those oval holes.
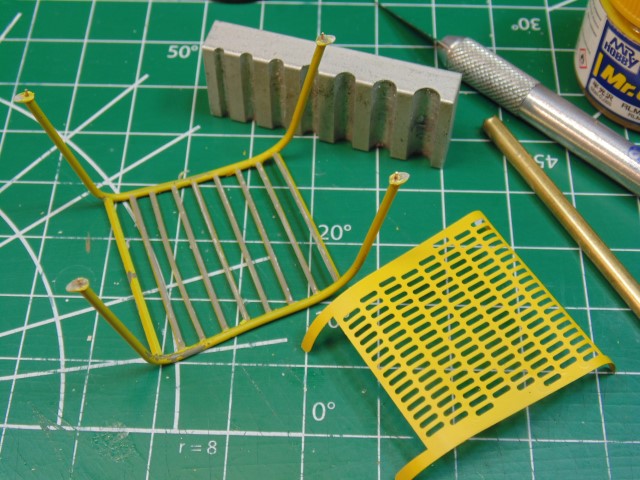
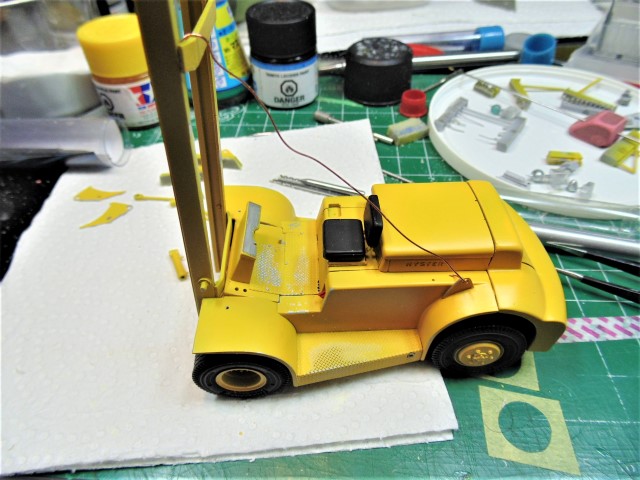
Once you’re happy you can begin the slow process of bending the ends to form with the rails.
It took a bit of doing but all I have left to do is a spot at the back to glue down.
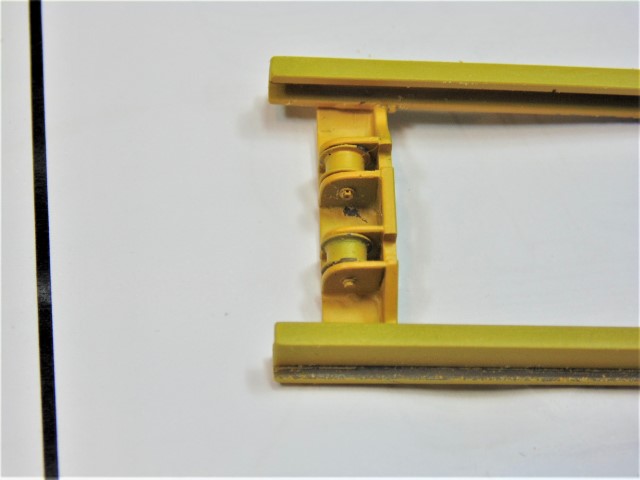
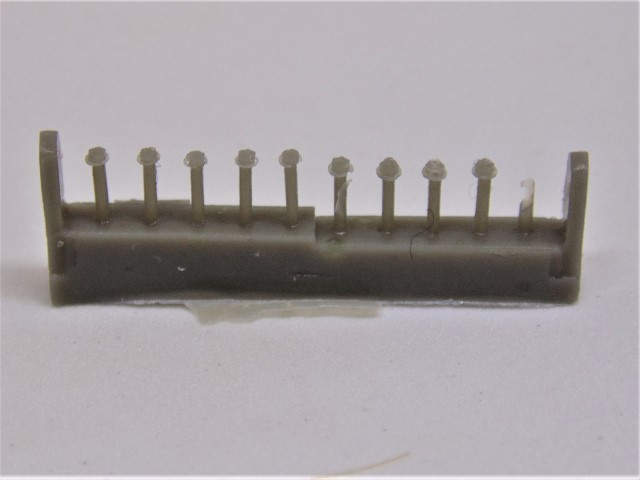
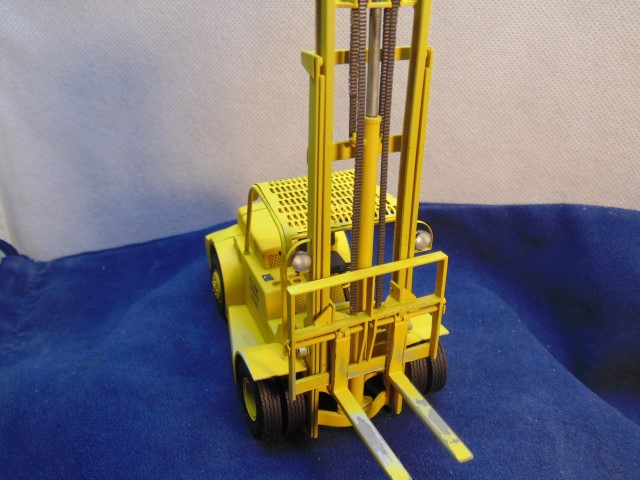
Awesome bolt detail on the inner rail chain wheels.
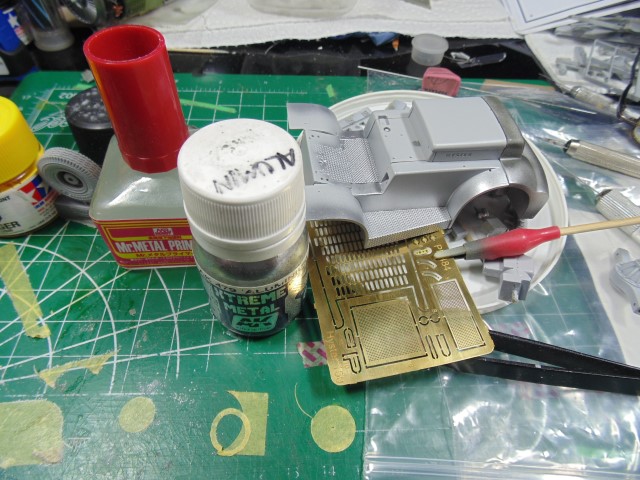
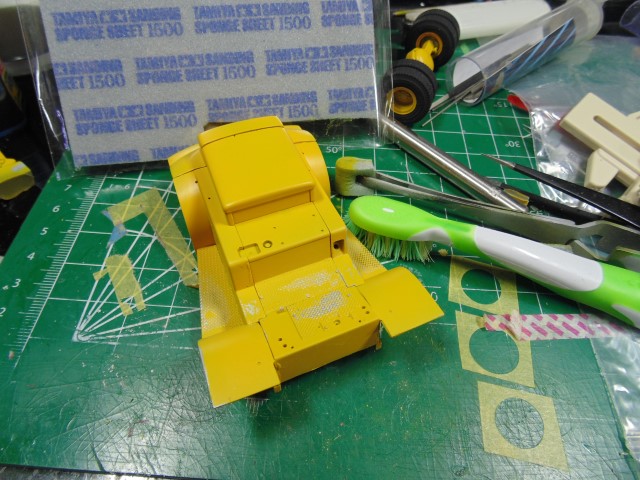
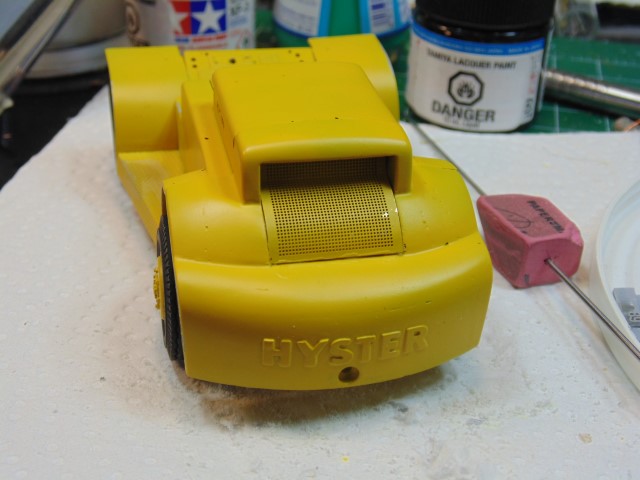
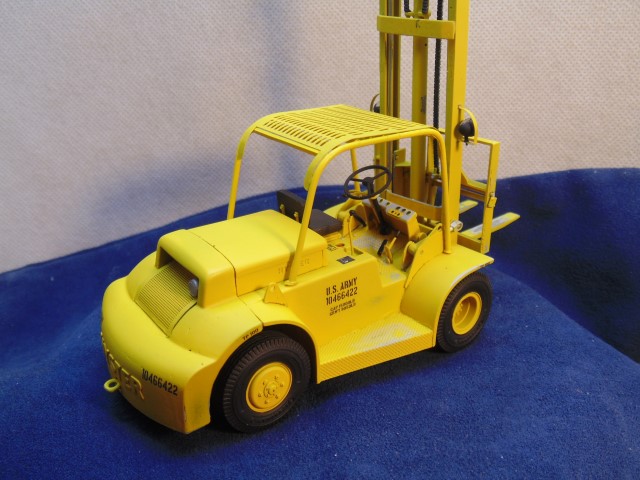
Plenty of touch-ups needed after assembly.
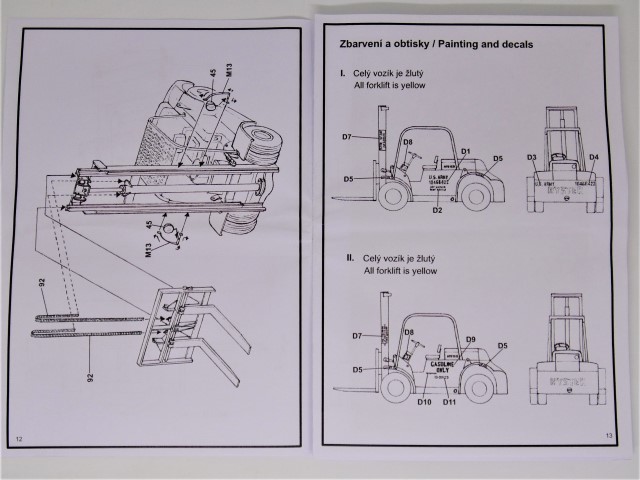
This was under-sprayed with silver for chipping.
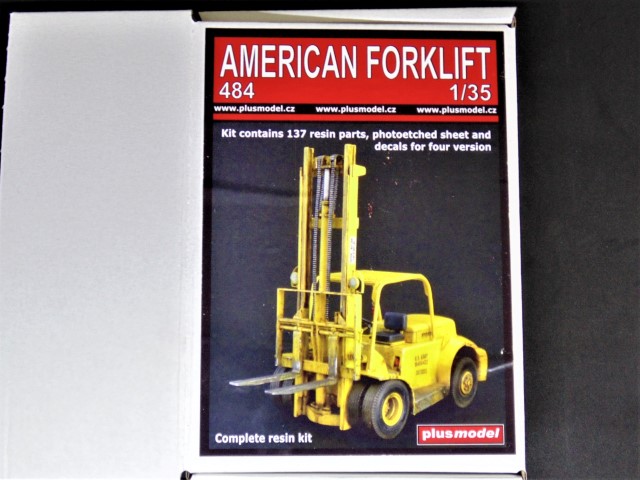
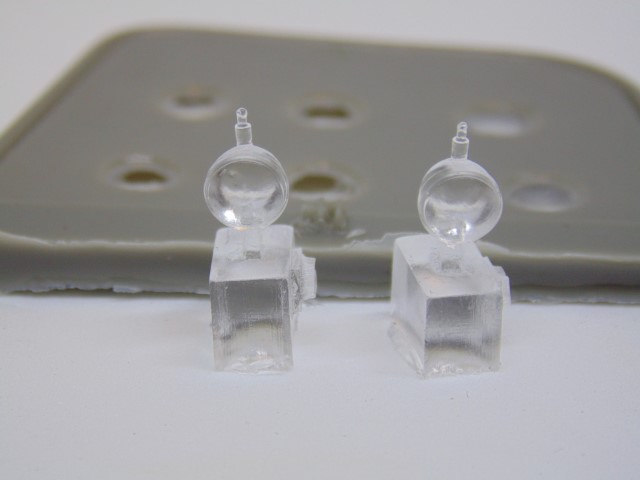
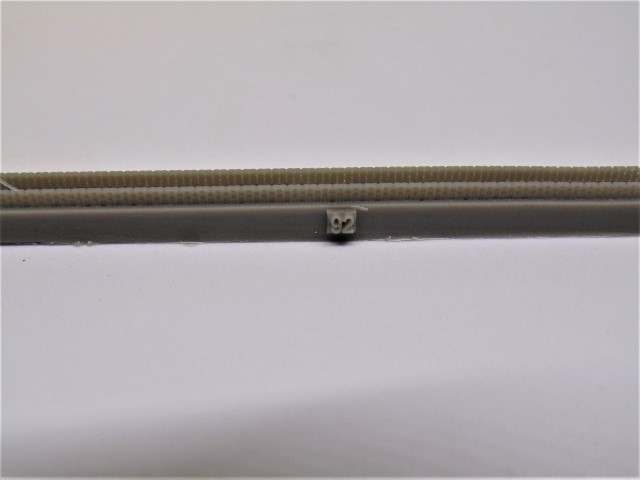
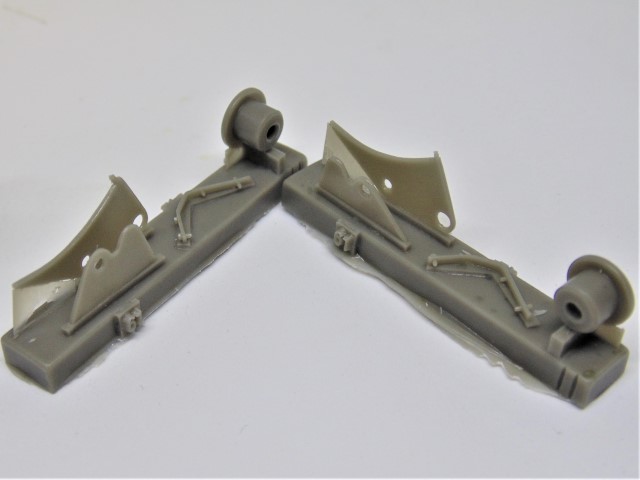
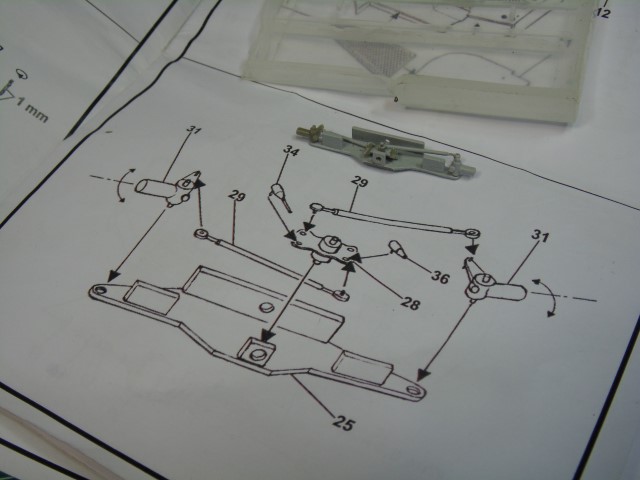
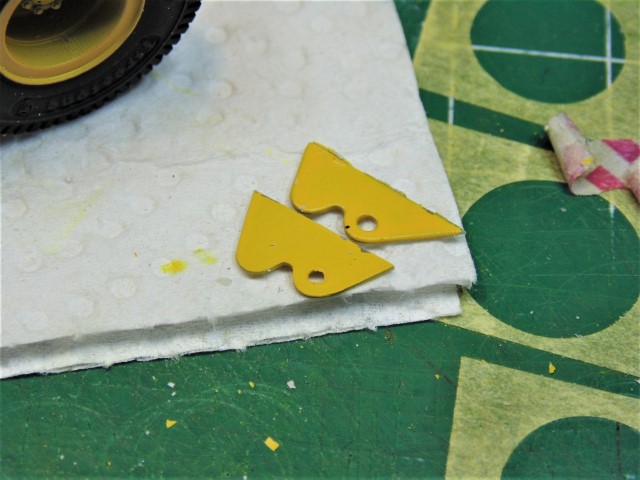
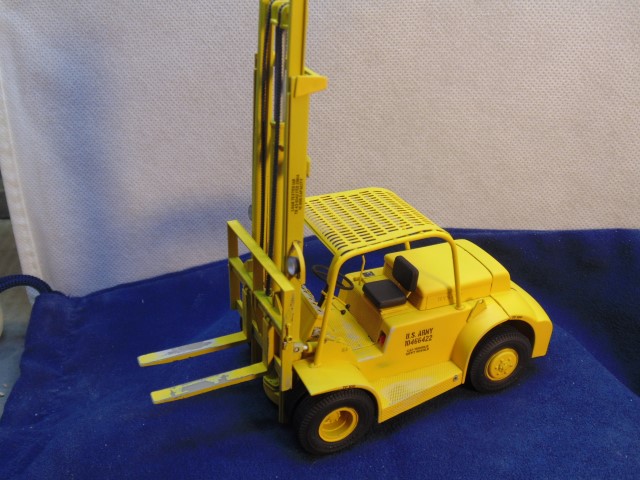
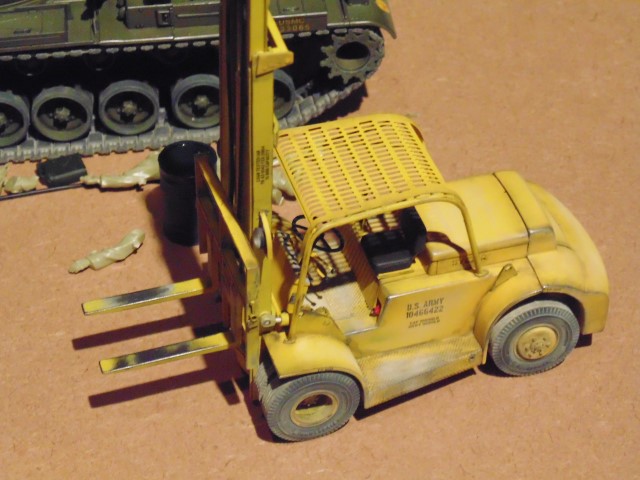
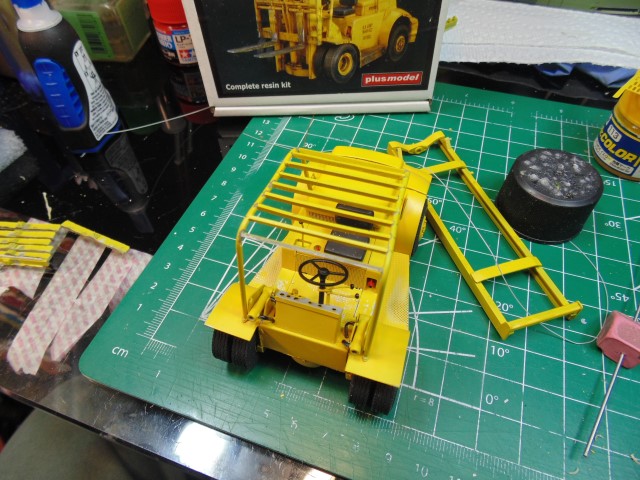
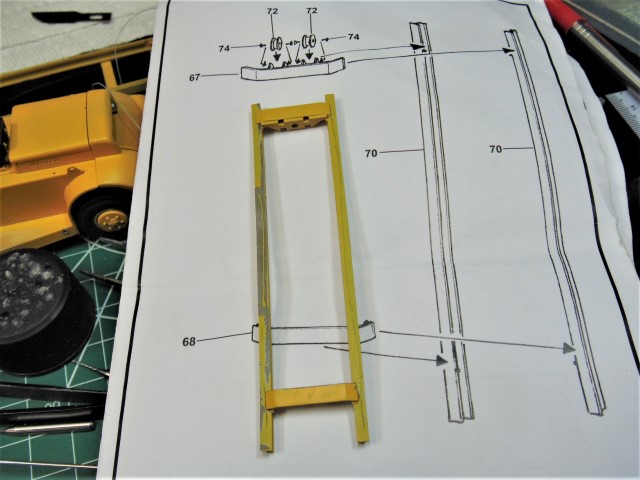
PLUS MODEL include a full length piston shaft along this a stub if you want the tines at full rest forward. So, you really have a full range of static height and width of the tines to choose from, depending on your specific diorama.
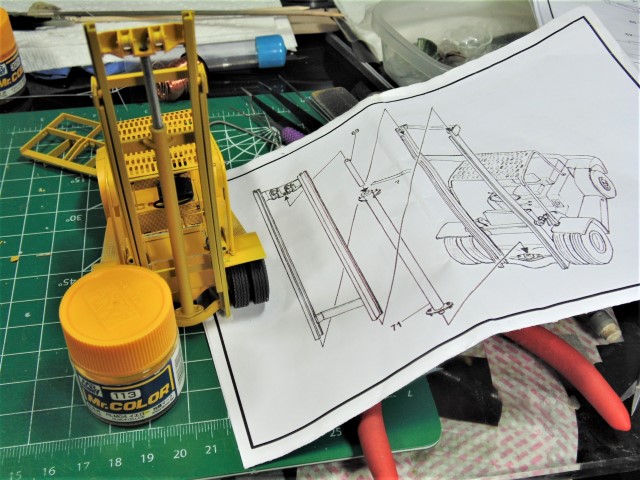
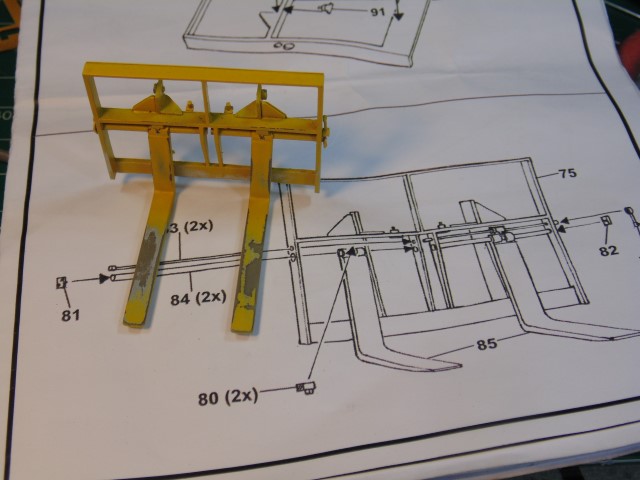
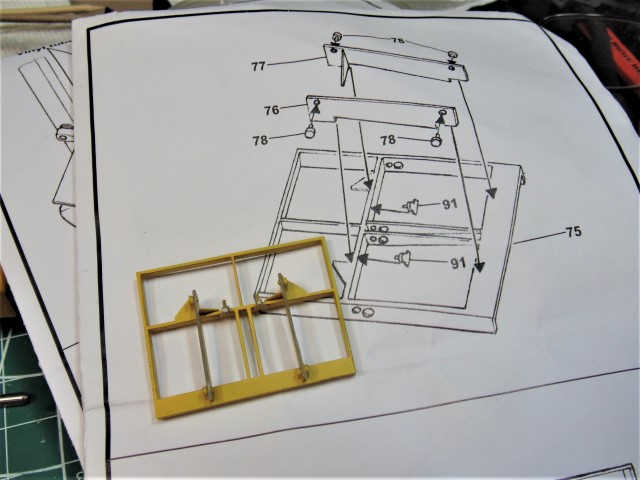
Sliding the painted rail parts together is a bit tough, so clean them. Also, having something for the lift to rest against will stop it from flopping forward.
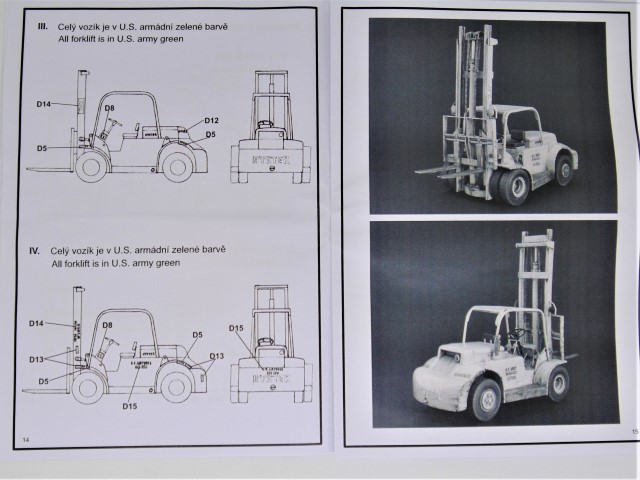
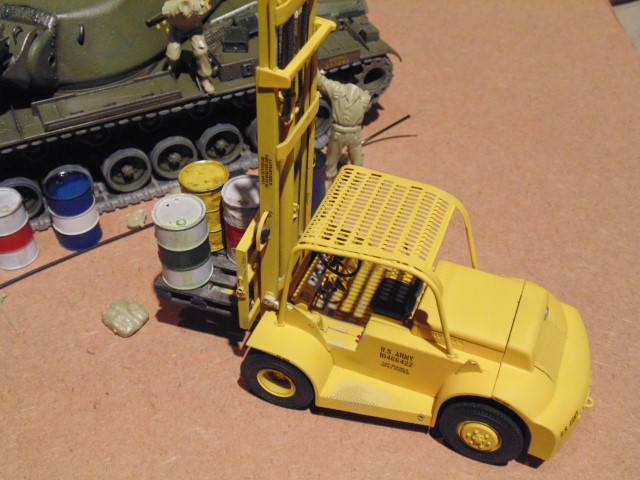
That’s enough for now, but it sure is coming together.
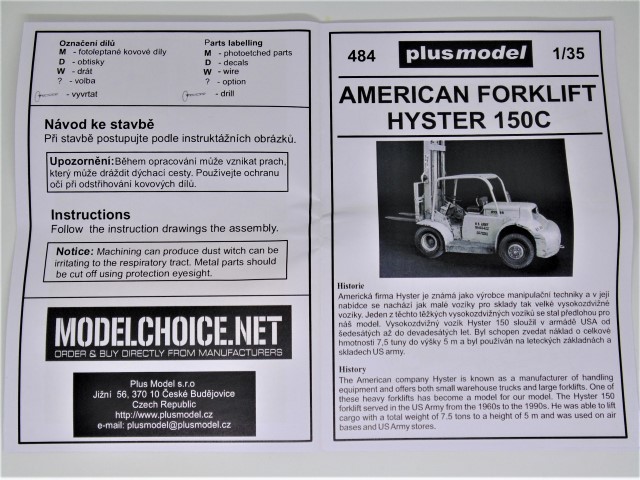
Our thanks go out to PLUS MODEL for sending this kit for review and to Sunward Hobbies for supplying the paint for the build. Please visit www.plusmodel.cz for some awesome kits and add-ons and www.sunward1.com or www.sunwardhobbies.ca for kits, supplies and neat stuff.
Thanks Everyone, hope this “lifted” your spirits… eh, em… yeah that was lame