I maybe build models as long as you do or even longer.
I’m feeling knowledge is of the most important things.
And that is one reason why I think I’m finally improving on the subject.
Well I am going to head you in two entirely different and easier directions:
** How about a winter white-wash camo over the dark gray? I just use children’s white, water based, tempra paint and randomly slap it on till I get the effect I want. (The Germans used kitchen mops to randomly apply their white-wash camo!)
If I don’t like it I wash it off before it dries in plan water. (You said your next build was to be a winter scheme so how about doing two?)
(I do hope you can still pop that windshield glass out of its’ frame to paint the frame.) _____________________
Second suggestion Over spray the entire model (but NOT the window glass!) with Tamiya “Matte Clear” (TS-80 rattle can) to kill all that shine and sort of level the paint job overall. Keep the can back some distance so the paint falls as a mist, almost dry onto the model and gives the surface a bit of a microscopic “rough tooth.” (The TS-80 is the best quality matte finish in the industry and I use it for EVERY model! If you use the “dry application” technique I mentioned here, you will achieve the most flat, matte surface in the model industry!)
Then purchase a set of “SOFT Pastels” and experiment with brushing (or even scrubbing with a semi-stiff brush) these powders onto the surfaces to create a dusty, shaded affect. (I find a light tan / buff chalk to work best over the dark gray - like Mead93 said.) You are going to be looking for the “Soft Pastels” and NOT “Pastel Chalks”, as soft variety are slightly more oily, contain more pigment and adhere better.
(I bought one set of Artist’s Pastels some 35+ years ago and that same set is still going strong for me to this day! You just don’t need a lot of volume of color for this type of shading work.)
Not trying to slam anyone else’s process that is working for them - just sharing that which works for me. I feel I could have that Famo “up and running” with about 30 minutes of paint and pastel work.
At first blush (pun intended) one might think to take a lady’s ultra soft makeup brush to gently apply the chalks to a model. However in reality, if you have succeeded in achieving that “dry tooth” matte texture I spoke of using an overspray of the Matte Clear you will now have a surface that you can take a short bristle, semi-firm brush to and actually scrub the pastels into the surface. This will make them quasi-permanent and they will no longer finger print nor easily rub off as with normal pastels.
There will be very little need for a final top coat of fixative (matte clear) to protect the pastels.
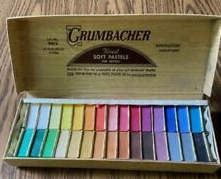
Here is the exact set I purchased so many years ago.
This set is available right now on eBay ($25-$55) and will last you a lifetime!
I will stop now as I fear I might be coming off as being too pushy with sharing this technique. I am just trying to show alternate methods and solutions for model painting and weathering.
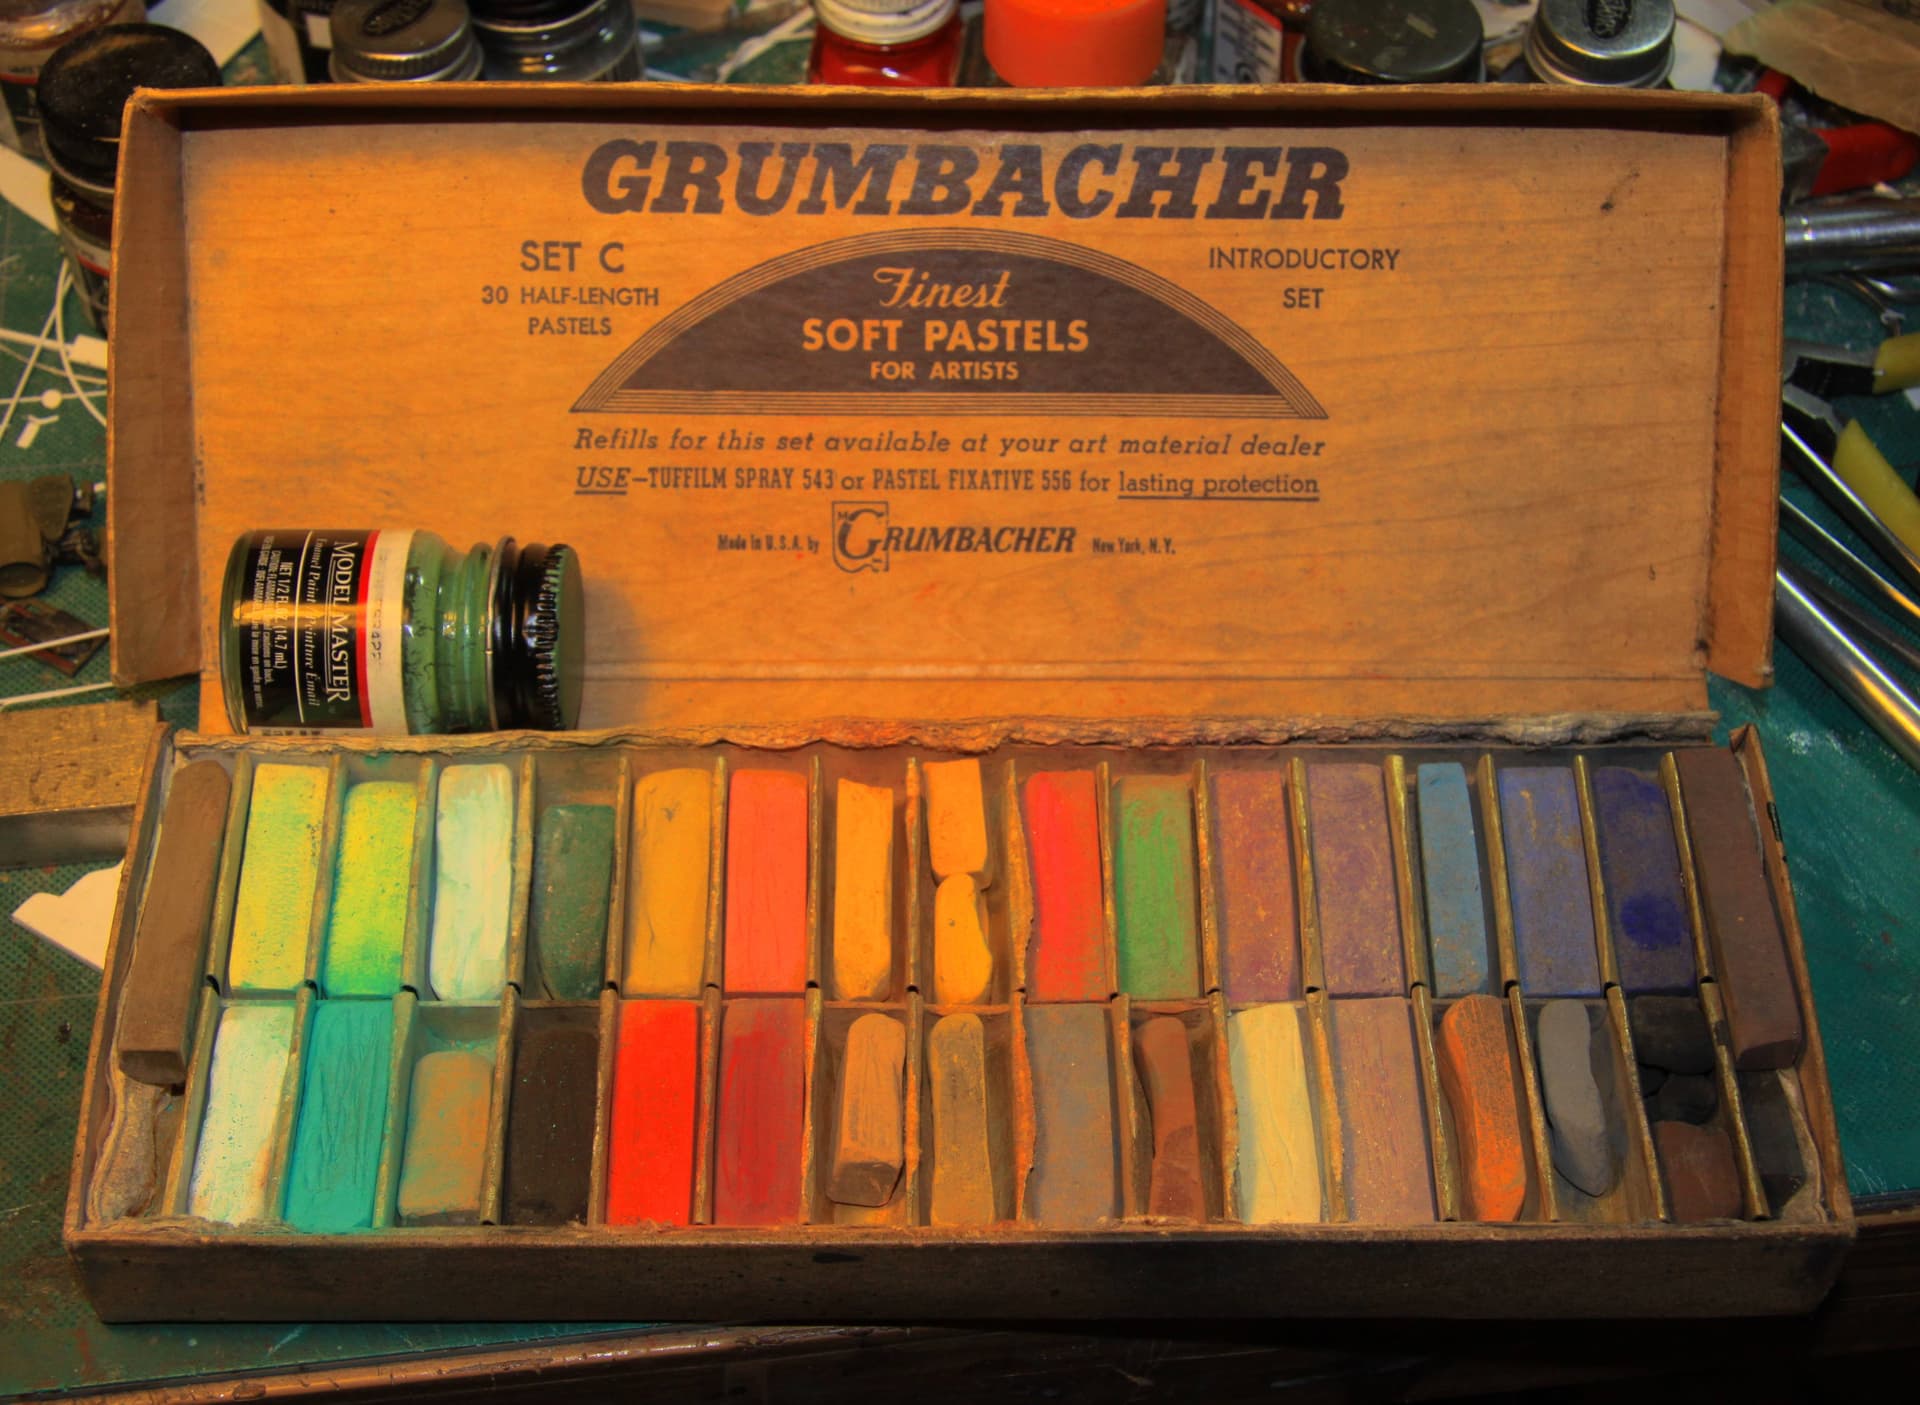
This is my personal set of Grumbacher Soft Pastels purchased sometime around 1973:
I respect everyone’s choices and methods, however a jar of pigments is approximately $4 and you should not need more than 6 shades (dust, sand, earth, dark earth, rust and black). They are specific modelling products, and ready to use. Personally, I can not see any advantage on pastels -which are not pure colors but mixed with an binder of which you can not get rid of…
Thanks everyone for the suggestions. @165thspc I might give one of these techniques you are suggesting a try on my Famo model.
The shinyness you are describing on my model is an layer of vernish that I applied with the airbrush in preperation of applying the decals to the model.
Because, I wanted to finish the project and move on.
That was until I discovered with this topic that there are so much possibilities to get the model to the next level.
And I still haven’t gone to the project, since I’m now decluttering my reading hobby right now.
However, the book I’m reading Scouts Out that I have purchased on recommendation on someone else on the forums. Is also reading for the scale modeling hobby.
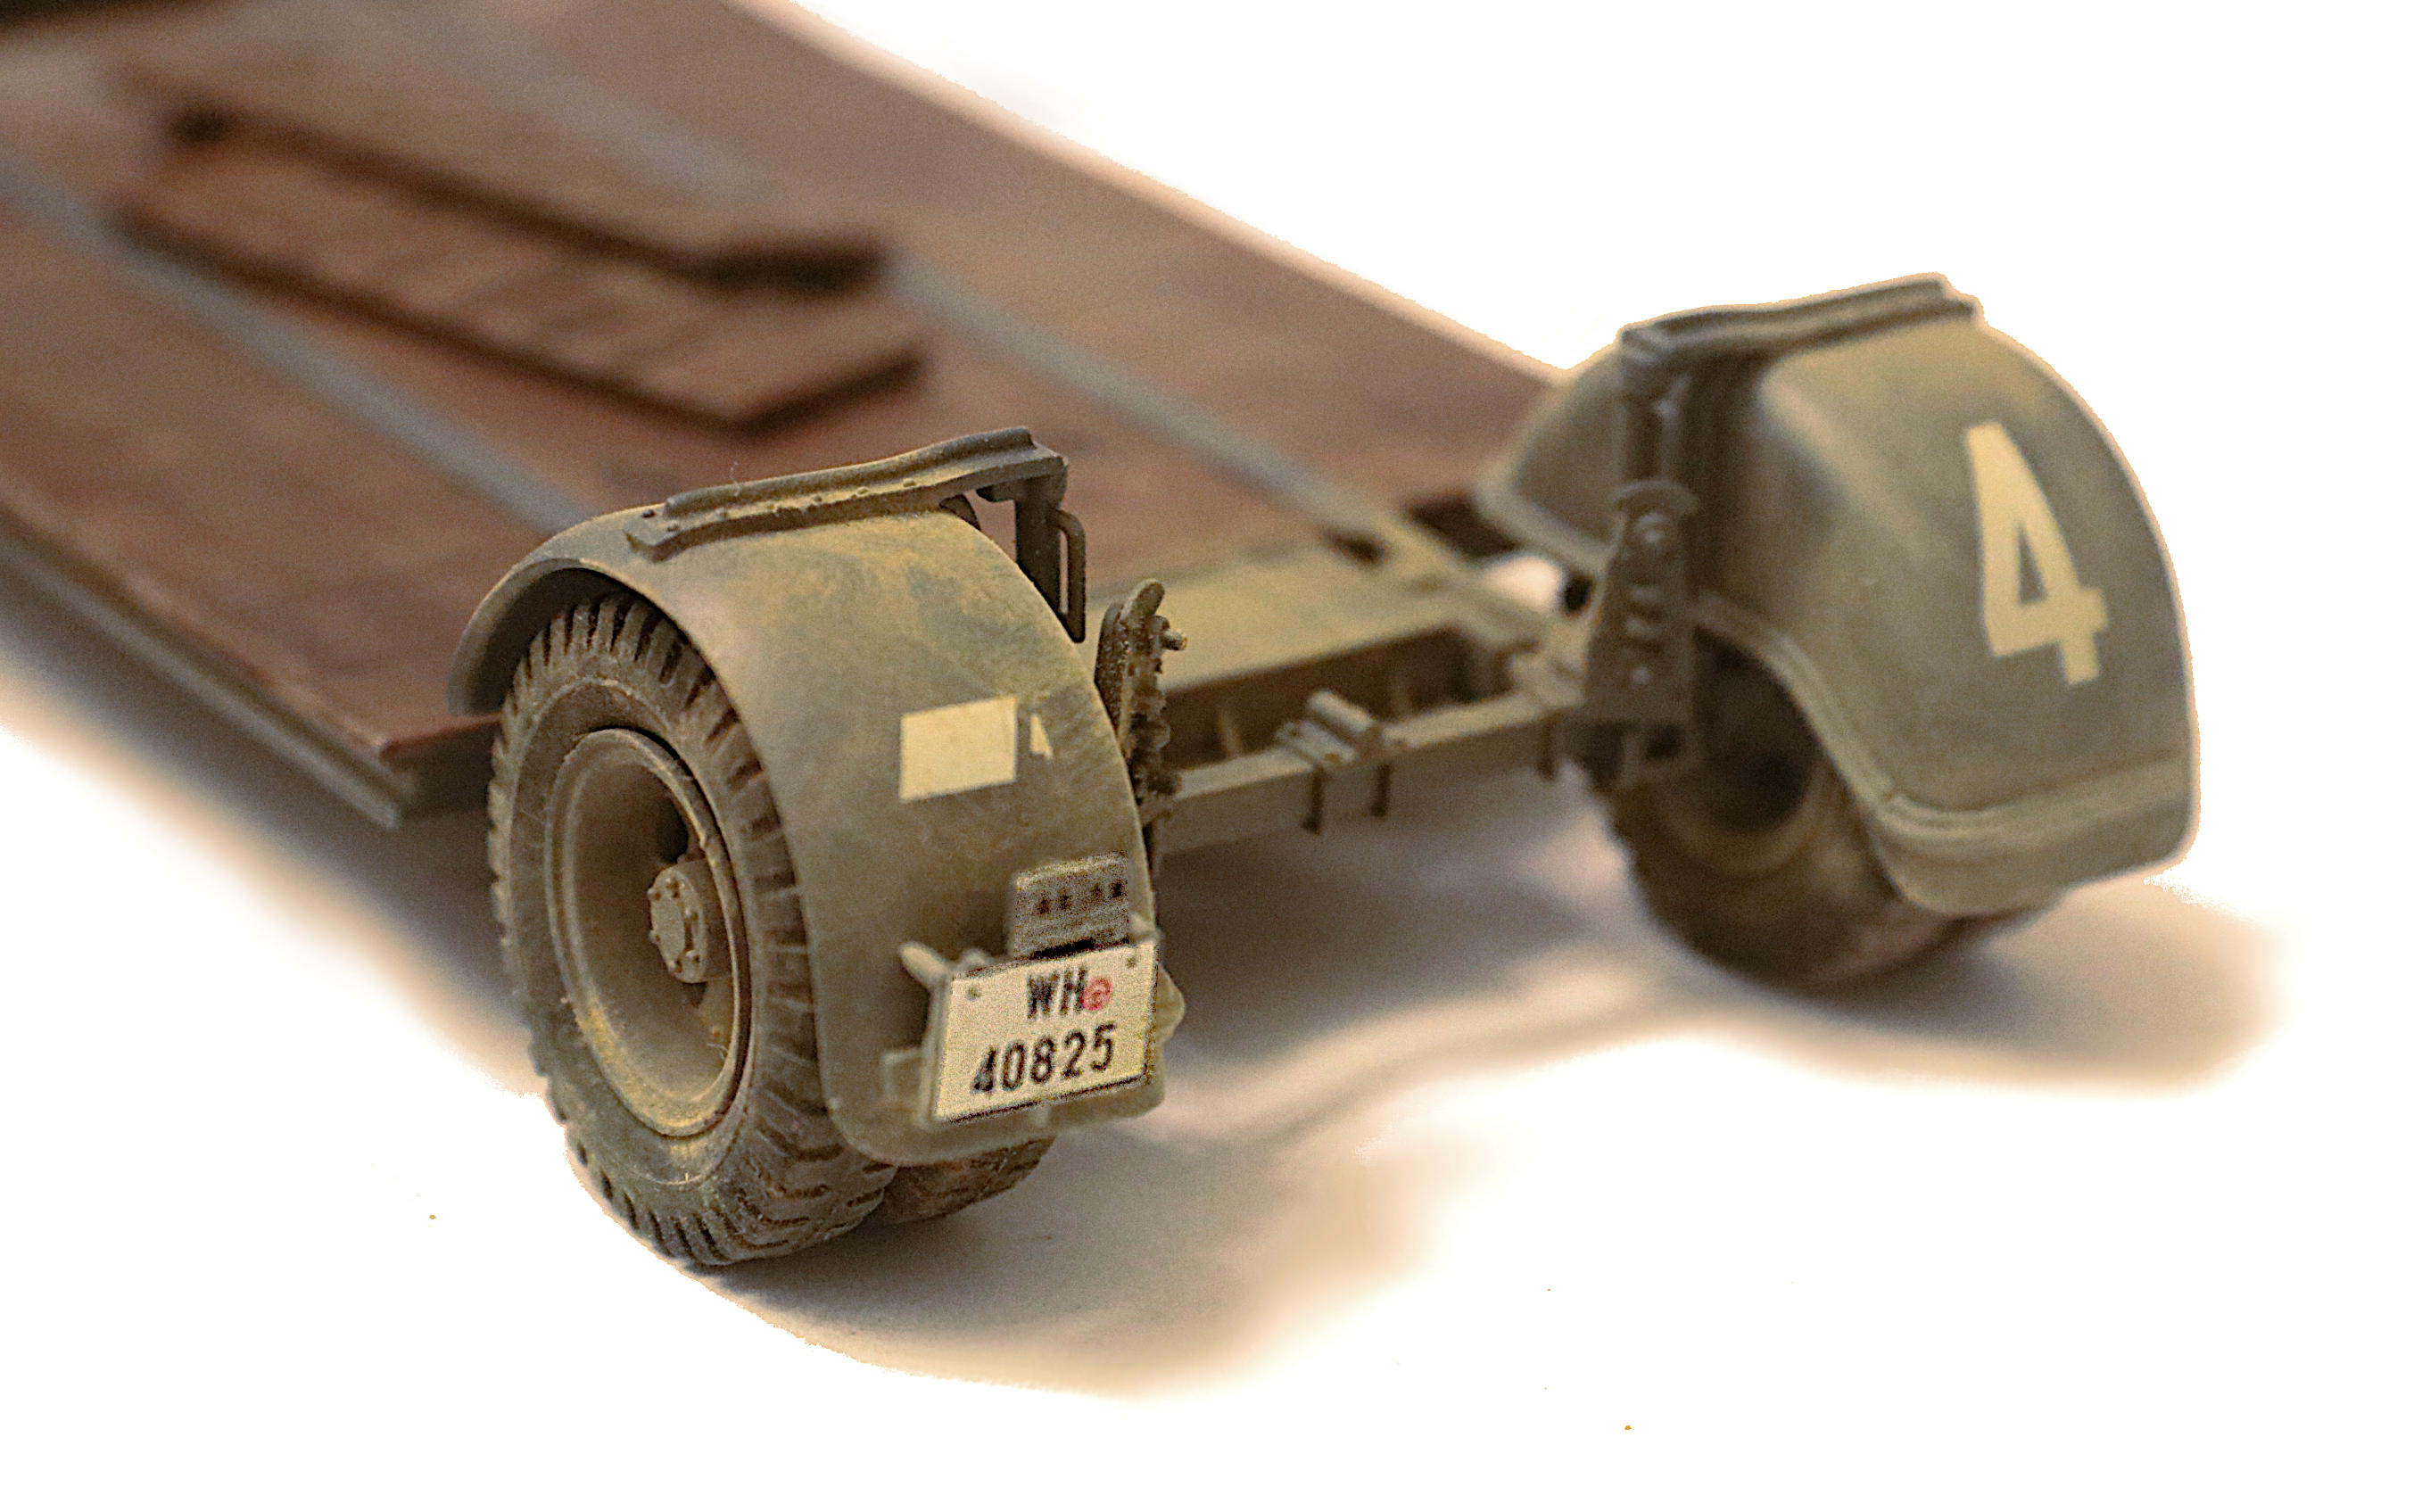
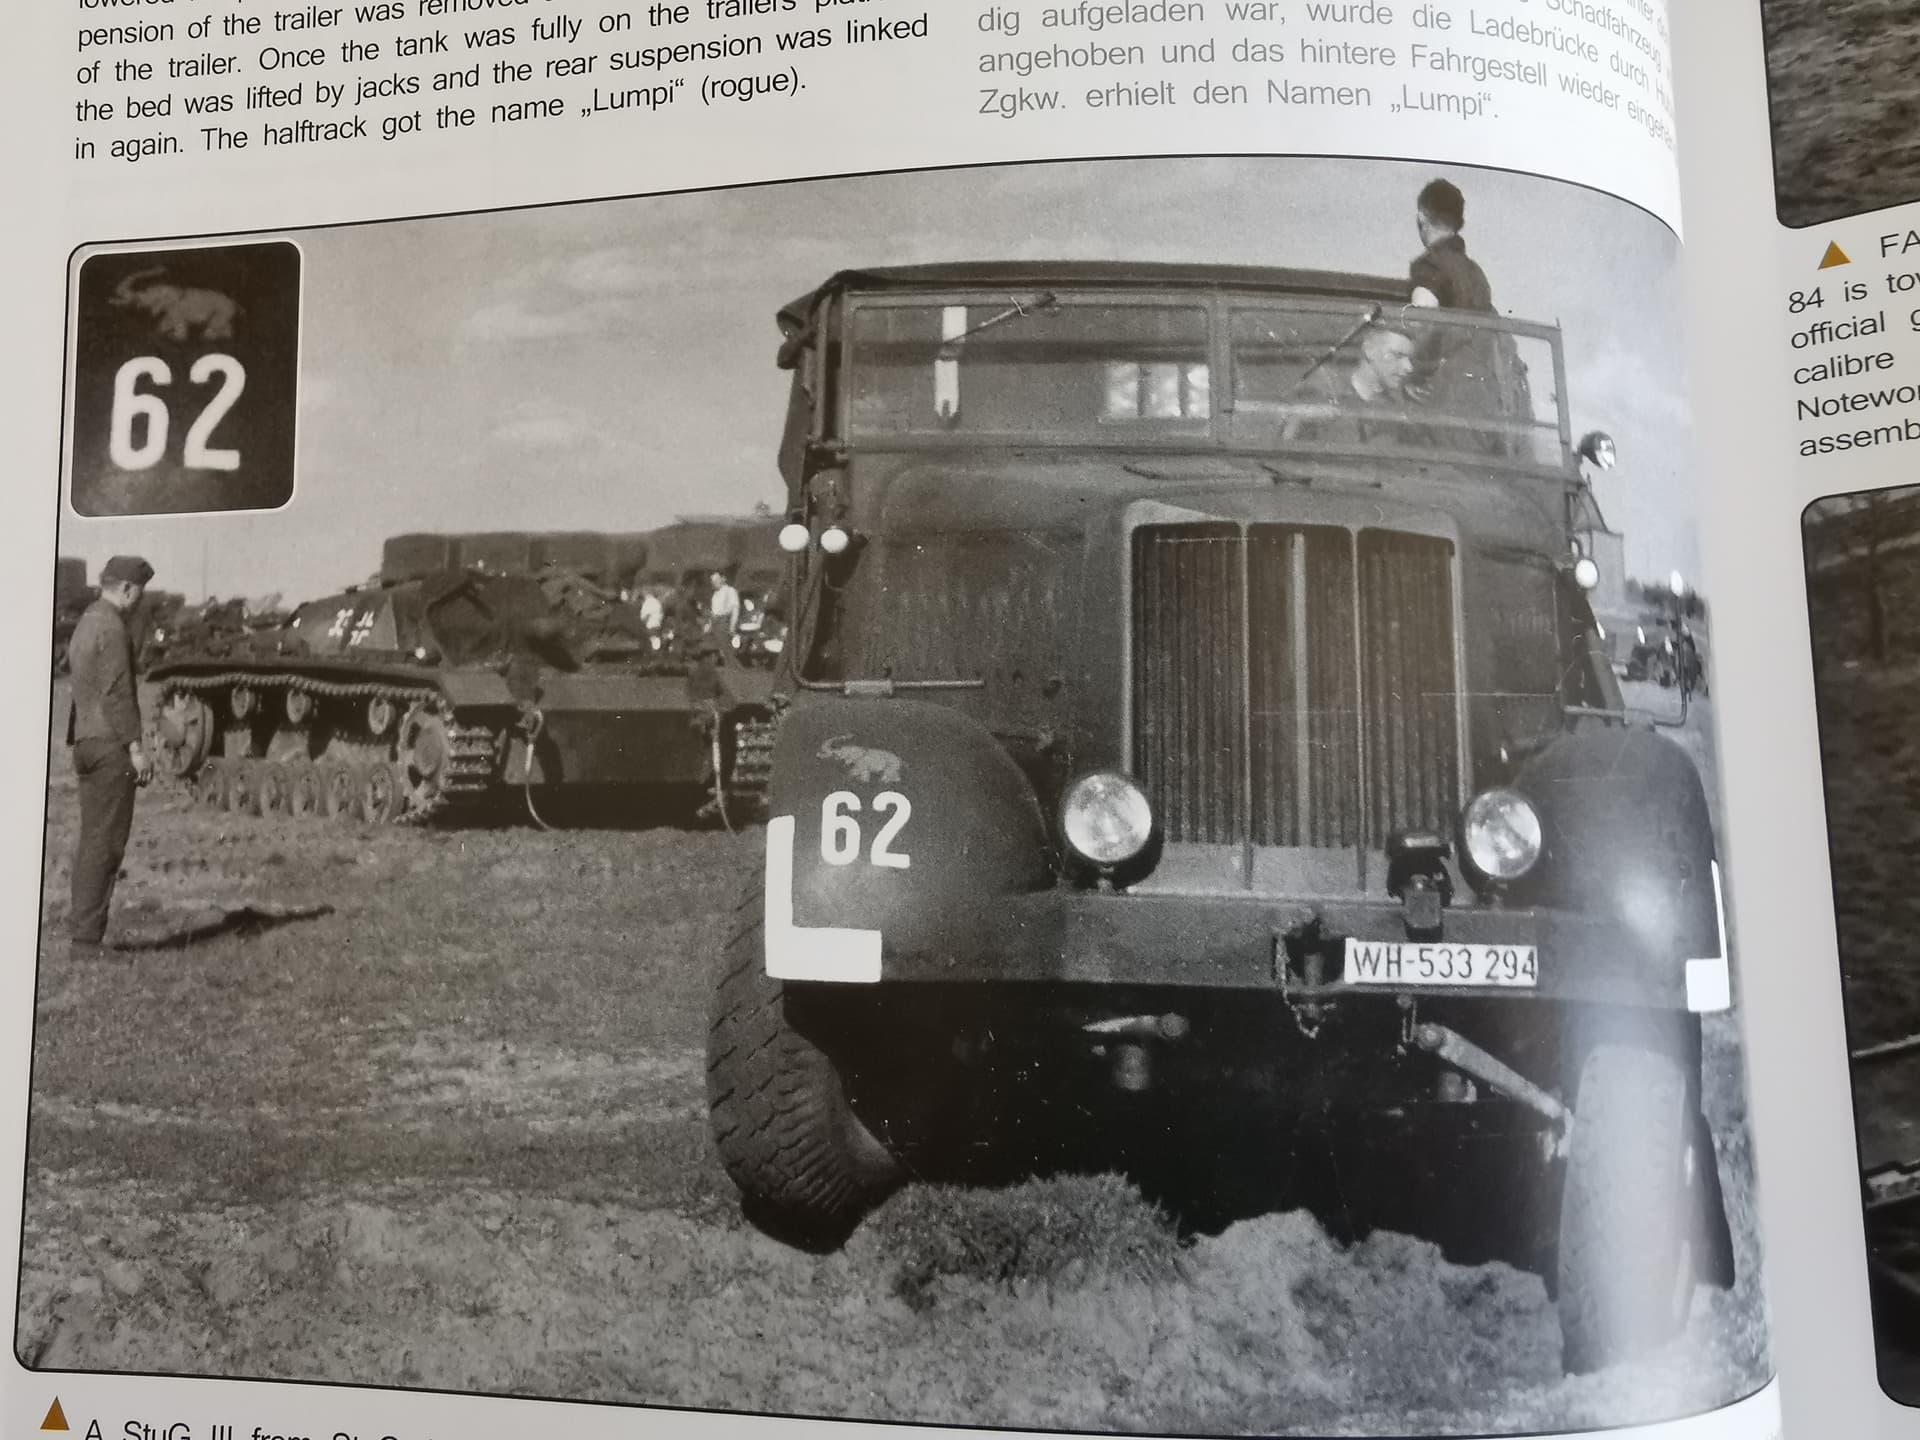
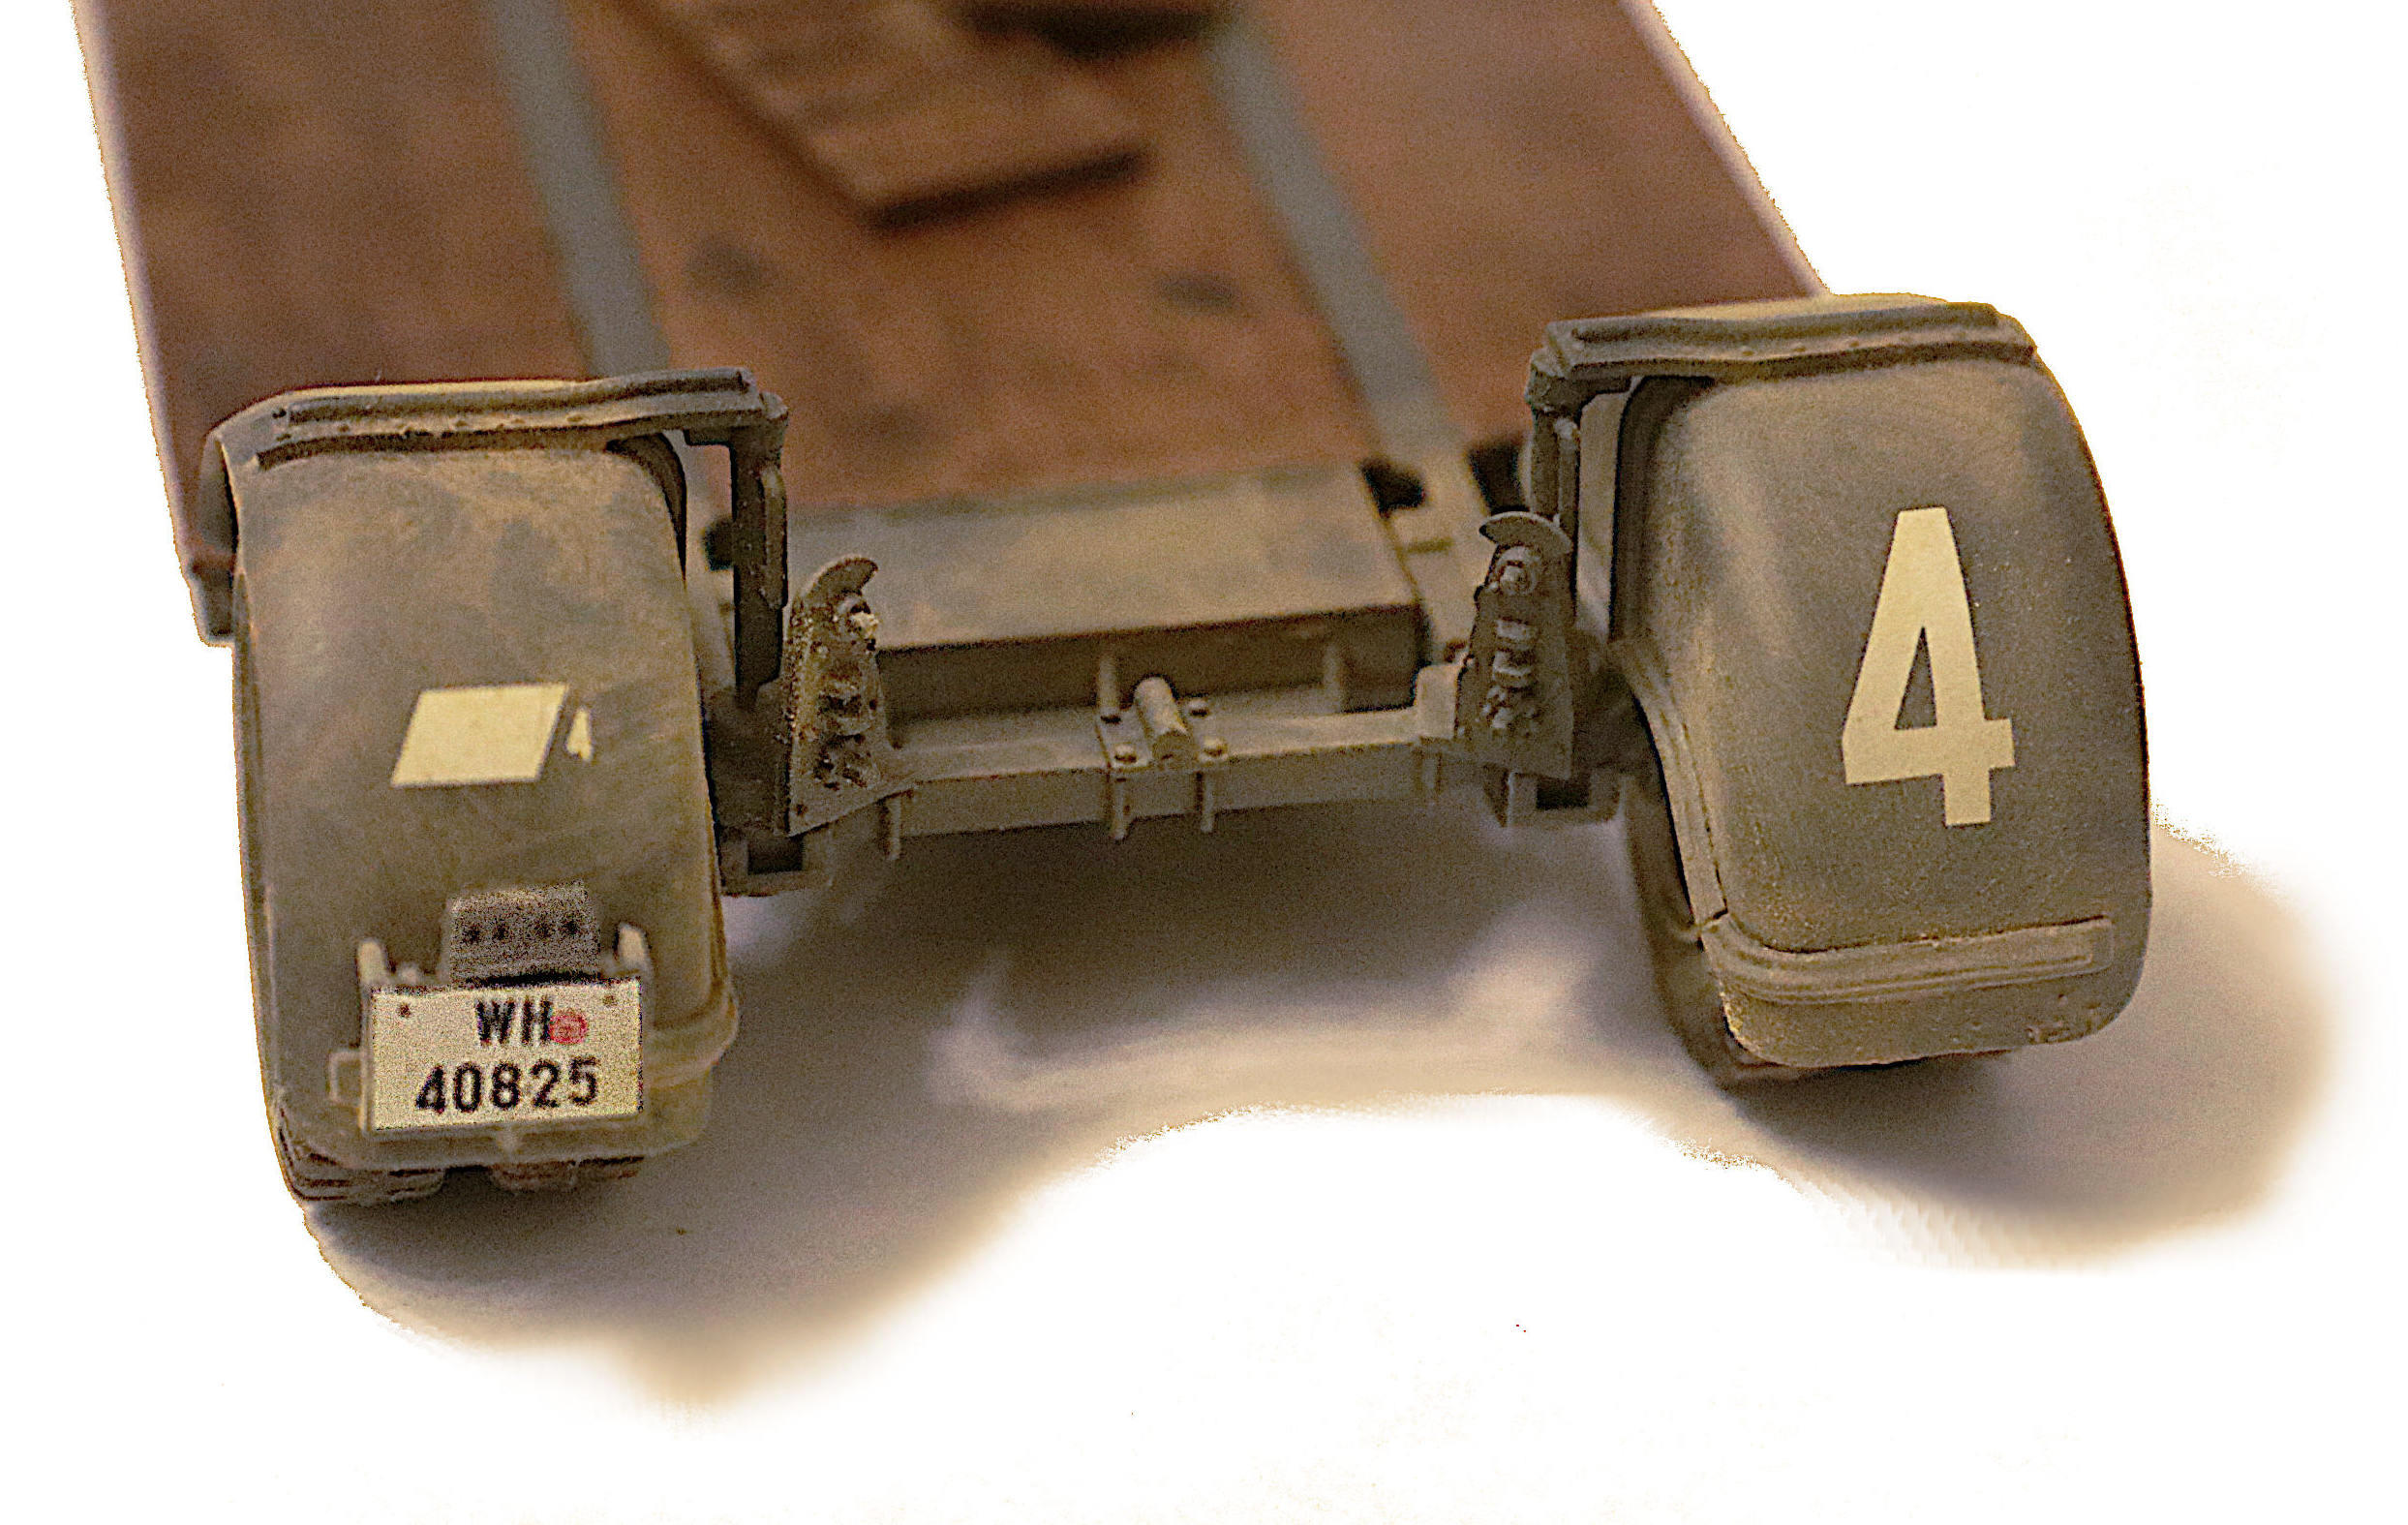
Below you will find a picture I found in the Trackstory I bought about the Sd. Kfz. 18.
And I found a photo that nearly exactly matched the model I chose to build:
I’m liking it more to buy ready made products to work with.
Less chance of making mistakes from my side and I learn a lot more from it in historical aspect and accuracy.
varanusk - again, the technique as described works very well of me and has for the past 35+ years on Railroad, Armor and Aircraft models. I have several “Best Armor & Best of Show” awards as support for my suggestions here.
I find no issues with the “binders” you speak of in the Pastels. They seem to integrate perfectly with oil based as well as water based paints, shaders and washes.
Again we all need to use what works for us; as do you. - In this case I am simply sharing an alternative technique that works very well for me. And sharing is actually what this whole blog site is about - the sharing of information and modeling techniques. - This should not become a debate.
_
p.s. Additionally, I would suggest that your limited “color pallet” could stand to be a bit more broad in your color options. (I even got to once use the turquoise colors in my set while recreating an aged and heavily faded Russian MA3 8x8.)
p.p.s. I scrape the Pastel color block with either a stiff brush or a modeling knife to create/release the fine powder needed to do the weathering. But for storage, having the colors “bound” into a firm block is a lot safer and potentually much less messy in my view. Also spending $40 on a broad pallet of colors that will last you the rest of your life seems like a fair investment to me.
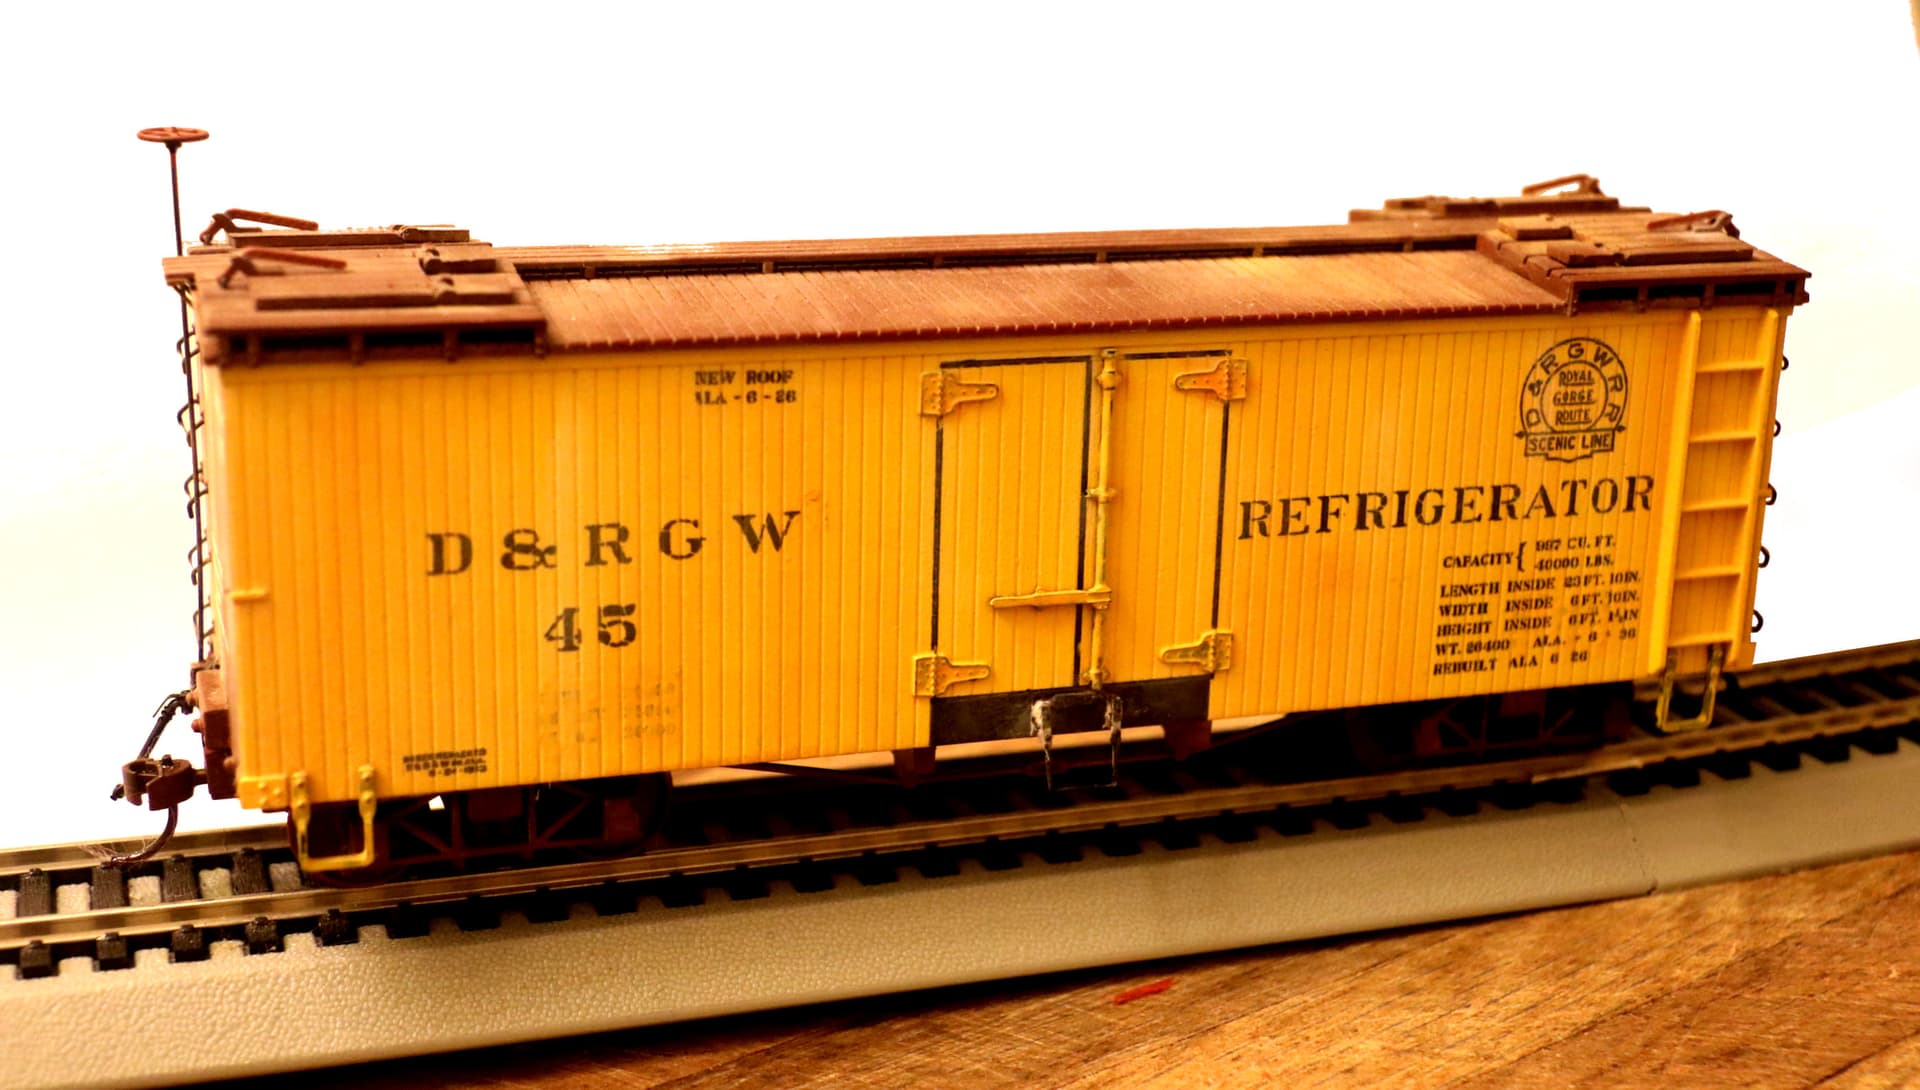
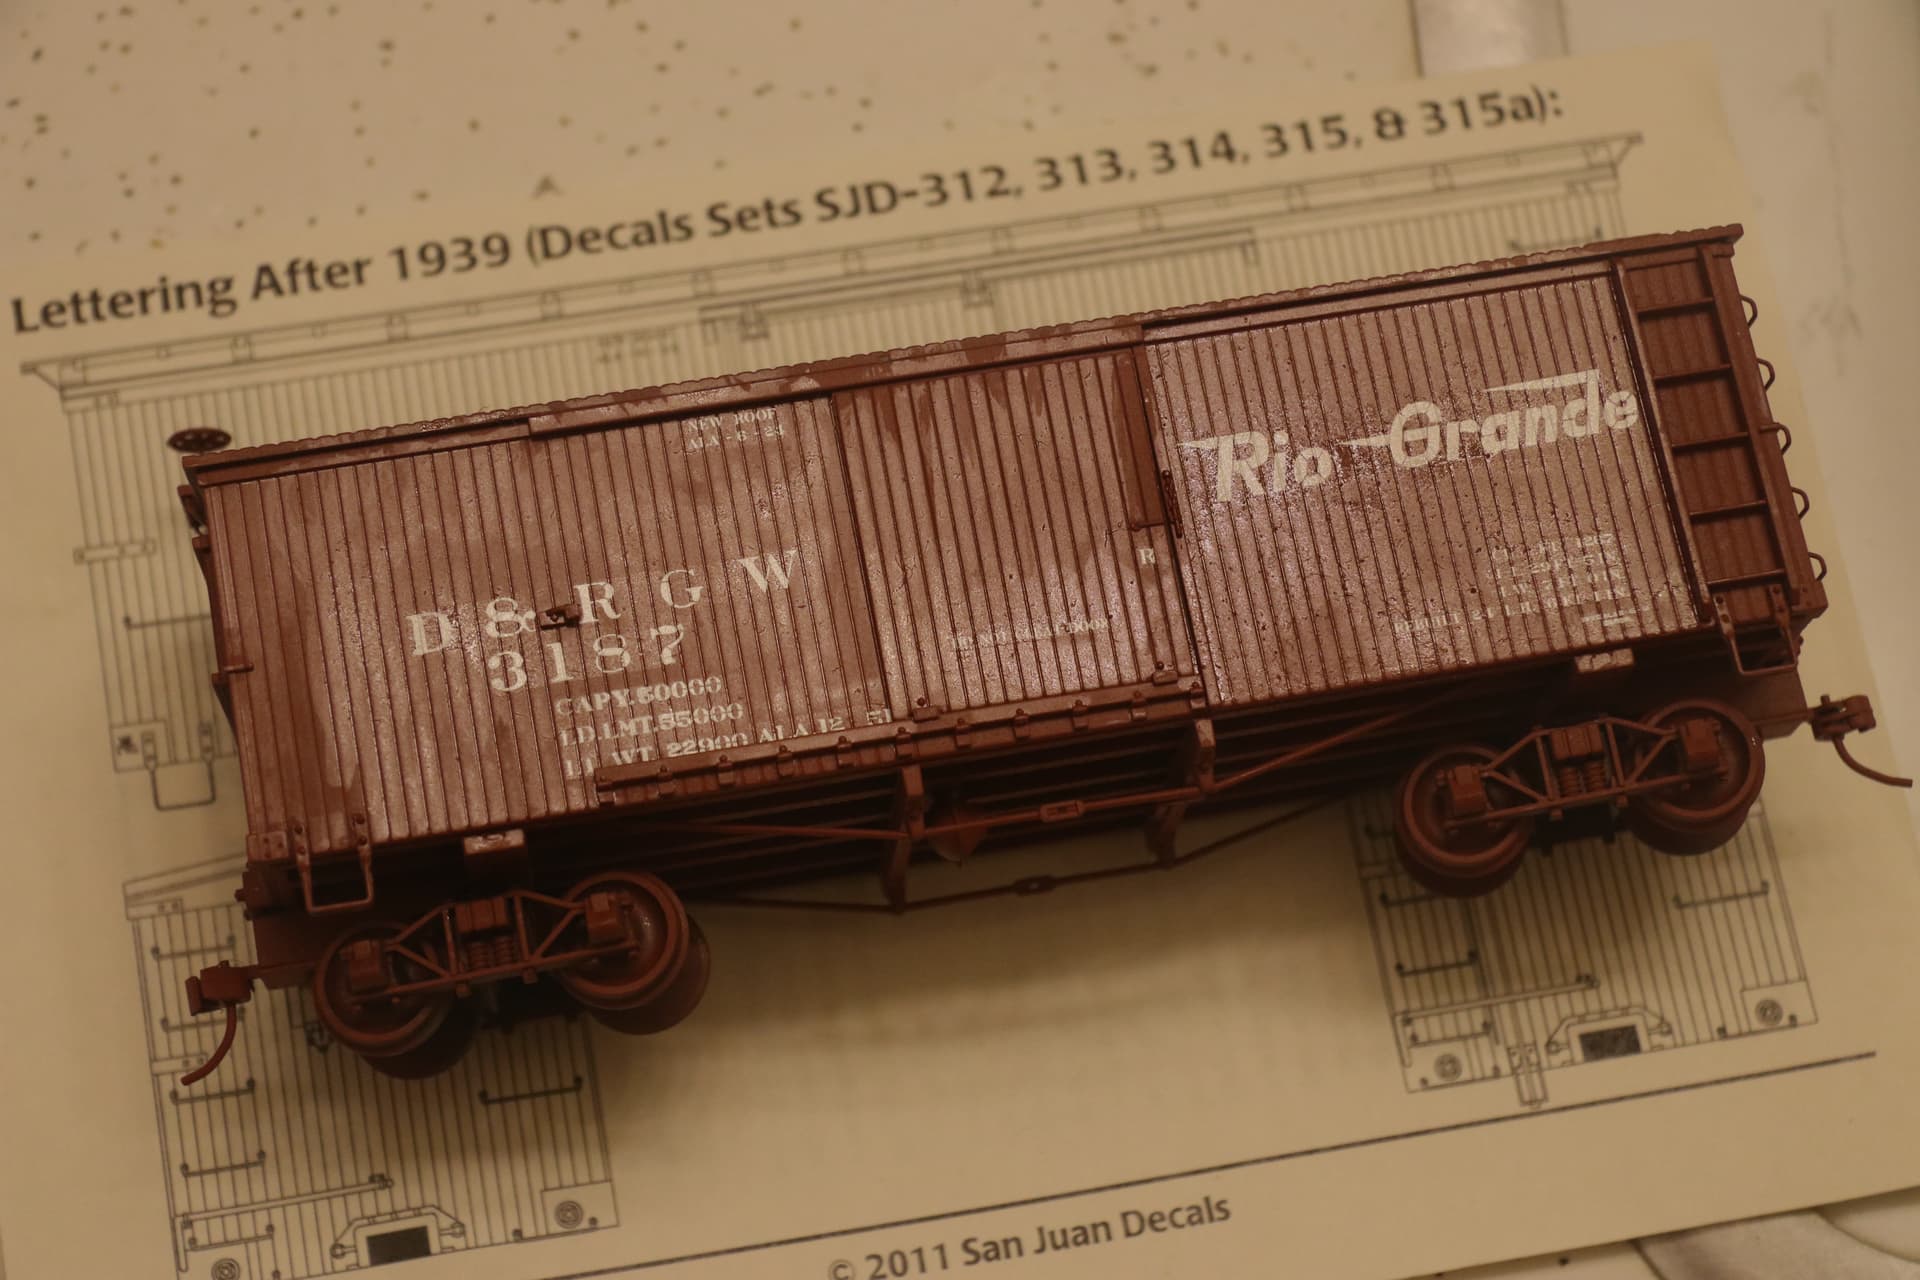
A very accomplished model builder taught me this decal trick many years ago. – Brush on a coating of Future Floor Wax just in the general area of the decal. Apply the decal as you always would. Then after it all starts to dry and adhere to the model, brush on another coat of Future to cover and entomb the decal and let it dry completely. Finally, when totally dry, overspray with your favorite clear coat to level the surface (mine is Tamiya TS-80 rattle can) and to further seal and protect the decal.
Forget the varnish, forget the Solve-set and the Dio-sol. (Oh Sacrilege!)
But the proof is in the pudding; my decals very often end up looking painted on!
All this advice ain’t because I’m all that smart – it is because I listened to those that have gone down the same path before me.
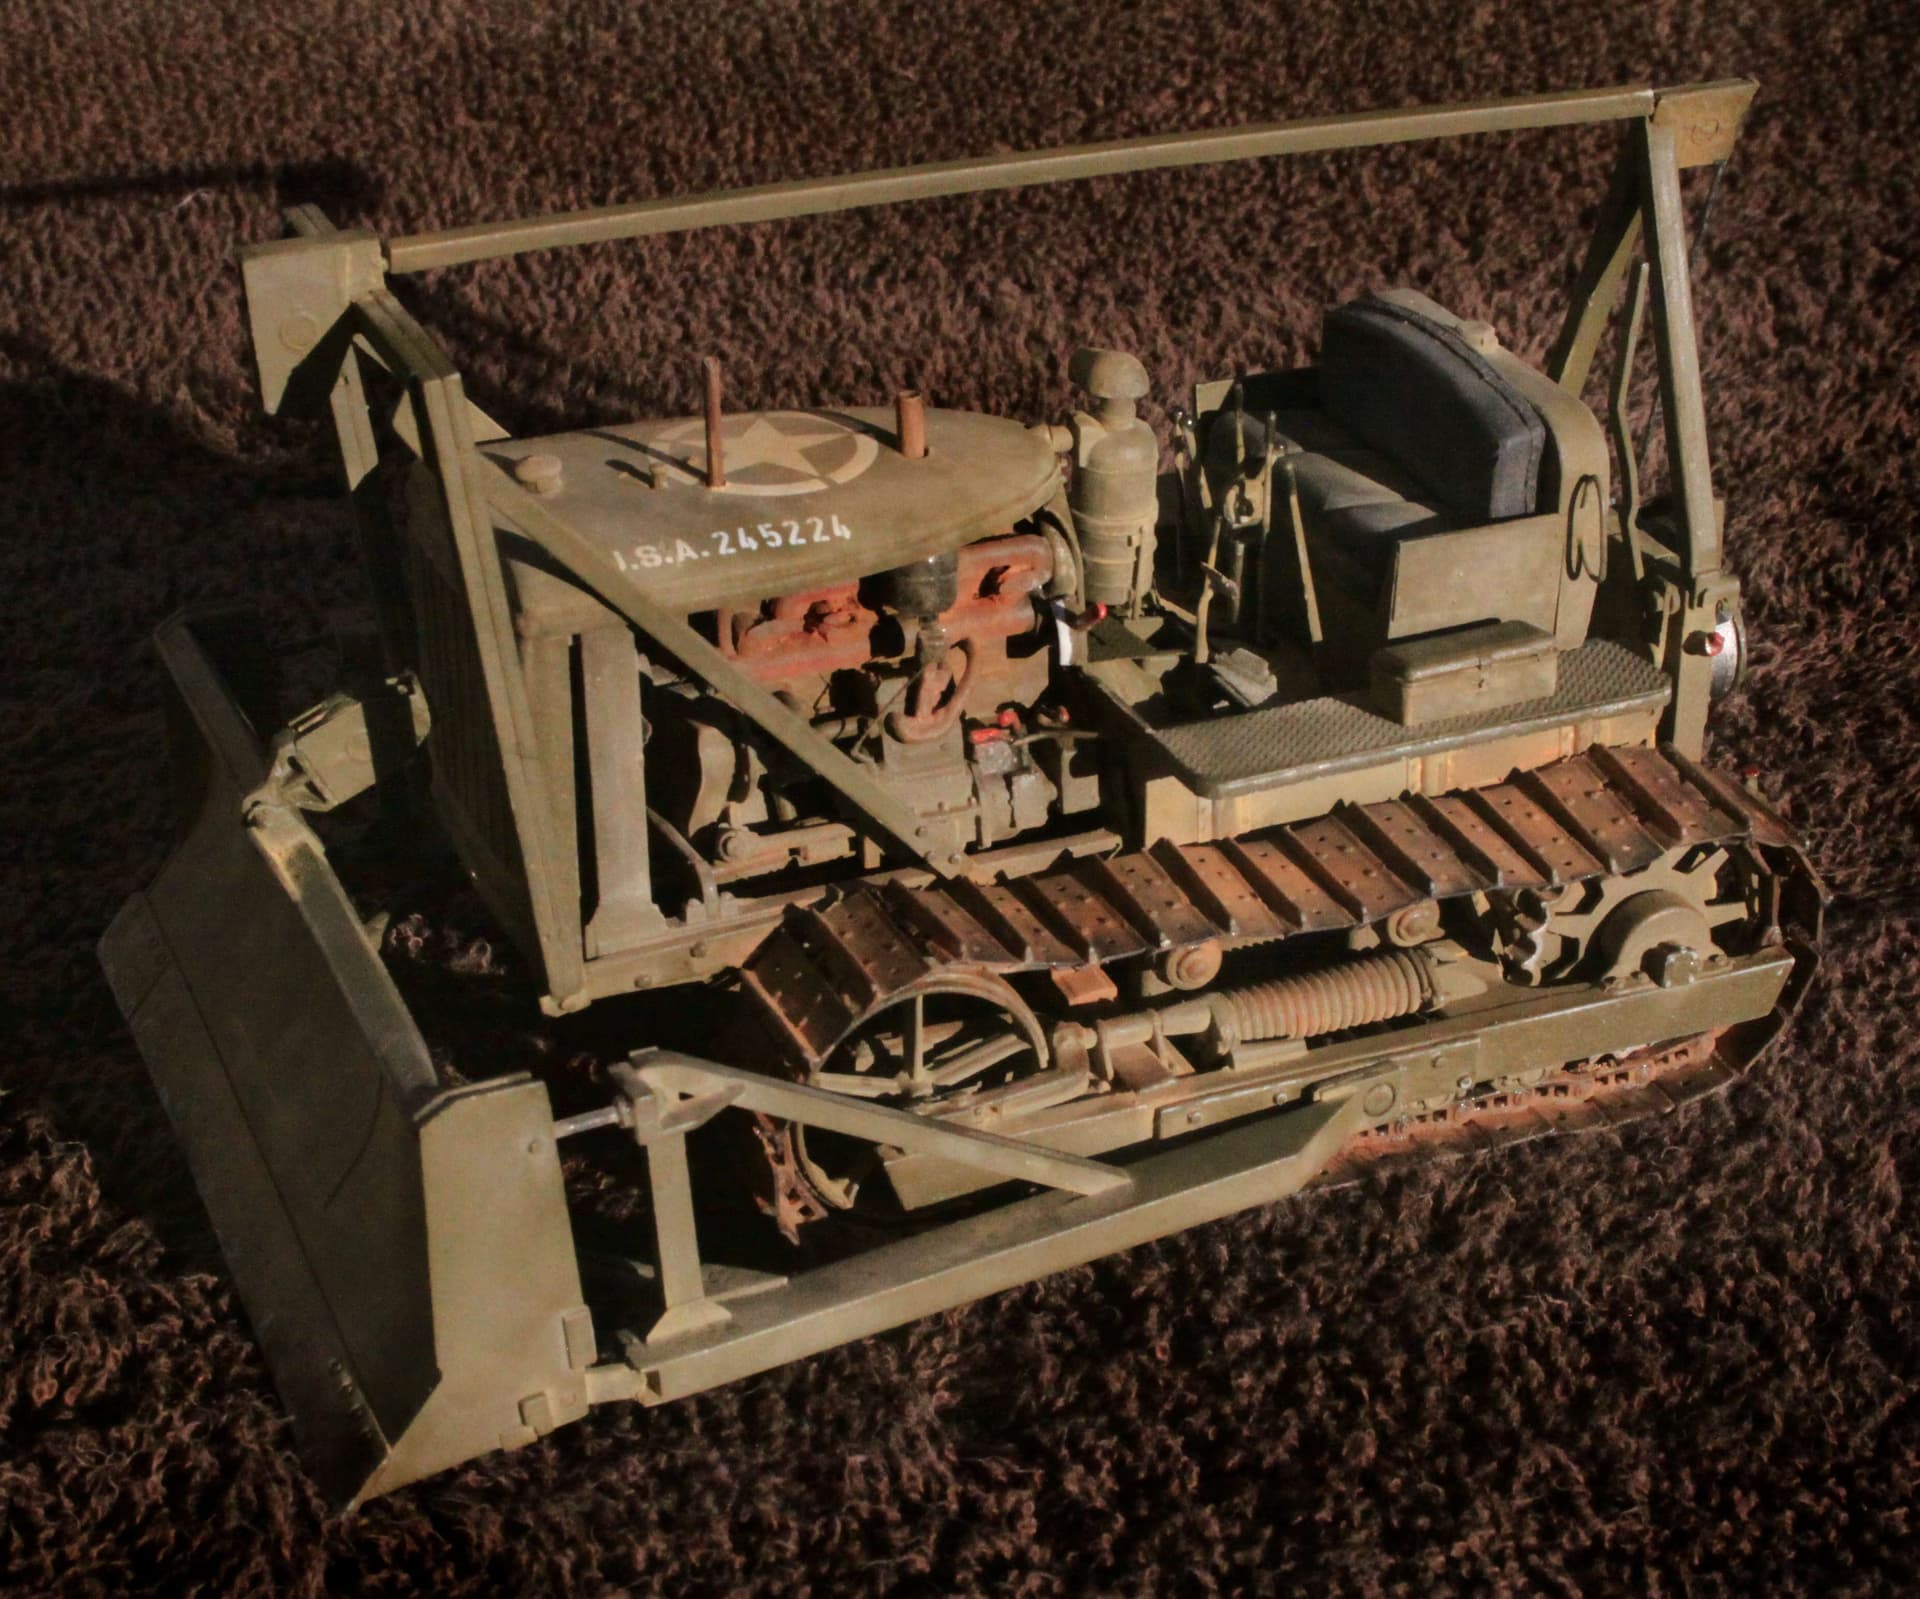
Oh and by the way: . . . . Every bit of the dust, grime and weathering you see here in these example decaling photos - even the rust on the Caterpillar tracks and the engine manifolds is done with Pastels.
Sorry all: I apologize for resorting to the “old man of the mountain” attitudes here - maybe I could have come up with a better way to express my thoughts - but that doesn’t make what I am saying any less true.
FWIW, my best advice is to just finish the build. Complete it and move on to your next project. Take what you’ve learned and apply those lessons. Striving for perfection is good, but becoming trapped and no longer making any progress because you’re not achieving perfection will only lead to a shelf full of unfinished models (until you finally grow so frustrated that you quit the hobby).
Michael Koenig’s (@165thspc ) suggestions about going with either a winter whitewash or decaling and then simply overcoating with a clear matt / clear flat followed by weathering are good ones that offer you a path to a finished model.
However, I would submit that it would be a mistake to go off on a tangent looking for some entirely new finishing techniques while trying to turn the clock back and starting over by stripping the paint off the model. In the end, you have to accept that you’ve done your best on a particular project and then move on to the next.
NONE OF US - no matter how long we’ve been making models or how much experience we have has ever built a “perfect” model. Any modeler who is honest and even the slightest bit self-aware knows that his or her latest build has some flaws, mistakes and other features that could have been done better. Every model on our collective display shelves is imperfect in some degree. Every one.
However, the way that each of us has improved our skills, craft and art has been by accepting those flaws and moving on in pursuit of our next build (which will be perfect THIS TIME!).
Finish up your Famo and then build your next model.
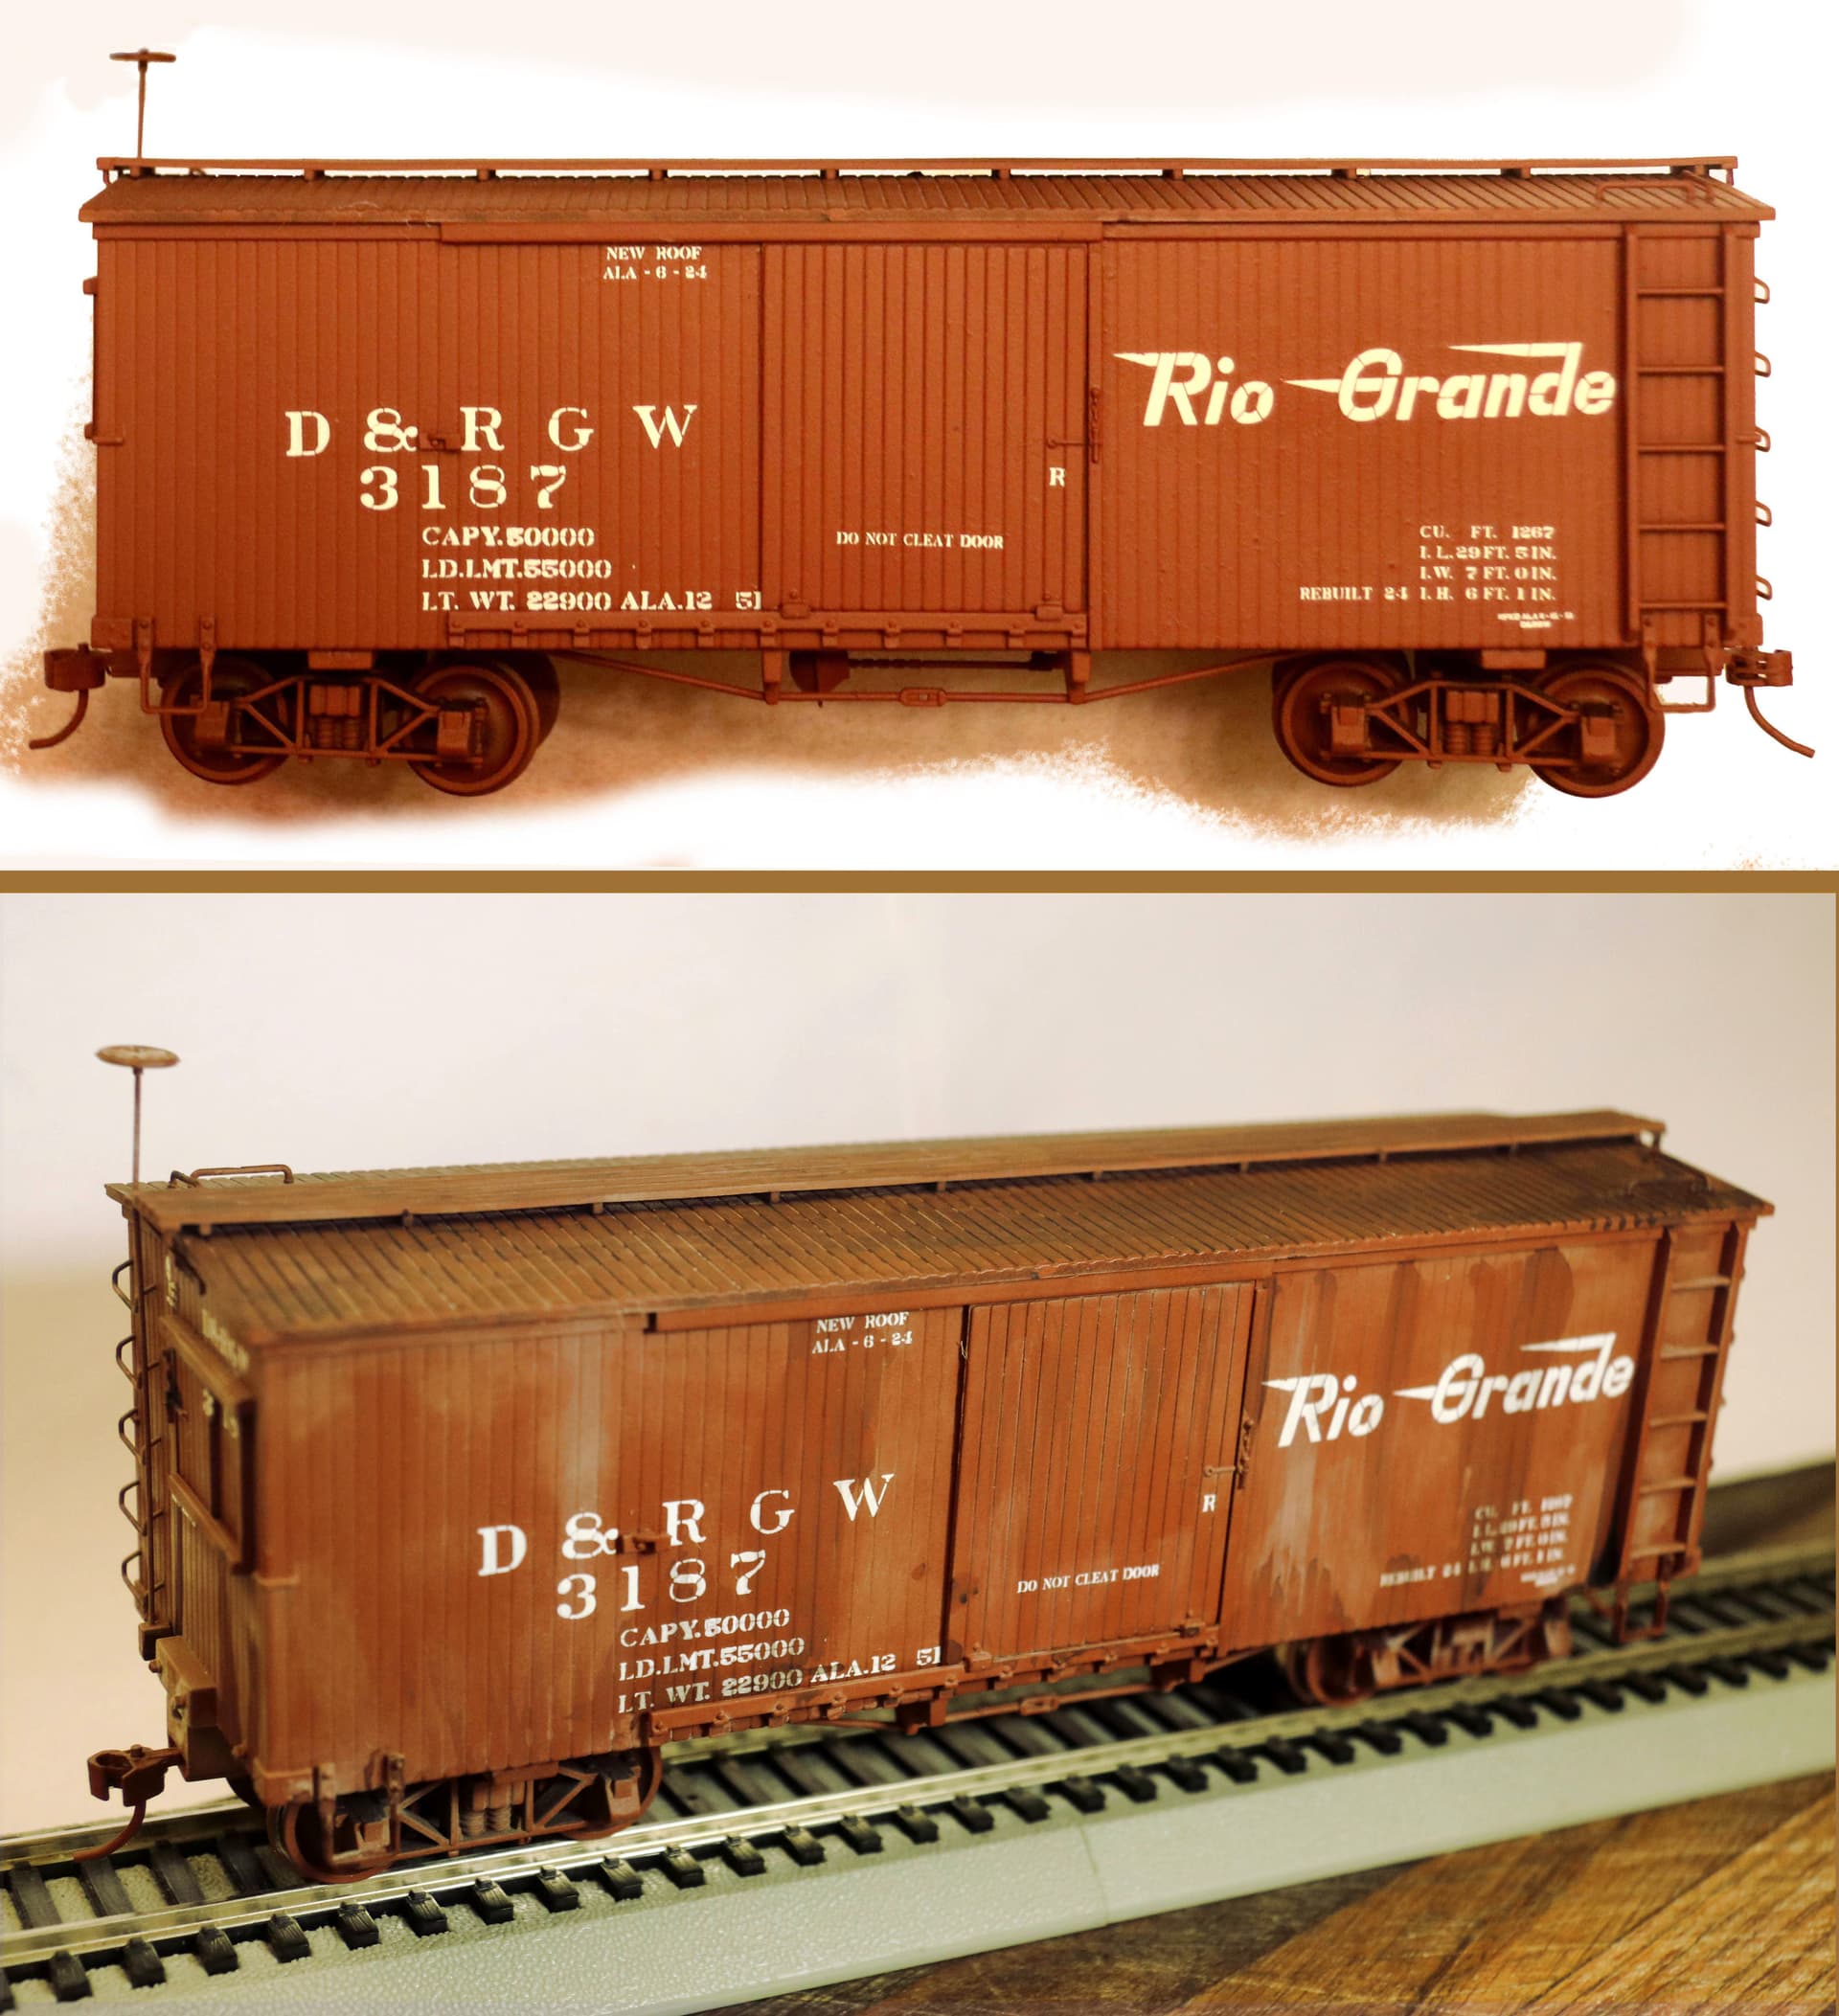
Here is what that same #3187 boxcar looked with only the dried Future on it, NASTY BEFORE the coat of matte spray:
The Tamiya TS-80 Matte Clear is amazing what it can do for a model!
All well and good - and I agree I too have never, EVER built a perfect model. NOT EVER!
However the man posed the question, he asked for help and for suggestions and I am offering him exactly what he asked for.
To say “give up and move on” in reference to such an expensive and complex model is to exhibit a defeatist attitude - which, IMHO is entirely unnecessary in this case.
I am certainly NOT talking of striping the paint off. A light coating of brushed on road grime under those fenders to hid the unpainted plastic, perhaps a slight over-spray dusting of a lighter shade of gray to highlight the upper body. Then a coat of very dry matte clear to level everything out and finally a session with some buff/light gray/or even white pastels and Herr Famo would look like a new man, ready for a night on the town or ready to go to war!
If he wants a “parade ready” super clean Panzer Gray Famo ready for review before Der Fuhre then no, we are probably never going to get there with this one.
However is he wants either a white washed winter camo Famo or a dusty ‘in the field’- REAL looking Famo - like you see in wartime photographs then this model is easily in reach of either of these goals and could even end up an award winner.
I have to take issue with your characterization of what I said.
I did not say “give up and move on.” What I said was FINISH the build and move on to the next one. There is a difference.
And although you didn’t suggest that he strip the paint off, if you had read the entire thread, you will have noted that the OP asked about doing that himself. The implication is that he is or has considered essentially starting the entire finishing part of the build all over from scratch.
Although I did reference your suggestions to him (which, BTW, I did note as good ones), my reply was not directed at you nor was it particularly directed at what you posted.
My reply was intended entirely as a recommendation to the OP with regards as to my best recommendation to him as a path forward to achieving his goal of finishing the model.
Frankly, I have seen this scenario played out over and over with neophyte modelers. They loose sight of the end of their builds because they become discouraged that their results are not perfect or up to some standard that they see on line or in magazines or books. That discouragement leads to frustration that grows as they perceive that they are somehow “failing” to achieve what they want. In the end, way too many of them simply give up on the hobby.
Encouragement and knowing that they are not alone in their pursuit of the ever elusive goal of perfection is more beneficial than a cycle of attempted new techniques and materials. FINISH the current build and then move on to the next so that they can apply their newly gained experience to that build (which will hopefully be better than the last).
(Perhaps you are not saying - give up - but just - give in?)
But imagine the amount of excitement, confidence and positive ovation the OP would feel if, in the course of an single evening, he could see his model rise to the level of something NOT merely acceptable but rise to the level of something he could truly and easily be proud of?
Also consider the value of the lessons he might learn.
I’m done here - I promise not to persue this discussion further. However I really would like to develop the topic of “Pastel Weathering” further but perhaps as its’ own thread.
@SdAufKla Thank you for your reply on this topic.
You are right, it is time to finish things and move on to the next project.
Thank you for the advice, there are still three boxes of models waiting to be assembled.