I decided to do something a little easier and less involved than my last project. Plus it’s been years since I did an artillery project; an ICM 76mm regimental field gun. Nice little kit btw!
There are a few versions of this kit out, a Polish version as well as a US one, however I’m not sure of the differences. This is kit 35056. There’s also an early version with different wheels.
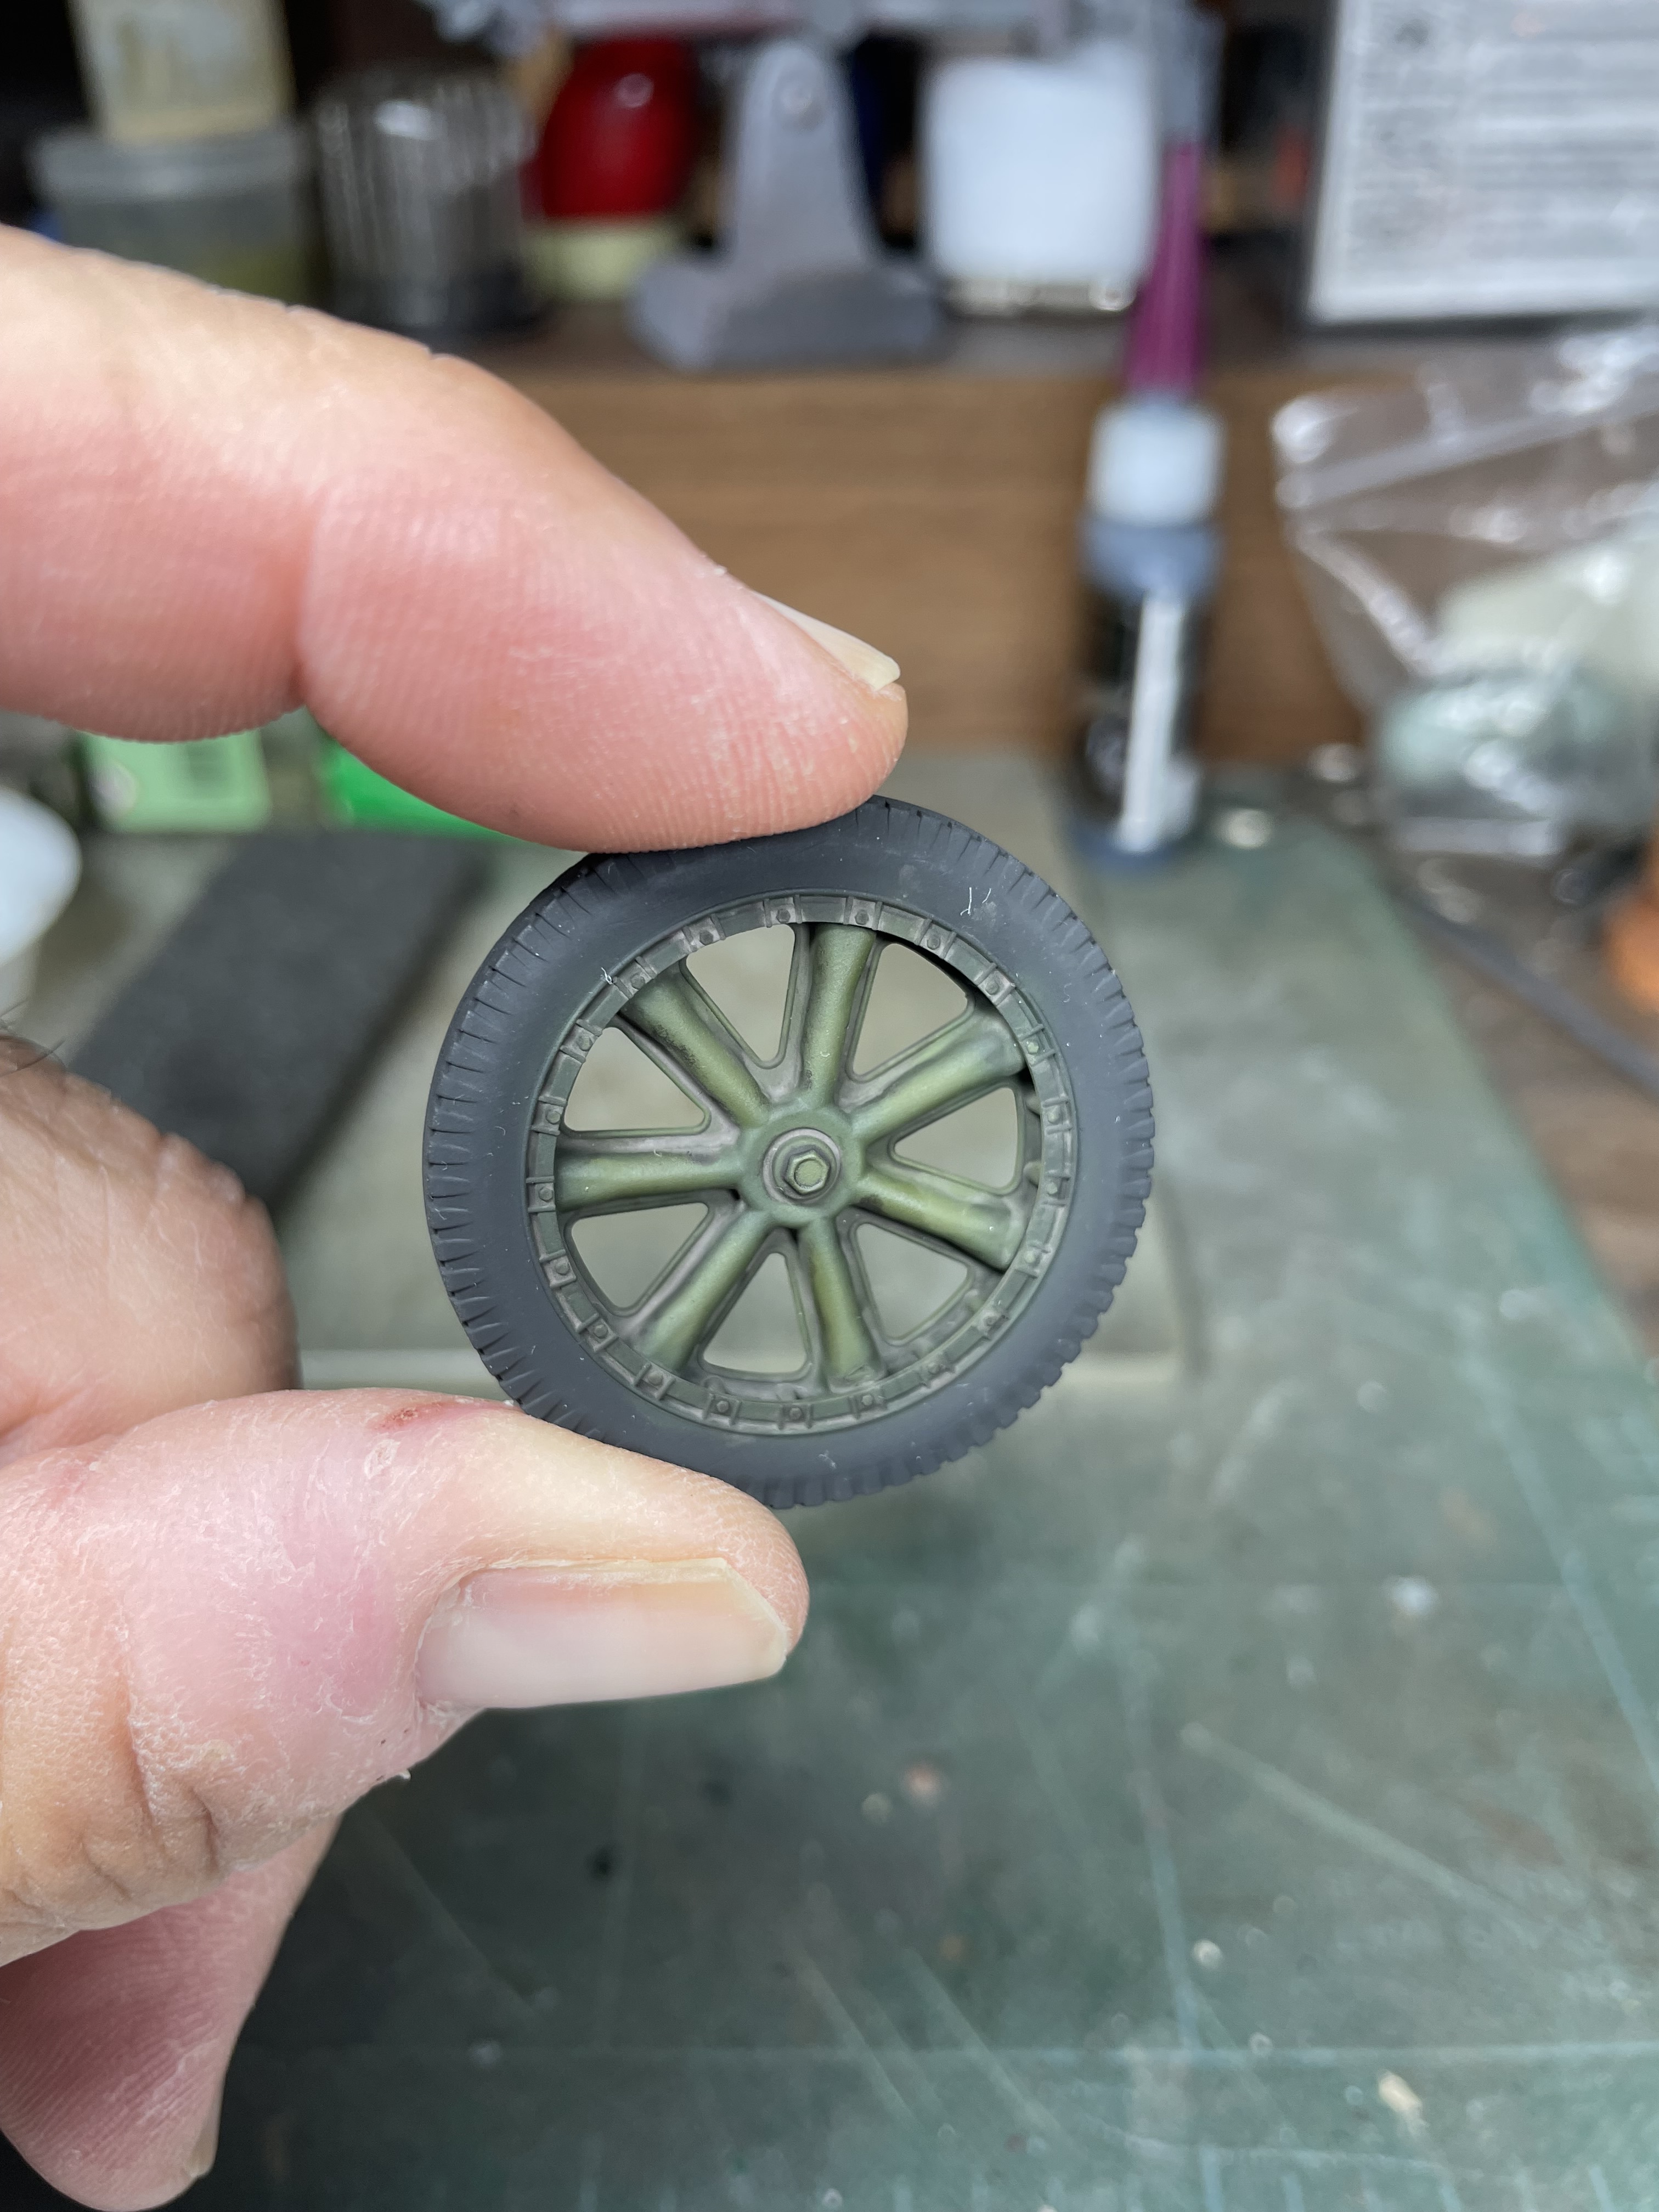
The kit looks like a gem. It looks very nicely detailed. Keep in mind I know nothing about artillery so I will need some help from time to time. I got through the first 3 steps ok. I did slice my thumb a bit after putting a brand new blade in my knife but I’ll live lol. The plastic is very soft btw. Take care when cleaning parts. The wheels go together nicely, just be careful when cleaning them so as not to ruin the tread.
Step 2 is the trail assembly. I found it fiddly to put together, the trail arms are very flimsy. I also have ham hands and sausage fingers though.
Step 3 had you adding the braces under the trail. They are numbered incorrectly on the sprue compared to the instructions. The illustration is good though and is easy to figure out. Also, while studying the instructions for any other errors, I noticed the barrel halves are also marked differently from the sprue.
4 Likes
I have started the same gun recently, but my interests faded away towards other models that fitted contests criteria.
I found useful these 3D prints for ammo if you could find someone to print them for you
https://cults3d.com/en/3d-model/various/1-35-ammunition-boxes-for-ww2-french-artillery
3 Likes
Wow those look great Marko, thanks for the tip. Are there any in plastic?
i am not aware of, but i managed to print some of these, so i will probably combine them with two sitting colonial troops from Heller
2 Likes
This is a great little kit! I made one last year and thoroughly enjoyed every step of the build. I’m sure that you’ll enjoy it as well.
3 Likes
I recall your build Stik, excellent it was!
3 Likes
Construction is done except for assembly of the major components which I might wait to do after painting.
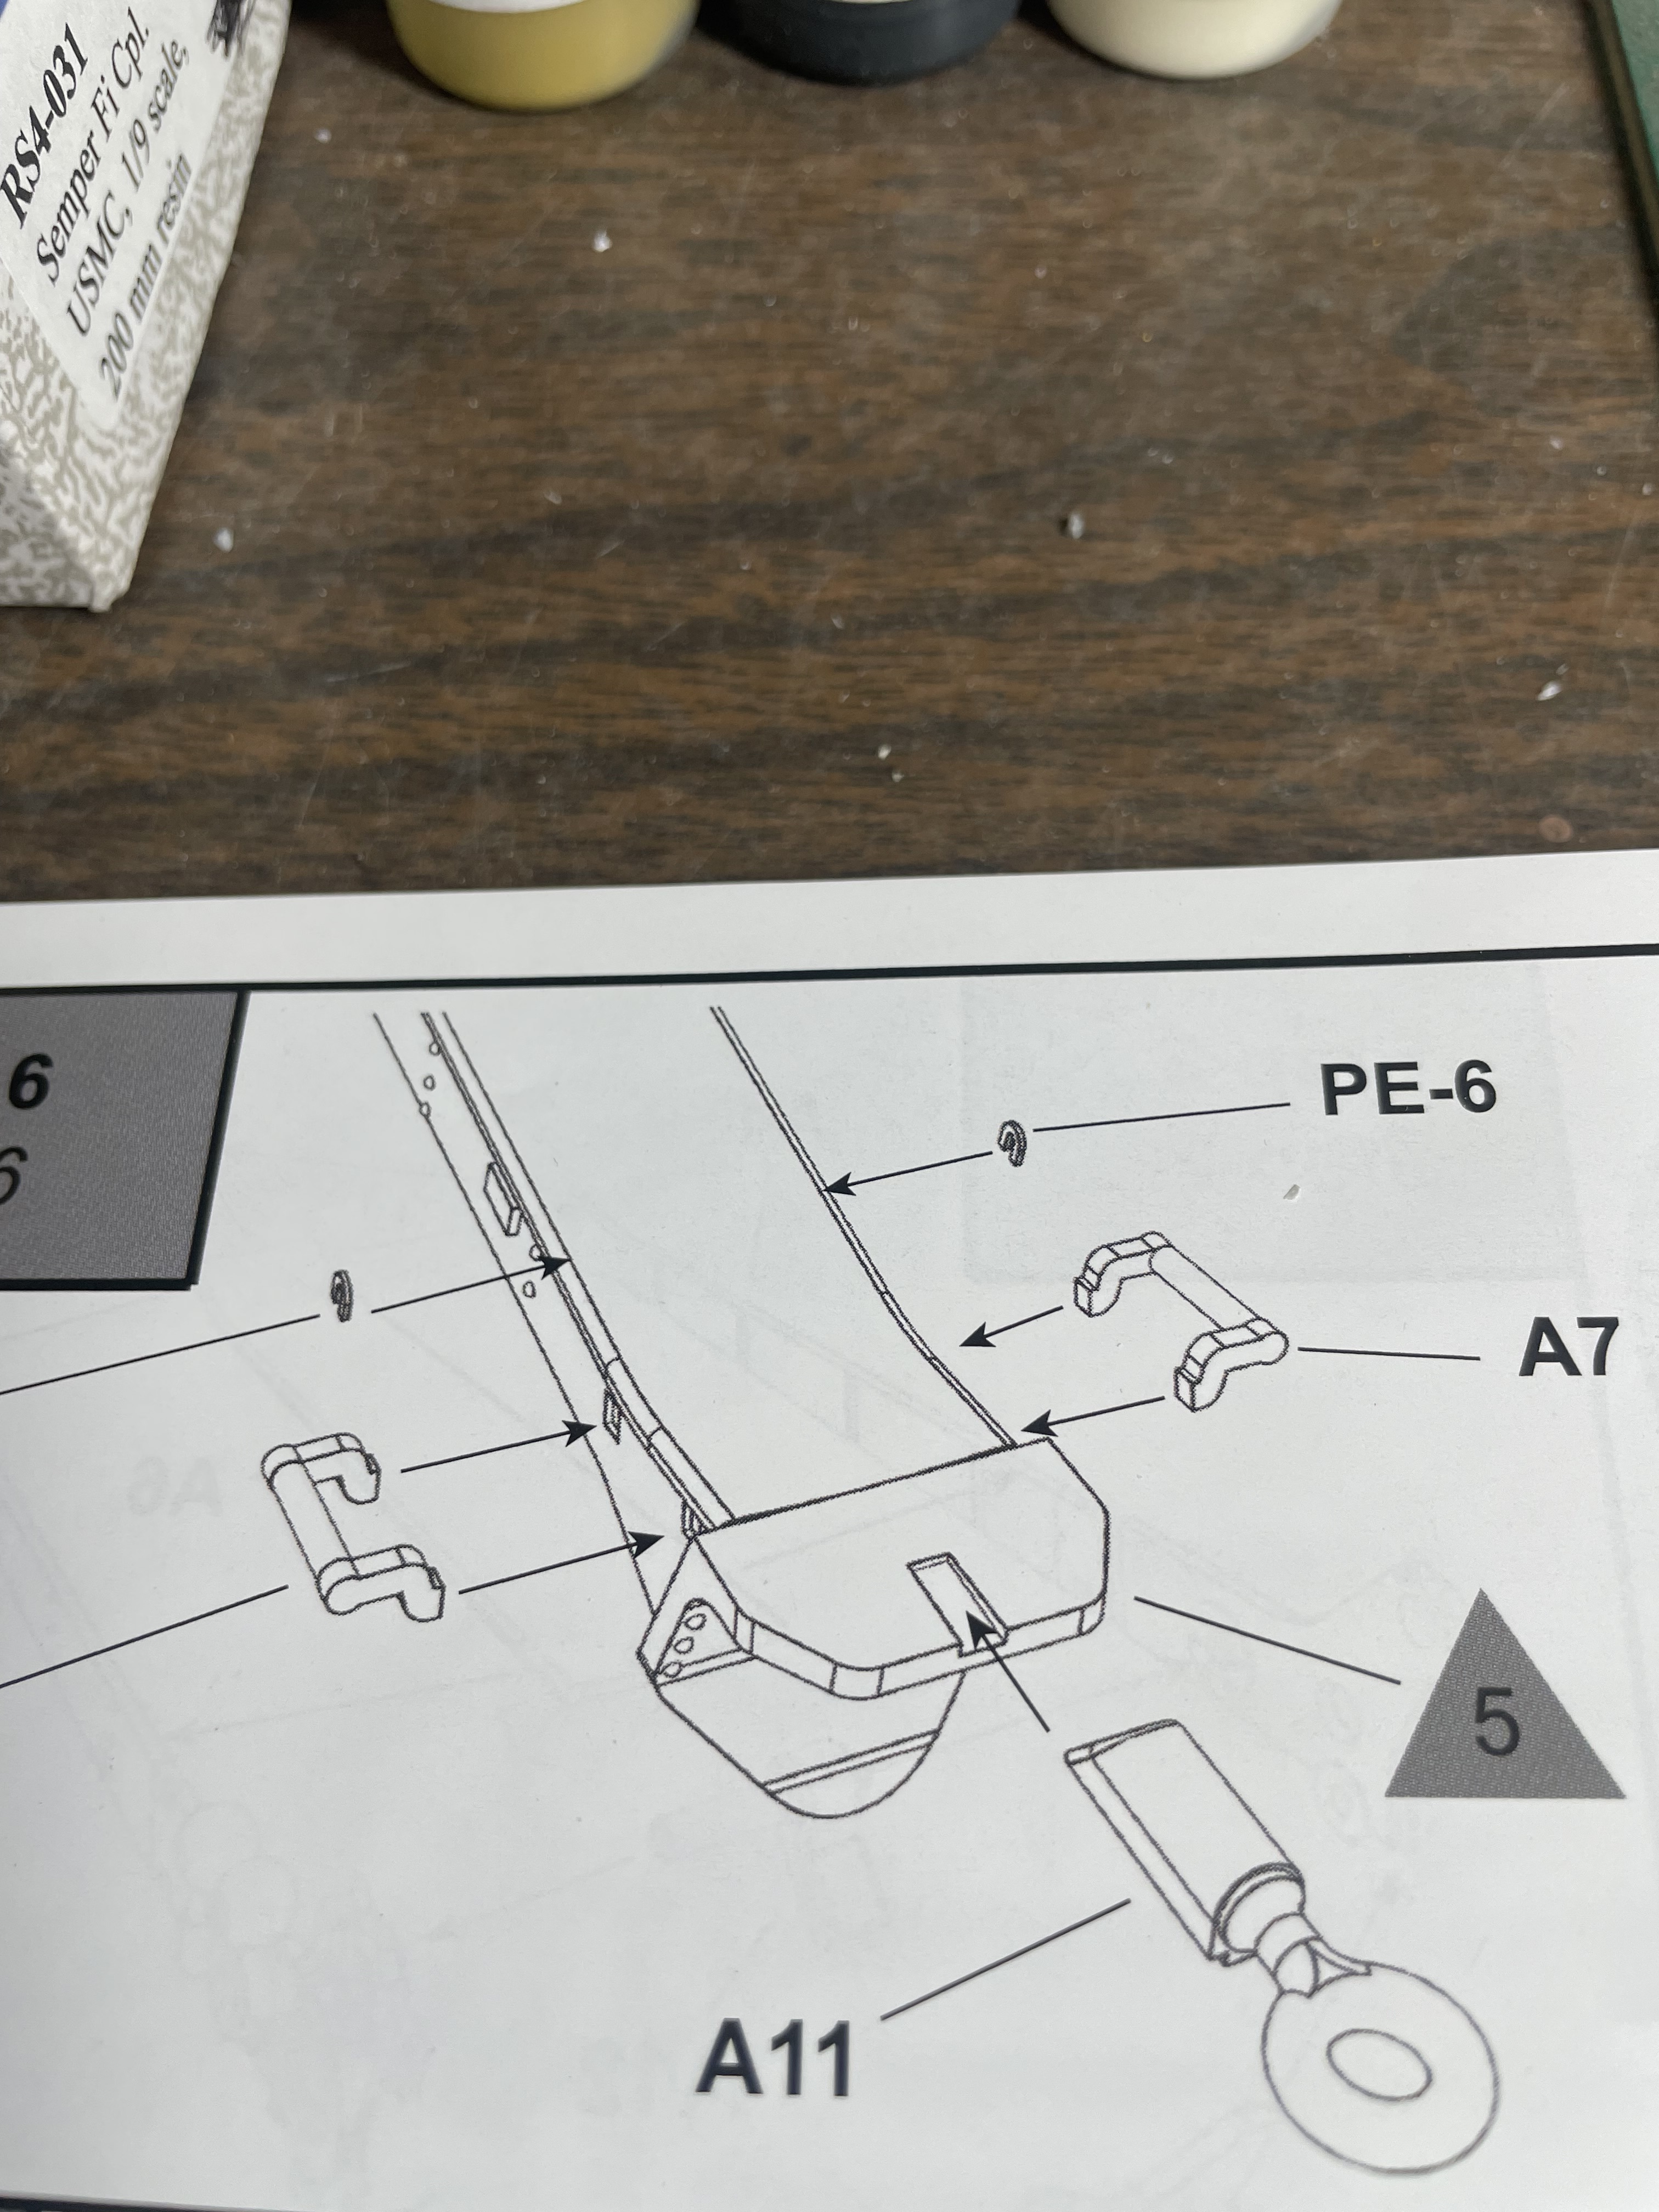
Here are pics of the problem areas of the instructions with mis marked parts:
I left off PE parts PE- 6. Many photos show them not attached. Anyone know they are for?
3 Likes
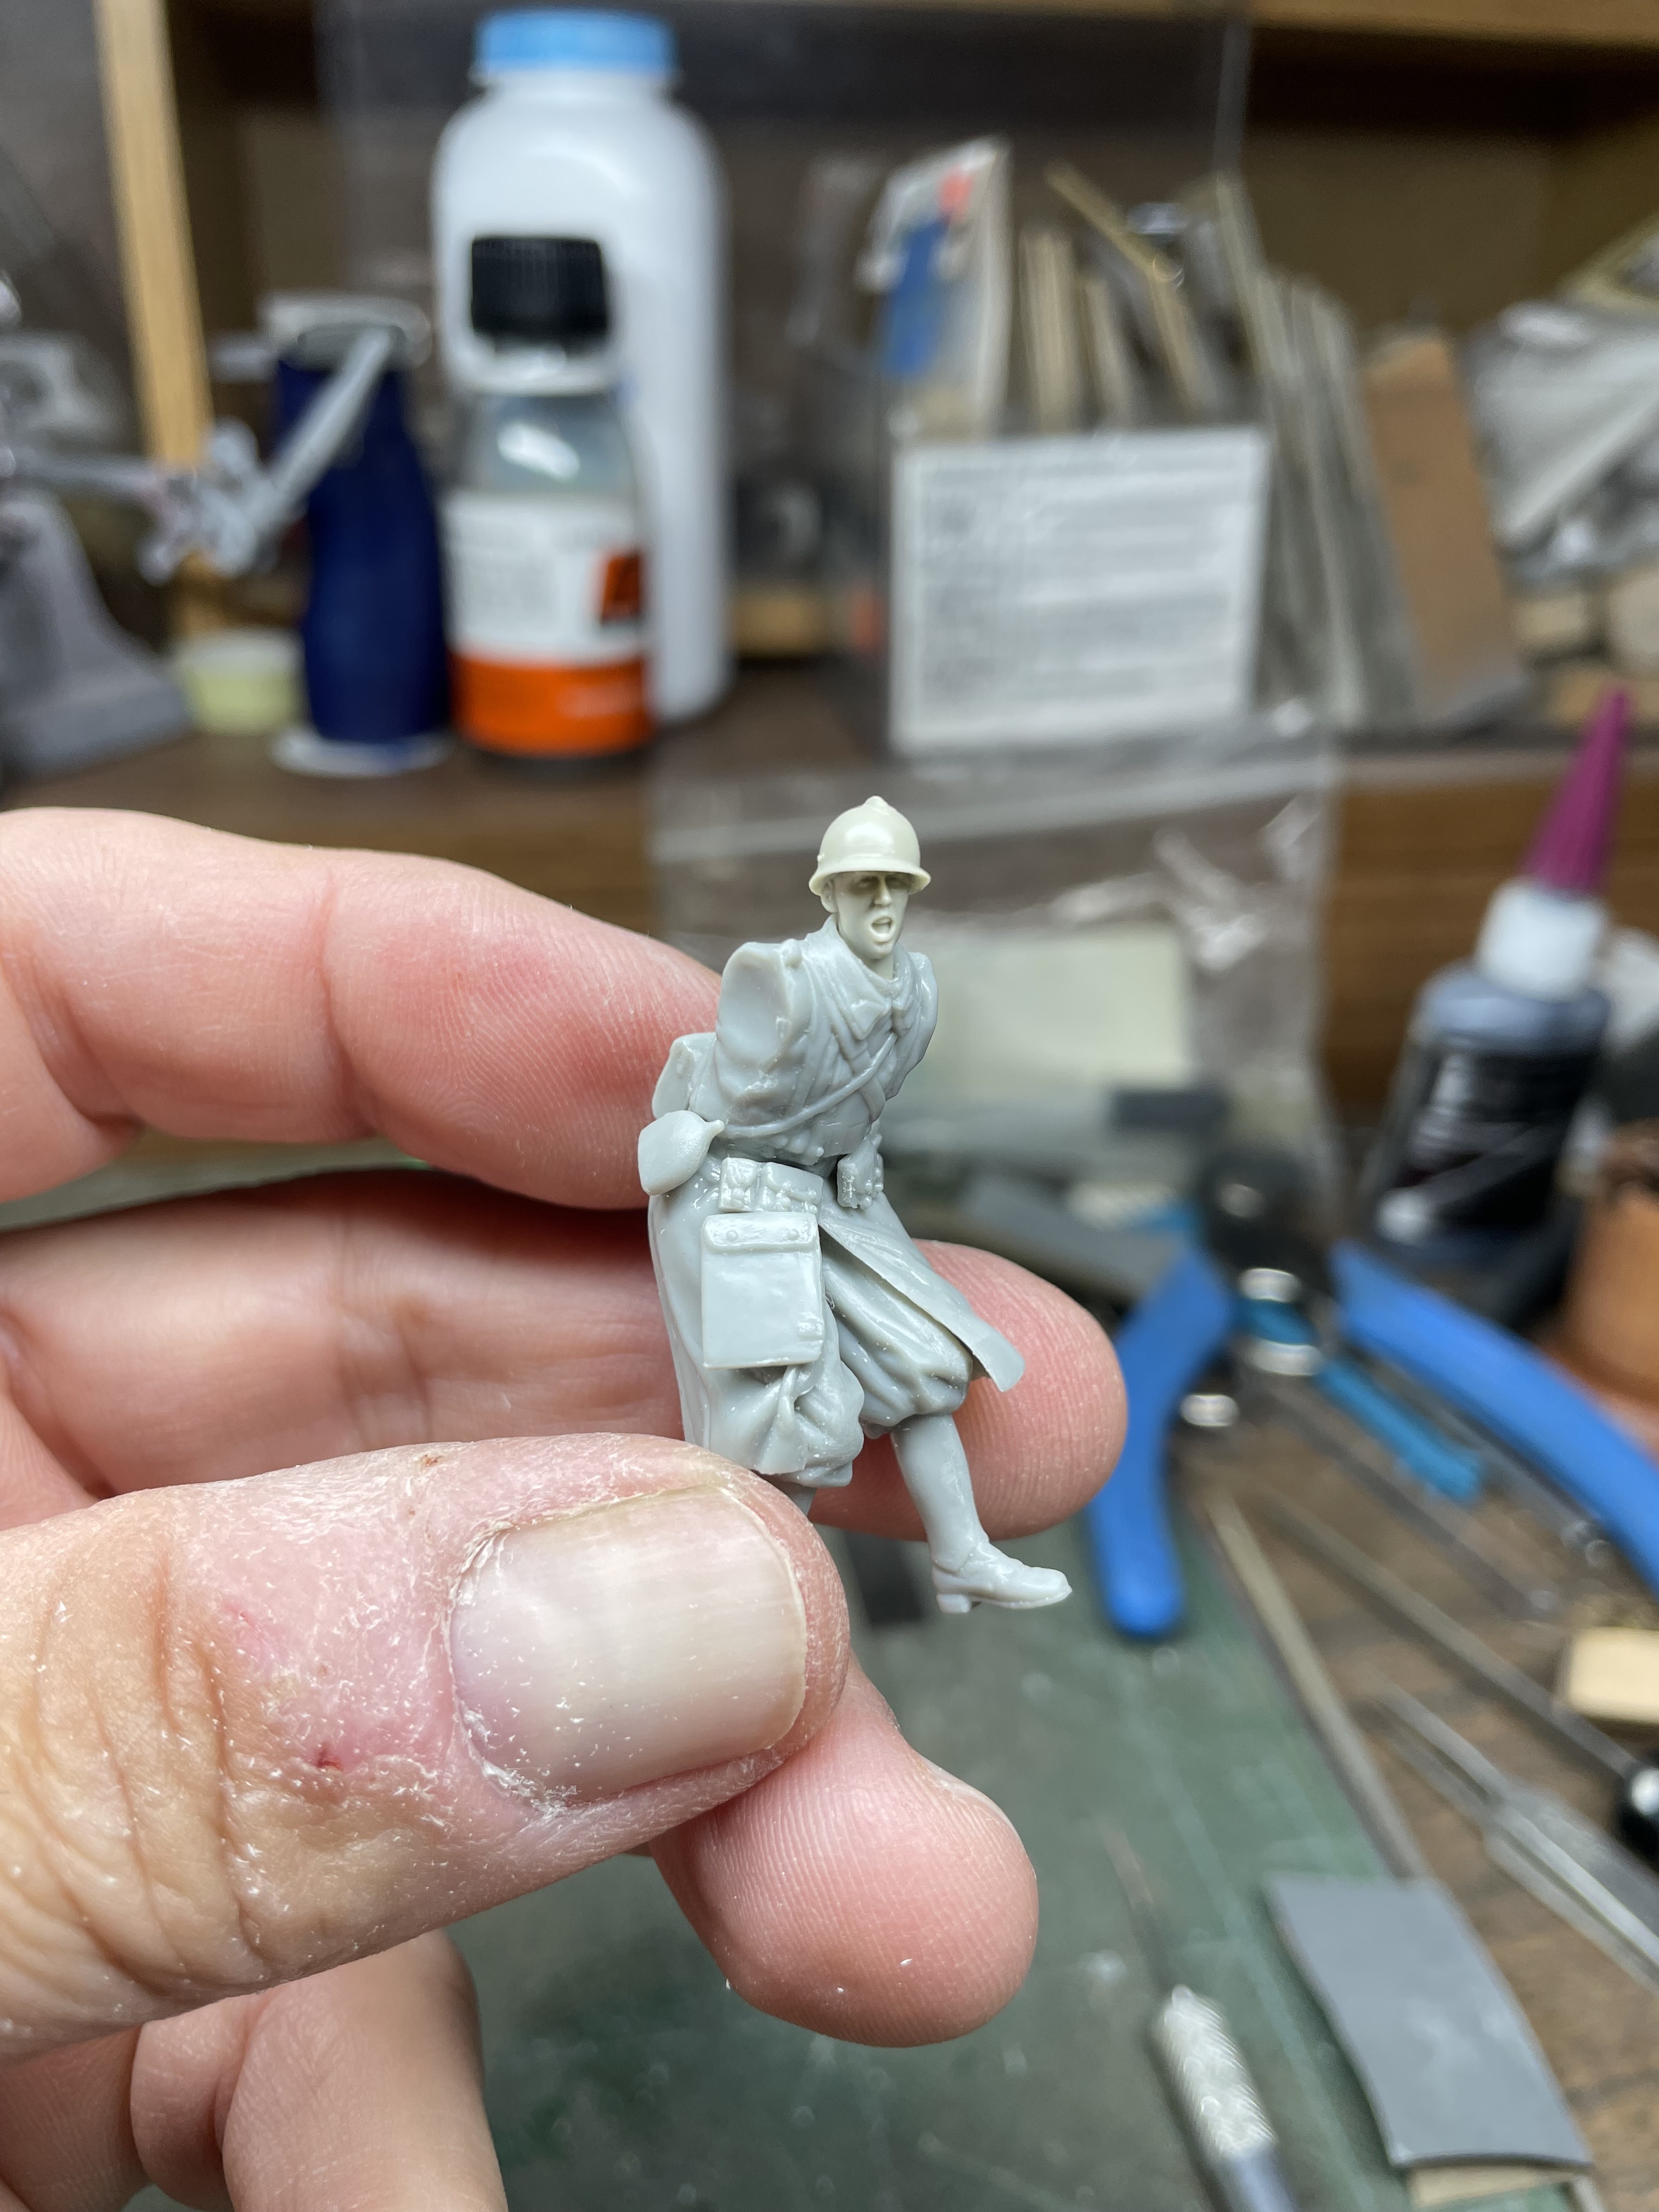
I plan on putting a figure next to this thing. I have a figure in mind from a Dragon set. I’ll replace the head with one from Hornet.
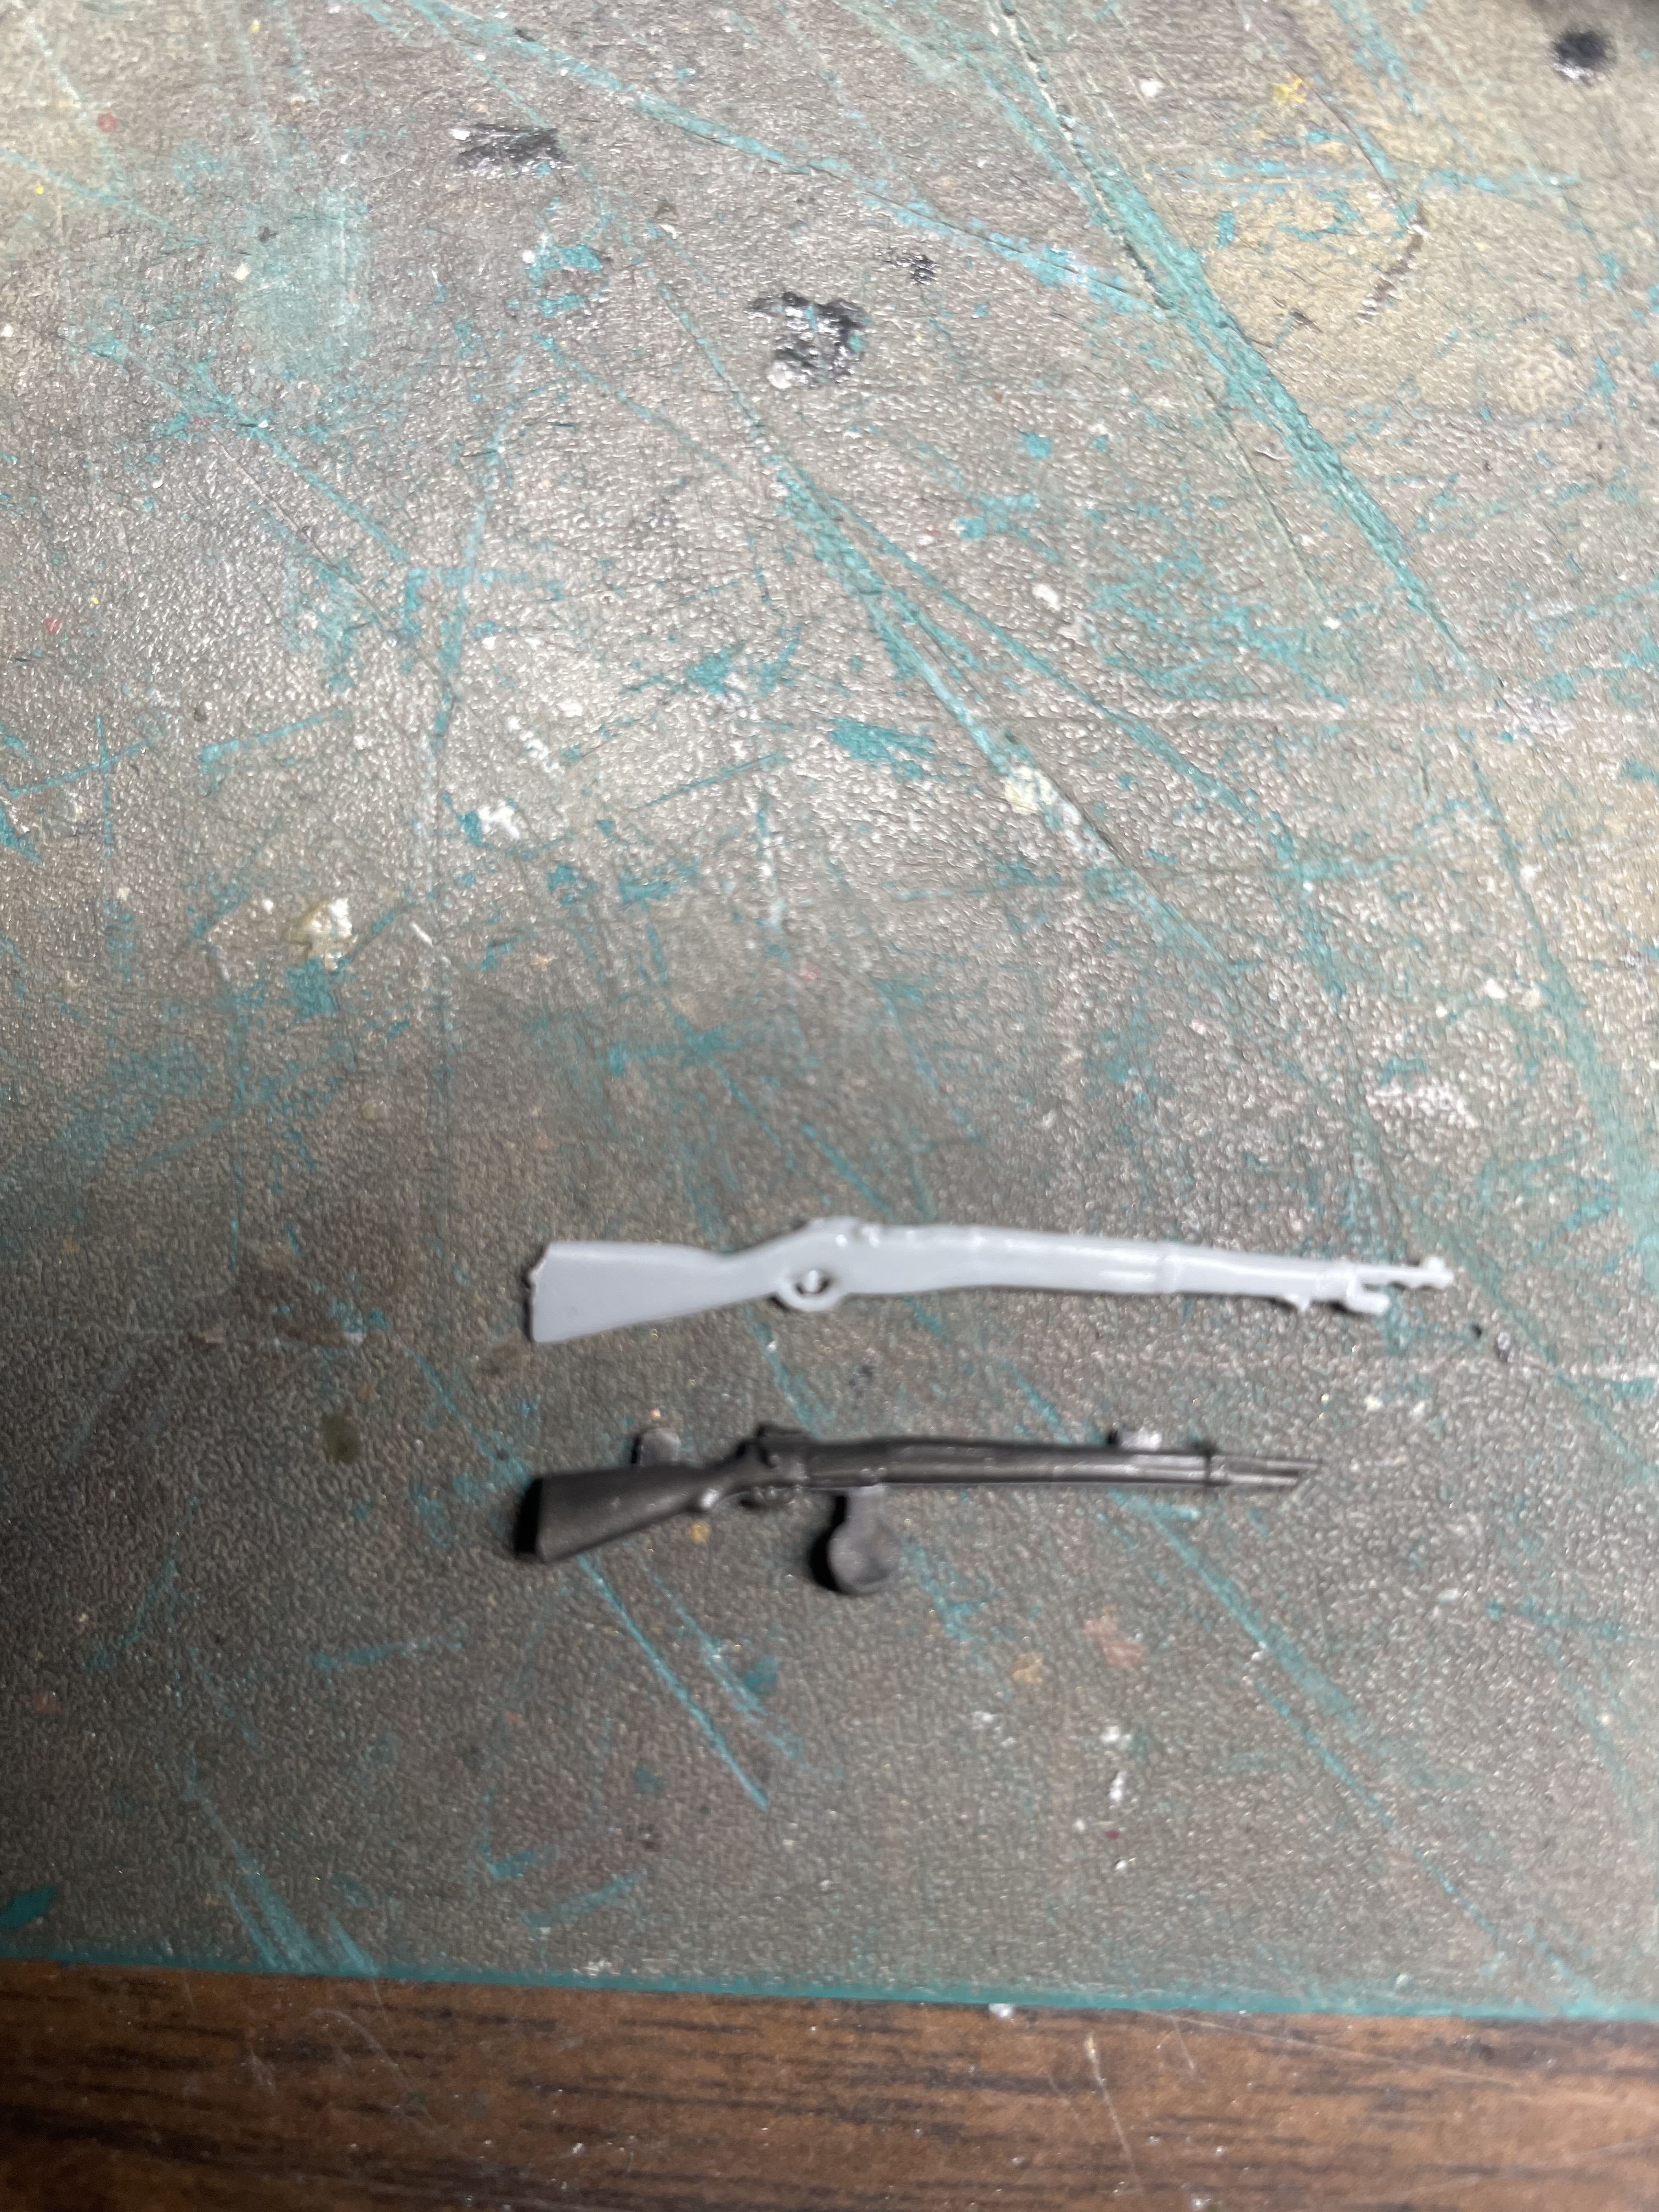
The figure looks pretty nice, but the rifle looks horrendous. I don’t know if there was a problem with the mold or what but I will replace it with one from a set of Allied weapons from Dragon. It’s the MAS-36 I think.
3 Likes
The only color call outs in the instructions are olive green for the gun and black for the tires.
Here’s my question: Is this the sight? And if it is, would it be green like the rest of the gun ? I ask because I’m seeing it in a brass color. It’s part C-4.
Also, I added 4 bolts to what I think is the brake pad mount for each wheel.
3 Likes
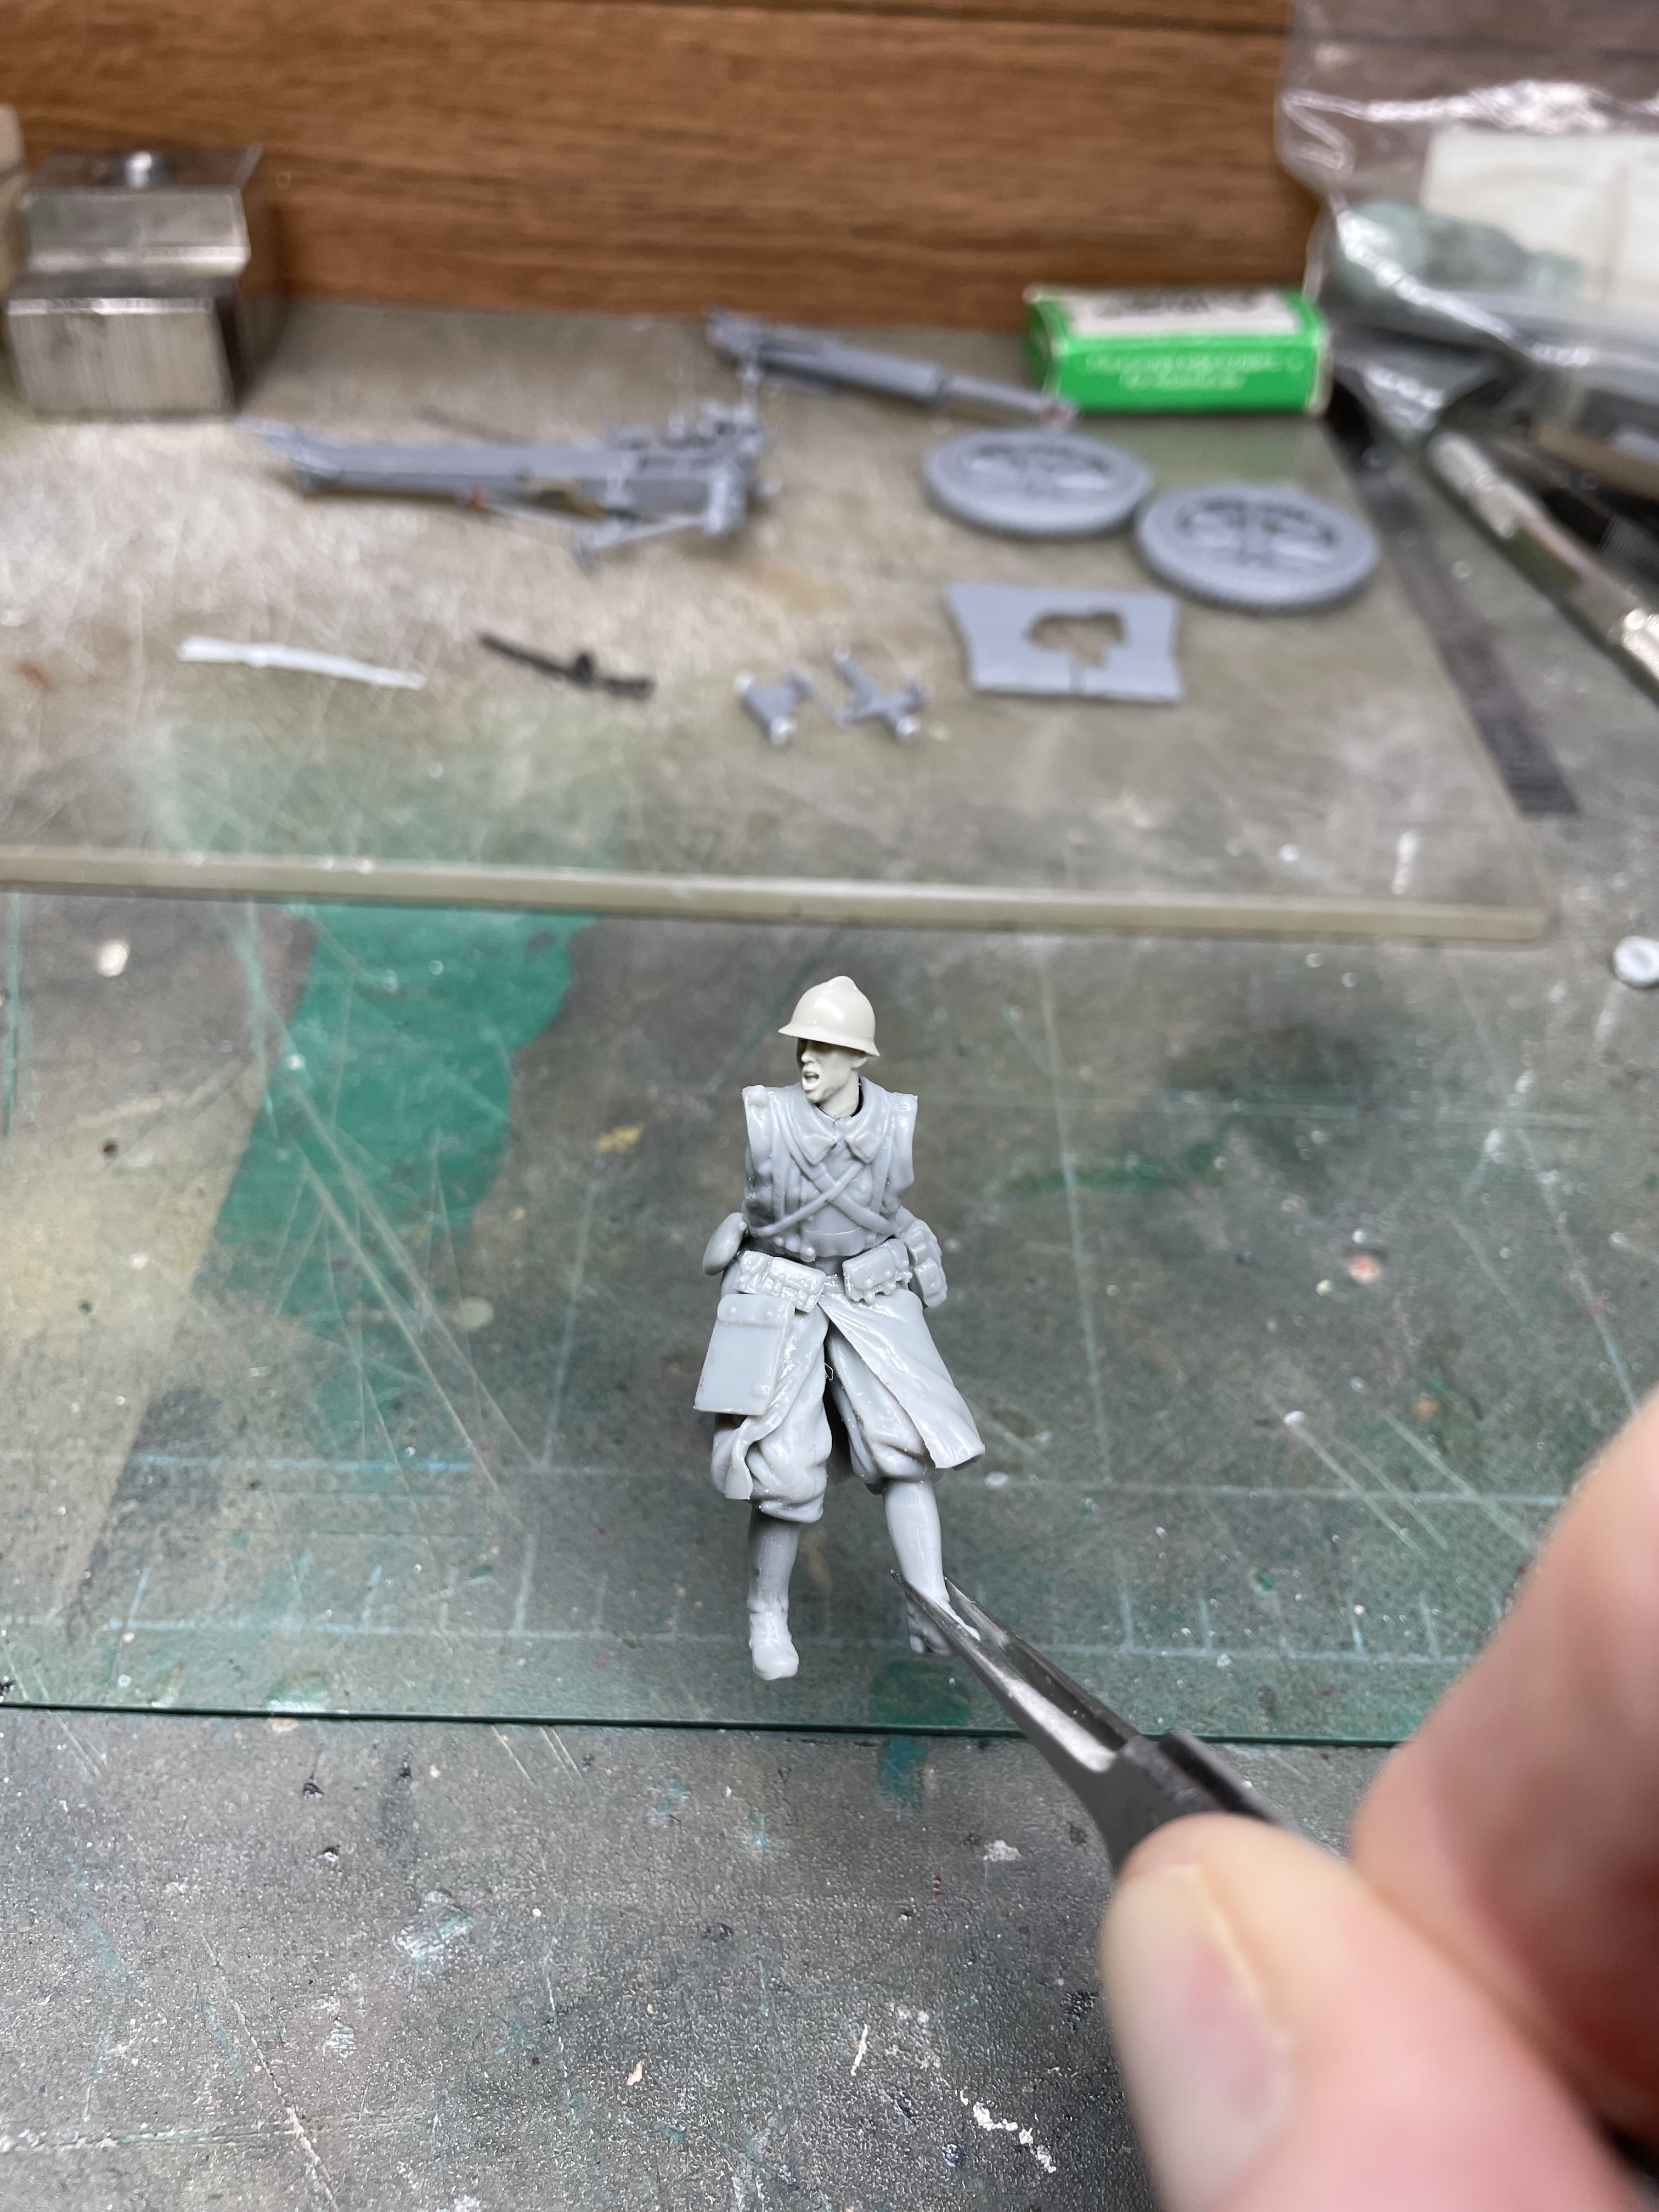
I started on the figure I plan to use. It went together well with the usual clean up required of plastic figures. The long overcoat is made in sections and I will need to fill gaps. I plan on using a Hornet head. The difference in the size of the helmets between the two is pretty big.
3 Likes
Here’s the fig with the new head
4 Likes
Maybe not as bad but he has beetle juice quality about him.
2 Likes

That’s too much. But it is true.
3 Likes
Finally got this thing painted. I just put a wash on it with AK enamel Dark Brown. I’ve used this stuff a lot with no problems but for some reason it’s turned a lighter brown on me. Never had that happen before. Anyone have this issue?
3 Likes
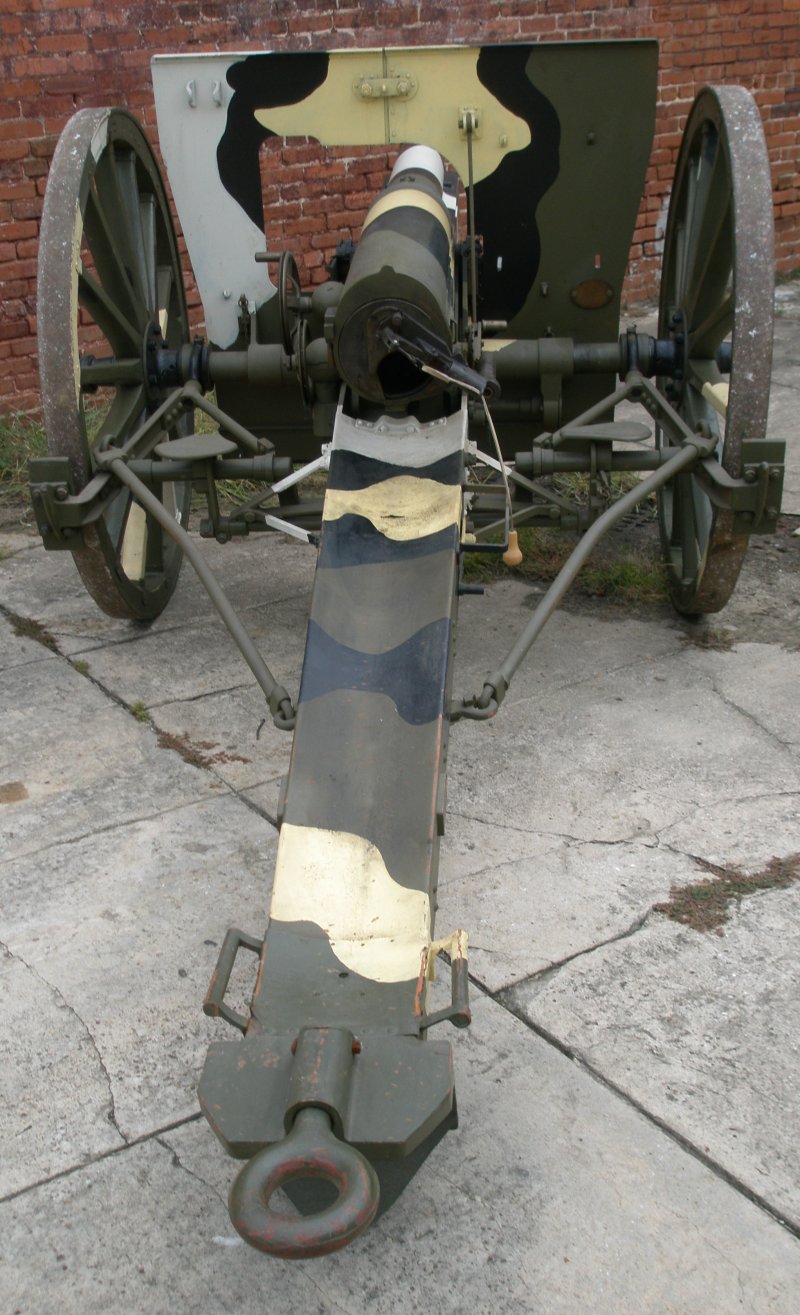
Here’s a pic of the inside of the shield. I’m not sure what the black thing is hanging on the right side, maybe a pouch for maps, manual, or tools? But I saw one on a restored gun on you tube and it looks like black leather or canvas. Also, on the left side is a long slender pouch I’m thinking might be for tools or even to store the sight?
3 Likes
I got a lot done on this kit. I need to add some more dust in certain areas to balance out the weathering, I was also gonna add the toggle rope and handle at the breech. Then I’ll paint the figure
10 Likes
I meant the lanyard, not rope btw. I’ll just use some fine wire with a handle at the end made of a ball of putty I think.
3 Likes
Looks very nice! Ready to engage the Huns! 

2 Likes