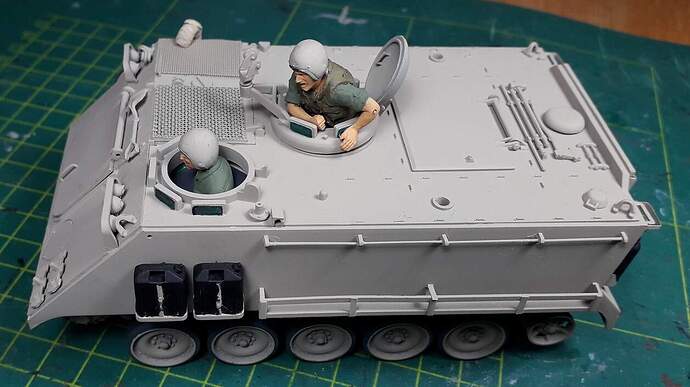
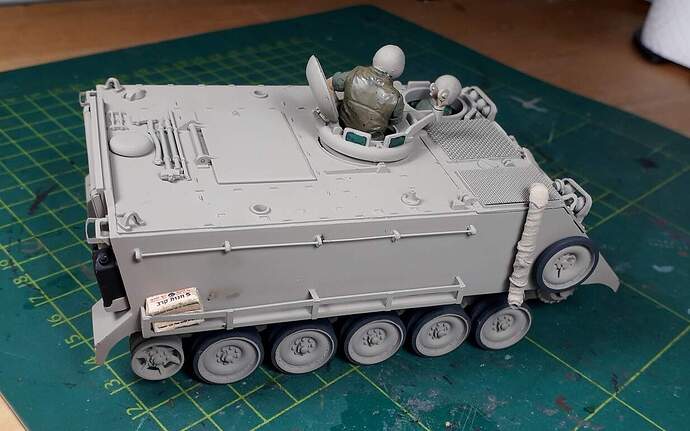
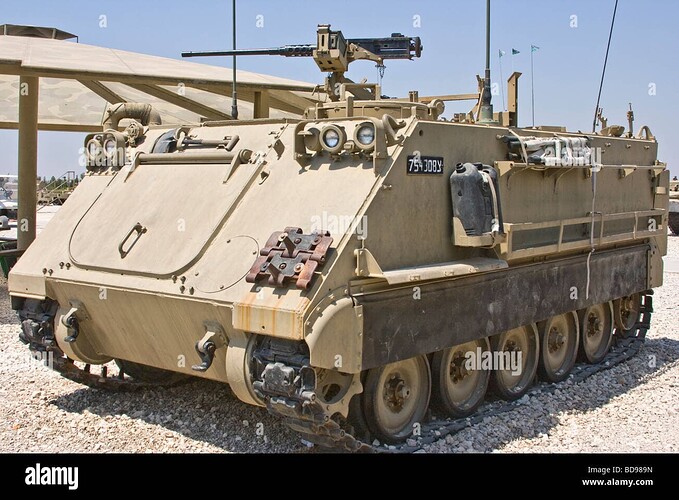
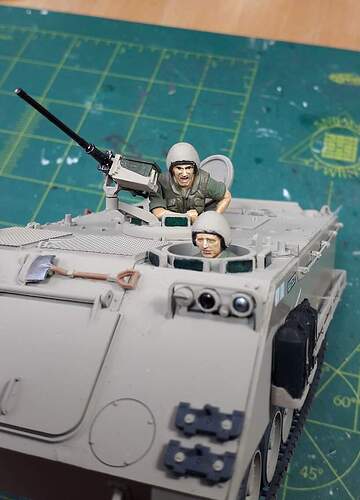
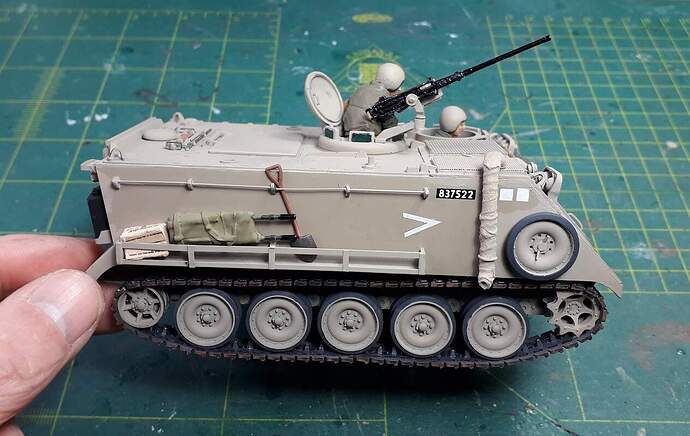
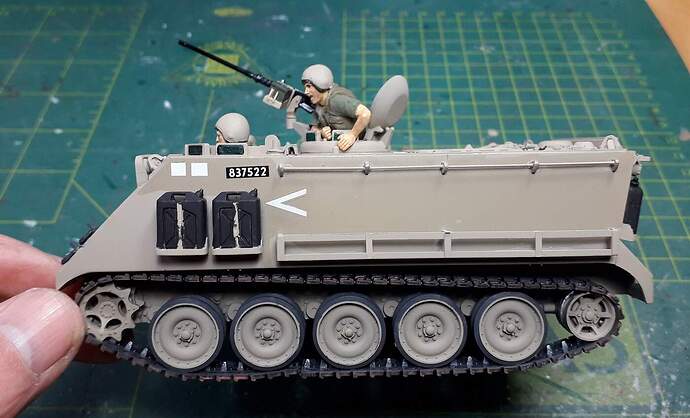
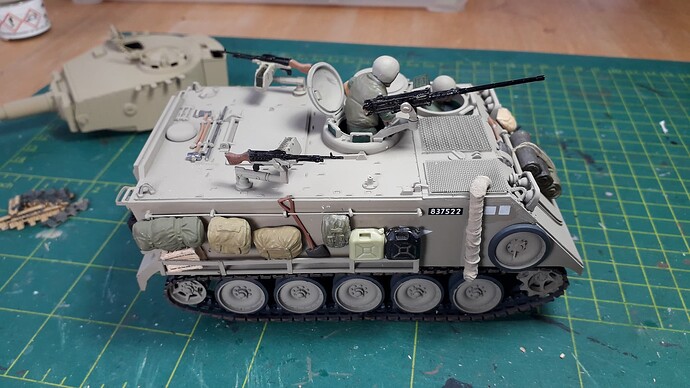
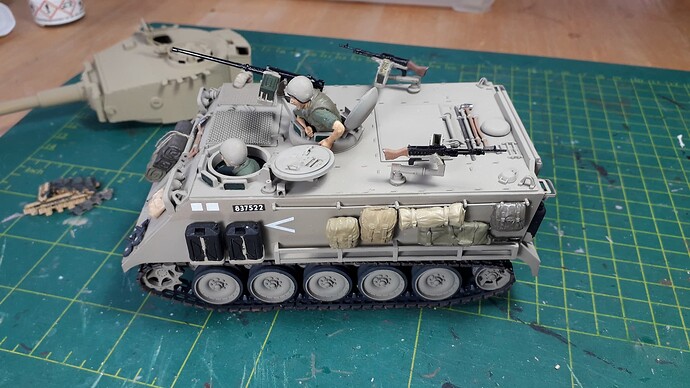
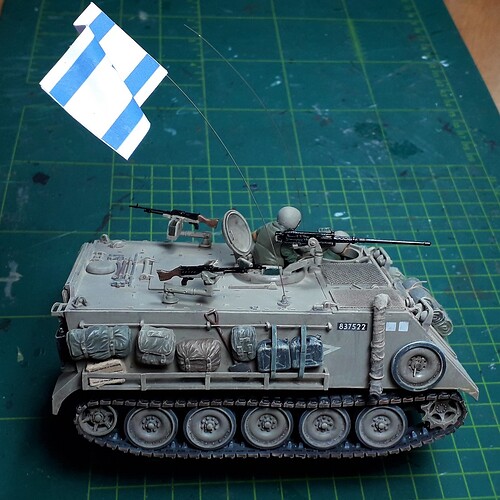
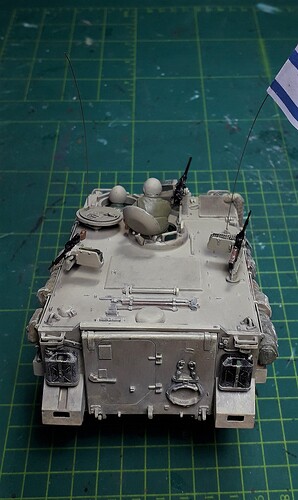
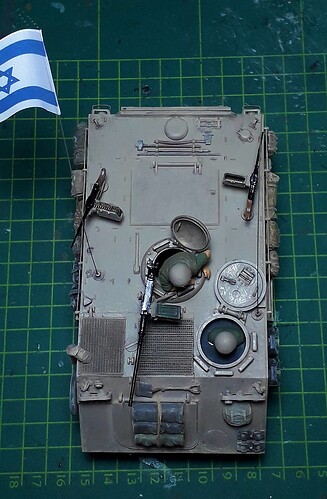
I got this M113 as a christmas gift from my kids and wanted to have a go at it right away.
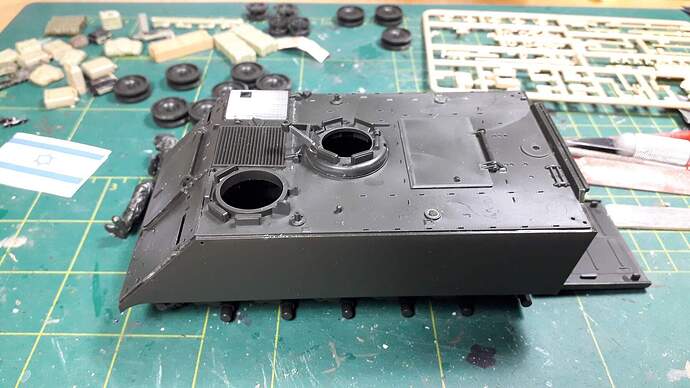
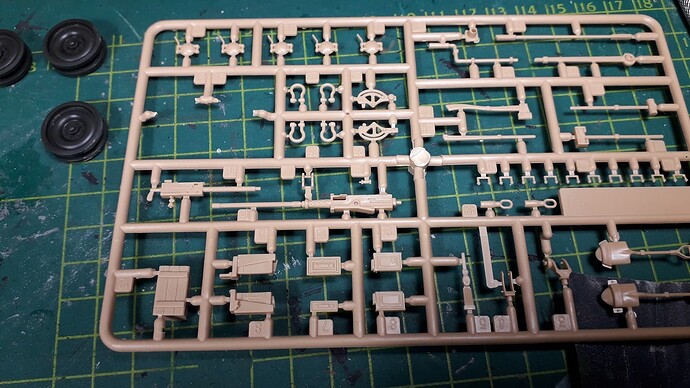
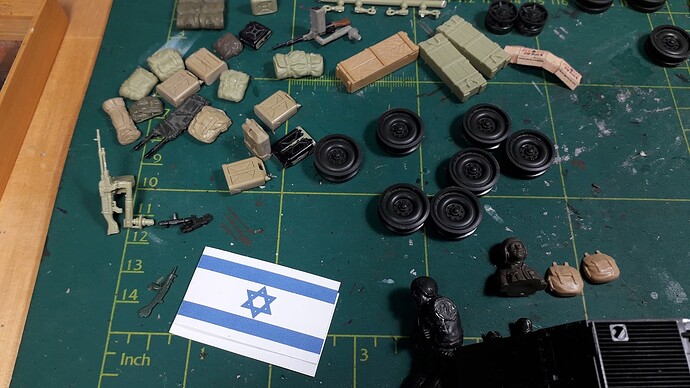
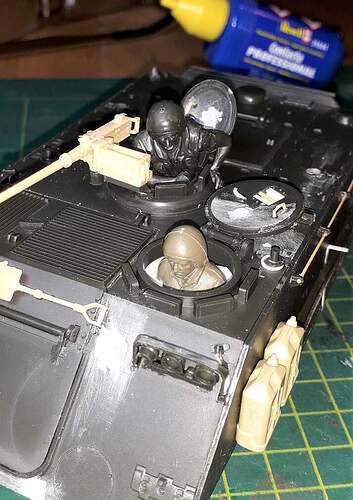
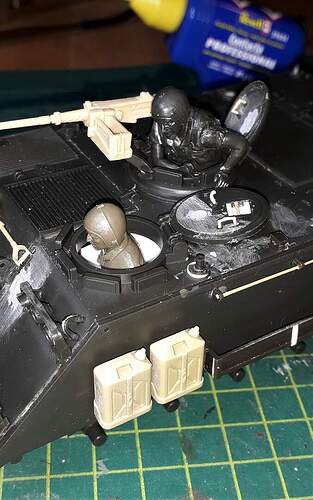
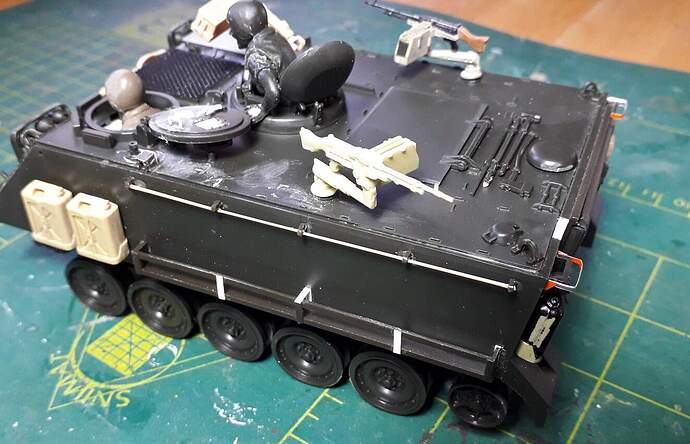
Stage 1 of my “quick” build is set; the hull & wheels, a load of spareparts and a replacement .50, all ready to go. The M113 will be closed up, since the interior is not right. I don’t feel like altering it.
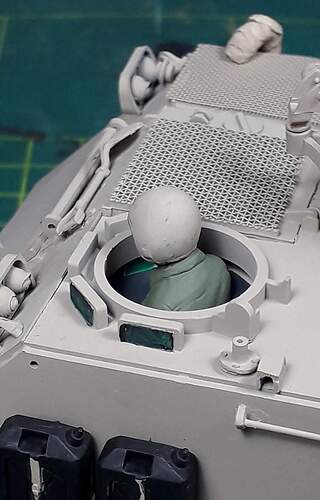
For the crew I will use the kitfigure and a spare from the M48-kit. That’s all I have…
And the .50 is from Academy’s M3 “Honey”-kit.
Some more steps done in this “quick” build.
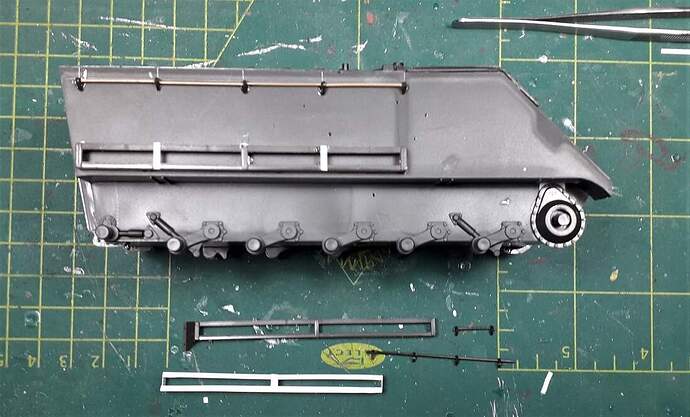
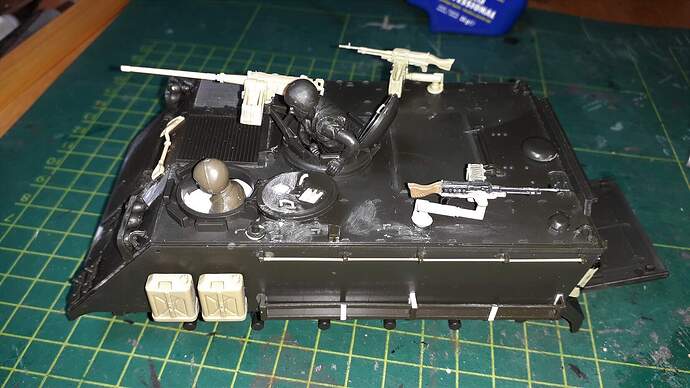
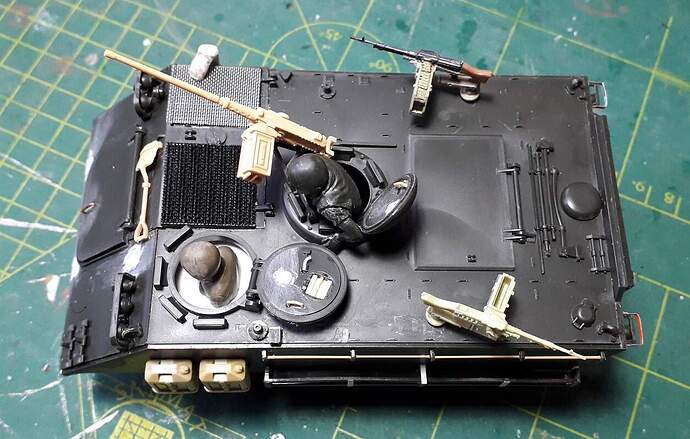
The racks on the sides proved to be much more difficult then I had imagined… But luckily I had a set of spares from the equally ancient Tamiya M3 halftrack and lo and behold… they fit! Except for the grabrails. They had to be extended. My shoddy attempt at scratching is shown for good measure.
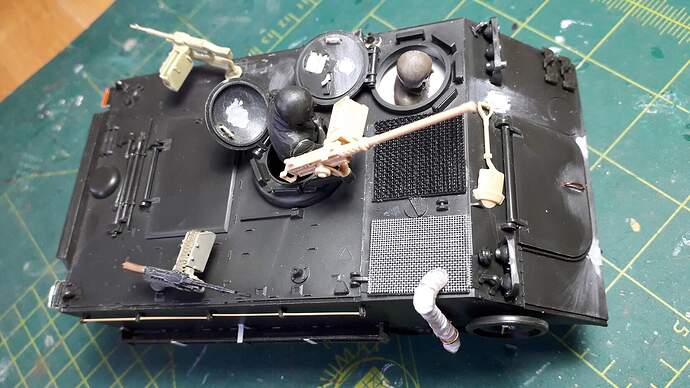
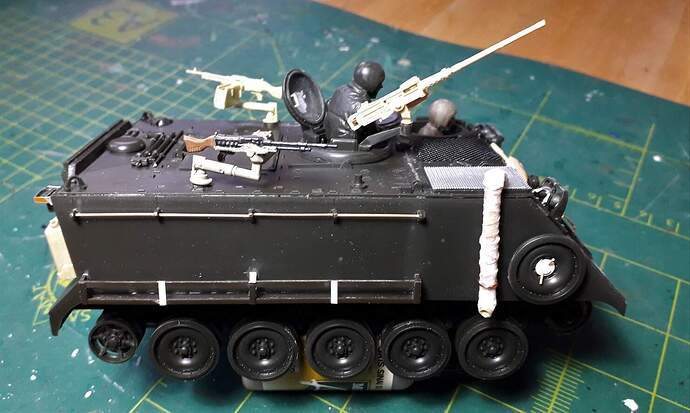
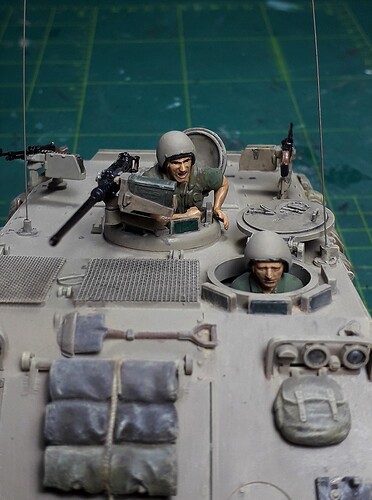
I added some more details, repositioned the antennabase and “manned” the box on wheels. The commander is yelling at the driver for doing something stupid. I thought the facial expressions matched rather well.
An overall view;
Construction is pretty much done now.
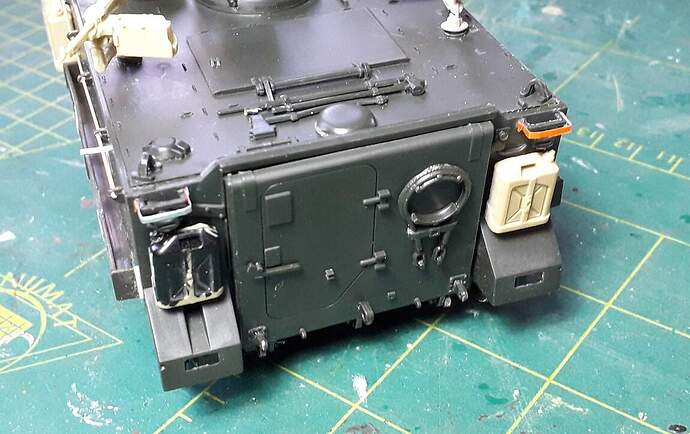
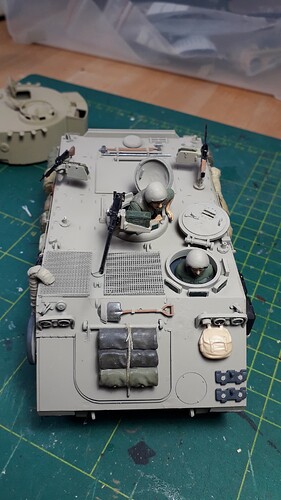
I added rearlight guards from a sodacan, an exhaust made from heatshaped sprue, copperwire, kitchenpaper & superglue. Also 2 different kinds of mesh, just to break the monotony, several handles, jerrycans and a sparewheel with holder.
Some minor things need to be addressed, I see.
I like the animated crew figs, always adds interest.
The first layers of colour have been applied. I used a Tamiya-mix as suggested here:Which colour for your IDF vehicle?, being 33% XF-57 Buff + 33% XF-59 Desert Yellow + 33% XF-20 Medium Grey.
The images show the result fairly well.
Looking good. Addition of crew is nice for scale and some extra depth to it… Exhaust looks nice as well.
The color shade looks too grey to me but perhaps its my phone or pc screen.
I like the crew and the details
Project isn’t completely dead yet.
As far as the colour goes, I hope I can adjust it somewhat with weathering.
Plodding along, inbetween other projects… working on the stowage now. Items in place, straps and paint are next.
Putting a wash on it should get you close to the color but don’t sweat it too much. Test on on the underside first to see how it looks. Good Luck.
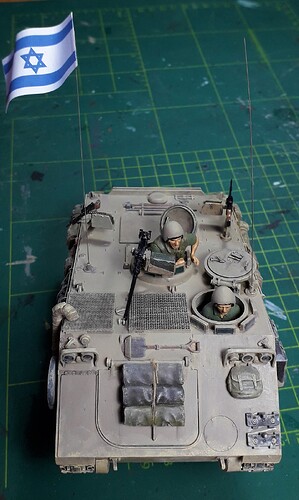
I suggest you to apply an yellow or orange flag on the top for air identification (check correct color…)
Thank you for the suggestion!
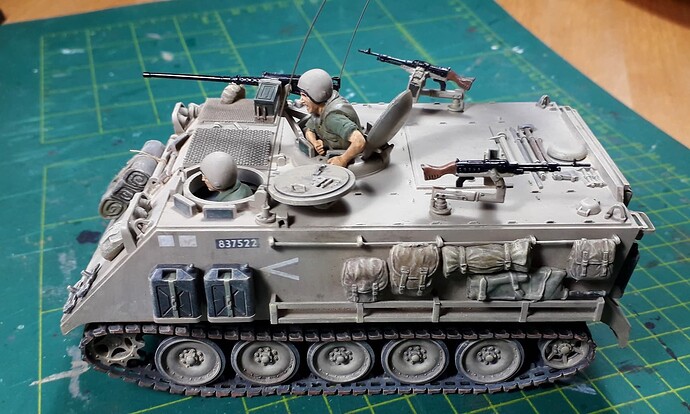
It has been a while. Sort of lost interest. Painting is my nemesis. Weathering is even worse… But I consider this one done. I added washes, drybrushes in dark sand, pastelpowders and antennas.
I did not have any details for the helmets nor goggles and I missed adding straps for the packs, but all in all it did not turn out too bad, I think.
