Oh boy - now I have to repeat myself - keeps getting better and better…
1 Like
Absolutely great work as well as the rest of the ship! You discouraged me a bit starting my own1:350 Akizuki with your skills 
Cheers
Tom
1 Like
Absolutely great work as well as the rest of the ship! You discouraged me a bit starting my own1:350 Akizuki with your skills
Cheers
Tom
Thanks Tom, but I’d hate to think I’ve discouraged anyone from building! A 1/350 Akizuki will be much smaller than this 1/200 version and would be a completely different experience with opportunities and challenges entirely its own… so get to it and have some fun!
![]()
Tim,
Your Hatsuzuki and David’s Tama were the impetus for me to pick up an IJN ship model.
I’ve been following since the new forum launched and all I can say is I am still in awe. Your attention to detail in this build is surpassed only by the cleanliness of its execution.

Marty
1 Like
Thanks Marty, much appreciated!
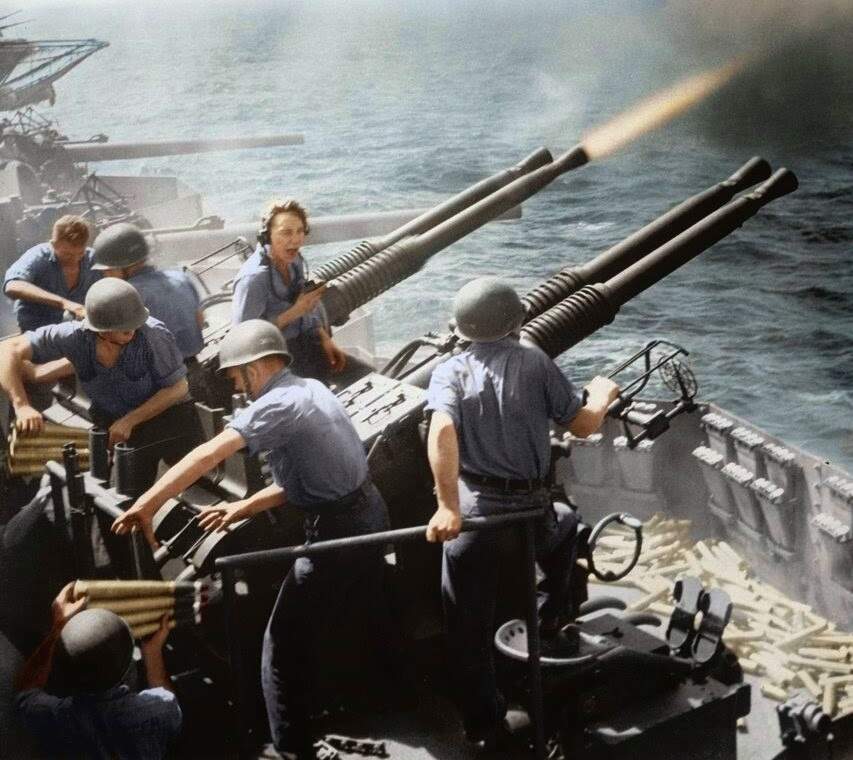
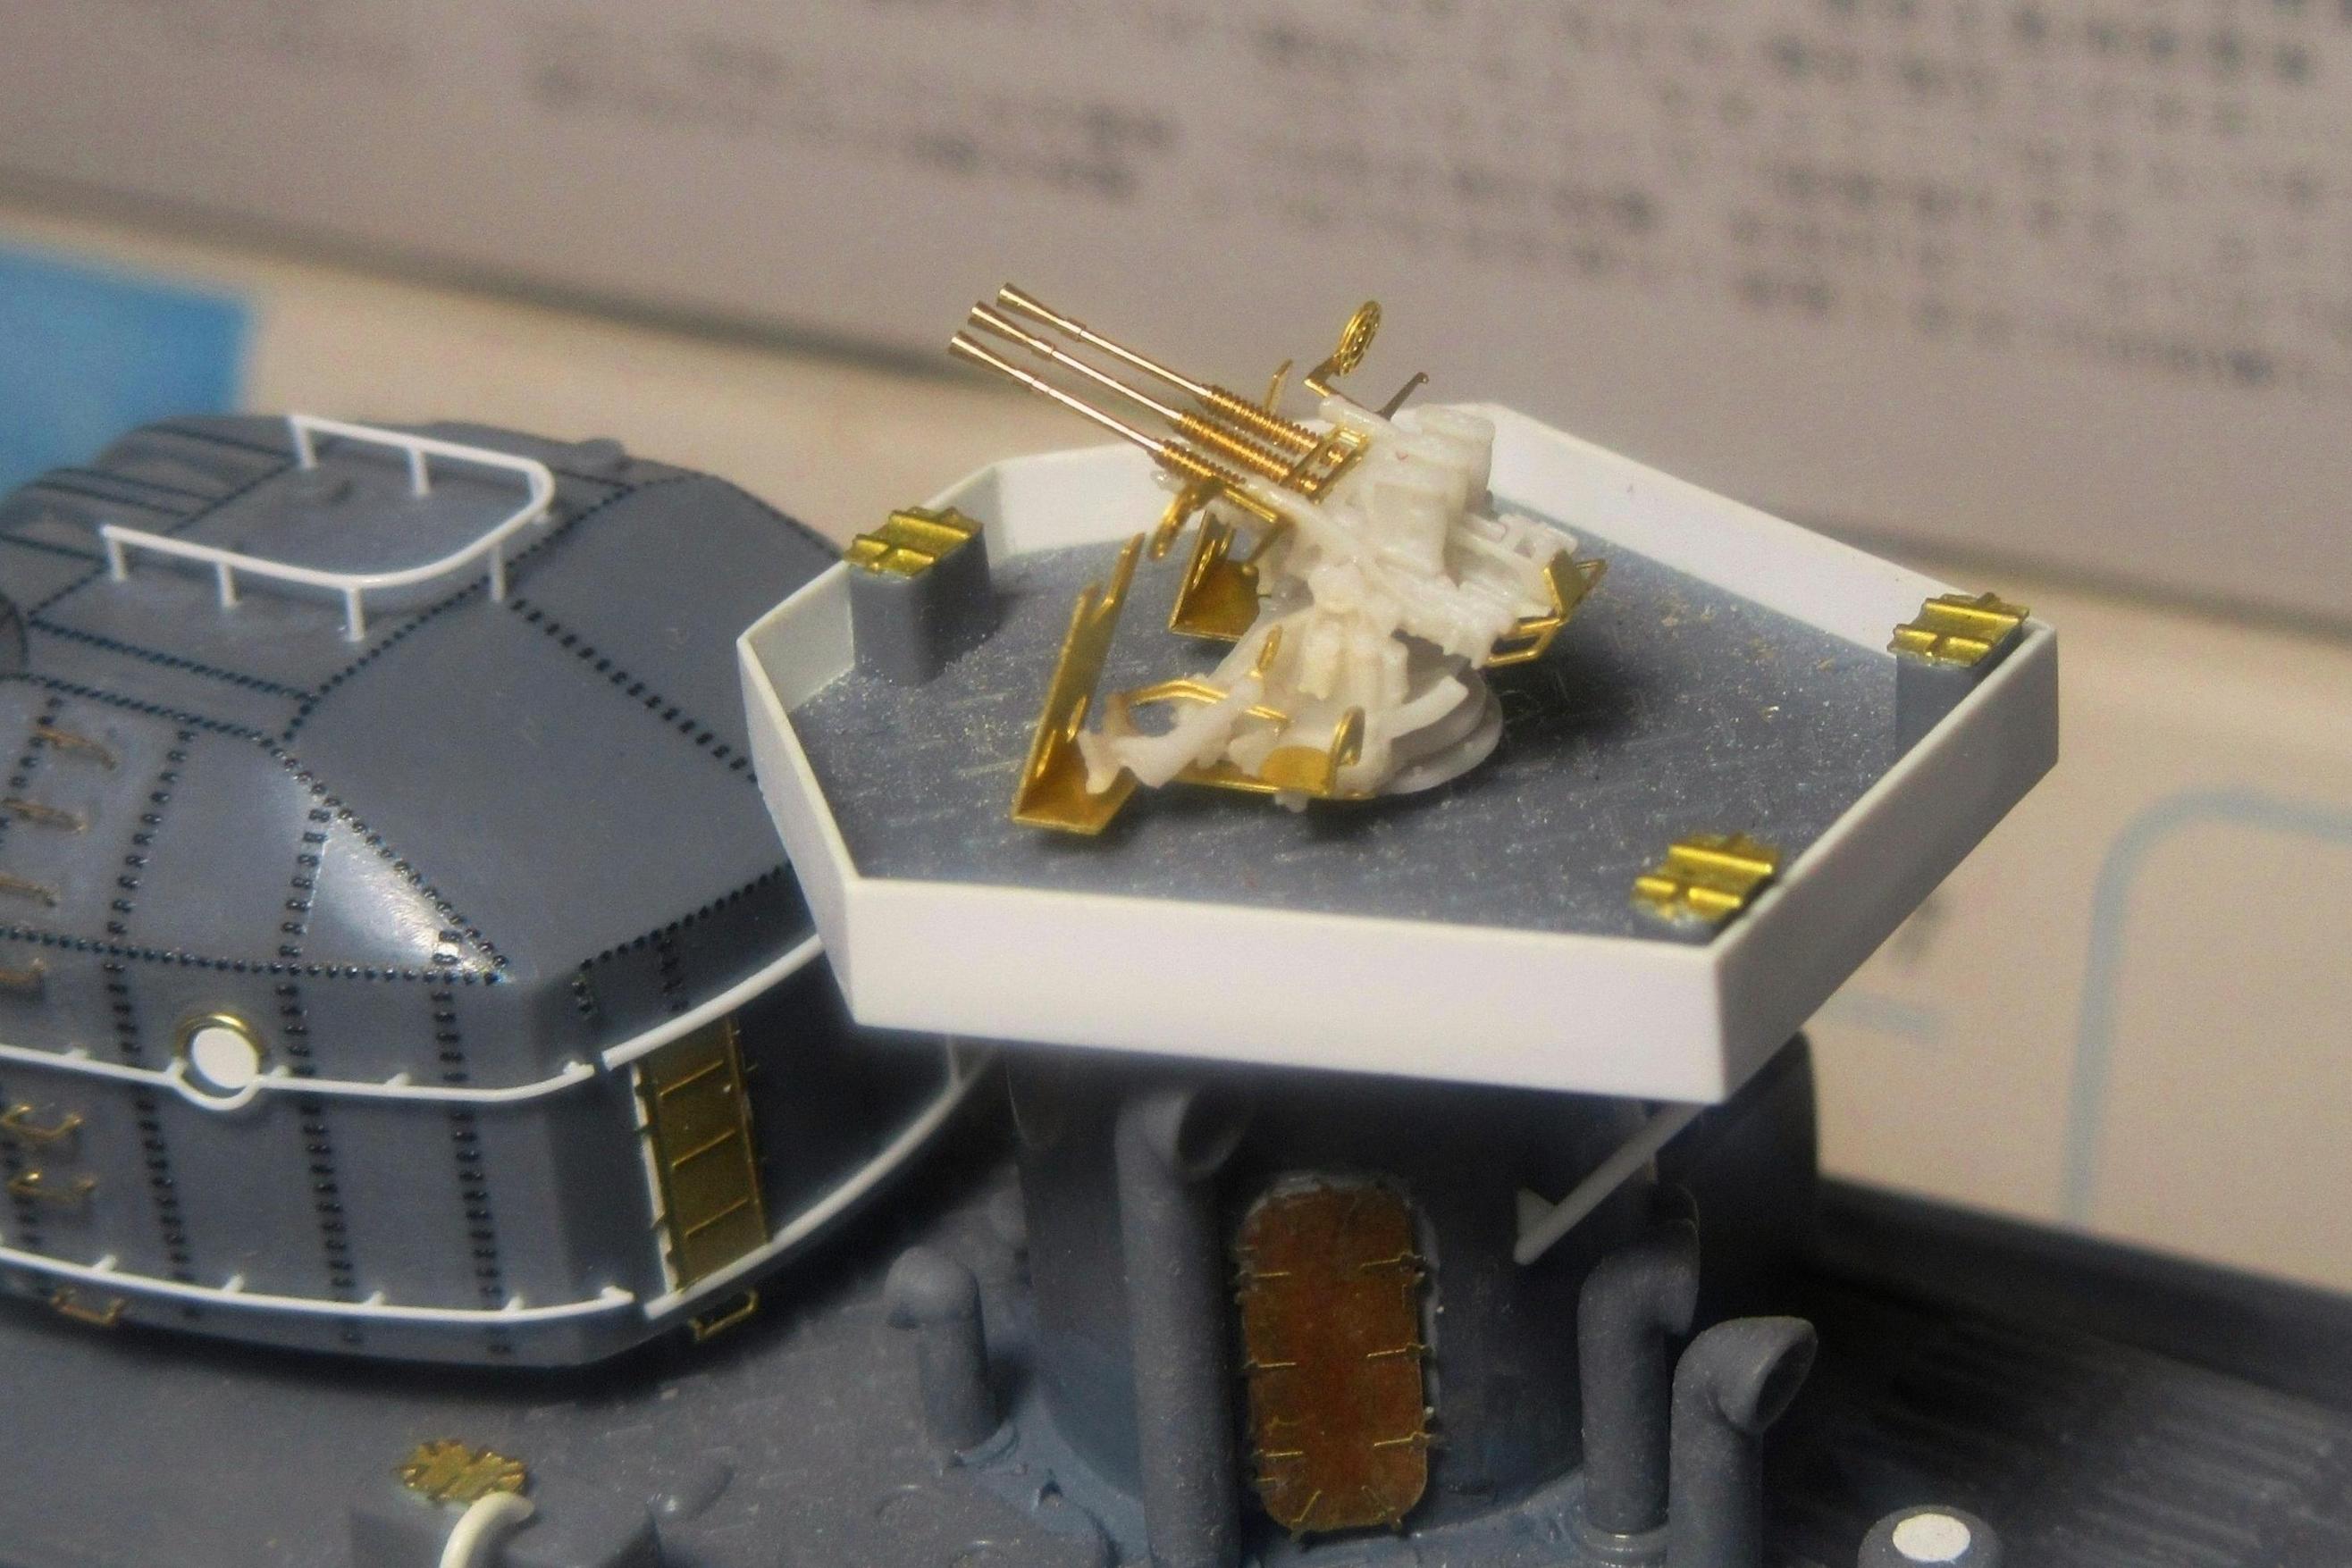
At this point the gun may be considered completed. However, most Japanese Navy 25mm mounts after 1942 were also fitted with splinter shields such as those on Hatsuzuki’s sister destroyer Hanazuki:
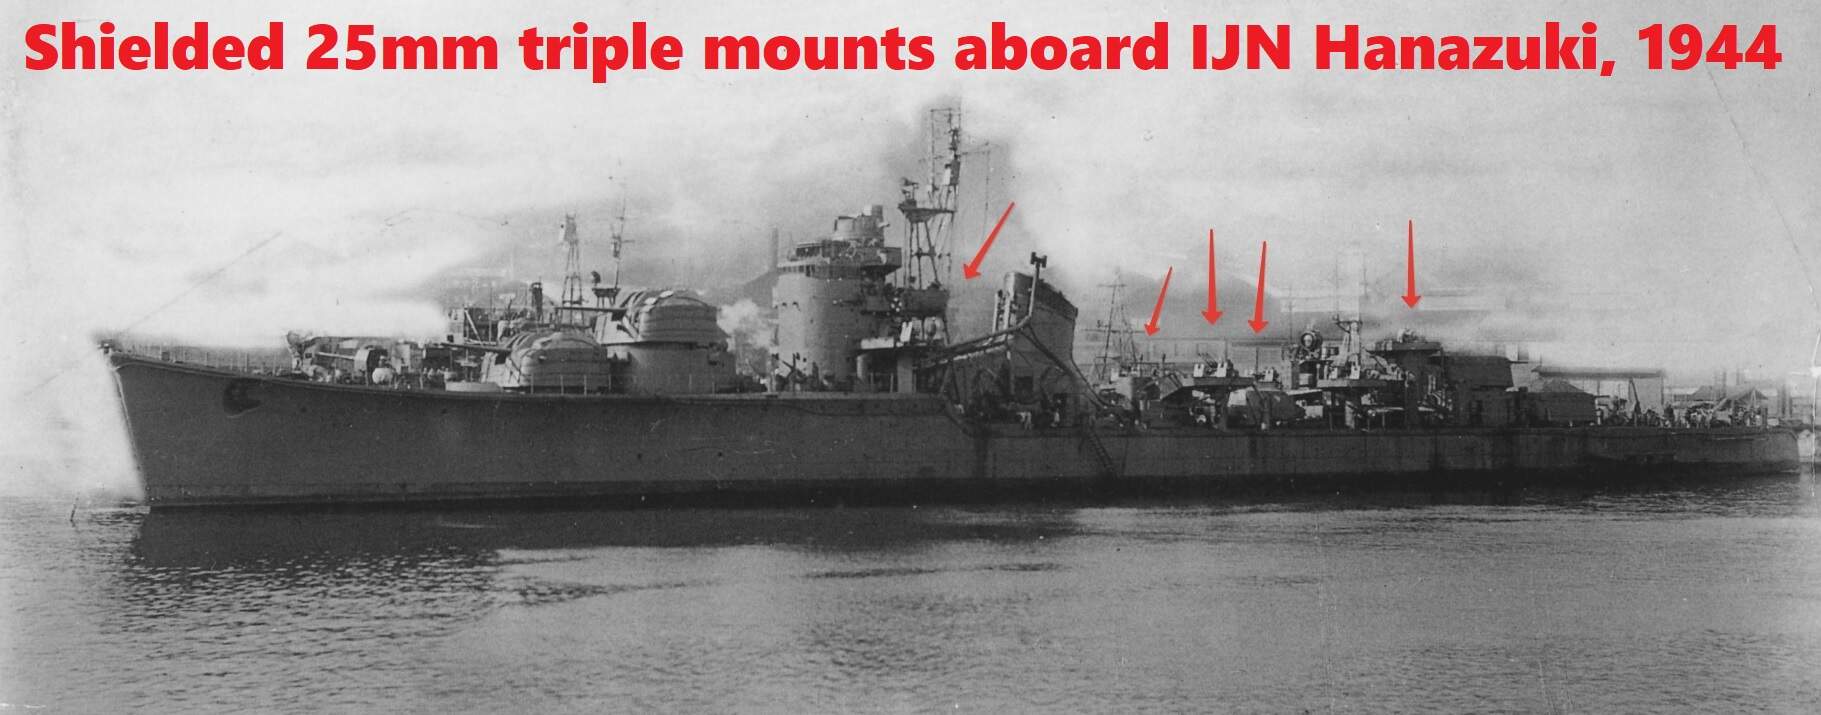
Presumably Hatsuzuki was similarly equipped by the time of her loss in October, 1944.
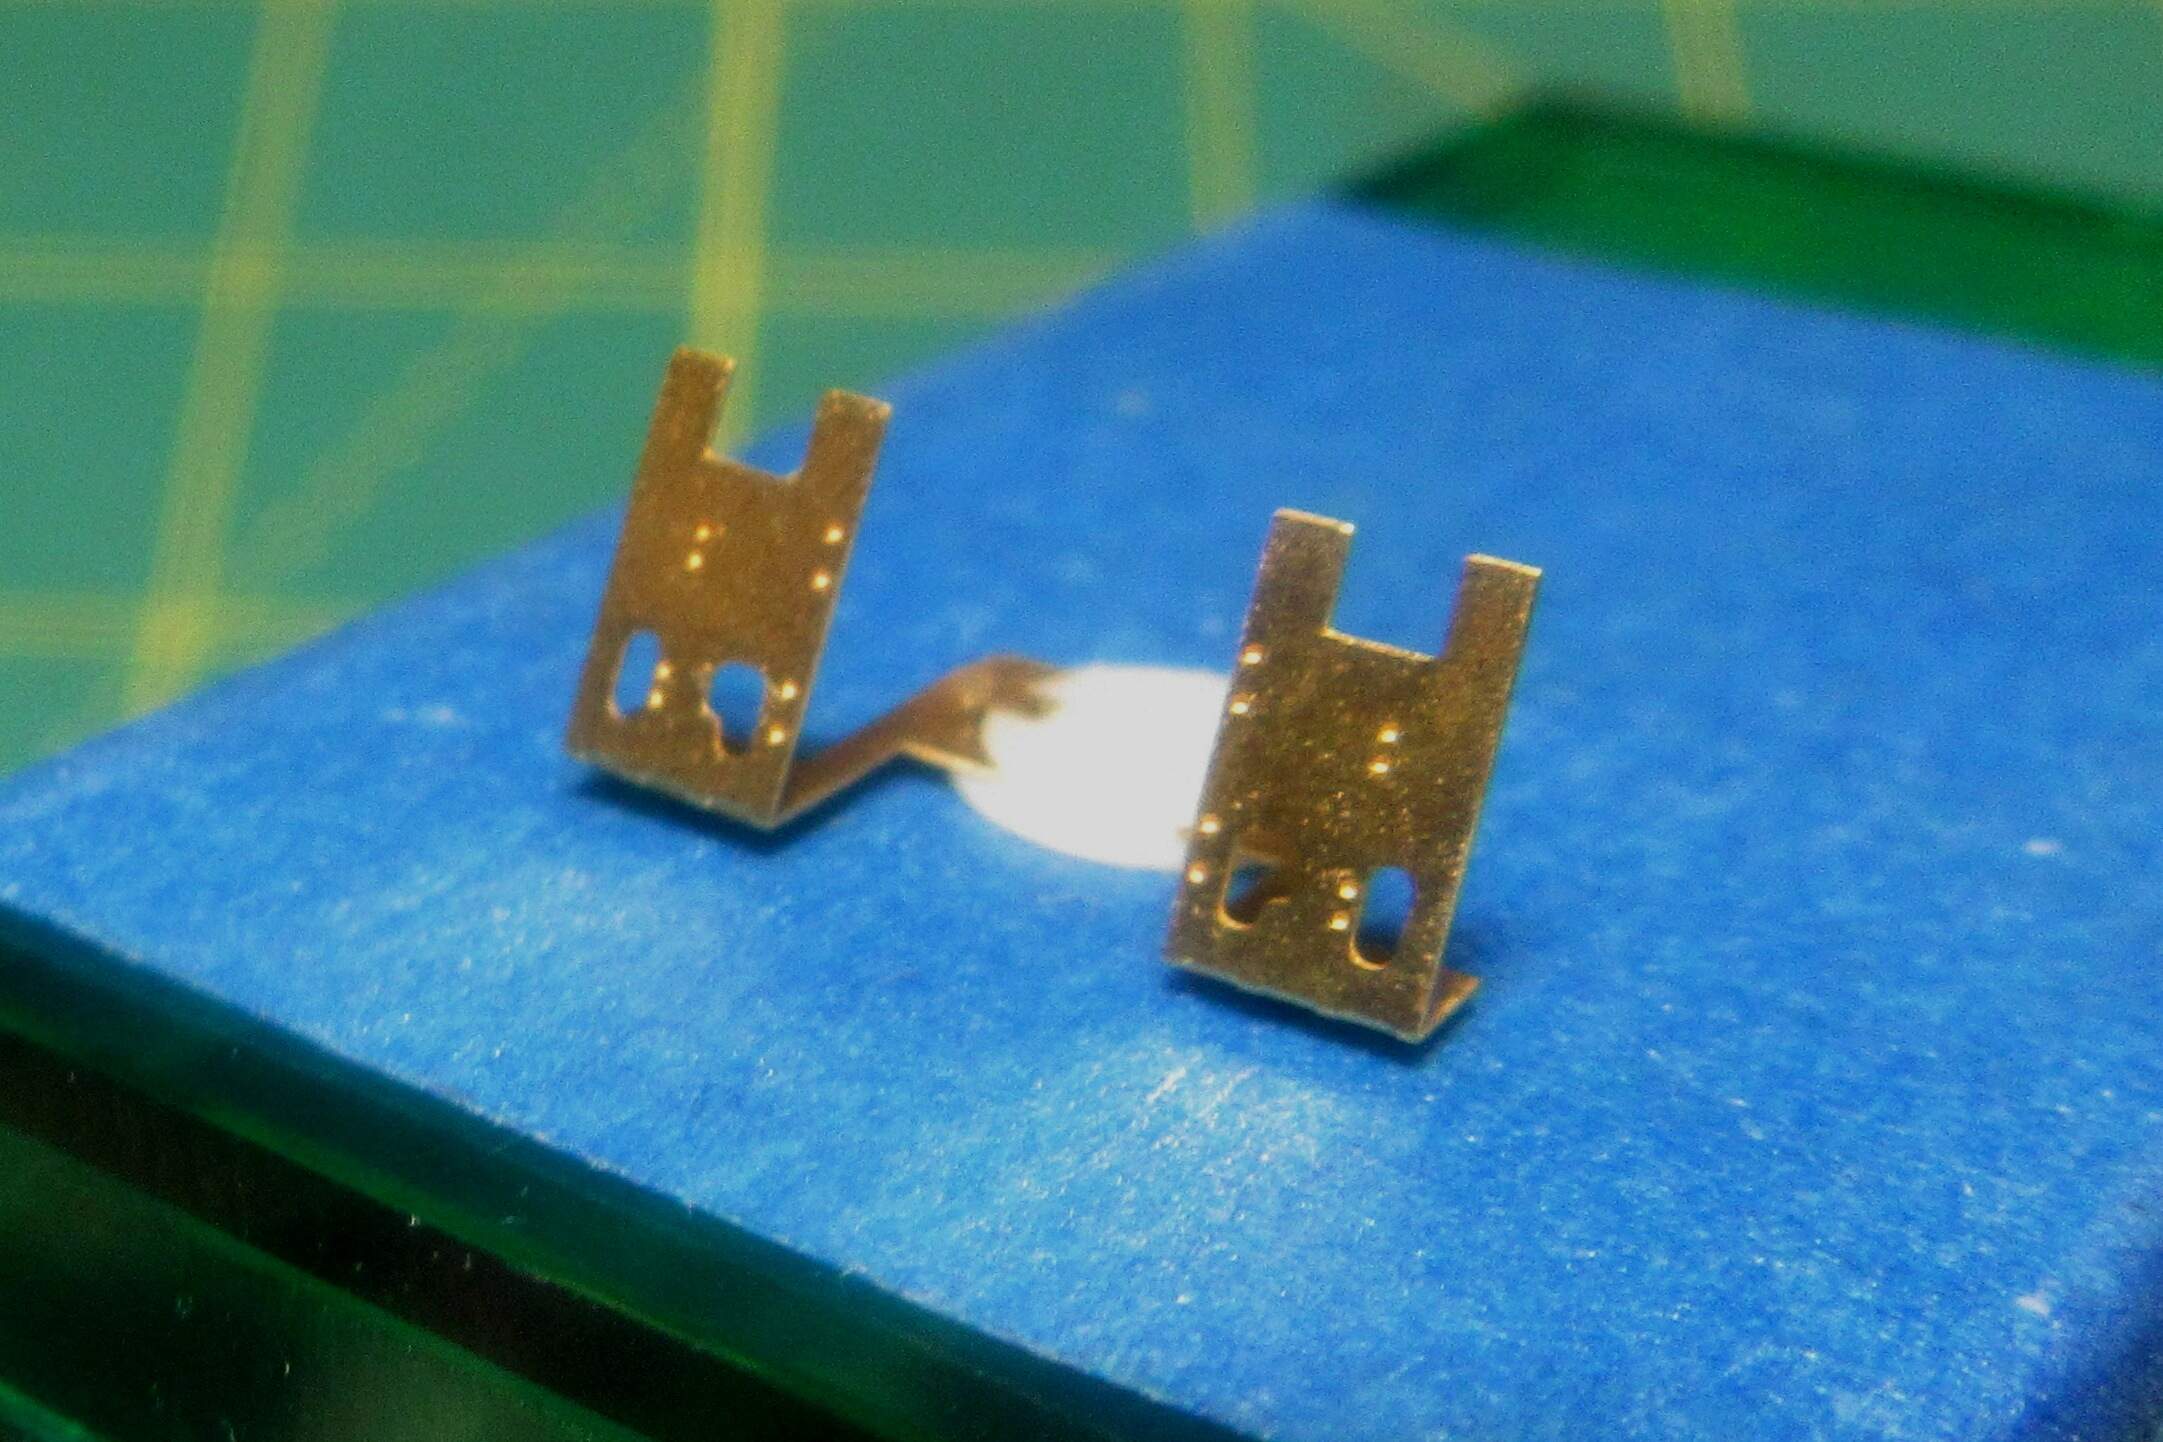
These shields varied slightly in design (the Veteran kit comes with three different styles), but all were created specifically for the Type 96 mounts. I don’t know which of the shield types Hatsuzuki’s guns might have carried, so I simply chose one of them and attached the etched parts to the resin baseplate.
The shields look cool with their 110 degree rake – and they certainly enhance the functional, aggressive look of the Type 96 gun mounts!
5 Likes
hi Tim, you must be in excellent health. No nervous nerves, your breathing in control, no colds (when working with such small parts, 1 sneeze would be disastrous).
I really enjoy your work on the Hatsuzuki, it is very inspiring and the boat is getting better and better.
All the best
Pete
(1 of your many fans :-))
1 Like
That is a better solution than my two eyeglasses on my nose 
1 Like
Thanks Pieter - that’s high praise coming from you! I still flip over to the MSW features page to admire your fabulous U-Boat diorama!
Great progress Tim 
I’m amazed splinter shields weren’t fitted until well after hostilities commenced… Even then they seem a token effort by the IJN to protect their crews 
1 Like
Thanks Russ!
Insufficient as these shields were, the Japanese were actually about on par with USN practice;
USN 20 and 40mm crews were also terribly exposed with simple mount shields being incrementally fitted only as the war was underway…

2 Likes
As we say down under, Tim: “Struth!!”
1 Like
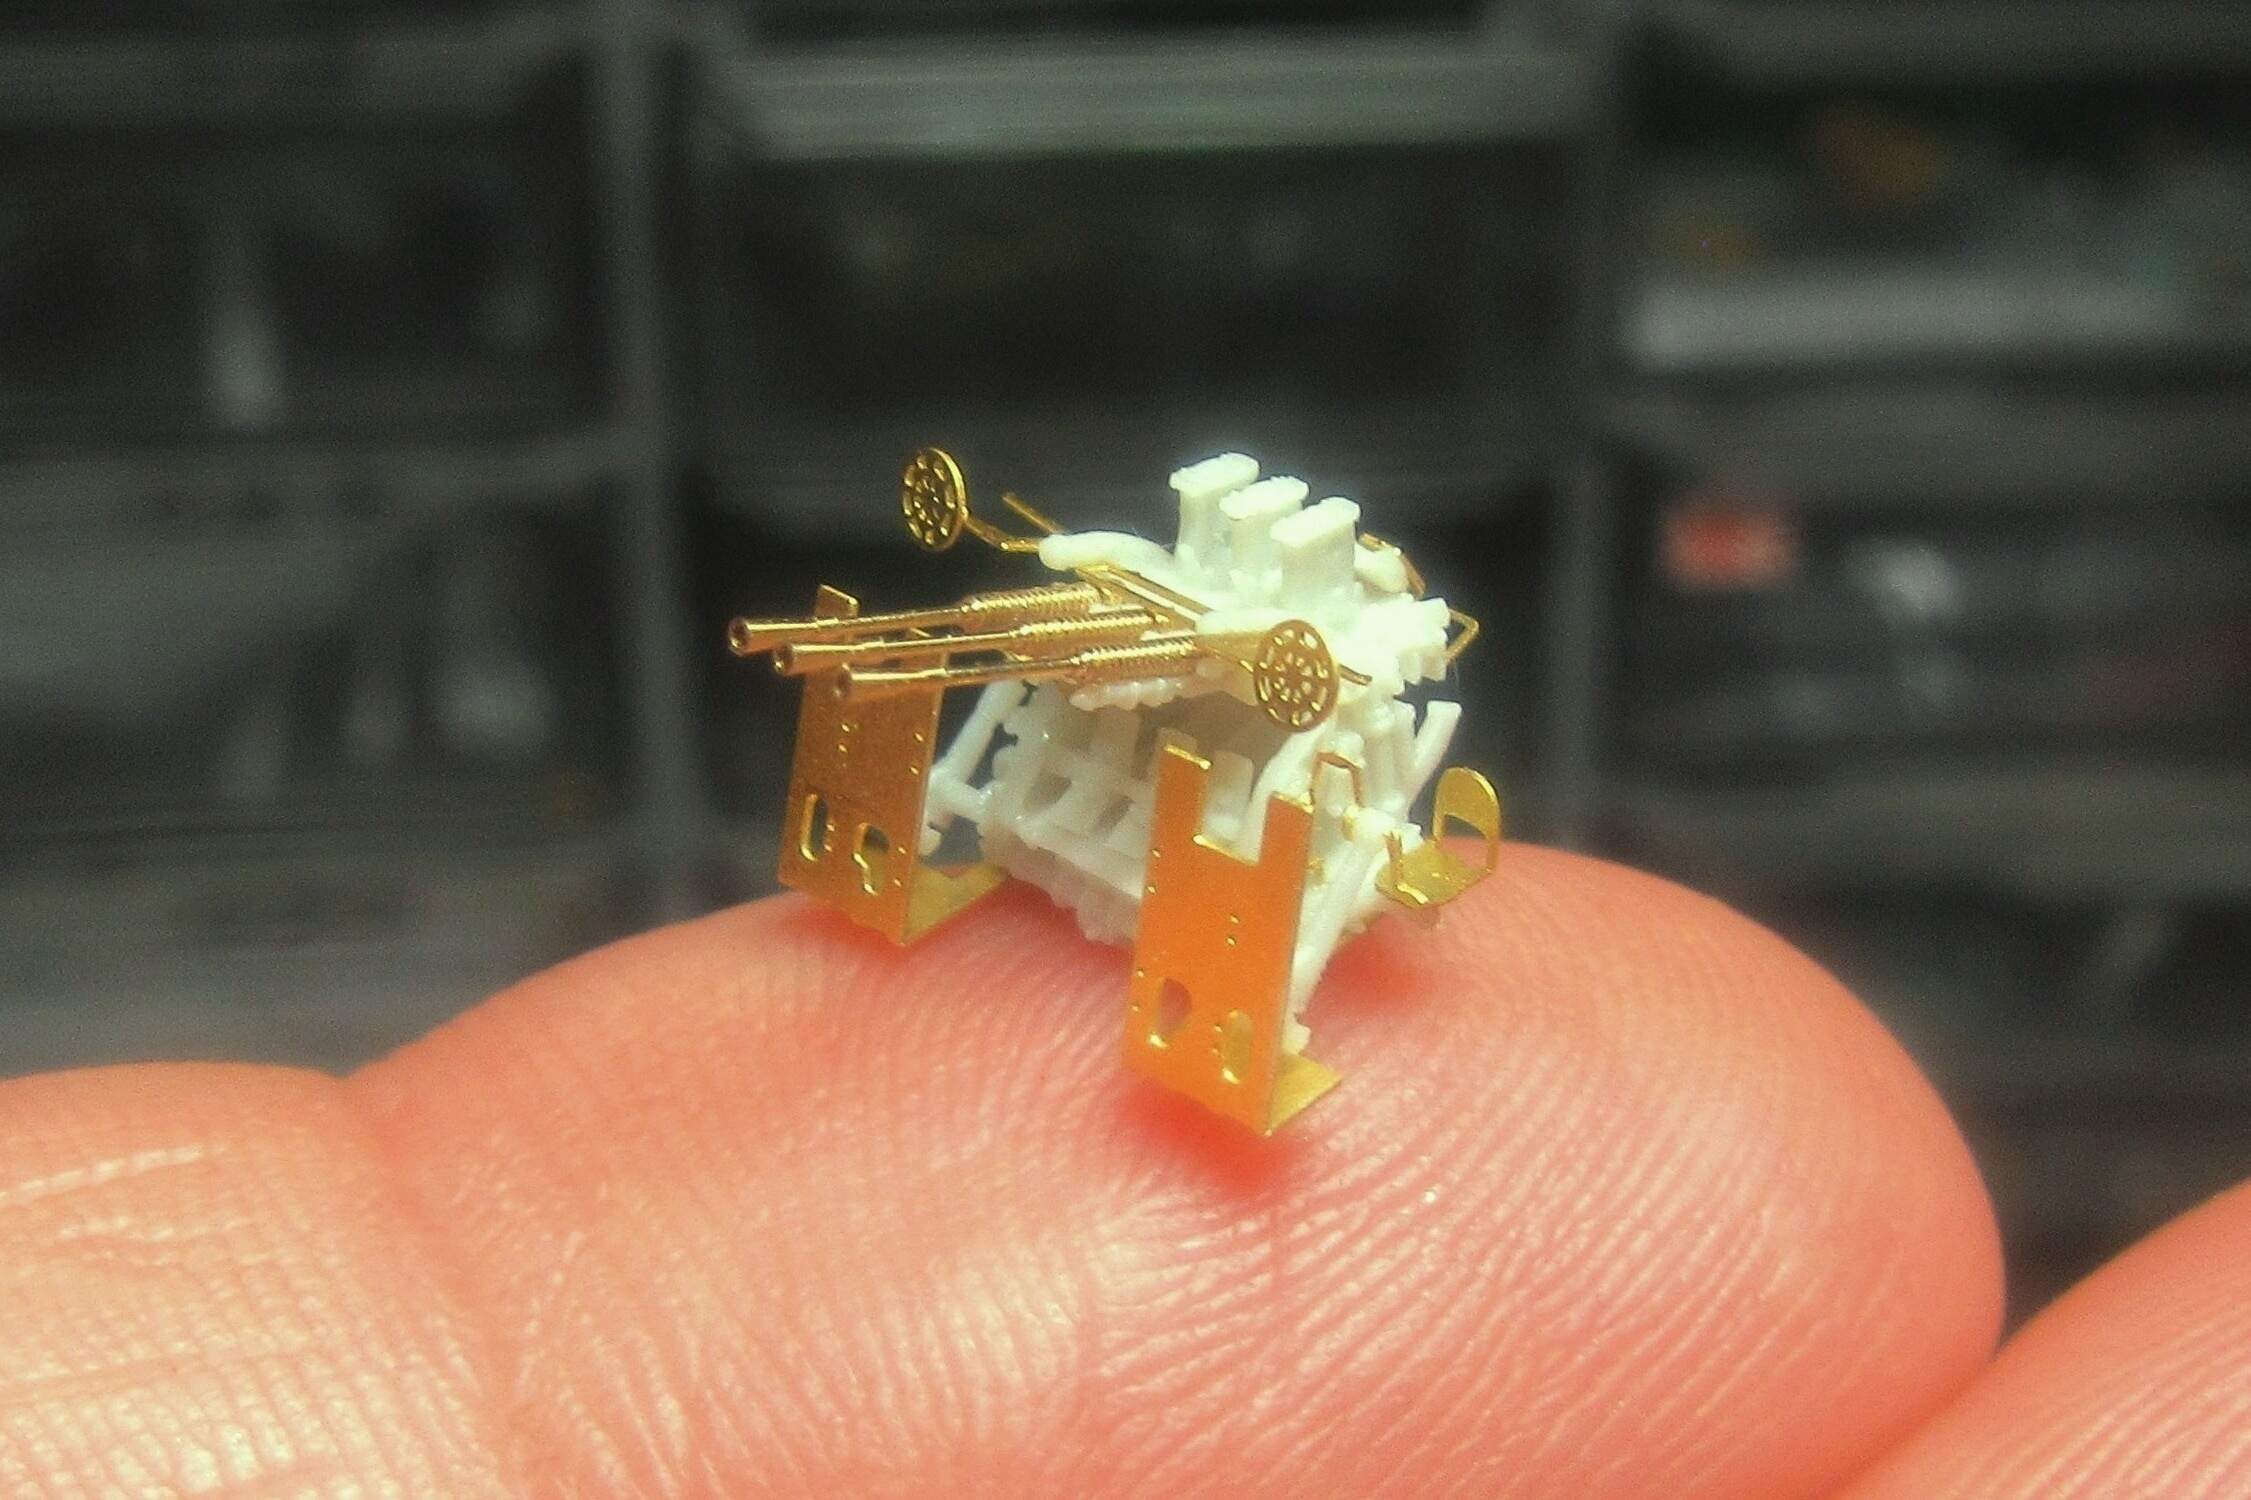
One mount down, four more of these to build…

I don’t mind, though –Veteran Models’ 25mm triples are miles ahead of the old Nichimo kit parts!
12 Likes
“Veteran Models’ 25mm triples are miles ahead of the old Nichimo kit parts!?”
Can’t agree more. Very nice job with the assembly.
Mark
1 Like
The new guns look beautiful, and well worth the extra effort. However, I have what might be a silly question… how the heck did the gun crews get to that position? I assume an outside ladder that isn’t in place yet???
Anyway, am enjoying the build more than you know…
Bob
1 Like
The new guns look beautiful, and well worth the extra effort. However, I have what might be a silly question… how the heck did the gun crews get to that position? I assume an outside ladder that isn’t in place yet???
Anyway, am enjoying the build more than you know…
Bob
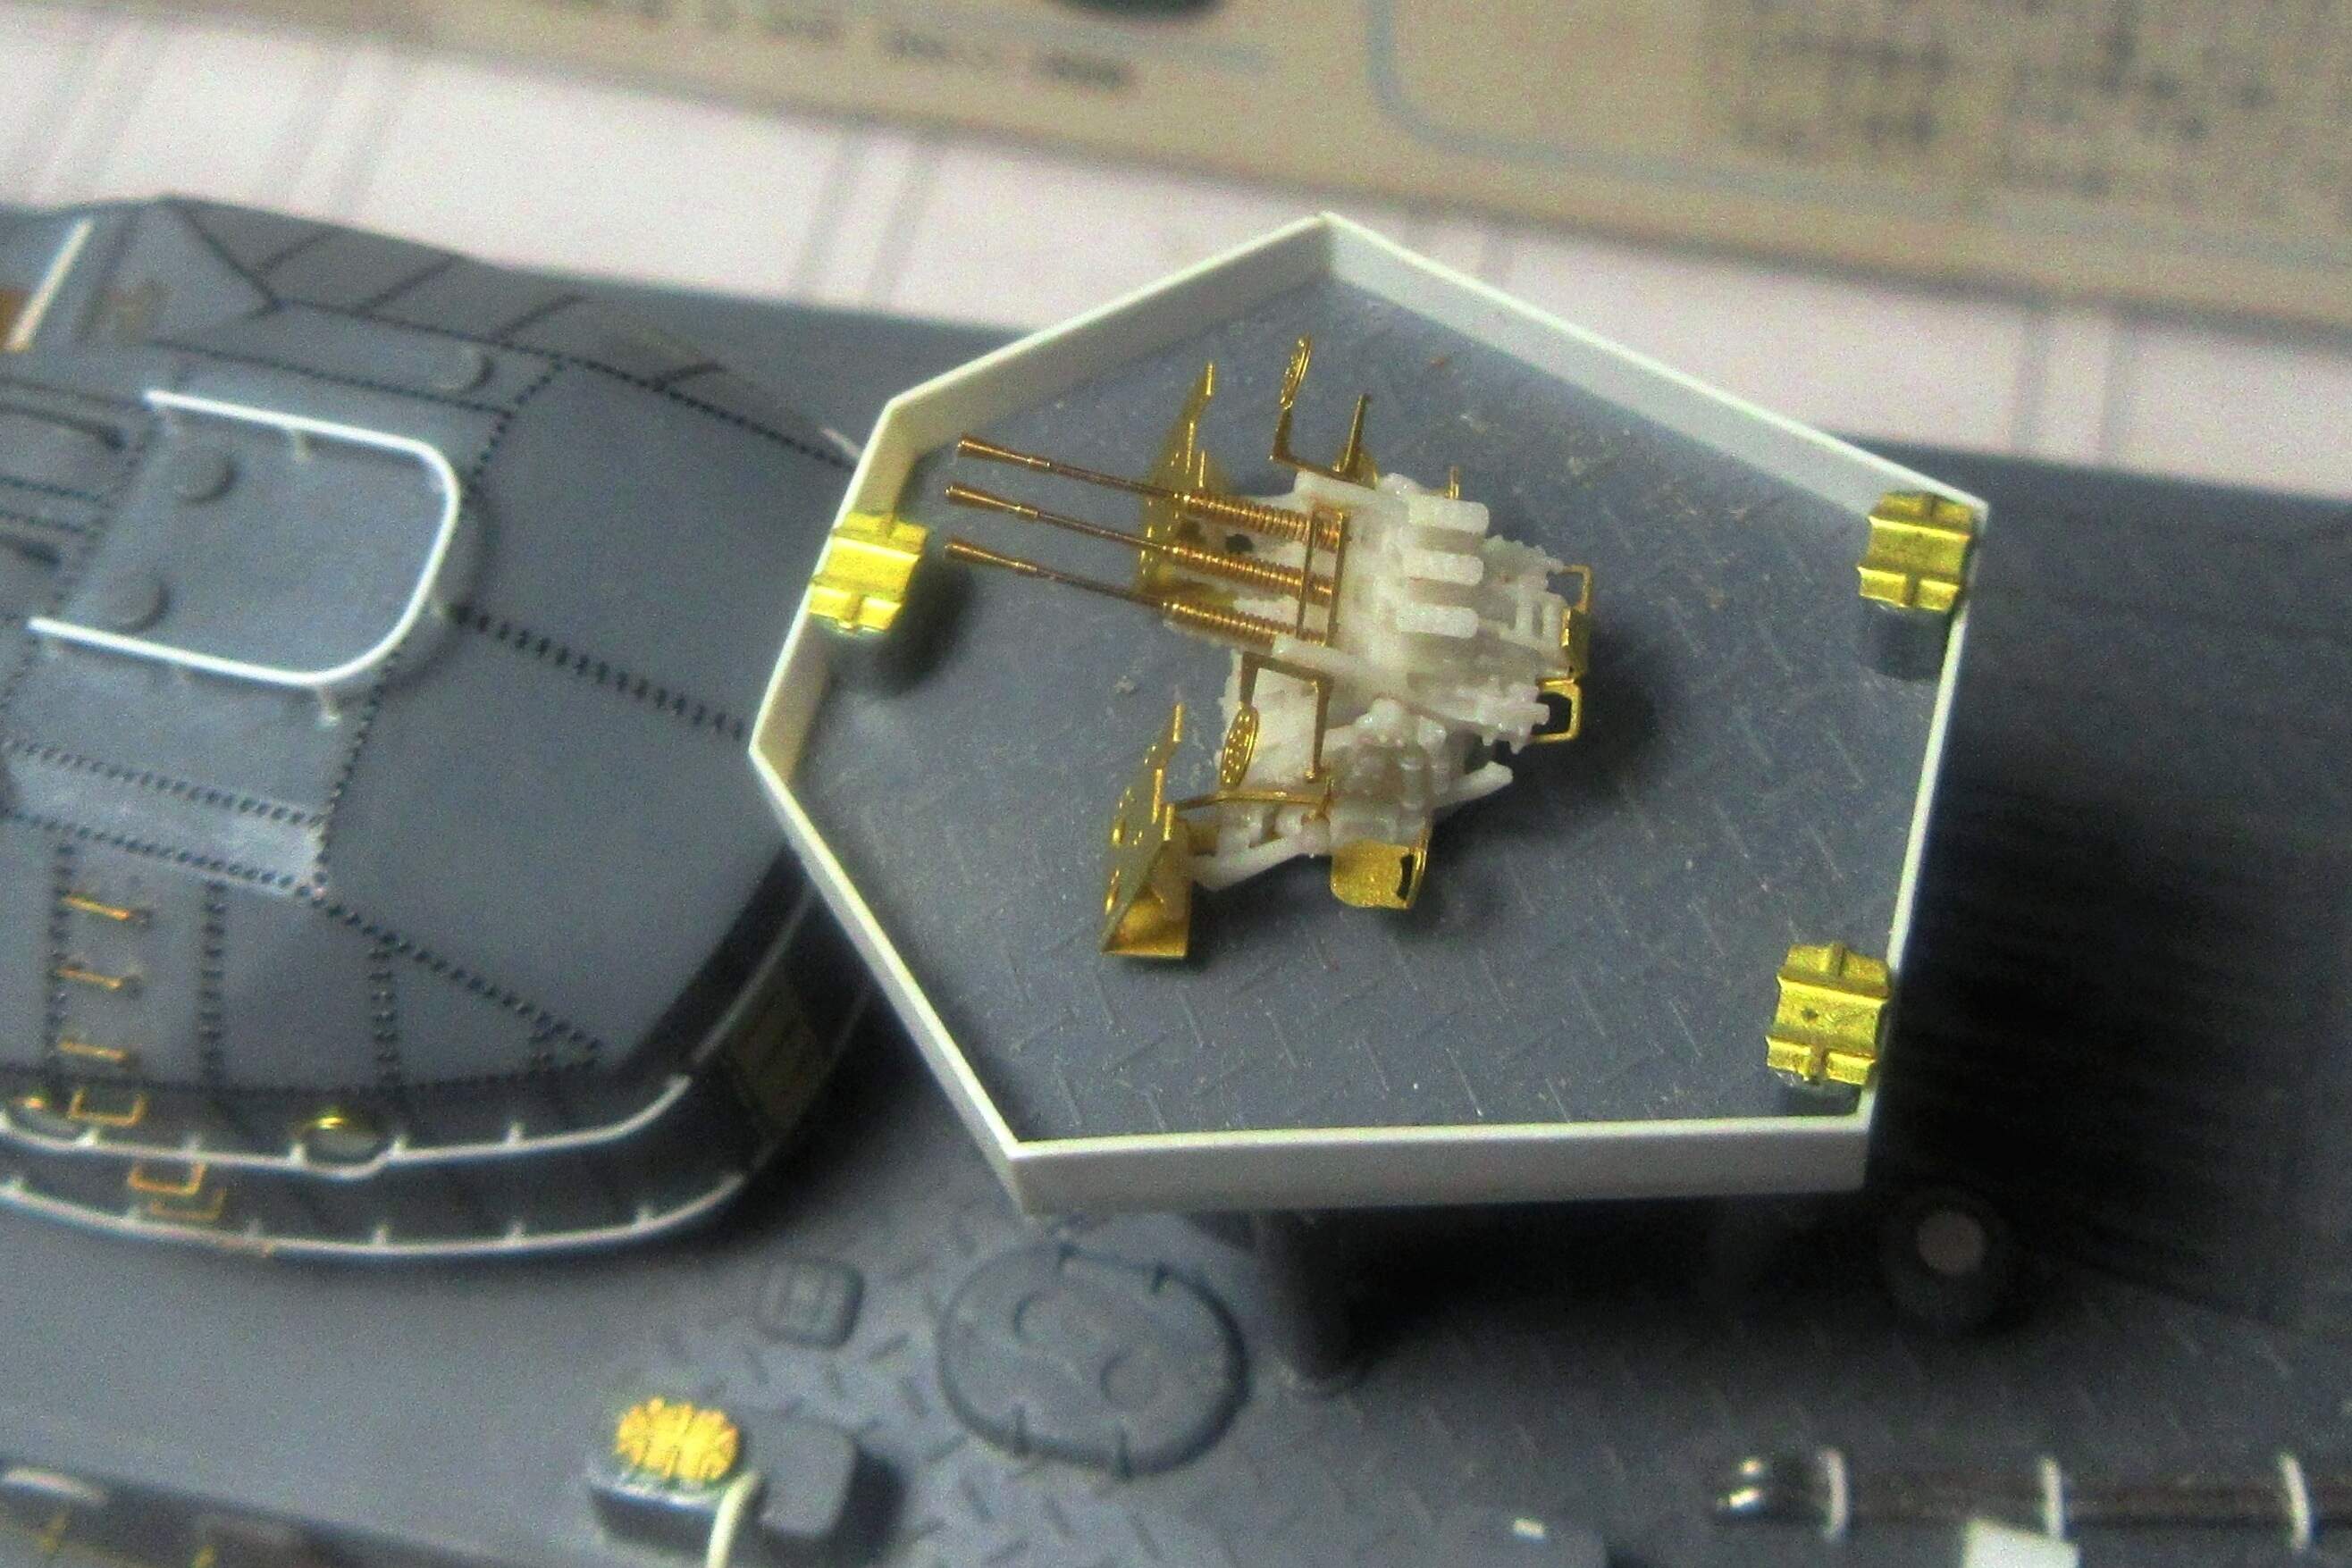
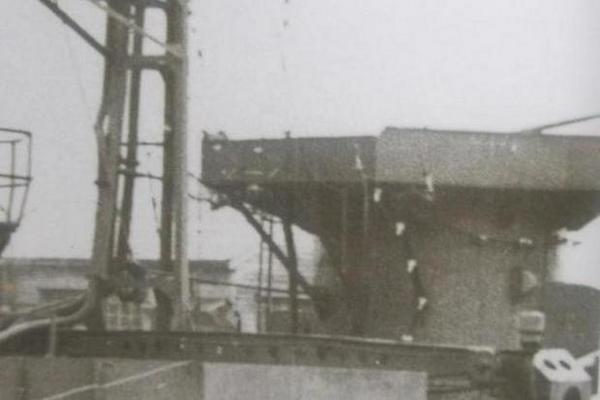
Thanks Bob - and good point about crew access to that elevated position! This postwar photo of sister Haruzuki:
and the Miyuki-Kai plans for sister Fuyutzuki
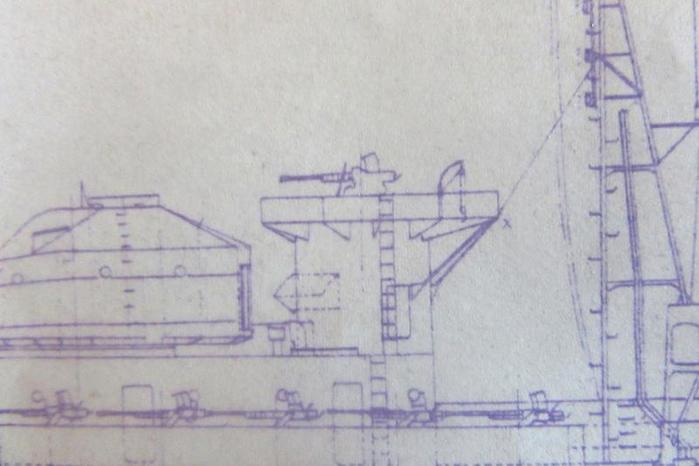
show a single ladder on the starboard side.
It would work, but I’d hate to be one of the crew trying to get out of that position in an emergency…! ![]()
3 Likes
Evacuating wounded crew members would be a pain as well… even with using what I am guessing is a little crane to hoist ammo, etc. Although I suppose it would be easier than extracting a crewman through a tank hatch.
1 Like
Beautiful work, as always. The gun barrels in particular are little (VERY little!) works of art.
1 Like
Beautiful work, as always. The gun barrels in particular are little (VERY little!) works of art.
Thanks Graham!
Speaking of little…lately I find myself distracted yet again from the Hatsuzuki by another side project – this time it is Hasegawa’s ancient (but still nice) 1/700 scale U-boat set

![]()
1 Like
Let’s hope you get this distraction out of your system quickly… LOL
RDT1953
Let’s hope you get this distraction out of your system quickly… LOL
Ok Richard, I’m back on the job!
![]()

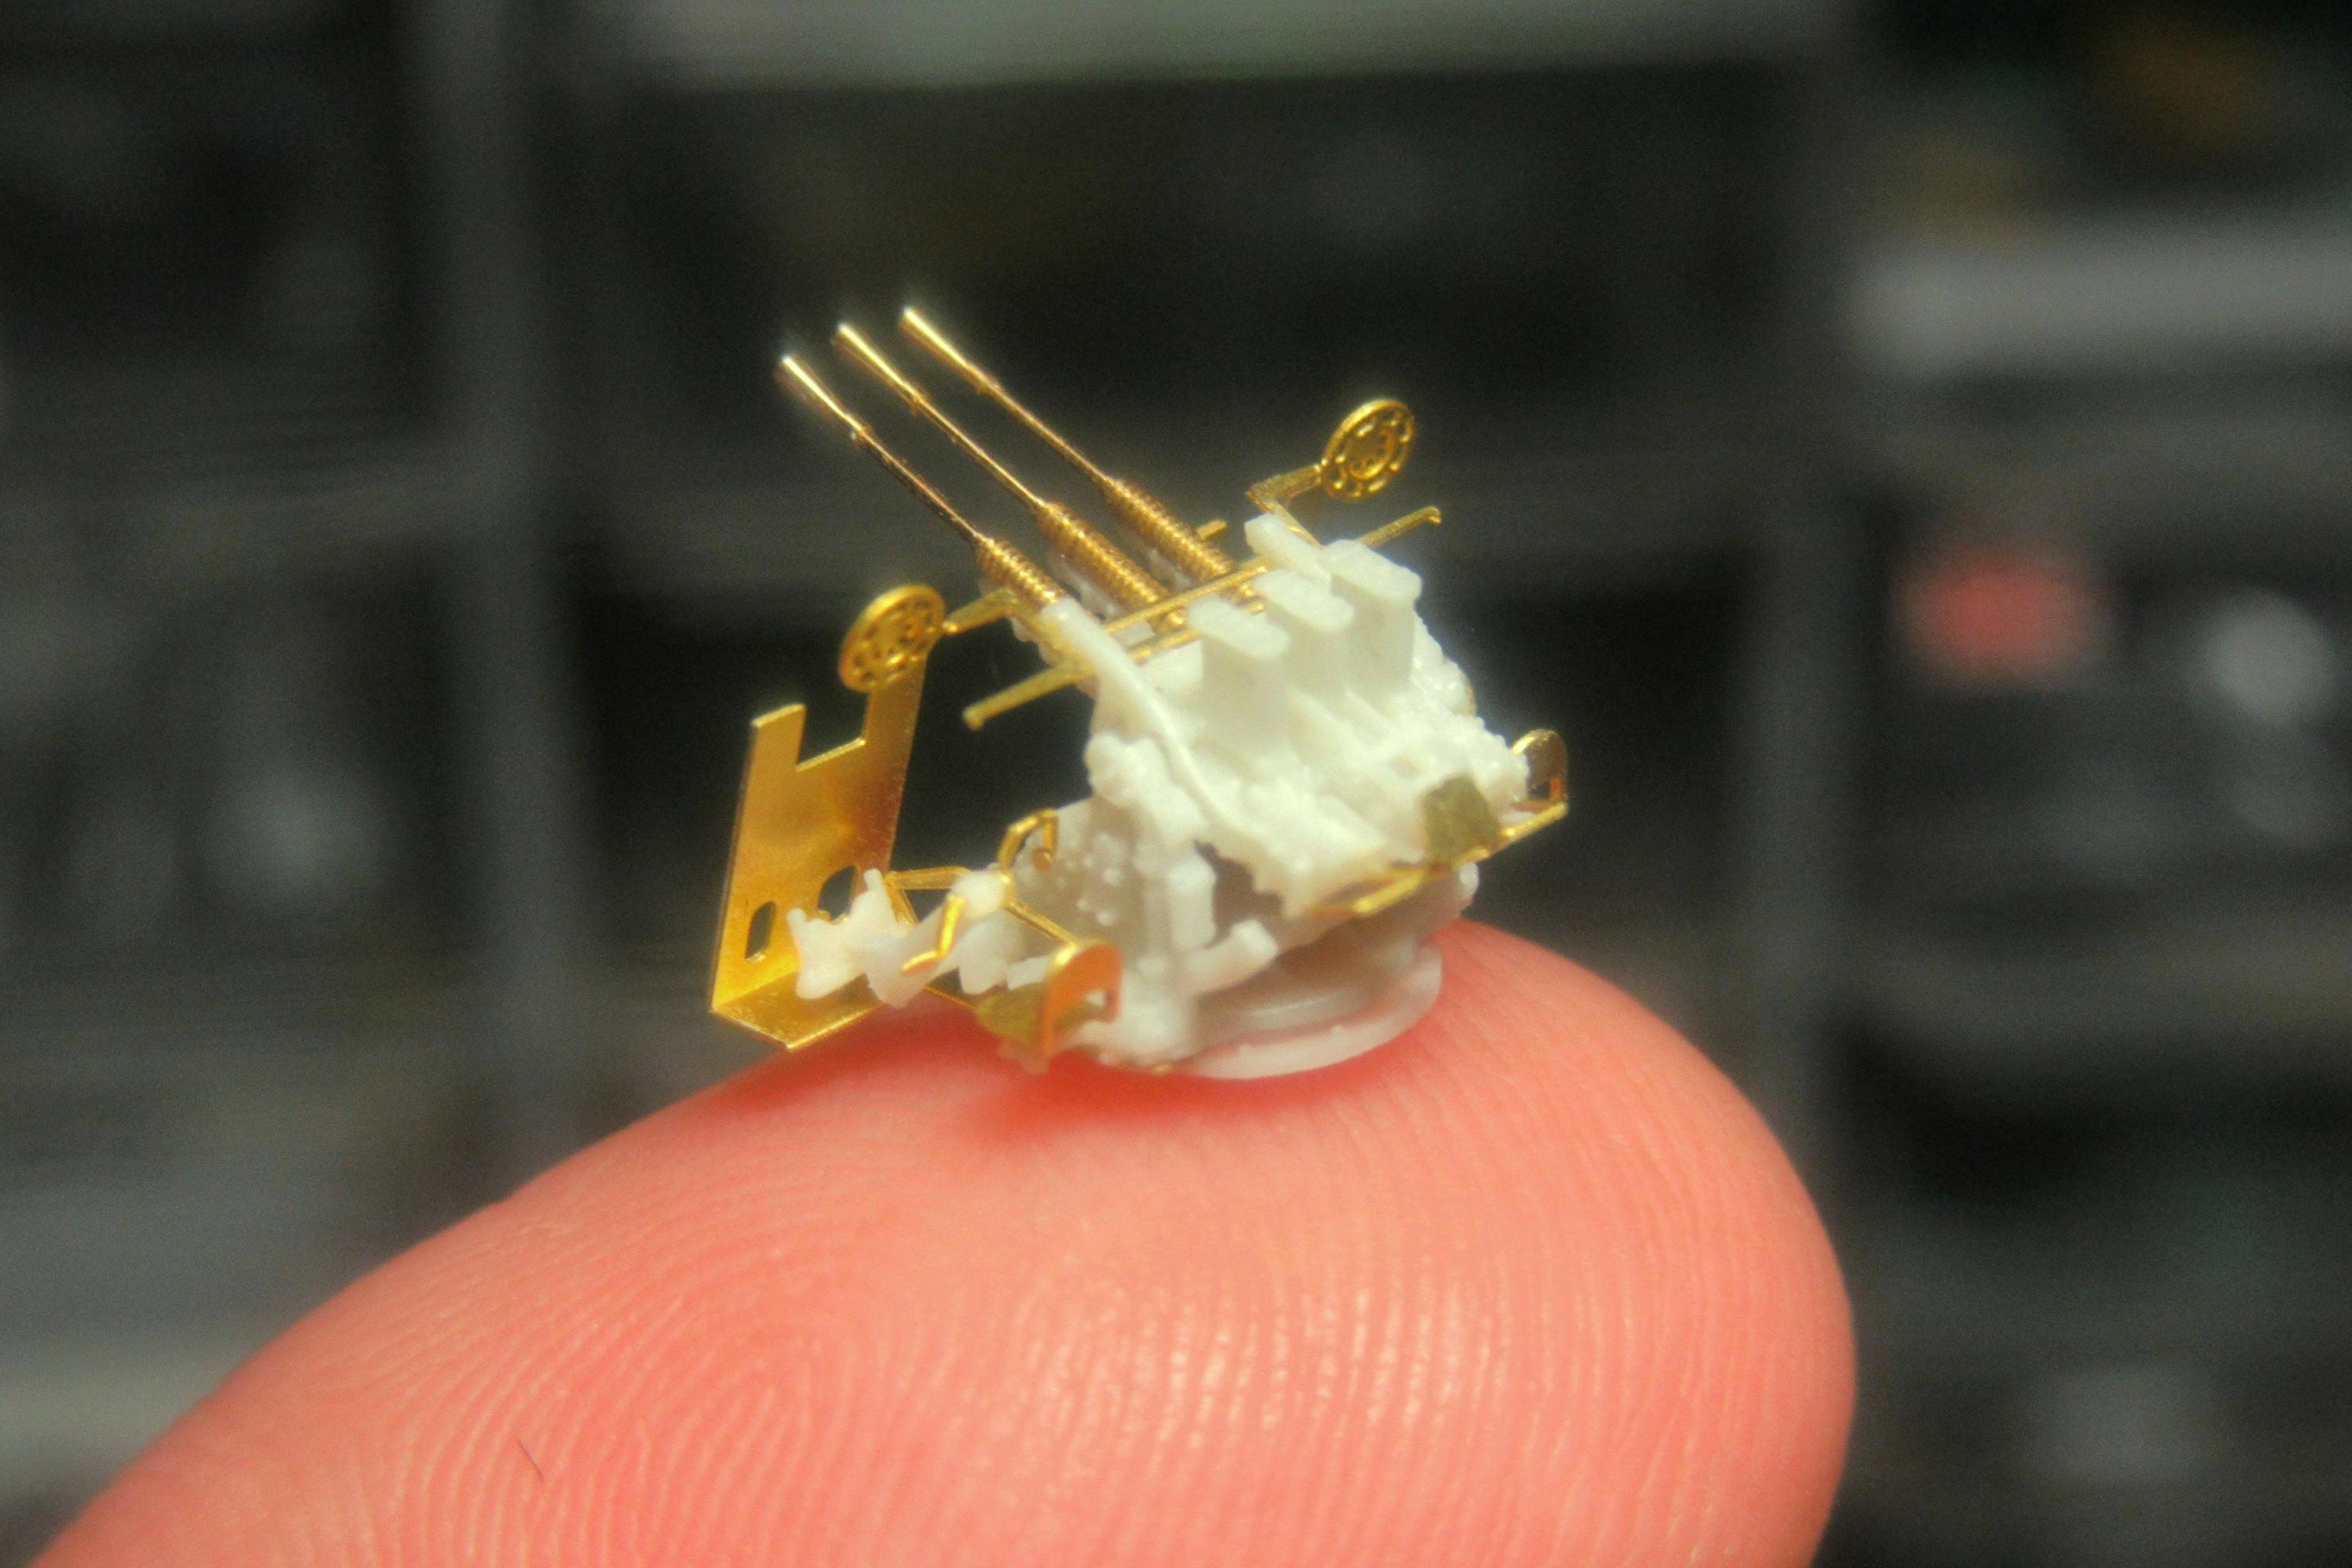
The first of the five 25mm triples completed, I now turn to assembling the other four.
Veteran Models’ upgrade parts are fantastic, but I must admit the construction of that first little mount brought me to the very edge of my modeling ability! These things are little kits in themselves and the delicate, miniscule components are a challenge to even handle, much less keep correctly aligned while fixing them in place with super glue. It seems I spent as much time repairing/reinstalling parts I bent or knocked loose as in actual assembly. Applying experience gained putting together the first one, I plan to deviate a bit from Veteran’s recommended construction sequence for the next four to see if I can make things go a little more smoothly:
step 1 – good as is
step 2 – (presently step 5) add brass barrels to resin guns
step 3 – (presently step 2) add resin part R4
step 4 – (presently step 3) add brass gear sprocket
step 5 – (presently step 6) add etched brass recoil guard details
step 6 – (presently step 4) add brass/resin guns assembly to resin support carriage
step 7 – add brass gunsights
step 8 – add resin/etched brass elevation gear to left side
step 9 – add resin/etched brass azimuth training gear to right side
step 10 – add seats
step 11 – (presently step 13) bend brass shields to 110°
step 12 – (presently step 11) attach brass shields to resin base
step 13 – (presently step 12) attach shields/base to gun assembly
I started by attaching the two-part support carriage bases side by side to a strip of two sided masking tape on a piece of scrap wood. The wood will provide a useful handling platform and ease working on all four mounts at the same time.

Having constructed the carriages, I then added the etched recoil guard rails and fitted the brass barrels to the resin guns. It makes sense to attach the barrels at this early point since alignment of the tubes – so critical to the final look – is much easier to accomplish before fitting the resin/brass gun assembly to the resin support carriage.
7 Likes