Wow! The gunhouses looked really good on their wooden perch but they look even better in place on their new home on deck!
—mike
Wow! The gunhouses looked really good on their wooden perch but they look even better in place on their new home on deck!
—mike
Excellent work Tim. They really look great in position. Continuing to drool.
John
As always, thank you all for your kind comments – I do appreciate the encouragement!
Toward the end, detailing all those gunhouses had started to become a bit of a slog  . They were really nothing more than basic modeling really, with simple modifications added one upon the other to build up a sense of complexity. Honestly, they are more a testament to doggedness than skill!
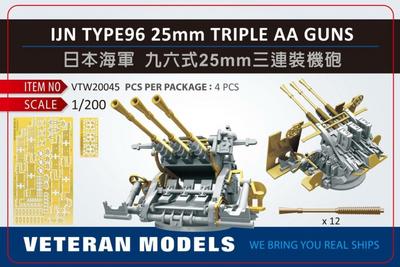
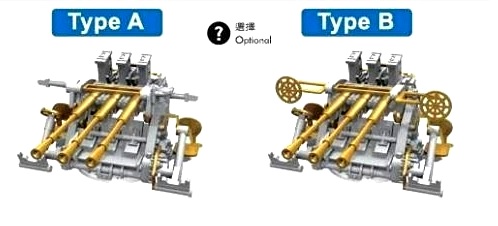
Next up, inspired by Jan’s exposition on Veteran Models’ Mittlere FLAK 37mms, I will be assembling Veteran’s IJN 25mm triples!

Got my popcorn and cold drink ready. Now for the next lesson to begin!
Tim,
I have been following along as best as I can and all I can say is WOW! Amazing work. You definitely are demonstrating the lengths which can be taken when working on a 1/200 scale ship. Truly art work and something for us all to aspire to. Can not wait to see what else you do during this build.
David
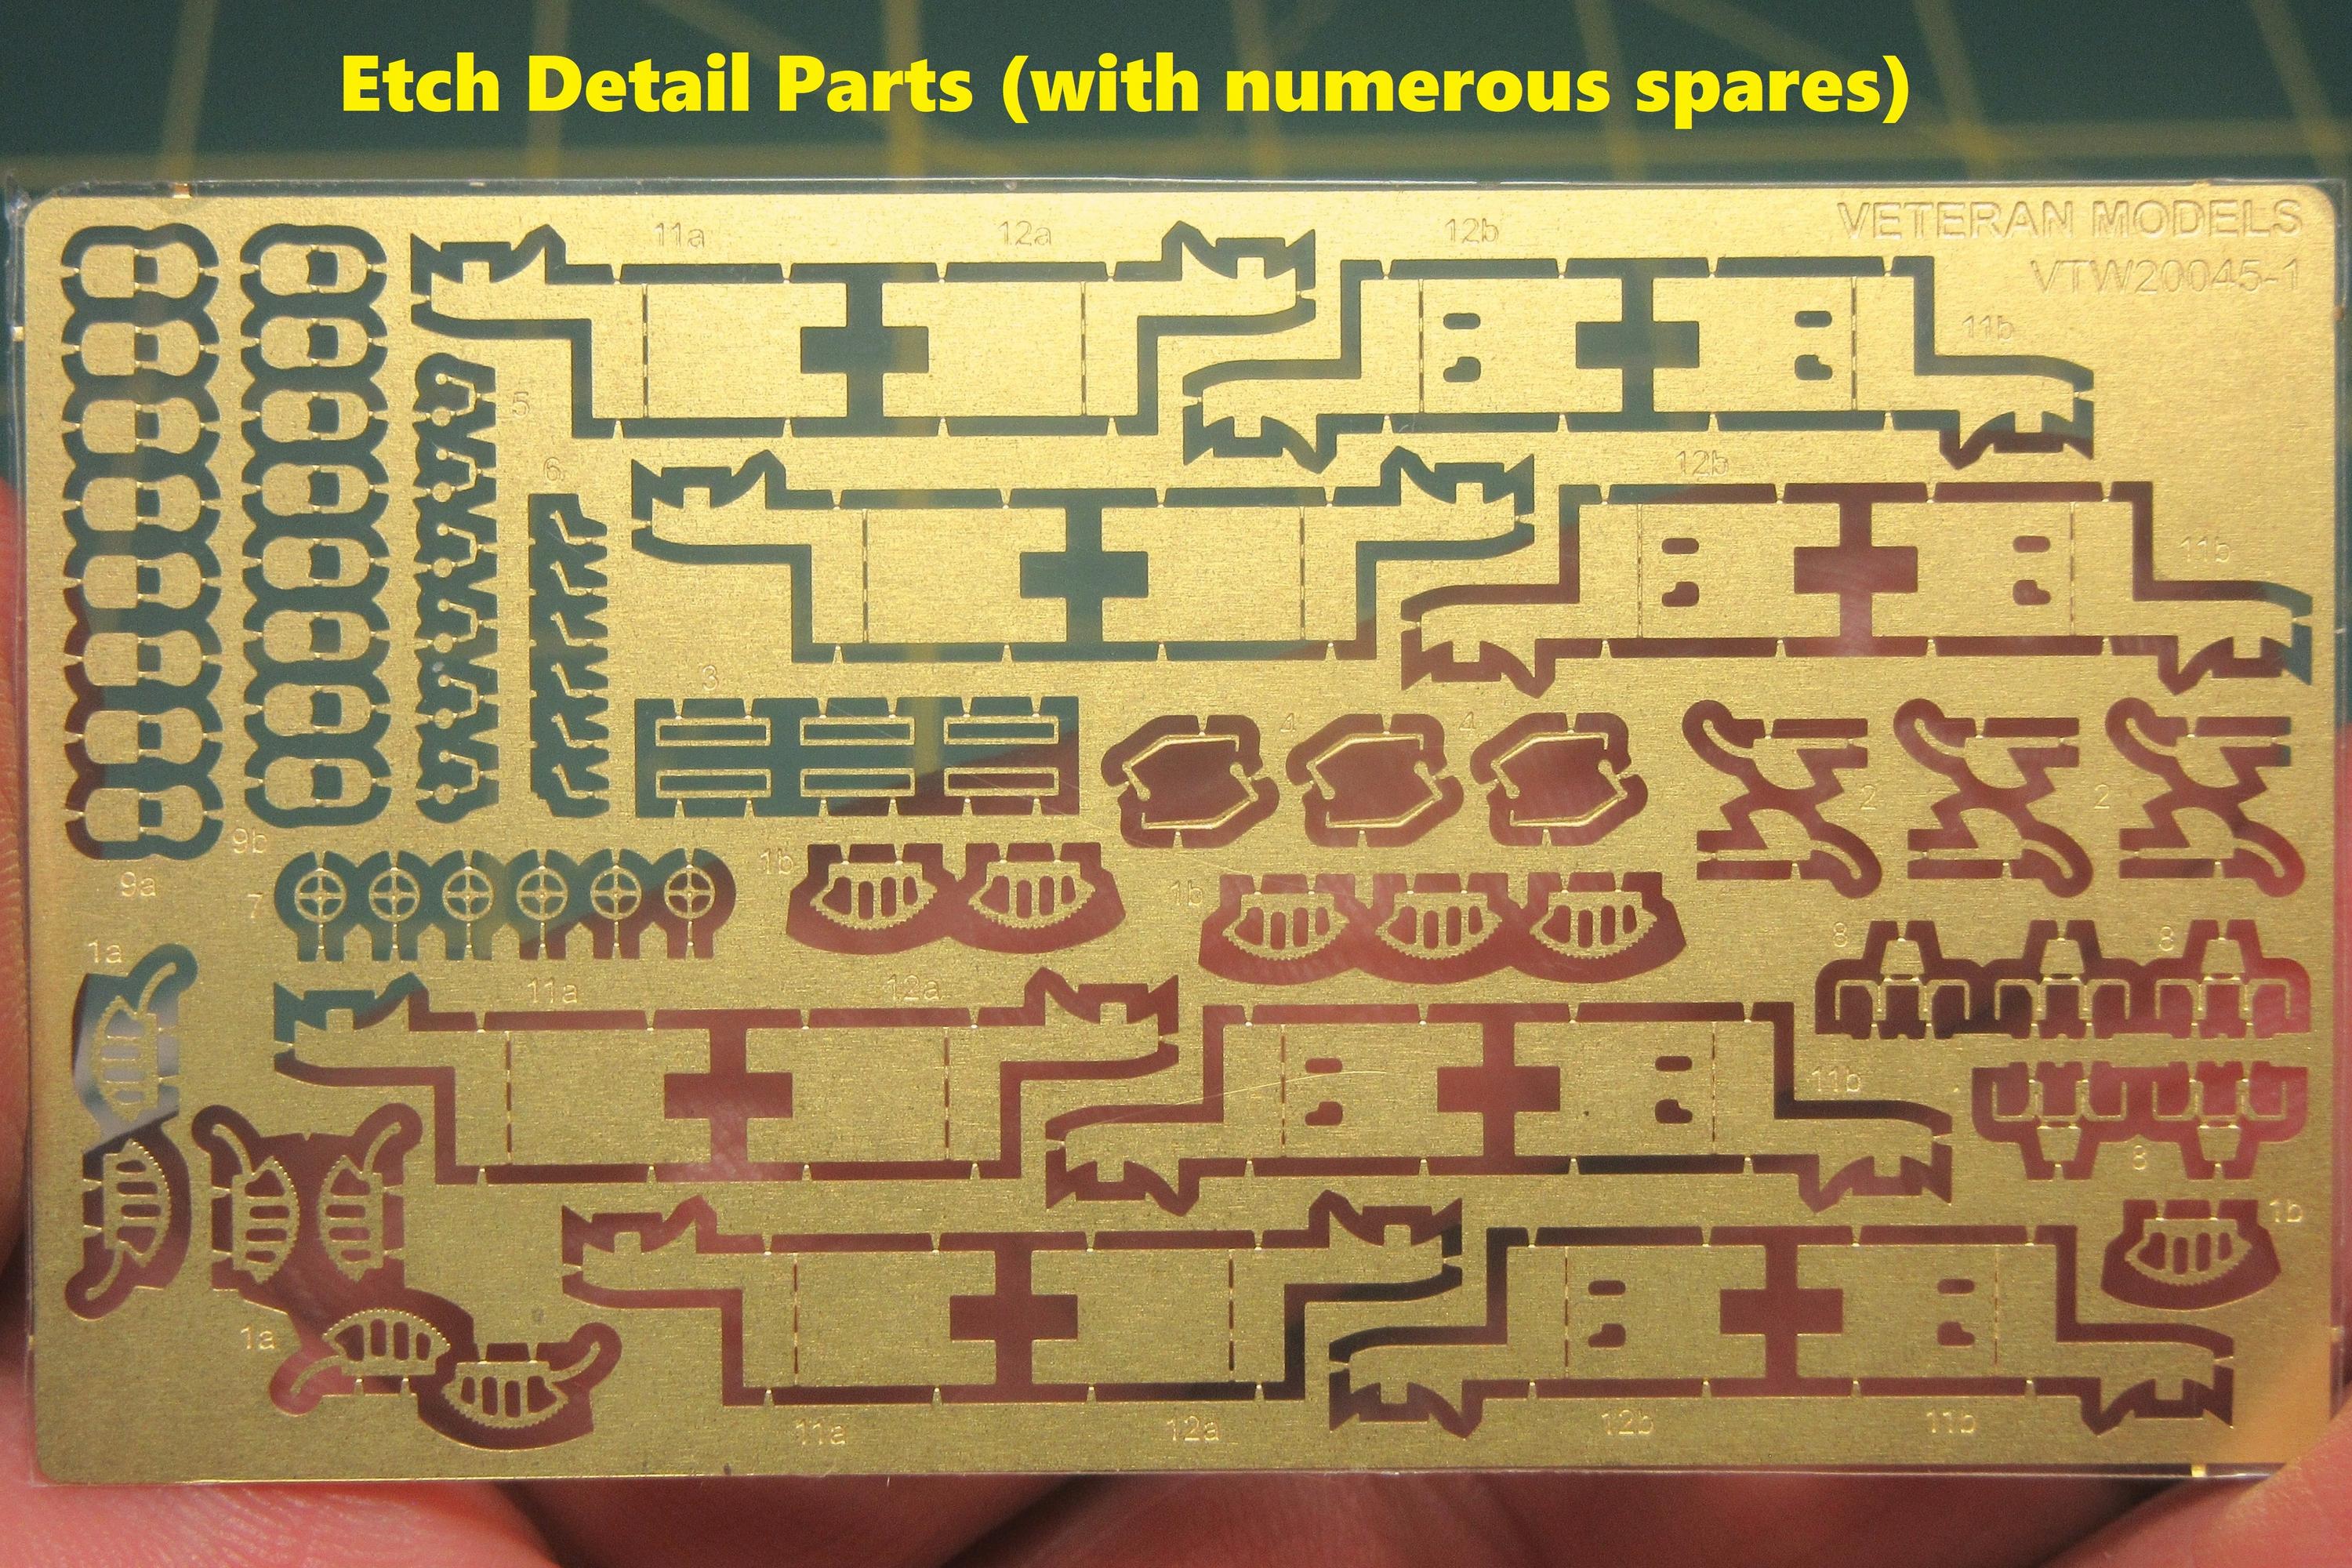
John and David, thanks! I just cracked the box on the Veteran Models 25mm triples – a first for me.
These masterpieces are little kits in themselves.
You really have to admire the superb detailing… Very nice 
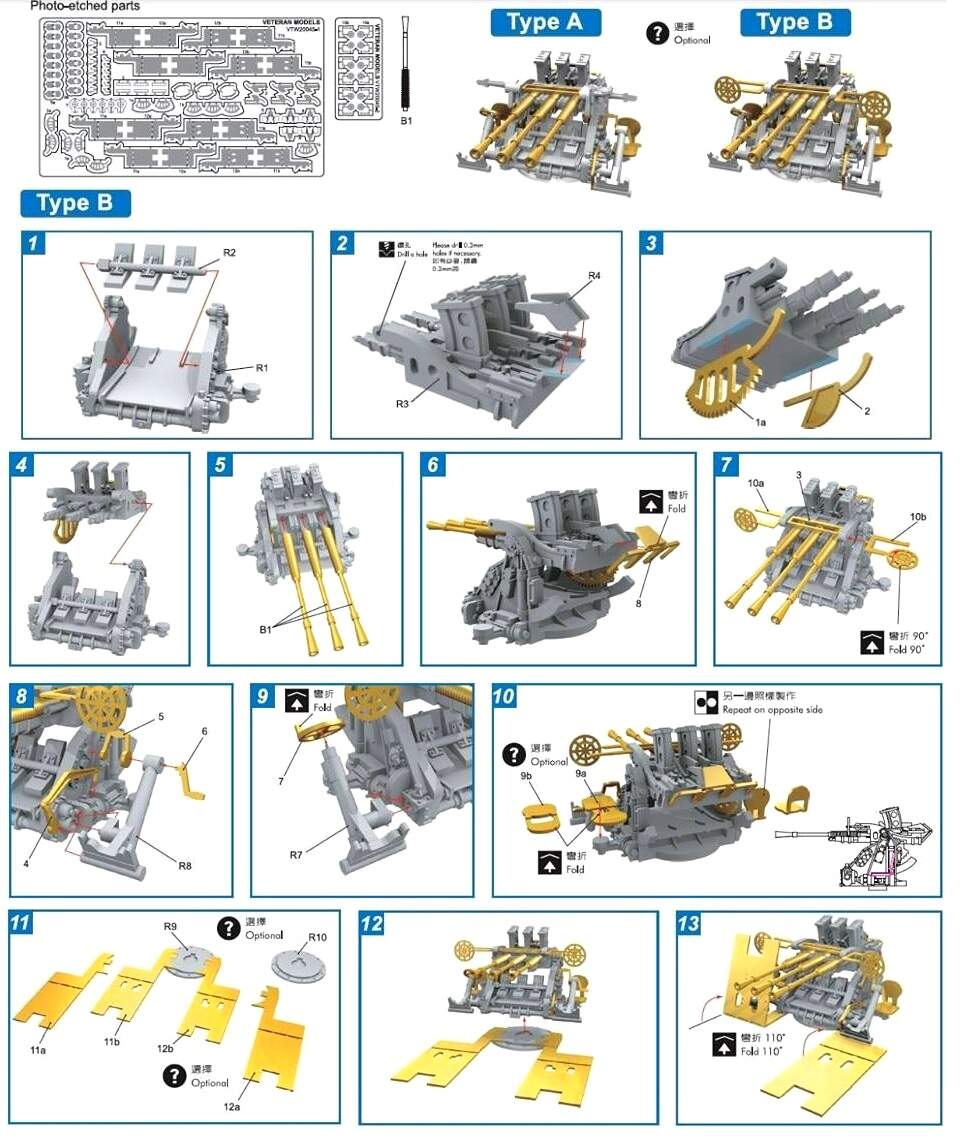
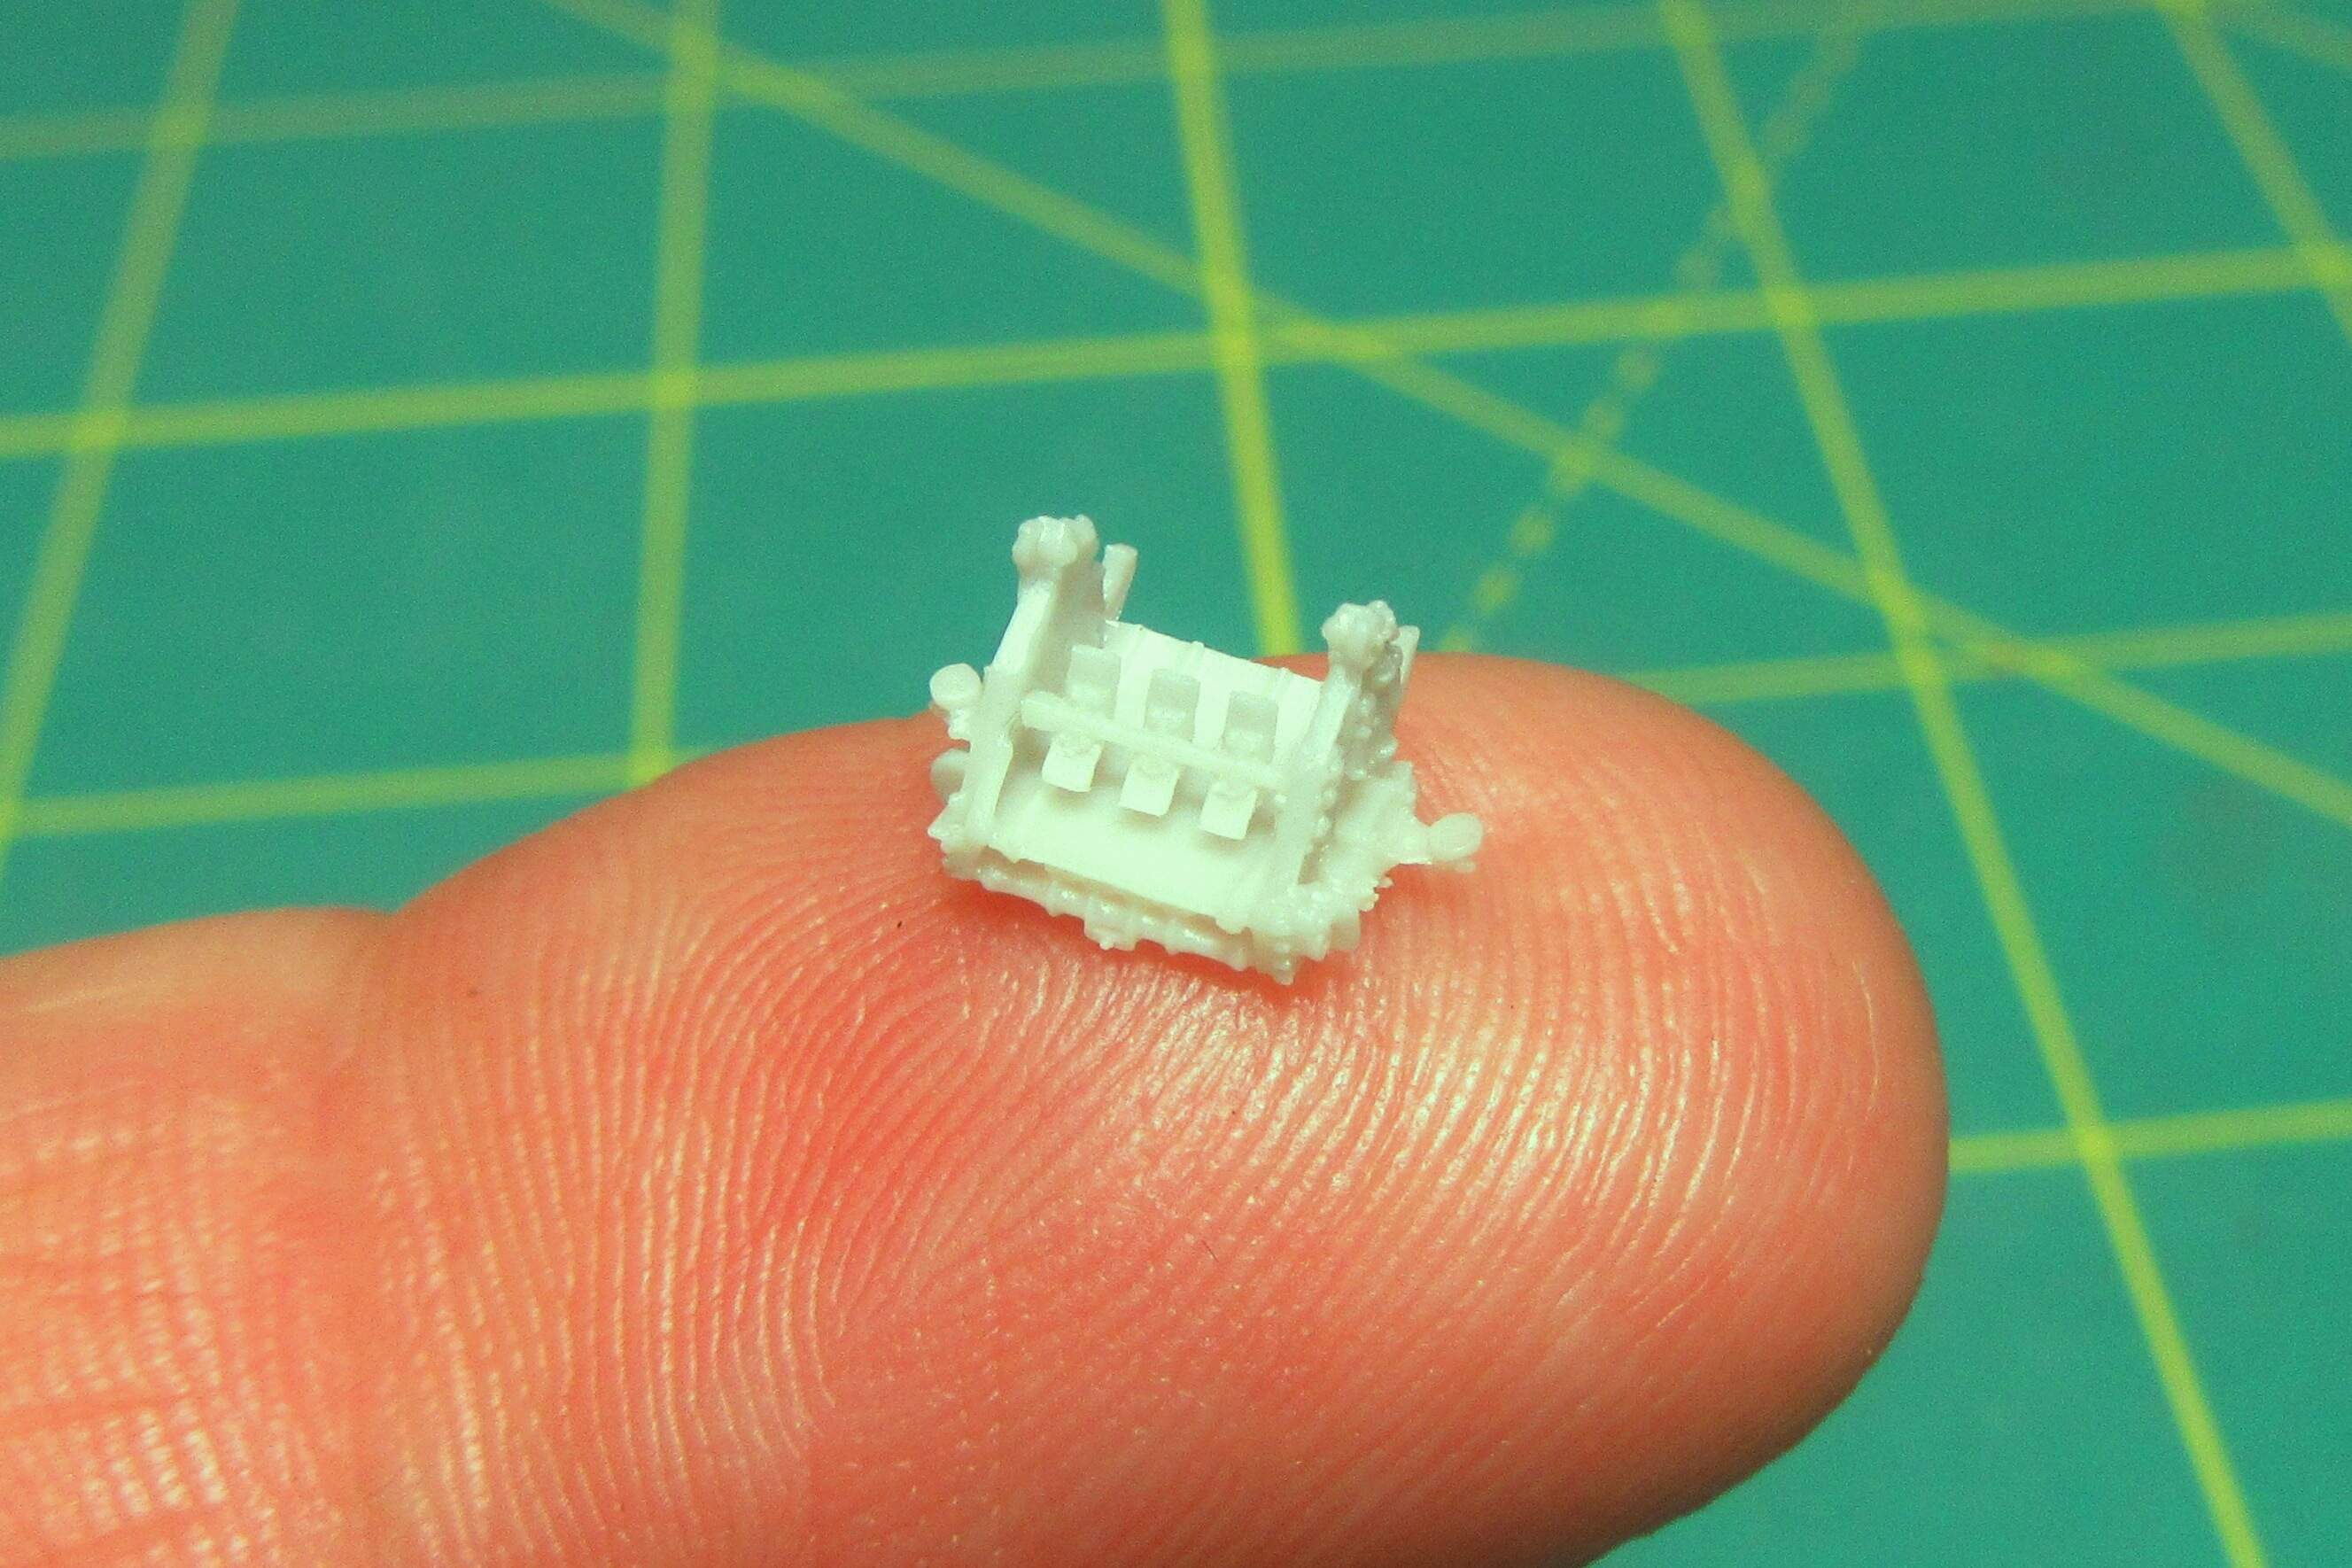
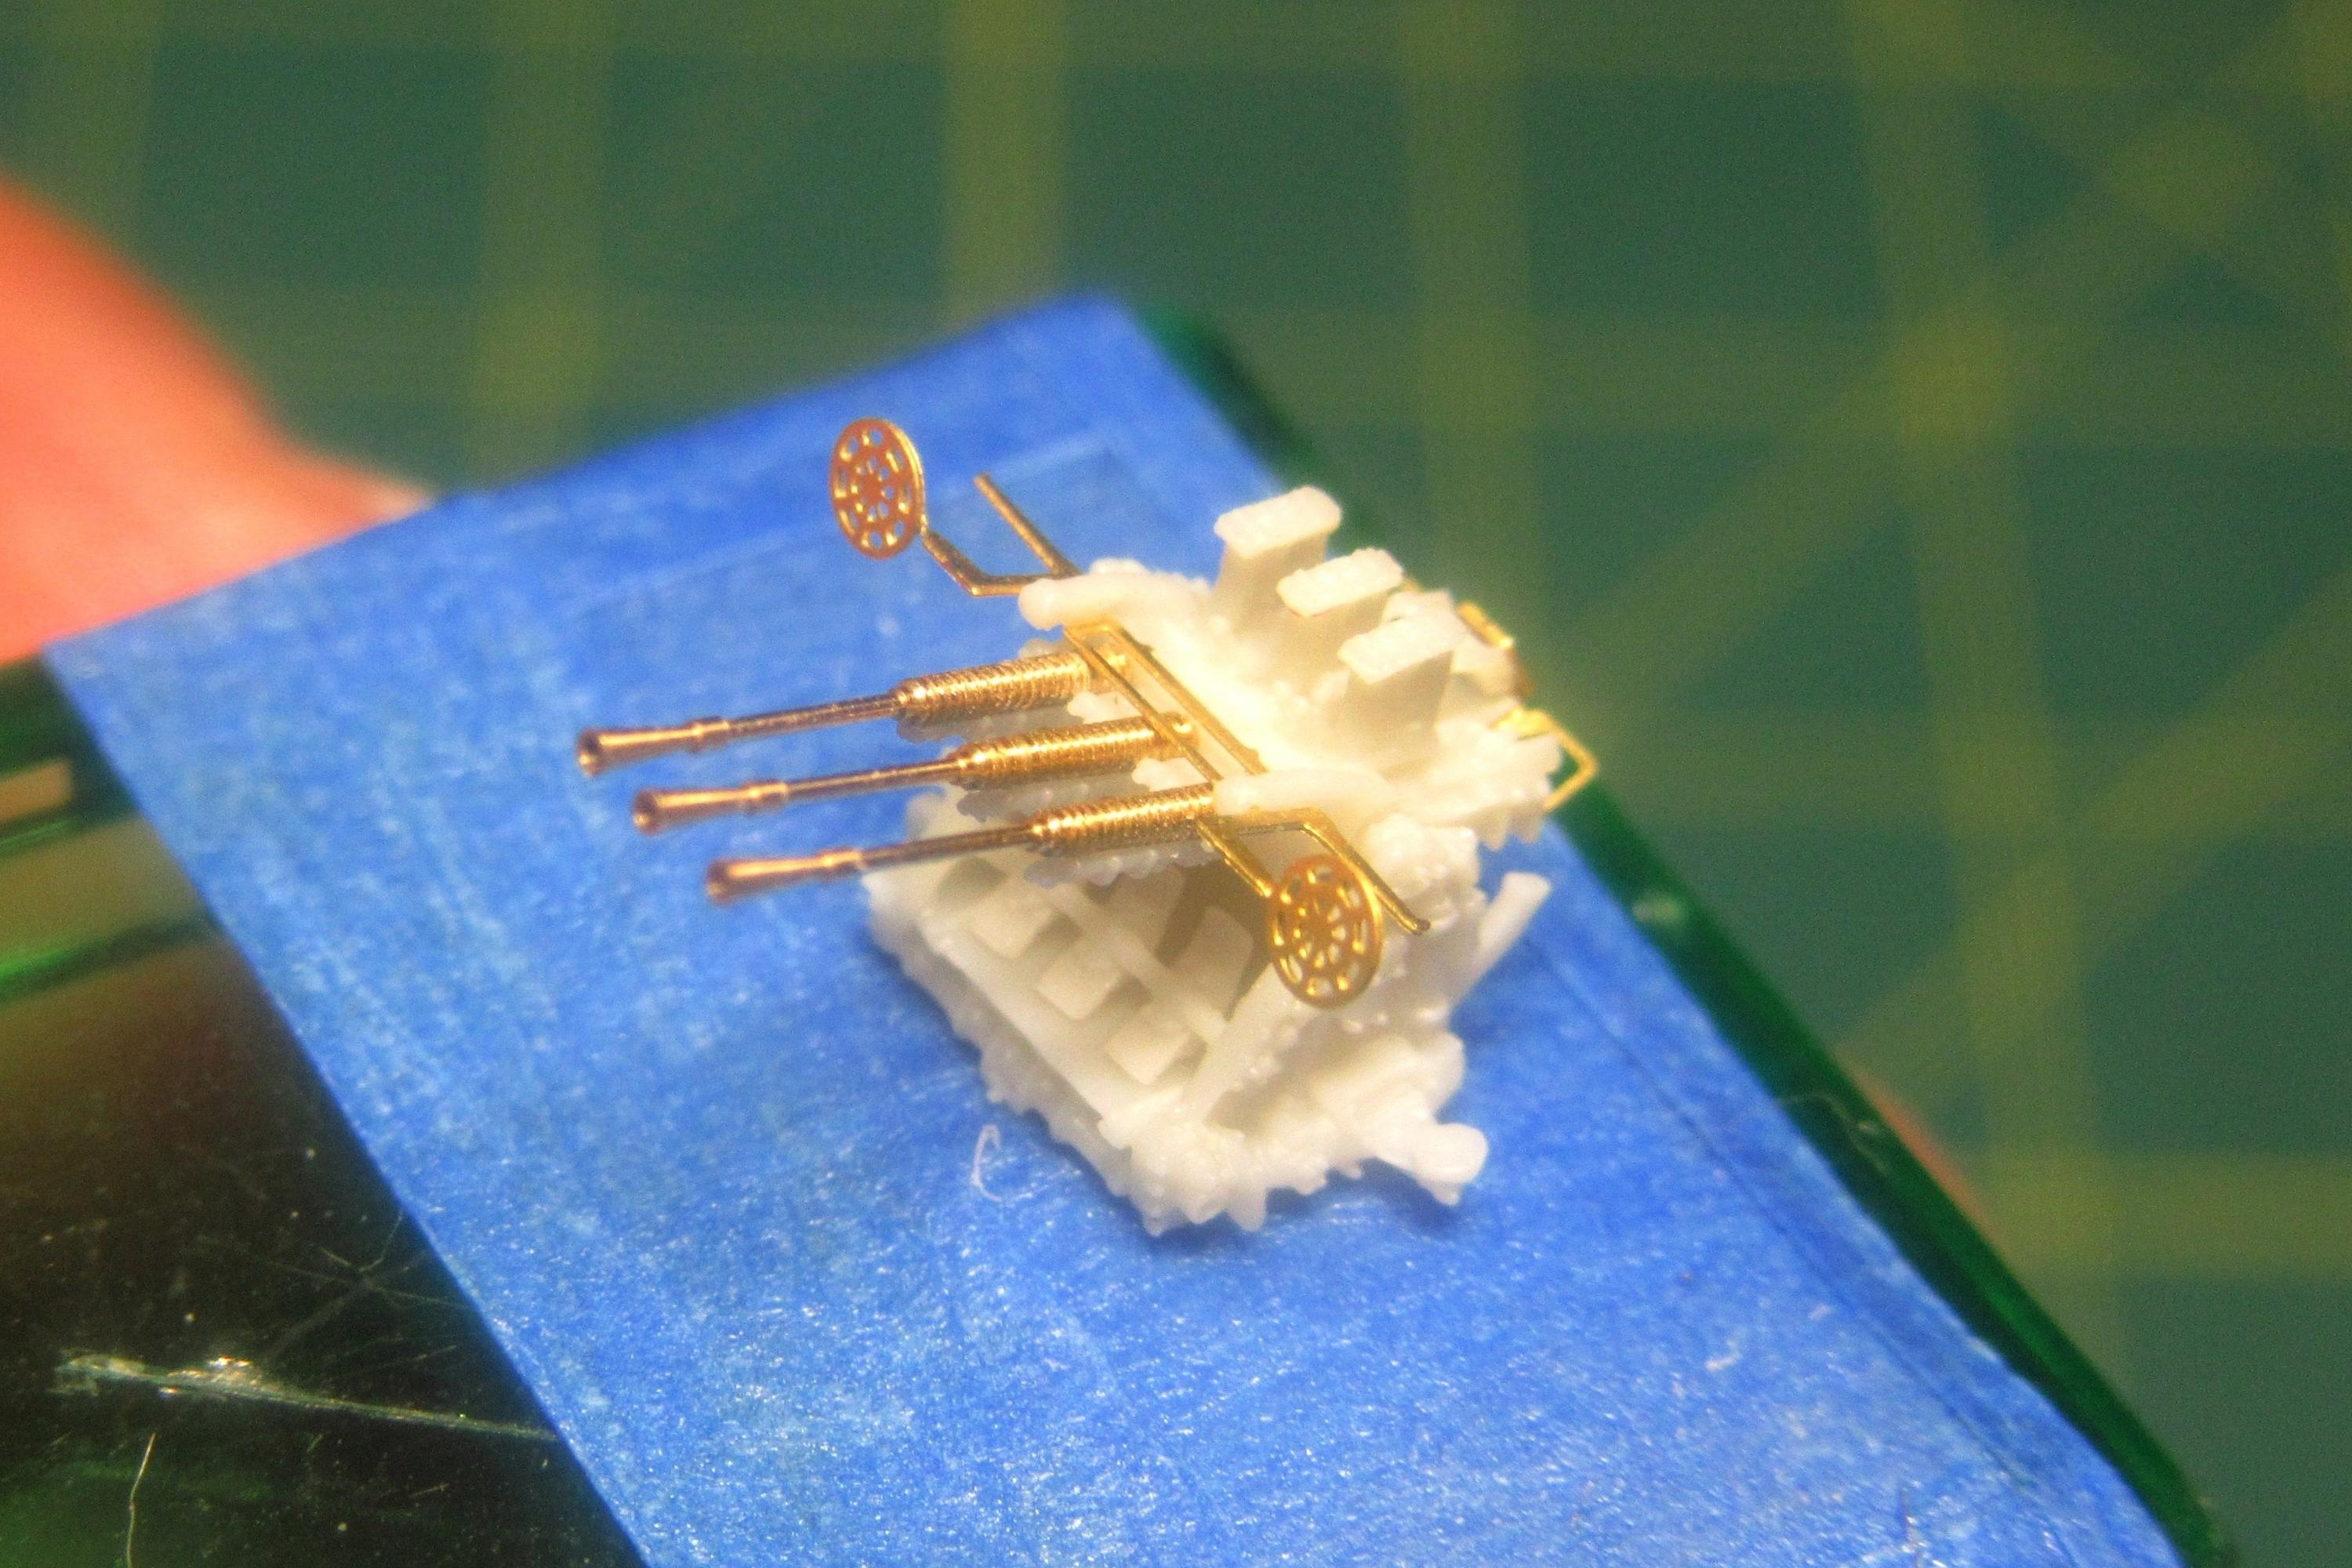
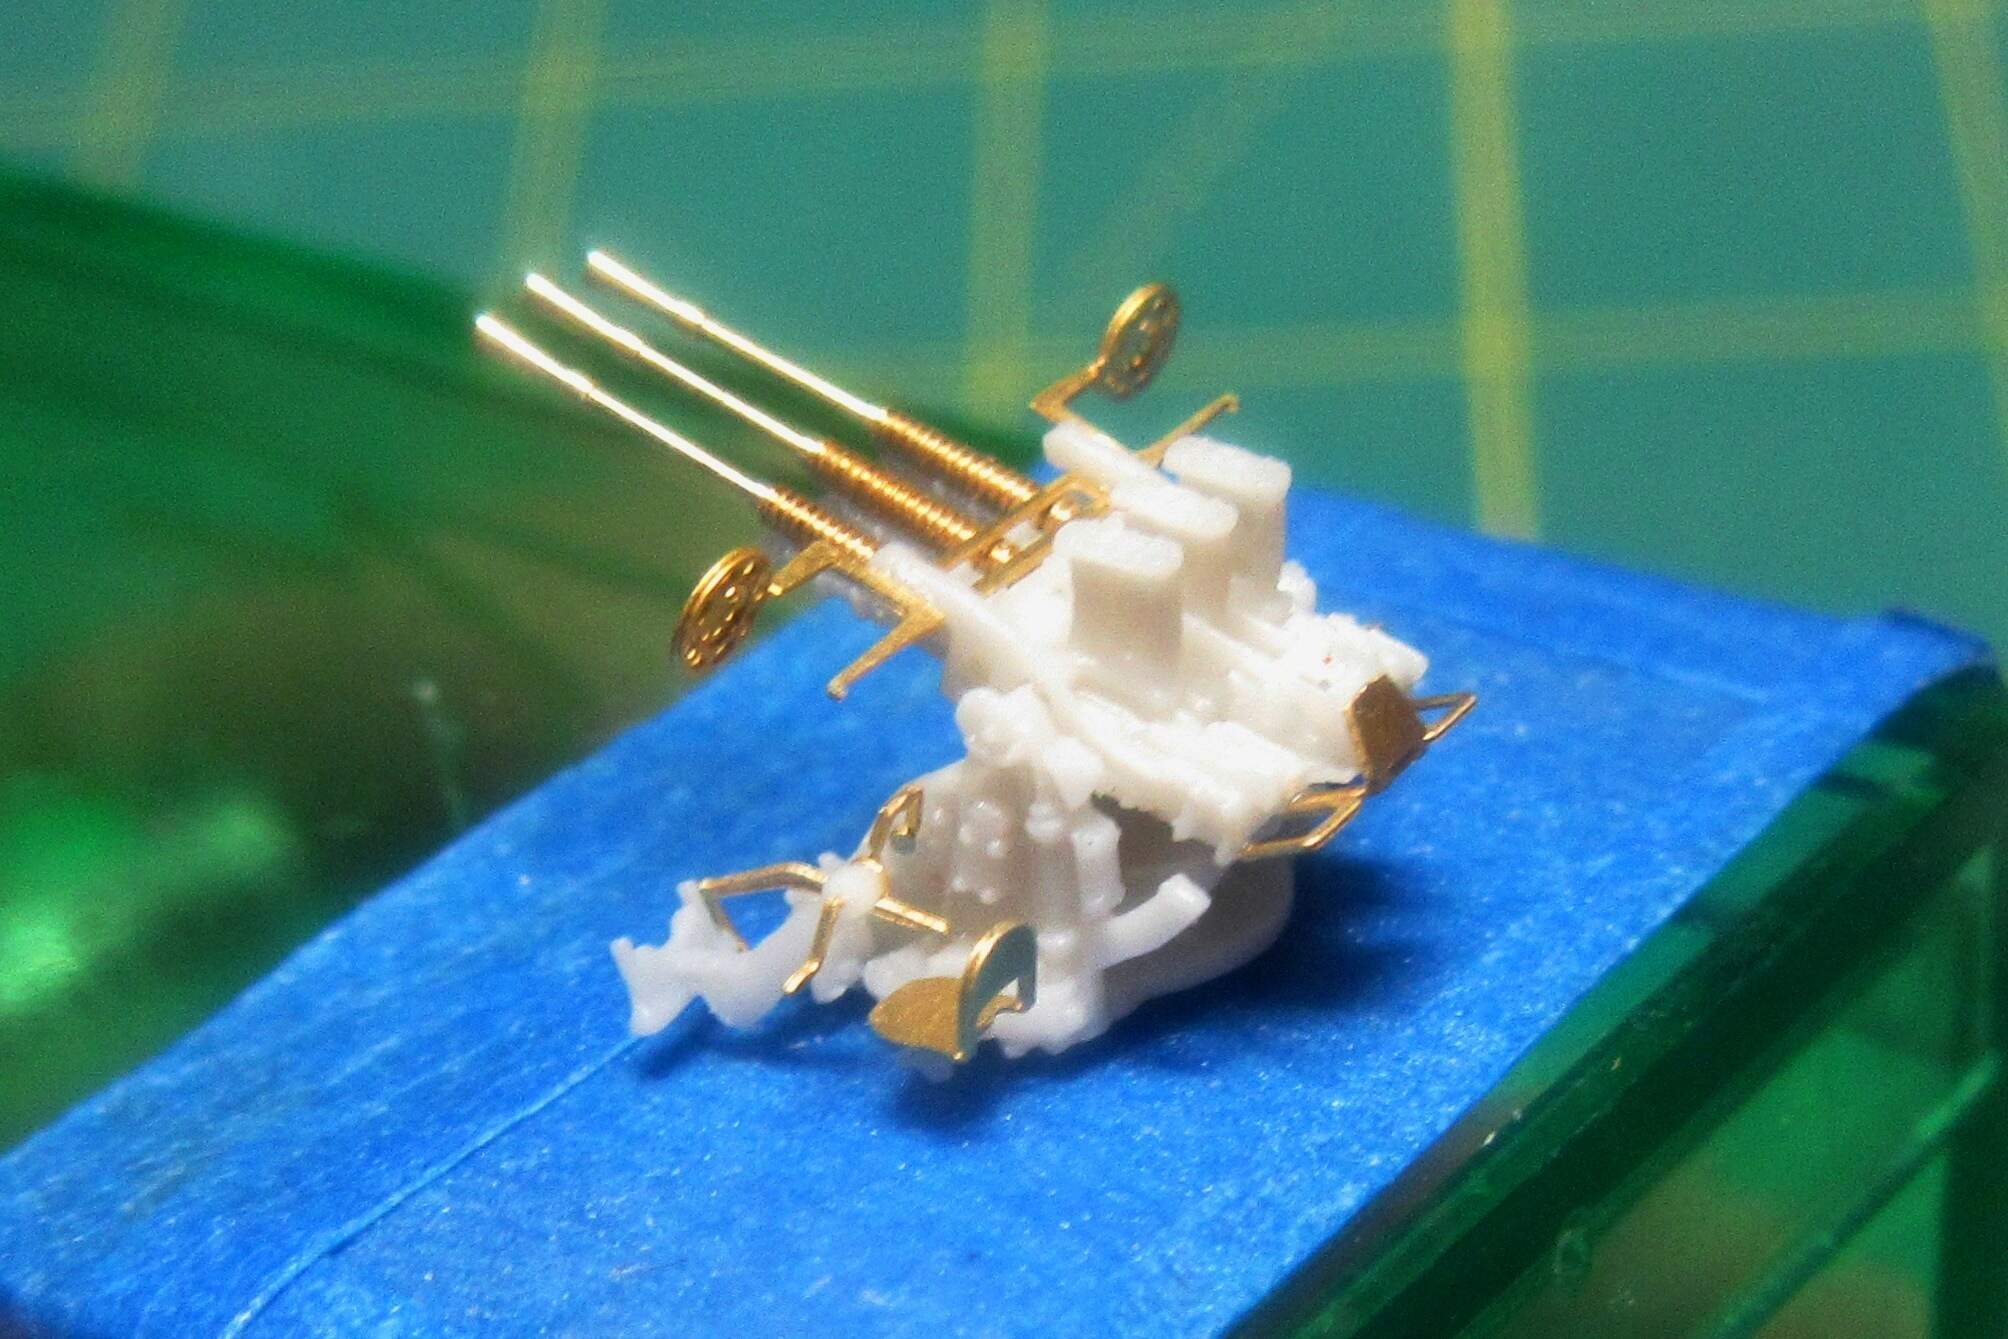
The Veteran Models IJN Type 96 25mm triples come as a set of four units. The perfectly molded parts are a sight to behold!
The sharpness and delicacy with which the resin parts are cast is absolutely amazing.
Truly amazing – I’m anxious to get cracking on these little beauties!
Soon you will be like the surgeon who works with a twin lens microscope during surgery.

LOL! My own twin lens microscope consists of a pair of Dollar-store eyeglasses with the lenses of a second pair taped over them. They work as well as an Optivisor and and are even more stylish.


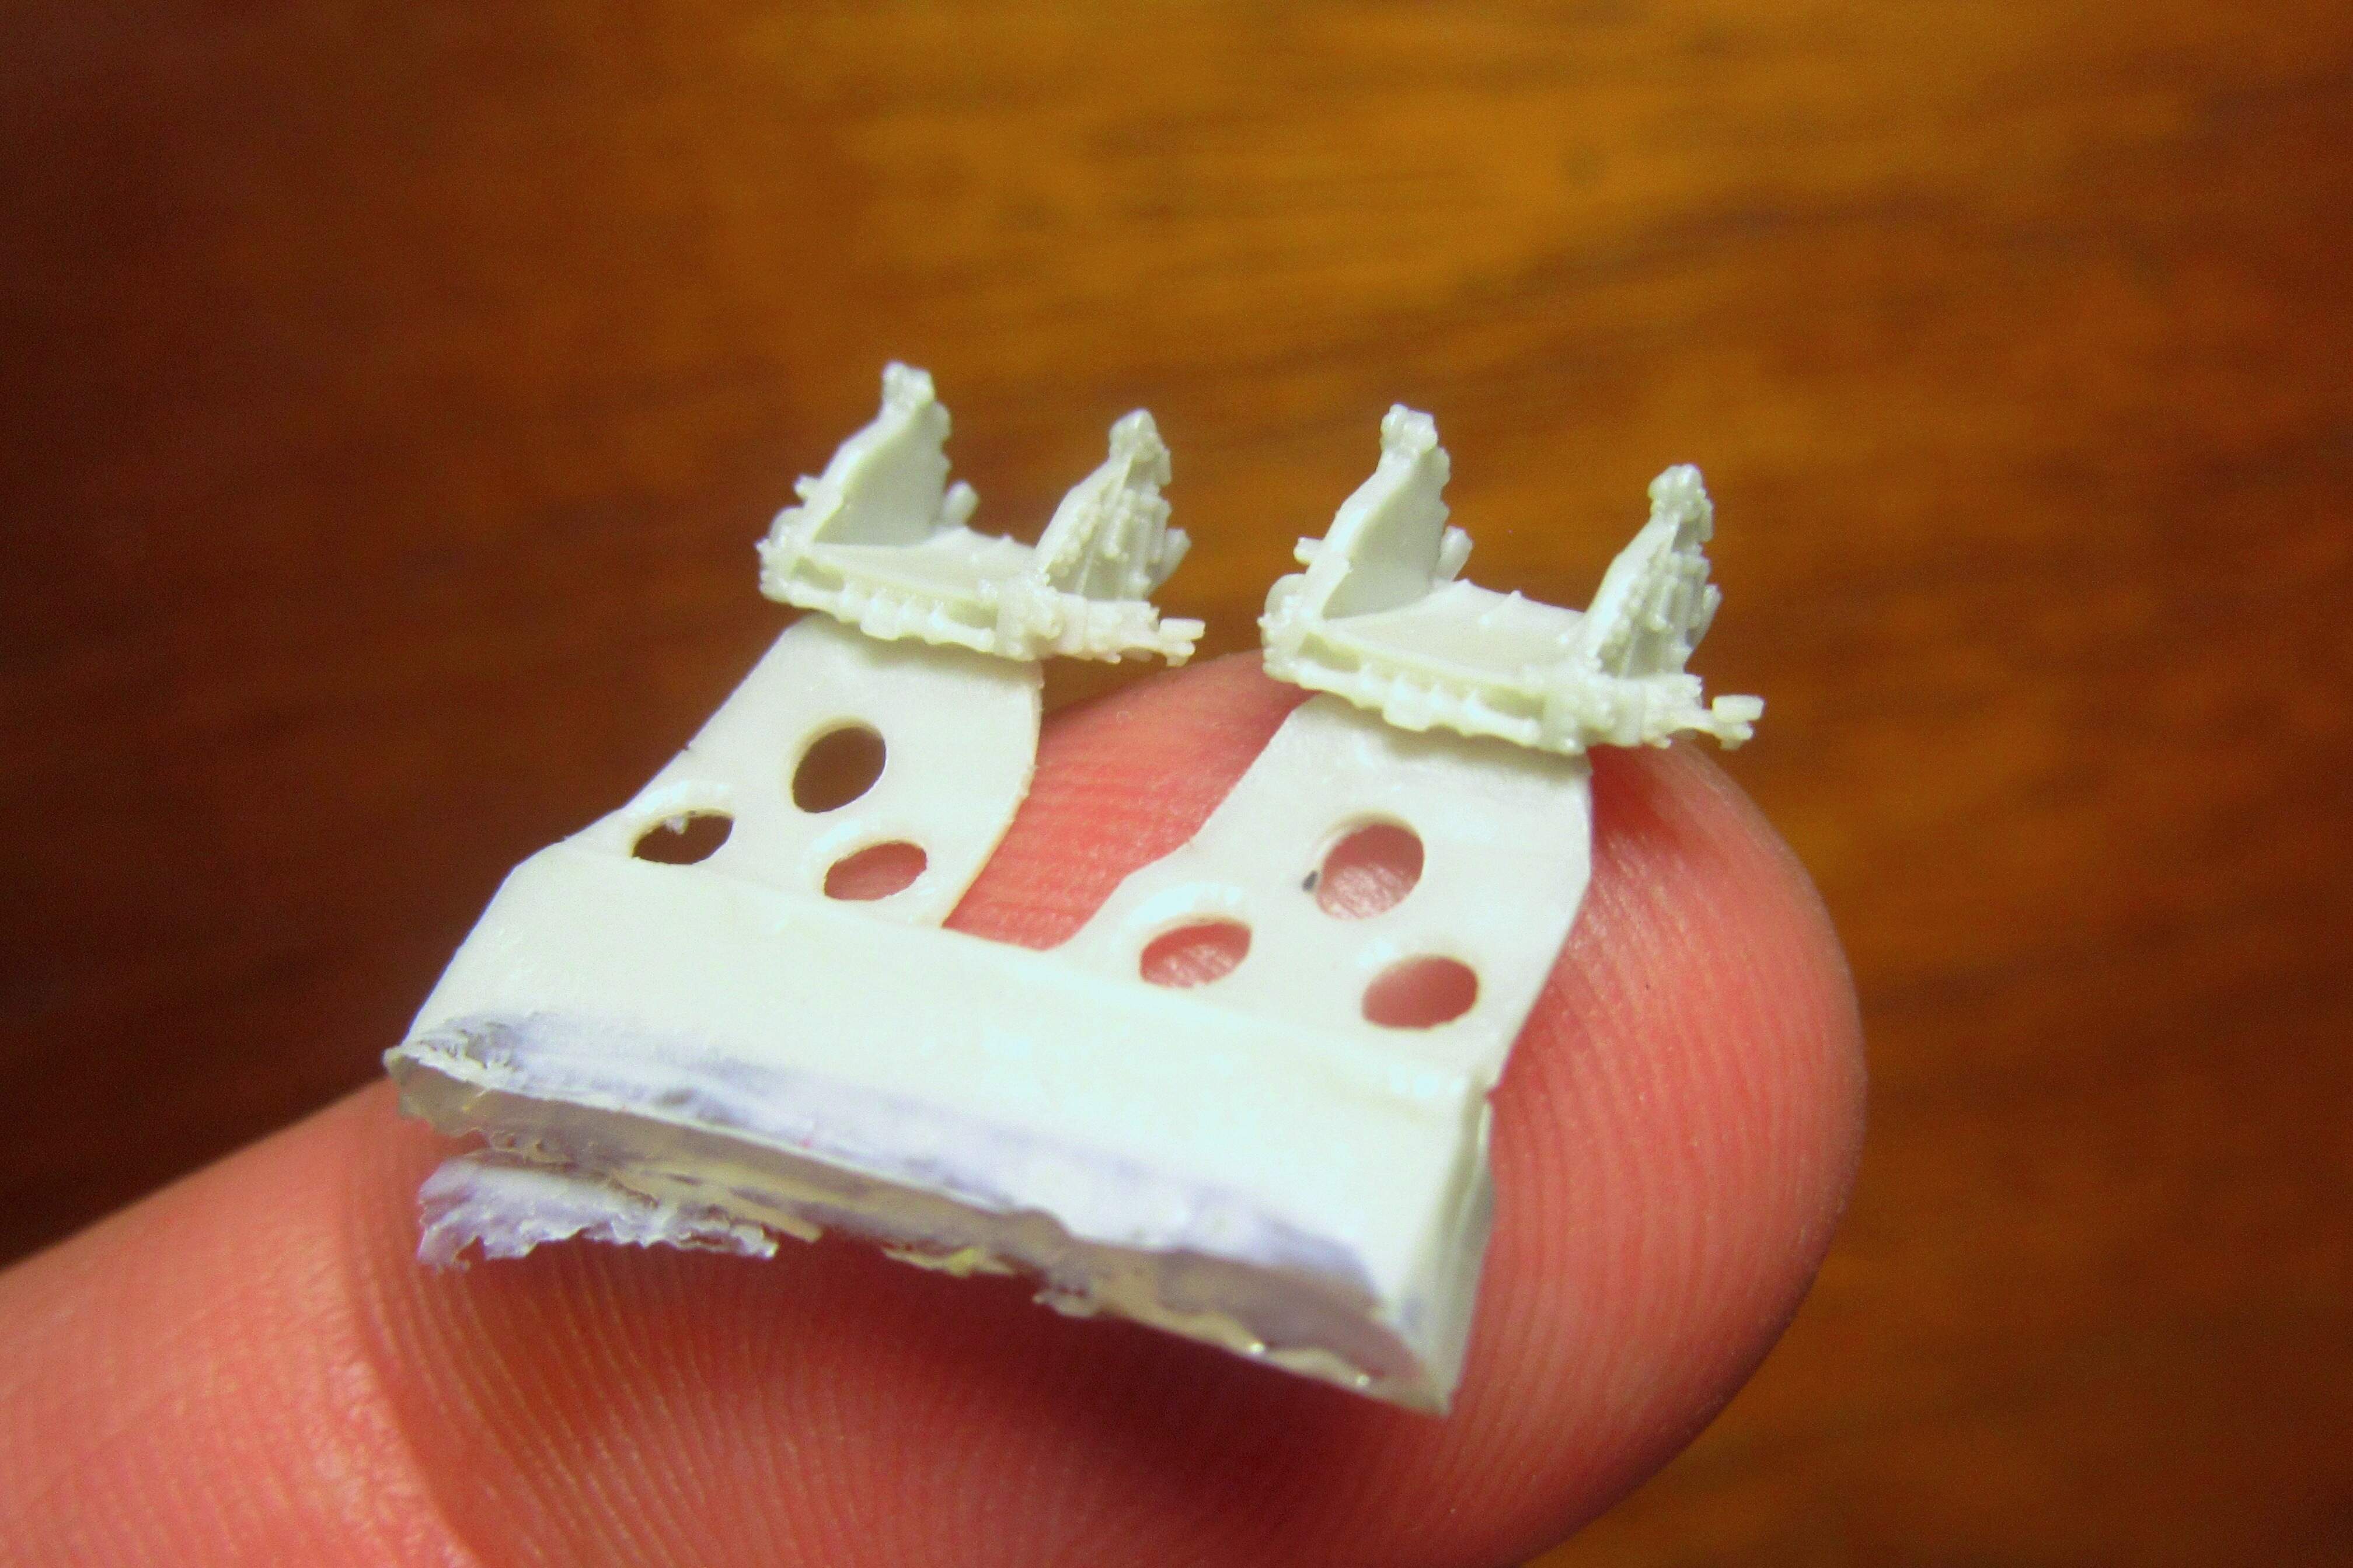
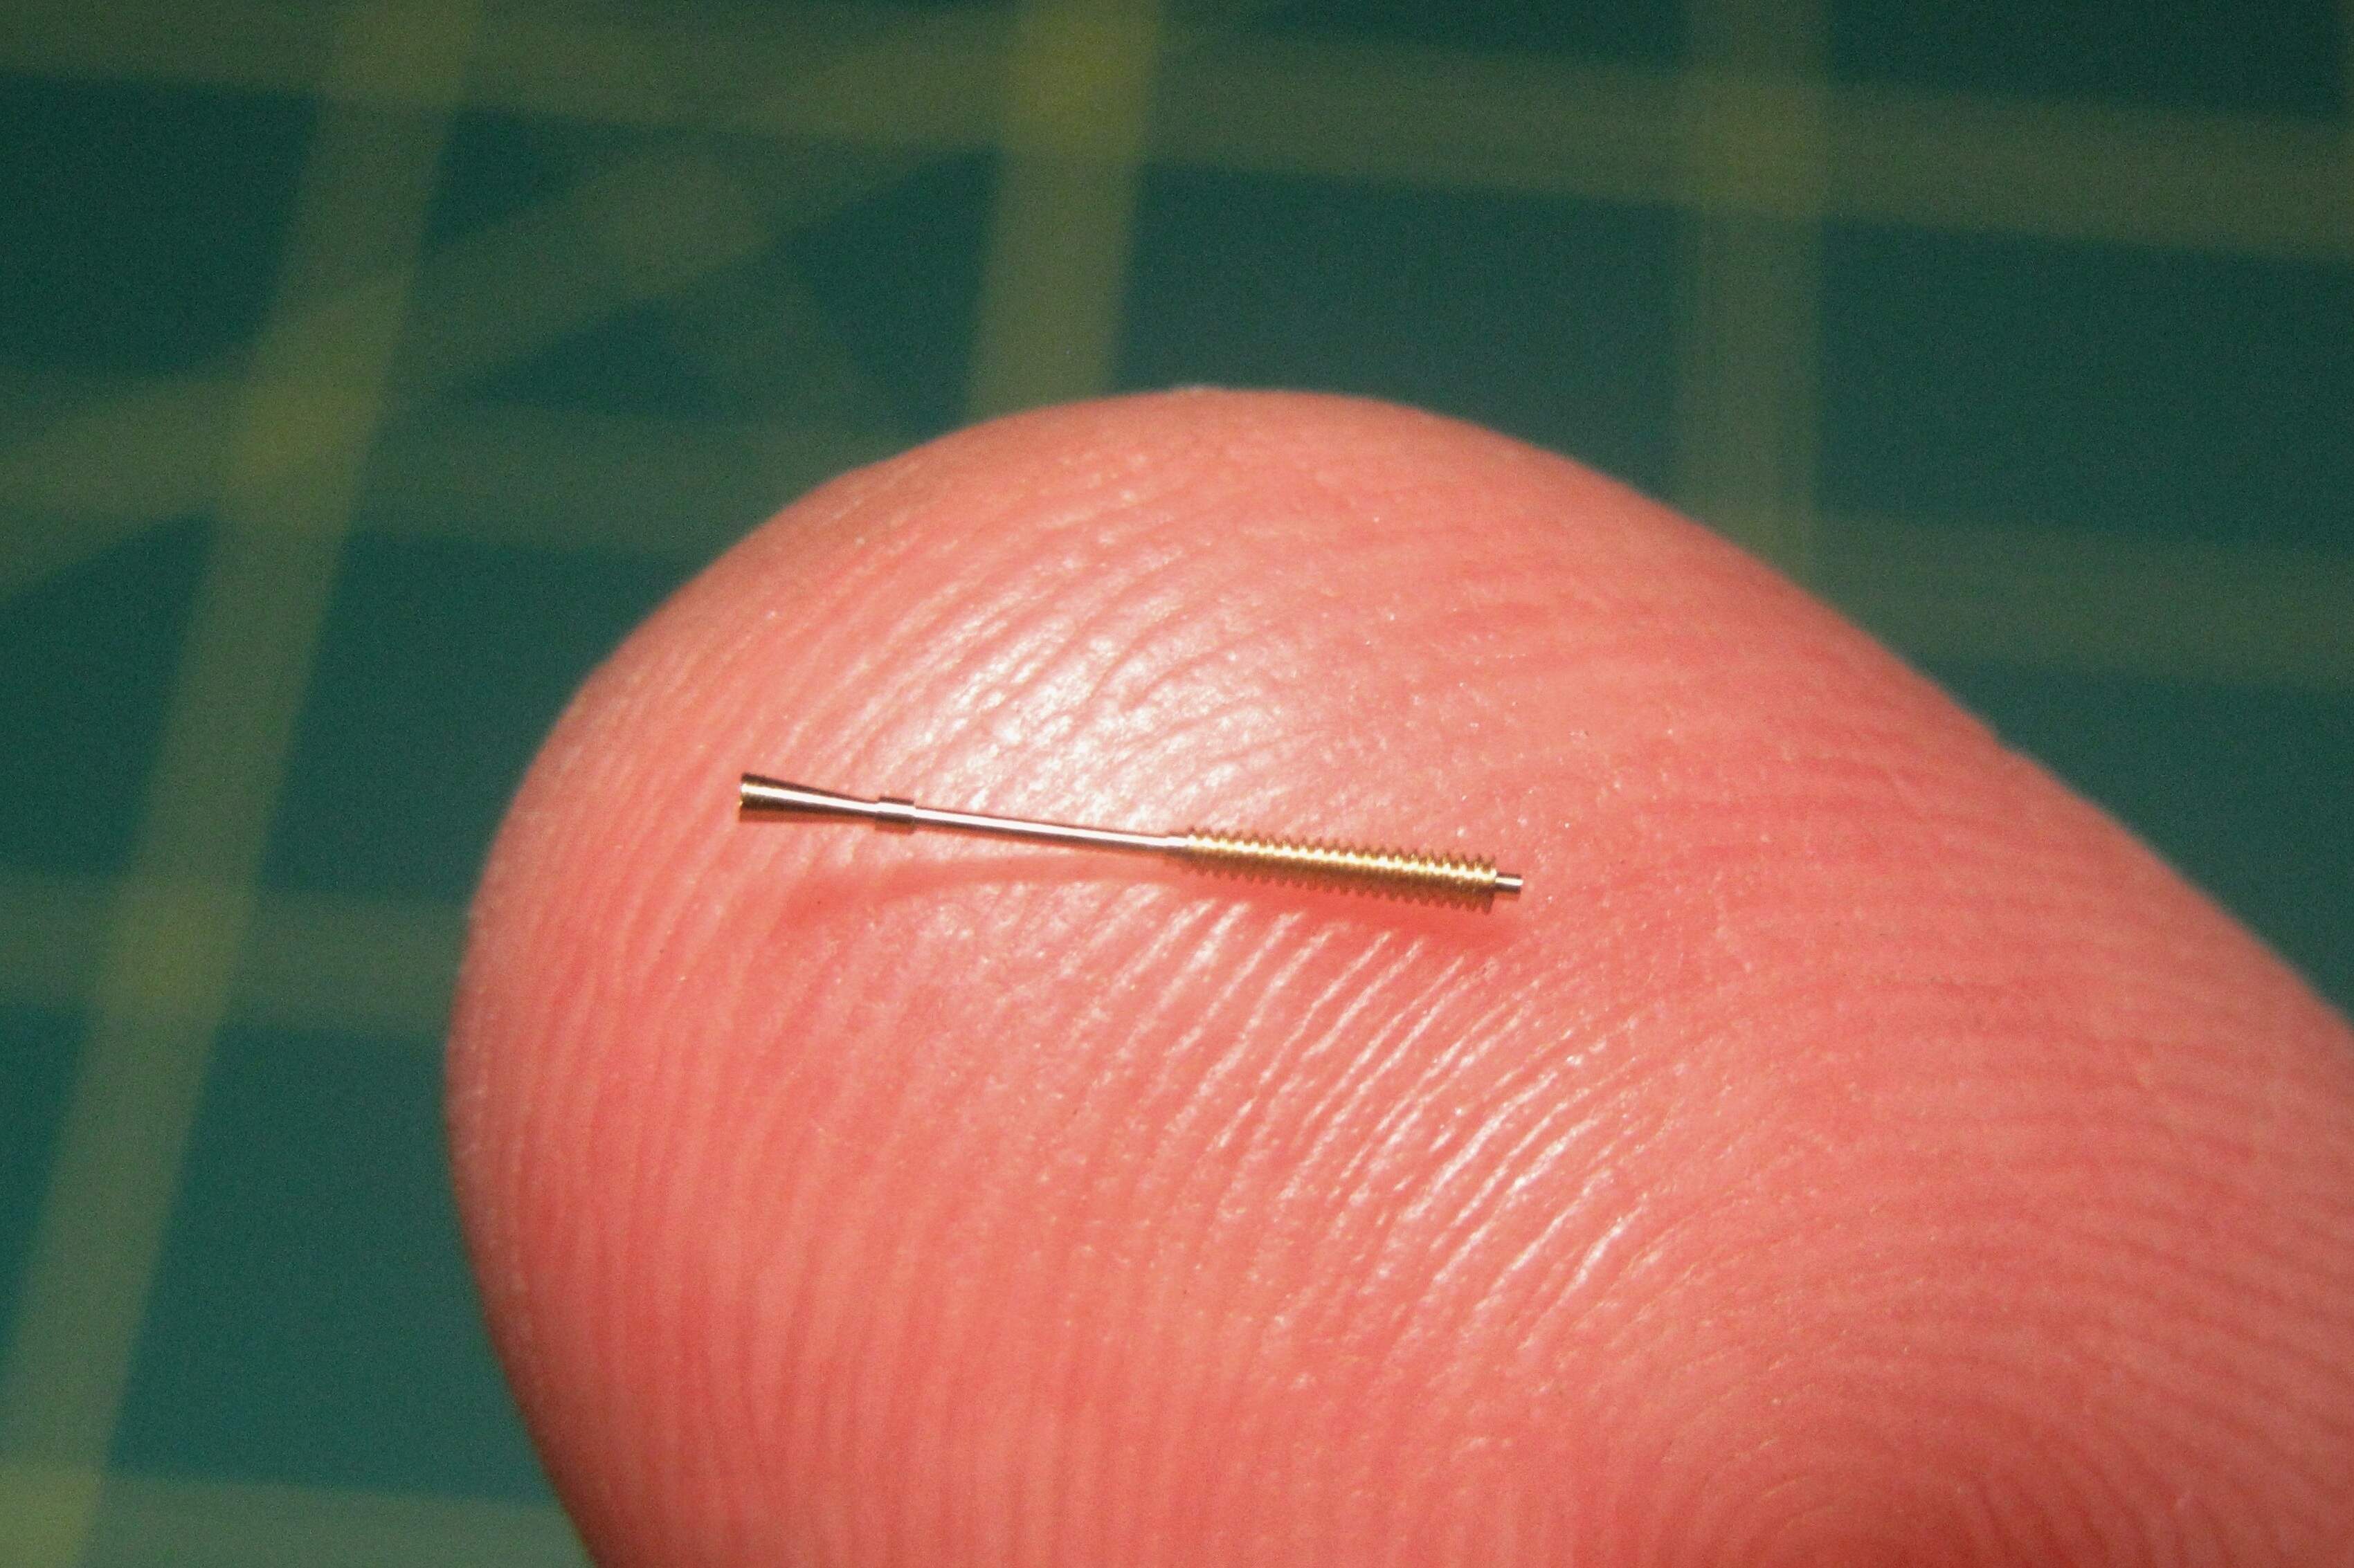
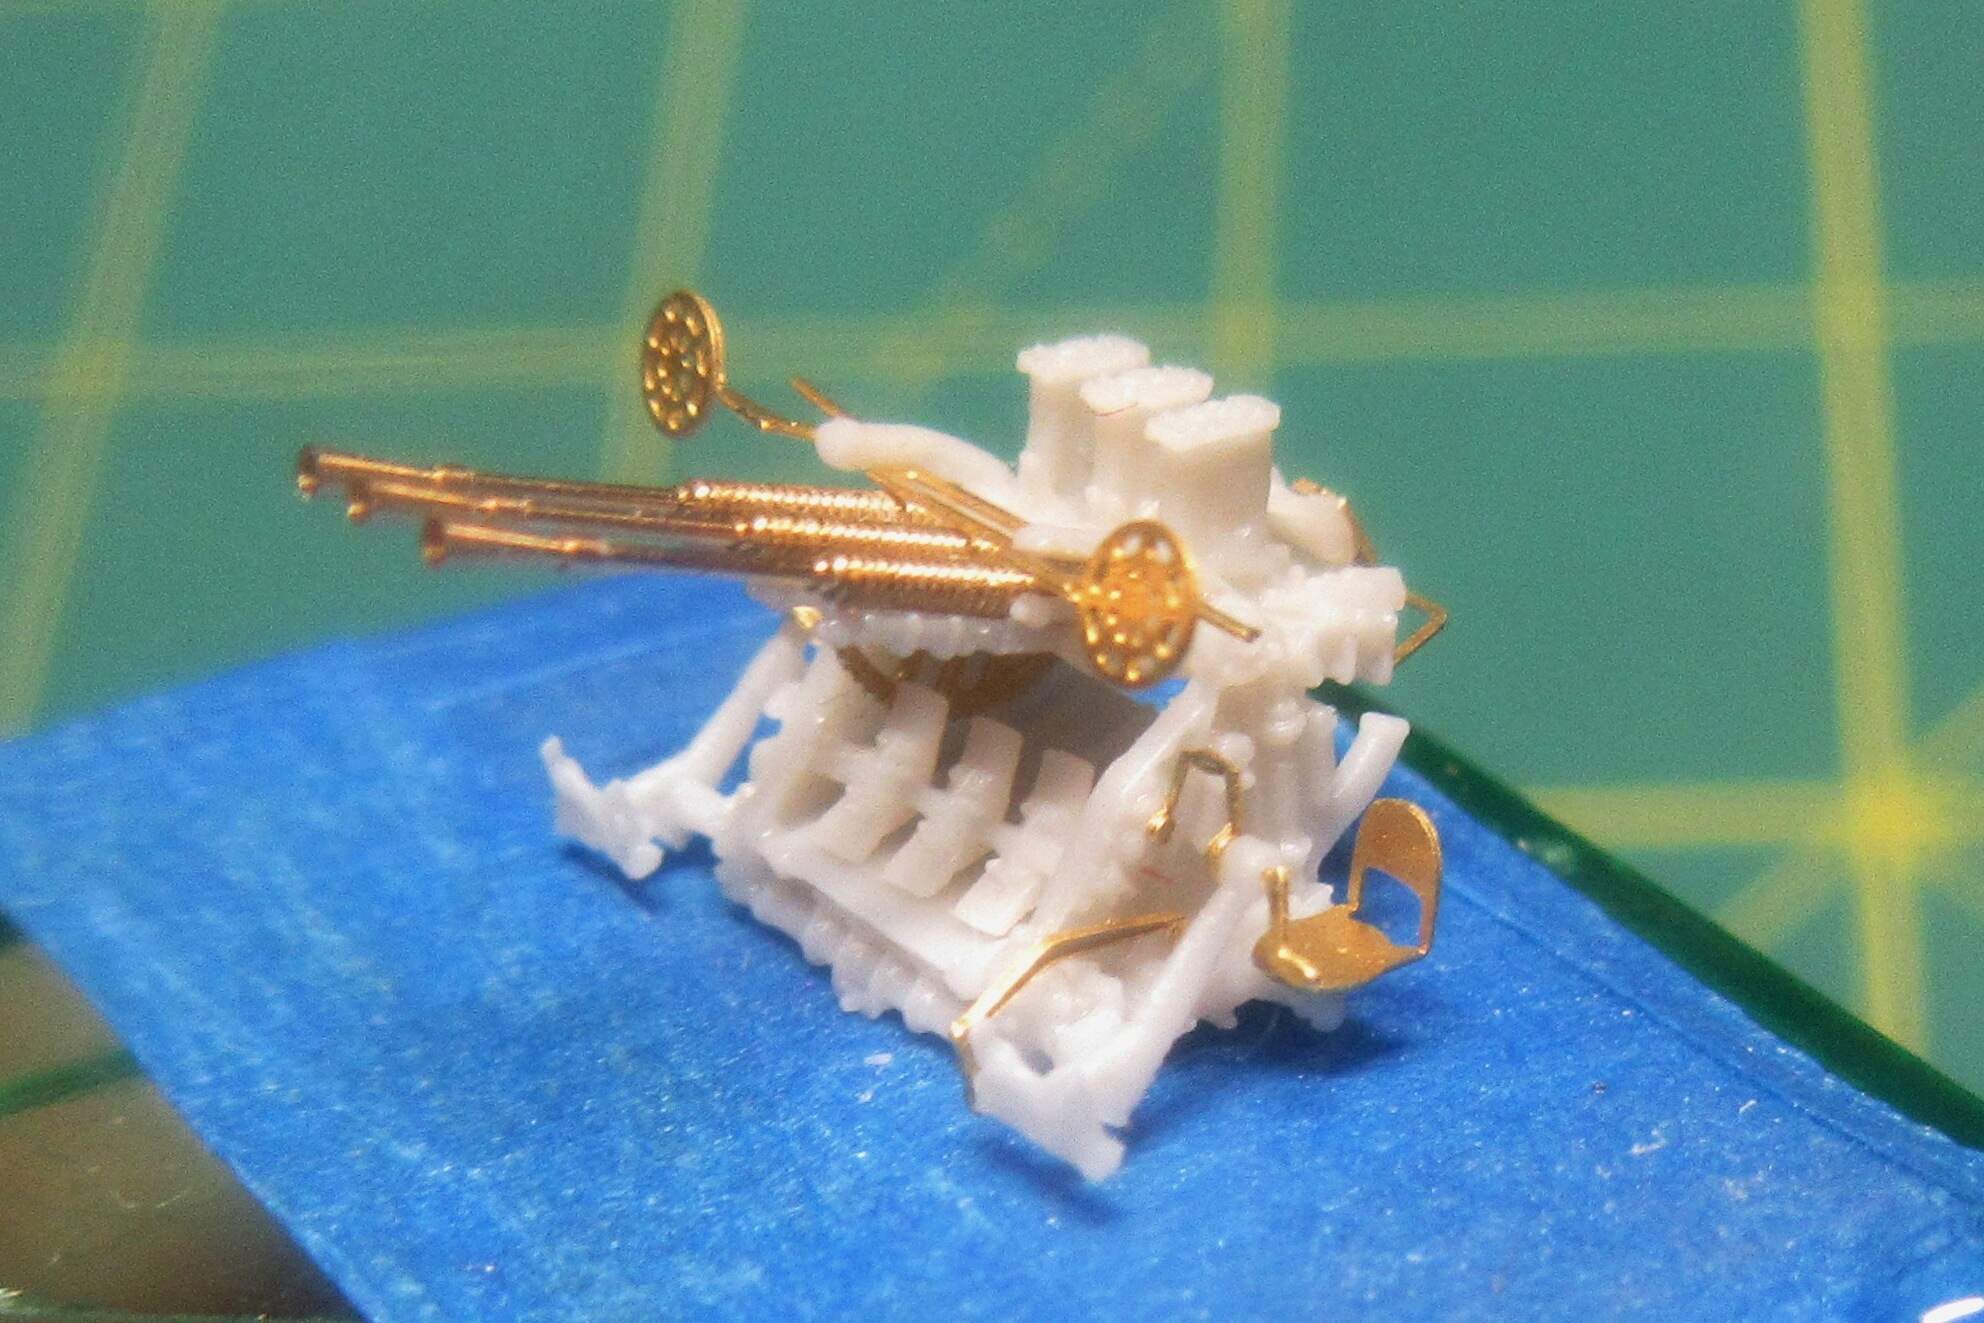
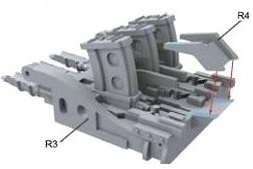
Though complex looking, this structure consists of only two resin parts. Fit is close to perfect, but gluing the micro-parts has to be done with the utmost care. After setting them in place, I use a piece of fine wire as an applicator. Dipped into a drop of cyanoacrylate (super glue), the wire can apply the glue in precise dabs to fix the joins. Not much glue gets on the parts, but the bonds are just strong enough to hold the tiny pieces together.
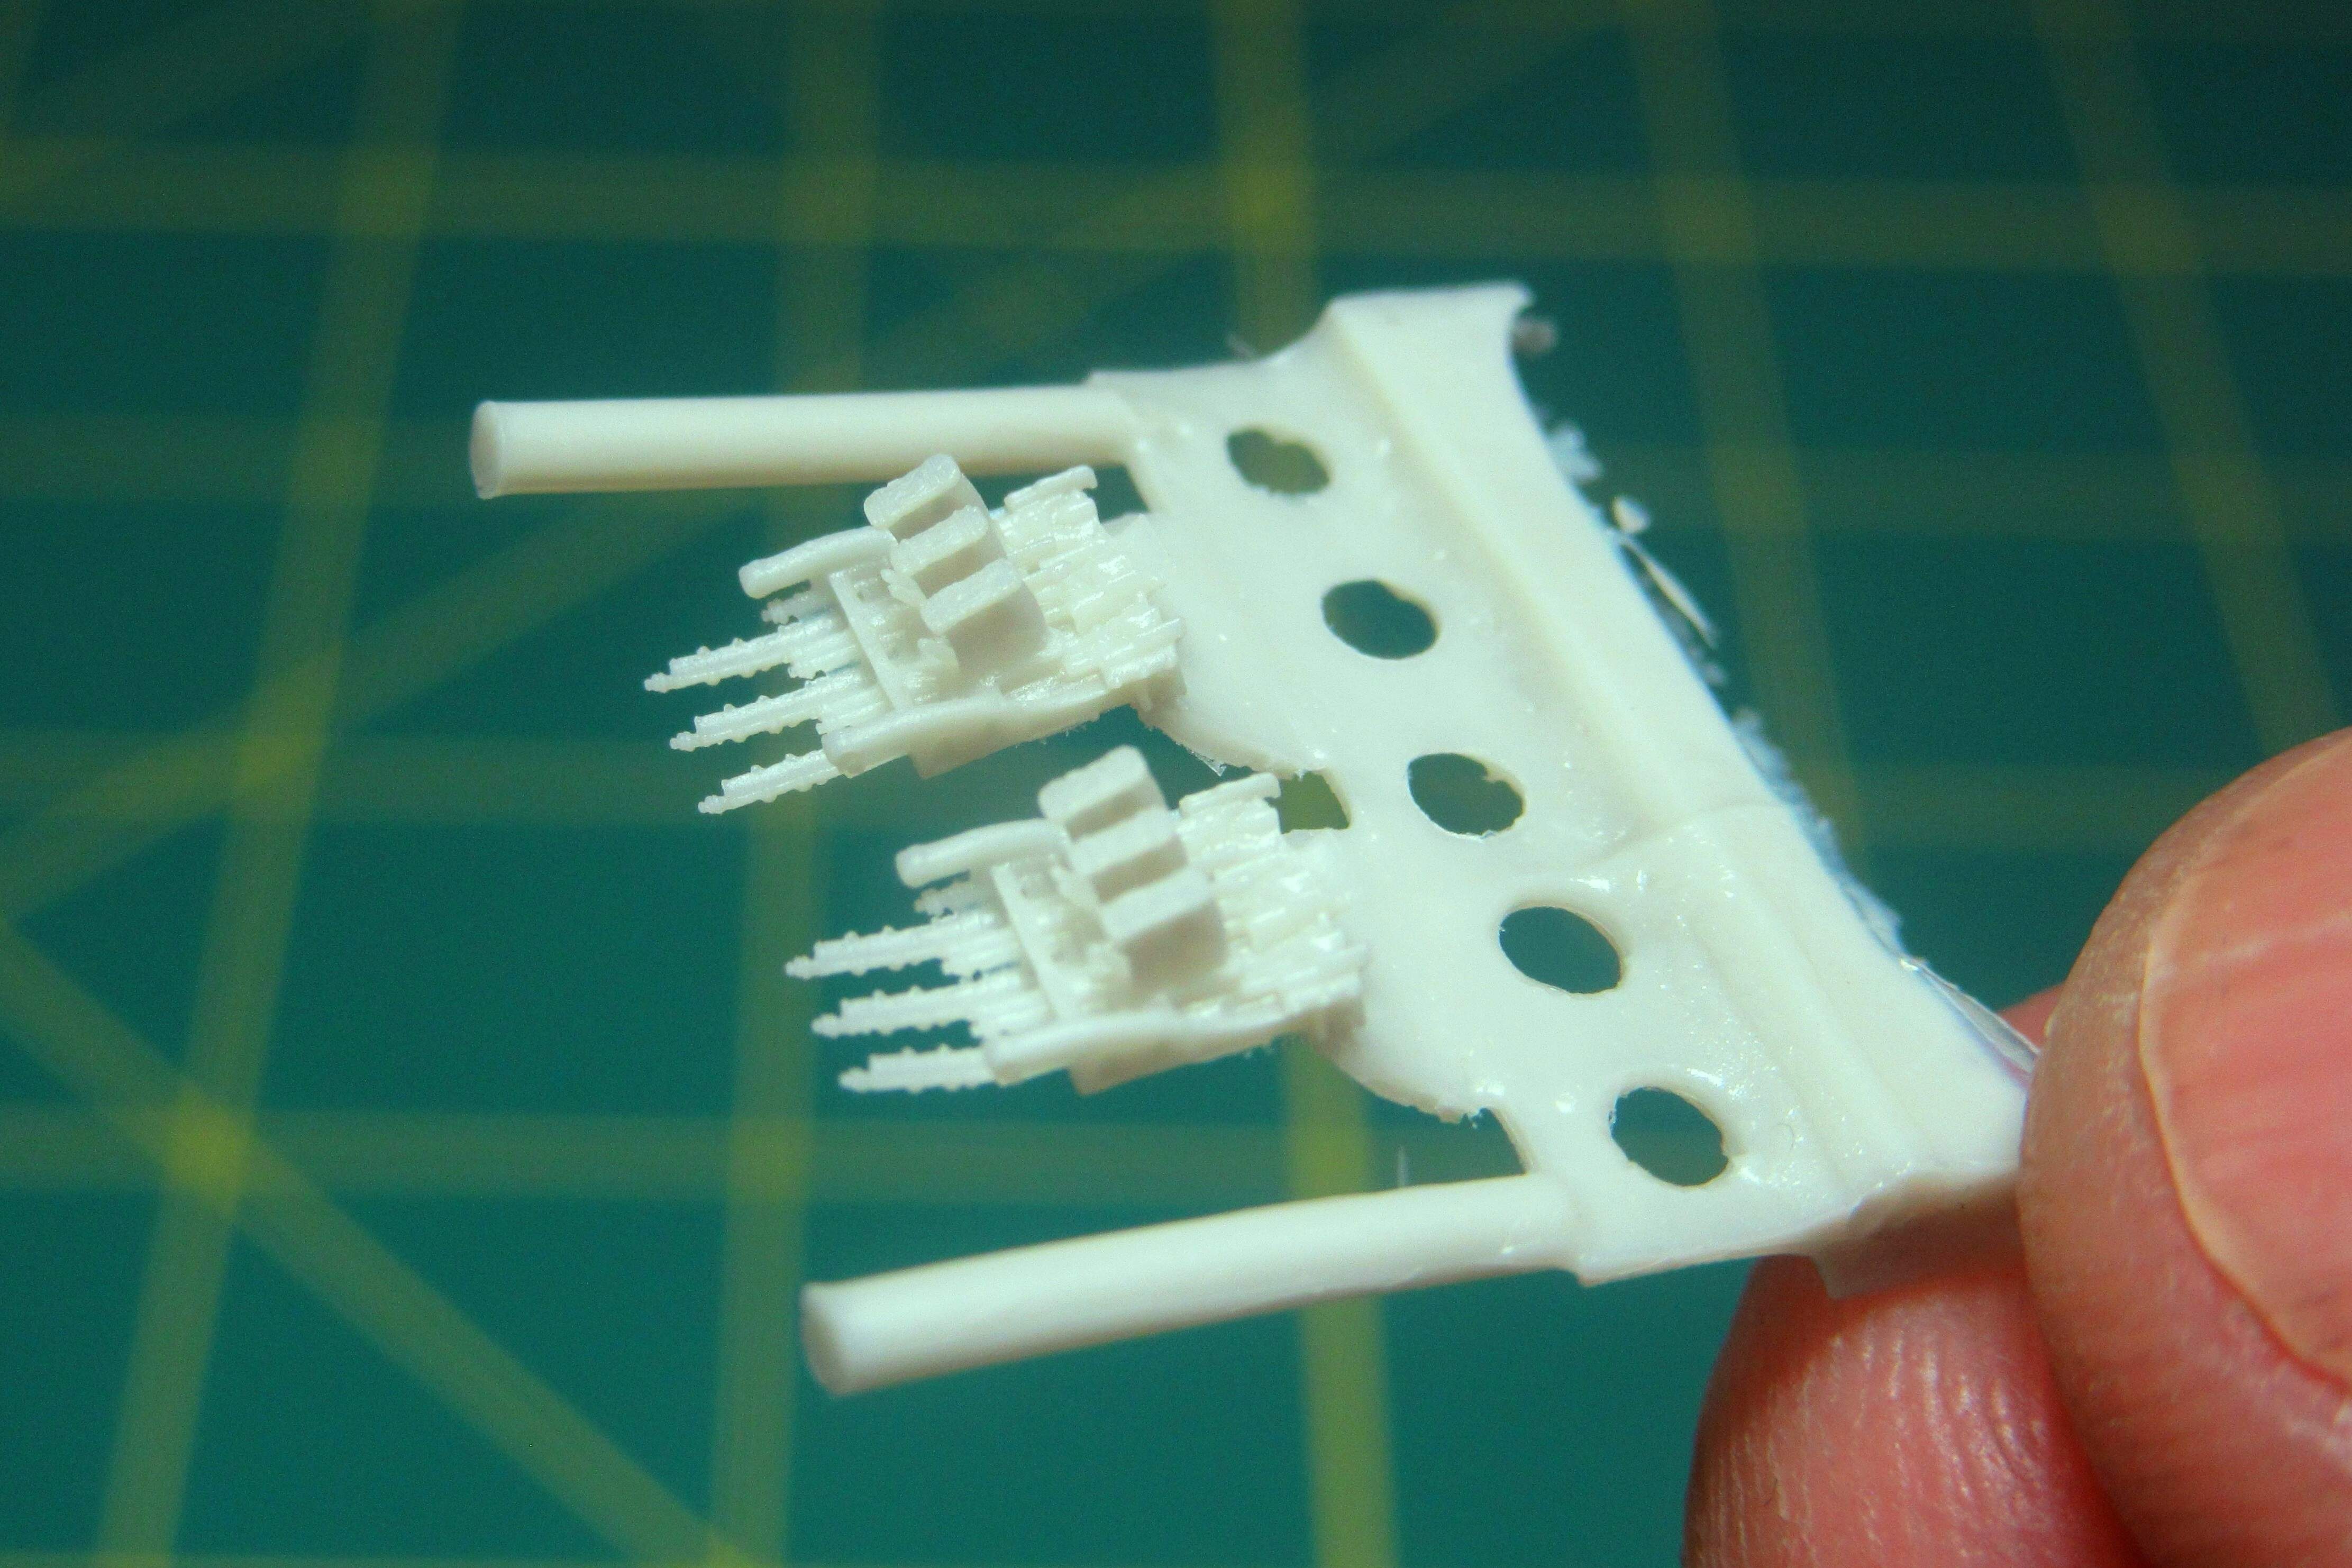
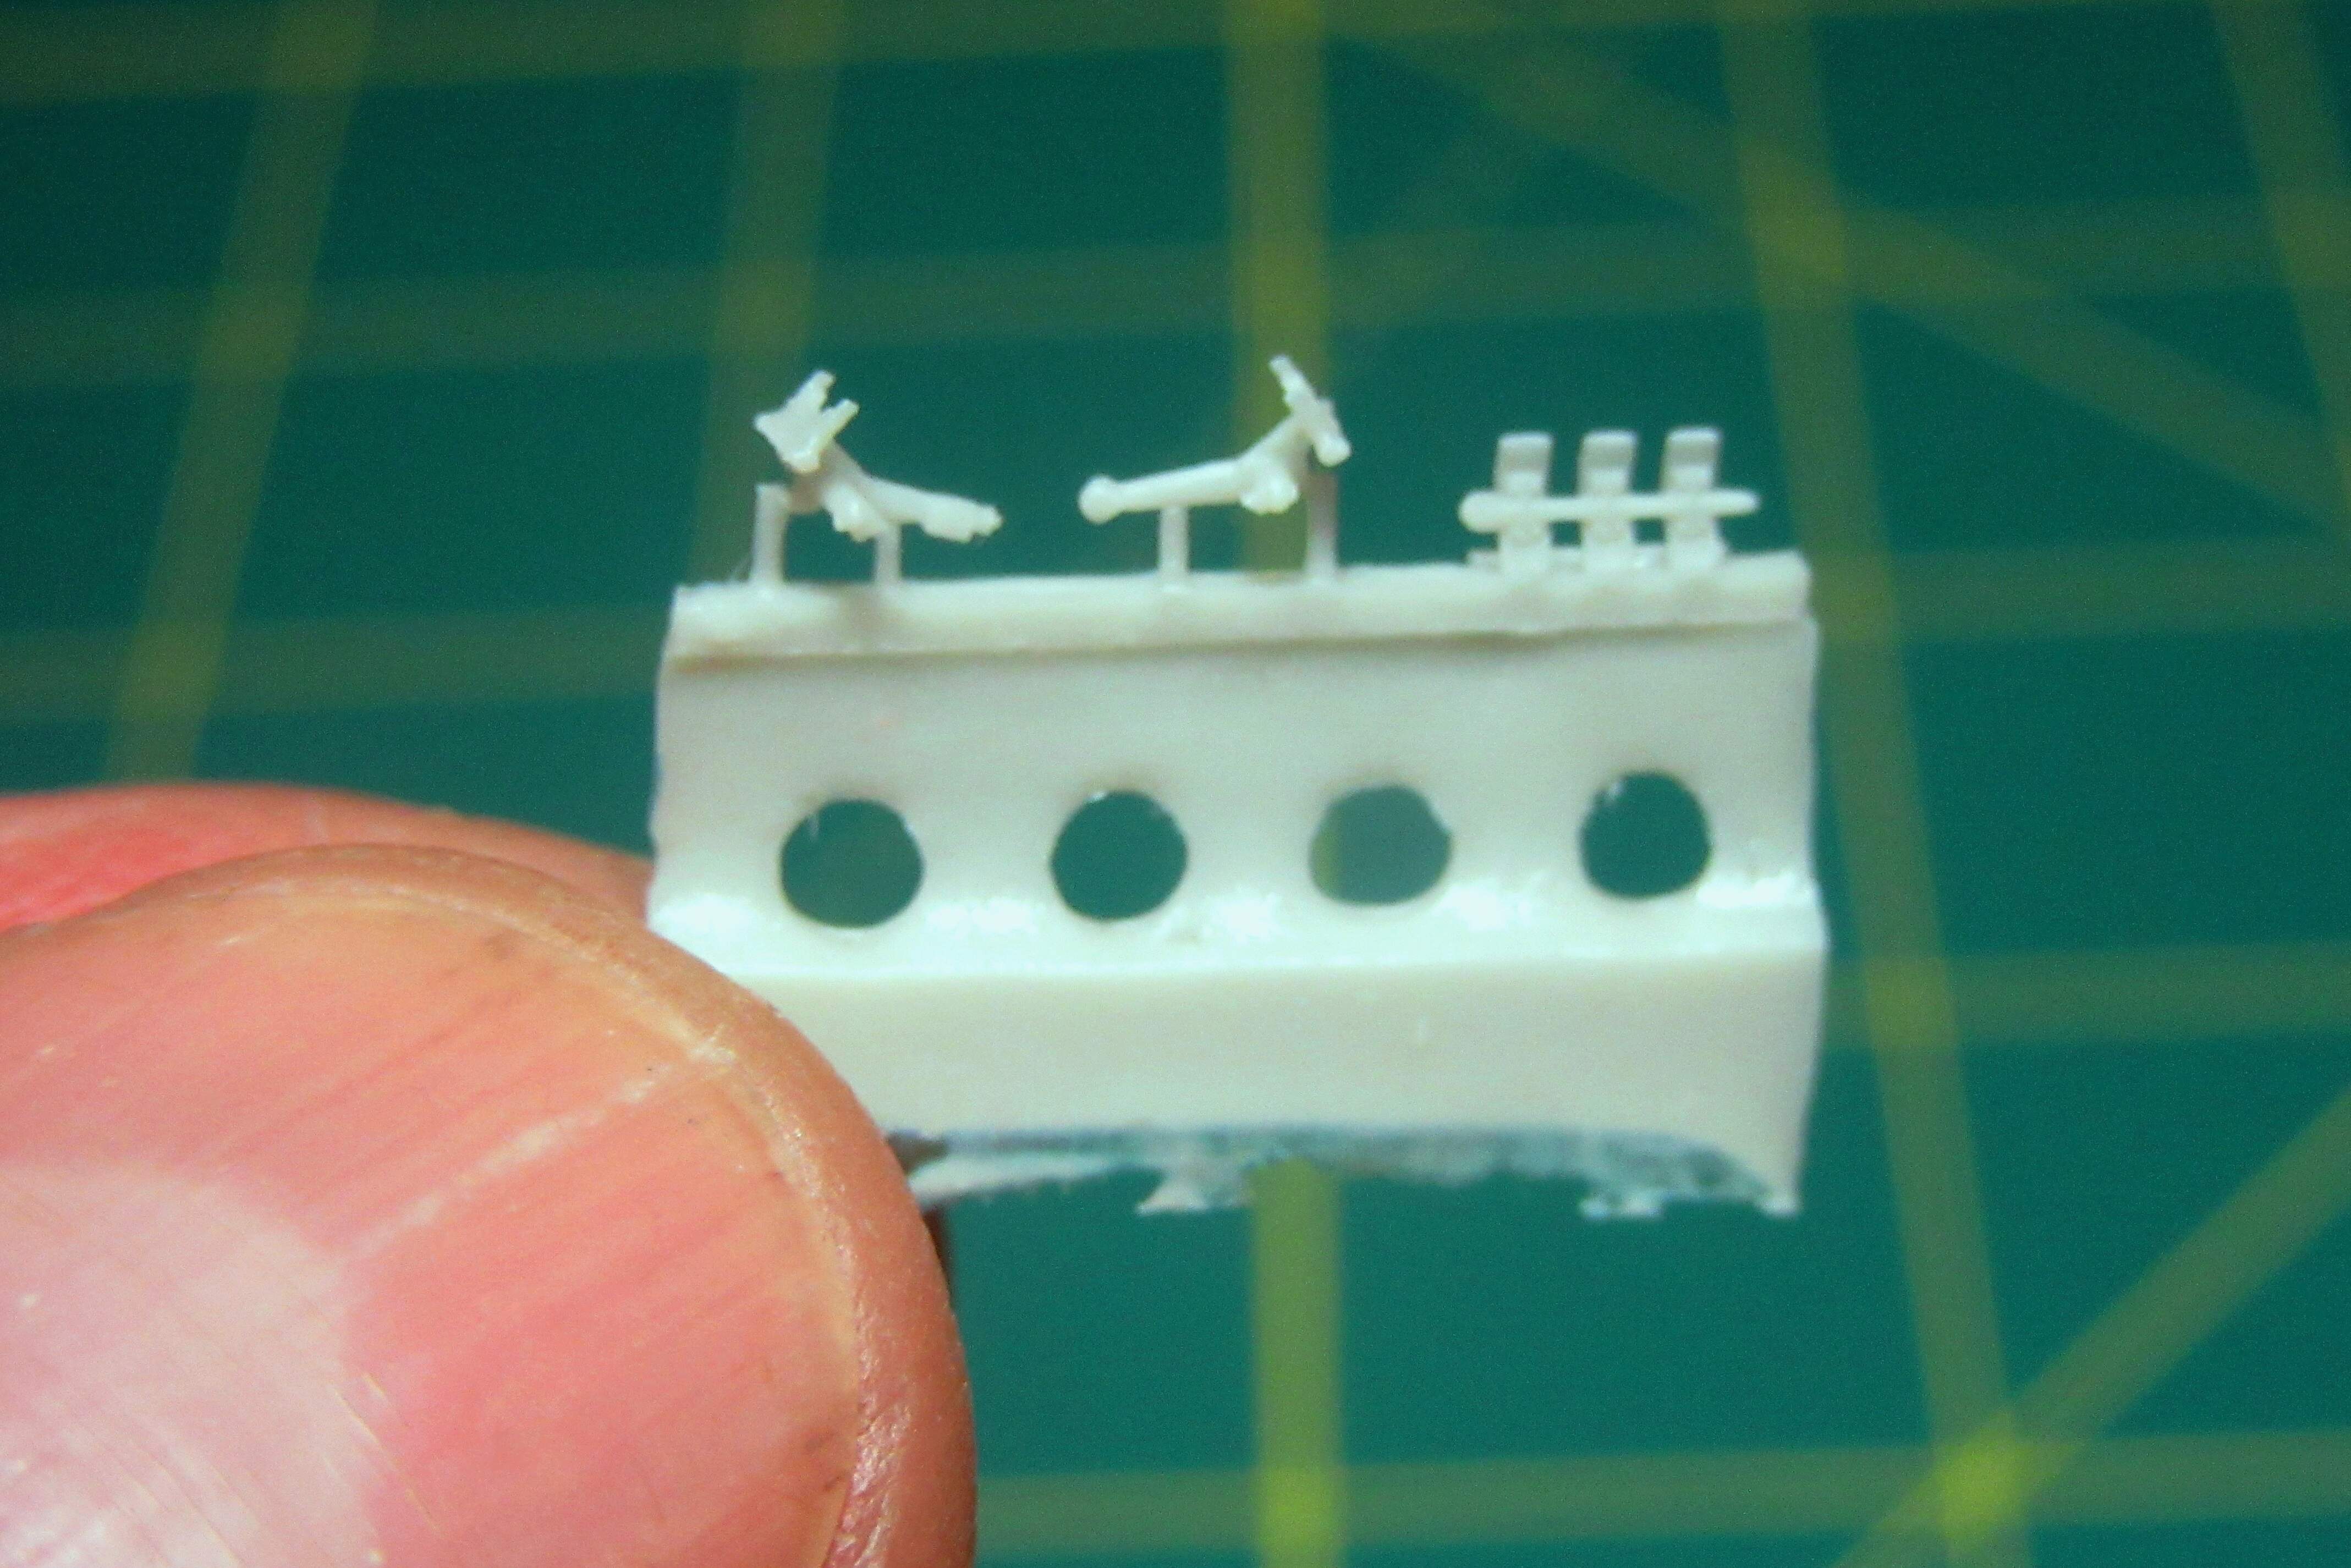
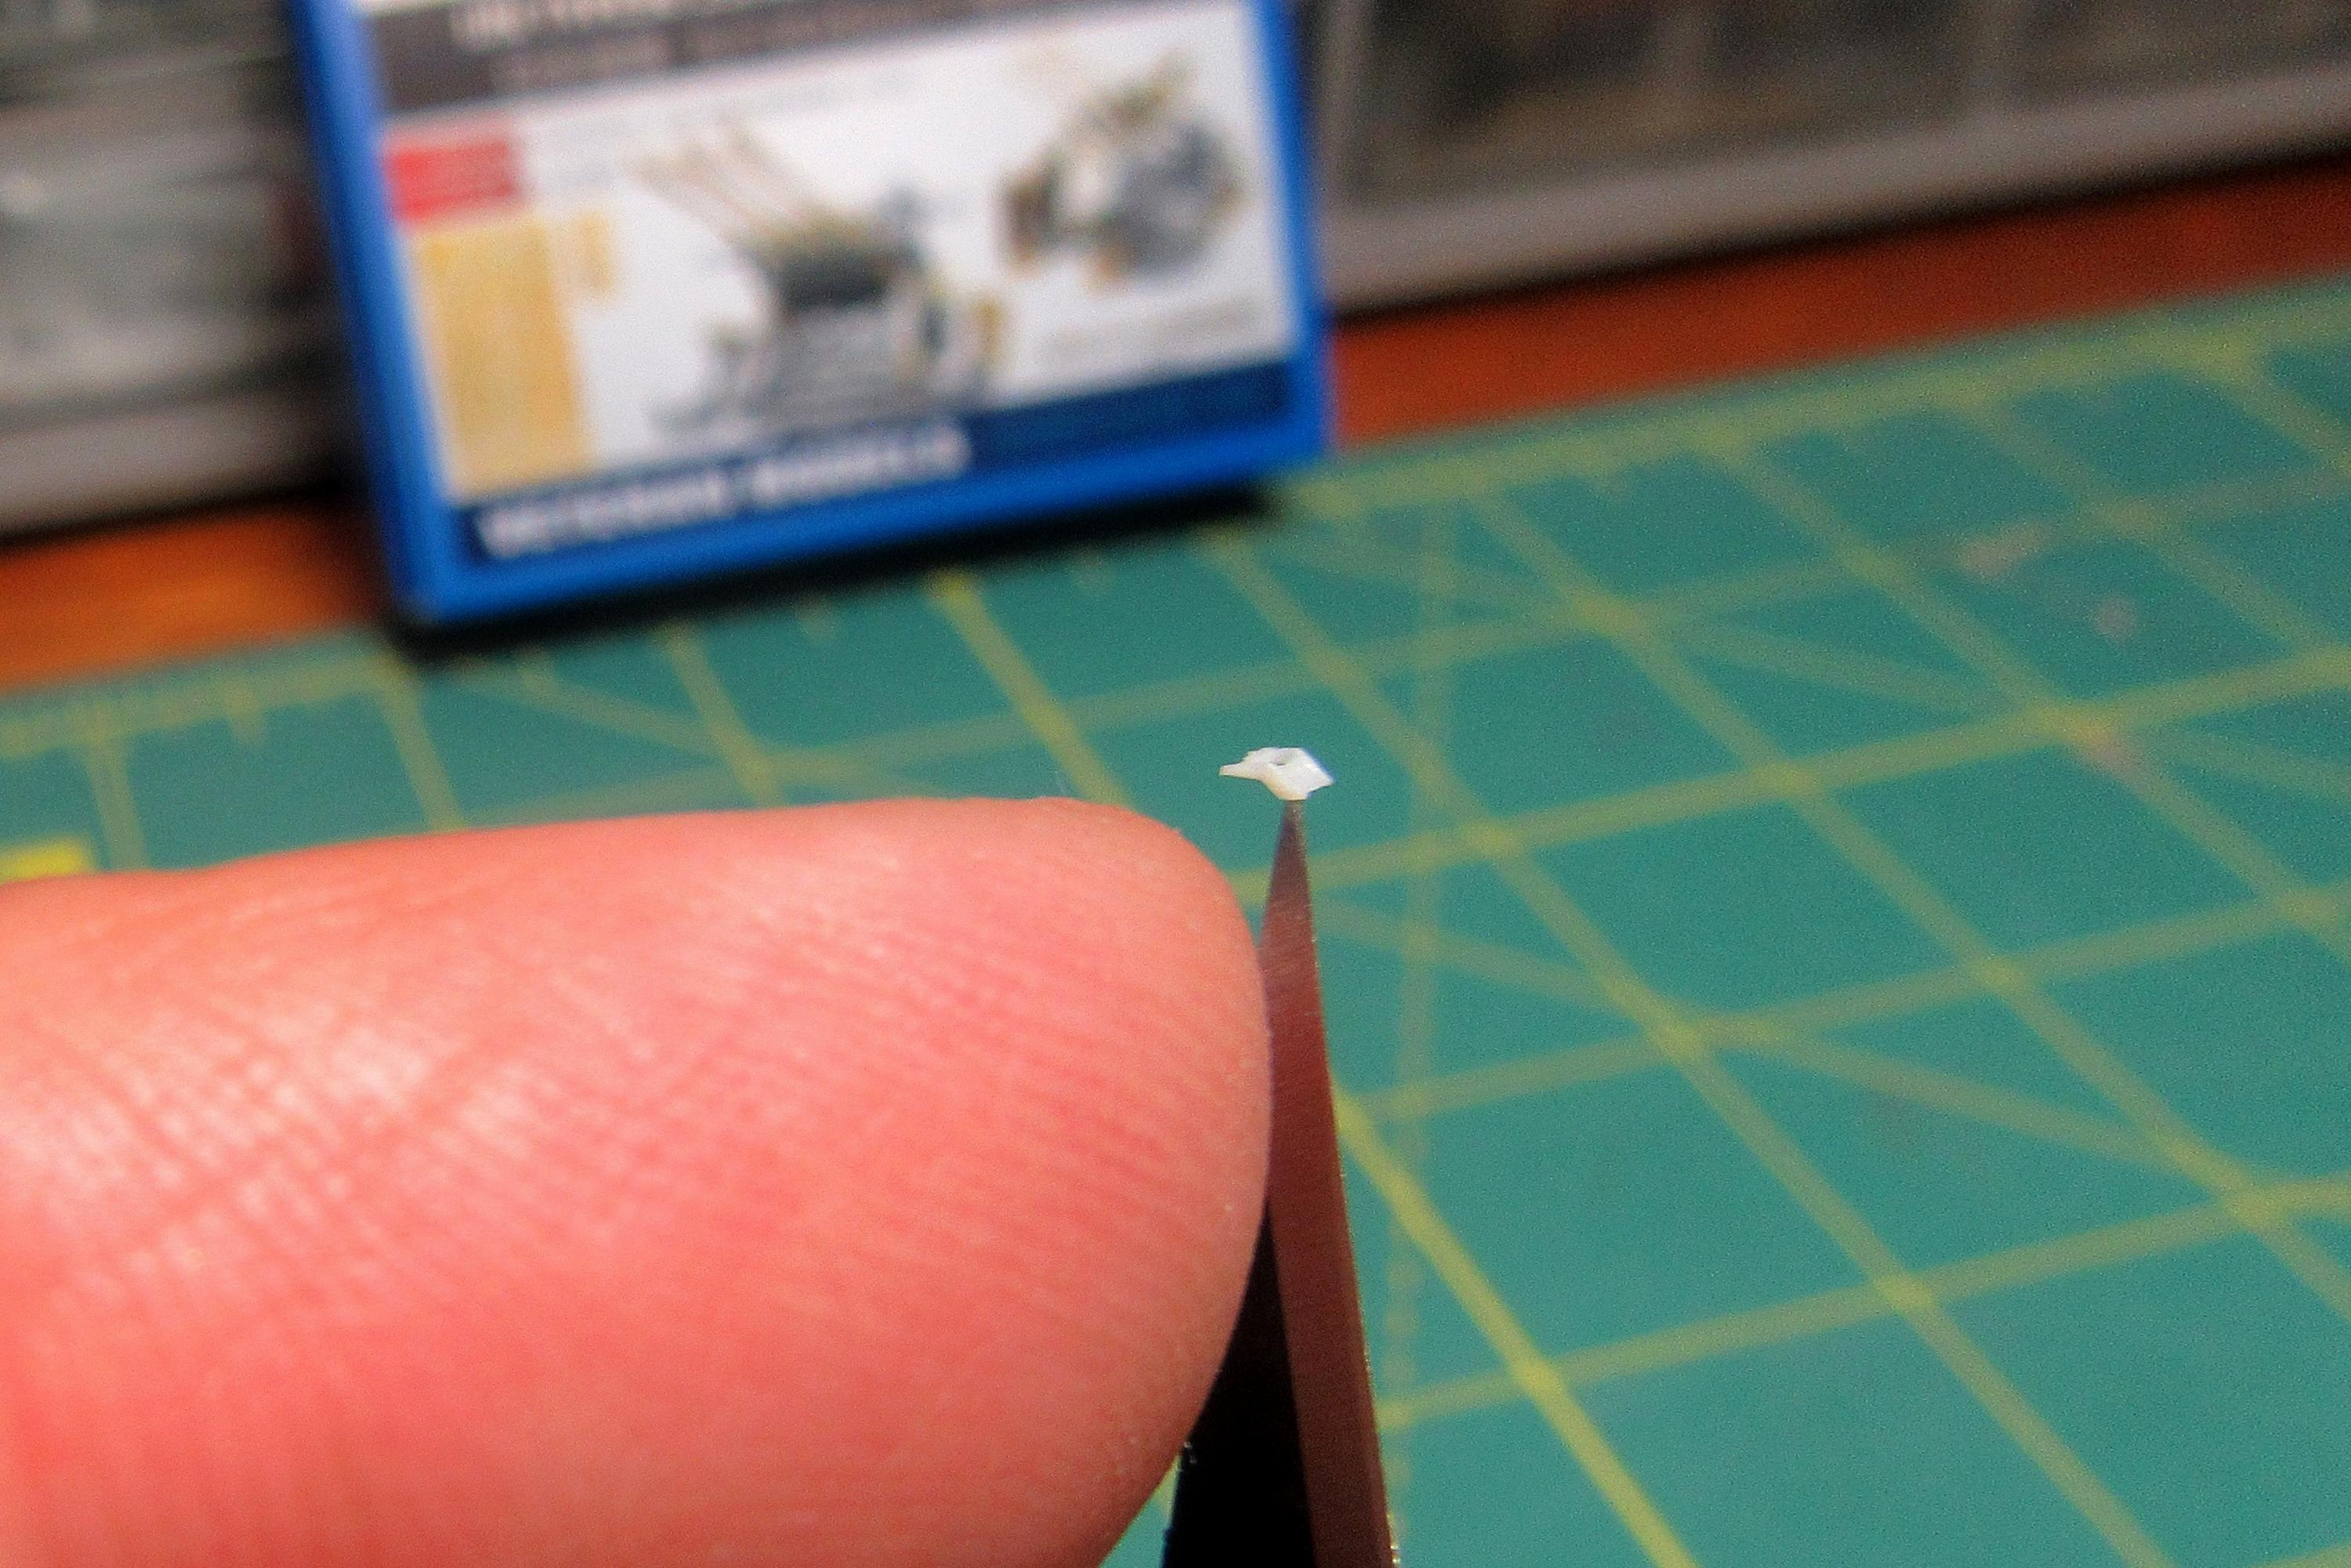
All of the resin parts are small, but some of them are truly miniscule:
How you avoid breathing in the small parts? 
Not to talk about touching and gluing 
Cheers
Tom
Yikes, indeed Tim!
Nano sized!
Just keeps on getting better Tim - I really look forward to each new post !
Cheers- Richard
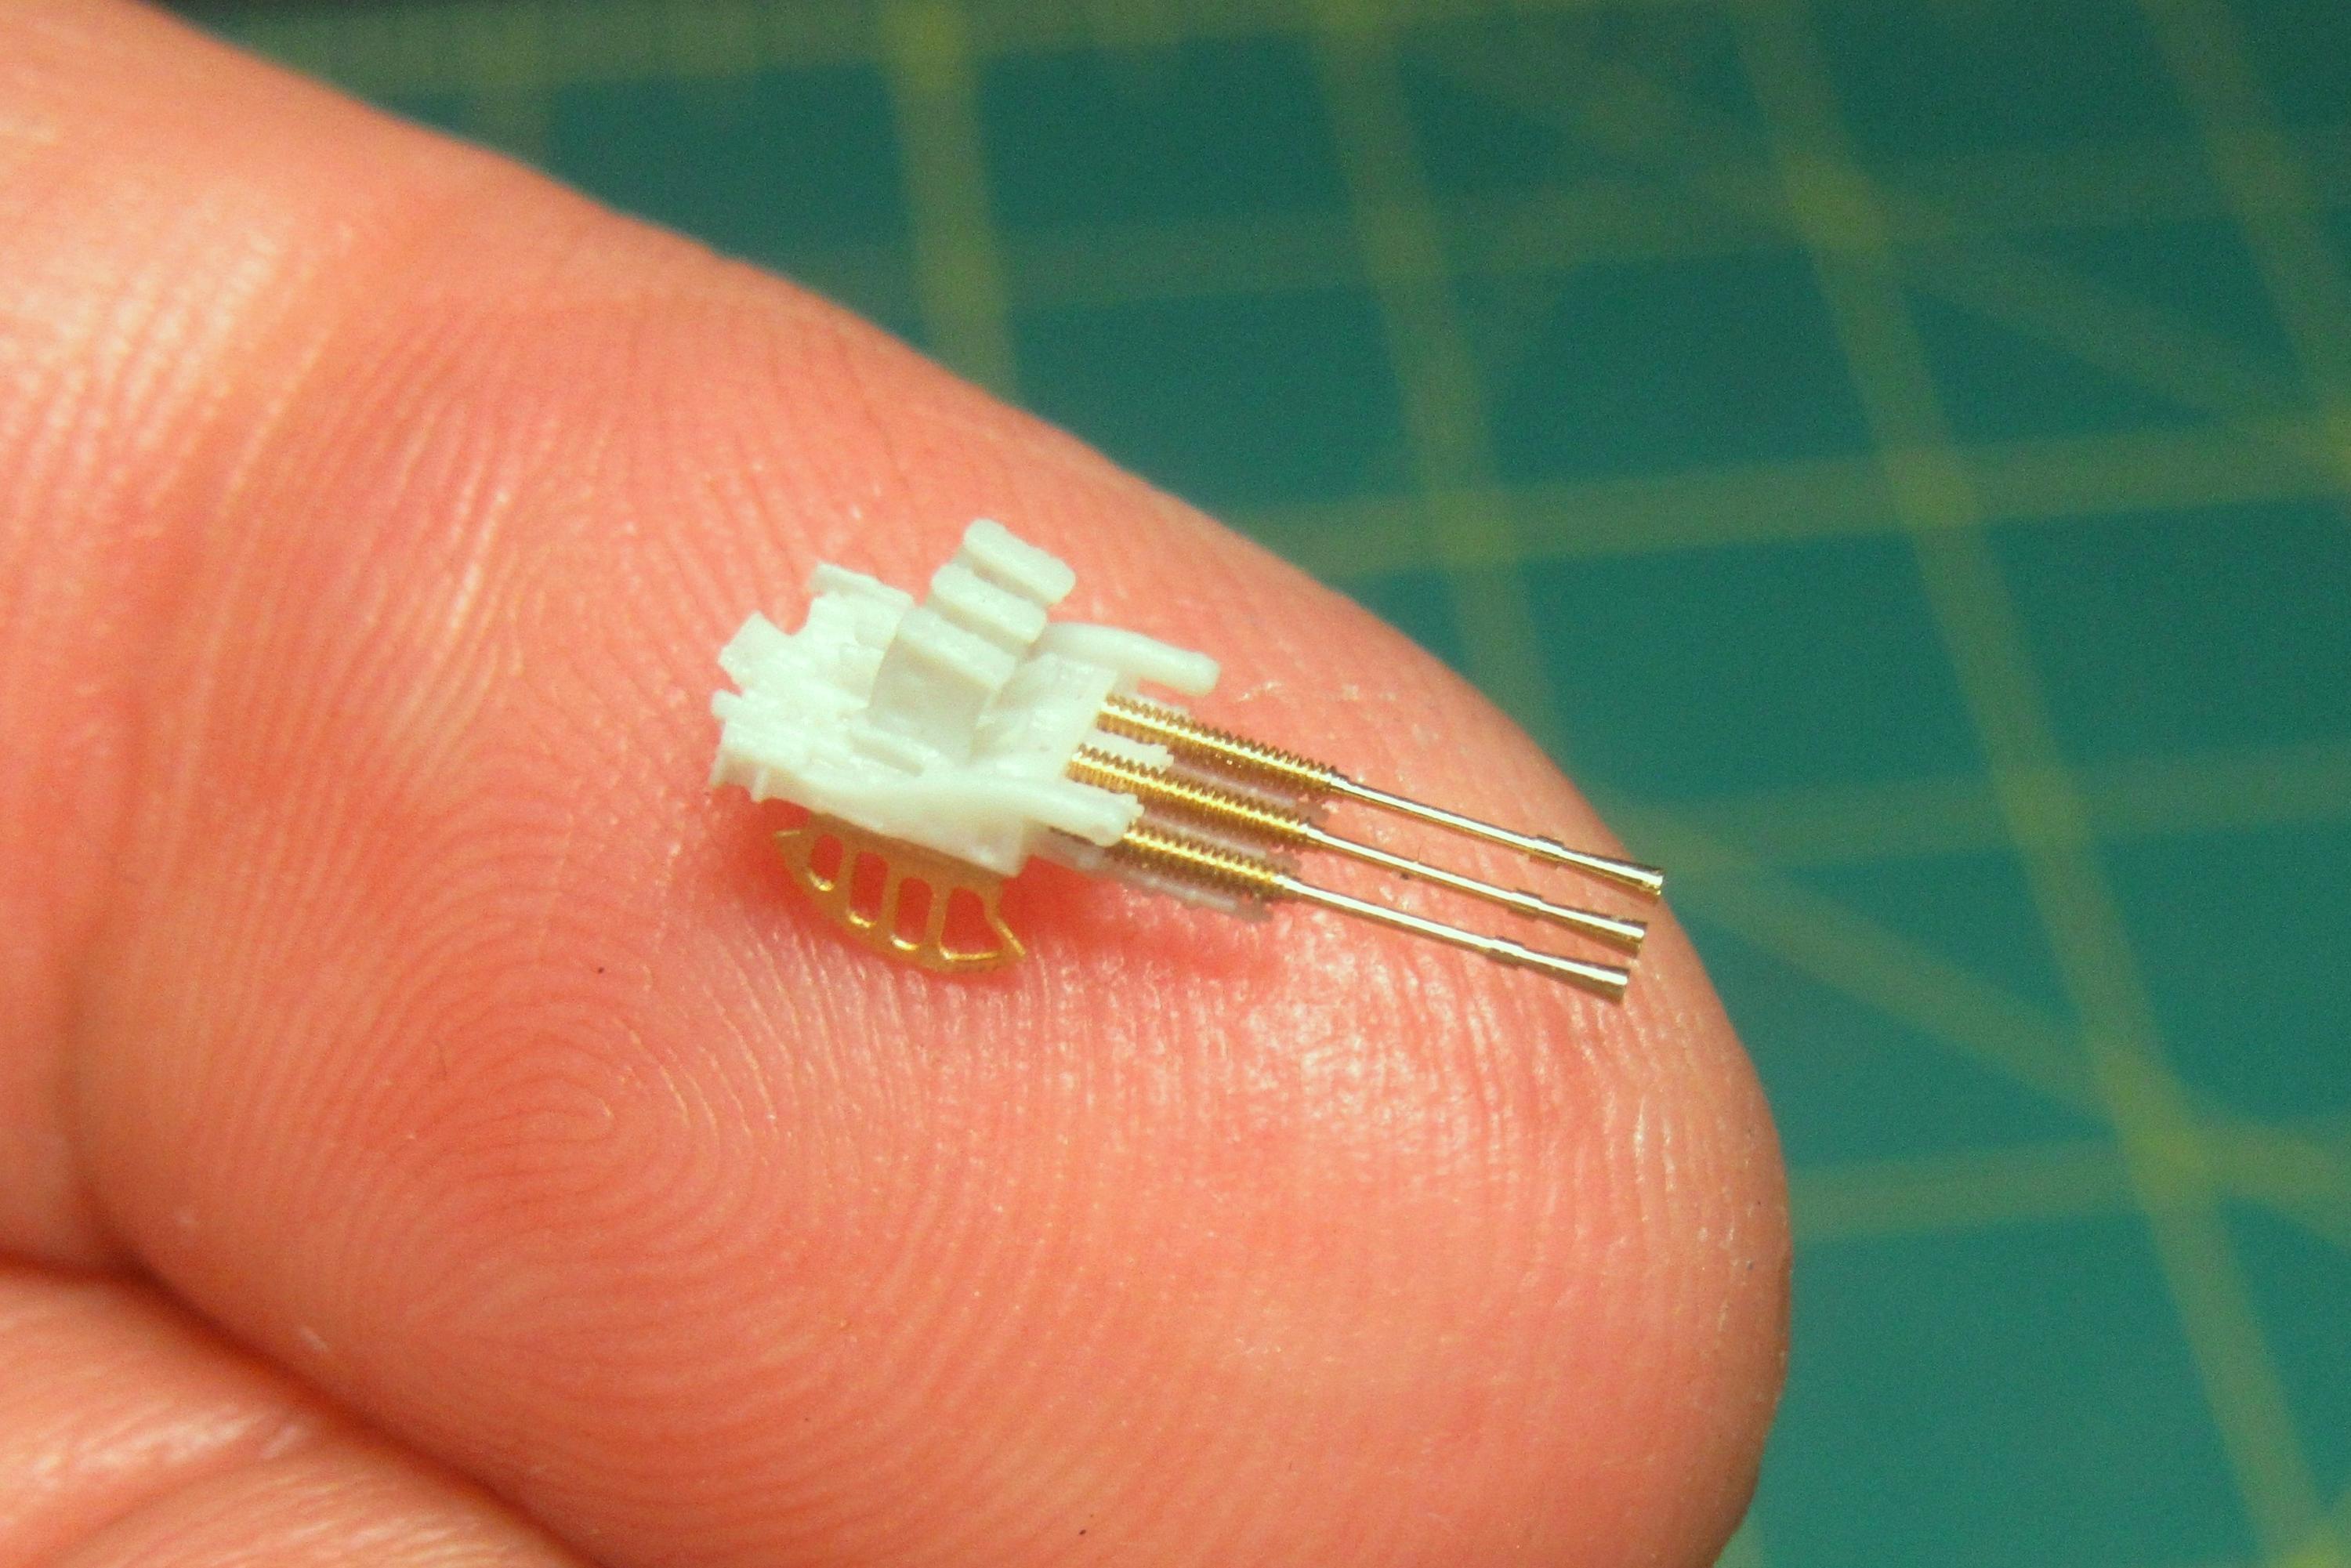
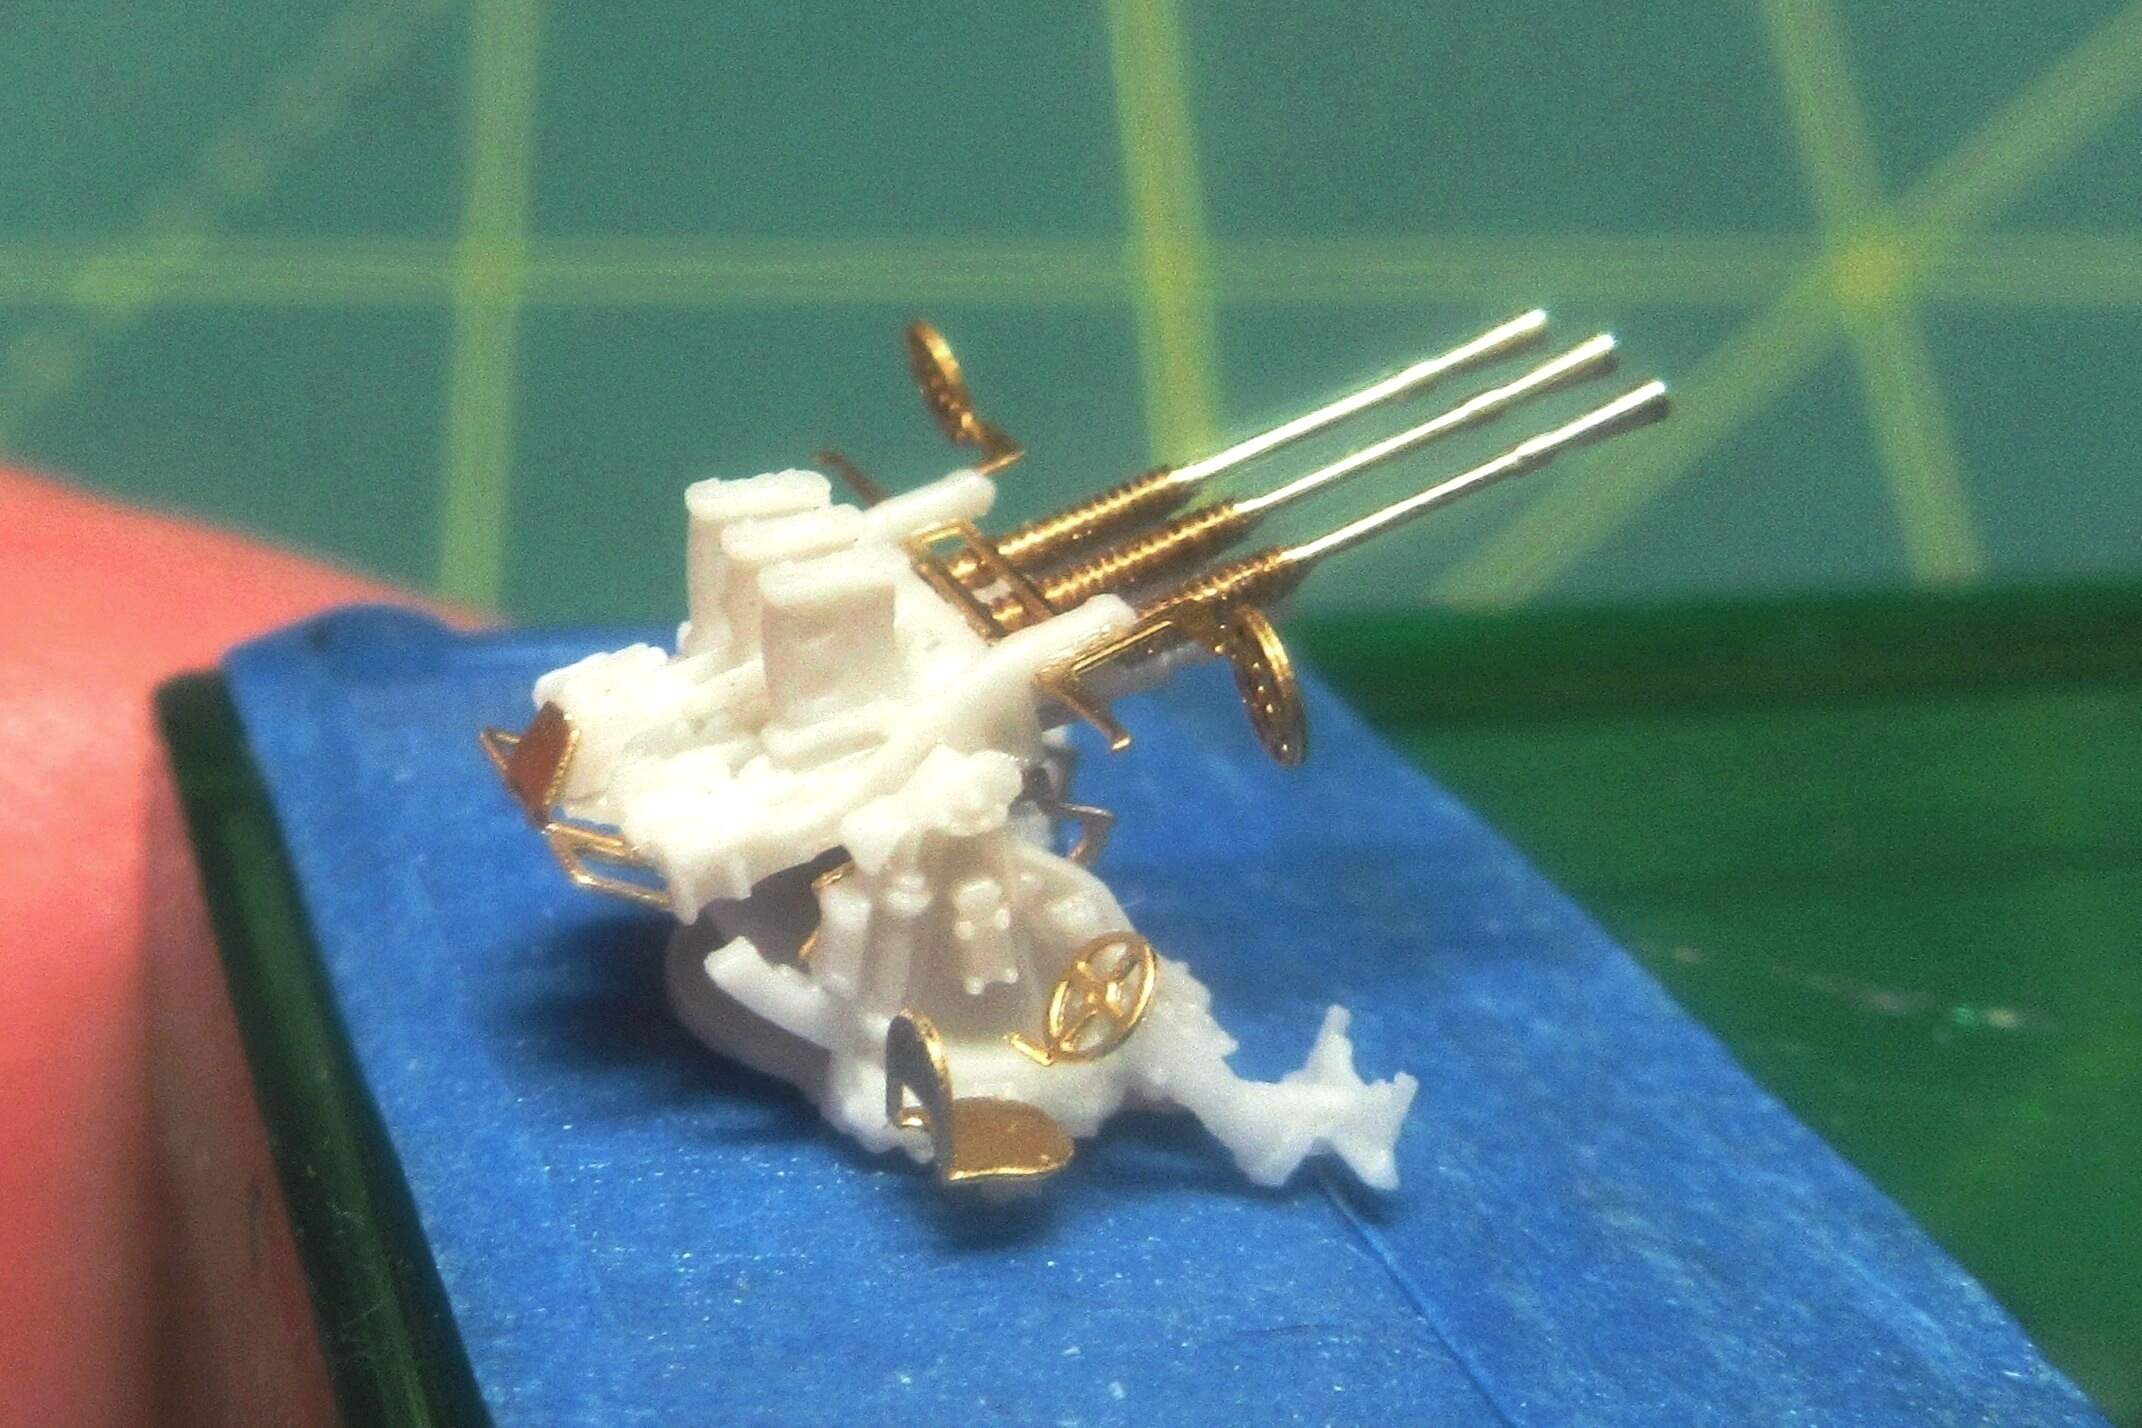
Thanks guys! They may be small, but working with these beautiful parts is a real pleasure…
Absolutely beautiful Tim!
Sounds like these AA guns have been the easiest parts of the build! 
Thanks Ezra. In some ways, yes, this is definitely easier than the scratchbuildng I’ve been doing elsewhere on this project – everything is already there. But oh, Lord, these parts are so tiny! Even the largest of the components must be handled with tweezers, and I have to spread a dark colored towel over my bench when I work on these things if I am to have any hope of finding parts when I drop them. They are damn nice, though!

Tim,
Great job with the assembly. Those guns and features will really stand out when added to the ship.
Mark