…if you decide to take a “Roman Holiday” it is fine with me. The thing is, I know that I will enjoy it just as much, that I will learn some interesting “Ship Stuff"…
Thanks Bob… but are you sure? Some of my diversions do go a bit wide of the ships path…
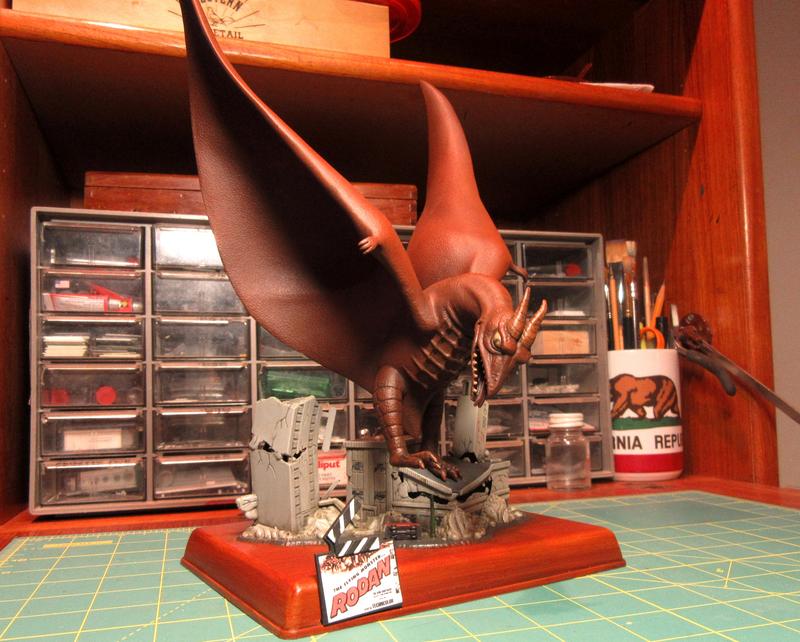
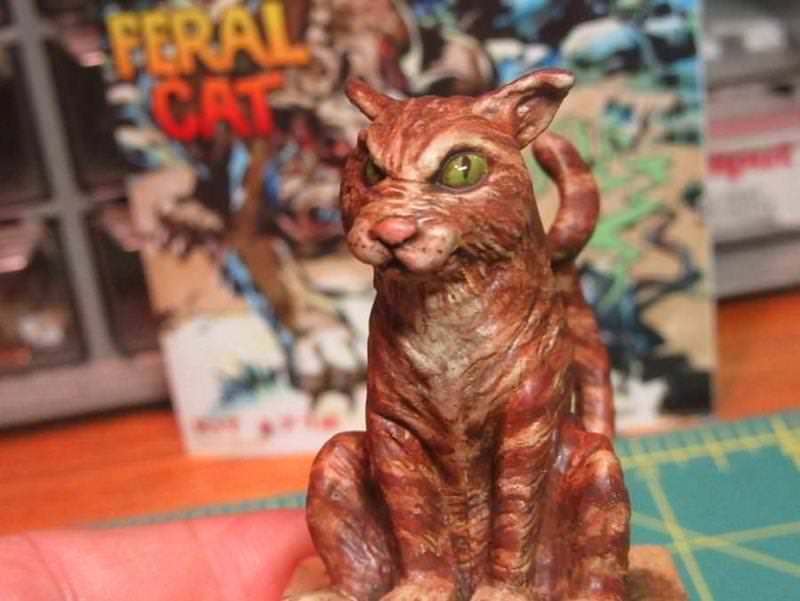
I’m sure… Rodan is nice, but that Feral Cat is something else…
Right now something like either would be nice… am struggling with being hung up on details for armor models, and it sucking the fun out of the builds… So, yeah, as long as you (and the other amazing builders around here) are having fun with your builds it helps me find the fun and get started back into my own…
I know what you mean about struggling with being hung up on details… it happens to me often enough. When it does happen, I take a break and switch to something entirely different, and usually simpler, (like Rodan or the Feral Cat), to reconnect with the fun of the hobby. Often as not, I find that after such a diversion I have regained my enthusiasm and happily return to my more ambitious projects.
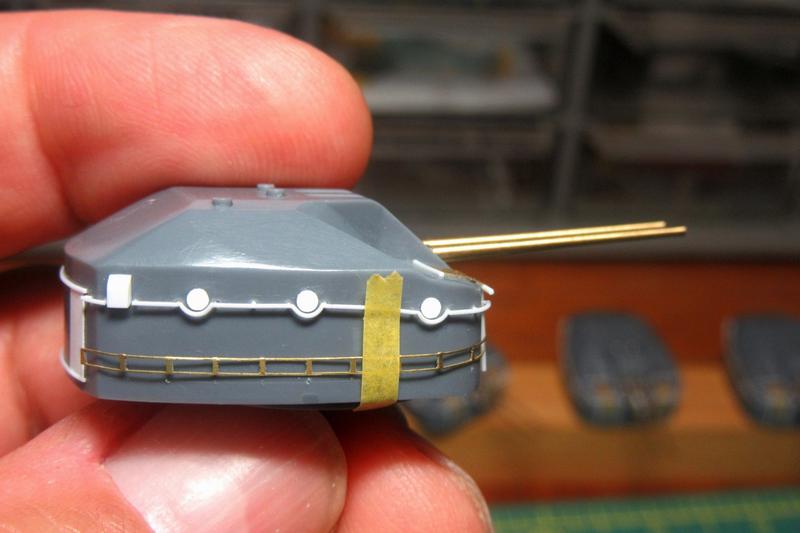
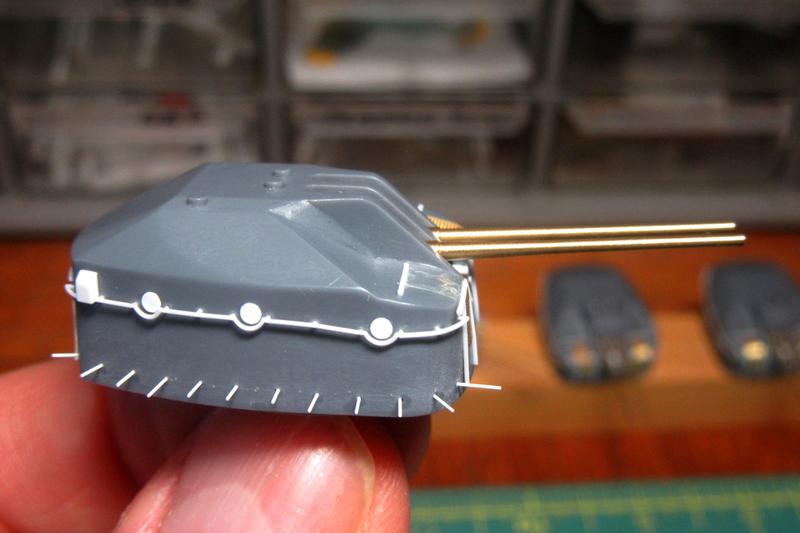
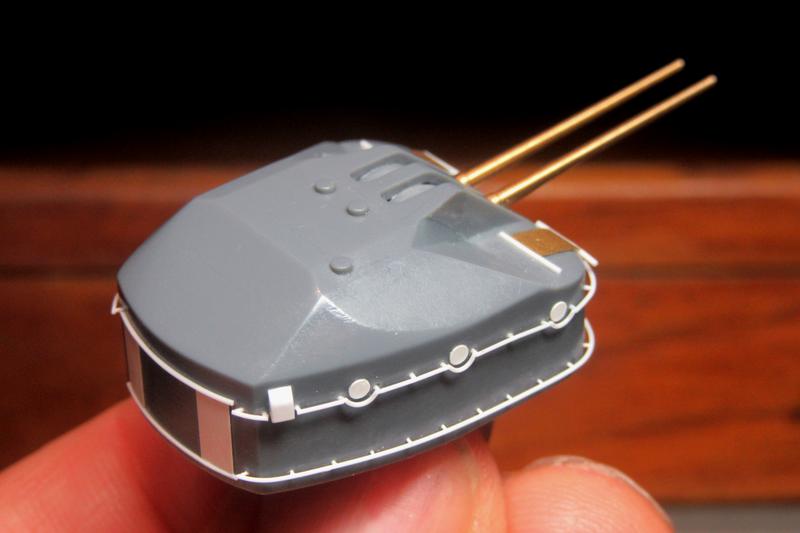
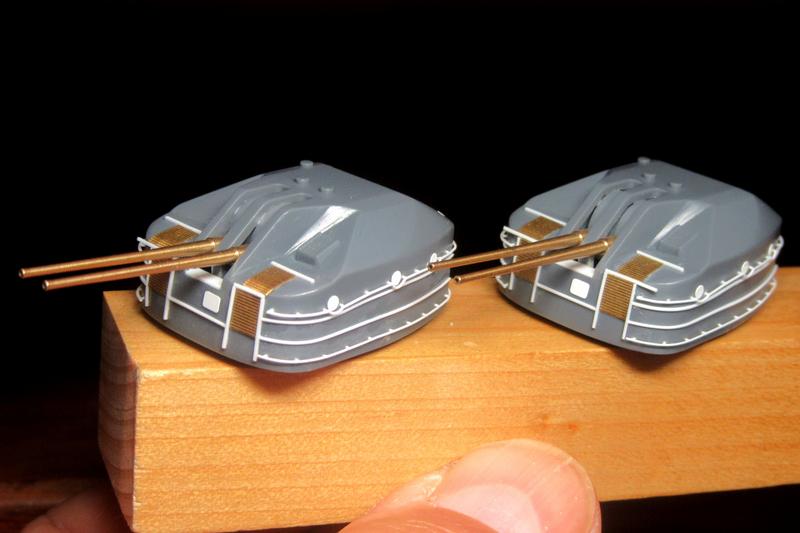
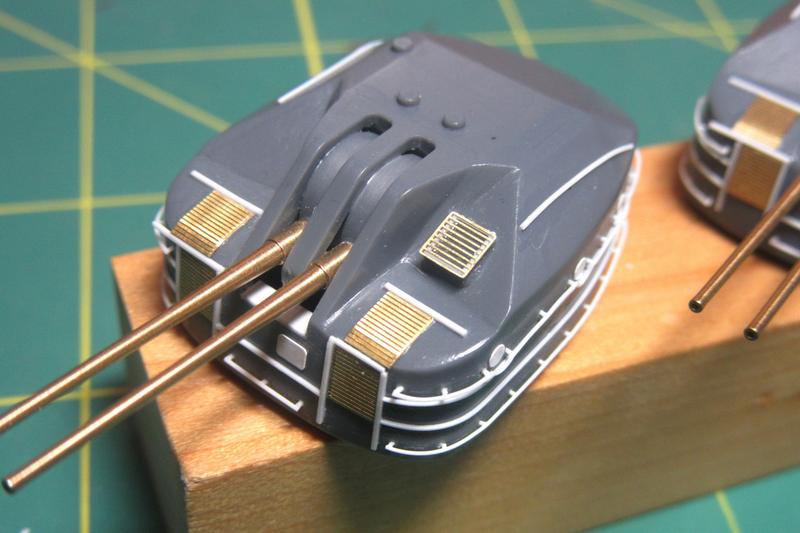
The locations were then drilled out with a No. 80 bit. If you look closely, you can see that the horizontal line of holes dips slightly for the spots forward. This was intentional; photos of the real gunhouses show that the footrails curved gently downward towards the gunhouse fronts.
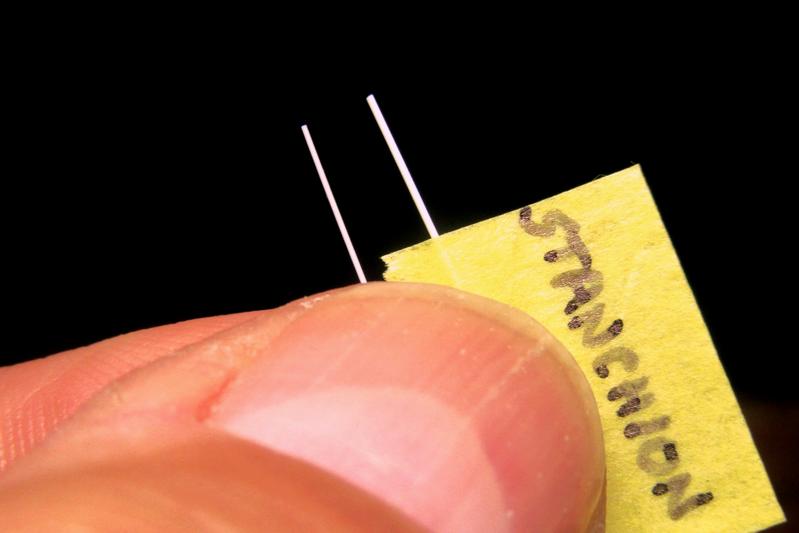
The next step was to insert the stanchions. While cutting them I happened to notice that the Plastruct (No. 90850) .010 inch/0.3mm round rods I have been using are not consistent in diameter – an unwelcome discovery! I quickly re-examined my previous work with these parts and was relieved to find that I lucked out and the strips I’d used were consistent with each other. Anyway, the variation is only perceptible on close examination, so going forward I figured I could get away with using the heavier pieces just for the stanchions and saving the finer bits for the actual rails. This annoyance could actually turn out to be a good thing in the end, since the small amount of extra surface area on the miniscule stanchions will help make the fragile bonds with the rails a little more secure.
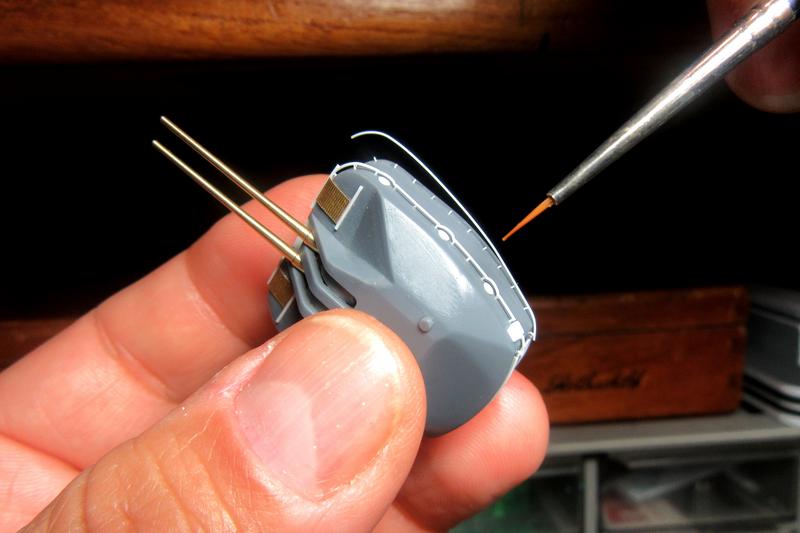
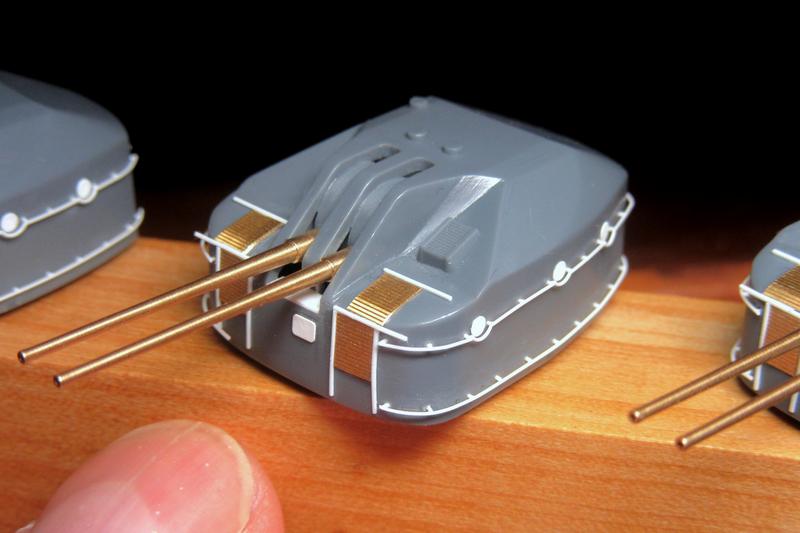
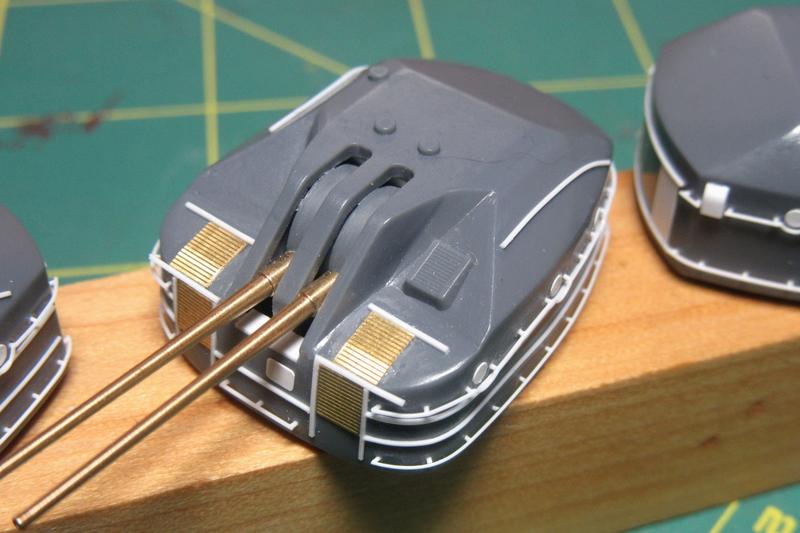
The thicker parts were mounted into the locator holes, adjusted for correct orientation, and cemented in place. After the cement was dry, I cut them down to uniform .015 inch lengths.
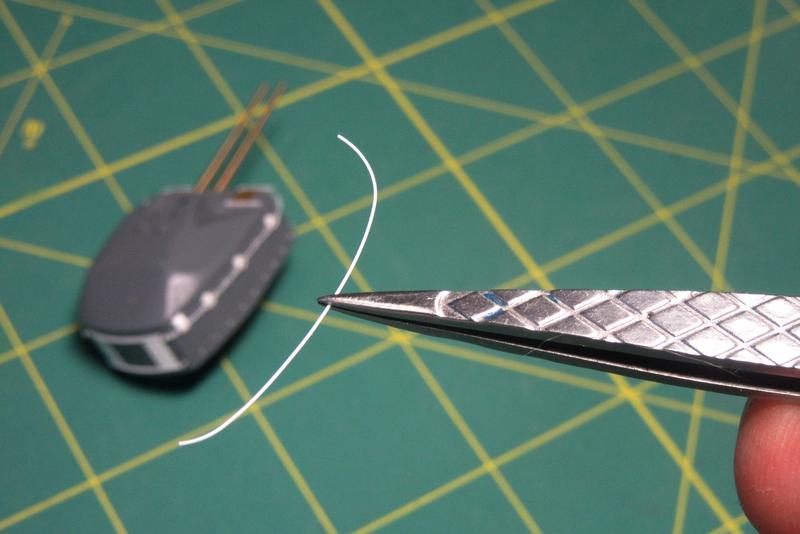
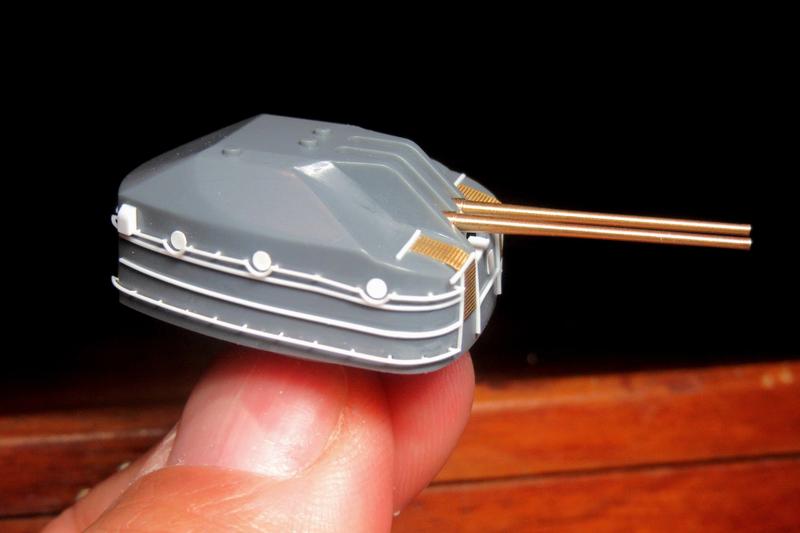
The segmented upper rails hadn’t needed it, but I pre-shaped these longer footrail lengths to conform to the gunhouse side contours. This makes them easier to attach and helps to minimize the strain on the fragile rail/stanchion connection points.
I’m dropping in from time to time to keep up with how it’s going … And wow.
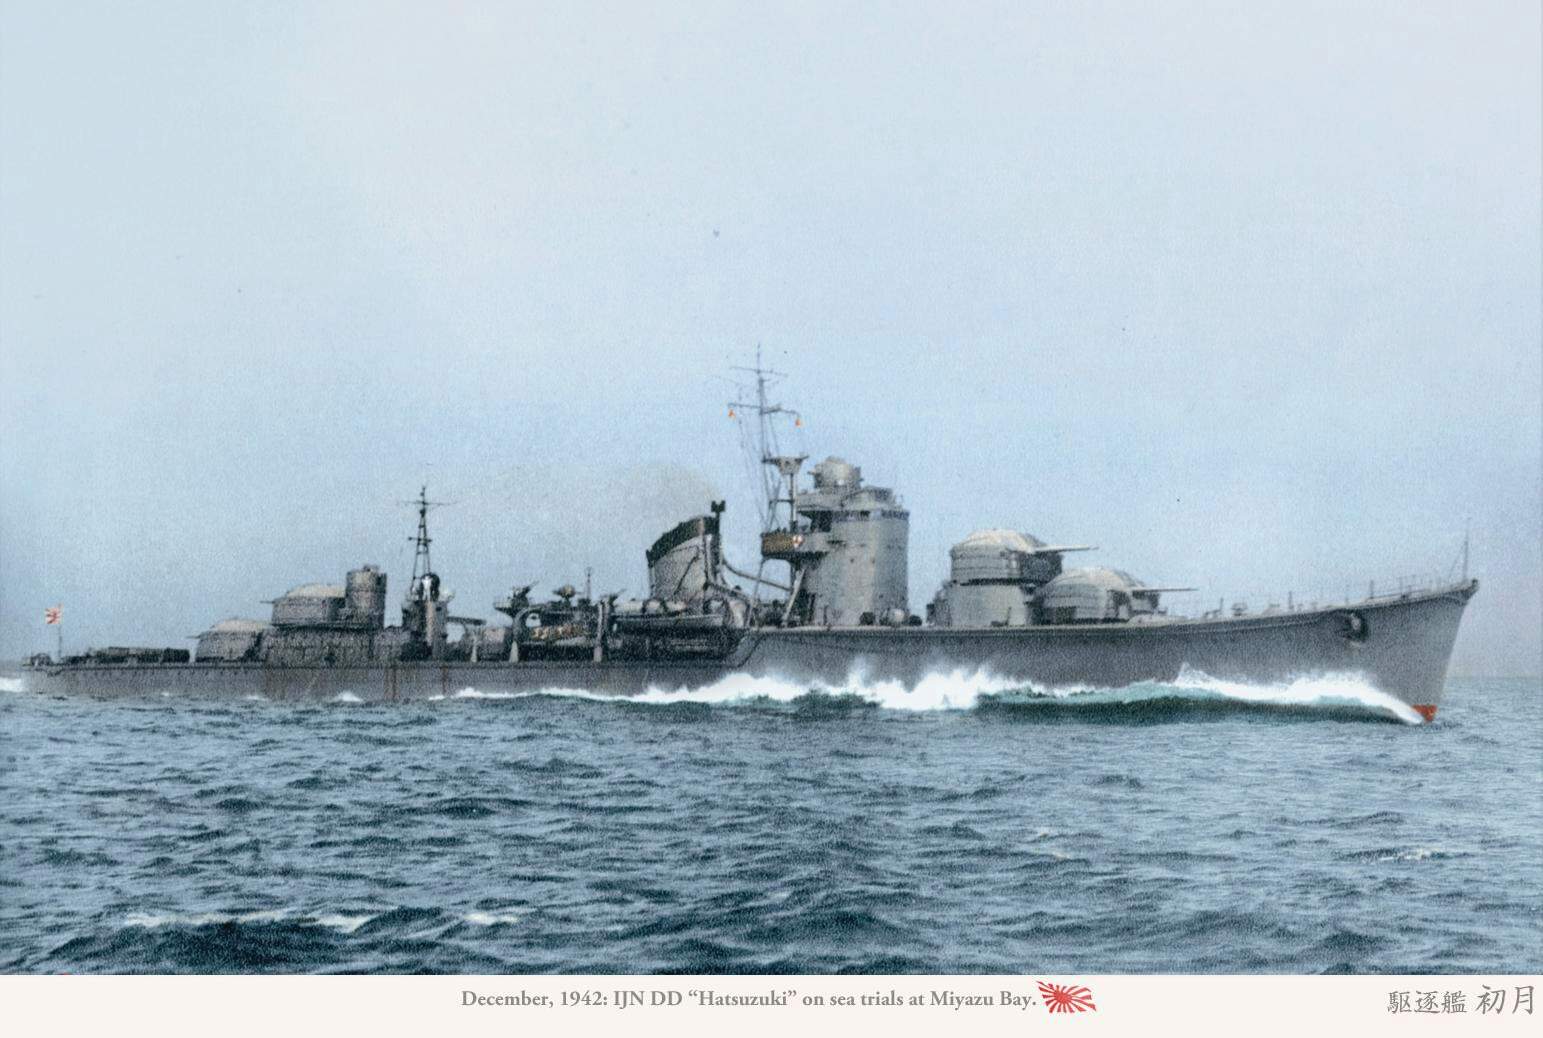
The intricate and superb detailing you are doing here Tim is amazing and it does add so much to the kit. Just the gun turrets is testament to that… Great job
Mike, Angel, Mark, and John - thank you for your kind words!
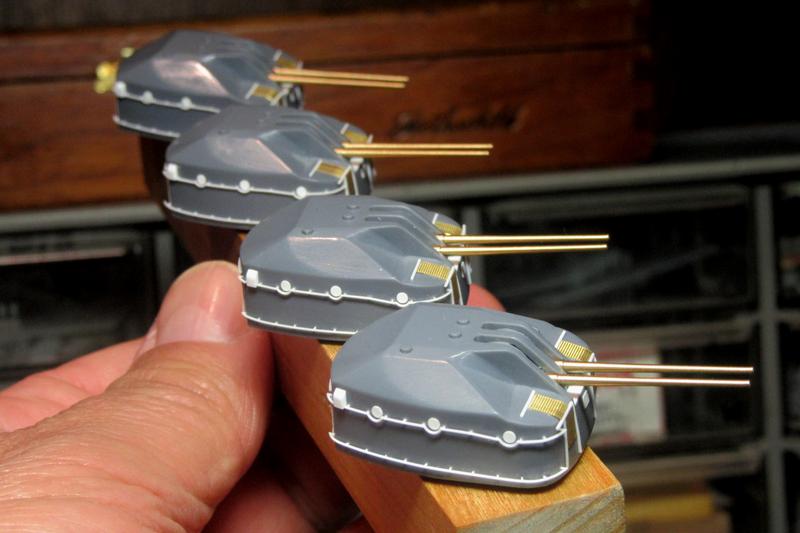
Some drawings indicate a further row of footrails along the edge where the gunhouse roof met the sides, but unfortunately the only existing photograph of Hatsuzuki isn’t clear enough to determine whether she had them or not. Among the few surviving photographs of the Akizuki-class ships, these rails are discernable only on the Suzutzuki. Photos of sisters Natsuzuki, Harutzuki, and Hanazuki taken close enough to capture this feature show that these ships did not have them. Also, the scale drawings I’ve seen that are of Japanese origin (those in the IJN Akizuki-class Destroyers Pacific War Series Volume 23 Gakken Reikishi-Gunzo and the Miyuki-Kai plans of IJN Fuyuzuki) show this feature to be absent. Finally, the Hanazuki and Fuyutzuki, which didn’t have them, were built in the same shipyard (Maizuru) as the Hatsuzuki, so if this can be taken to be “yard practice”, then I reasoned Hatsuzuki wouldn’t have had them either. I decided to leave them off.
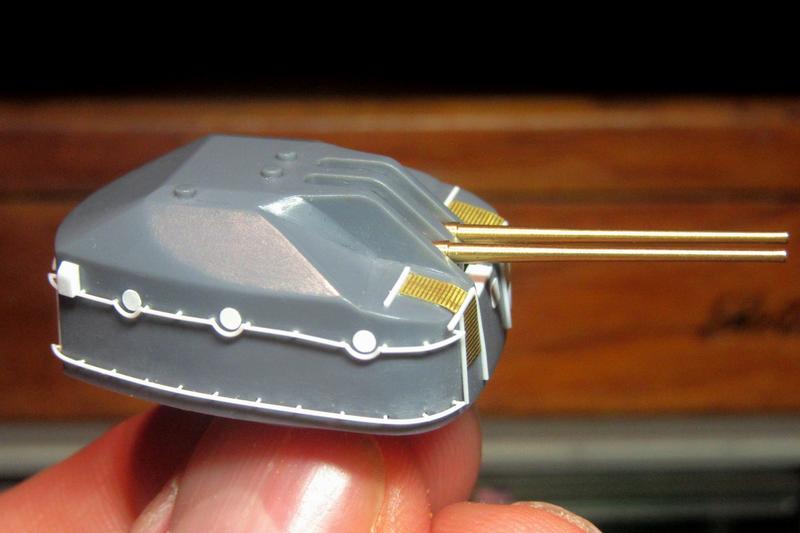
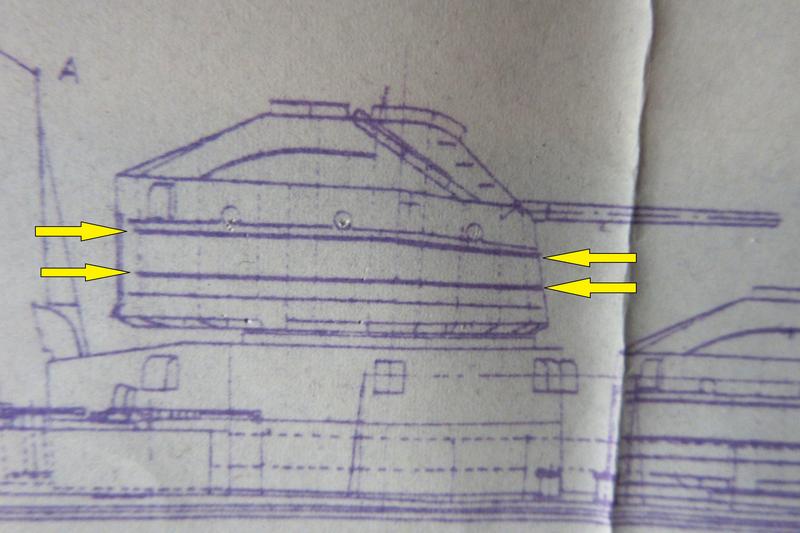
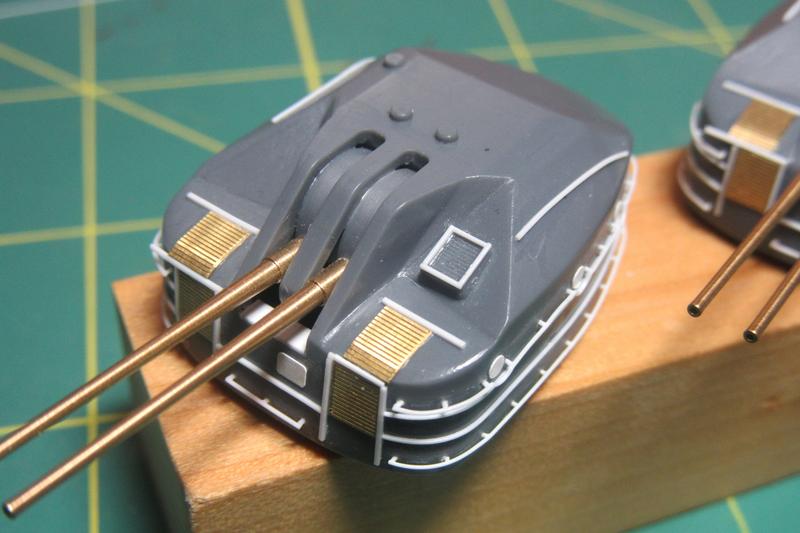
In addition to the footrails, Hatsuzuki’s forward gunhouses had exterior stiffeners to resist distortion from seas crashing over the bow. This image is from the Miyuki-kai plans of the Fuyutzuki.
There was apparently some variation in the placement of these strakes; the sole image of Hatsuzuki shows hers to be a little higher up the gunhouse sides, so that is how I placed them.
The kit representations weren’t bad, but to give them a bit more definition and shape, I framed them with Plastruct .010 inch/0.3mm square plastic strips (90709).


 makes my blood pressure go up thinking about it.