With the starboard-side intake being round, I don’t think what you had looked unreasonable.
1 Like
With the starboard-side intake being round, I don’t think what you had looked unreasonable.
Thanks, Sam, that was my hope!

With the glue-damaged decks repaired it was a simple matter to reattach the plastic reload torpedo box parts. The Infini etched brass supports fit perfectly underneath them.

Although better than the Tamiya plastic parts, I opened up the bays even further by removing most of the solid portions of the Infini brass parts forward. These were replaced with thinner girders from bits of Fine Molds brass.


Just visible inside are boxes from Five Star’s amazing 3D printed WWII IJN Sundry Box III set.

Finally, I wanted to add inspection ports to the reload torpedo box front and sides. Since the Infini upgrade set didn’t come with these, I improvised. The small stainless steel ports forward were Gold Medal Models 1/700 scale hatches with the dogs sanded off.

The three ports on the sides came from a 1/400 GMM doors and hatches set (hatch type E) with two of the four dogs sanded off. I left two dogs on top of each of these to suggest latches.


The hatches on the aft ends were British Standard Doors from the 1/400 set cut in half – not perfect, but serviceable!
12 Likes
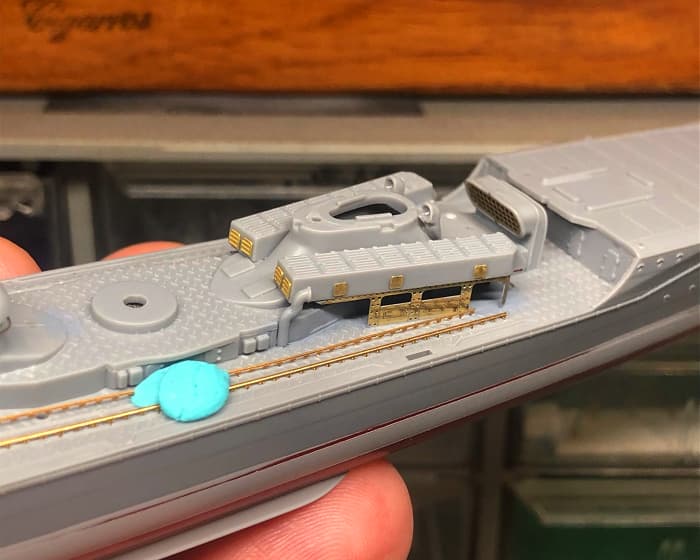
With the reload torpedo boxes done, I test fitted the trolley rails.


The rails look great, and I was impressed that all those template-sited mounting holes drilled into the deck correspond exactly to the mounting tabs on each rail. Infini even designed the site specific rail parts so that the relief etched sides face outward. Really nice! ![]()
10 Likes
Amazing work, Tim!
1 Like
Tim, once again amazing clean work. If possible, would you please post a picture of the curved part of the rails. To me, Infiniti did a brilliant job with this whole set up.
1 Like

Amazing work, Tim!
BillyBoy59
Tim, once again amazing clean work. If possible, would you please post a picture of the curved part of the rails. To me, Infiniti did a brilliant job with this whole set up.
Thanks guys - and I agree about the excellent Infini etch!
I’ve only test fitted the rails so far and didn’t take a picture before taking them off again. I plan to install them towards the finish of the build since they are so delicate.
7 Likes
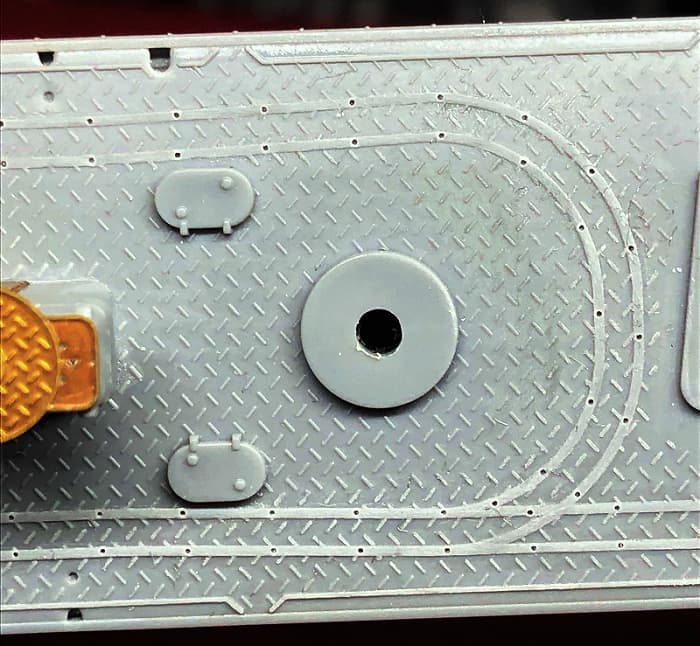
Here’s the other thing that really impressed me was the removal of the molded on rails. You did not damage the surrounding tread plate. Impressive.
3 Likes
Here’s the other thing that really impressed me was the removal of the molded on rails. You did not damage the surrounding tread plate. Impressive.
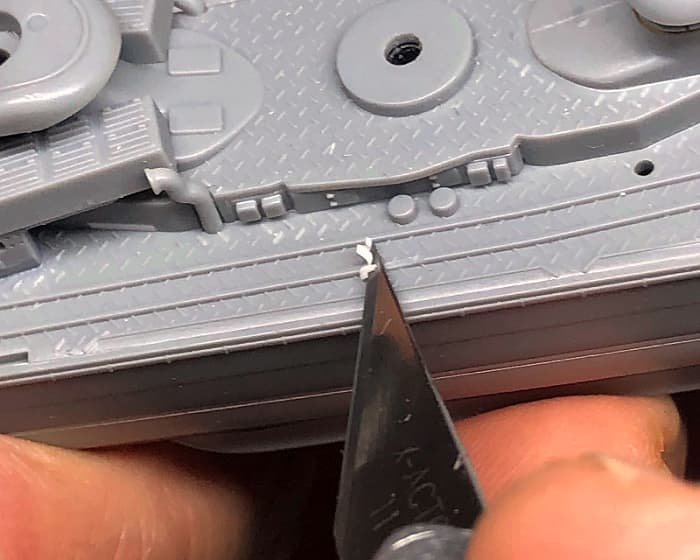
Thanks, but that was nothing more than a bit of slow, tedious effort. I can’t wait to fit those new rails, though!
Next up: the foremast

5 Likes
The foremast:

Tamiya’s rendition of the mast is excellent right out of the box – they even provided a temporary alignment jig base to make sure everything lines up correctly.
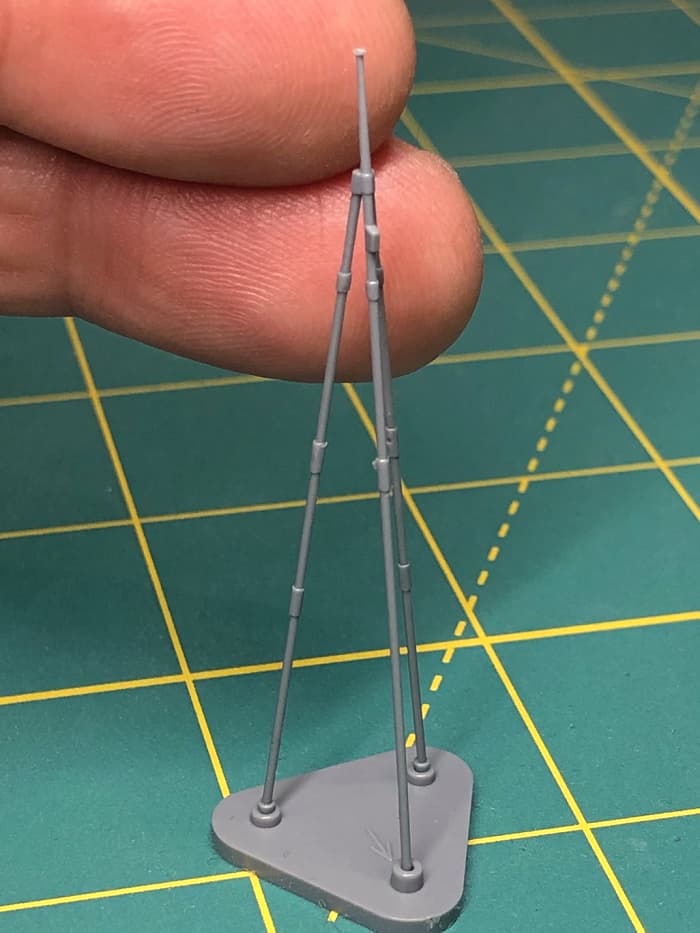
I would have happily used the kit parts unaltered, but that outrageous Infini set will make it even better. Accordingly, I cut away the kit platforms and spars from the plastic kit parts.


Infini provided an etched brass perforated platform with fold down support sides and some beautiful turned brass replacement spars.


The Infini set also provides etched brass parts to replicate access ladders, spar support rigging, hoist blocks, even an anemometer… awesome! These parts are so delicate, though, I’m afraid to attach them until after the mast is installed on the assembled and painted model. ![]()
10 Likes

I keep trying to forego buying these extra enhancements… but yet another small addition will be these 3D printed boat booms.


The kit booms molded to the hull sides really aren’t bad, but these resin replacements are noticeably finer and more three dimensional.

The crispness of detail on these miniscule 3D printed parts continues to amaze… will the madness never stop?
![]()
6 Likes